The numbers: hours worked and cost
Some figures from the build.
The full breakdown of hours and costs is in two spreadsheets on the original blog:
Squirt · new build
Some figures from the build.
The full breakdown of hours and costs is in two spreadsheets on the original blog:
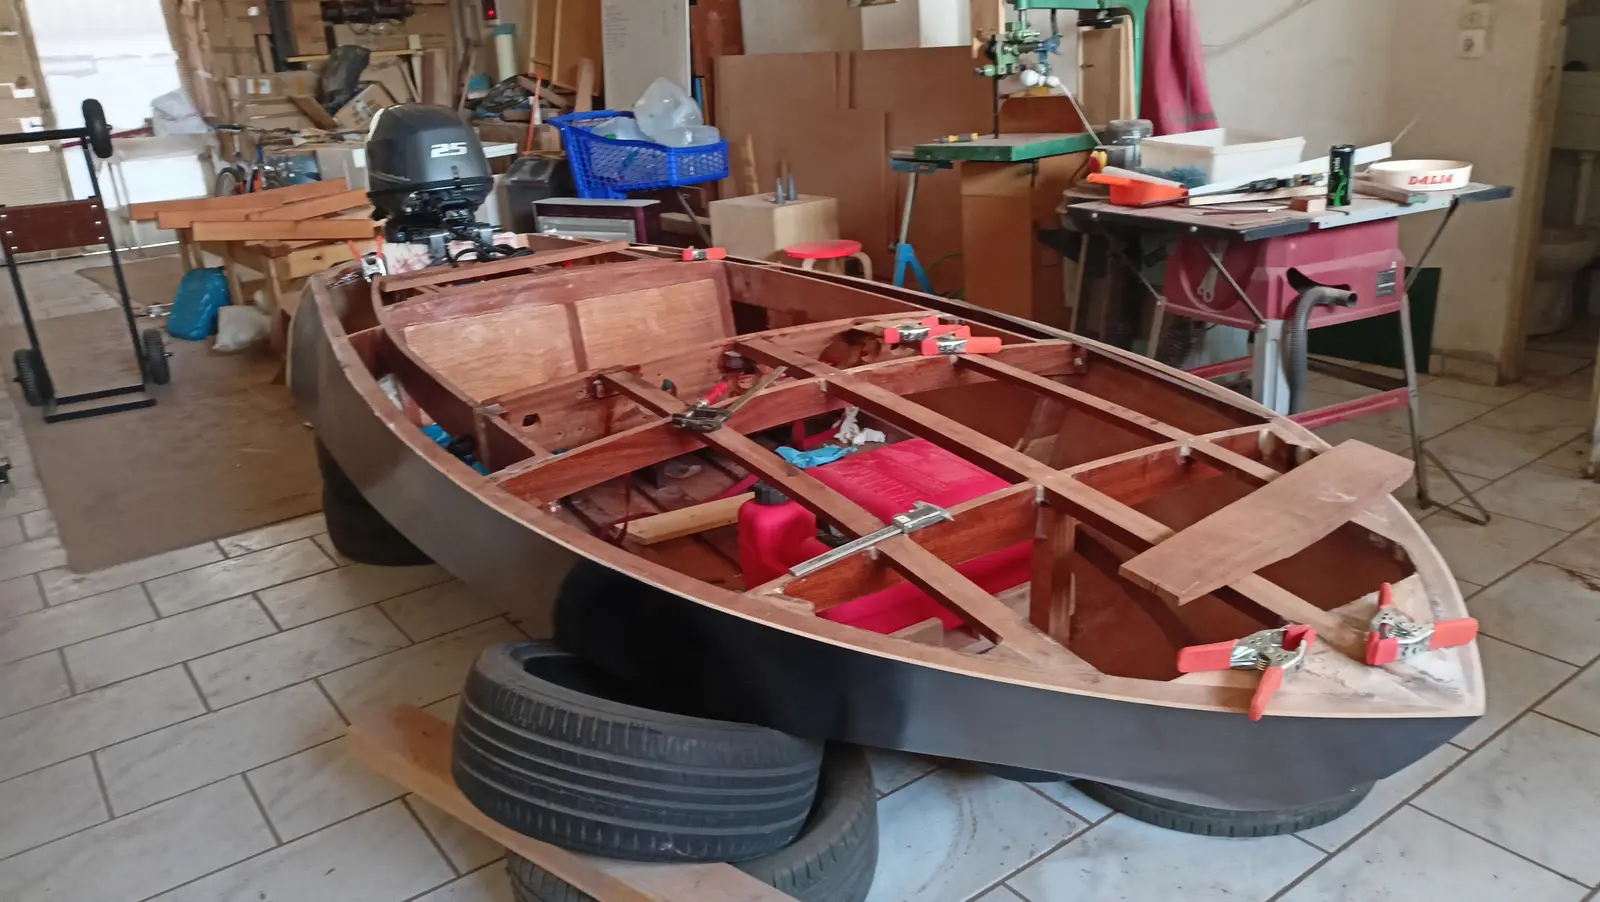
The first job was building the base for the fuel tank.
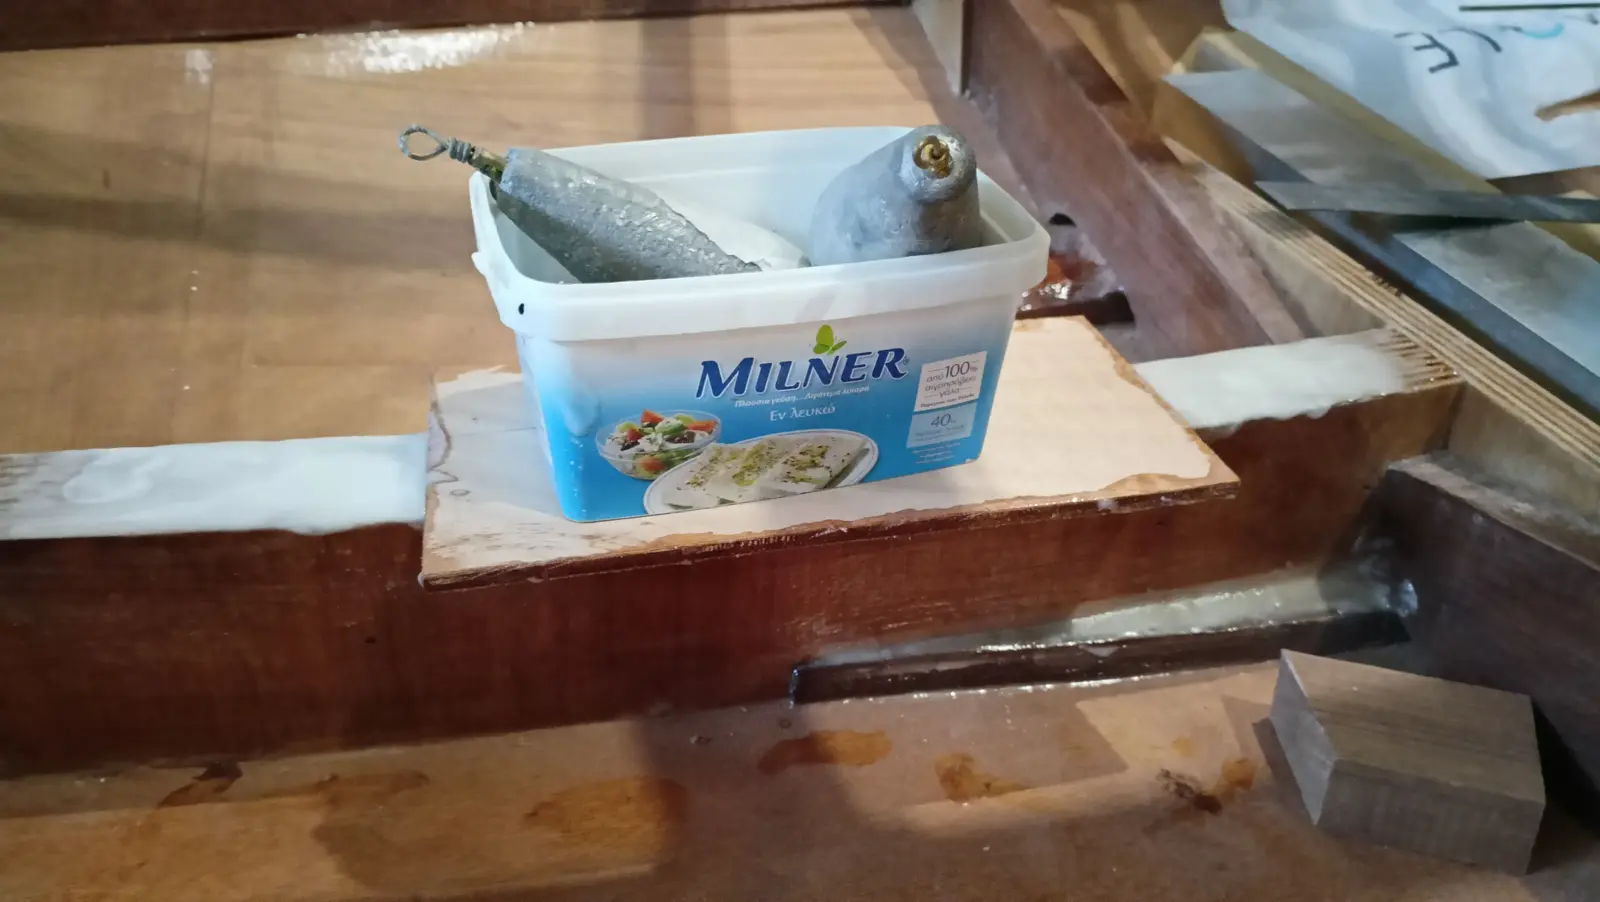
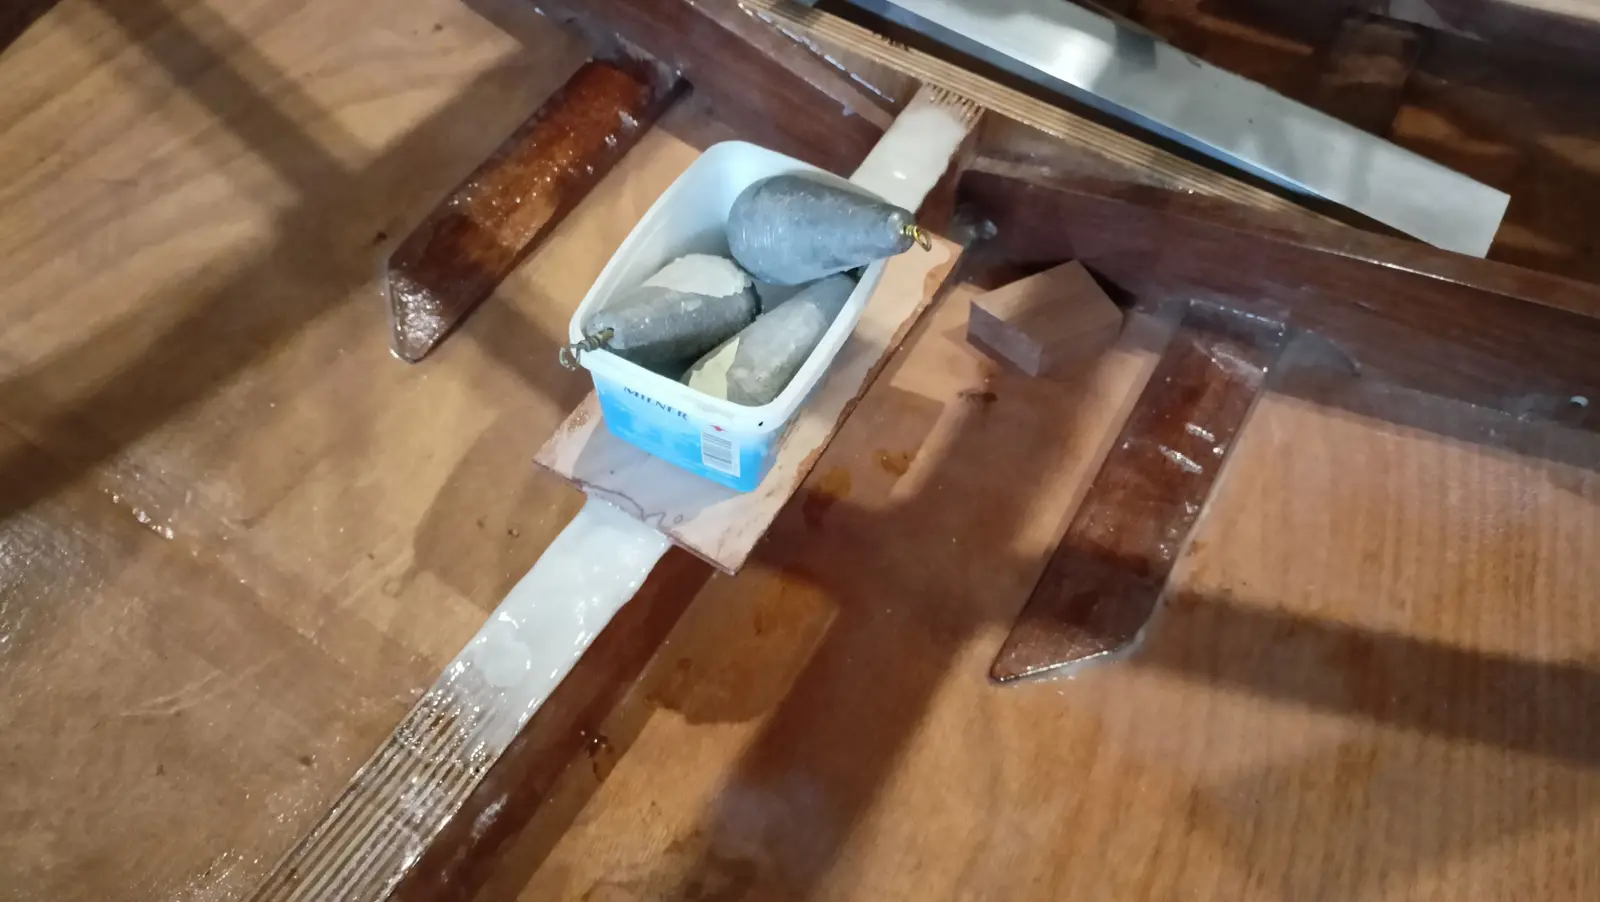
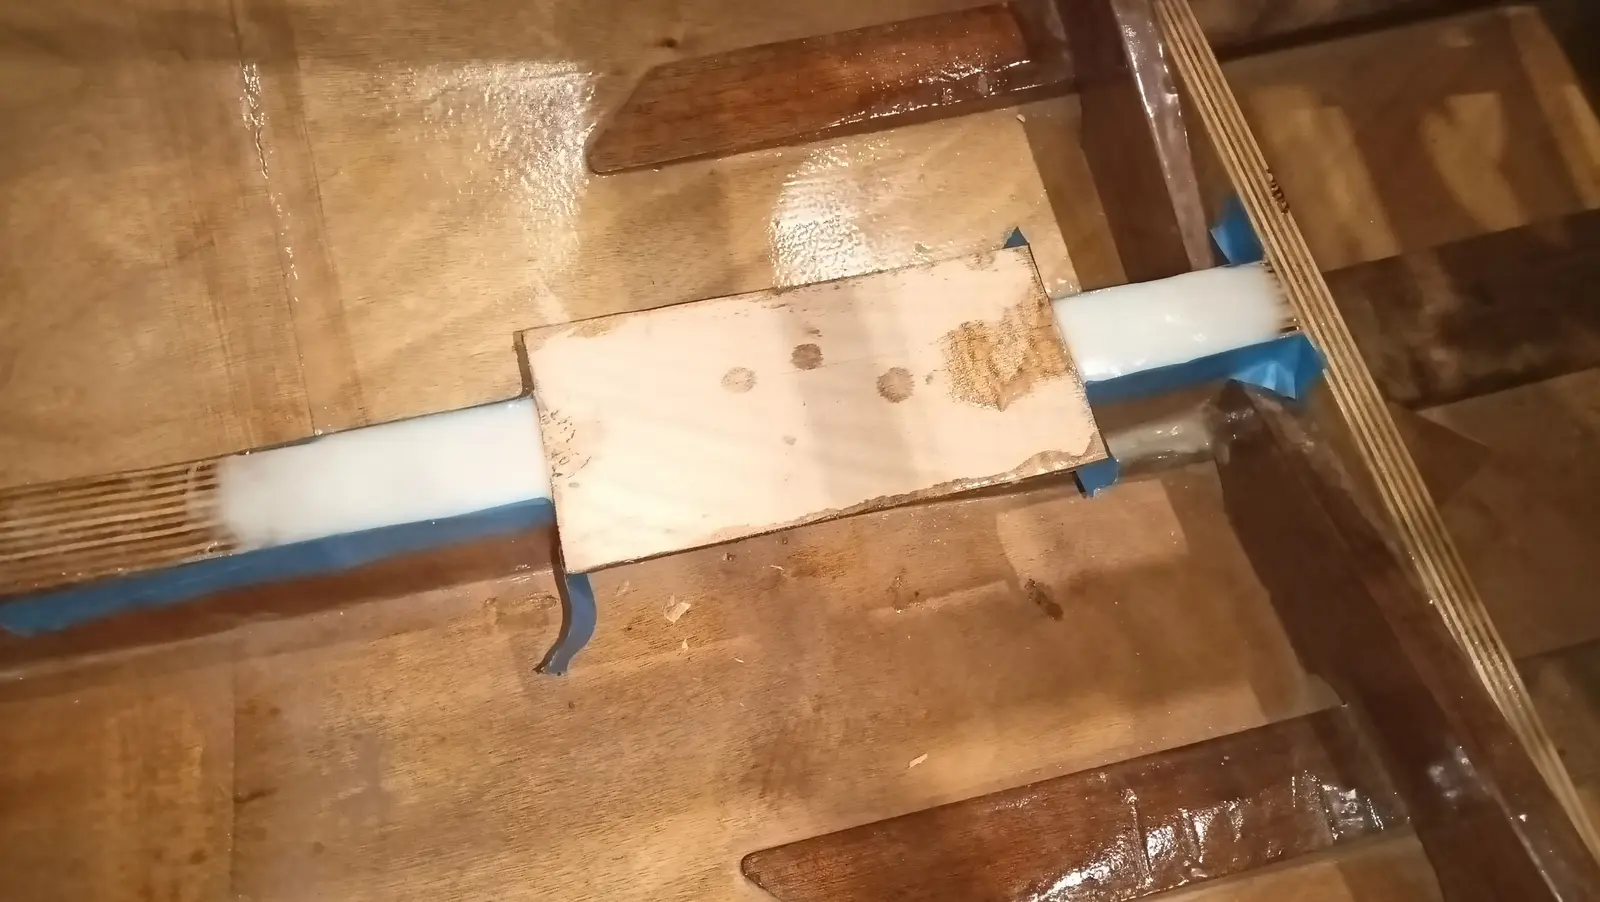
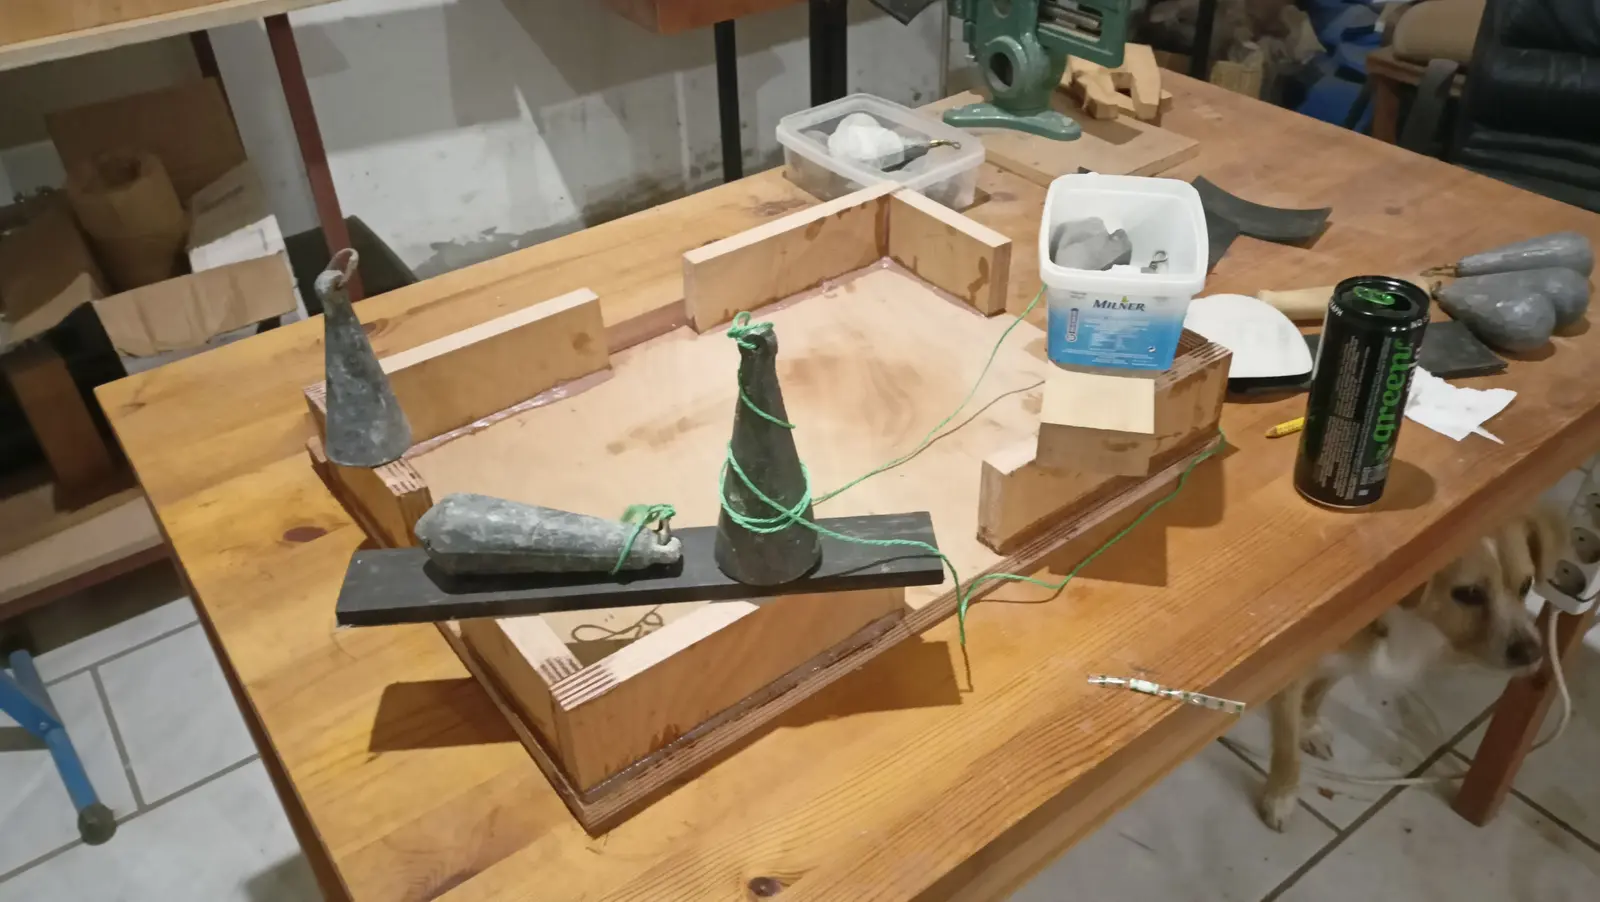
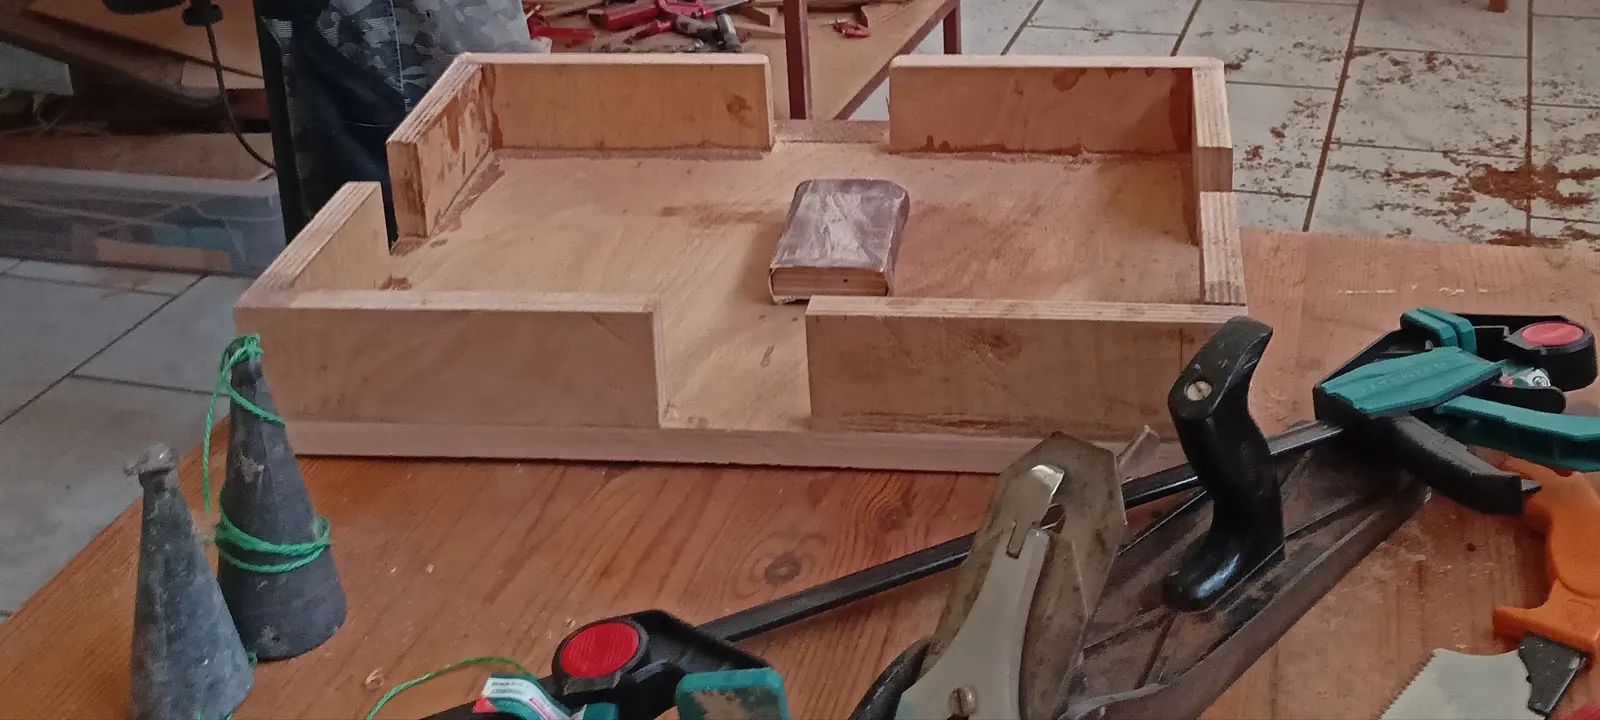
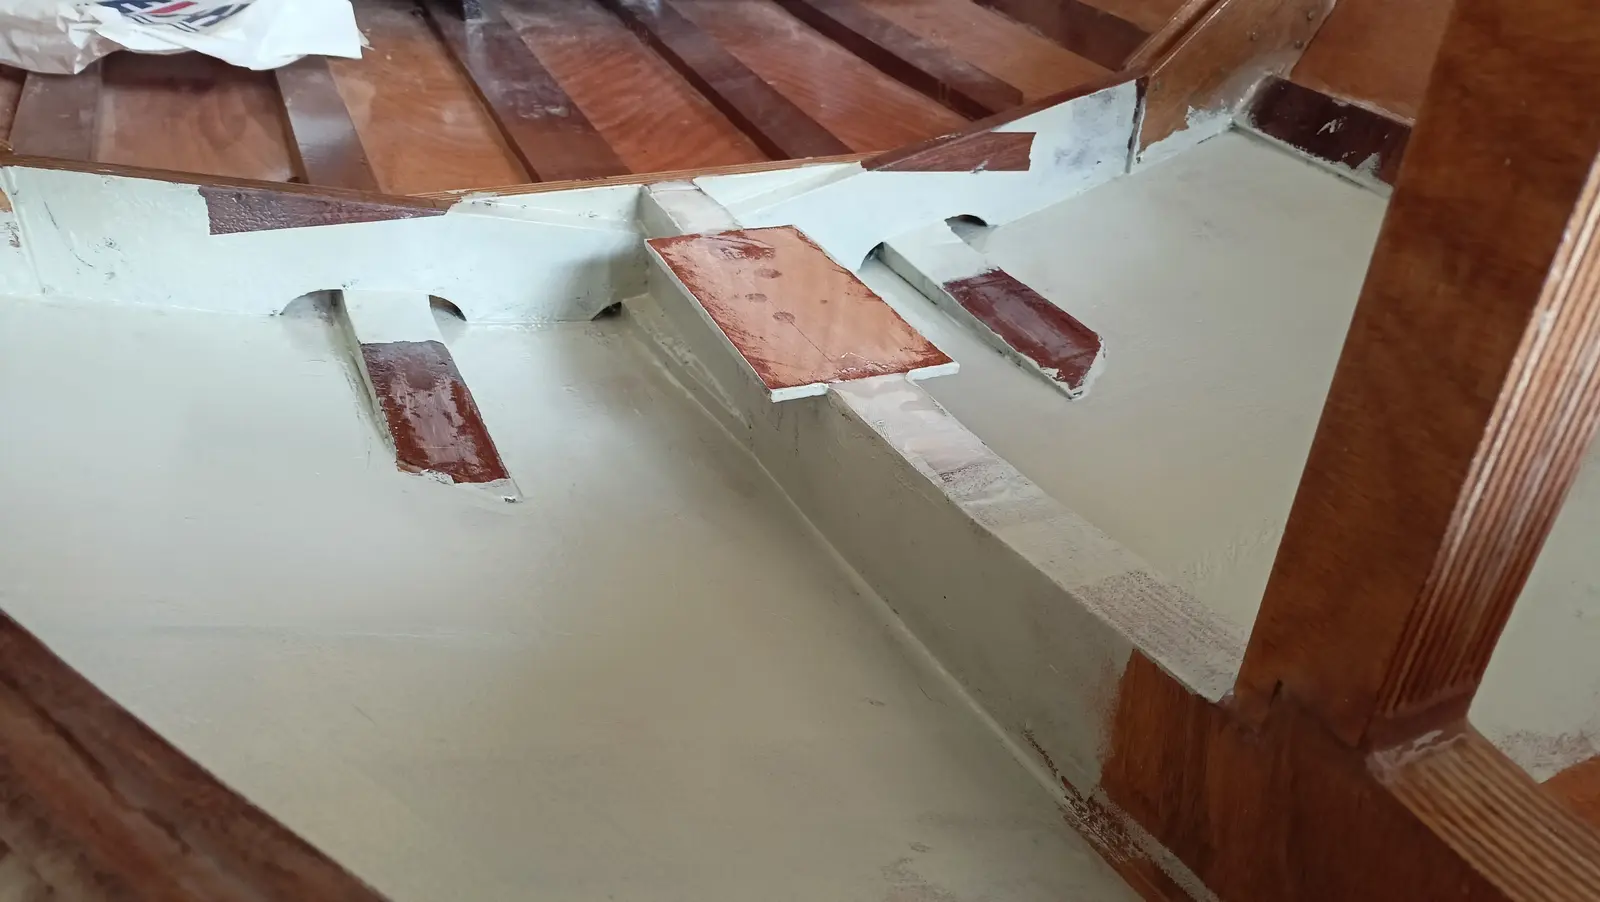
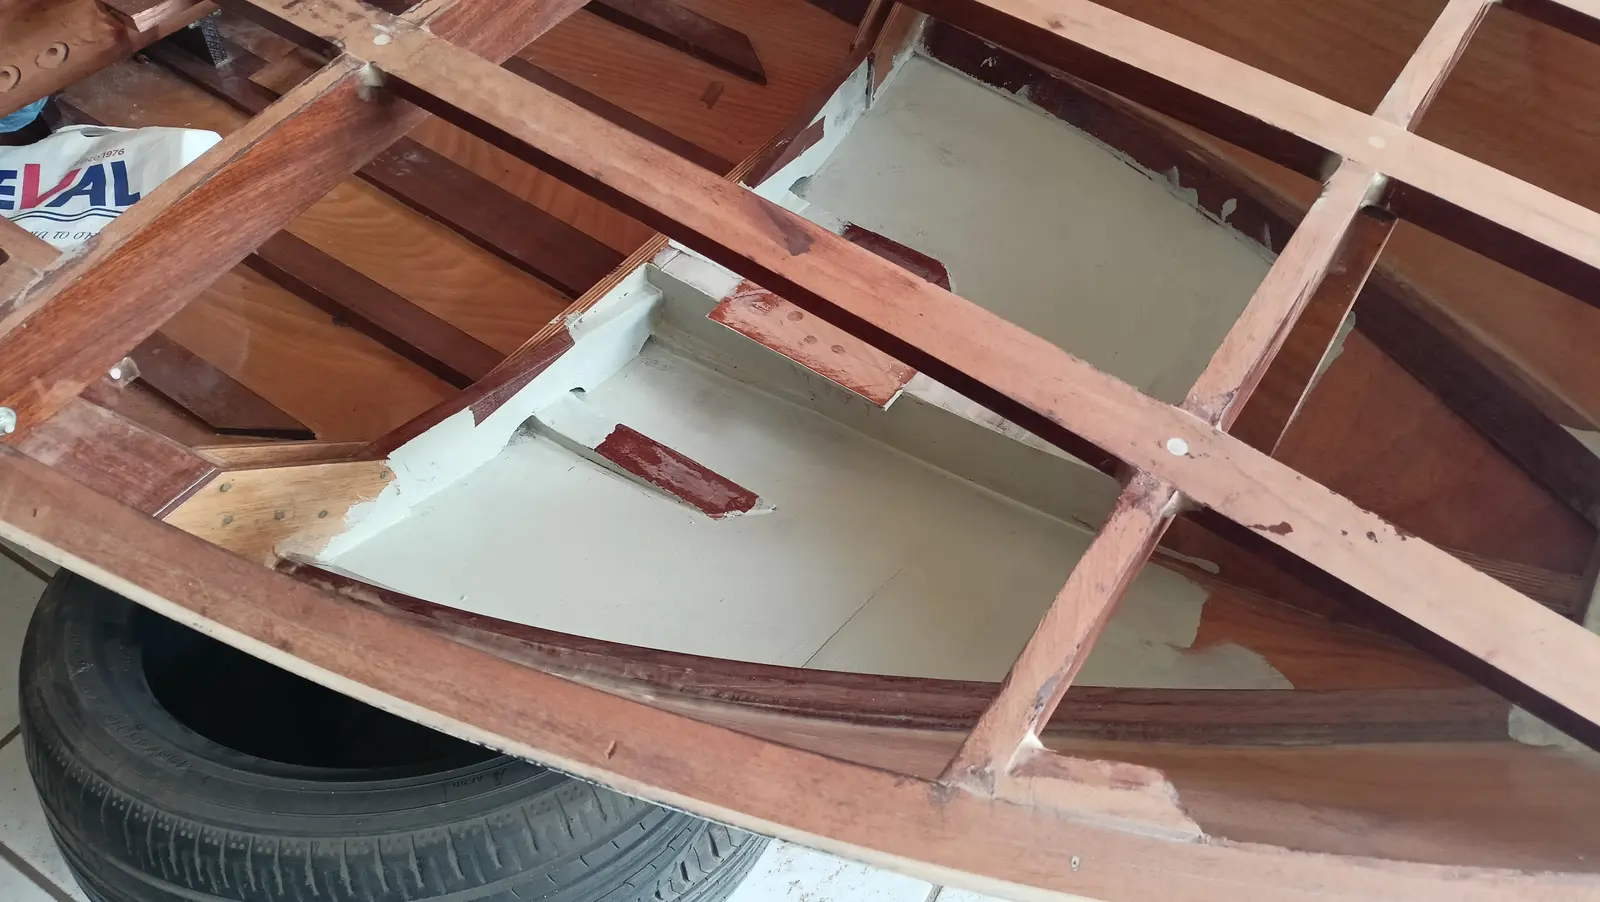
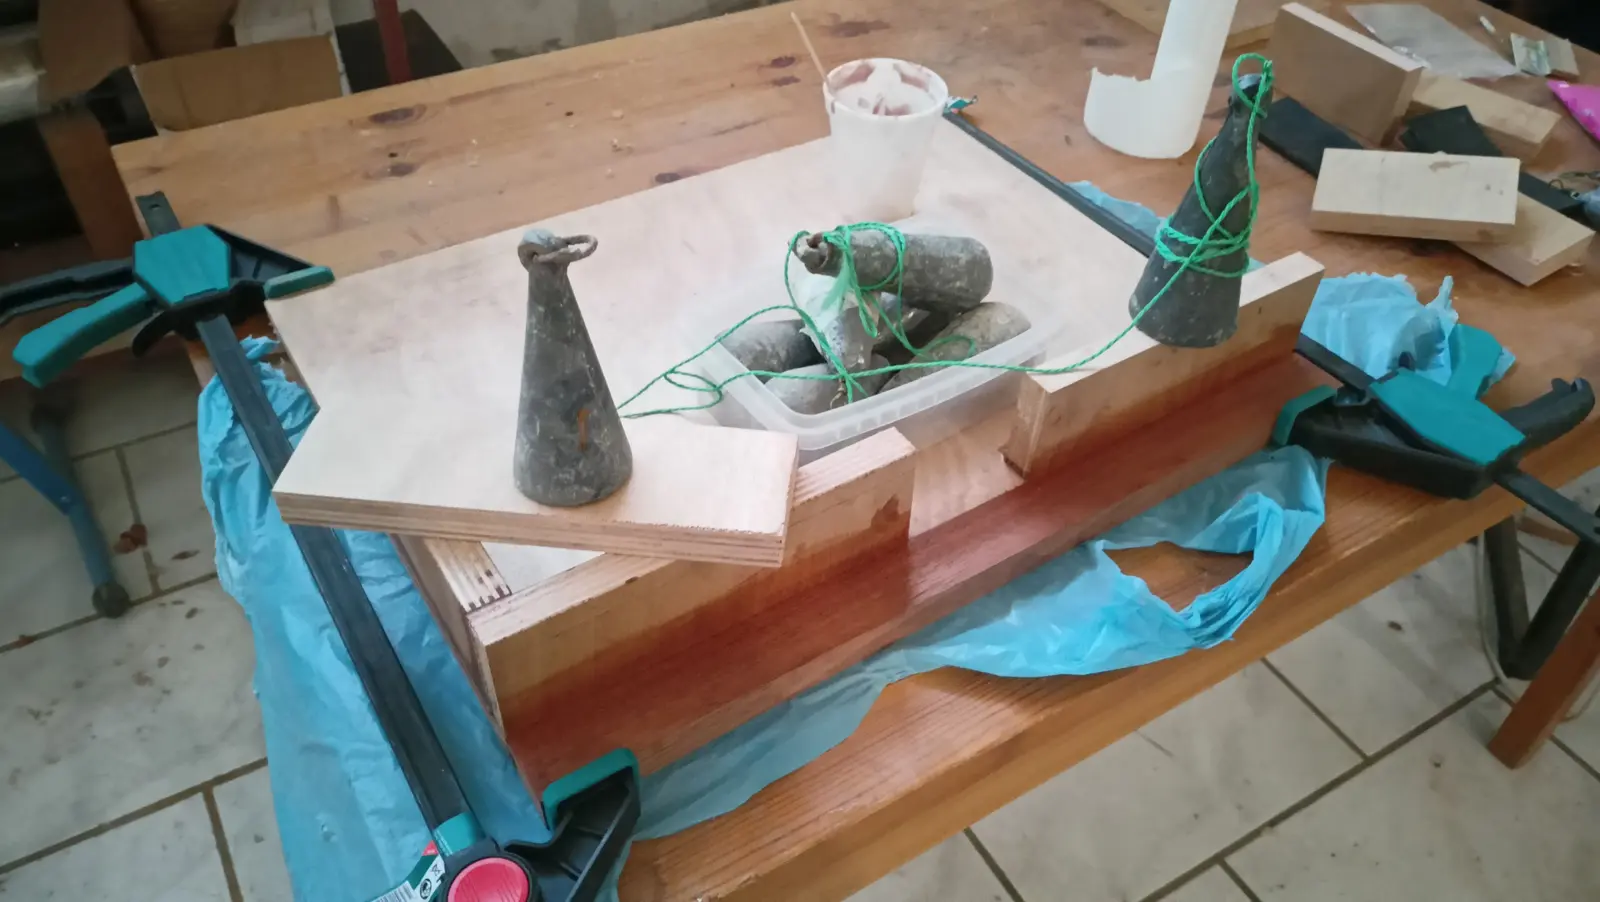
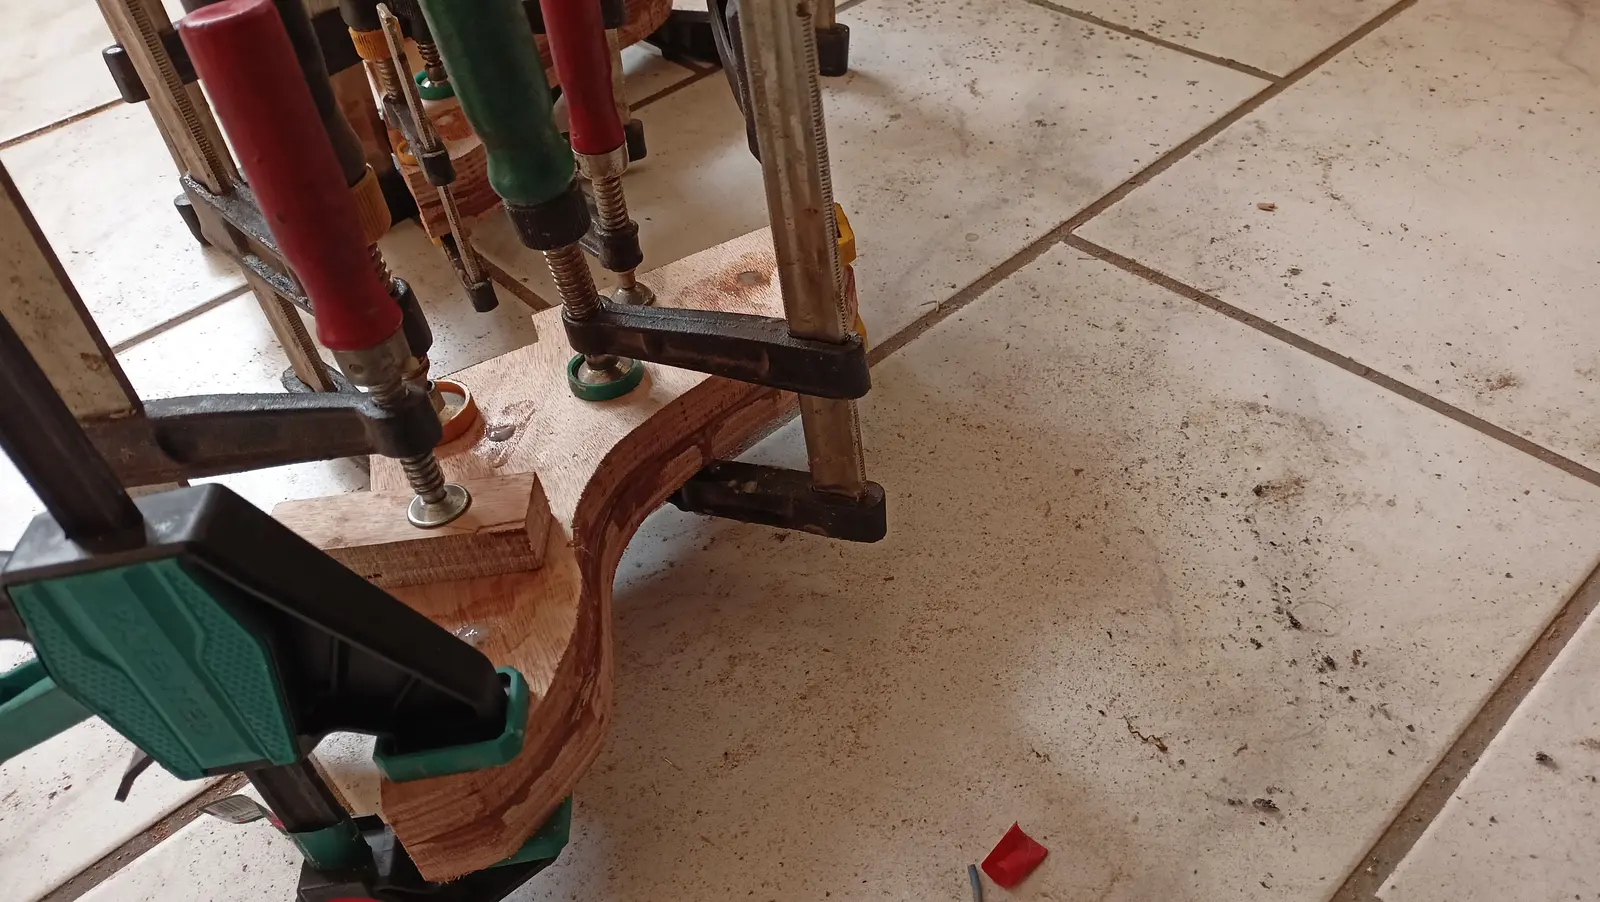
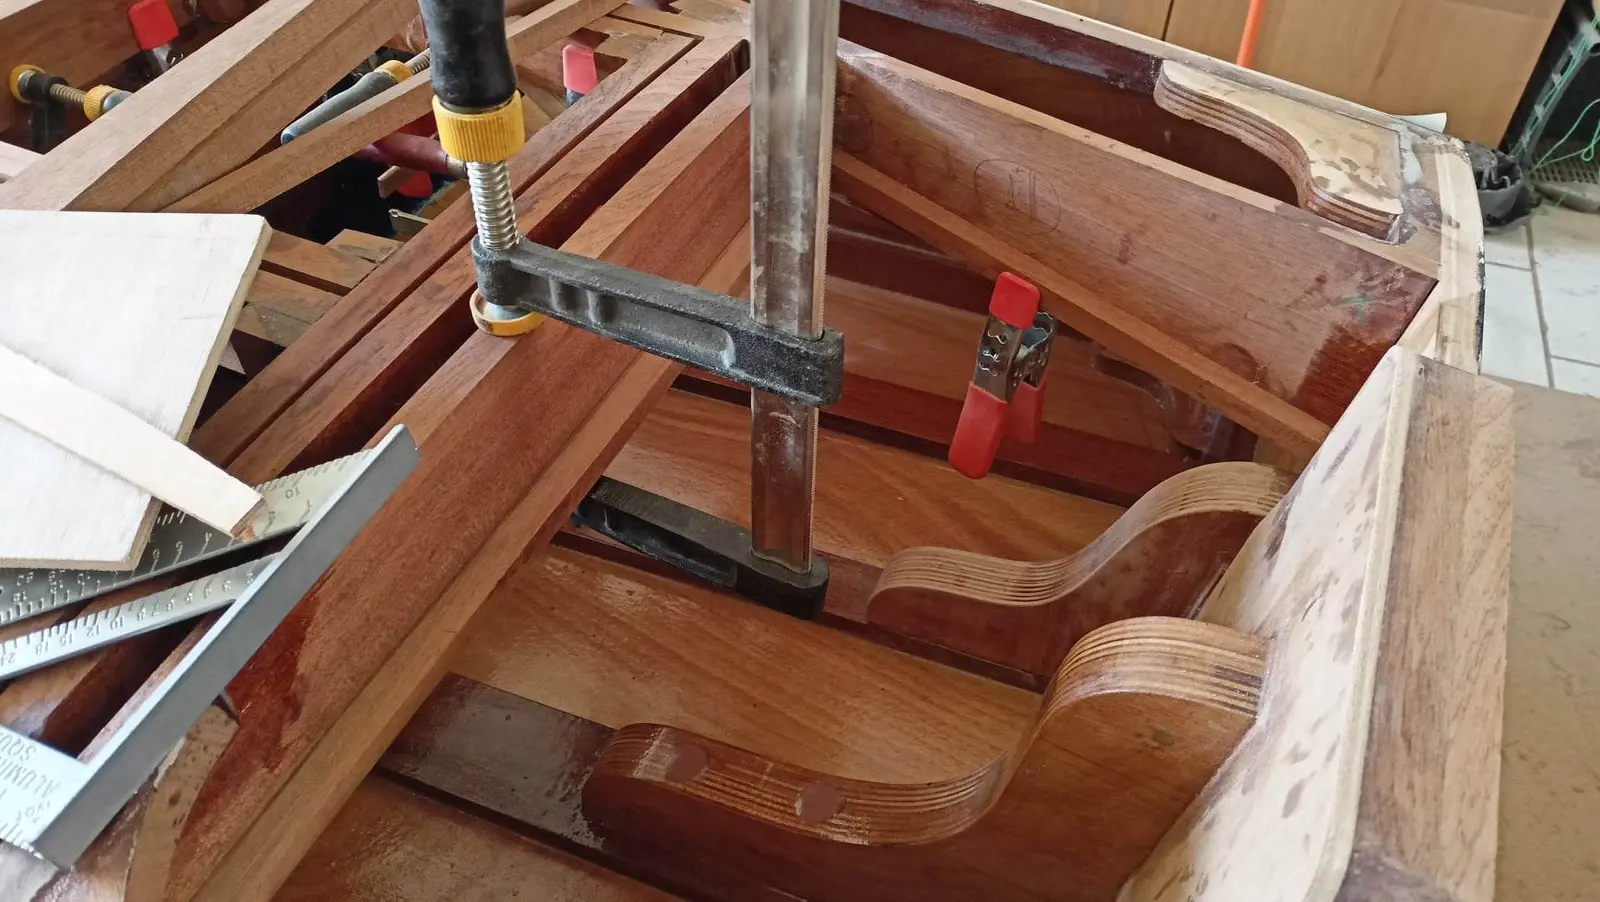
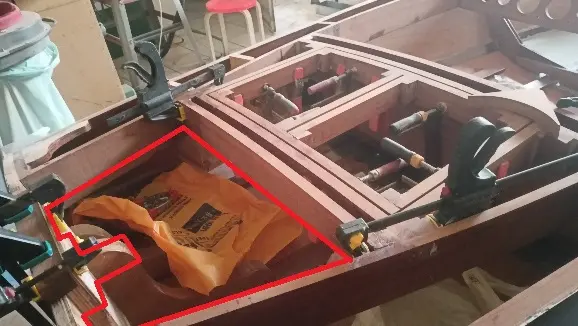
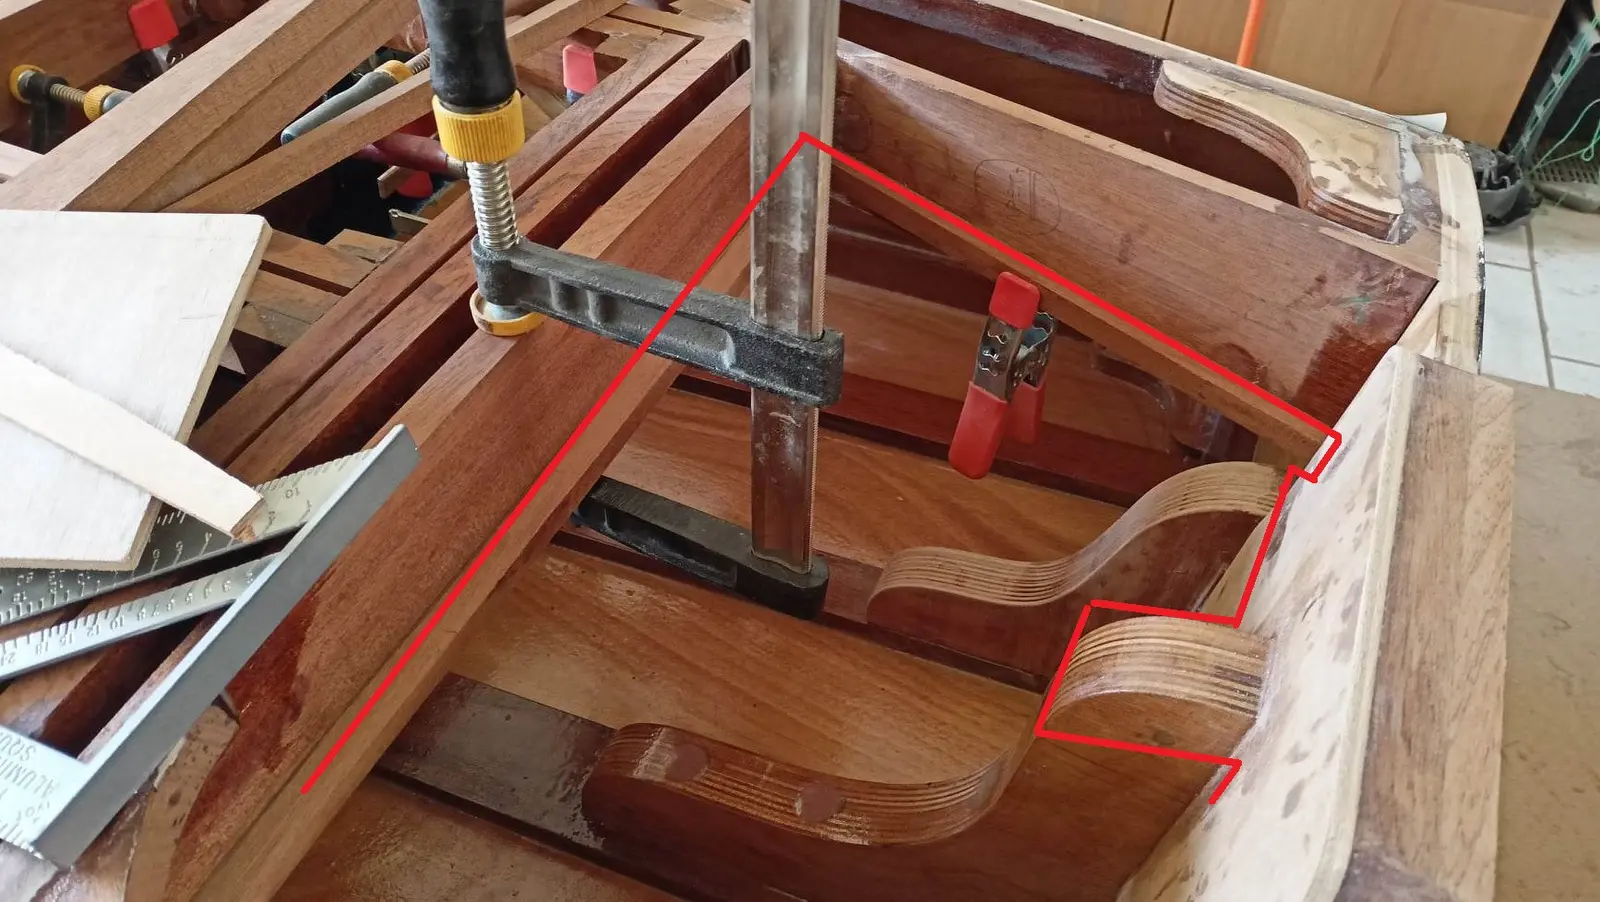
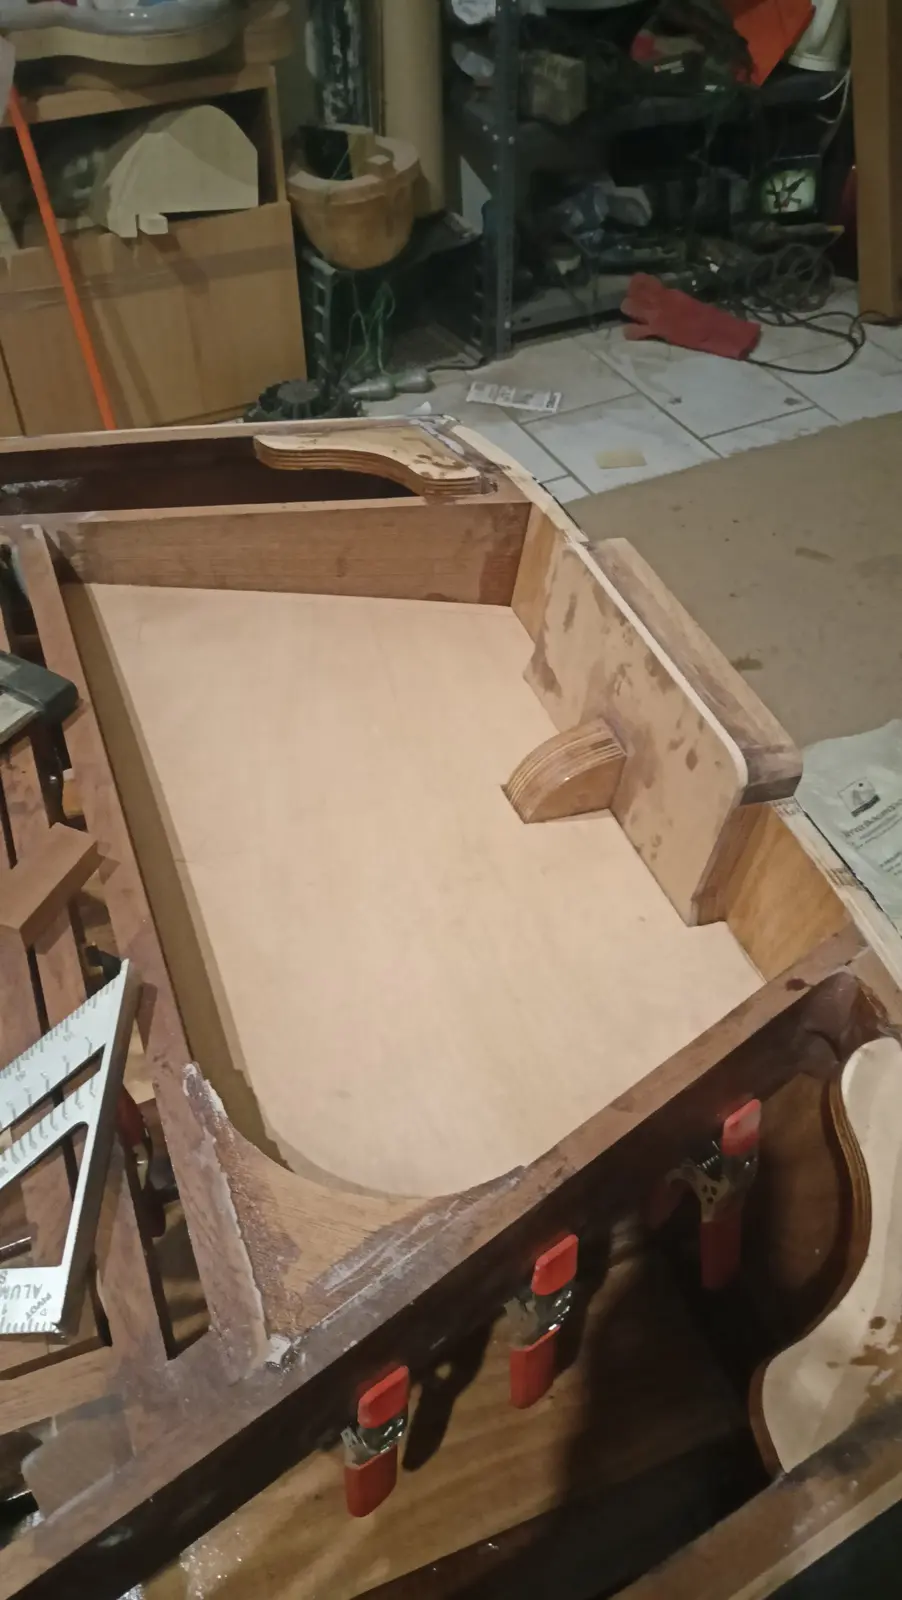
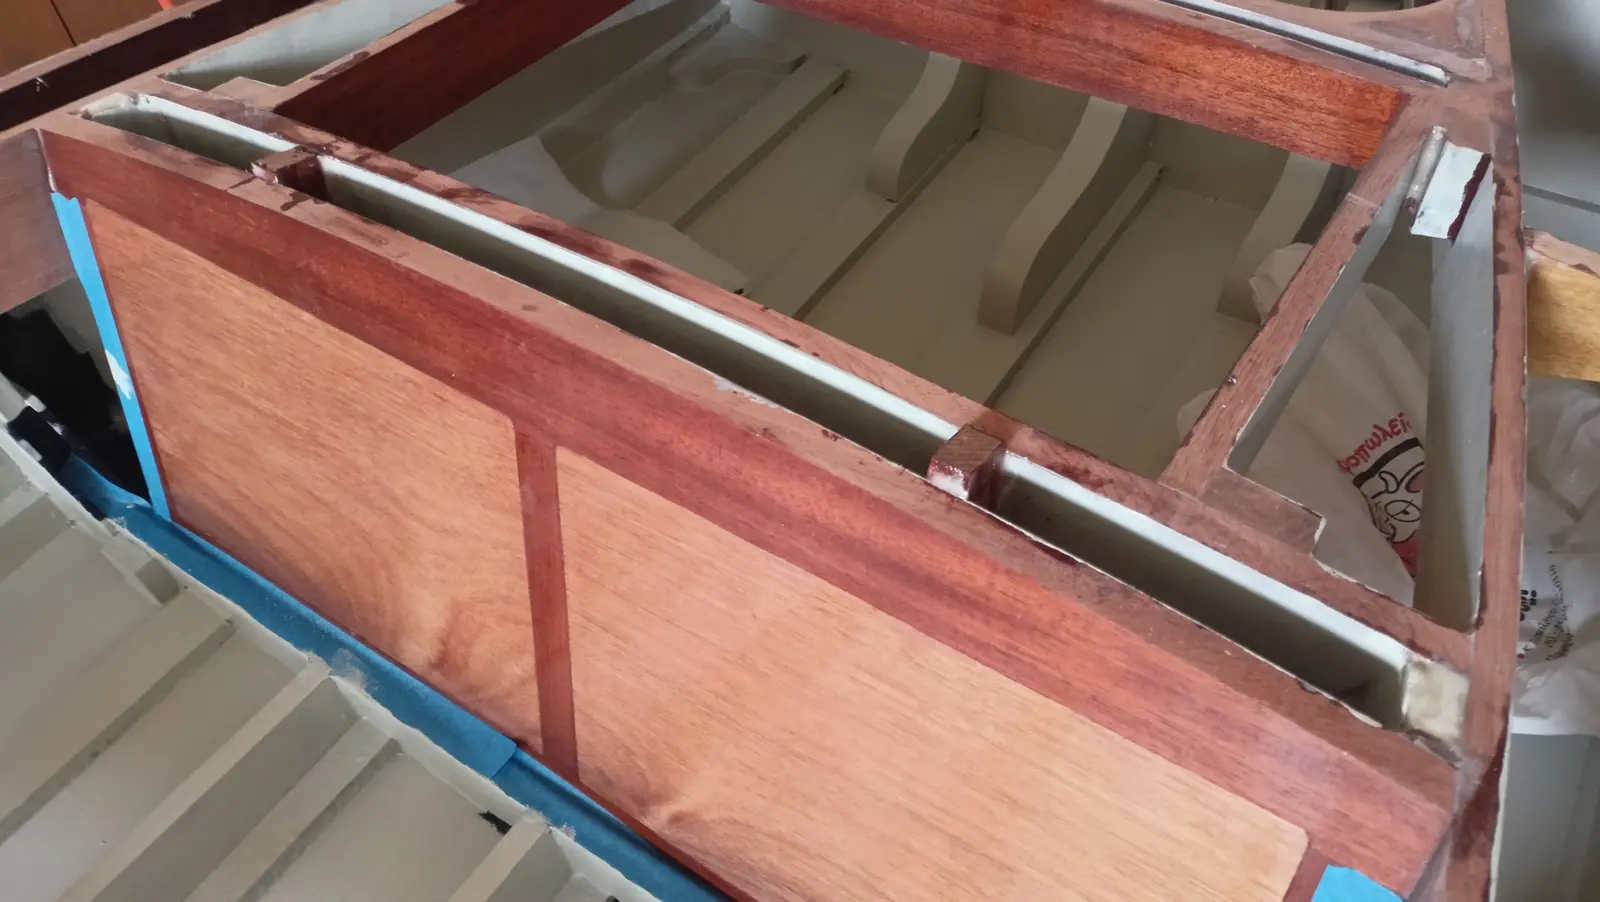
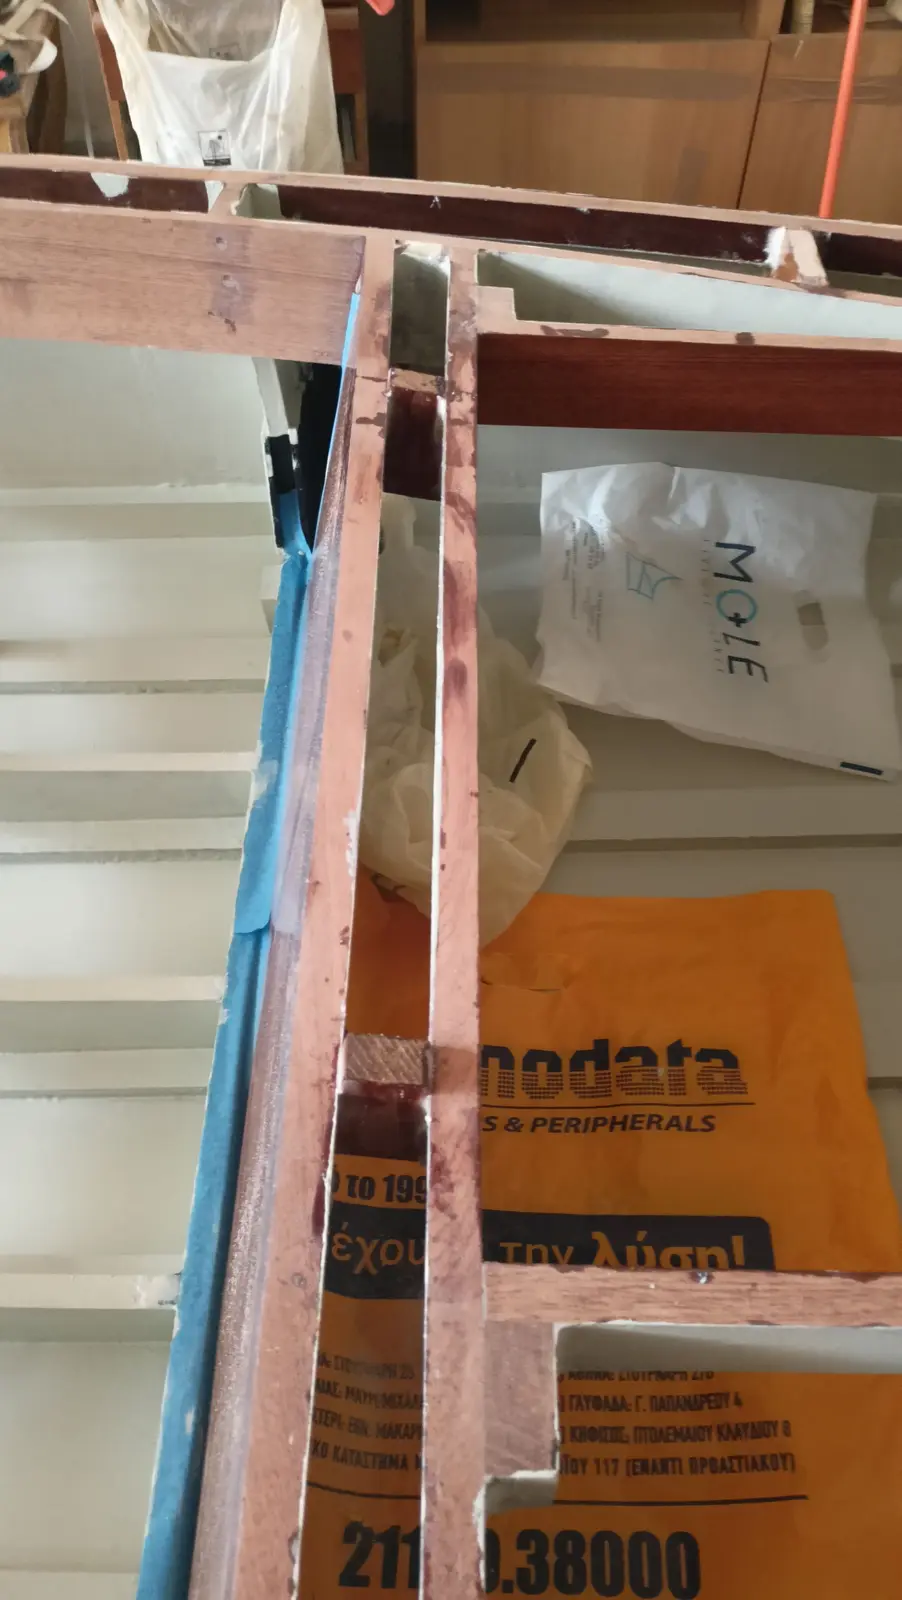
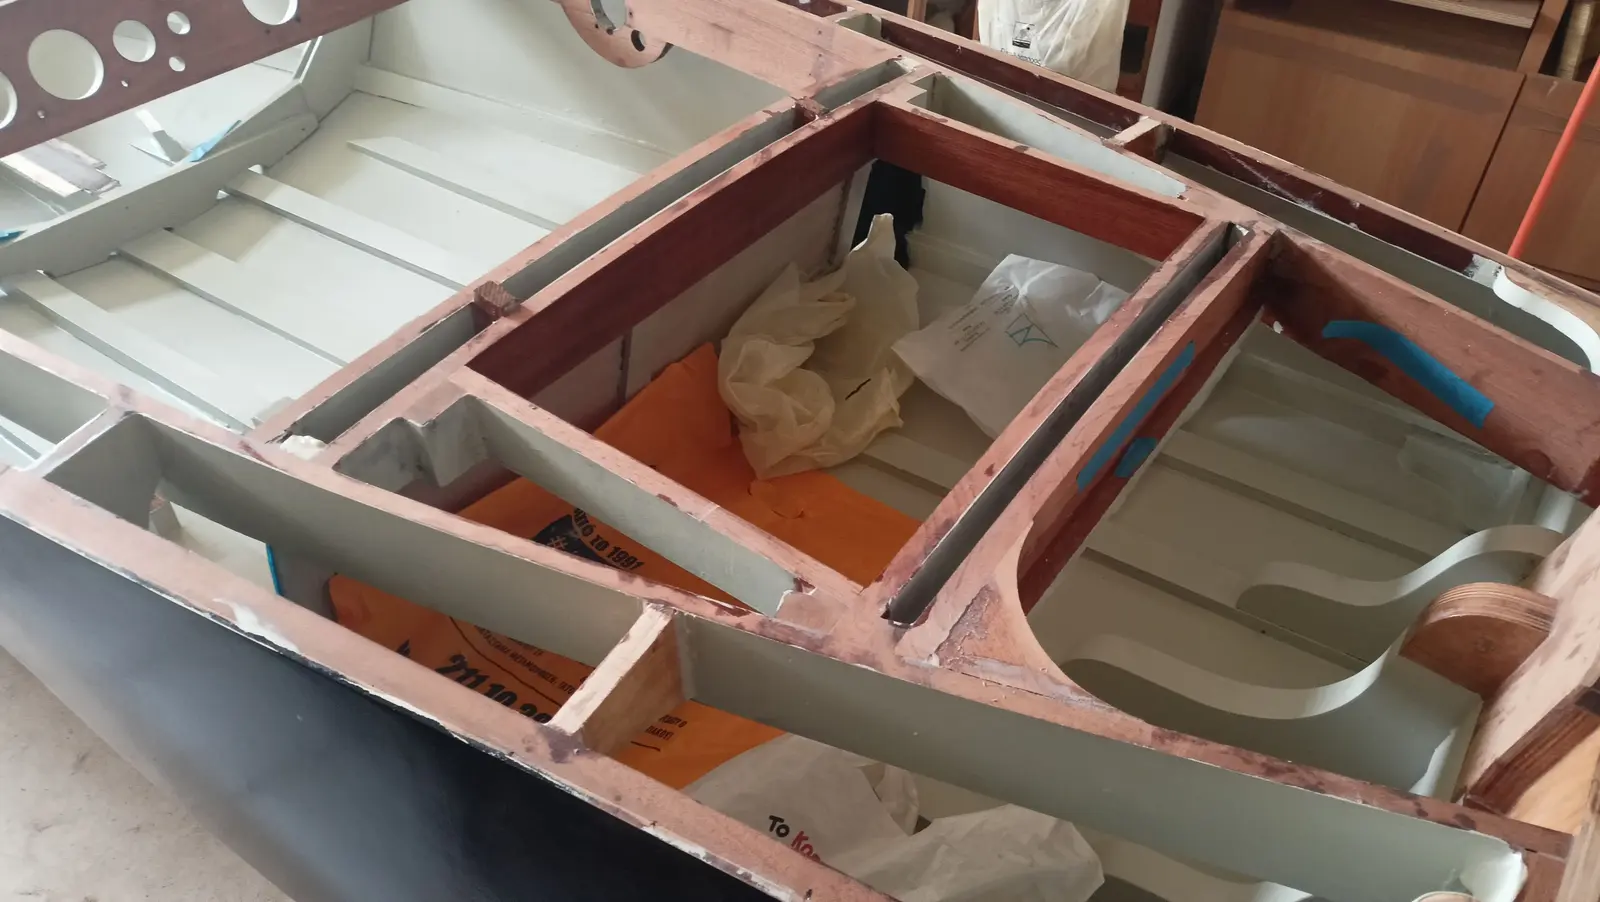
As mentioned, it was decided in the end to install it in the forward part of the boat. To fit it, a box will have to be built that sits on the keel. The tank will be modified as needed to provide venting, a fuel level sender, and a filler cap on the deck. I looked for a small tank for permanent installation with the fittings already in it, but the smallest I found was 36 litres. So I decided to modify the one that came with the outboard, which is 24 litres. First the surface the tank box would sit on had to be made flat. To do that, timber and plywood of suitable lengths were glued onto the keel and then the gaps were filled with resin.
The box the tank goes inside will be glued on top of those. Industrial rubber mounts will be glued inside the box to absorb vibration.
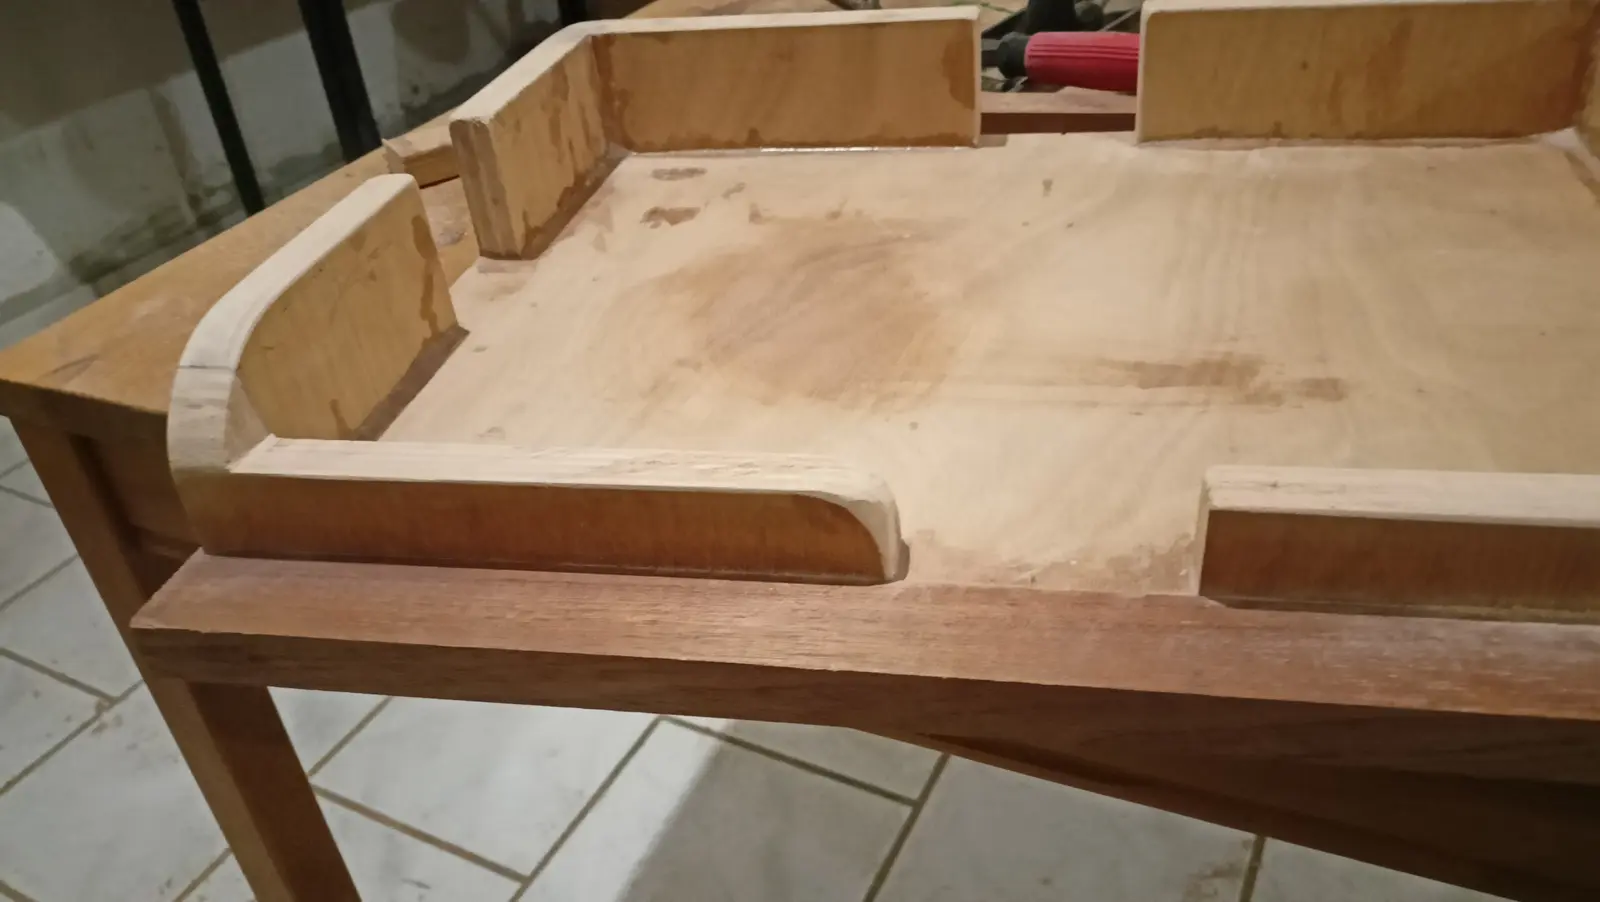
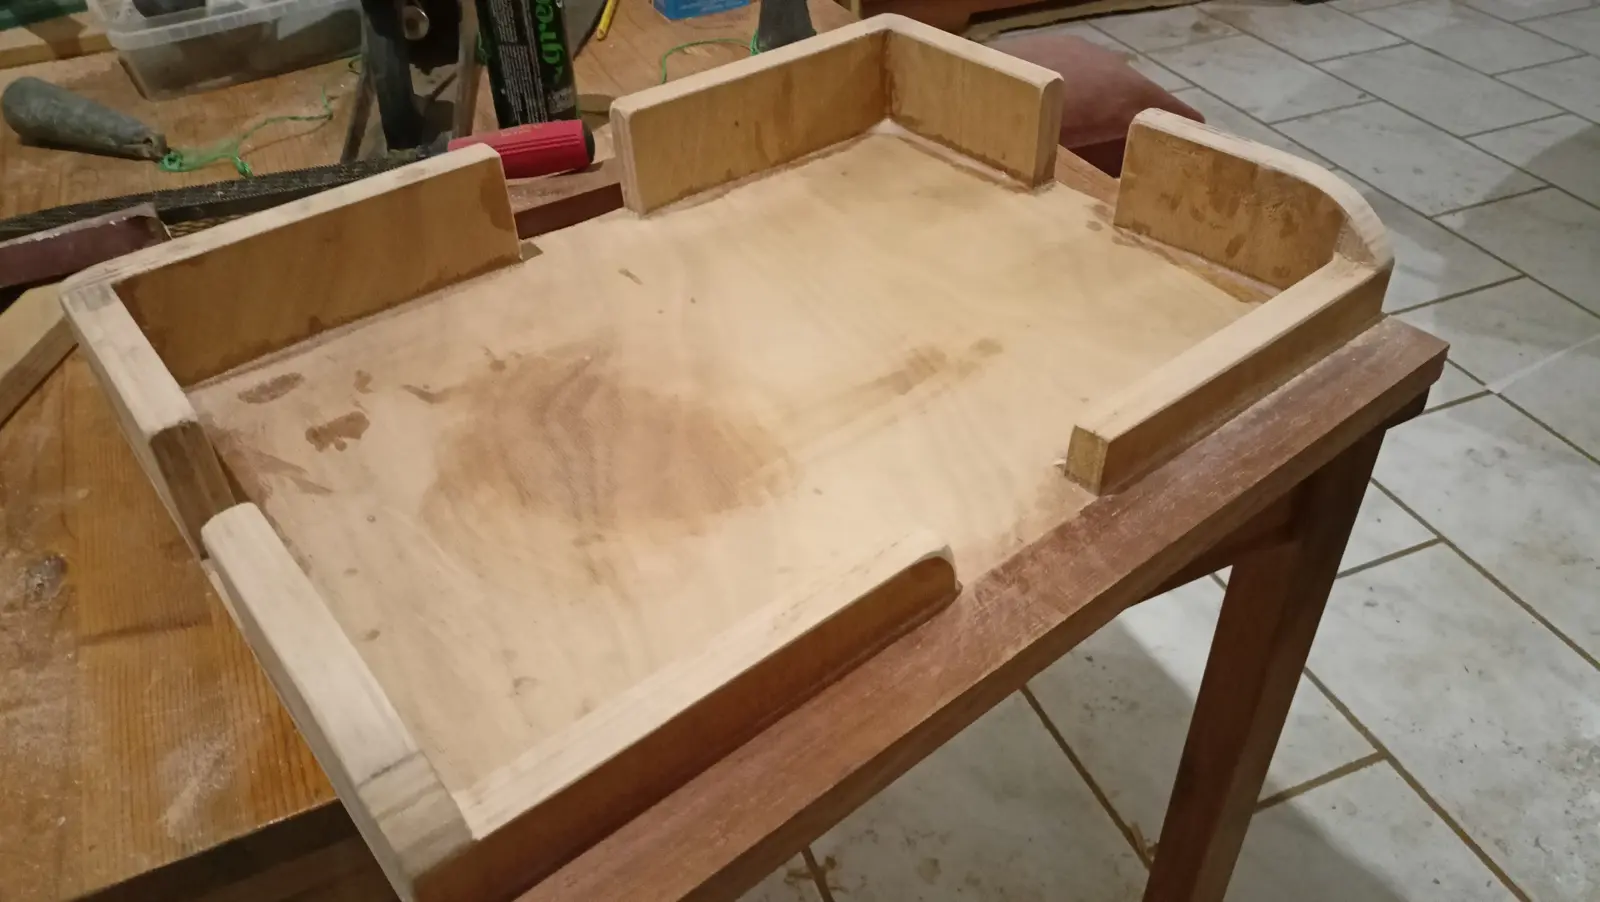
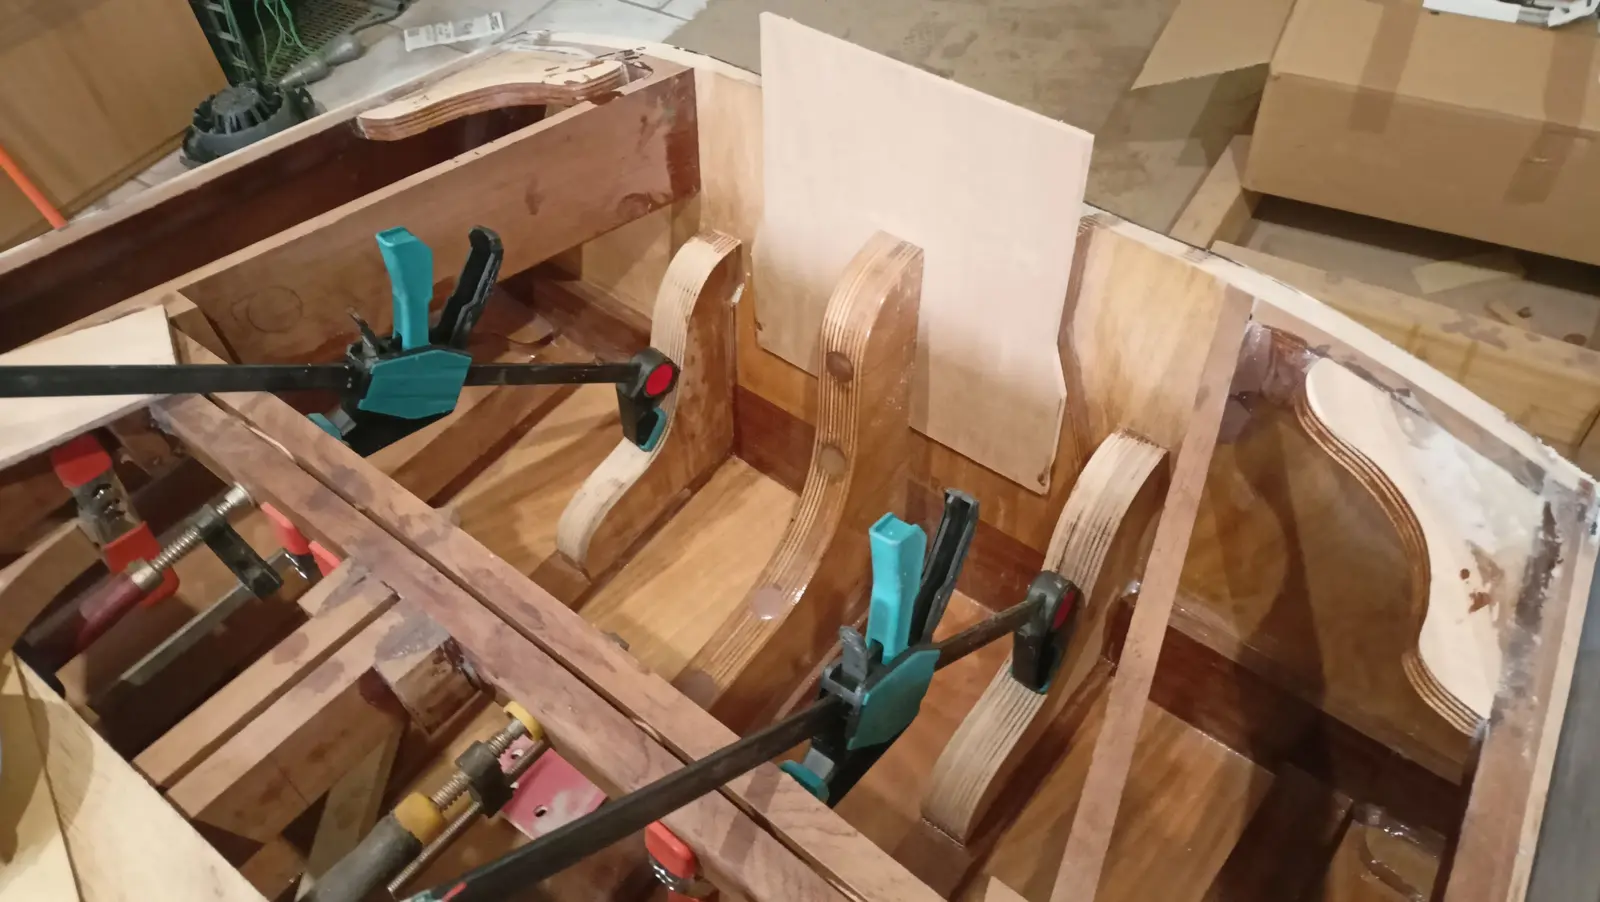
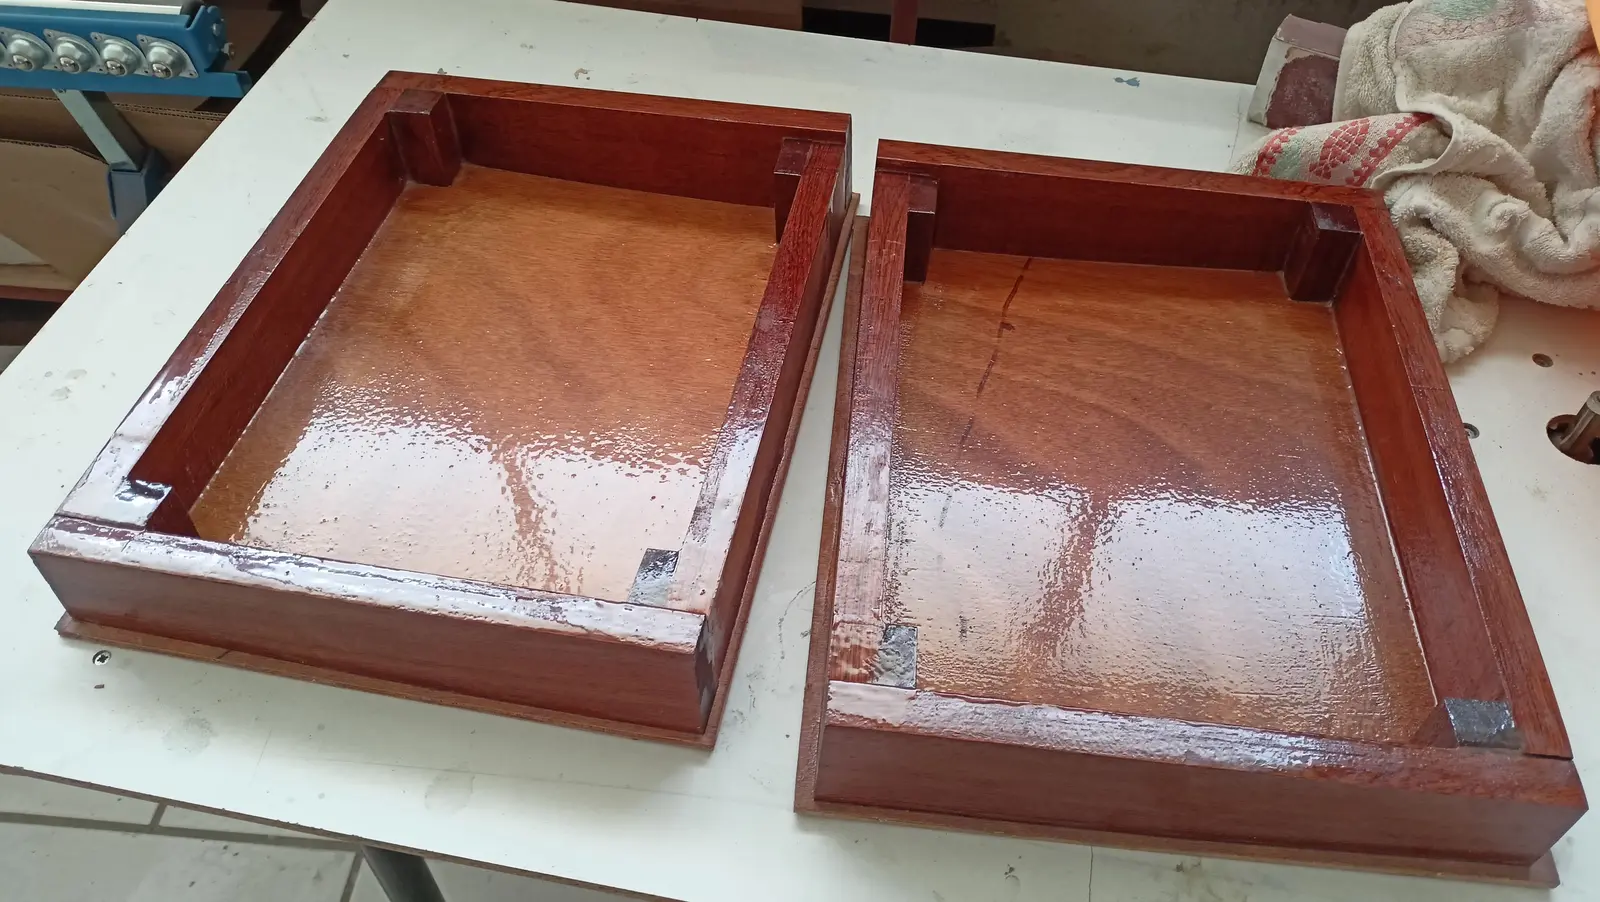
Once it was built, it was offered up in position and I found that if I ever wanted to take it out I would struggle, as it only just passes under the dashboard. So I decided to reduce the height of the forward upright. Below is how it ended up.
Various other jobs are going on at the same time.
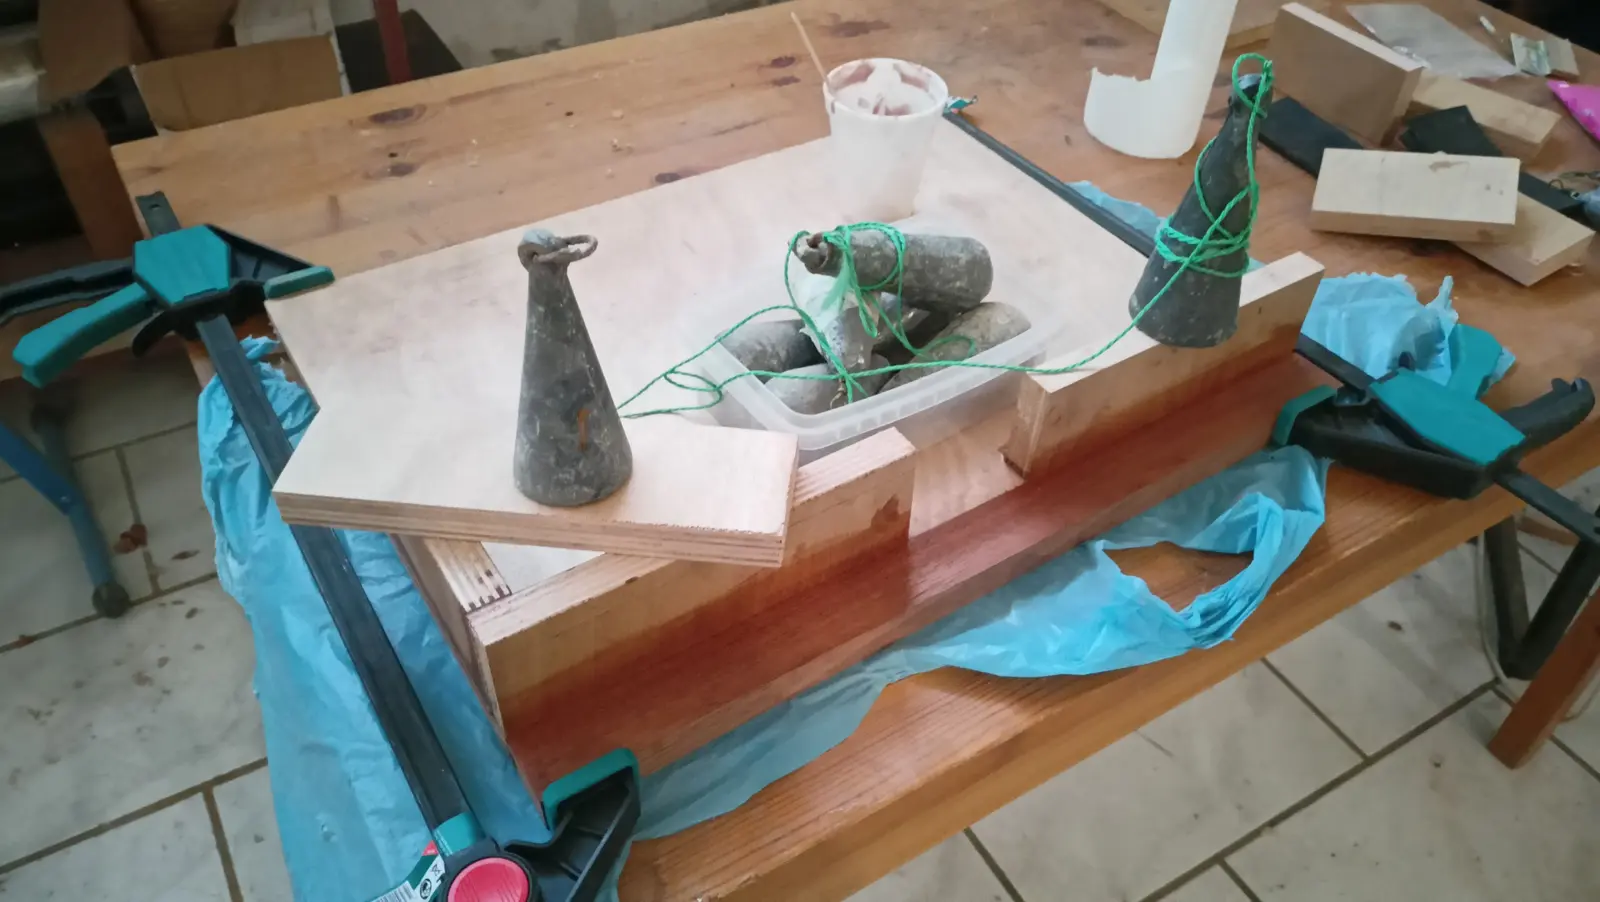
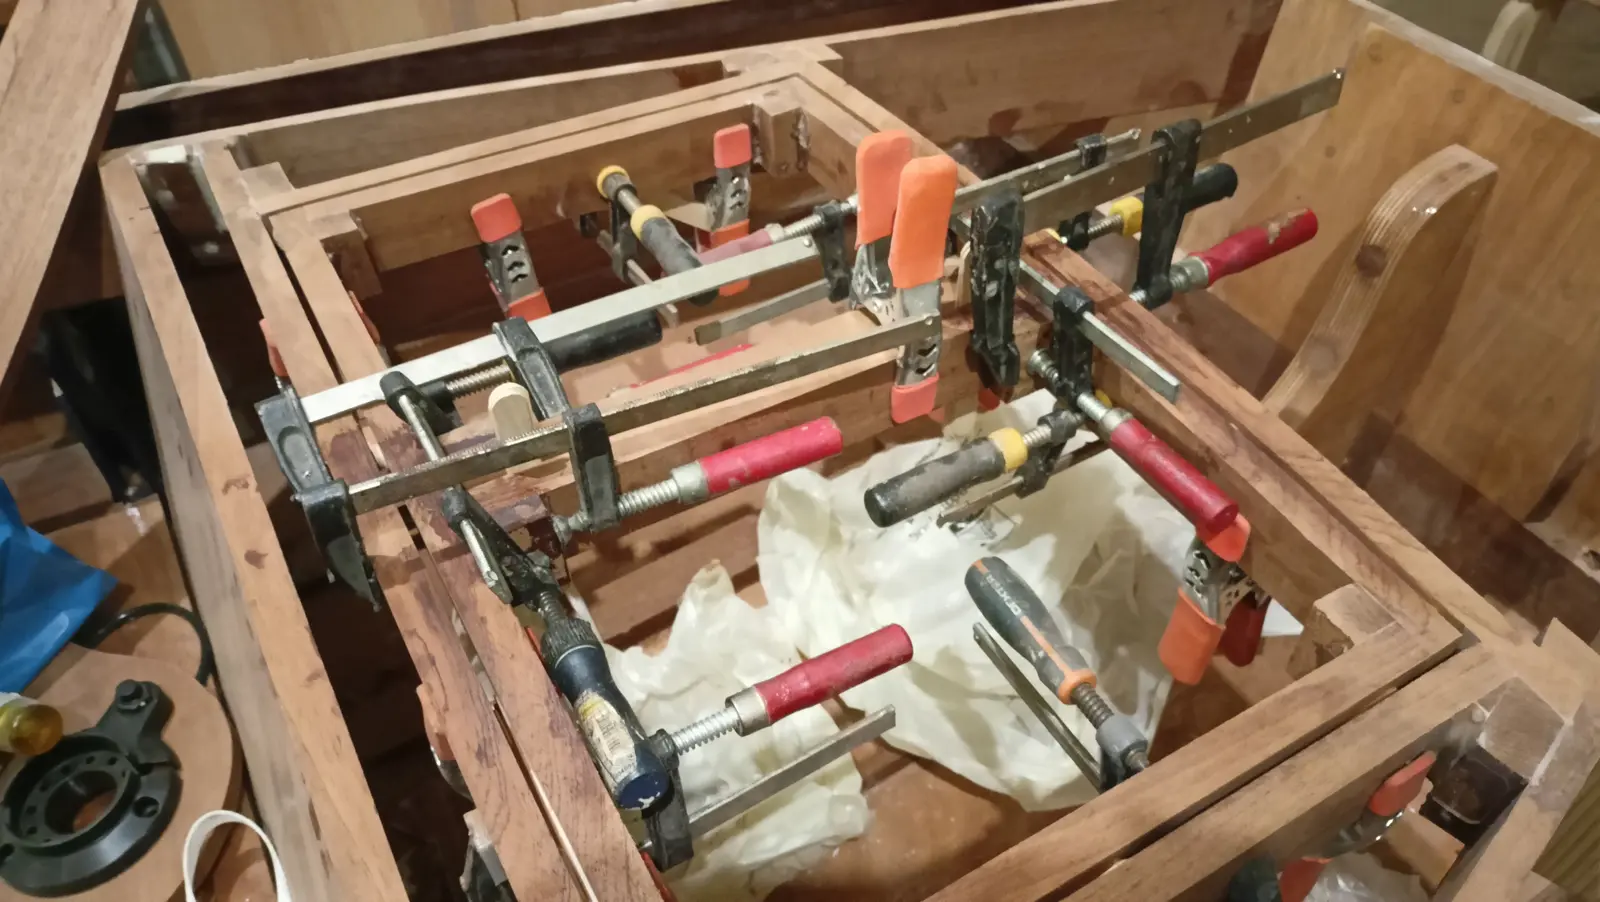
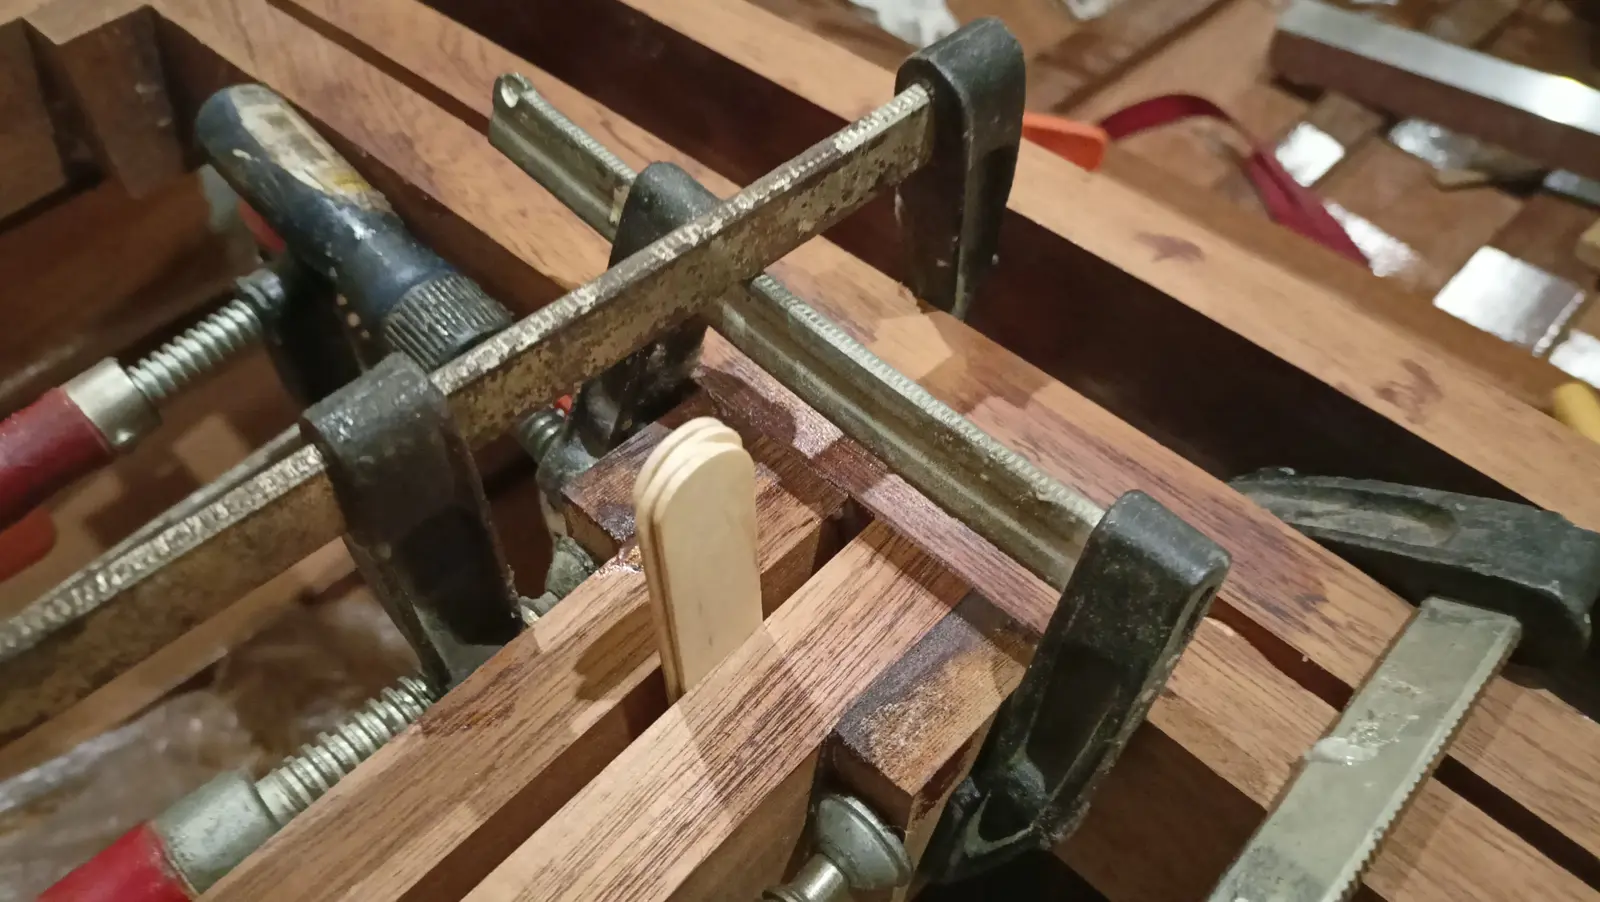
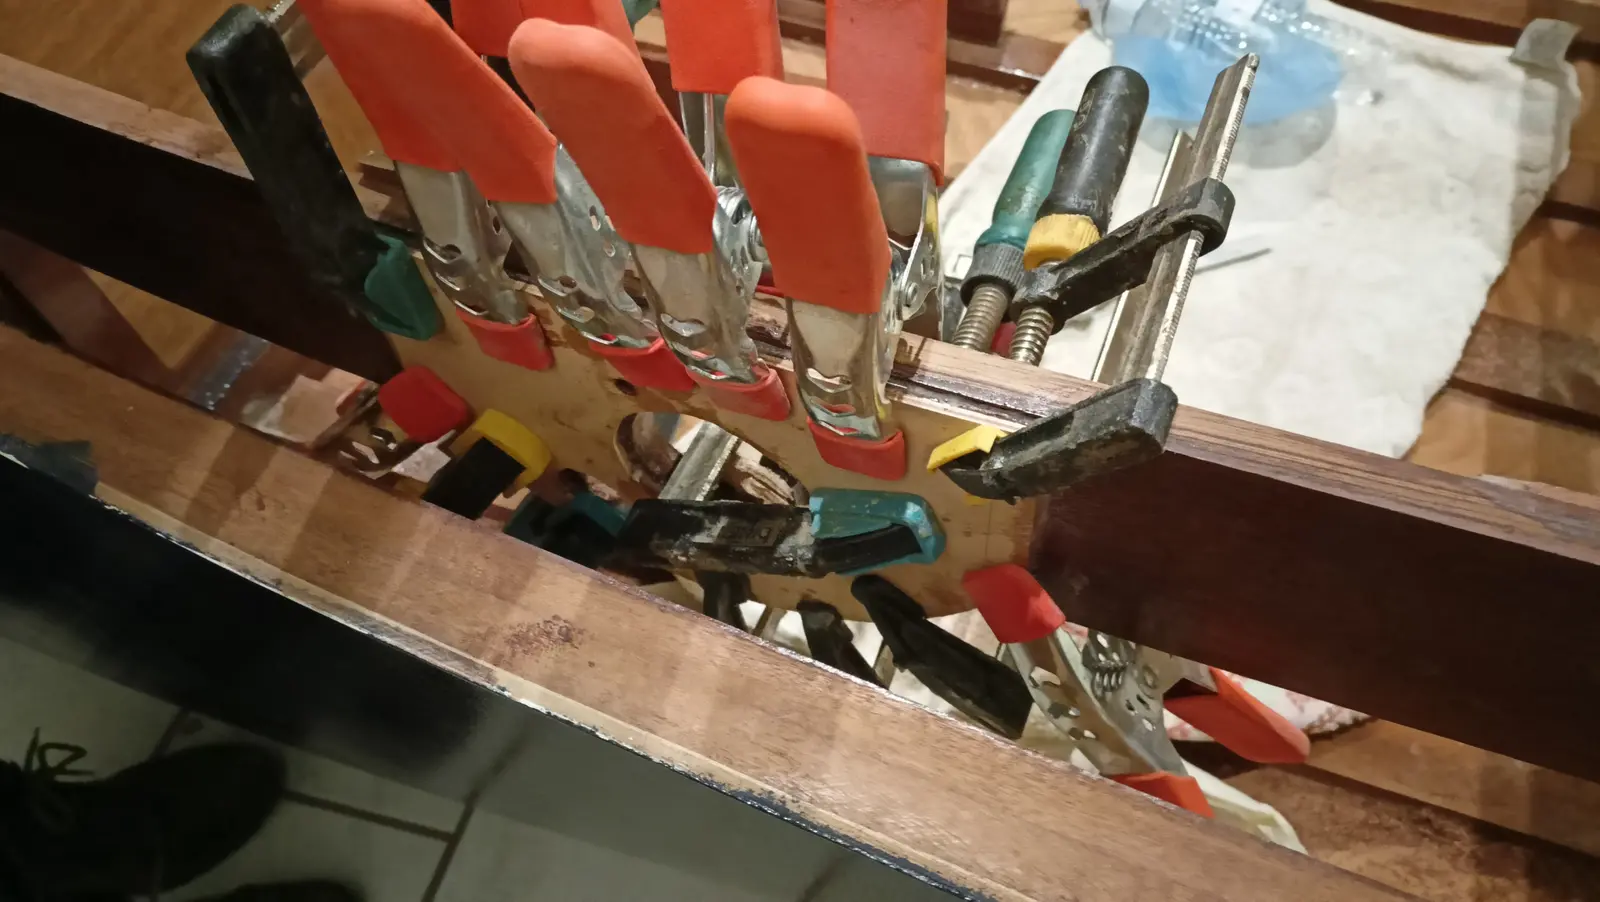
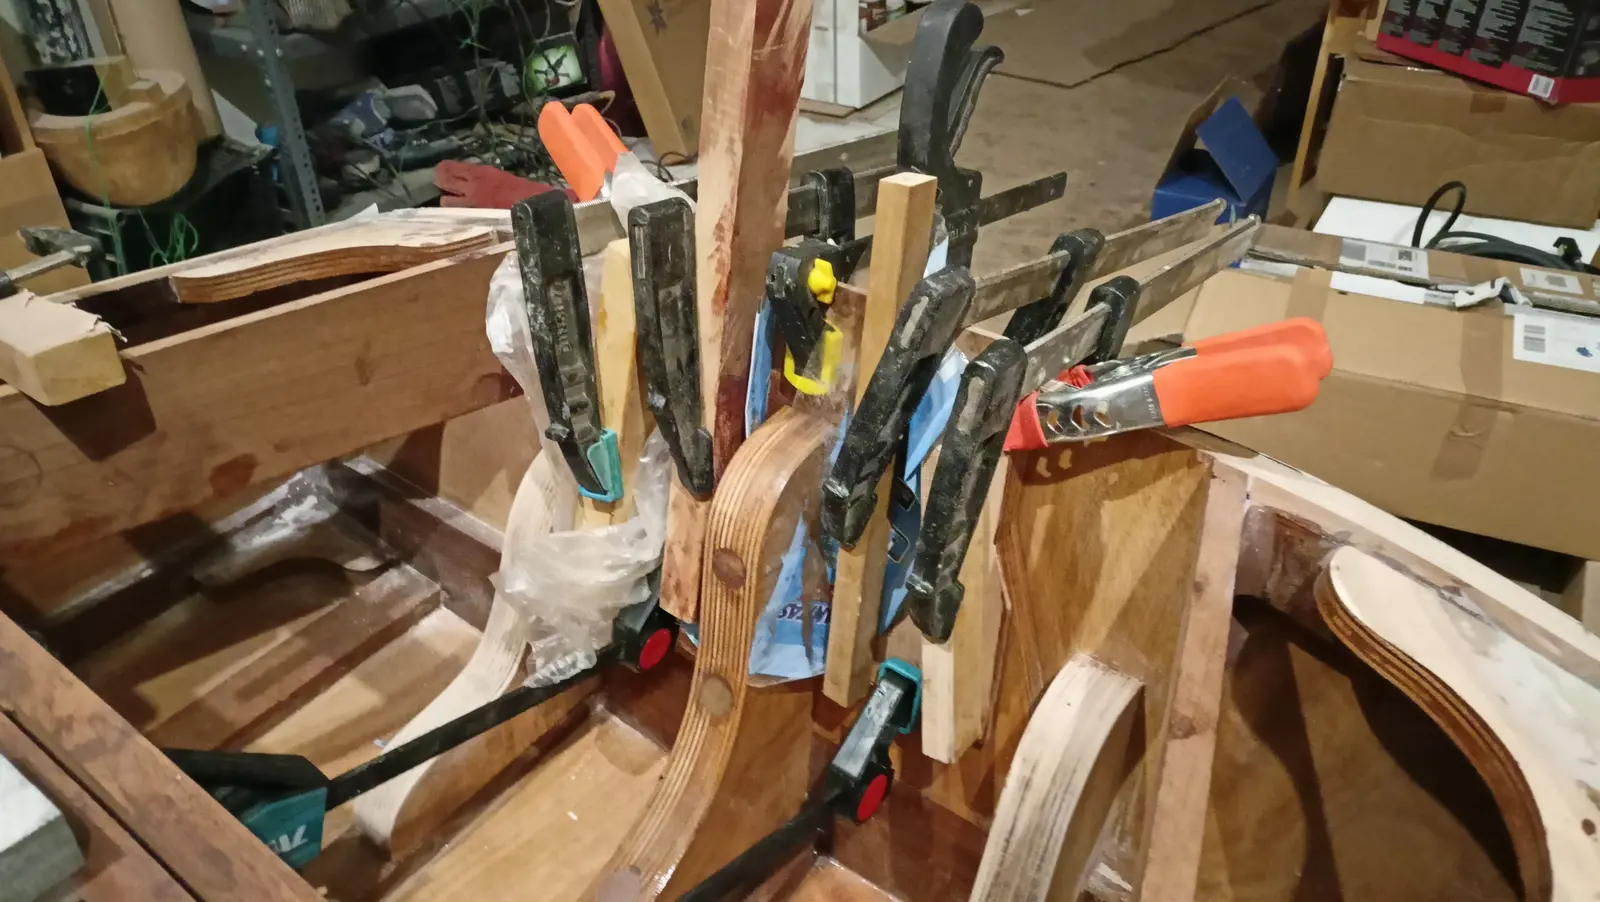
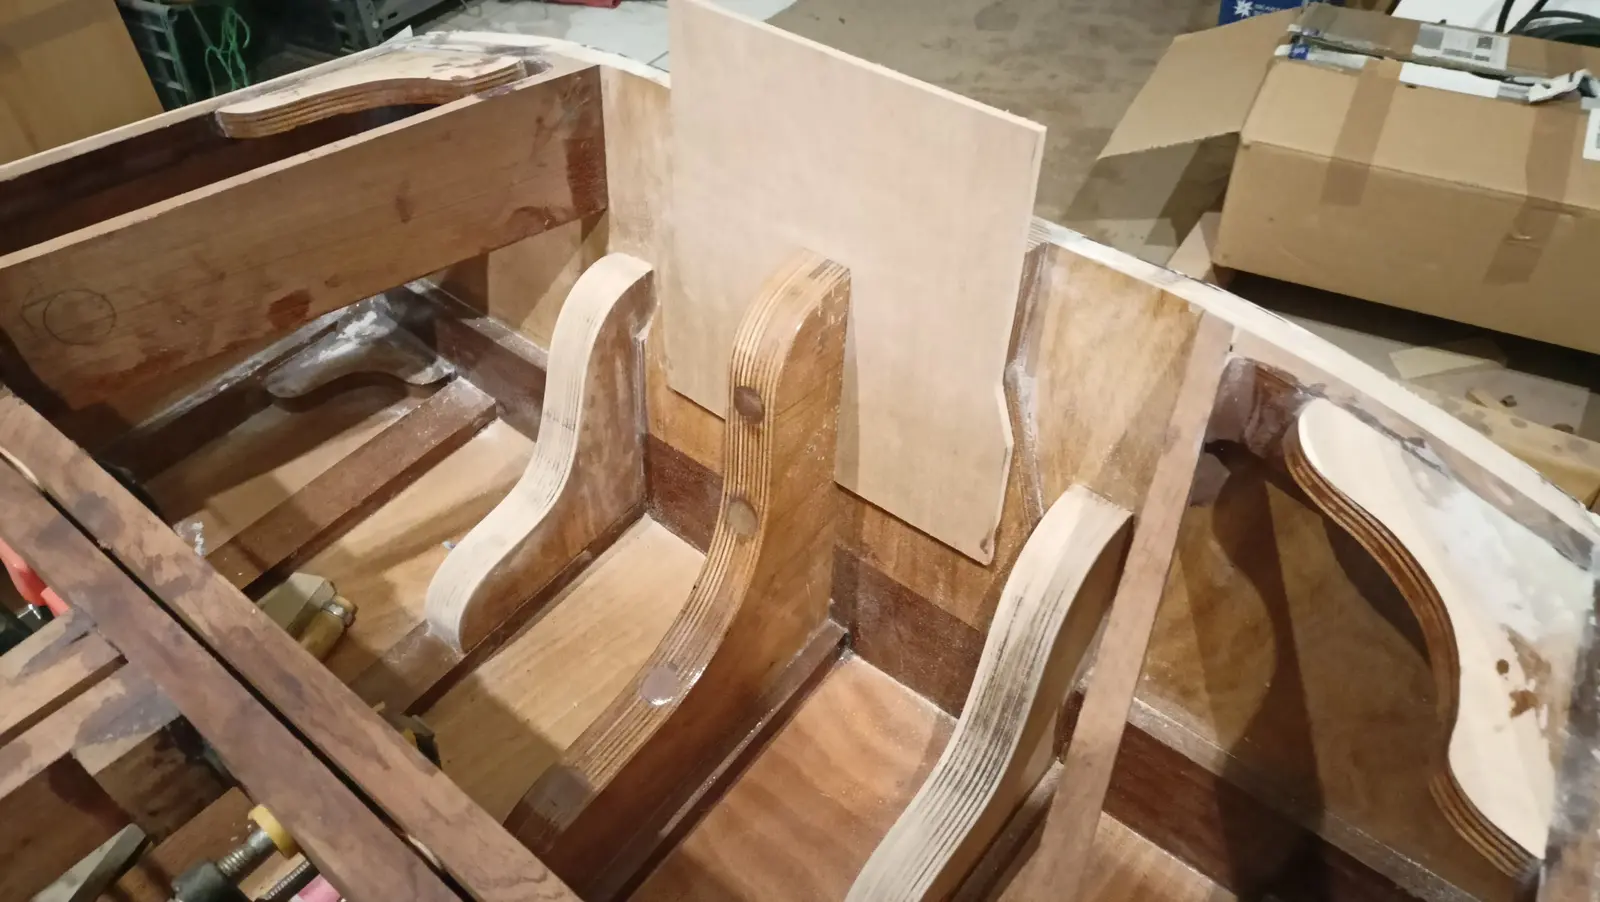
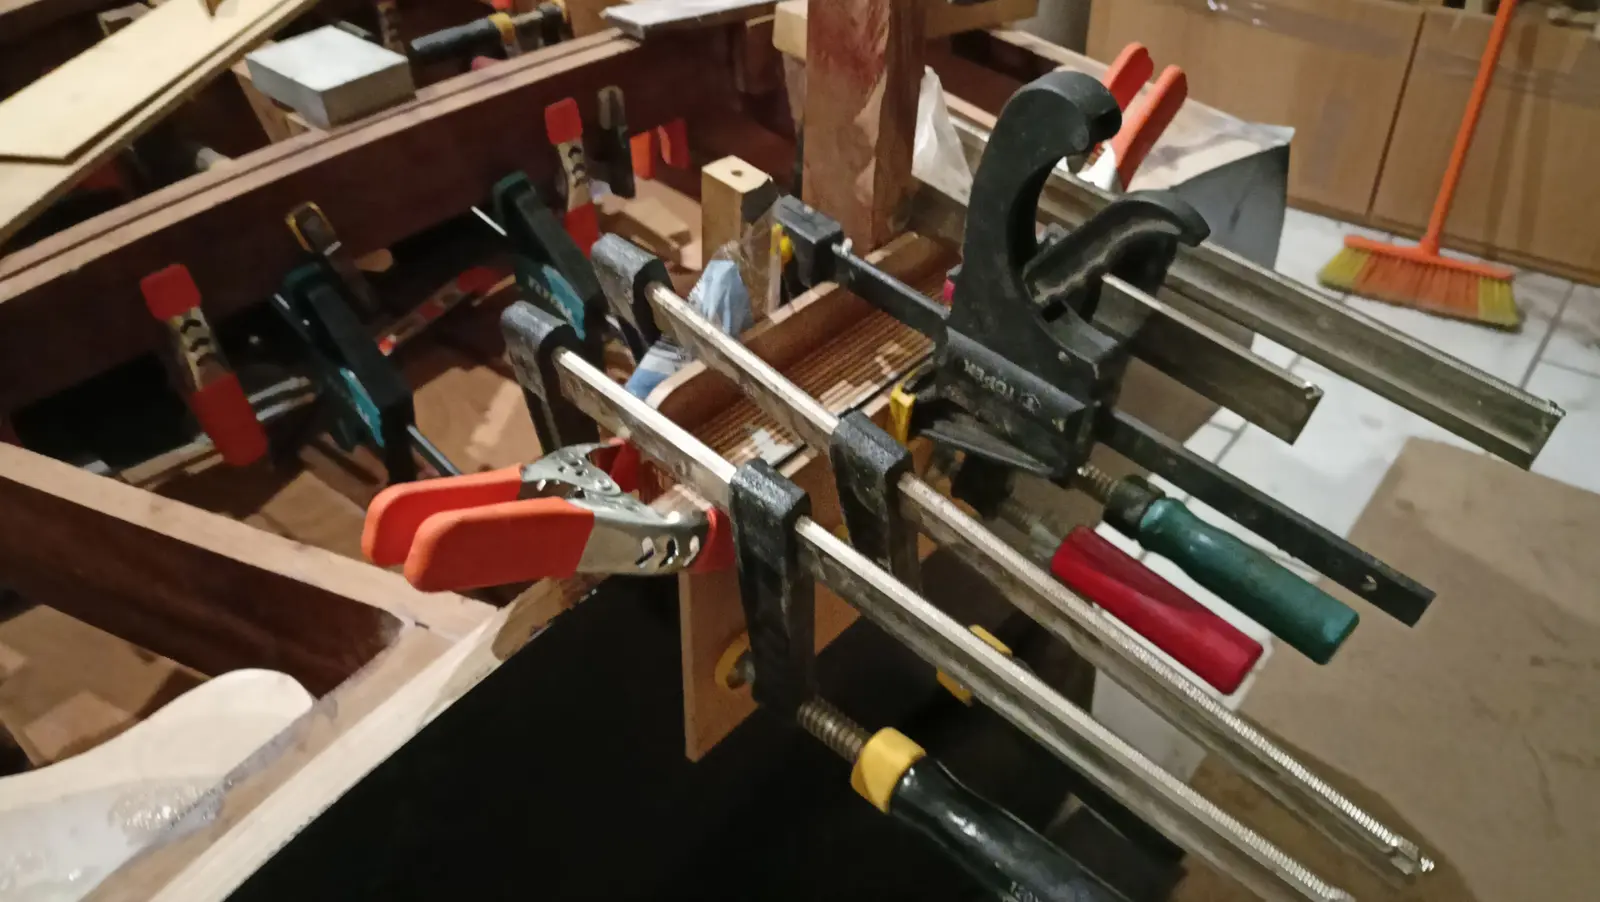
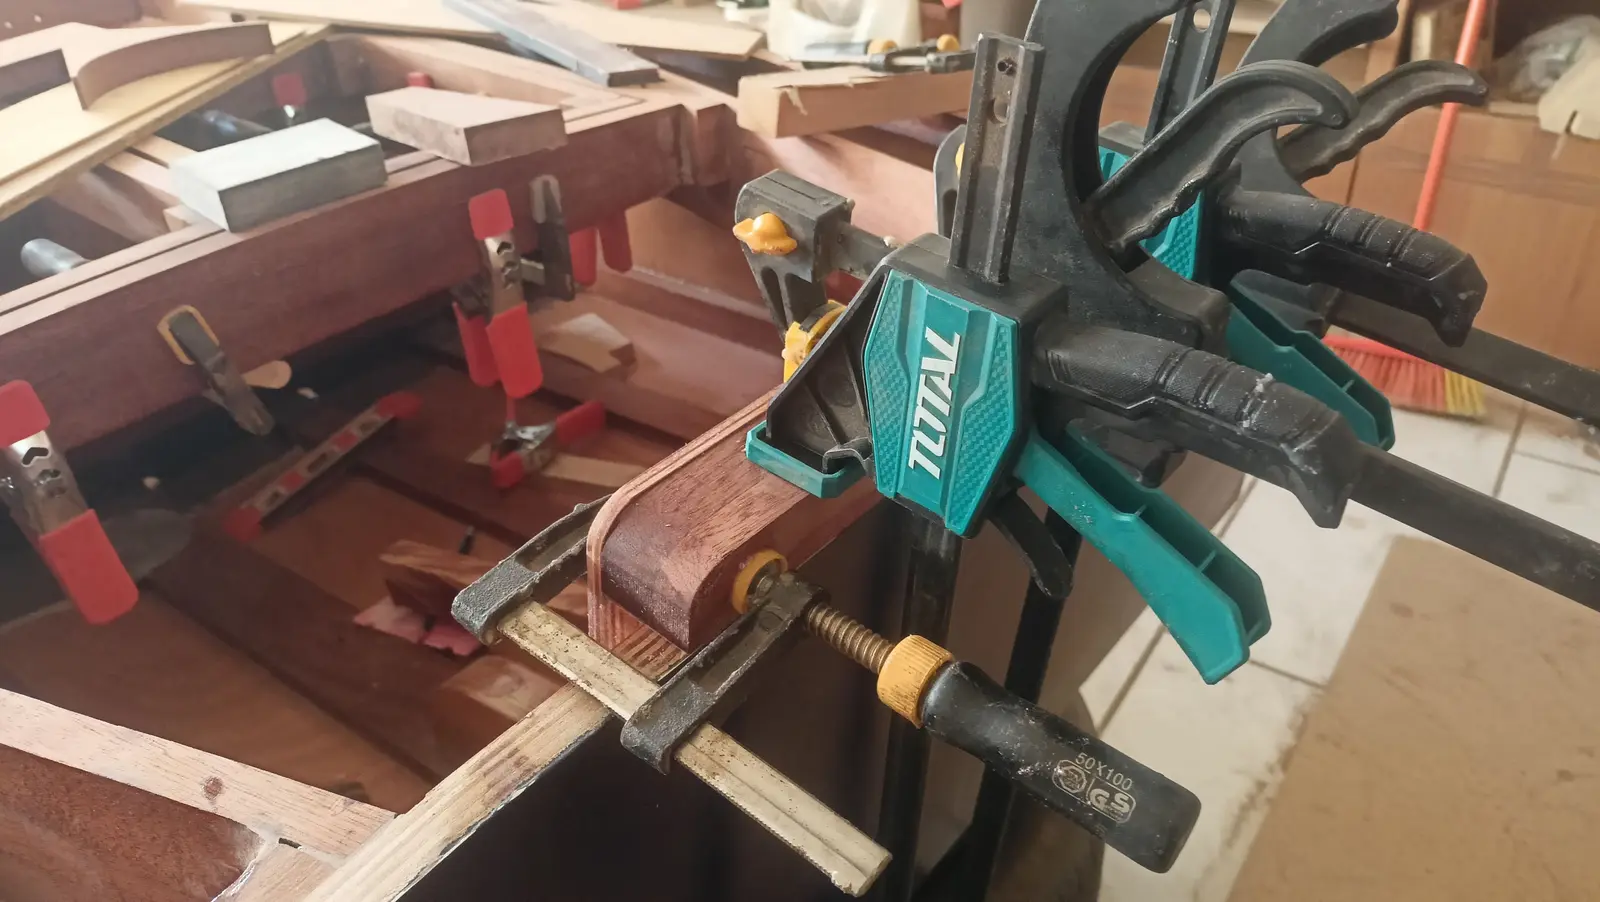
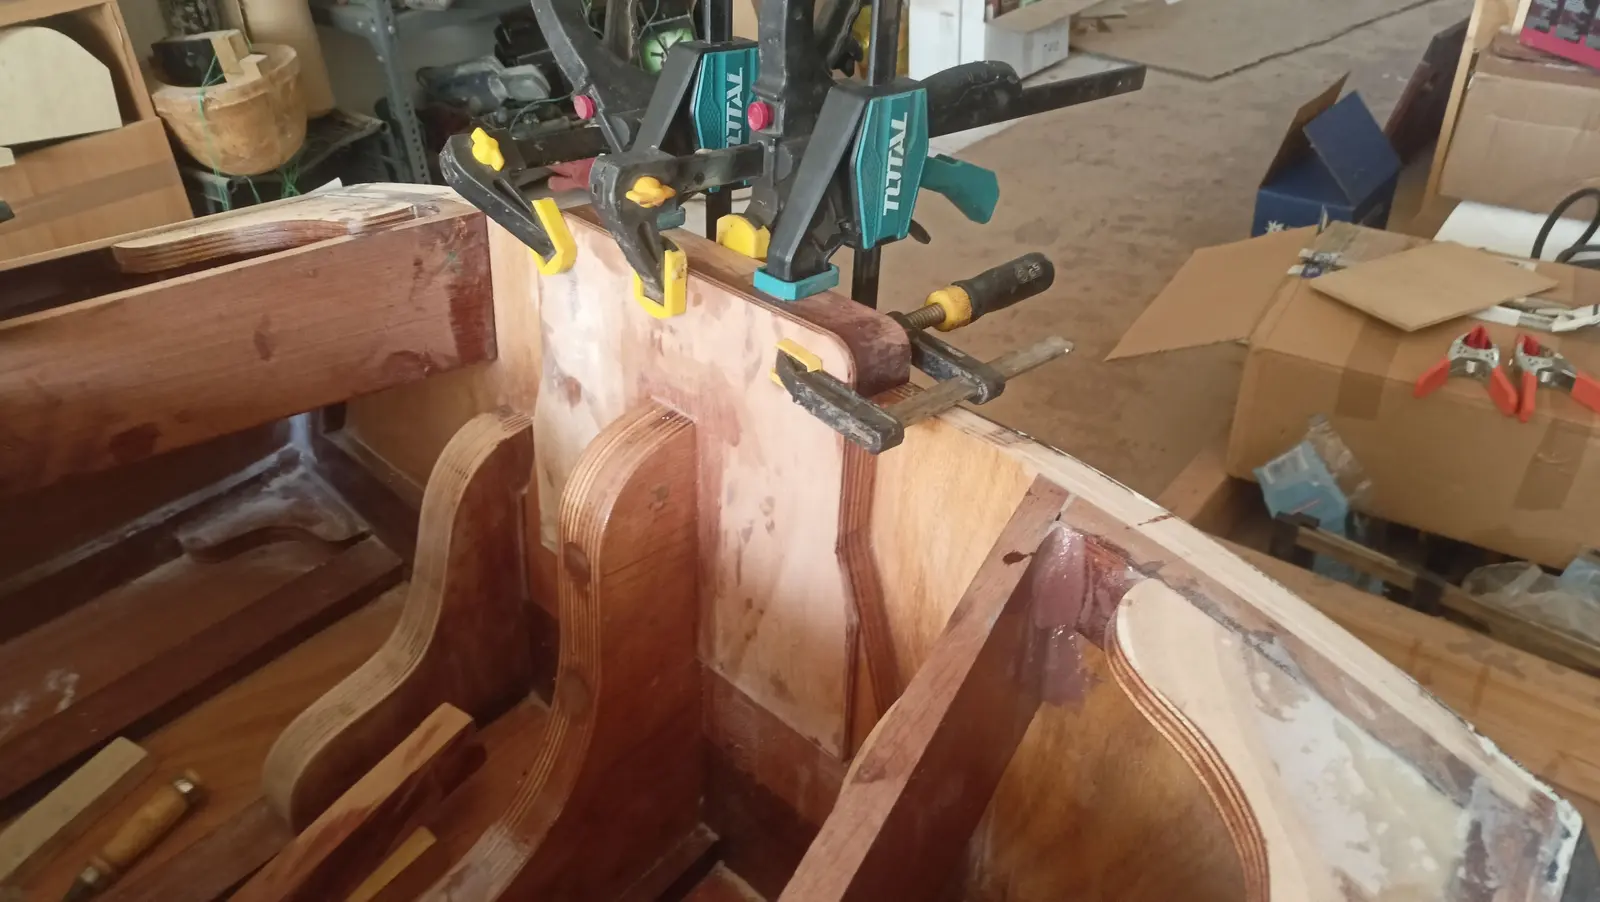
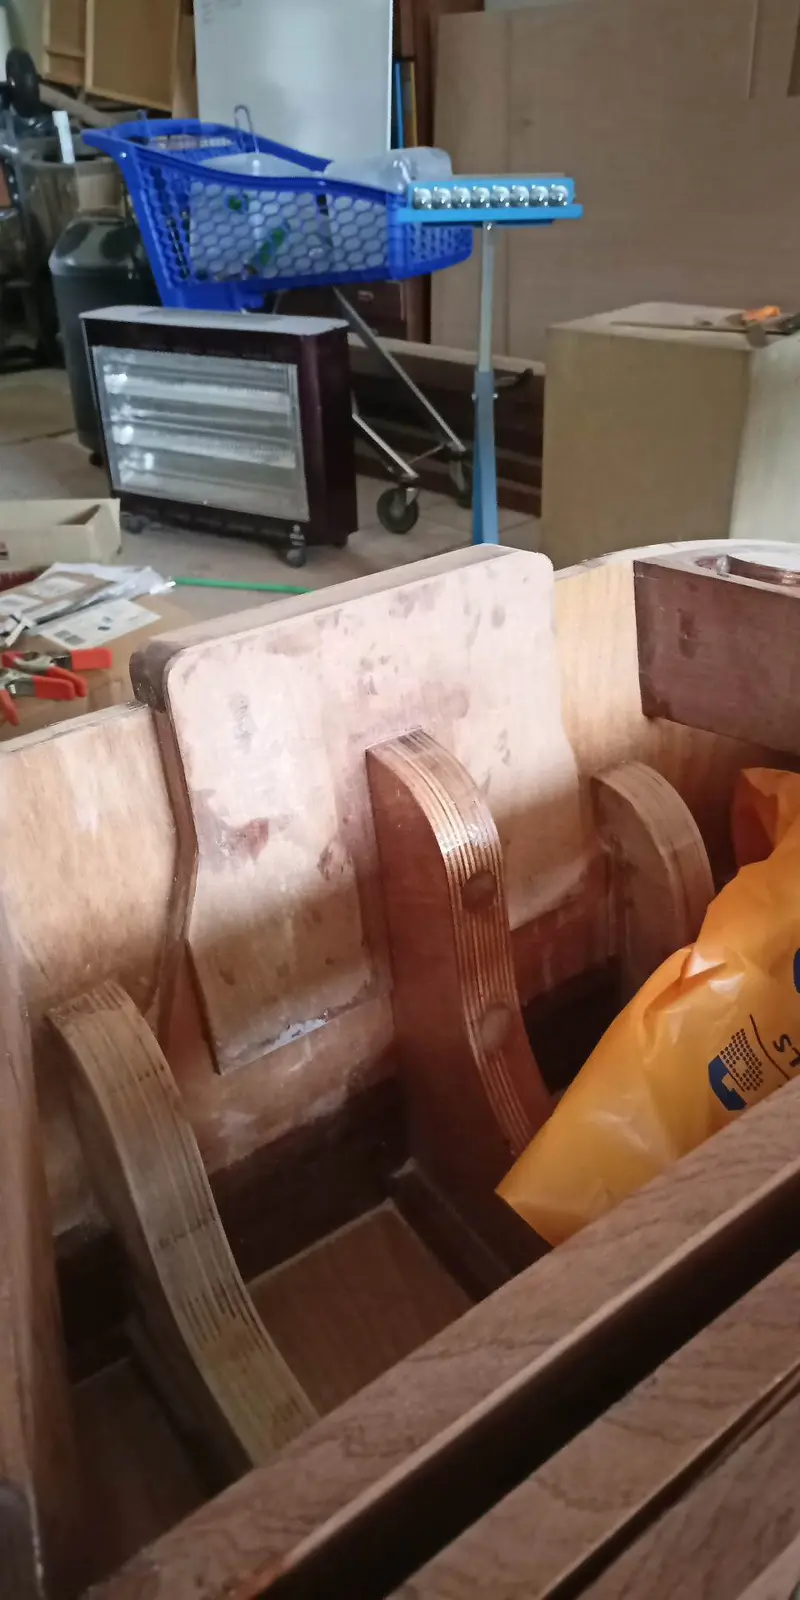
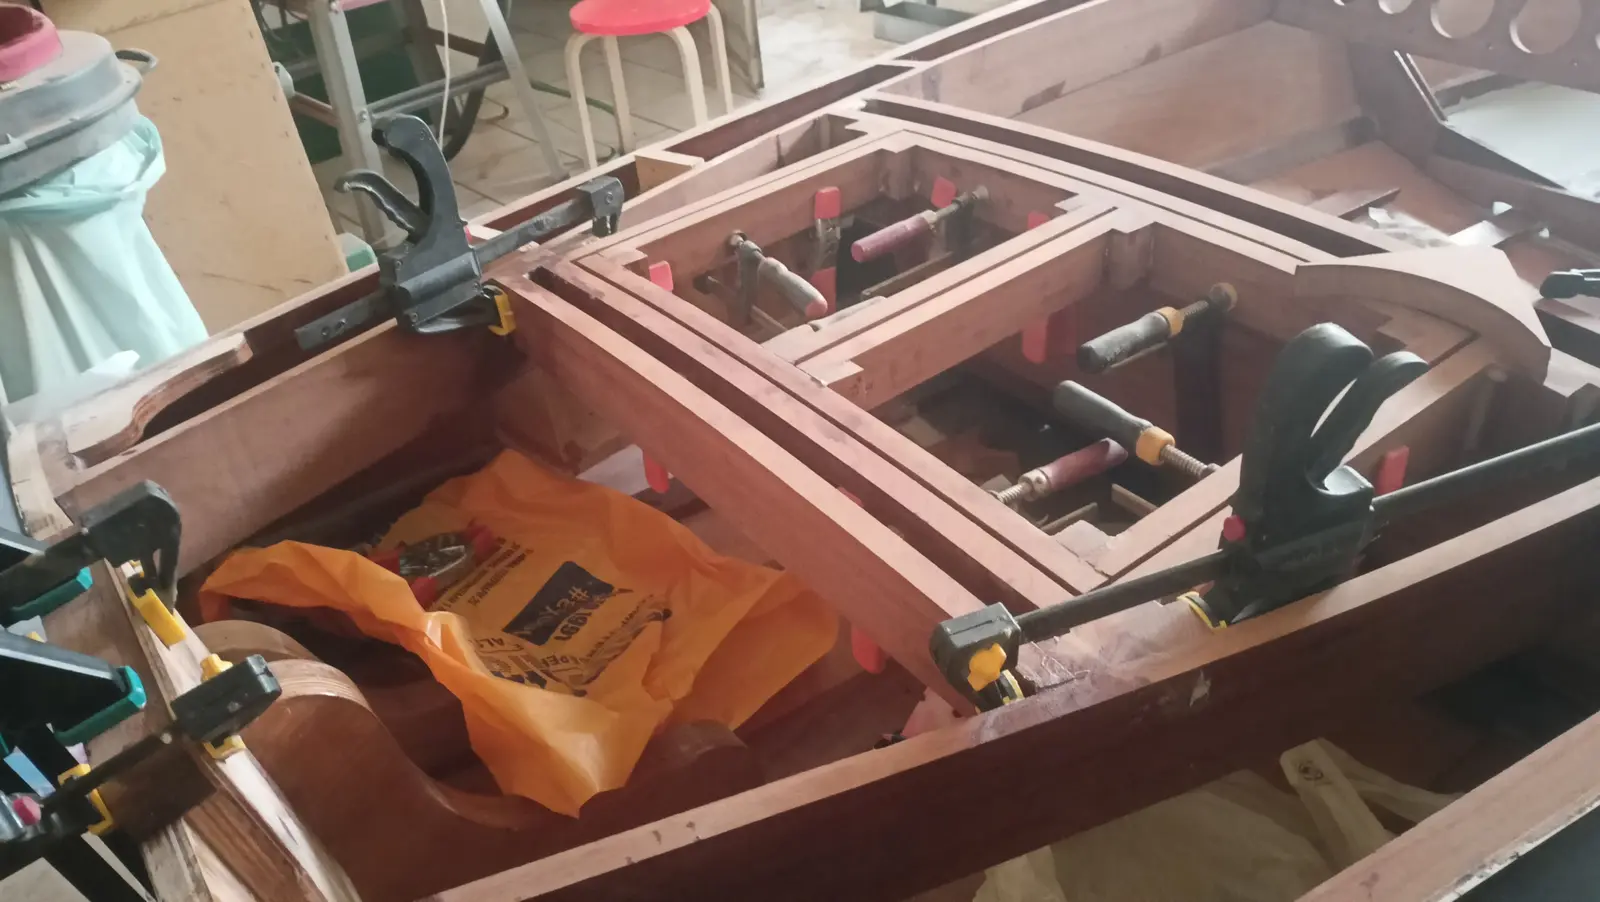
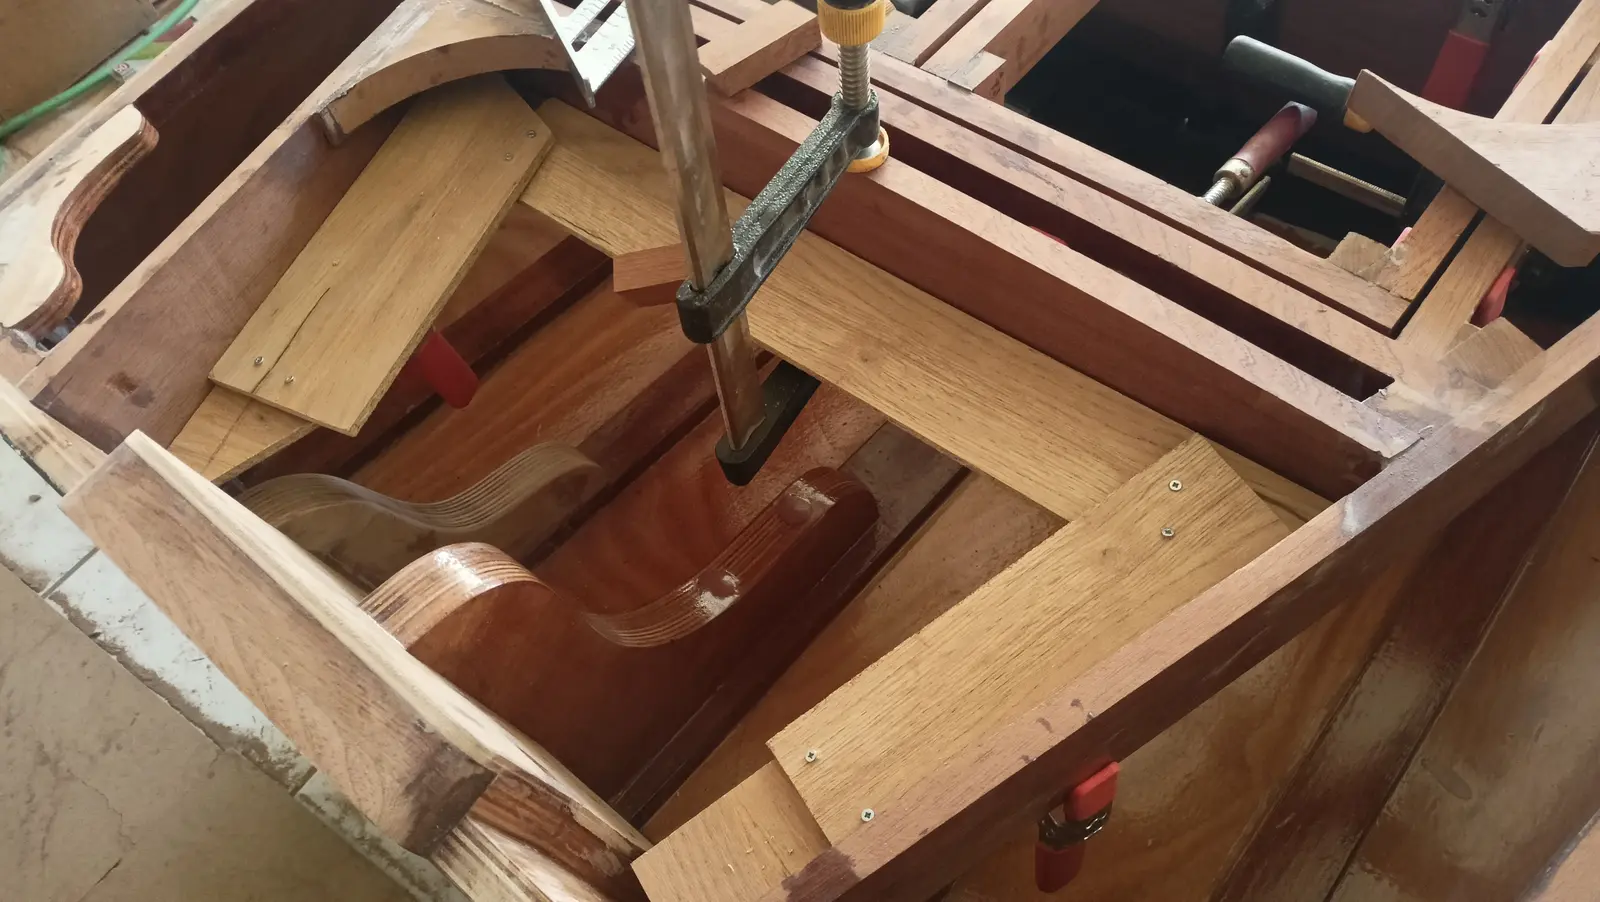
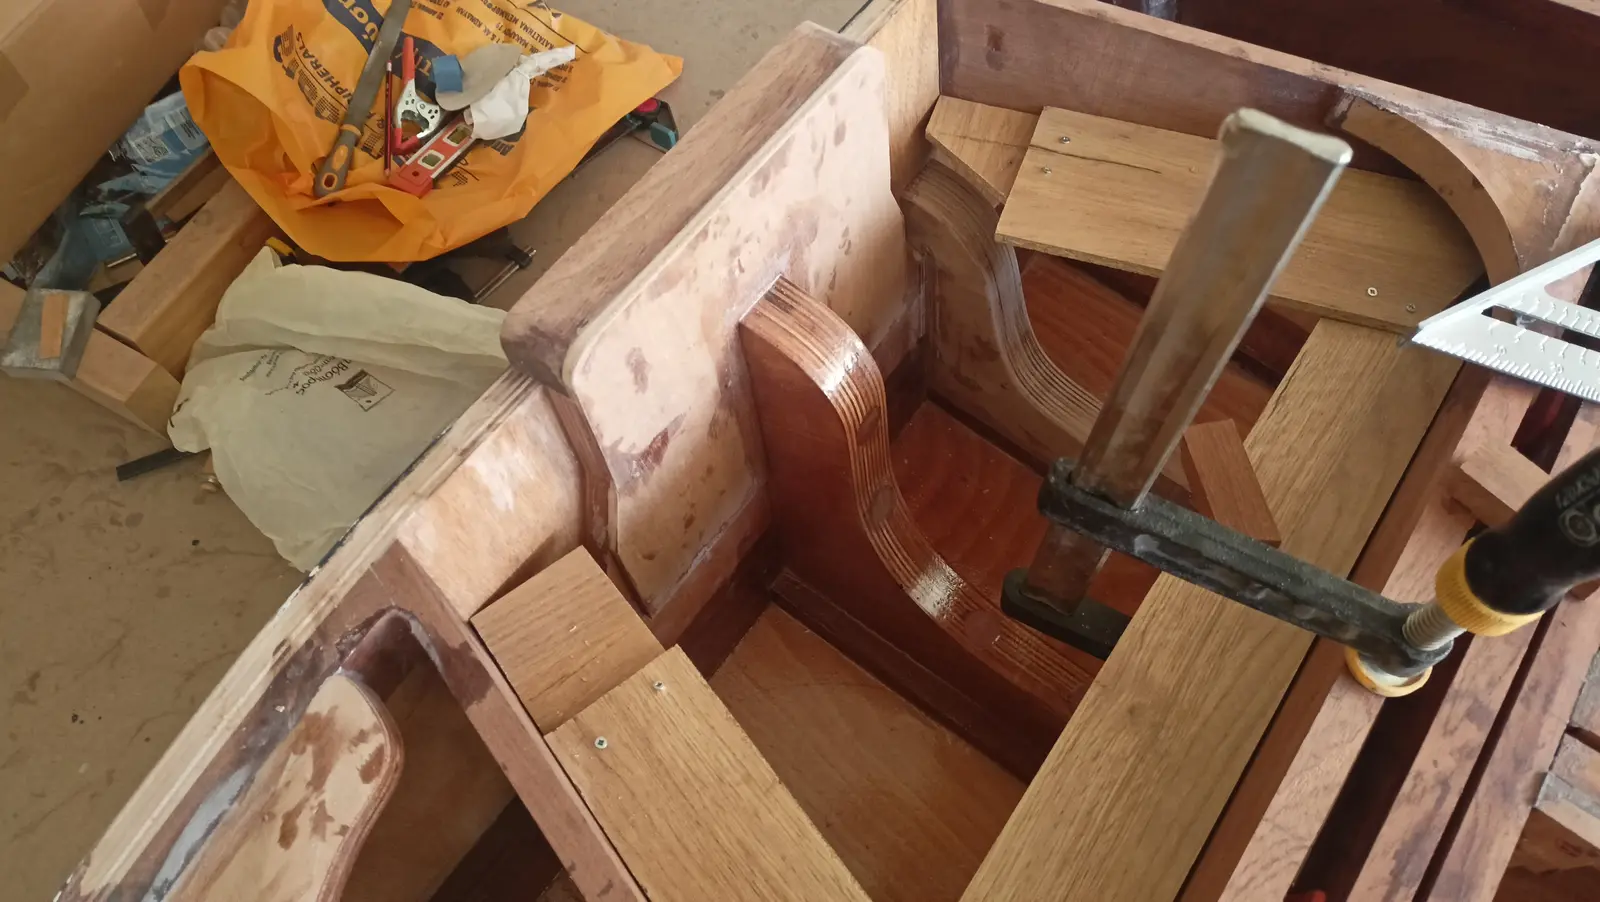
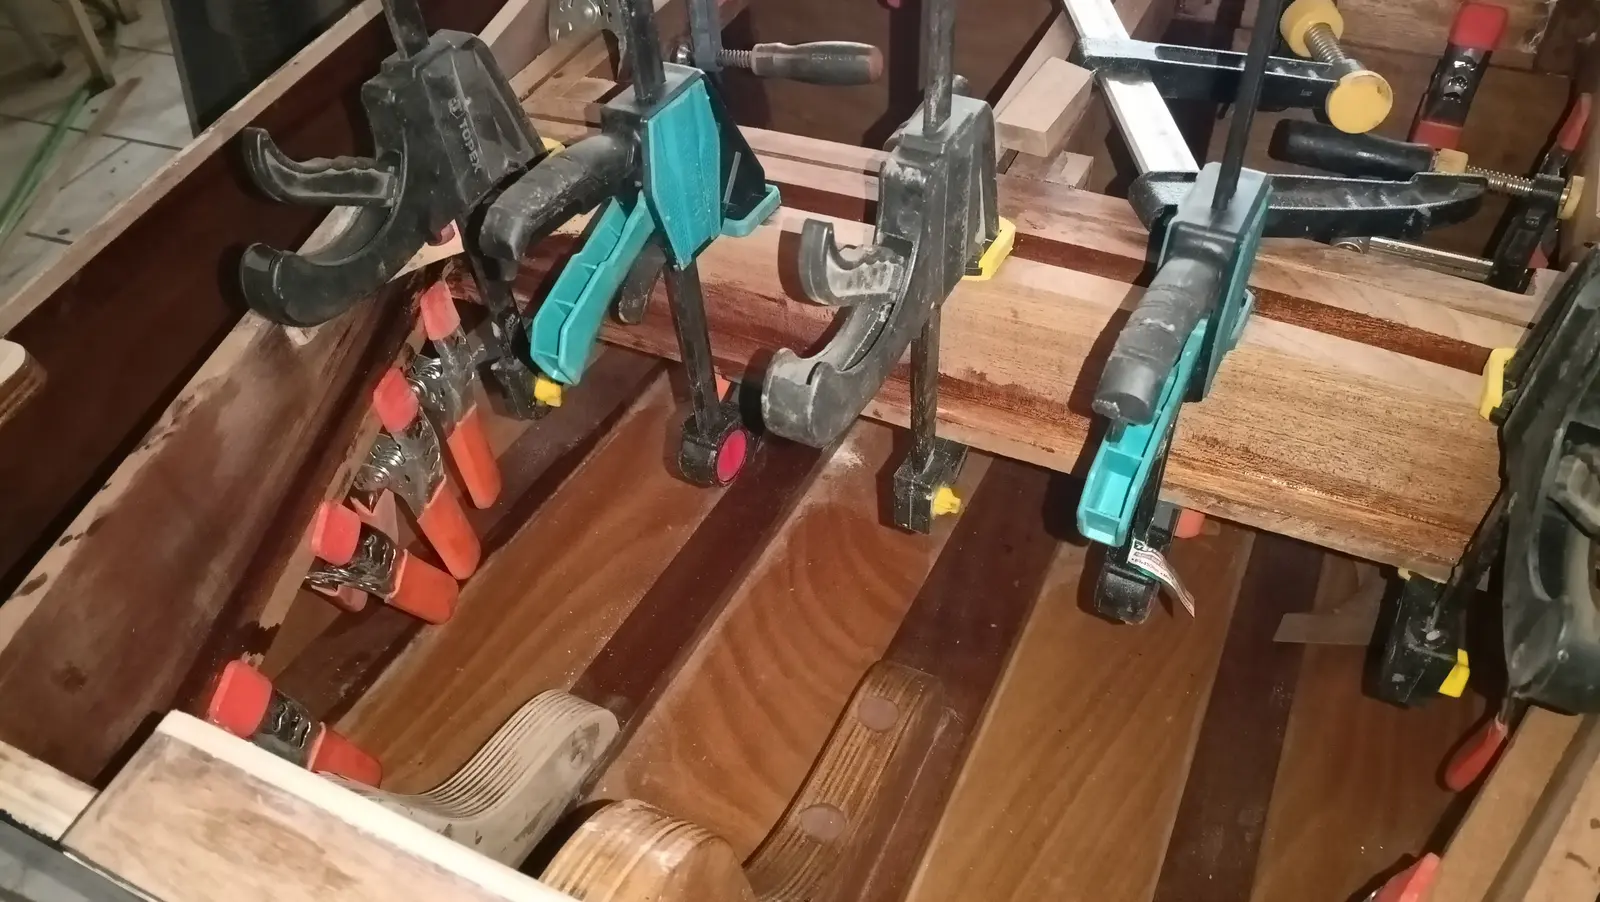
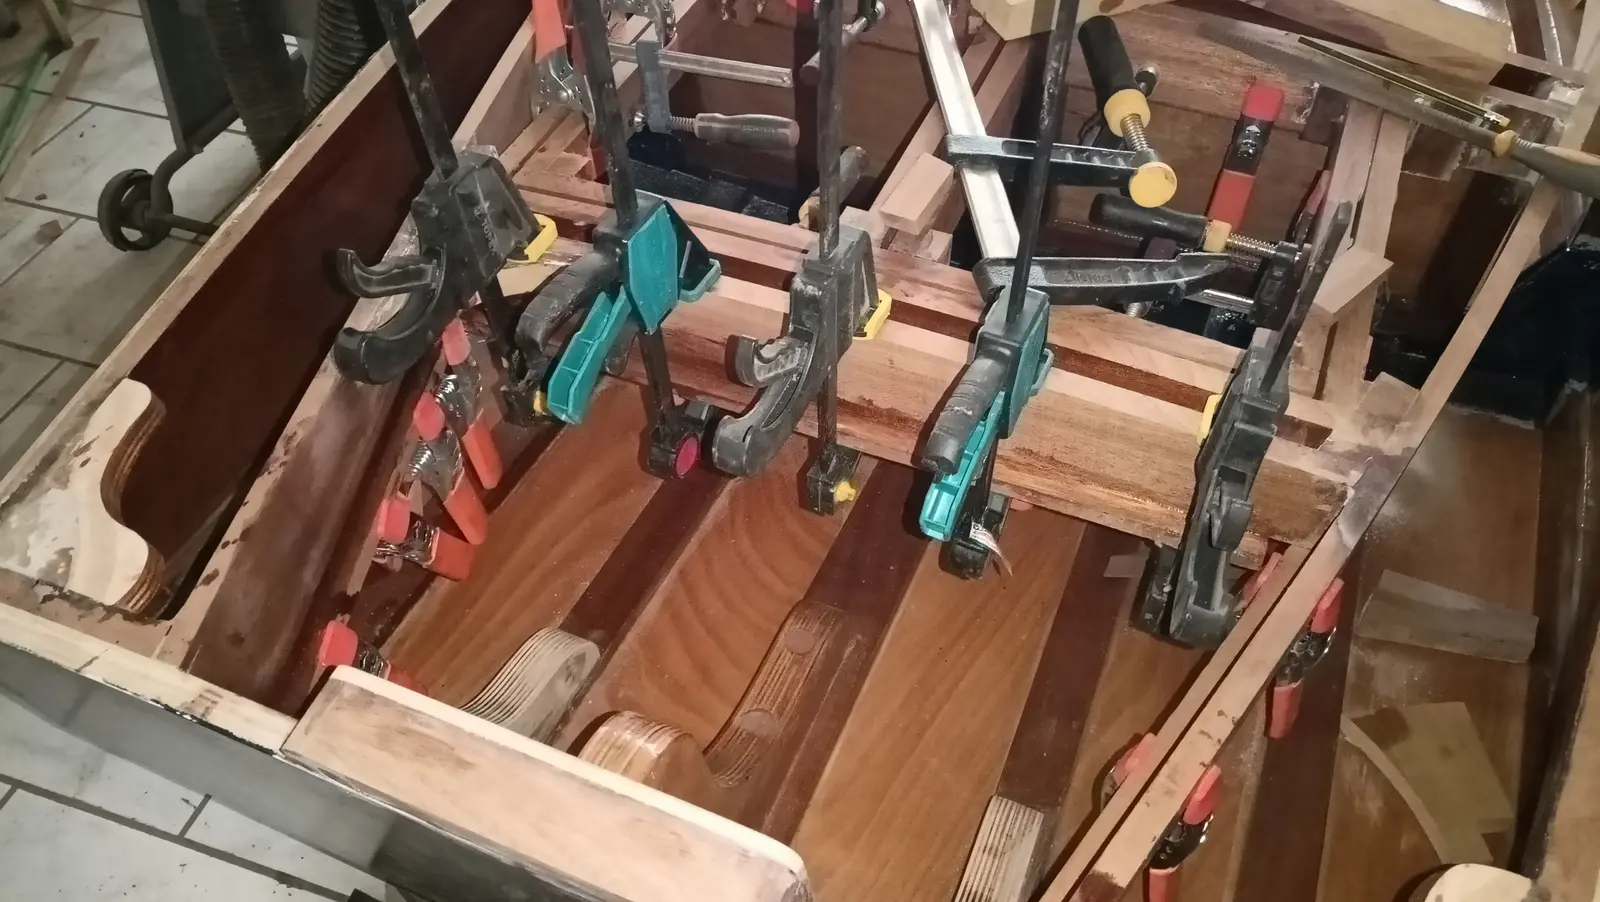
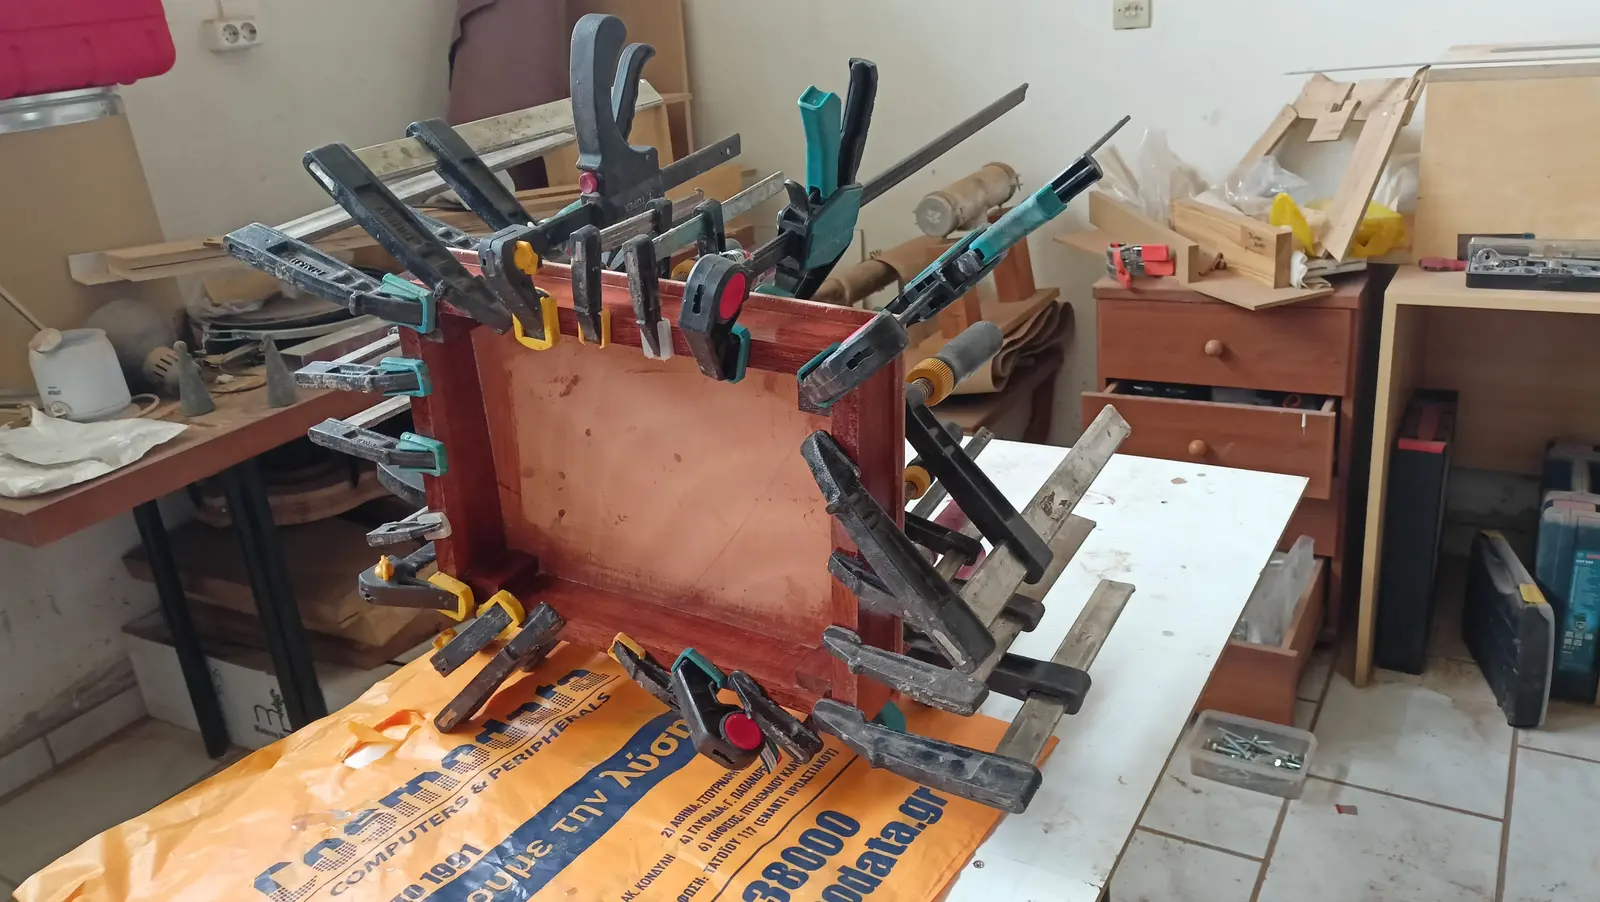
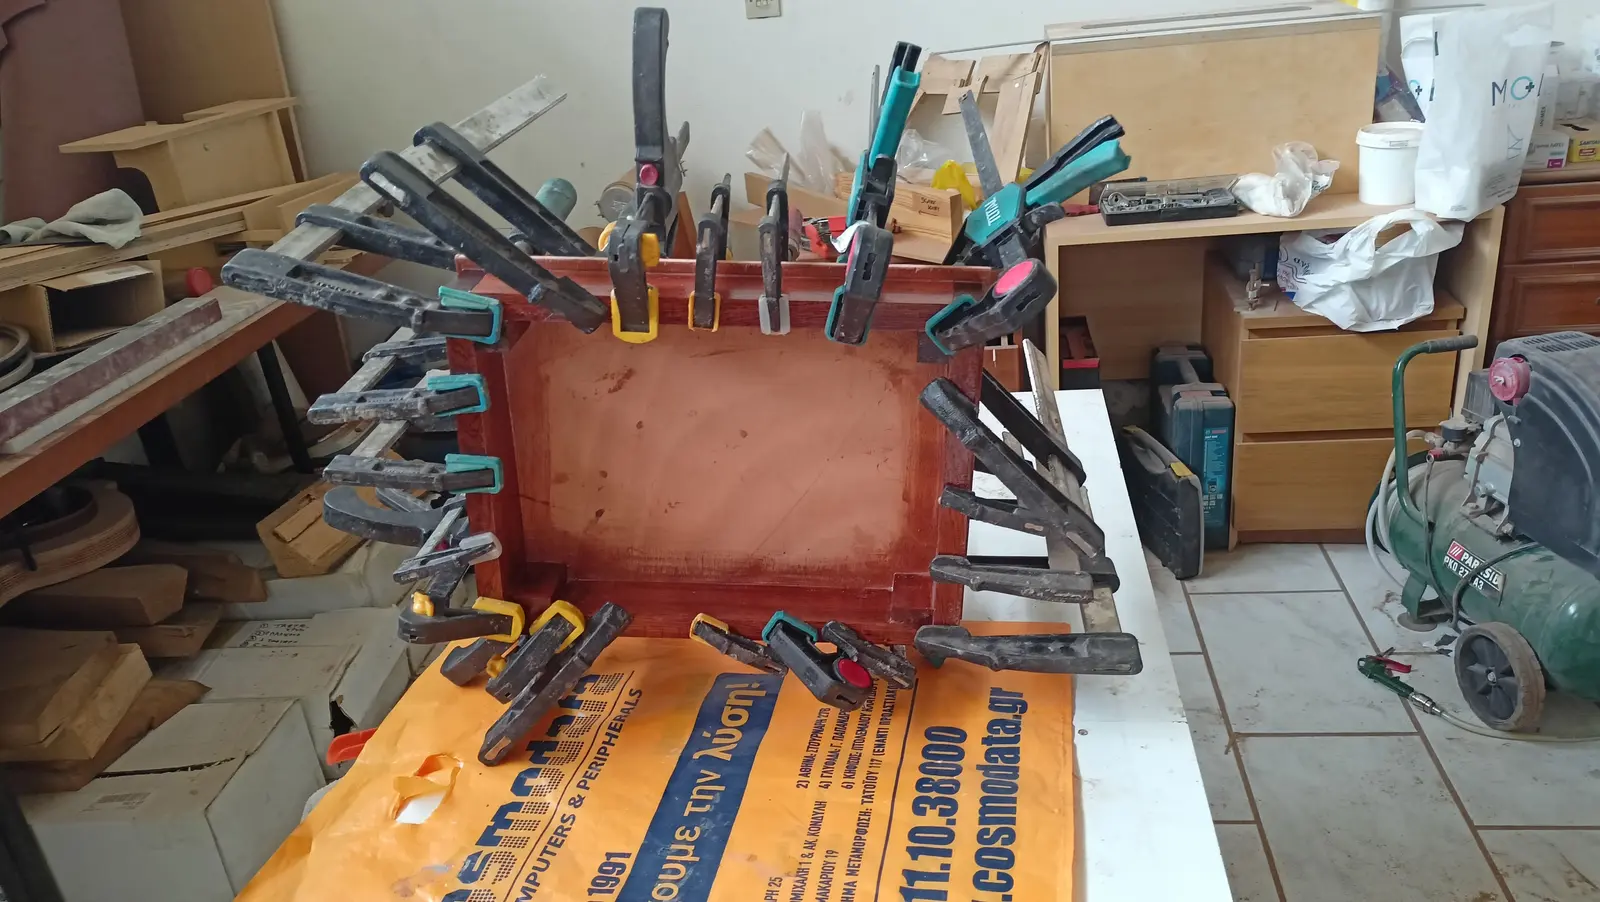
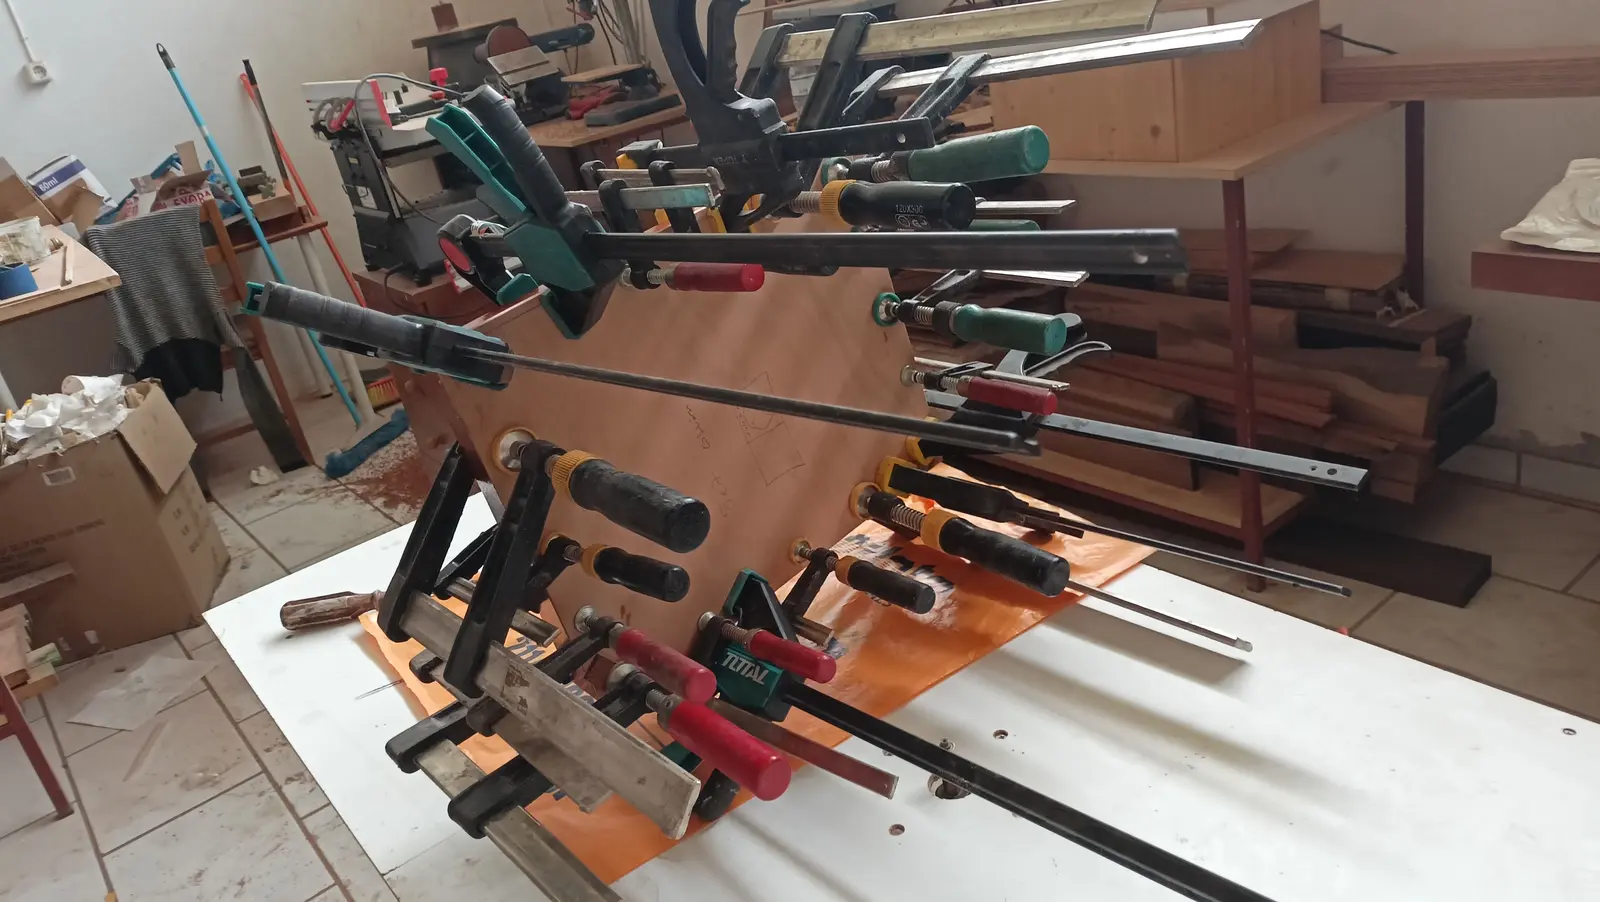
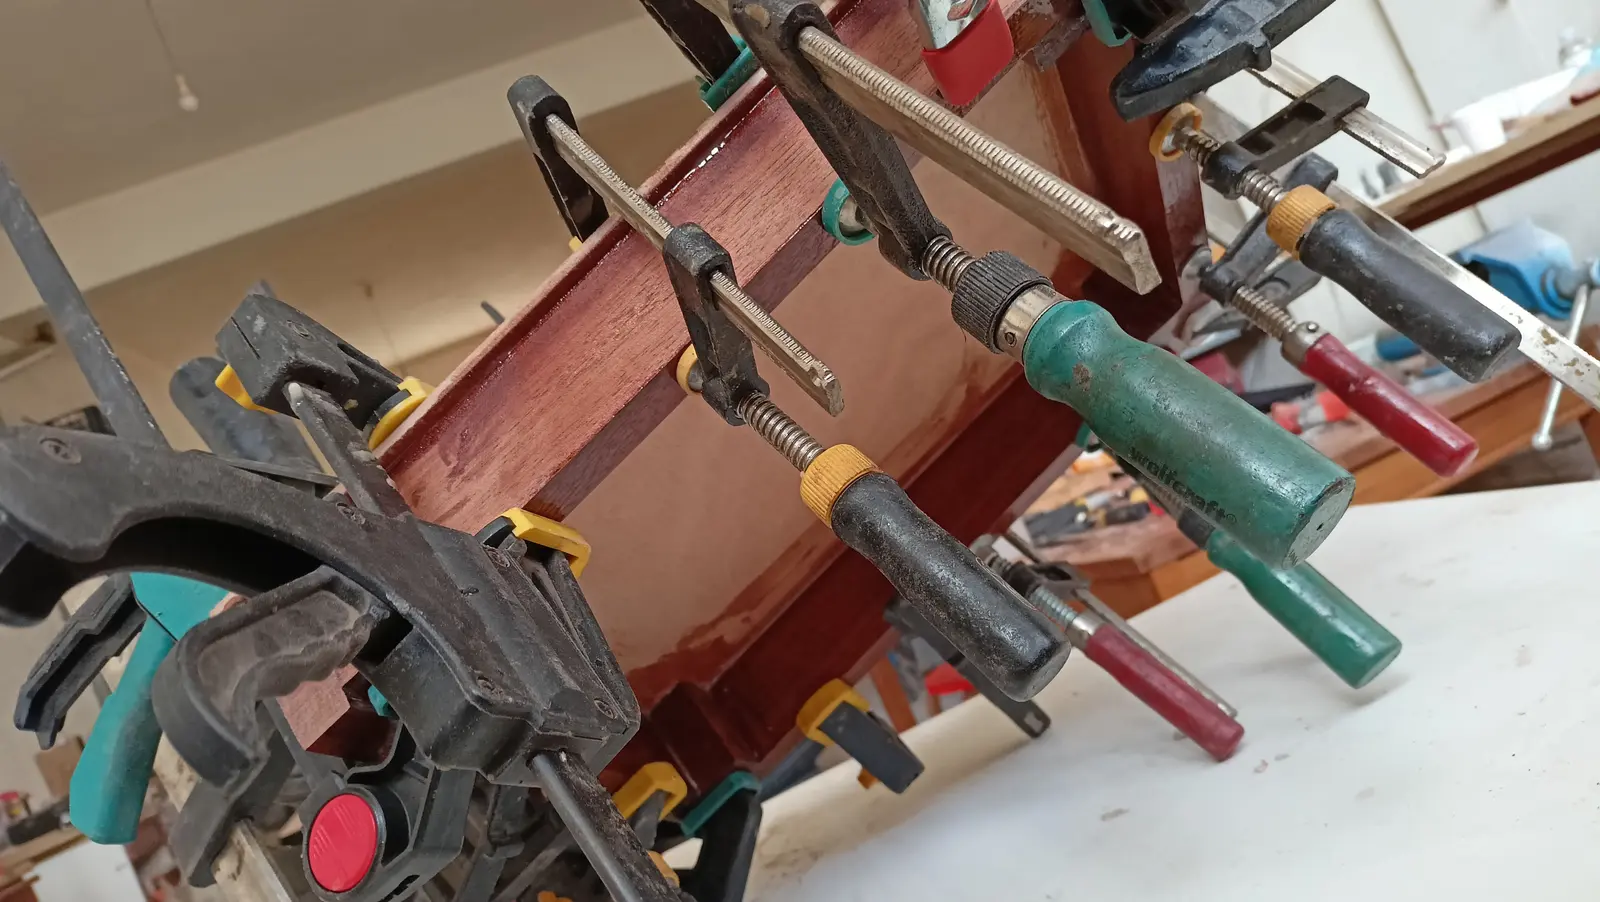
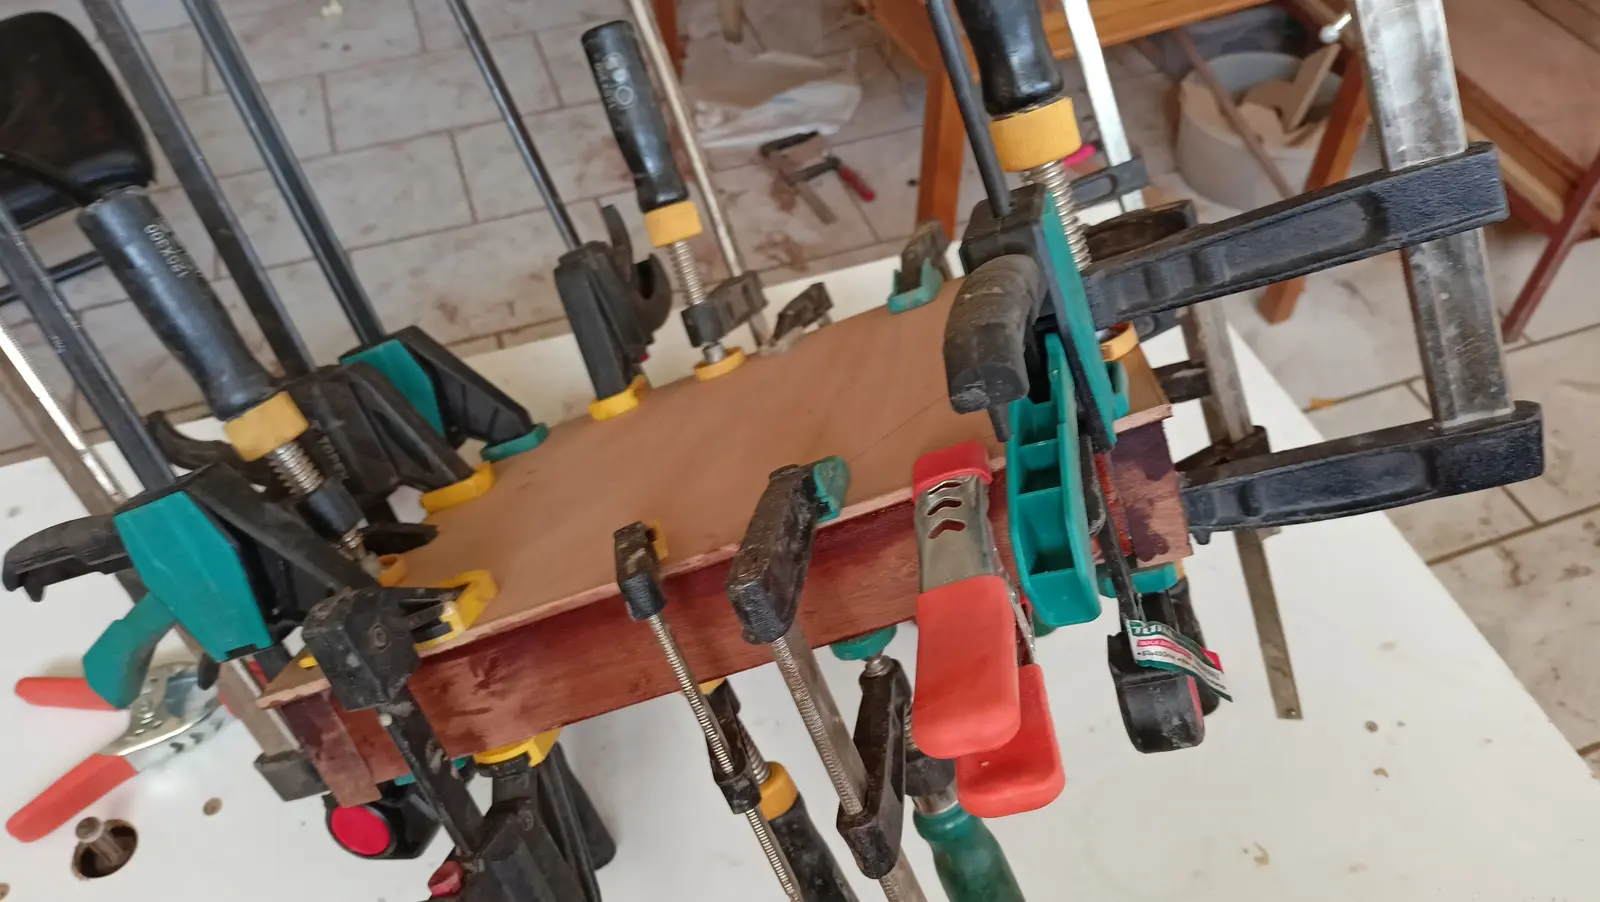
One of them is gluing in the inner timbers of the locker. In the end it was decided to have two doors, one on the left and one on the right, so there is easy access to the engine. The gap between the two pieces was worked out at 6 millimetres so they can open without one fouling the other. All the gluing was done with the locker clamped up, so I did not lose the curves.
Another job is building a box for the boat's battery. A lithium battery will be chosen to keep the weight to a minimum (the arrangement changed, see the photographs in Interior work No. 5).
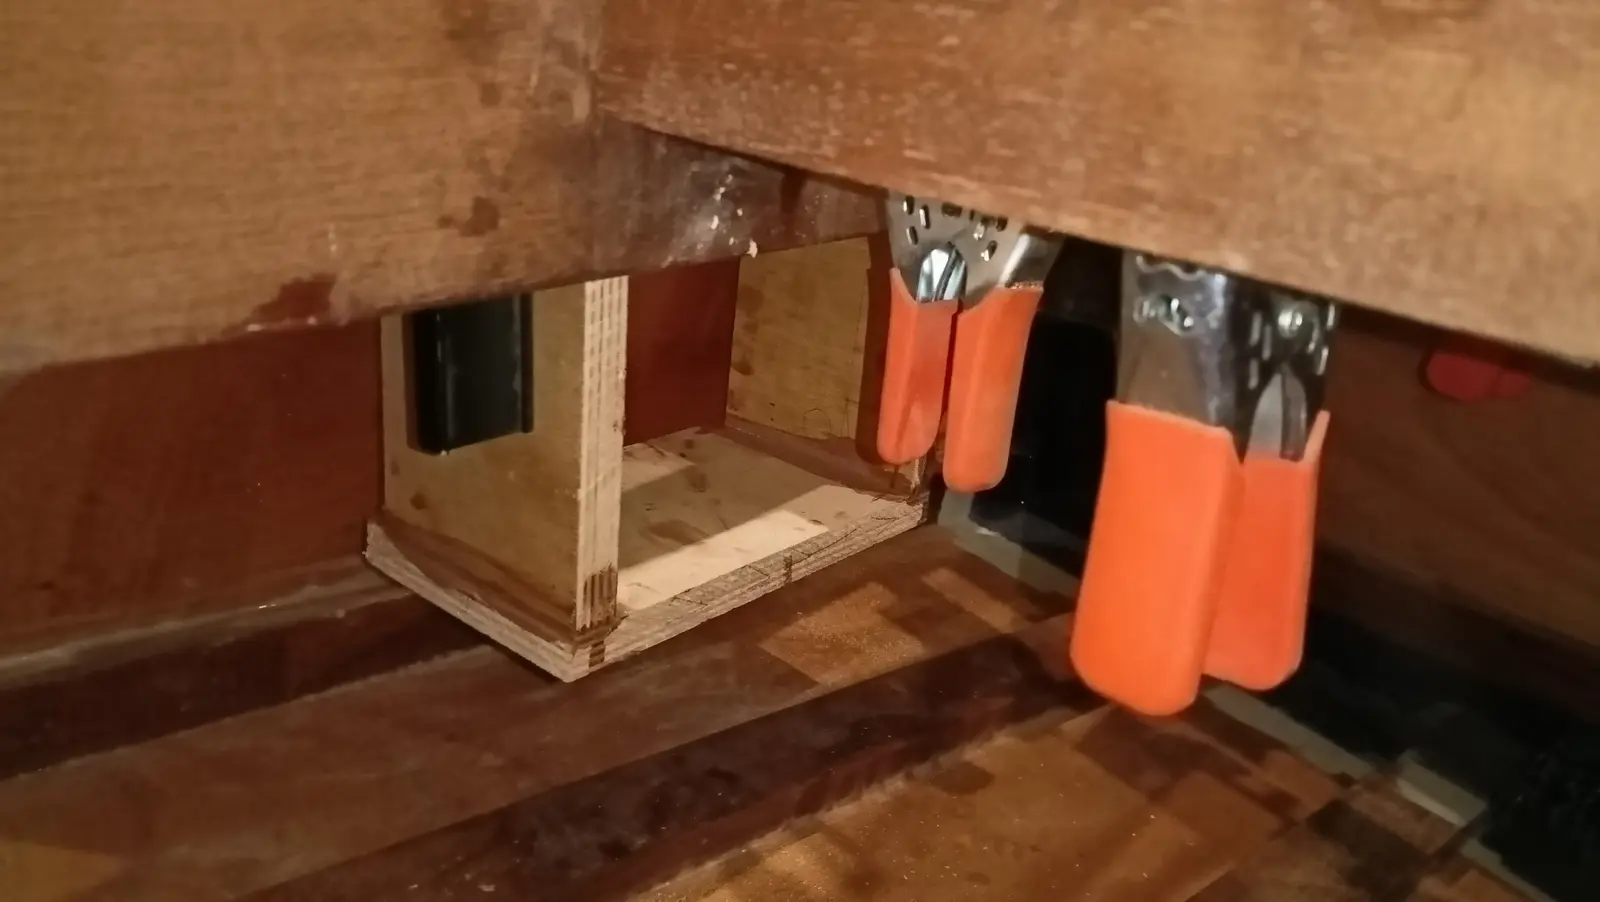
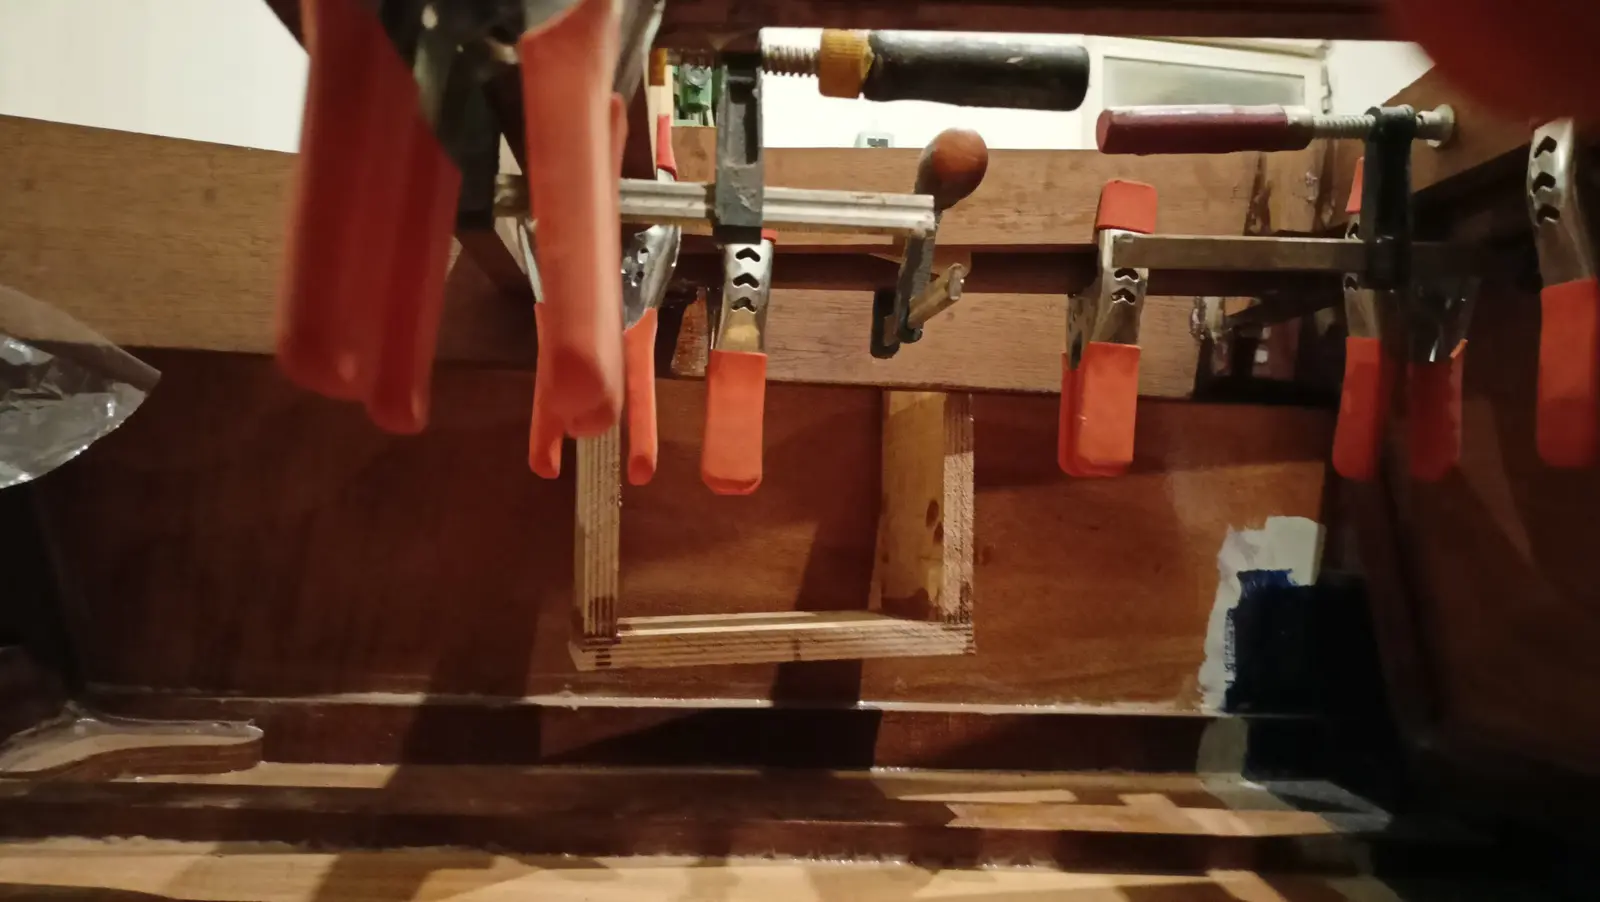
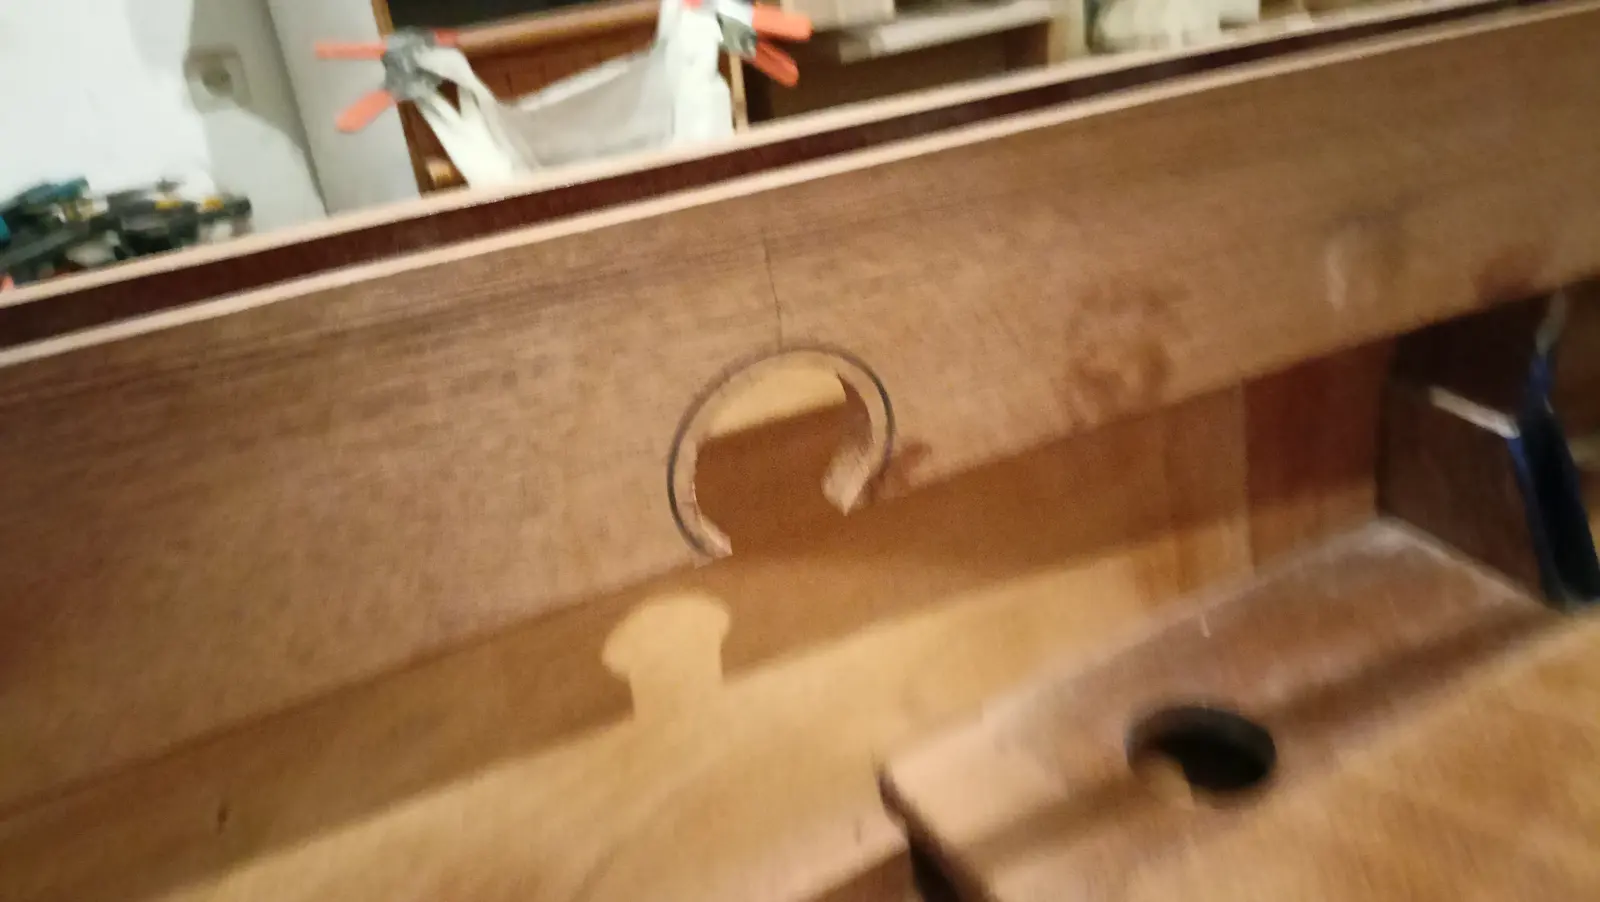
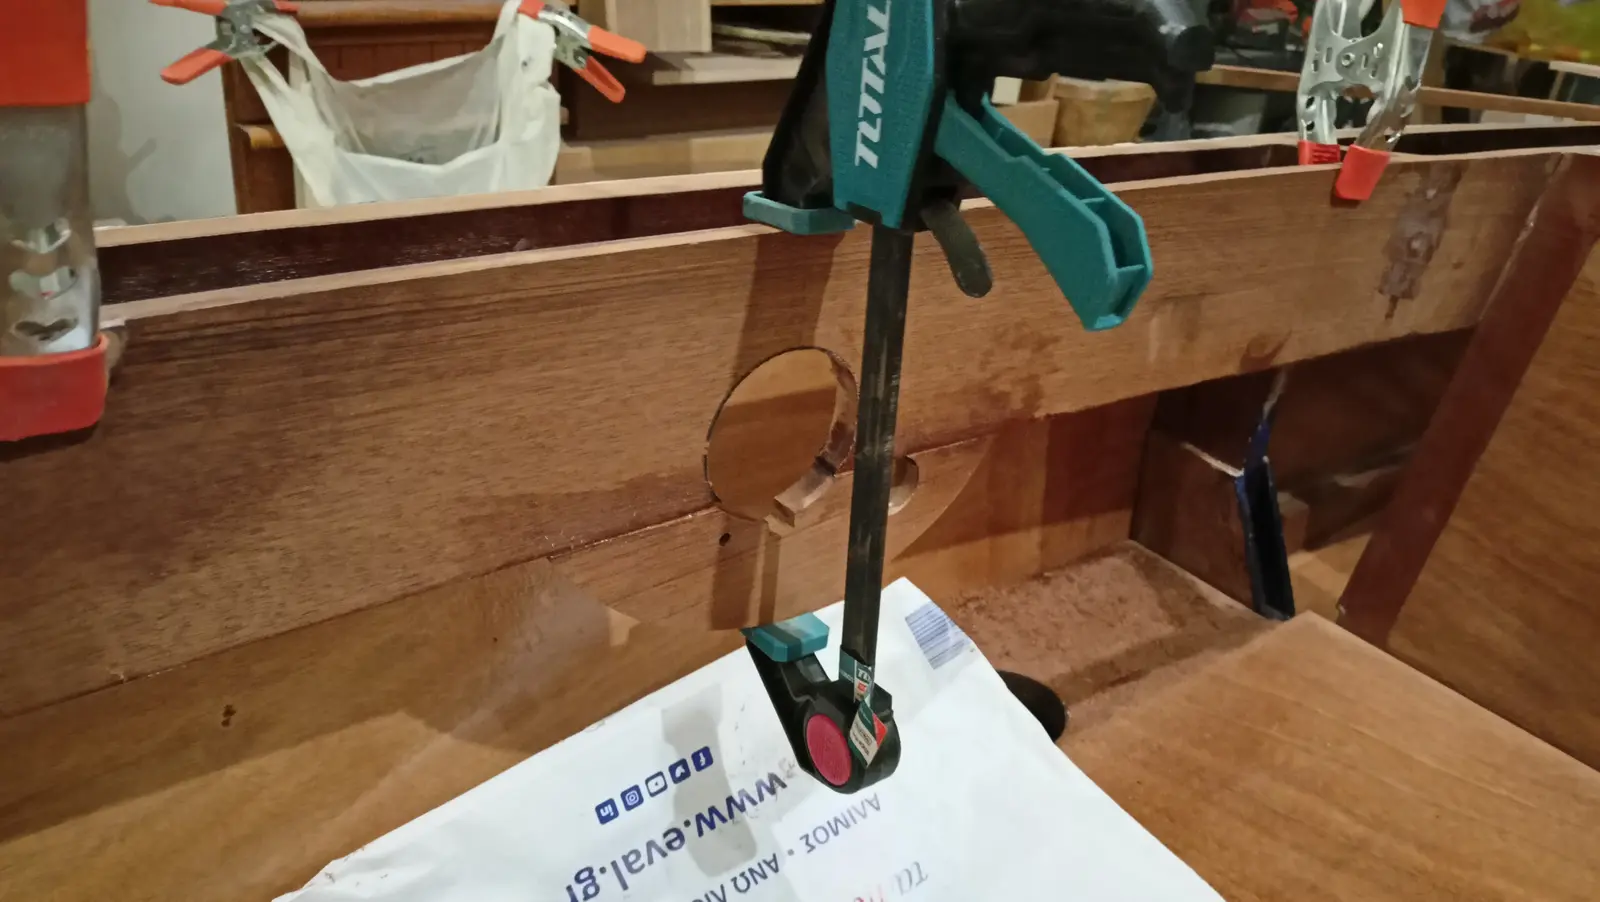
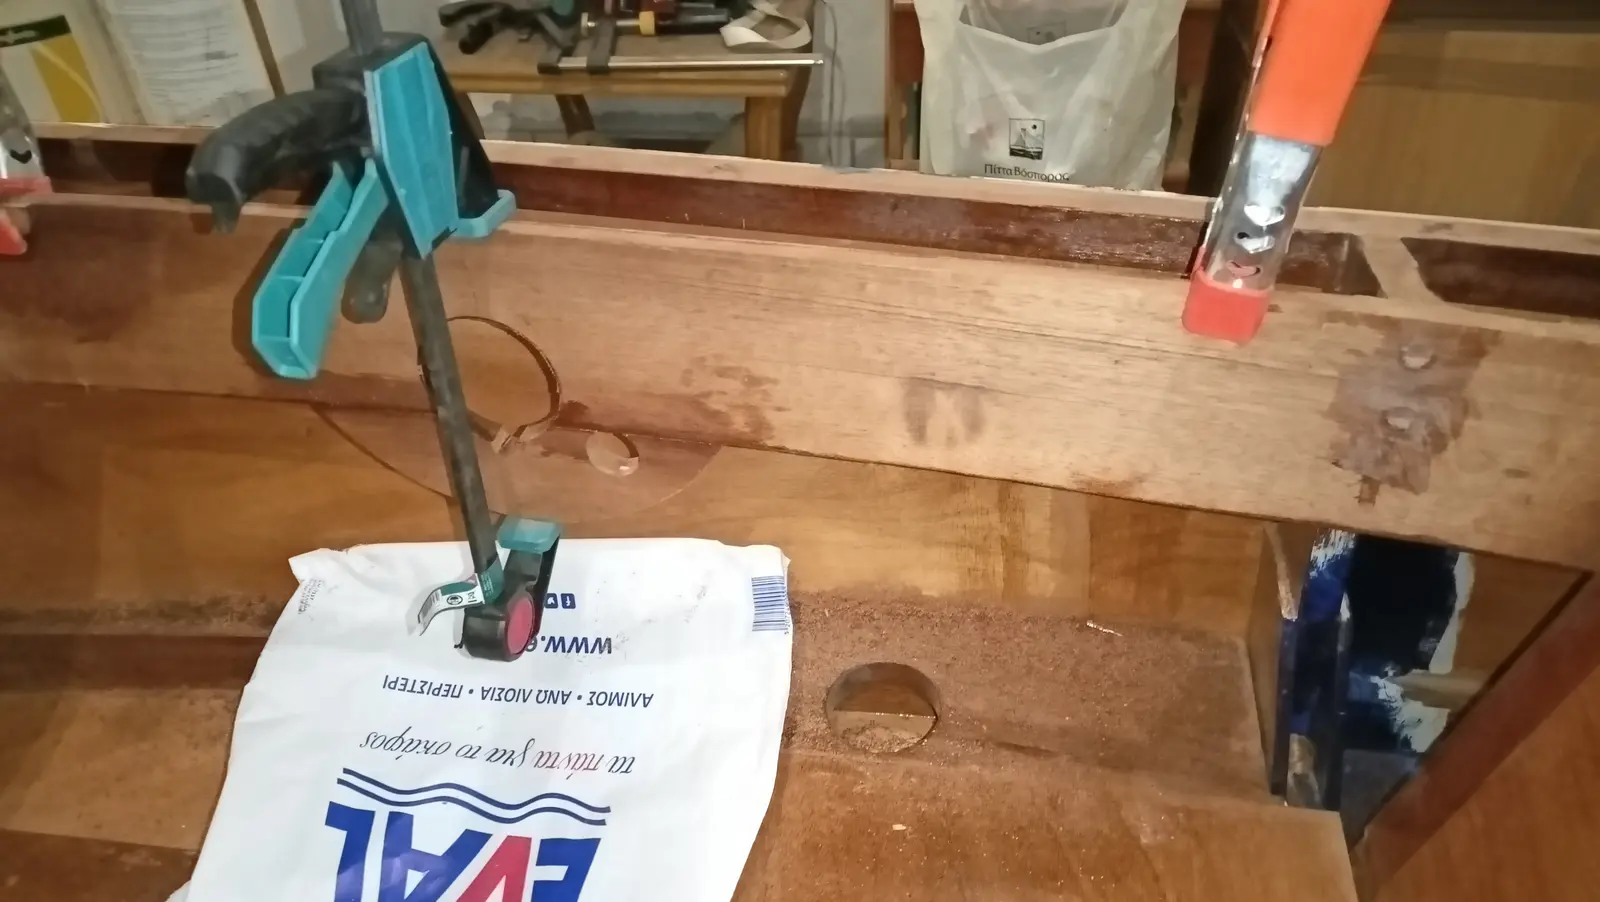
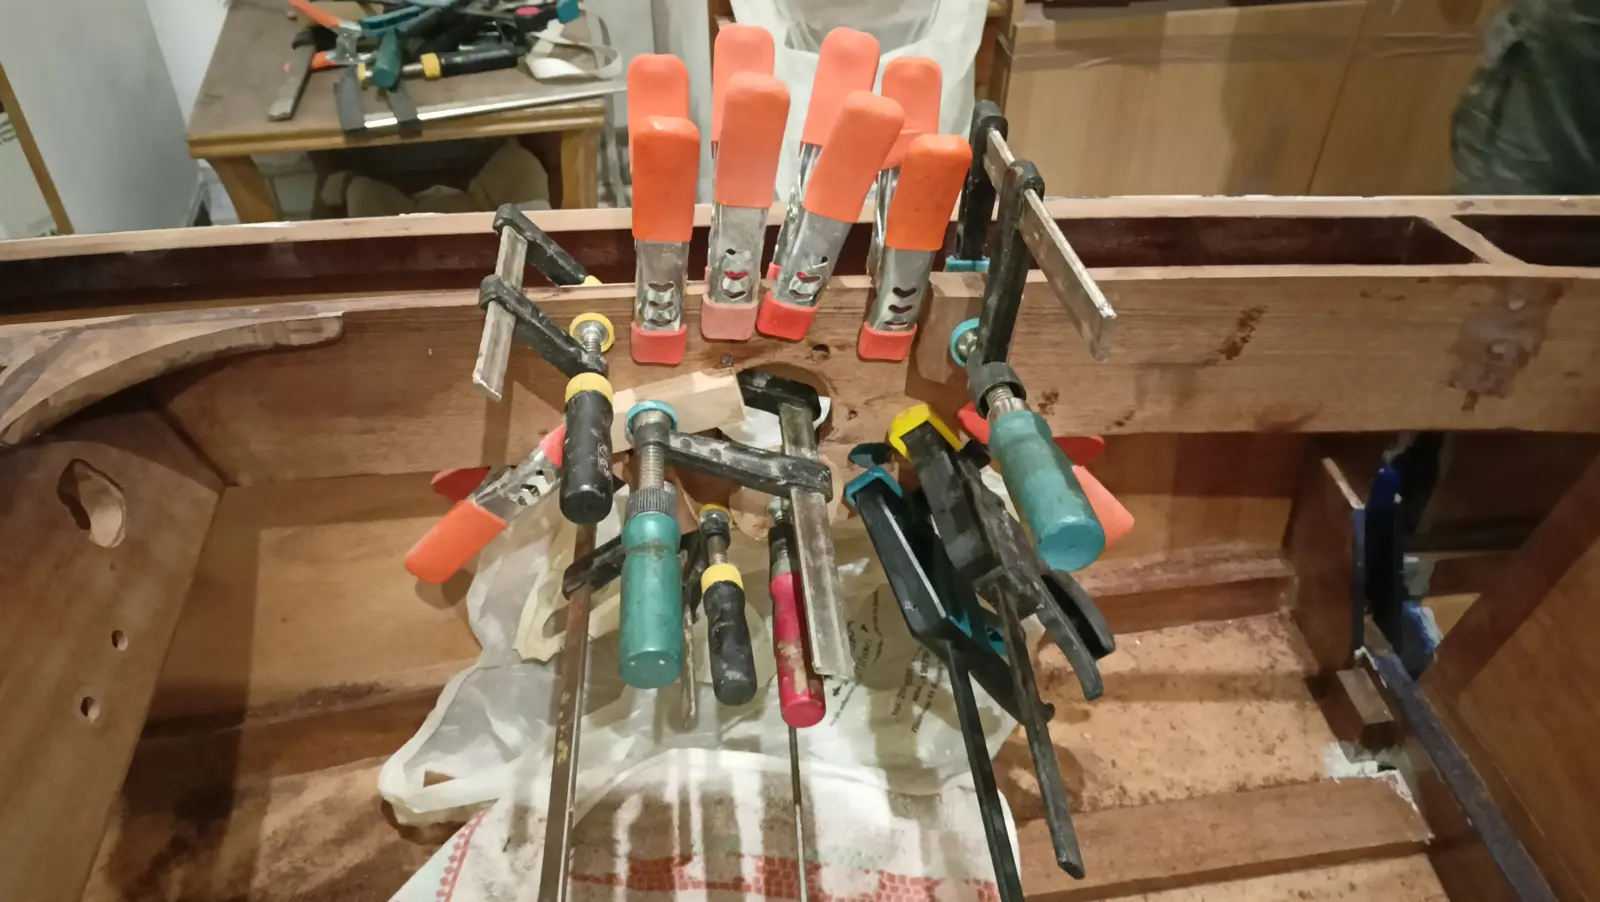
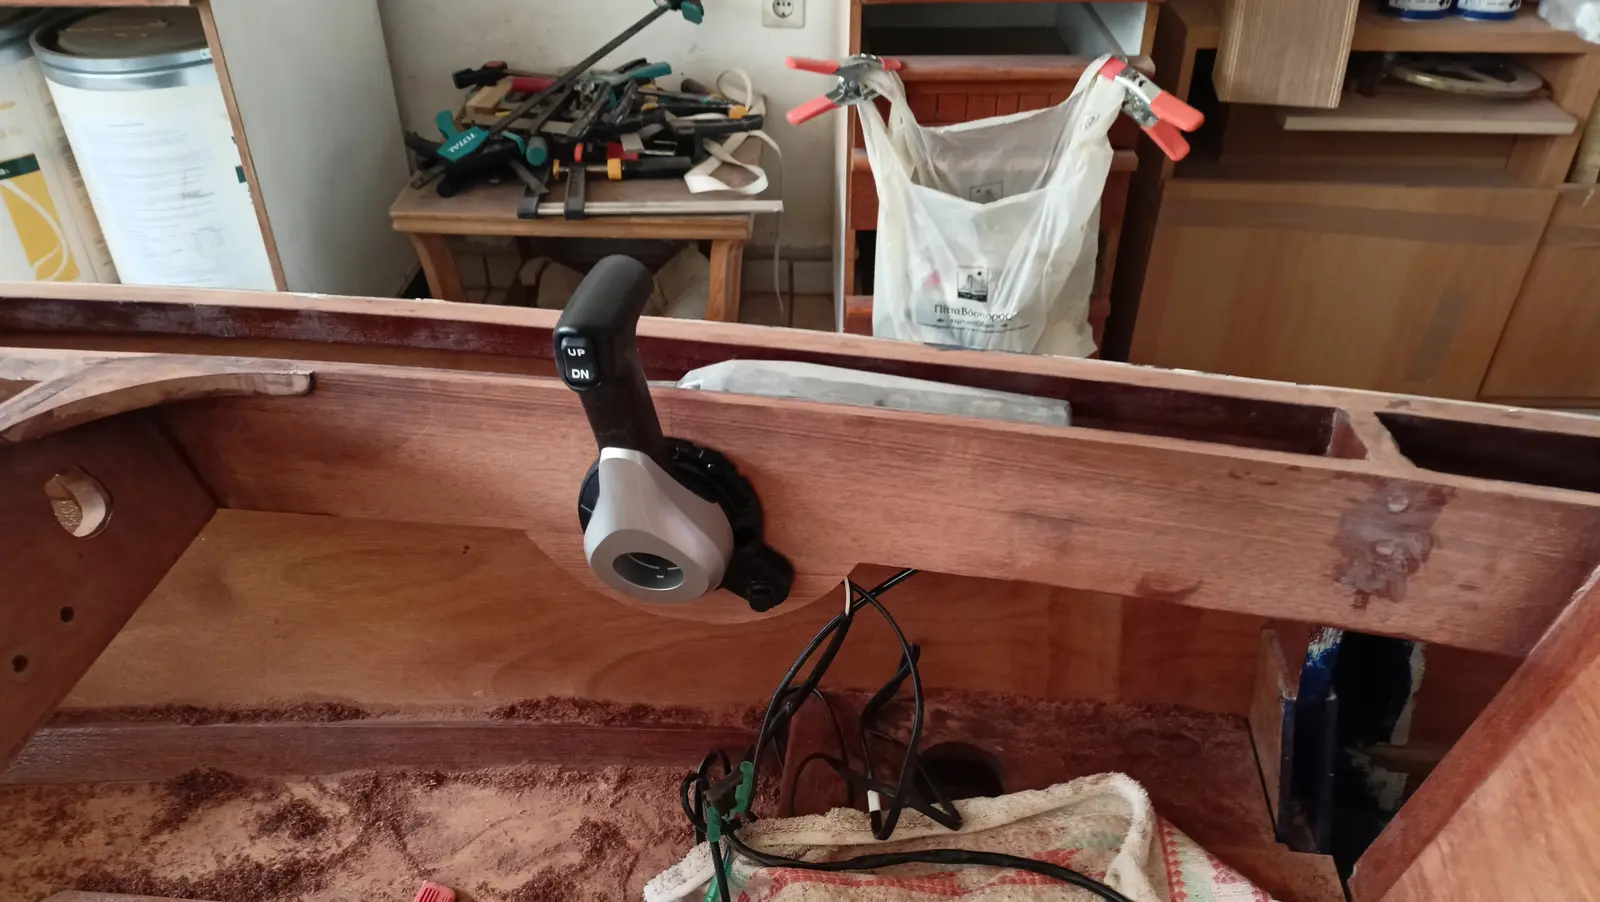
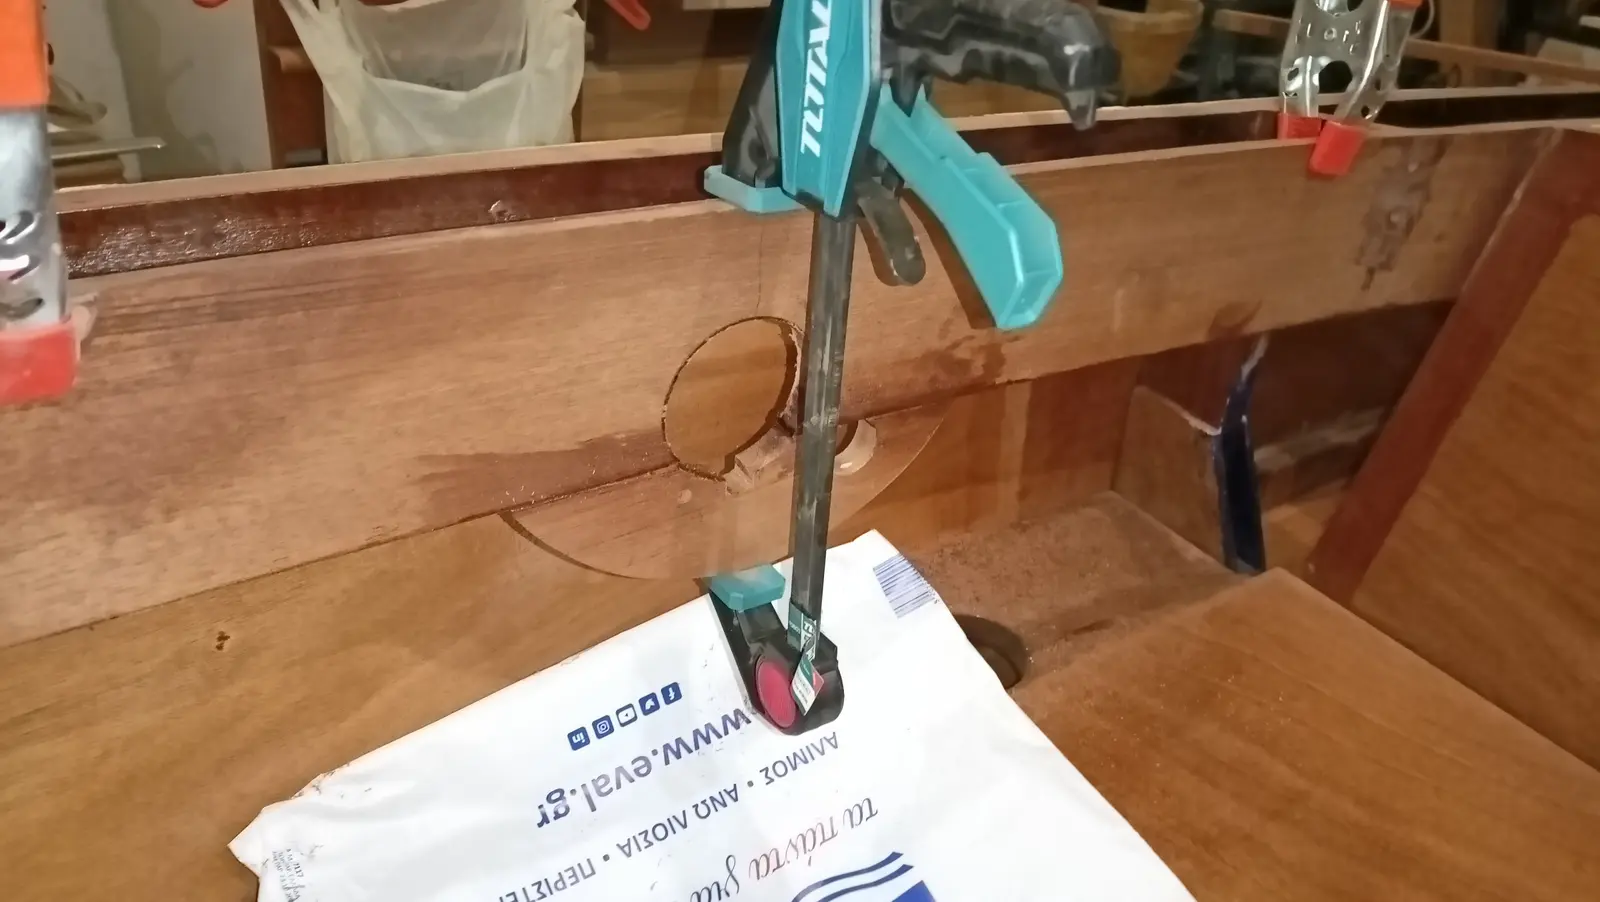
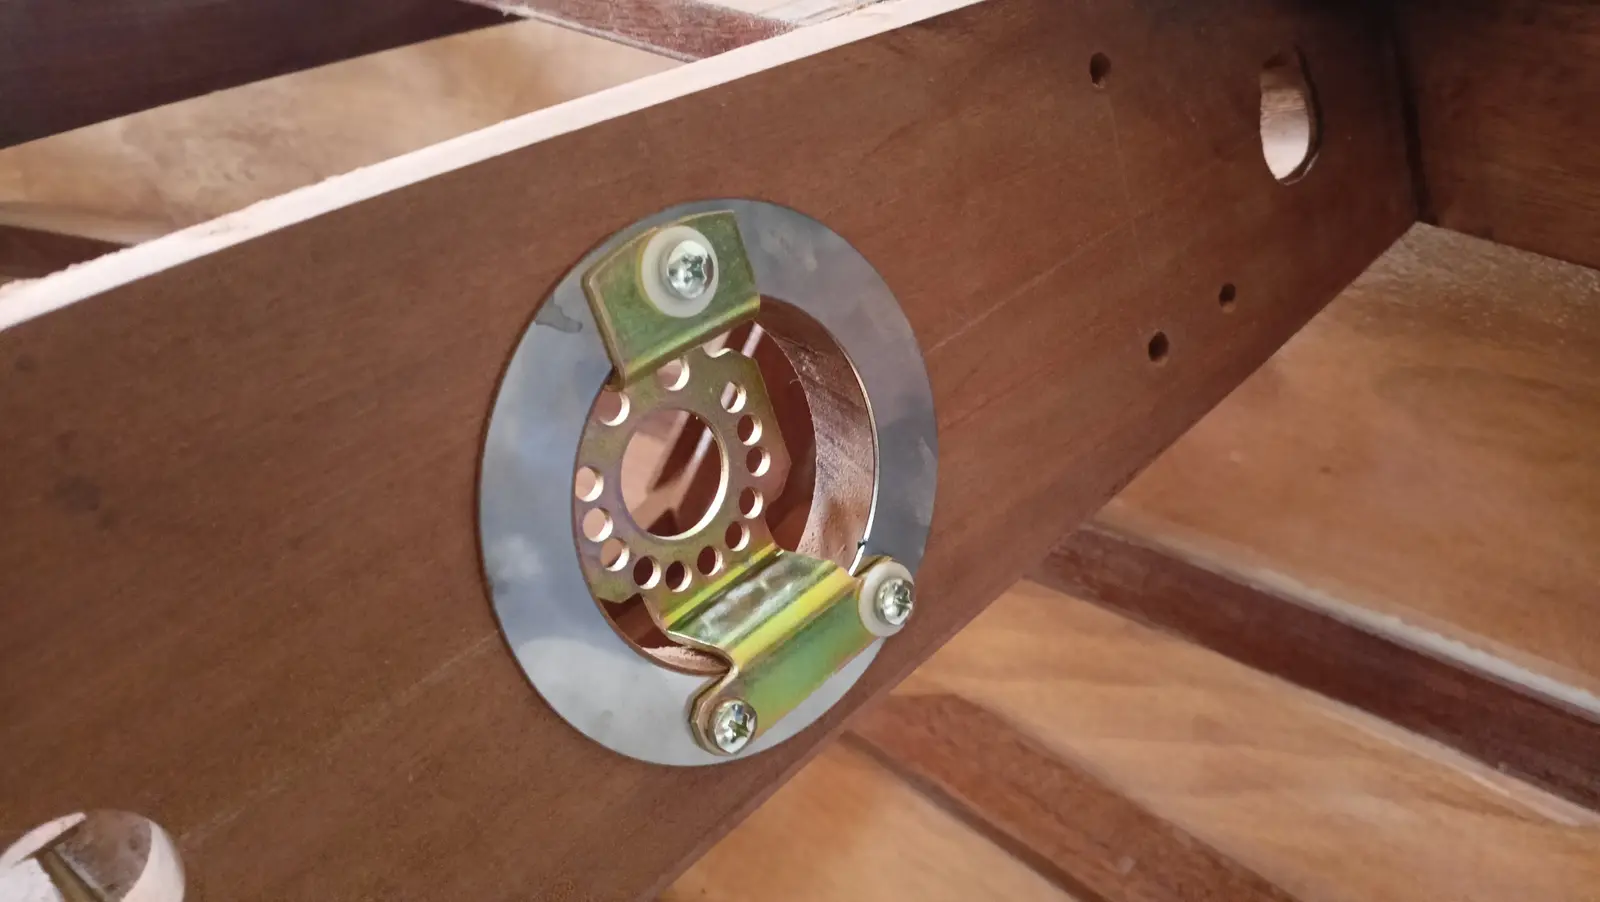
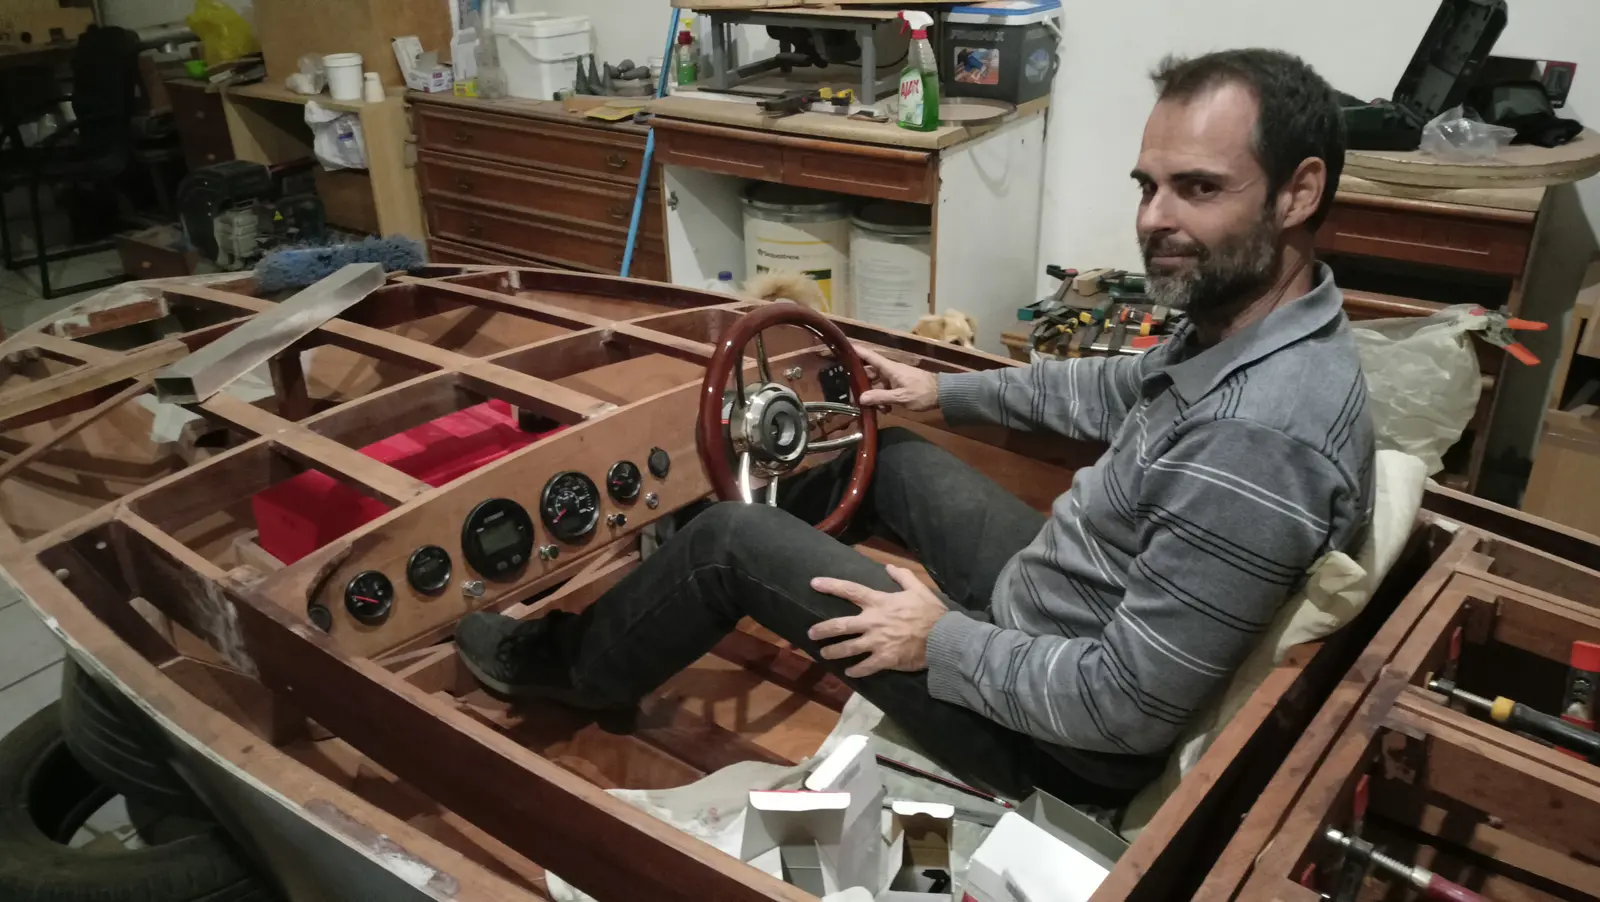
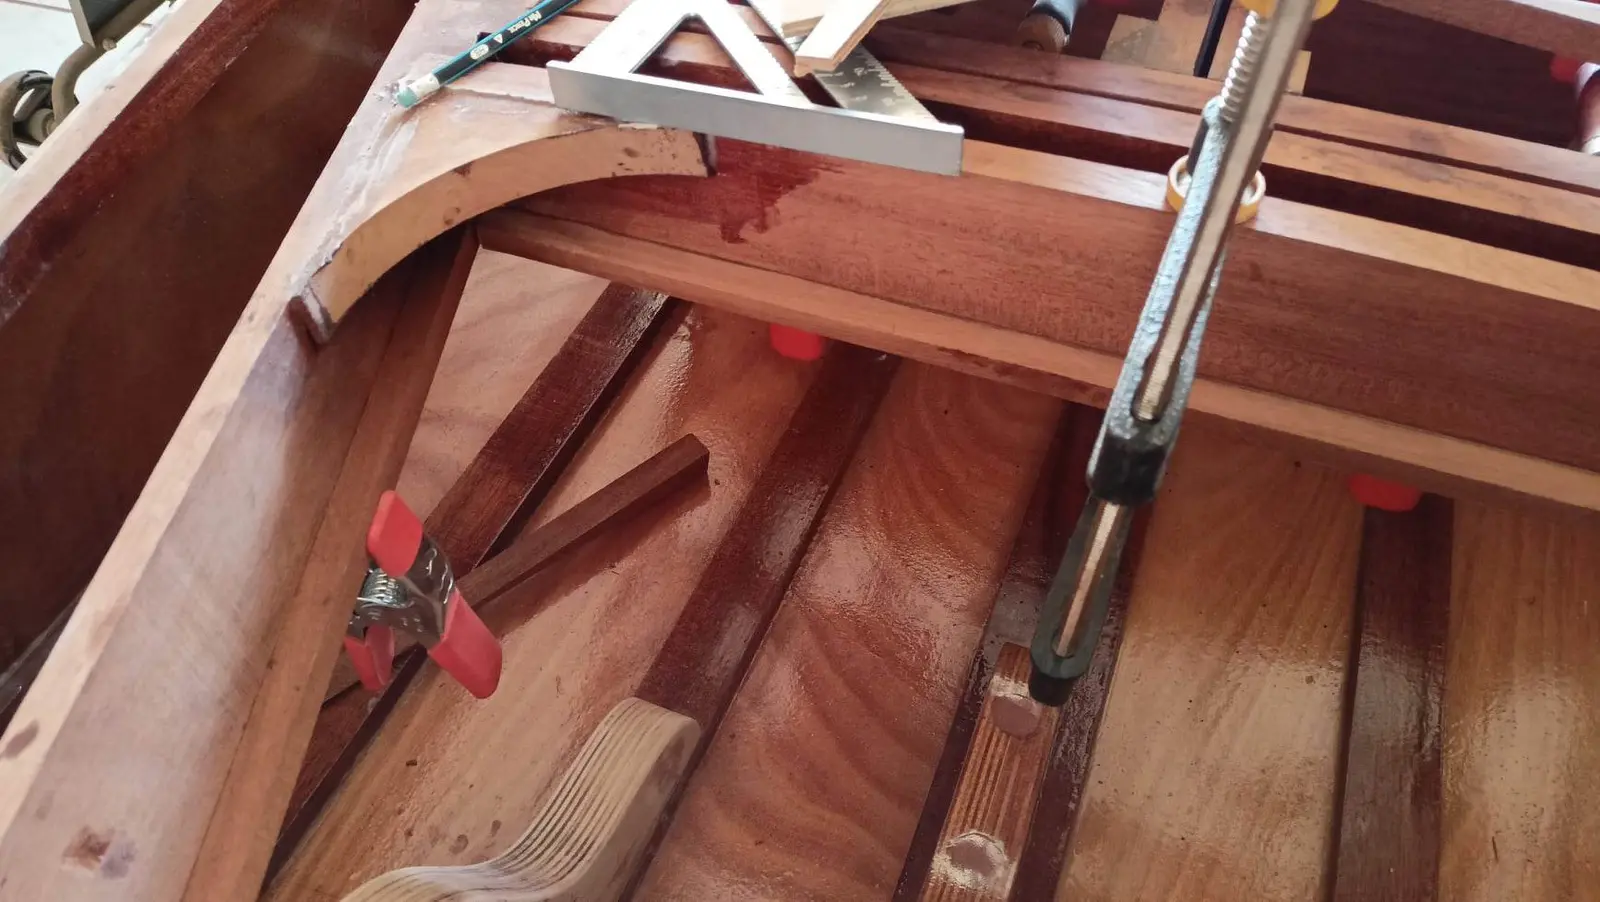
The next job is fitting the control box. To find the best position I temporarily put cushions on the seat so I would be sitting as close as possible to the right position, and tried where the control box suited me. I found it would have to be mounted on top of the coamings and not underneath, as I had worked out and made the packing piece for. So the hole shown in the photographs was cut. Three quarters of the hole is in the coaming and the rest in the packing piece, which was shaped to match. That is so the boat's framework does not lose strength.
Behind the coaming, because a fair amount of wood was removed, a 6 mm plywood reinforcement was glued in.
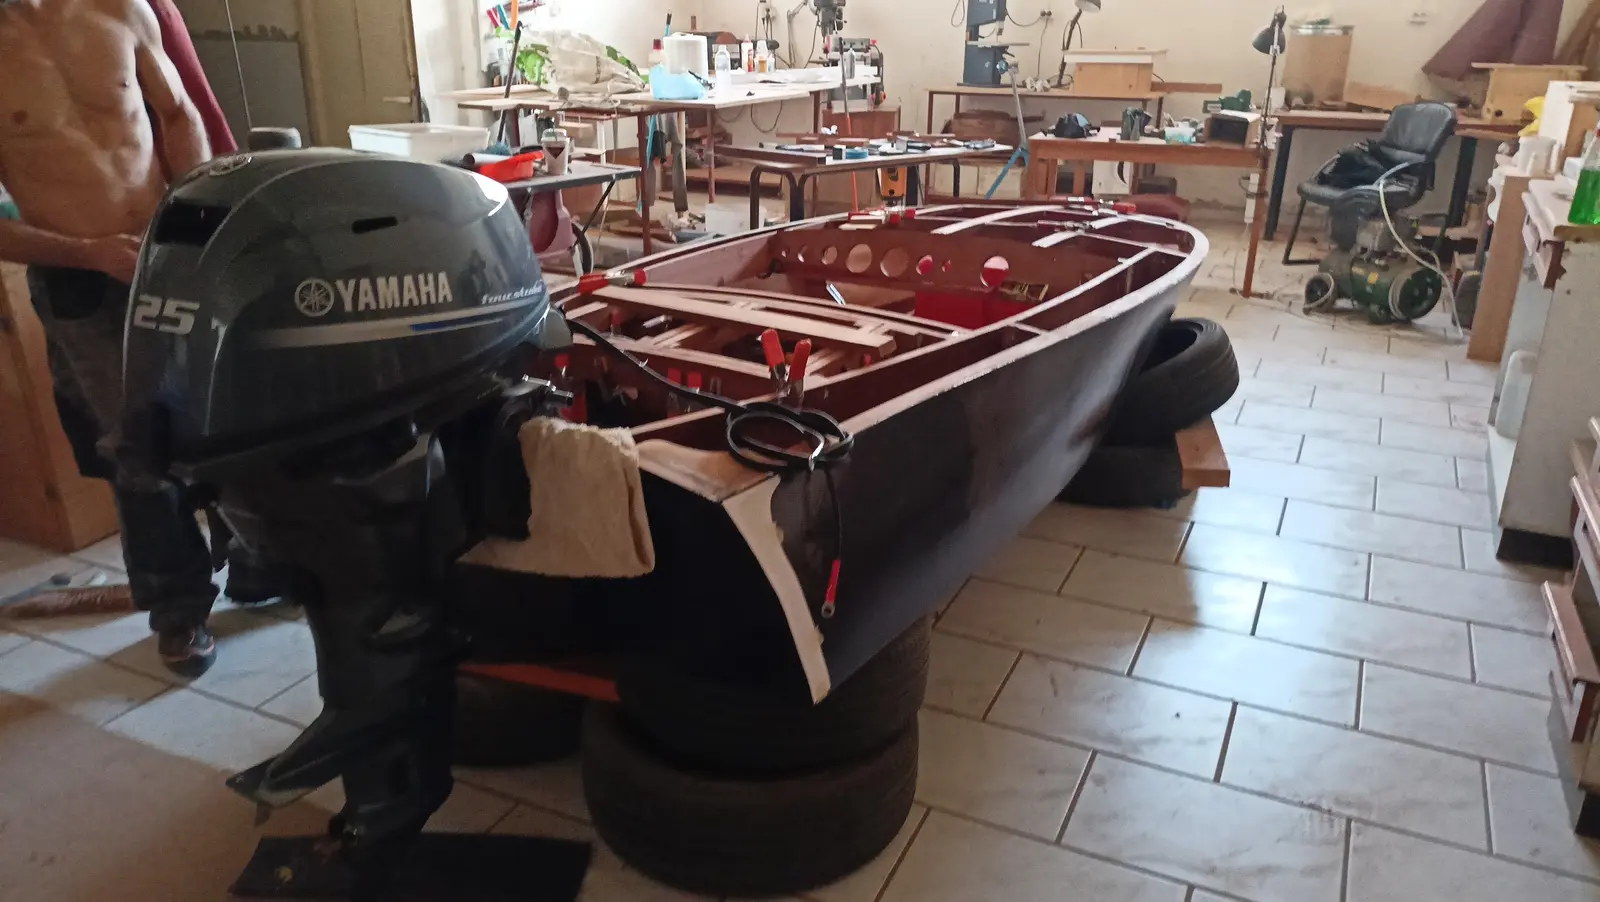
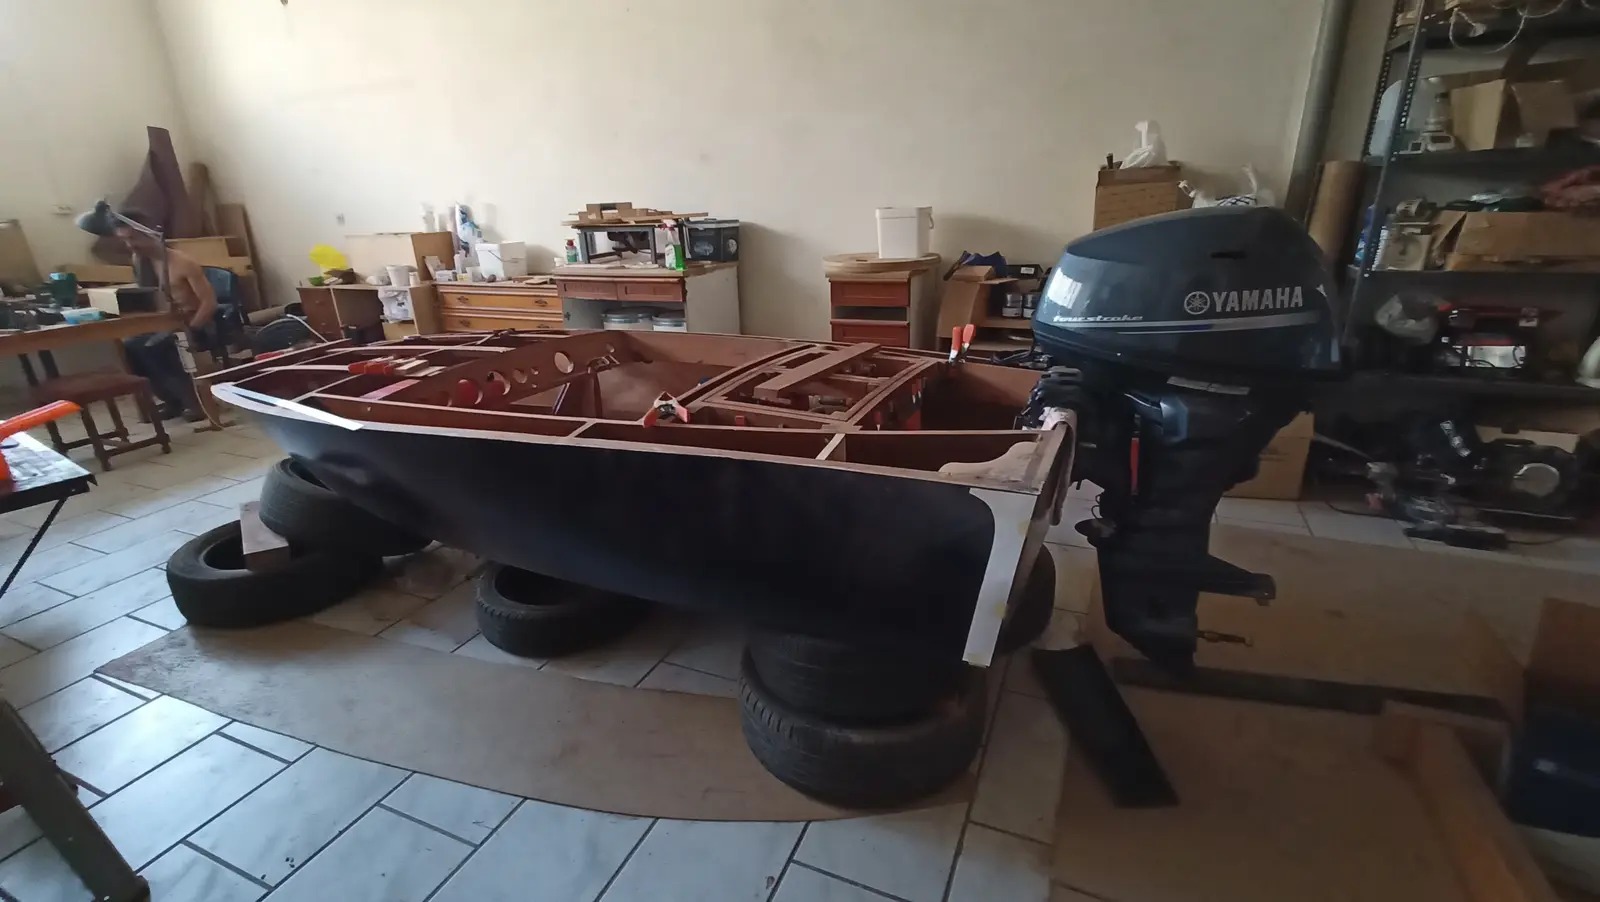
Alongside the interior work I am also getting on with the electrical installation. The cable being used is tinned, made specifically for use in a marine environment.
To work out the routes and the cable lengths, I fitted the outboard onto the boat.
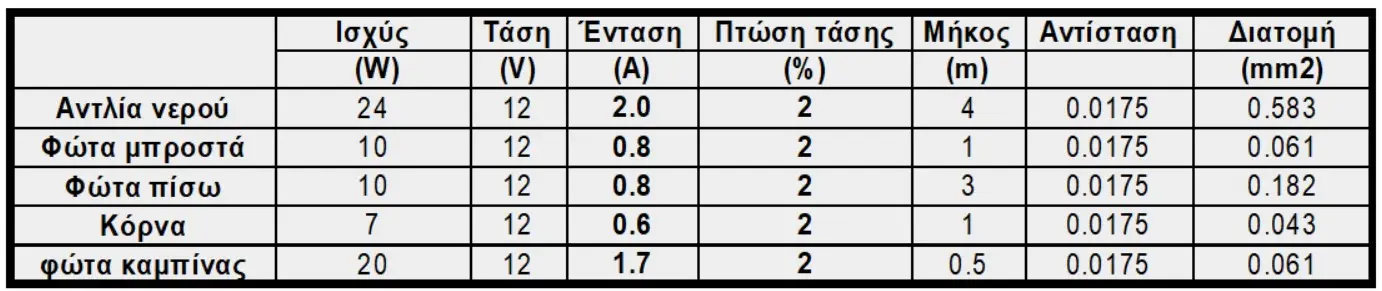
Cable cross-section is calculated on the basis of the maximum acceptable voltage drop, which should not exceed 3 to 4%.
For a greater margin I set the maximum acceptable drop in the spreadsheet at 2%.
Voltage drop for a DC circuit is calculated with the formula:
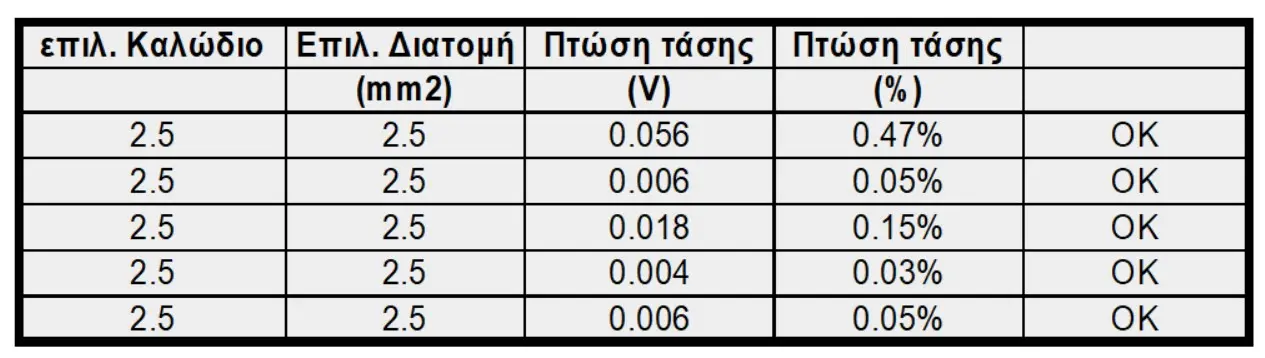
dU = p * (L / S) * (P / V) <= 2%, where p is the resistivity of the conductor, L the length in metres, W the load in watts, S the cross-section of the conductor in mm2, and V the voltage of the circuit, which in our case is 12 volts.
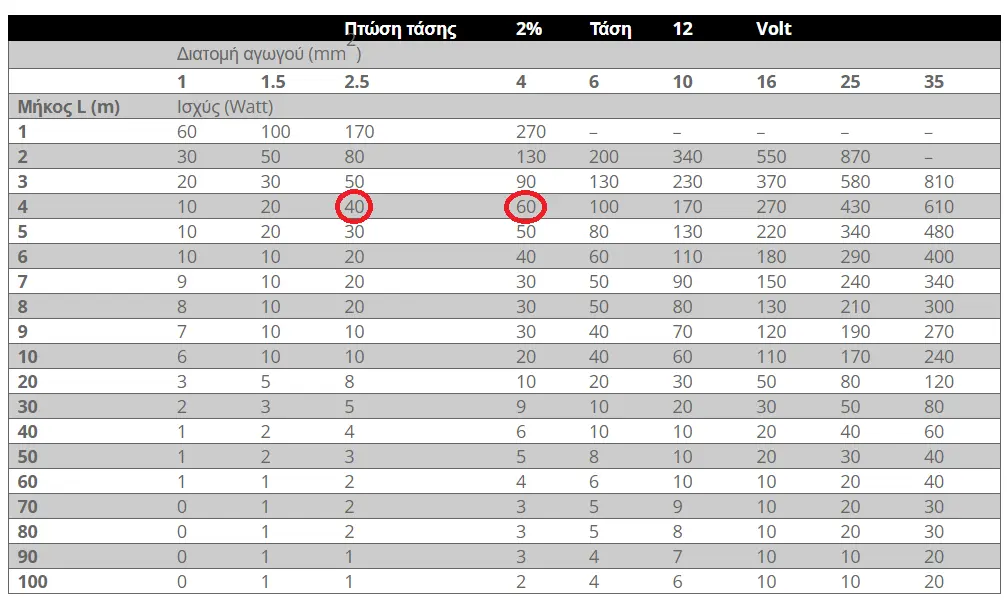
According to the calculation all the cables can be 2.5 mm2. However, for the two pumps I decided to use 4 mm2 cable and 6 mm2 for the main feed.
To check the figures I found the tables below, which confirm the current rating of the cables against their cross-section.
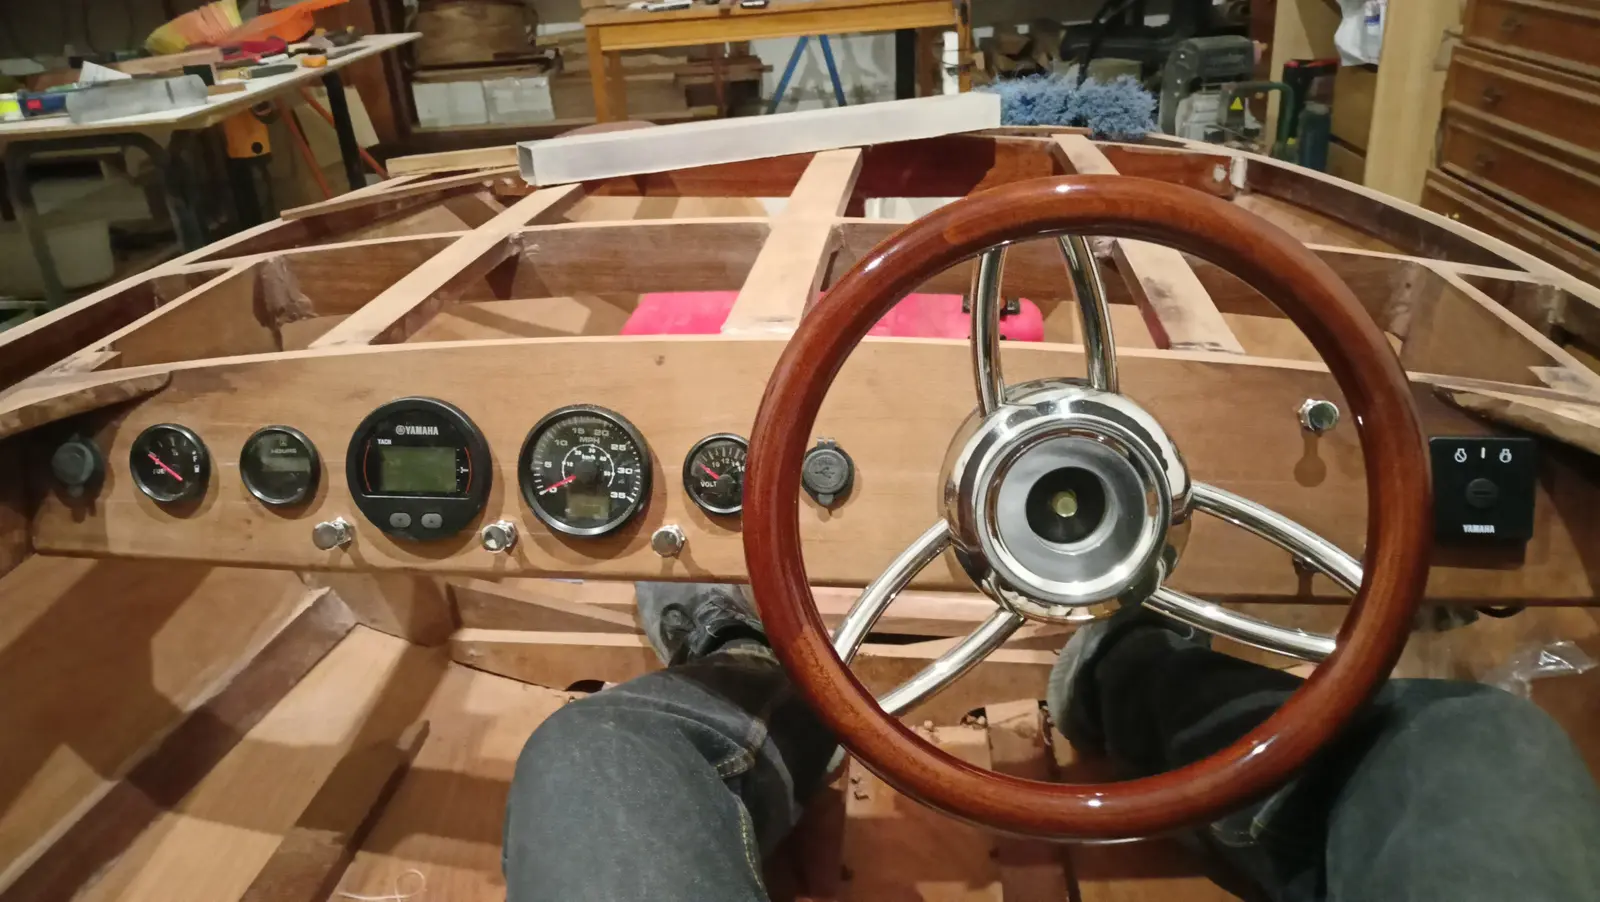
The first job for the installation is fitting the instruments into the dashboard. First the helm and the wheel went in, then the rest of the instruments. A first trial was made of where the control box should go but I have not settled on the position yet. The first photographs are below.
And a few more of the cabling going in.

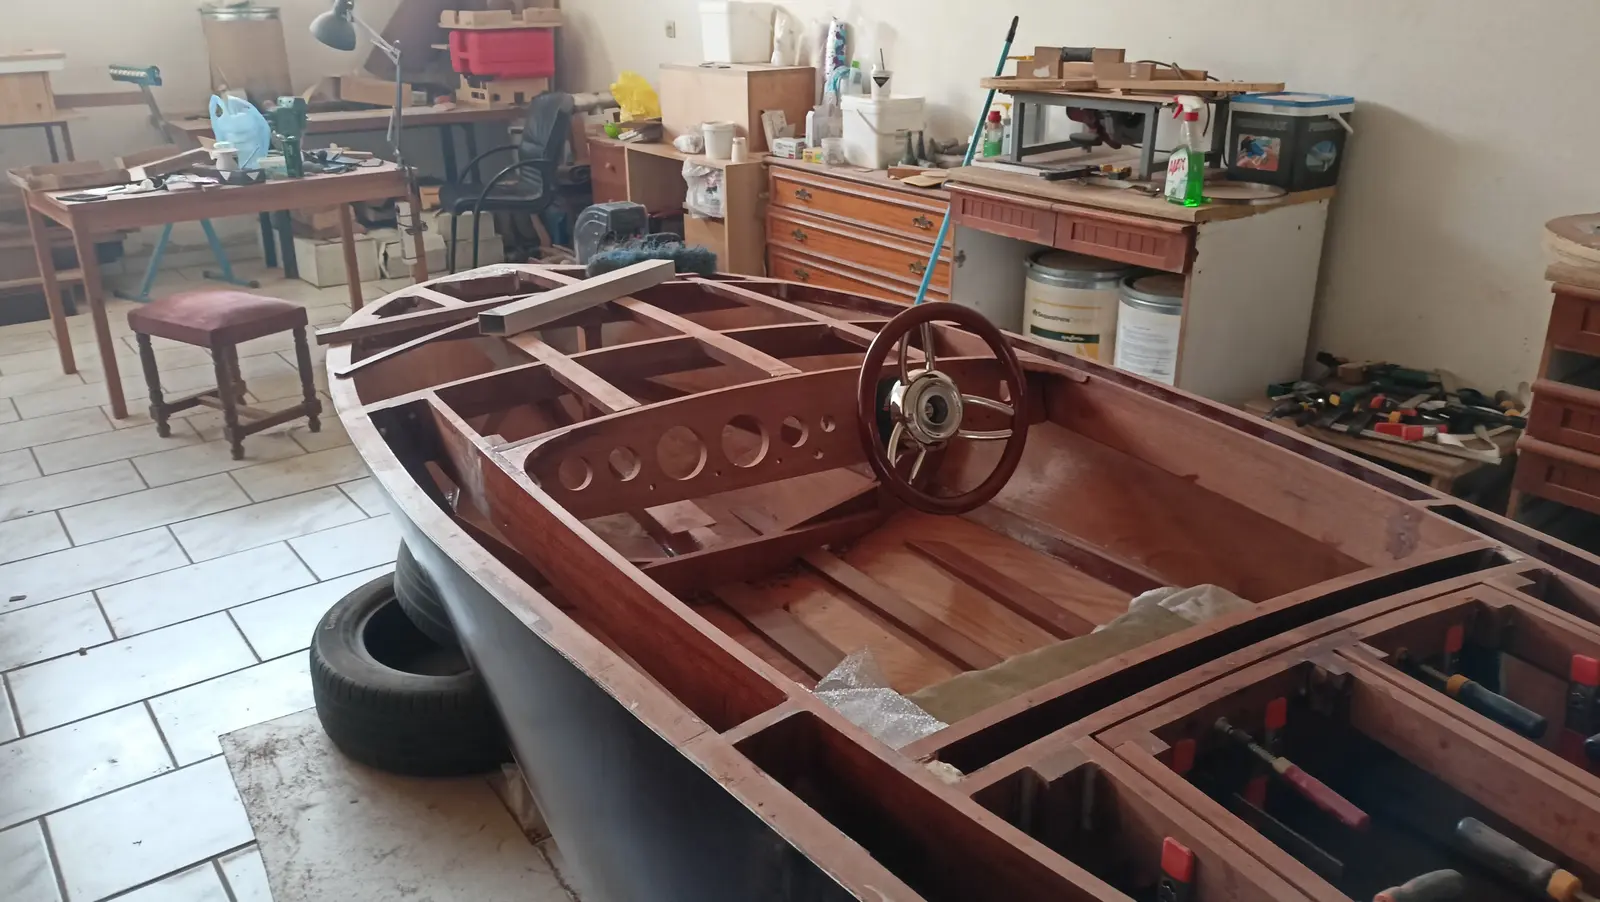
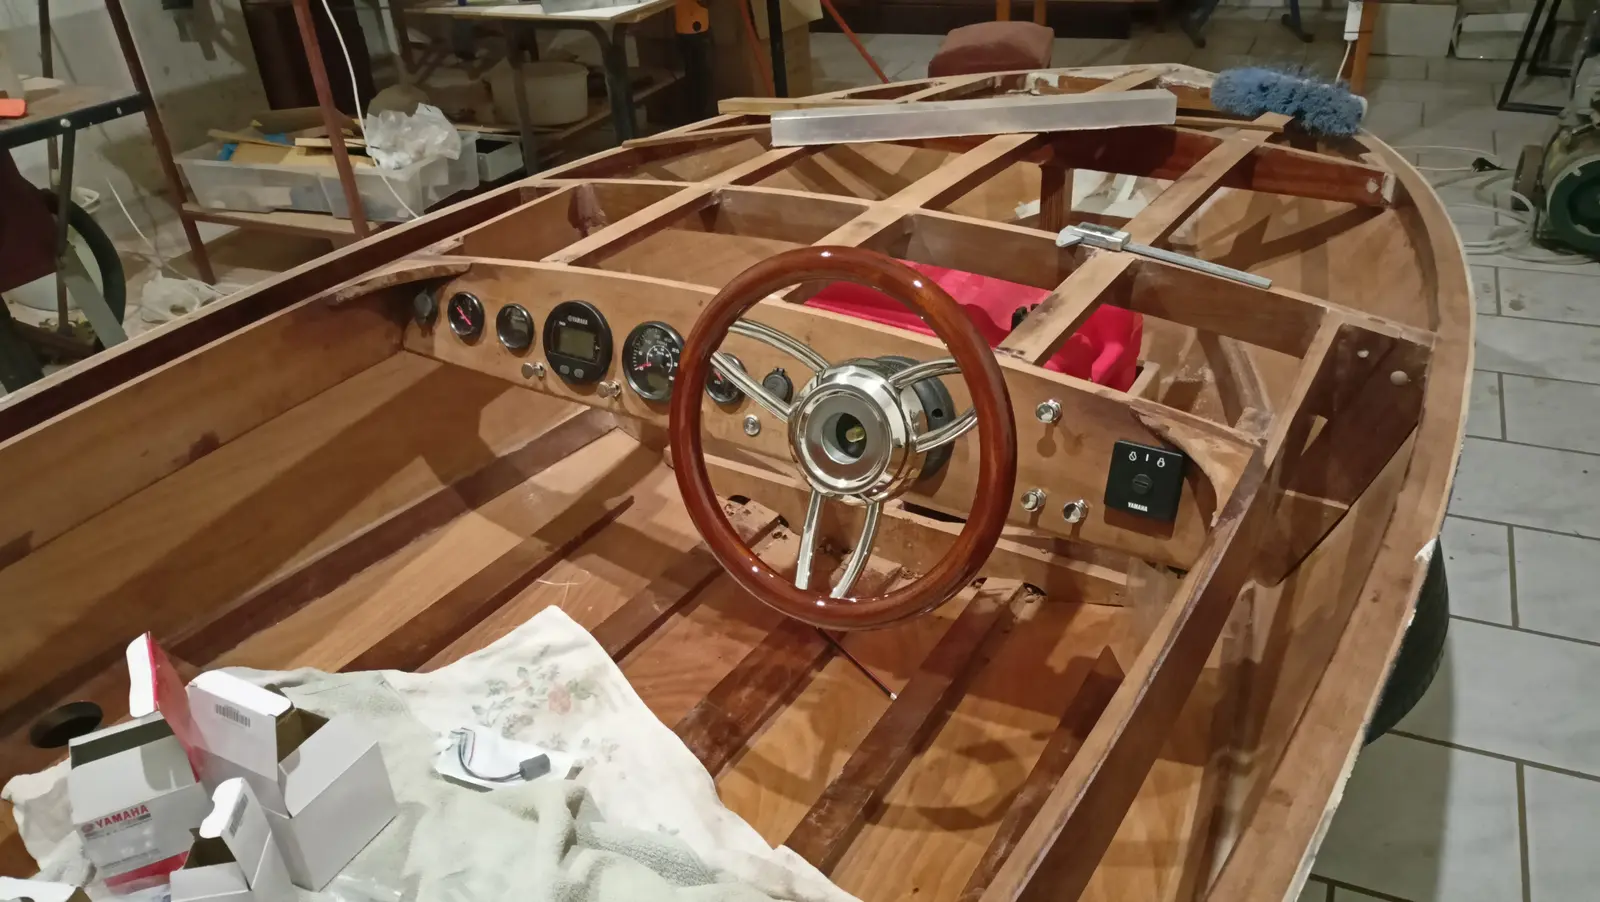
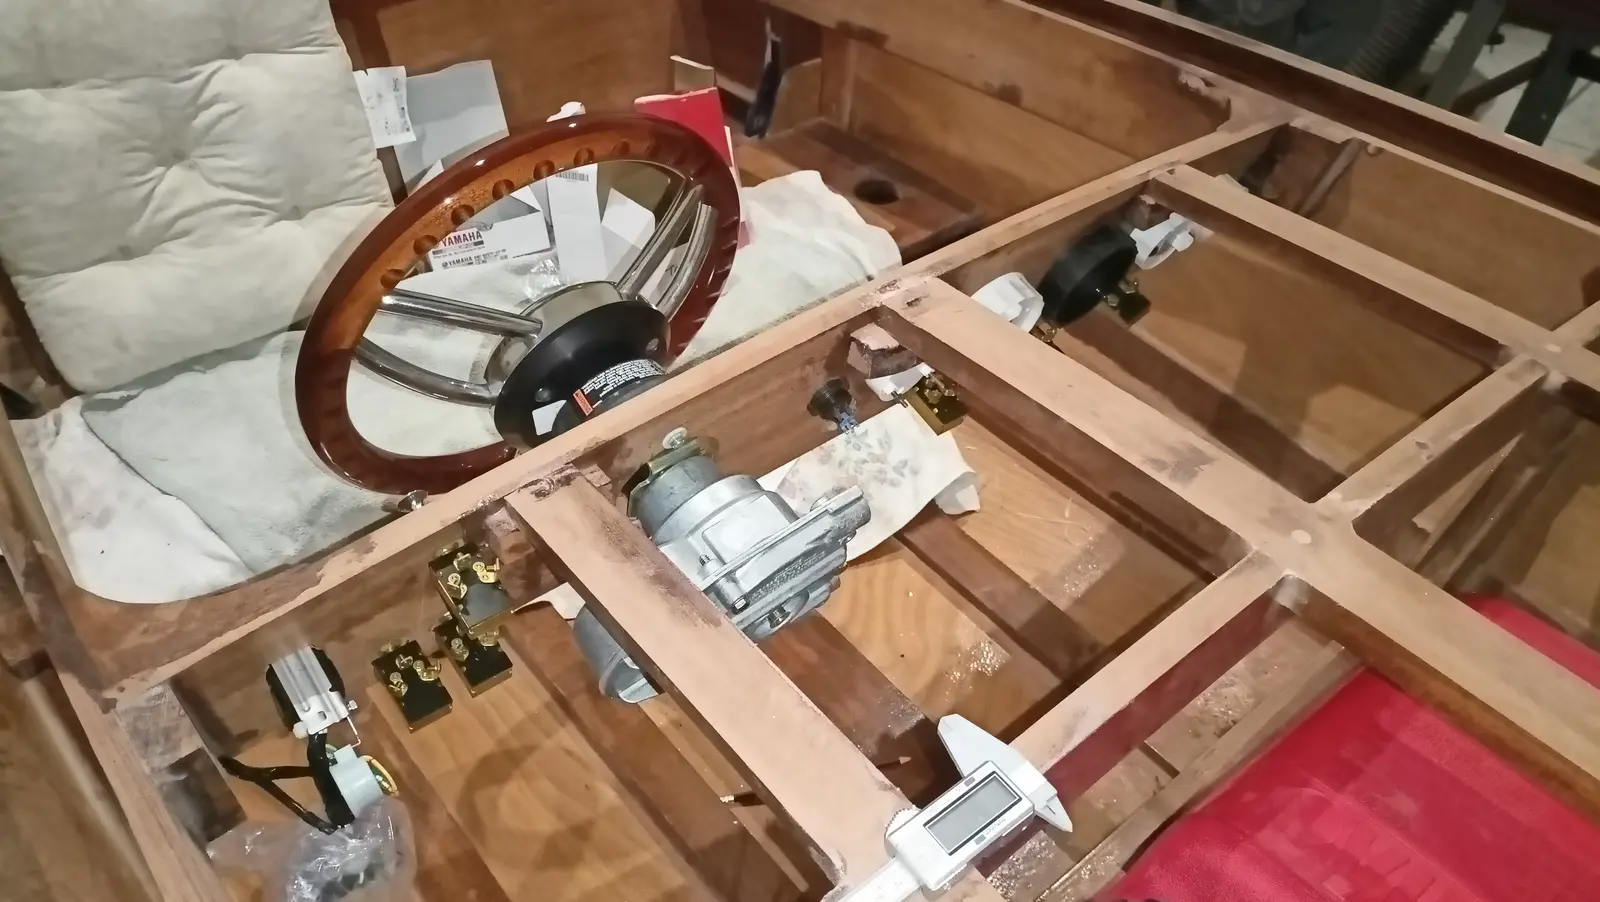
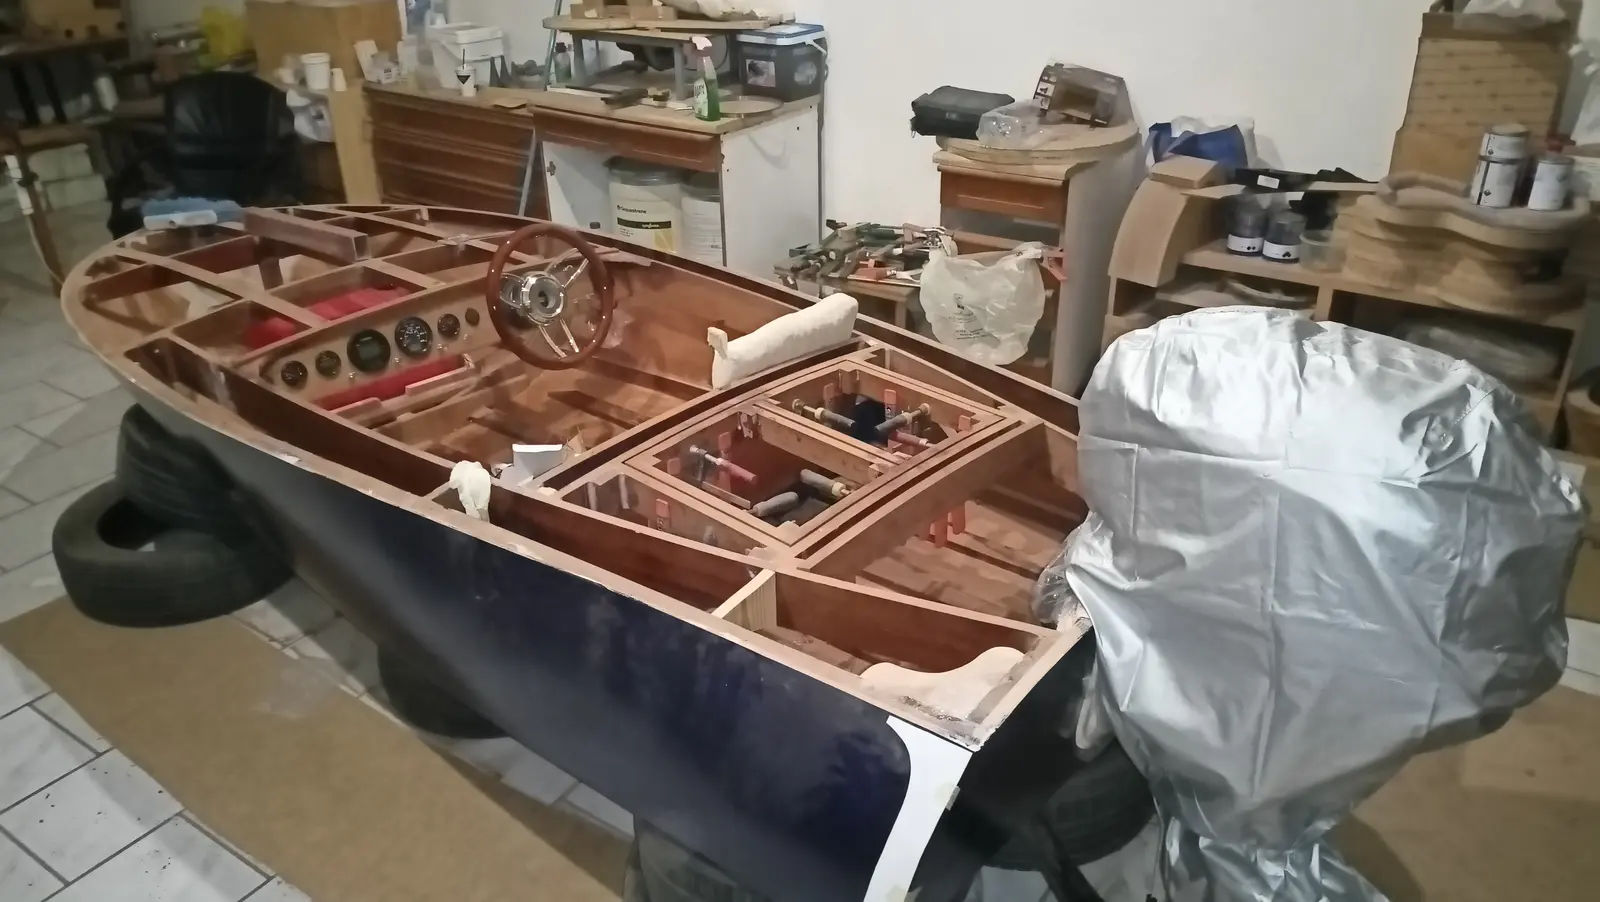
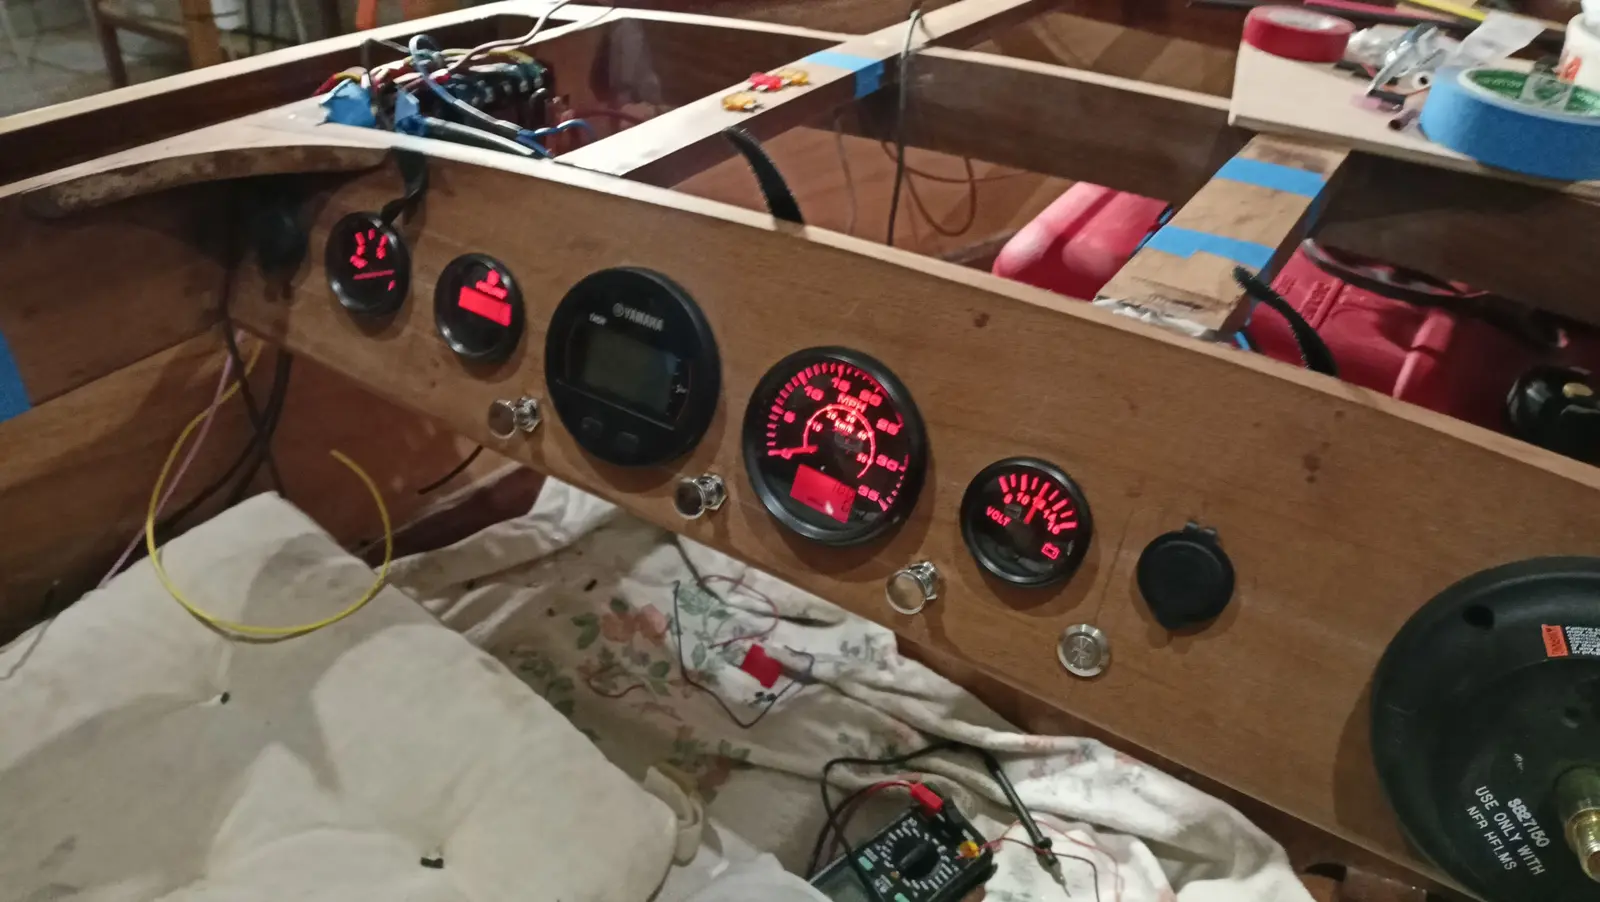
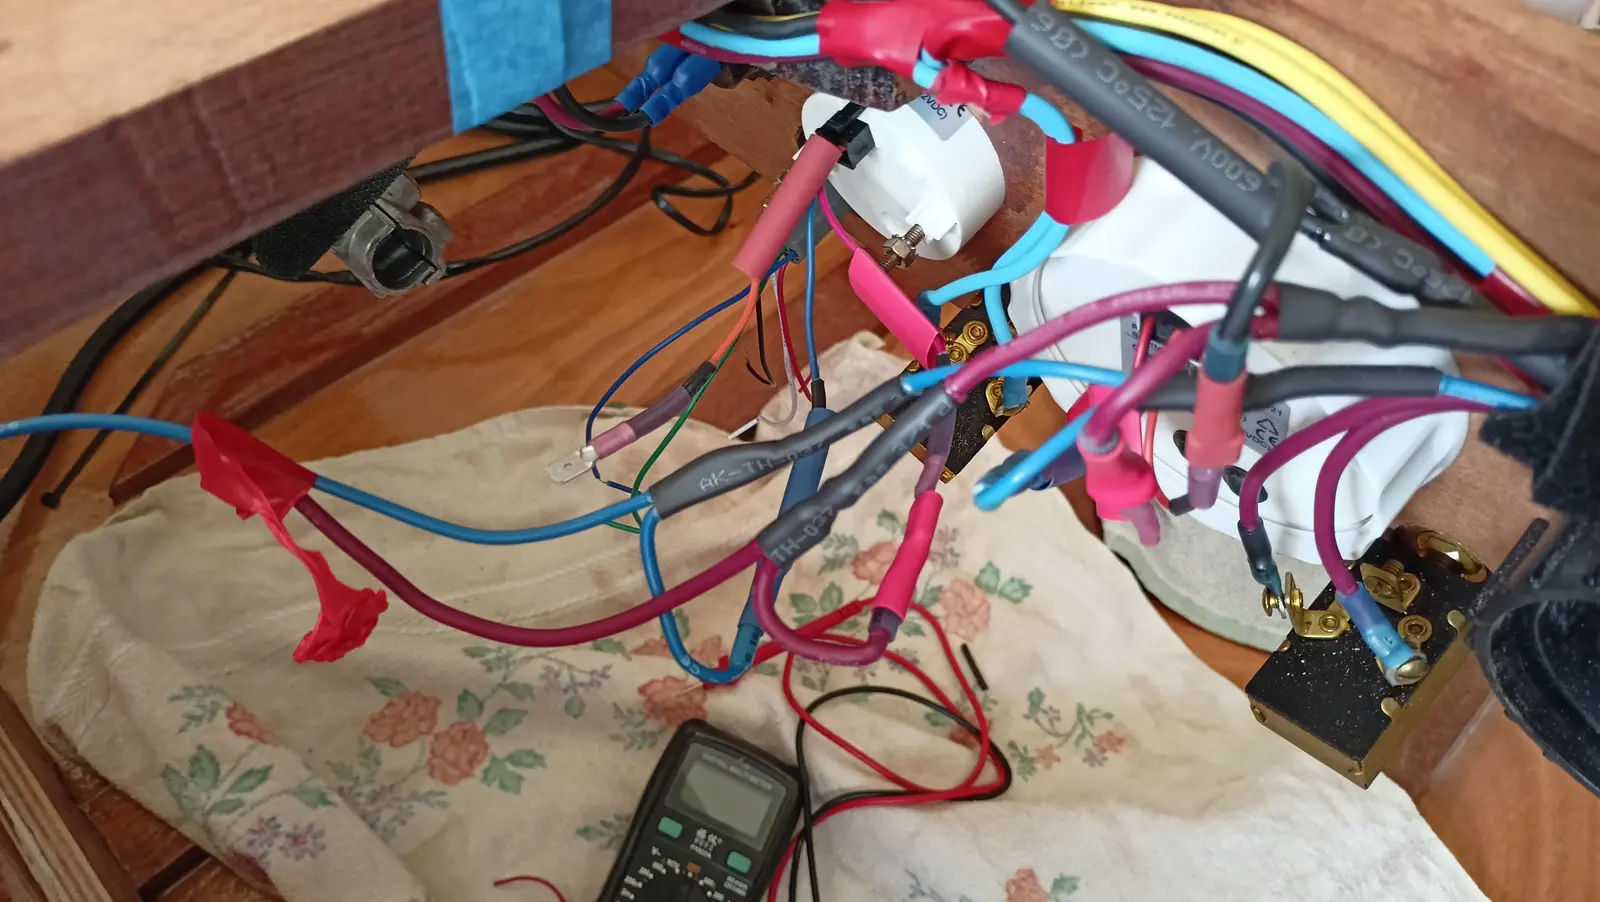
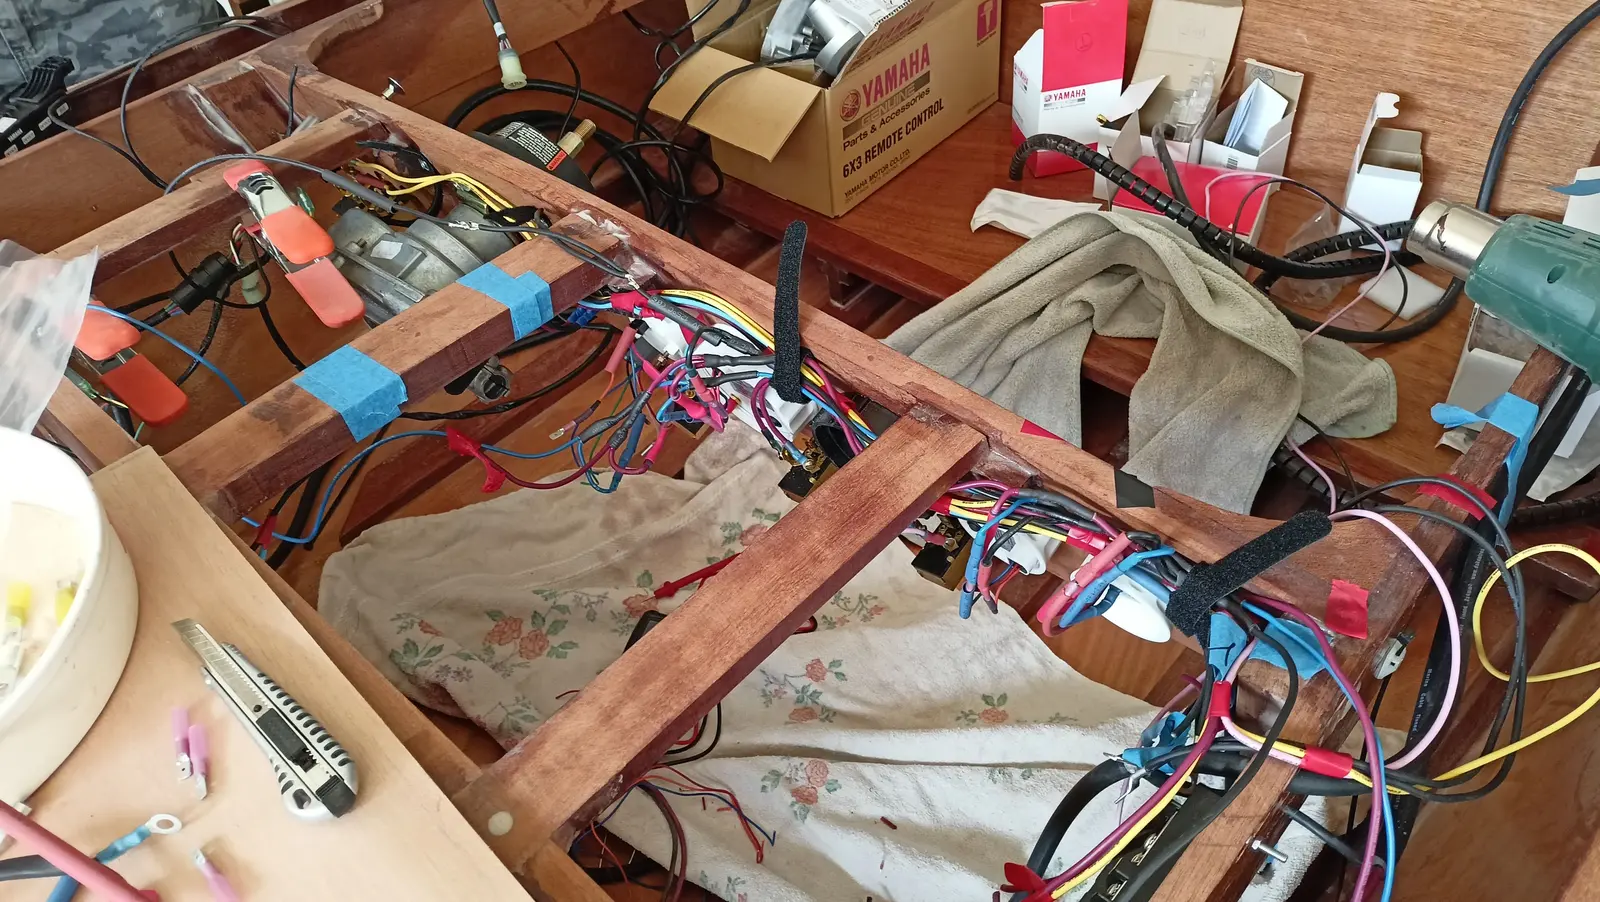
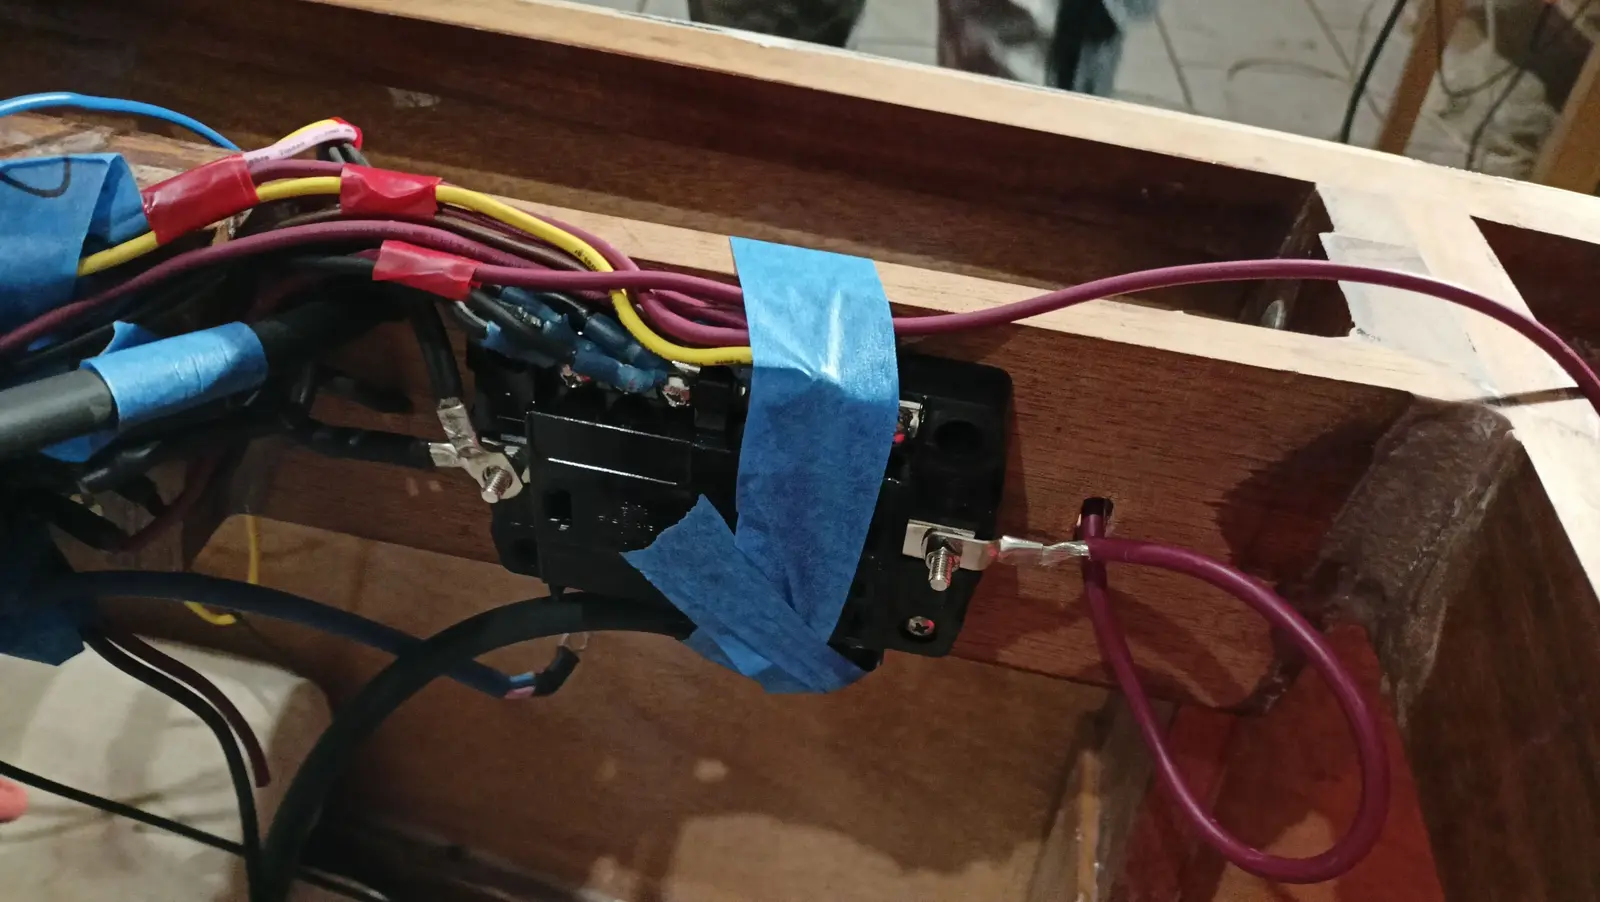
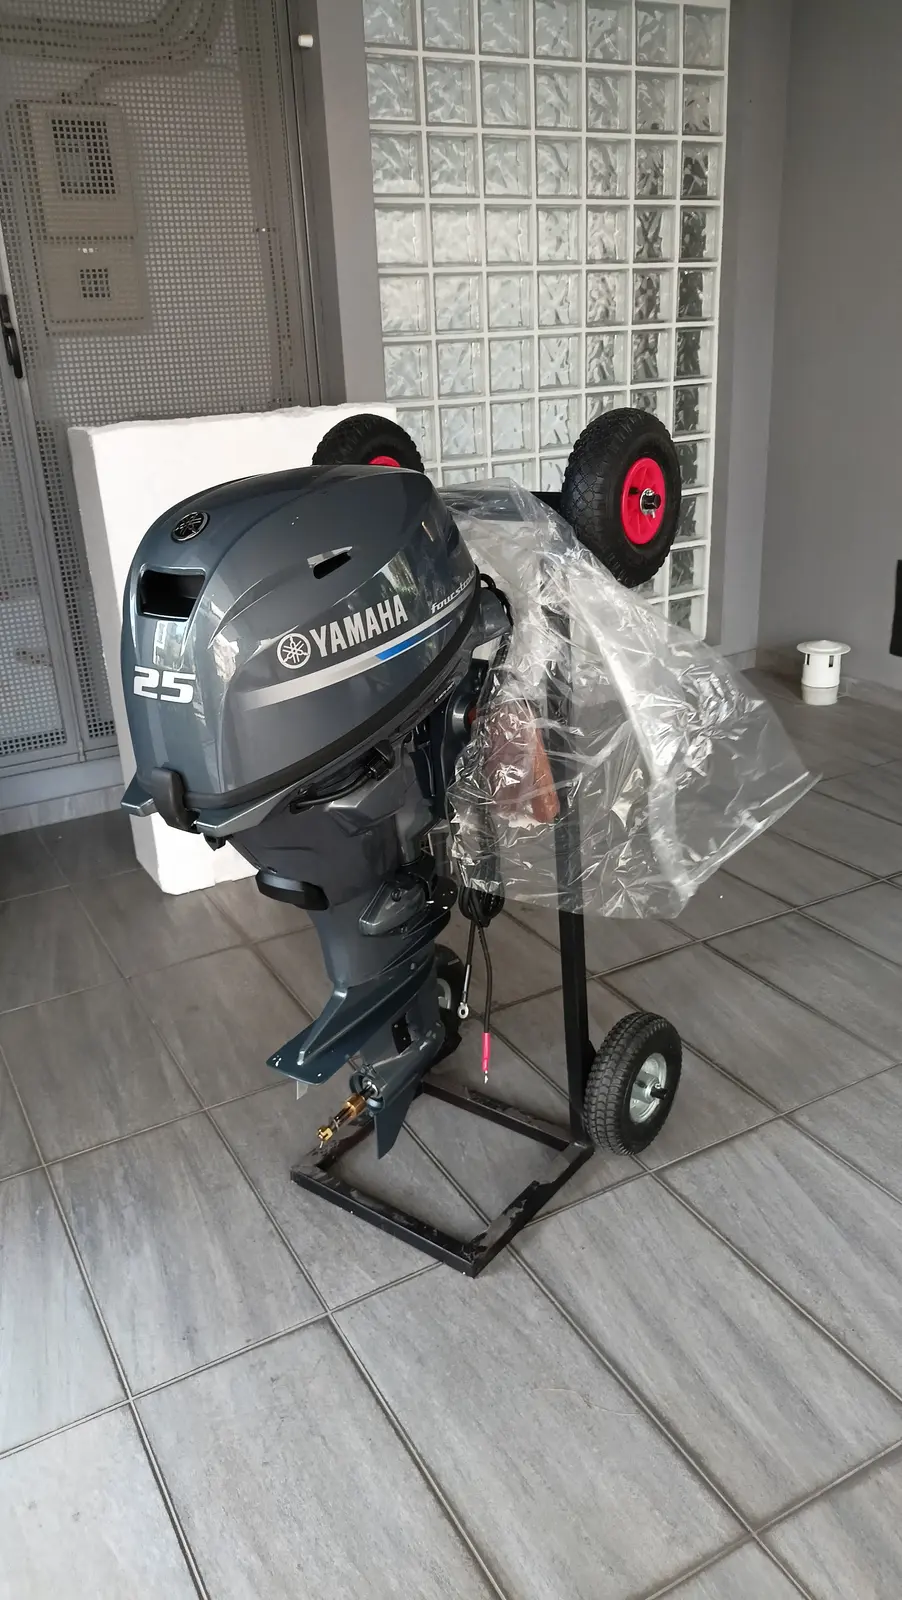
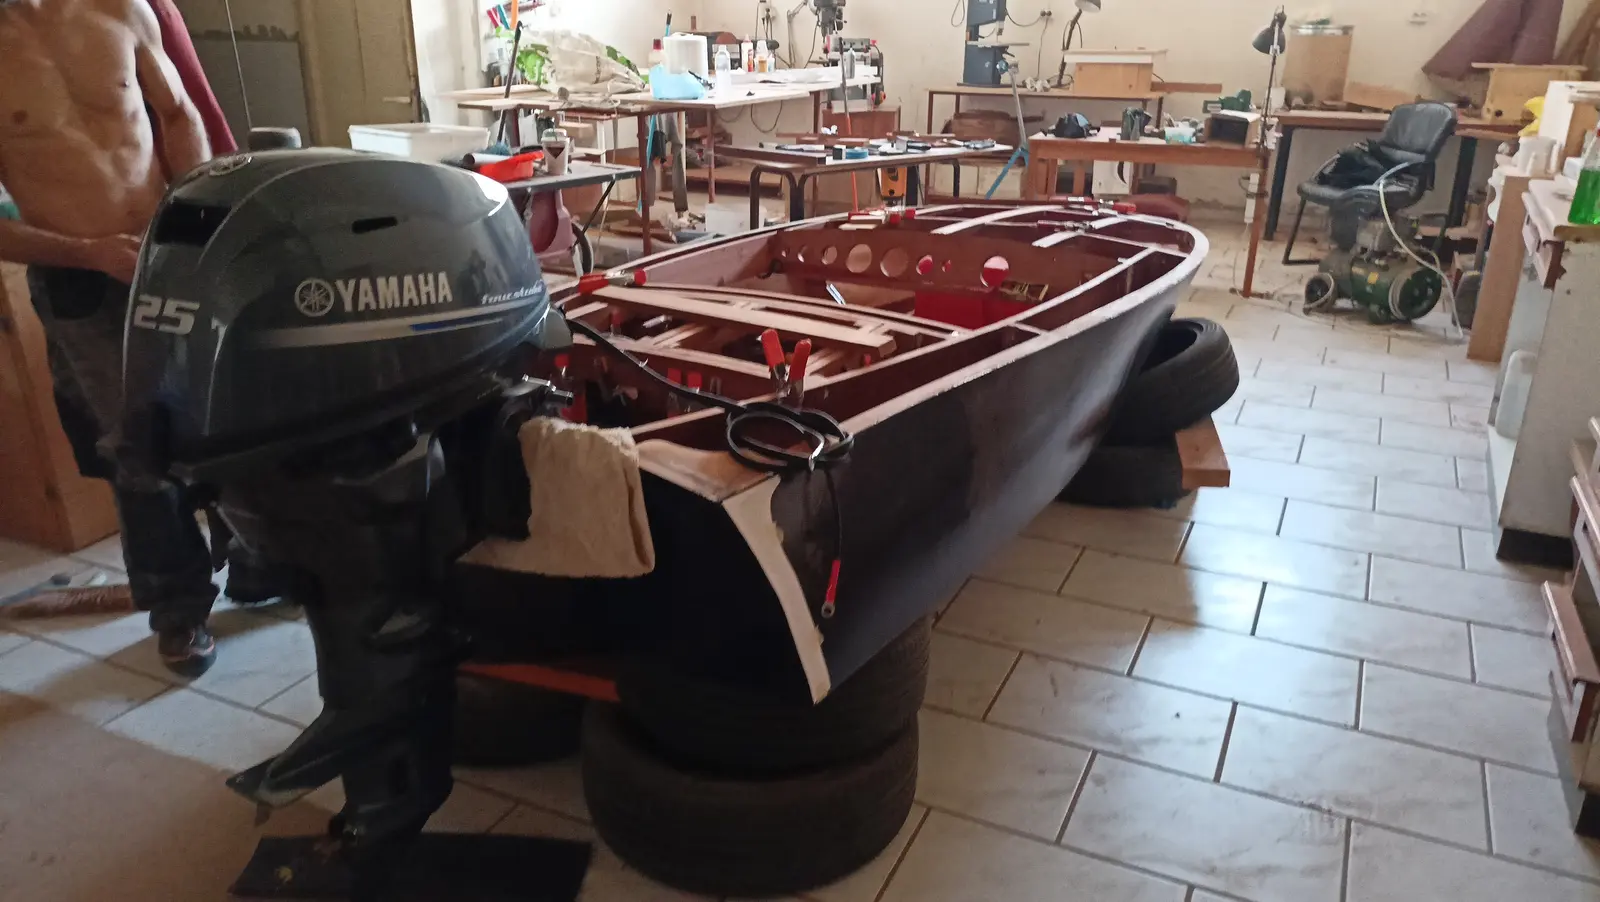
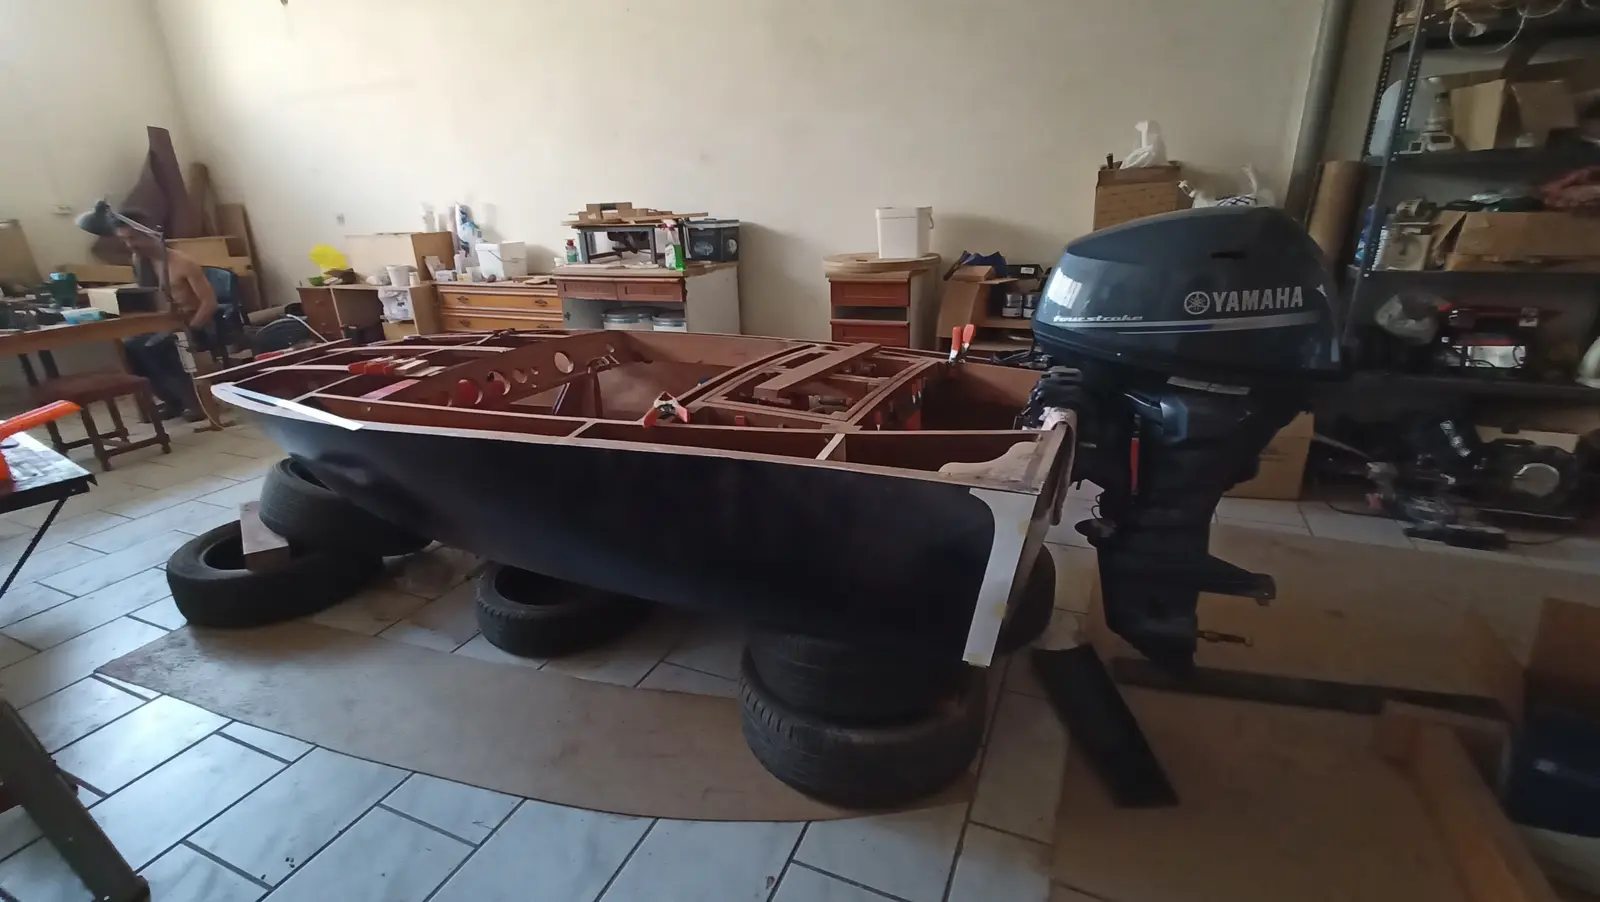
This section covers pretty much all the necessary work inside the boat that has to be done before the plywood goes on. The fuel tank box was given two coats of resin, and the area that will sit underneath it got epoxy primer and paint, apart from the areas to be glued.
So the tank can be held down onto the box, holes were drilled for the straps that will tie it down.
Finally, blocks were glued in for the base to sit on and they were all brought to the right height by gluing thin pieces onto the ones that were lowest.
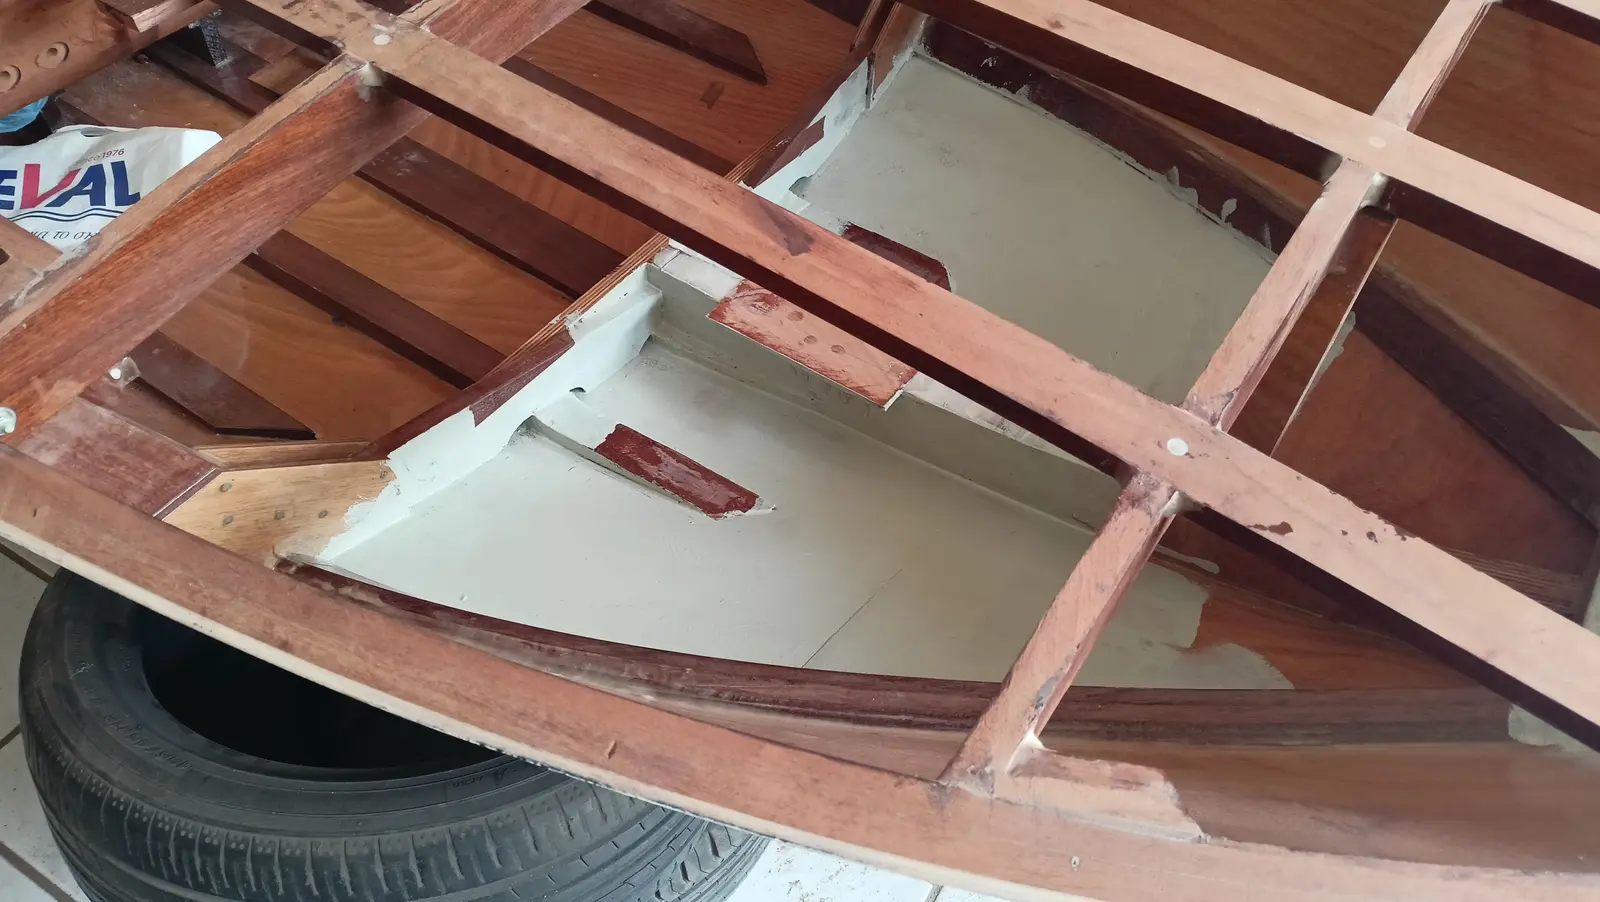
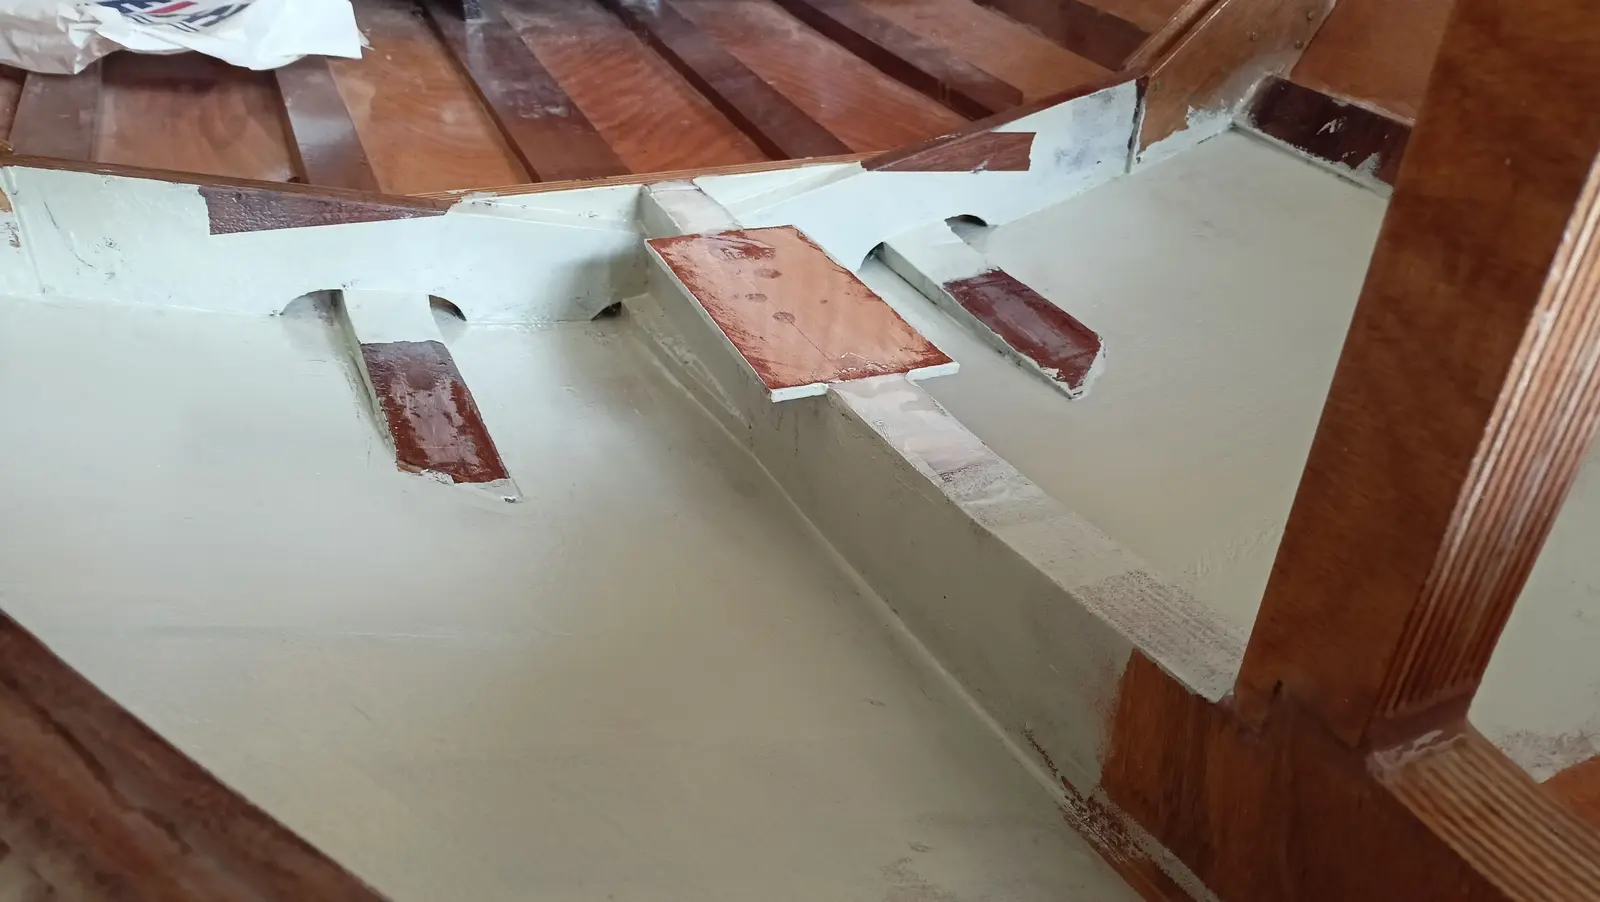
Alongside that work, certain areas where no further work will be done are being painted with the epoxy primer.
I decided to strengthen the transom even more than the plans allow for. So I cut two more knees, which were glued in to the left and right of the central keel knee.
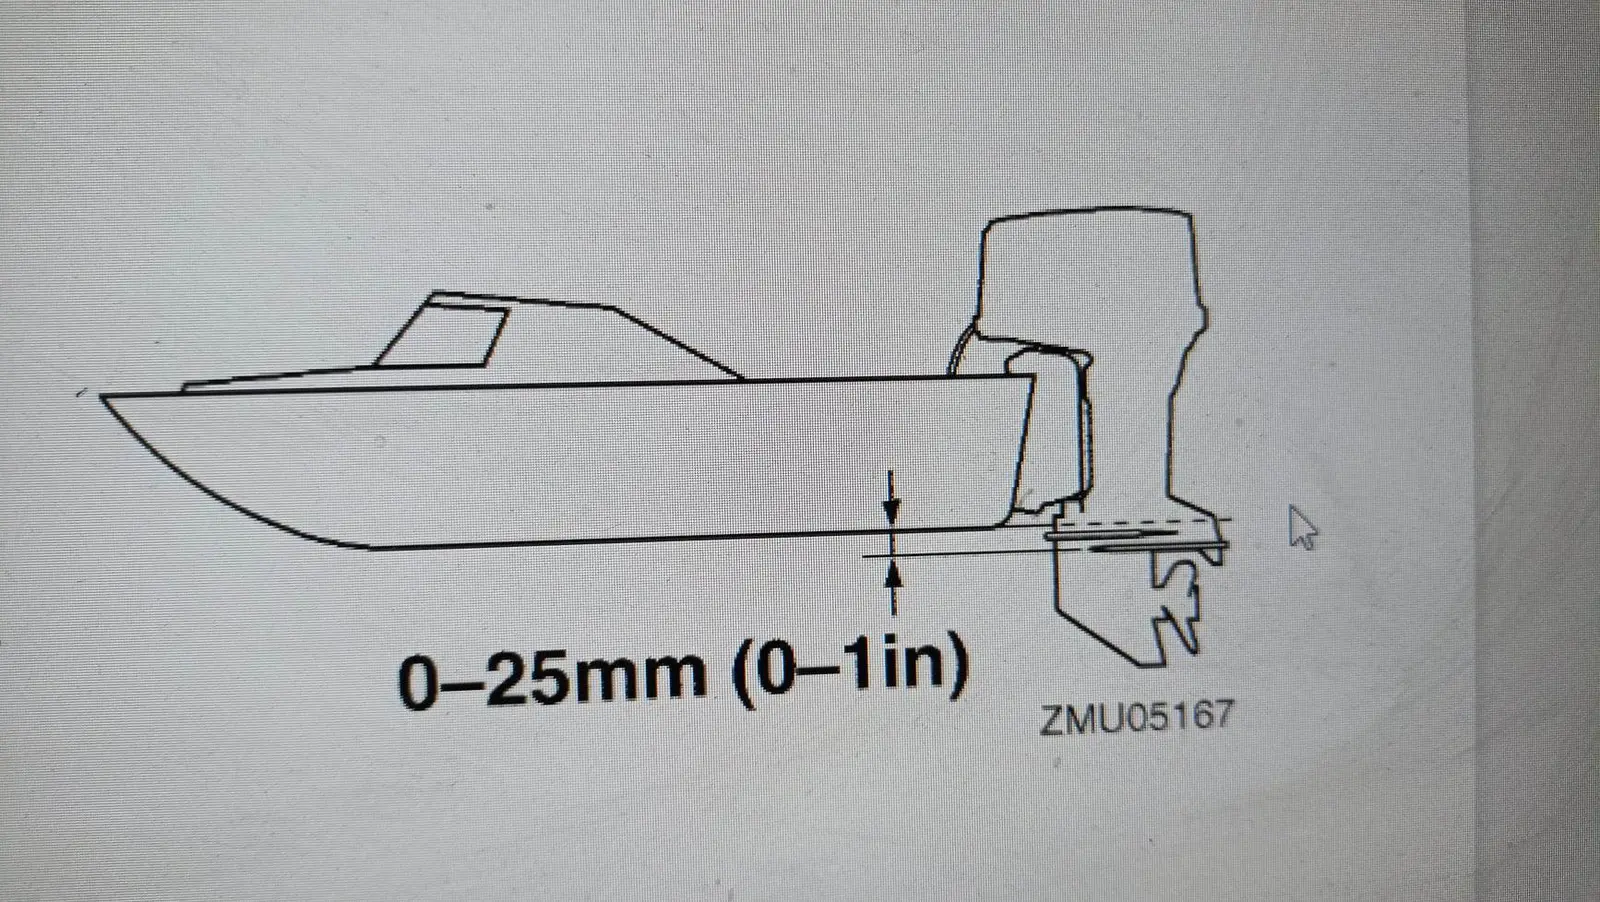
One problem with the plans is that the transom height is 37.7 cm. Modern engines want more. Specifically, the short shaft Yamaha I have bought is 42.4 cm to the anti-ventilation plate. Yamaha recommend the plate should be level with the hull, up to 2.5 cm below it.
So the transom will have to be raised by between 22 and 47 mm. I decided to raise it 30 mm, because the outboard clamps grip 30 mm down from the top edge of the transom. To do that, 7 mm plywood was glued on the inside and 30 mm sipo on the top edge of the transom.
The last piece that had not been glued in aft was also glued.
At the same time the fuel tank box is being prepared for gluing. First and second coats of epoxy primer went on, then the paint.
The next job is building the aft end of the boat.
I decided to close it in and leave an opening so I have access to the pumps. It will be closed with plywood and, on top, timber to match what is going on the rest of the boat.
The bearers the plywood will sit on were cut.
The next job will be cutting and fitting the plywood.
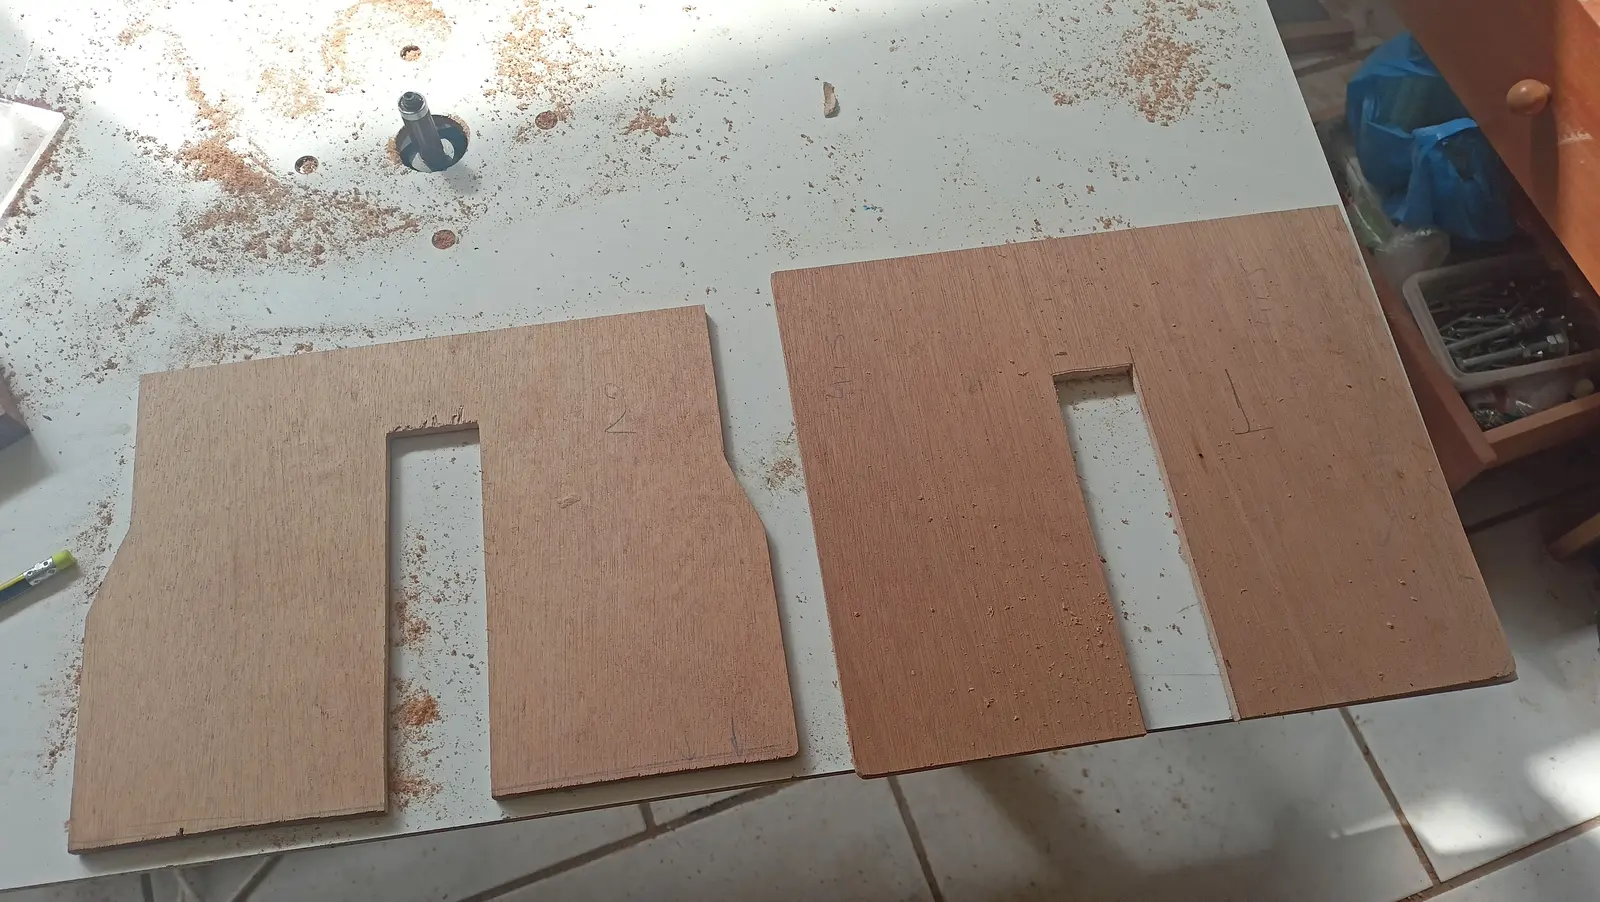
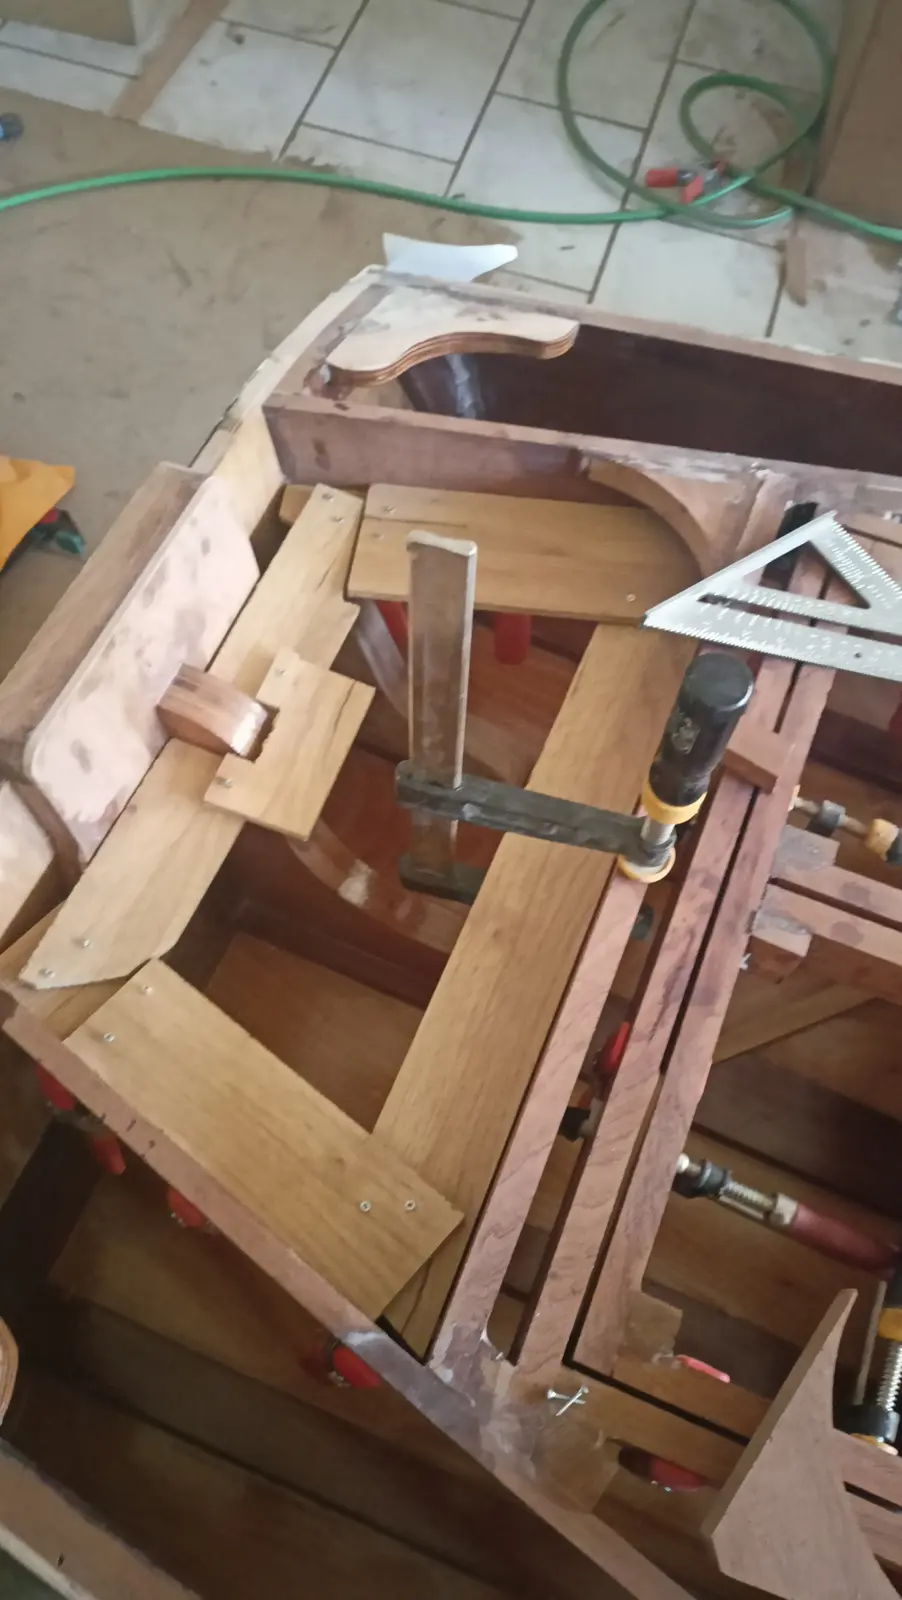
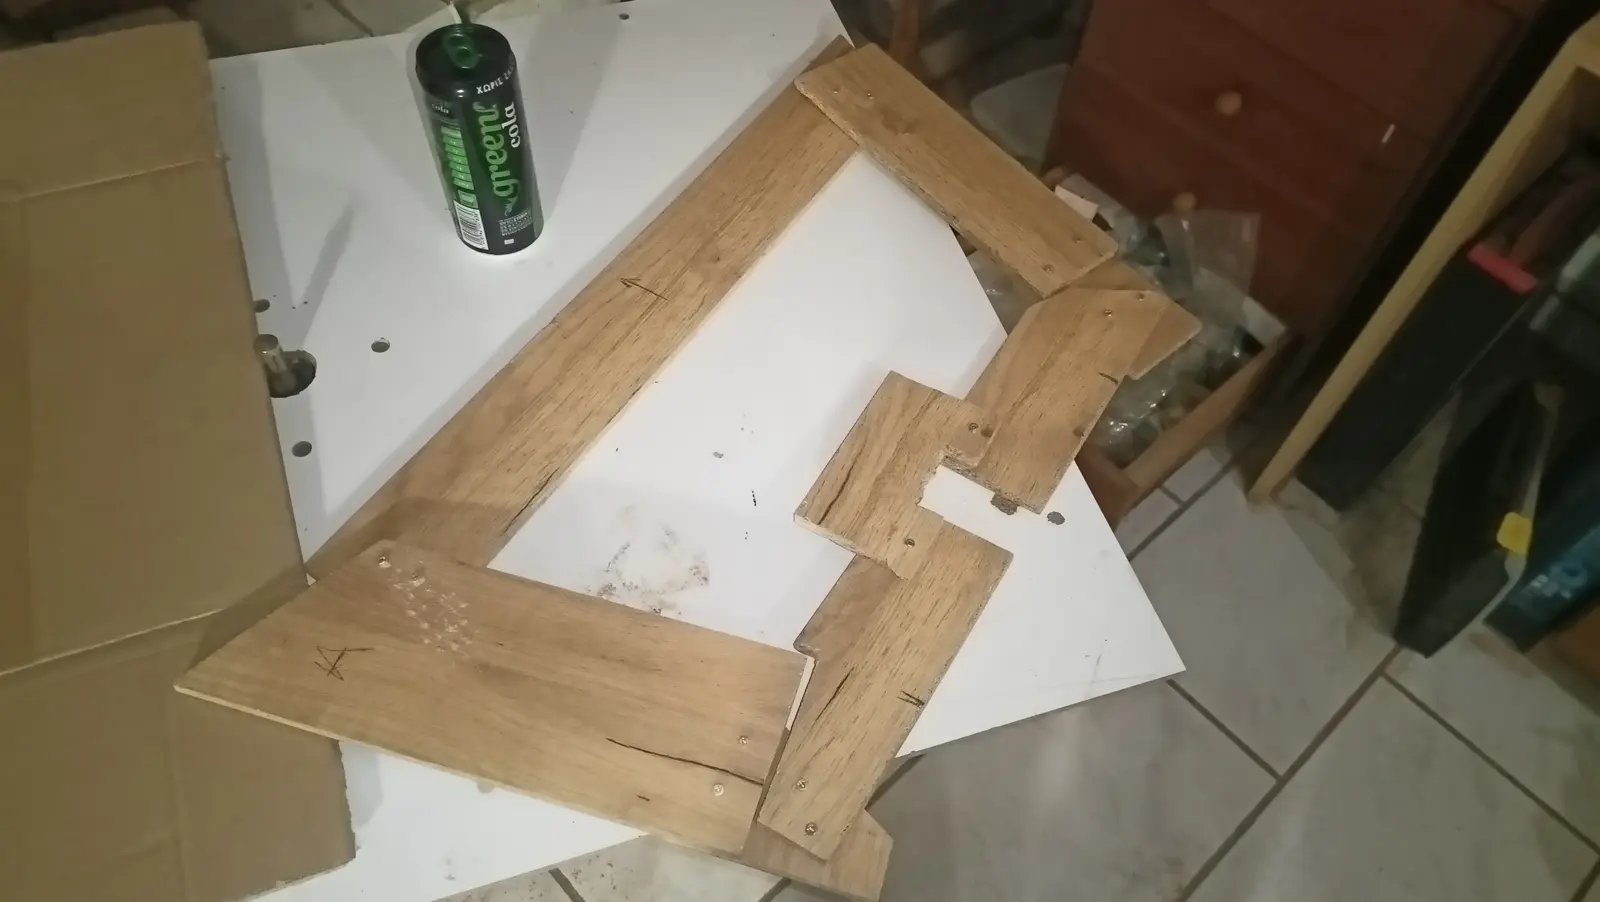
To do that I had to take a pattern of the opening. Using offcuts from other jobs screwed together, I made the pattern and transferred it to plywood. The process is below.
Once the lid fitted, I glued the pieces it sits on, apart from one at the side, because a hole will be cut at that point for the engine cables to pass through. So I want to work out the size of the hole and its exact position first and then glue the piece, so I can get the router in.
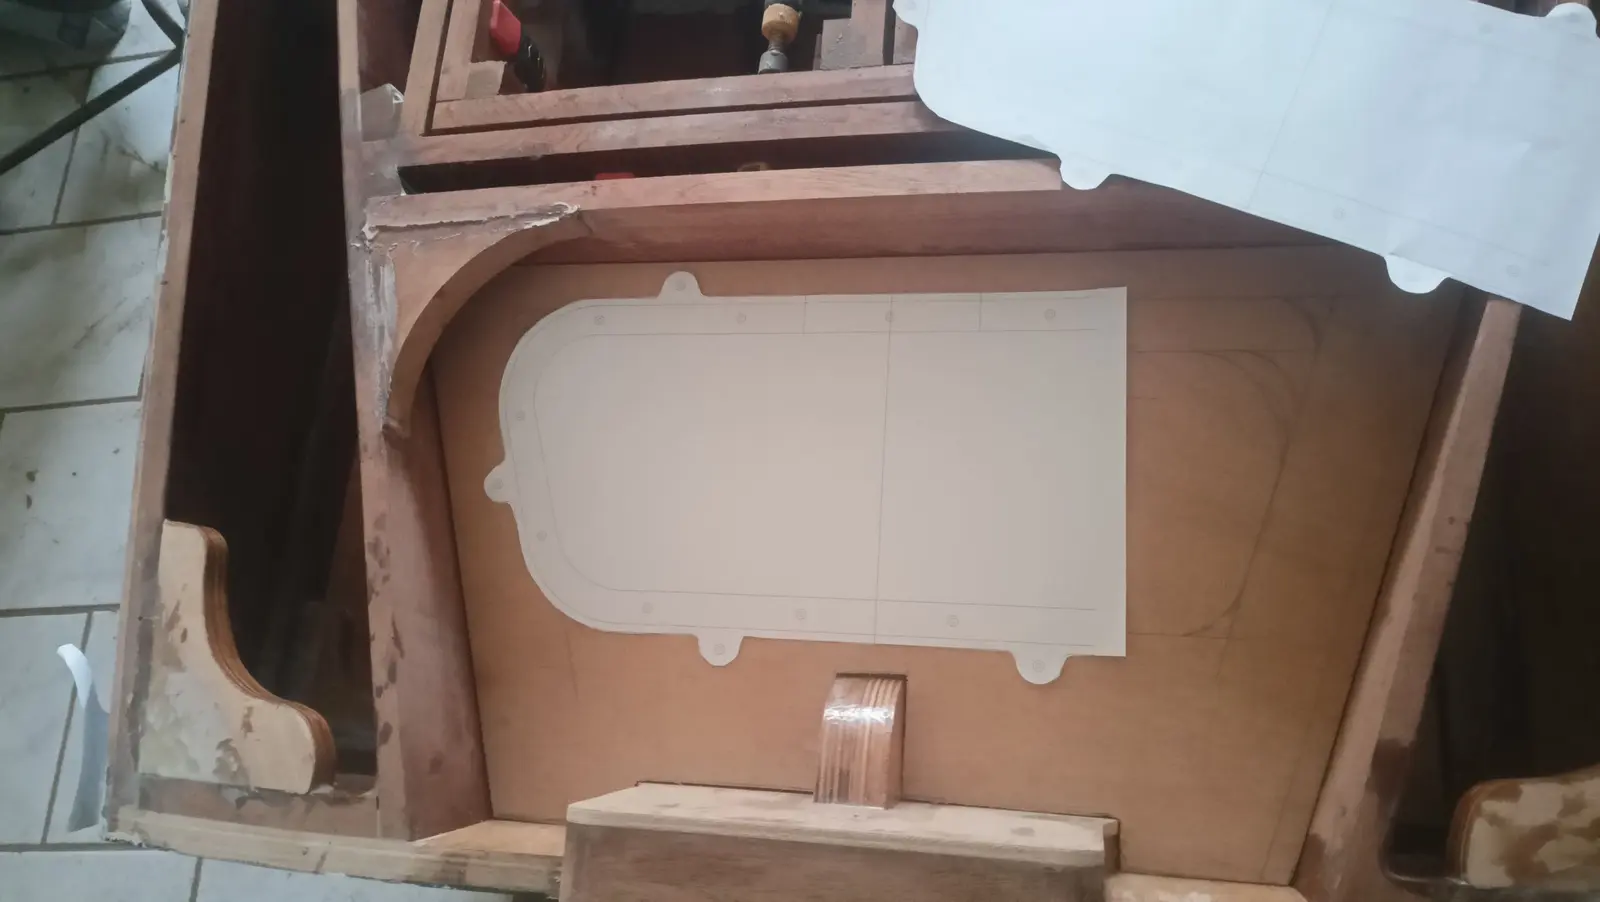
For the hole I drew the design below on the computer. The hole will be laser cut and the stainless steel in the photograph will go round the edge. I made different sizes of hole, I have not settled on the best size yet.
Some details I made are the following reinforcements.
The seat back. I put two wedges between the two pieces of the back.
A reinforcement on the fore-and-aft timbers
Before gluing them I sanded off the epoxy primer (Hempel light primer) that I have applied over the whole interior of the boat.
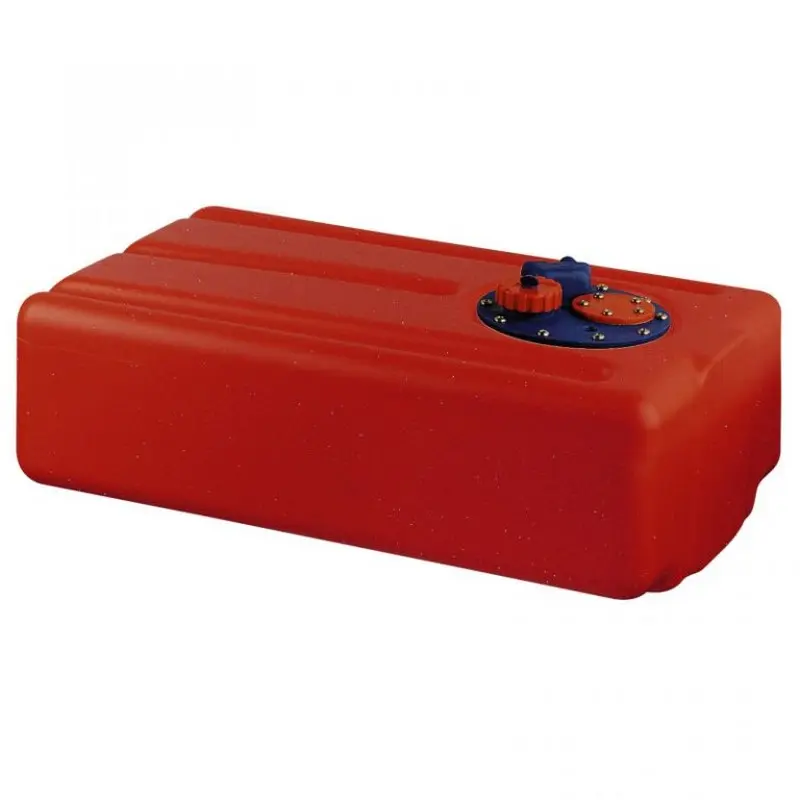
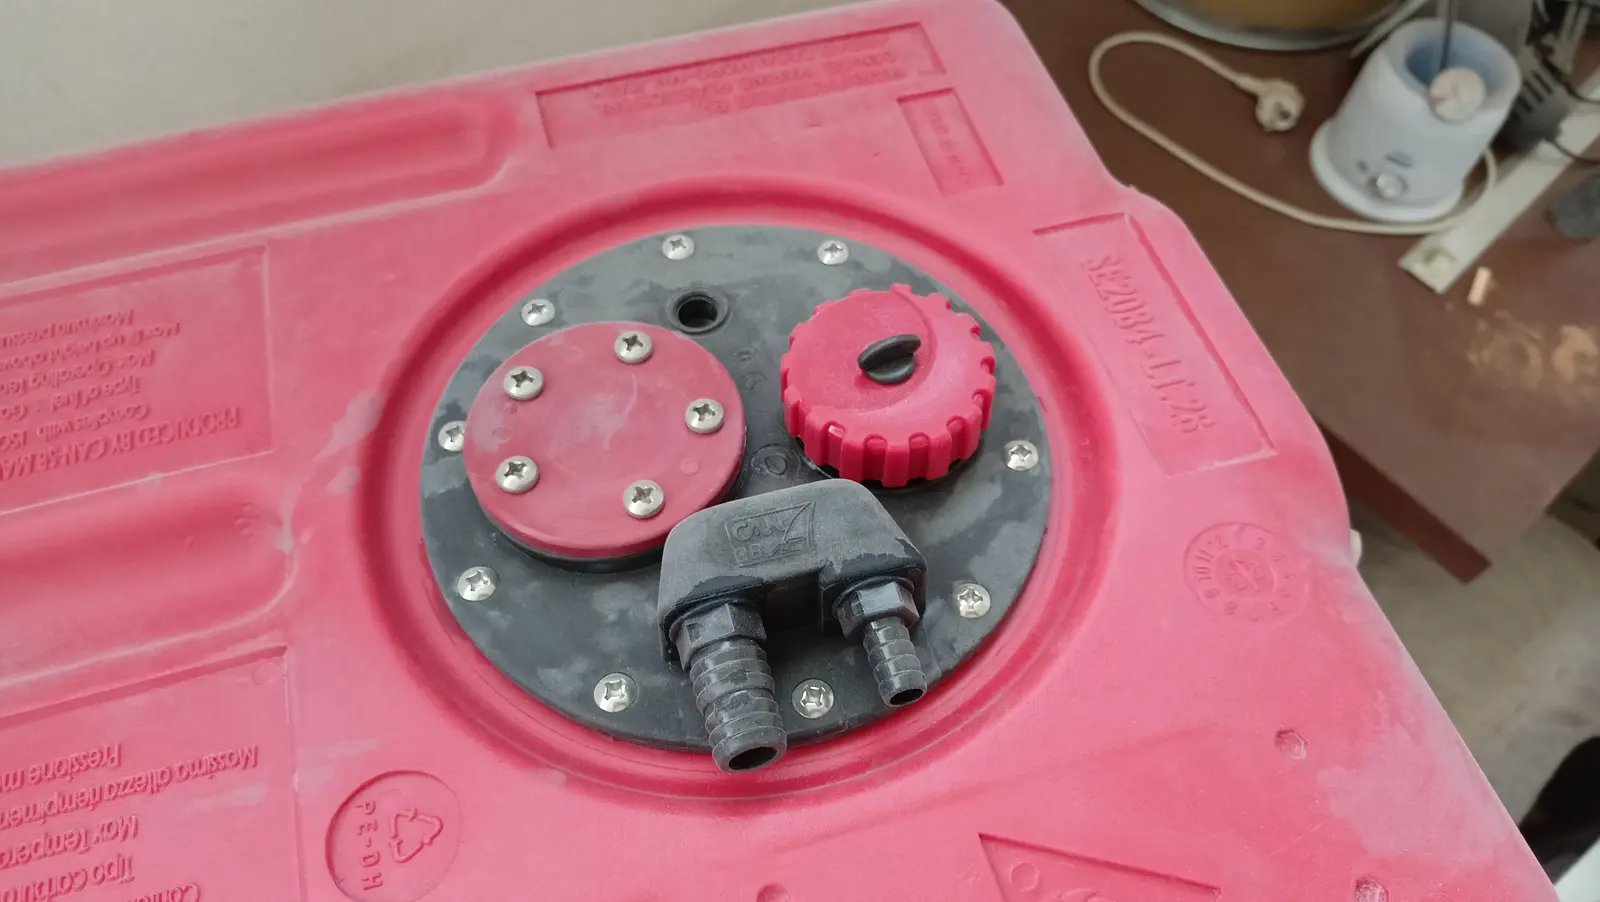
After a good deal of thought and searching I decided to replace the Yamaha tank with another one. The main problem is that the Yamaha tank had no option for venting. There was no built-in fitting for the pipe and I would have had to make a tee off the feed line or drill a hole in the tank. Not a serious problem, of course, but since a suitable tank turned up I decided to swap it. The new tank is 28 litres and is the one below.
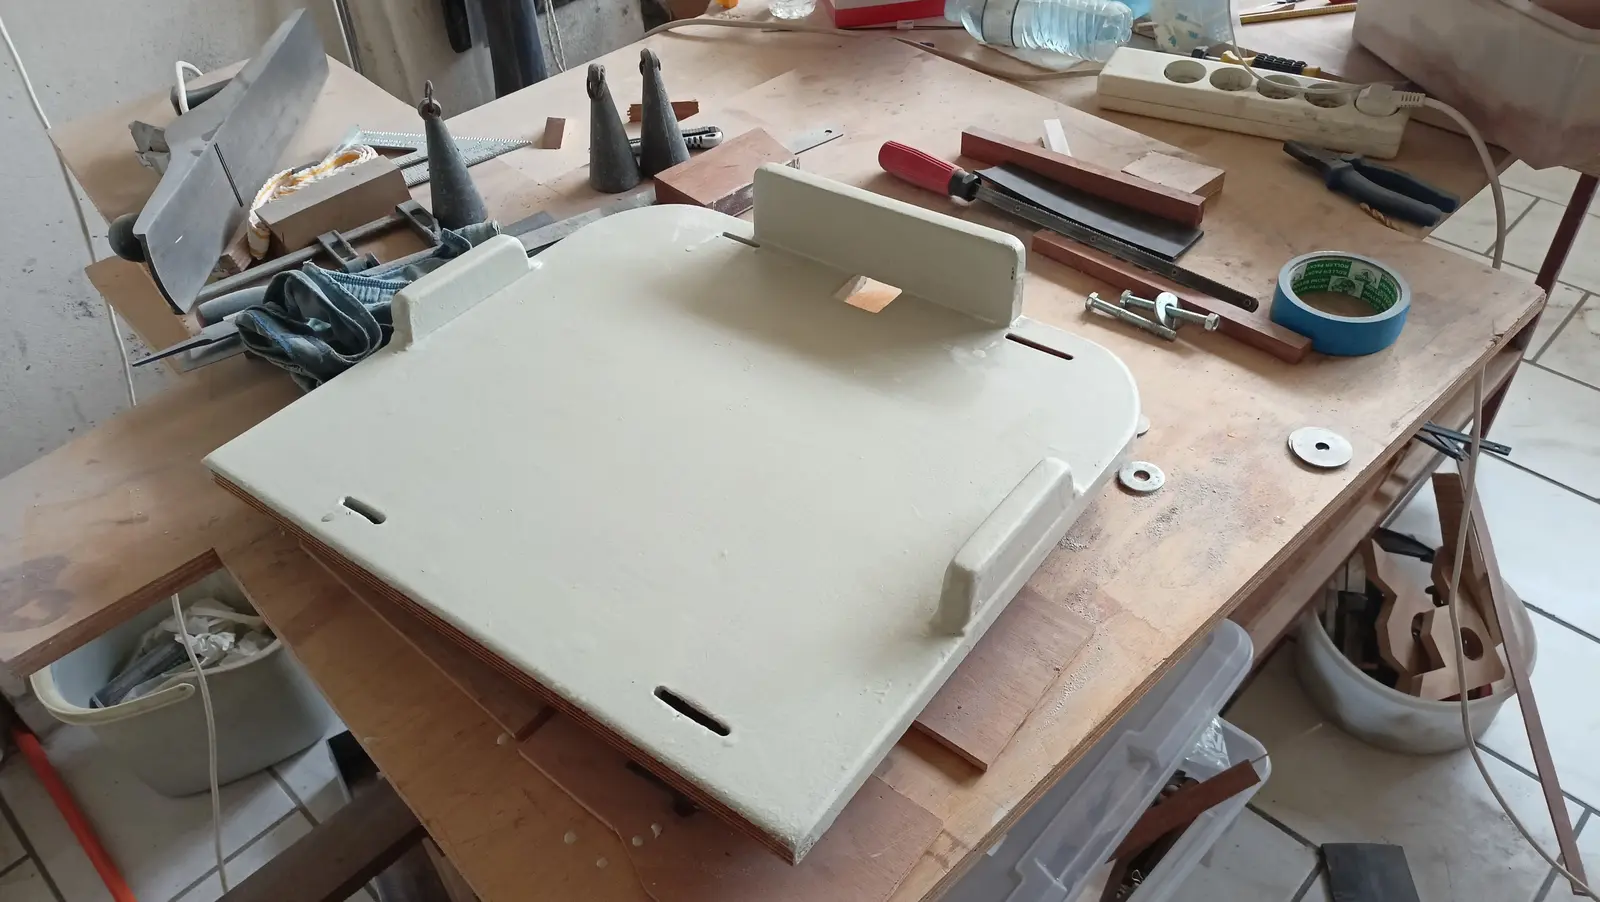
Its external dimensions are different from the previous one, so I had to make a different base for it to sit on. The new base is below. It has had epoxy primer, it will be painted underneath, and it is ready to be glued in.
Finally, I made the locker lid. With it clamped up as it was, I got the curves exactly right. I cut it into the two halves that will open (left and right) and glued the plywood onto its top face.
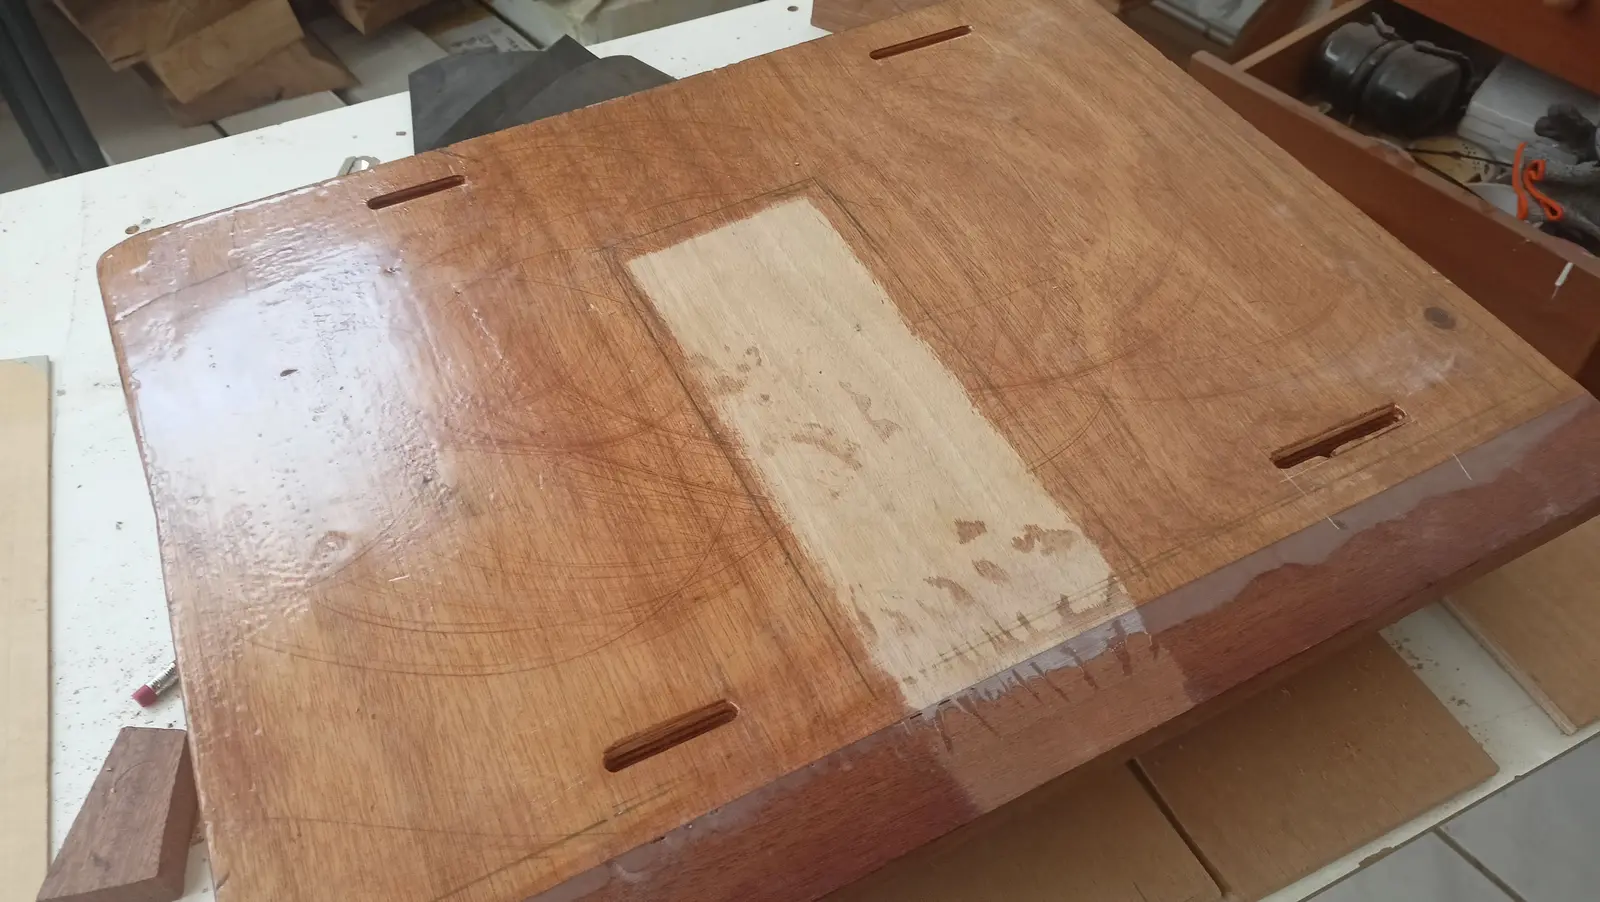
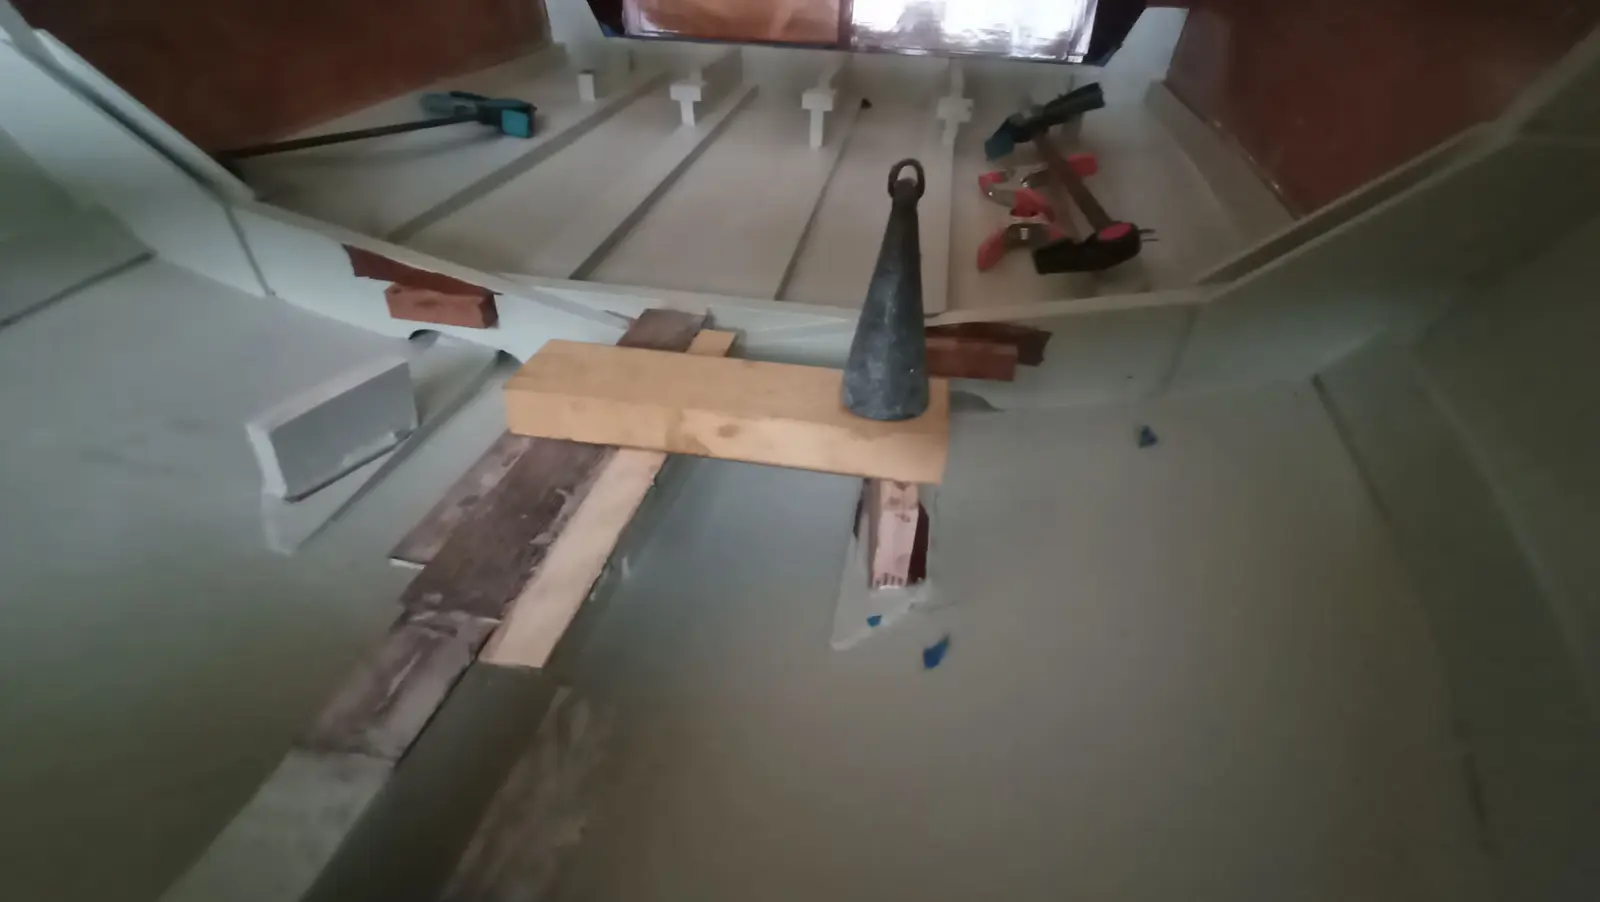
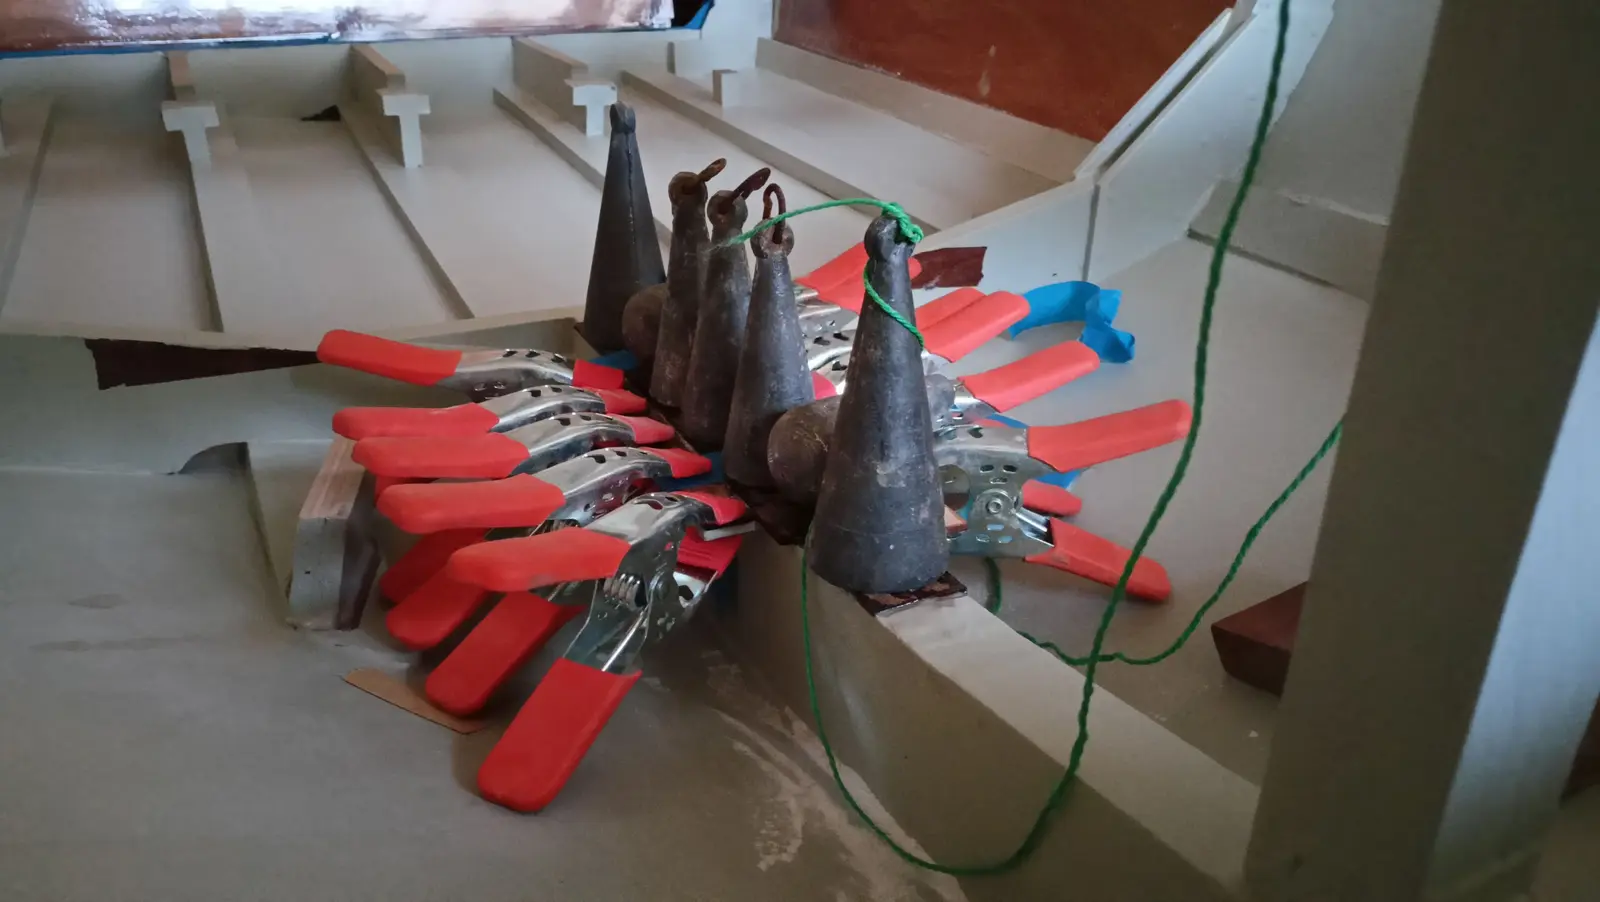
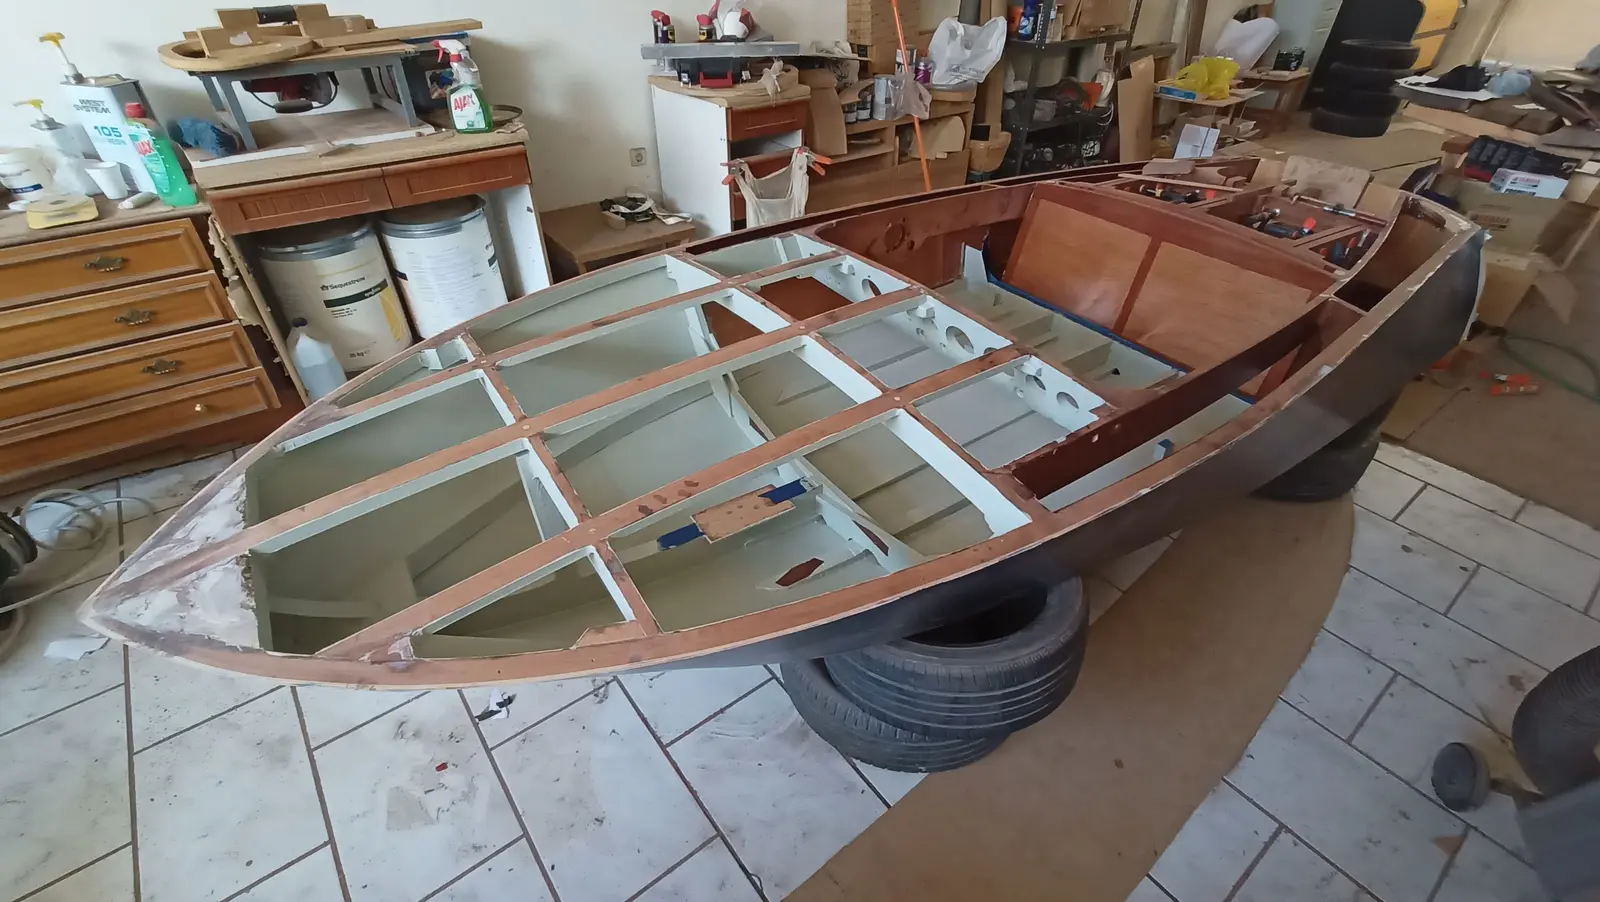
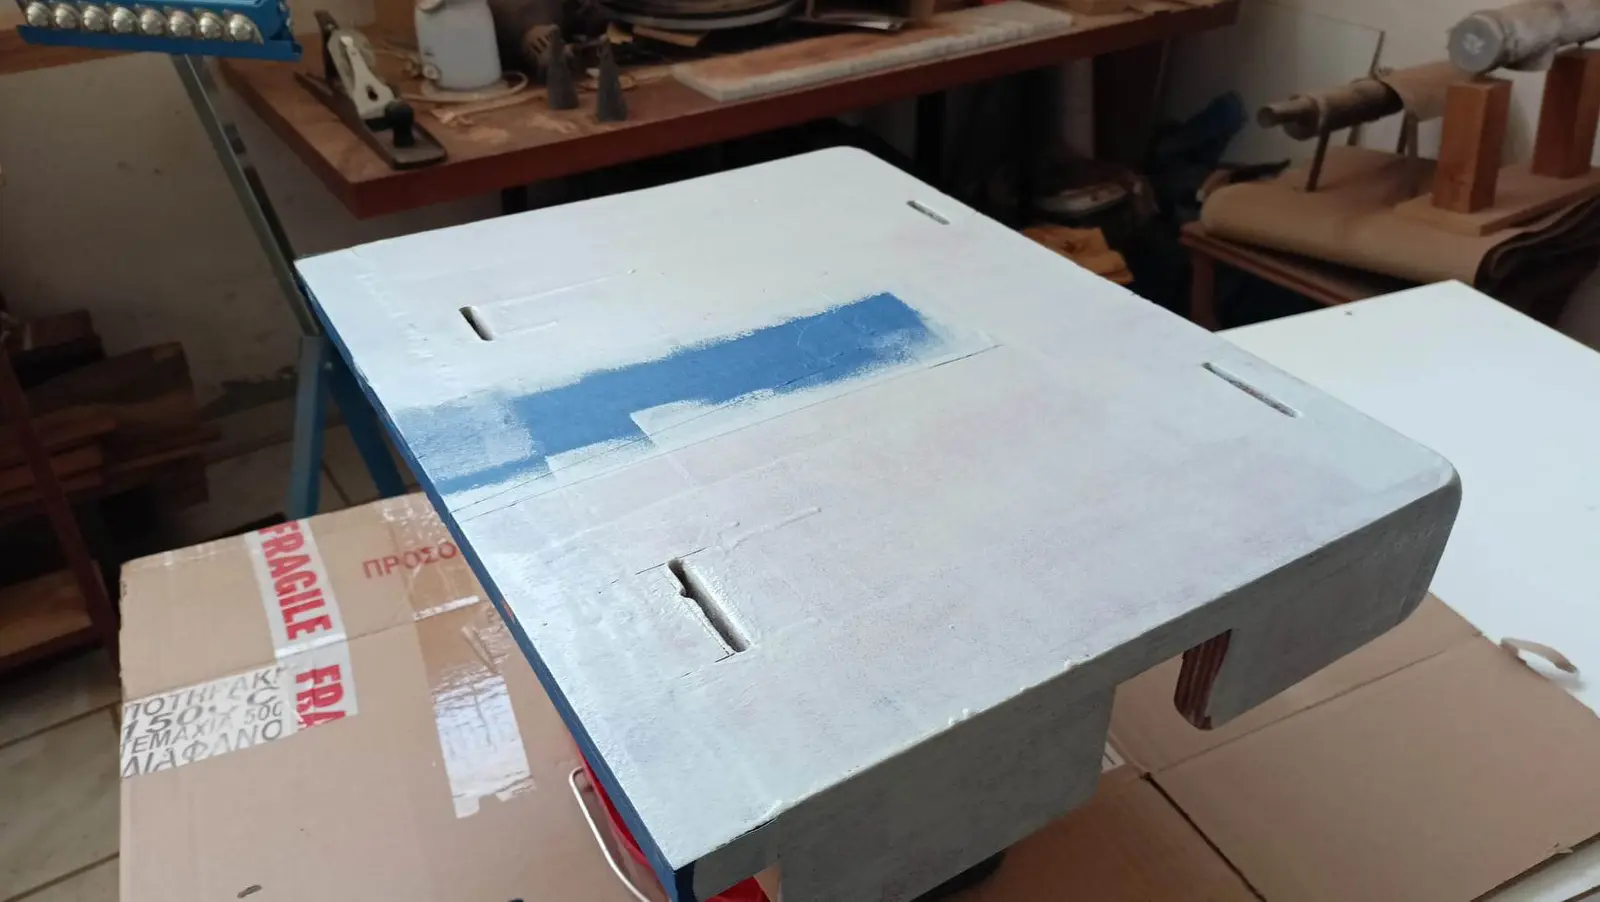
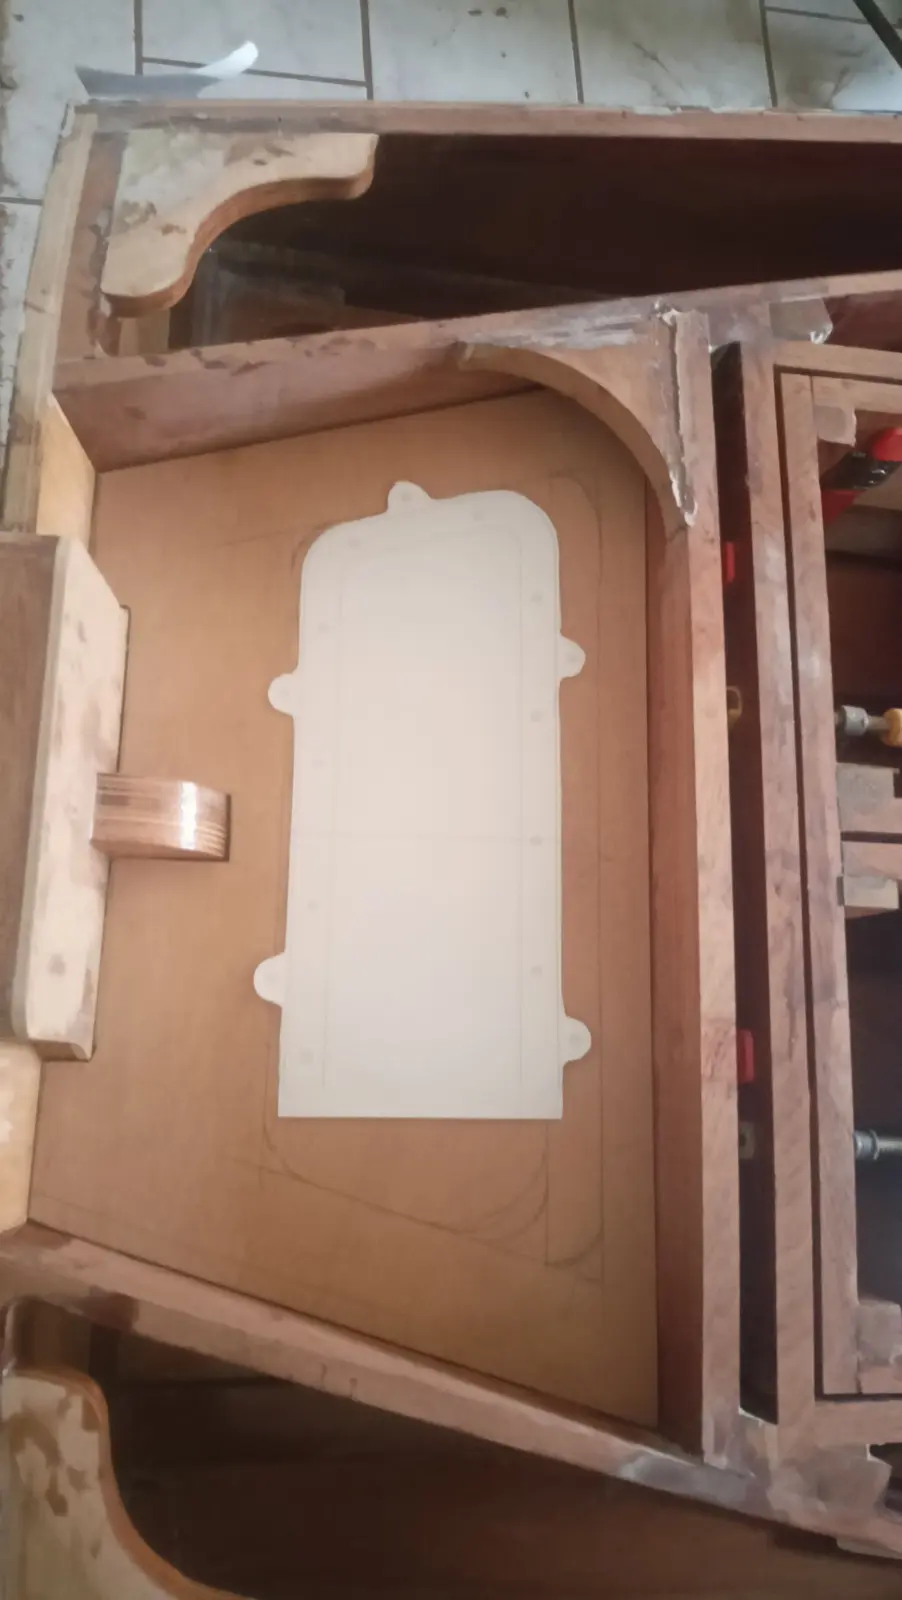
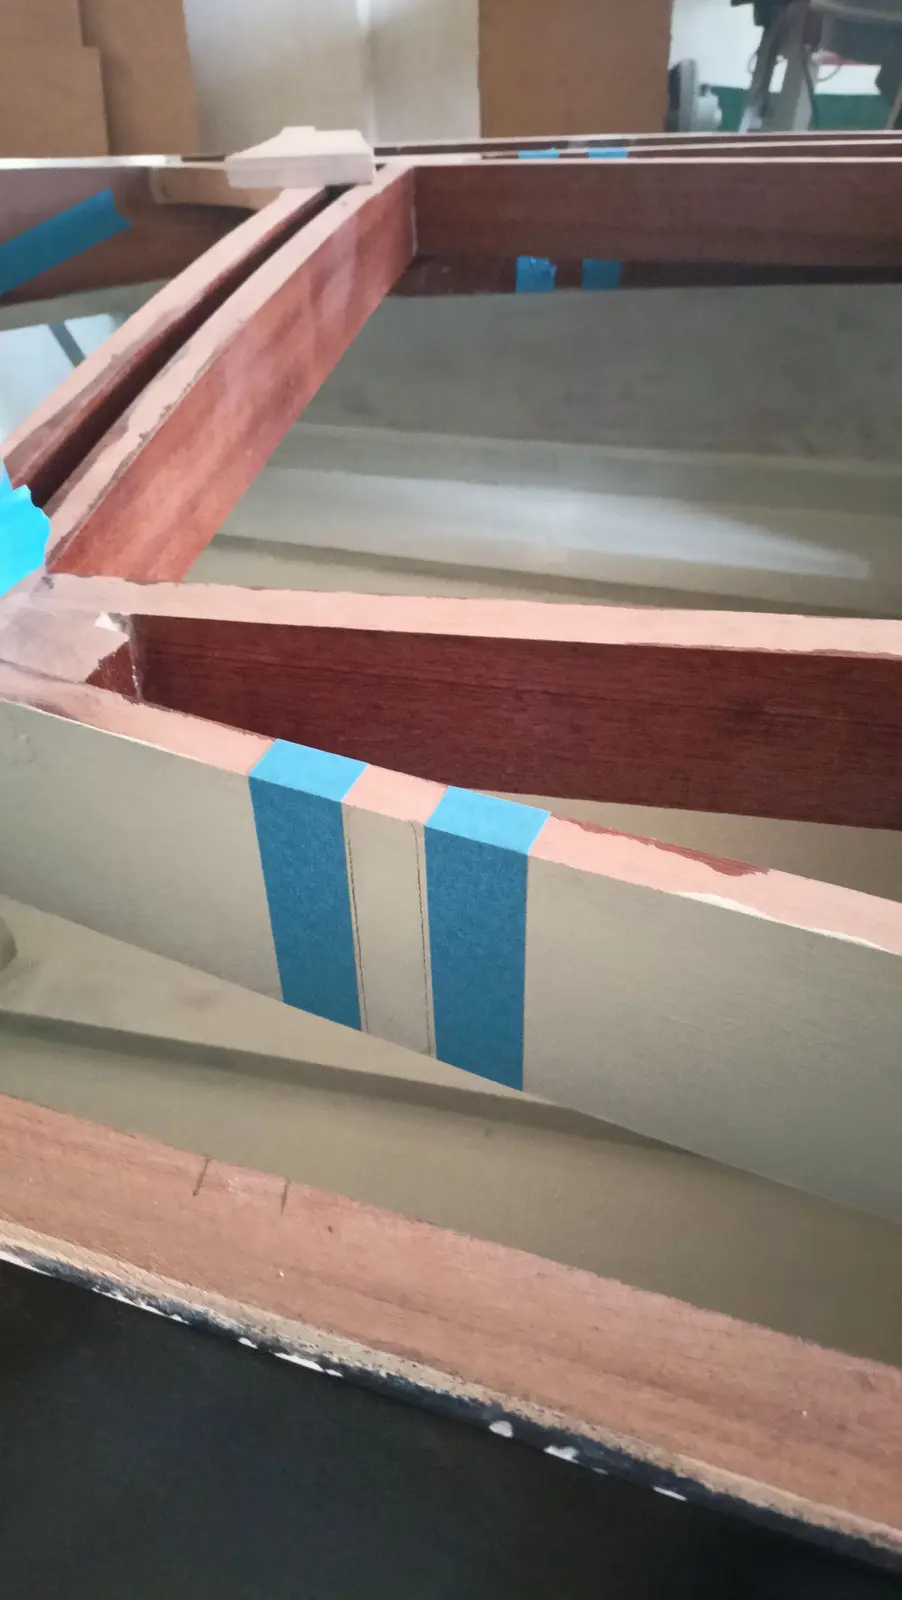
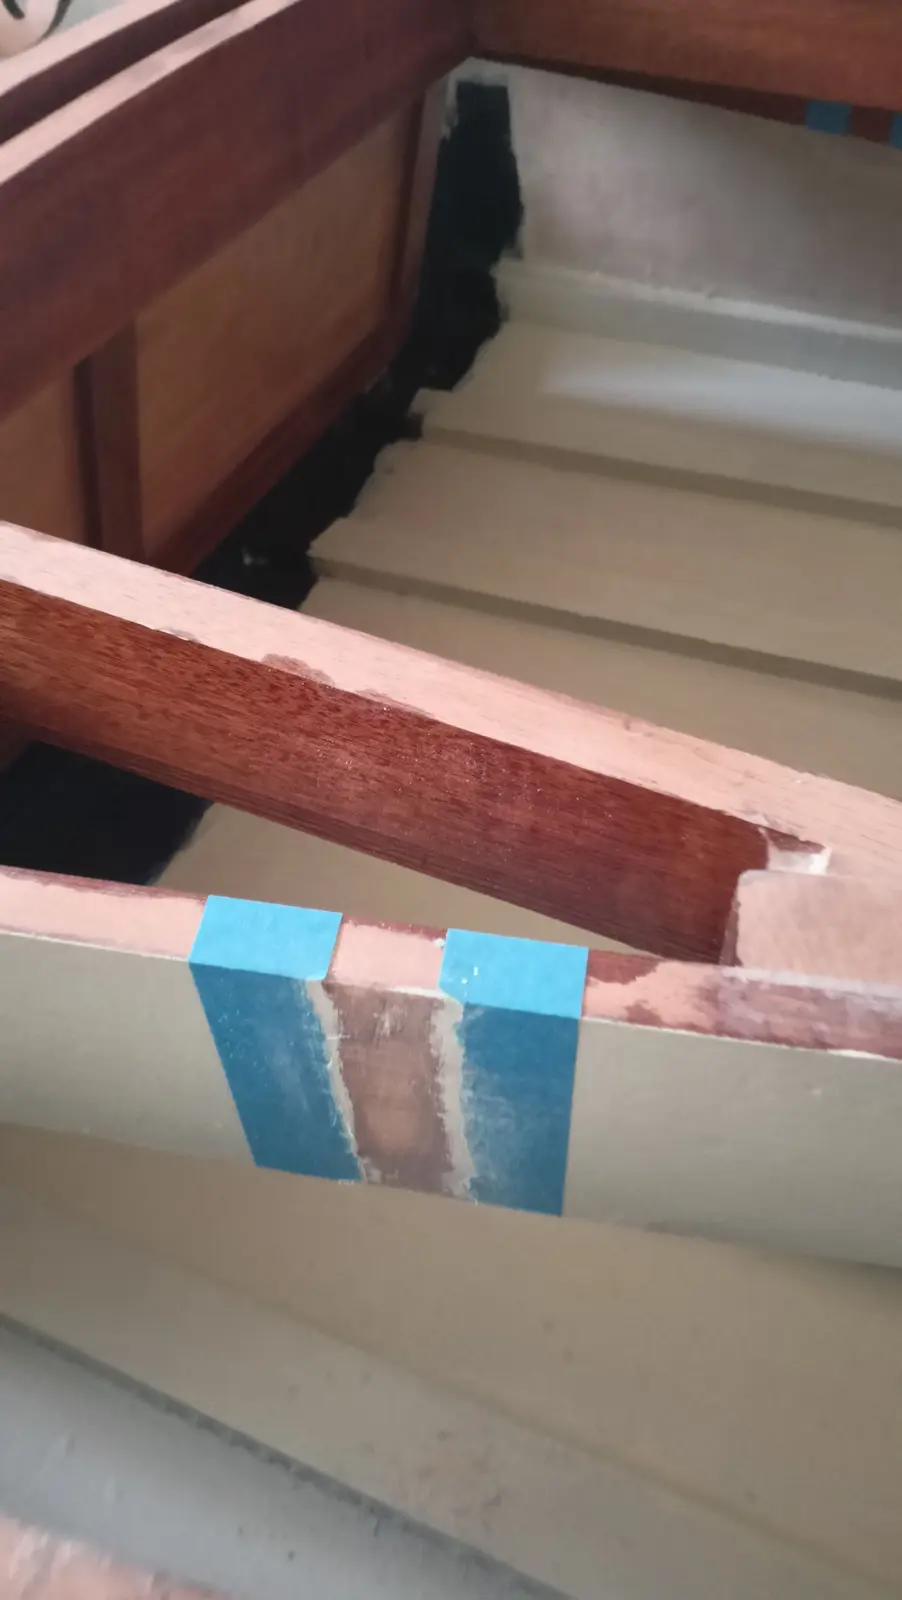
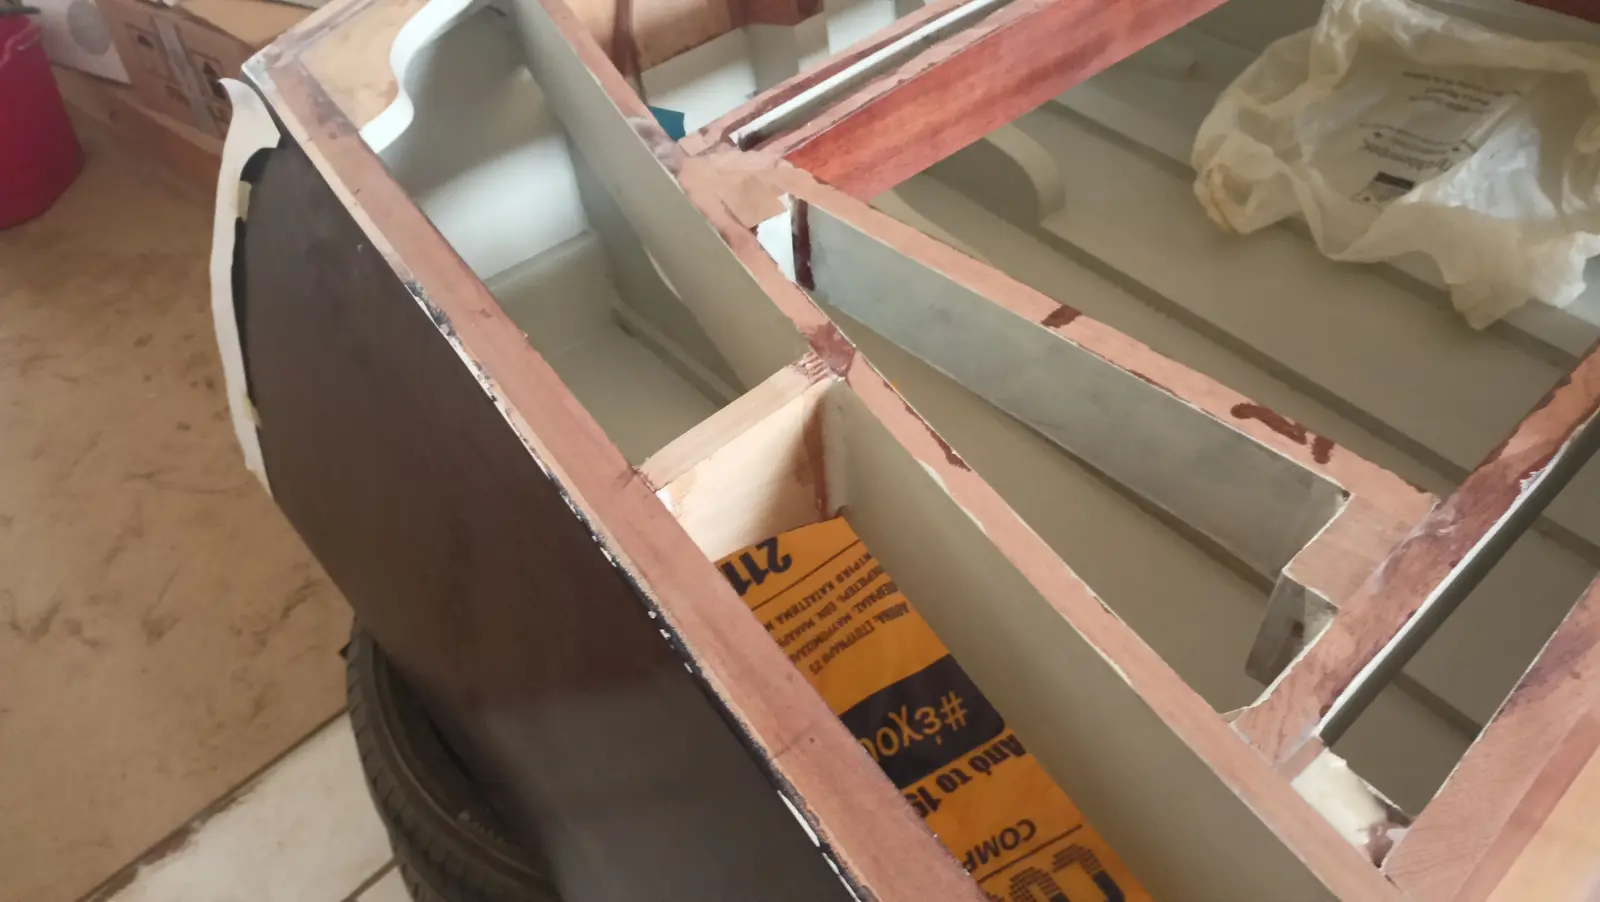
The first attempt at painting the boat did not go well. I think the problem was that the hull surface was not right. There were quite a few irregularities in the surface and the texture had gone like orange peel.
The surface was sanded and the paint came off, working up to 320 grit. It was filled again to get it as smooth as possible.
Then four coats of primer went on (Hempel light primer).
This was where I went wrong the first time. After the epoxy primer it needed a good deal more sanding.
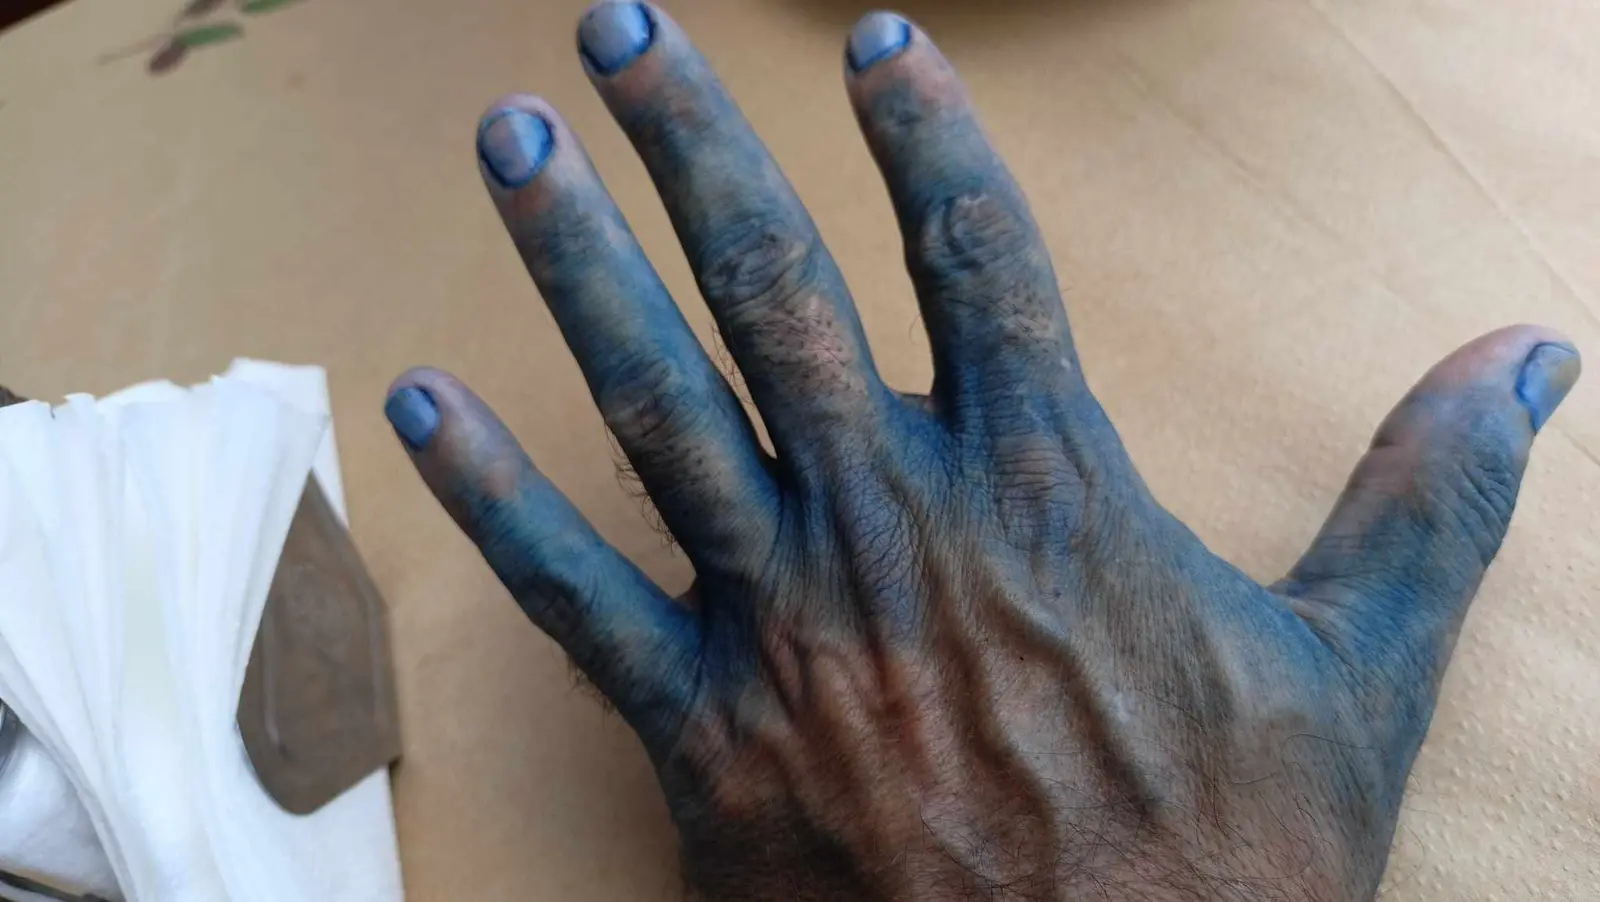
To be sure the surface would be completely smooth before painting, I used a black guide coat powder, which you spread over the hull and, as you sand, it shows you the irregularities. The surface is perfect when all the powder has gone. The product is below.
Some photographs of the process.
I started with 240 and worked up to 400 dry, then, on the advice of a friend who paints cars, used 800 grit wet.
I think the surface has come up very well for the paint to go on.
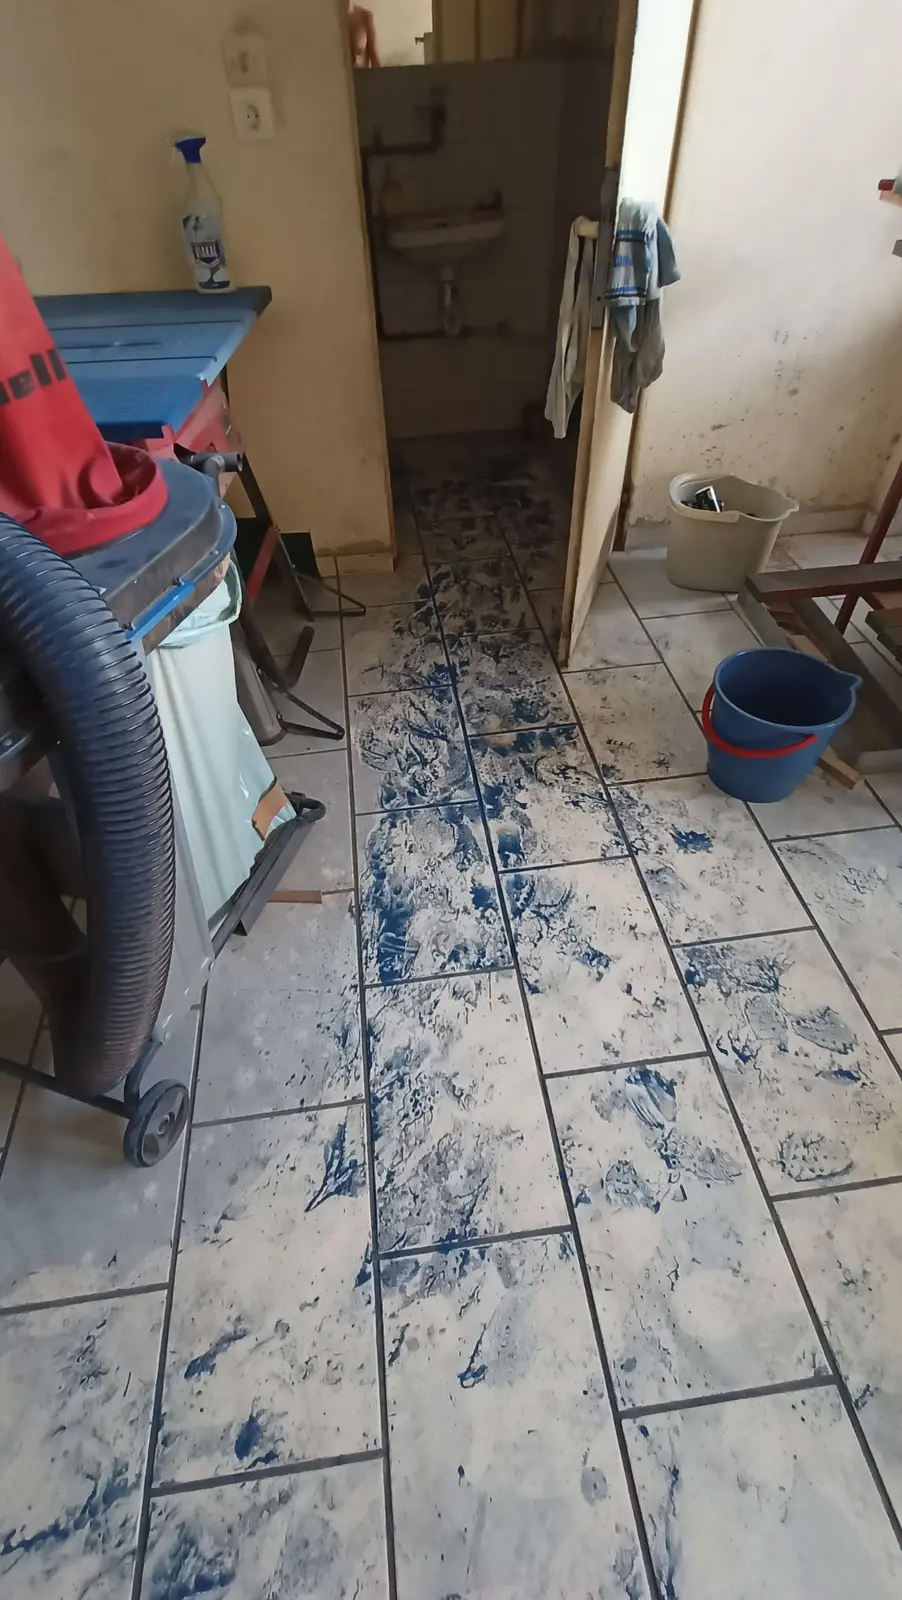
The paint went on in three coats, sanding between them with 320 up to 500 grit. The result is better than the first time but there are certainly imperfections. I will come back to it once the boat is finished and spray it. The workshop filled with dust from all the sanding. It probably needed one more coat.
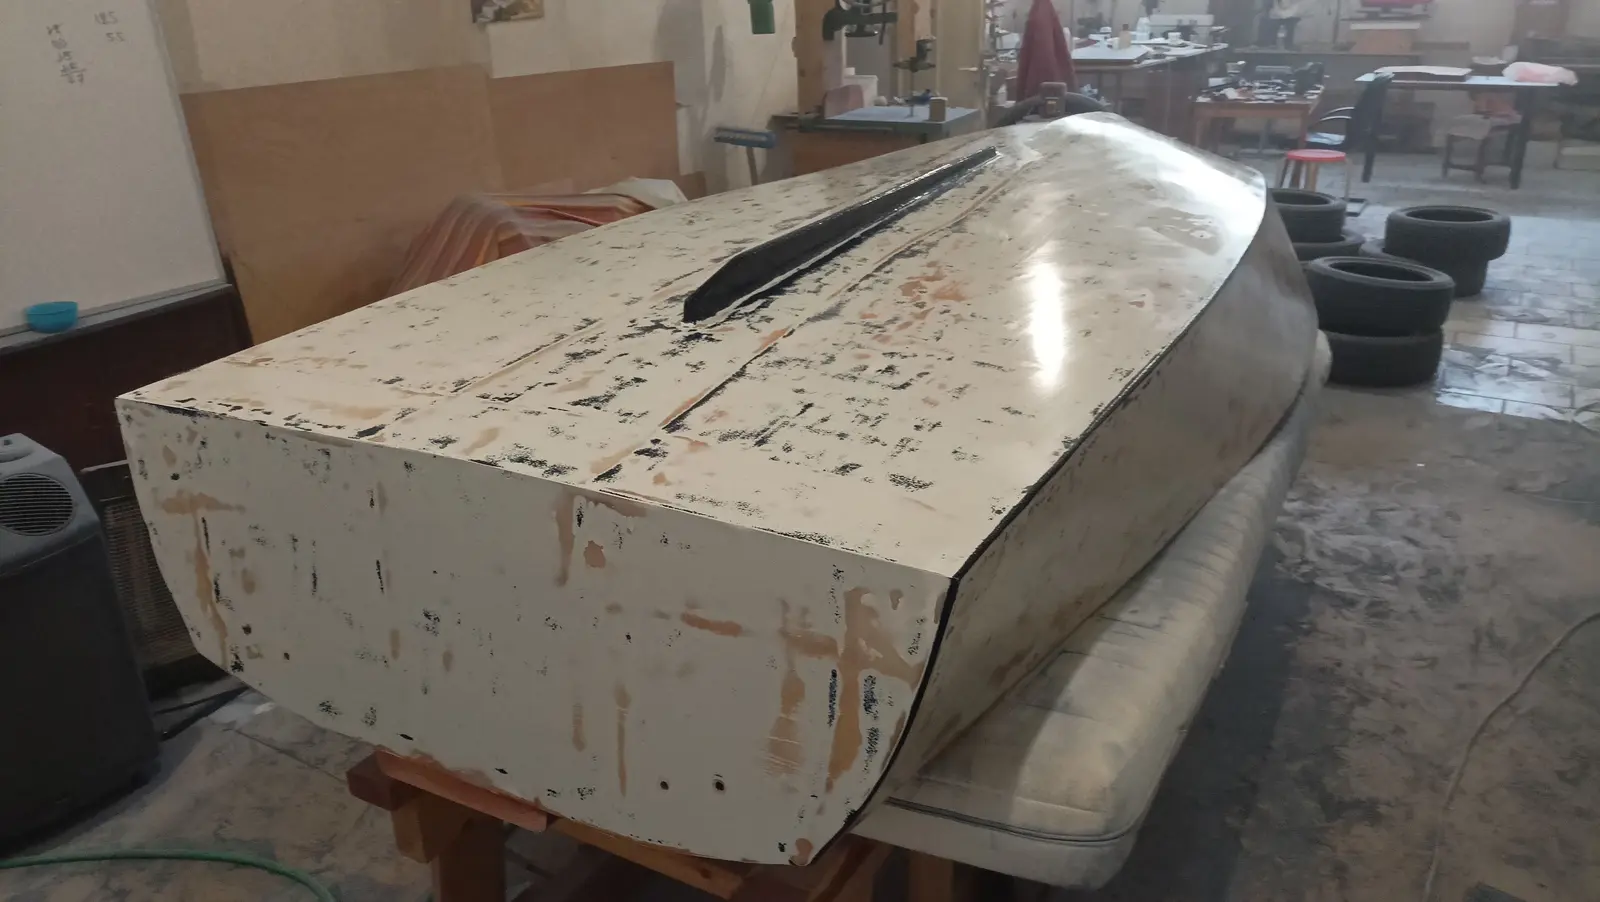
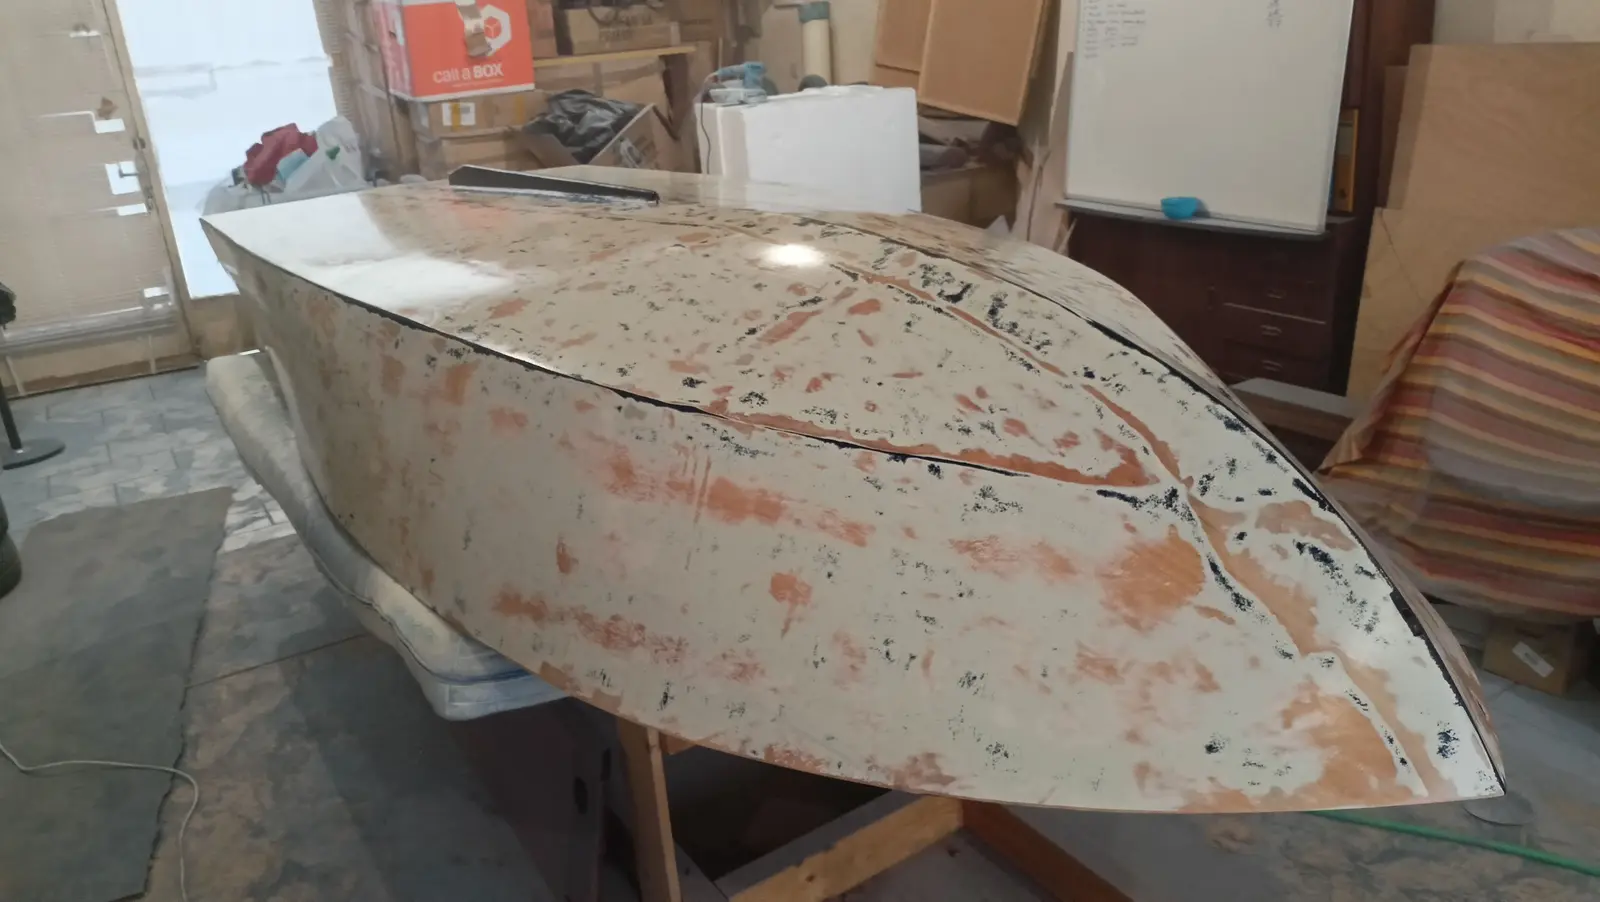
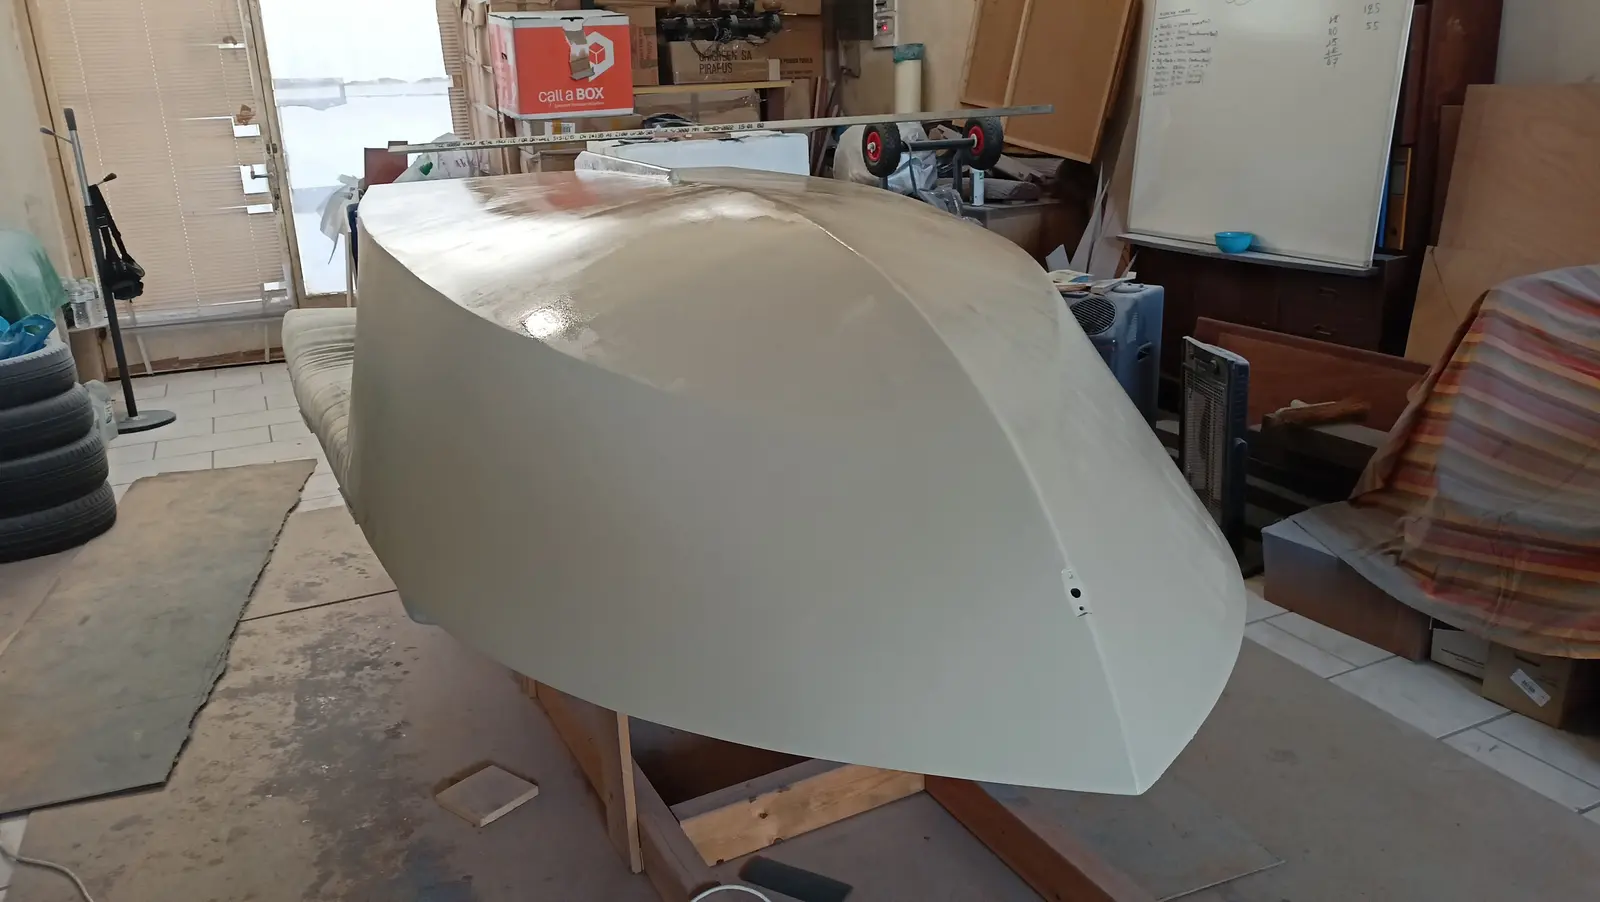

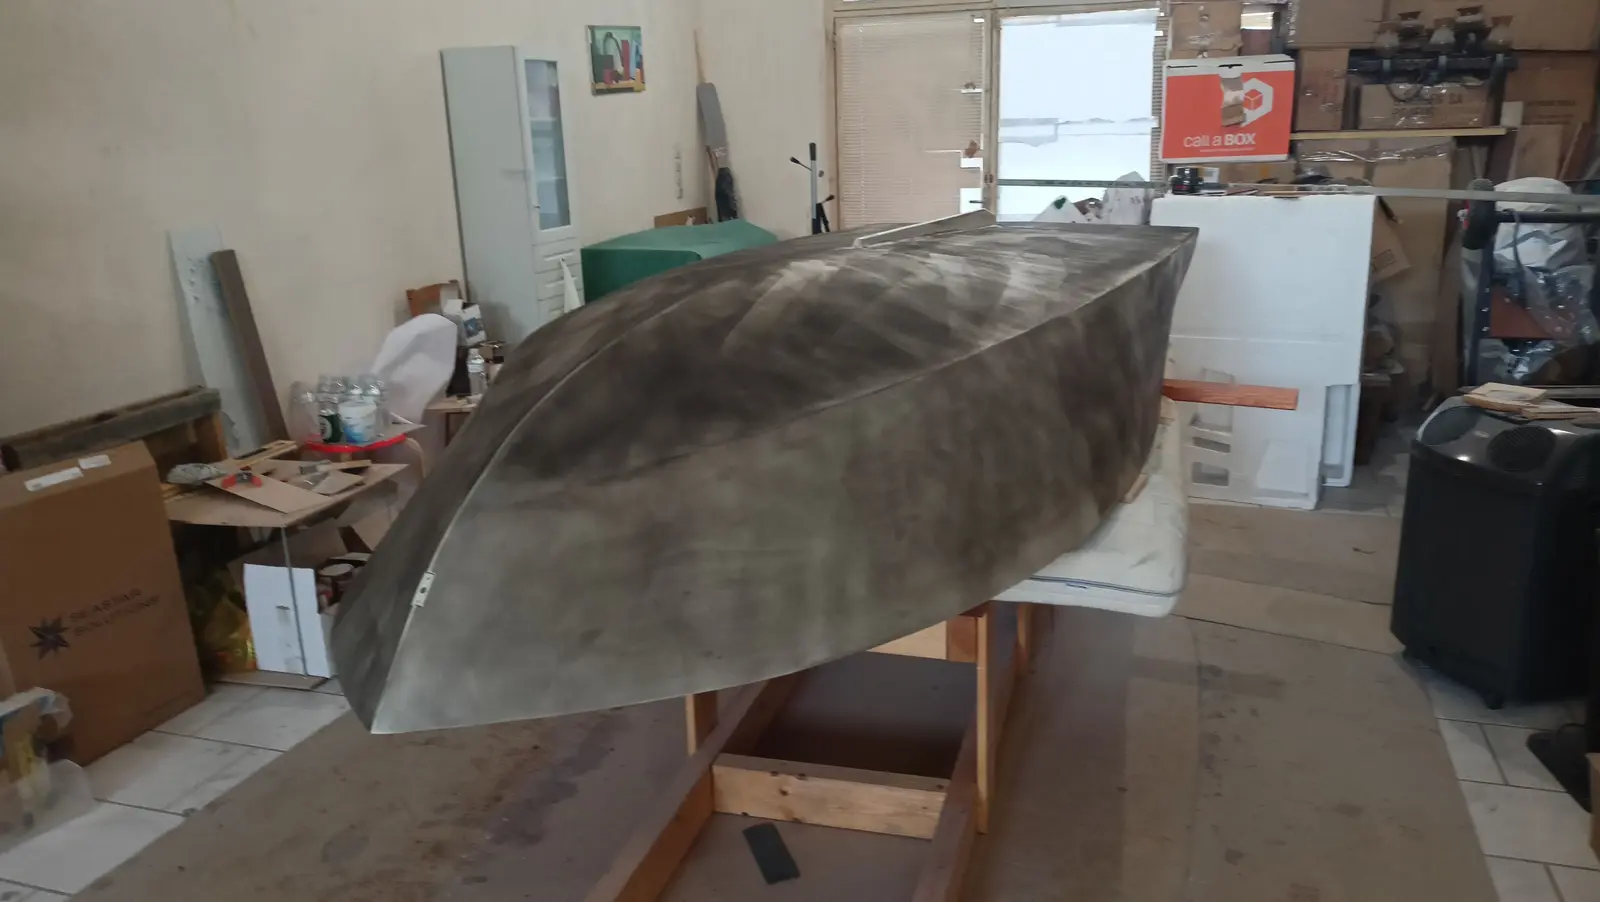
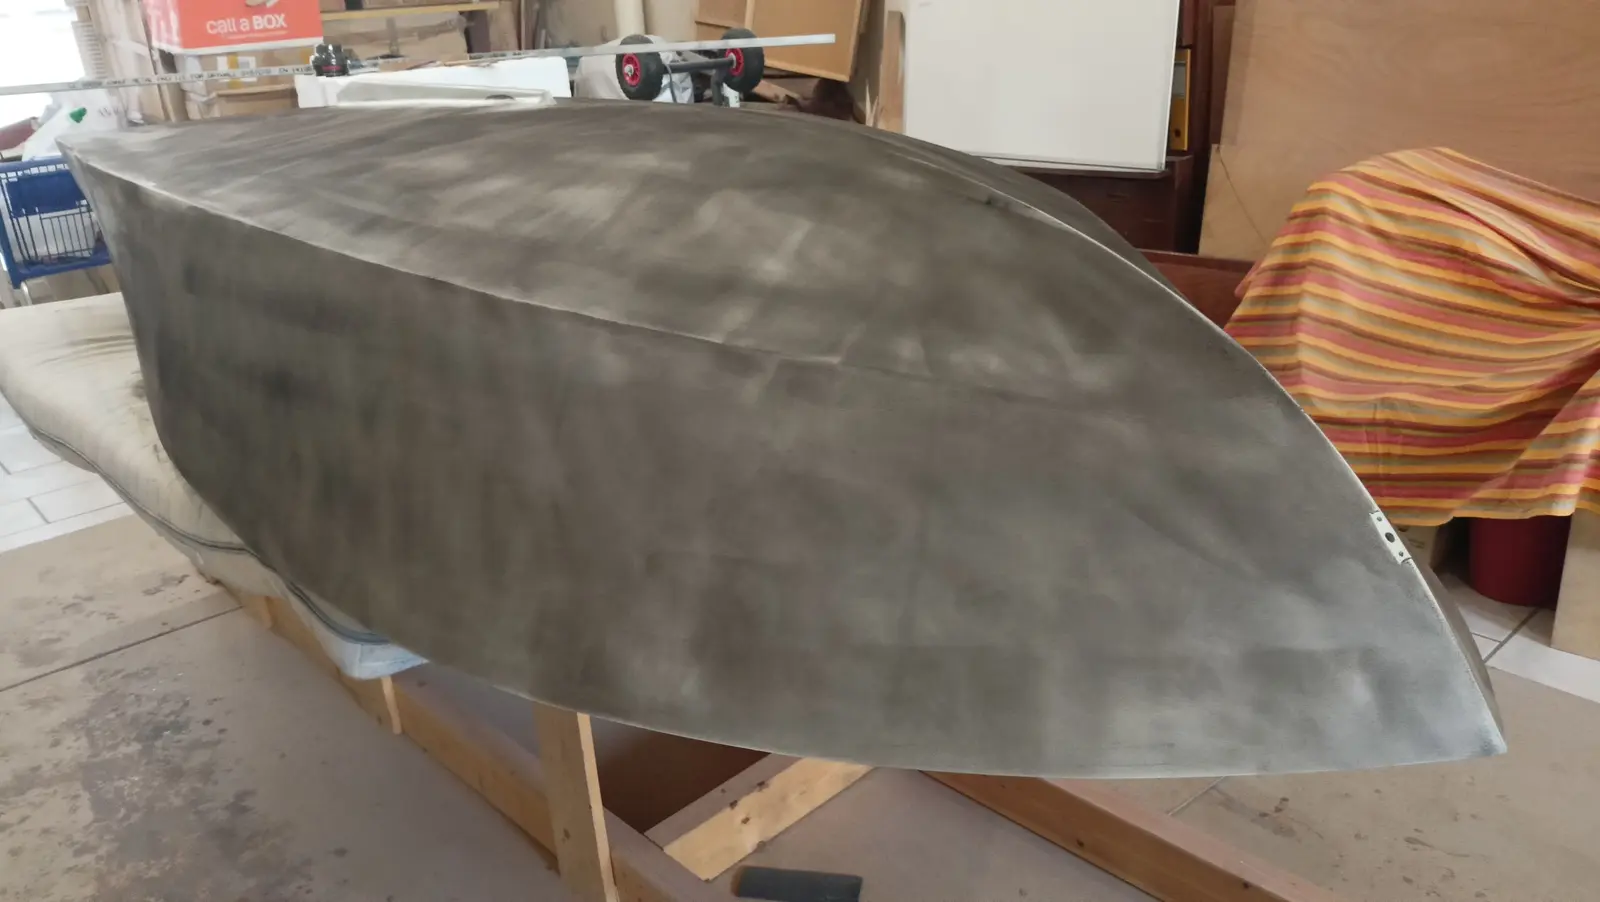
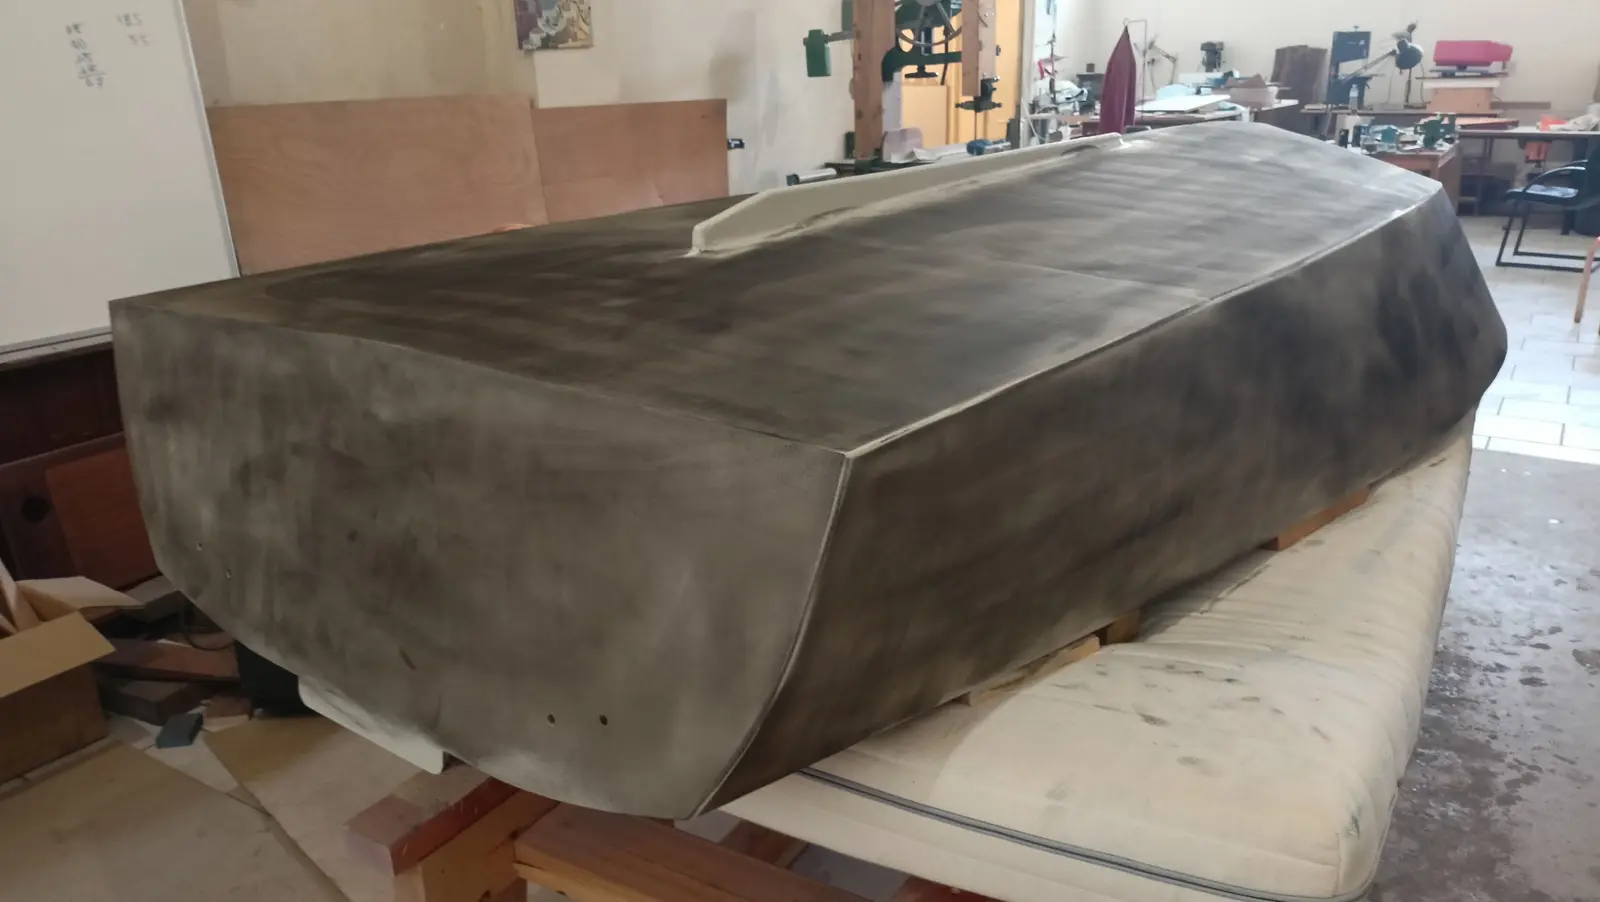
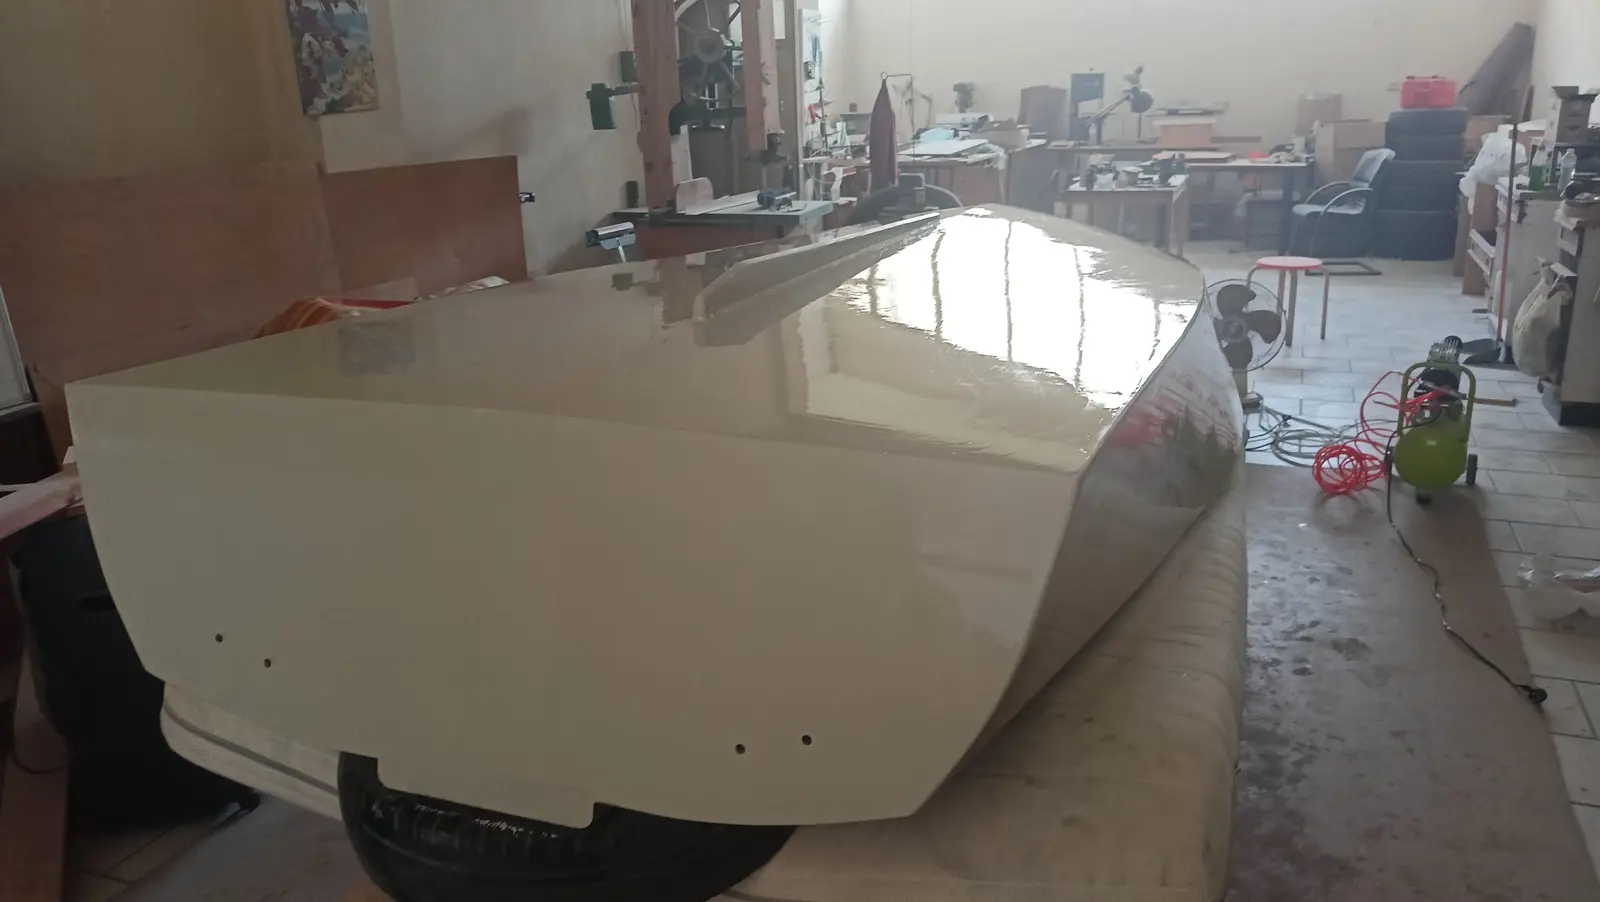
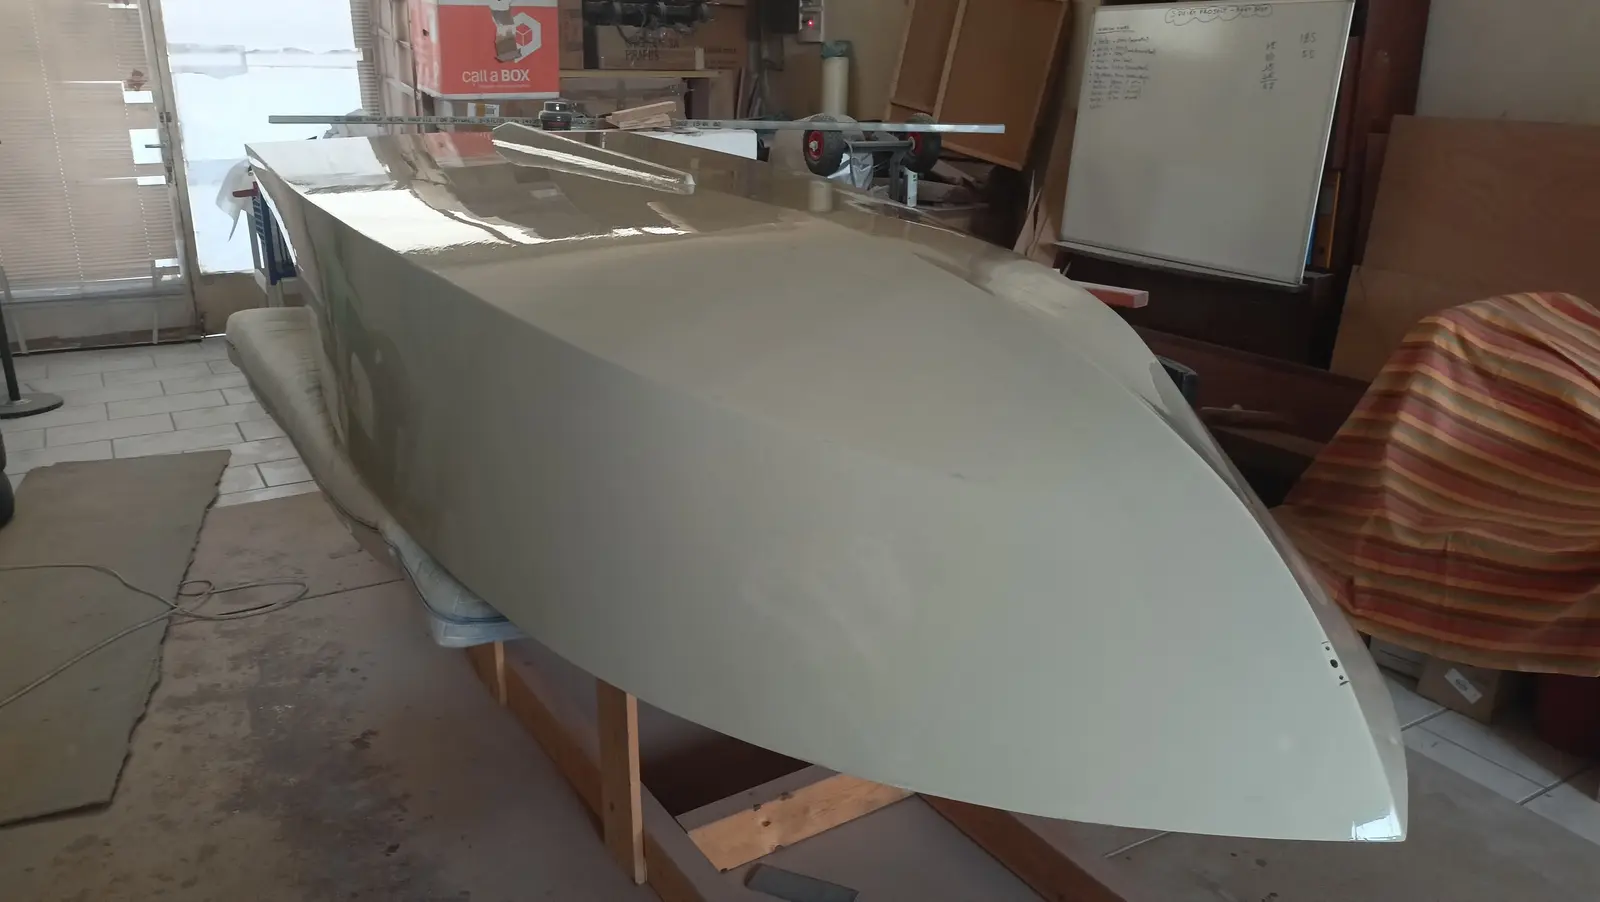
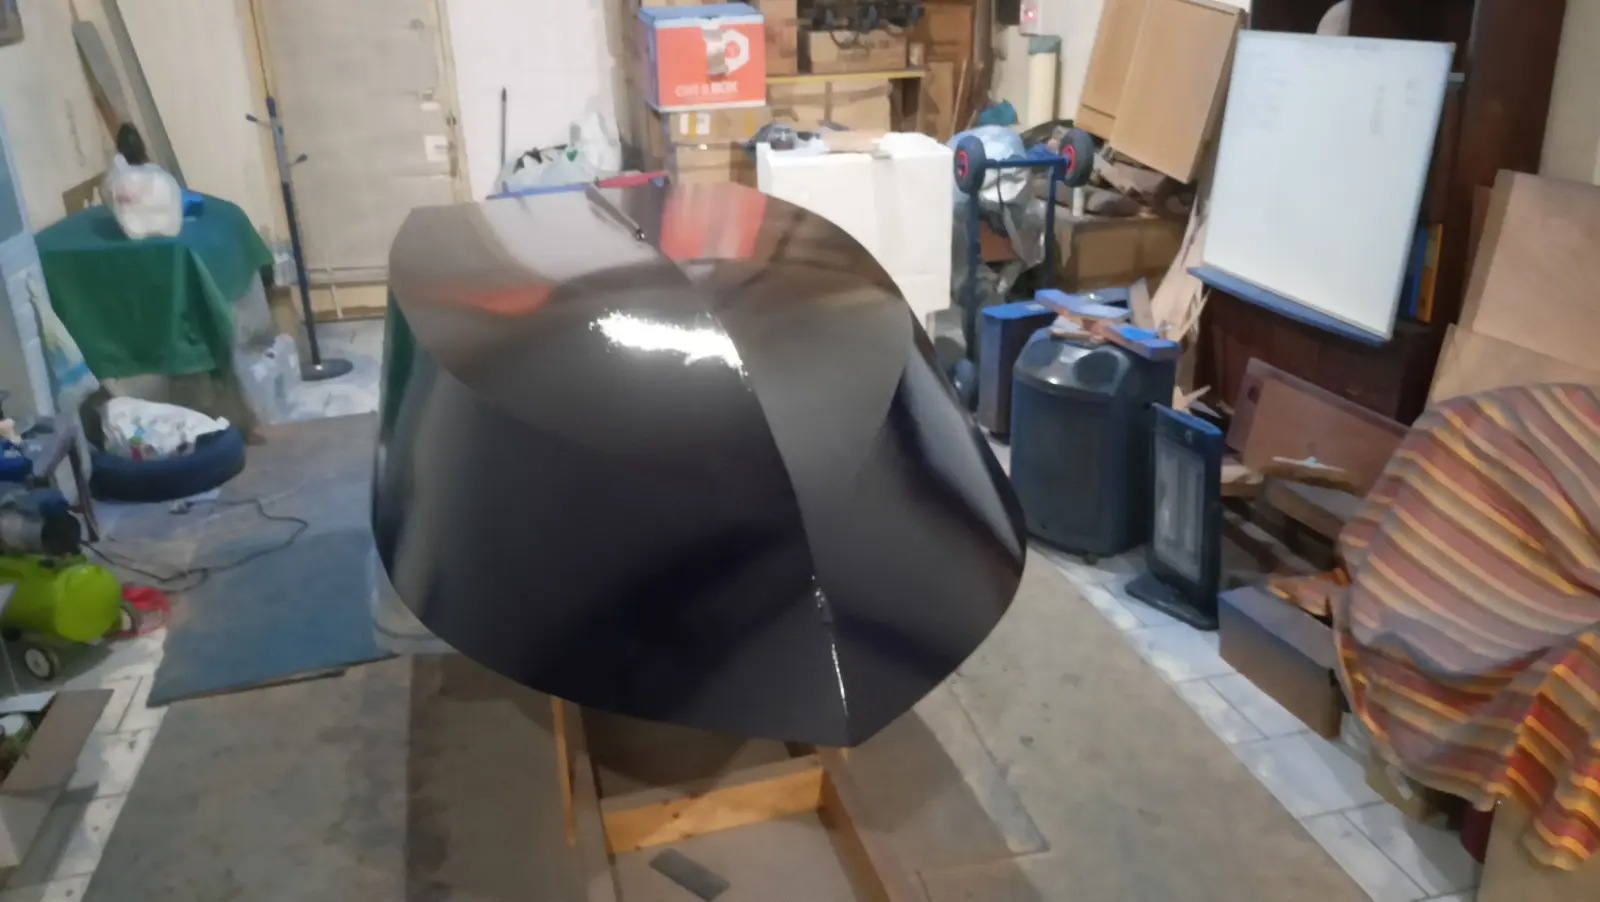
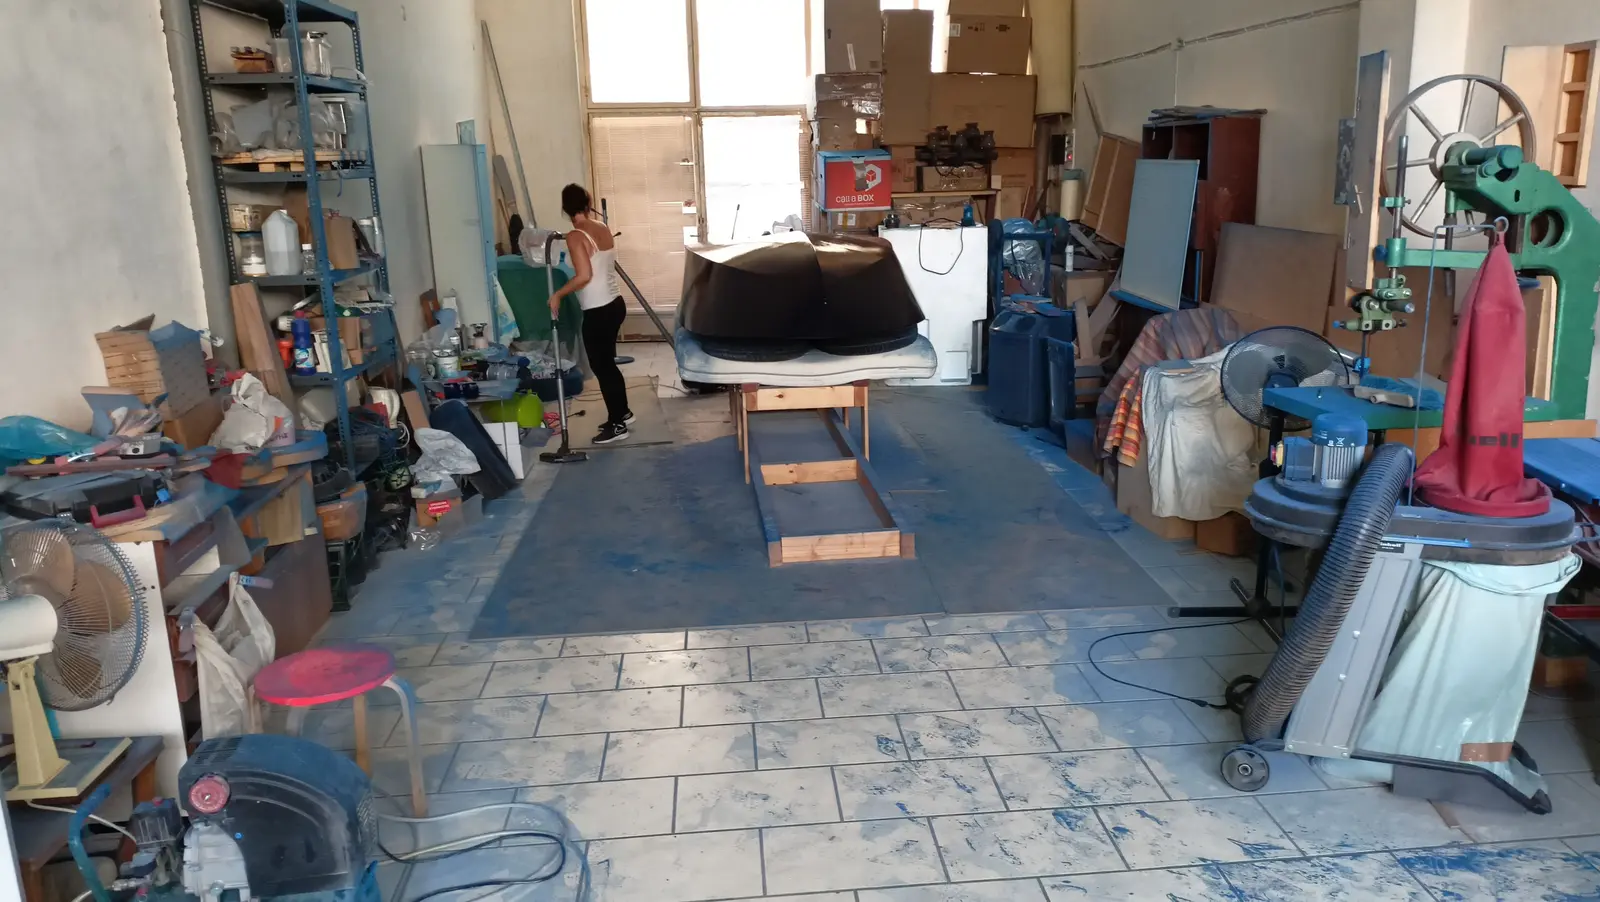
The same boat, in somebody else's shop.
| Item | Qty | Supplier | Cost |
|---|---|---|---|
| Timber for the building base | n/a | n/a | €120.00 |
| Glen-L Squirt plans | 1 | n/a | €78.00 |
| Screws and nails | n/a | n/a | €183.23 |
| Plexiglass template stock, laser cut | 1 | n/a | €43.00 |
| Plywood for the frames and transom | 2 x 7 mm, 1 x 20 mm | n/a | €160.00 |
| Sapele for the frames | 3 | n/a | €150.00 |
| Screws for the building base | n/a | n/a | €12.00 |
| Epoxy resin | 5 litres | n/a | €222.00 |
| Microfibre filler | 10 lt | n/a | €14.67 |
| Fiberglass cloth | 20 | n/a | €44.00 |
| More marine plywood | 4 x 6 mm | n/a | €236.00 |
| Rollers and sundries | n/a | n/a | €35.00 |
| Brushes | n/a | n/a | €14.00 |
| Silicon bronze screws from England, No. 2 | n/a | n/a | €50.00 |
| Galvanised carriage bolts | n/a | n/a | €10.00 |
| Tools: router, sockets, drill bit | n/a | n/a | €110.00 |
| Disposable gloves | n/a | n/a | €10.00 |
| Packaging bags for steam bending | n/a | n/a | €15.00 |
| Steamer | n/a | n/a | €70.00 |
| Alignment laser | n/a | n/a | €22.00 |
| Forward mooring cleat | 1 | n/a | €15.00 |
| Aluminium angle for the table saw | n/a | n/a | €13.00 |
| Scales | n/a | n/a | €6.00 |
| 9.5 mm drill bit for the cleat | n/a | n/a | €5.00 |
| Forward mooring cleat | n/a | n/a | €14.00 |
| Microballoons | n/a | n/a | €9.70 |
| Speedometer | n/a | n/a | €80.00 |
| Battery gauge | n/a | n/a | €40.00 |
| Horn and button | n/a | n/a | €76.00 |
| Spiral screwdriver | n/a | n/a | €32.00 |
| Aft mooring cleats | 2 | n/a | €22.00 |
| Brushes and rollers | n/a | n/a | €30.00 |
| Cleats | 2 | n/a | €18.00 |
| Sipo, 3350 x 170 x 65 | 0.037 m3 | n/a | €80.00 |
| Joiner's fee | n/a | n/a | €150.00 |
| Brushes | 60 | n/a | €37.00 |
| Cable ties, 37 cm | 1 pack | n/a | €7.00 |
| Spring clamps | 70 | n/a | €63.00 |
| Sipo, 3350 x 140 x 65 | 0.03 m3 | n/a | €60.00 |
| Brushes | 60 | n/a | €19.00 |
| Corrugated card | 8 m | n/a | €5.00 |
| Stainless coffee cup holders | 2 | n/a | €7.50 |
| Fuel gauge | 1 | n/a | €9.00 |
| USB and 12 volt socket | n/a | n/a | €6.00 |
| Screws and plastic washers for planking | 100 + 100 | n/a | €7.00 |
| Screws and plastic washers for planking | 100 + 100 + 100 + 50 | n/a | €15.00 |
| Resin mixing sticks | 100 | n/a | n/a |
| Epoxy resin | 5 litres | n/a | €223.00 |
| Epoxy primer | 1 litre | n/a | €56.15 |
| Timber for the second building base | n/a | n/a | €30.00 |
| Fiberglass cloth, 213 g/m2 | n/a | n/a | €123.70 |
| Roller trays, 20 mm | 2 | n/a | €3.00 |
| Epoxy fairing filler | n/a | n/a | €24.00 |
| West System resin rollers | 8 | n/a | €65.00 |
| Resin rollers, 9 in | 2 | n/a | €18.00 |
| Double-sided tape | n/a | n/a | €1.00 |
| Dowels, 10 mm | n/a | n/a | €4.00 |
| Chandlery: lights, switch, pumps | n/a | n/a | €262.60 |
| Yamaha 25 hp GES EFI outboard | 1 | n/a | €4,340.00 |
| Flush-mount control box 6X3 | 1 | n/a | €170.00 |
| Epifanes Polygloss Britannia Blue | 3 | n/a | €135.75 |
| Hempel epoxy filler | 1 lt | n/a | €68.50 |
| Hempel light primer | 0.75 lt | n/a | €40.00 |
| Thinner | 0.75 lt | n/a | €18.00 |
| Brush | 1 | n/a | €6.50 |
| Rollers | 2 | n/a | €6.40 |
| Rollers | 3 | n/a | €7.50 |
| Mixing pots | 15 | n/a | €10.00 |
| Rollers | 14 | n/a | €8.00 |
| Black brush | 1 | n/a | €5.00 |
| Water containers | 3 | n/a | €19.50 |
| Water container | 1 | n/a | €8.00 |
| Box section for the outboard dolly | 6 m | n/a | €18.00 |
| Dolly wheels, lower | 2 | n/a | €18.00 |
| Dolly wheels, upper | 2 | n/a | €30.00 |
| Machine shop, drilling the dolly axle | n/a | n/a | €10.00 |
| Locker catch | 1 | n/a | €35.00 |
| SeaStar TFX N.F.B. 4.2 steering helm | 1 | n/a | €239.90 |
| SeaStar SSC62 TFX Quick Connect steering cable, 16 ft | 1 | n/a | €133.00 |
| SeaStar TFX NFB 90 degree bezel kit | 1 | n/a | €20.00 |
| Osculati steering wheel | 1 | n/a | €132.00 |
| Fairleads | 2 | n/a | €20.00 |
| Locker catches, fore and aft | 2 | n/a | €14.00 |
| Pump outlet fittings | 2 | n/a | €24.00 |
| Brushes, 2 cm | 40 | n/a | €14.00 |
| Forward deck cleat | 1 | n/a | €25.00 |
| Fuel vent | 1 | n/a | €30.00 |
| Silicon bronze screws from England, No. 3 | n/a | n/a | €46.00 |
| Push switches | 6 | n/a | €36.00 |
| Cable tie bases for the wiring | 20 | n/a | €4.24 |
| Horn button, No. 2 | 1 | n/a | €7.00 |
| Double-sided tape | 1 | n/a | €1.80 |
