Jim Norman's 20 foot houseboat, built in his northern New Jersey driveway from 2015 to 2021. The design started from Roy Schreyer's Dianne's Rose, stretched three feet and reworked into his own. Okoume plywood hull over sawn frames and bulkheads, a cabin of cedar posts and laminated roof beams sheathed in pine beadboard, and a fiberglassed arched roof with gull wing panels over the aft deck. Launched on the Hackensack River in May 2021, she now cruises Lake Hopatcong, where she took the Ladies' Choice award at the 2024 antique and classic boat show.
Make a book
Feed
The whole log, 27 entries and every photo,
laid out as a book to print, bind and keep.
It's getting to the time when Jersey Girl starts growing up, and I need to start by...
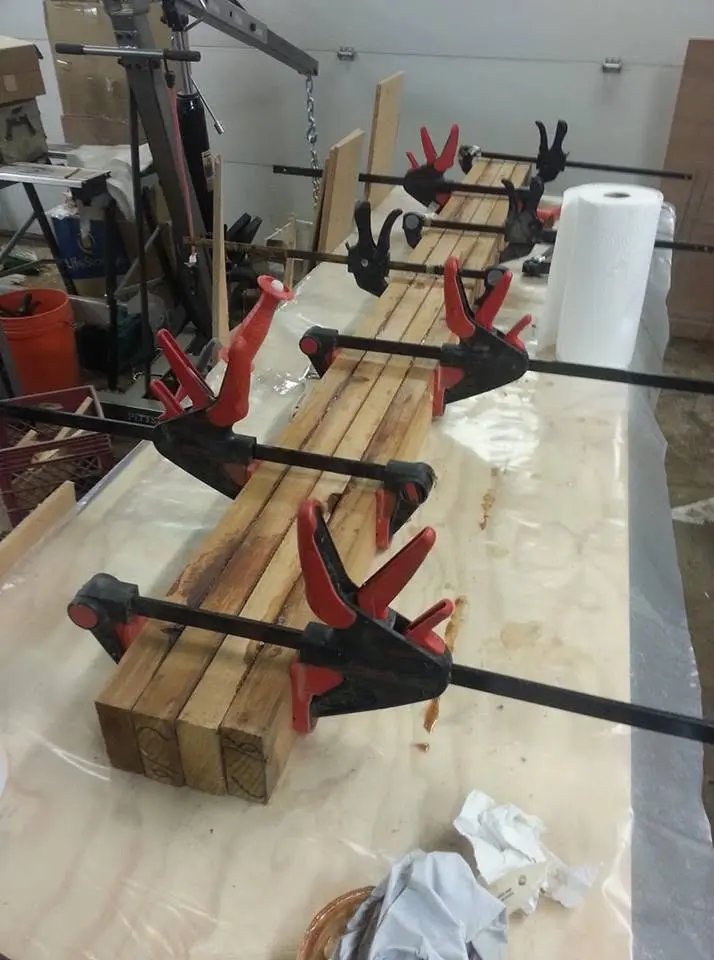
Houseboat update, Saturday, August 11, 2018 -- It's getting to the time when Jersey Girl starts growing up, and I need to start by defining her superstructure with eight clear red cedar vertical posts that will support the roof over her aft deck and serve as the jambs for the door from there into the cabin -- or, as I like to think of it, the salon. I have not been able to find a local source for clear eight-foot 3 x 3 cedar posts that I need. ("Clear," in woodish, means almost completely free of knots, straight-grained and having no twist or warp.) I could order them, but they'd take weeks to arrive and they'd be horribly expensive. But 2 x 4's are available and relatively reasonably priced, so I'm gluing them up in pairs, two at a time. I've done this before, with Sitka spruce, for a mast on a sailing dinghy I built 27 years ago, and it worked very well. If this works as well, I will be happy. I just hope the relatively "thirsty" grain of the cedar does not absorb the epoxy so quickly that it siphons the adhesive away from the joint. I won't know until tomorrow, when the epoxy is cured and I release the clamps. Then, I will have to trim the assembly from its present dimension to the 3 x 3's that I need. (Did you know that the actual dimension of a single finished 2 x 4 is 1 1/2 x 3 1/2 inches -- meaning that my glued posts will be 3 x 3 1/2 before I trim them?)
I’ve started laying up the first of Jersey Girl’s arched roof beams against the jig I...
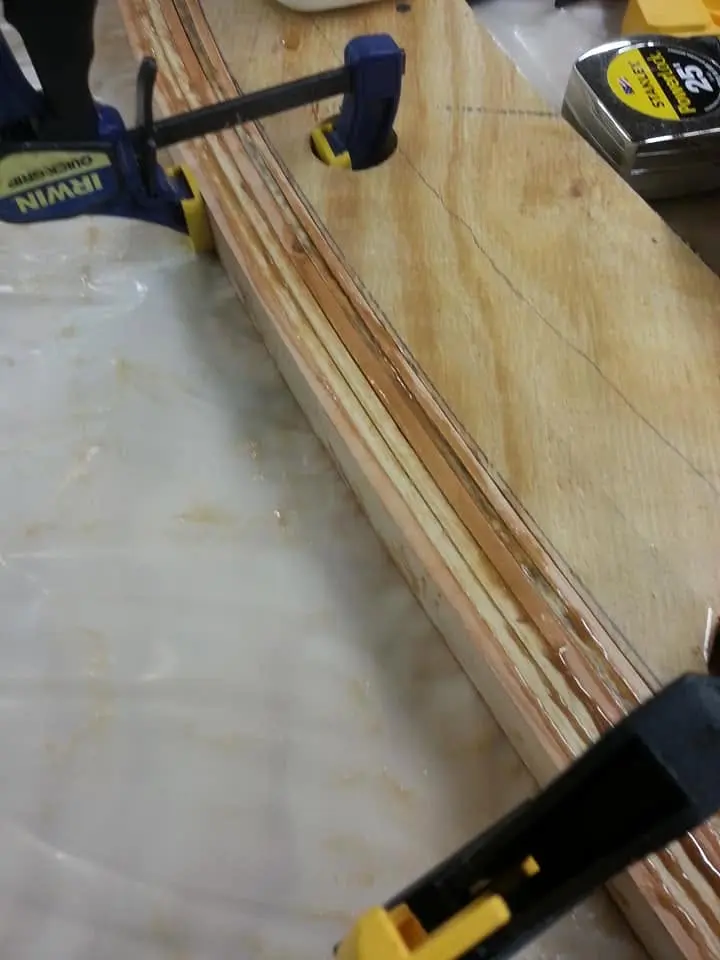
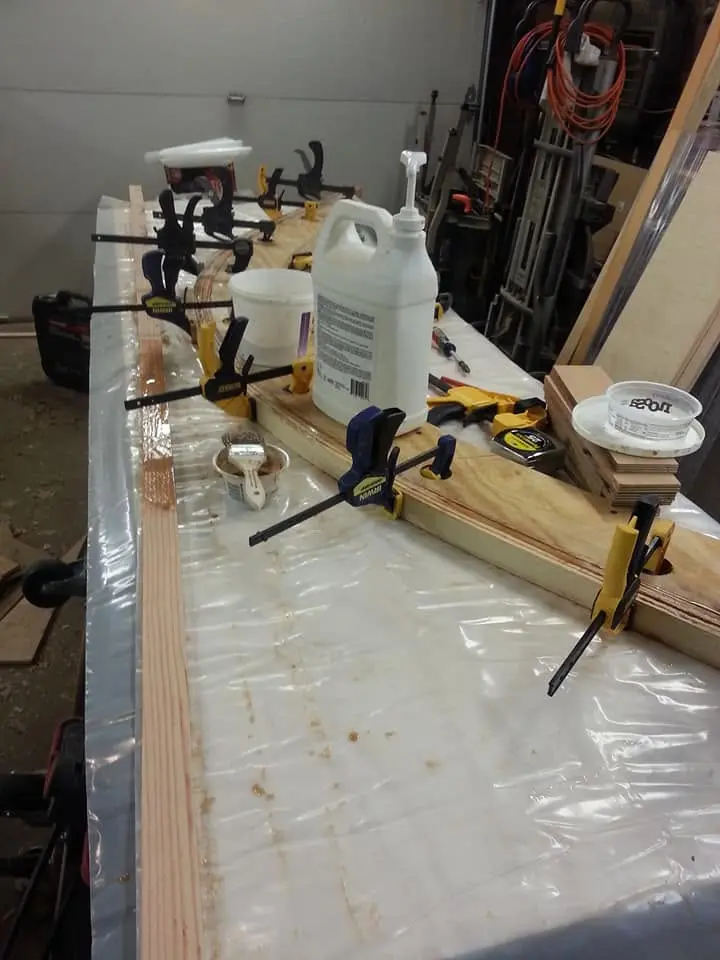
Houseboat update, Friday, December 28, 2018 – I’ve started laying up the first of Jersey Girl’s arched roof beams against the jig I made earlier. Each beam will be made of seven quarter-inch-thick by 1 ½ inches wide Douglas fir. I had planned to make these of clear cedar, but I simply could not justify the cost of turning that much high-priced cedar into saw dust, losing an eighth of an inch to the kerf with each pass of the table saw blade. So, I decided to go with plain old Doug 2-by-6 framing lumber. I looked for the straightest, most knot-free ones I could find in the stack of generally horrid crap at the competing big-box home centers, finally deciding that Lowe’s had the best selection. Knots and all, I bent them to the jig, laying them up with clamps and epoxy, a strip at a time. When each beam is fully cured, I’ll release it from the jig and plane down the edges to reveal an attractive laminate. To make certain I did not inadvertently glue the beam to the jig, I covered the edge of the jig with clear package sealing tape, knowing the epoxy will not stick to that. I alternated the strips from different boards to take advantage of the variation in wood colors, rather than have one beam all one shade and the next beam a different shade. I think it will look pretty good, and it will cost less than a tenth of the price of cedar – and that looks VERY good.
Here's Jersey Girl's first roof beam, released from its jig.
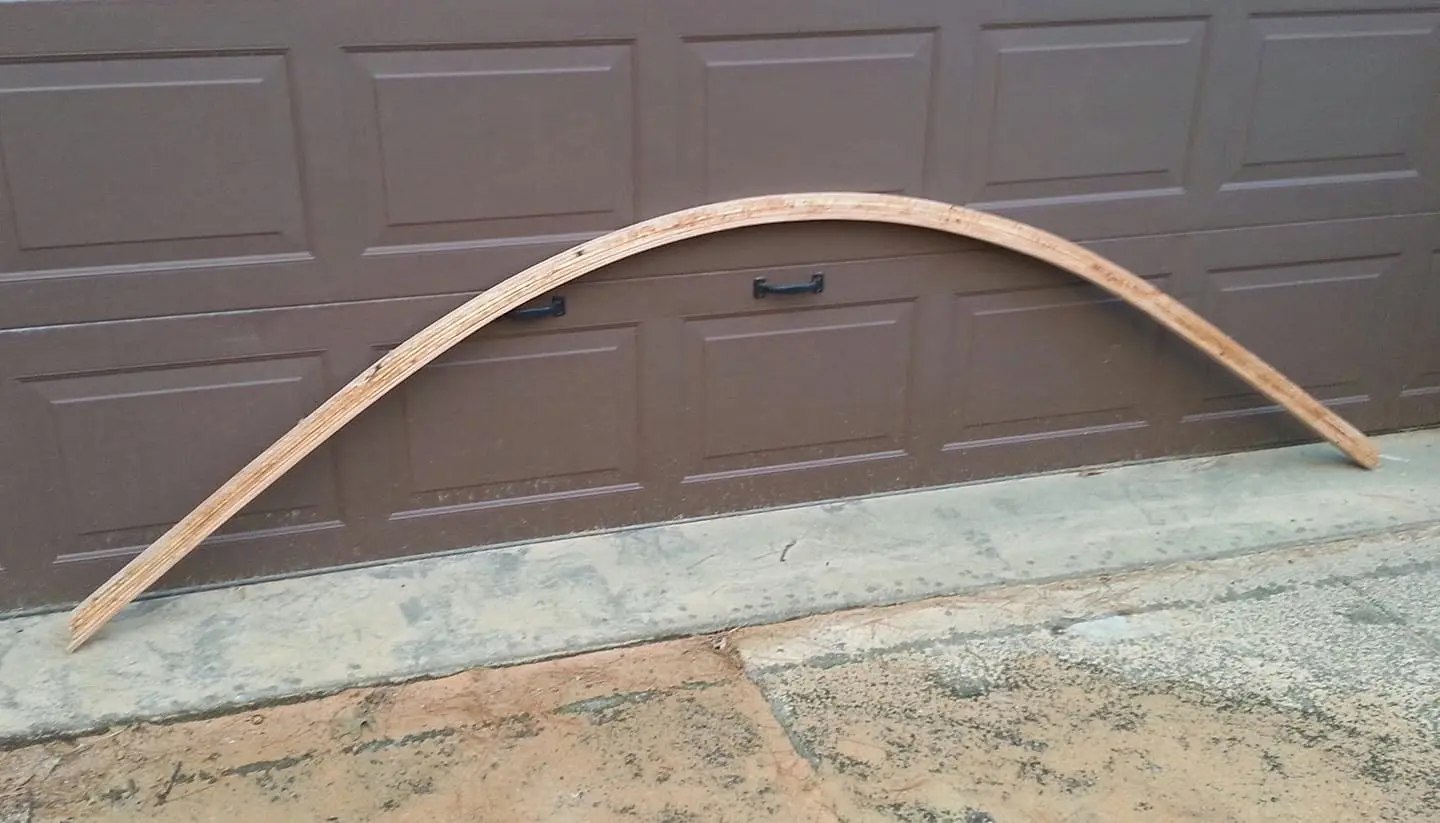
Houseboat update, Saturday, December 29, 2018 -- Here's Jersey Girl's first roof beam, released from its jig. It's made of seven quarter-inch thick strips of Douglas fir, sawn from ordinary 2 x 6 framing lumber from the local big box home center. In all, there's less than three dollars worth of wood in this, and about the same amount in epoxy. I didn't know what to expect in spring-back when I released it from the jig, and I was pleasantly surprised to see it flatten out by less than a half inch over its full eight-foot span. Not only that, it's very light and very strong. This will work!
Amping up production here, with two roof beams glued up at the same time.
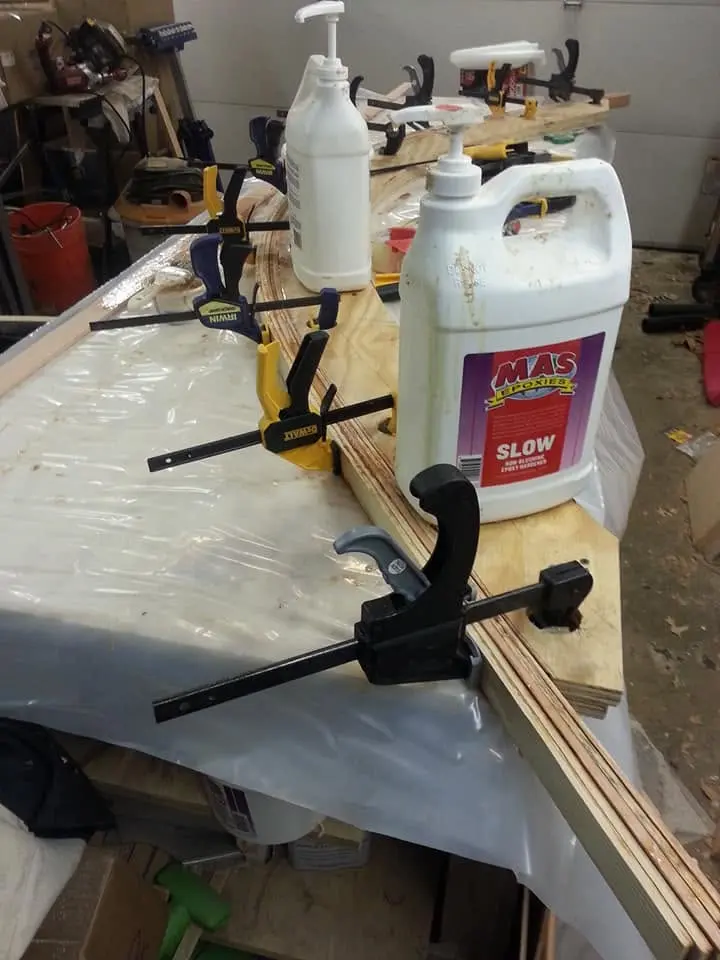
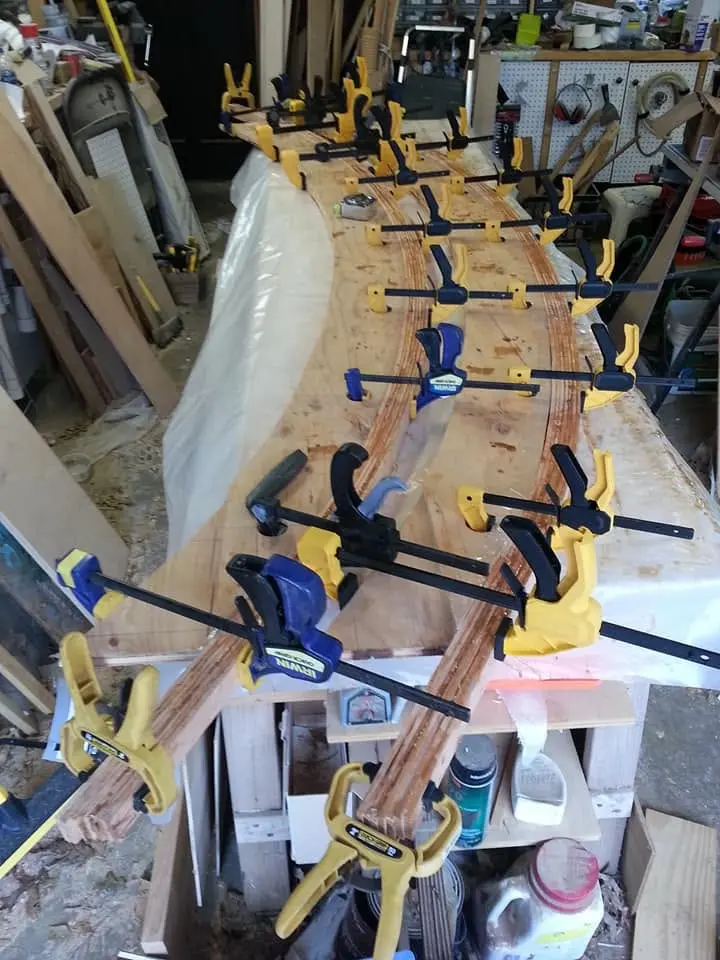
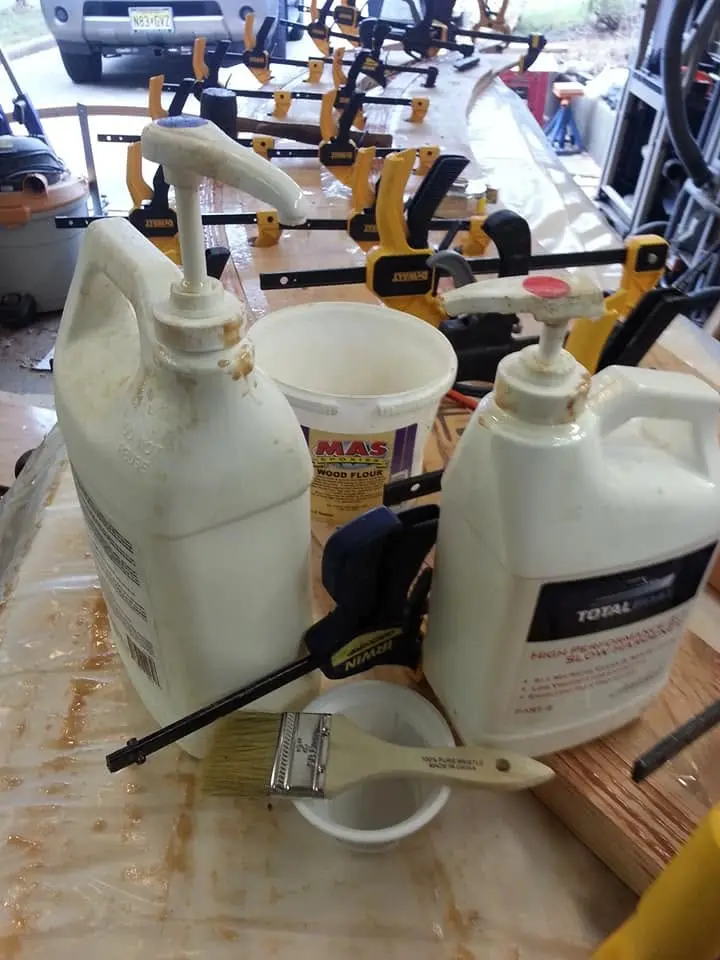
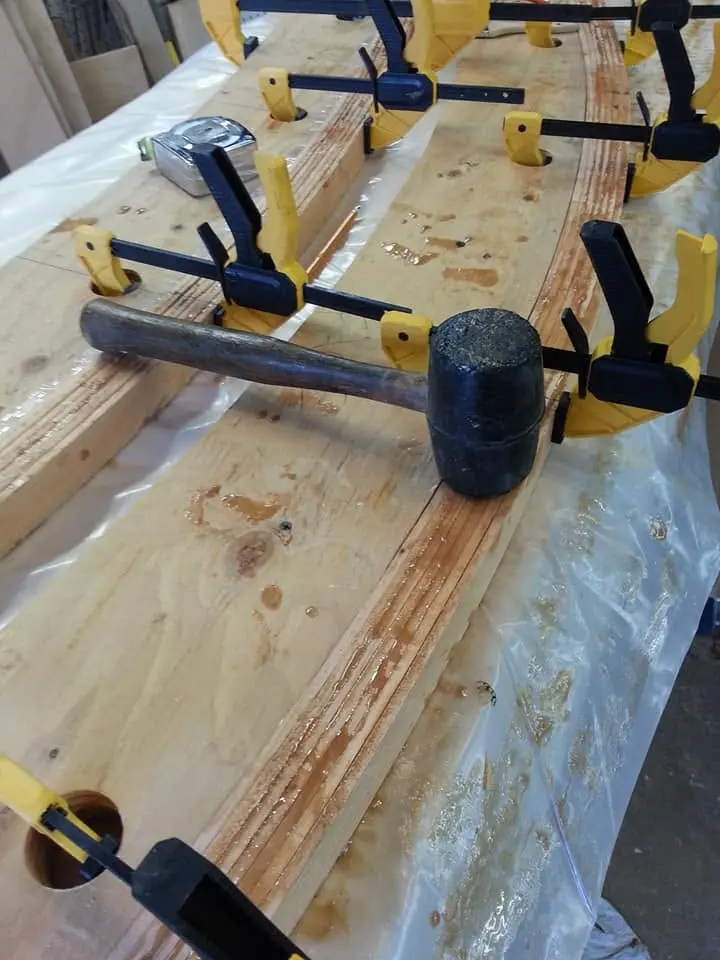
Houseboat update, Friday, January 4, 2019 – Amping up production here, with two roof beams glued up at the same time. I’ve discovered that if I work quickly I can spread glue on all six of the seven strips that comprise one beam, then clamp them all at once before the epoxy begins to catalyze. It’s a great time saver, but I have to work efficiently to do it. If something interrupts me, it’s best to clamp up however many strips I’ve spread glue on, then let that assembly cure before going back to the remaining strips. If I return to the job and release the strips to add more before a full cure has taken place, I run the risk of having partially cured epoxy spring loose, and I am concerned that will prevent a solid cure when I clamp it all back together. I started the first of these two layups yesterday, and was interrupted after I had spread mixed epoxy on four of the six glued surfaces. So I just clamped it all tight to the jig and left it to cure overnight. When I returned to finish the job this morning, there was no springback when I released the clamps to add the two new strips. After I have everything clamped tight, I solve any high-low alignment issues in the strips by whacking them all with a rubber mallet. A few words about epoxy, for those reading this and wondering what it’s all about. Epoxy is a two-part formula consisting of resin and a catalyzing hardener. When it’s mixed in a ratio of two parts resin to one part hardener, a chemical reaction starts, generating heat. If left alone in the mixing cup, it will turn into a hard plastic puck that will have taken on the form of the inside of the cup. If it gets on hands or clothing, it’s just about impossible to remove once it’s cured, so I always use disposable nitrile gloves and wear old work clothing. To prevent the workpiece from sticking permanently to the jig, I cover the contact surface of the jig with transparent package sealing tape – which epoxy won’t stick to. The containers of resin and hardener are equipped with metering pumps that assure an approximation of the correct ratio. I do five pumps of each for one batch, then add enough pulverized wood flour to thicken the mix to a consistency about the same as a creamy salad dressing, which I smear with a disposable brush on the surface to be glued. One of these beams takes a total of 27 pumps each of resin and hardener. I’ve run into some folks who insist that the only way to mix epoxy properly is to measure it out in a graduated plastic cup to assure a two-to-one ratio; others say with great authority that it has to be measured out by weight. While that certainly adds to the mystique of boat building and the impression that mere mortals had best leave this craft to the true experts, it just isn’t true. The supplied pumps are accurate enough to mix epoxy that will cure just fine. The only variable that trips people up is temperature. Epoxy won’t cure at all in temperatures much below 60 degrees F, which is why I have to put the boat into storage for the winter and work on smaller parts inside my heated garage.
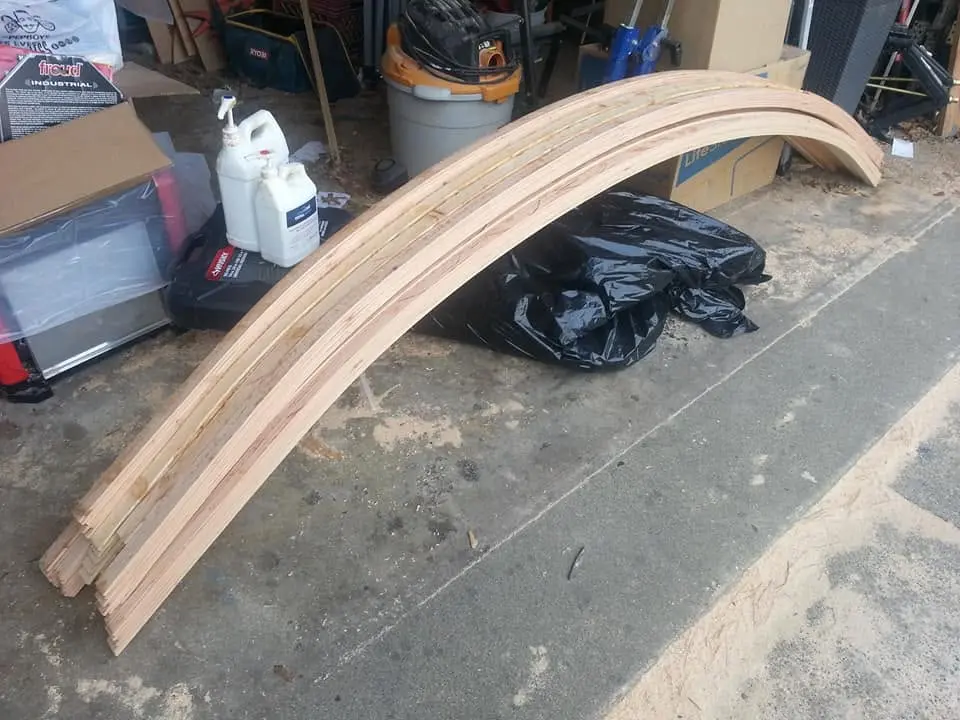
Ten more-or-less identical roof supports for Jersey Girl, with one to go.
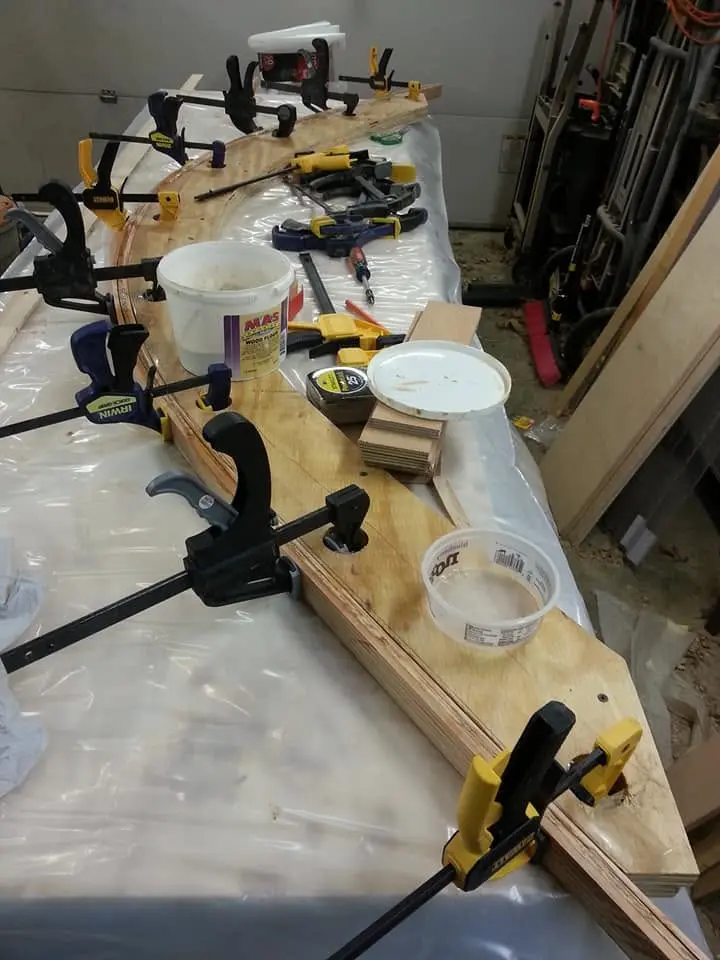
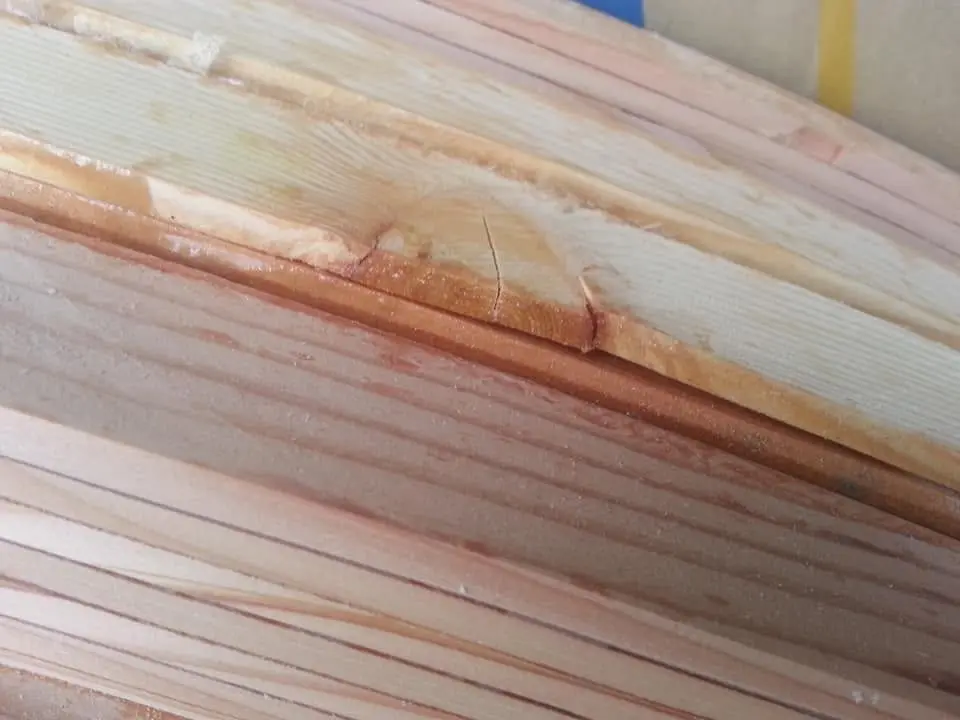
Houseboat update, Sunday, January 13, 2019 -- Ten more-or-less identical roof supports for Jersey Girl, with one to go. Next step after I laminate the last one will be to coat all their stacked edges with a slightly thickened epoxy mixture, to fill any voids between the glued-up strips of wood. That will be especially important where a loose knot may have caused deformation of the assembly, leaving a large opening. In such cases, I will apply a heavily thickened mixture of epoxy, using wood flour to closely match the color of the surrounding wood. Then, I will sand everything smooth and brush it all with at least two coats of unthickened epoxy, sanding between coats. Finally, I will varnish all but the top surfaces, leaving the epoxy on them exposed so as not to interfere with gluing the roofing planks down later.
Nobody else here is logging a Jersey Girl yet.
See the boat.