I buy enough okoume marine plywood to get started.
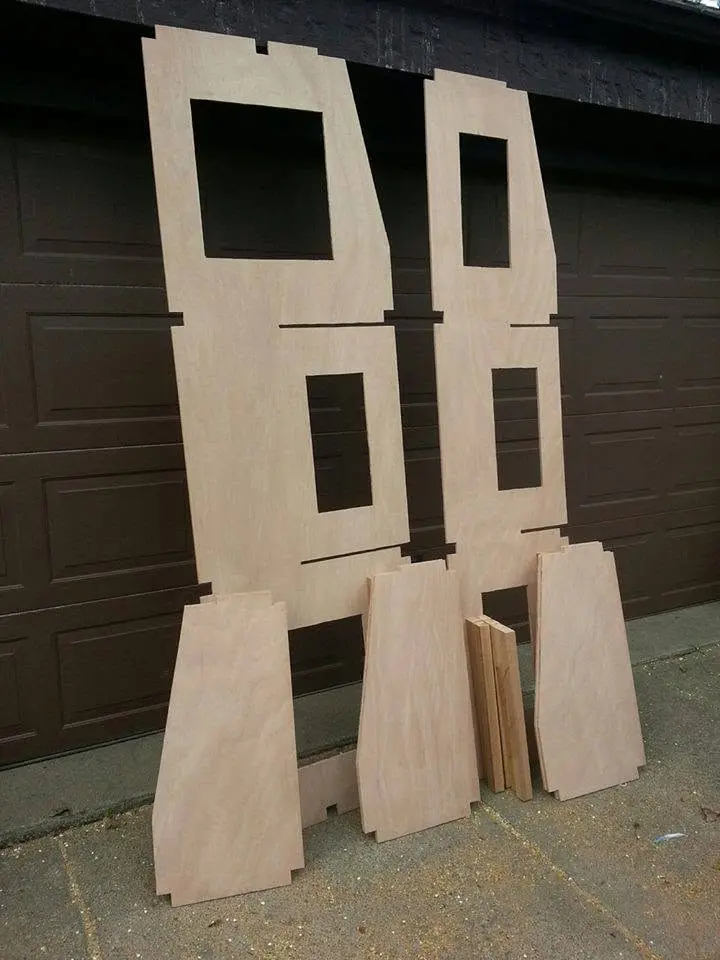
May 5, 2015. I buy enough okoume marine plywood to get started. This stuff is expensive, about $100 for a 4 x 8 sheet of 3/8-inch ply and $125 for the half-inch. But you can't expect to do a project like this with the kind of material you can get at the big-box home centers. The material I am buying has many more plies for a given thickness, and they are bonded with glues that are certified to be waterproof and boilproof. It is made of selected hardwood throughout, and it contains no inner voids or outer patches, which I have learned are called "dutchmen." I'll be learning a lot of new vocabulary as I go along. Within a few days, I have cut out many of the full and partial bulkheads, the transversal components that make up much of the egg-crate style frame and define the ultimate shape of the hull.
It's time to get to work on the longitudinal frames.
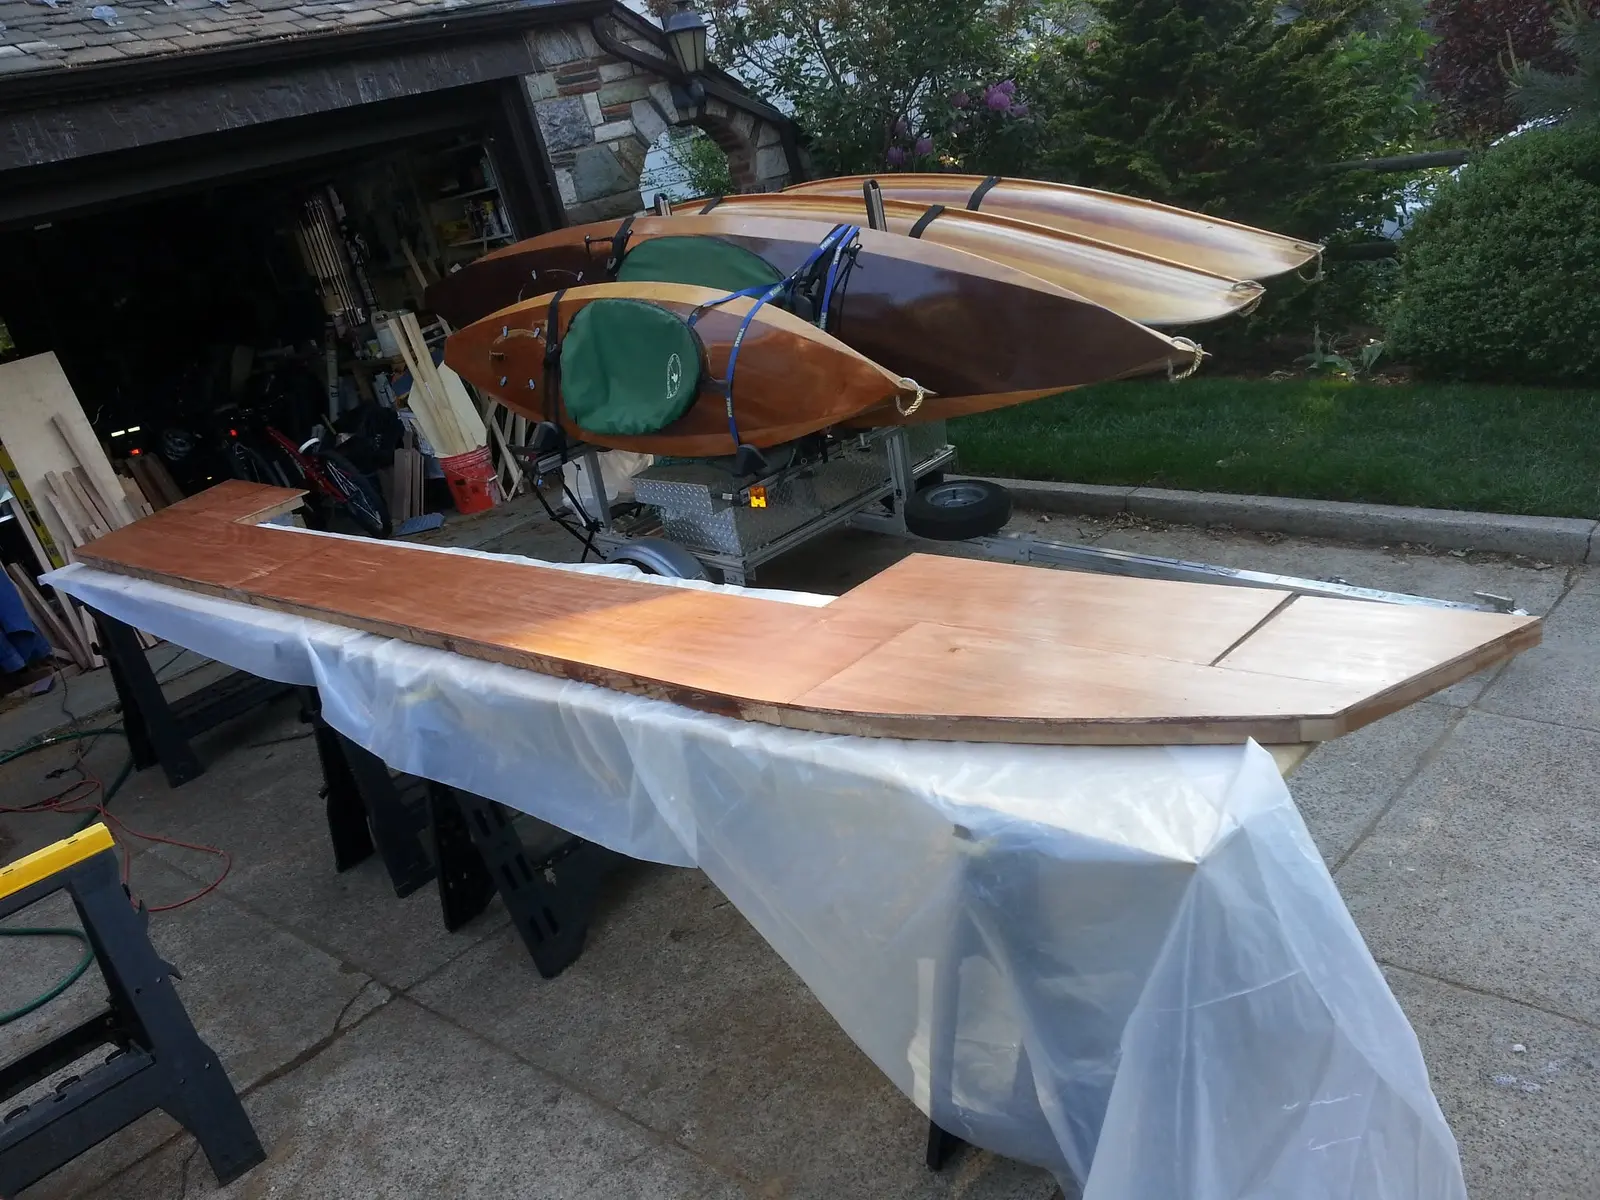
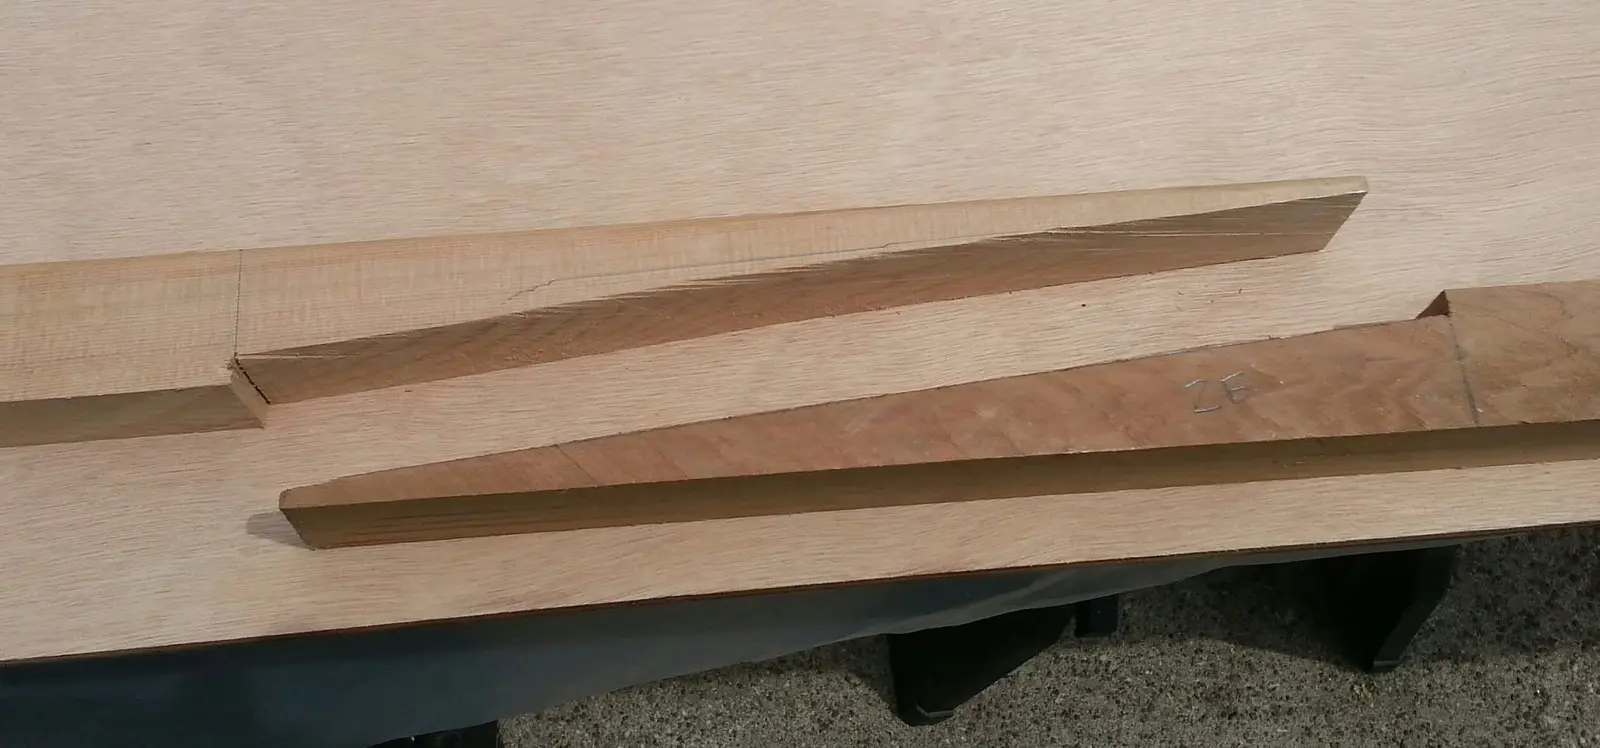
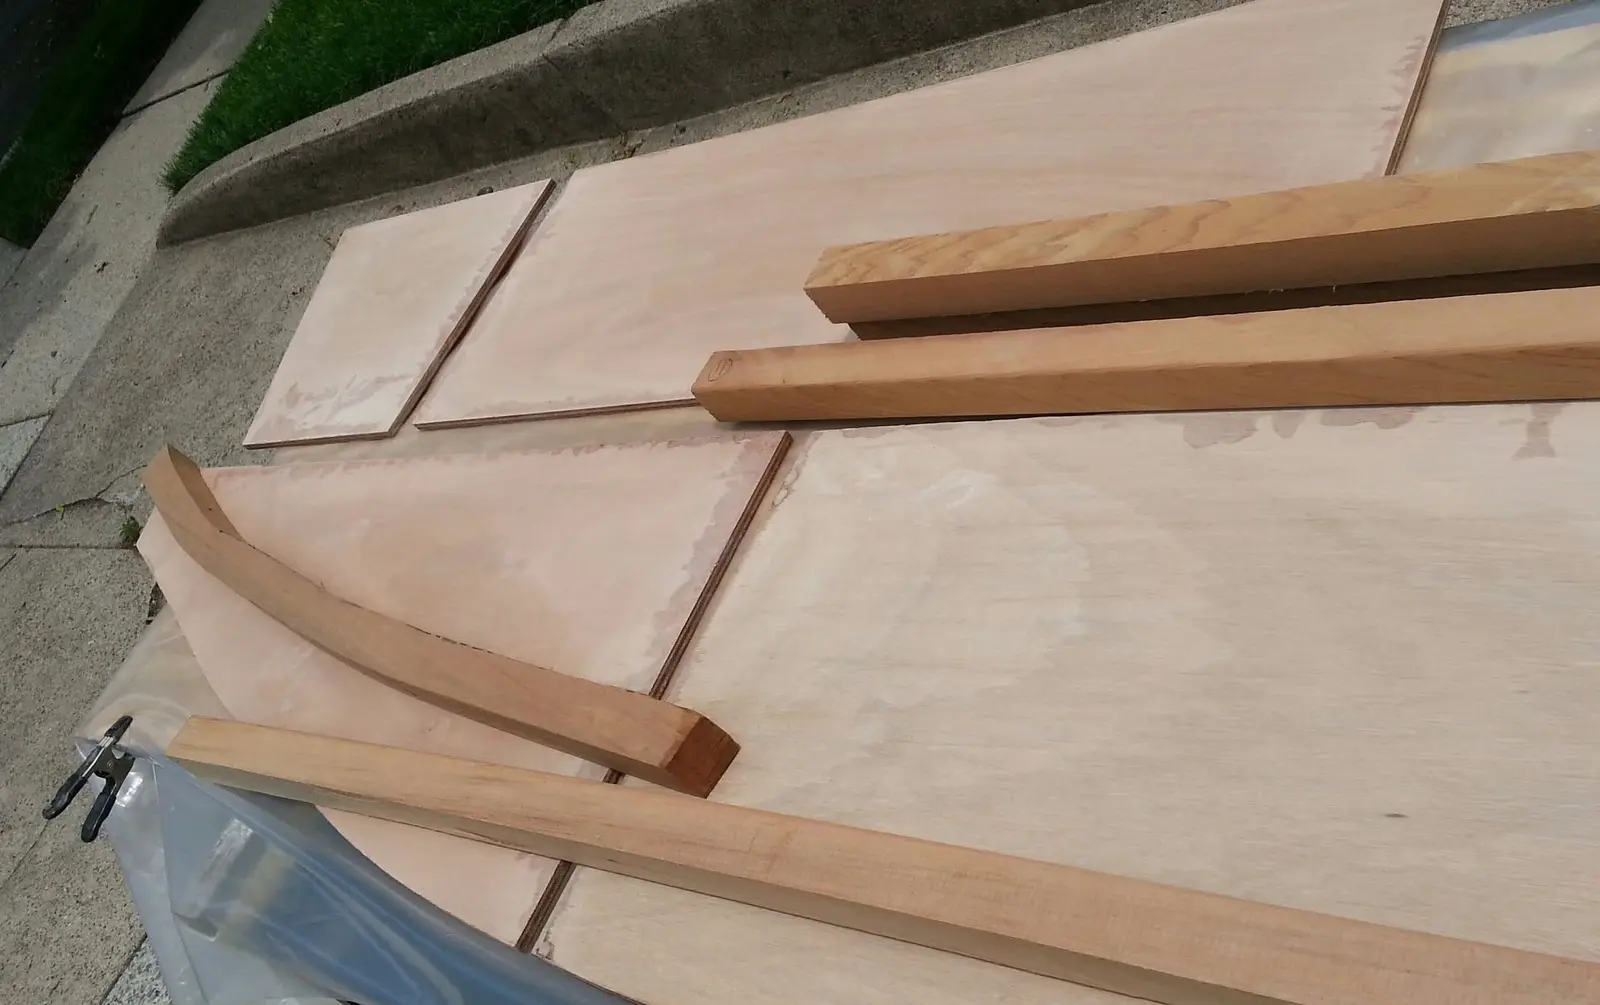
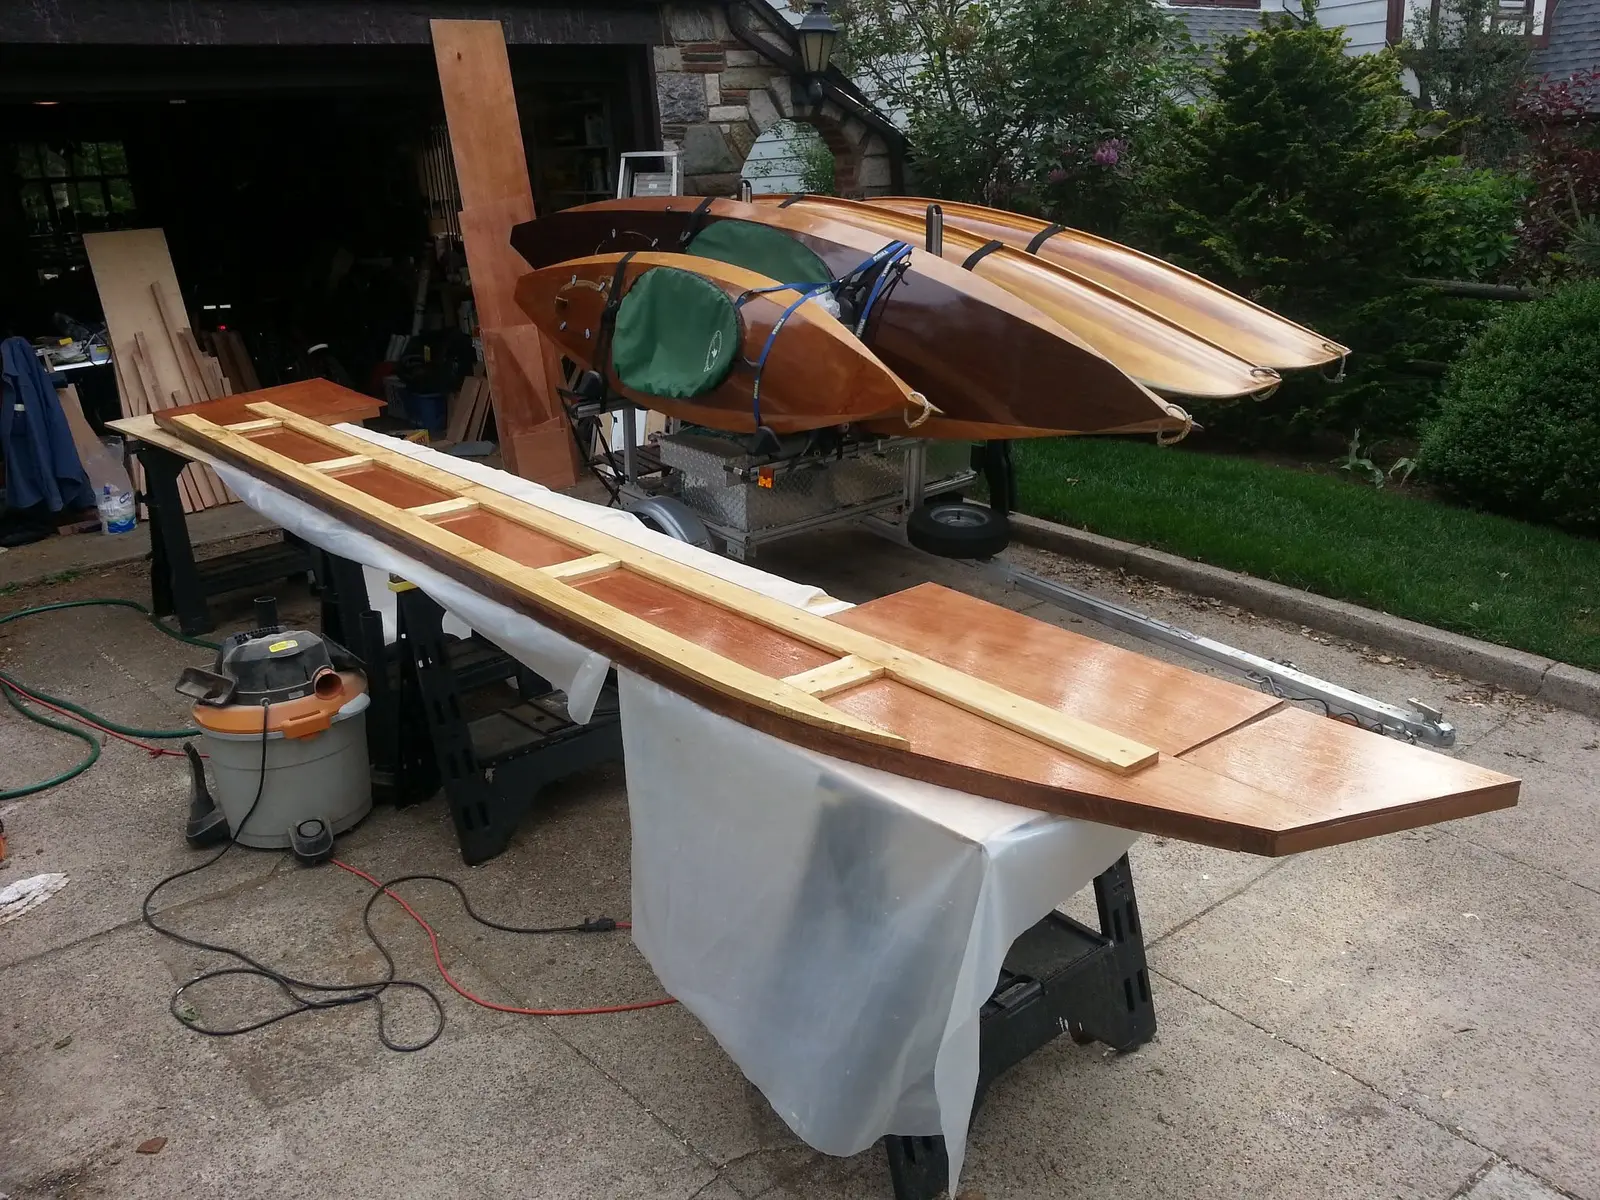
June 6, 2015. It's time to get to work on the longitudinal frames. These are the pieces that will interlock in slotted joints with the full-width bulkheads to create the basic backbone of the hull. The longitudinal frames will also support the partial bulkheads off to the port and starboard (left and right) sides. Reflecting the design length of the boat, they are 17 feet long. Because they are so long, each one has to be made of several smaller pieces of plywood, and they are supported at the joints by 2 x 2-inch timbers of clear red cedar. Red cedar is an exceptionally light-weight wood, and virtually rot resistant. It's a good choice for a boat. Since the full length required of these timbers is longer than I can reasonably obtain, I use a shouldered scarf joint to glue them together. The shoulders prevent the glued joint from slipping out position under clamping pressure before the glue dries.
The joints in the longitudinal frame are reinforced on the side that will be seen from...
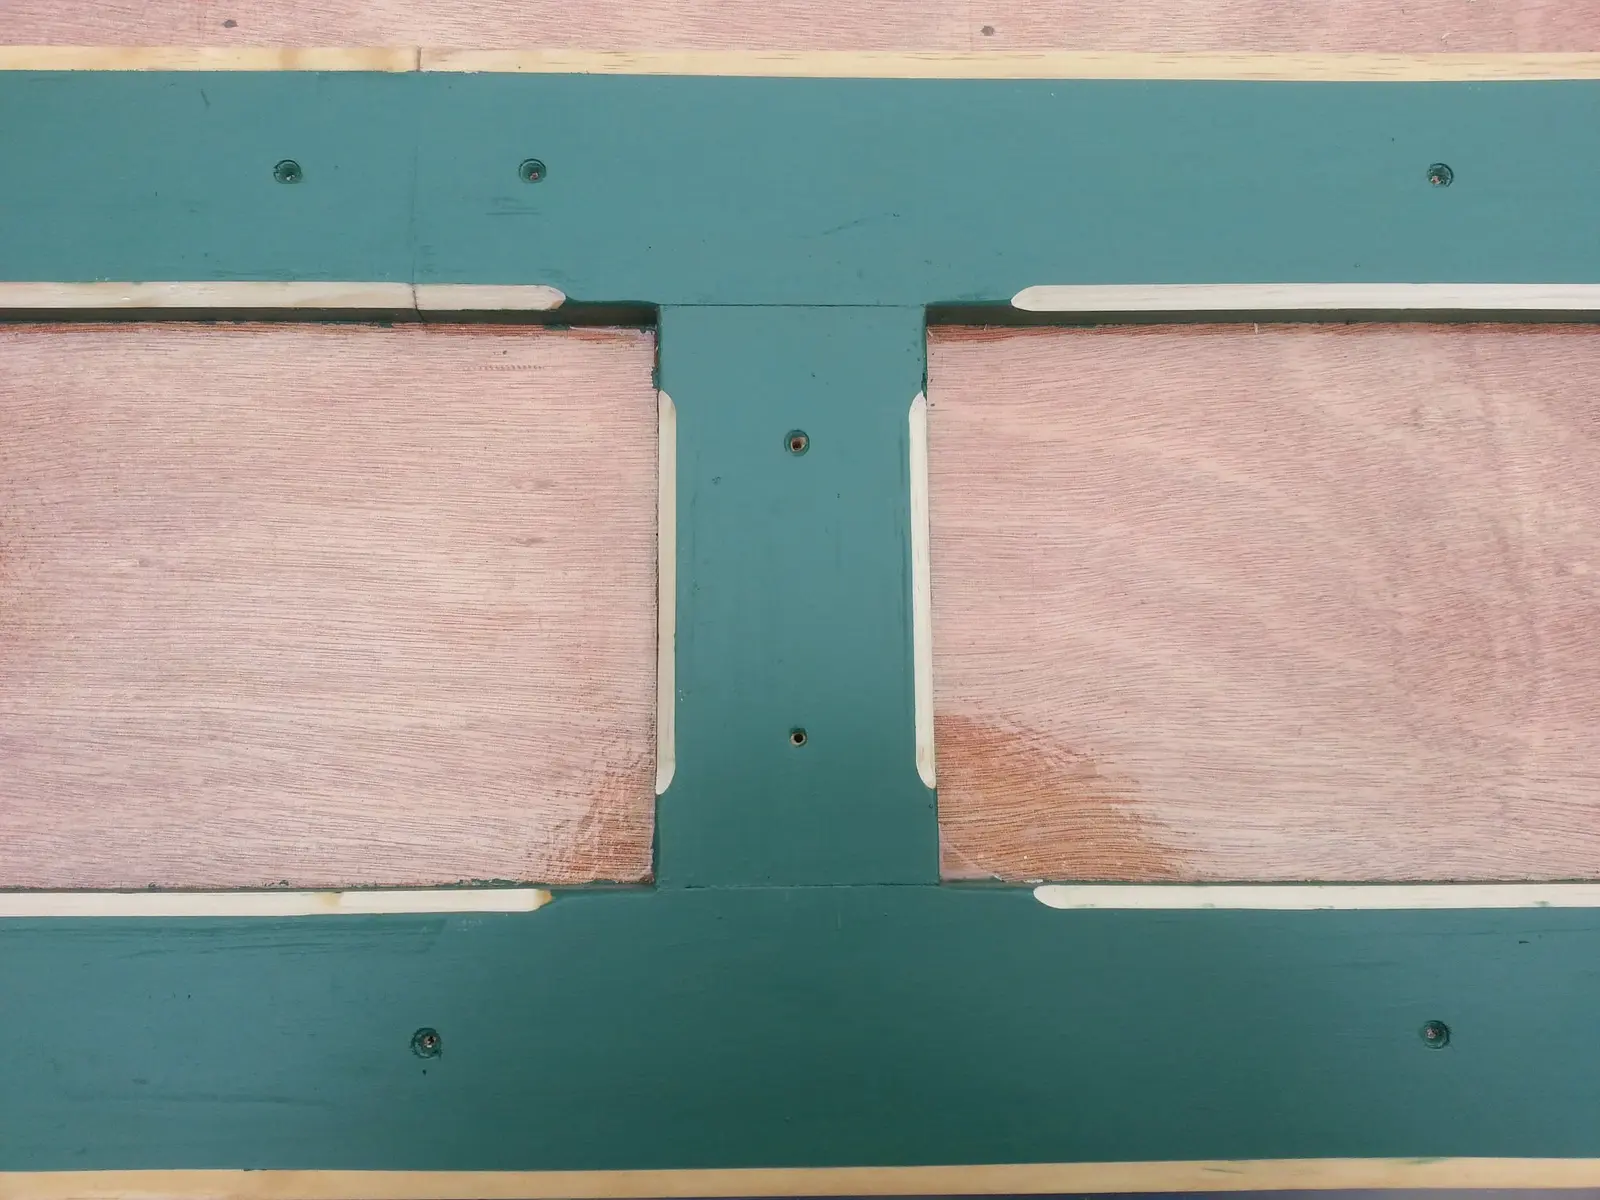
June 29, 2015. The joints in the longitudinal frame are reinforced on the side that will be seen from inside the boat by a decorative wainscoting system, made of pine. Once it's glued and screwed into place, I'll ease the edges in the decorative way and paint it to make it look good.
I've reduced the height of the forward deck support in the long frames, and installed...
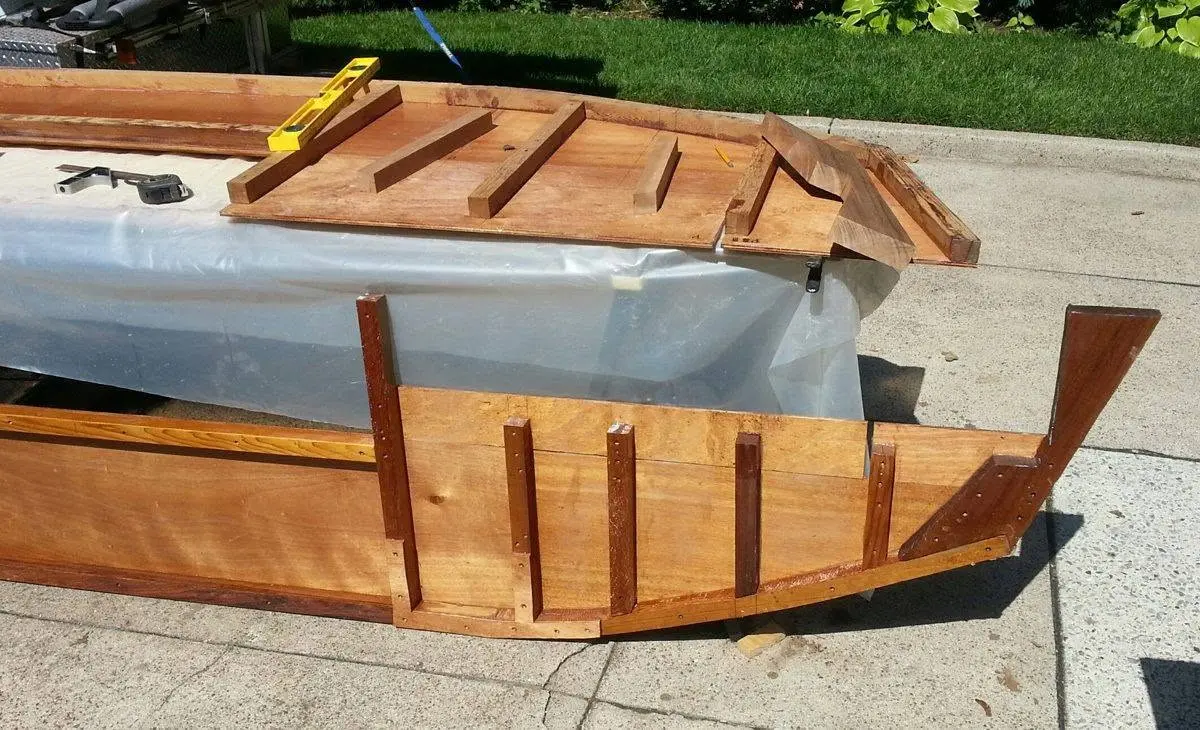
July 10, 2015. I've reduced the height of the forward deck support in the long frames, and installed additional bracing to make up for the loss of girder effect. I've also beefed up the the bow, anticipating the shape of the forward deck structure. By now, there's enough wood in each of these long frame components that they are heavy and require quite an effort to move. At the same time, each of them is quite floppy without the support of surrounding framework. If I'm not careful, a misstep now will easily snap one of them in two. That would not be a good thing. Another problem: by now, these components are far too long to fit into the garage. I'm going to have to wrap them in plastic and store them on the rear deck of the house to keep them out of the weather while I work on other things, like at least two additional full-width bulkheads to support that slimmed-down bow area, and four more partial bulkheads to accommodate the extra length in the stern.
Here it is, the very last day of 2016, and I still have not completed the "short-term"...
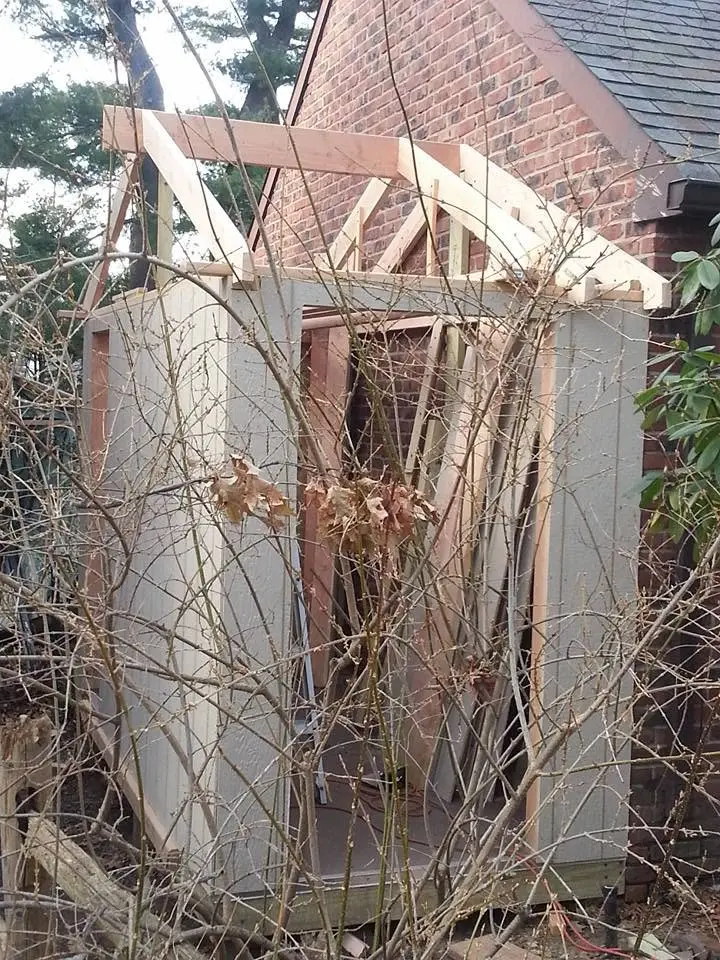
December 31, 2016. Here it is, the very last day of 2016, and I still have not completed the "short-term" construction of a shed that was supposed to help me clear out the garage and get back to boat-building. The long frames, wrapped in plastic on the deck, have gone through more than a year and a half, serving no purpose other than to reprimand me every time I look at them, for abandoning ship. It is perfectly clear that I will still be building the shed well into 2017, when the weather is warm enough that I should be building the boat instead.