Jim Norman's 20 foot houseboat, built in his northern New Jersey driveway from 2015 to 2021. The design started from Roy Schreyer's Dianne's Rose, stretched three feet and reworked into his own. Okoume plywood hull over sawn frames and bulkheads, a cabin of cedar posts and laminated roof beams sheathed in pine beadboard, and a fiberglassed arched roof with gull wing panels over the aft deck. Launched on the Hackensack River in May 2021, she now cruises Lake Hopatcong, where she took the Ladies' Choice award at the 2024 antique and classic boat show.
Make a book
Feed
The whole log, 32 entries and every photo,
laid out as a book to print, bind and keep.
First of all, Jersey Girl and I wish everyone a most happy New Year, with the sincere...
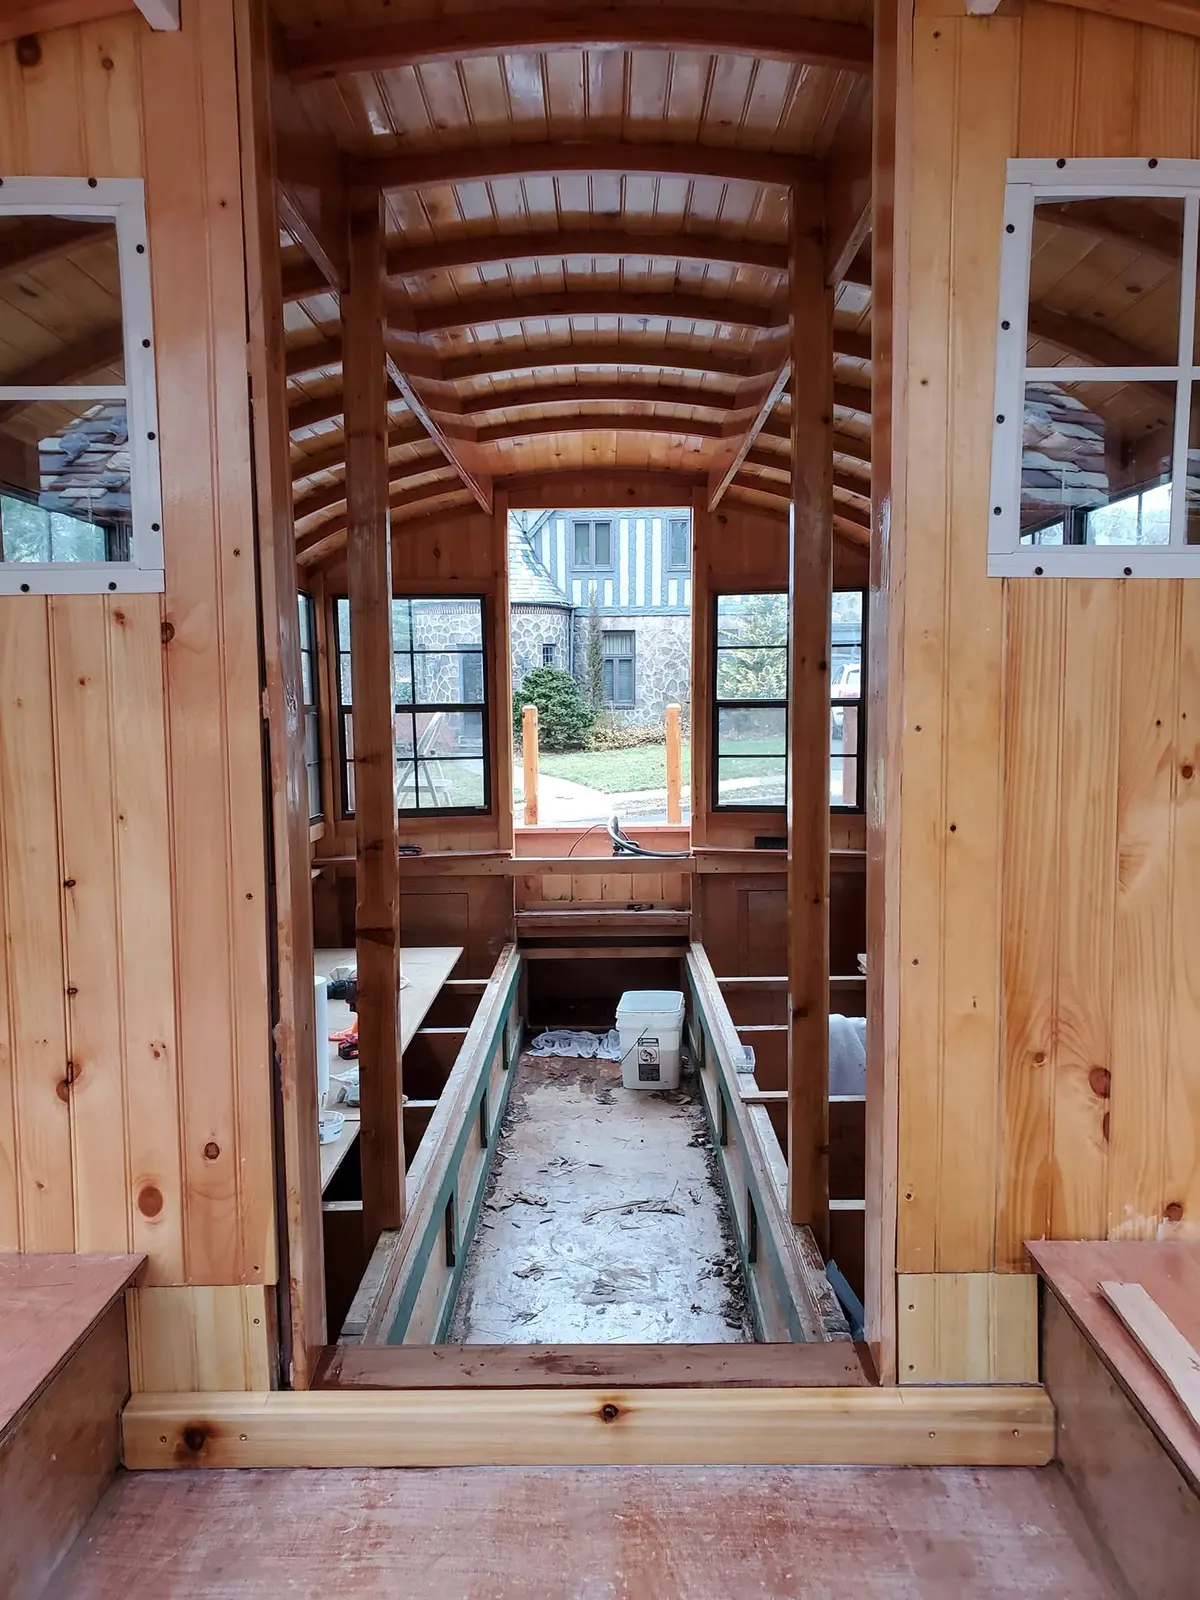
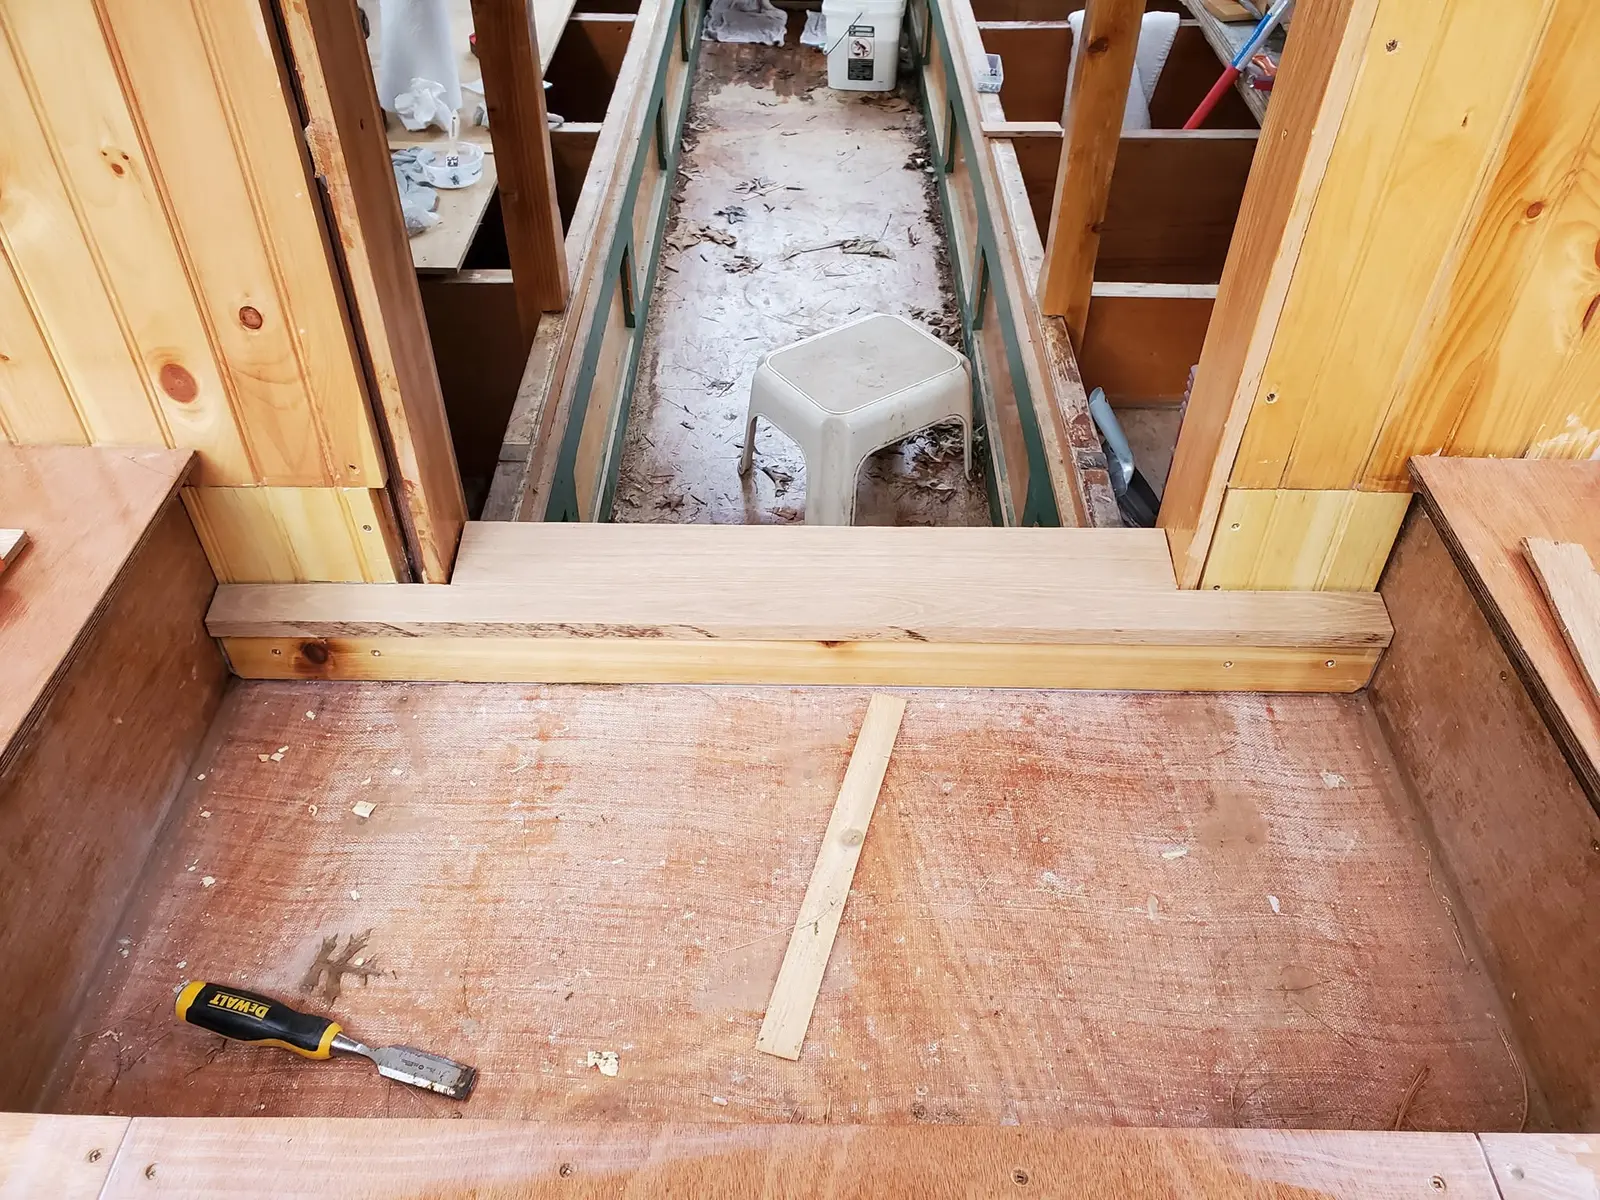
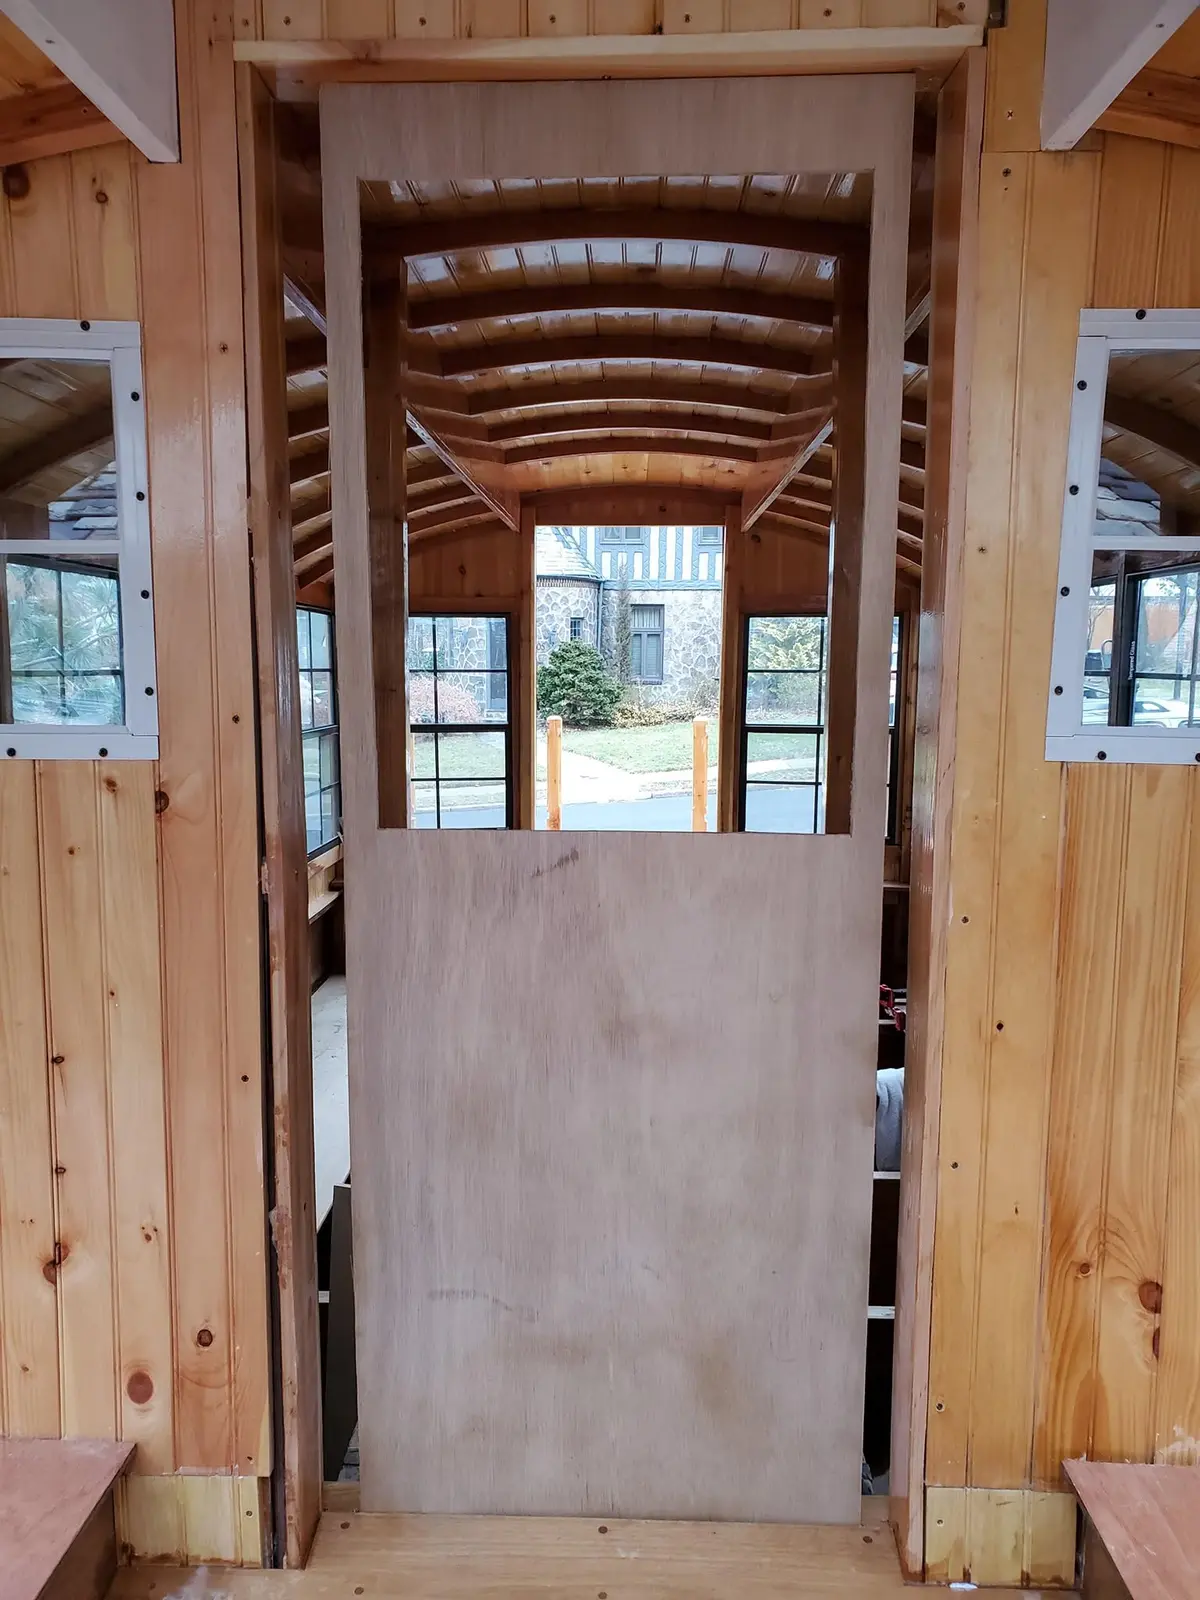
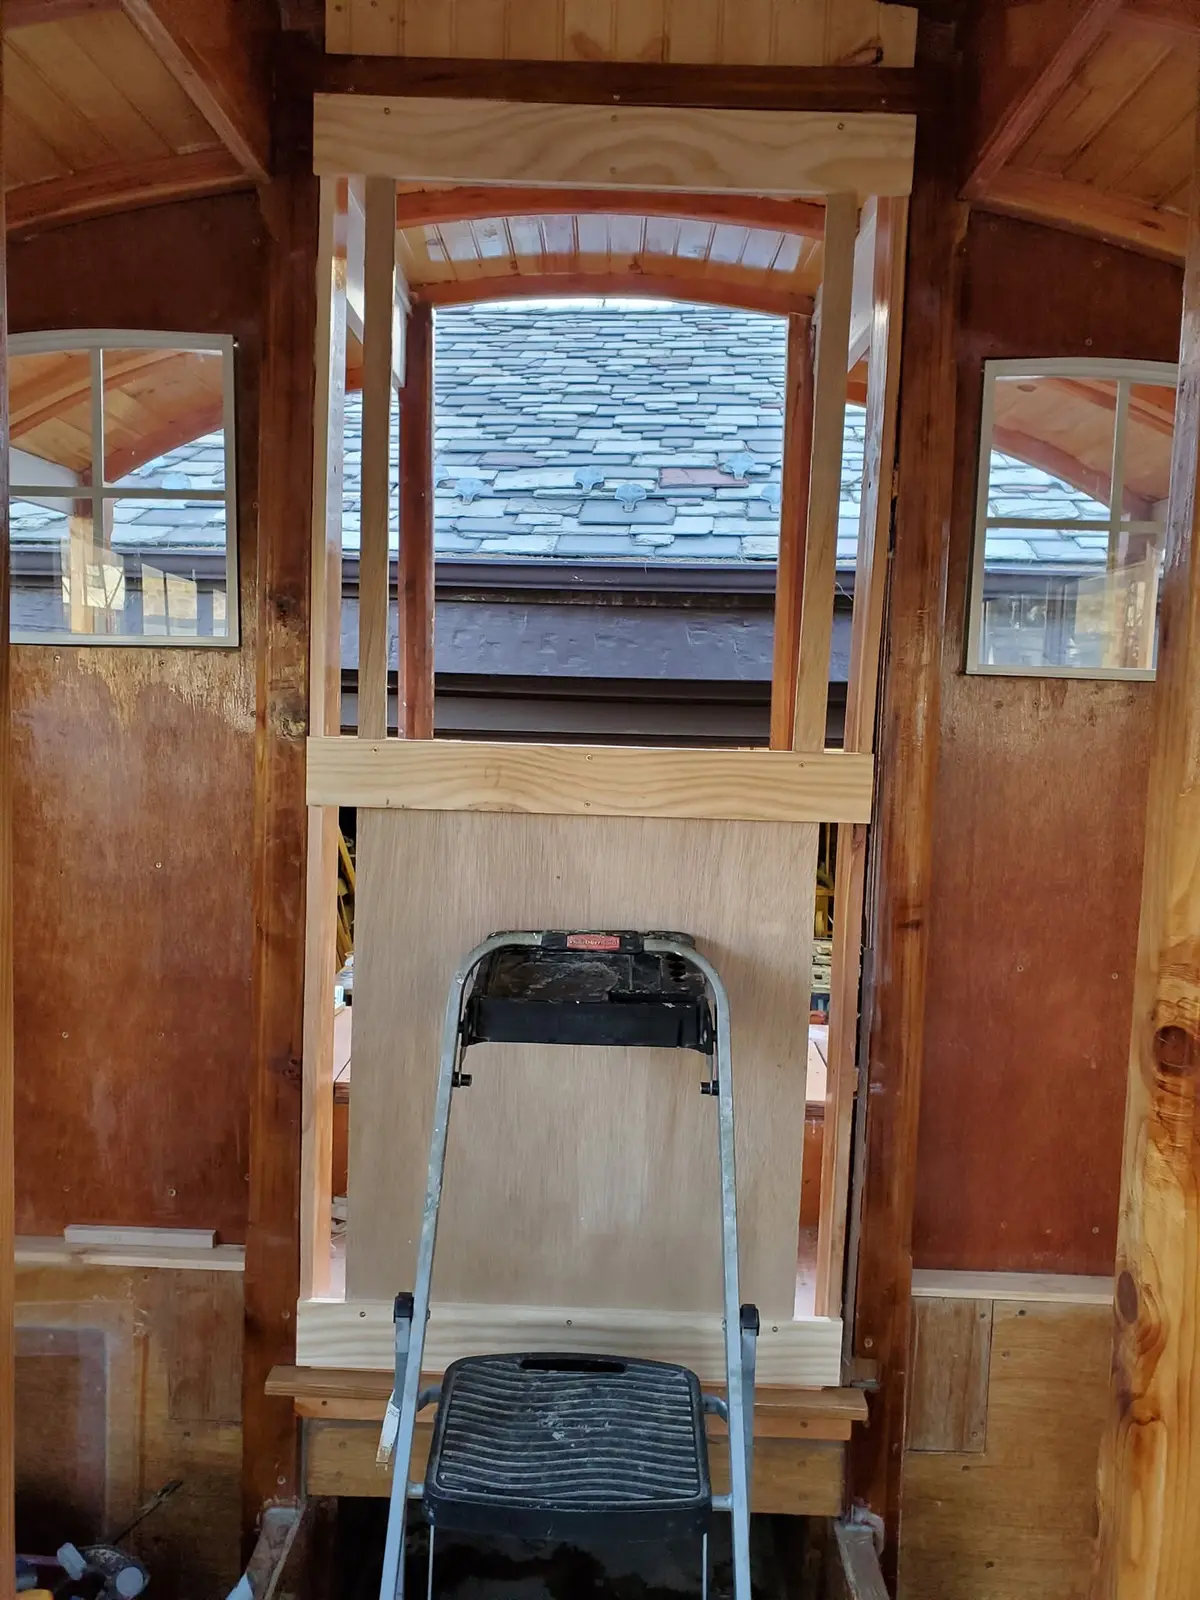
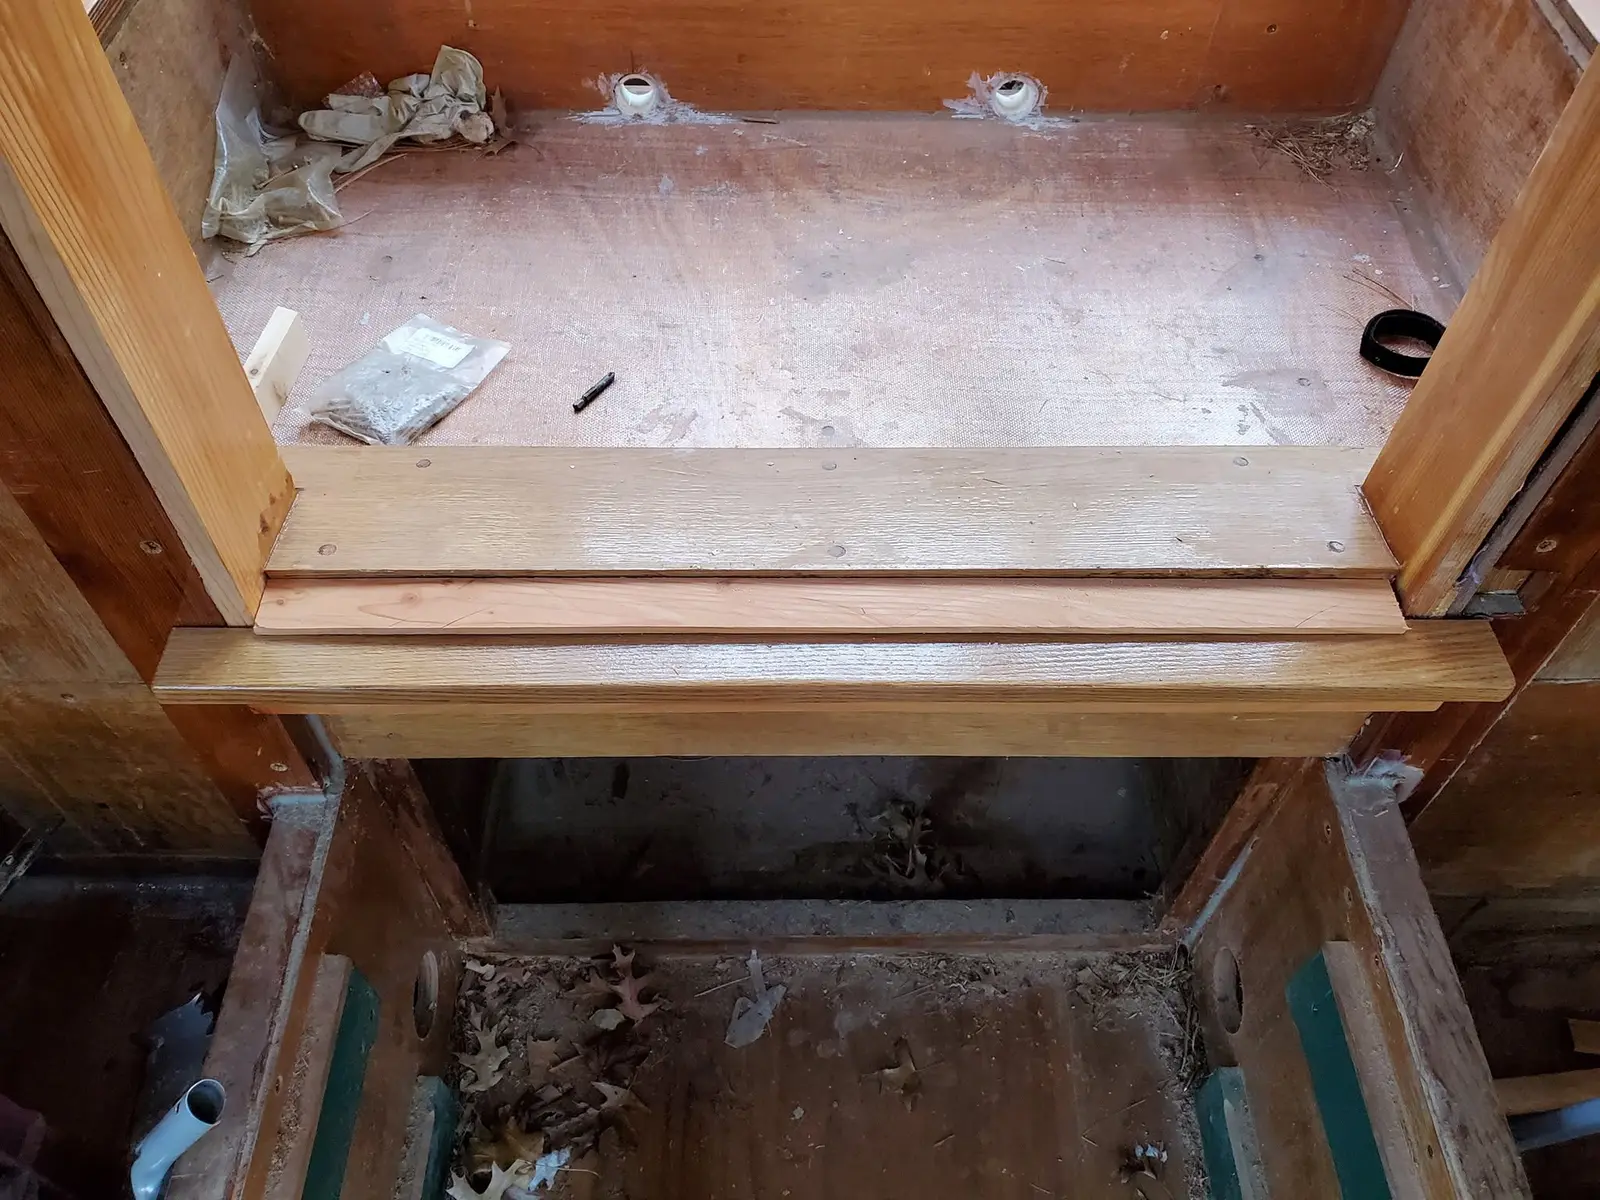
Houseboat update, Wednesday, January 1, 2020 – First of all, Jersey Girl and I wish everyone a most happy New Year, with the sincere hope that we all may find happiness and health and deeply meaningful change during the year to come. The run of decent weather continues, so I spent a few hours today continuing to prepare a properly framed door opening in JG’s aft cabin bulkhead. You can see that the jambs are in place, and I’ve used a piece of 2-by cedar as a riser that will be under the sill, or saddle. The top of the riser is sloped downward toward the outside, so that any water running down off the door will be deflected toward the aft deck instead of in toward the cabin. Just inboard of the sloped top of the riser is a 1 x 3 ¼-inch cedar plank, installed at the same angle as the top of the riser. The actual saddle will be made of white oak, and will cap the top of the riser and the substrate behind it, overhanging the aft edge by a half-inch to make a proper saddle. White oak will also be used on the inboard side, but level instead of sloped, and with its top surface set a half-inch lower than the top of the outer saddle. This will make a lip, serving as a bottom stop for the inward-opening door to close against, in addition to the usual head and side jamb stops that will be installed. Why white oak? It’s a wonderfully dense, tight grained hardwood that holds up well in a maritime environment, and is quite rot resistant – unlike red oak, which is commonly used for interior saddles in homes. These details take time, which can be a little frustrating, but I’m convinced that in the long run they will be well worth it.
Today’s the day to cut a saddle from a 1 x 6-inch piece of white oak for Jersey Girl’s...
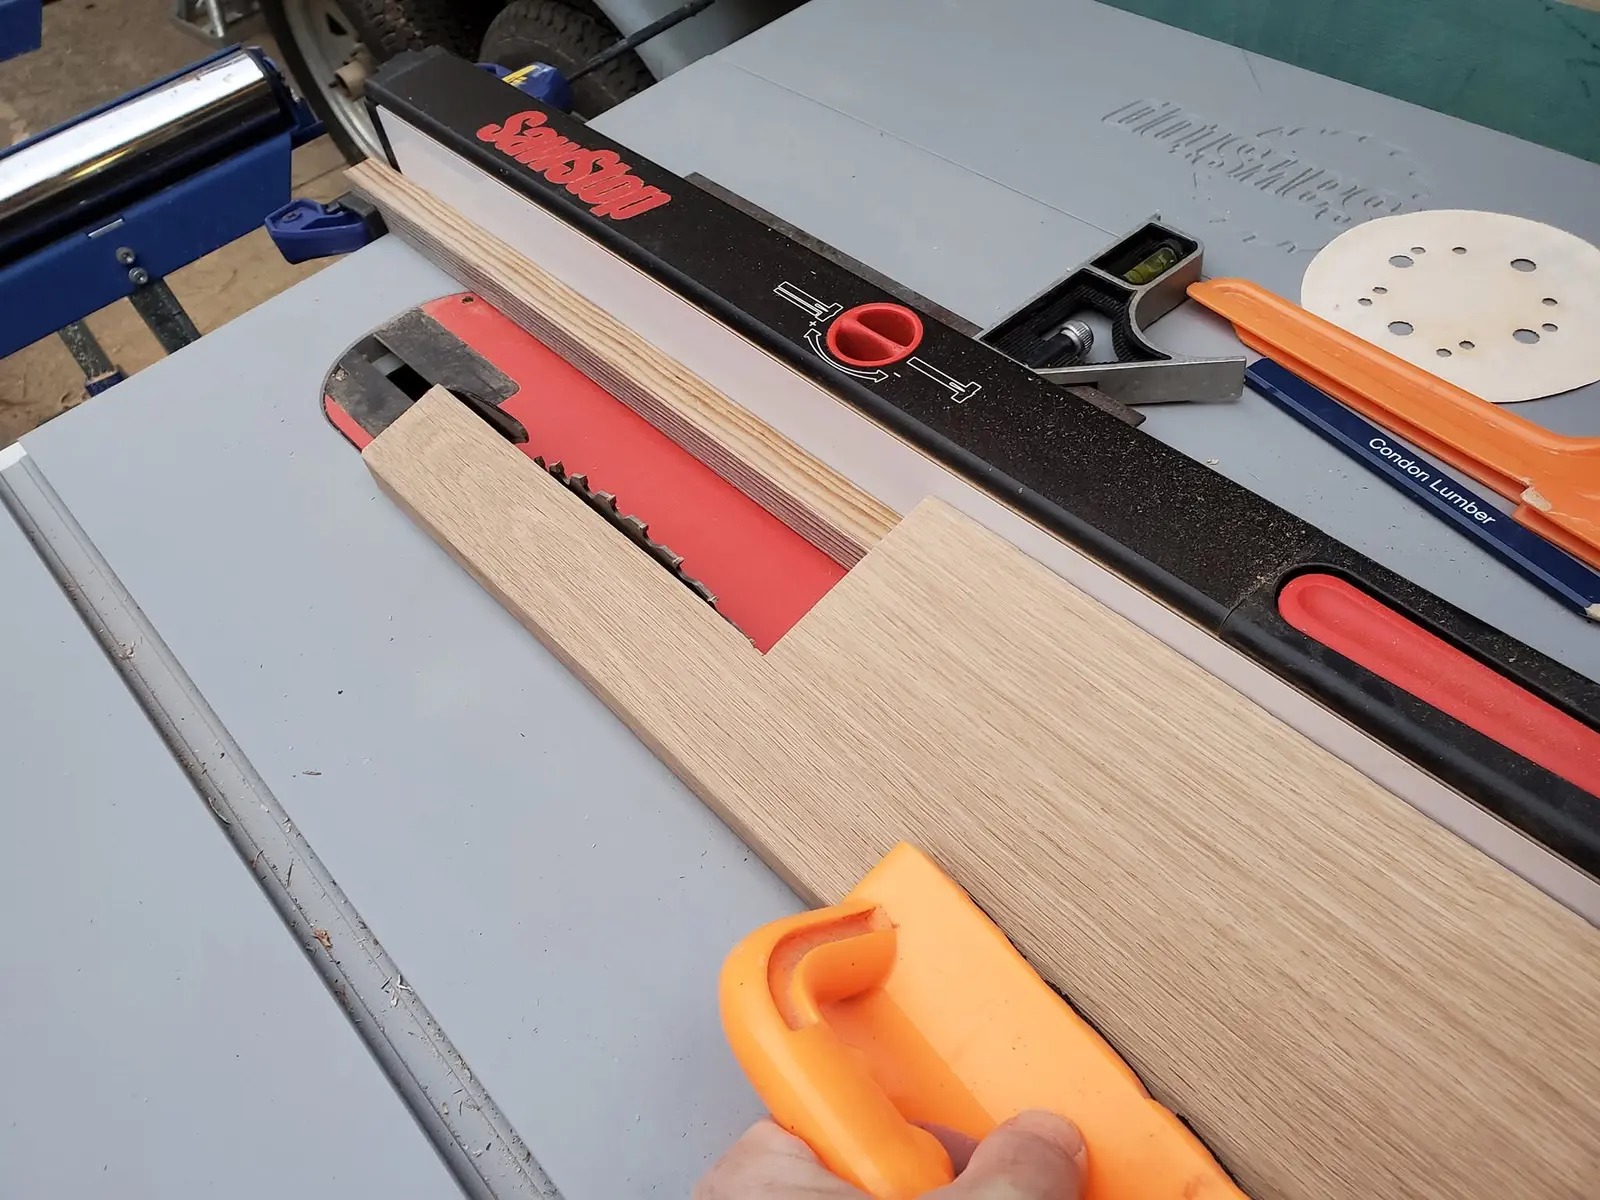
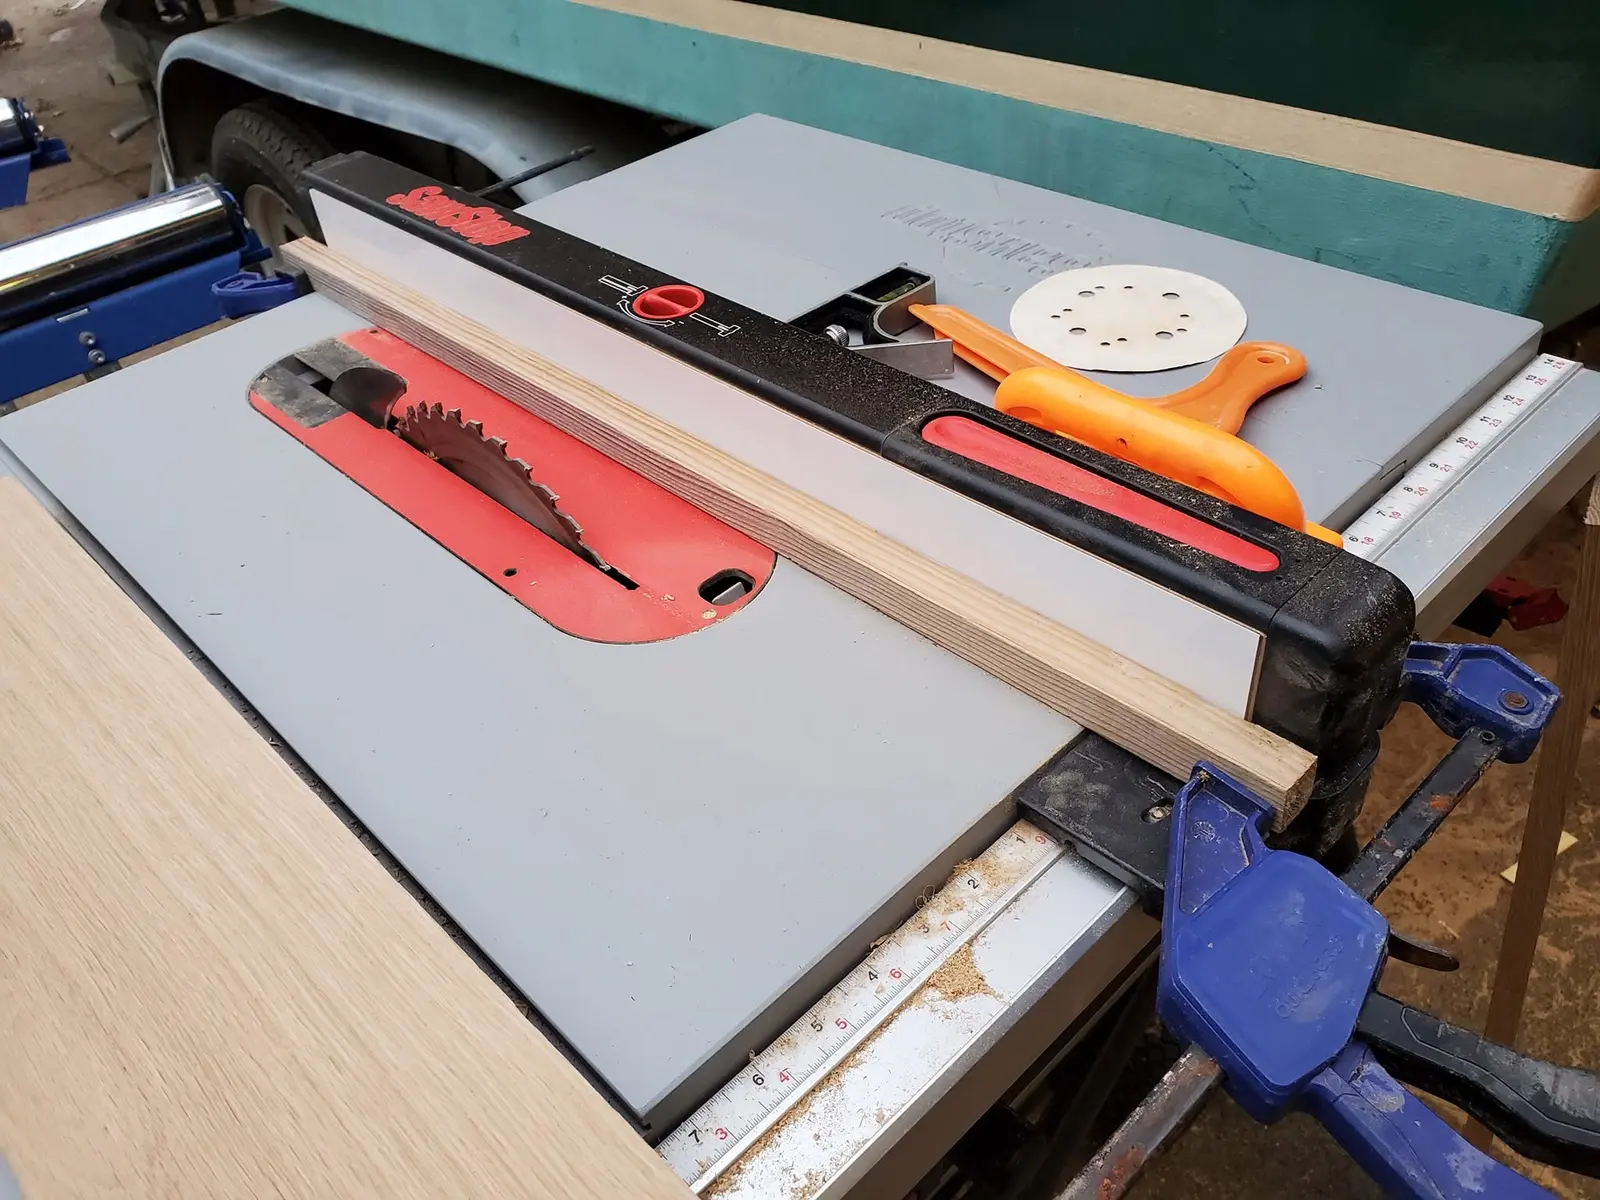
Houseboat update, Thursday, January 2, 2020 – Today’s the day to cut a saddle from a 1 x 6-inch piece of white oak for Jersey Girl’s aft cabin door. It’s a little tricky, because the inside and outside edges must be cut on an angle so that they are vertical when the saddle is installed over the 11-degree slope of the framing underneath. Not only that, but the inside edge of the “ears” that wrap around the door jambs have to be cut at the same angle so they form a close fit. The major edges are no problem; I simply set the angle of the table saw blade and cut. And cutting the inside edge of one of the ears is not too much of a problem, although I do have to cut carefully, taking into account that the undercut of the spinning blade is always considerably longer than what I can see from above as I guide the board through. I do this in two steps: first from the top, then I turn the board over, reset the fence and do it again from the bottom. If I am careful (and I am), that leaves me with a small, wedge-shaped section of uncut wood in the middle. I finish that off with a hand-held Japanese pull saw, and get a perfect result. But the ear at the other end of the saddle is a real problem, calling for a creative solution. I can set the saw blade on an angle in only one direction, and it’s the wrong direction for the inside cut of the second ear. So, after thinking about this for a few minutes while figuratively sitting in my imaginary “groaning chair” (my shop’s too crowded to have an actual one), I come up with a solution. I decide to set the blade at the normal vertical position and tilt the work piece as I run it over the blade. First, I clamp a piece of scrap wood against the fence, trying a length of ¾ x ¾-inch in a test run. I discover that’s just a bit low to give me the angle that I want, so I pick out another piece that has a 7/8 x 7/8-inch cross section and clamp that against the fence. I try running a piece of scrap wood the same width as the saddle over it, and the result is satisfactory. Finally, I try it with the white oak, and it works perfectly. Lesson learned: if you can’t tilt the blade, tilt the workpiece! After cleaning up the cuts with the handsaw, the saddle is a perfect fit. All I have to do now is sand it smooth, seal all surfaces with epoxy and glue and screw it into place.
I started working on the construction of Jersey Girl’s aft cabin door today.
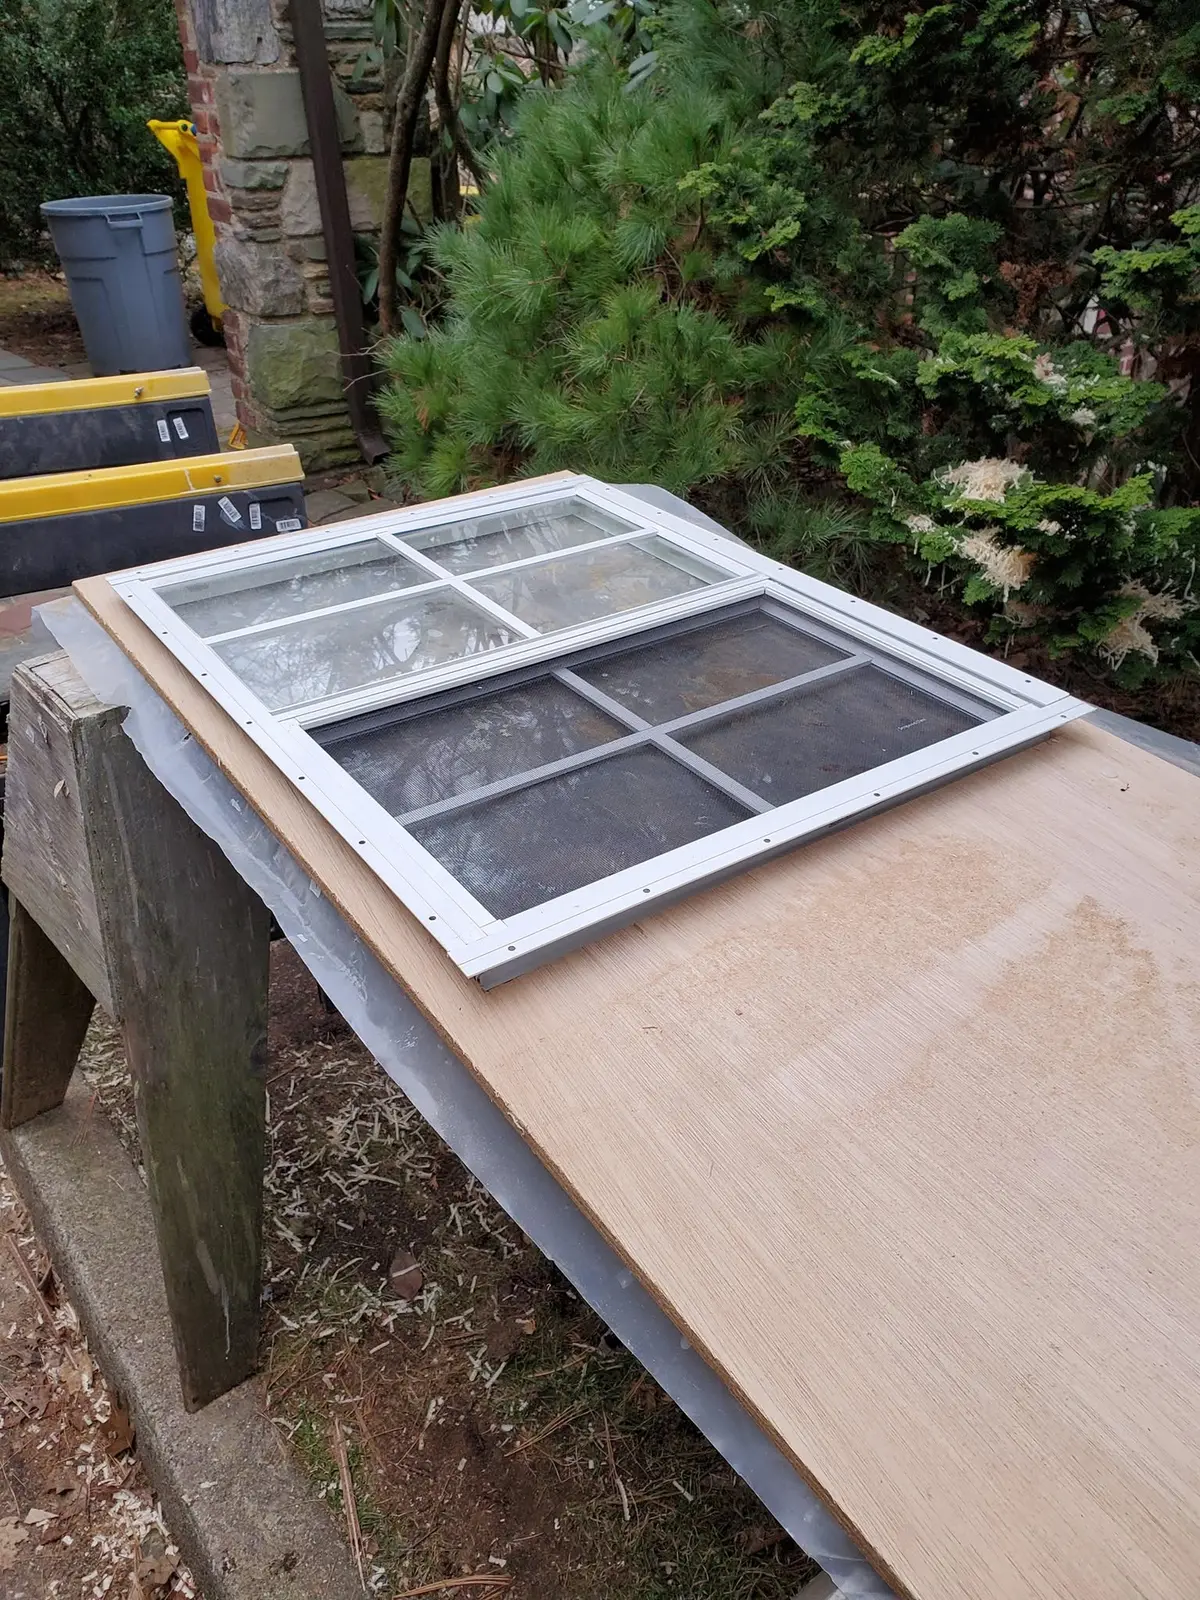
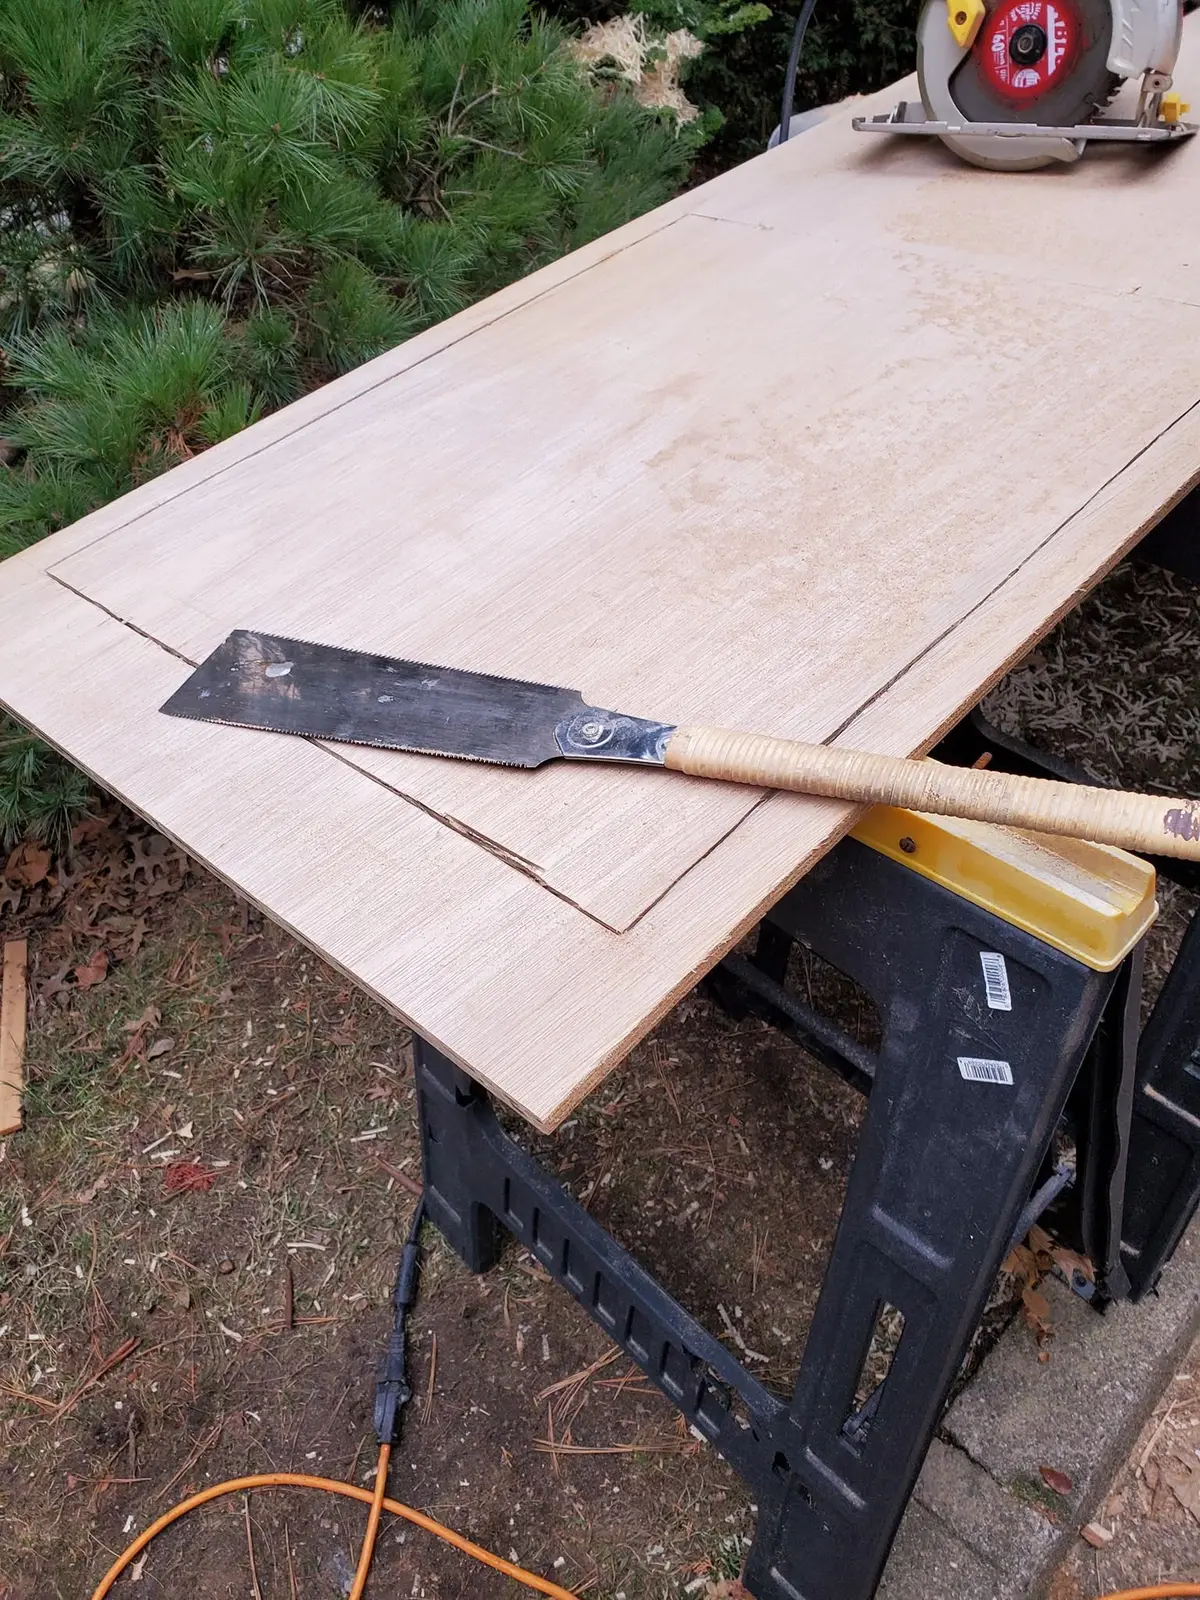
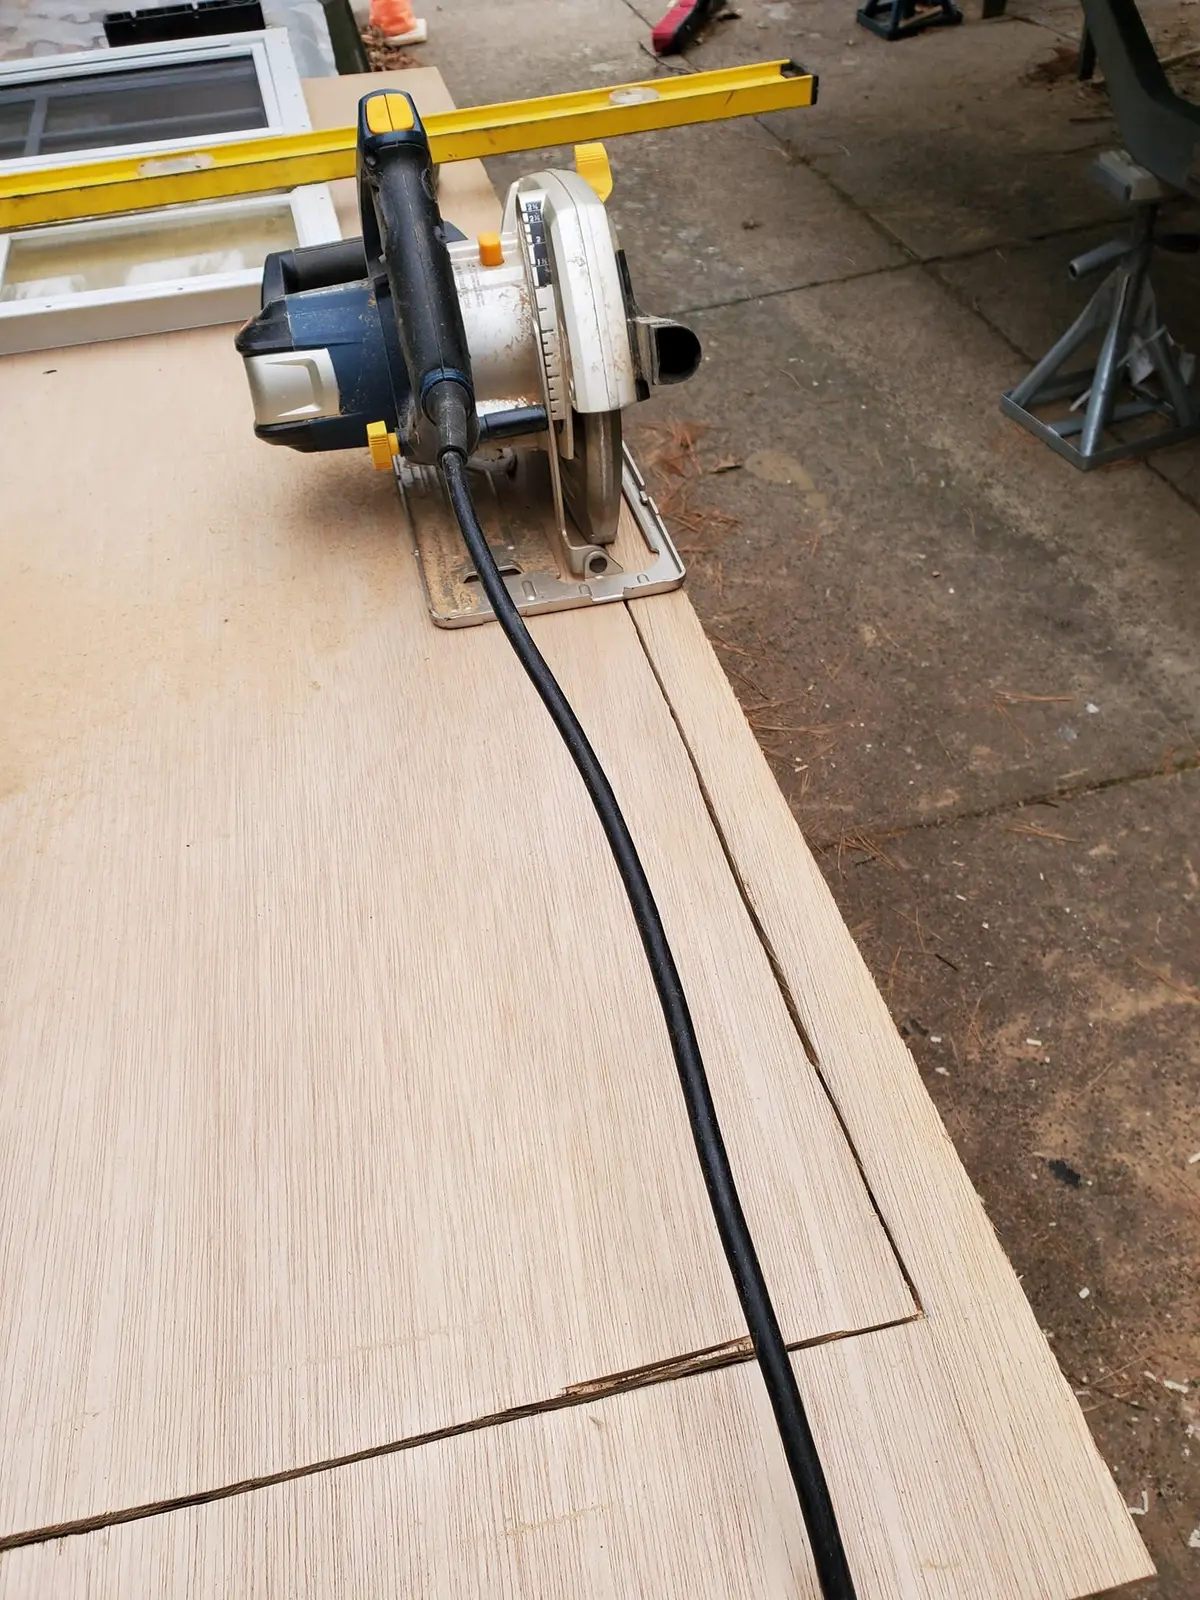
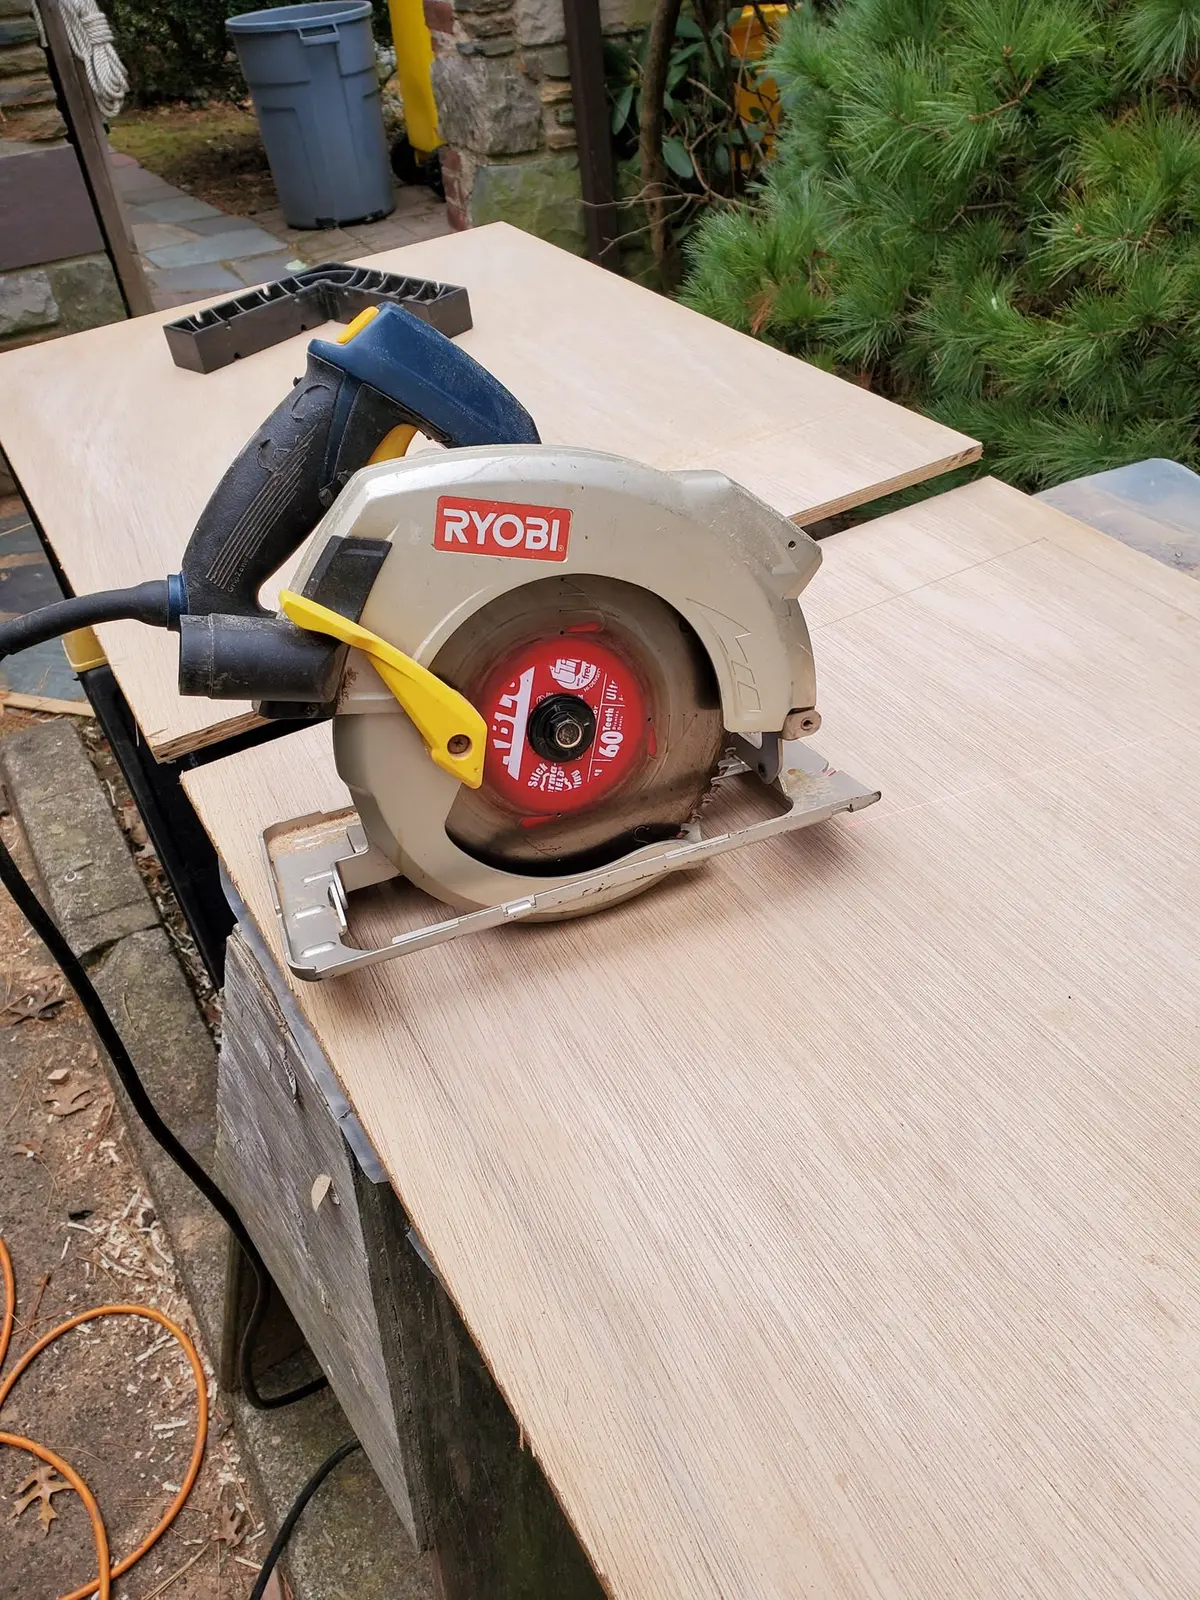
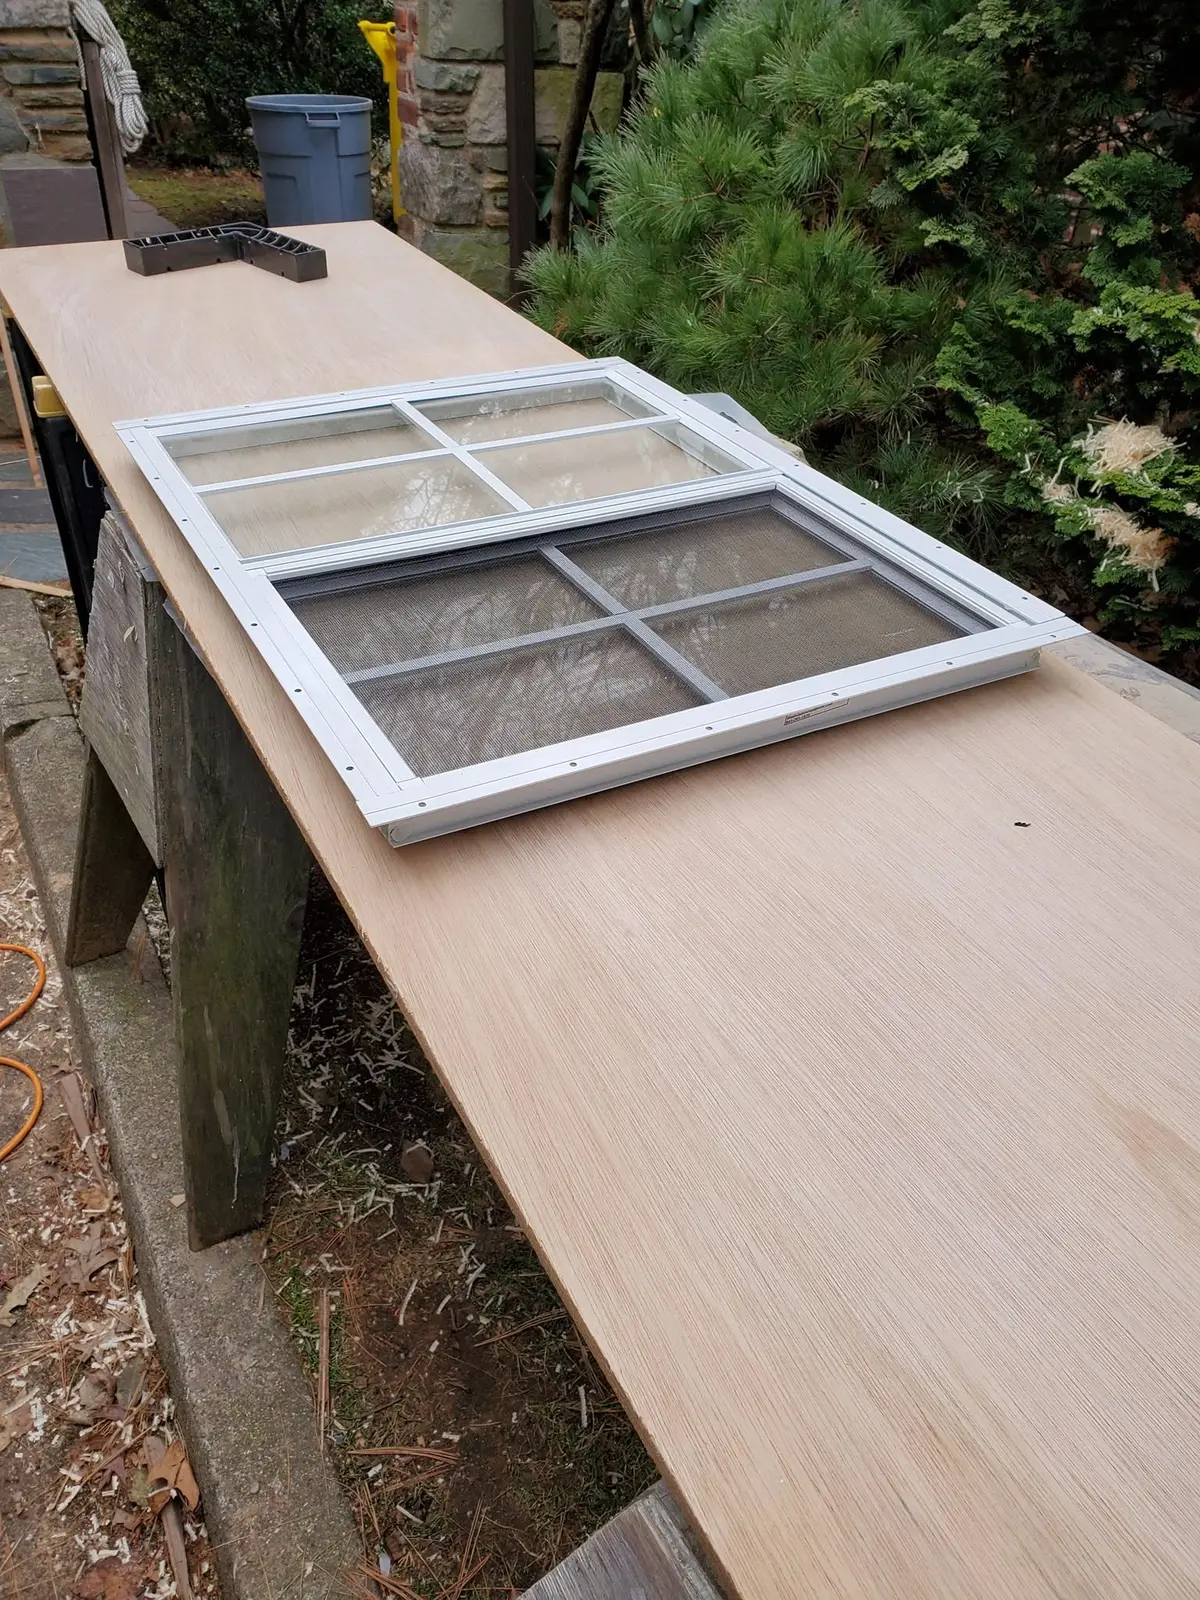
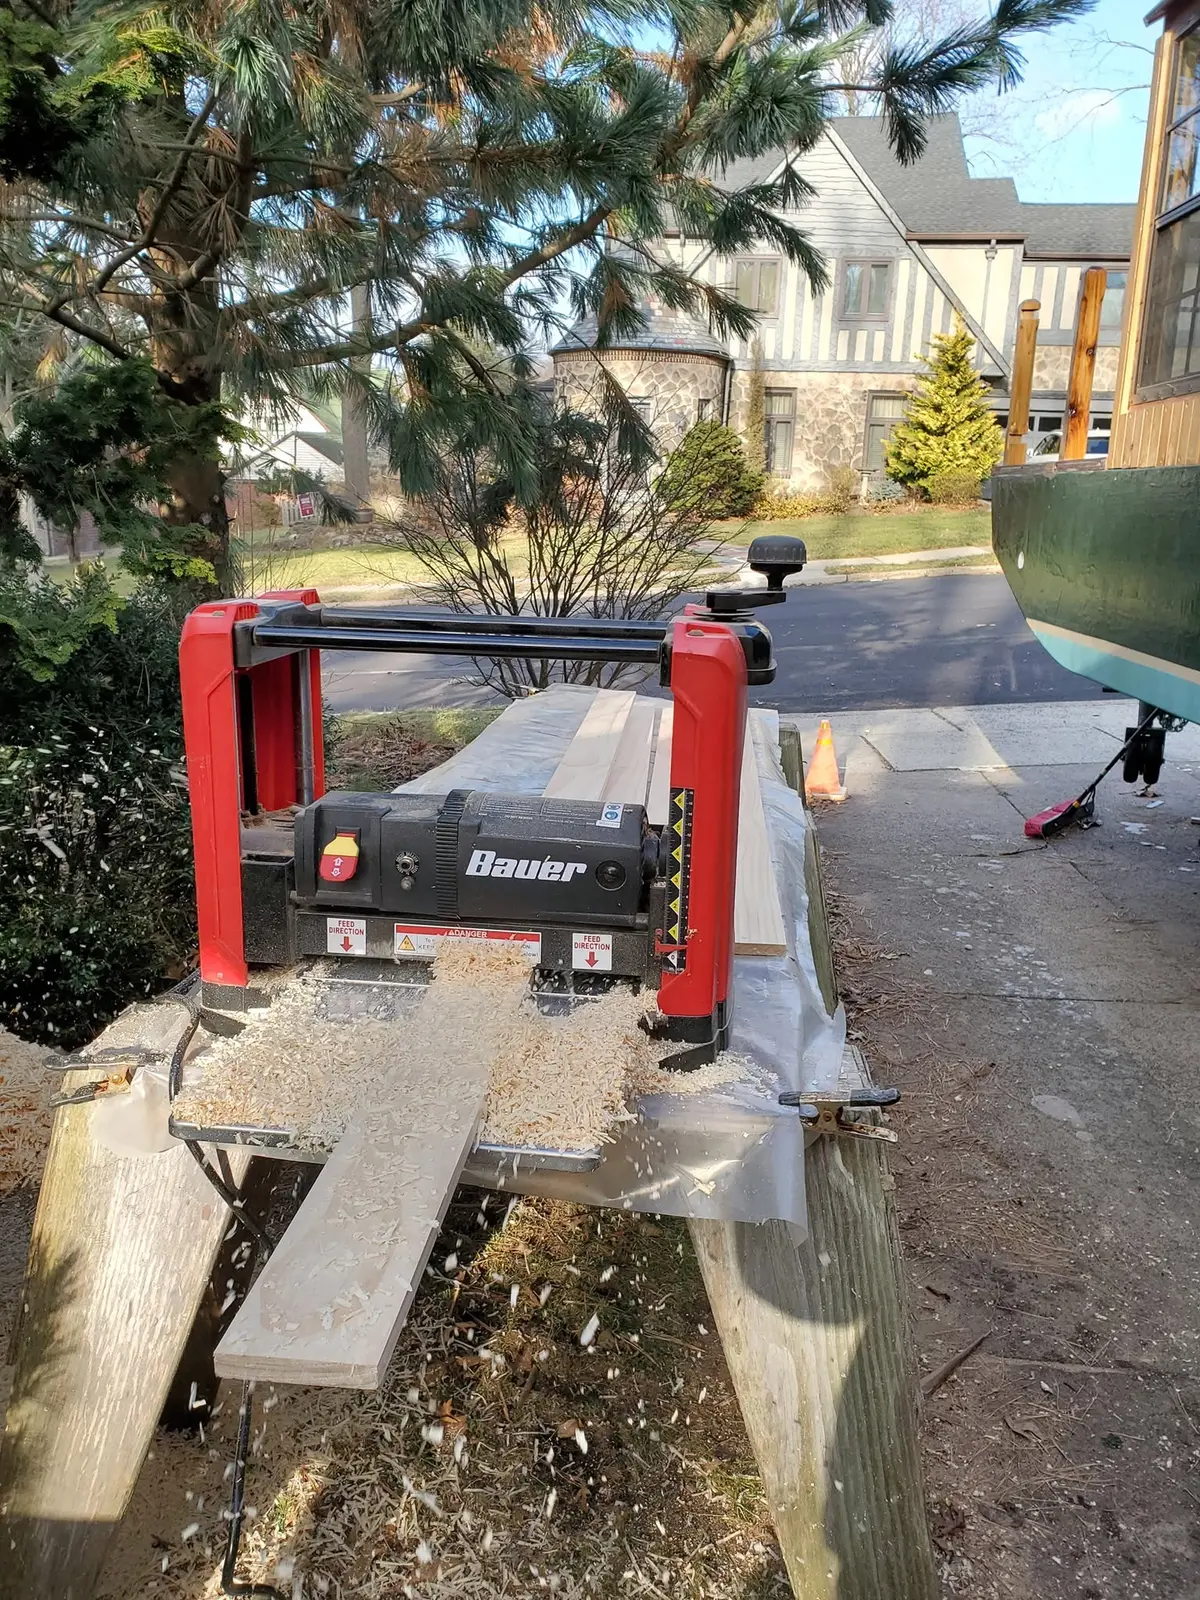
Houseboat update, Tuesday, January 7, 2020 – I started working on the construction of Jersey Girl’s aft cabin door today. I’ve decided to make a sandwich assembly, using a piece of half-inch marine plywood as a core, faced on both sides with the same pine beadboard I’ve used elsewhere in the cabin, but thickness-planed down to a half inch. That will give me a door 1 ½ inches thick, allowing plenty of wood for hinges and other necessary hardware. Ultimately, the door will have a somewhat smaller version of the same windows I’ve used elsewhere in the cabin, for a uniform look. One interesting problem is that I happen to have a 24-inch wide sheet of plywood, but the door opening is 27 ¼ inches wide. I’ve decided to use it anyway, by including strips of pine planed down to an equal thickness as the plywood, along each side, included as part of the sandwich core. I’m pretty confident that this will work and produce a solid door that’s dimensionally stable. So, onward! The first step is to lay the window on the plywood and trace along its perimeter to mark where I will have to make a plunge cut for the opening. Then, after cutting the plywood down to size, I take the plunge. I leave a little wood at each corner, so the cutout is supported and doesn’t fall away uncontrollably and taker large splinters of the veneer with it. After I make the plunge cuts, I use a handheld Japanese pull saw to carefully complete the cuts. As expected, the window is a perfect fit. As darkness falls, I check the door for length in the opening, expecting it to be a perfect tight fit, and it is. That means I have to cut 3/8 inch from the bottom, to allow a 3/16-inch clearance between the door and the head jamb at the top and the saddle at the bottom. Tomorrow, weather permitting, I will run the ¾-inch beadboards through the thickness planer to produce the inside and outside surfaces of the door.
Yesterday, I temporarily installed faux rails, deliberately cut a bit too long, on the...
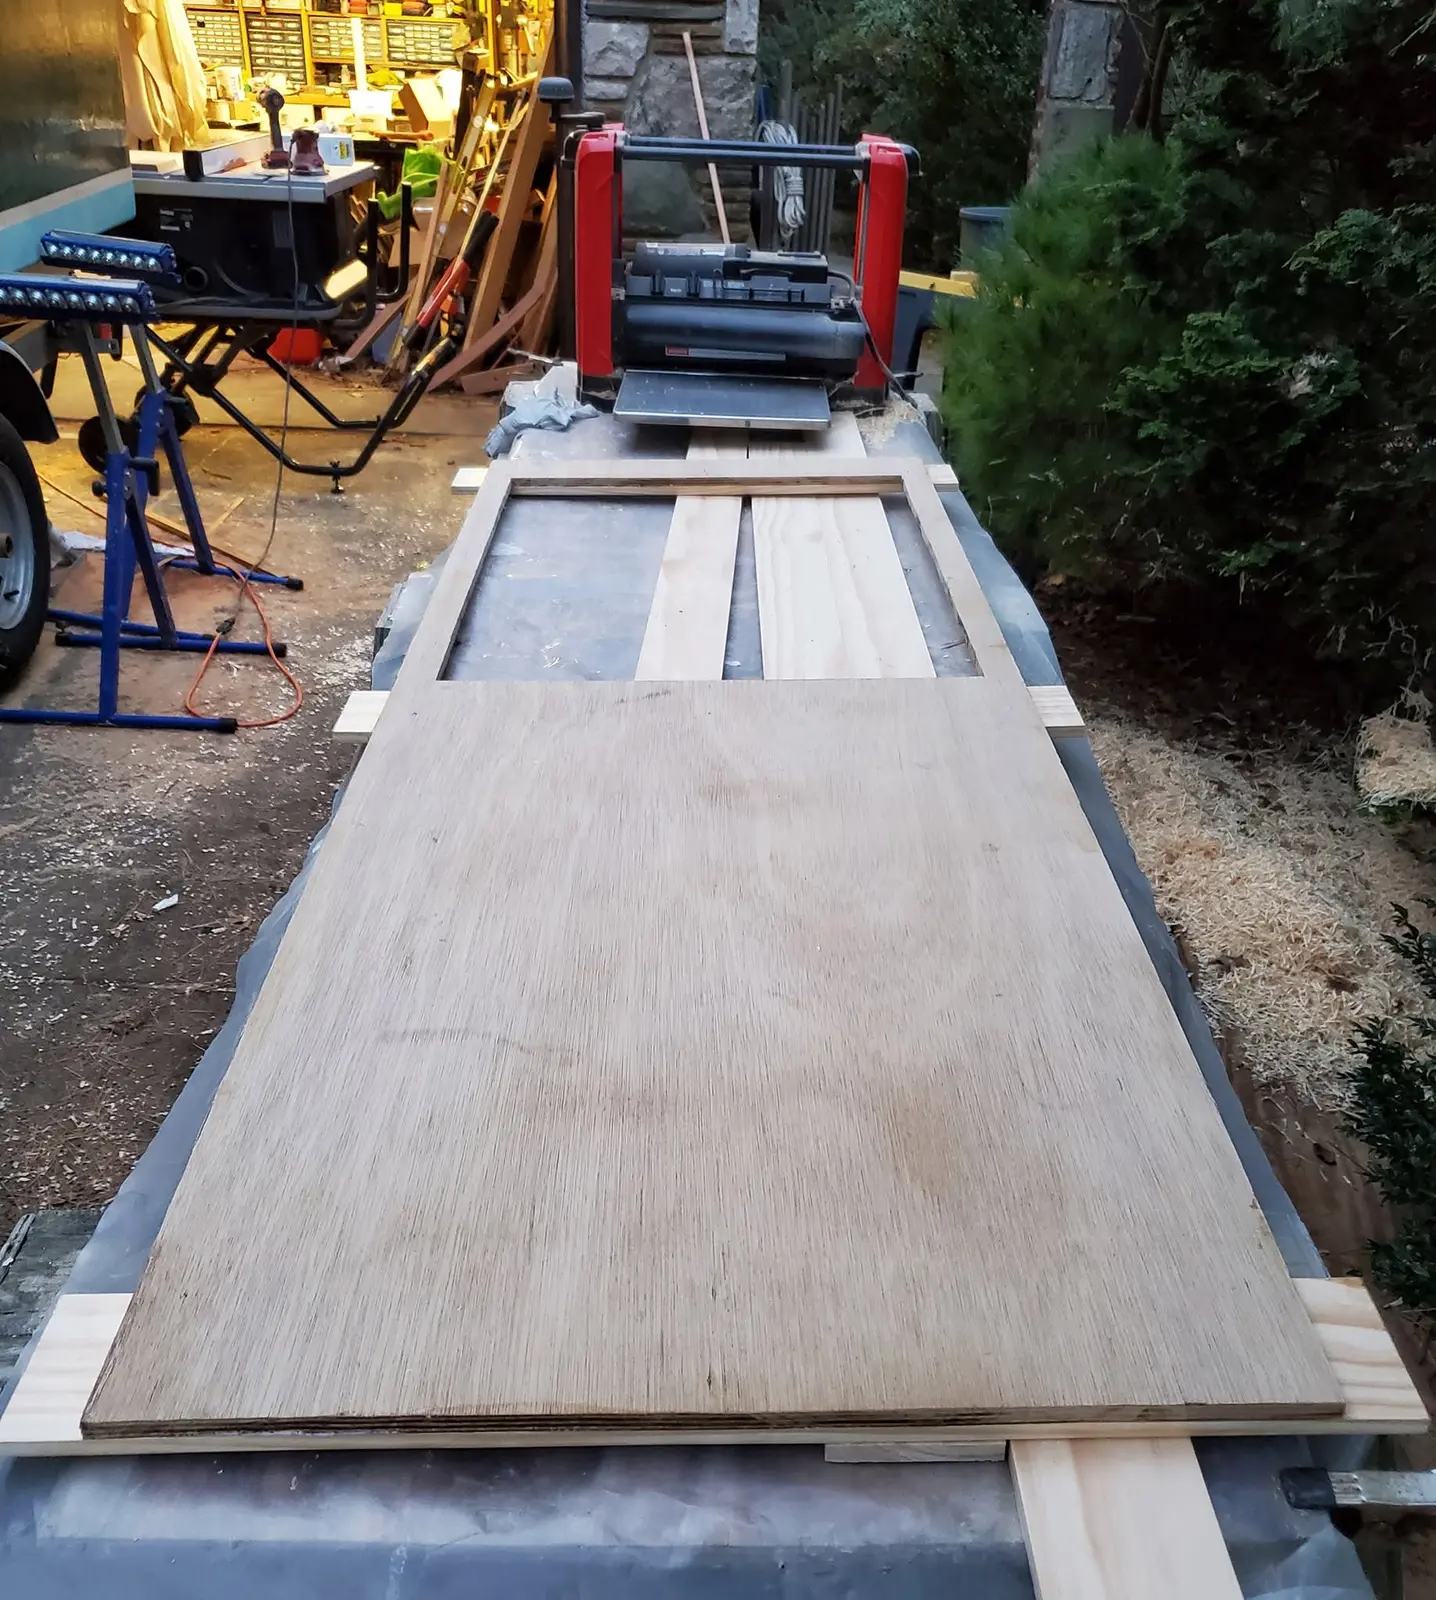
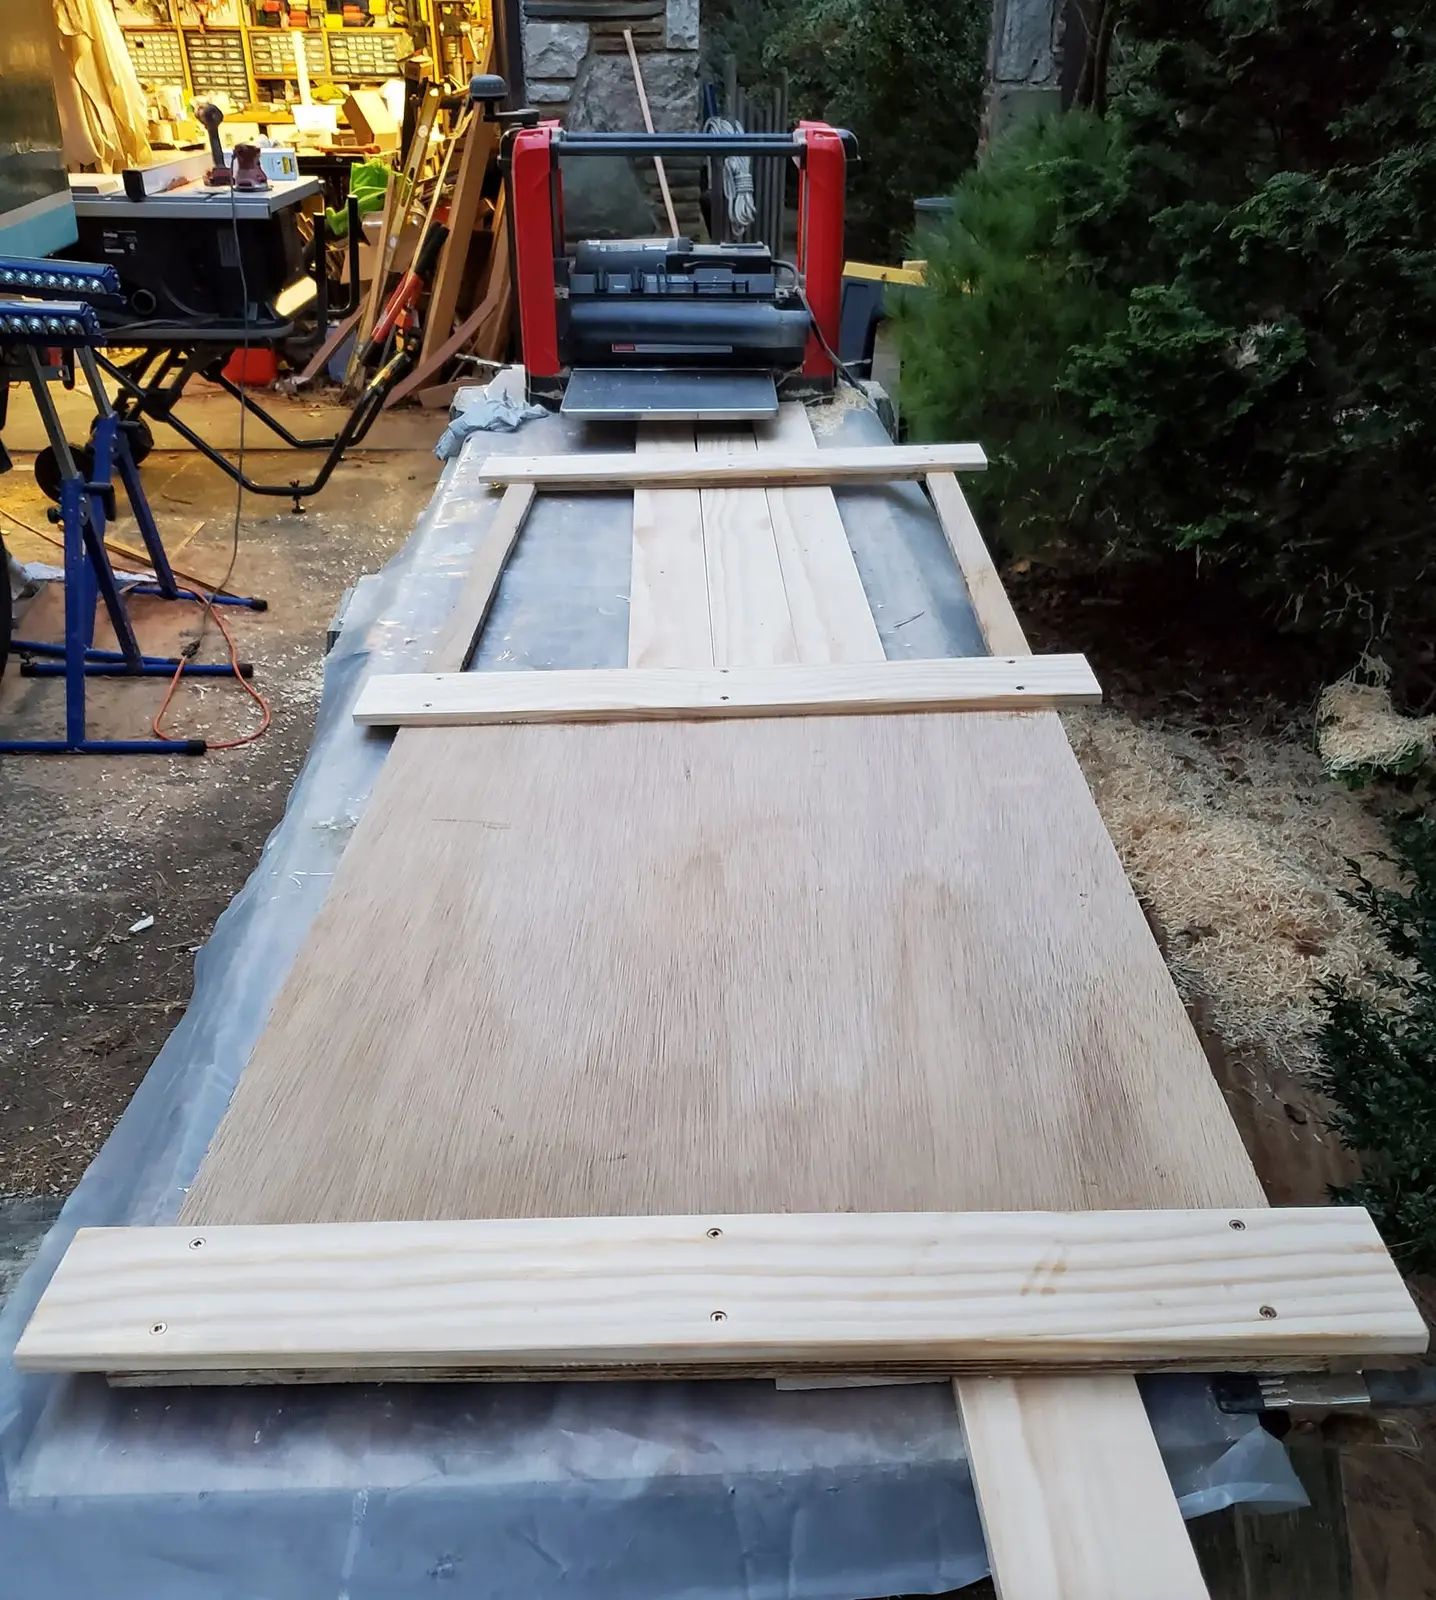
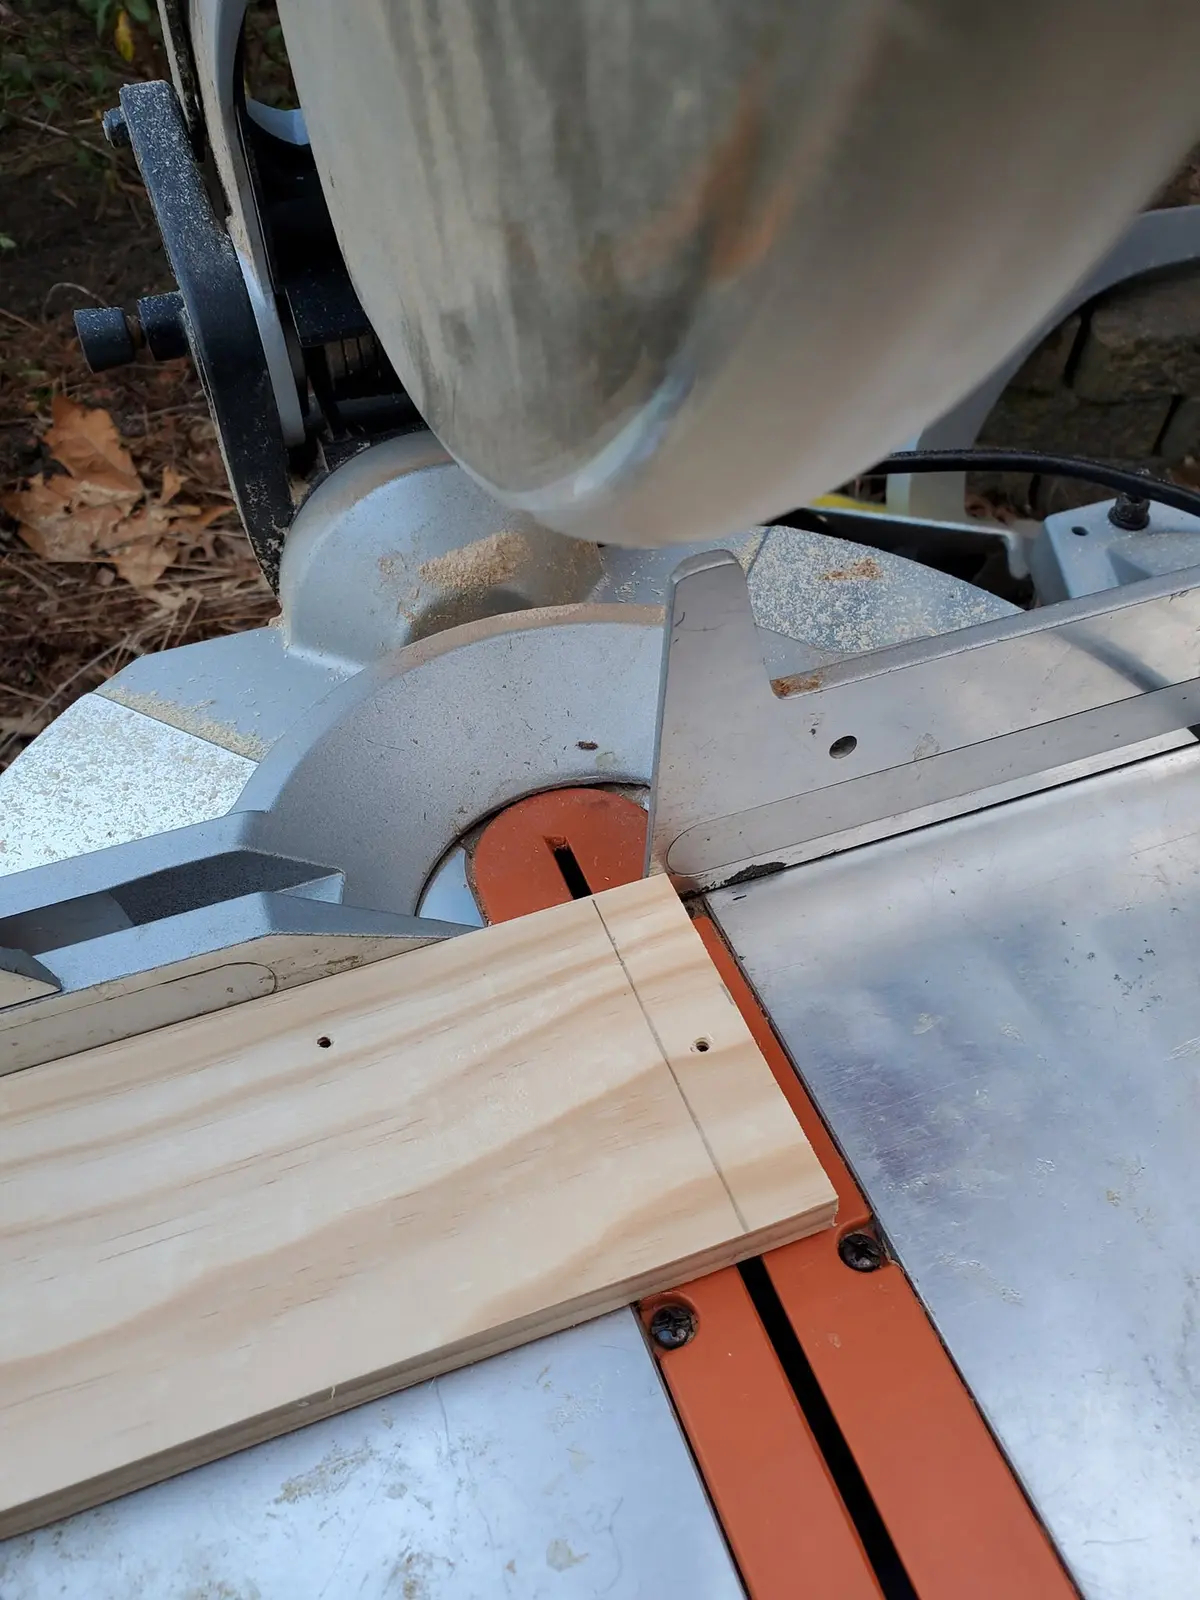
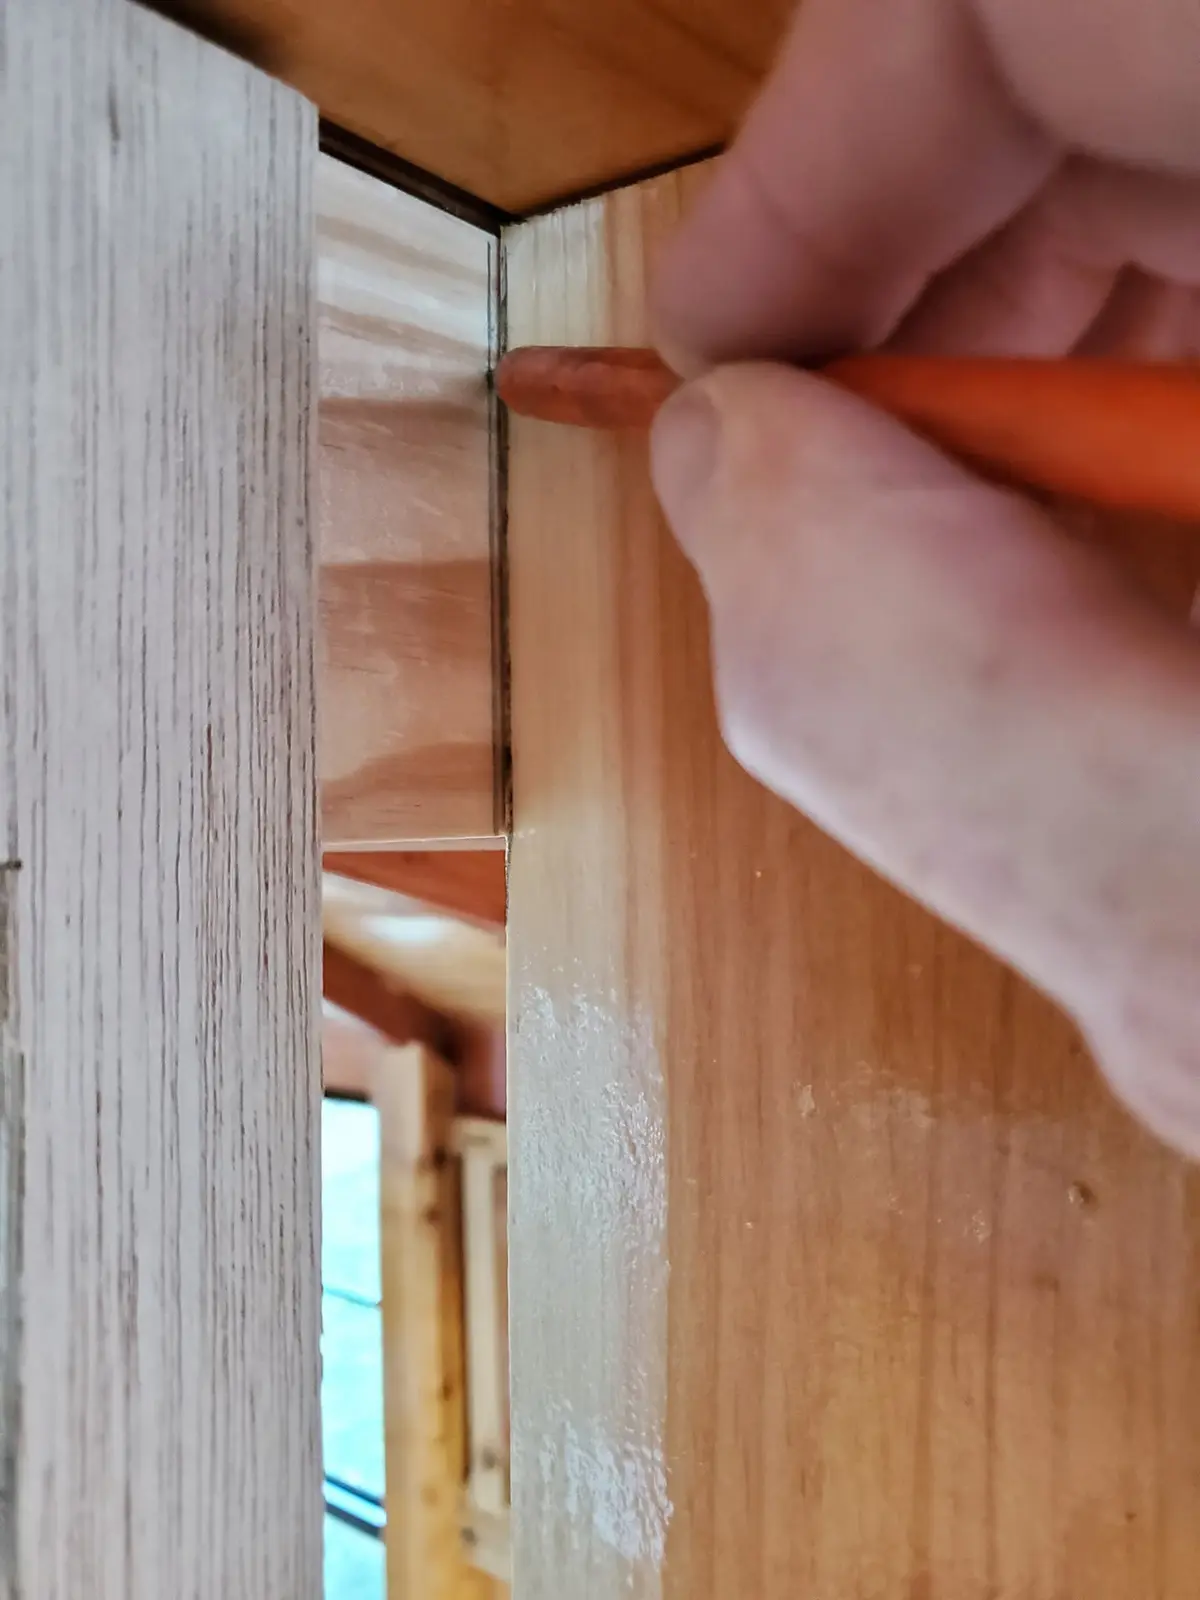
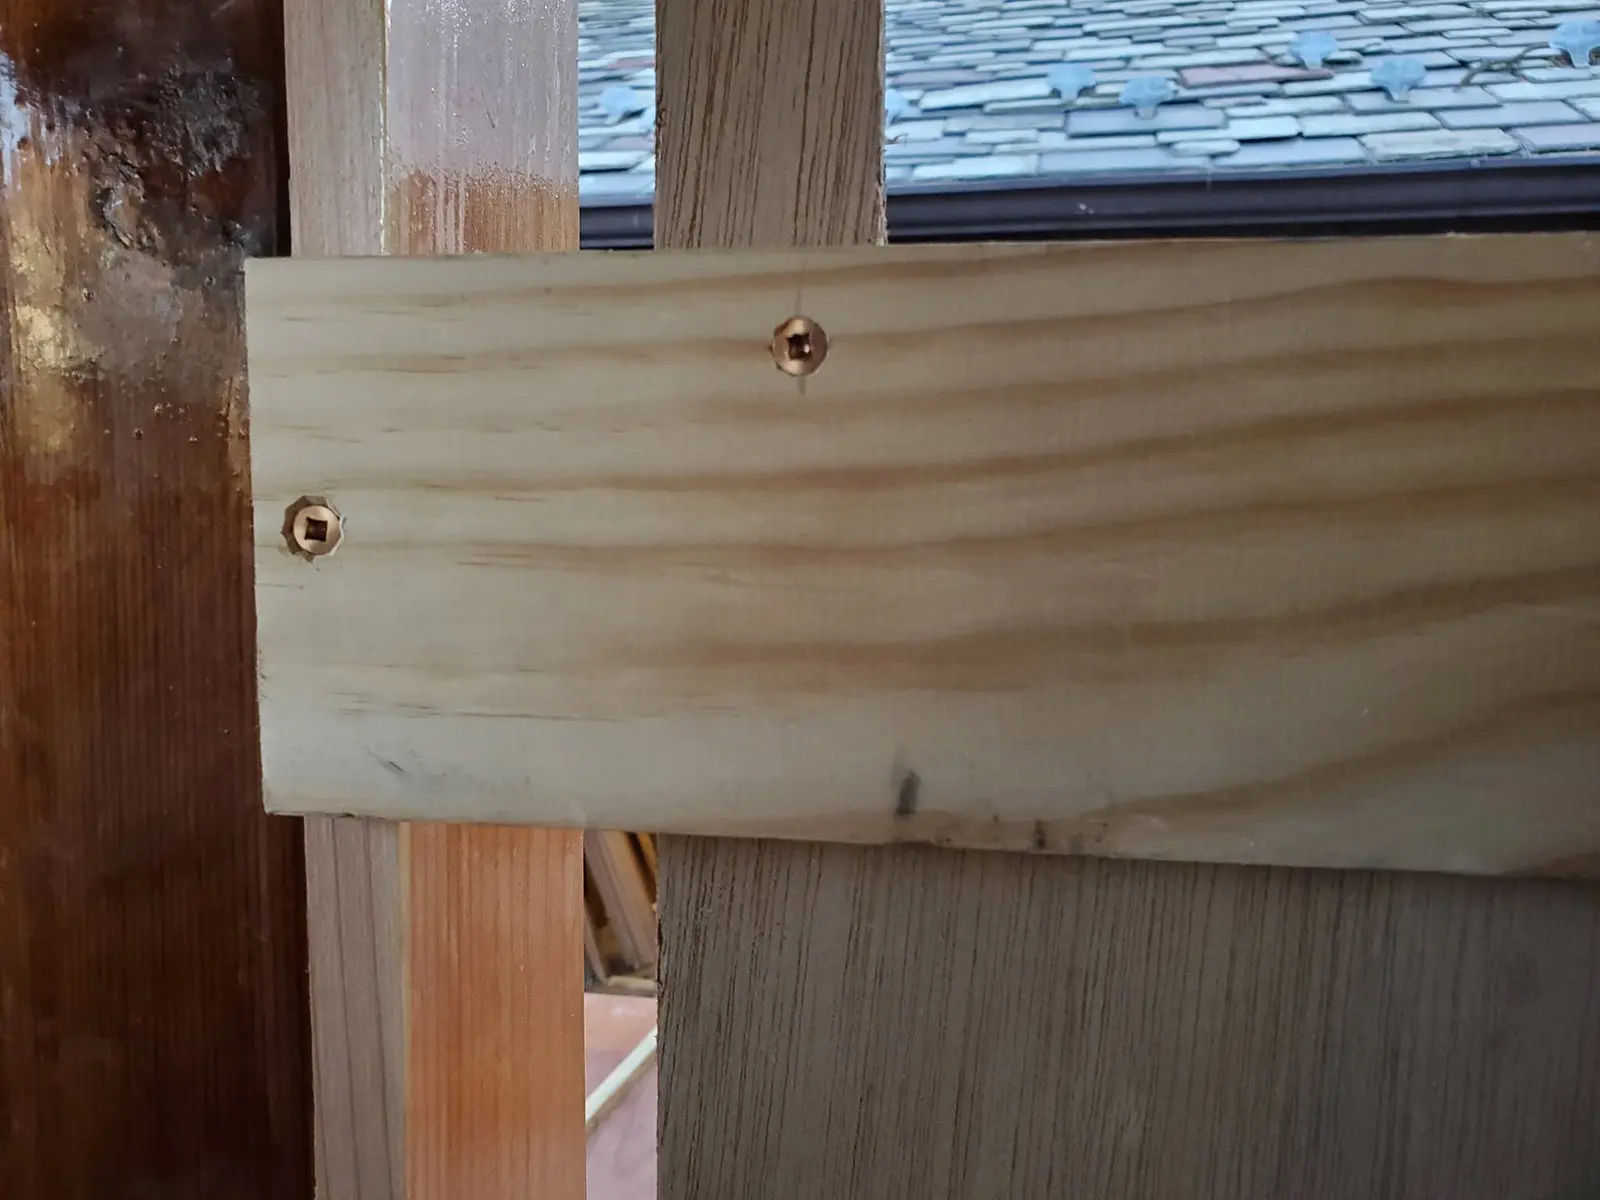
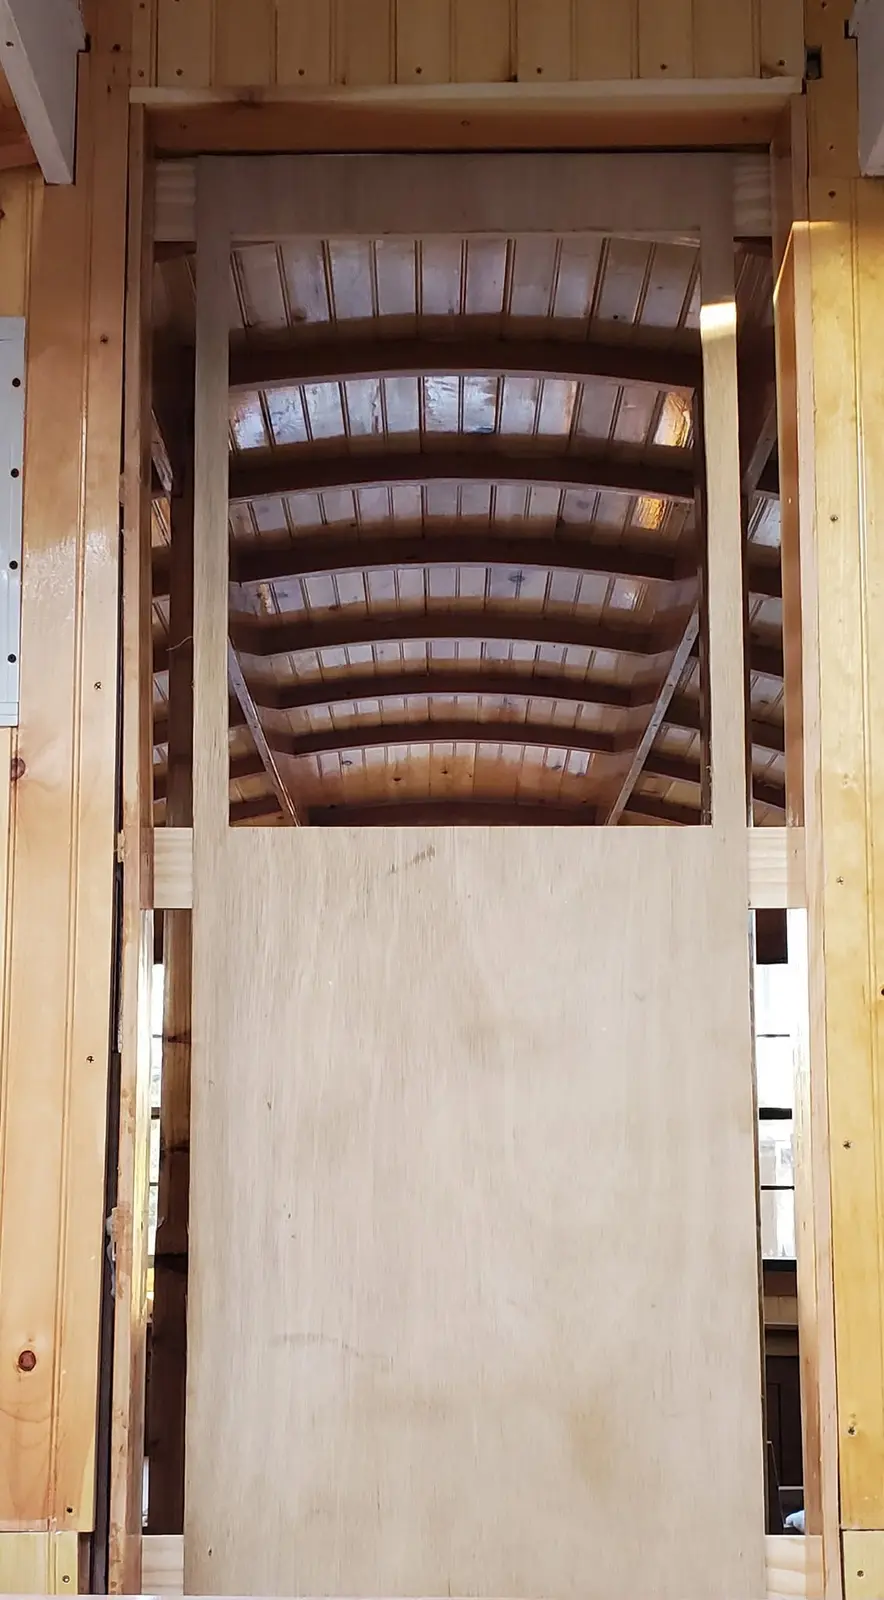
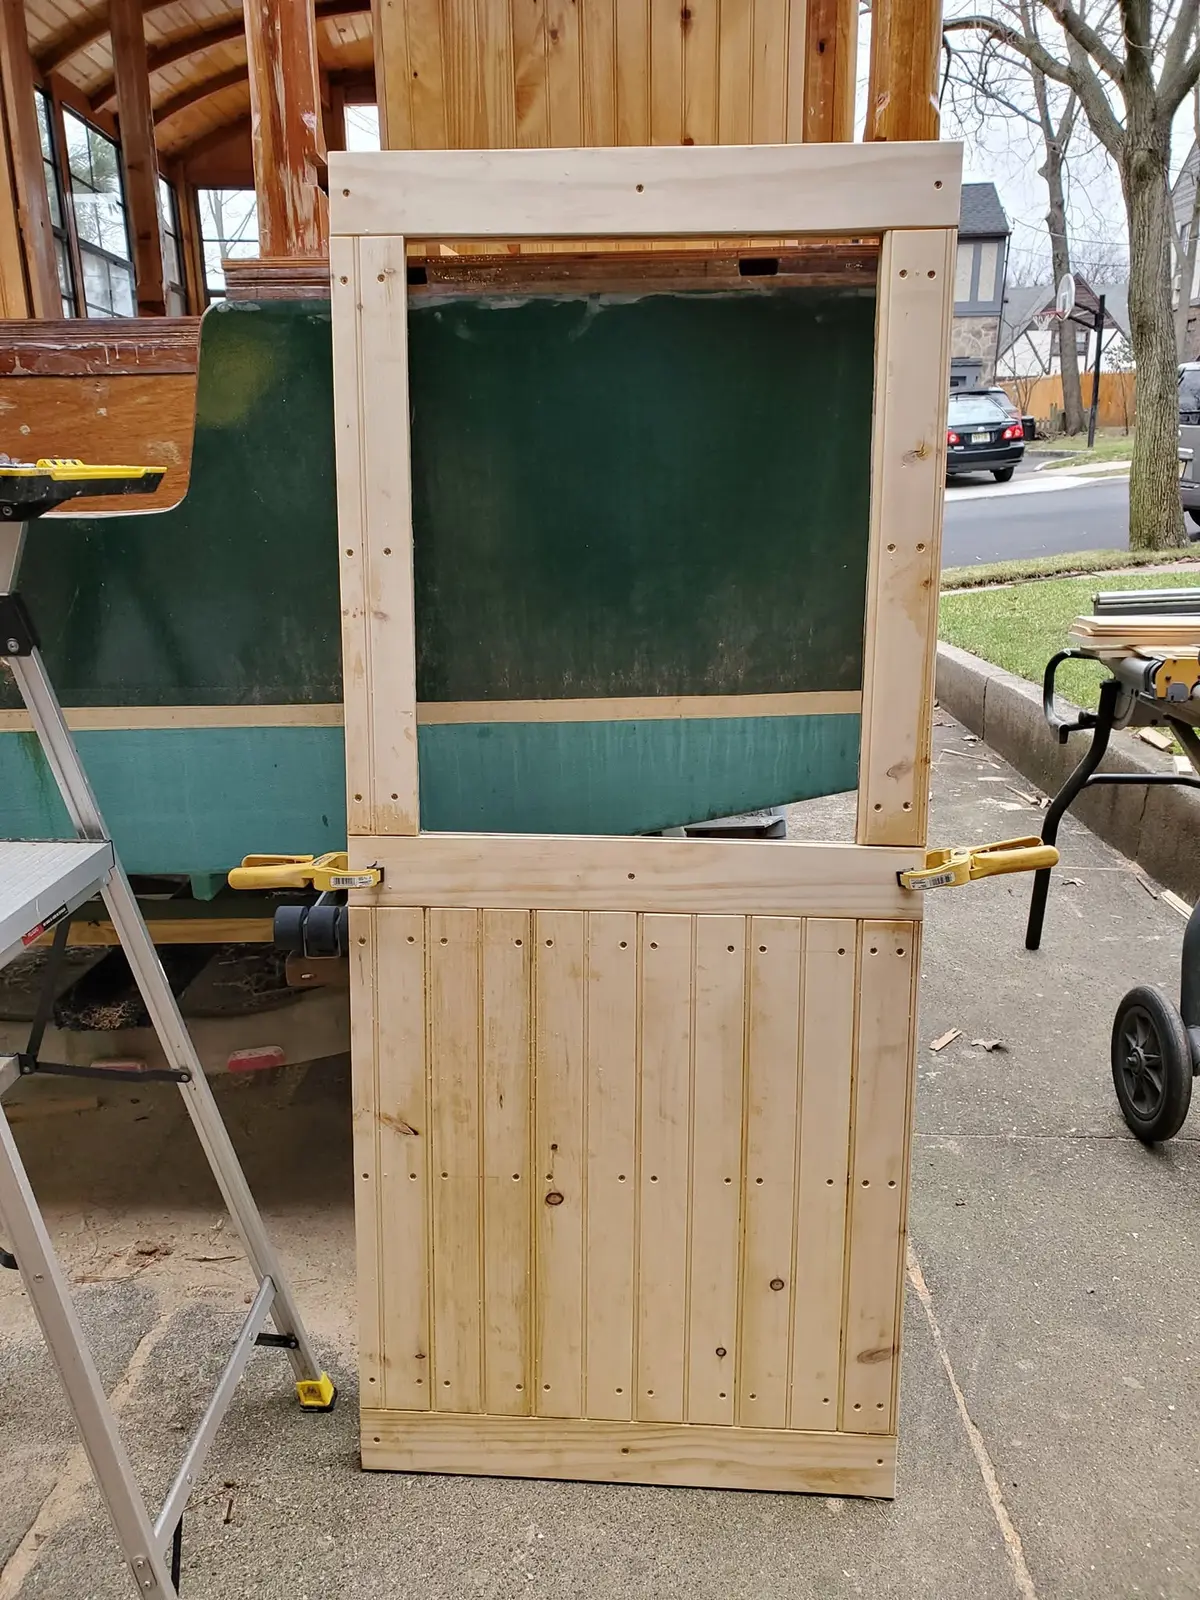
Houseboat update, Friday, January 10, 2020 – Yesterday, I temporarily installed faux rails, deliberately cut a bit too long, on the plywood door shape that will ultimately be the inner core of Jersey Girl’s aft cabin door. Today, I temporarily position the door. First, I loosely place a quarter-inch strip of wood on the inner saddle, to serve as a spacer to make sure the door is positioned at the correct height and allow clearance at the bottom. Then, after measuring gaps on both sides of the door to make sure it is centered between the jambs, I temporarily screw the ends of the rails into the edges of the jambs from inside the cabin. Next, I go back outside to double check that the measurements are correct from the other side of the door as well, and then I trace a pencil marking to show me where to cut the ends of the rails. Then, I remove the door and unscrew the temporary rails, making sure to mark them so they will be in the correct orientation when I reinstall them with glue. After cutting the rails on the miter saw to the correct length, I run them through a thickness planner to reduce them from ¾-inch to a half-inch. Remember, this door will ultimately be 1 ½ inches thick, so the rails, stiles and veneer boards on both front and back need to be milled to a half-inch. After sanding the rails, I glue and screw them into their proper places on the plywood core, leaving two-inch “ears” sticking out from the sides. When I flip the door onto its back, those ears will serve as supports for the half-inch pine core extensions that will become the center of the sandwich that will make up the two stiles, the hinge stile and the lock stile. Tomorrow, I’ll mill enough ¾-inch beadboard to a half-inch thickness and finish up the outside of the door.
Today, Jersey Girl’s aft cabin door starts to look more like a real door.
Houseboat update, Saturday, January 11, 2020 – Today, Jersey Girl’s aft cabin door starts to look more like a real door. I mill enough beadboard a half-inch, then cut everything to fit, screwing it all in place temporarily to make sure I’ve measured and cut correctly, Then, I remove all the pieces, making sure to mark them before reinstall them with thickened epoxy. I feel a little guilty about the pleasure I take in a 68-degree day on the eleventh day of January, but I’ll take it! Finally, as I close up shop for the day, I have finished the outside face of the door. I have to say, I’m pretty pleased with it. It’s strong, flat, and I like its appearance quite well.
Nobody else here is logging a Jersey Girl yet.
See the boat.