Epoxy the cockpit decks, cutting hatches, installing hatch gutters
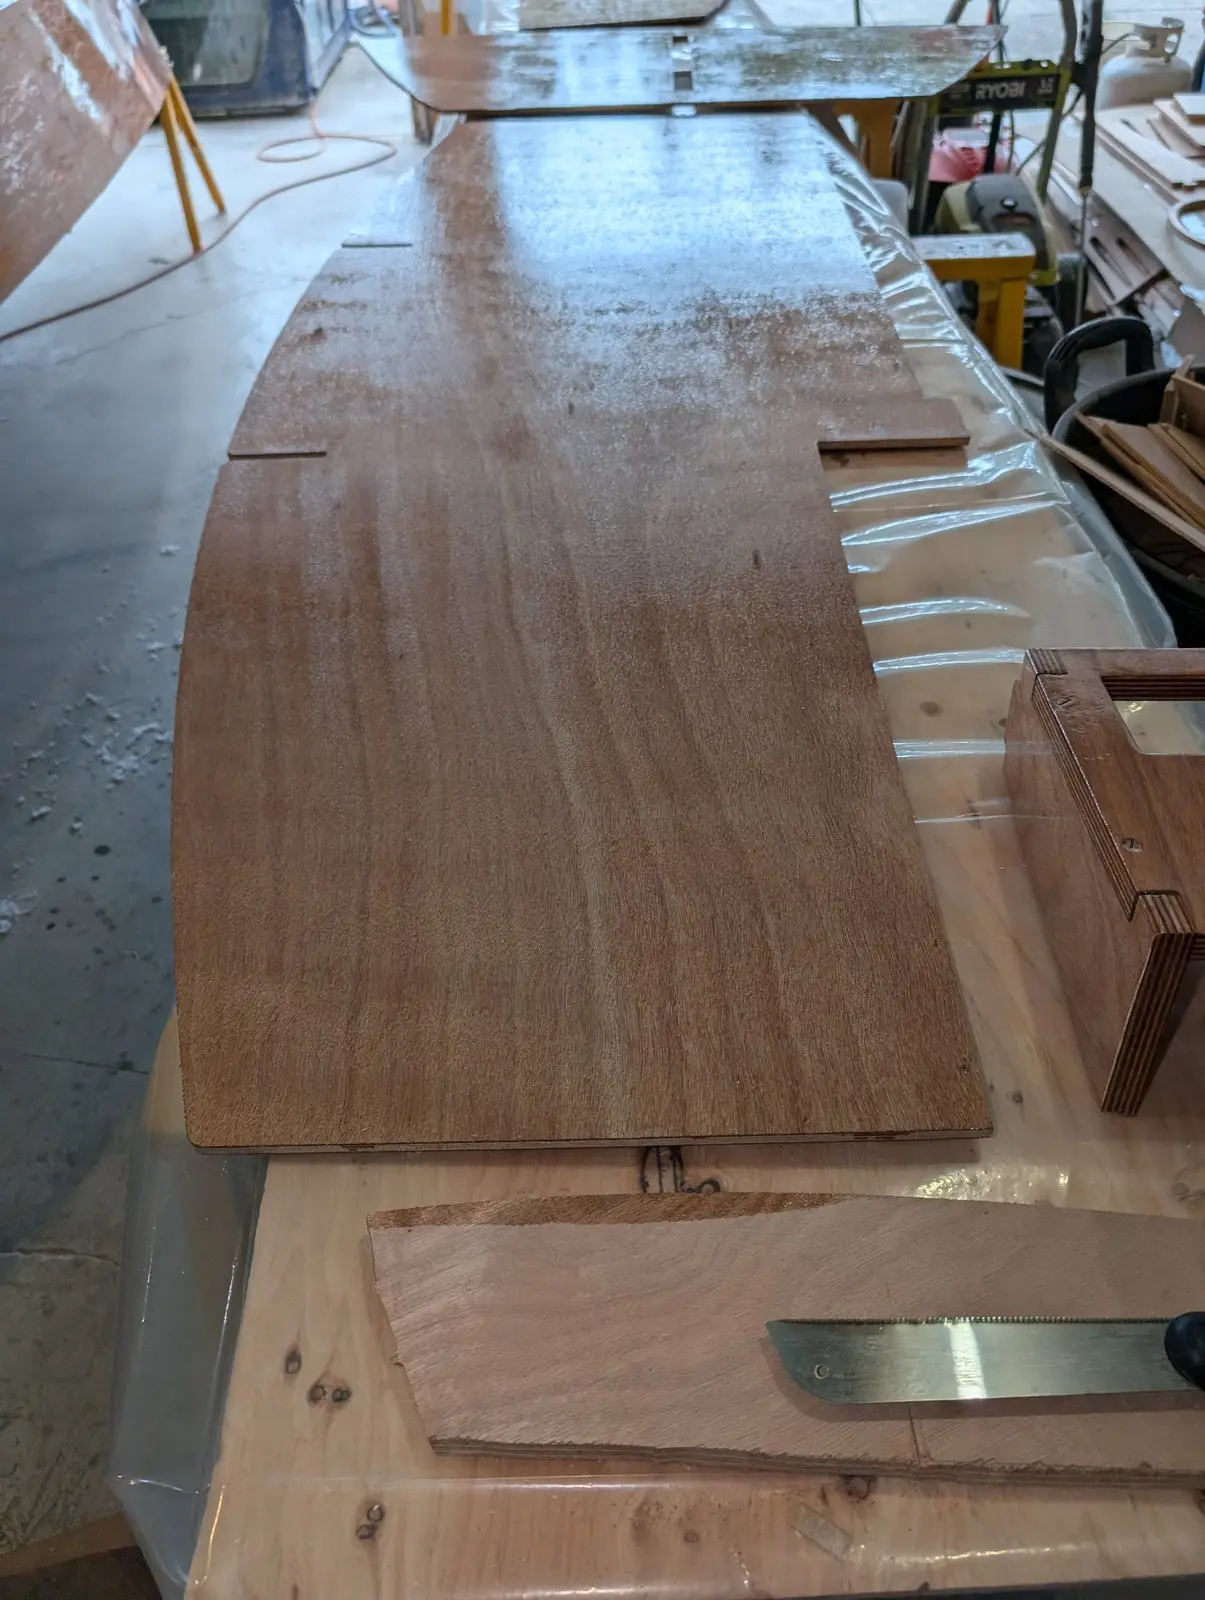
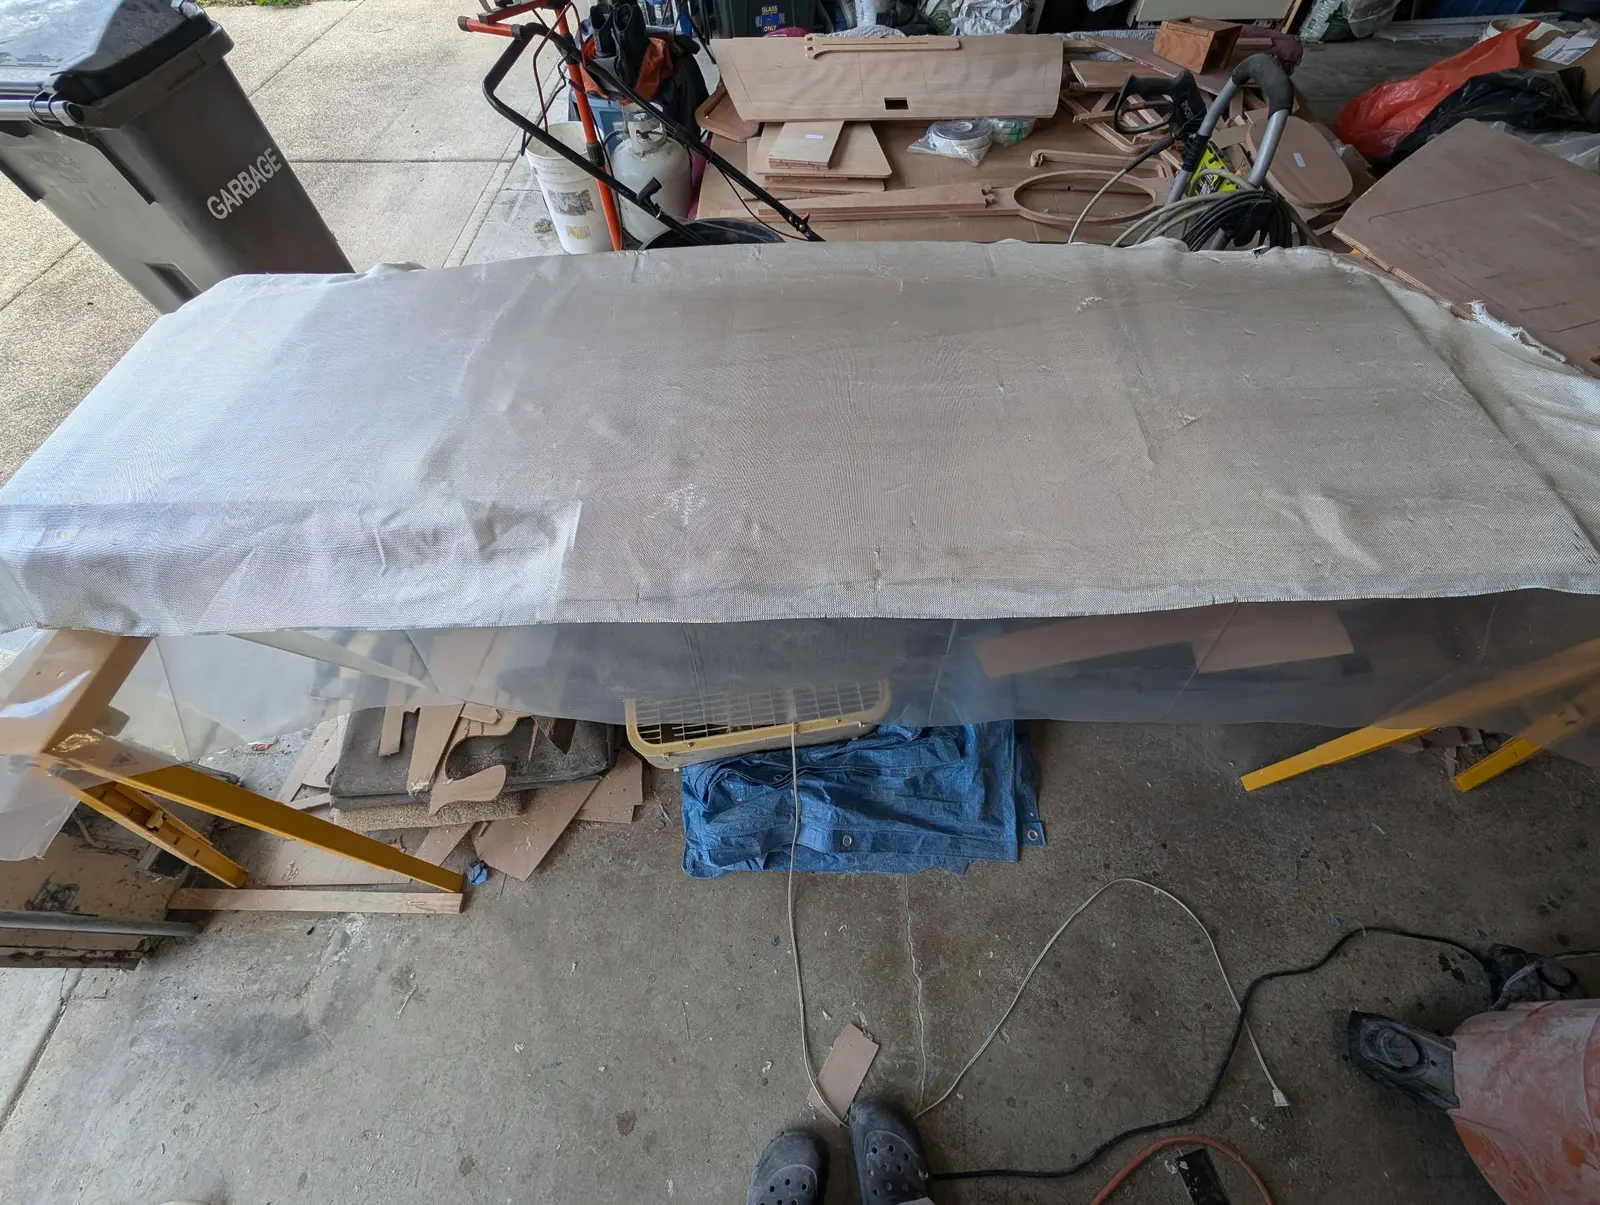
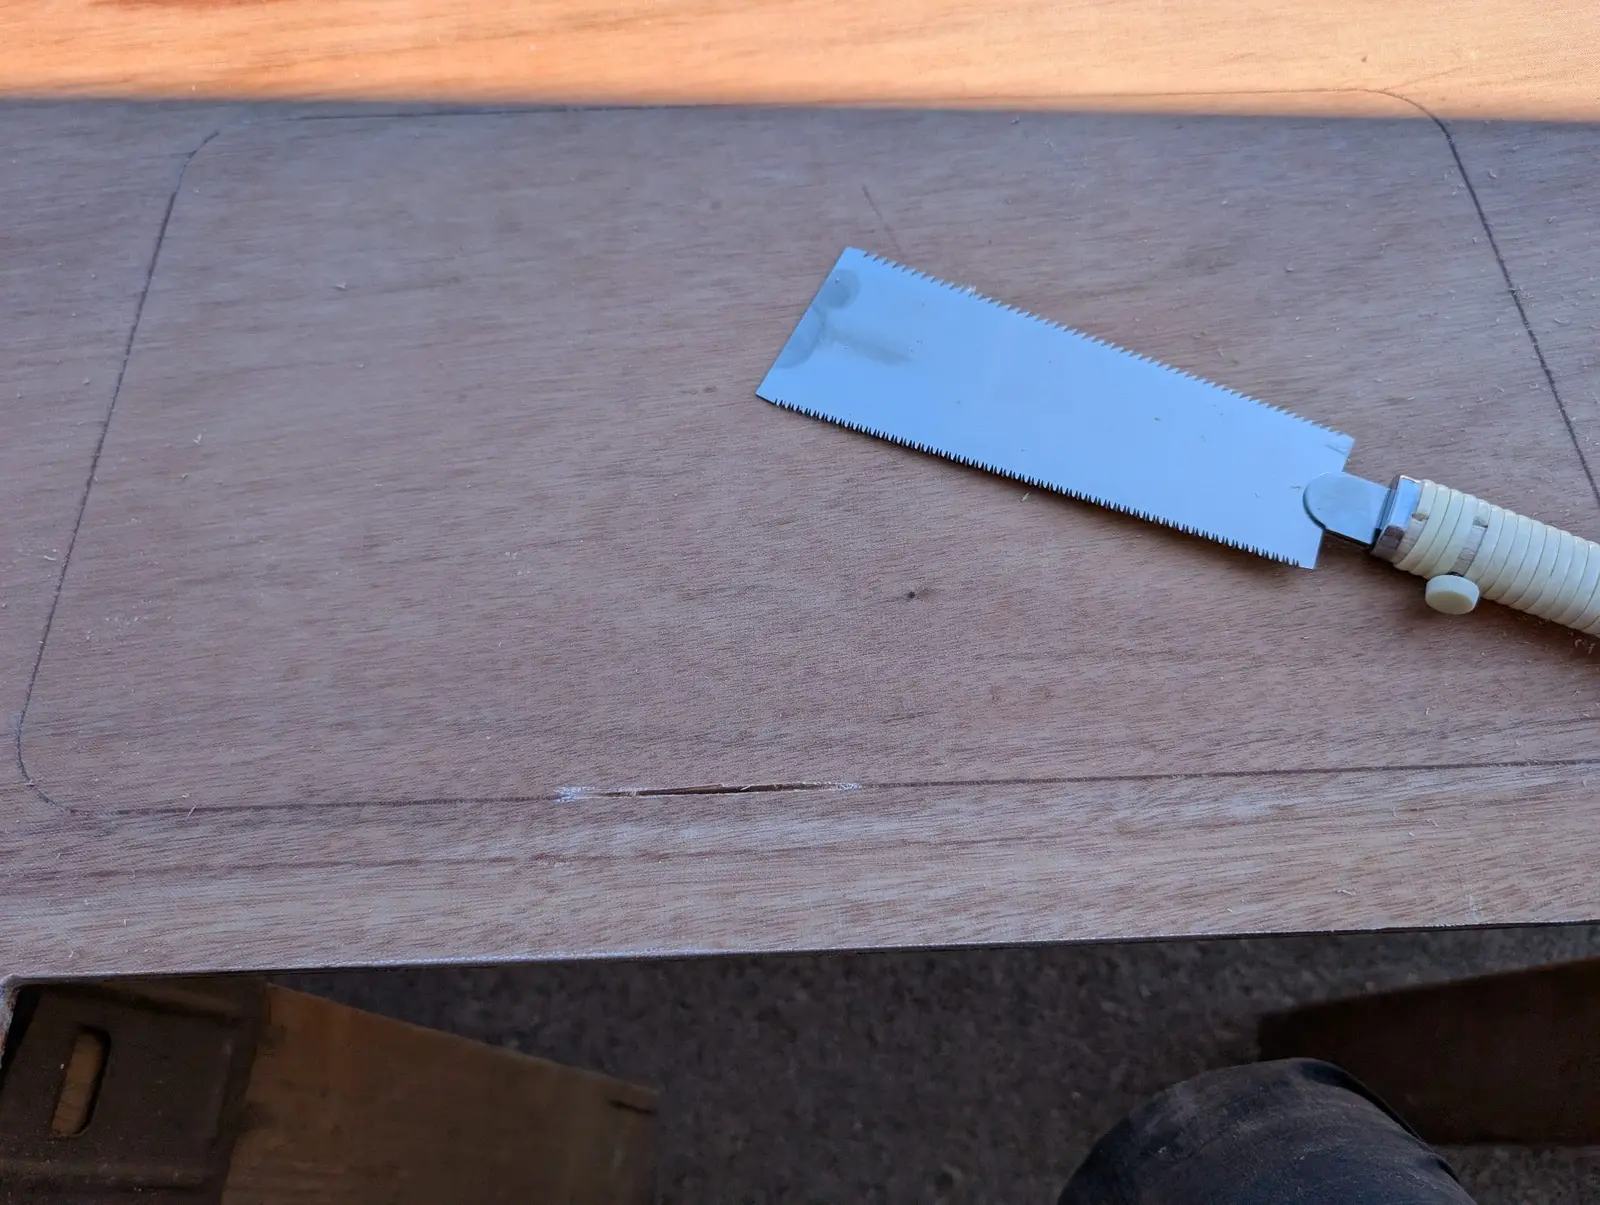
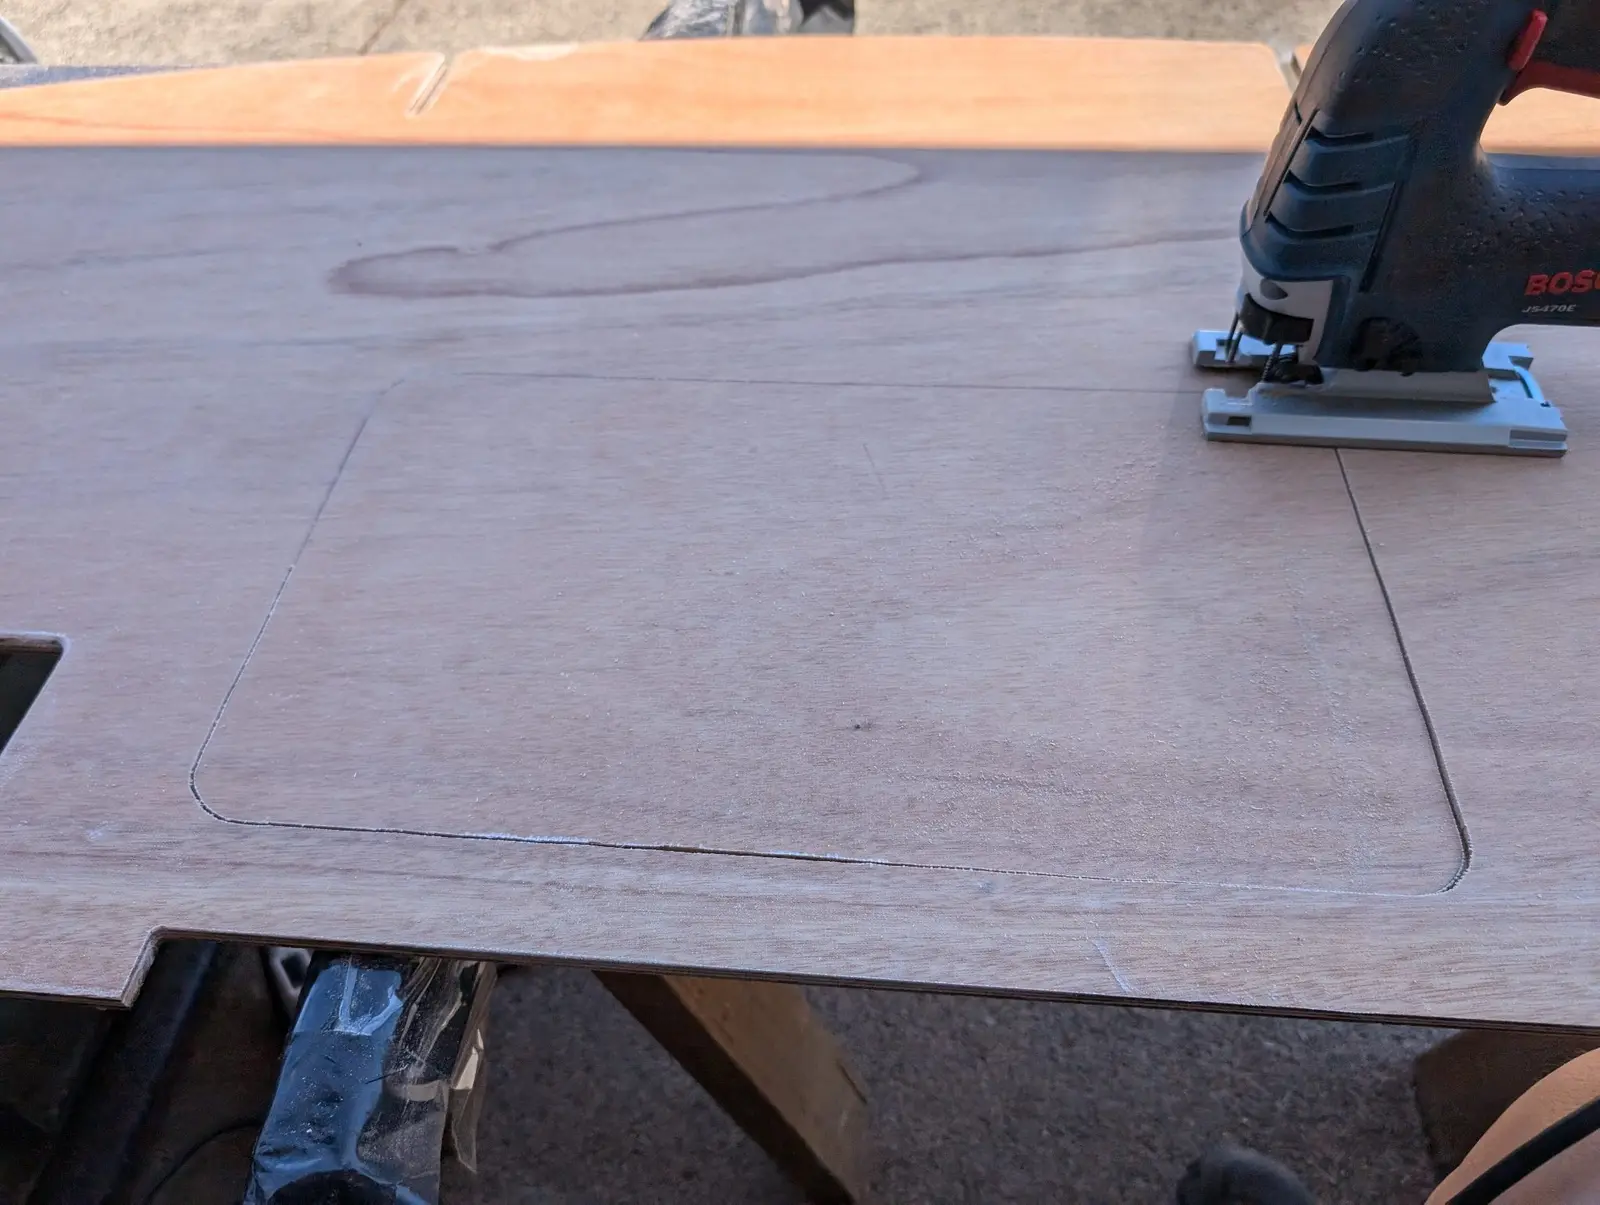
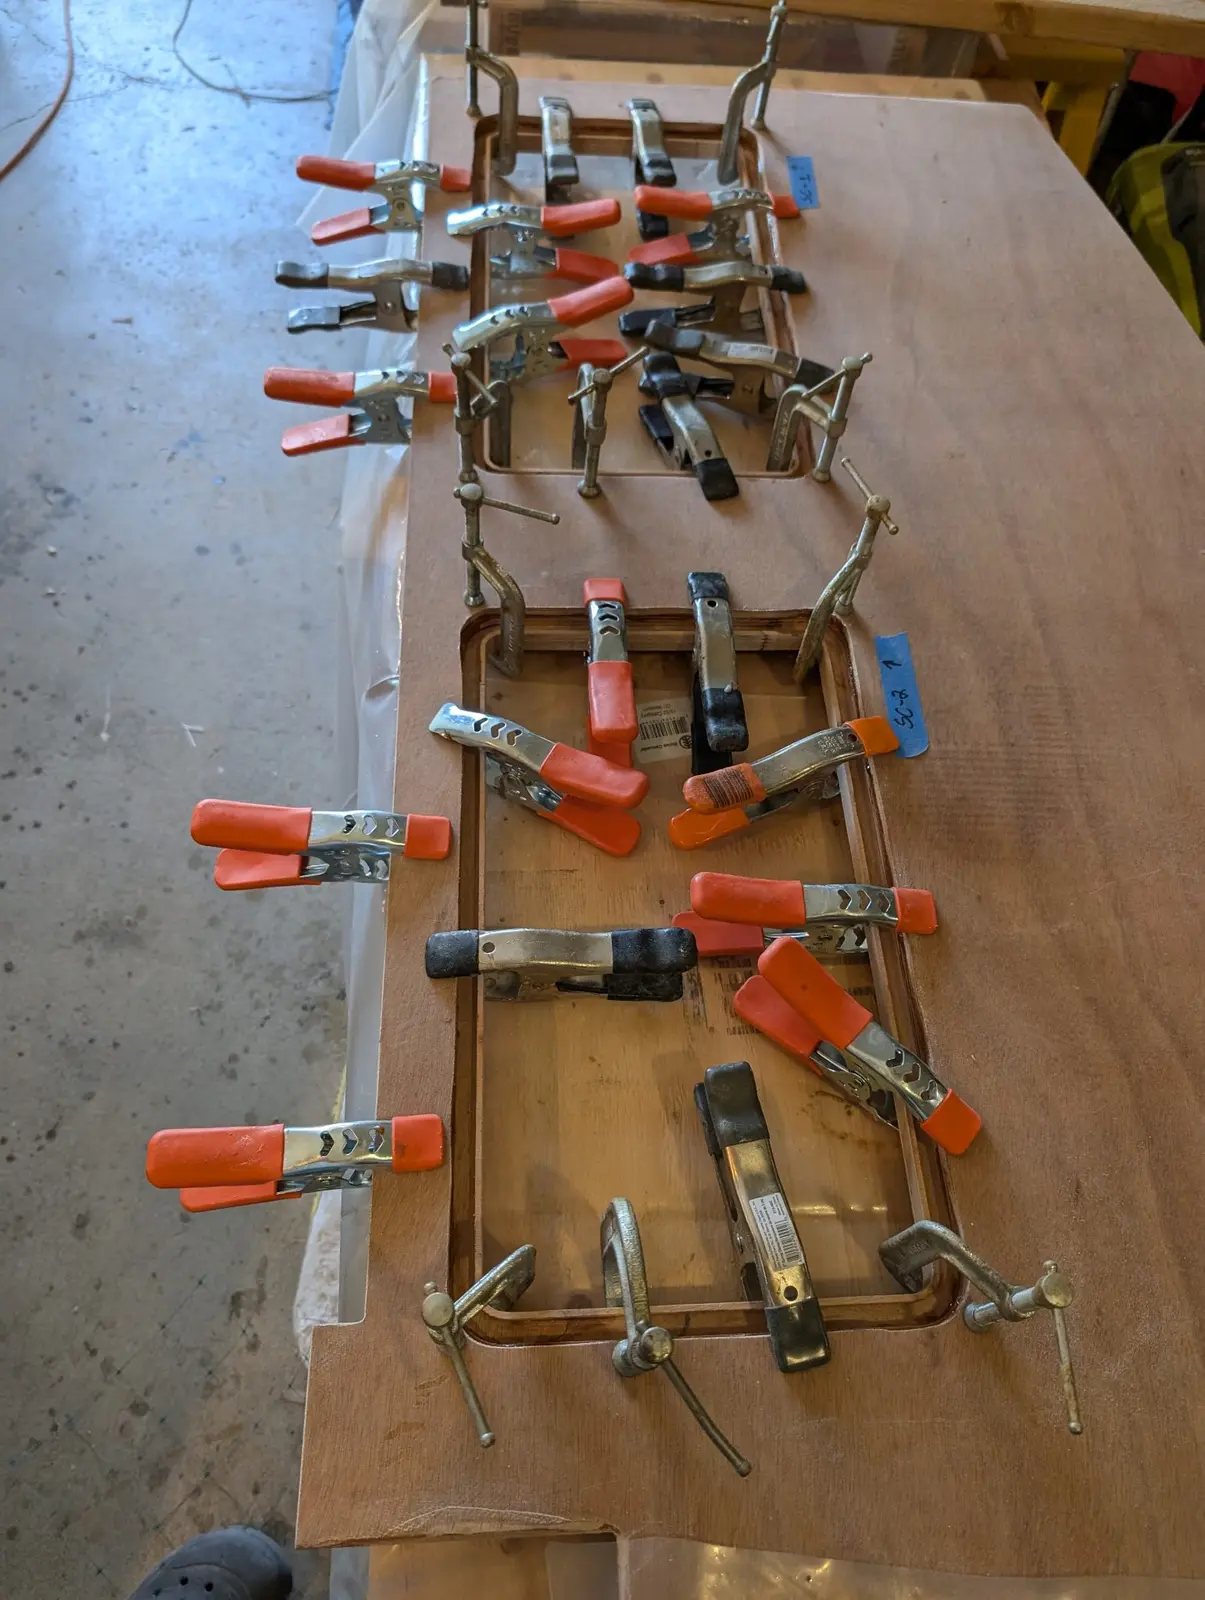
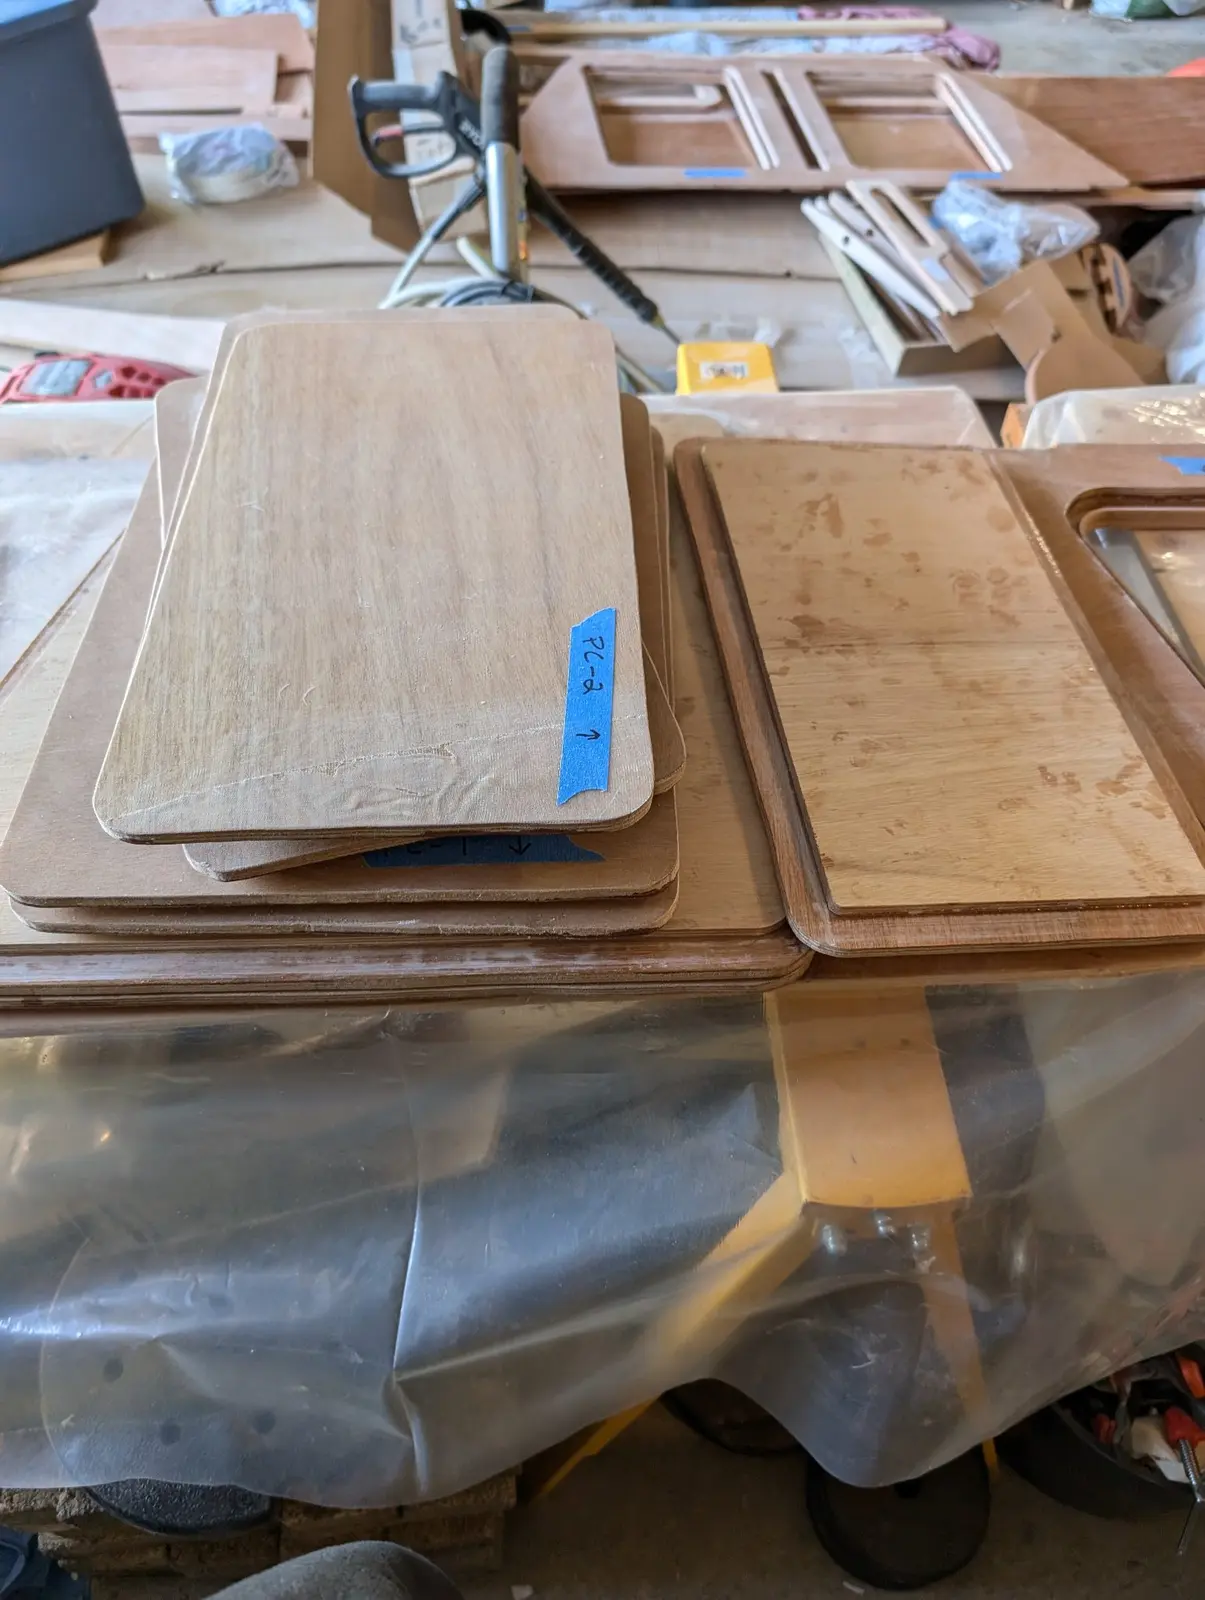
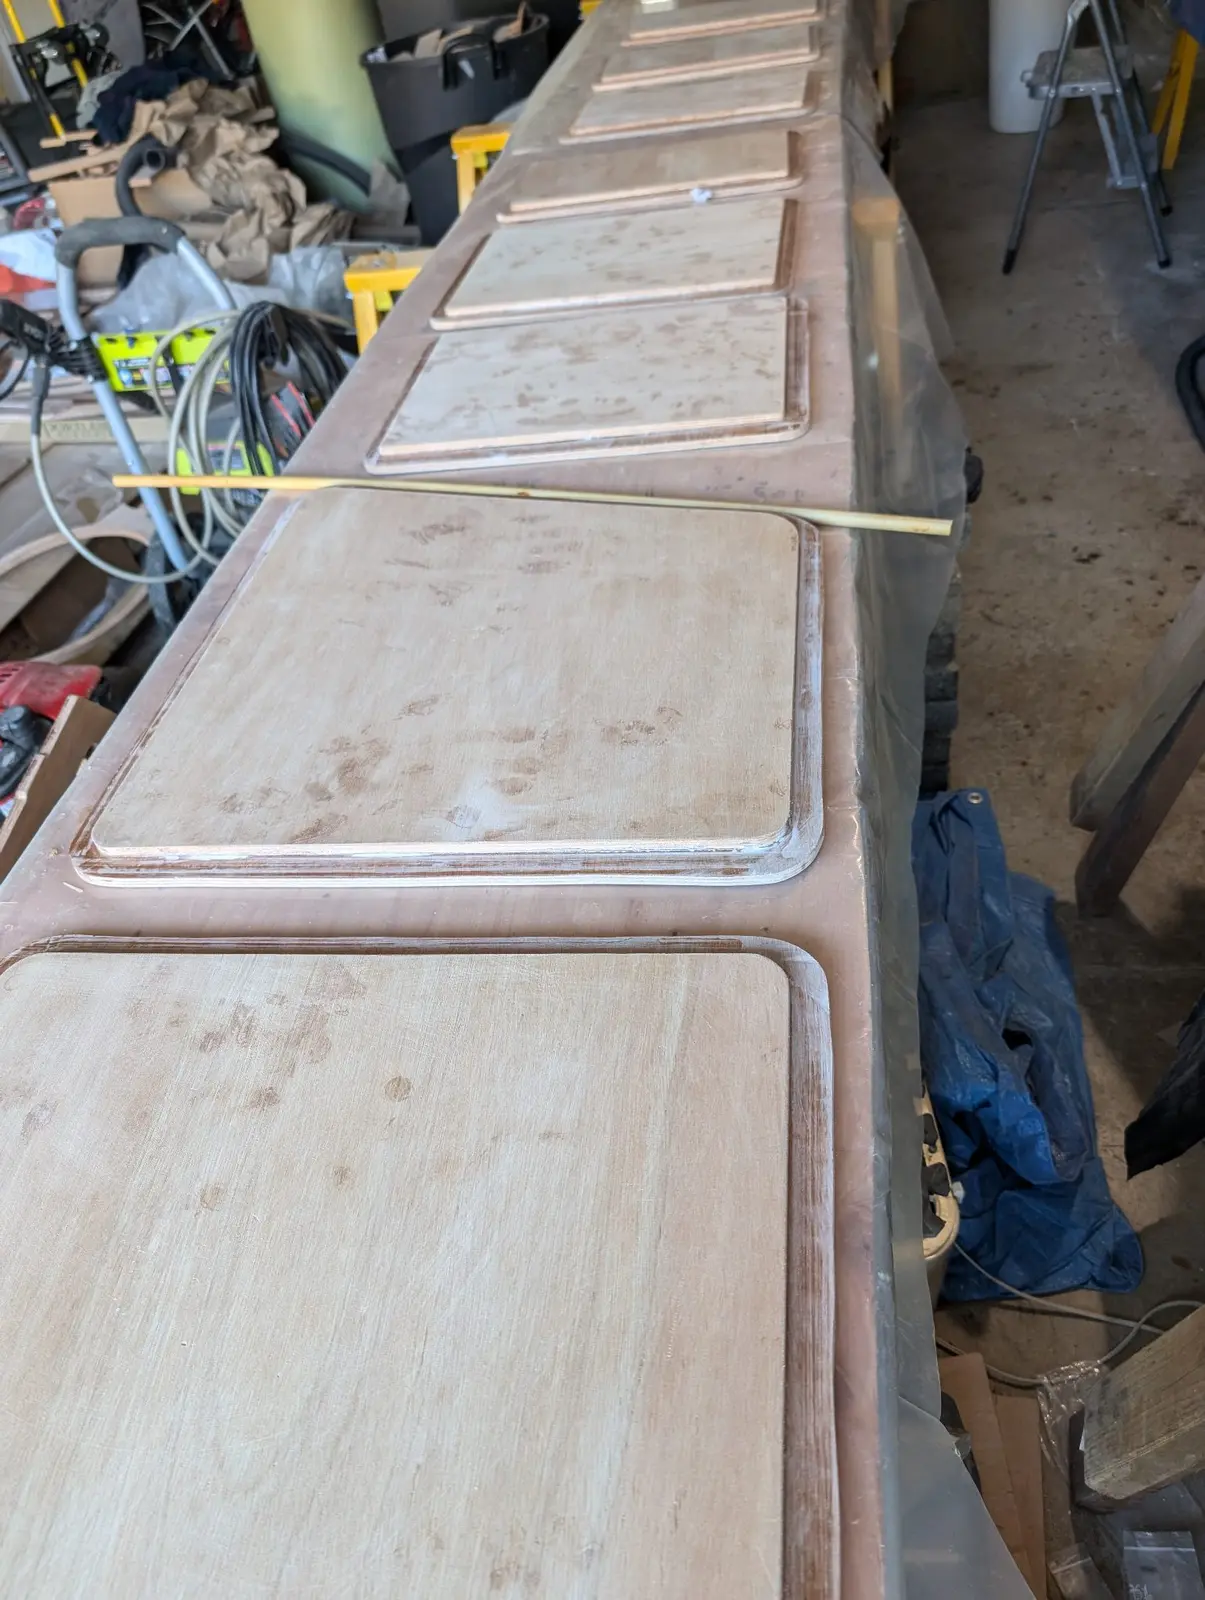
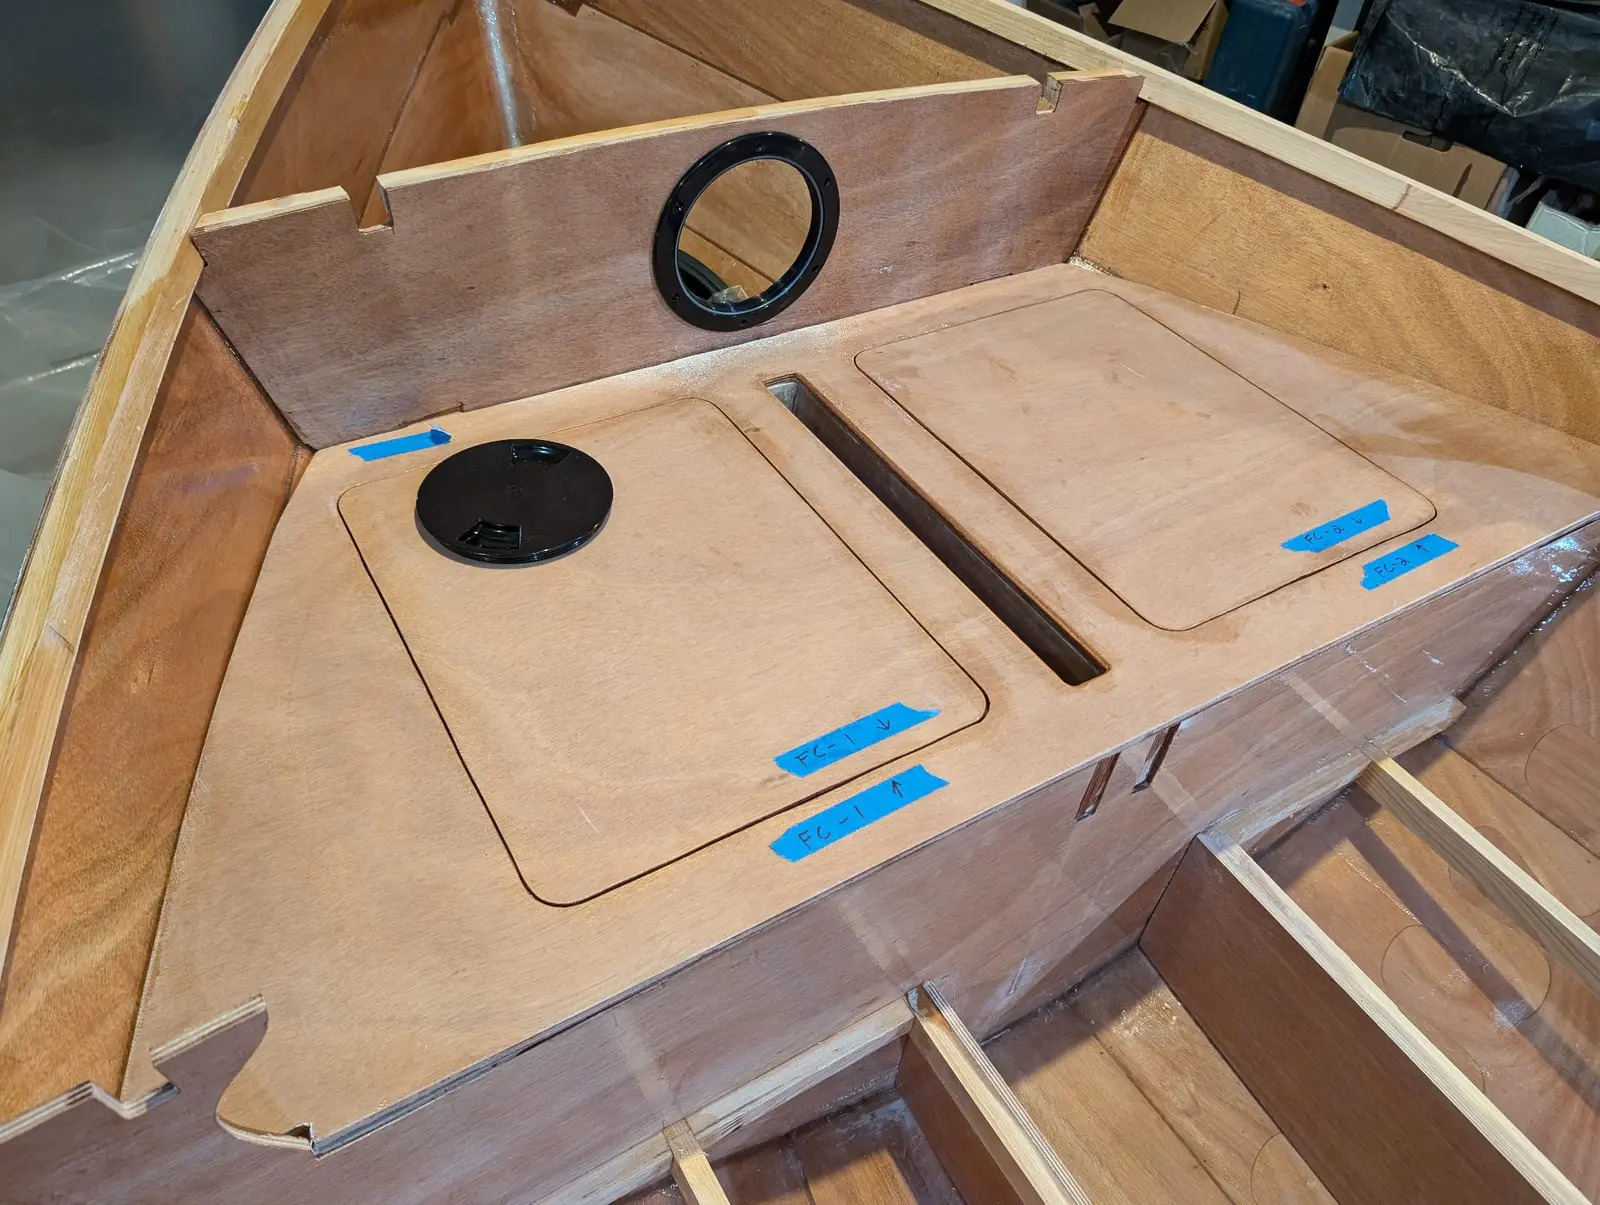
Every deck is fiberglassed on both sides. There are 10 deck hatches on the Guider. Each one is scribed by CNC and must be cut out by the builder. I tried several methods of doing this, but I just came back to using a saber/jig saw, as everyone else does. Cutting the corners of the hatch cutouts is challenging, and I did not cover myself in glory here, but I got it done. Every hatch opening then has a hatch gutter epoxied to its underside. A gasket (weather strip) is installed on the underside of the hatch itself to make it all more or less watertight. The forward cockpit deck has an additional beam on its underside to reinforce it.
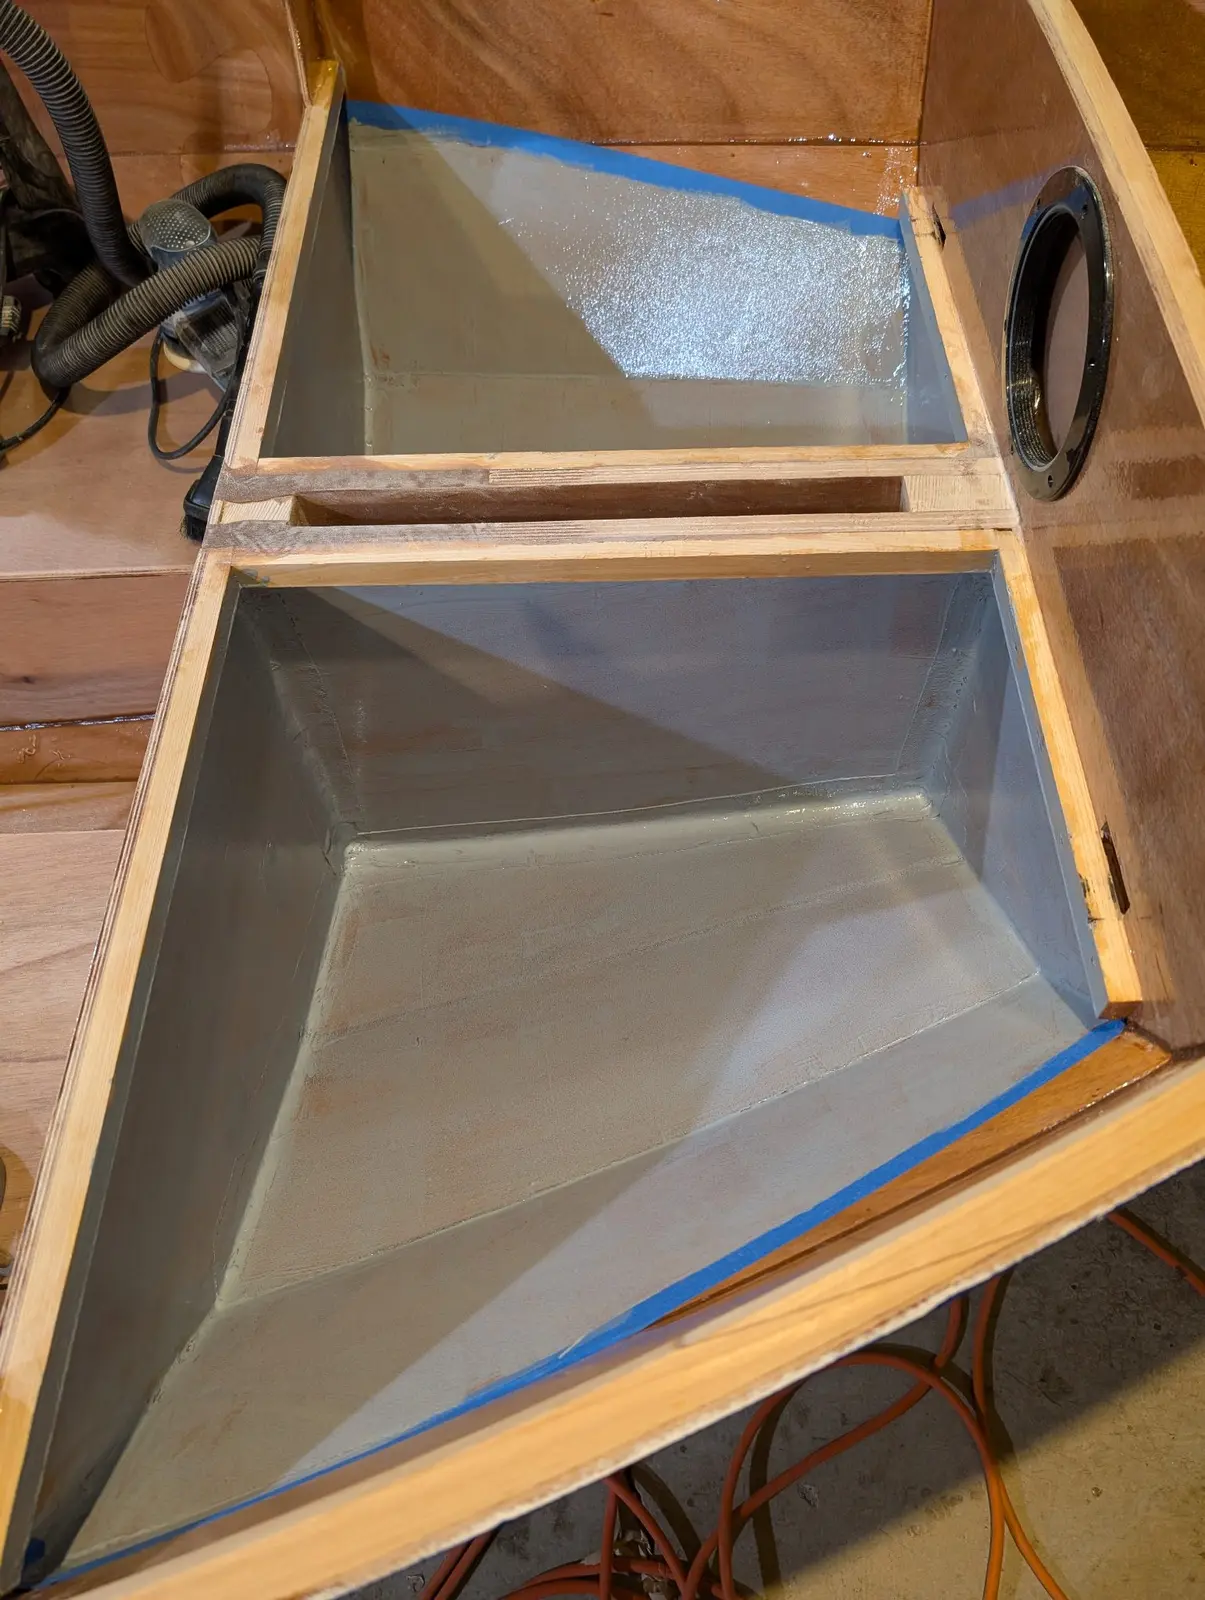
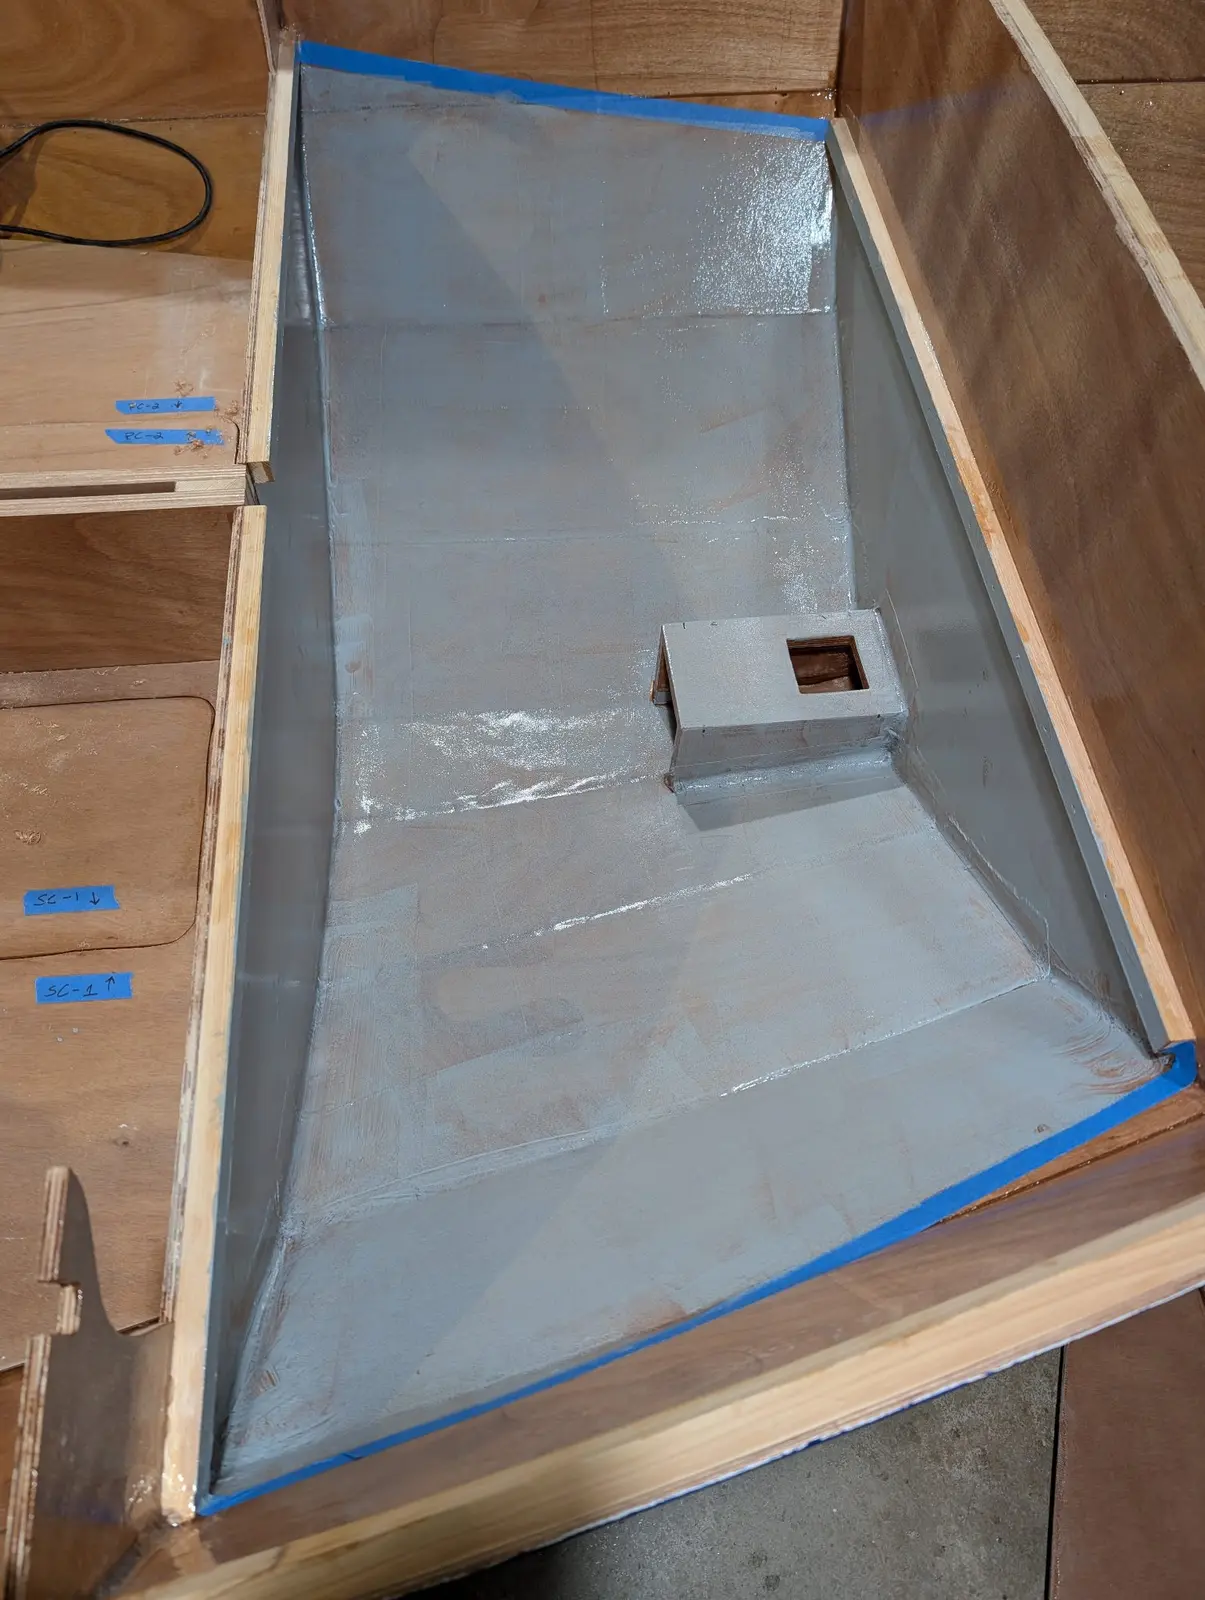
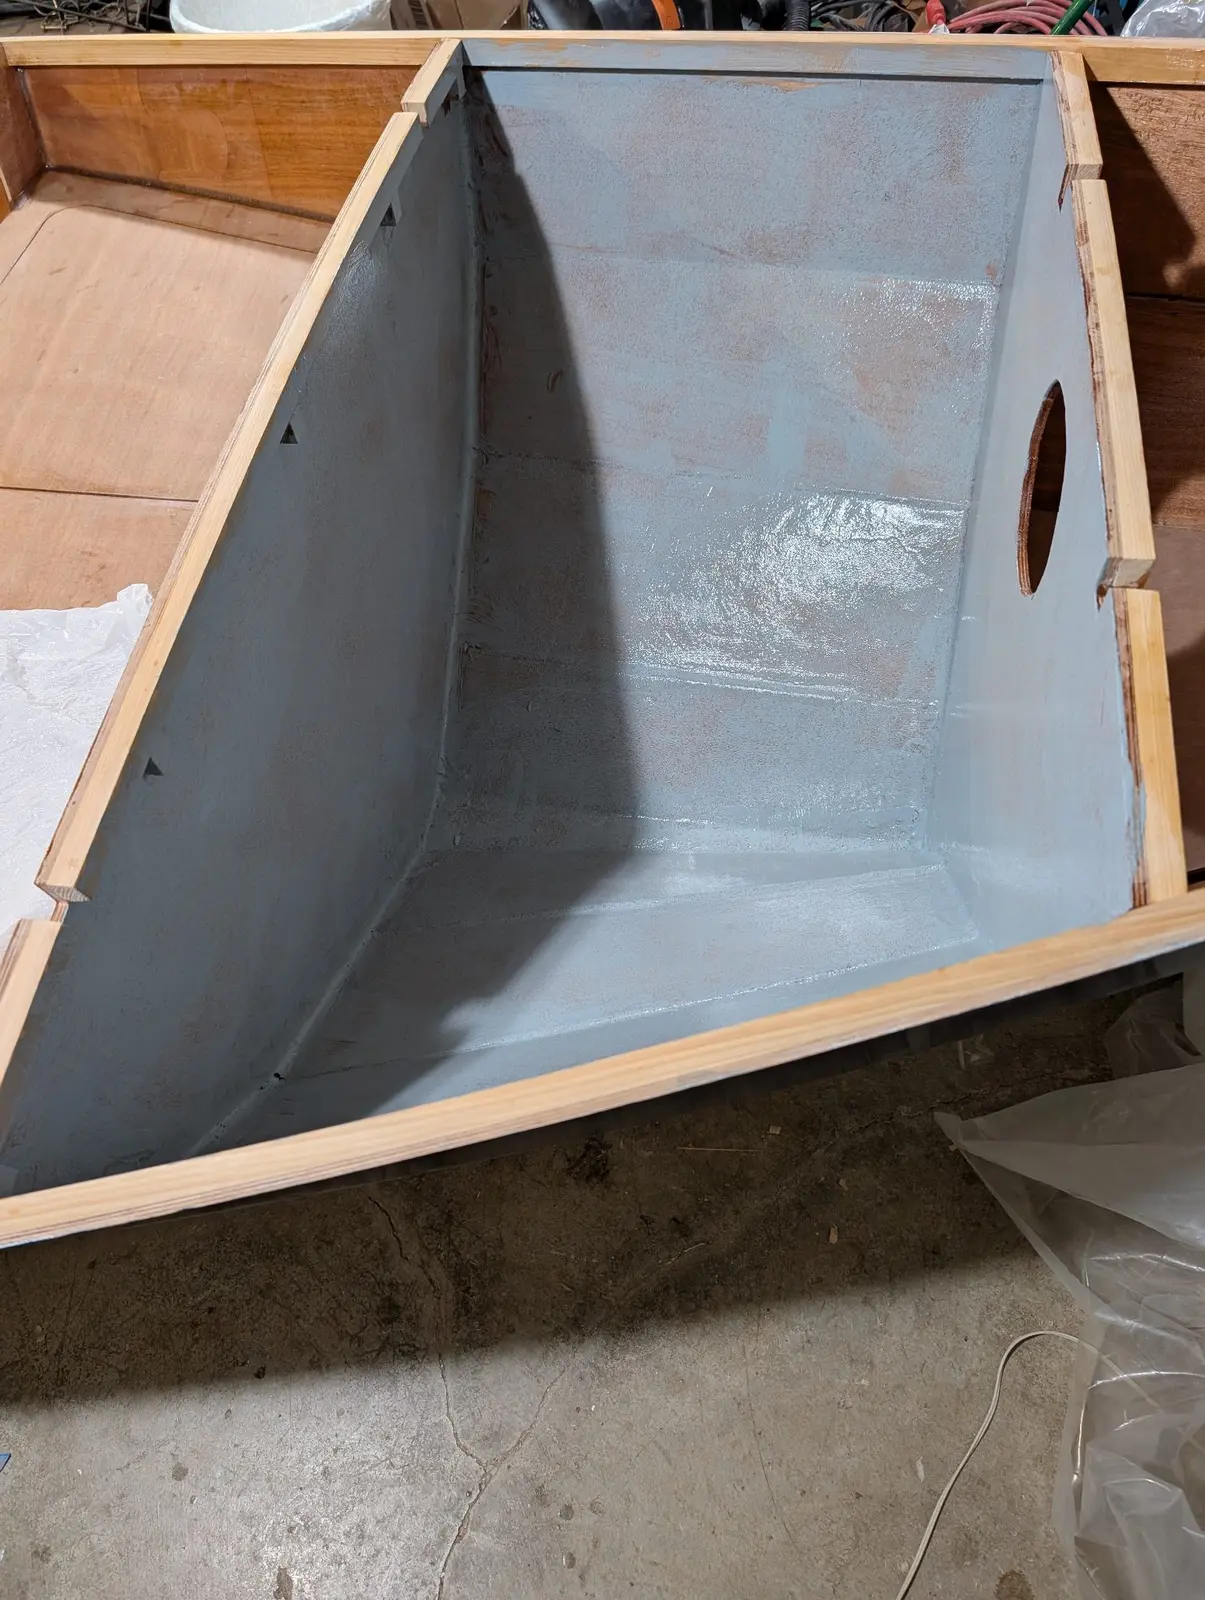
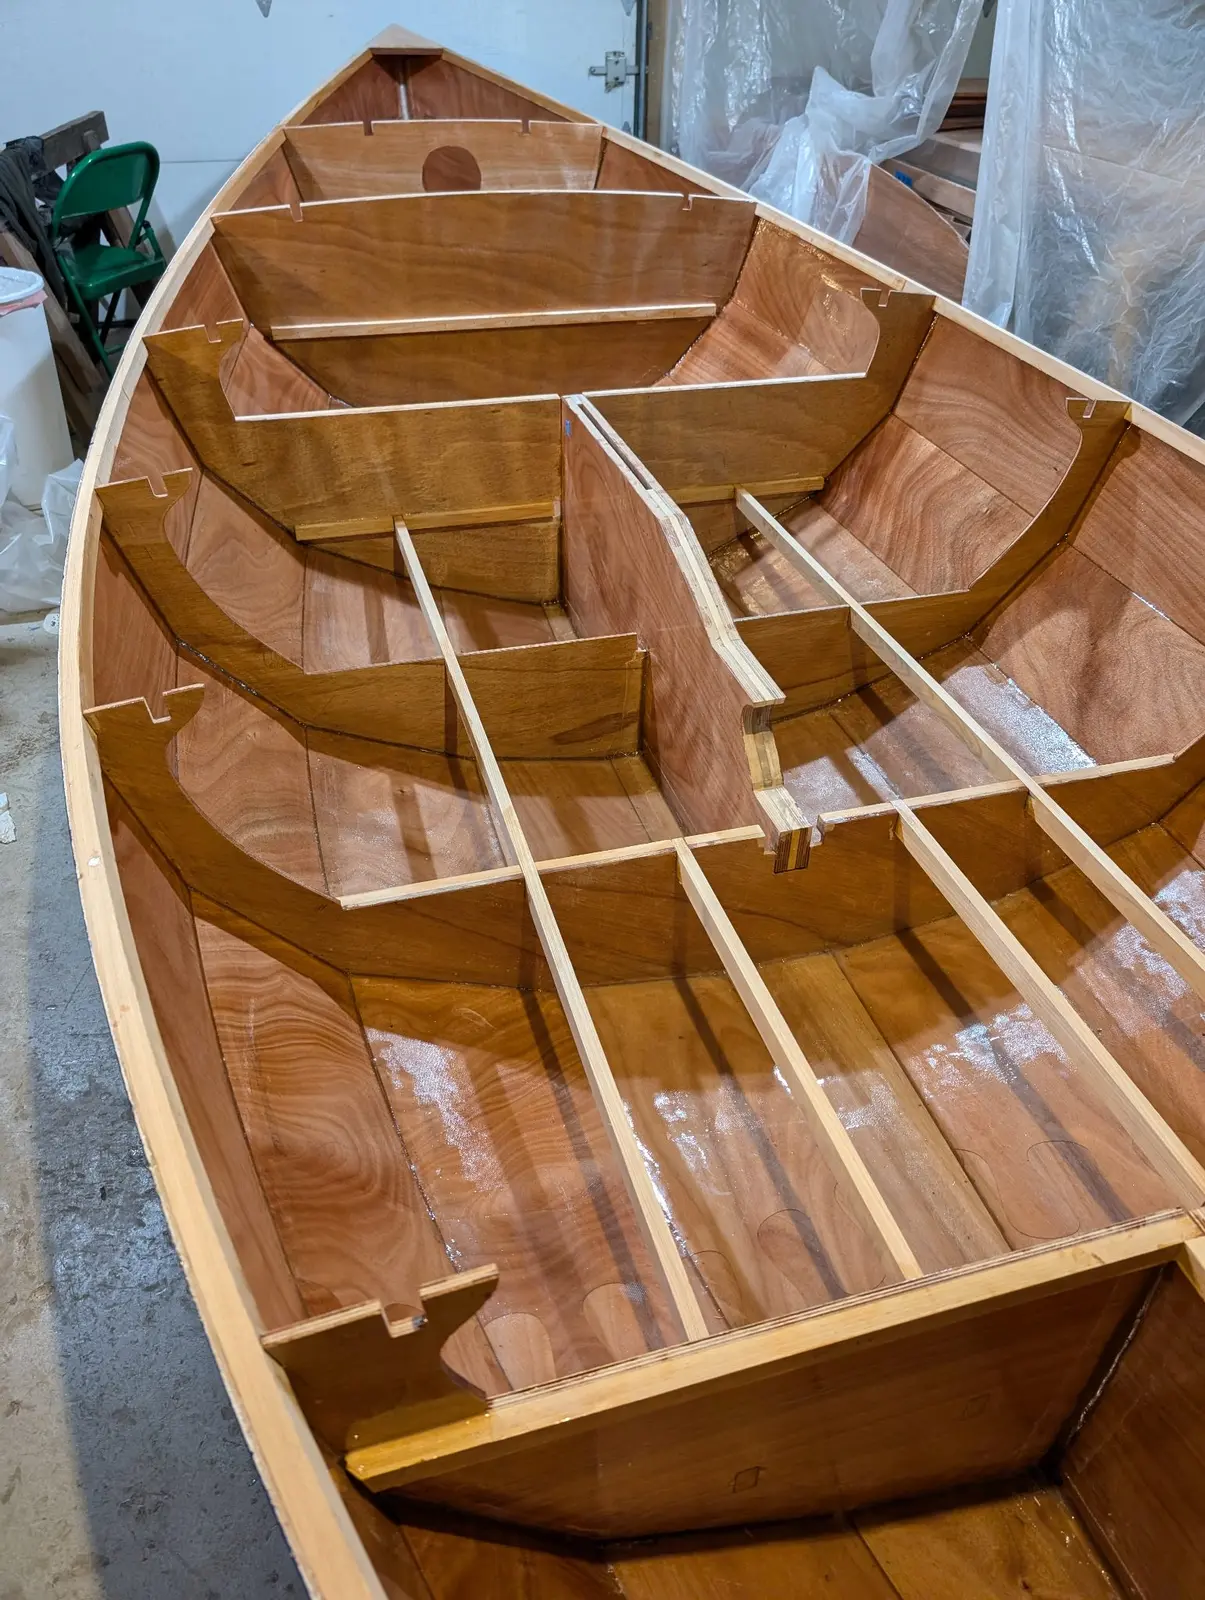
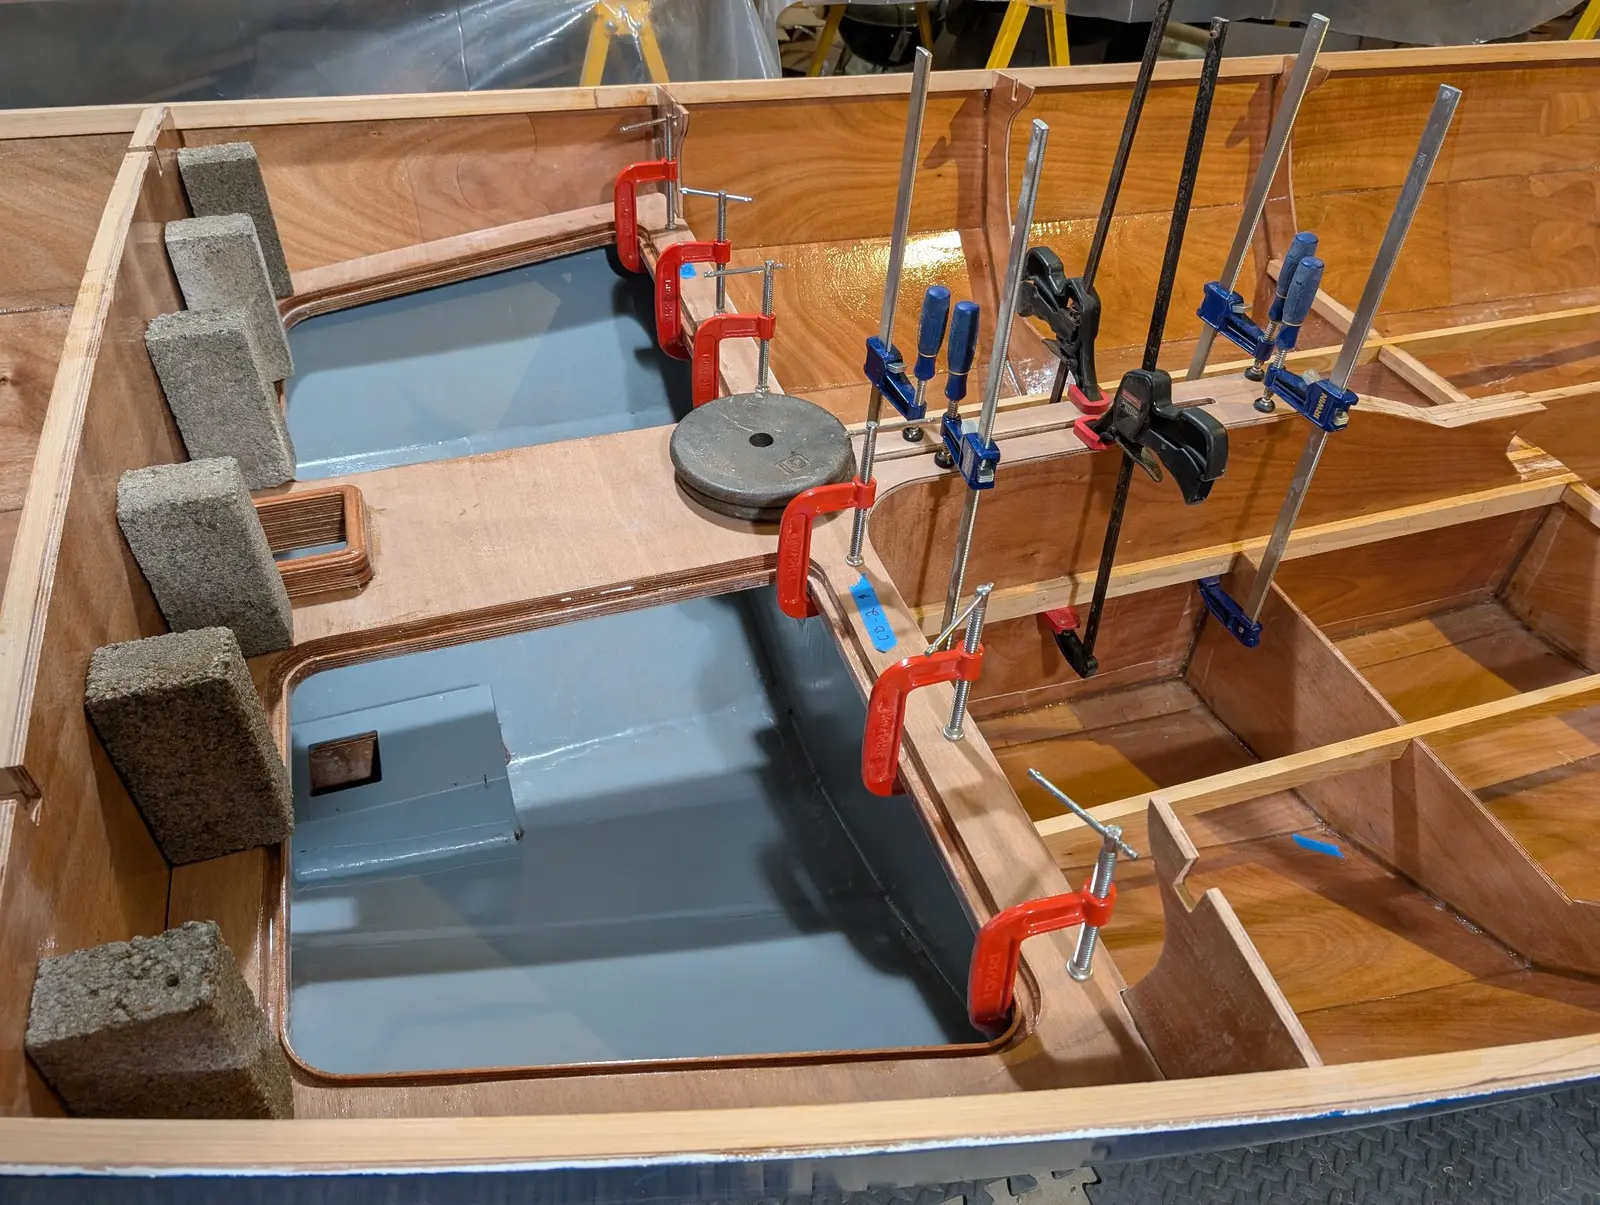
All the interior locker spaces that are normally out of sight were painted to protect the epoxy, to make it more obvious if there is any wear in there, to make it easier to swab out, and because I like the way it looks. The paint is just a latex deck enamel in a color appropriately named "Pacific Storm".
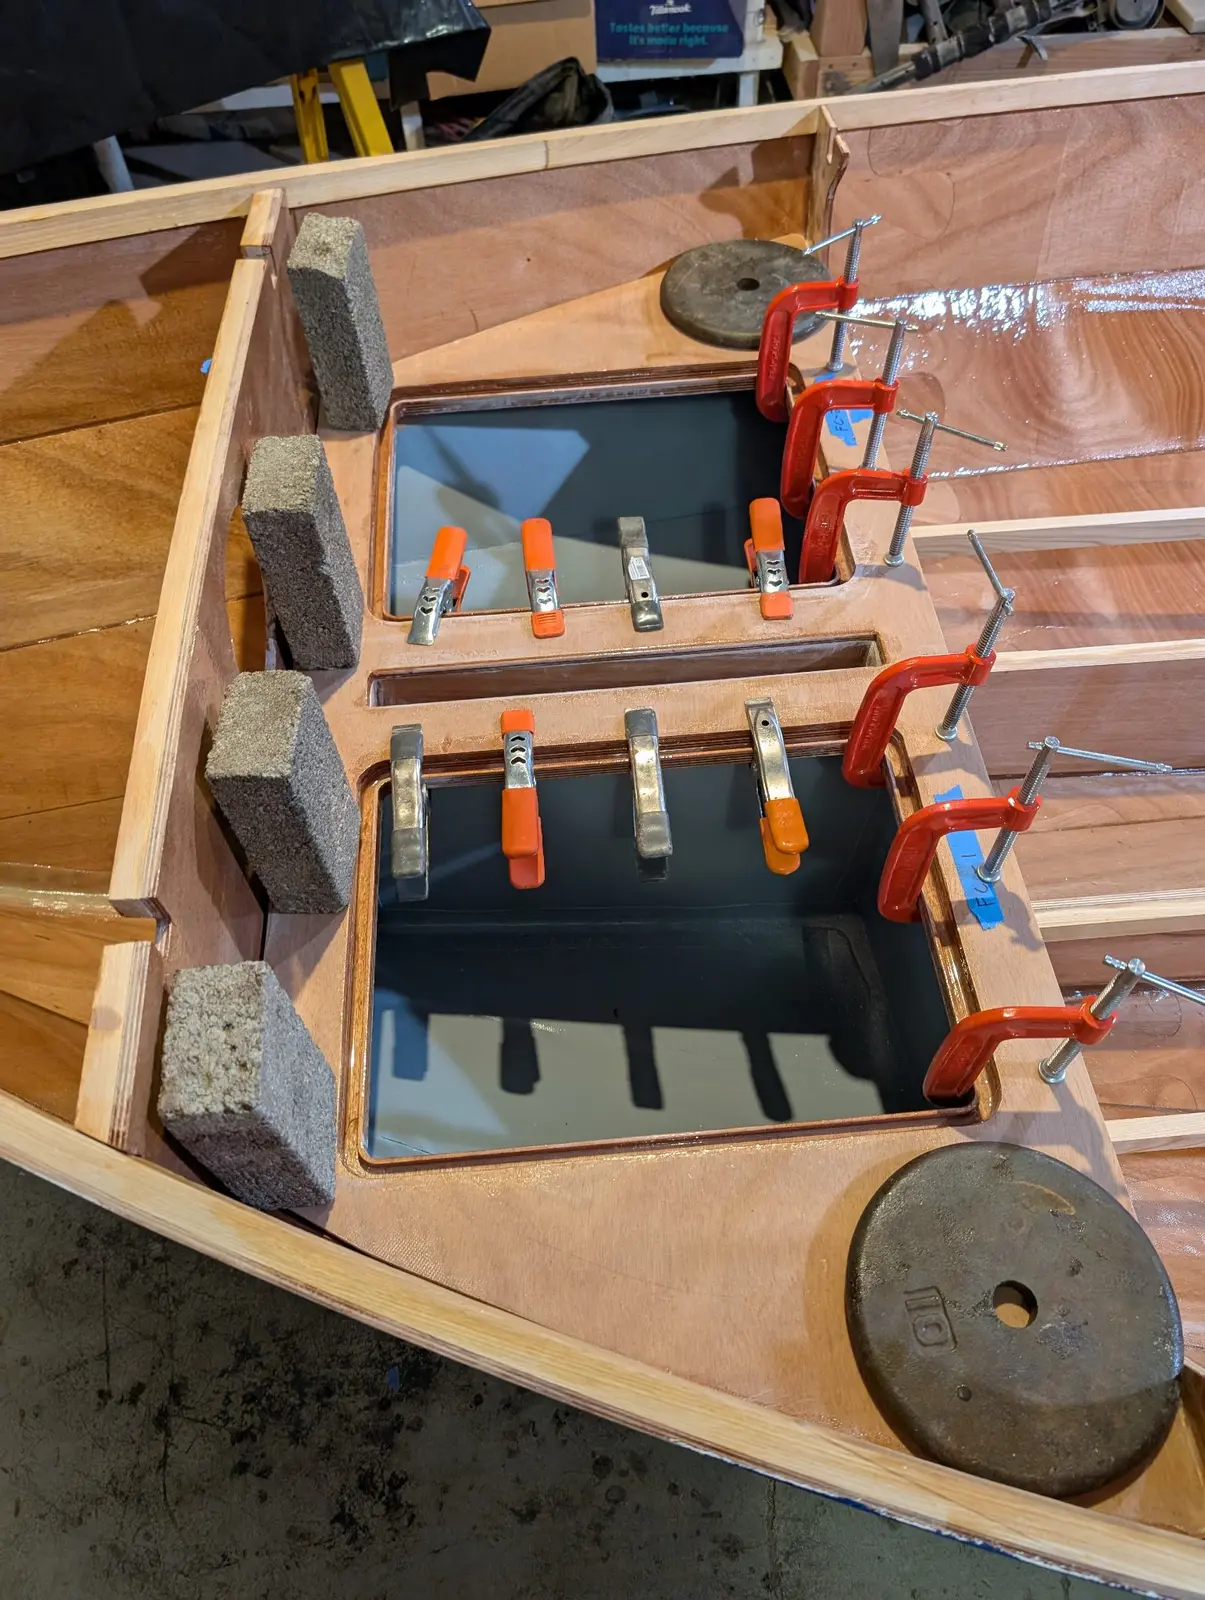
Every hatch requires a stiffener under it to stand up to the load above. The stiffener is smaller than the hatch to make space for a gasket that will make the system (sort of) watertight. Also shown is the installation of one of the two mast partners.
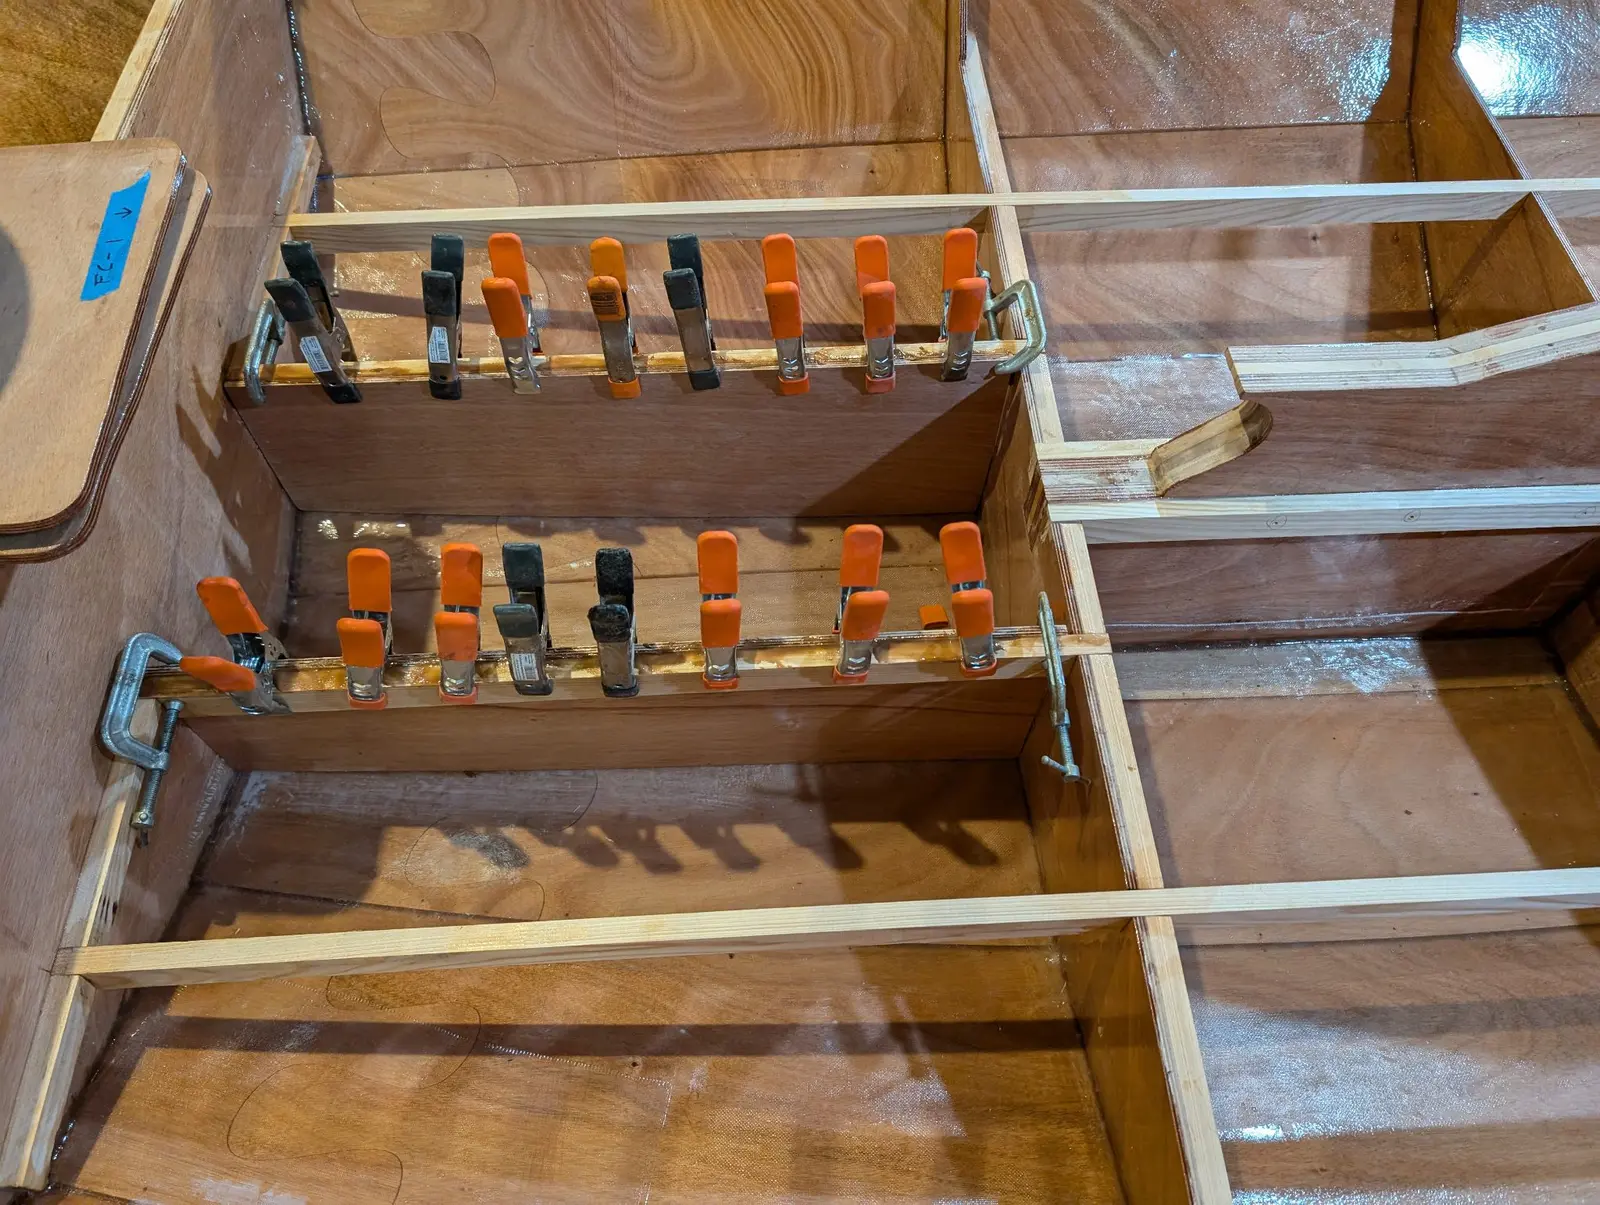
I rolled a saturation coat of epoxy over the interior of the hull and touched up fillets I thought were inadequate. The footwell of the cockpit is enclosed, creating two sealed flotation chambers on either side of the footwell. Here I am gluing the sidewalls of the footwell to the deck supports. I will follow up by filleting the sidewalls along the inner hull and frames. I glued the mast step to the hull, and taped and filleted it for strength. I put an inspection plate in the bulkhead forming one wall of the big stern flotation chamber. I don't expect to use this for storage but I want to be able to air it out and possibly reach into the space to aid in later steps.
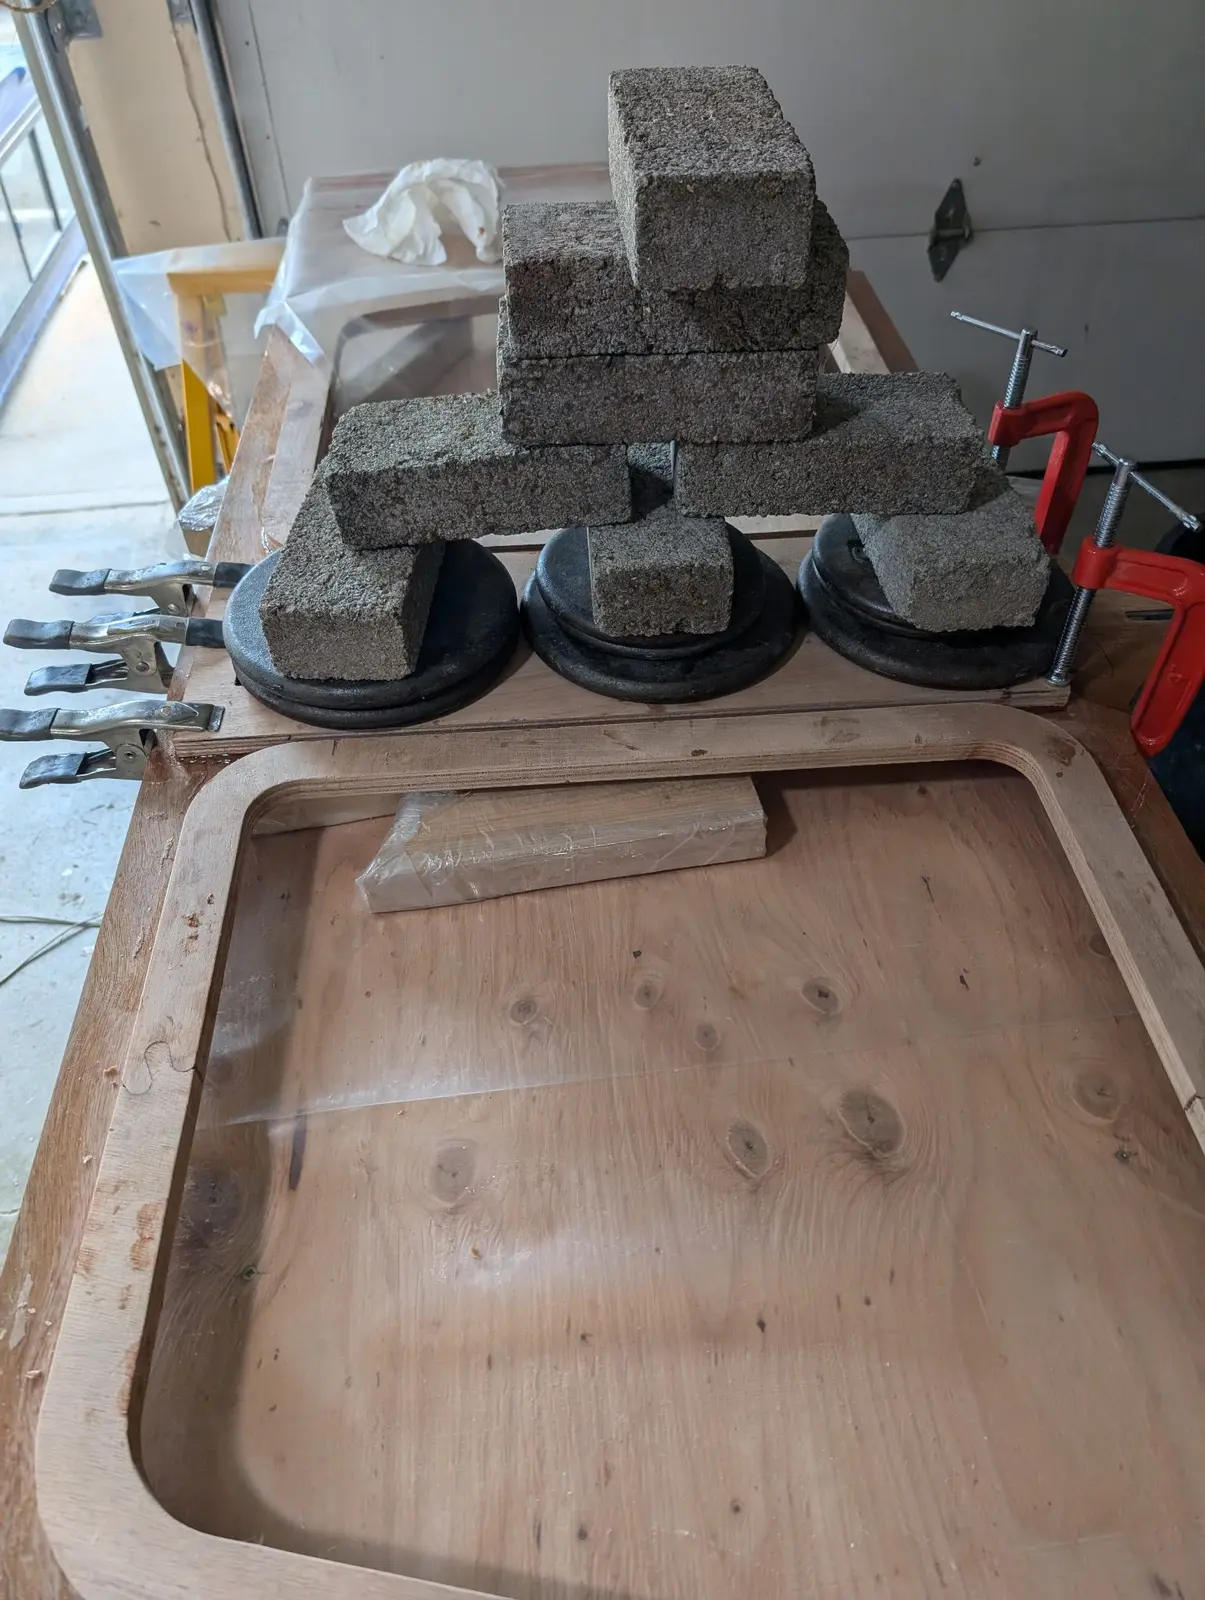
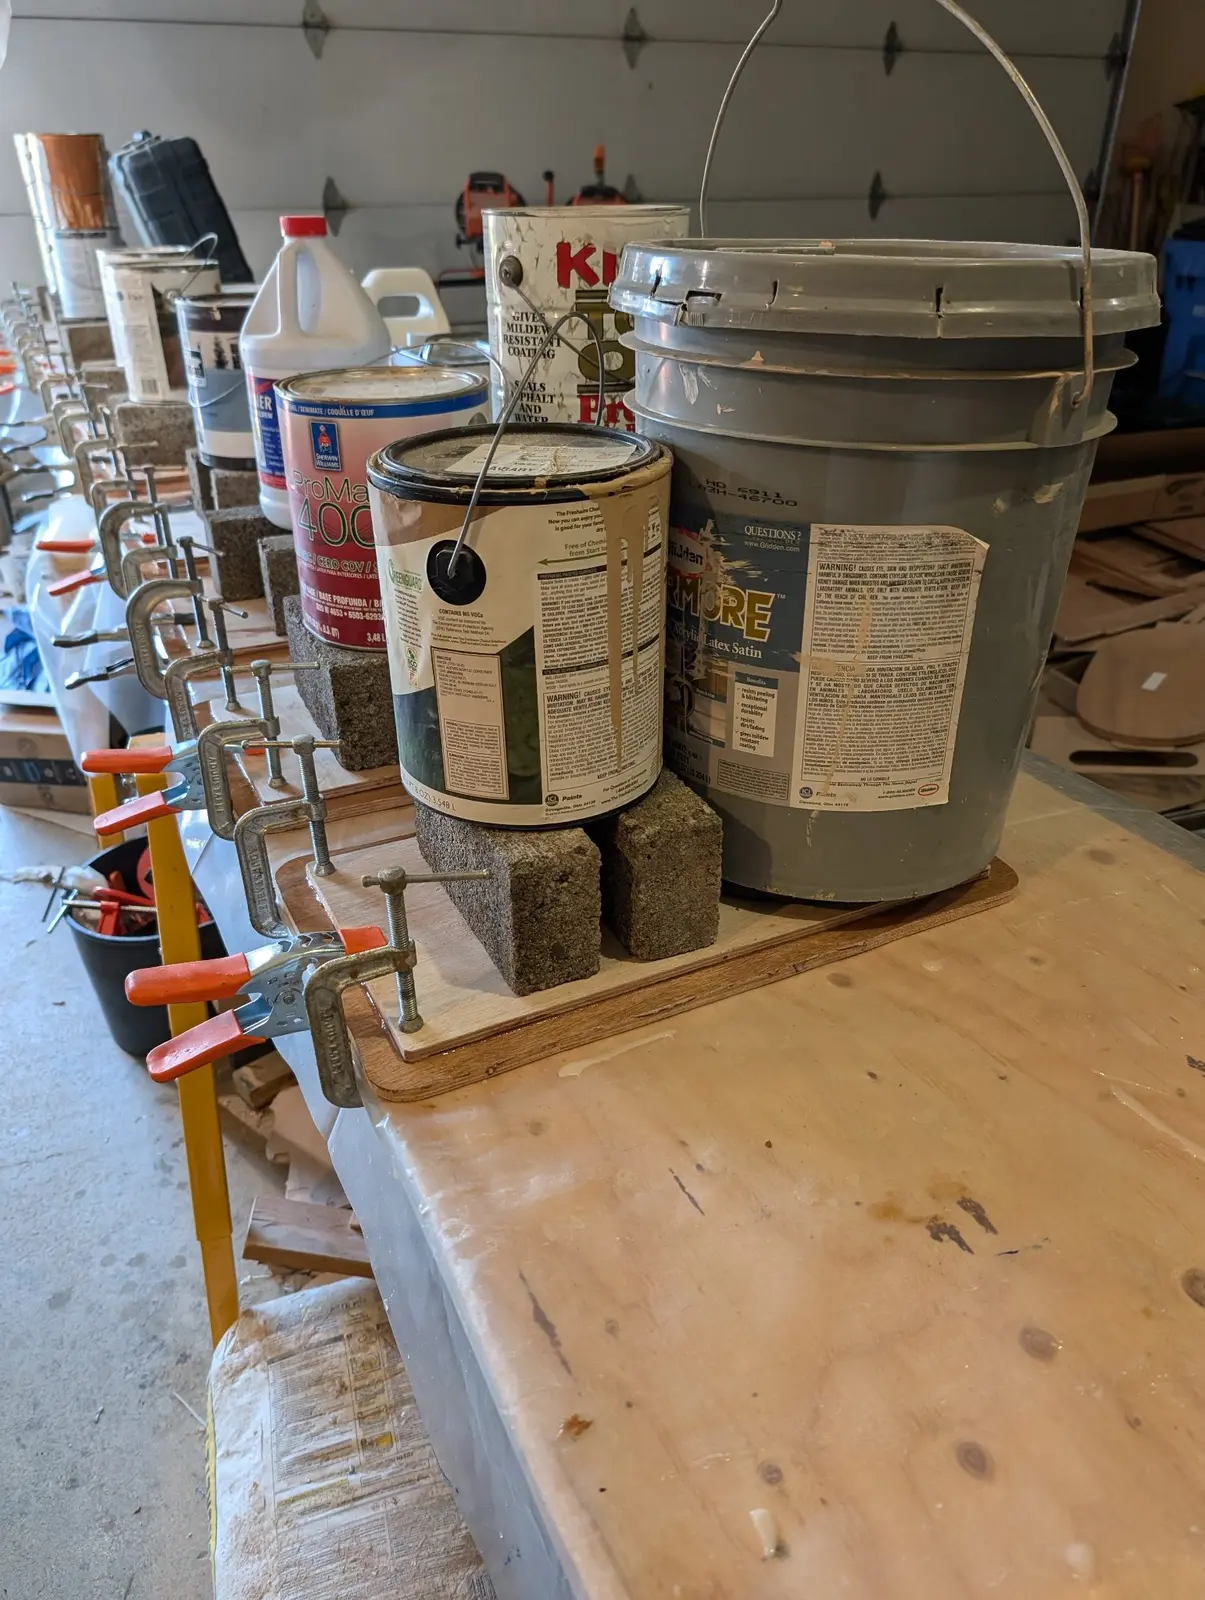
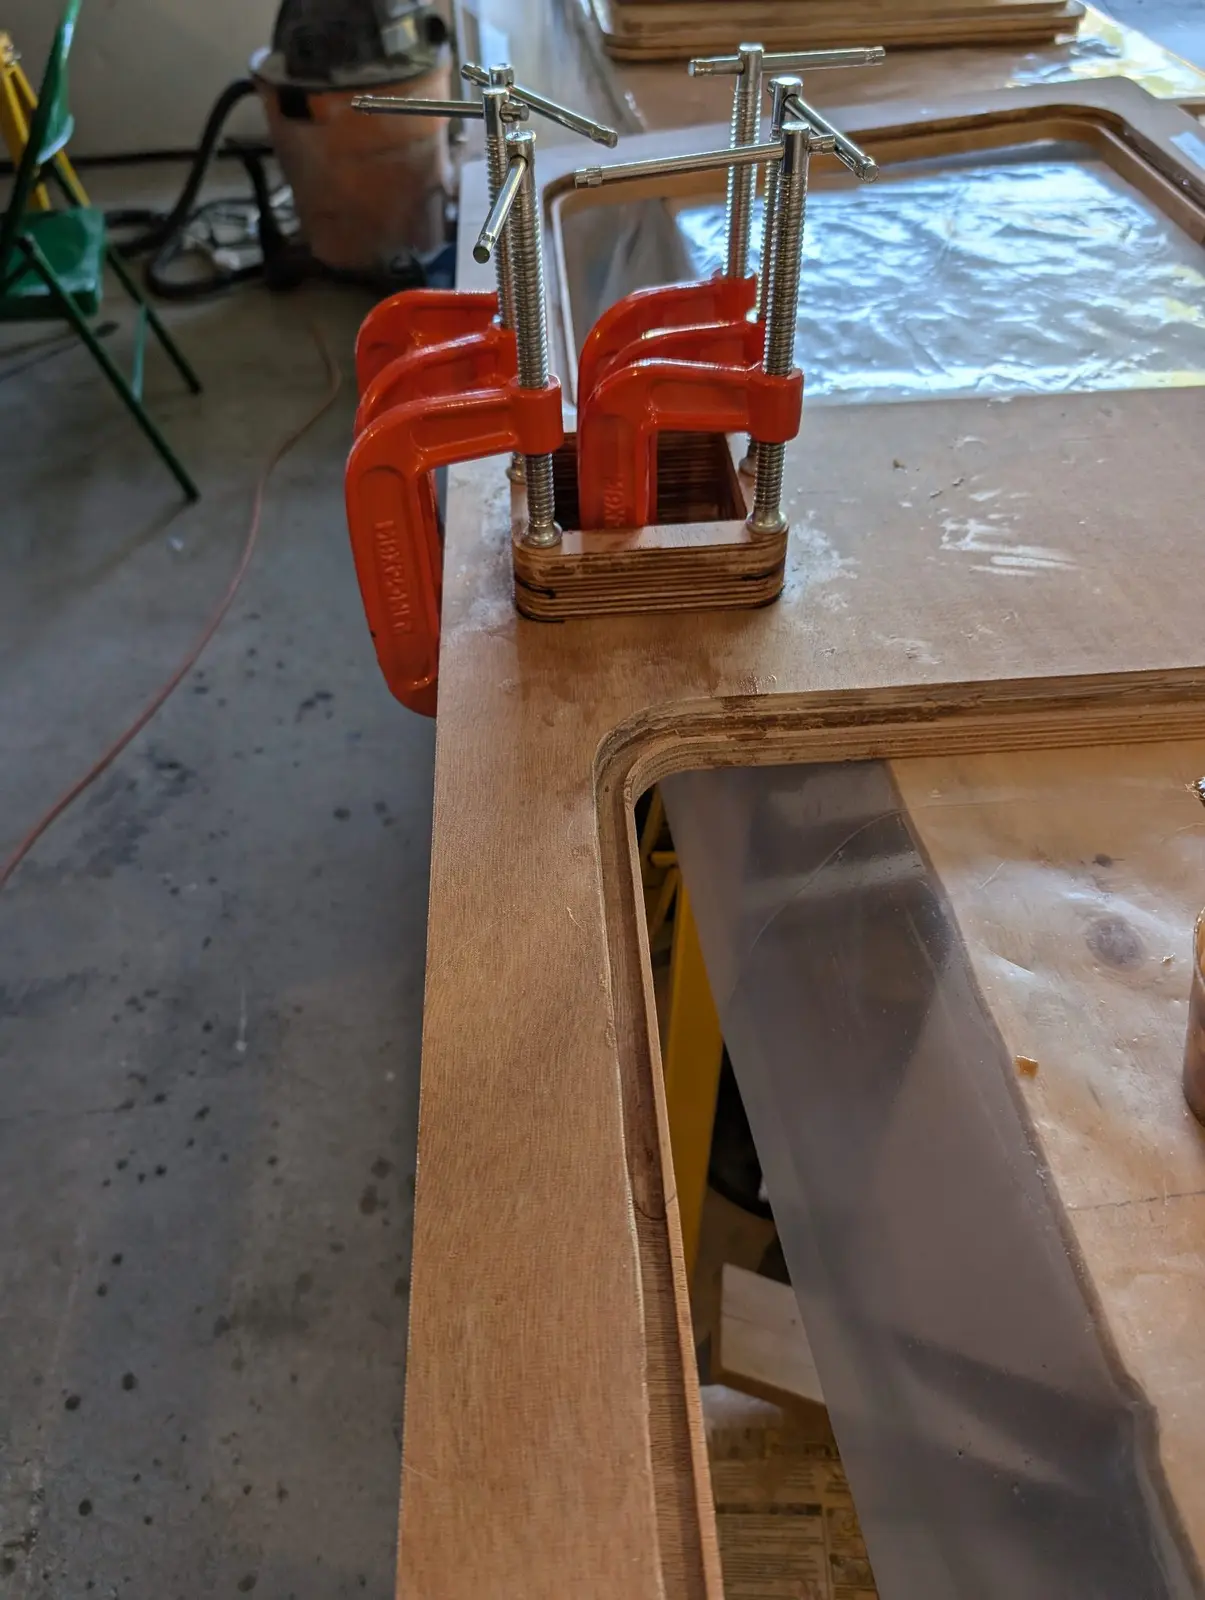
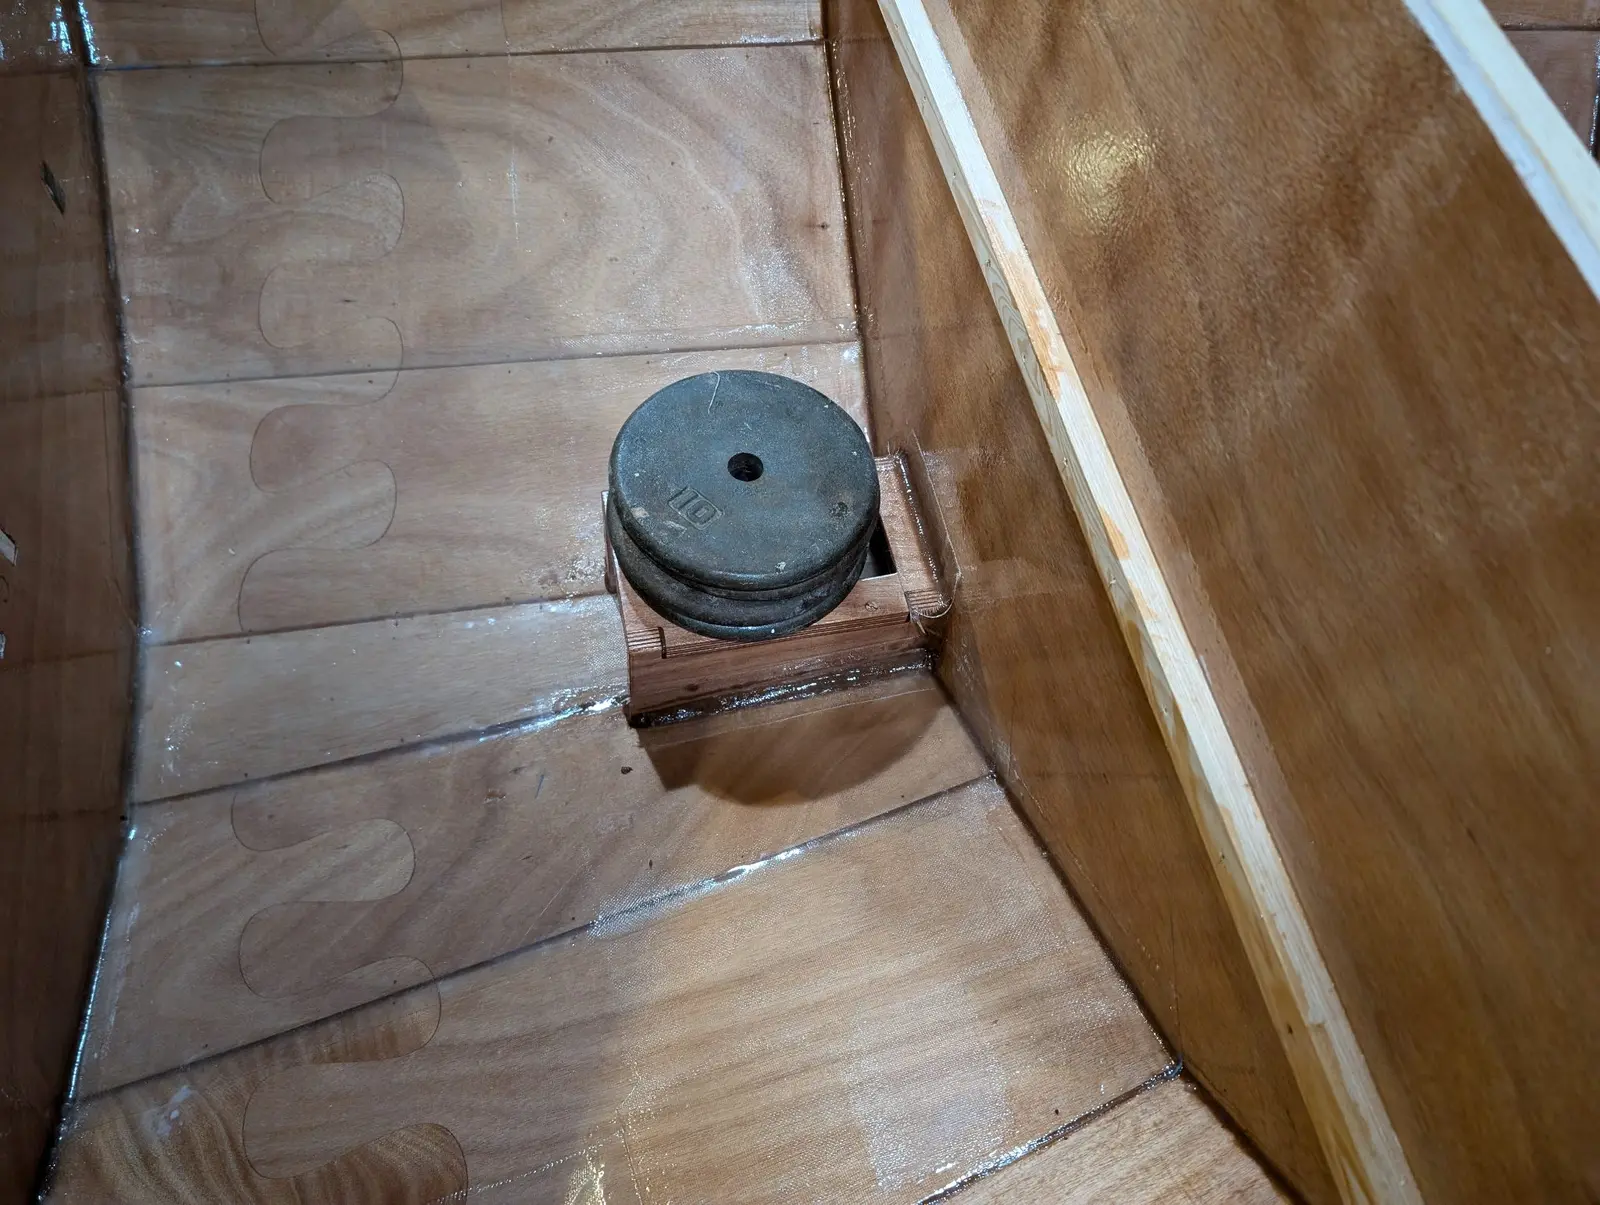
The aft cockpit deck and the forward cockpit deck are epoxied down to the tops of frames or intermediate cleat supports. You only get one shot at this, so it pays to dry-fit everything a couple of times, make some temporary alignment marks, get all your weights and clamps ready, and rehearse it. I brushed epoxy onto the undersides of the decks where they would sit on supports and then squeezed a thick bead of thickened epoxy down on those supports. Then the decks go in, alignment marks are checked, final adjustments are made, and then weights and clamps are placed.
12
Nobody else here is logging a The Guider yet.
See the boat.
What it cost
$14,893.59
$11,979.81
Into the boat
$1,785.00
Shipping
$1,128.78
Tax
Shipping added
14.9%
on top of the goods: the cost most people forget when they price a kit boat.