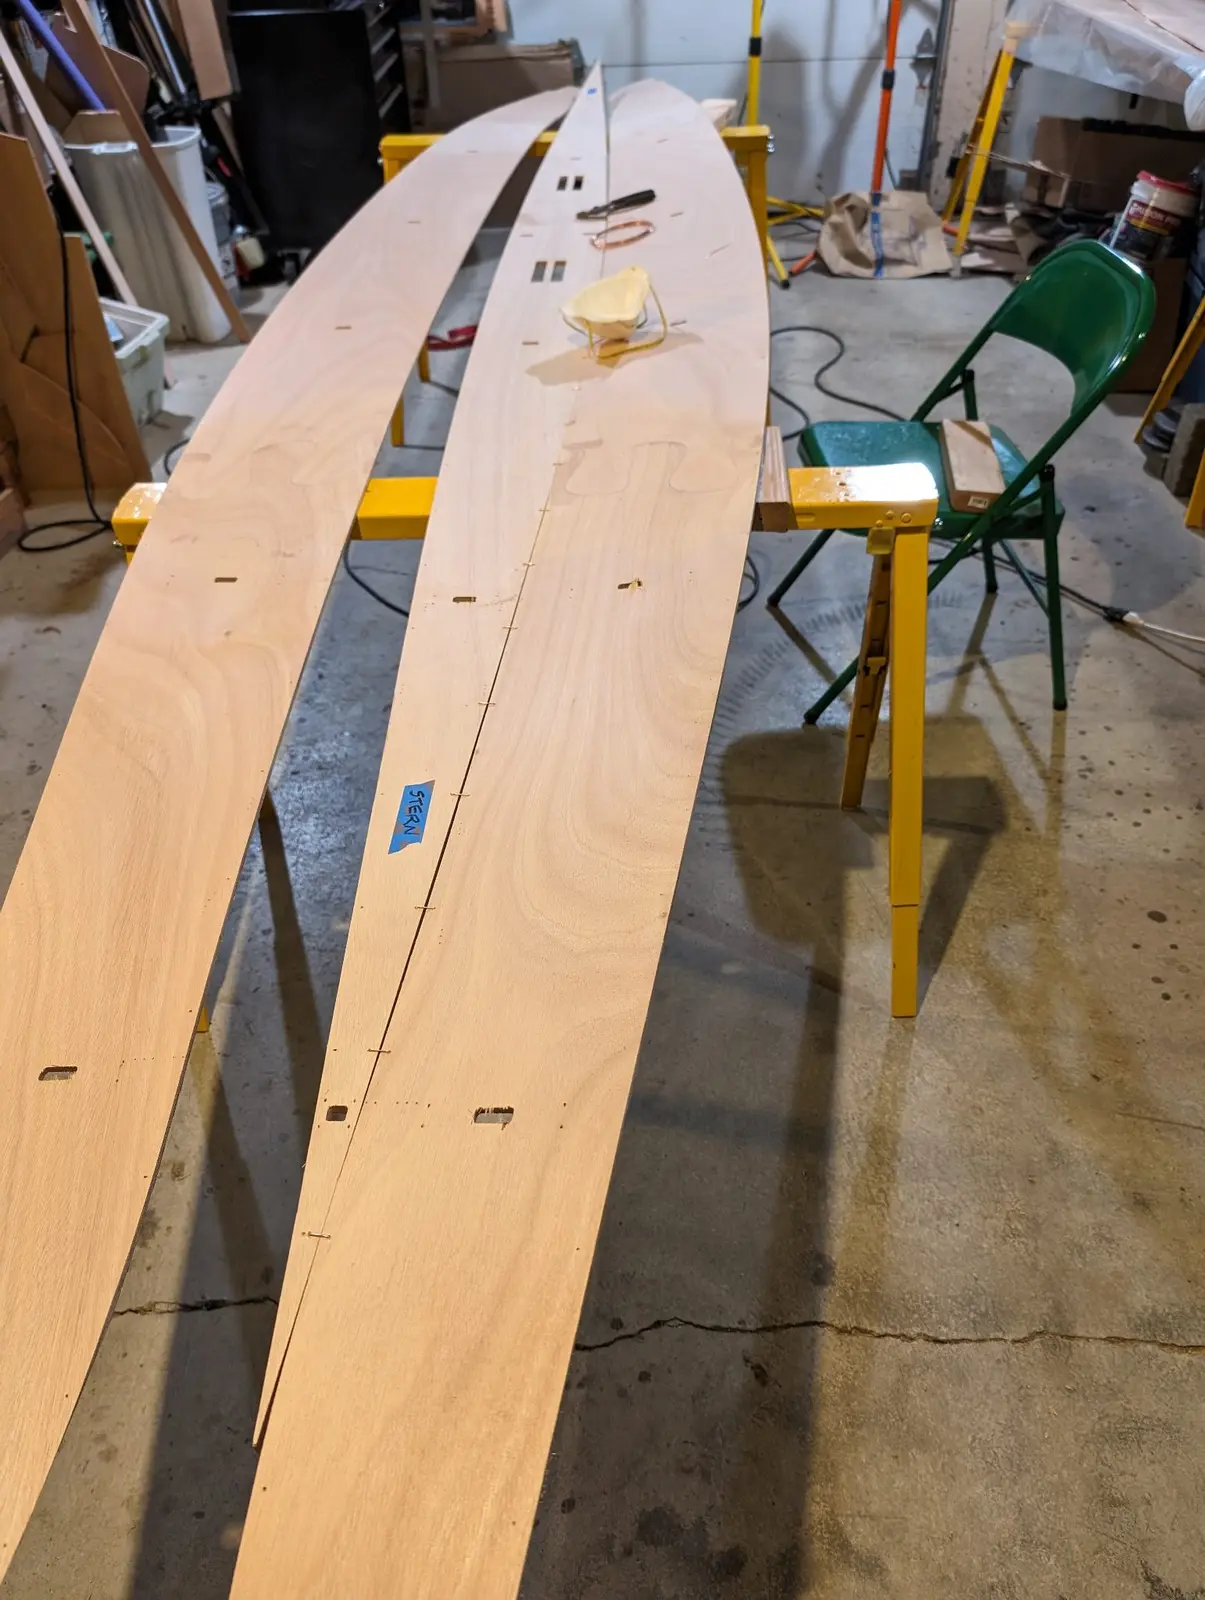
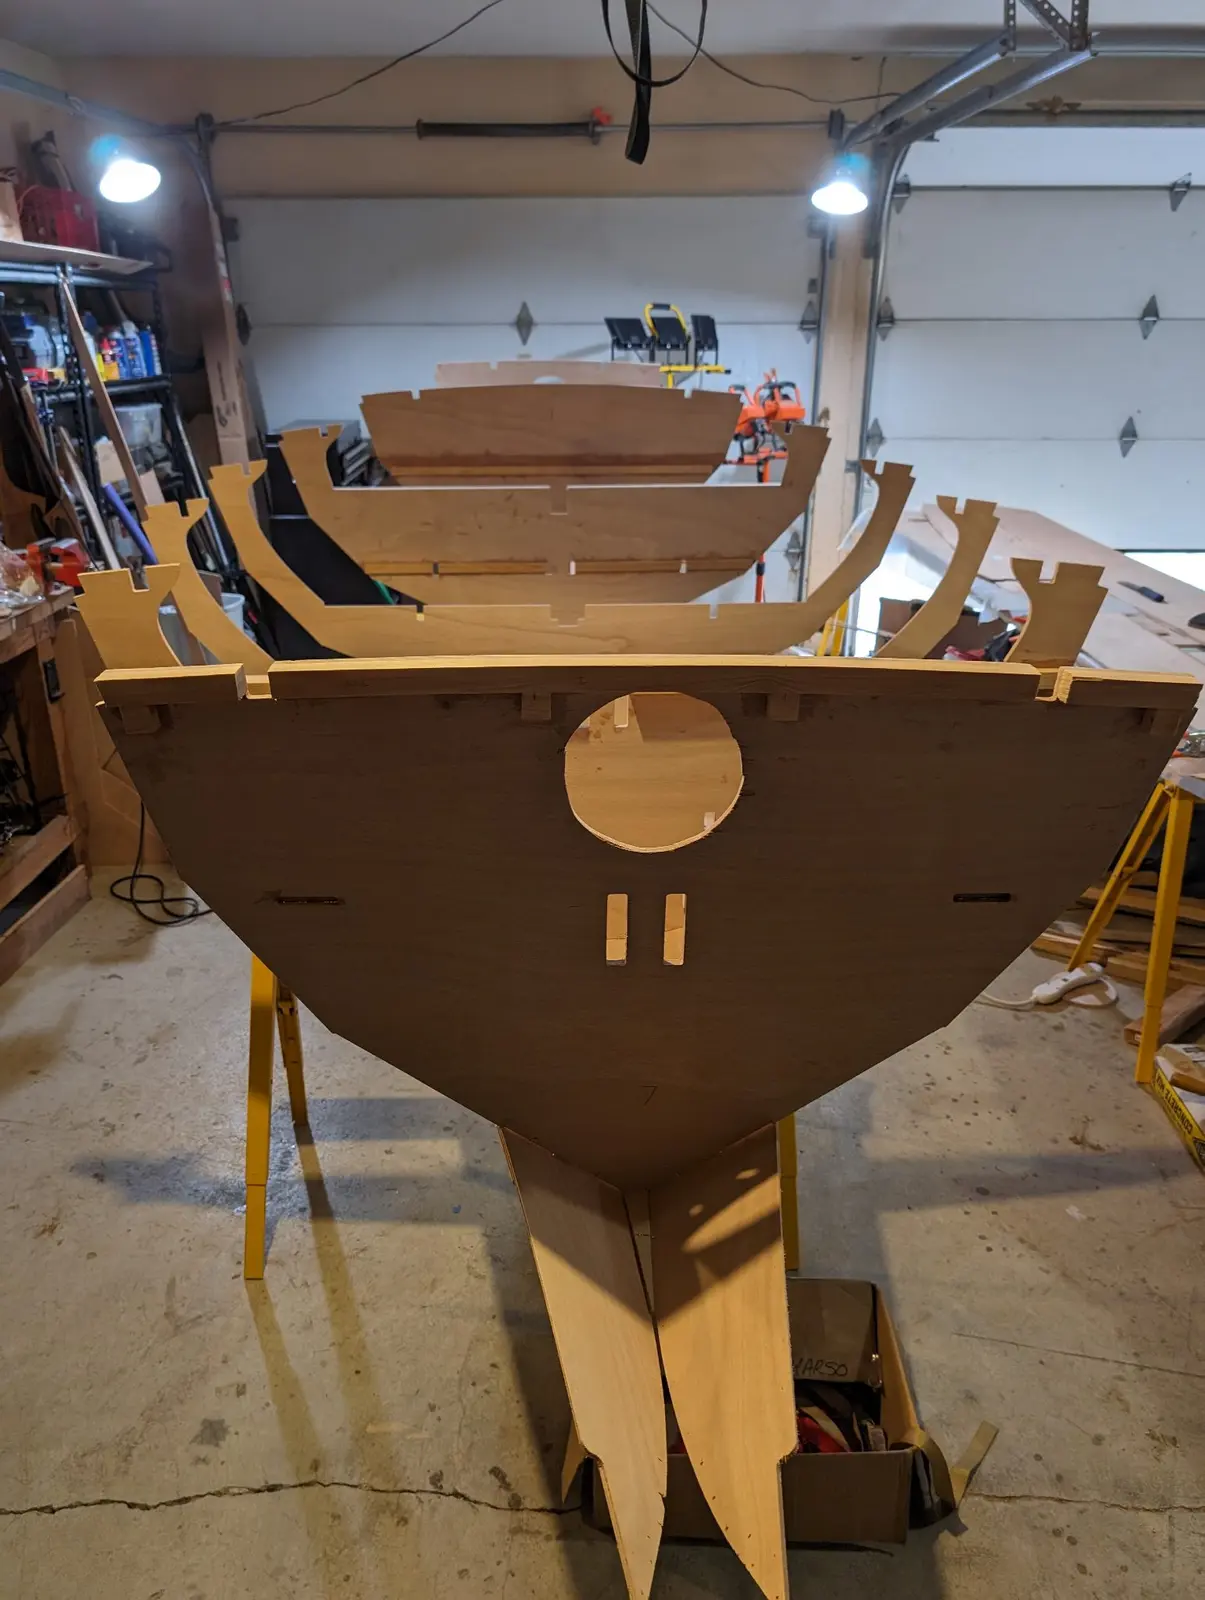
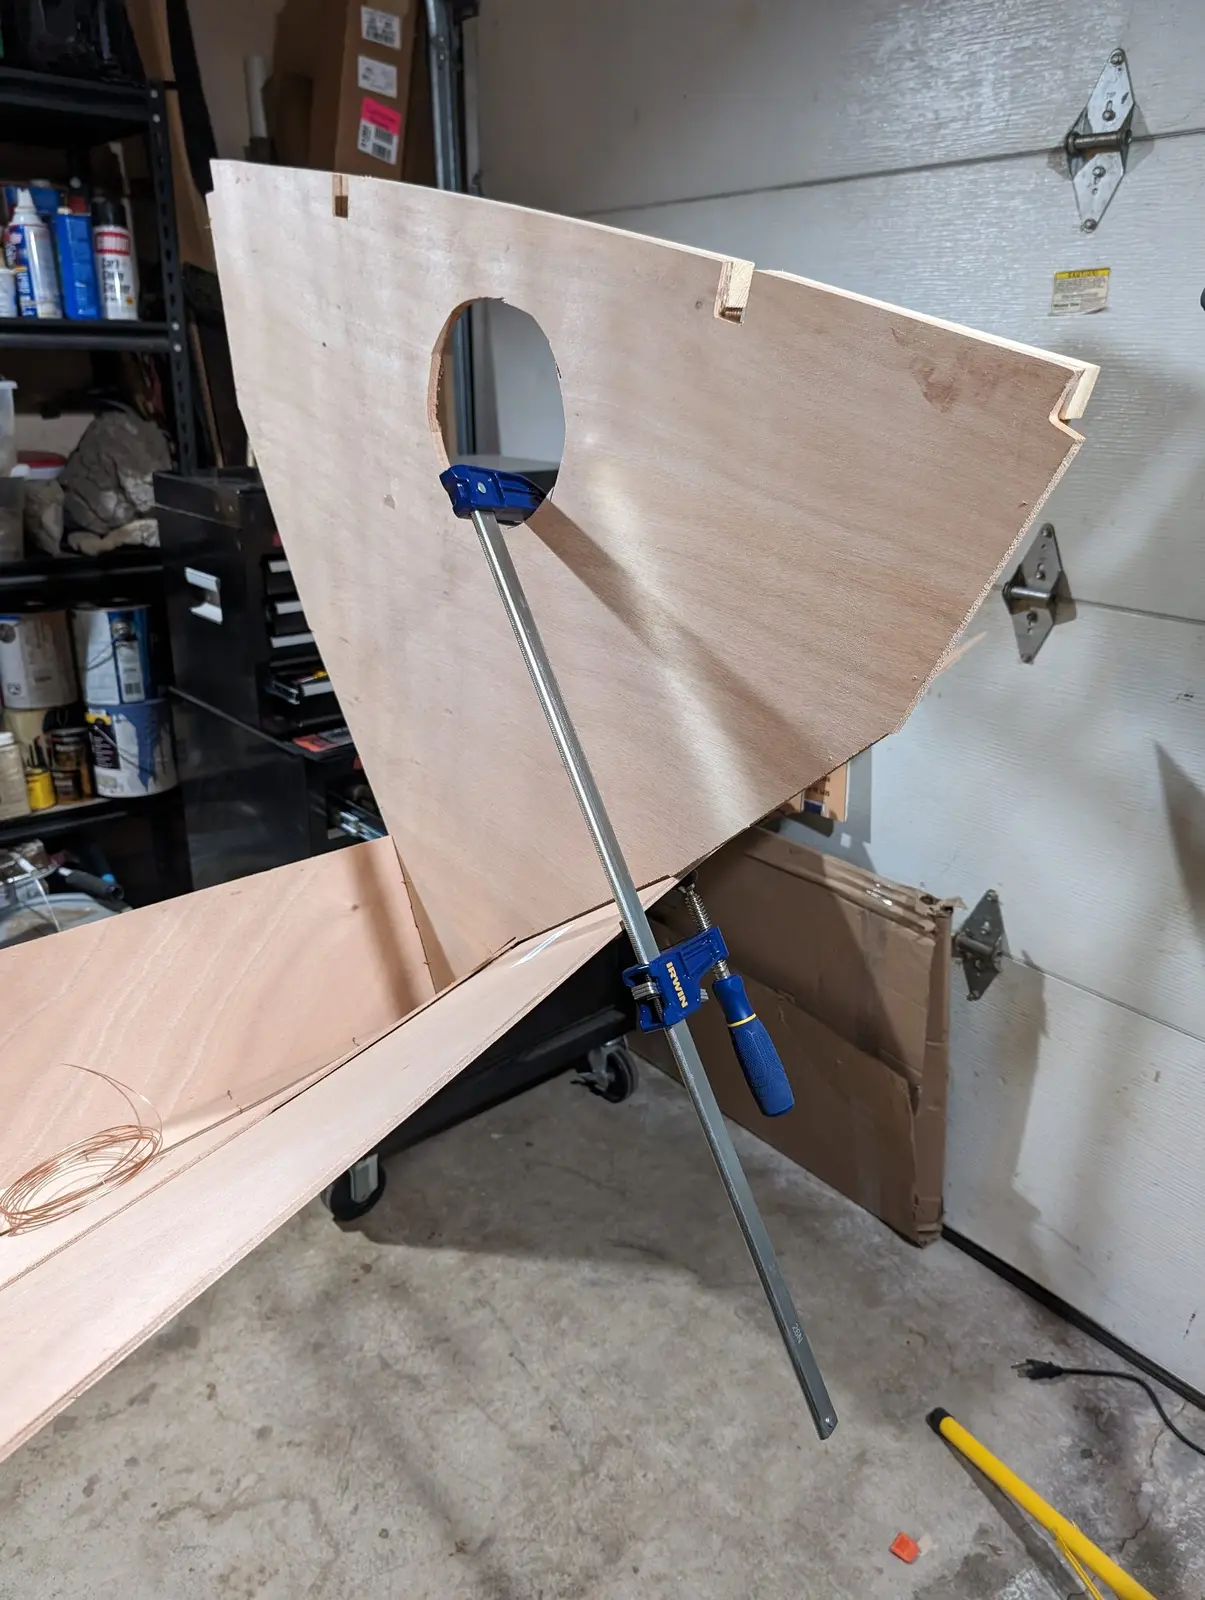
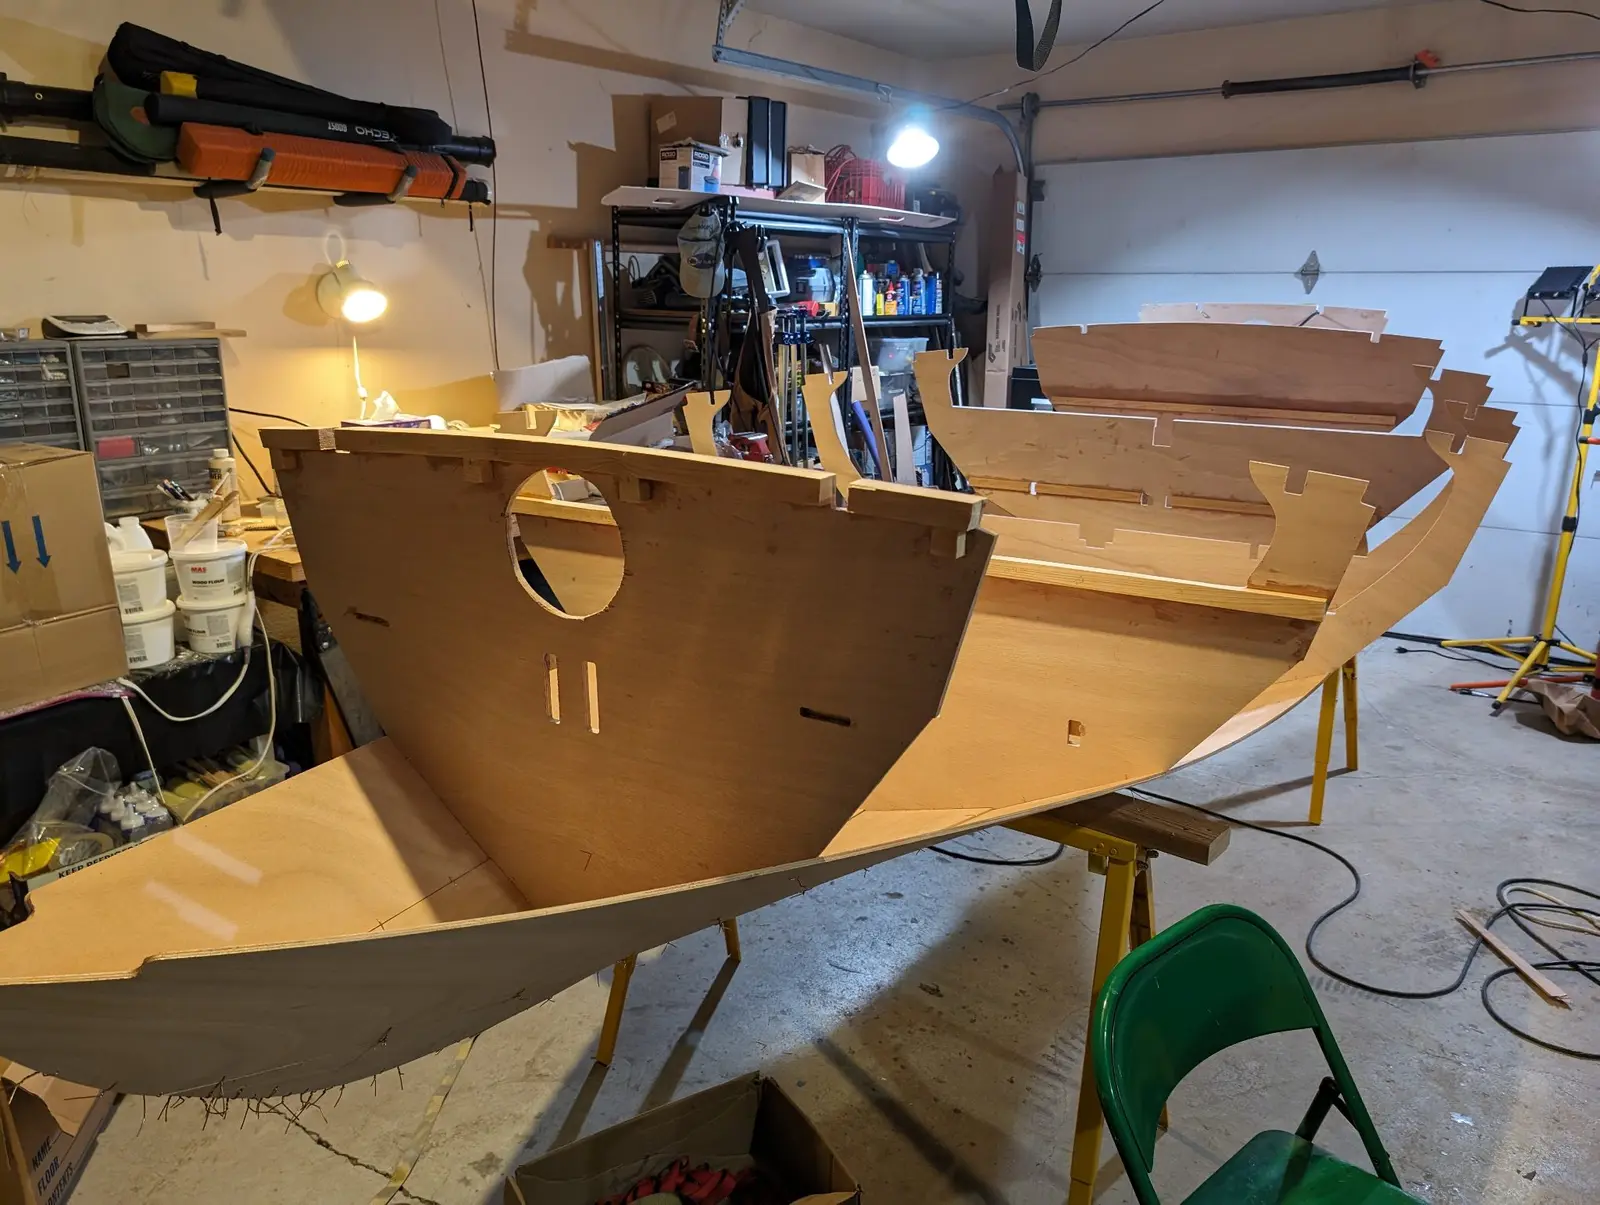
Start planking the boat
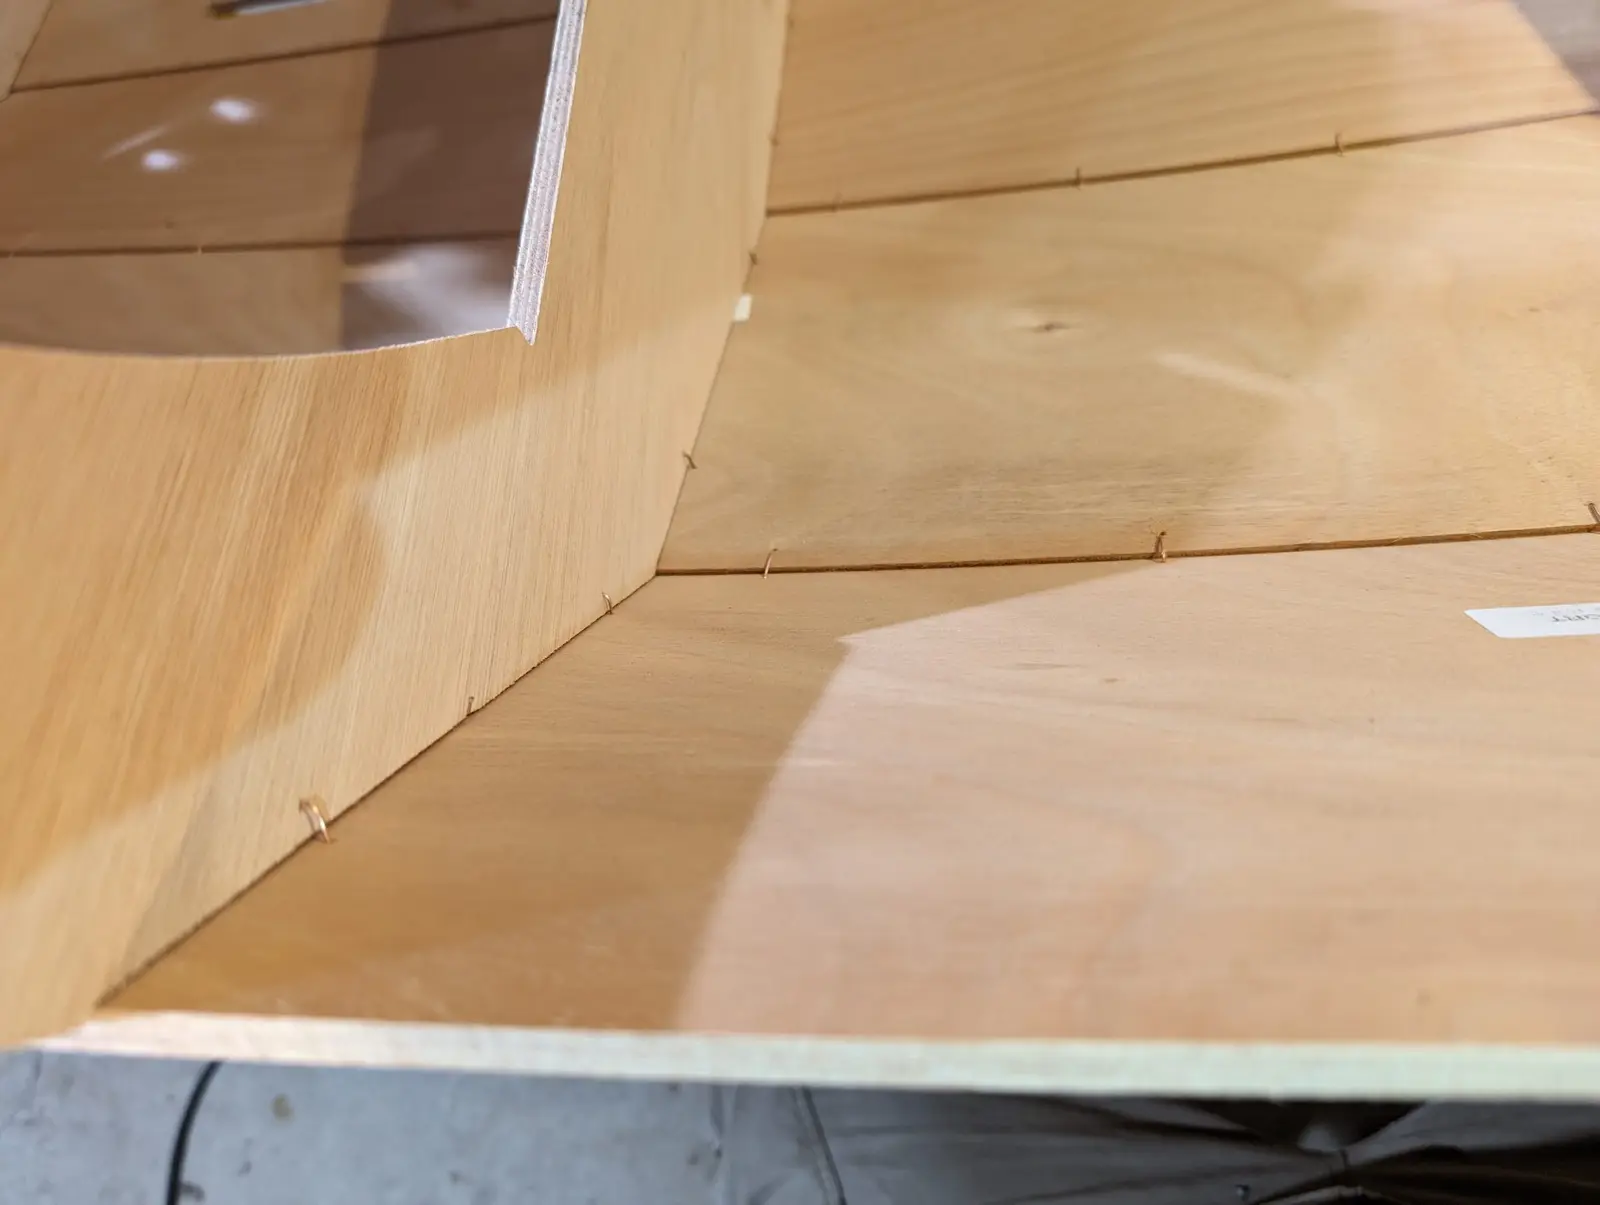
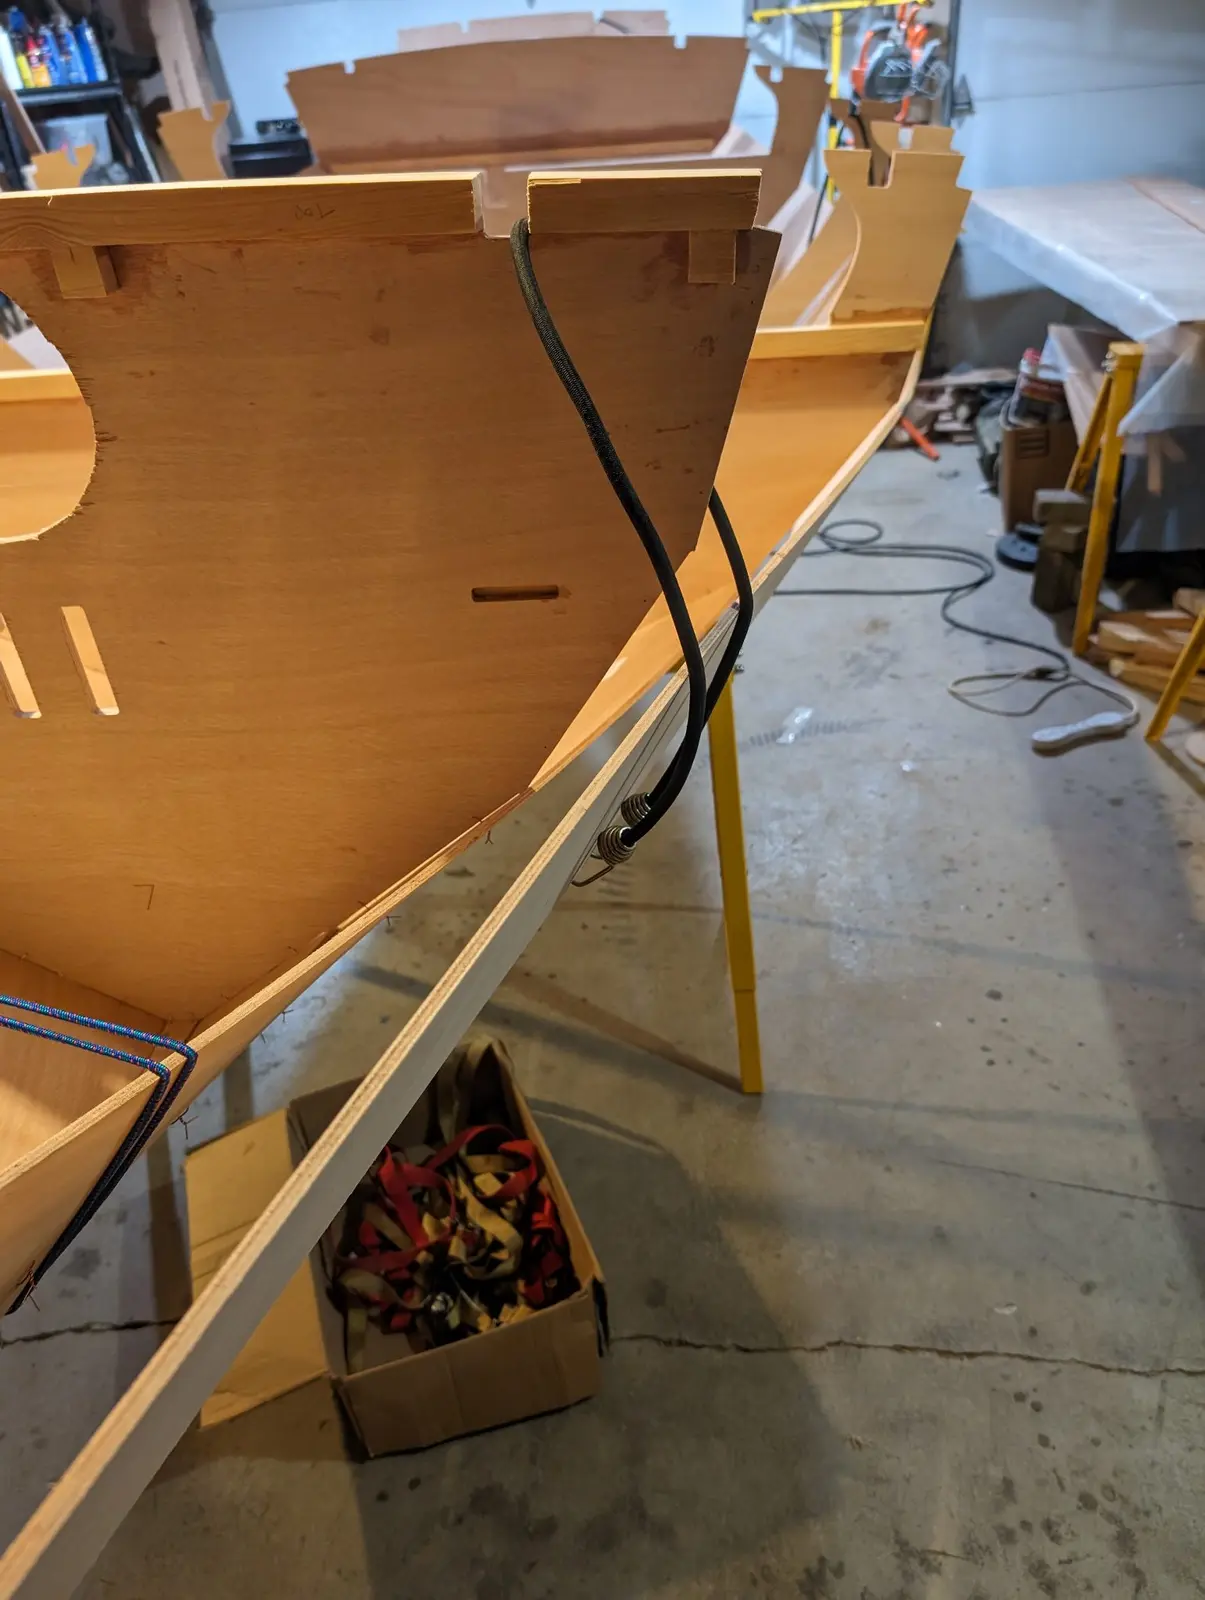
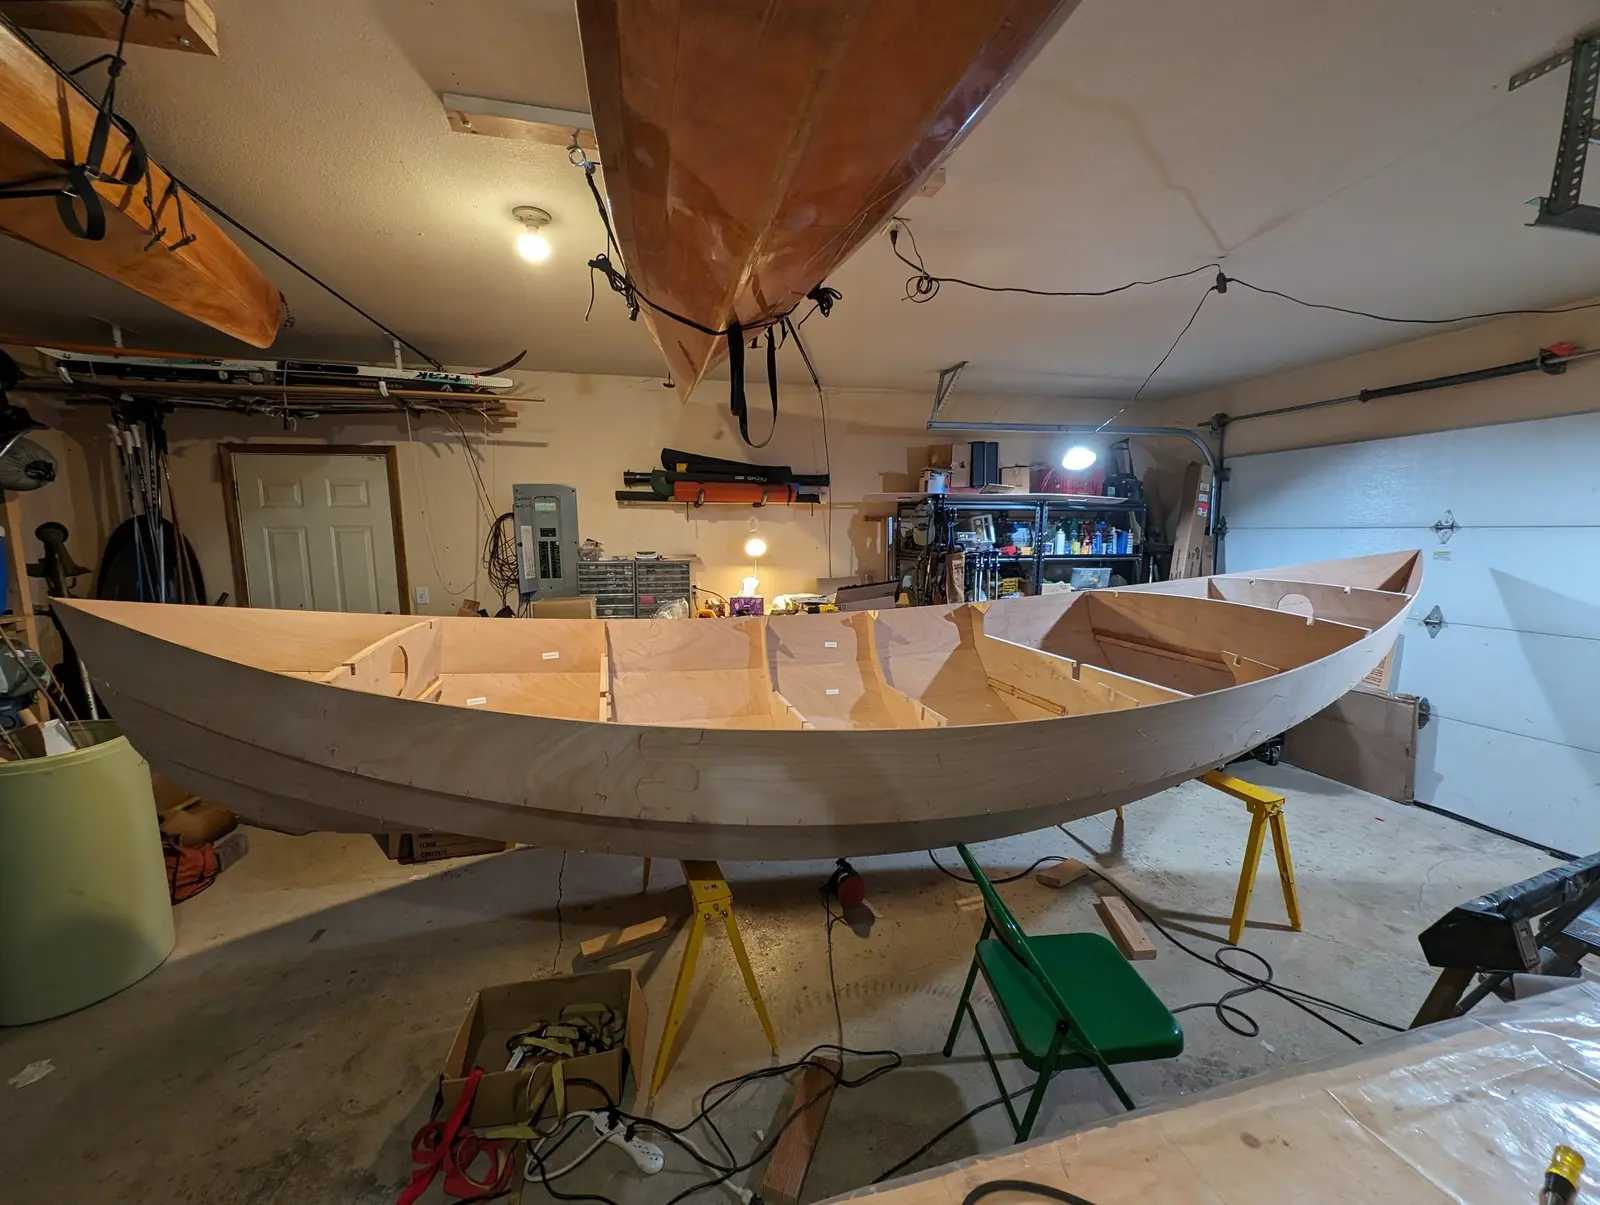
Here I have begun to attach the first panels to the keel panel with copper wires. The whole assembly is wobbly and fragile at this point. Getting it into some semblance of its final shape is what is important here. Final alignment is done later. This step is very tricky if you are working alone, as I was. Clamps, tape, bungee cords, and ratchet straps were all used to get things in place for stiching.
Planking the hull
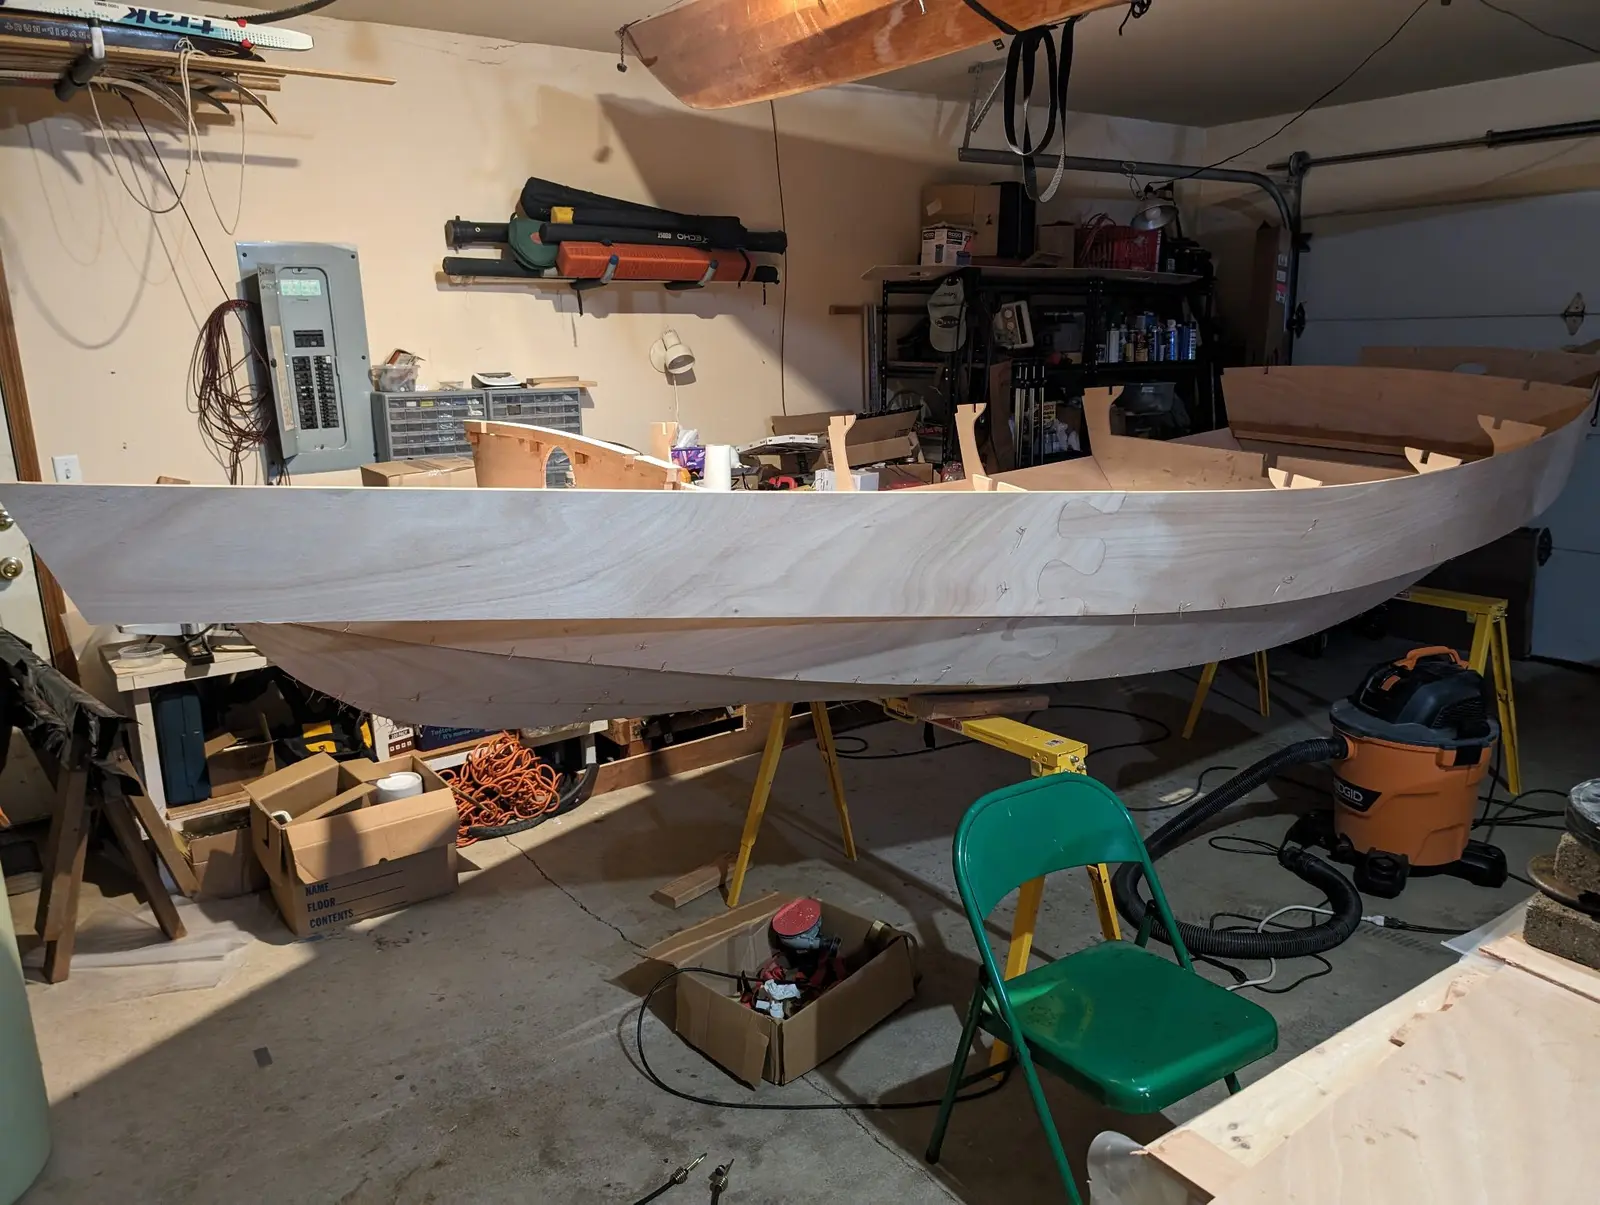
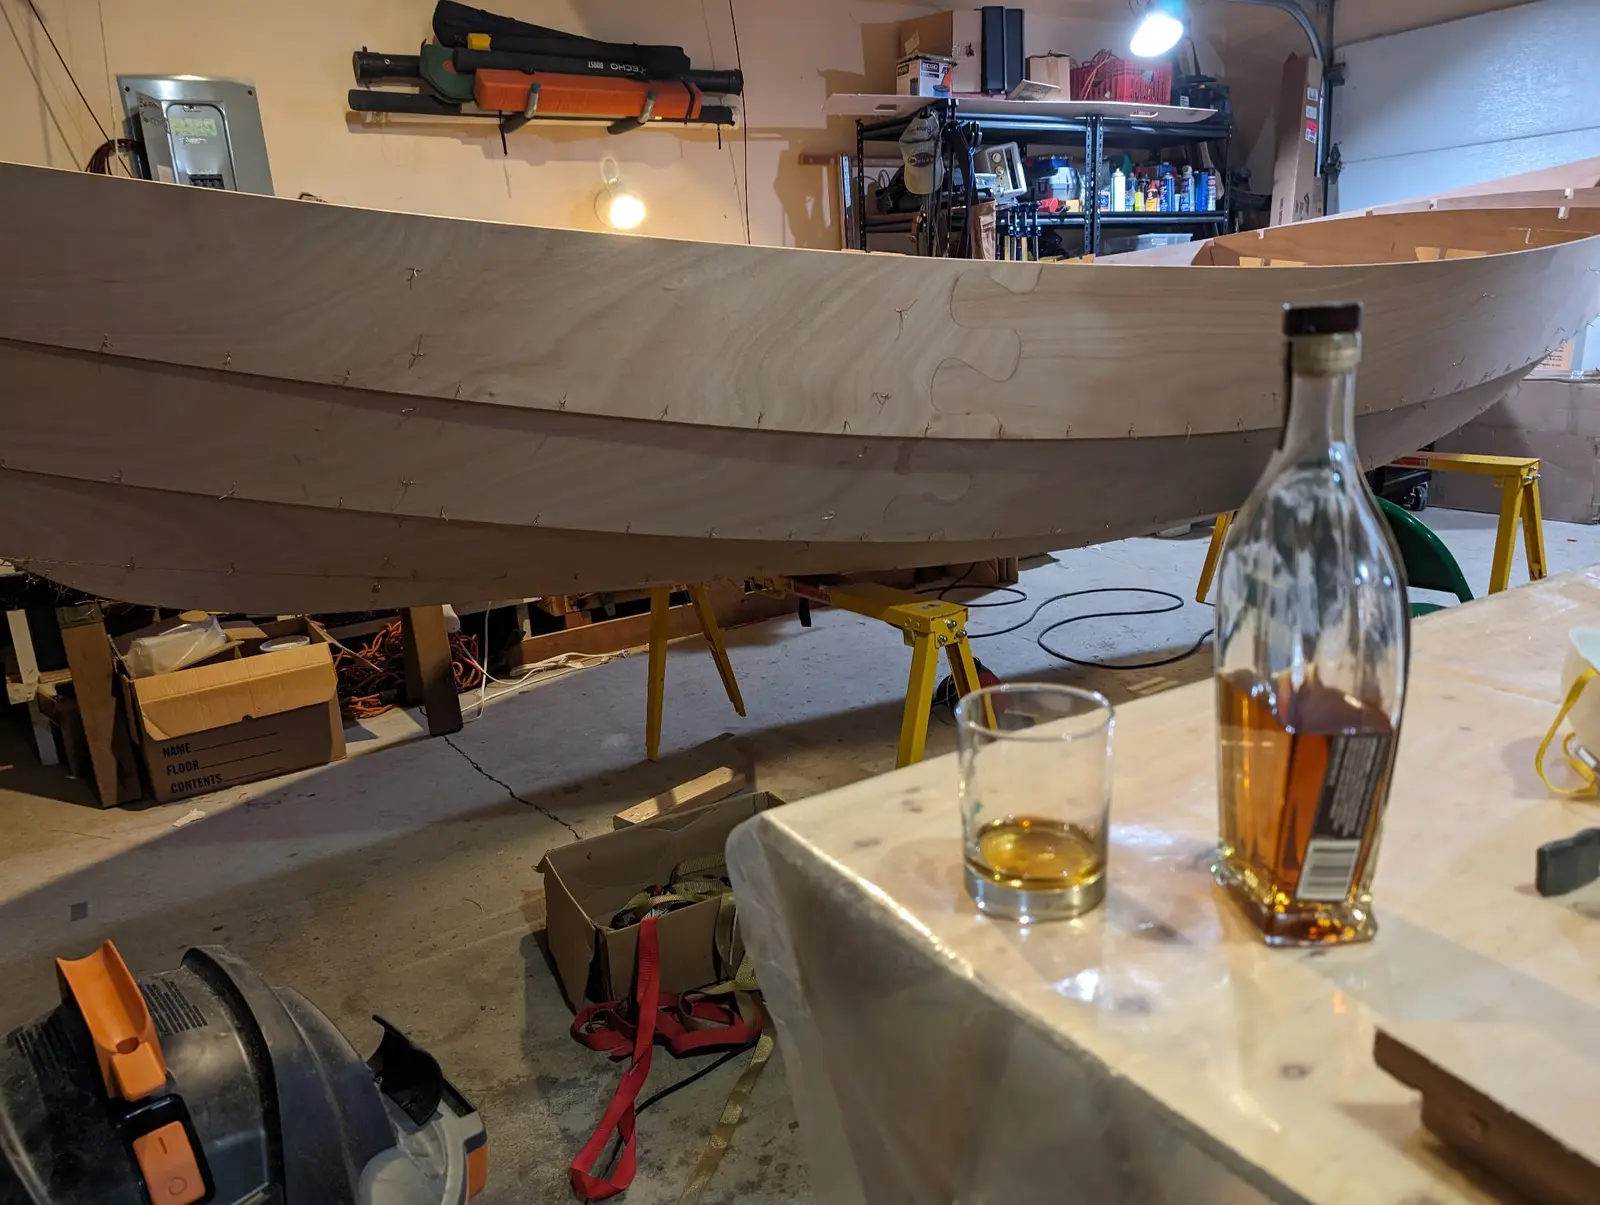
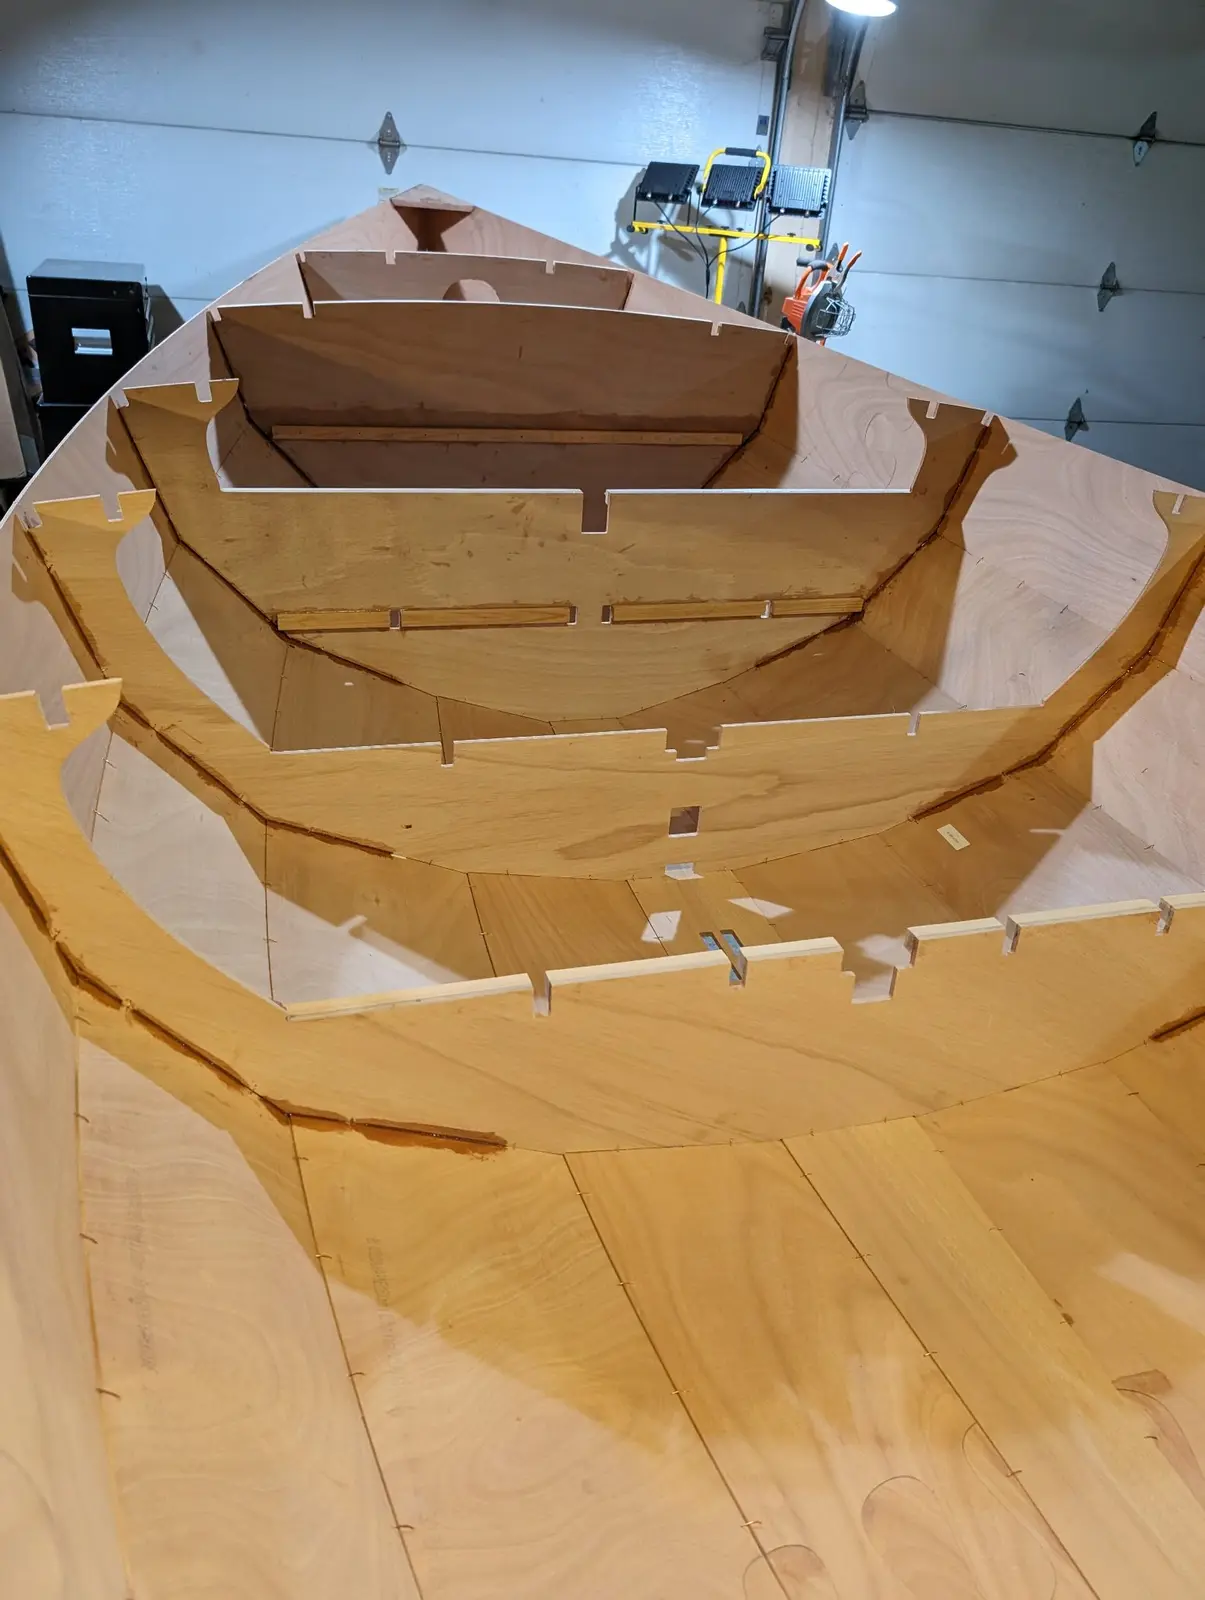
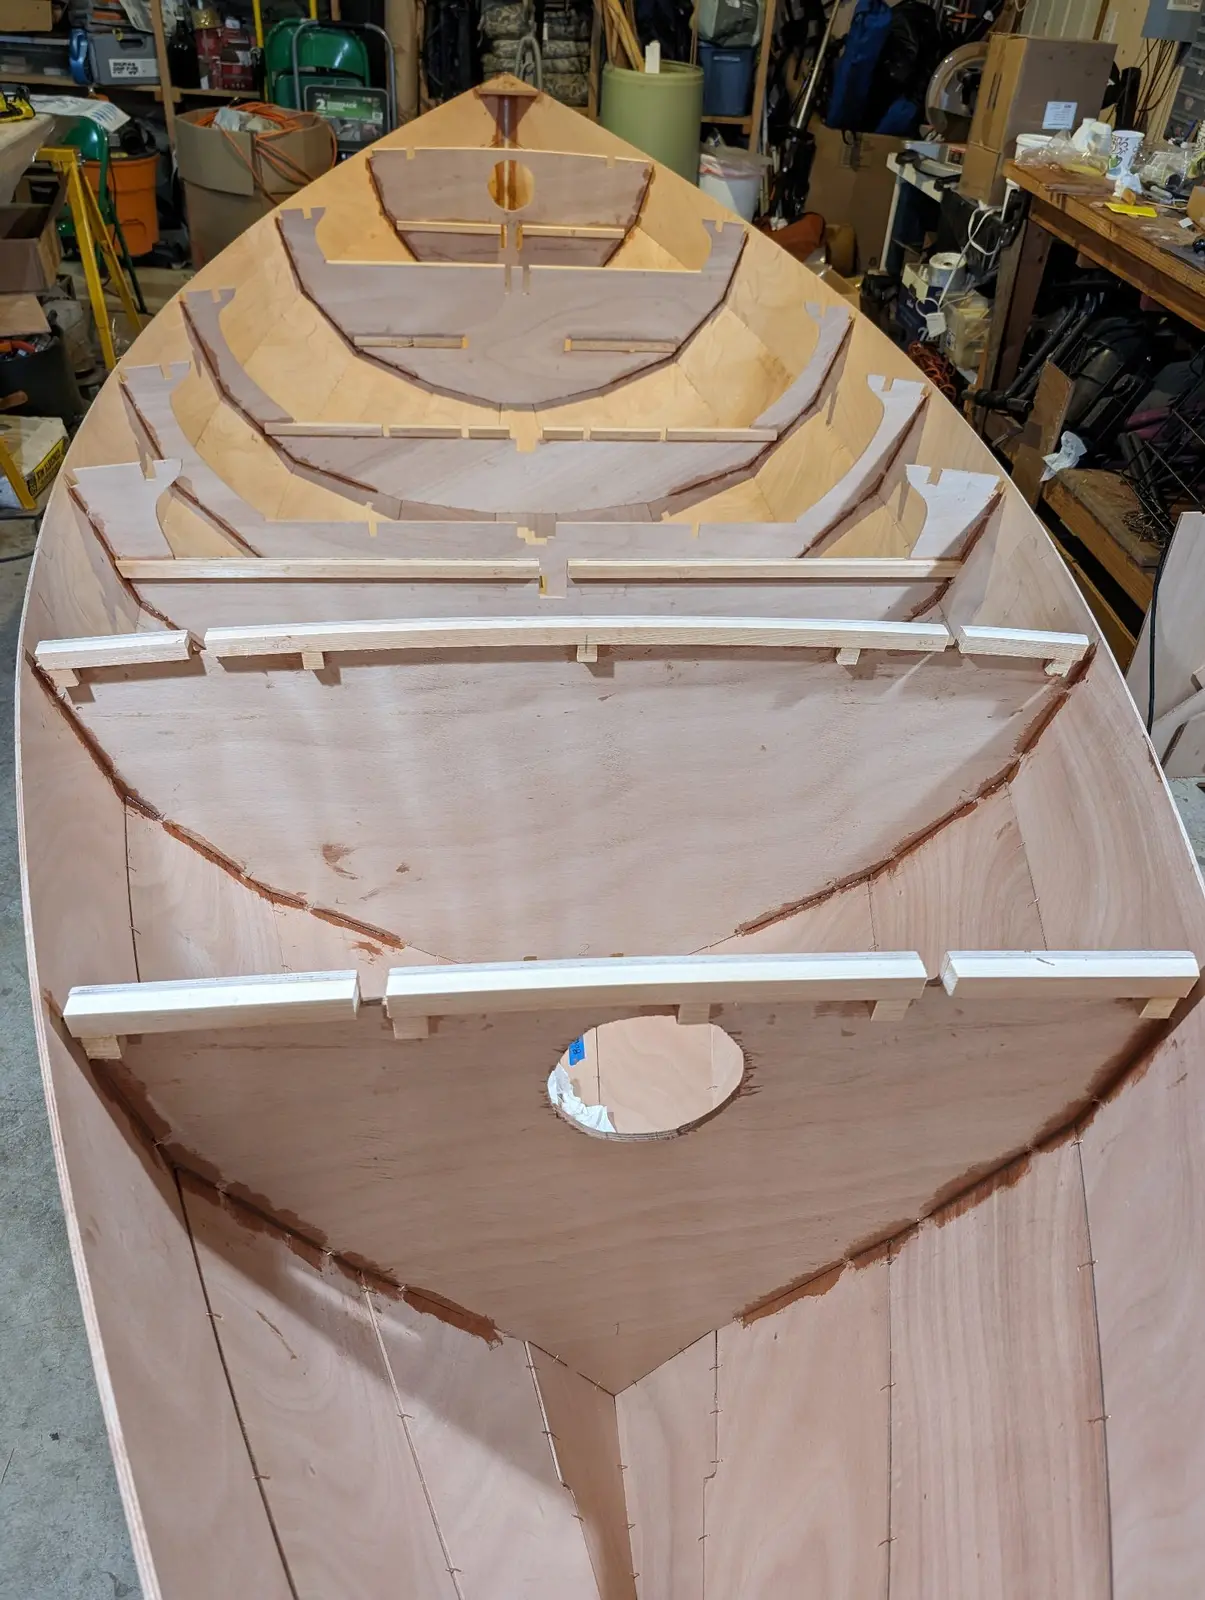
Once the first plank is in place and fairly solid, the rest of the planks can be wired on pretty fast. The whole thing starts to look like a boat. It gives you hope that you will get through this build quickly. This is deluded thinking. It's exciting to see, but it is just a tiny part of the work to come. Here you can see some of the details of wiring planks on. In this design, there are 4 hull panels in addition to the keel plate.
Whiskey plank
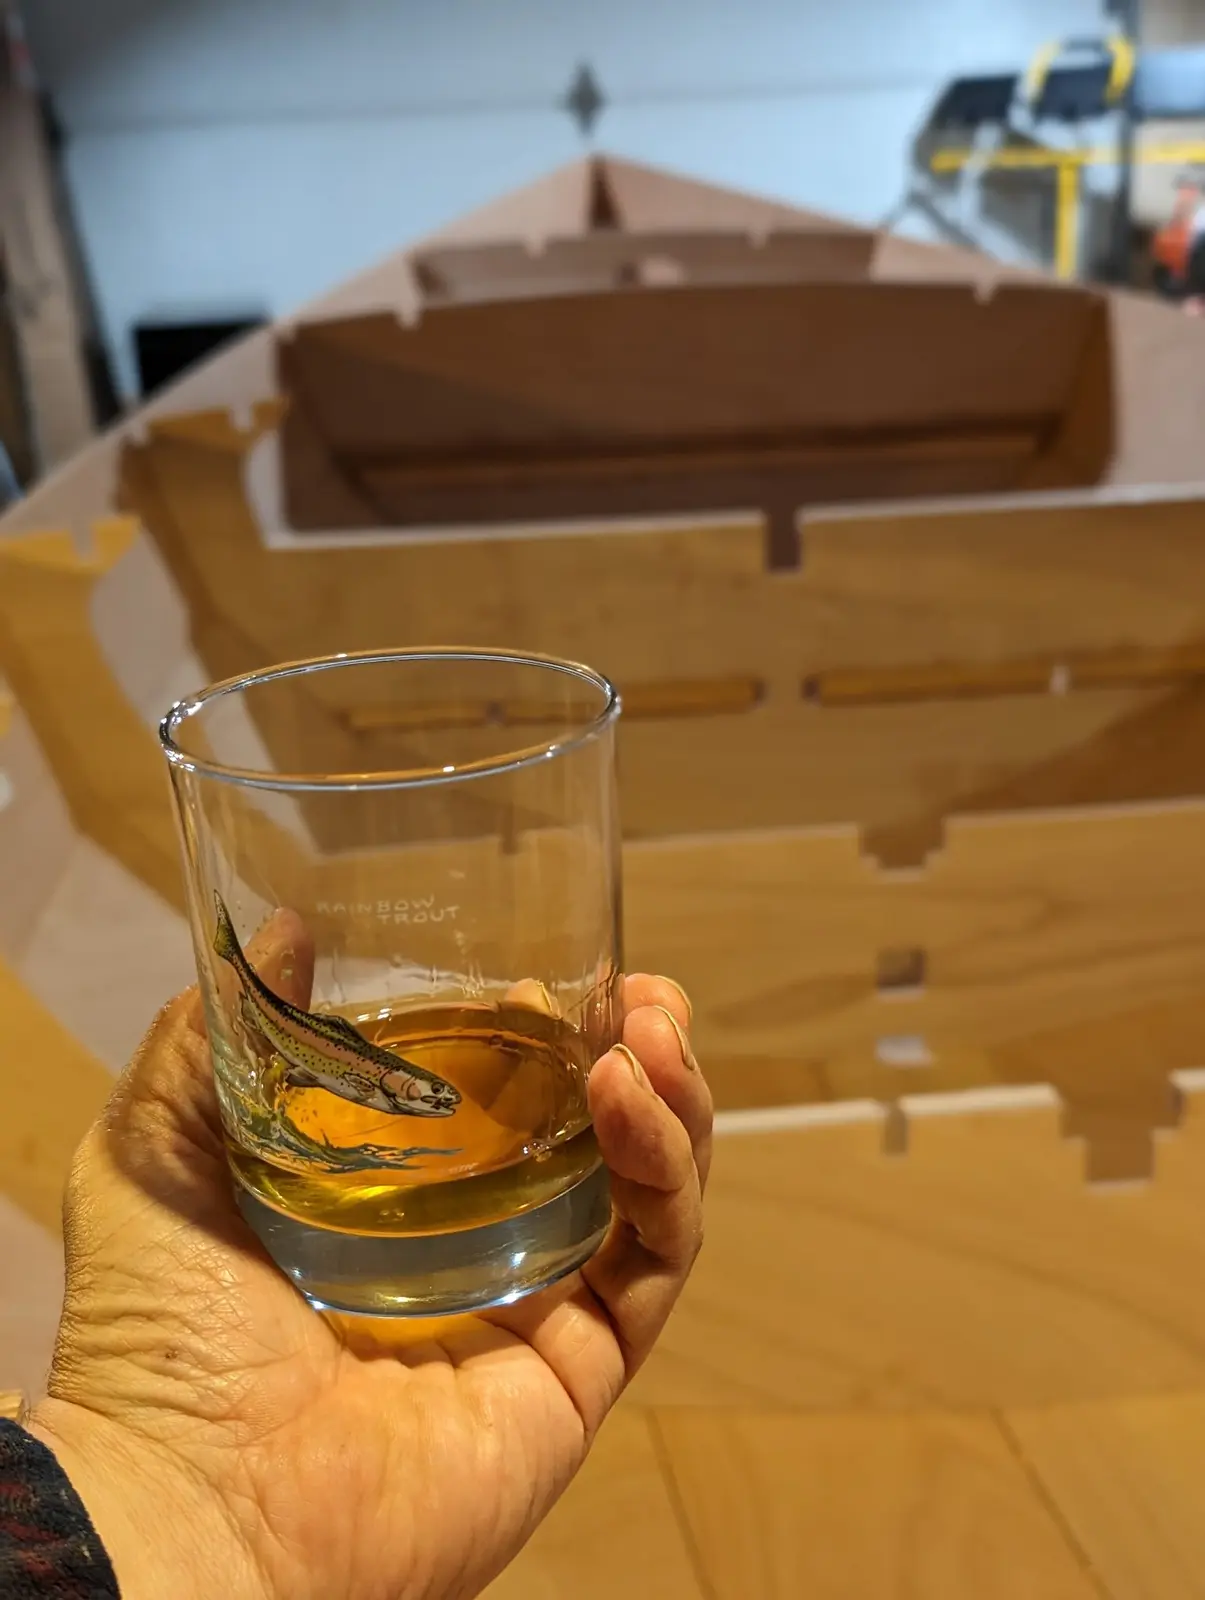
It's traditional among boat builders to celebrate attaching the final plank by sharing a whiskey. In traditional boatbuilding, fastening the final plank to the hull is a little more significant than it is in stitch-and-glue projects. Here, the hull has its shape, but there is a huge amount of work to go on the hull before one really deserves a whiskey. Nevertheless, it's exciting to see the hull take shape, and that should be celebrated.
Breasthooks bow and stern
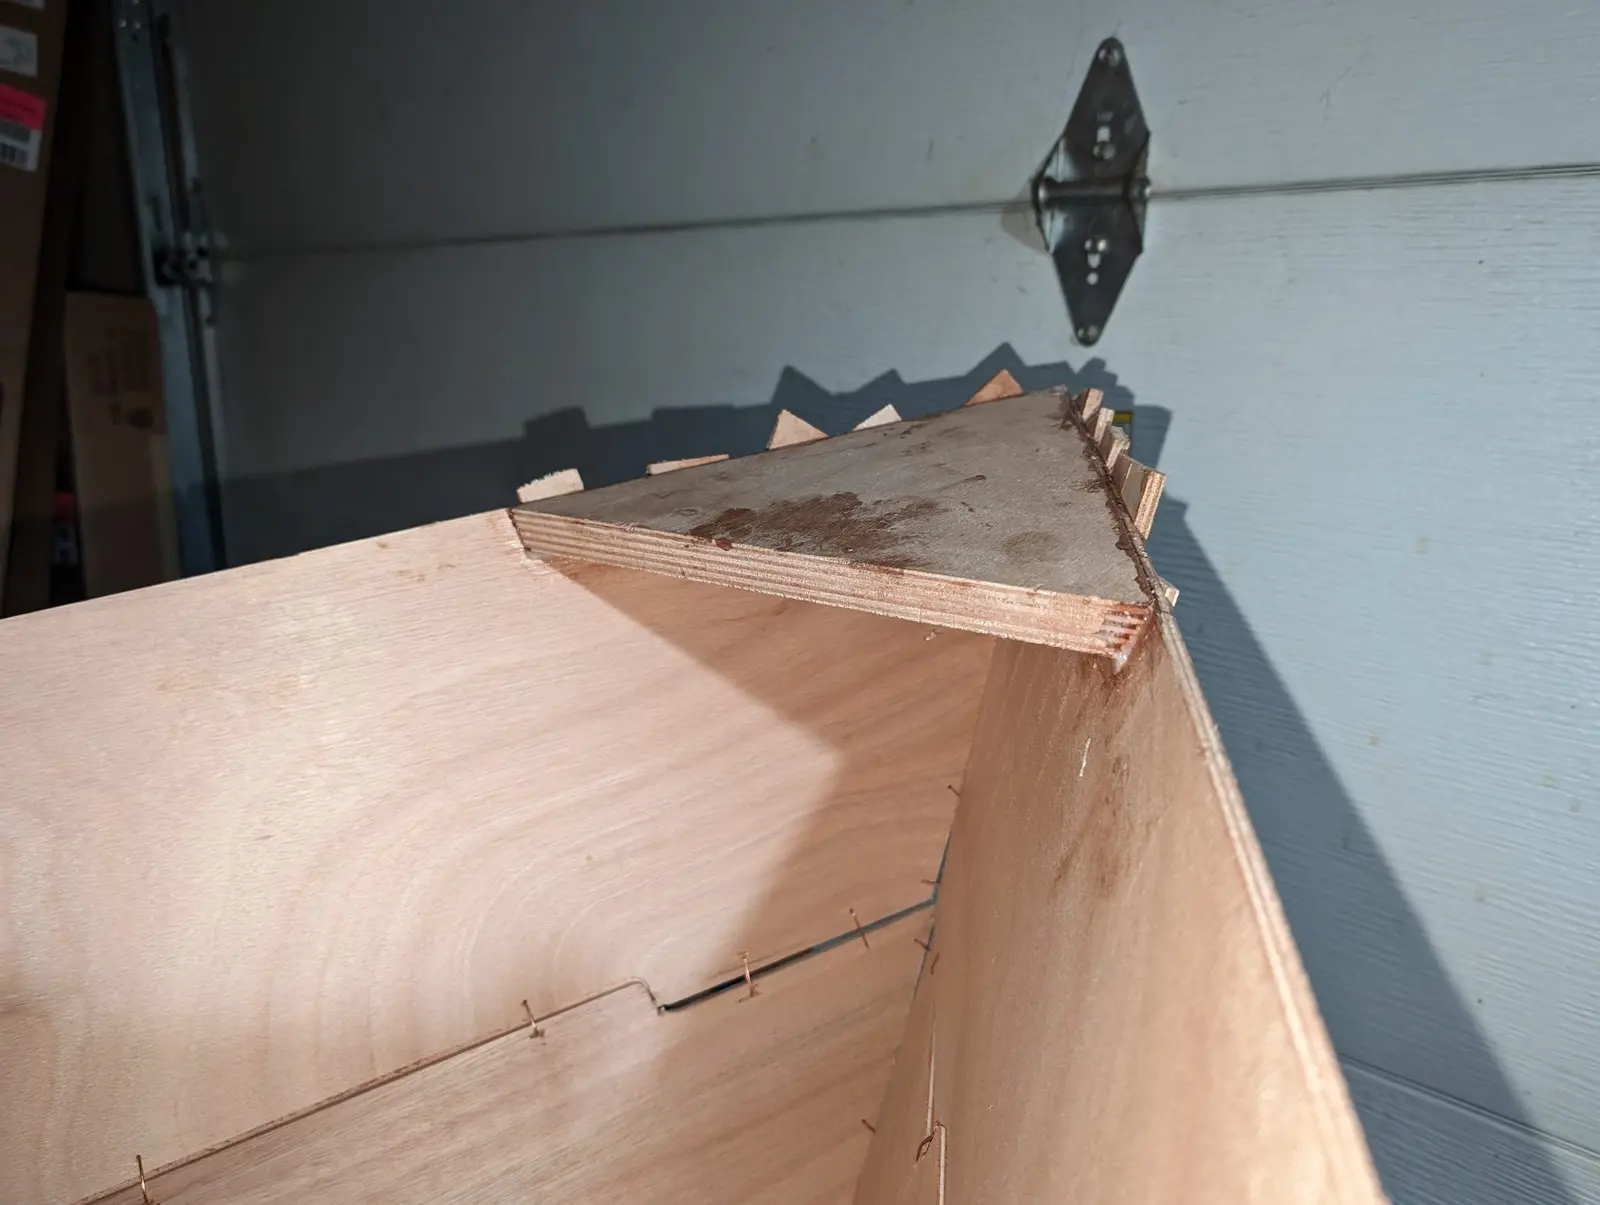
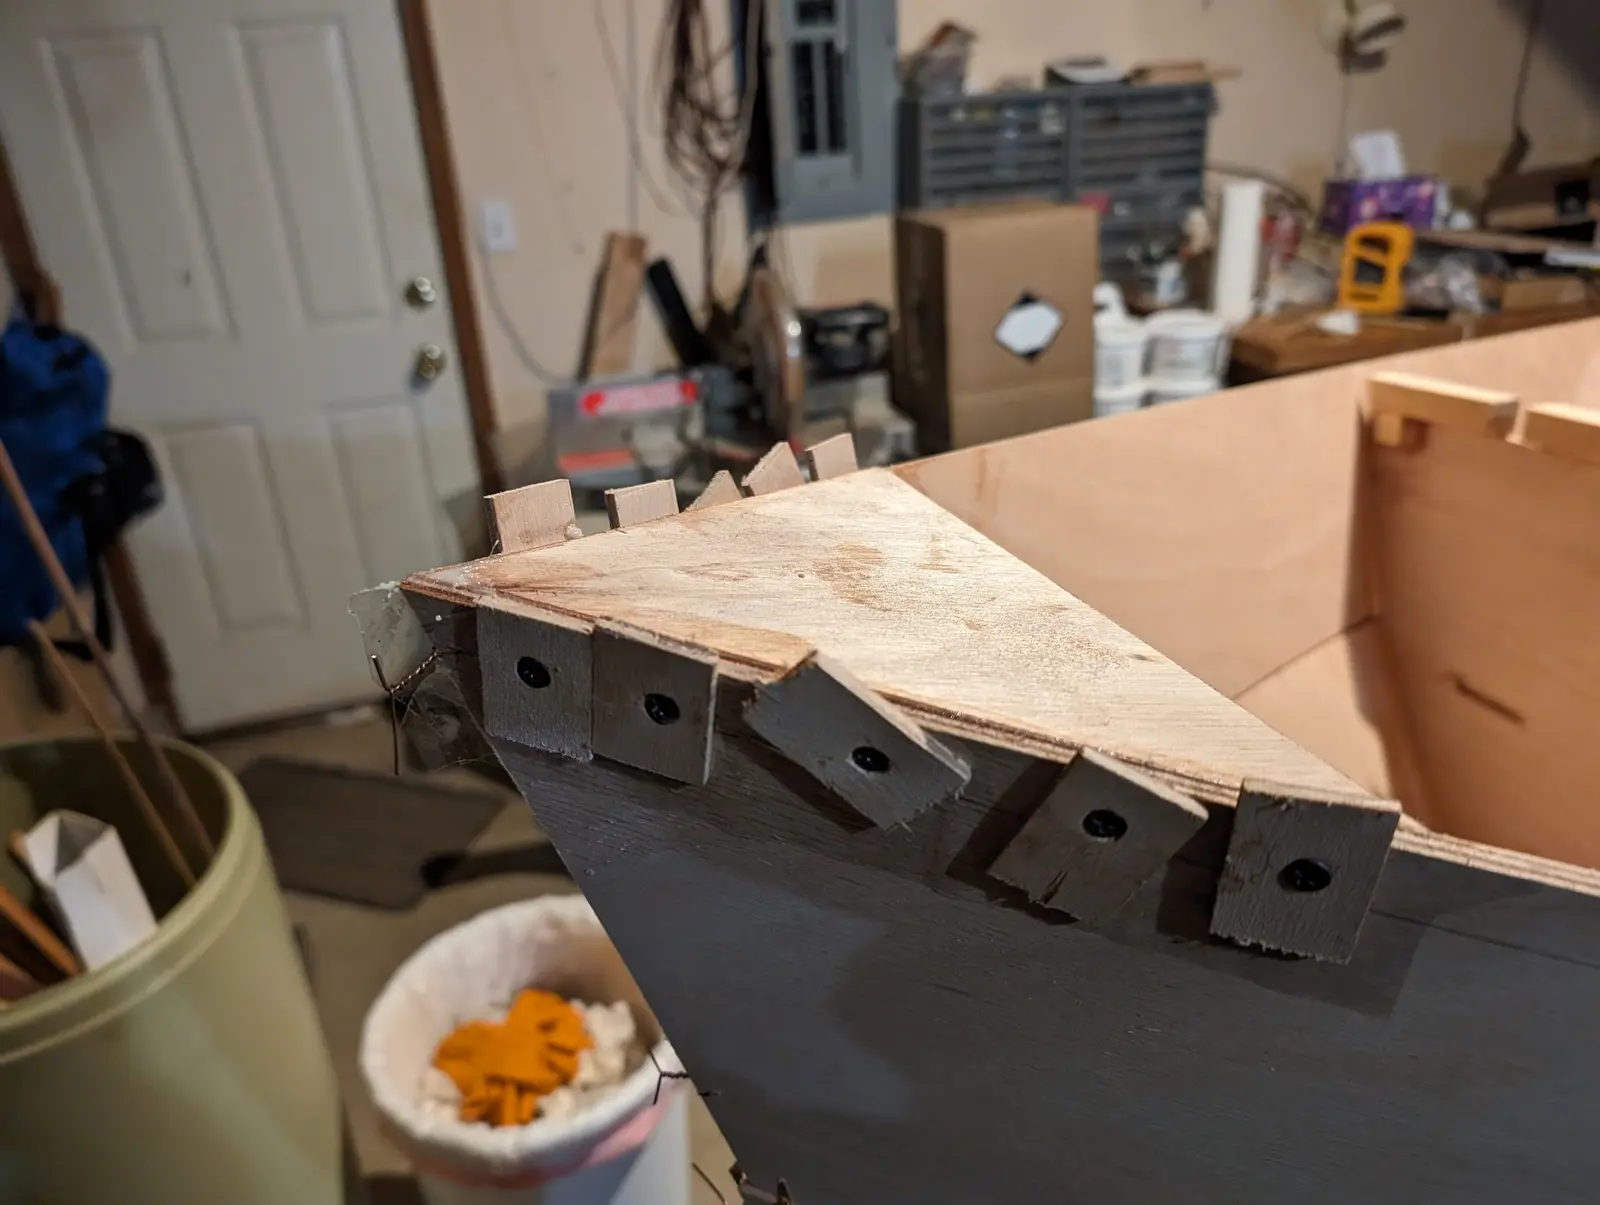
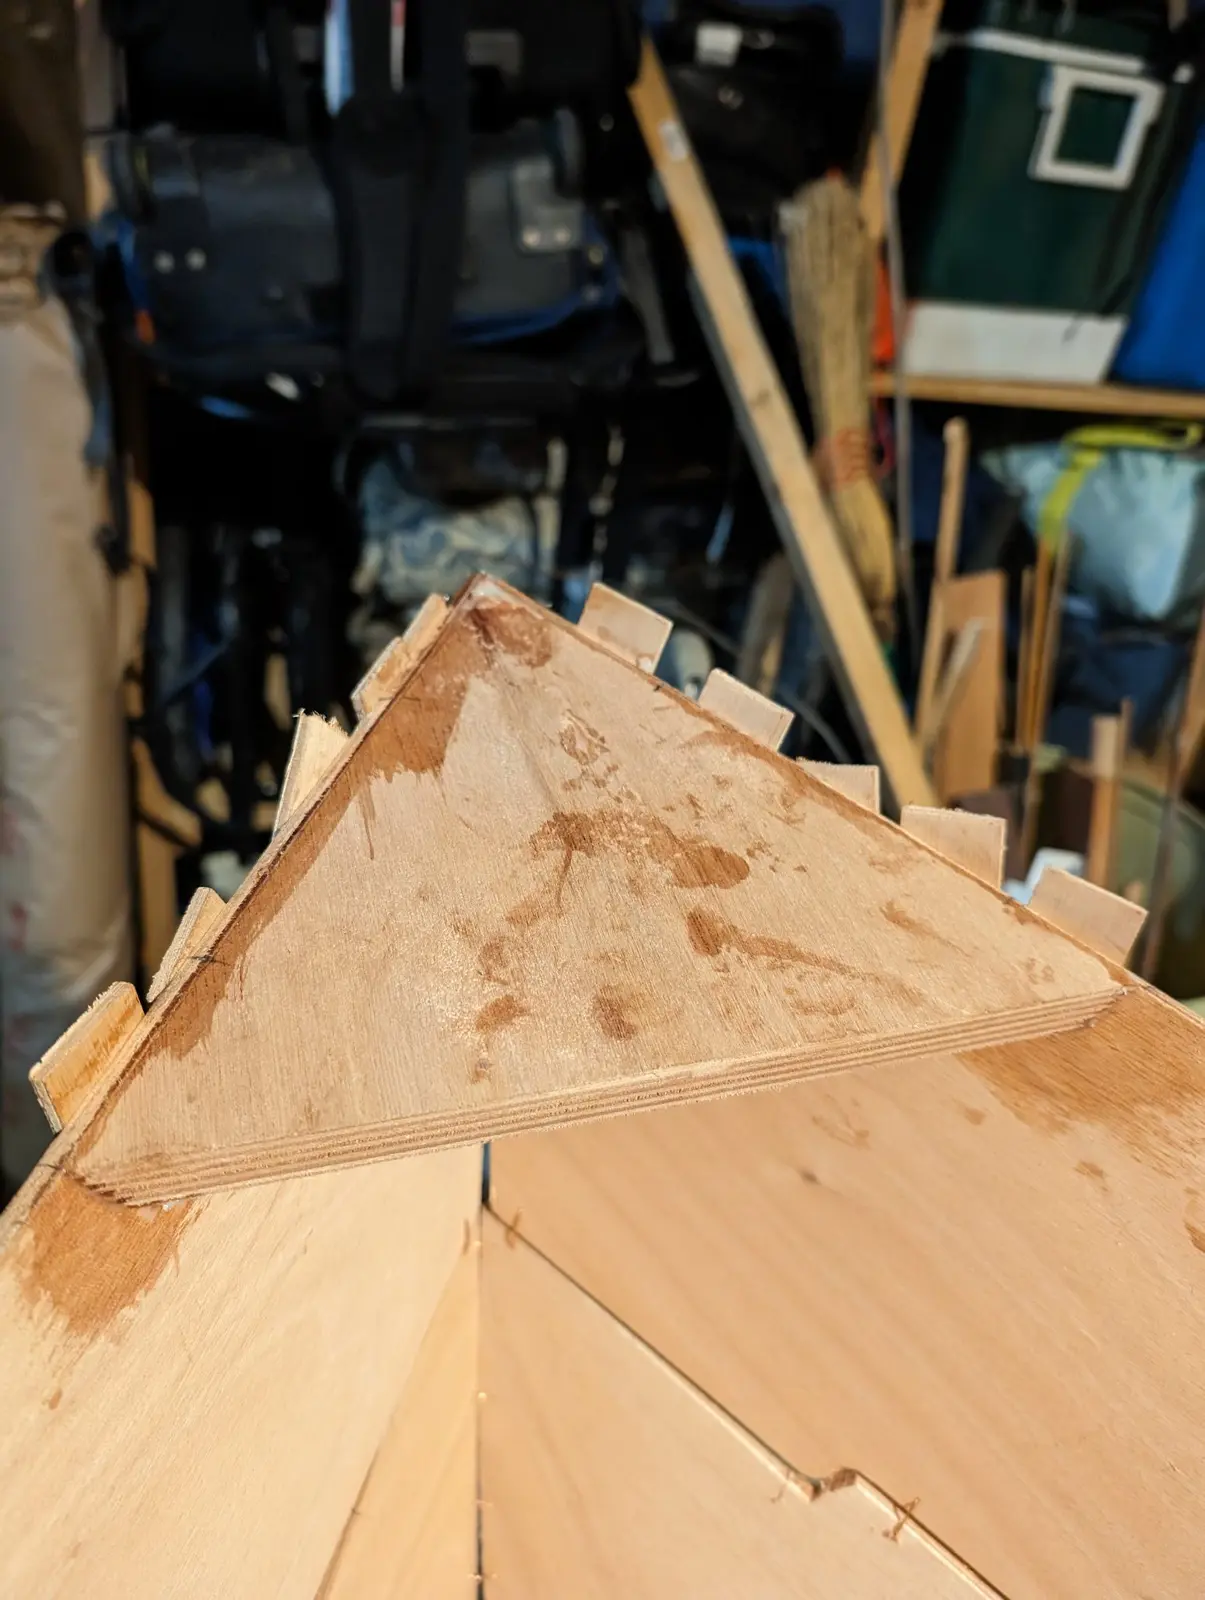
Bow and stern breasthooks are smallish triangular pieces of wood that reinforce the ends of the boat and provide a surface to support the deck in both areas. The CNC machine that CLC uses to cut its pieces only cuts normal to the surface of the work, so these pieces must be shaped to fit. It's a bit tedious to do this shaping with a lot of plane and rasp work with many dry fittings. The breast hooks are in a place where it is awkward to clamp them so they are screwed in temporarily while the glue cures.
Tacking the hull together with epoxy
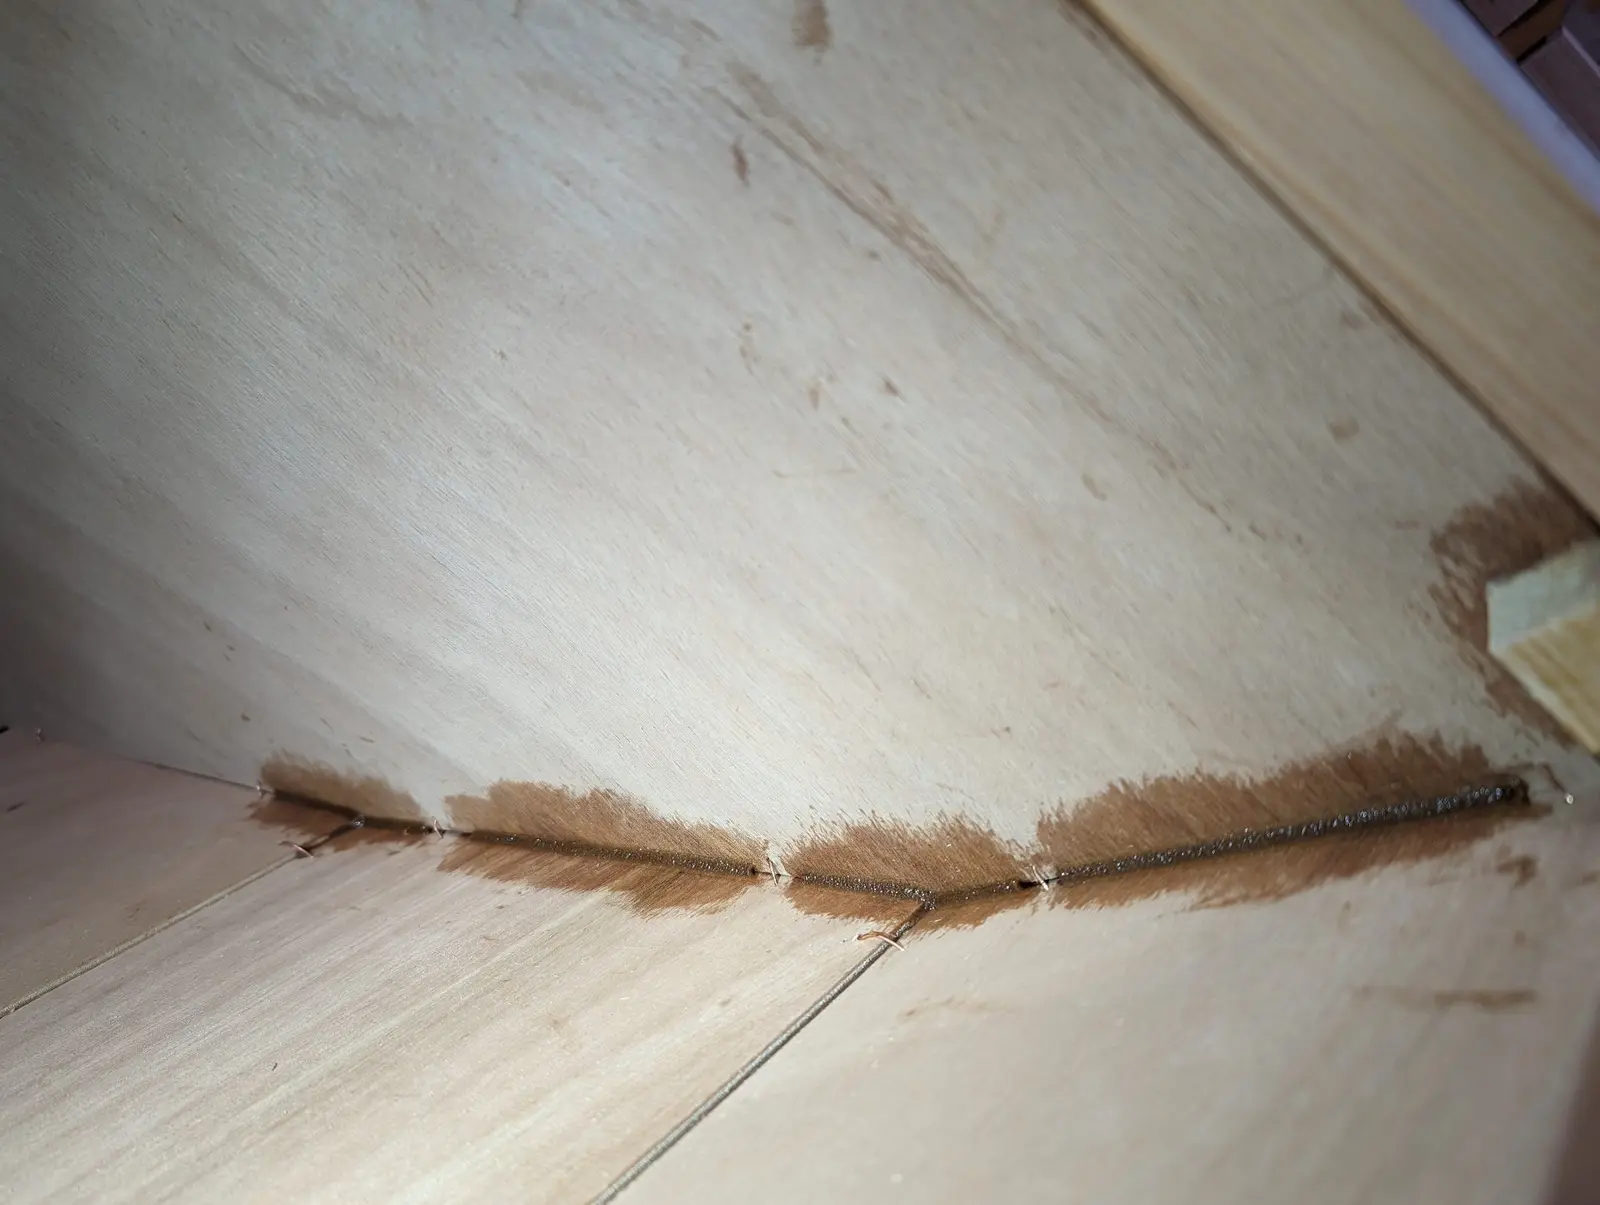
After the whiskey buzz wears off, the rest of the work on the hull begins. Here I am tacking the frames to the hull panels by placing small fillets of thickened epoxy into the joints between the wire ties. The idea is to then come back, remove the wires, and add more fillets of thickened epoxy in the spaces where the wires were. I think if I were to do this again, I would just use a screwdriver to press the wire bridges into the angle and fillet right over the wires. On the outside, I would just snip the twisted ties off and sand them flush. Copper is plenty soft enough to sand. This would actually save a lot of time with filleting and pulling wires, but I guess it might look funky if you were finishing your hull bright. I will be painting my hull, so that isn't a problem.