Please allow me a small moment of reflection.
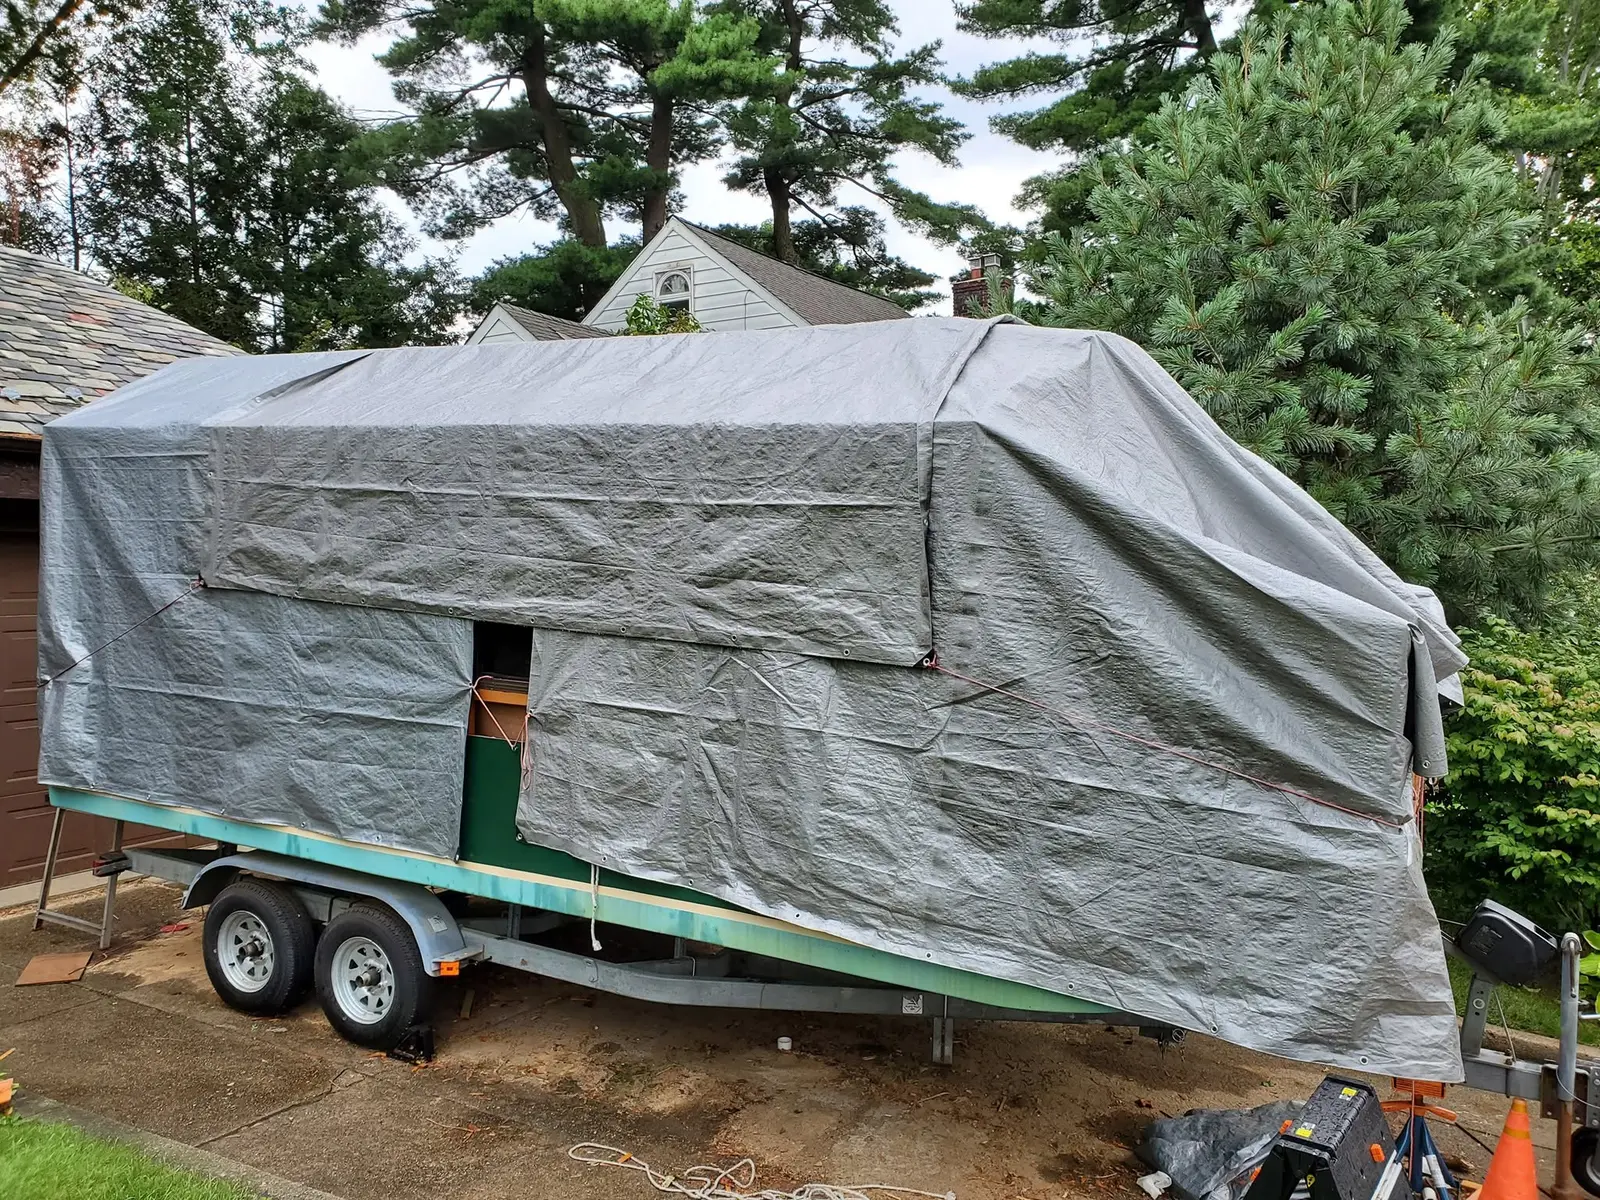
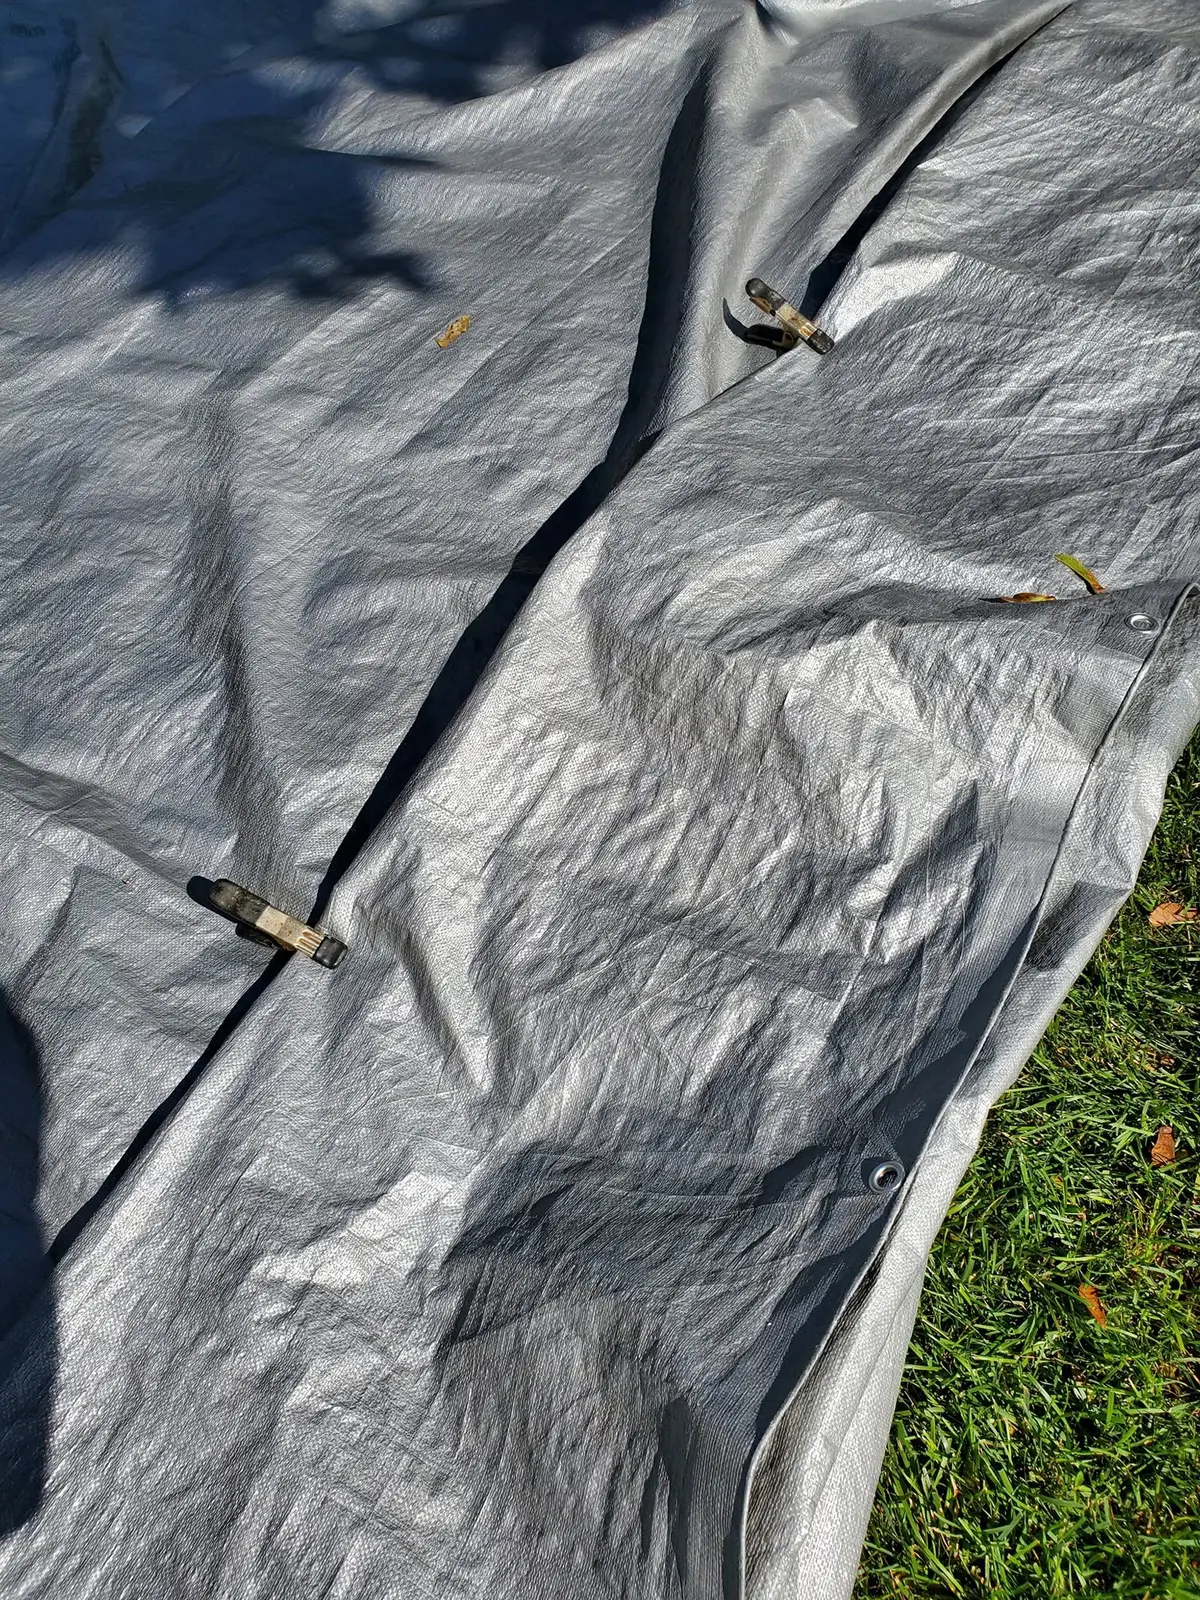
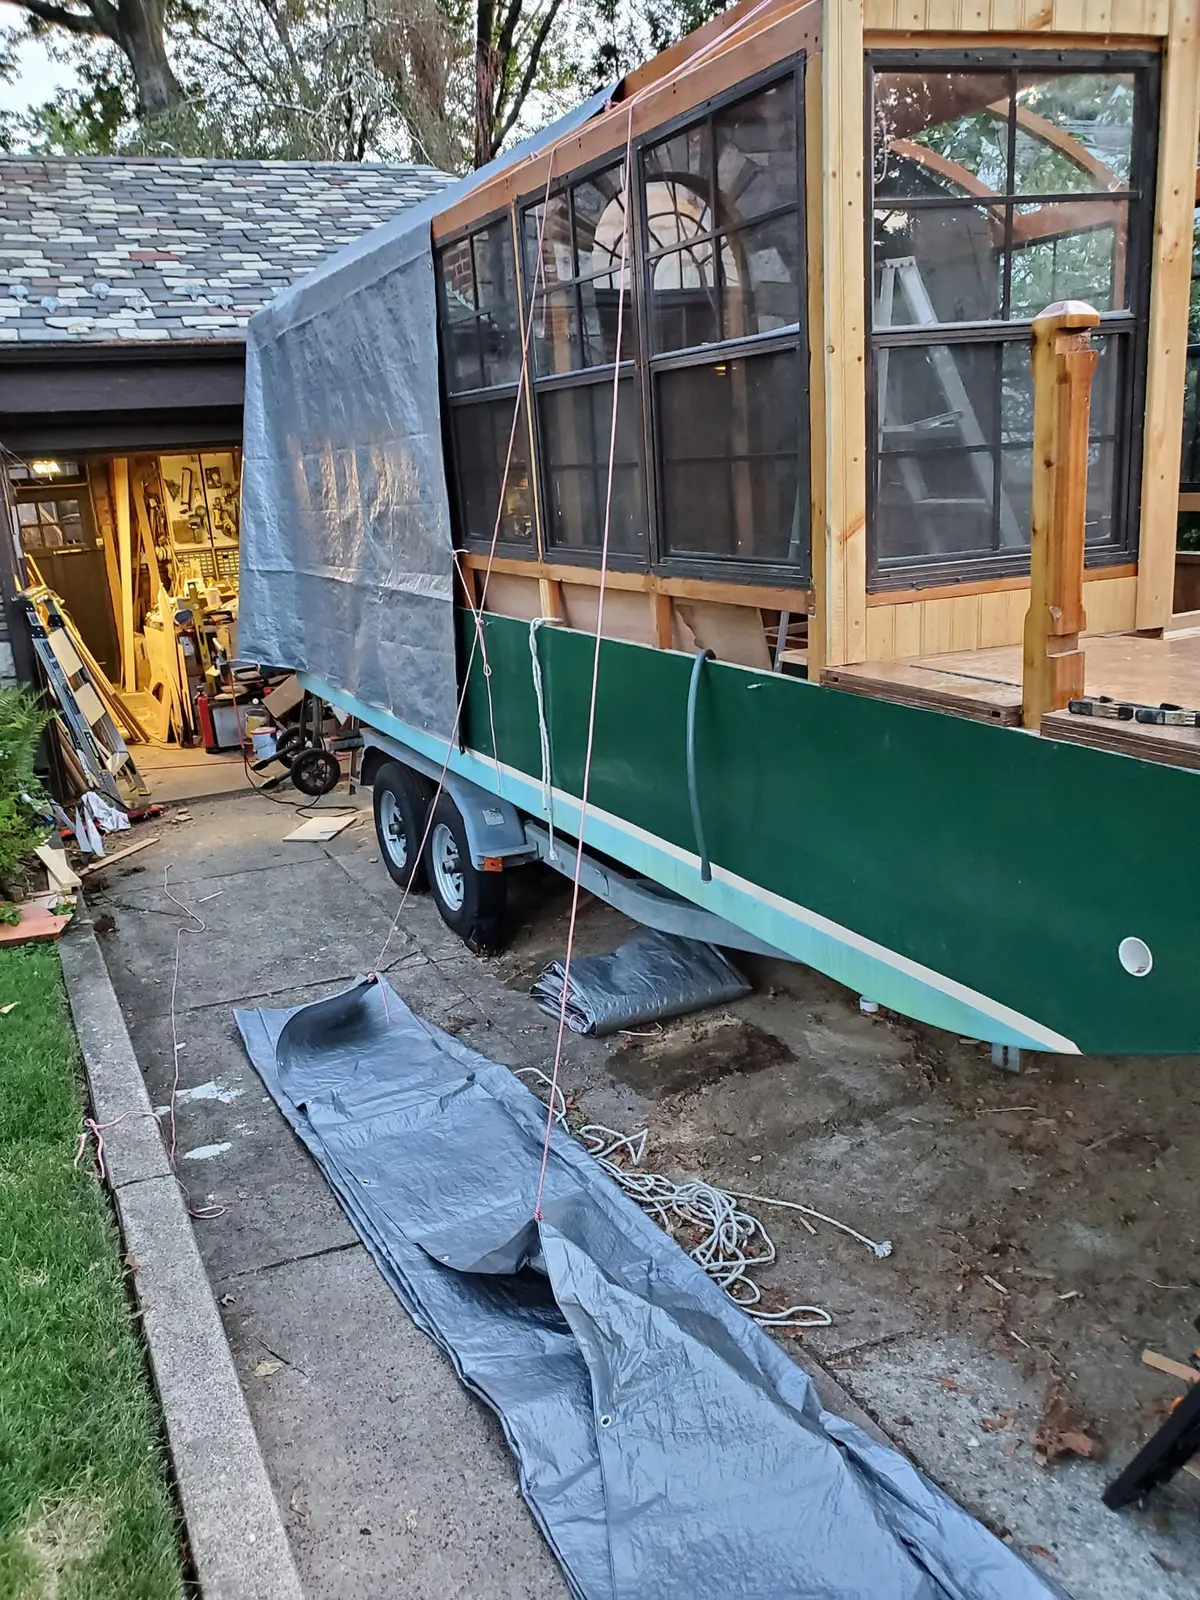
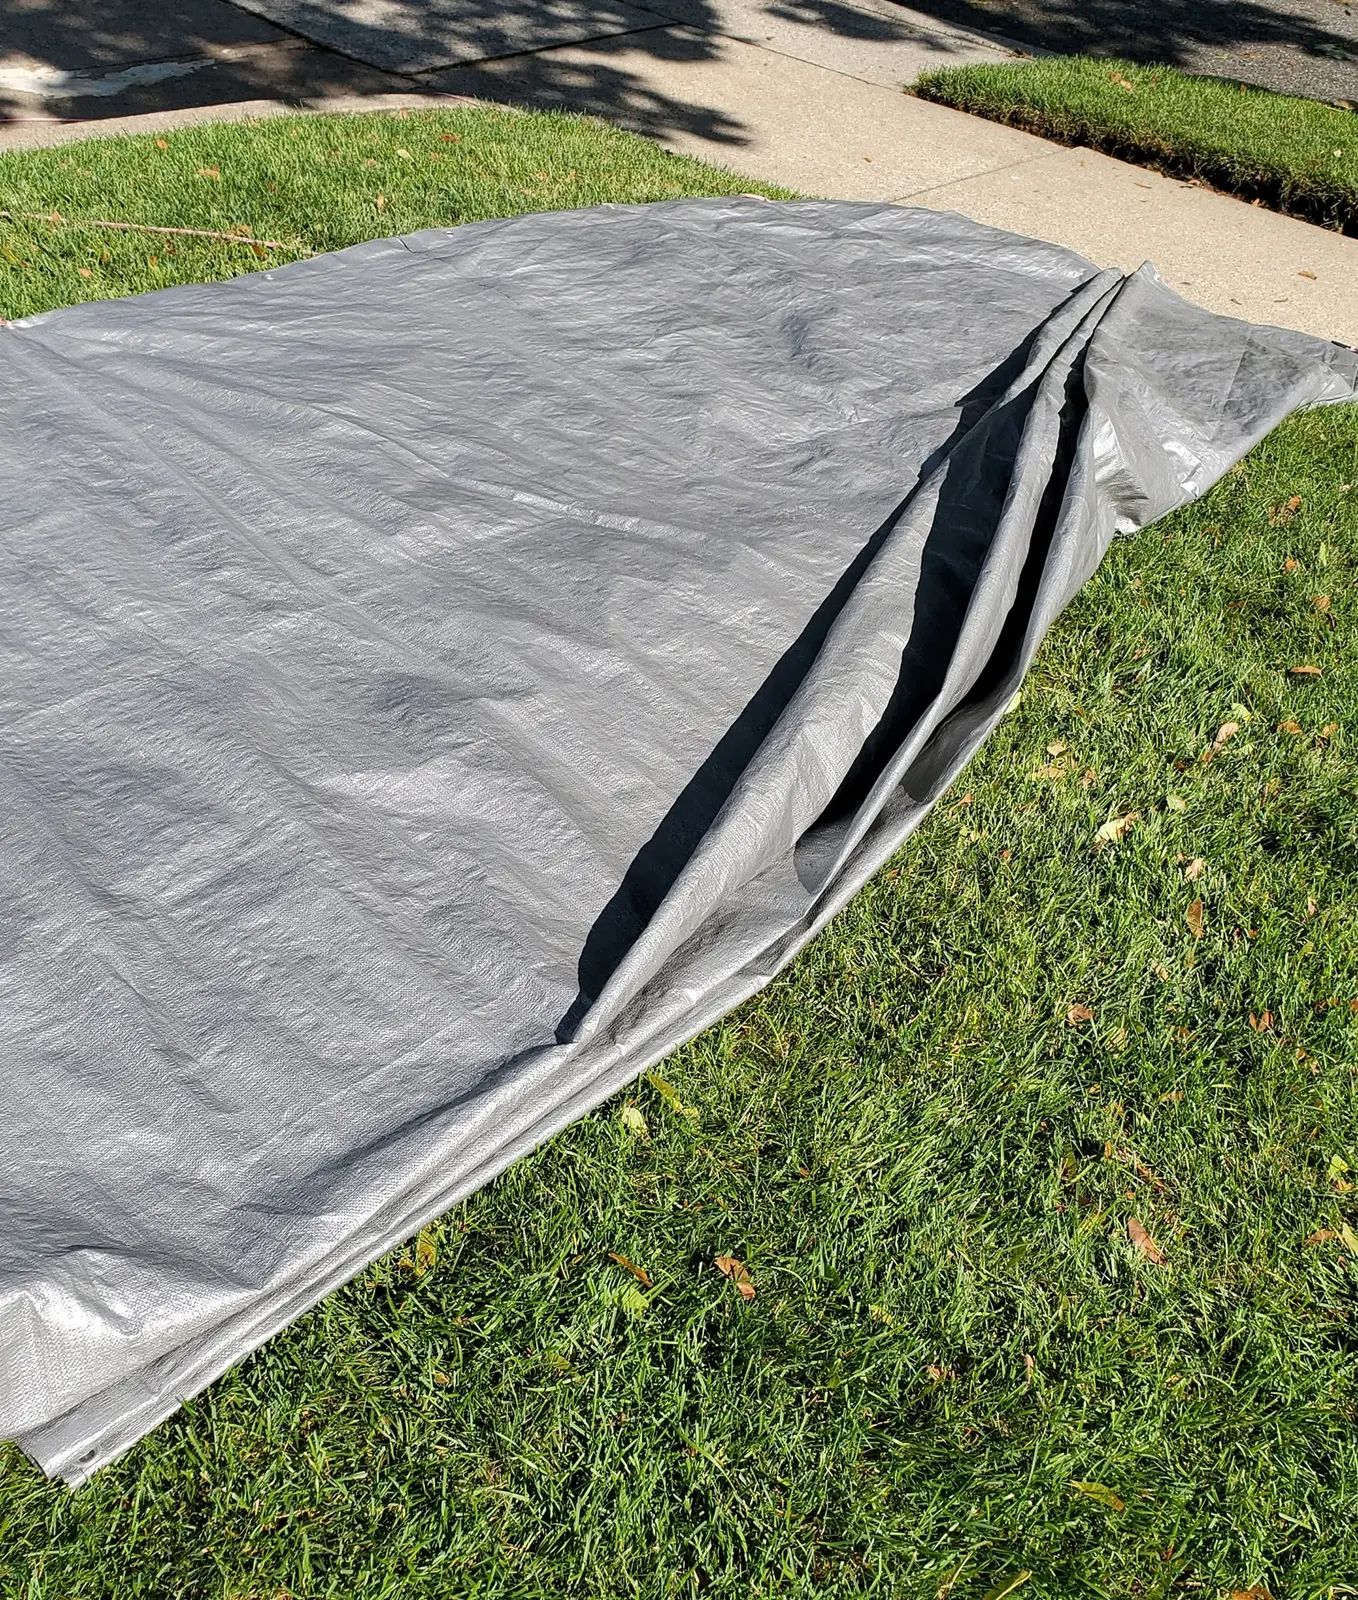
Houseboat update, Sunday, August 11, 2019 – Please allow me a small moment of reflection. Patience is right up there, among the most critical requisites for boat-building. Case in point: I have no control over the weather or even the ability to know what it will be, so all I can do is cover Jersey Girl up with tarps when I finish working on her for the day. If I want to make it easy on myself, I take the extra time to “flake” the tarps as I remove them (the sailors among us will know what that means). For one person to flake a 20x12-foot light poly tarp in the mildest of breezes can be quite a do. So here’s a tip – with each fold of the flake, snap on a few small spring clamps, removing them and reclamping them with each successive fold. Then, when it’s time to put the tarps back on, just fasten a couple of lines to the grommets along the leading edge of the flaked tarp, toss them over the roof and pull on the lines to haul the tarp up an over. As I work on Jersey Girl, it occurs to me that patience is a learned attribute. When I was young and had all the time in the world, I was impetuous and impulsive, and patience was nowhere in evidence. Now that I am old and relatively little time left, I seem to have all the patience I need. It's kinda counterintuitive, but there it is...
I’m beginning to get a bit of Jersey Girl’s roof in place, and I think it’s working...
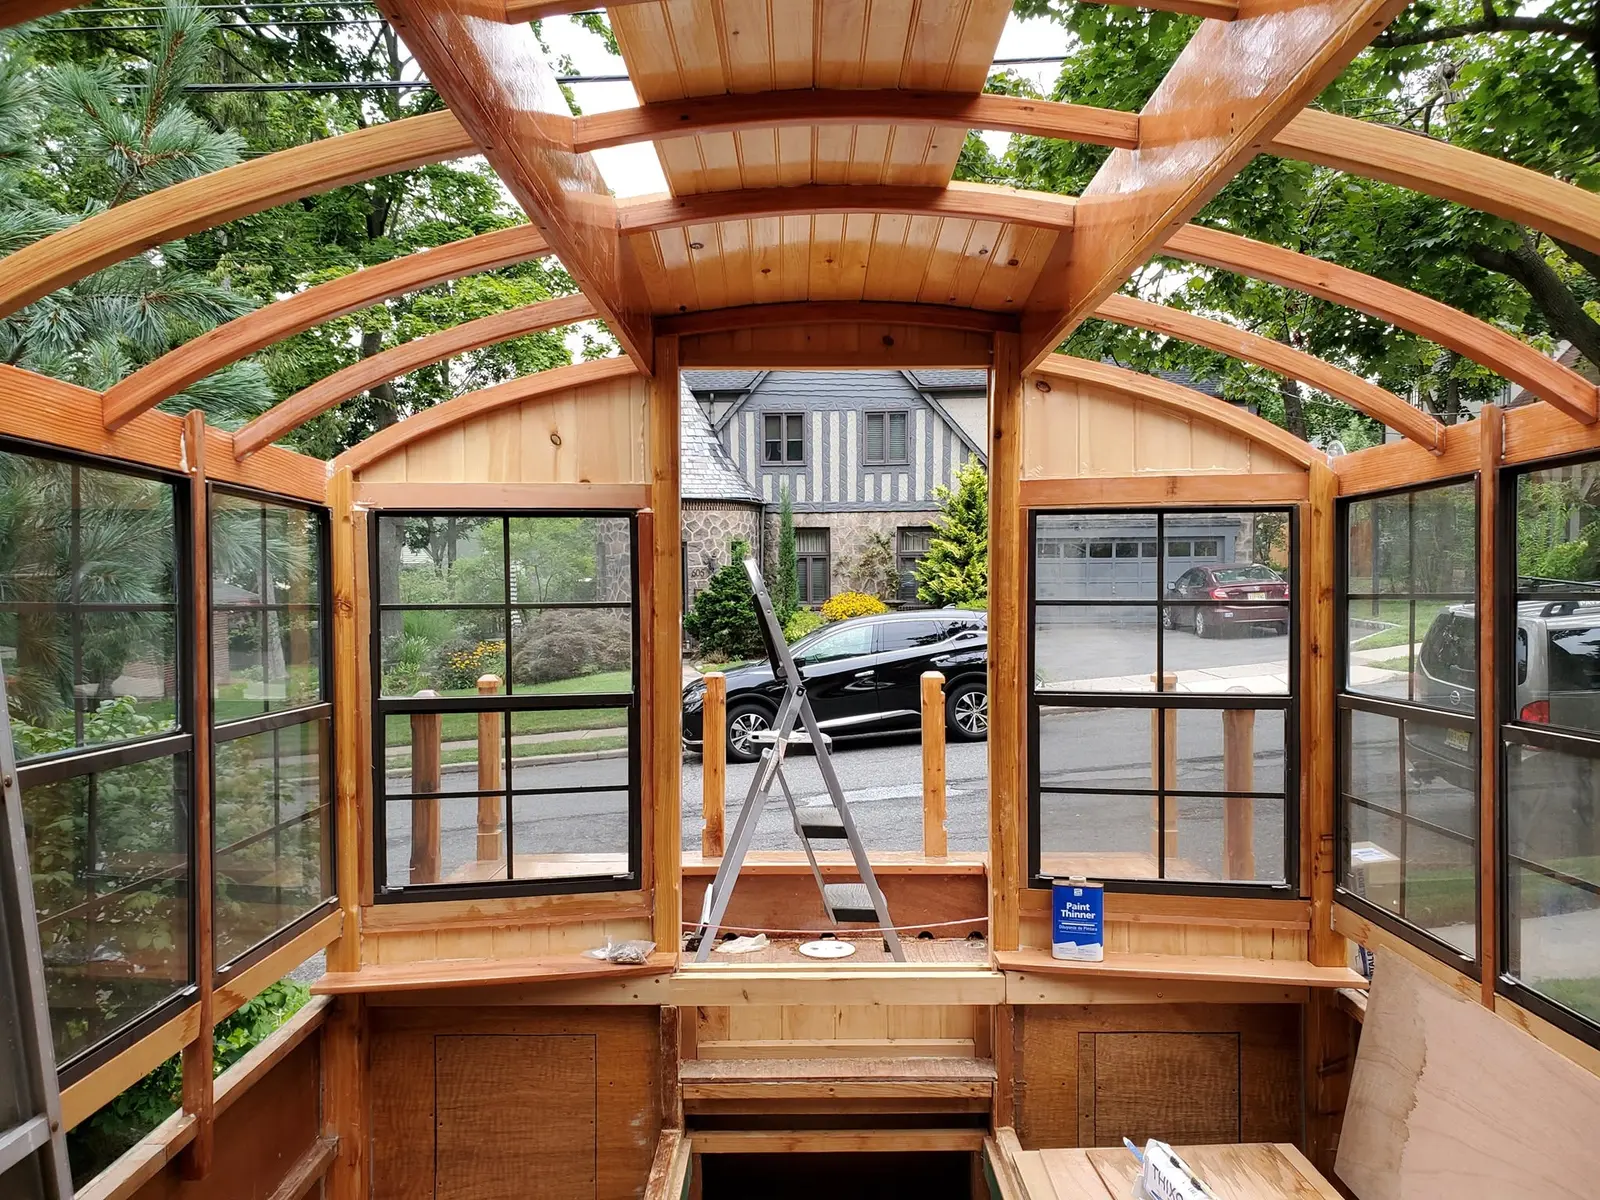
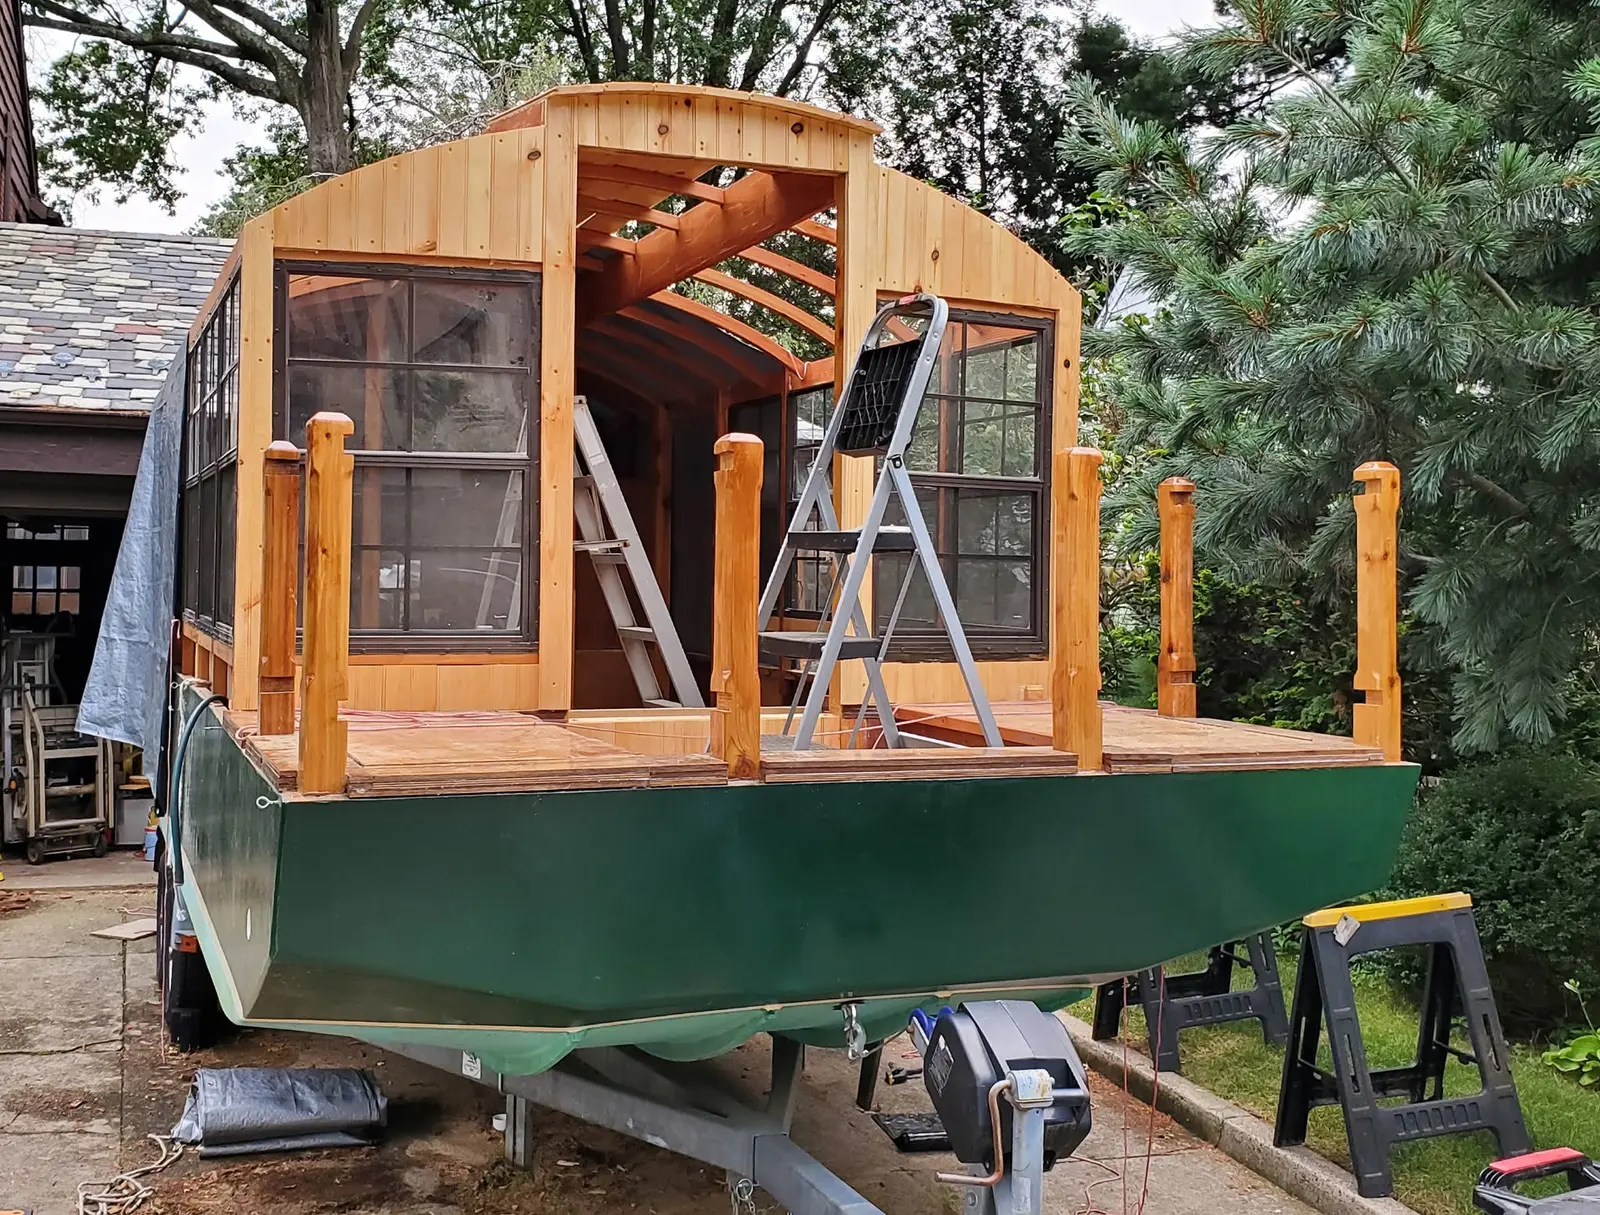
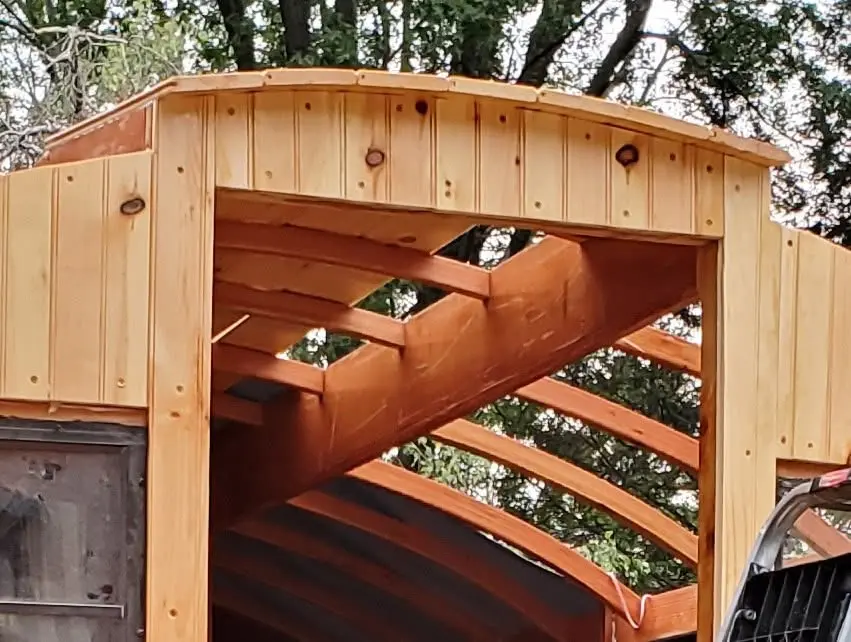
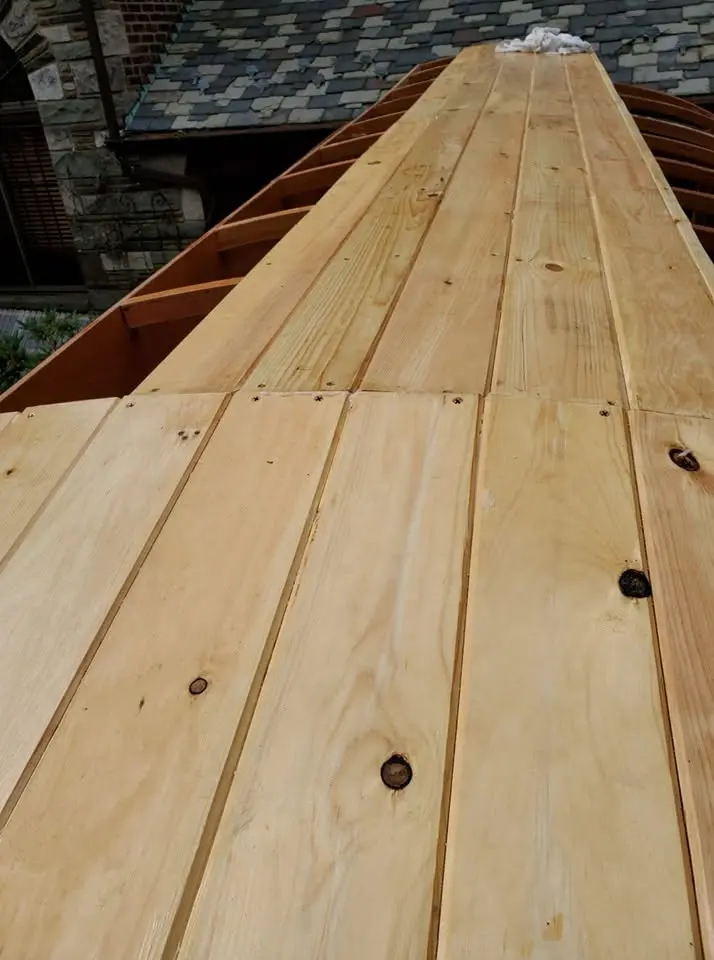
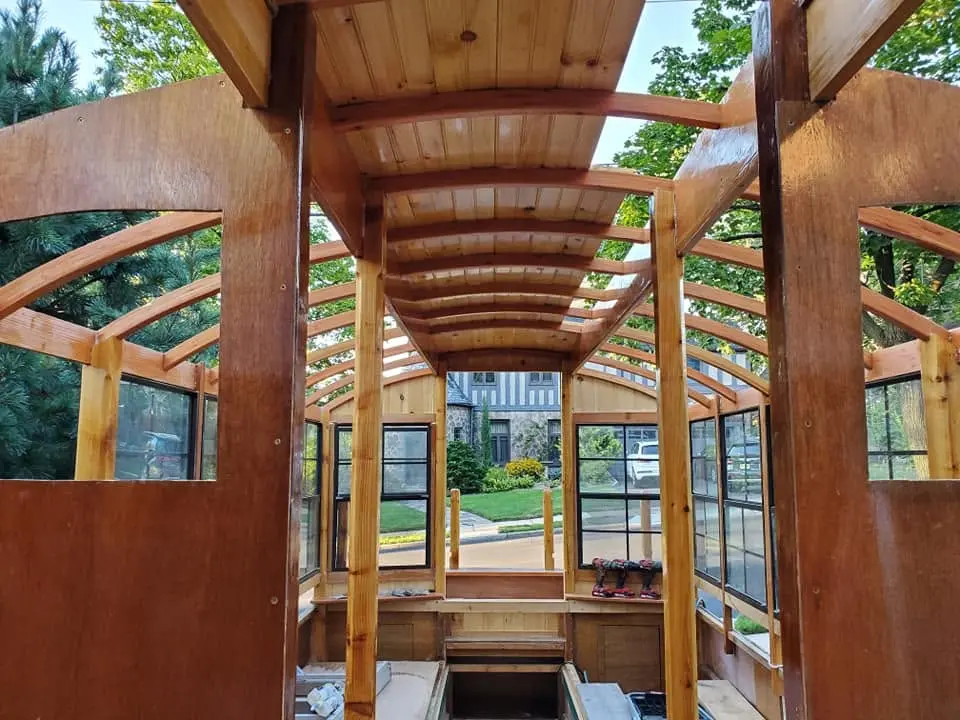
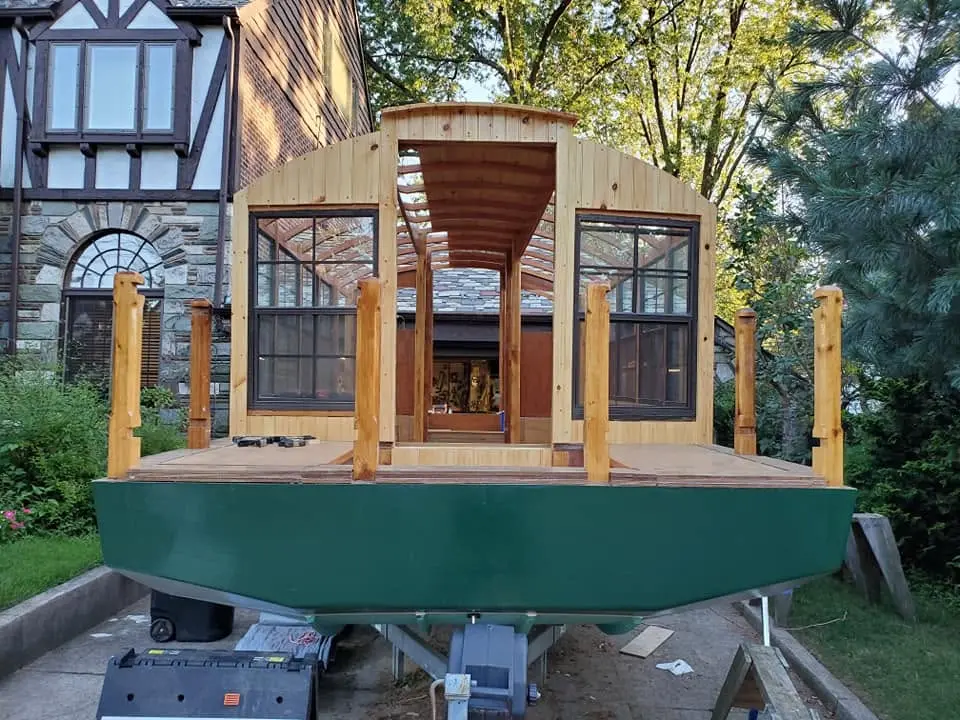
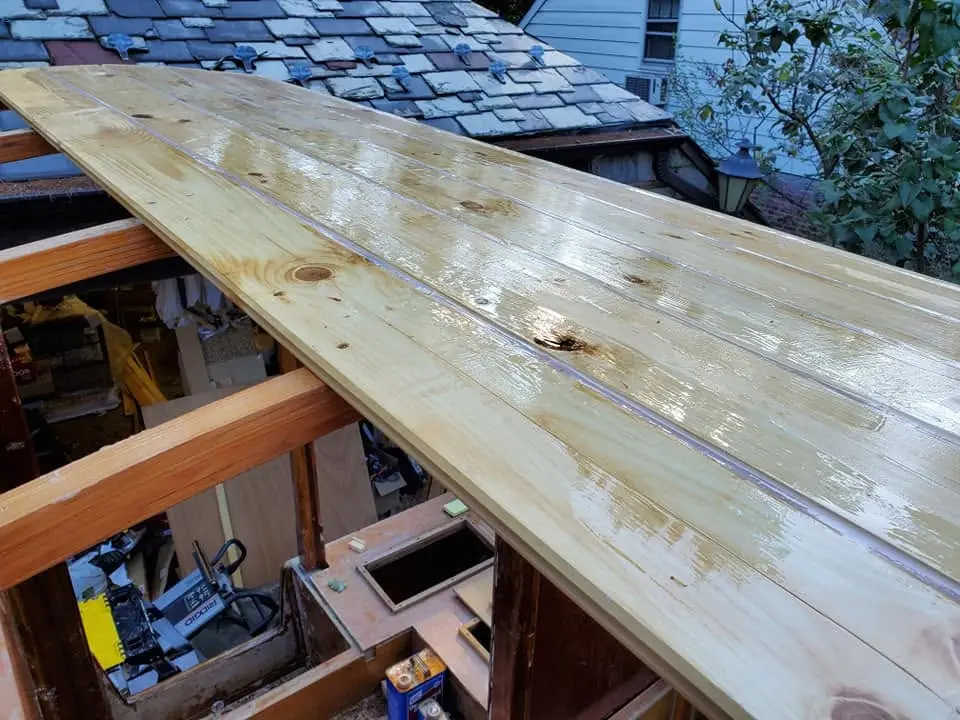
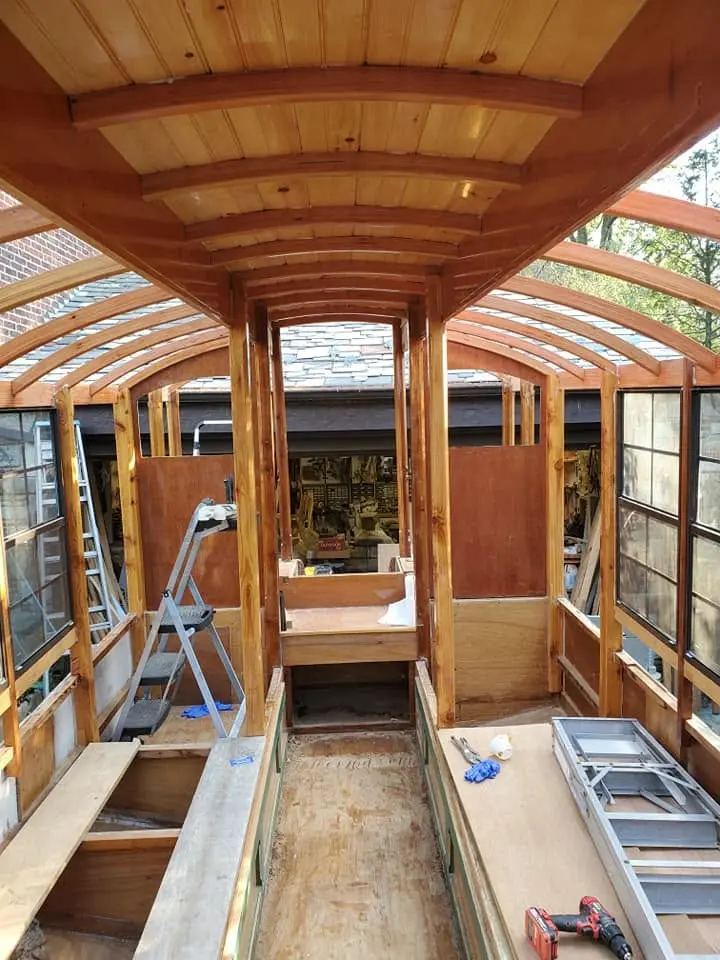
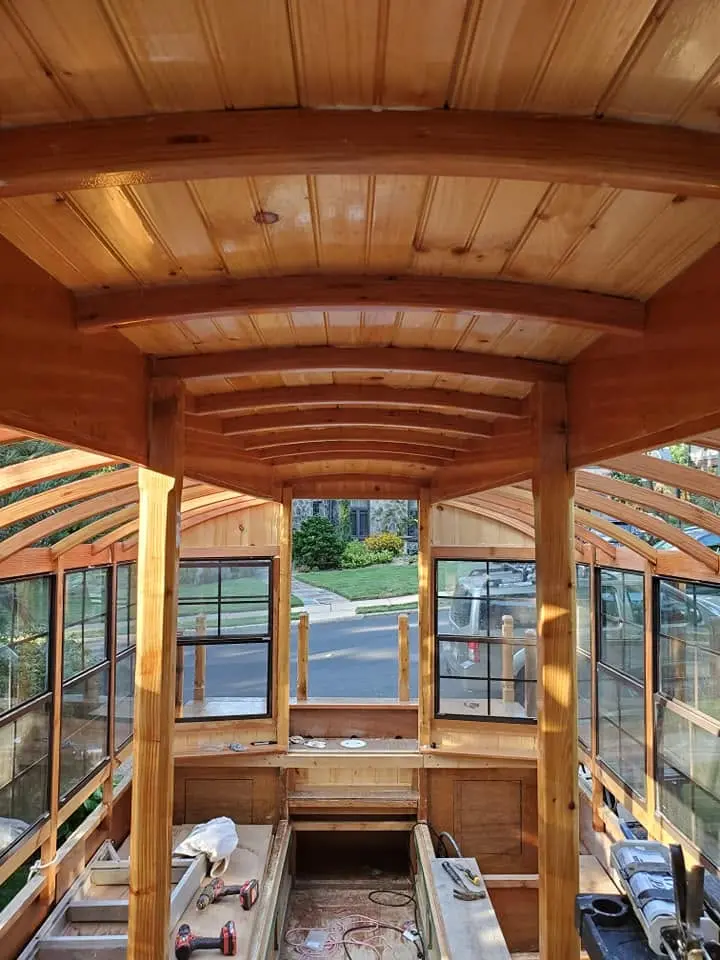
Houseboat update, Tuesday, August 13, 2019 – I’m beginning to get a bit of Jersey Girl’s roof in place, and I think it’s working out quite nicely! I’m using ¾-inch tongue and groove pine, milled to show a beaded wainscoting pattern on one side, what some people call “bead board.” Before I install each plank, I seal it topside and inside with two coats of epoxy, then set it up temporarily for fitting, drilling and countersinking pilot holes. I put a pencil mark on the topside of each rafter to show the limit of where I’ll spread glue, then take the board down and cut it to the exact length. Finally, I spread thickened epoxy on the tops of the rafters, put the board down where it belongs, and screw it into place. Sometimes, I find I need to persuade the tongue of a board to fit into the groove of the full eight-foot length of an adjacent plank with a good deal of force. I choose not to whack away at it with a hammer! Instead, I temporarily screw down the plank at the end that fits, then, about two-thirds along the length of the board I protect both the tongue and the even-more-fragile groove with form-fitting scraps cut from similar stock and use a long bar clamp (the screw kind, not the ratchet kind) to apply gradual force until I get a snug fit. I leave the beaded side of the board showing on the inside of the cabin roof, knots and all, making for a nice rustic cottage look. I’m leaving overhangs at the forward and aft ends of the roof, just because I think it looks nice. At the aft end, rainwater will drain off the roof directly into whatever body of water Jersey Girl is floating in (or the road, if she’s on her trailer). At the forward end, the overhang will serve as a drip-cap, preventing water from running down the forward cabin bulkhead and finding its way inside, past window and door frames. From the forward deck, it should find its way to any of the four deck drains, and flow through the under-deck drainage piping to either of two scuppers on the port and starboard sides. More about patience: I find I don’t really have to make a choice between patience and impatience, or between instant and delayed gratification. Instead, I find a balance – immense satisfaction at each stage of the building process. It might not work for everyone, but it seems to keep me content.
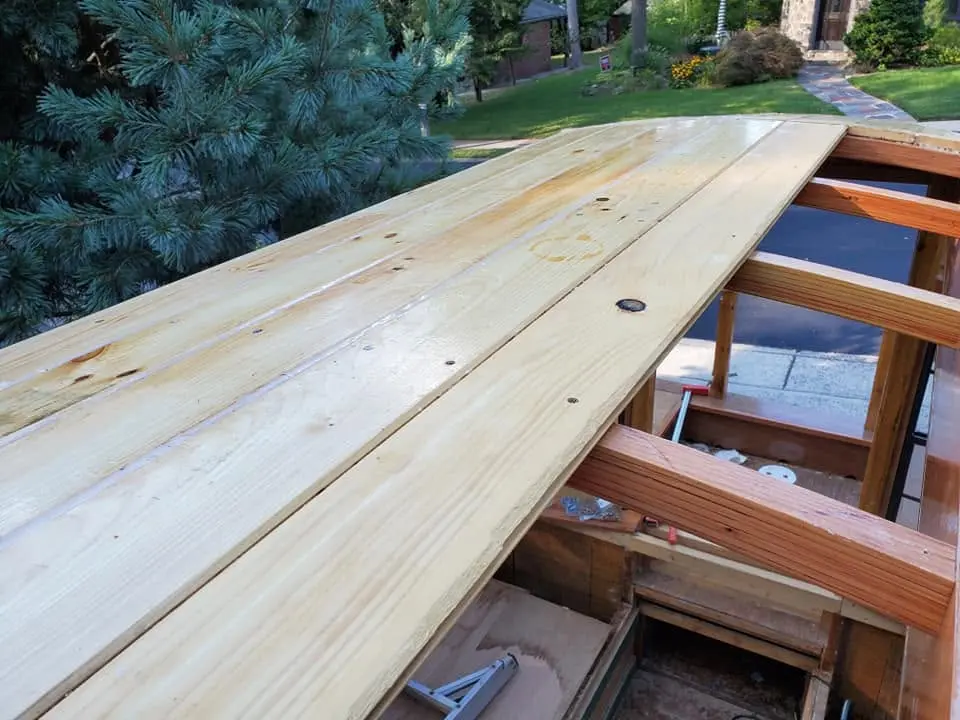
Today's project will be to fill all the topside grooves between Jersey Girl's roof planks.
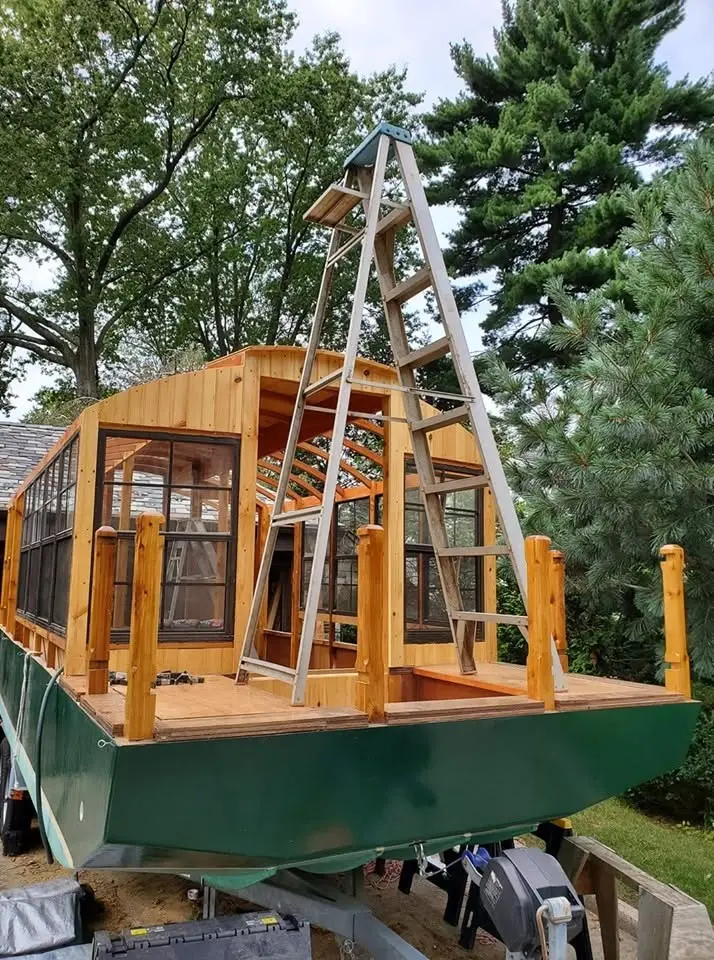
Houseboat update, Tuesday, August 27, 2019 -- Today's project will be to fill all the topside grooves between Jersey Girl's roof planks. I will be using a mixture of epoxy and colloidal silica powder to create a thickened putty. Before I can do that, I must make sure the roof is free of all the morning dew that has condensed on the surface. I give the anticipated warmth of the day a head start by toweling off standing water drops and puddles. The obvious question is how I managed to get the picture of the top surface of the roof. I could say, "skyhooks," and let it go at that, but that would be wrong. Here's how: a tall ladder, balanced between the seats on the forward deck. I don't recommend this for anyone with more than a sensible fear of heights -- or less than a sensible fear of heights, either, for that matter. One of these days, I really should invest in a decent drone with photo capability.
Today I finished sealing up the topside grooves between the planks I had installed...
Houseboat update, Thursday, August 29, 2019 -- Today I finished sealing up the topside grooves between the planks I had installed earlier over the raised central portion of Jersey Girl's roof. Then, with a little daylight left, I got a jump on tomorrow's work, installing the remaining planks over this section. I should finish that job tomorrow, and if I have the time, seal up the grooves between the new planks.
The raised central portion of Jersey Girl's roof is finished, at least from a...
Houseboat update, Friday, August 30, 2019 -- The raised central portion of Jersey Girl's roof is finished, at least from a construction standpoint. All the planks are glued and screwed into place. Tomorrow, I will finish filling the topside grooves between the planks with thickened epoxy, and add a small overhang along the starboard edge. Over the next few days, I will sand and fair the top surface of the roof to prepare it for fiberglassing, priming and painting. I want to get all that done before I start roofing the "shoulders," because I think the highest part of the roof will be more safely accessible for work without the rest of the roof in the way.