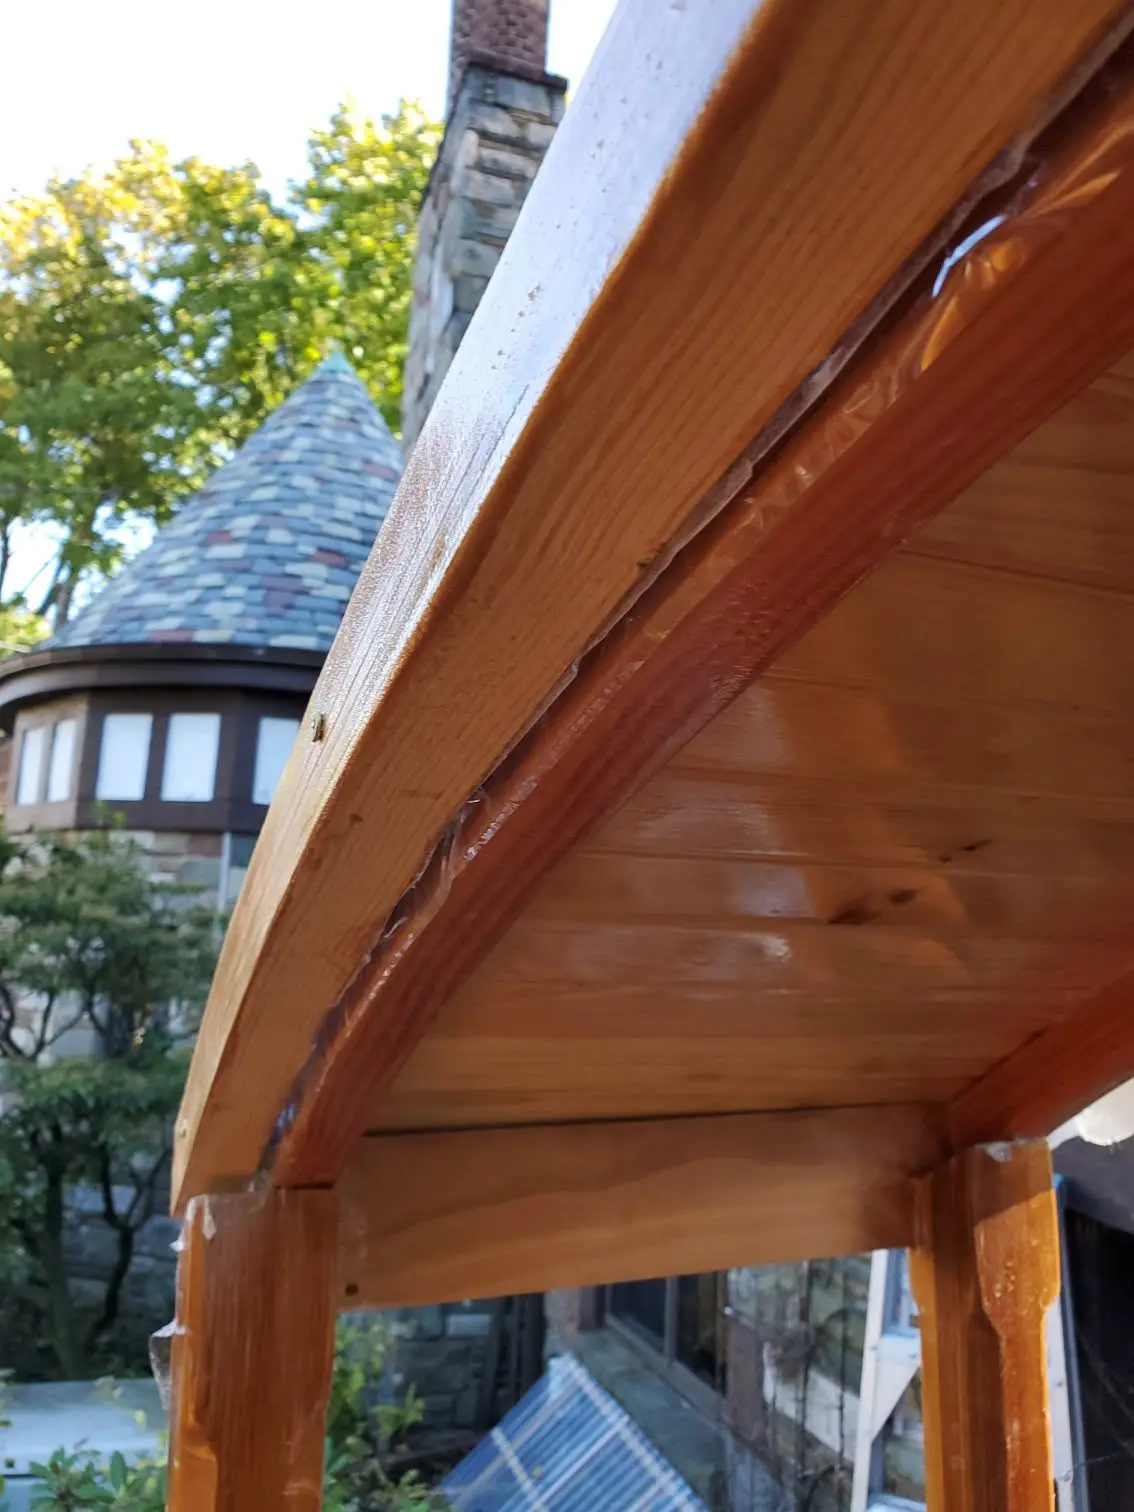
I spent the day making a few adjustments and improvements to the central portion of...
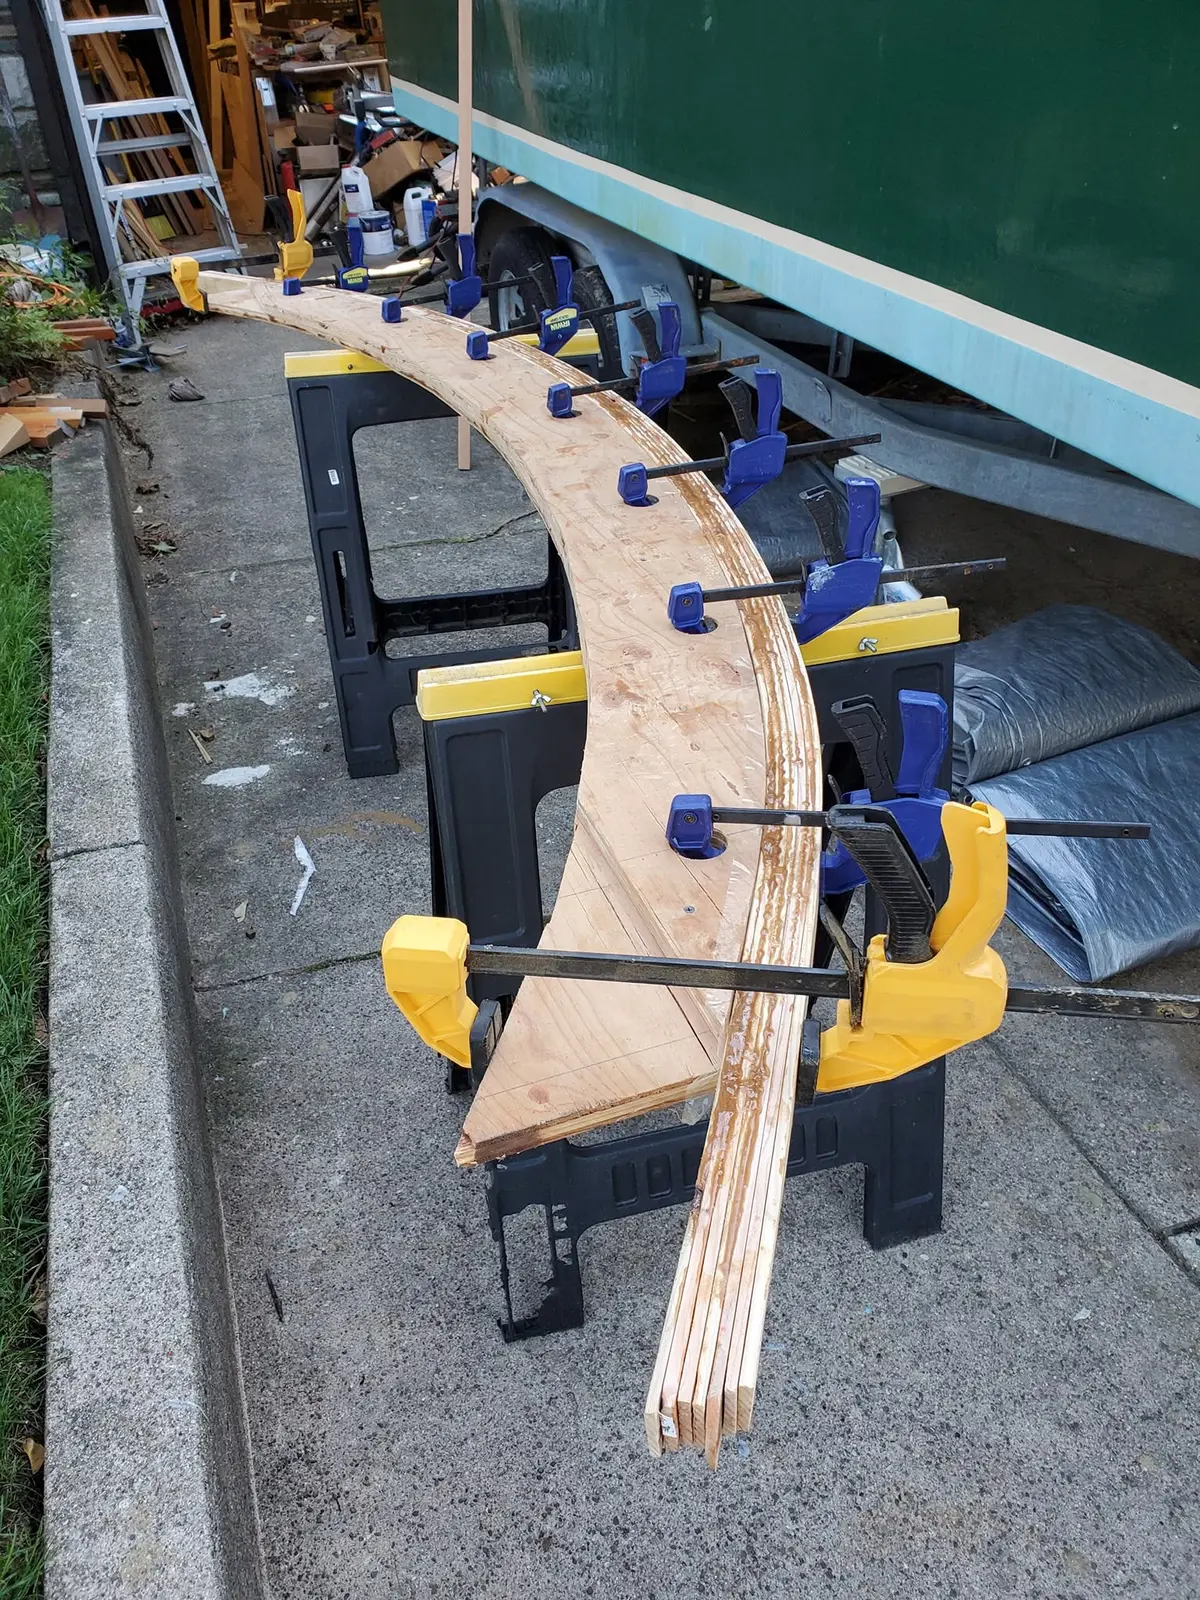
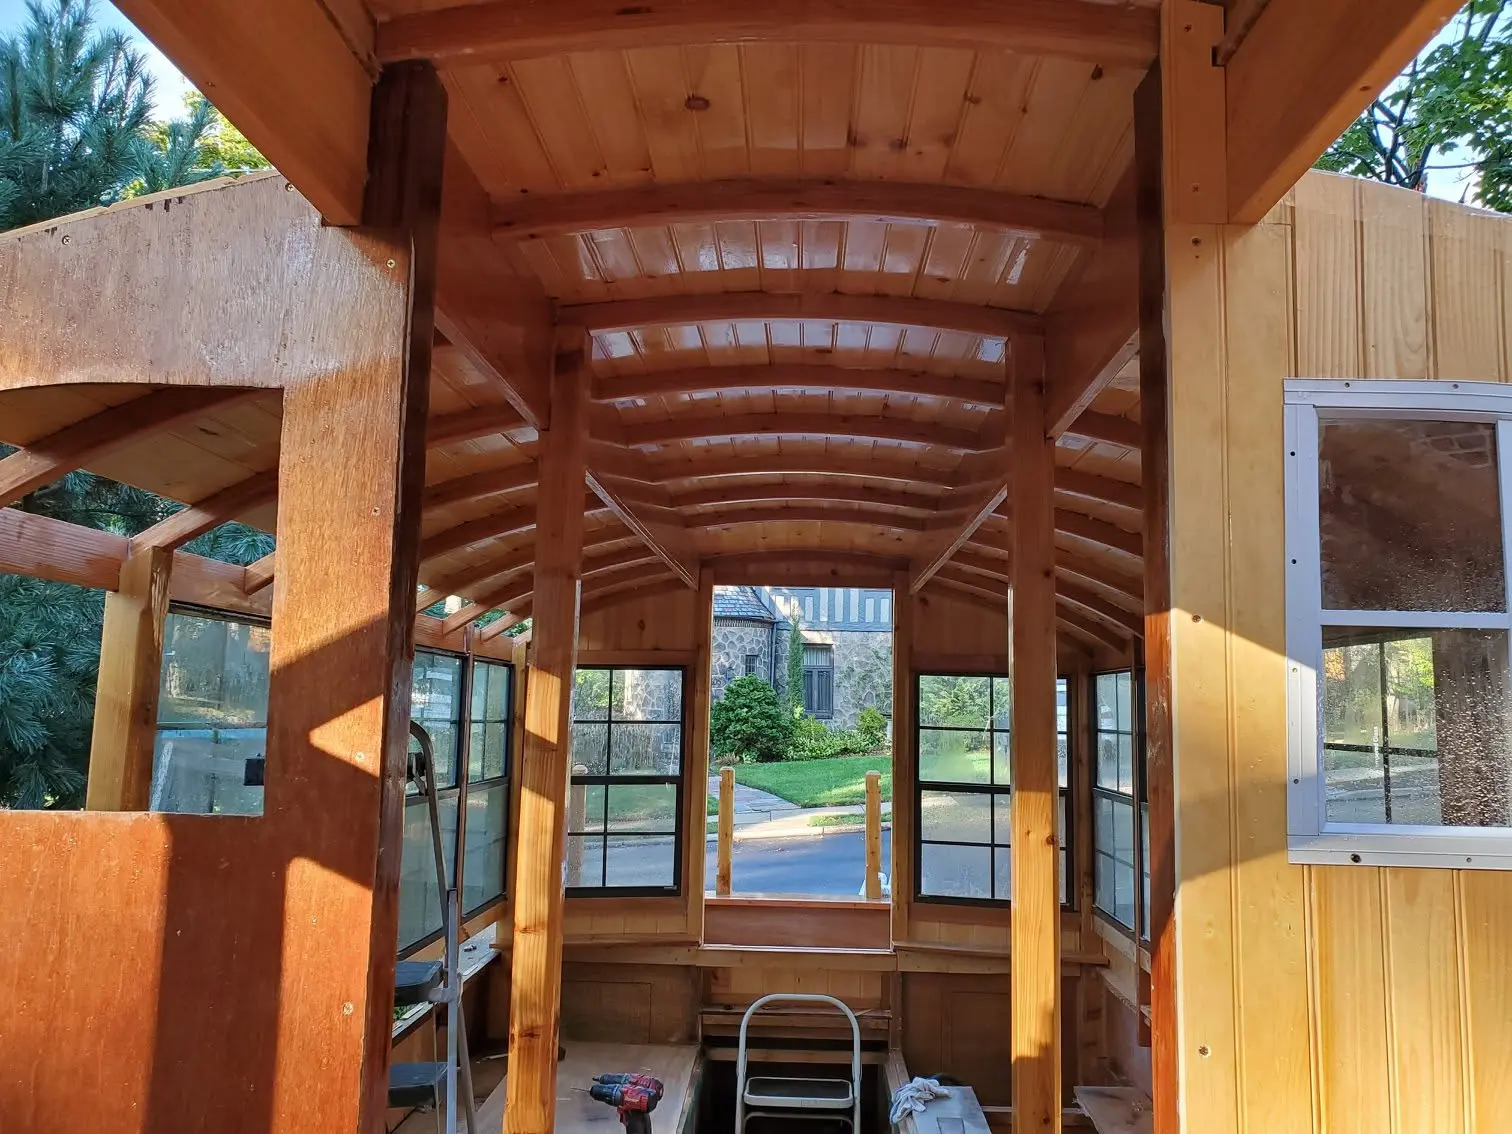
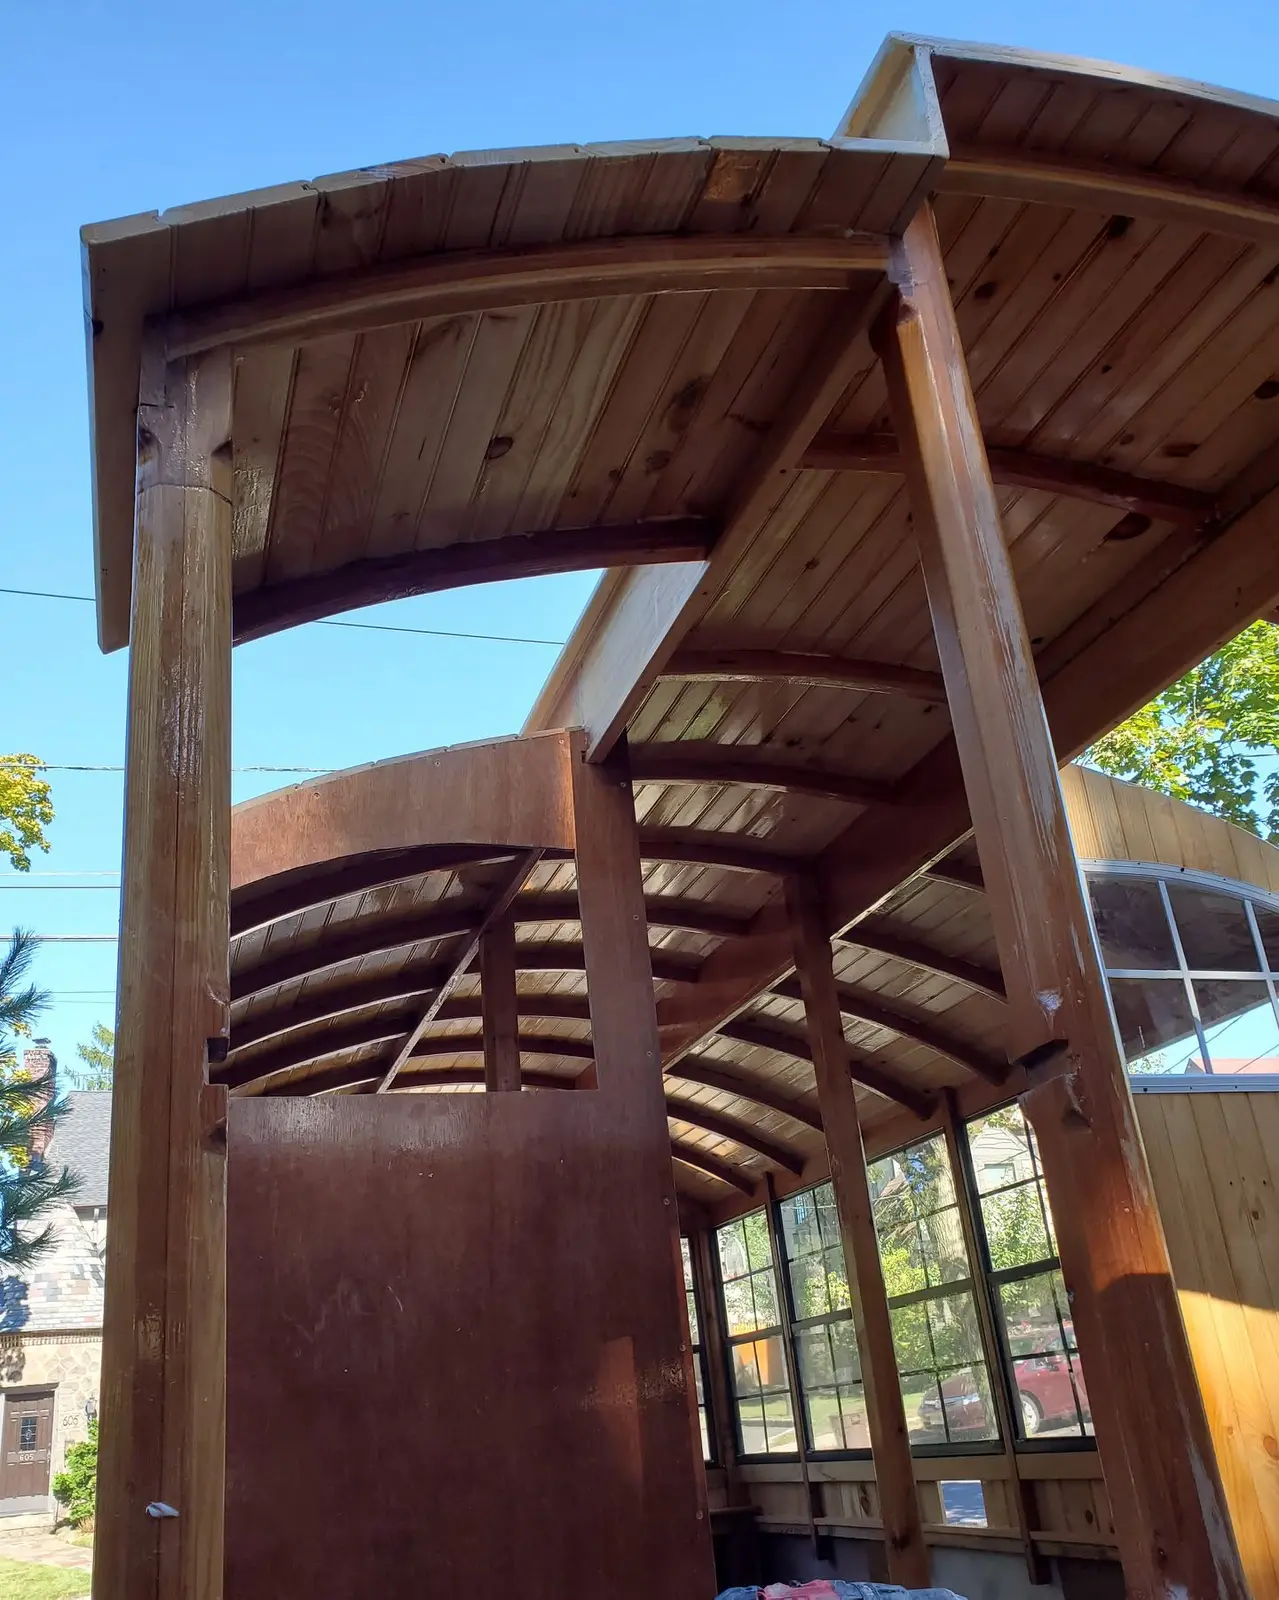
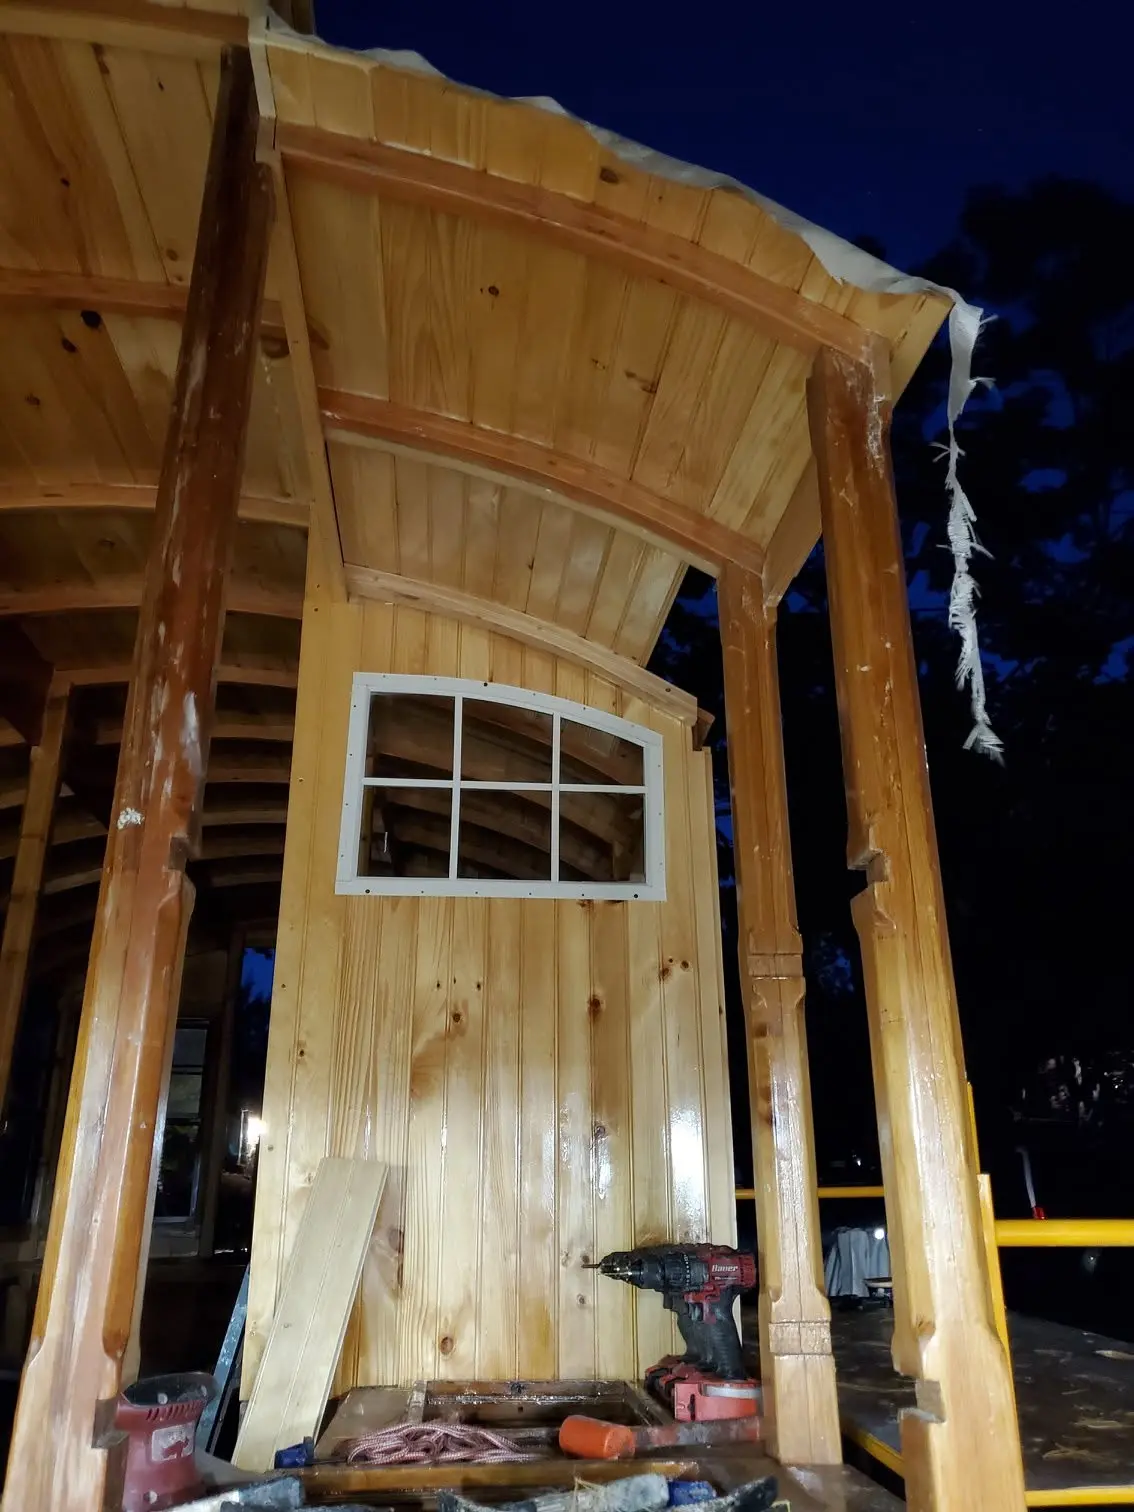
Houseboat update, Tuesday, September 17, 2019 – I spent the day making a few adjustments and improvements to the central portion of Jersey Girl’s roof, so I did not get to start priming it as I had wanted. First, it seemed to me that I needed to make some sort of drip edge on the roof overhangs in the forward and aft parts of the roof. Otherwise, surface tension of any water would allow it to run off the roof, over the edge and back along the underside of the overhang, and possibly intrude through the joint where it meets the cabin wall. It was a simple matter to cut thin strips of wood, angled from a quarter inch to 3/8 inch, then glue them along the underside of the arched roof. It’ll be harder for water to defy gravity and flow up, so it’ll just drip down form the leading edge of the overhang – or so I hope. Next, because I could not start sanding and priming until the glue on the drip edges cures, I spent some time laminating two more of the arched roof rafters that I used in Jersey Girl. These new laminations will be used as frames for gullwing-style roof panels, which I will install in the roof over the aft deck, to make it easier for people to board without stooping down too much. I’ll use gas-lift cartridges, similar to what you’d find in the rear hatch of an SUV, to raise and lower the gullwing panels. By the way, in making these new laminations, I used exactly the same jigs, methods and materials as I did for the roof supports. They are made of quarter-inch strips sawn from the edges of common 2 x 4 framing lumber from the big box store (in this case, Lowe’s). I am not worried about knots, because I make sure they are encapsulated between two adjacent glued strips, and I even use a strip that has broken on a knot. Trust me on this, it works really well, and the final result suffers no noticeable strength loss. Nor is there any spring-back from the curve when the lamination is unclamped from the jig. I know I’m probably going to offend the same purist “experts” who told me the last time I wrote about this that I would wind up with a “crap boat” because I was using “crap wood,” but – sorry to disappoint them – the results prove otherwise. I’m more than satisfied with the strength and the rich textured appearance of my choice of “crap wood.”
Jersey Girl is two boards shy of a roof.
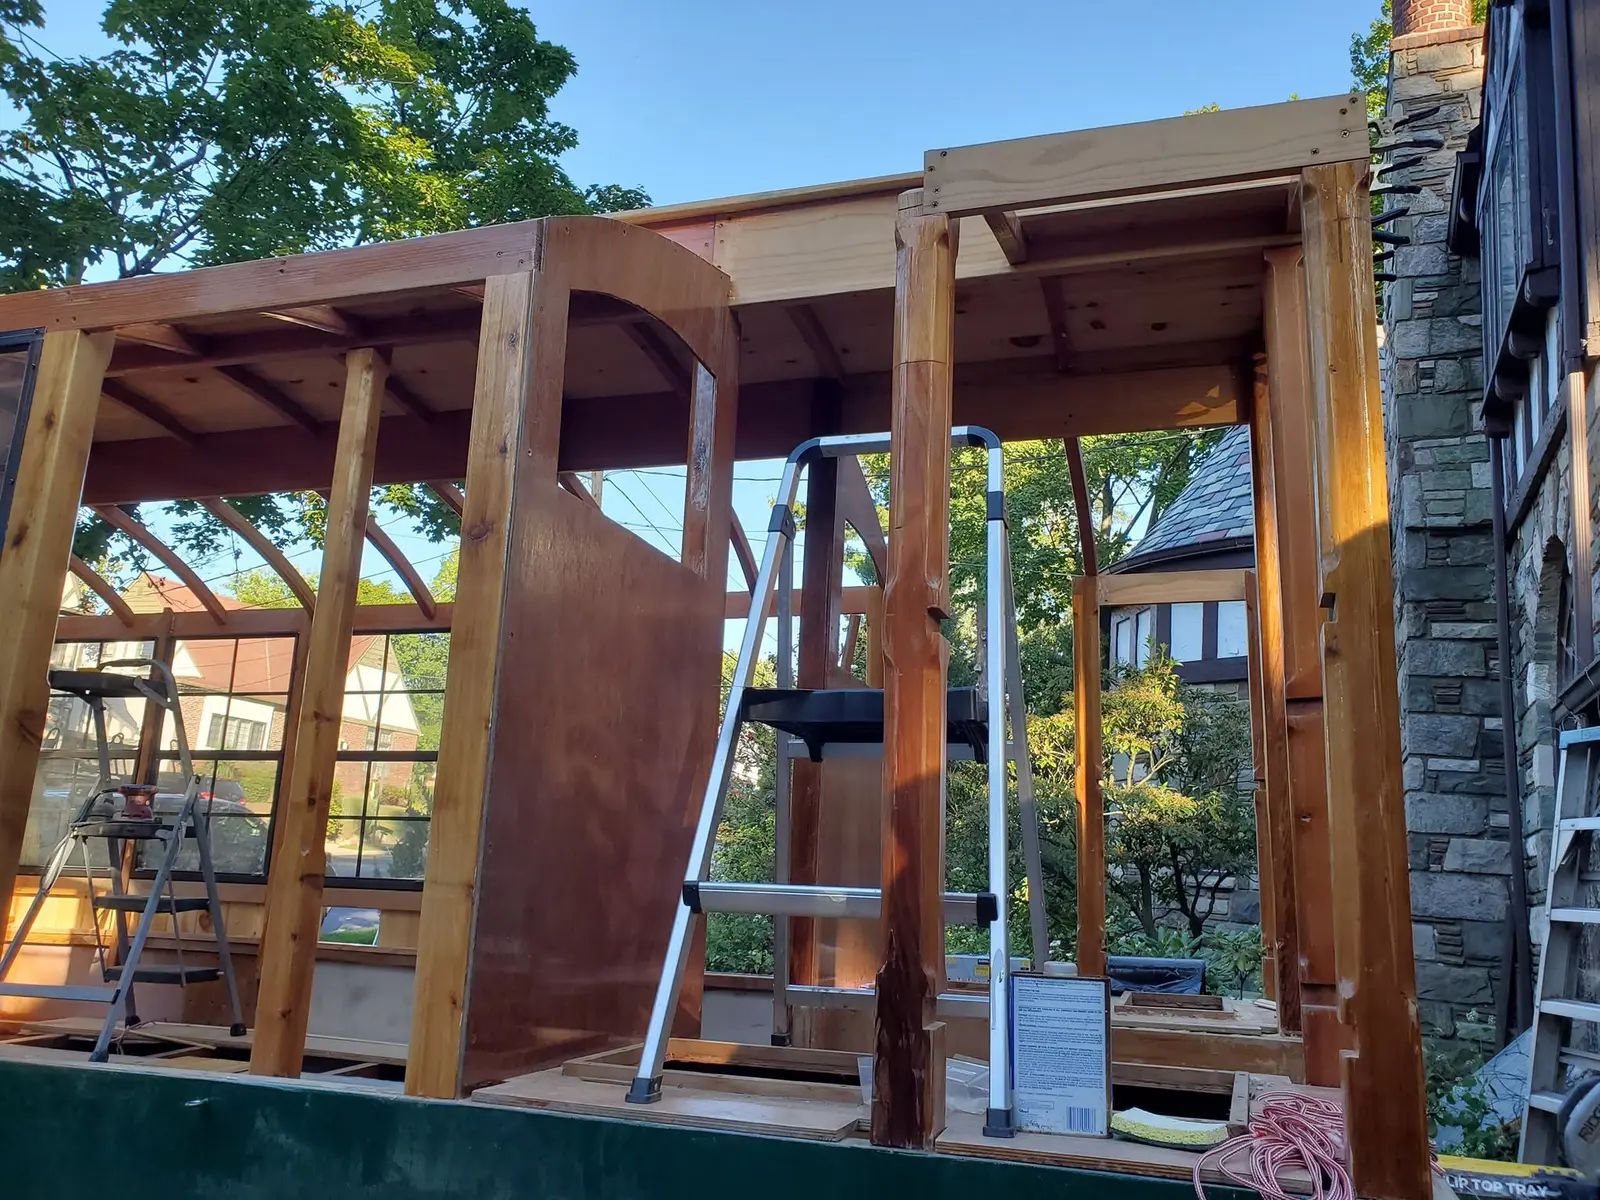
Houseboat update, Wednesday, October 2, 2019 -- Jersey Girl is two boards shy of a roof. The forecast called for a brief downpour at 6 p.m., and I thought I could beat it with the last two boards. But reality and forecast diverged at about 4:45, and I got caught with a line of freshly applied epoxy adhesive, in the groove of the third to last plank. What could I do? I decided to go ahead and glue and screw the board down in the middle of the soaker. I suspect it will be OK, but I'll have to wait and see. Just as I pulled my last tool in out of the rain and prepared to haul the tarps over the roof, the rain stopped as quickly as it had started, and the sun broke through and shone splendidly. But I will still have to cover up; the forecast is for stormy weather to start again at about 10 p.m. and go all the way through tomorrow night.
Jersey Girl's roof is structurally complete.
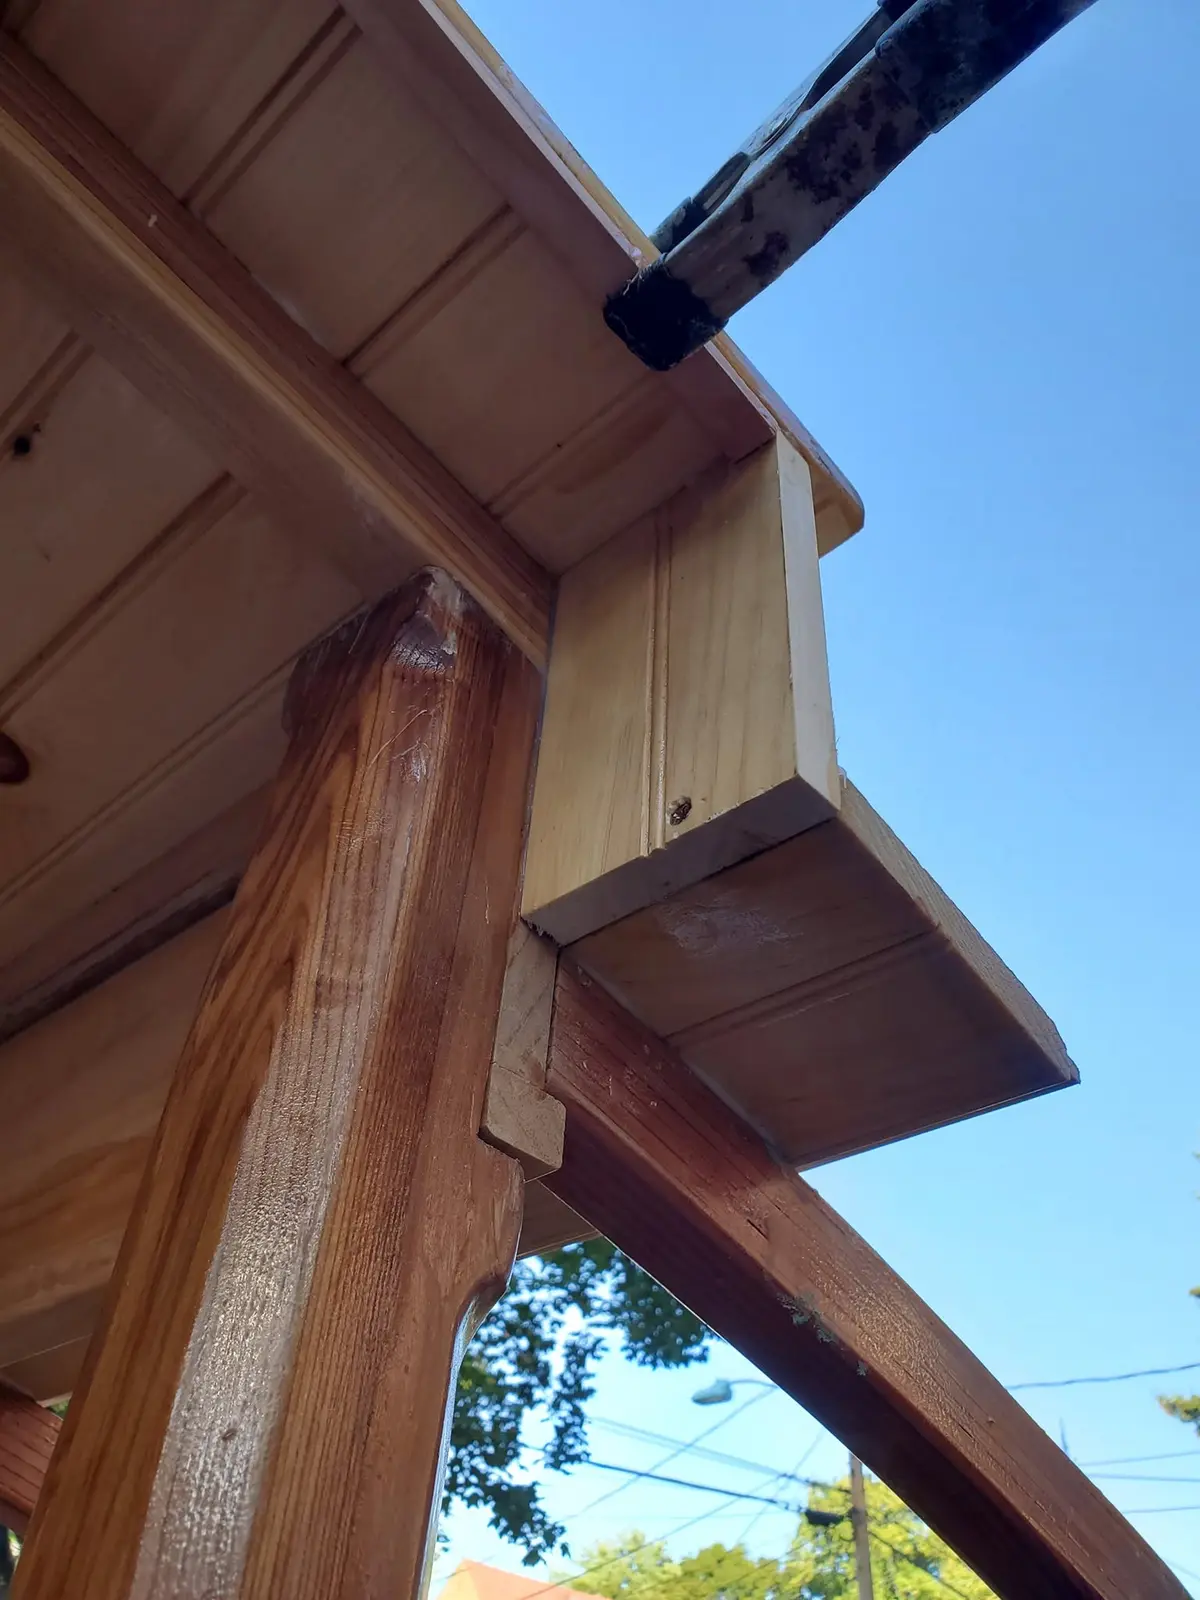
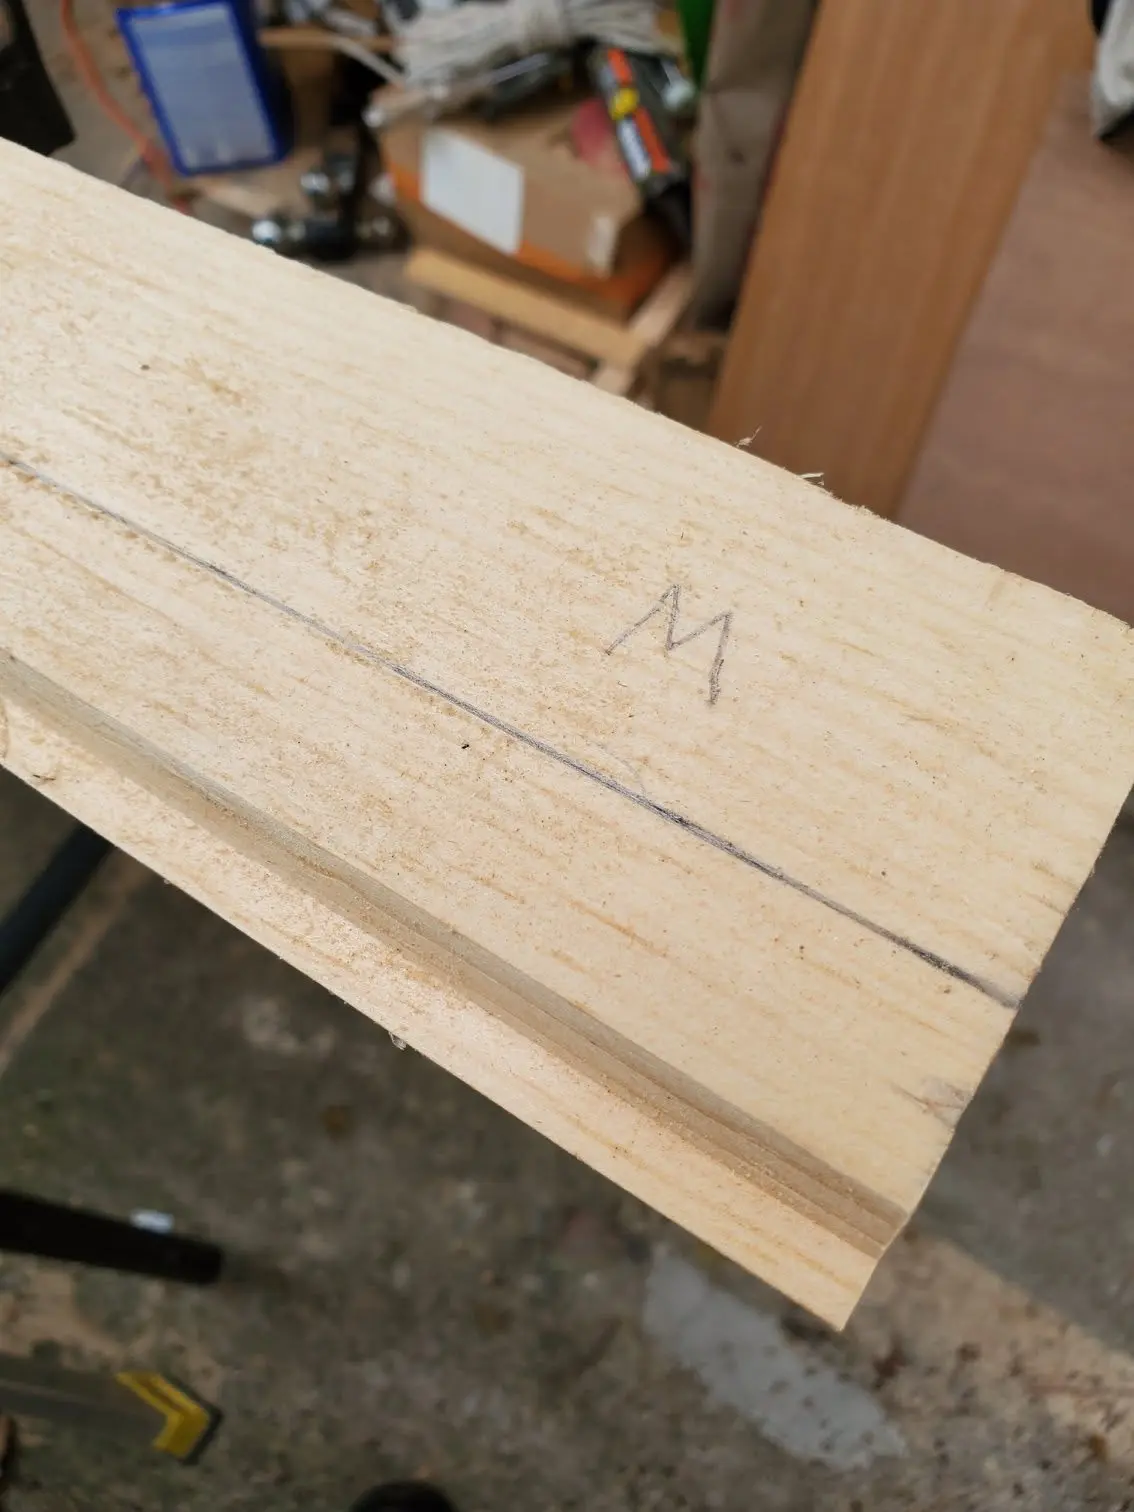
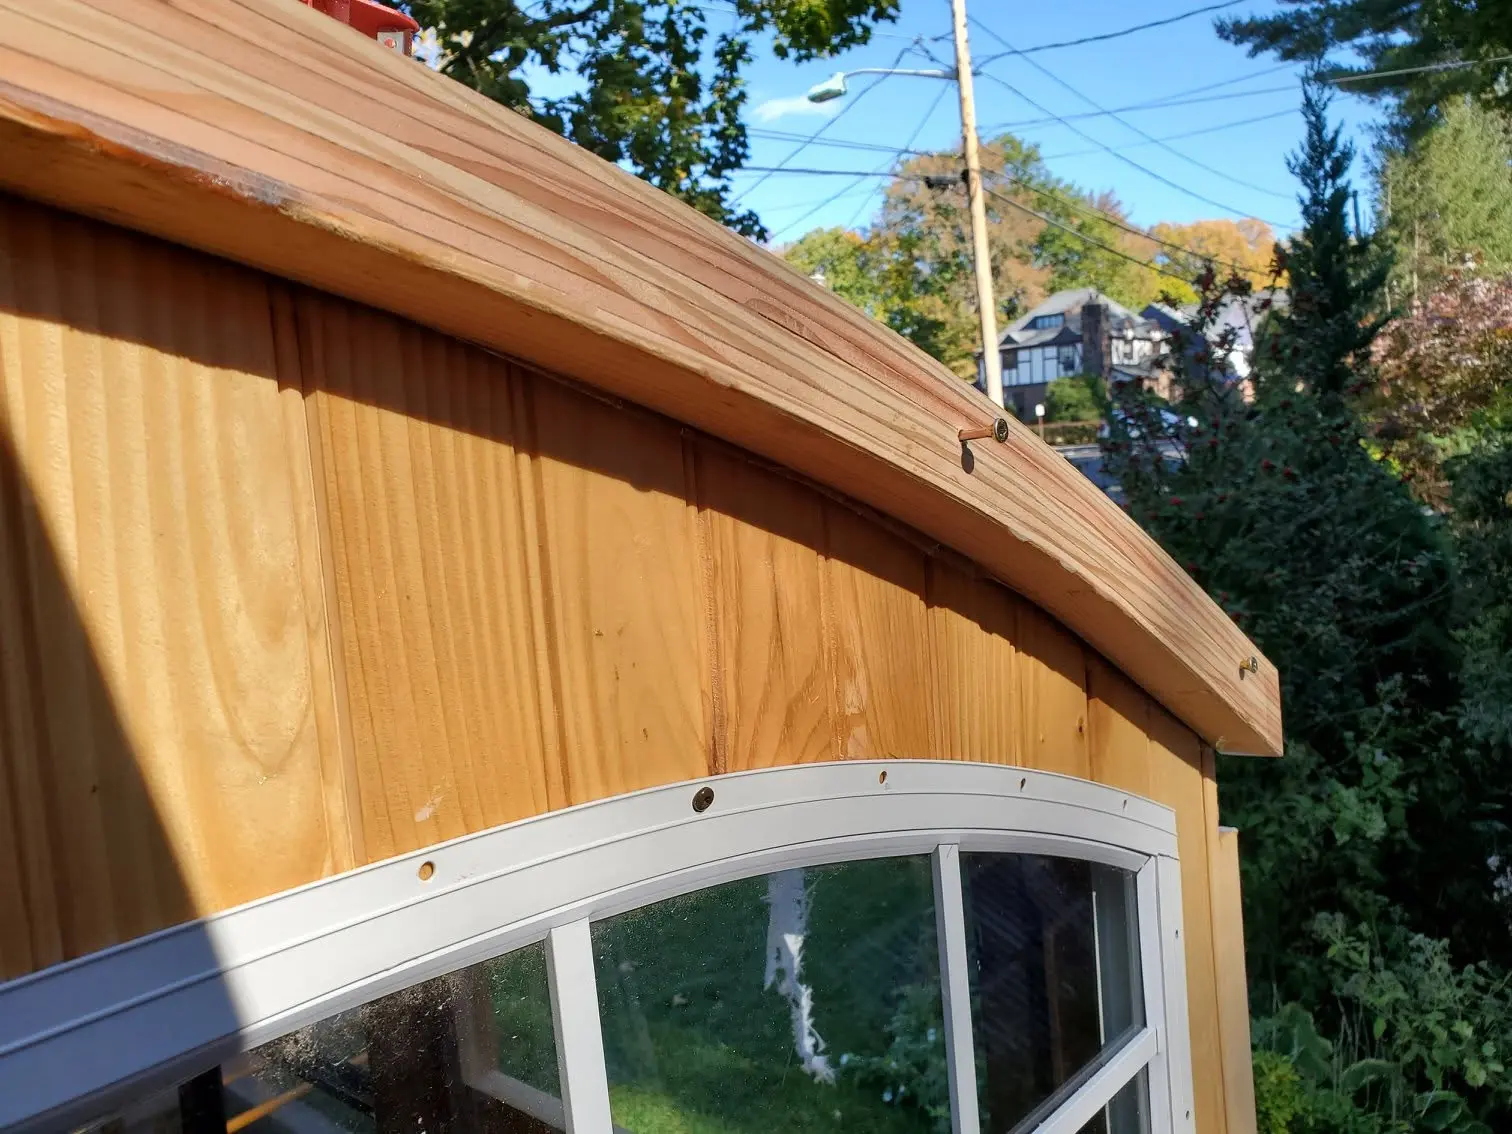
Houseboat update, Saturday, October 5, 2019 -- Jersey Girl's roof is structurally complete. The next step is to fashion inch-and-a-half overhangs along both sides, like the one shown here on the port aft section. For this, I mill my own tongue-and-groove planks, fit them into position, measure 1 1/2 inches out from the longitudinal side roof beam, mark and cut. Because of slight variations in construction, there will be variations in the width of the overhang plank, but when it's done it will all look quite uniform. How did I settle on 1 1/2 inches? I want to keep the total width of the boat within 8 feet, and overhang boards any wider than that would have exceeded that critical dimension. Why 8 feet? That's the maximum allowable width of a towed trailer without an escort.
Here’s how I measure and make the side edge overhangs for Jersey Girl’s roof.
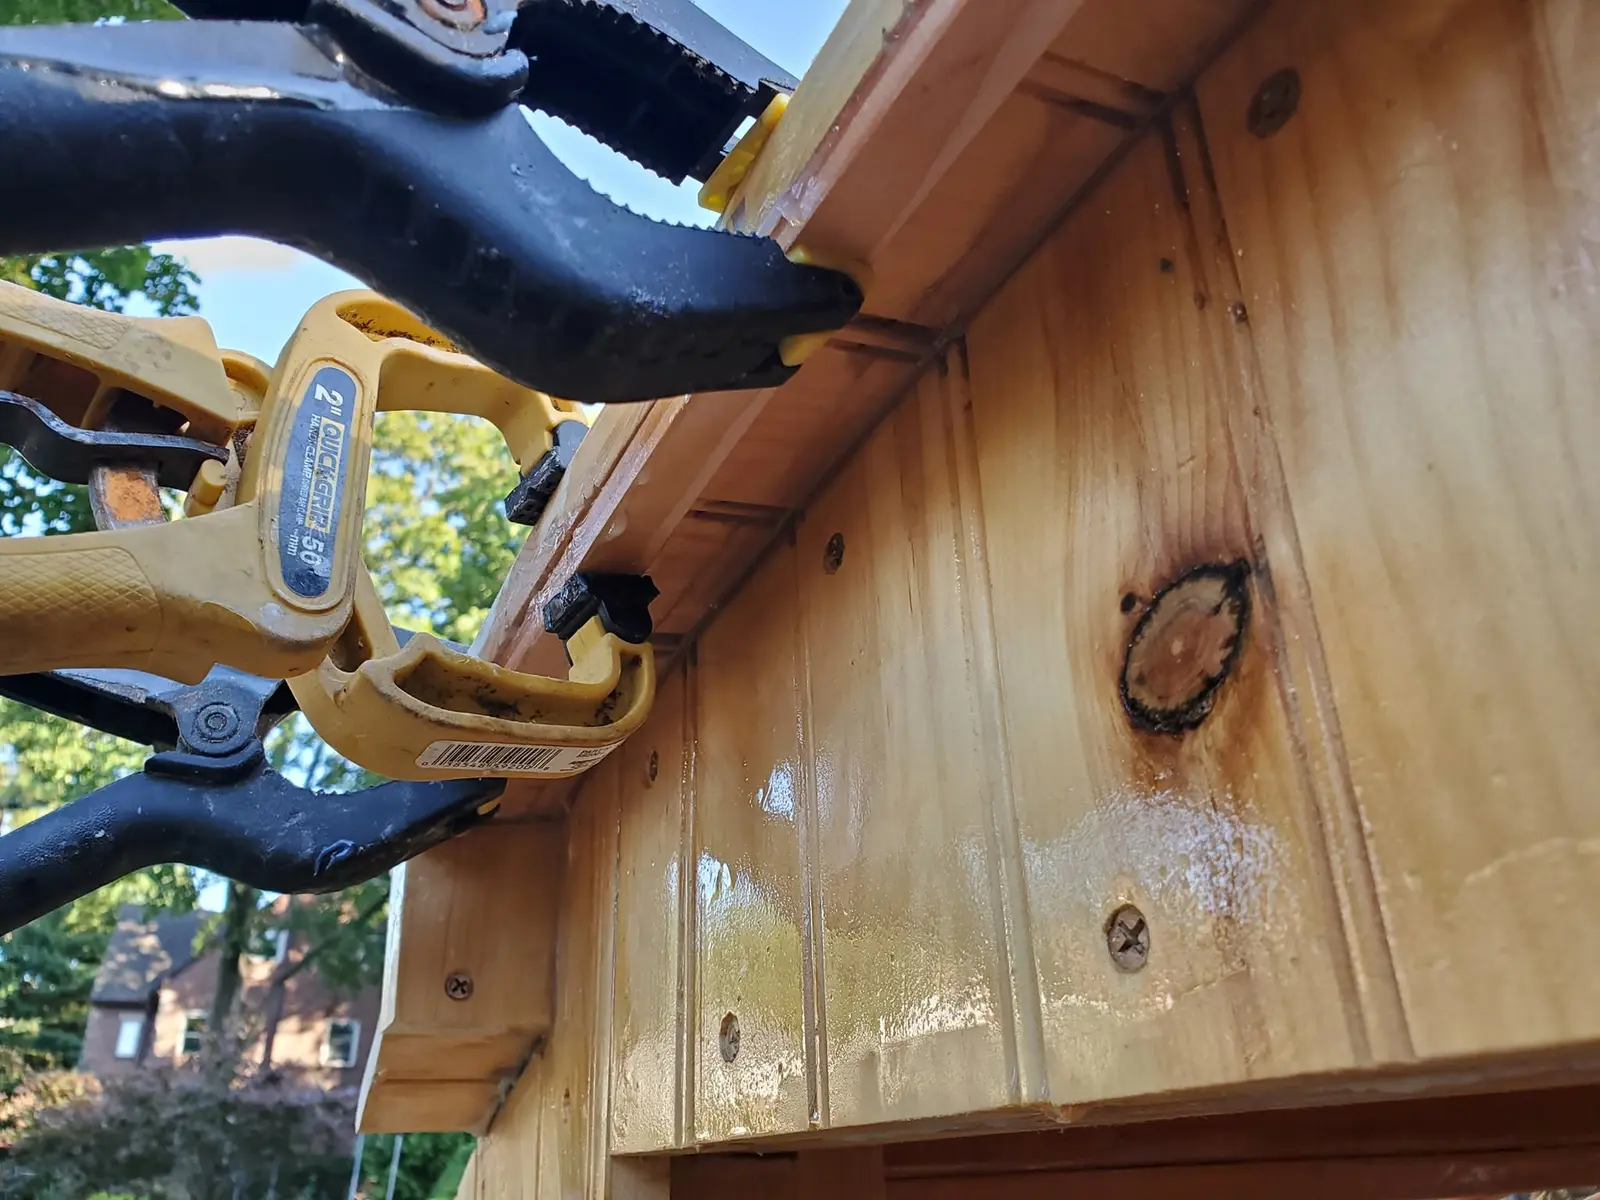
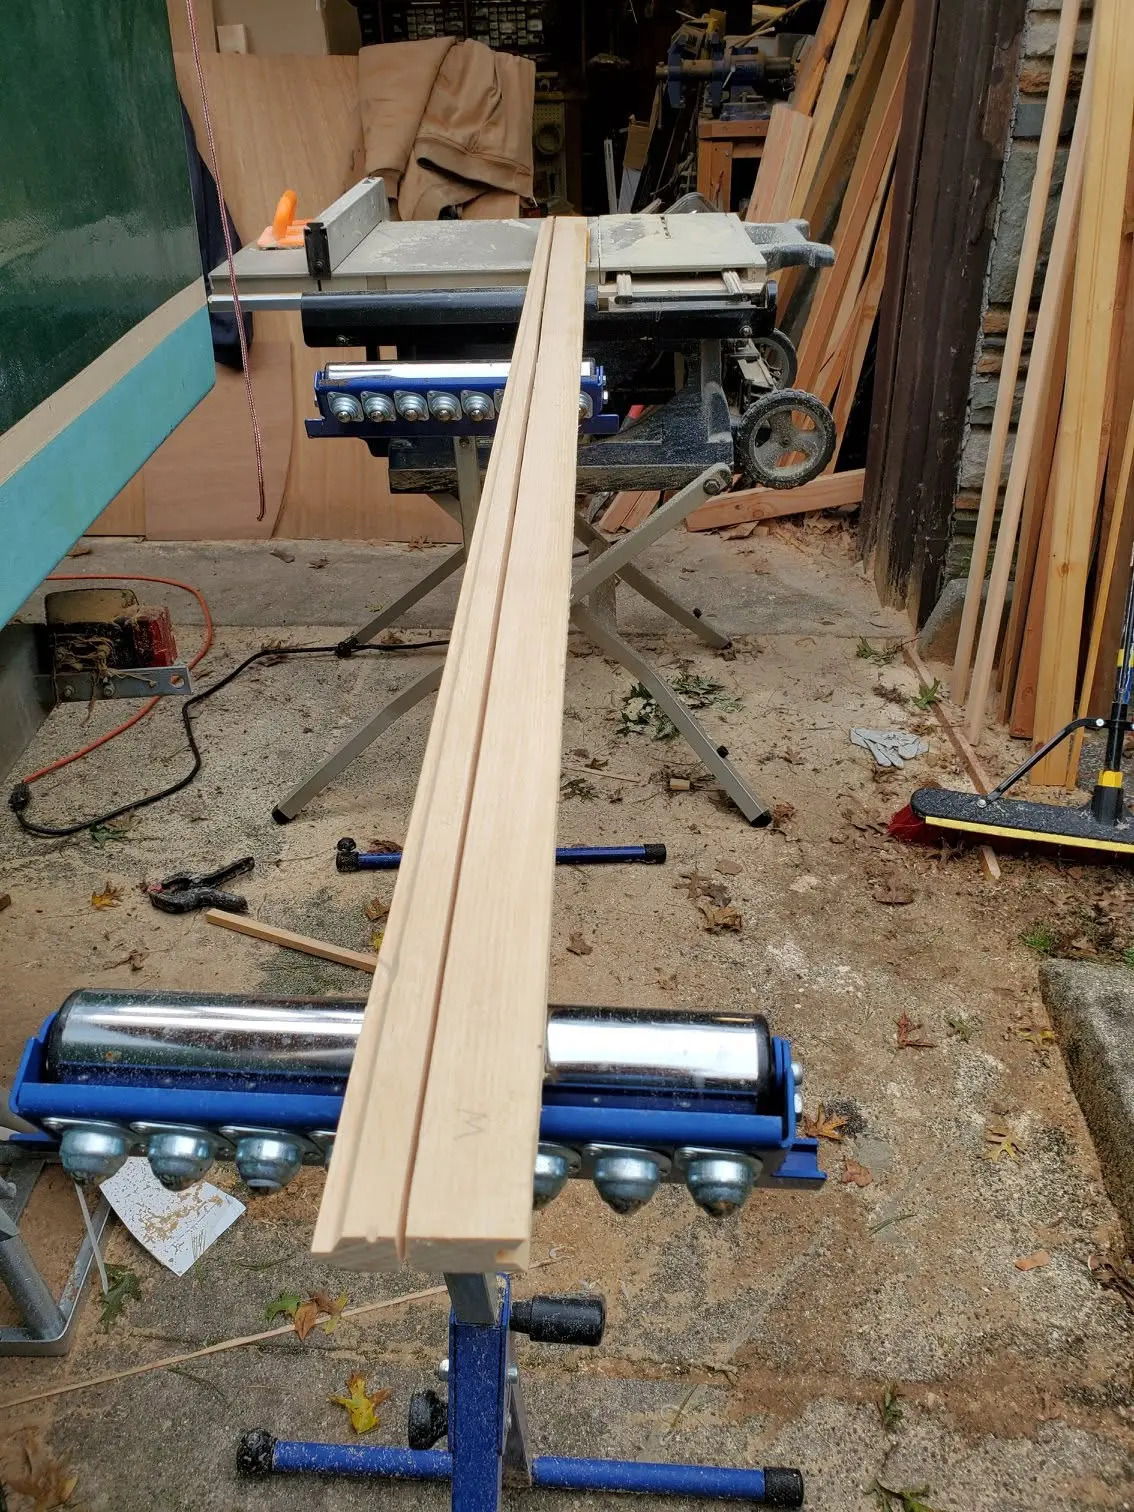
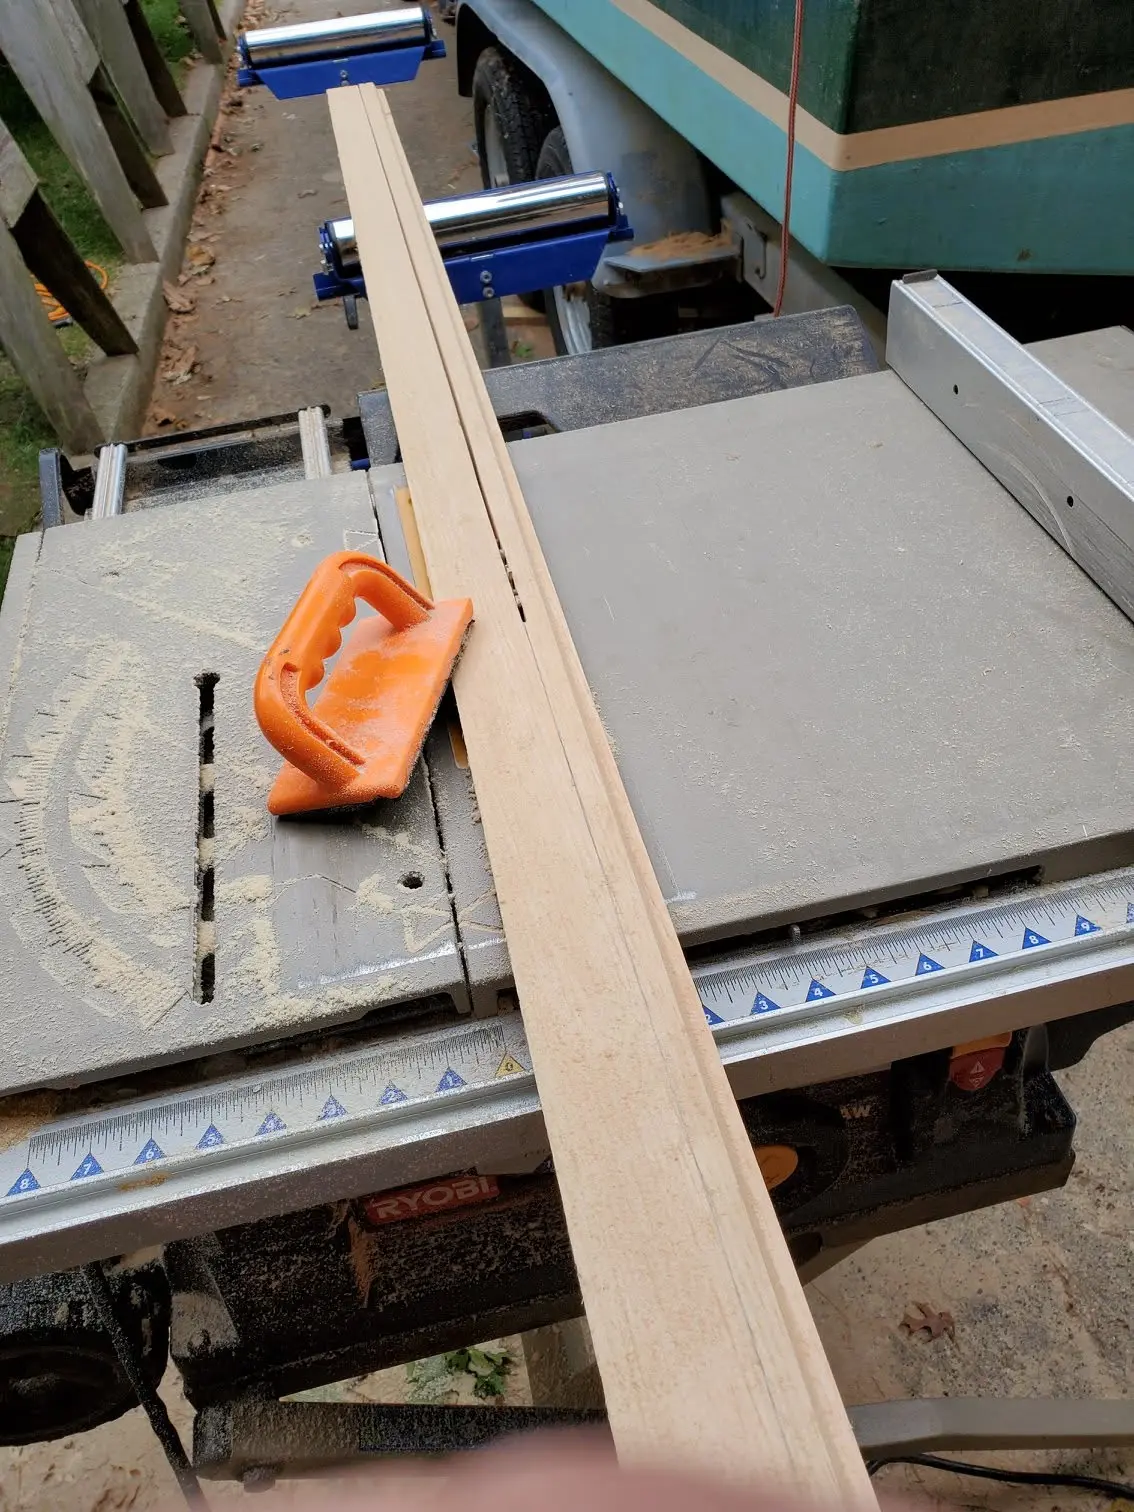
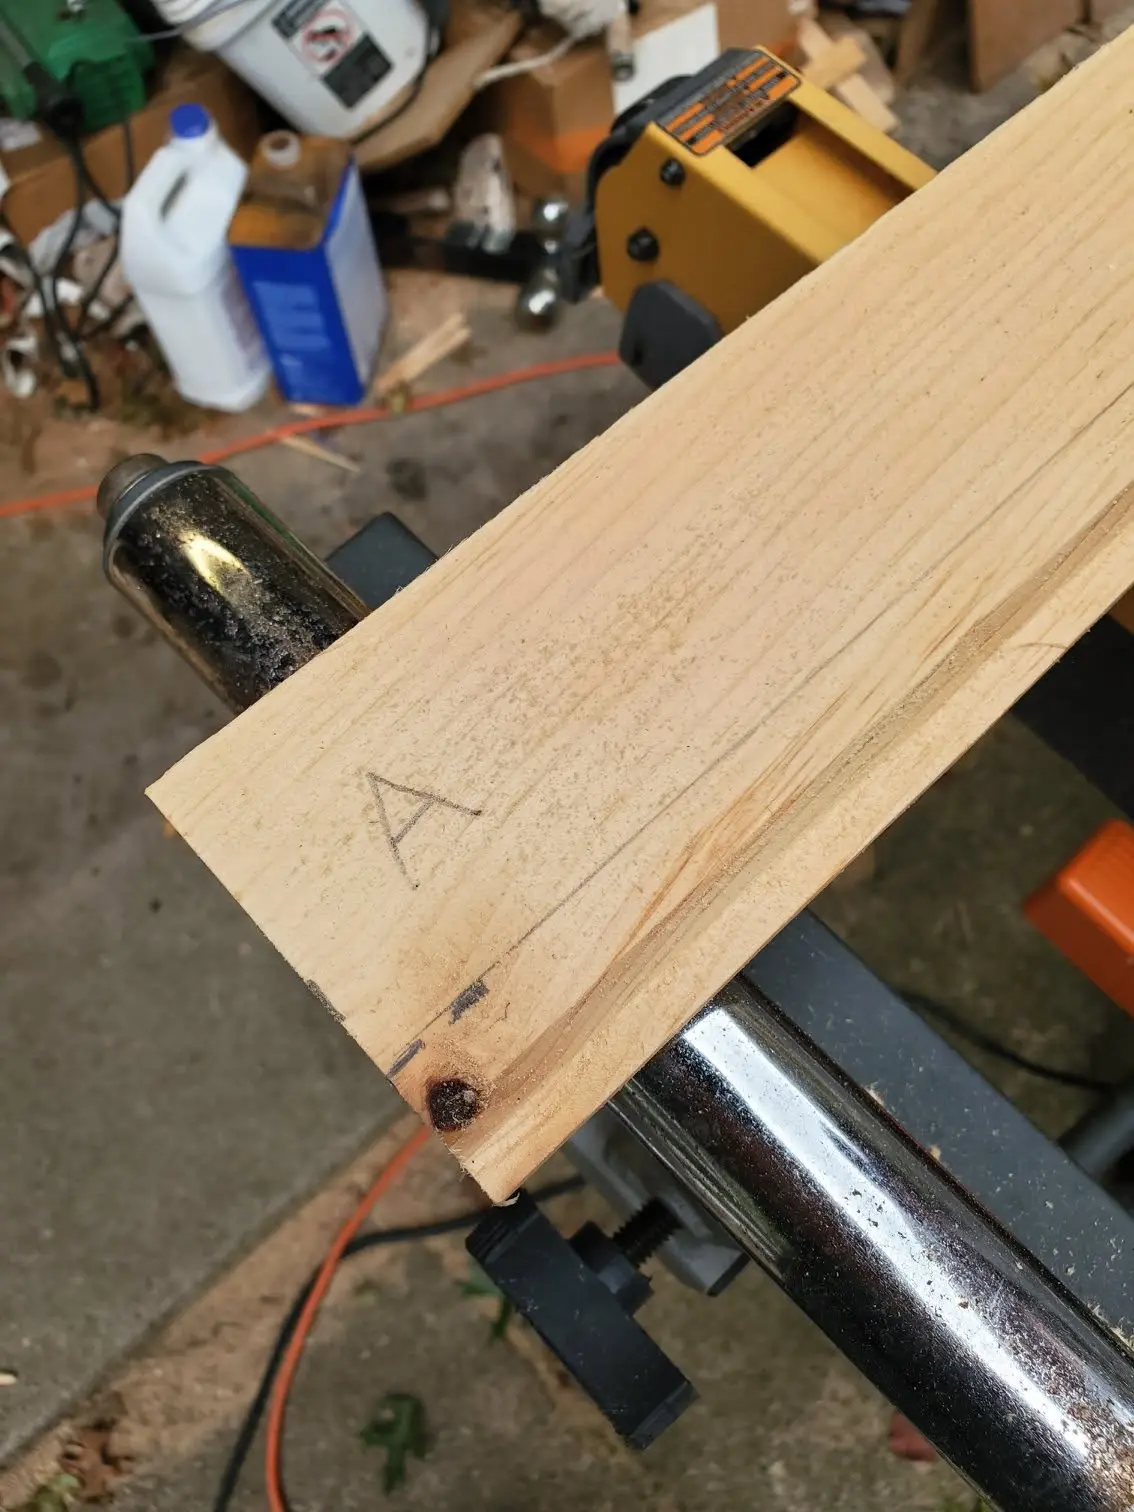
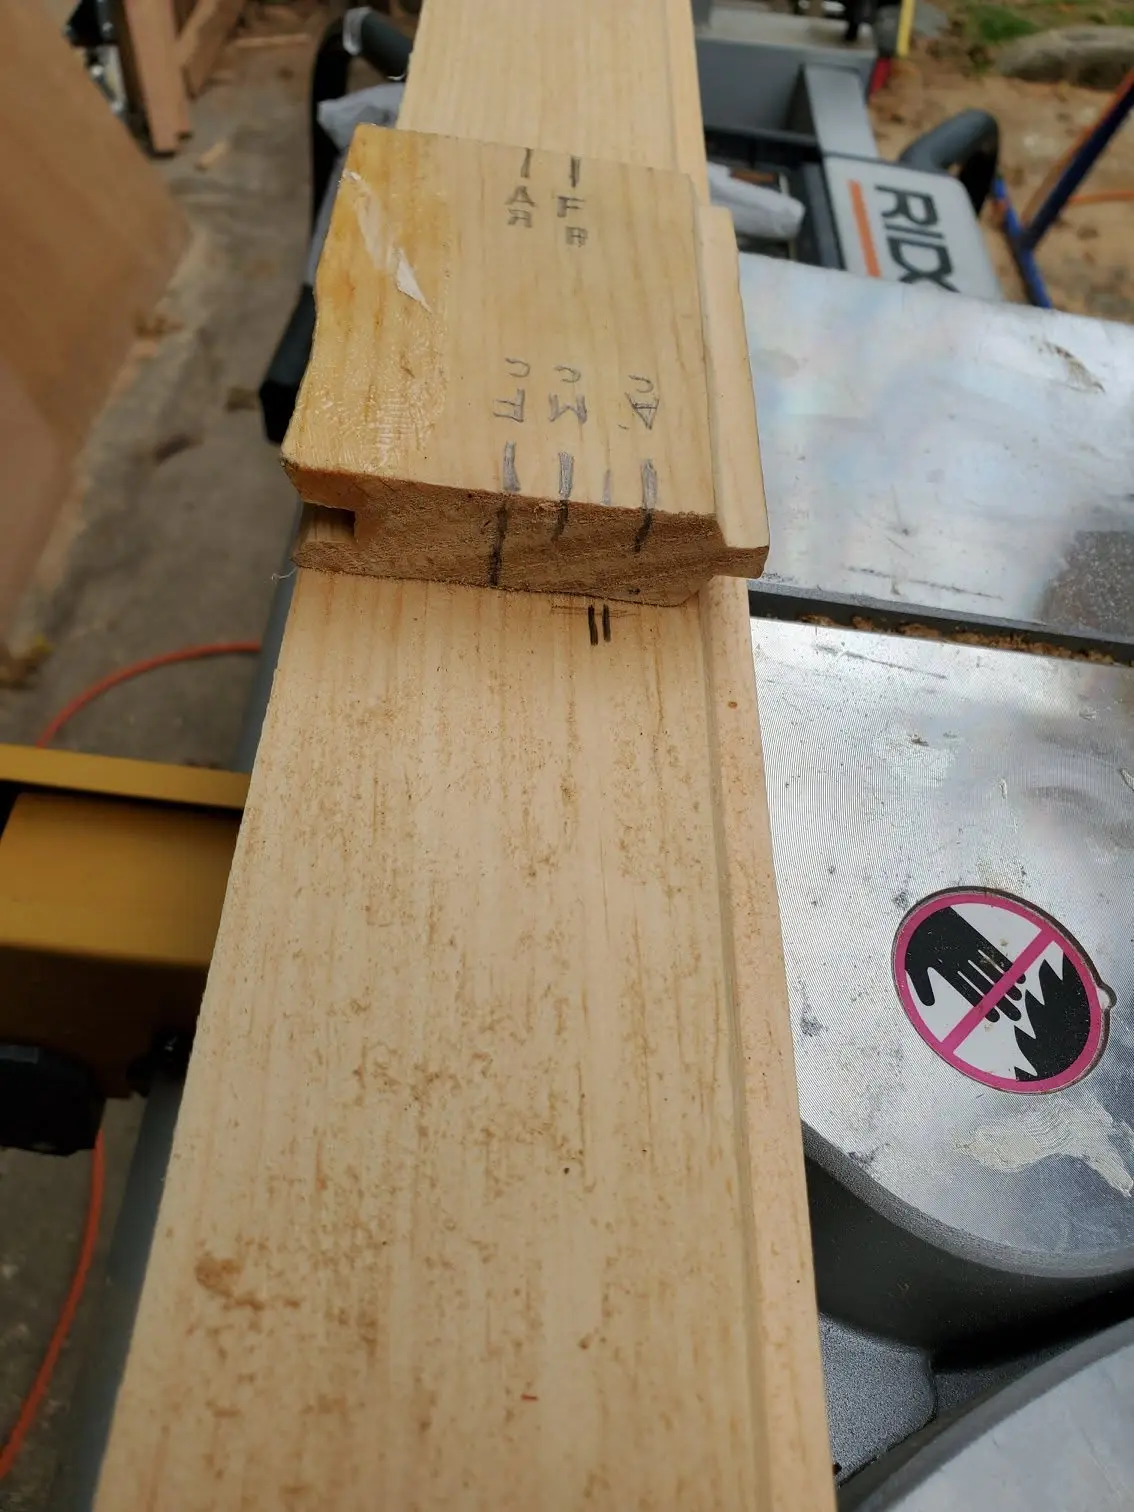
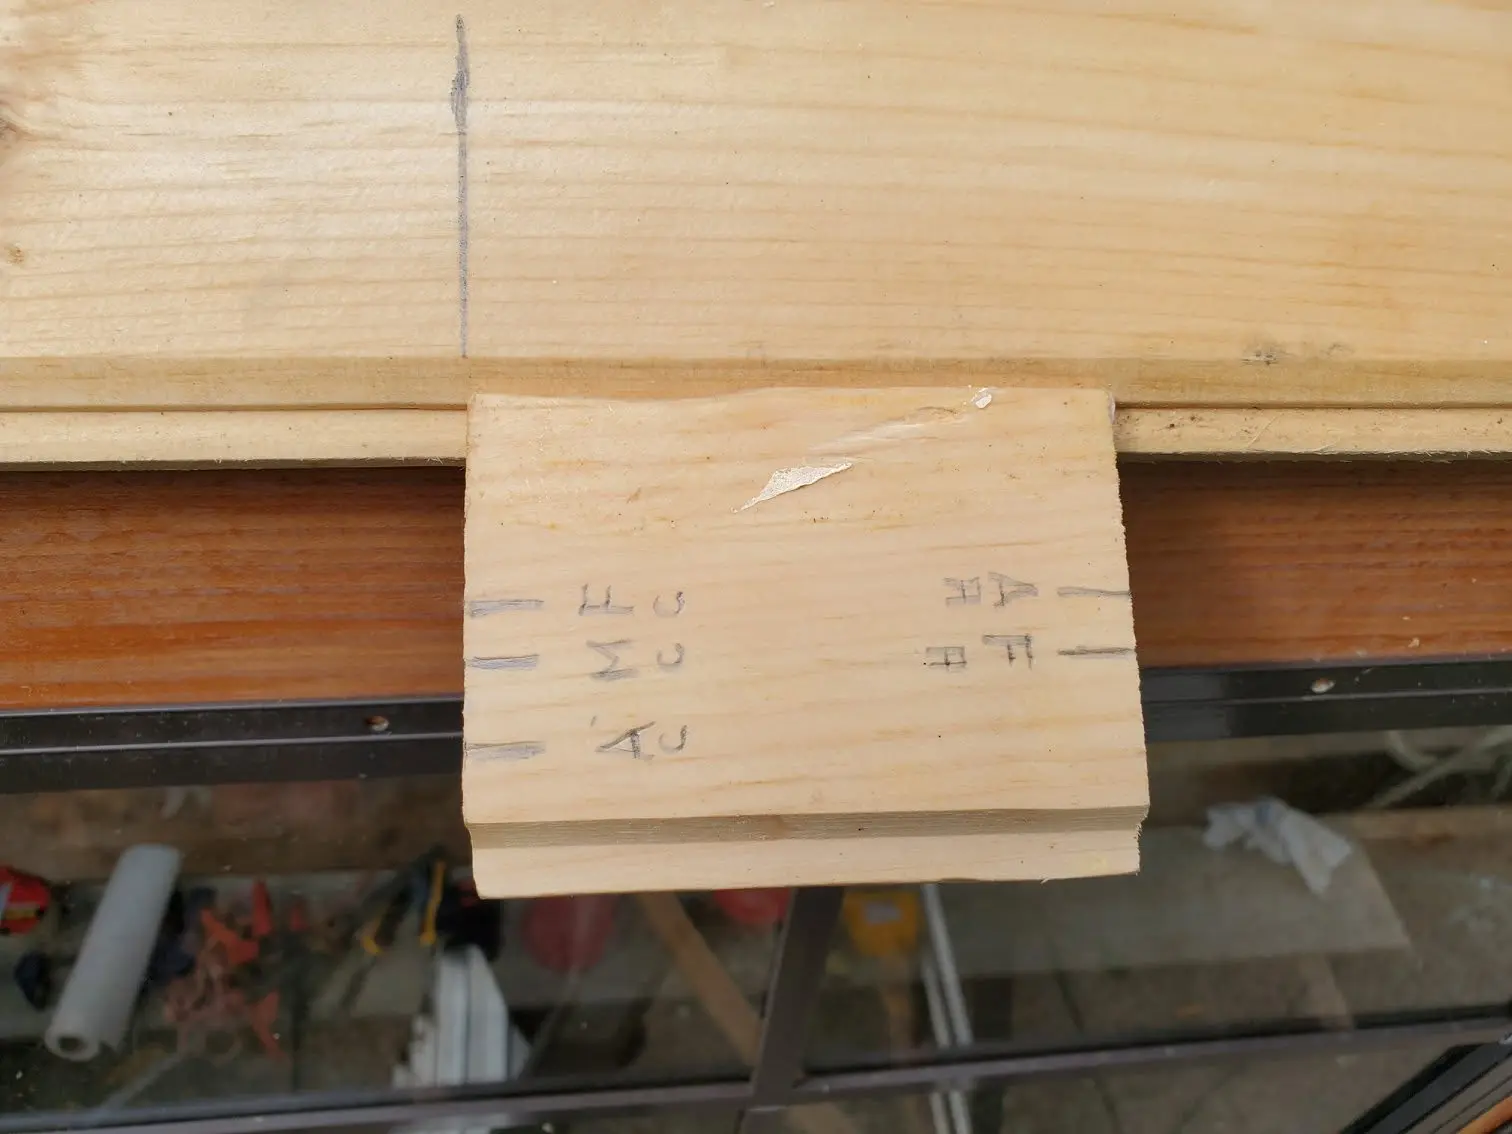
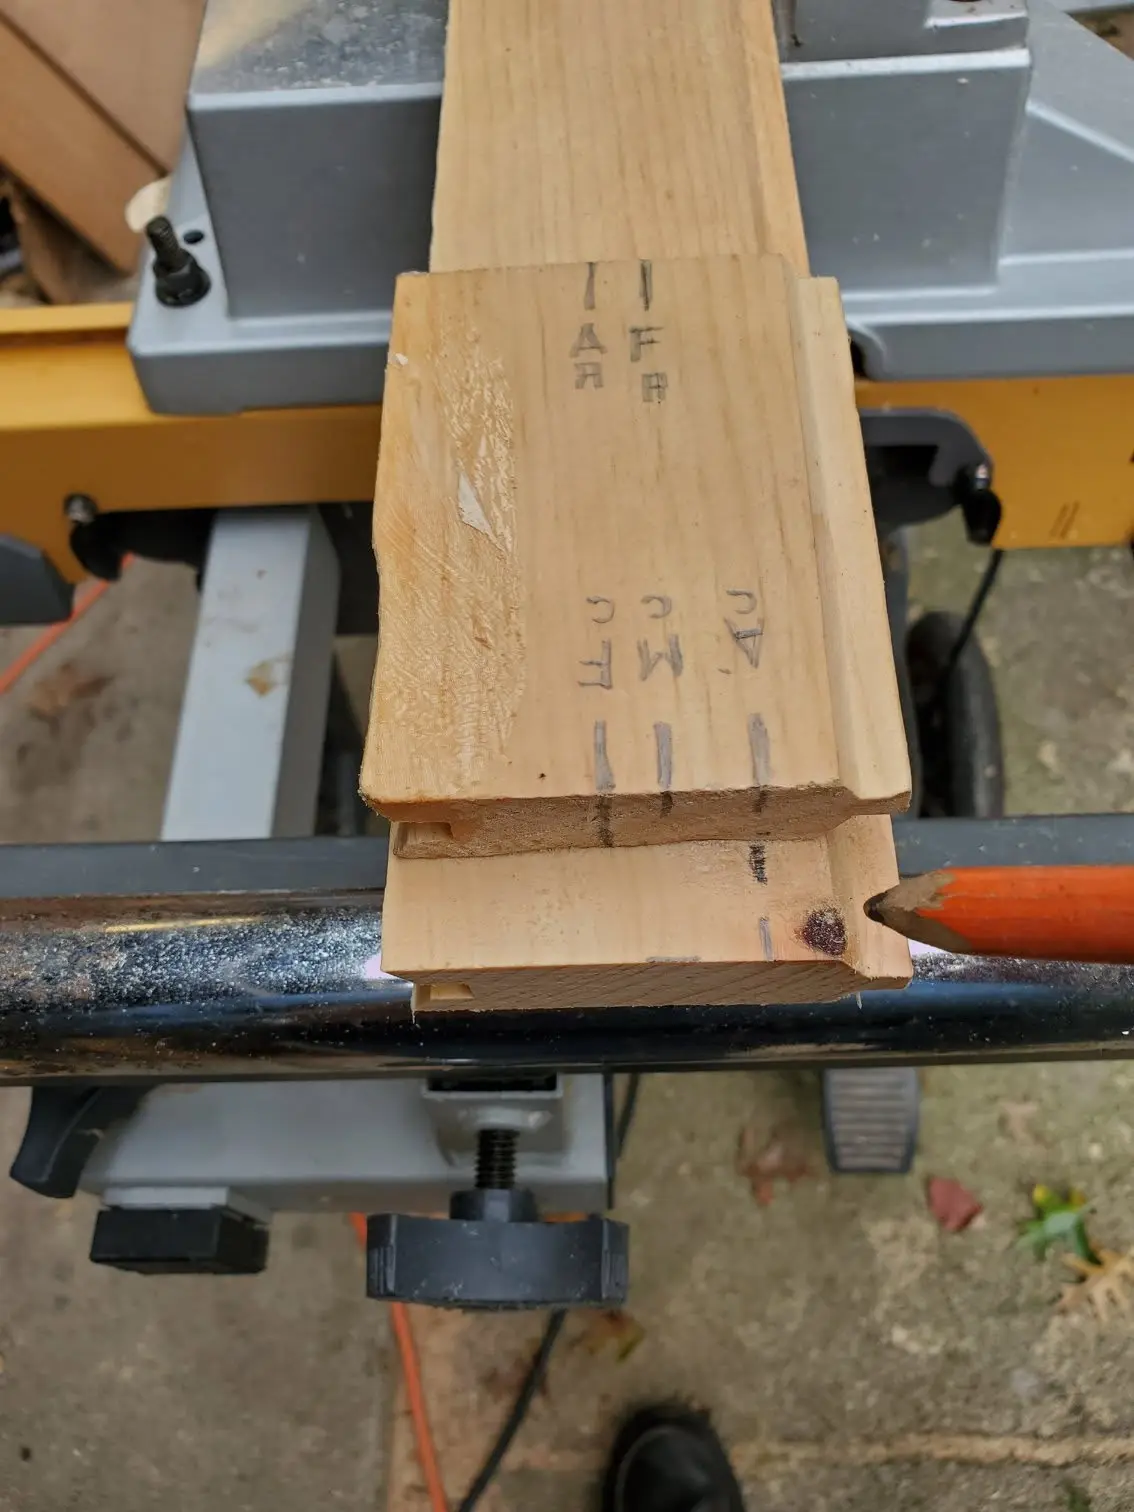
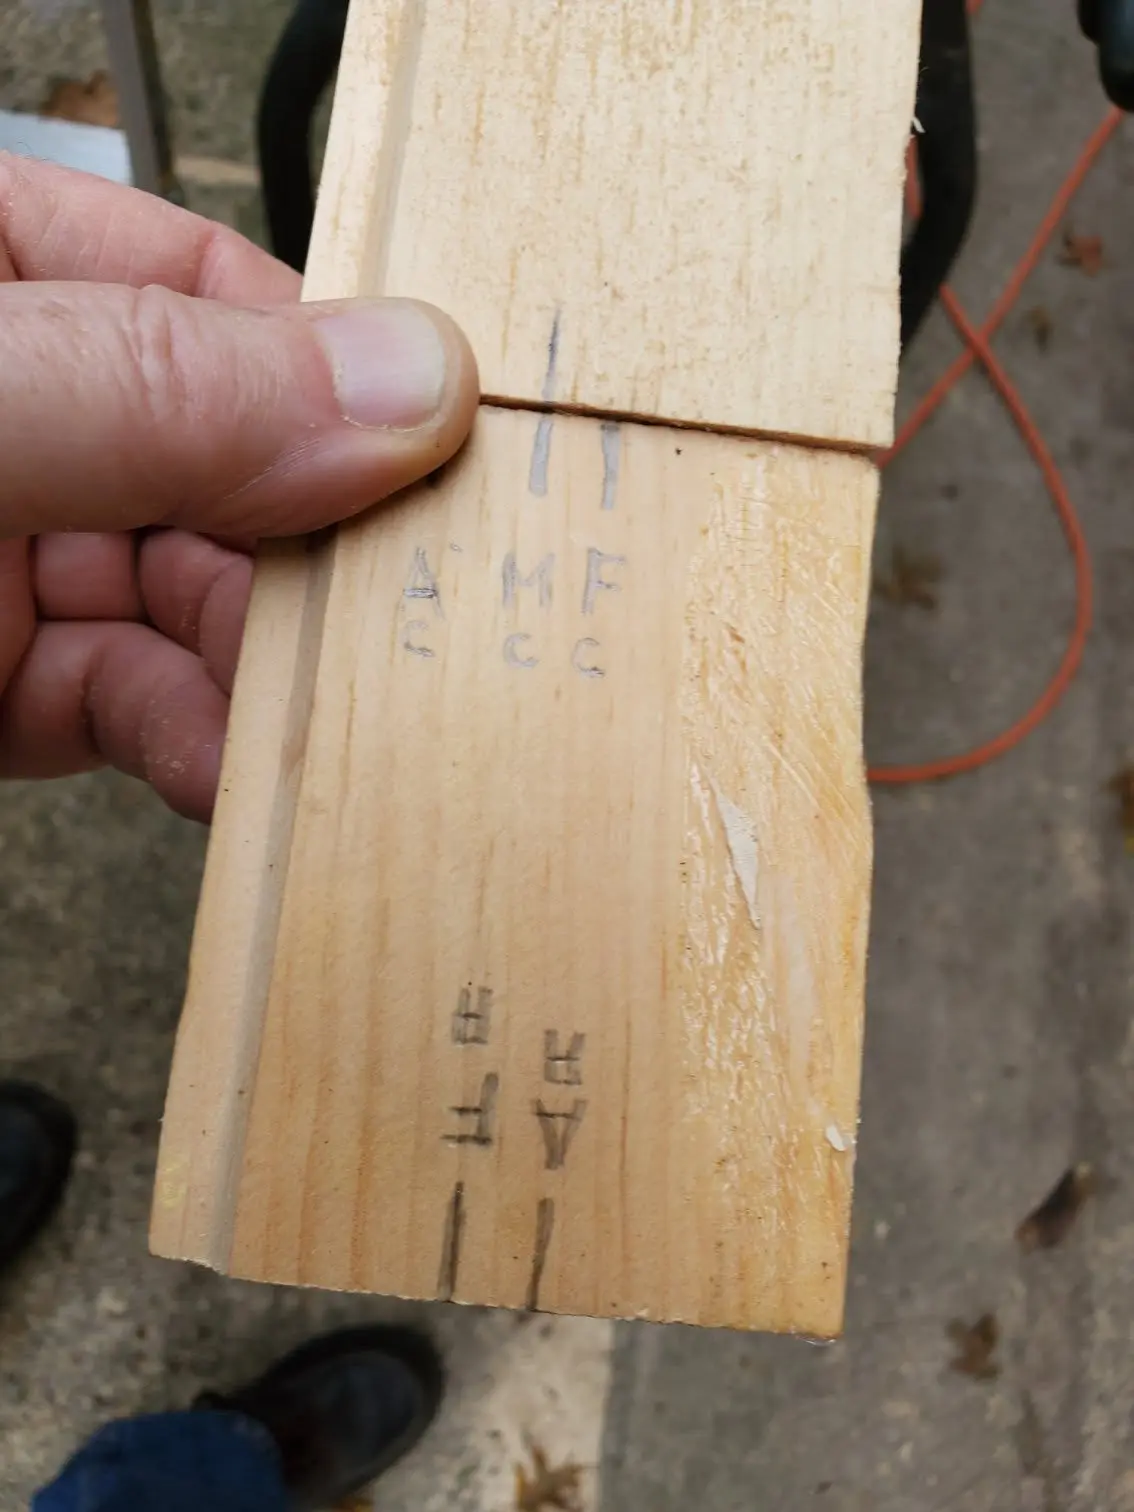
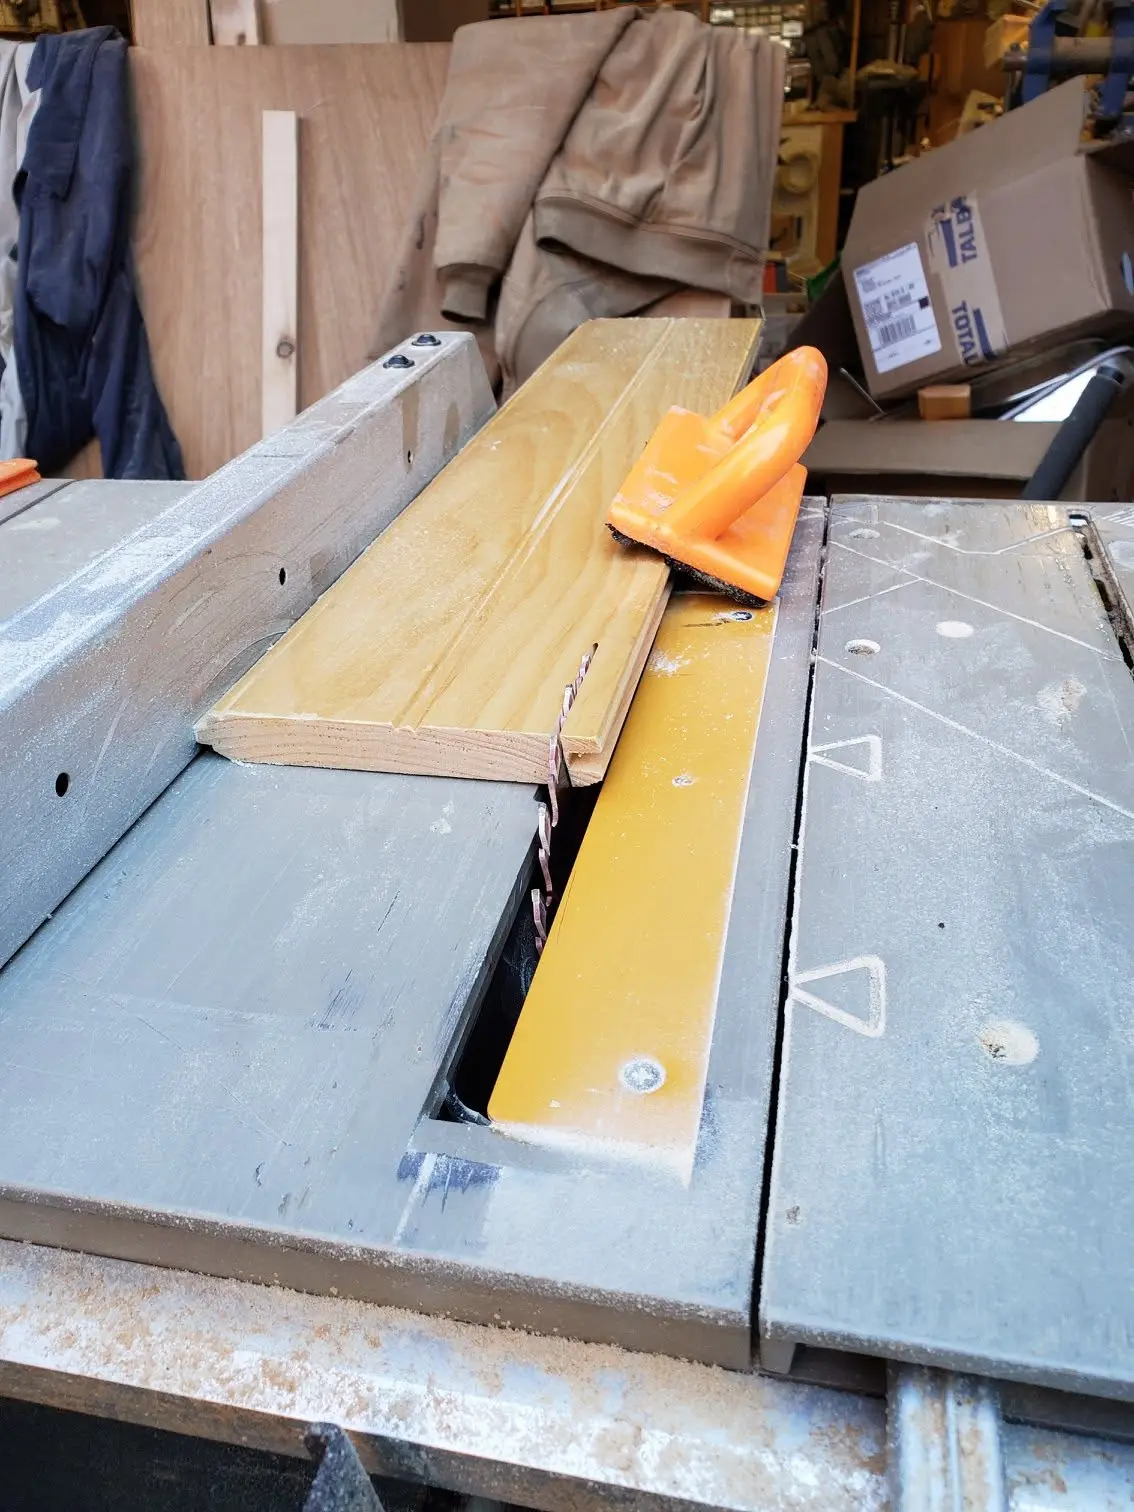
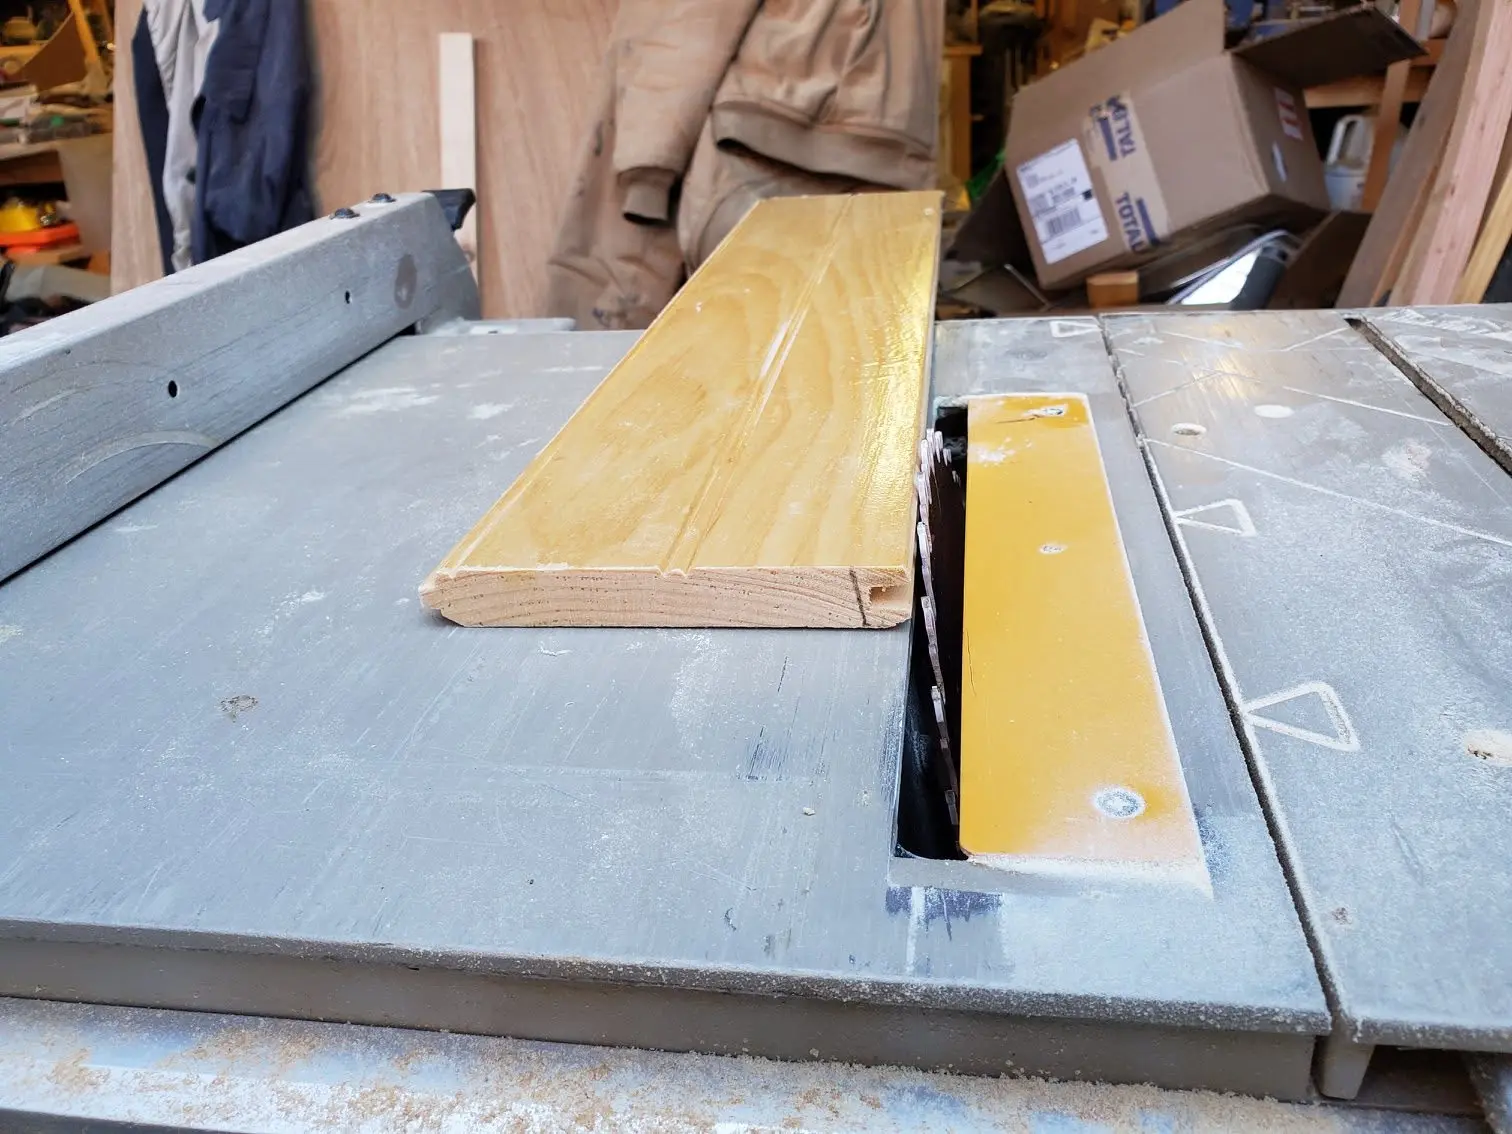
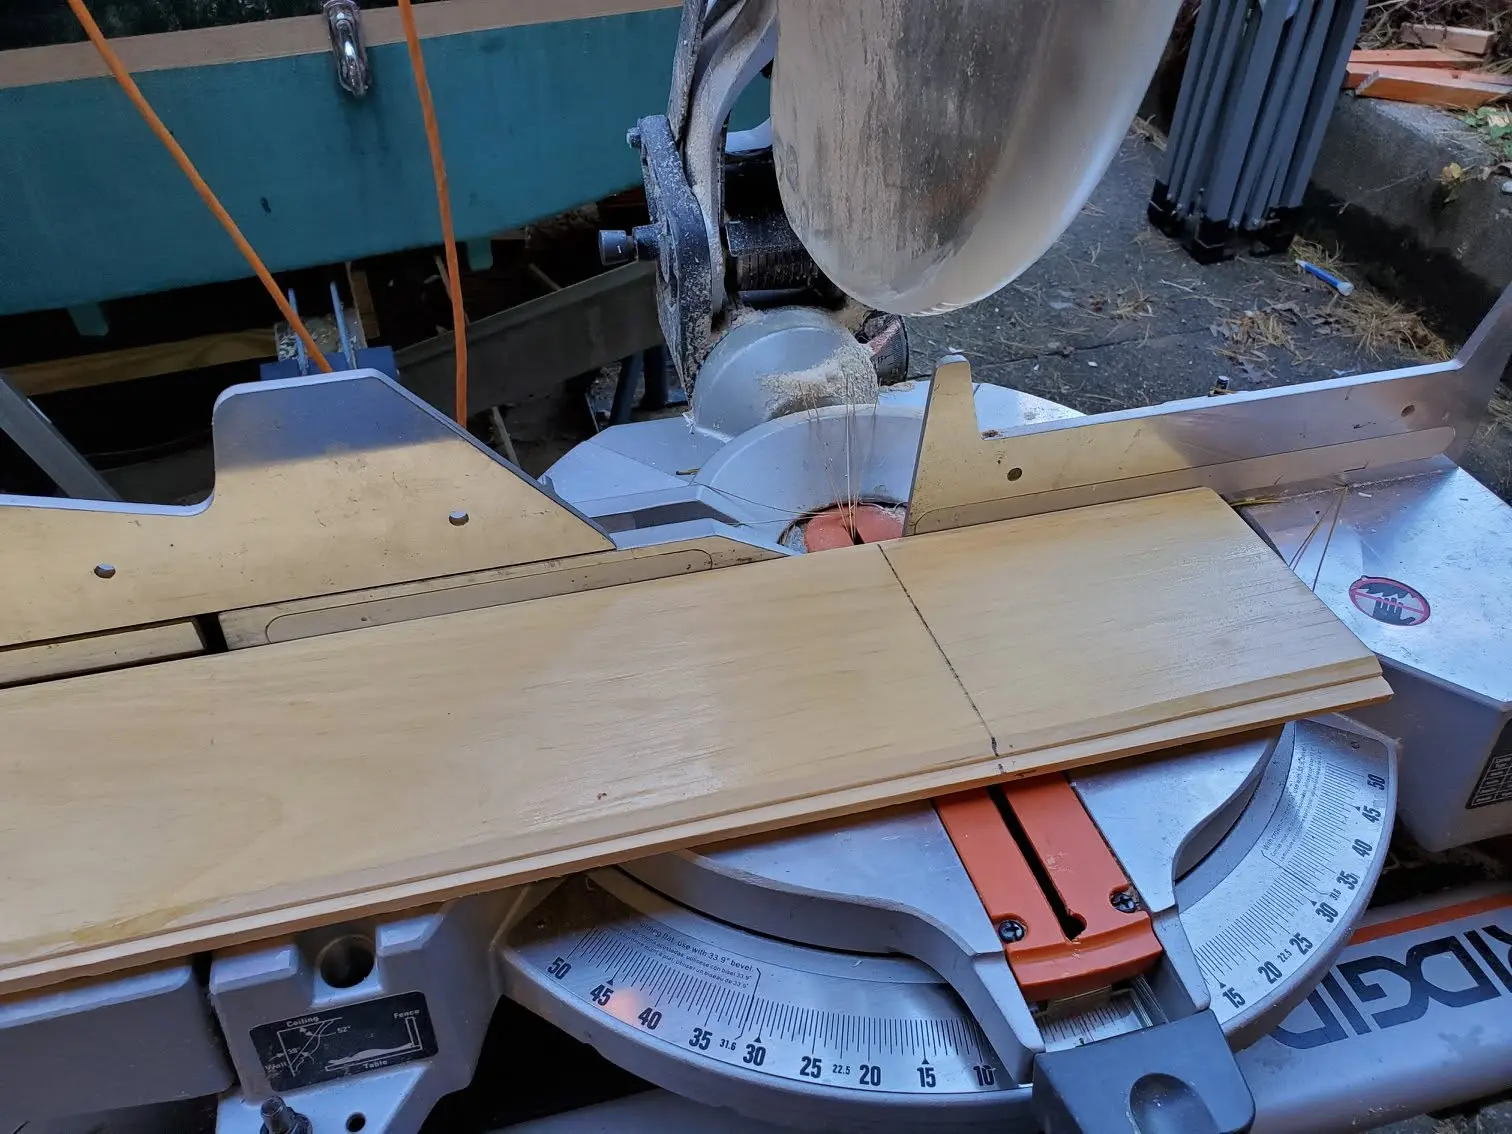
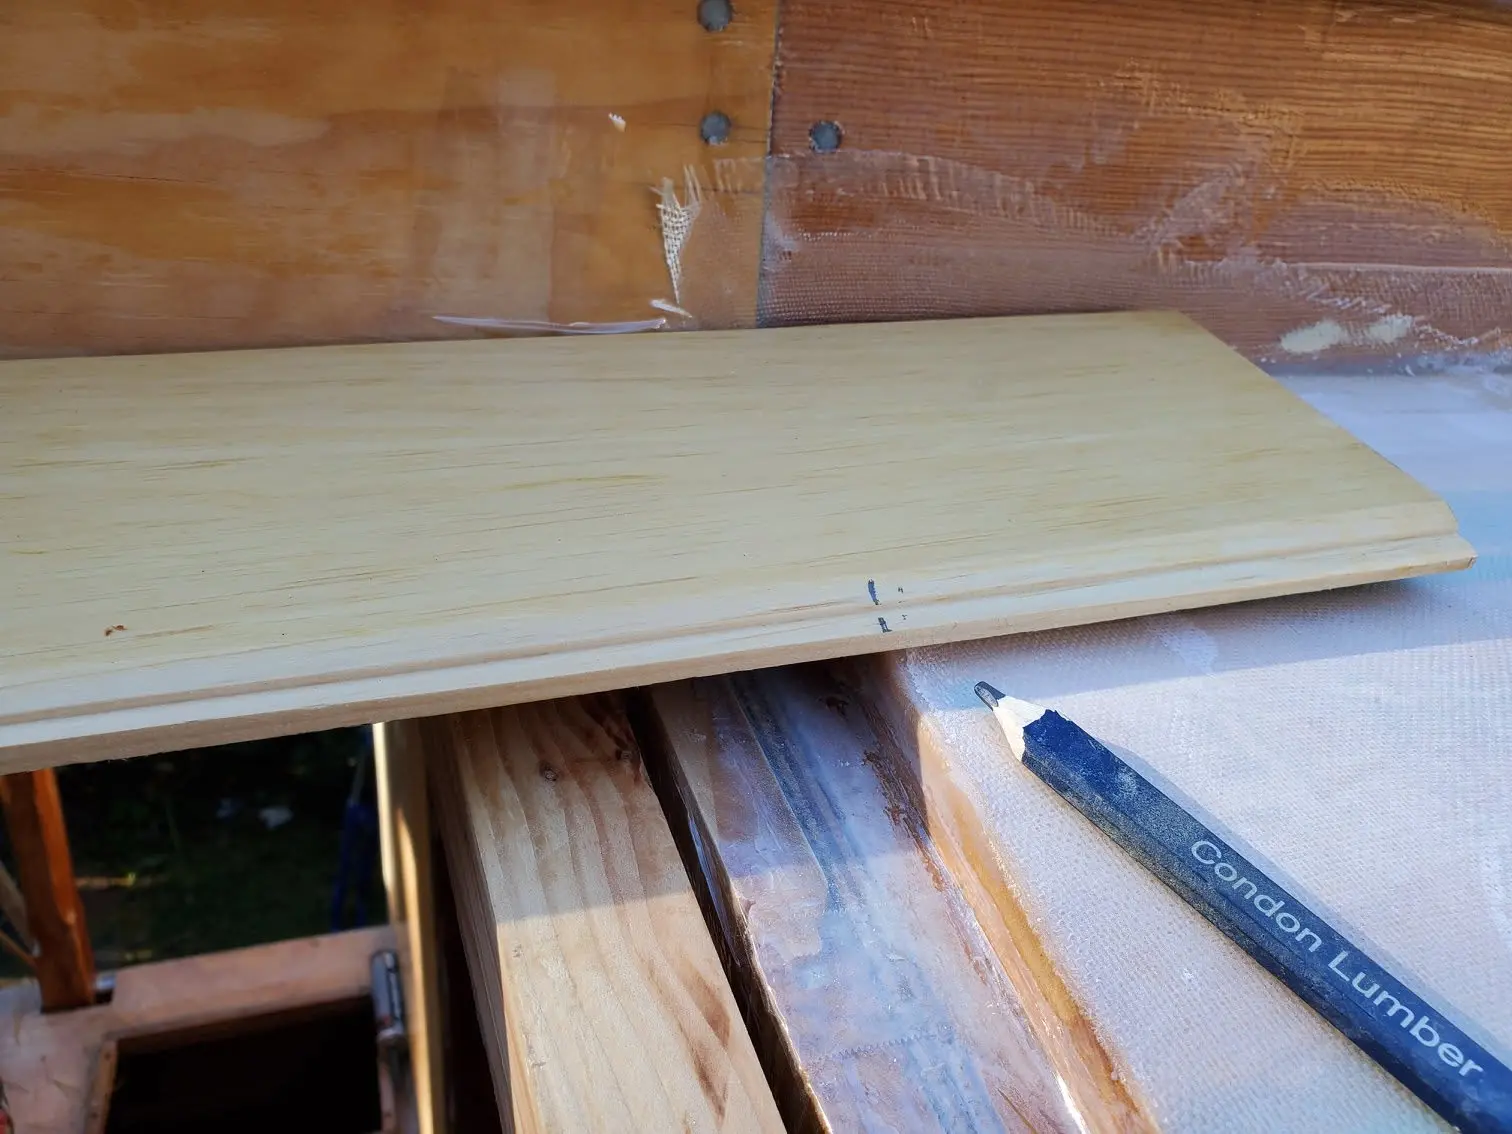
Houseboat update, Monday, October 7, 2019 (Part 2) -- Here’s how I measure and make the side edge overhangs for Jersey Girl’s roof. First, because of construction variations involving how individual roof planks fit together at their tongue-and-groove joints, I observe that the final side edges are not uniform. That means that the overhang planks will have to be tapered in one direction or the other, and possibly wider at the fore and aft ends and narrower in the middle. To check the variations, I start by using a scrap piece of tongue-and-groove as a measuring block. Having settled on a 1½-inch overhang, I press the tongue of the scrap block up against the tongue of the last installed roof plank at the aft end of the cabin and use a ruler to measure out 1 ½ inch from the side roof beam. I mark that measurement on the block with a pencil. Next, I hold the block up against the appropriate end of a t&g board and transfer the measurement from the block to the board. I do the same thing at the other end of the 6-foot board, which in this instance will be the midpoint of the 12-foot cabin roof. The boards I am using are 6 feet long, longer than the 4-foot builder’s level I will use as a straight edge, so I’ll have to make another mark in the middle. I do that by extrapolating a mid-point mark on the measuring block halfway between the two end marks, and transfer that to the midpoint of the plank. Then, I know that when I connect the three marks, I’ll have a straight line. Then, I mark the position on the face of the board for proper orientation during installation (It's easy to forget which side is up or which end is forward.) WARNING: the next step, cutting along the tapered line the way I do it is inherently stupid and dangerous, and I recommend you find a safer way to do it. I do it on a contractor’s table saw, freehand, without a fence, a taper jig or an anti-kickback kerf splitter. Please don’t do it this way. Instead, take a little more time and use a Japanese pull saw, an exquisite hand tool that lets you make long rip cuts without the risk of imminent maiming! With all 10 fingers having survived my impetuous method, I then edge-glue and screw the overhang strips to the roof planks, and I have a uniform 1 ½-inch overhang all the way along the length of Jersey Girl’s roof.
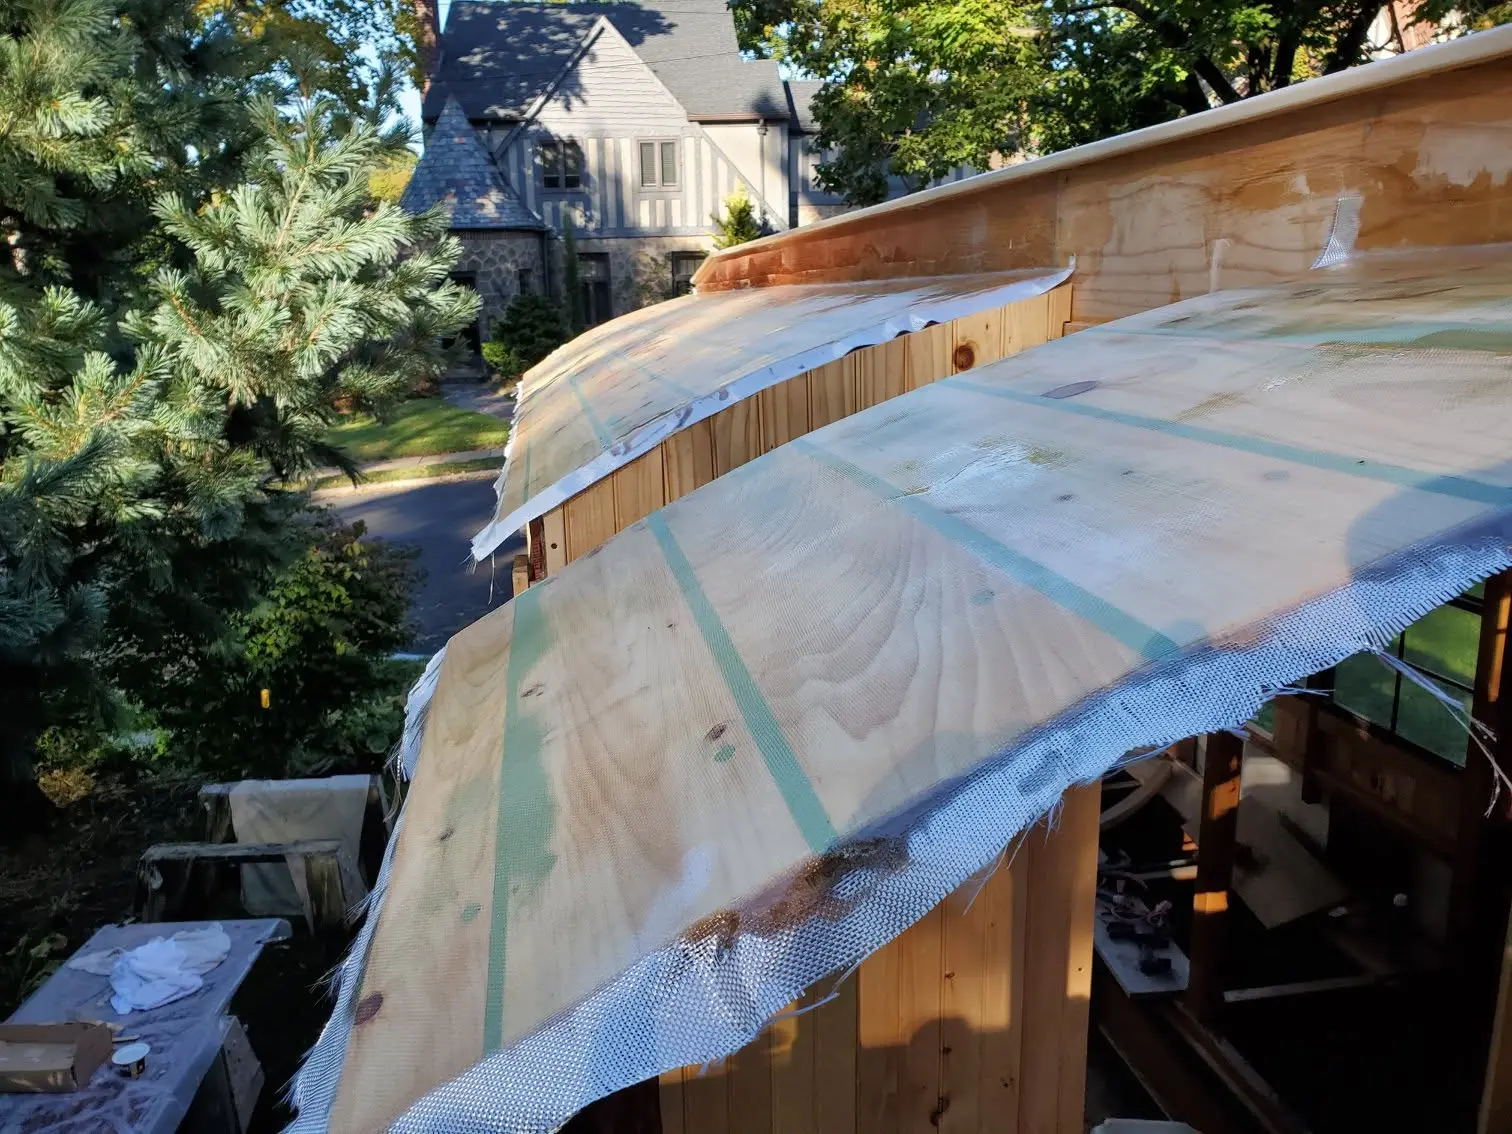
As the epoxy-bedded fiberglass cures on both sides of Jersey Girl's roof, it's time to...
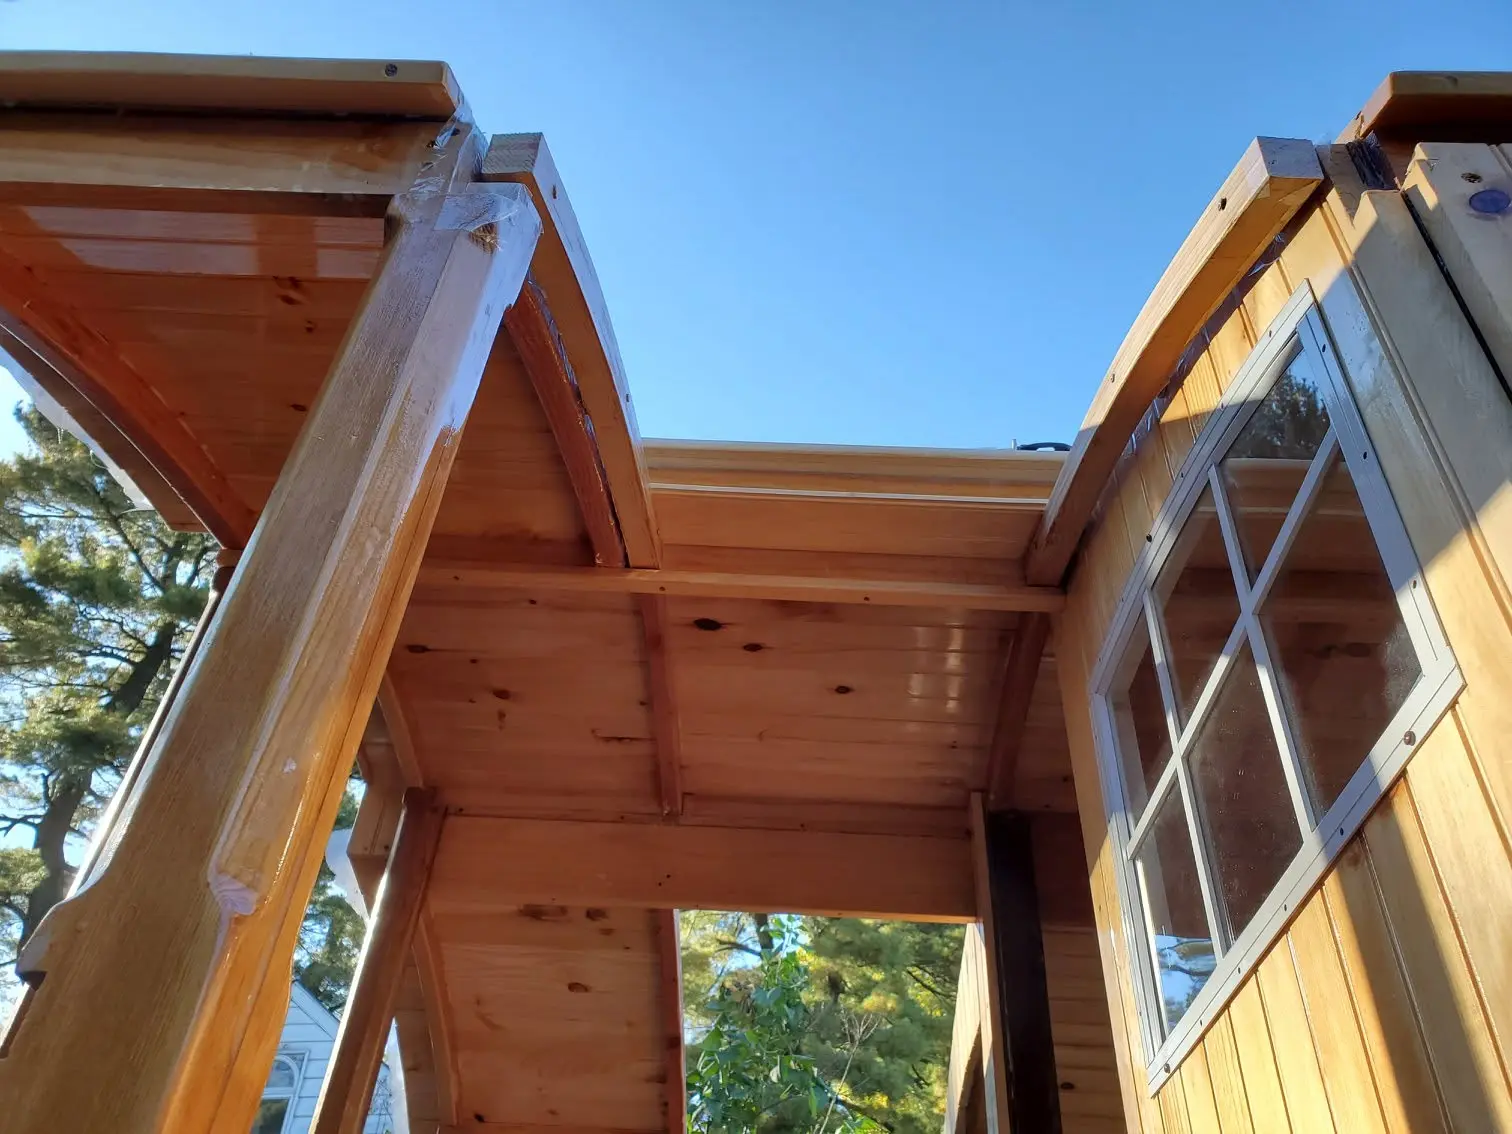
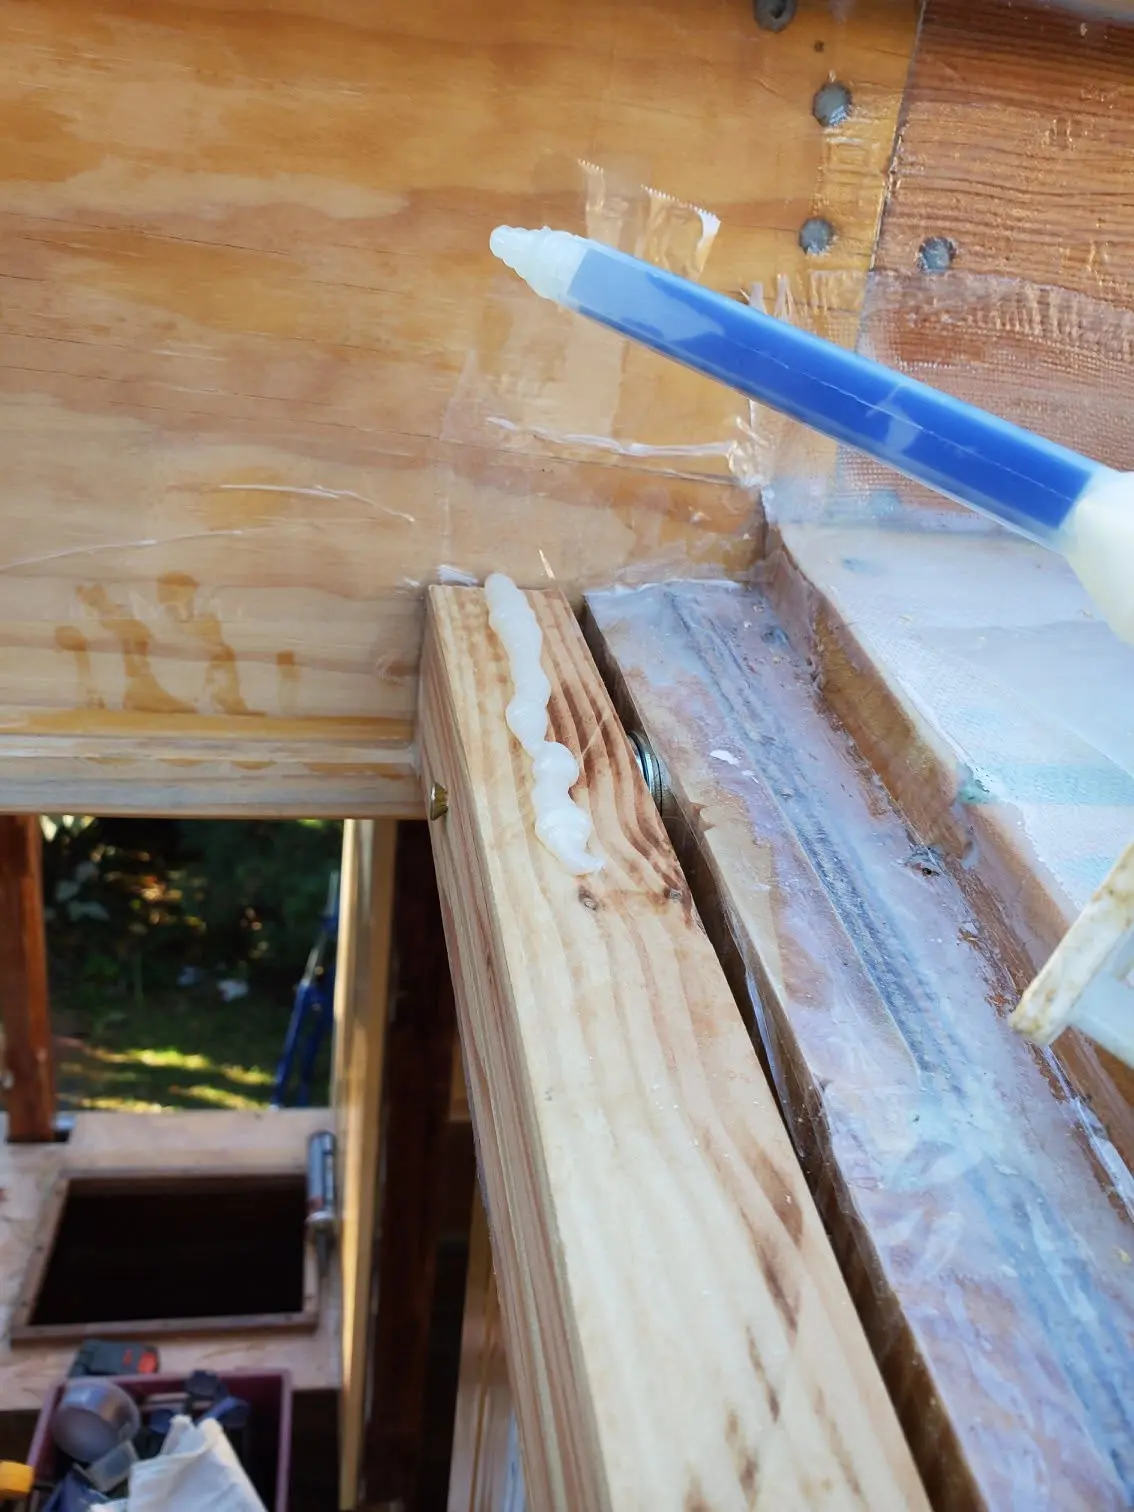
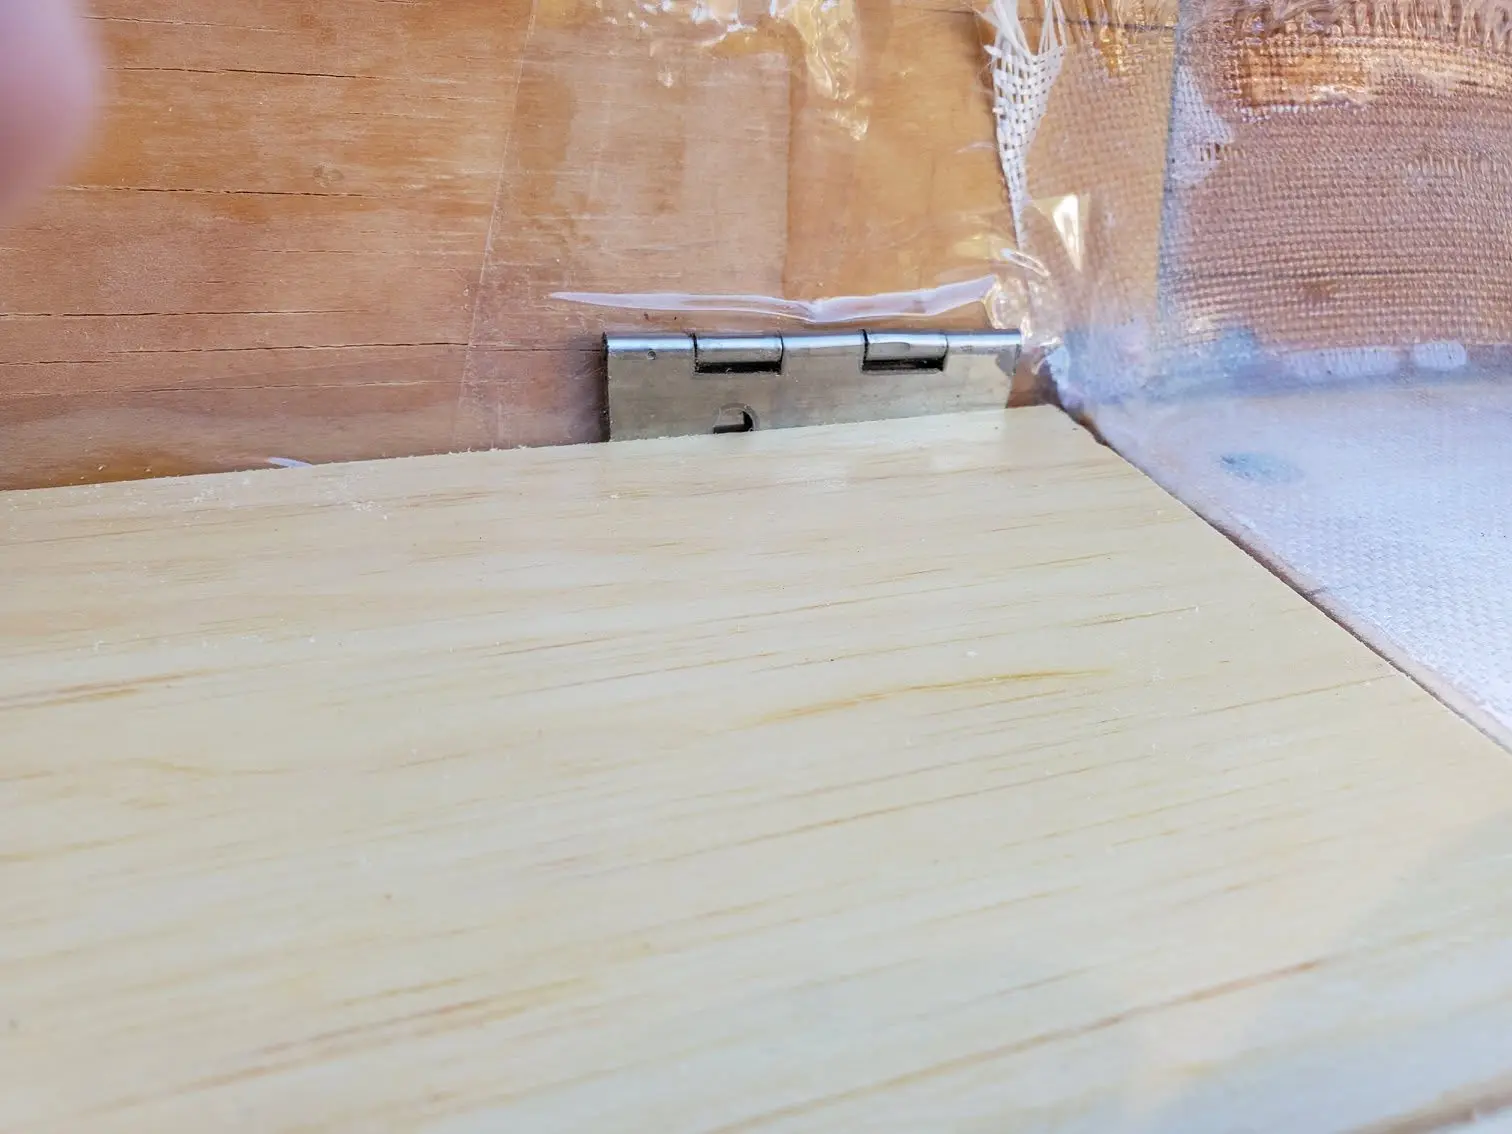
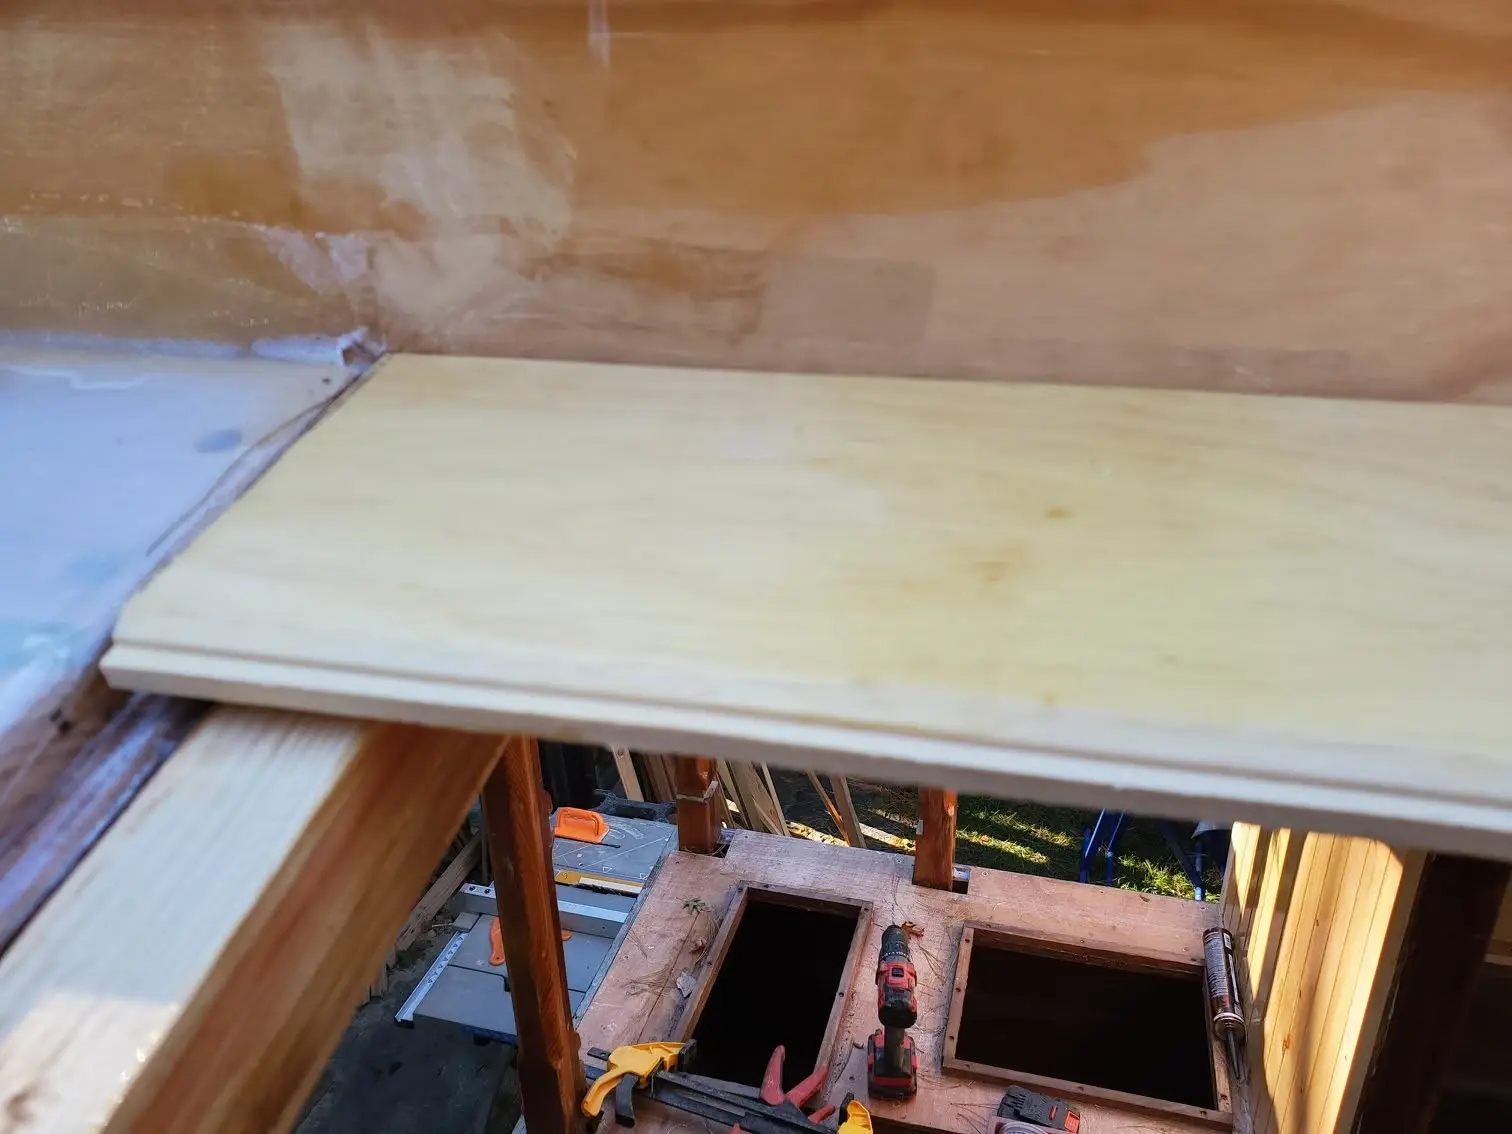
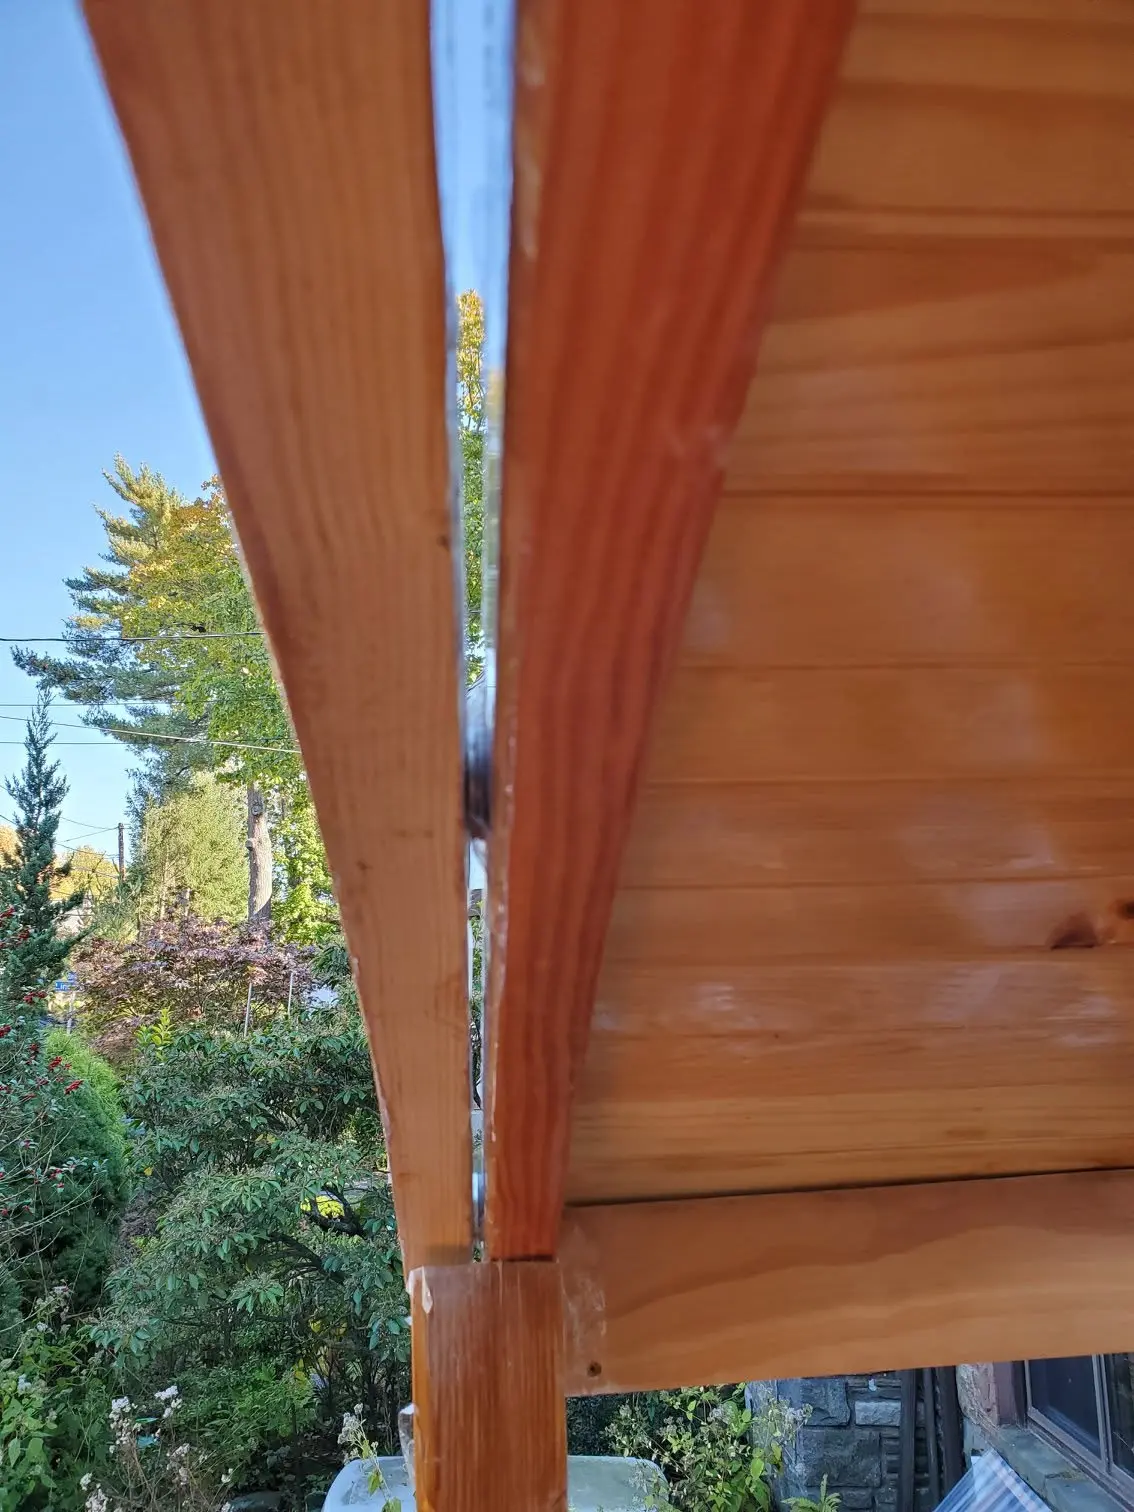
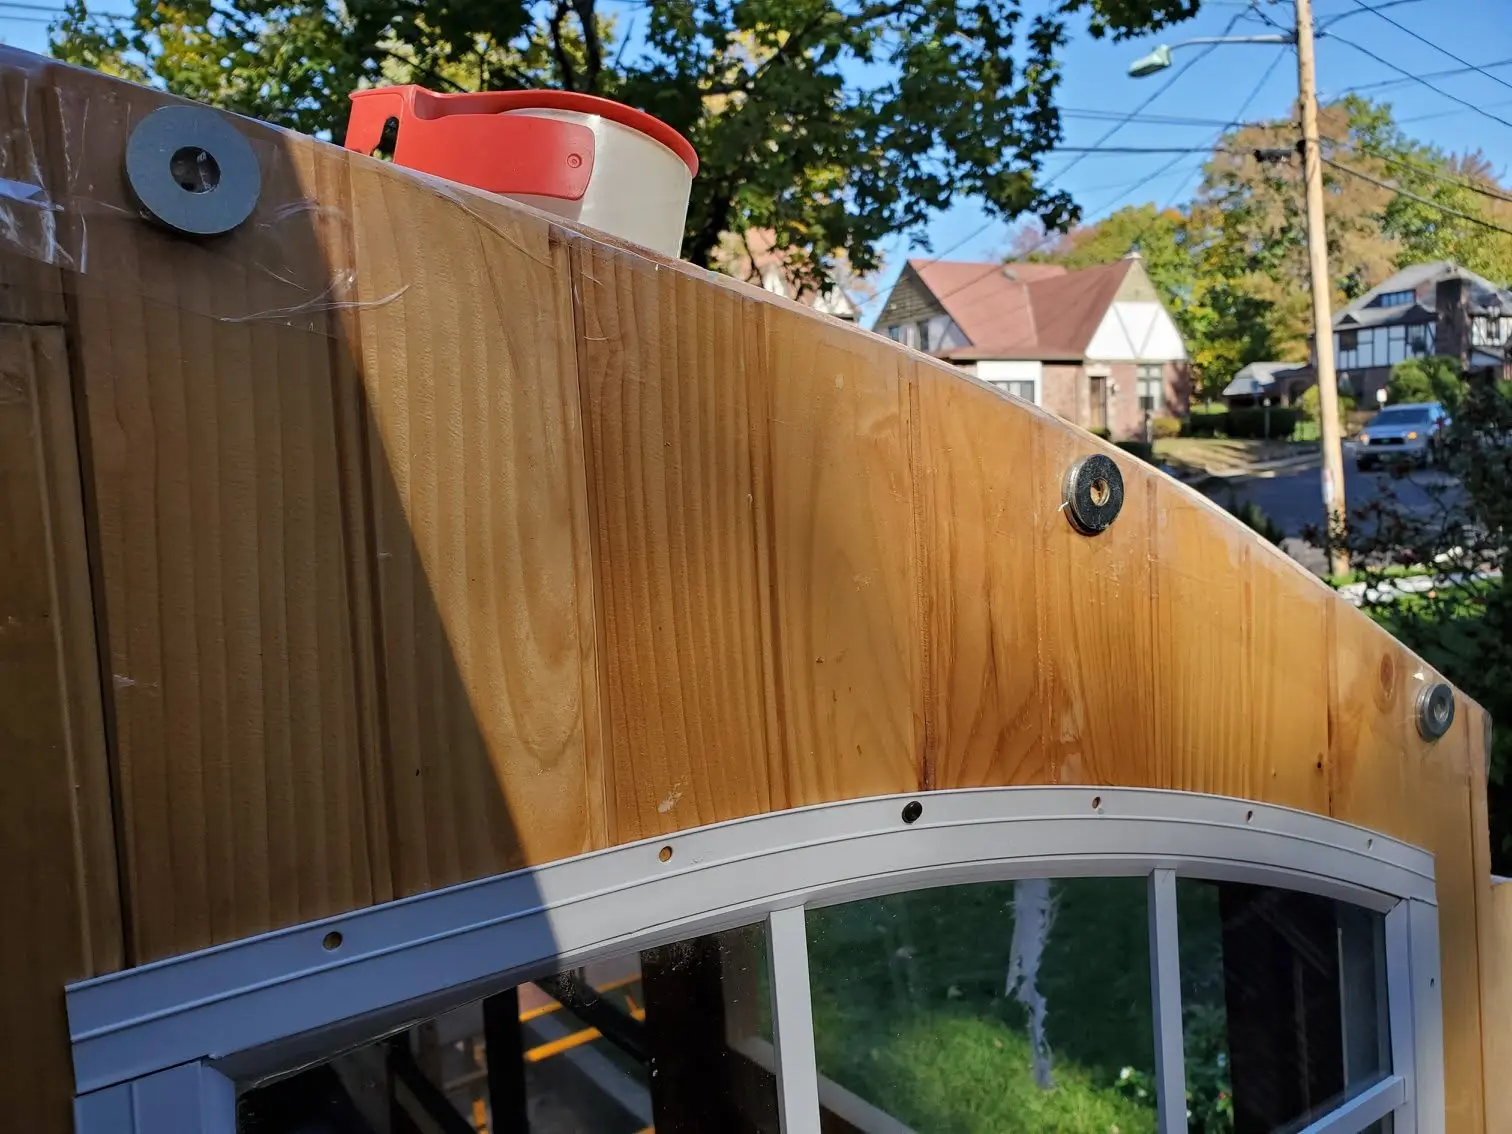
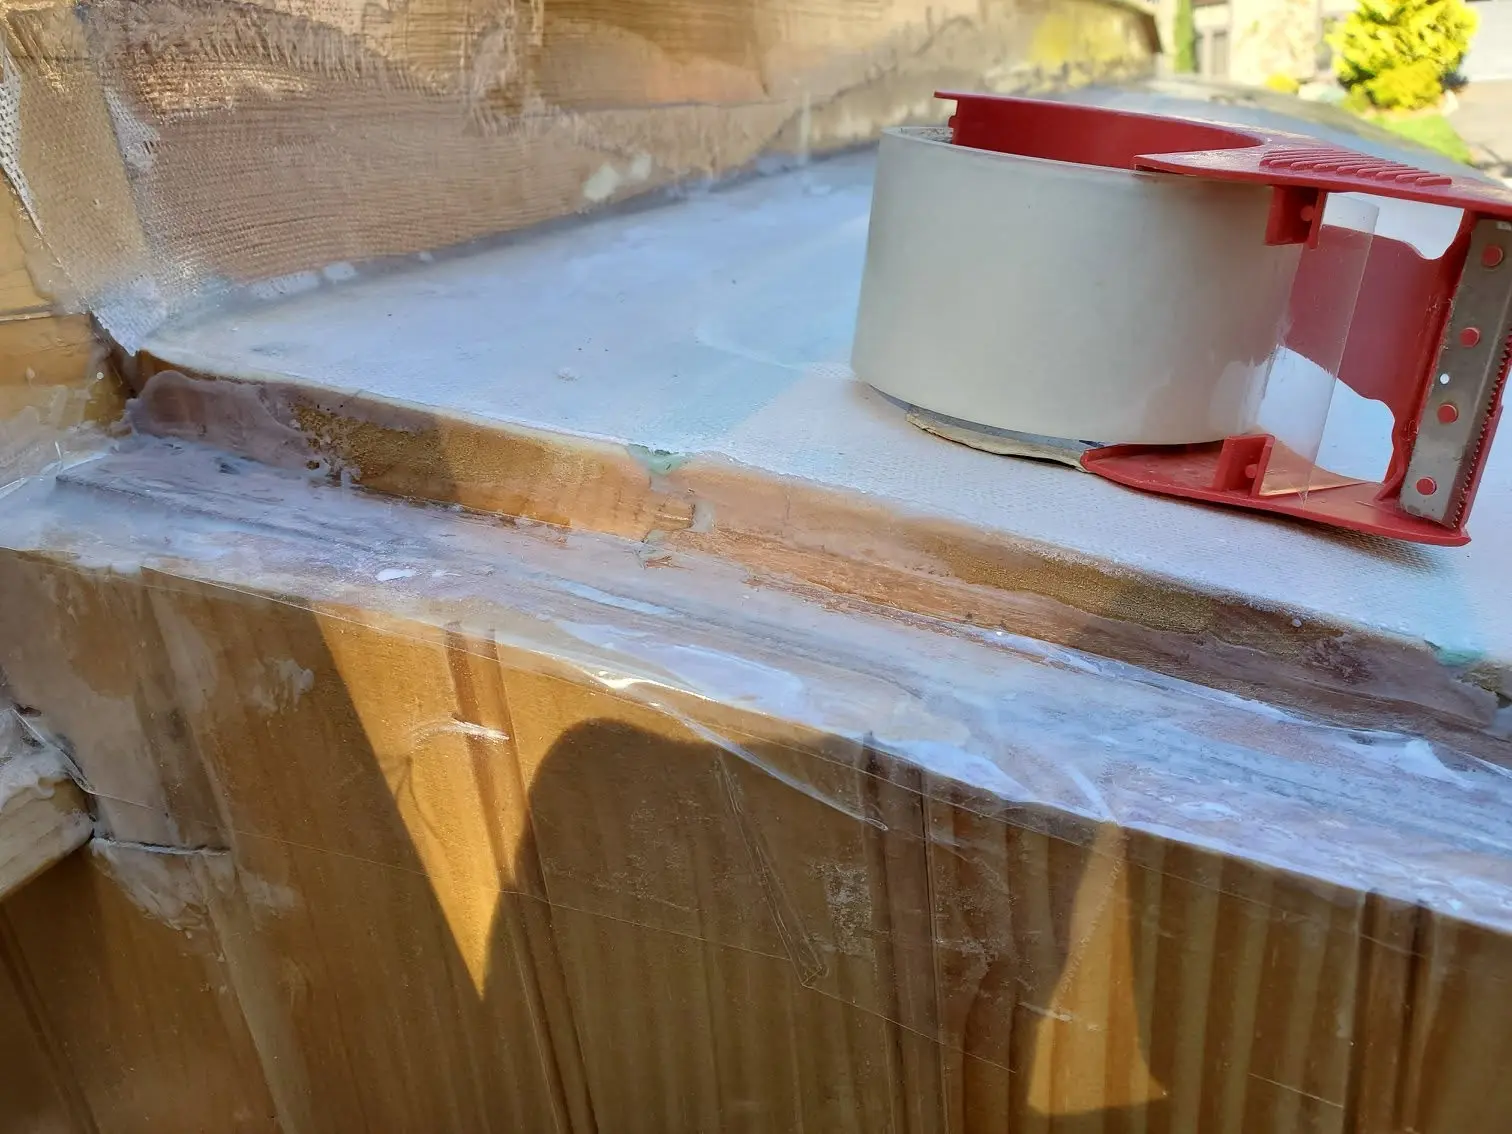
Houseboat update, Wednesday, October 23, 2019 -- As the epoxy-bedded fiberglass cures on both sides of Jersey Girl's roof, it's time to start on the gull wing sections, which will be hinged and lift up to allow easier access to the aft deck when boarding from a dock. Earlier, I laminated curved pieces patterned after the roof beams. Now, I temporarily screw them into the aft bulkhead of the cabin and the forward beam of the aft-most section of fixed roof. Before I do that, however, I protect any wood I don't want to become a permanent part of the assembly from any stray epoxy. I also use thick washers as temporary spacers to establish a 3/16-inch gap to assure the gull wing won't bind as it is raised and lowered. The first piece of tongue-and-groove installed against the center longitudinal beam must be ripped on the table saw to eliminate the groove, and it must be cut on an angle to accommodate the angle of the roof at that point. I will be using continuous hinges on this assembly, so I use a scrap of such a hinge as a temporary spacer to tell me how much of a gap I have to leave. As night fell and I had to stop work, I was one board and an overhang away from finishing the gull wing on the starboard side. I will take advantage of fine weather to finish this side and perhaps do the other side tomorrow.