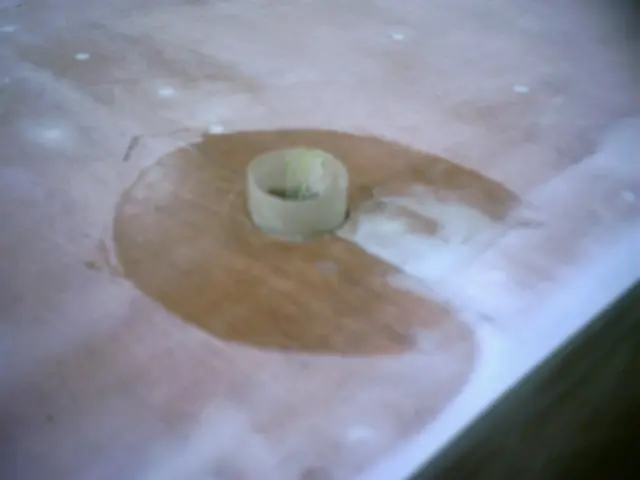
We epoxied a fiberglass rudder port tube into the rudder port hole
We epoxied a fiberglass rudder port tube into the rudder port hole. It's a little more work, but if the rudder port sealant fails, water will not be in direct contact with the keel.
Hot Rod · new build
LaunchedWe epoxied a fiberglass rudder port tube into the rudder port hole. It's a little more work, but if the rudder port sealant fails, water will not be in direct contact with the keel.
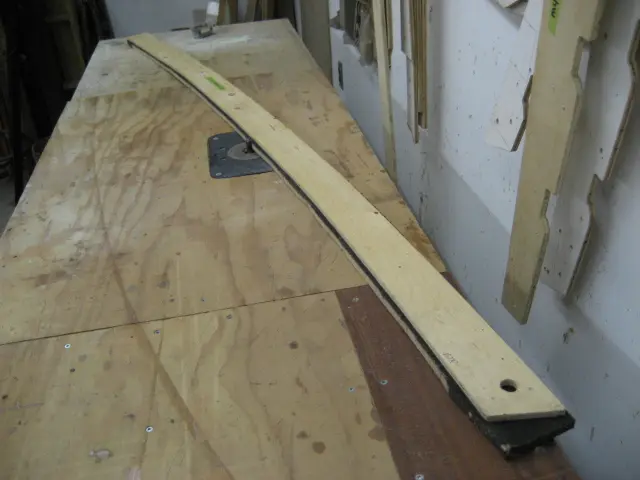
A template for the top frame lamination was traced onto a piece of 1/2" Black Joe building board.
A jigsaw was used to cut the stock 1/4" oversize. The piece was then fastened to the 3/8" thick template with 3/4" screws and trimmed on the router table.
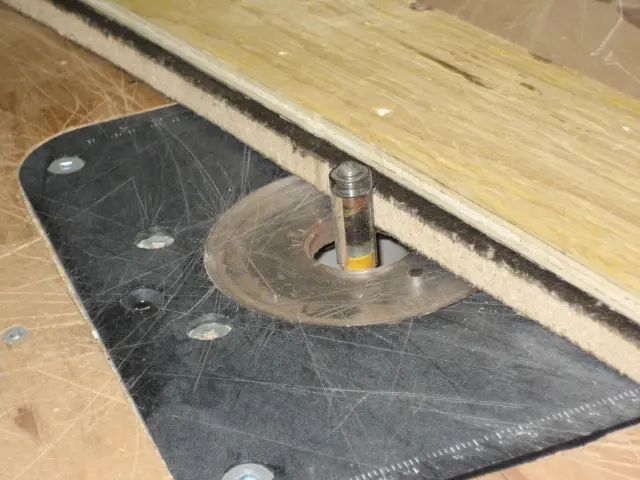
Closeup of the top-bearing trim bit.
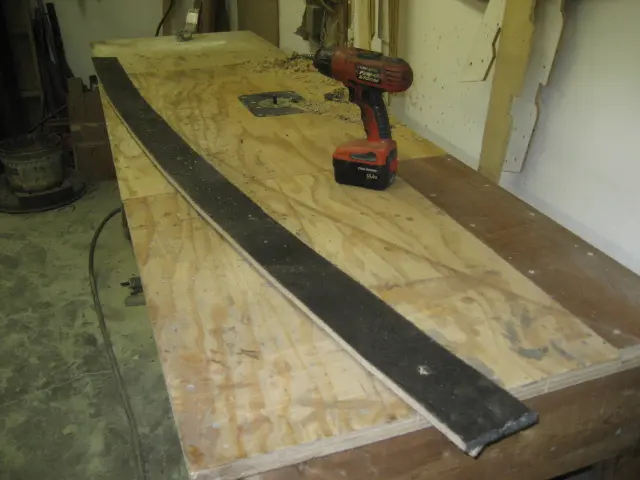
The screws were removed from the stock.
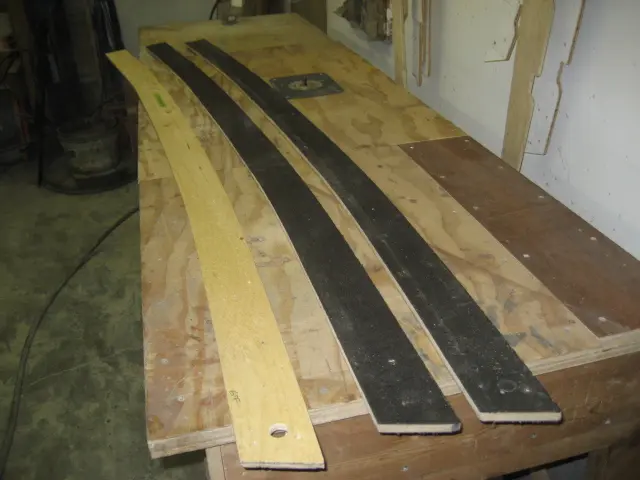
A duplicate piece was produced.
The two pieces were installed on each side of the frame and taped to hold them in position.
Once the foam has been poured and has cured, the inner piece will be extracted first. This will allow easy removal of the outer piece when the foam core is unmolded.
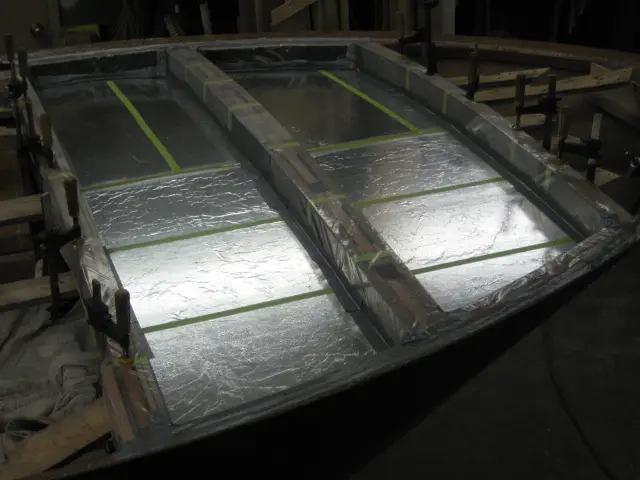
Here's a shot of the two 1/4" plywood panels which will be installed on the bottom of the frames. They were coated with contact cement and covered with aluminum foil. A plastic autobody filler squeegee was used to apply the foil and remove air pockets and wrinkles. We'll be laminating one layer of 6 ounce fiberglass cloth on this surface before pouring the foam. In the winter, the shop is home to many snowmobiles in for maintenance or repair. This is my 2003 Rev 600 HO waiting for its regular maintenance. Due to the lack of snow this year, we've only been out once this year (2 day trip, 450 km). I guess we'll keep working on the boat until the trail conditions improve !
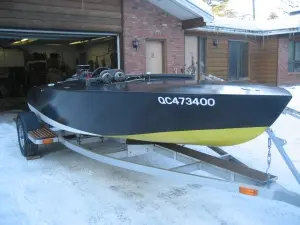
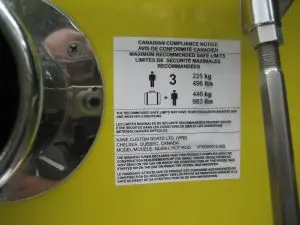
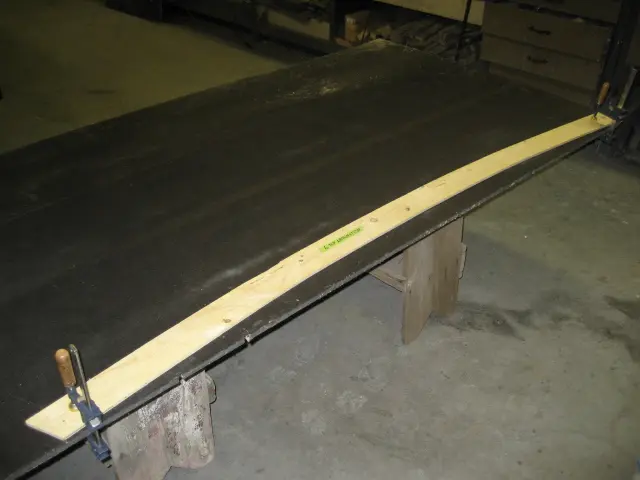
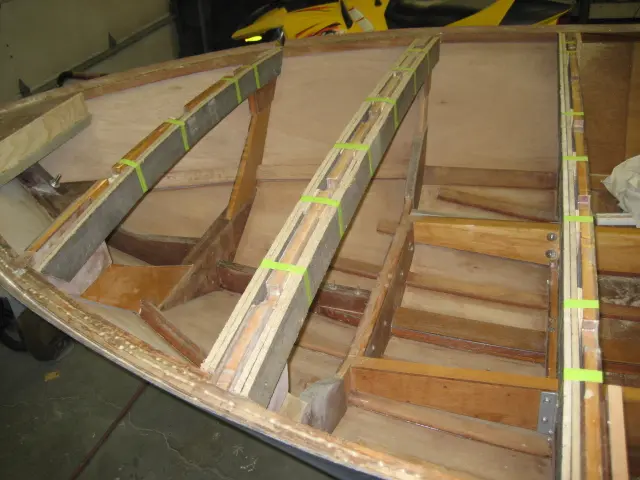
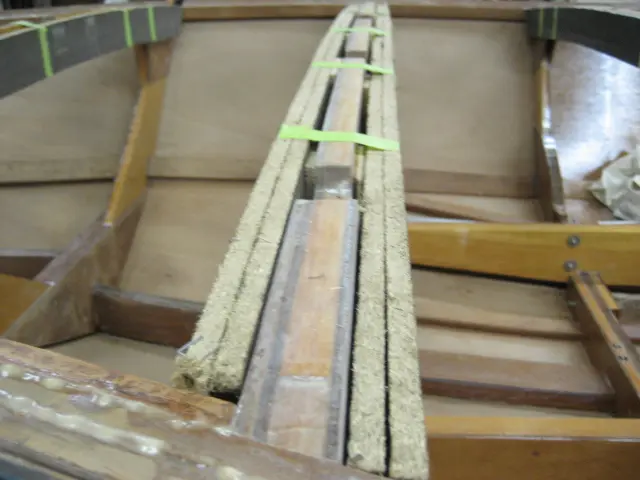
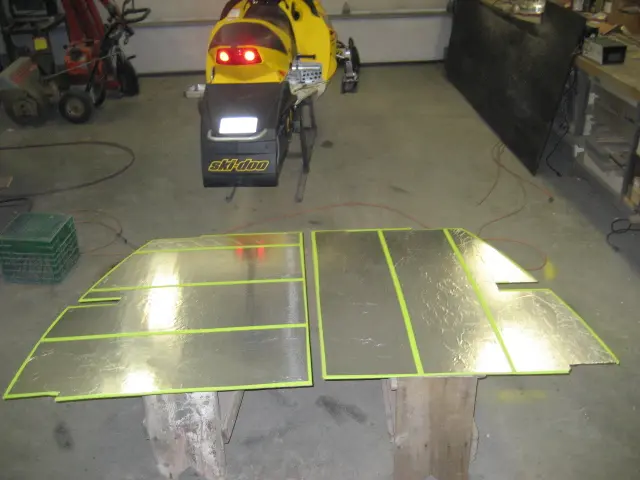
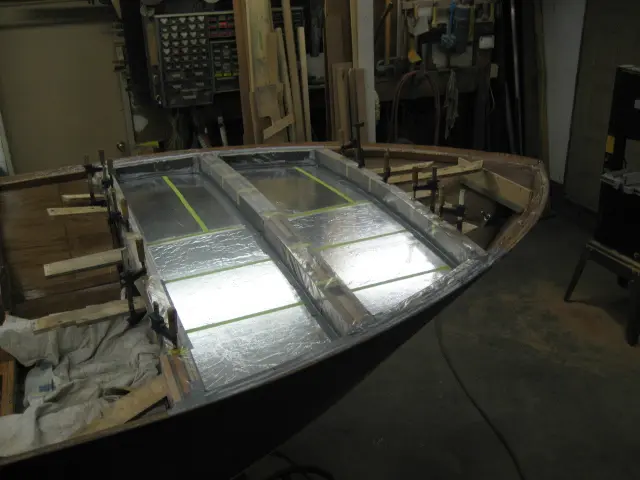
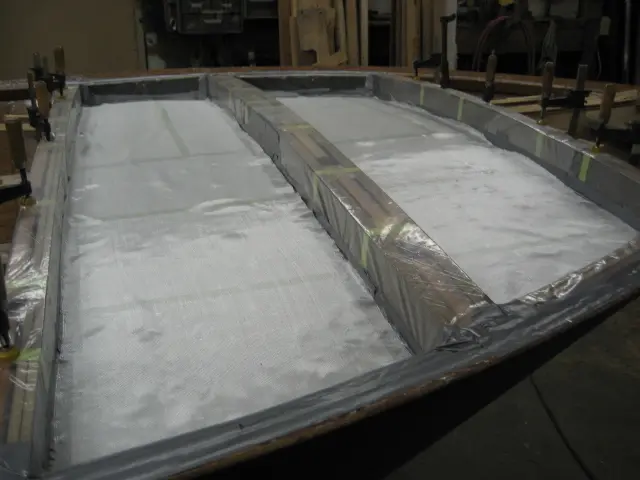
The cloth was wet out with catalysed polyester resin. A second coat of resin was applied after the initial coat had cured. In the background, resting on the transom, you can see the piece we molded for the bow section. A single 8 liter pour foam kit wasn't enough to do the job. We're 1 quart short . . . We'll have to order more foam on Monday !
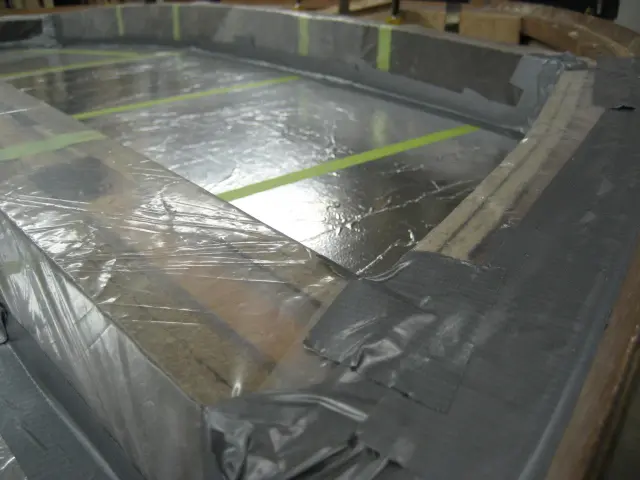
1. The frames were wrapped with plastic before installing the bottom mold pieces. Support for the plywood was provided by clamping scrap lengths of spruce 1" X 3" to the underside of the ply.
2. Wood shims were jammed between the plywood and strapping to minimize gaps between the center part of the mold and frames.
3. Two 1/2" Black Joe side spacers were installed along the sheer and covered with plastic film. Duct tape was used to seal all the seams.
4. 6 oz. fiberglass cloth was dry-fitted to the mold.
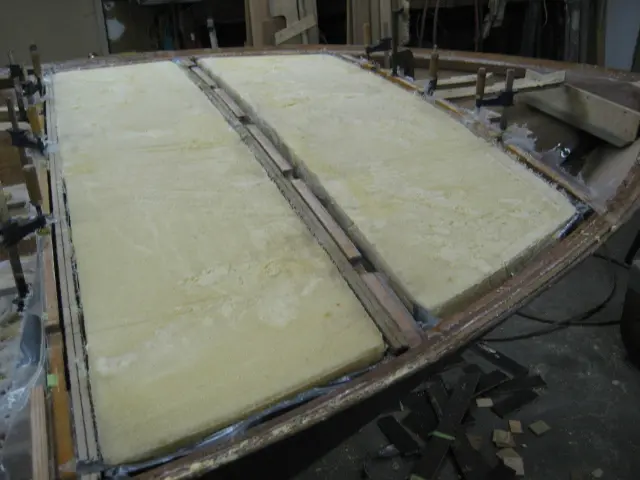
1. The second kit we ordered last week was picked up this afternoon. Four small batches (10 ounces Part A, 10 ouces Part B) were mixed and poured into the molds to complete the job. An old crosscut handsaw was used to trim the expanded foam flush with the frame tops.
2. Once the foam was fully cured, the spacer blocks were removed from the sides of the mold.
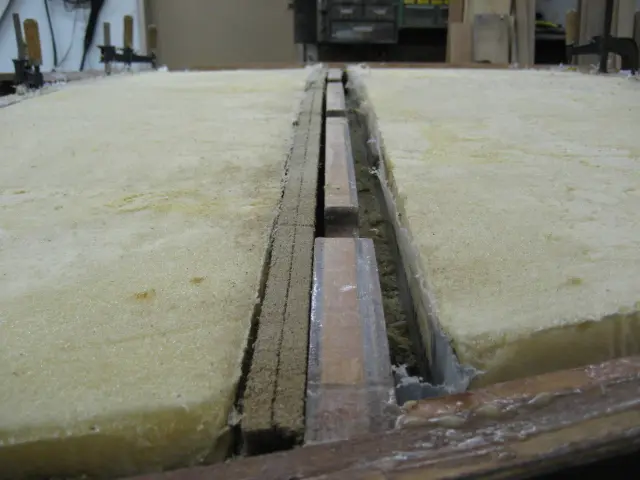
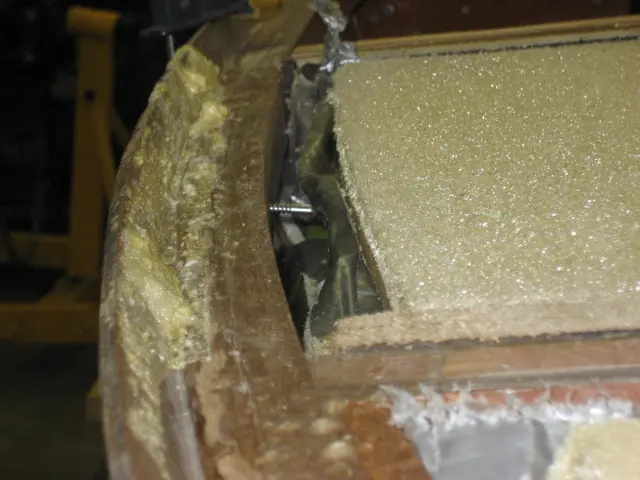
3. This view shows the one inch gap between the sheer and foam.
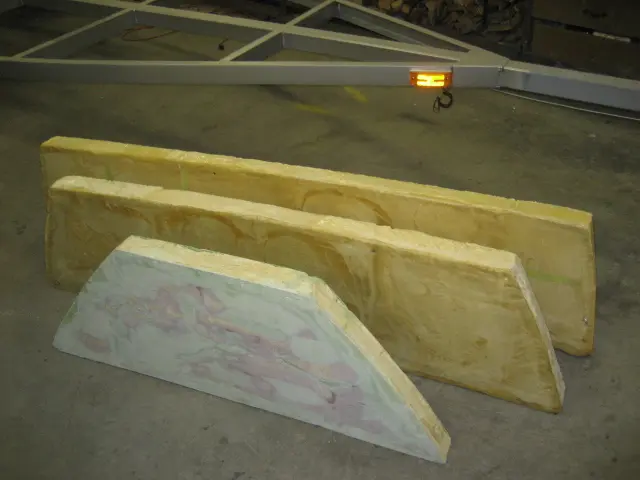
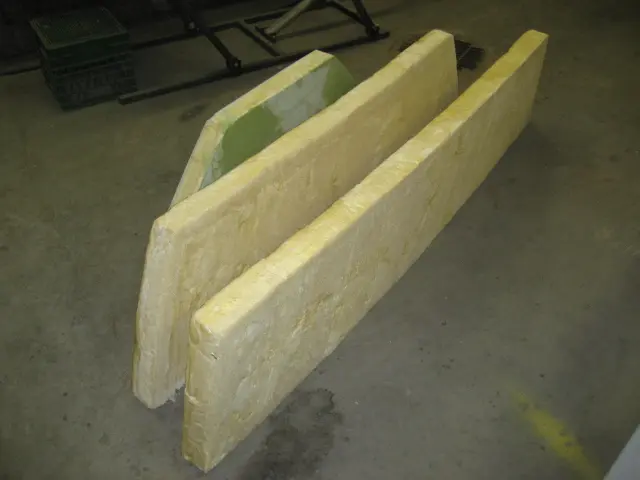
4. The surface quality of the molded fiberglass lining on the bottom of each billet was quite good. Very little filling will be required prior to finishing.
5. Total of 5 cubic feet will support up to 300 pounds.
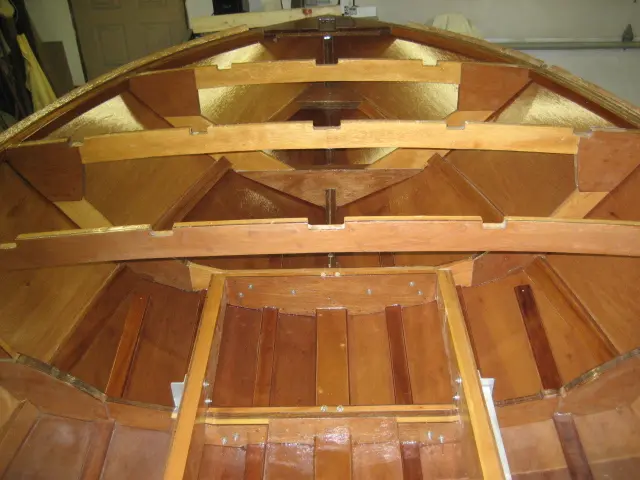
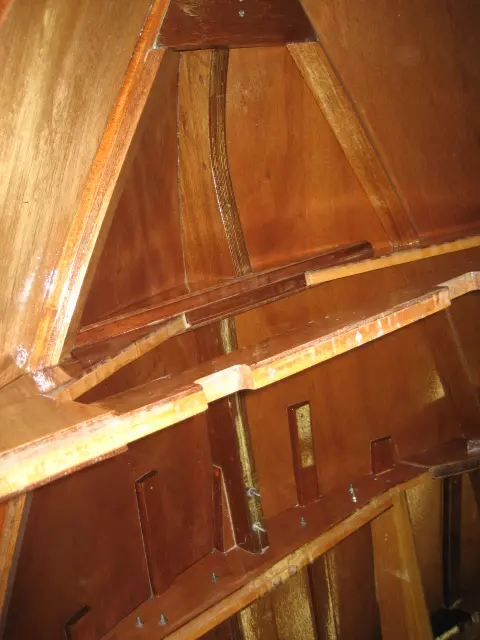
Here's the last of the interior epoxy barrier coating. Round 2 will be followed up with a sprayed urethane clearcoat.
Once the clearcoat has been applied, we can start the carlings and deck !
Nobody else here is logging a Hot Rod yet. See the boat.