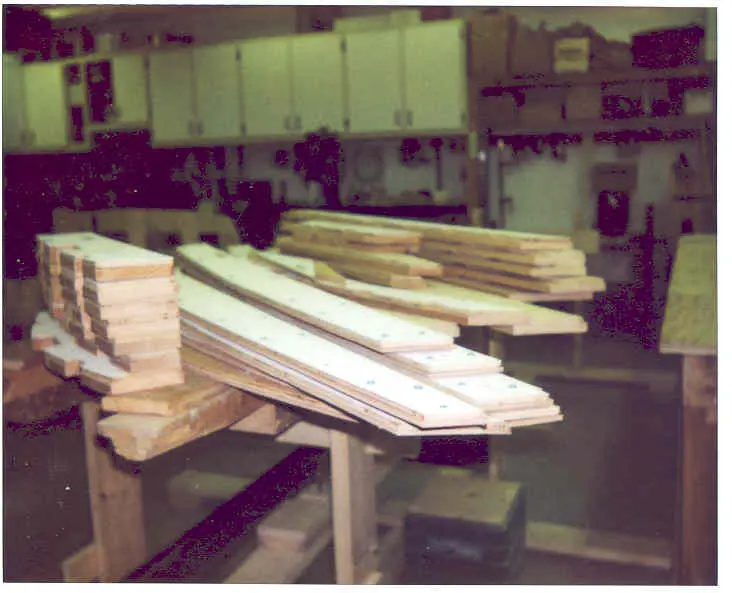
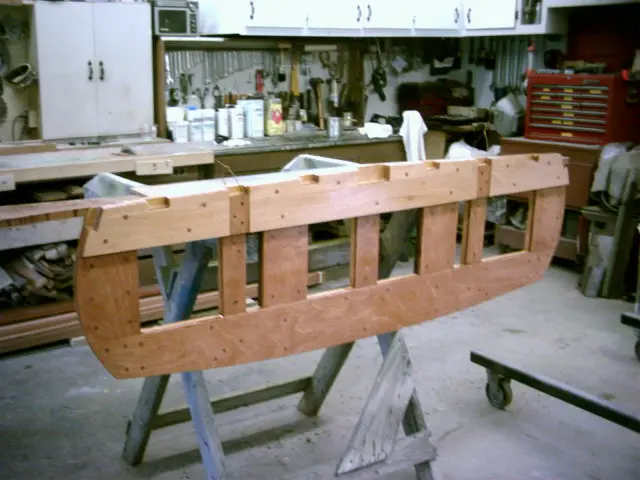
The templates for the bottom frames, laminations and floor timbers were screwed to Douglas Fir stock and cut on the band
The templates for the bottom frames, laminations and floor timbers were screwed to Douglas Fir stock and cut on the bandsaw to within 1/8" of the template. Pieces were then trimmed on the router table using a trim bit.
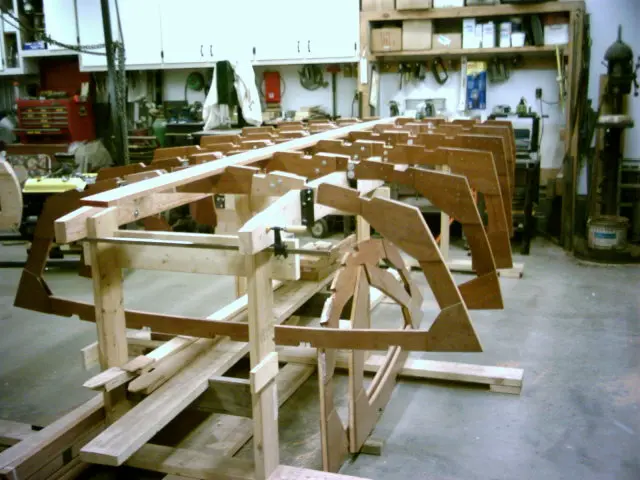
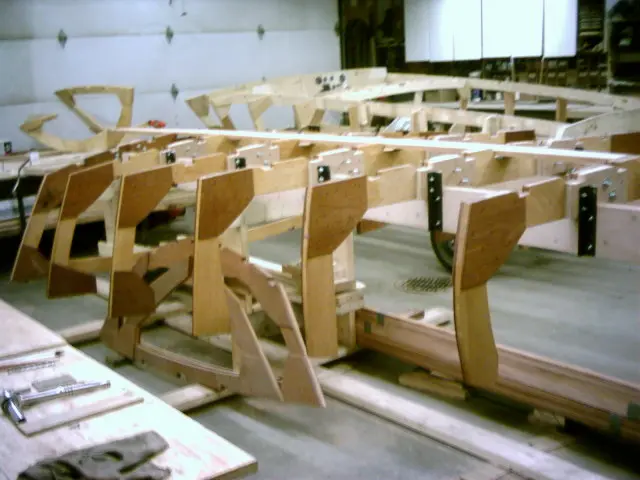
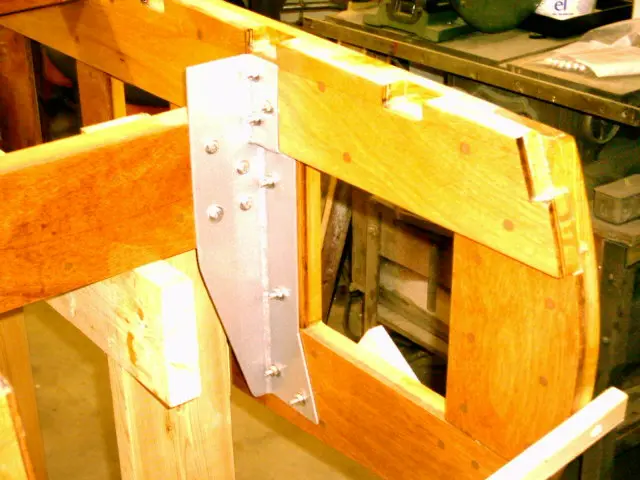
Frame clips were fabricated from 1-1/2" angle iron
Frame clips were fabricated from 1-1/2" angle iron. The floor timbers were bolted to the frames which were in turn bolted to the motor stringers.
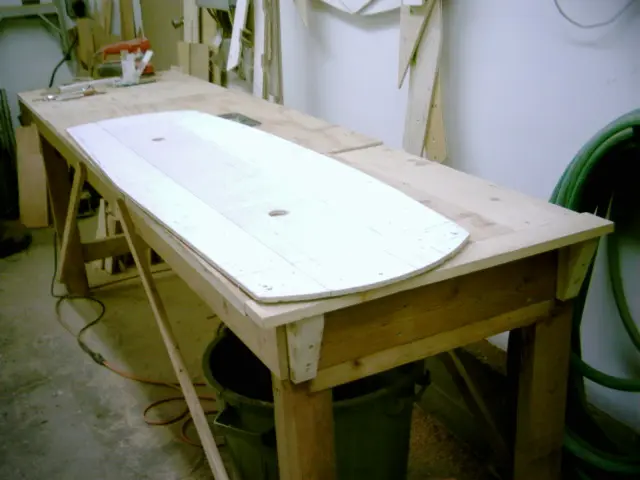
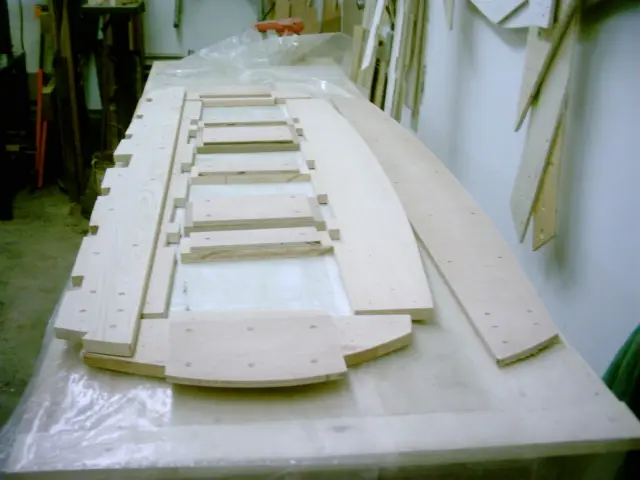
To ensure assembly accuracy, the transom pieces will be overlaid on the transom template.
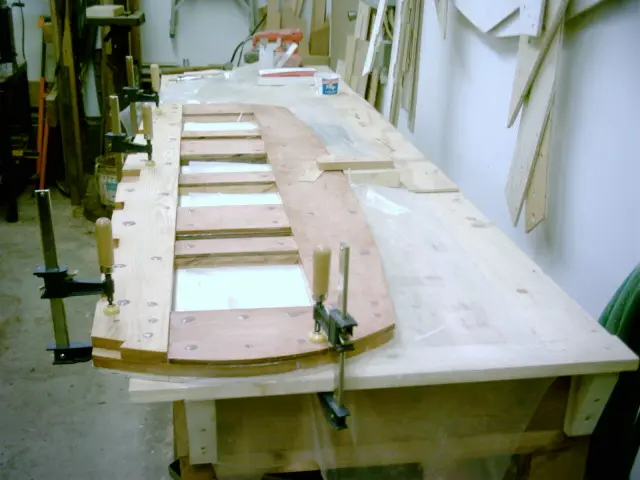
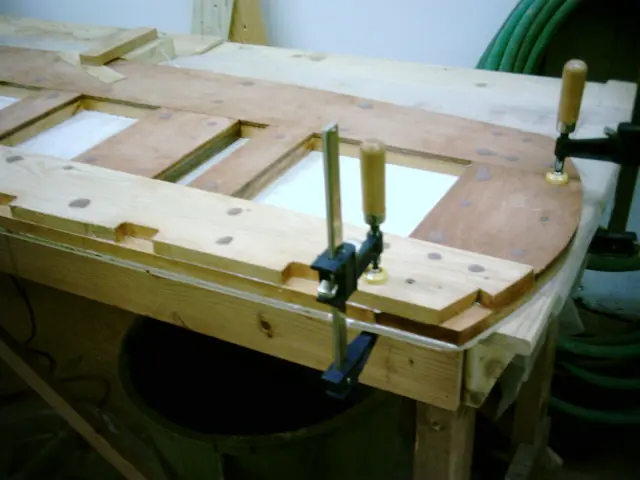
All pieces ready for lamination.
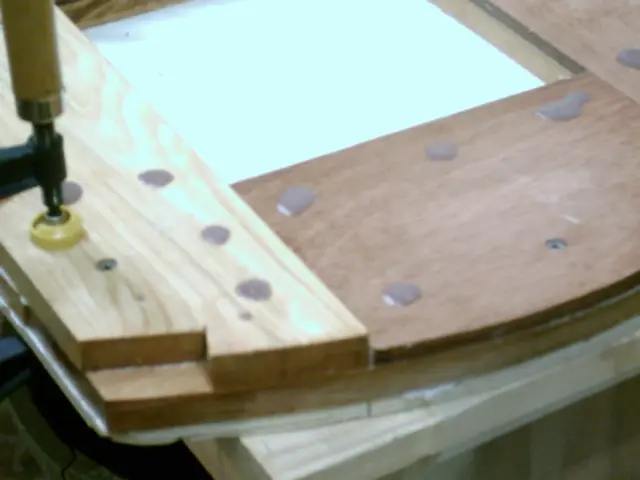
Filling the screw holes.
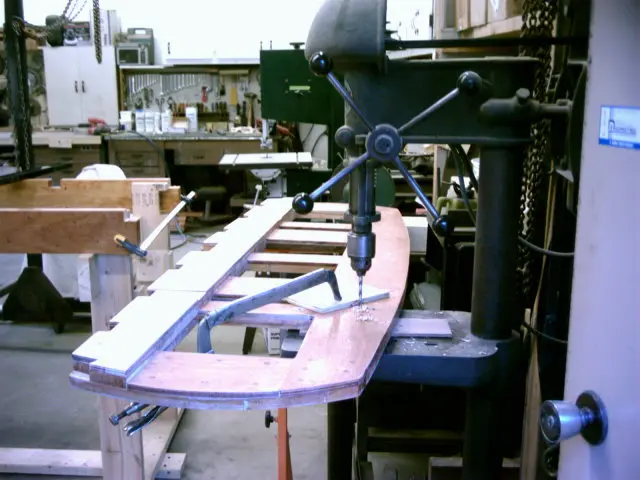
Drilling holes for the transom brackets.
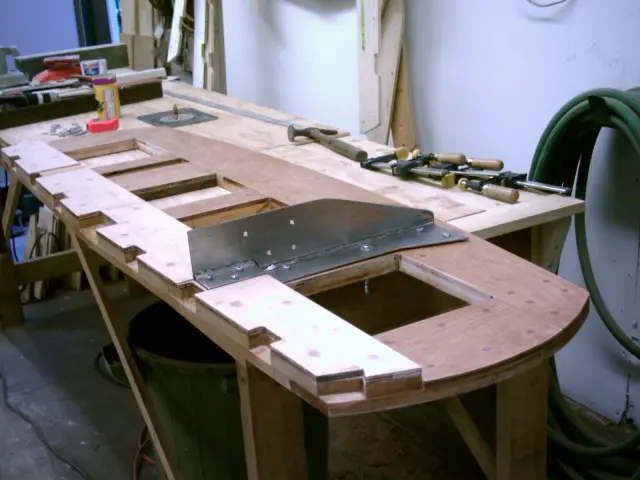
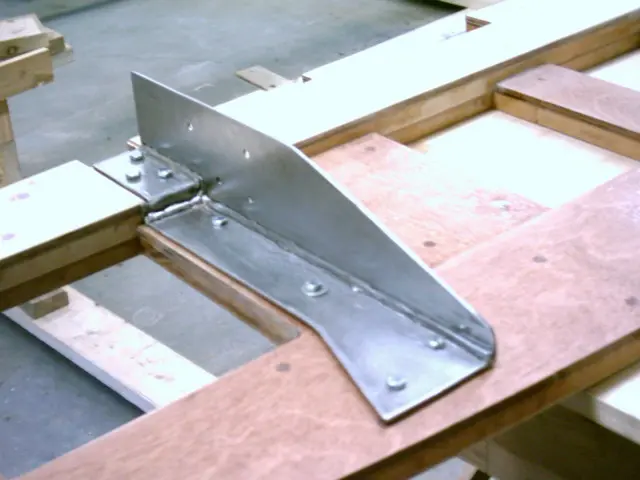
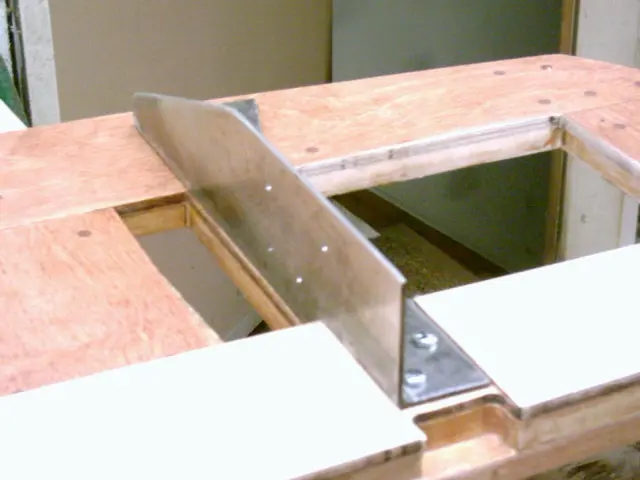
Transom brackets were fabricated from 1/8" flat stock.
Bracket top was flared to allow the installation of two bolts instead of one.
Three coats of epoxy complete the transom.
Installing the sheer clamps
Installing the sheer clamps. Two strips of 5/8" x 1-1/4" mahogany will be used per side.
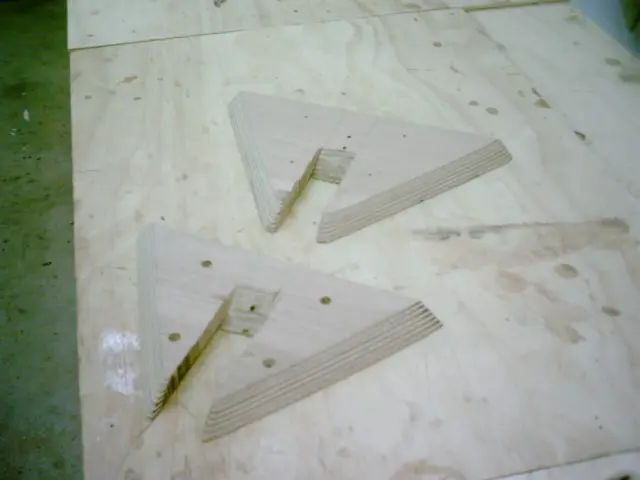
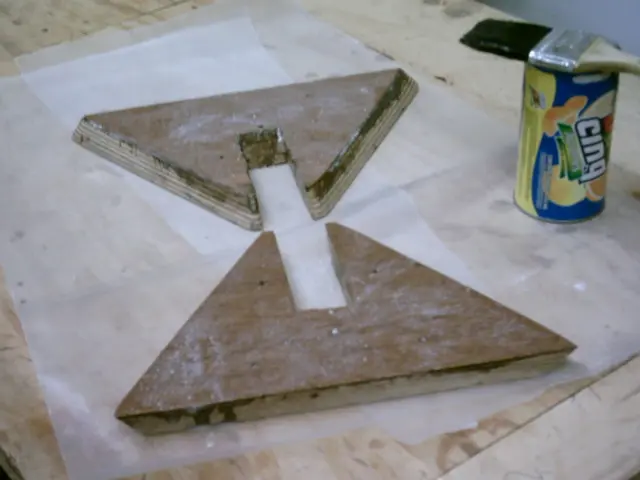
Although not detailed in the plans, the chine blocking was made from two pieces of 3/4" marine plywood. The sides were bevelled at 30 degrees and a notch was cut to fit around the stem. This is definitely a trial and error project. Much time will be saved when fitting the chine logs to the blocking.
Glued...
Screwed...
Installed.
The chine log was wrapped with waxed paper to prevent it from being glued to the blocking.
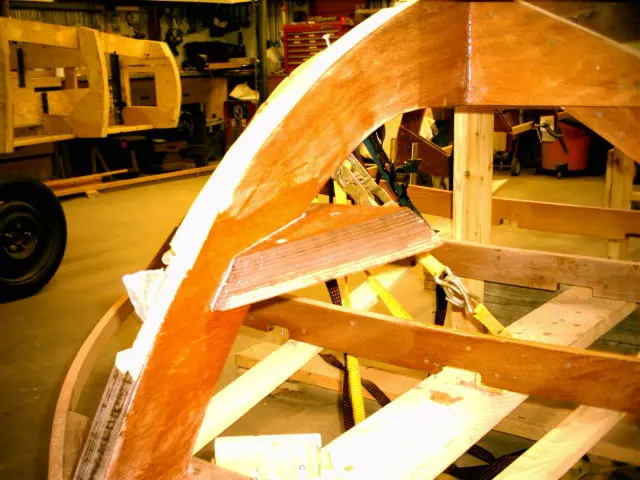
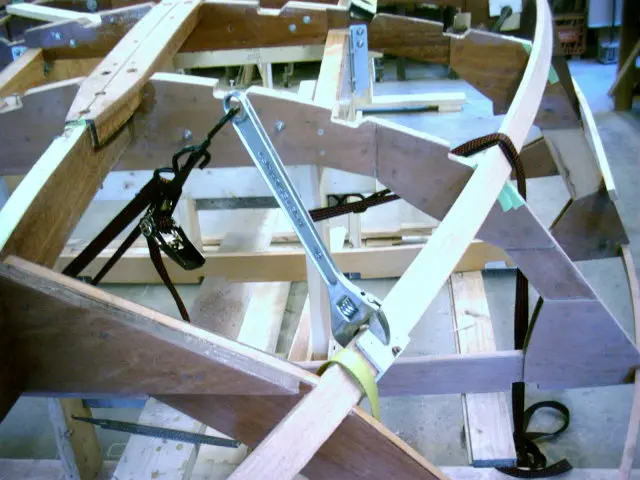
A large crescent wrench and a ratchet strap was used to twist the top of the chine inward towards the keel
A large crescent wrench and a ratchet strap was used to twist the top of the chine inward towards the keel. Laying a straightedge from the sheer to the chine will indicate when sufficient twist is attained.