Steve at Ayling's Boat Yard has been busy in the machine shop refining the steering components
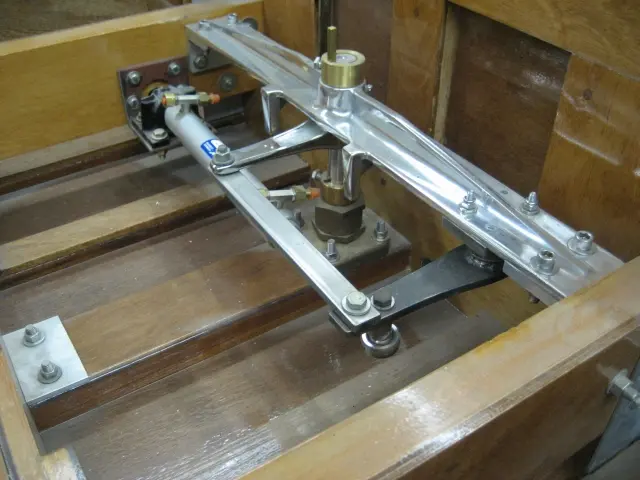
Steve at Ayling's Boat Yard has been busy in the machine shop refining the steering components. The slave tiller arm bushing housing was welded, the pivot pin was upgraded to 3/4" diameter stock and re-bushed to tighter tolerances. Nice work, Steve ! Click here to see more detailed photos. ( a new window will be opened)
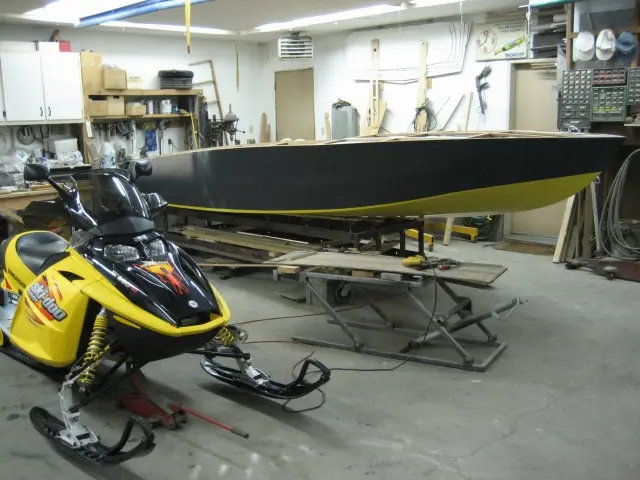
Work on the boat will continue over the holidays, but we'll also make some time to enjoy the snowmobile trails. Can't be working in the shop all the time ! I'd like to wish all our visitors a Merry Christmas and a happy New Year !
The driver's seat is nearing completion
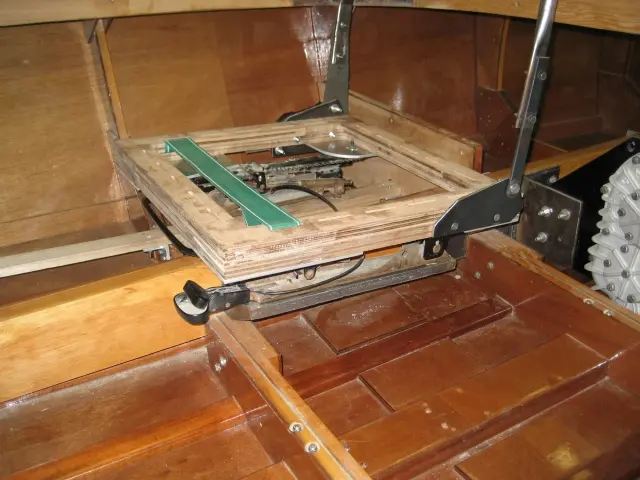
The driver's seat is nearing completion. The rails provide 6" of horizontal travel, 3" of vertical travel at the front of the seat and reclining backrest. We've also started the passenger seat base. Click here to see how the seat was made. ( a new window will be opened)
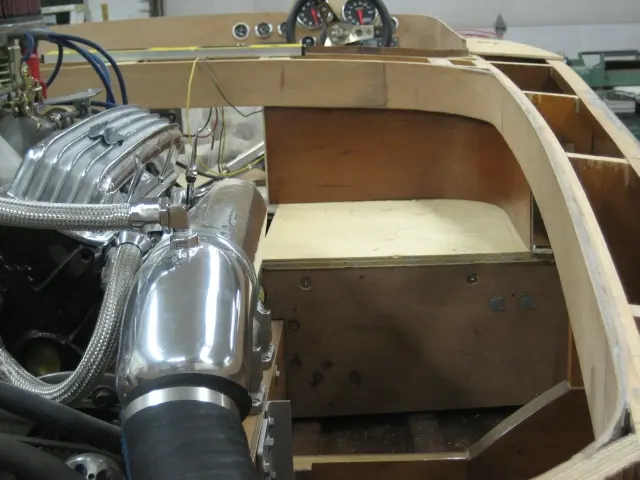
Work on the front cockpit carlings and dash continues
Work on the front cockpit carlings and dash continues. We've snapped a lot of pictures to describe the process. Click here to see how it was done.
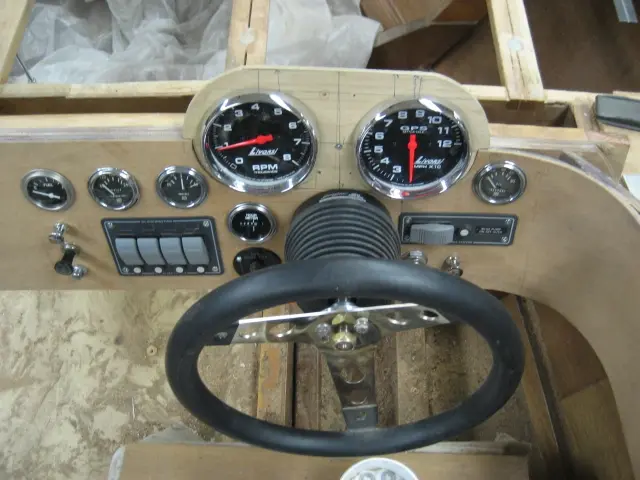
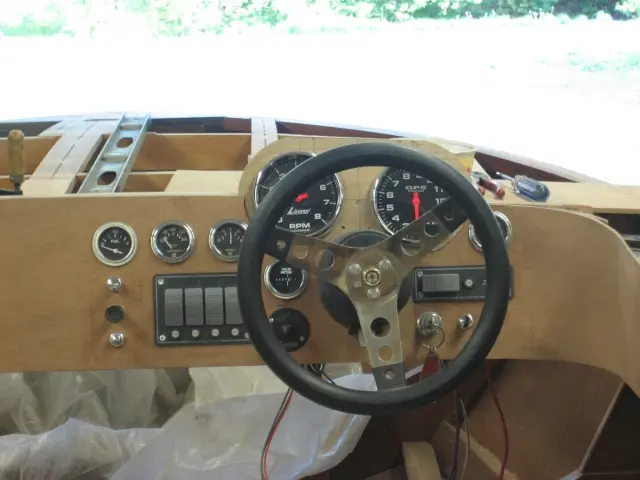
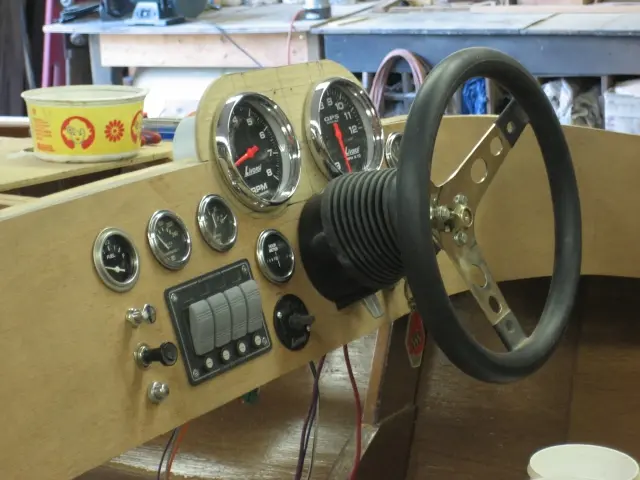
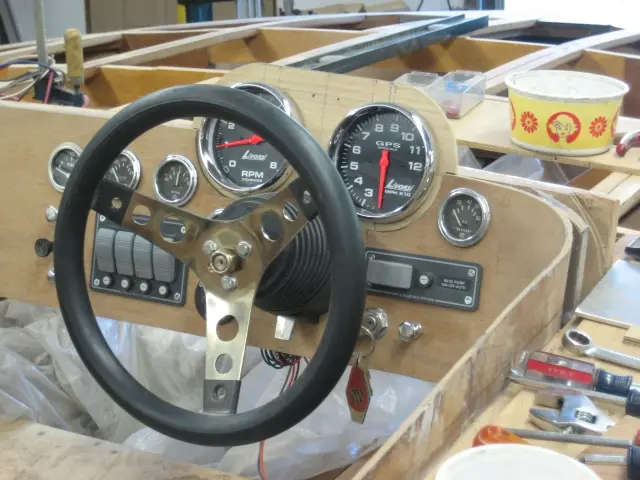
Gauges were installed over the weekend and are ready for wiring
Gauges were installed over the weekend and are ready for wiring. The helm is a SeaStar Pro Tilt hydraulic unit. 5" Monster GPS speedometer and tachometer are made by Livorsi. The water temperature, oil pressure and volt meter gauges are vintage VDO units salvaged from a Chris-Craft cabin cruiser. The fuel level and hour meter gauges are Teleflex Heavy Duty gauges. Rocker switches are fully waterproof. GPS speedometer recall/reset toggle switch is located to the left of the helm. There's still another layer of mahogany veneer to apply on the dash before applying the final finish clear coats.
We extended the radiused corner coamings to the the rear jump seat backs
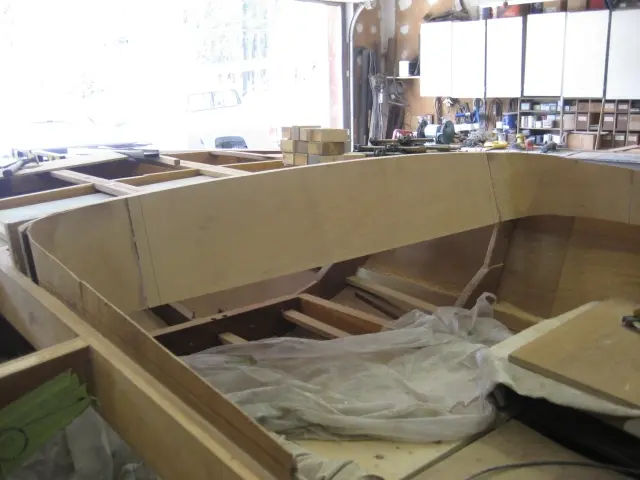
We extended the radiused corner coamings to the the rear jump seat backs. Since this photo was taken, the seat supports have been veneered and topcoated with several coats of epoxy and automotive clearcoat We're holding off on final assembly until the fuel tank cradles and battery box are installed.