boatbuildlog

Hot Rod · new build

Launched

Glen-L Hot Rod

Make a book Feed The whole log, 12 entries and every photo, laid out as a book to print, bind and keep.
260
Entries
n/a
Hours
n/a
Written up afterwards
1203
Photos
Nov 2003
Started
Hull Panels Link

The first bottom template (1/4" fir plywood) is screwed to a piece of 1/4" marine plywood and trimmed to size

1. The first bottom template (1/4" fir plywood) is screwed to a piece of 1/4" marine plywood and trimmed to size.

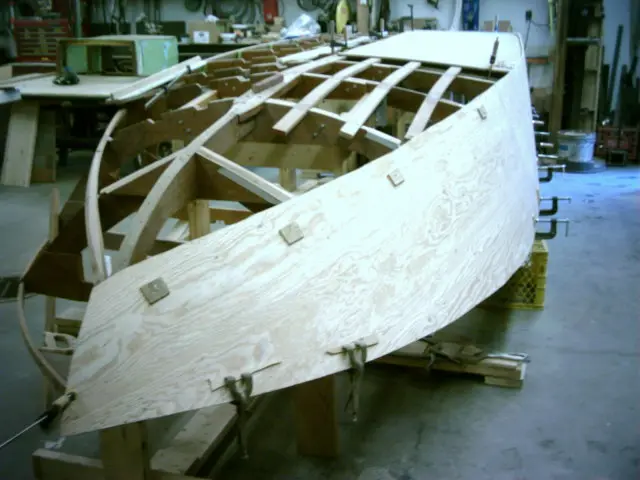
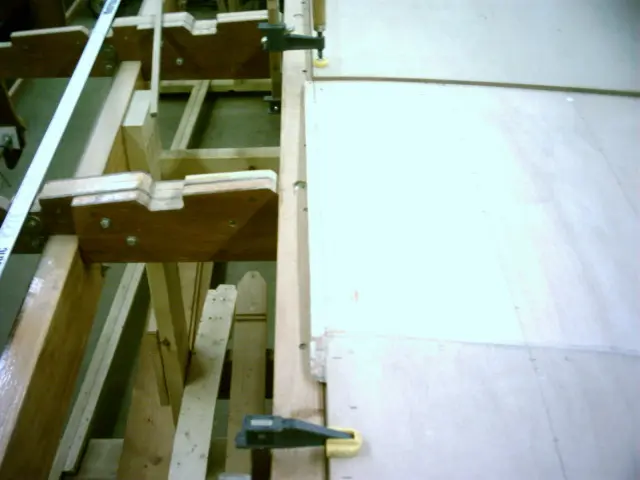
2. Trial fitting the first bottom. Once installed, it fits flush with the chine from the stem to a point between frames 7 and 8.

3. A second layer of 1/4" plywood is tacked on to check for fit.

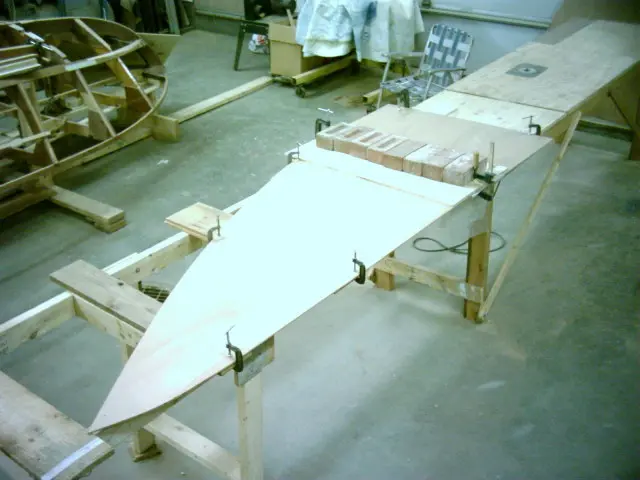
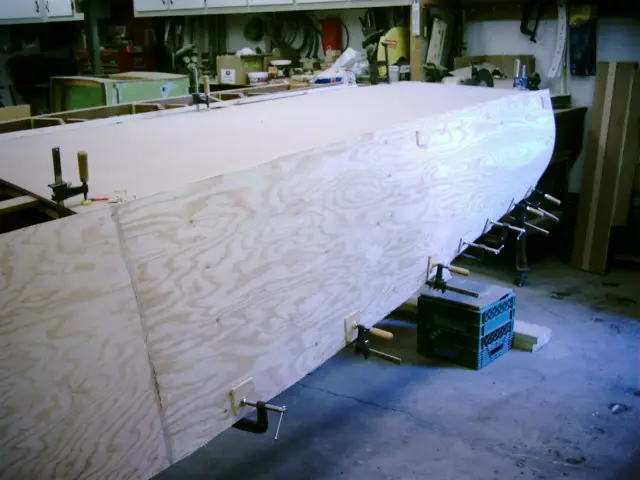
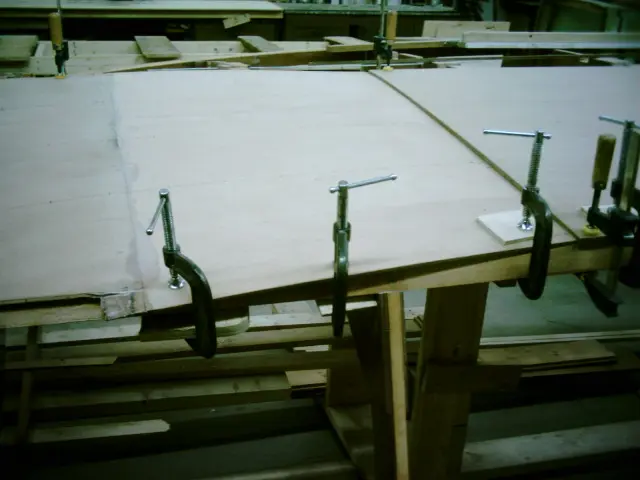
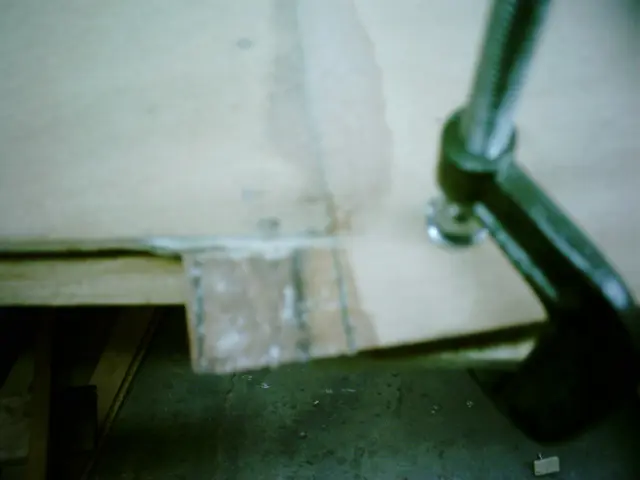
4. A 26" wide piece of 1/4" marine plywood is scarfed to the first bottom piece. Total length is 8'-6". Click here to see how the scarf was made.

5. Glued and clamped...

1 Hot Rod: The first bottom template (1/4" fir plywood) is screwed to a piece of 1/4" marine plywood and trimmed to size
2 Hot Rod: The first bottom template (1/4" fir plywood) is screwed to a piece of 1/4" marine plywood and trimmed to size
3 Hot Rod: The first bottom template (1/4" fir plywood) is screwed to a piece of 1/4" marine plywood and trimmed to size
4 Hot Rod: The first bottom template (1/4" fir plywood) is screwed to a piece of 1/4" marine plywood and trimmed to size
5 Hot Rod: The first bottom template (1/4" fir plywood) is screwed to a piece of 1/4" marine plywood and trimmed to size
Hull Panels Link

Scarfing plywood with a radial arm saw

This section depicts the plywood scarfing operation using a 10" radial arm saw. Click here for a technical overview of the various plywood joining methods and instructions for building a simple circular saw scarfing jig.

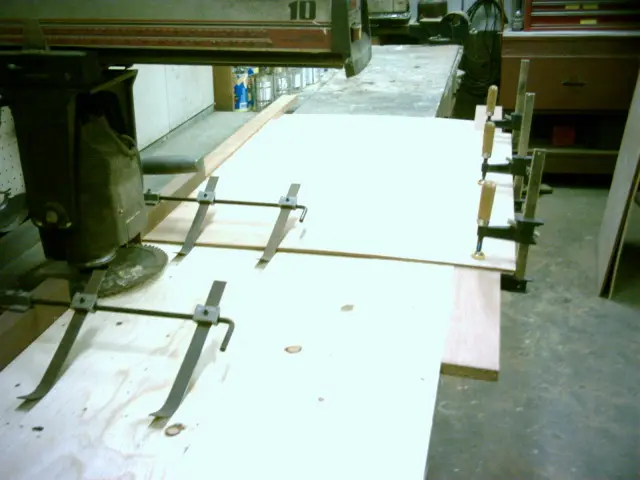
1–2. The work table behind the radial arm saw's outer fence must be relieved to accomodate the saw spindle. A piece of 3/4" x 4' x 8' plywood is temporarily fastened to the saw's apron. A guide strip is clamped under the piece to be scarfed (in this case a piece of 1/4" x 31"x 96" plywood). The strip runs along the leading edge of the 3/4" plywood apron and keeps the stock perpendicular to the saw's fence.

3. If your stock's length is less than the width of your apron, butt a square piece of plywood to the right of the stock and push it against the saw's fence. This will square up the stock as you feed it into the saw. Shown above is a narrower apron with a guide strip clamped to the stock.

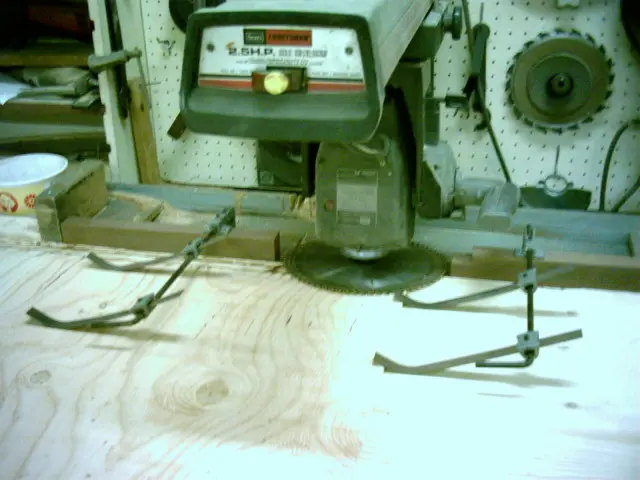
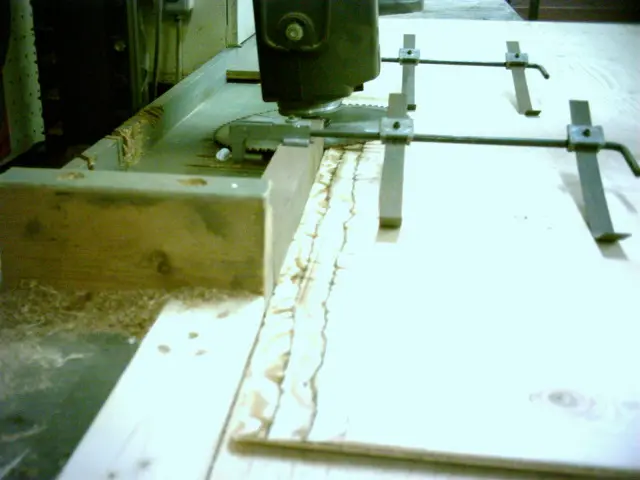
4. The saw is raised several inches, rotated to a horizontal position and tilted to a 5 degree bevel. A pair of spring steel hold downs are used to keep the stock firmly planted on the saw's apron.

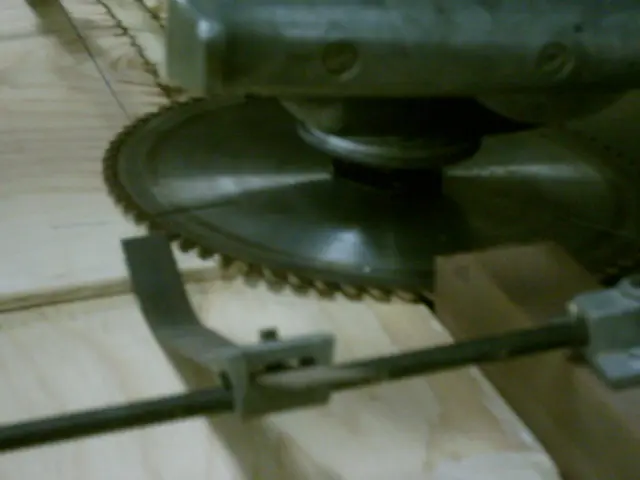
5. Since a blade guard can't be used on this setup, don't get too close to the exposed blade and watch your fingers ! Note that the leading hold down is positioned so as to prevent kickback as the stock exits the blade.

6. The maximum scarf length is only limited by the length of your saw's runoff apron.

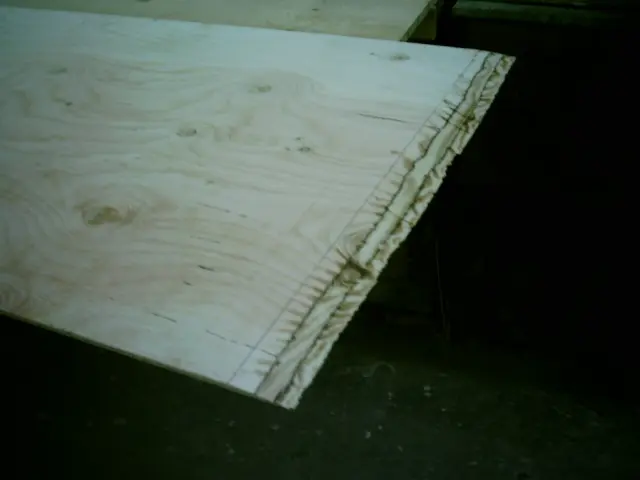
7. The finished product.

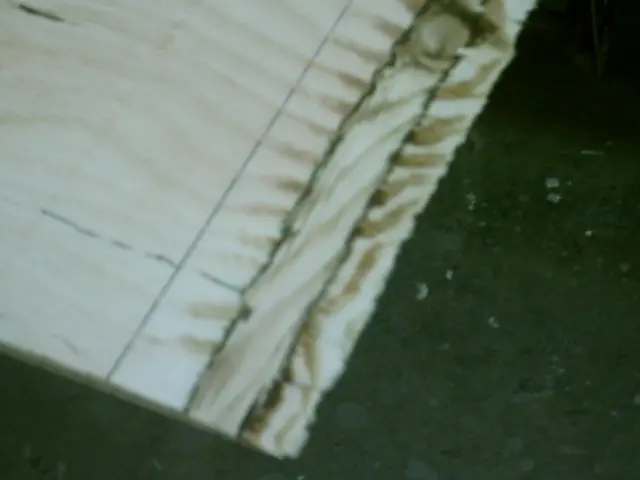
8. Scarf width is 2-1/2". A thin-rim 72 tooth carbide finishing blade was used to get a clean cut. The scarf's leading edge is paper thin and can be quite ragged. It can be squared up and trimmed with a sharp utility knife running against a large framer's square.

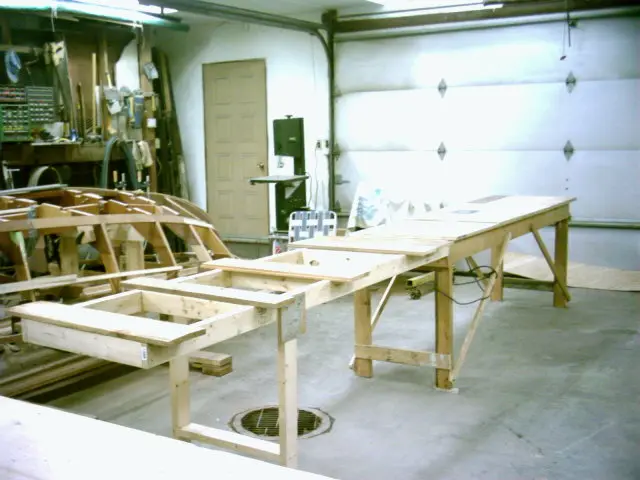
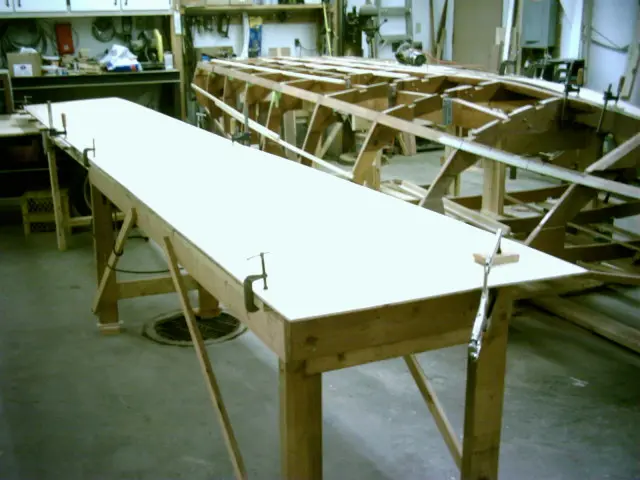
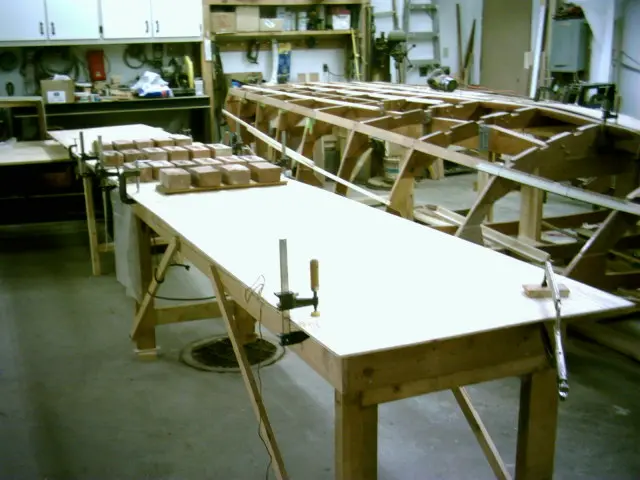
9. An 8' section was bolted to the router table to make up a 16' long table.

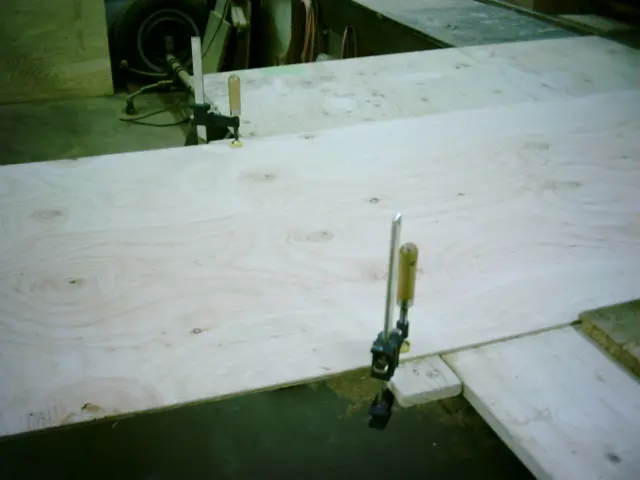
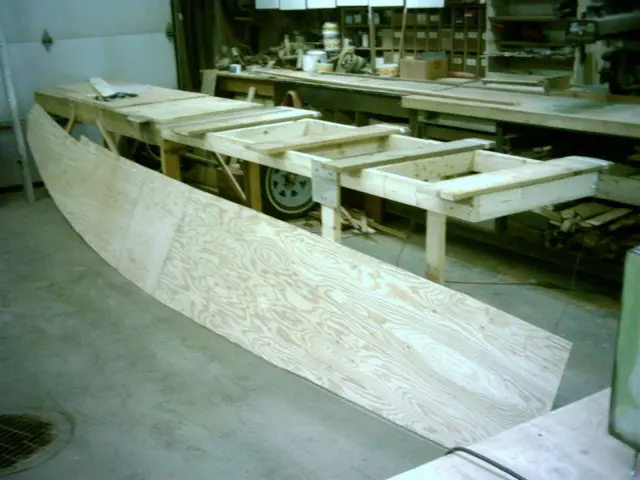
10. A strip of plastic film was placed on the table at each seam before laying out the scarfed panels. Pictured are two pieces 31" x 96" being scarfed to a piece 31" x 26" which will make up the side plankng.

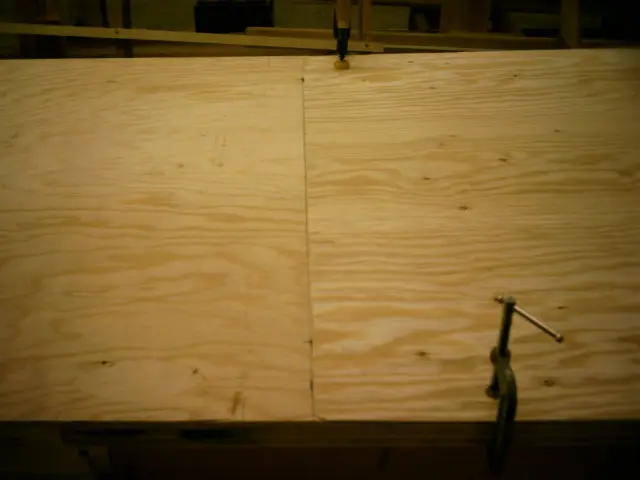
11. The seams were adjusted and witness marks were scribed on the panels to facilitate re-assembly.

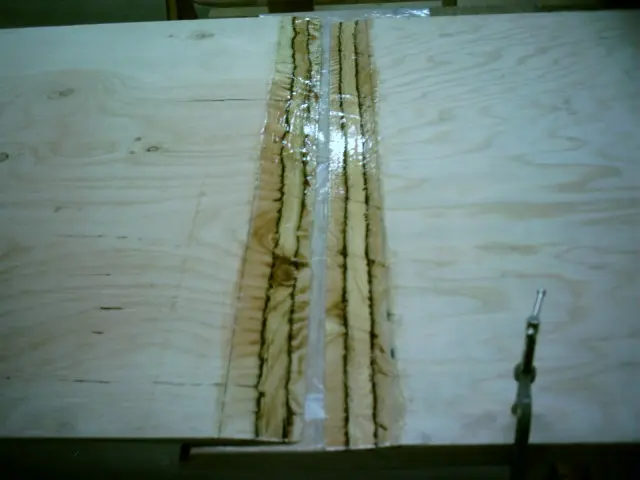
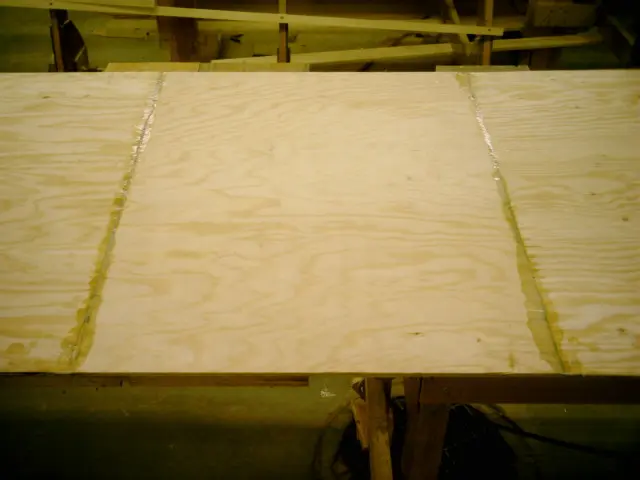
12. The joints being epoxied.

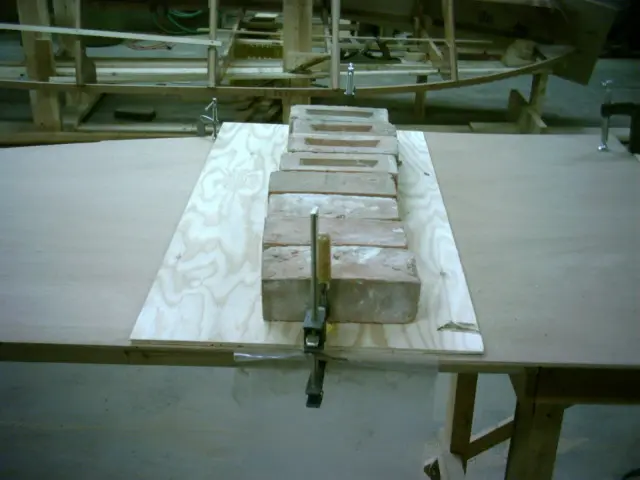
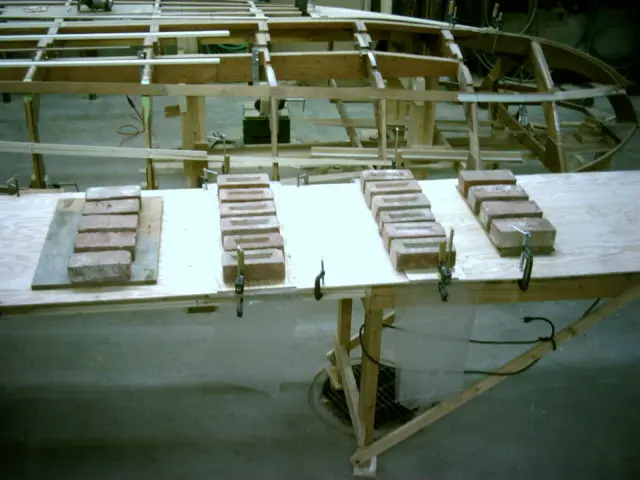
13. Line up the witness marks, clamp the panels to keep them from moving, cover the joint with a strip of plastic film and a piece of plywood about a foot wide and apply weights. Excessive weight will squeeze too much epoxy from the joint and lead to an unsound joint.

14. Check to make sure the panels are aligned properly.

15. Once the epoxy has cured, the joint is ready for finishing.

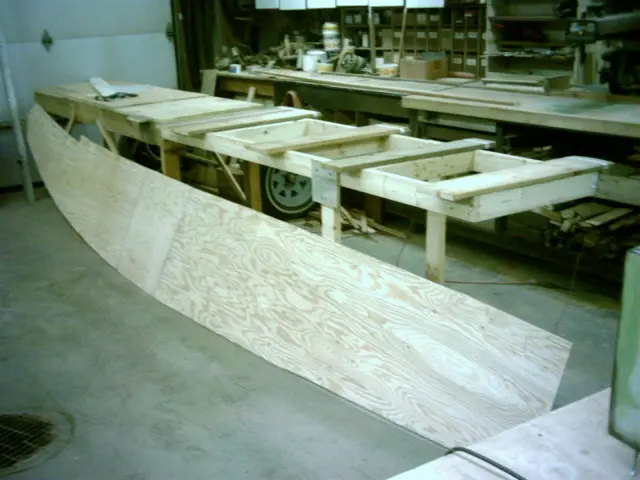
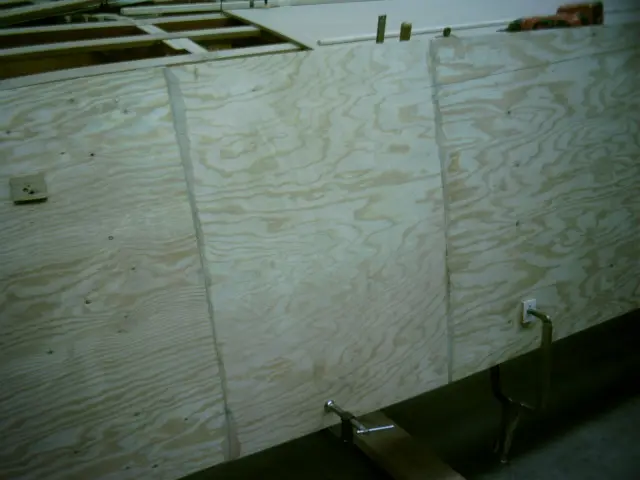
16. This 18' long side planking panel was built up from three pieces of 1/4" plywood.

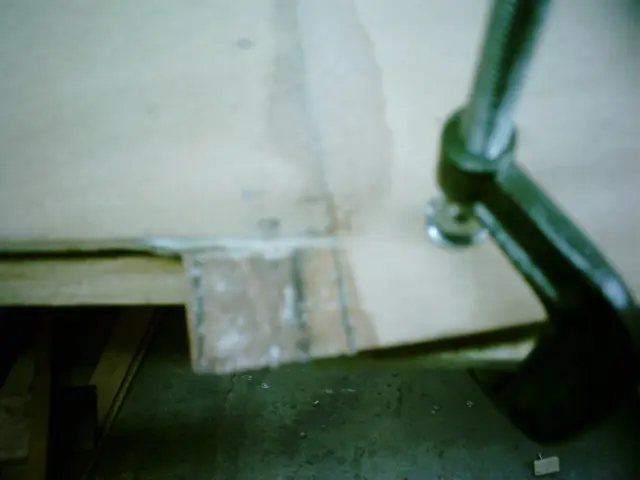
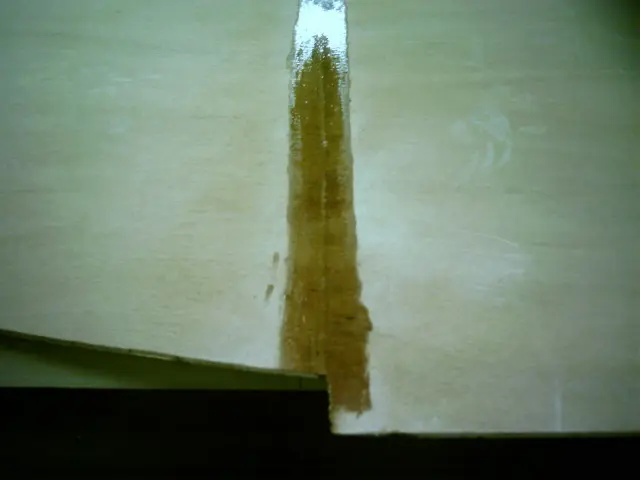
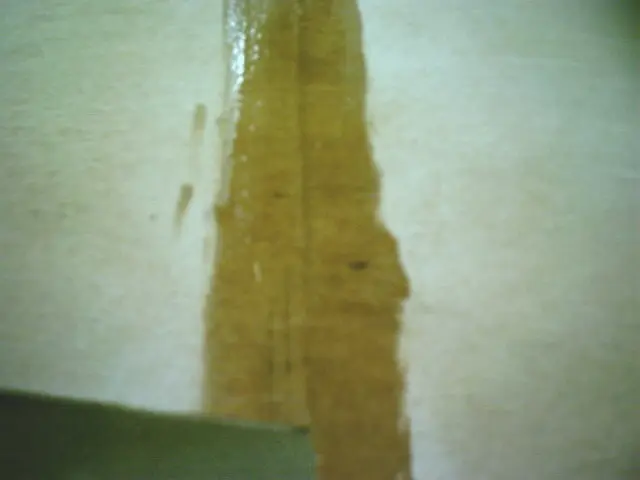
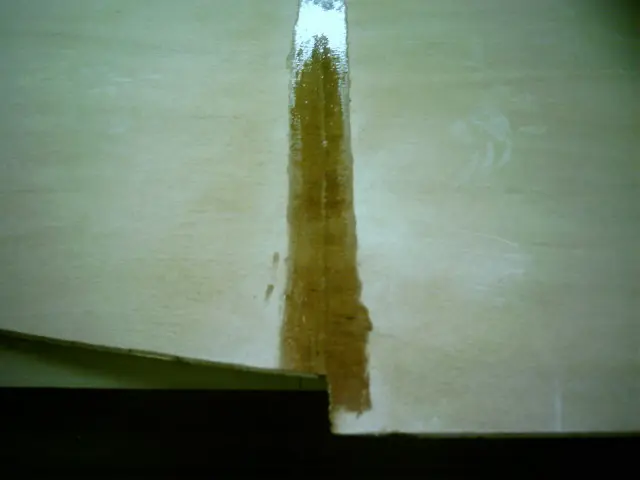
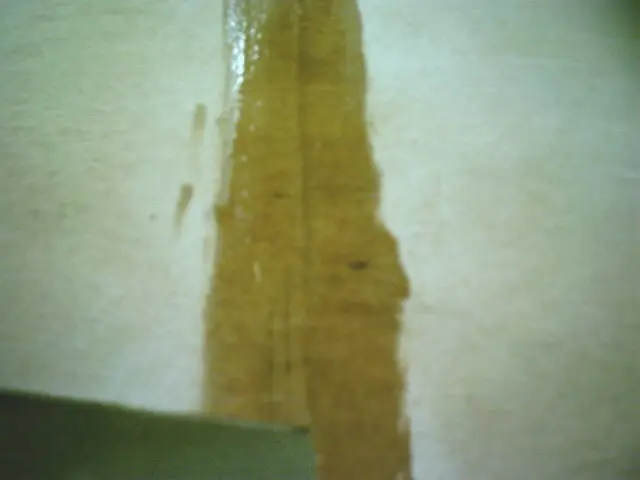
17. Closeup of a scarfed joint using 1/4" marine plywood.

18. Sample epoxy-coated joint.

19. The epoxy should be left to cure for several days before subjecting the panel to severe bending stresses.

1 Hot Rod: Scarfing plywood with a radial arm saw
2 Hot Rod: Scarfing plywood with a radial arm saw
3 Hot Rod: Scarfing plywood with a radial arm saw
4 Hot Rod: Scarfing plywood with a radial arm saw
5 Hot Rod: Scarfing plywood with a radial arm saw
6 Hot Rod: Scarfing plywood with a radial arm saw
7 Hot Rod: Scarfing plywood with a radial arm saw
8 Hot Rod: Scarfing plywood with a radial arm saw
9 Hot Rod: Scarfing plywood with a radial arm saw
10 Hot Rod: Scarfing plywood with a radial arm saw
11 Hot Rod: Scarfing plywood with a radial arm saw
12 Hot Rod: Scarfing plywood with a radial arm saw
13 Hot Rod: Scarfing plywood with a radial arm saw
14 Hot Rod: Scarfing plywood with a radial arm saw
15 Hot Rod: Scarfing plywood with a radial arm saw
16 Hot Rod: Scarfing plywood with a radial arm saw
17 Hot Rod: Scarfing plywood with a radial arm saw
18 Hot Rod: Scarfing plywood with a radial arm saw
19 Hot Rod: Scarfing plywood with a radial arm saw
Hull Panels Link

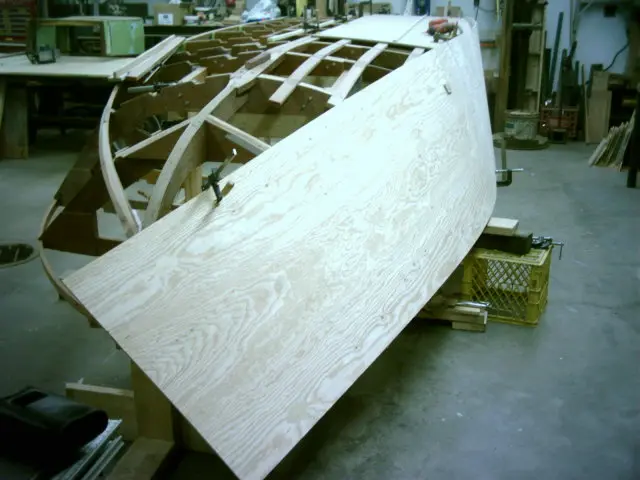
While we're waiting for the bottom panel to fully cure, the side planking template (31" wide x 18' long) is clamped in p

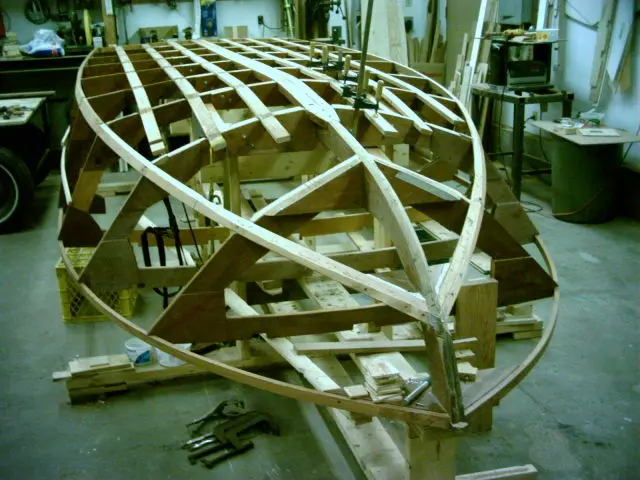
1. While we're waiting for the bottom panel to fully cure, the side planking template (31" wide x 18' long) is clamped in place.

2. The two scarfed joints are located midway between frames and in relatively flat areas.

3–4. Trimmed.

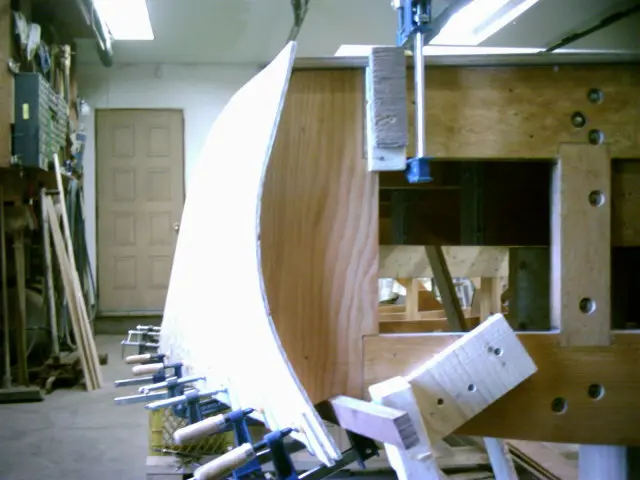
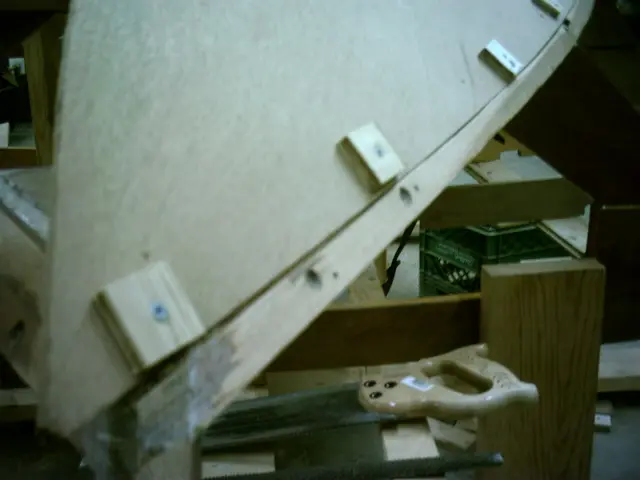
5. The tumblehome is quite severe at the transom. The fir plywood is barely making the bend. The marine plywood should be much easier to work with.

1 Hot Rod: While we're waiting for the bottom panel to fully cure, the side planking template (31" wide x 18' long) is clamped in p
2 Hot Rod: While we're waiting for the bottom panel to fully cure, the side planking template (31" wide x 18' long) is clamped in p
3 Hot Rod: While we're waiting for the bottom panel to fully cure, the side planking template (31" wide x 18' long) is clamped in p
4 Hot Rod: While we're waiting for the bottom panel to fully cure, the side planking template (31" wide x 18' long) is clamped in p
5 Hot Rod: While we're waiting for the bottom panel to fully cure, the side planking template (31" wide x 18' long) is clamped in p
Hull Panels Link

Fitting the scarfed first bottom panel

1. Fitting the scarfed first bottom panel.

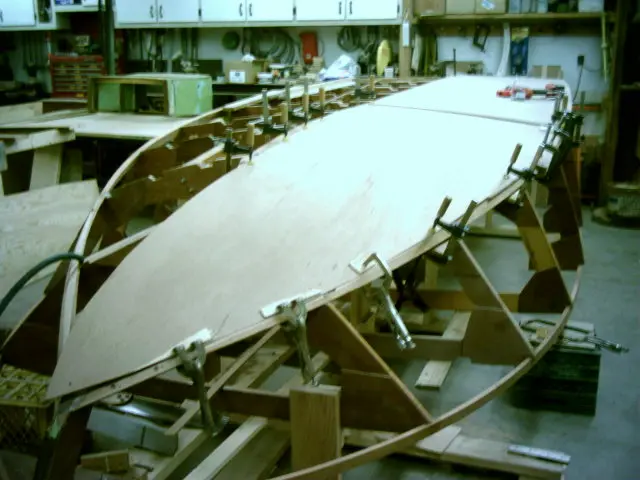
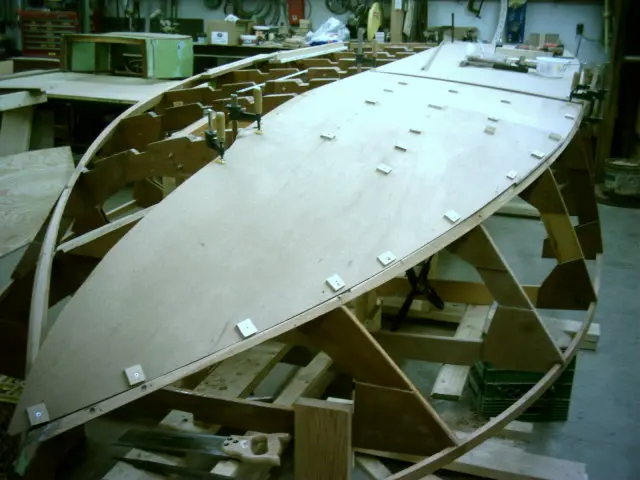
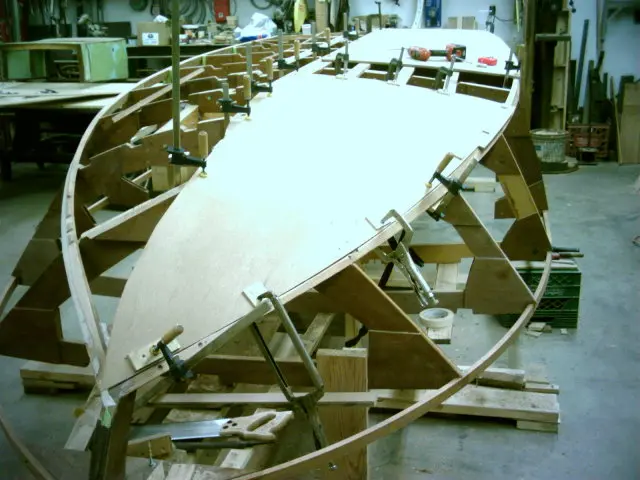
2. Since the required panel length is 8'-6" and adding a 6" strip ahead of the butt block is close to frame #4, the scarf joint was moved forward 24" and centered bewteen frames #5 and #6. A butt block between frames #4 and #5 will join the two layers of 1/4" plywood to the aft piece of 1/2" plywood.

3. Closeup of the epoxied scarf joint.

4. The panel is left oversized, marked and trimmed.

5. Screws are driven through plywood spacer washers to spread the screw's clamping force to a larger area.

6. The port side chine and keel must now be recessed and lowered before fitting the keel junction.
1 Hot Rod: Fitting the scarfed first bottom panel
2 Hot Rod: Fitting the scarfed first bottom panel
3 Hot Rod: Fitting the scarfed first bottom panel
4 Hot Rod: Fitting the scarfed first bottom panel
5 Hot Rod: Fitting the scarfed first bottom panel
6 Hot Rod: Fitting the scarfed first bottom panel
Hull Panels Link

Port chine recessed for first bottom and battens glued

1. Port chine recessed for first bottom and battens glued.
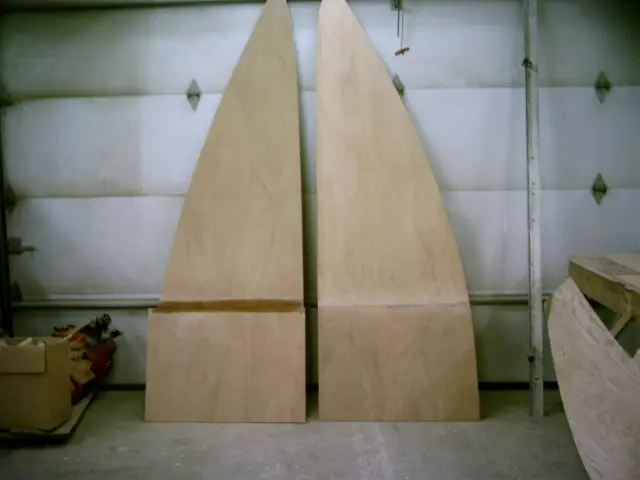
2. Port first bottom scarfed and glued. Joint epoxied to check for finish.

3. Closeup of the finished joint.

4. First bottom panels ready to be installed.

5. Side sheeting template.

1 Hot Rod: Port chine recessed for first bottom and battens glued
2 Hot Rod: Port chine recessed for first bottom and battens glued
3 Hot Rod: Port chine recessed for first bottom and battens glued
4 Hot Rod: Port chine recessed for first bottom and battens glued
5 Hot Rod: Port chine recessed for first bottom and battens glued

Nobody else here is logging a Hot Rod yet. See the boat.