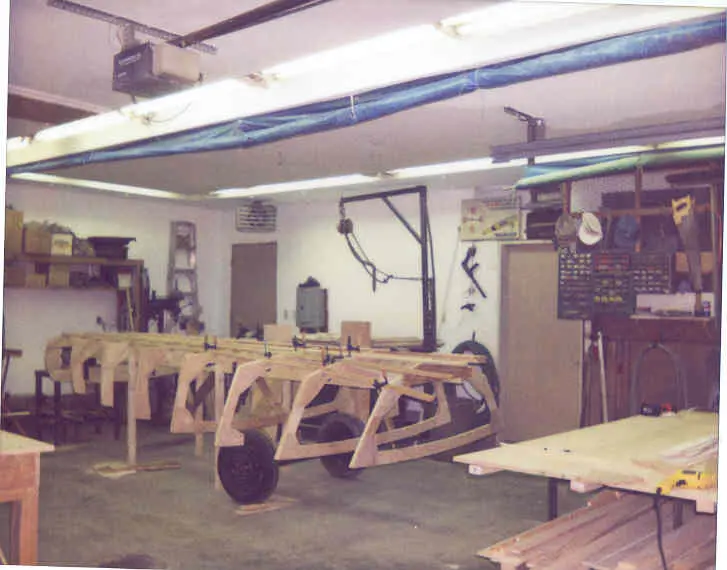
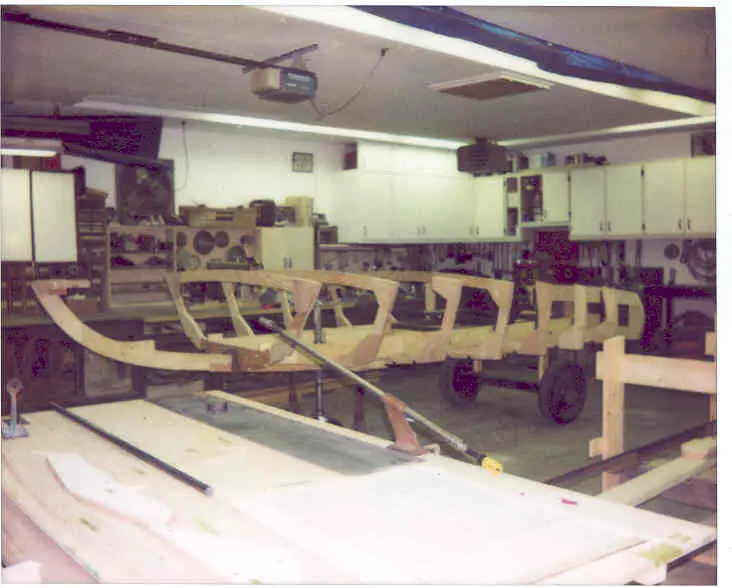
Full-size mockup: Vision is fully restored now
1. Vision is fully restored now. No excuses for wavering on the cutout lines !! Frame #7 completed.
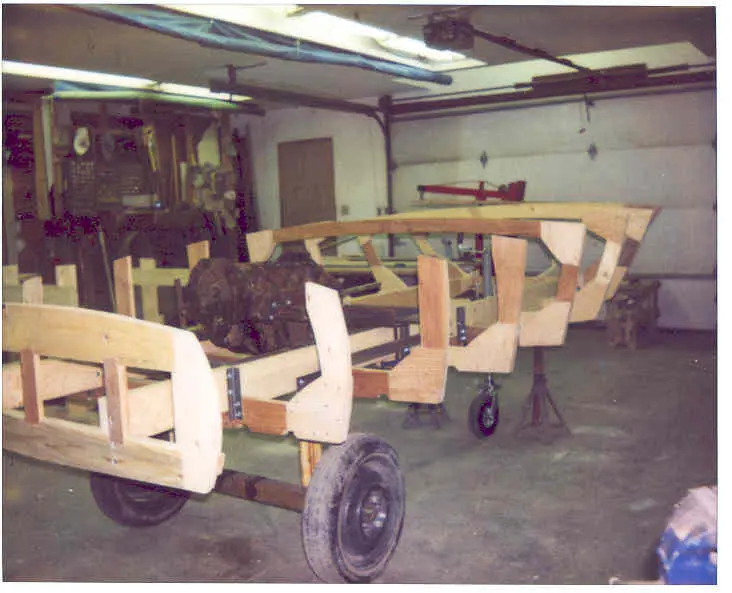
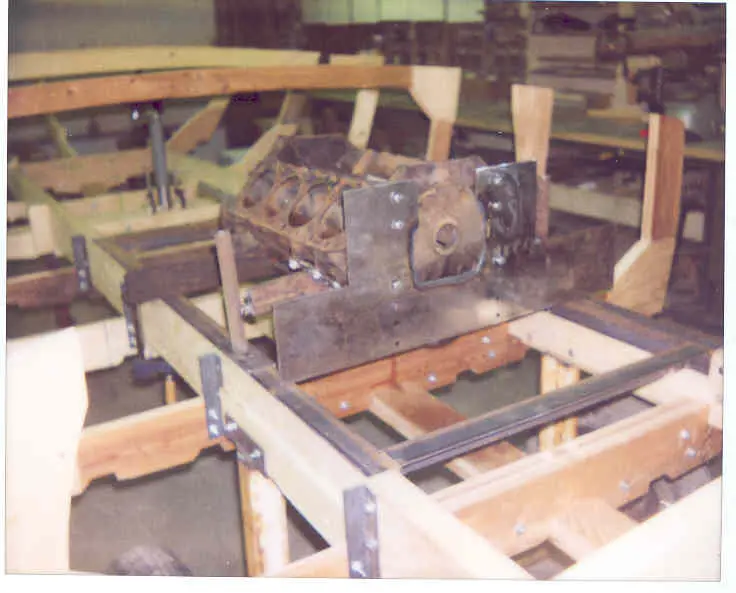
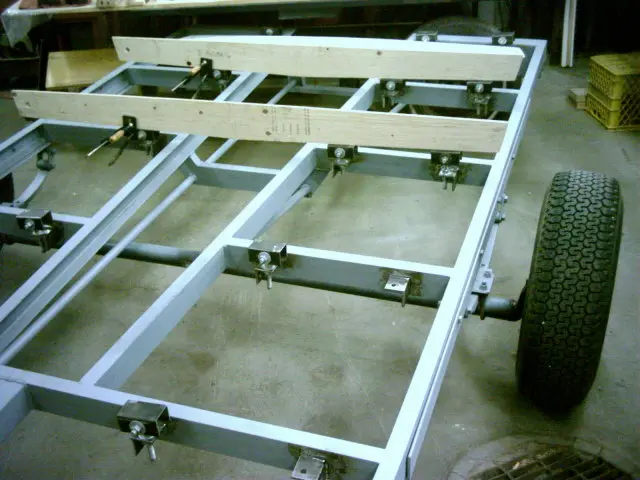
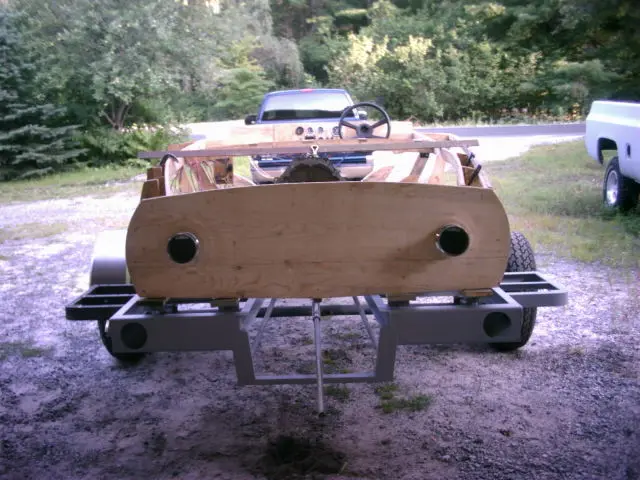
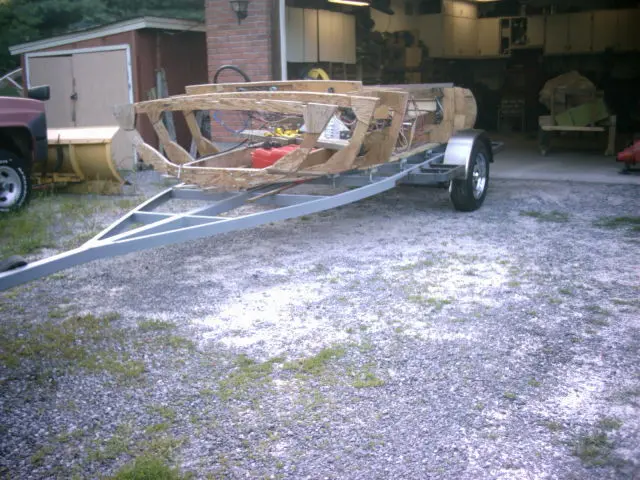
2. A quick trailer was built to bolt to the motor stringers. Now for the stem and frame #8...
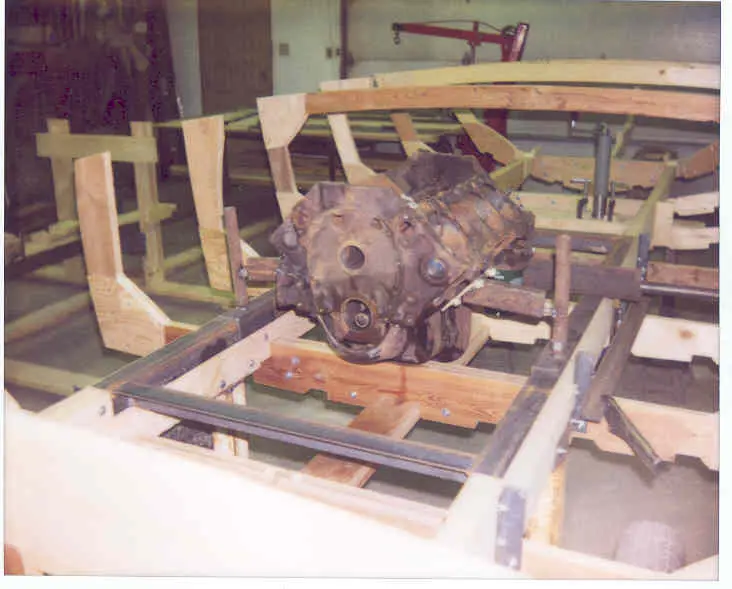
3. Chevy small block anyone ?? It's at this stage of the project where you (and everyone else) begin to doubt your sanity.
4. A quick set of temporary motor mounts was developed to provide up/down and side to side adjustment.
5. The beginnings of a motor plate to anchor the front of the motor.
Trailer: We'll be building the Glen-L 2100 series inboard boat trailer using a single 3500 lb
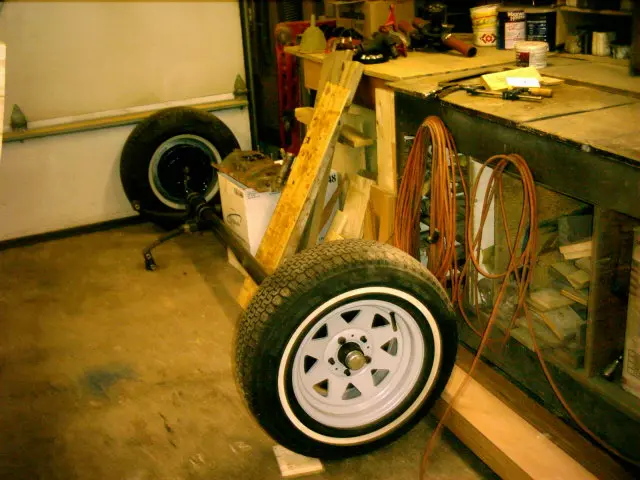
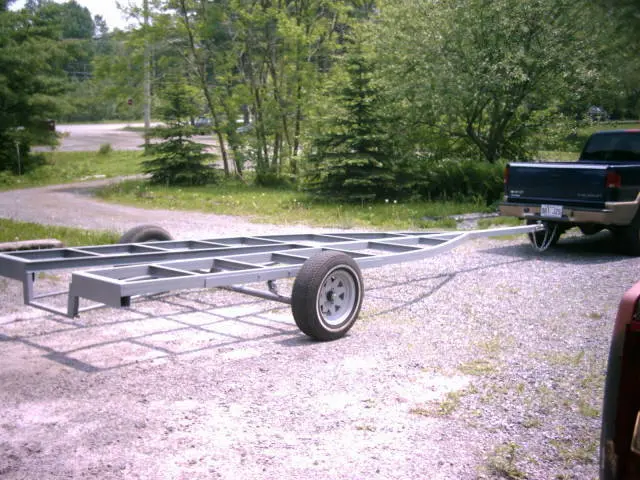
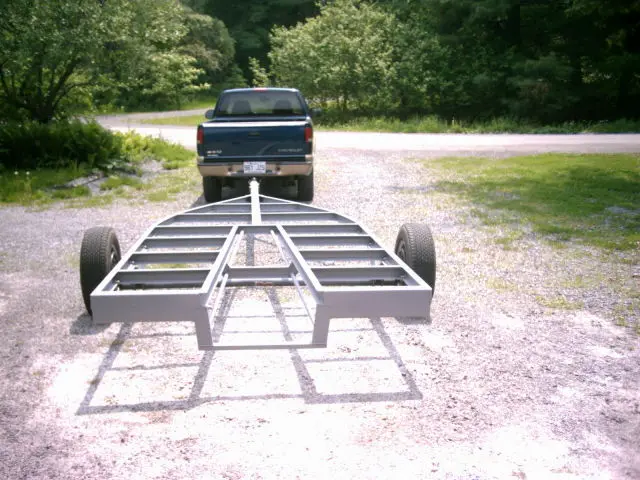
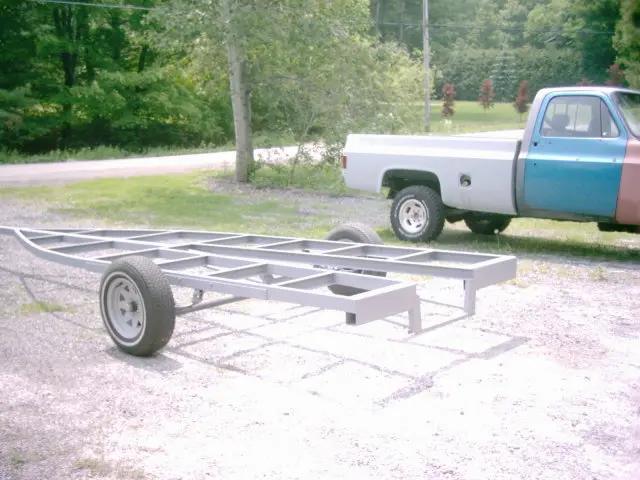
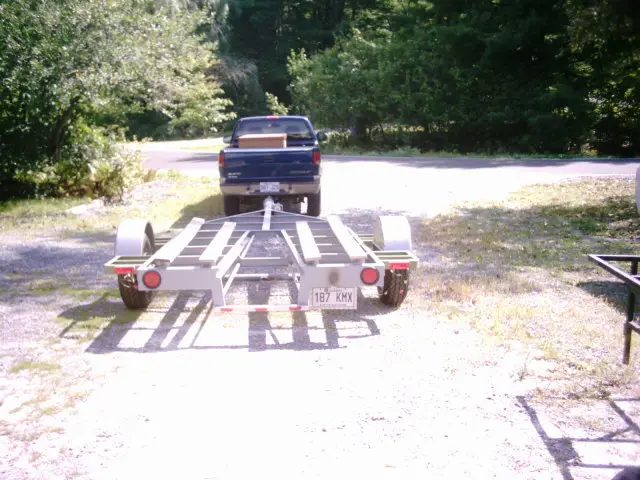
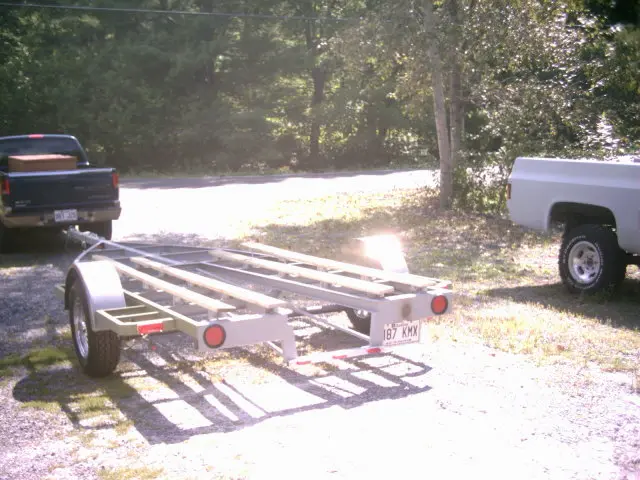
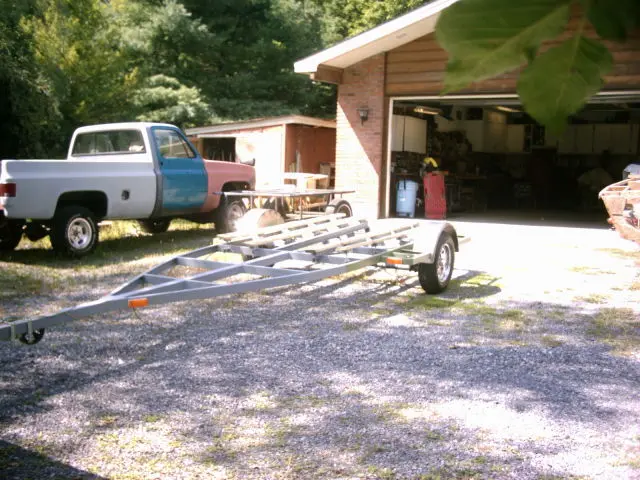
We'll be building the Glen-L 2100 series inboard boat trailer using a single 3500 lb. capacity 4" drop axle equipped with hydraulic brakes. A pair of 14" 4-hole Dodge rims were sandblasted, primed, and pressed into service as 'roller' wheels.
Trailer: Since we were running short on time, the trailer was built by a welding shop in Merickvill
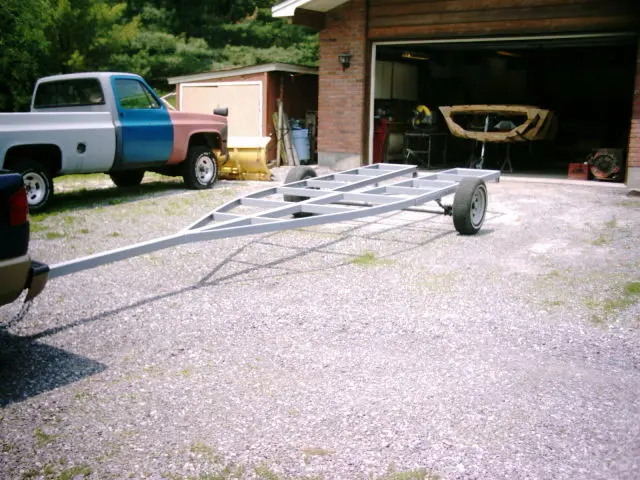
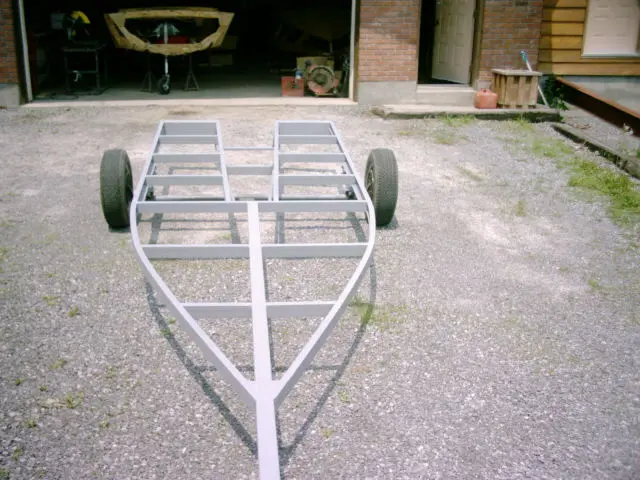
1. Since we were running short on time, the trailer was built by a welding shop in Merickville, Ontario. I asked them to fabricate the bare-bones trailer so I could finish the winch stand, brakes, fenders, bunks and wiring myself.
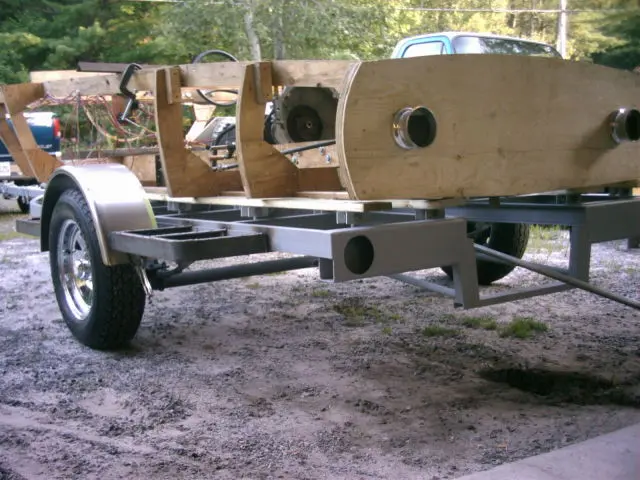
2. The craftsmanship is readily visible: nice welds, clean joints, gently bowed side rails and lots of little details add up to an excellent job. We increased the tongue length by 3' and substituted a piece of heavy duty 3" square tube for the 3" C-channel called for in the plan.
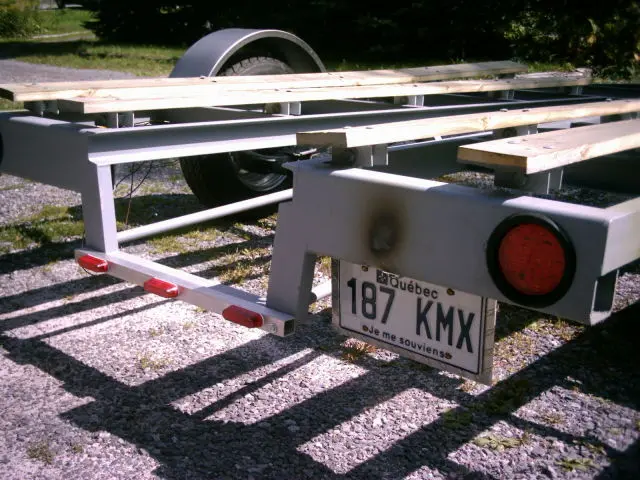
3. We increased the rear crossmember to 2" x 6" rectangular tube. This beefs up the rear and will provide more surface area to recess the rear lights.
4–5. You might want to increase the side rails to 4" C-channel. Although this will increase overall weight, it will stiffen up the trailer considerably.
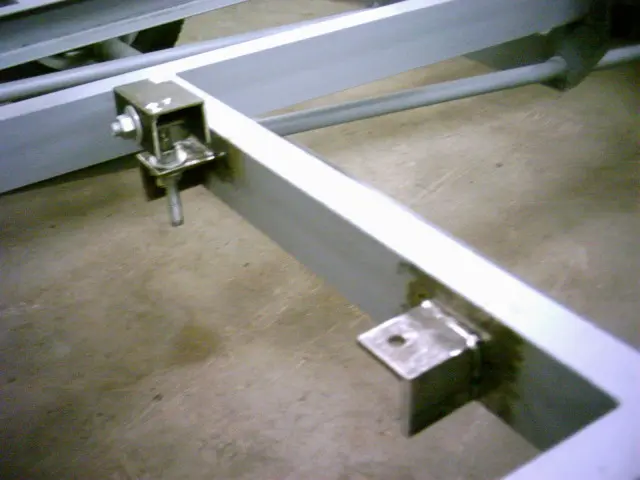
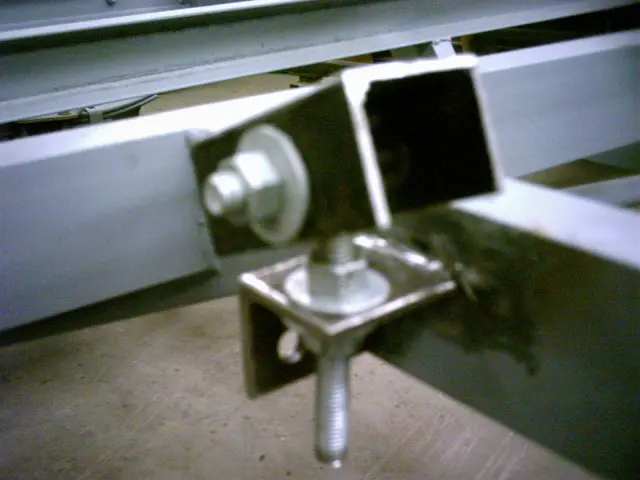
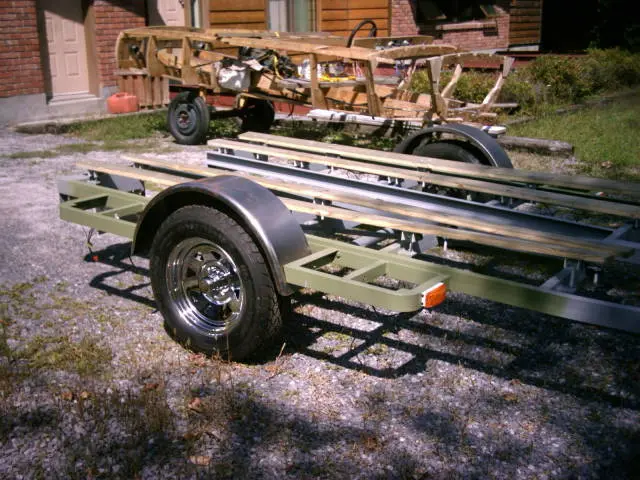
6–7. 20 bunk support brackets and swivel assemblies were fabricated to support the bunks.
8. When the bunk boards are added, this should provide fully adjustable support for the hull.
Trailer: A jig was set up on the welding table to bend the stock required for the fender steps
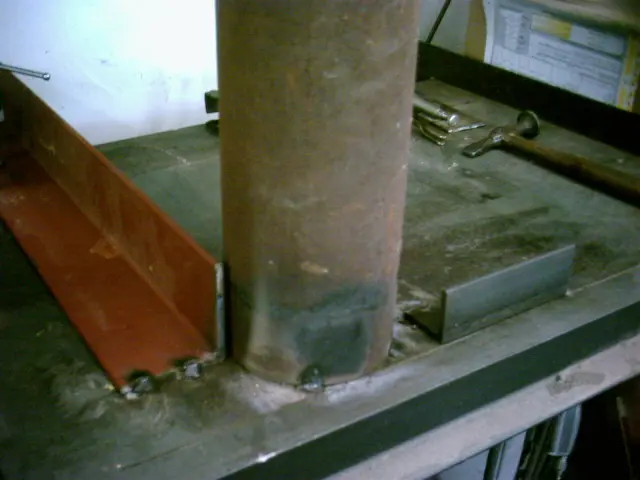
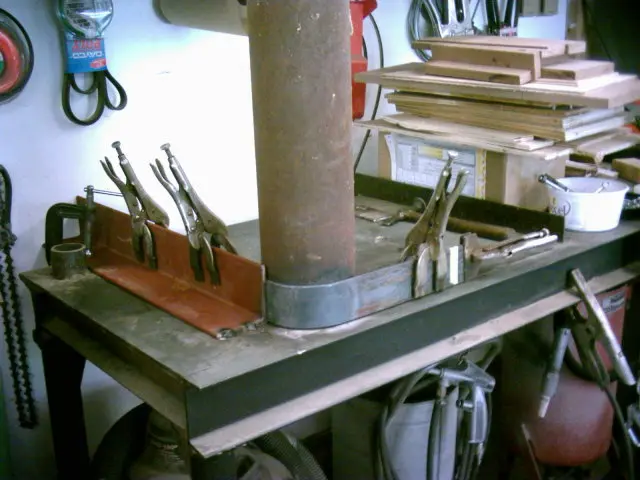
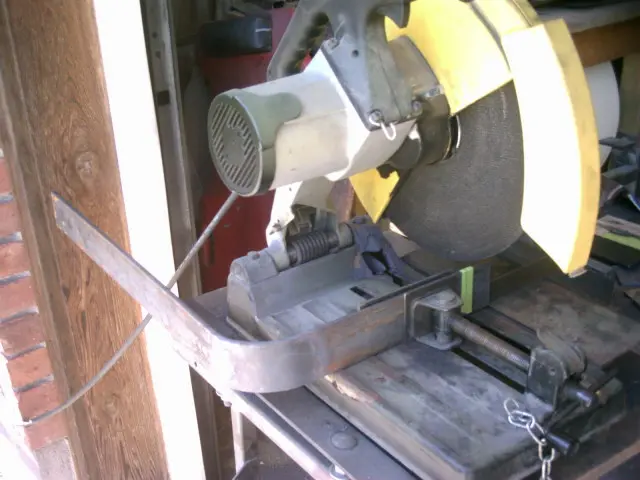
1. A jig was set up on the welding table to bend the stock required for the fender steps.
2. 2-1/2" x 3/16" flat bar was heated and bent around the jig.
3. The stock was cut to length on the chop saw.
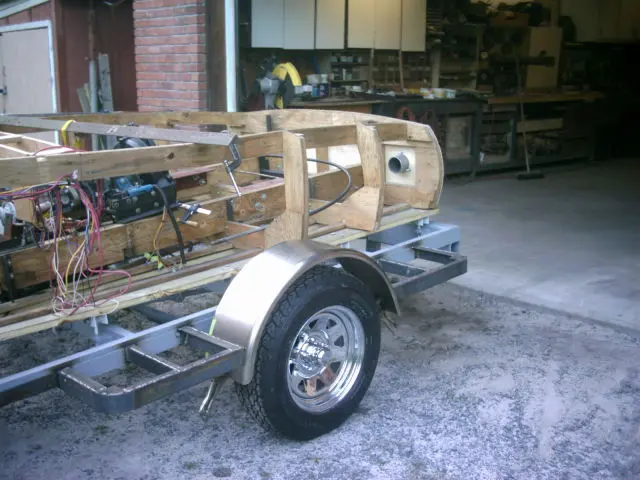
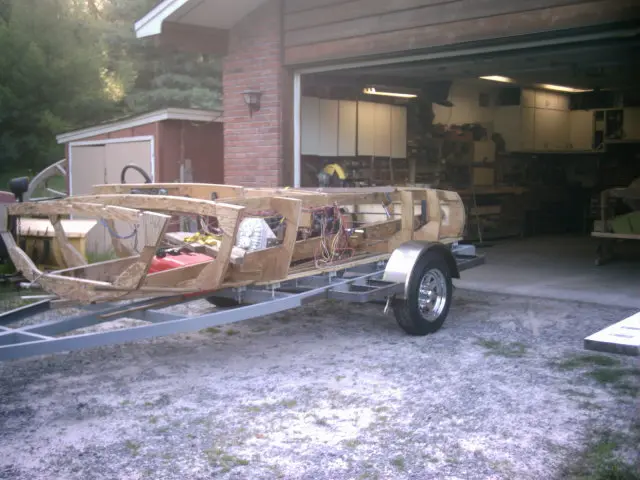
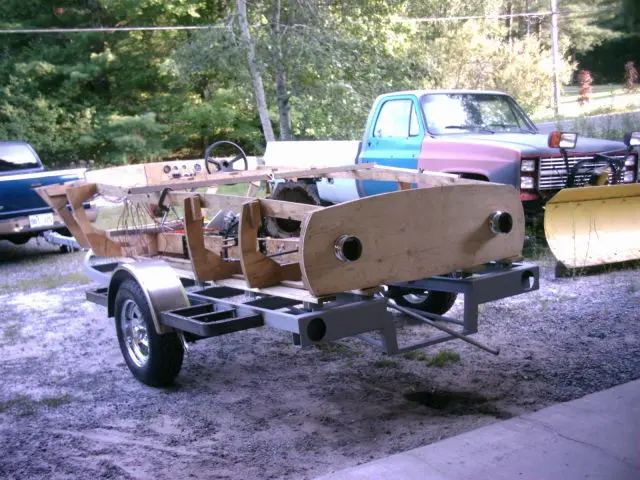
4. We mocked up the fenders to the fender steps and loaded up the mockup to check for fit.
5. If you click on the picture to enlarge it, you'll see how well the bunk beds conform to the hull.
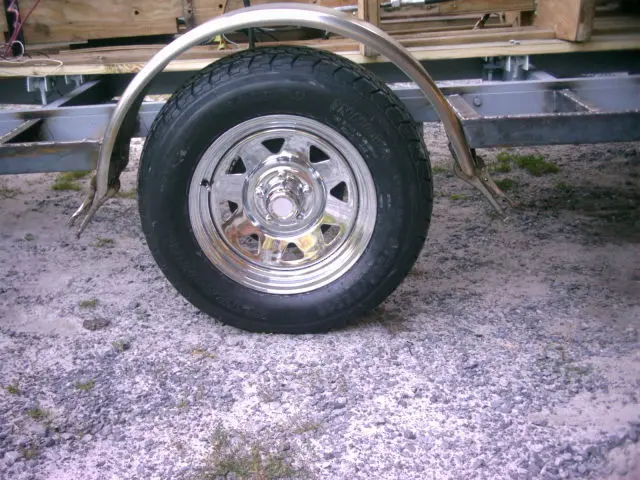
8–9. Chrome 8-spoke rims shod with ST205/75R15 rubber finish off the package.
10. The trailer wiring was completed with 4" LED stop/turn/tail lamps.
Trailer: The trailer wiring was completed with 4" LED stop/turn/tail lamps
1. The trailer wiring was completed with 4" LED stop/turn/tail lamps.
2. Sealed red clearance lights were mounted to the fender steps.
3. Sealed yellow clearance lights were mounted at the tongue/side rail junction and on the fender steps.
4–5. An ID light strip was fabricated using a length of 1" aluminum square tube. Three 3/4" x 3" red clearance lights were mounted to the tube which was then bolted to the trailer. A two prong plug will connect to the wiring harness and permit quick and easy removal of the light bar.
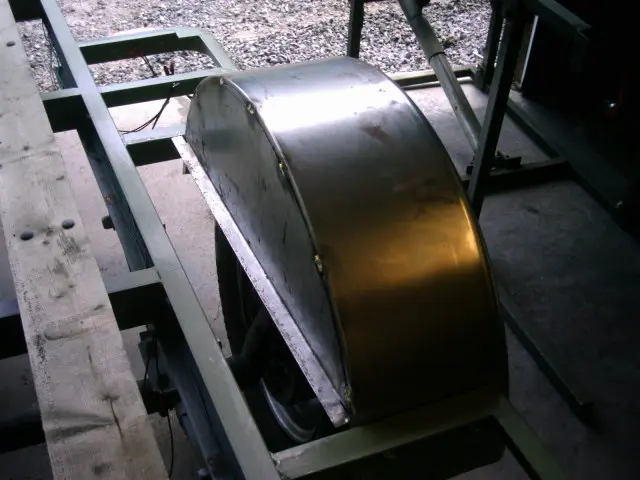
6. An inner fender skirt was fabricated from 16 gauge steel. A 1" flange on the bottom of the skirt will provide support for a step filler panel.