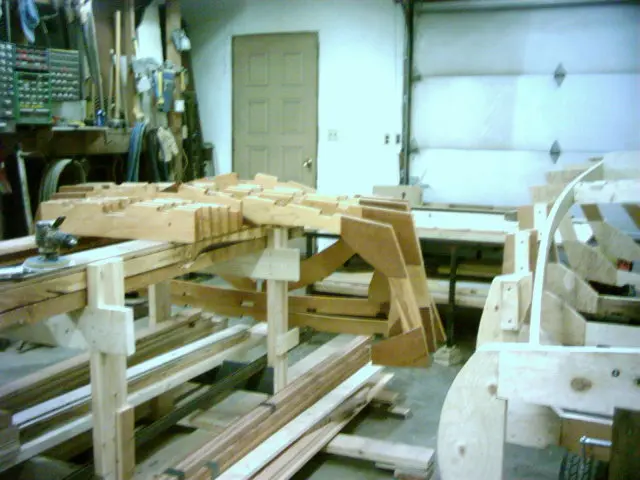
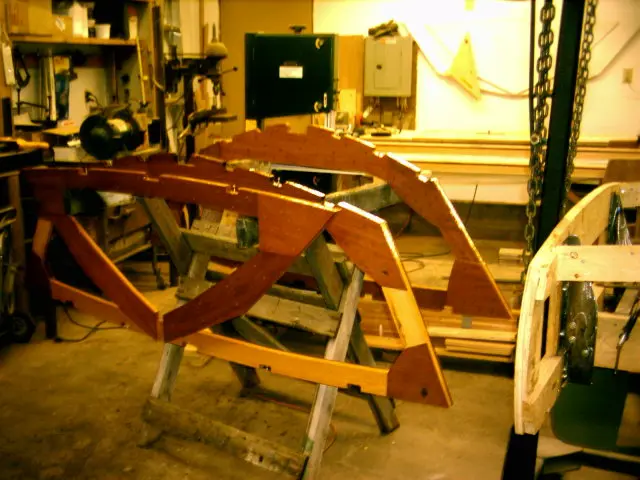
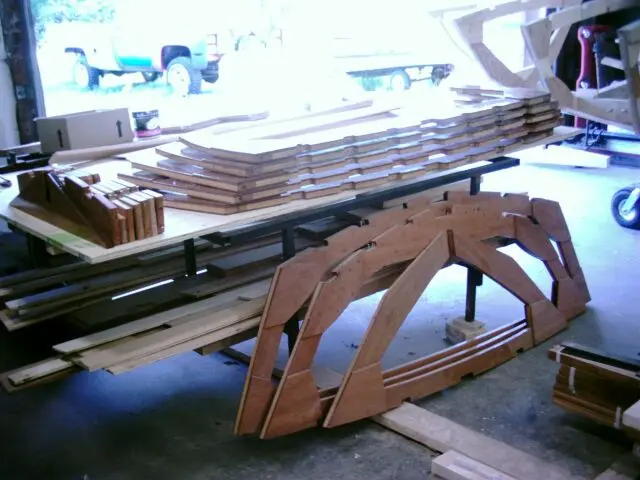
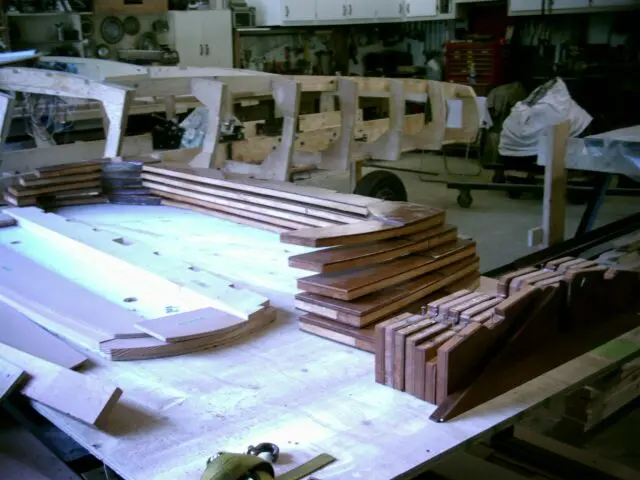
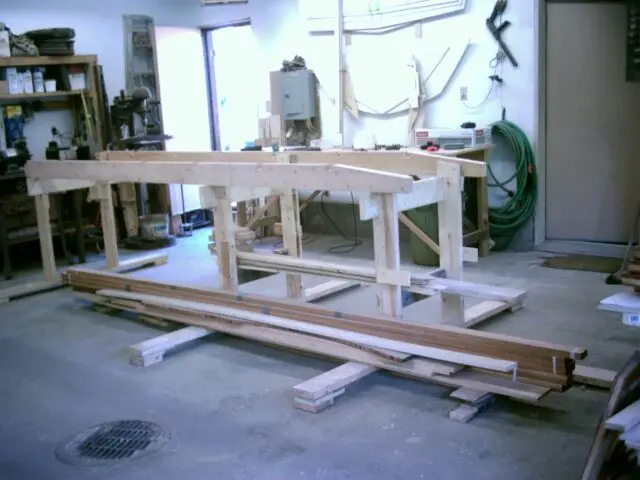
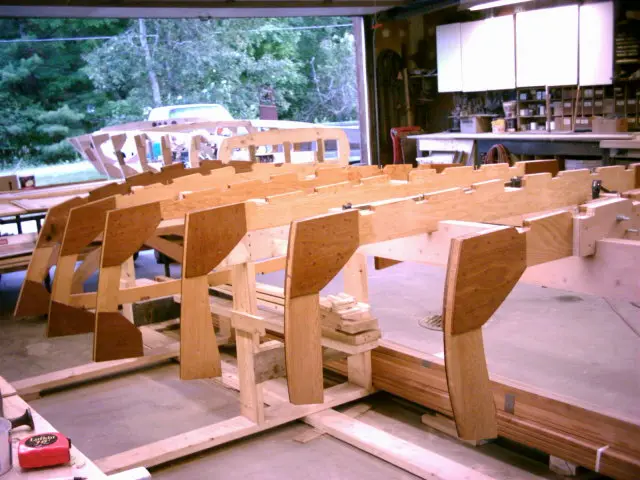
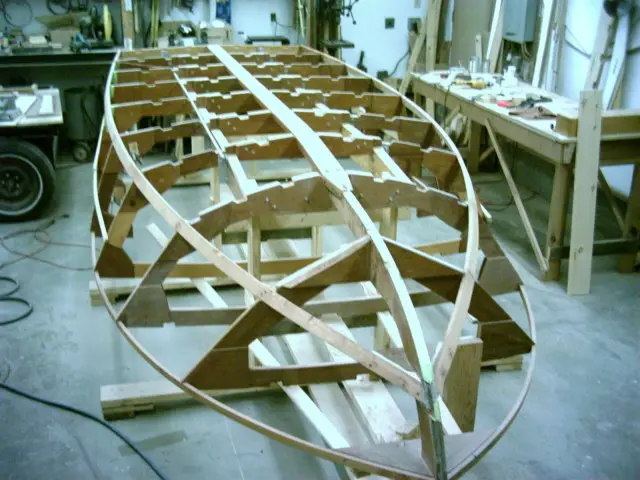
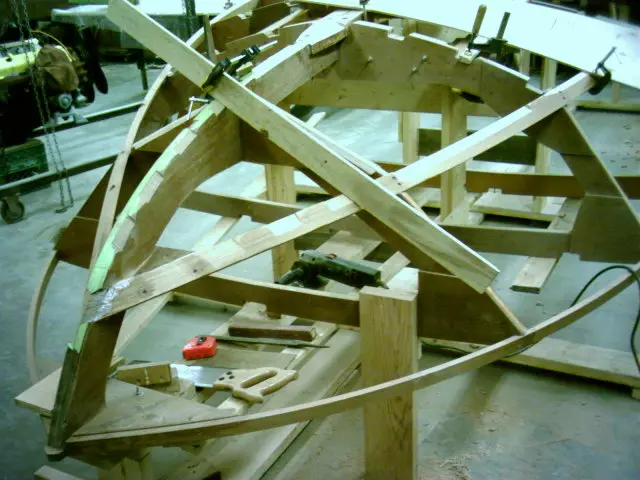
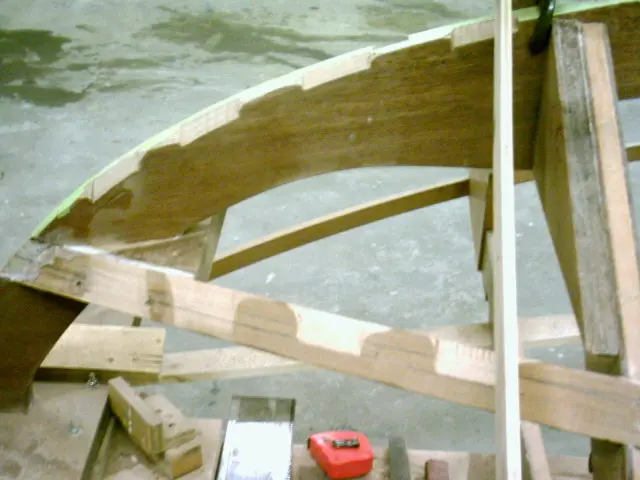
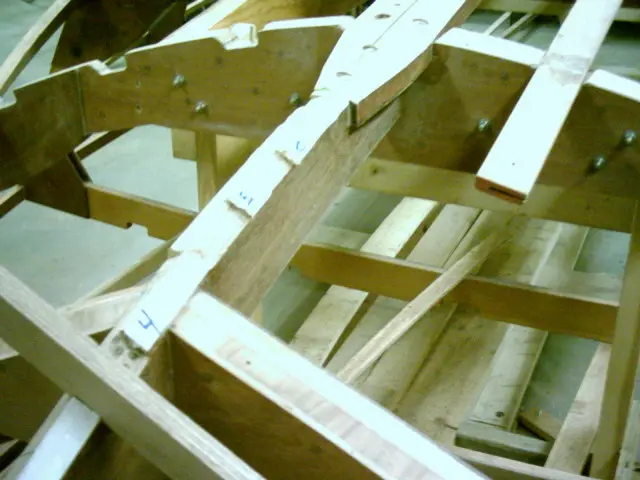
Frame and floor timber assembly completed
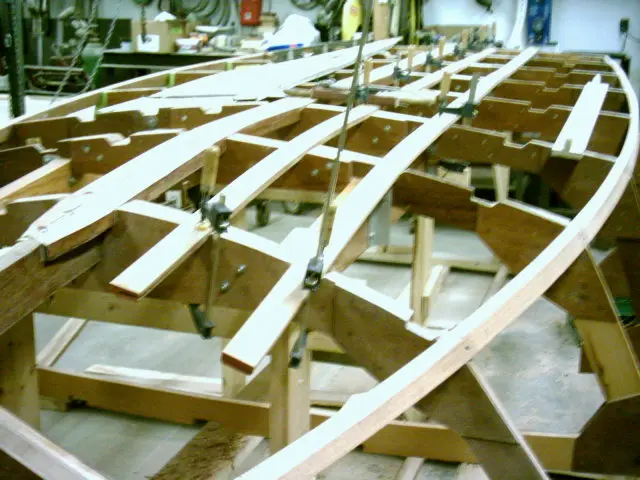
Frame and floor timber assembly completed.
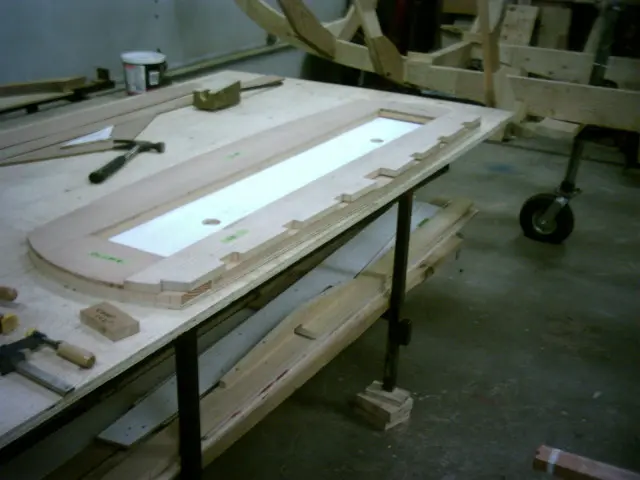
Assembling transom.
Epoxy barrier coating frames #1 and #2...
#3 and #4...
#6, #7 and #8. A total of three coats was applied with wet sanding between coats to remove any amine blush from the epoxy.
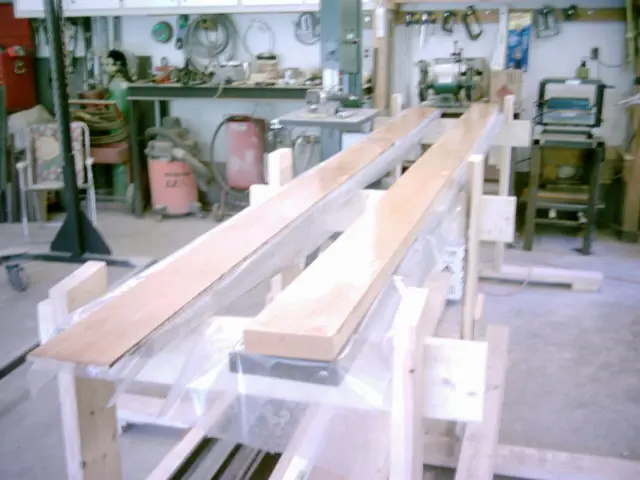
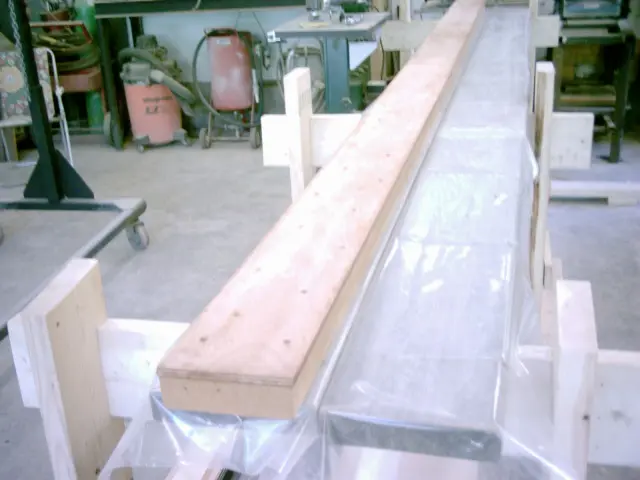
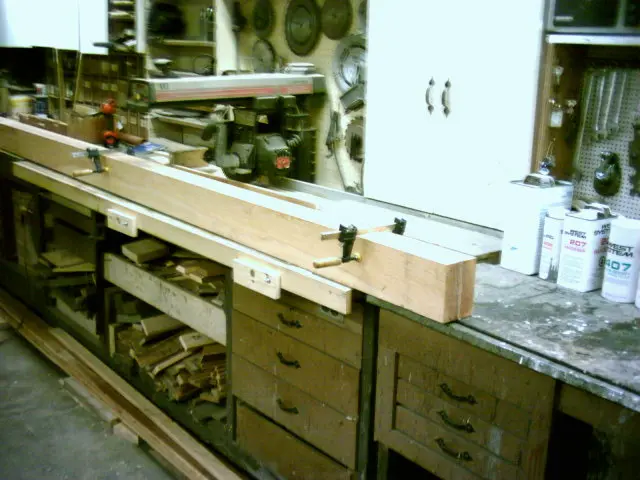
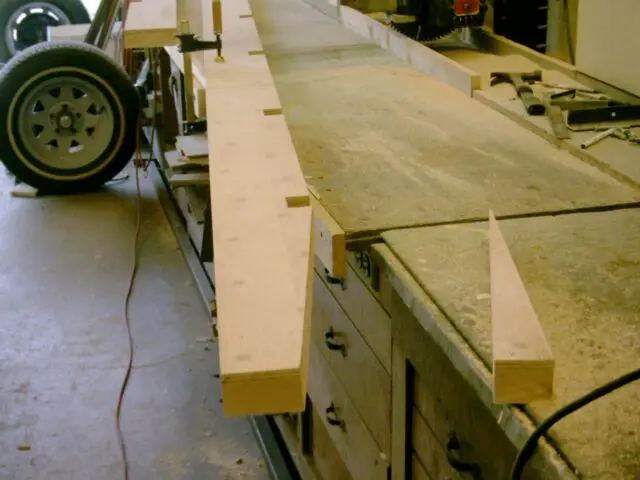
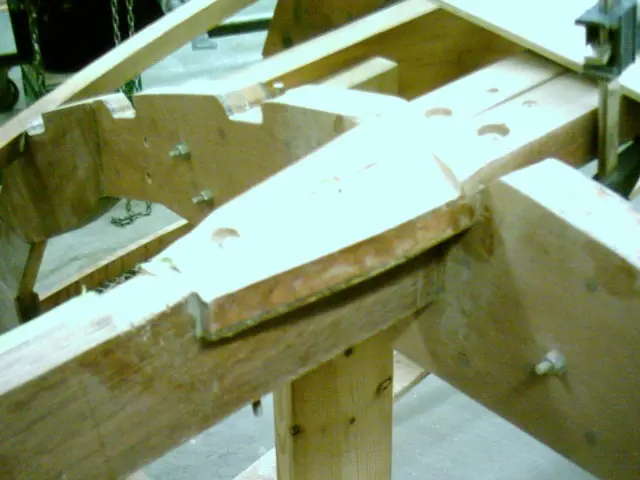
Laminating motor stringers.
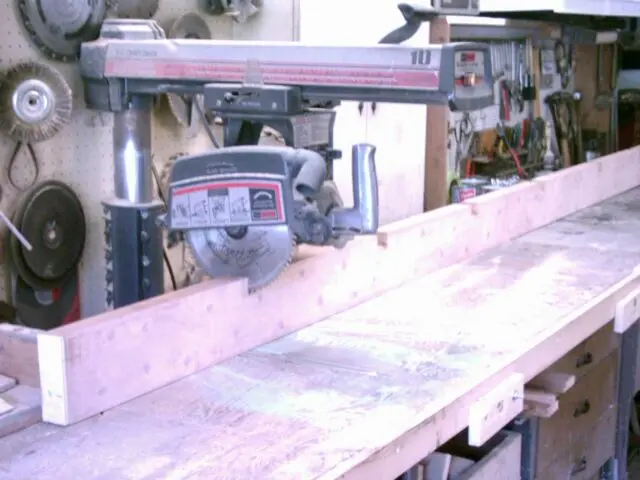
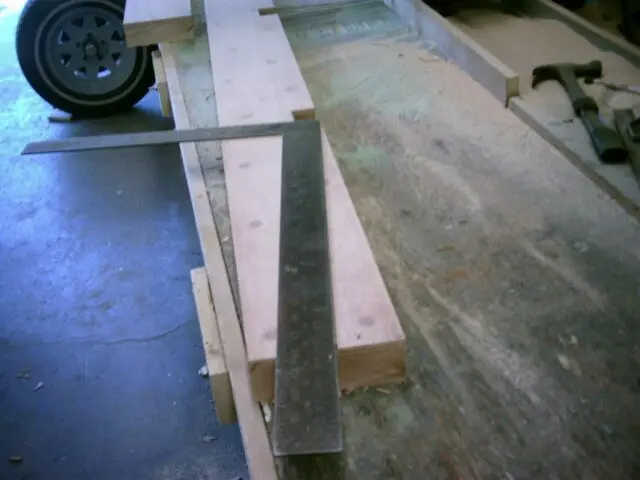
Laying out the motor stringer frame notches.
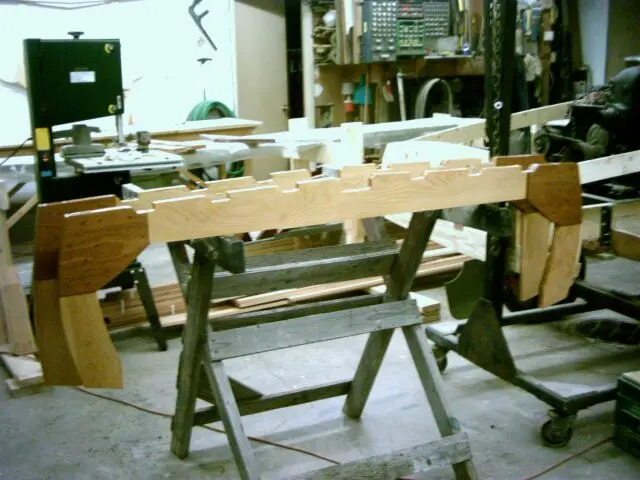
Cutting the motor stringer frame notches.
Laying out motor stringer bevel.
Cut completed.
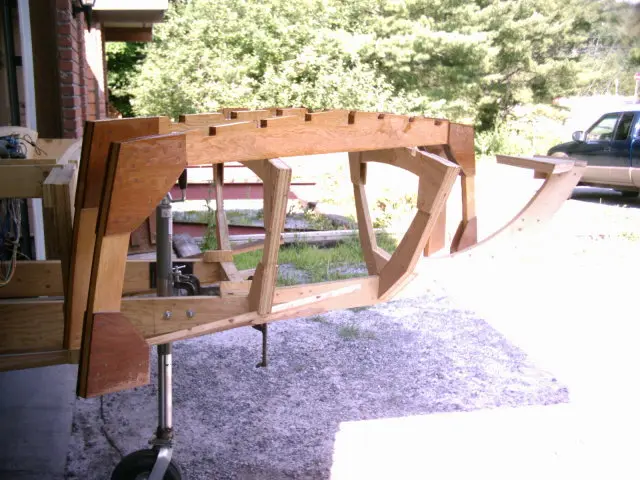
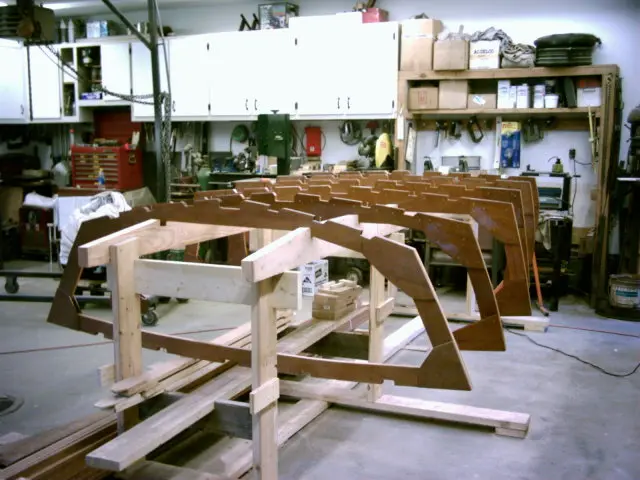
All frames completed.
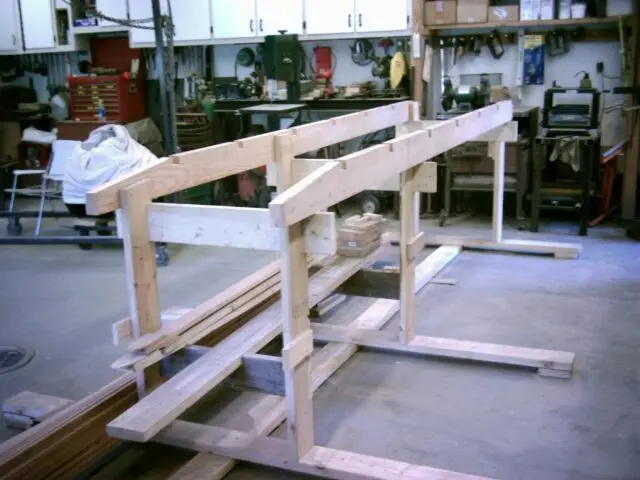
Since the hull is only 28" deep, the setup jig height was increased so that the top of the frames were 16" off the floor. This raises the boat to a more convenient work height and provides increased clearance for cutting the frame sheer notches and fairing the sheer clamps.
A third leg was added between frame # 4 and # 5. This prevents stringer and frame movement when the chine and sheer are sprung in.
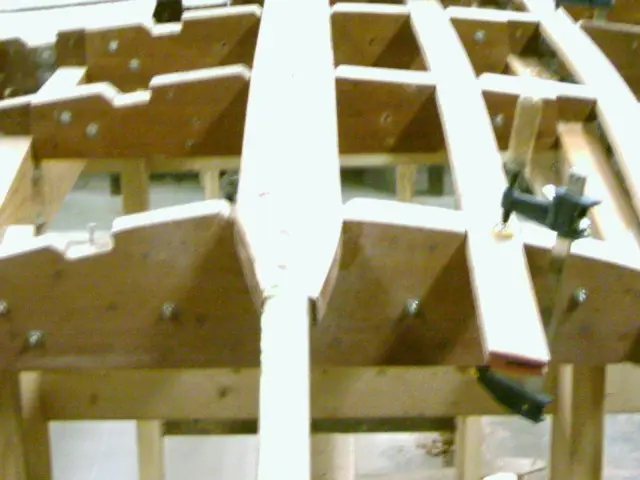
Frames fitted to motor stringers.
The second sheer clamp laminations are yet to be installed
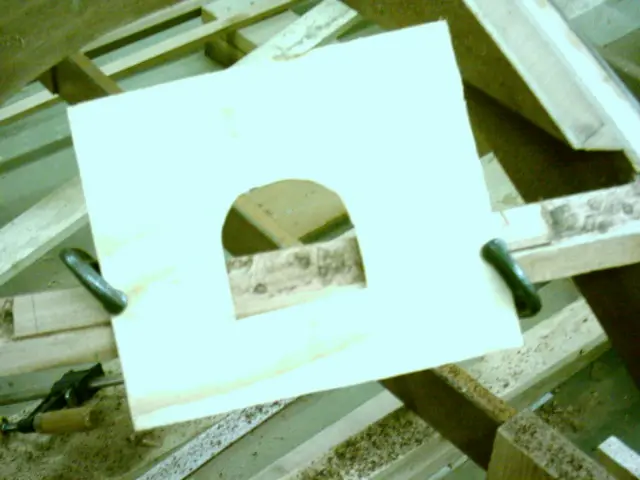
The second sheer clamp laminations are yet to be installed. Notes on fitting the chine Photo courtesy of Glen-L Marine Designs The photo above illustrates a plywood fixture we have found helpful to determine the position of the chine on the stem side. Keep in mind what has been stated in the foregoing. The bottom and side must mate to the stem and chine on a continuous surface. The chine can't be located on the stem so that the stem/chine junction cannot be faired to a flat plane. Take small pieces of plywood and simulate the side and bottom joining on the stem to help visualize what the finished junction will look like. Source : Designer's Notebook: Fitting the chine - WebLetter 49
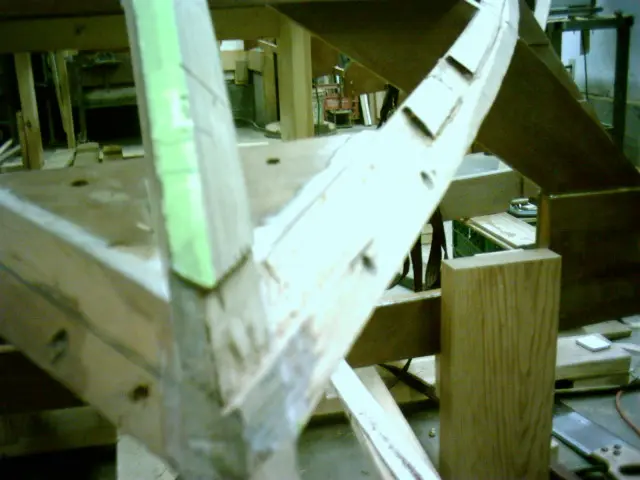
Fairing the stem and chine using the 'Rabl' method. The method is depicted in the following plate : From the book Boatbuilding with Plywood by Glen L. Witt For a complete description of the fairing method, follow the links below : Designer's Notebook : Fairing by the "Rabl Method" : Article by Glen L. Witt. Boatbuilding with Plywood : Book by Glen L. Witt.
Compare the unfaired side (left) to the faired side (right).
Here you can see unfaired frame # 7 (background) and the faired frame (foreground).
Installing the battens and fairing
Installing the battens and fairing.
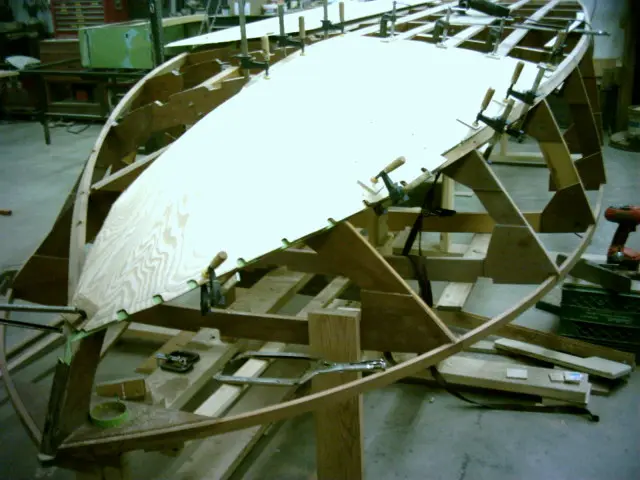
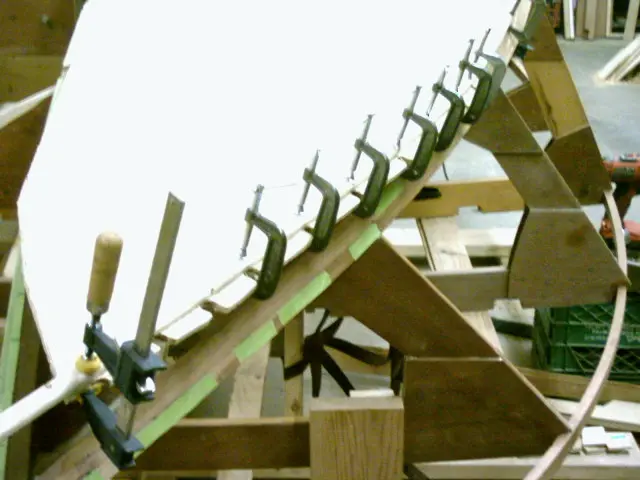
We'll be sheeting with the optional 1/2" botom in the flatter aft area and two layers of 1/4" in the forward section
We'll be sheeting with the optional 1/2" botom in the flatter aft area and two layers of 1/4" in the forward section. A template for the first bottom layer is being fitted.
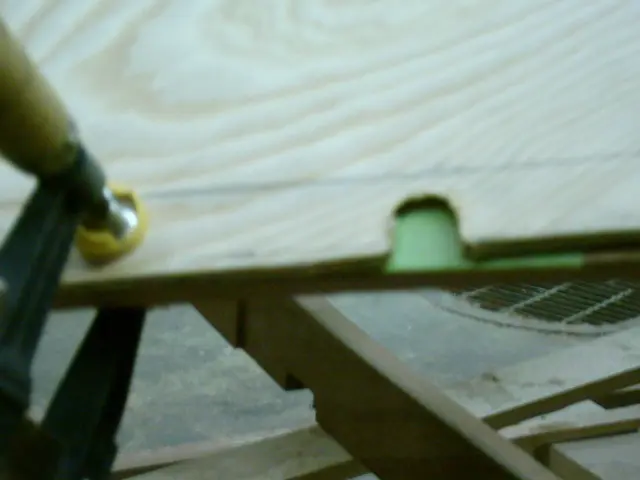
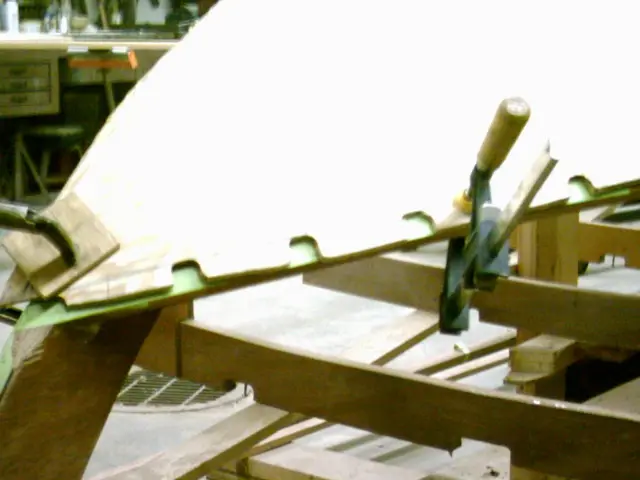
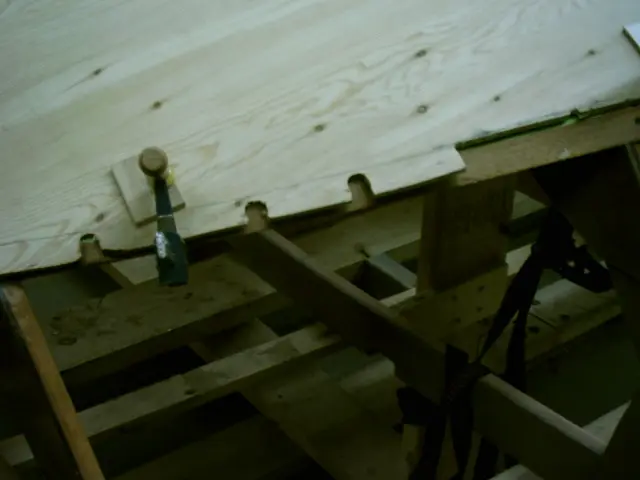
The chine was covered in masking tape and the bottom/side planking junction was marked with a pencil. Using a pneumatic die grinder outfitted with a 1/2" deburring rasp makes quick work of cutting a series of 'mouseholes' every six inches or so along the panel's edge. Trim the slots back until the transition line is visible.
Note the cleft to the right of the last slot. From this point aft, the bottom planking will be faired flush with the side of the chine.
A thin flexible batten is sprung and clamped along the panel's slots before marking with a pencil.
Remove the clamps and trim to size. Several methods for handling thickness variations between side and bottom planking at junctions over the chine log are depicted in the following diagram. We chose to recess the first layer of bottom plywood into the chine. See the bottom right drawing labelled Double planking forward portion recessed chine. Methods for handling thickness variations between side and bottom planking at junctions over chine log. Drawing courtesy of Glen-L Marine Designs
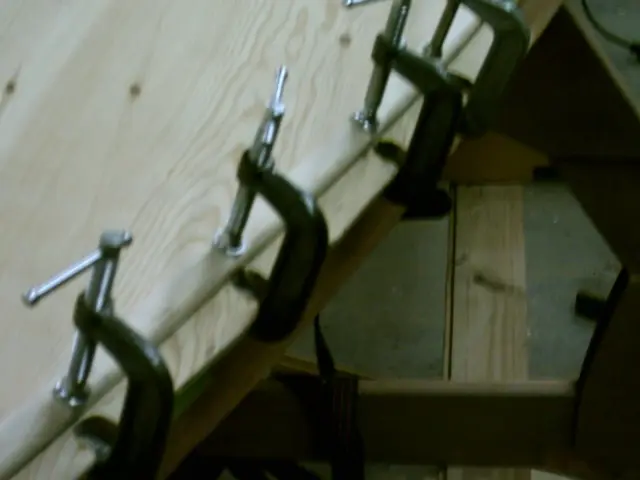
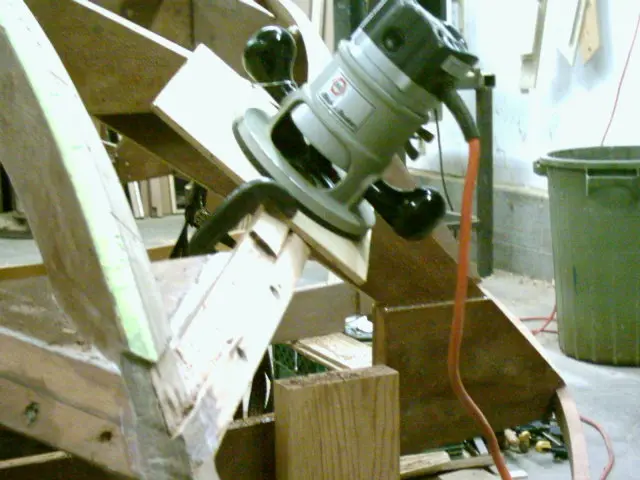
A router was used to recess the forward portion of the chine.
A simple jig made from a piece of 1/4" plywood is used to form a steady base for the router.
Fairing the stem with the 'Rabl' method. The following link explains how it's done : Fairing by the "RABL Method" by Glen L. Witt
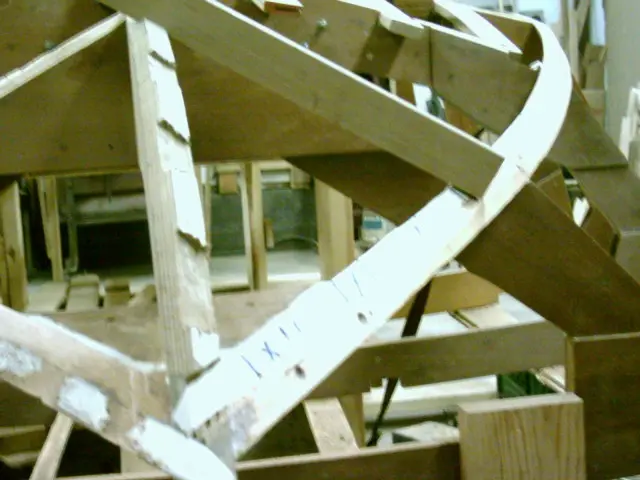
The keel must also be recessed to accomodate the thickness of the plywood. A router is used (freehand) to fair the surface.
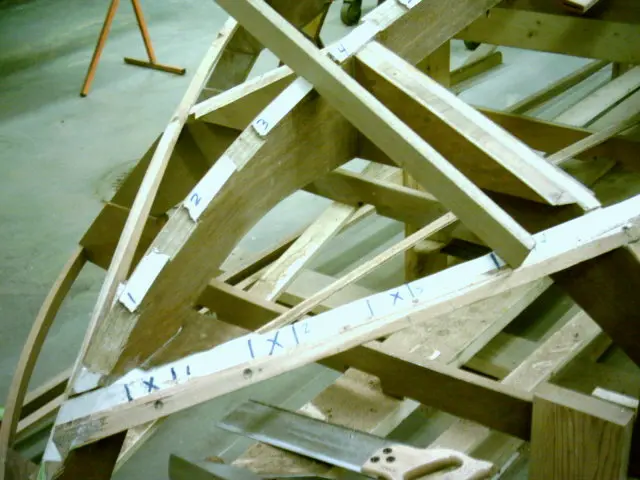
The depth of the recess is decreased as it approaches the keel (1/4" deep from mark #1 to #4, 3/16" at #5, 1/8" at #6, 0" at the keel). Install the panel and determine how much should be faired from frame #8.
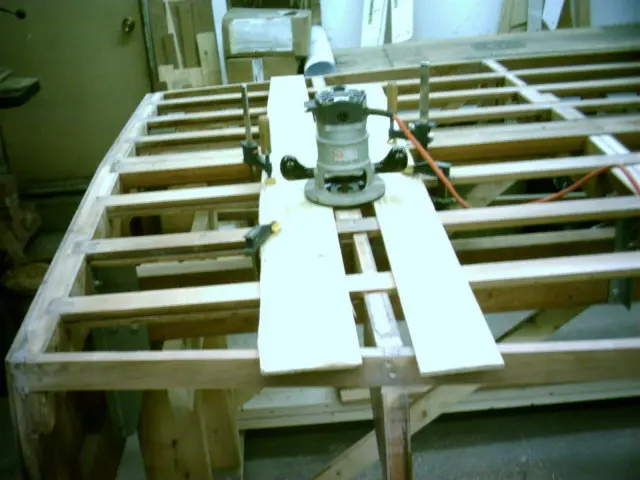
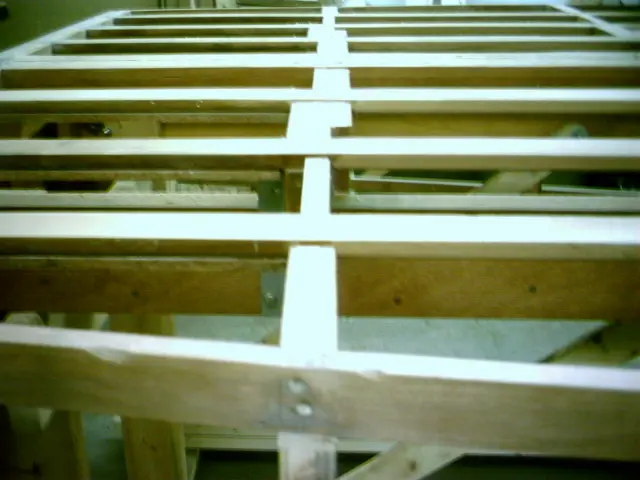
A quick and accurate method of fairing the frames so they'll sit 1/8" below the battens involves running a router over t
A quick and accurate method of fairing the frames so they'll sit 1/8" below the battens involves running a router over two strips of 1/4" plywood clamped to the battens.
This prevents 'hard spots' from forming on the hull where the frames contact the bottom planking.