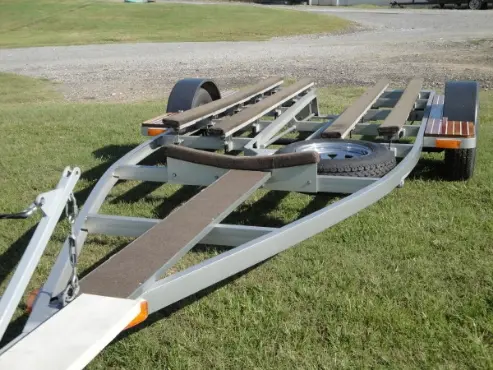
Time spent building the gantry was well worth it. Any failure at this stage would be catastrophic ! The boat's on the trailer... We've loaded up the truck... We've got a full tank of gas... We're off to Alabama !
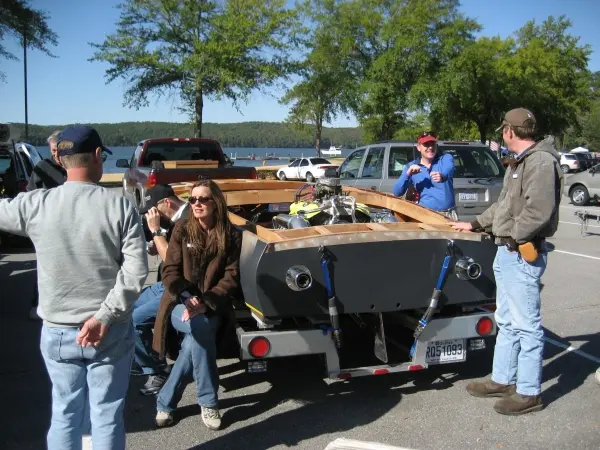
1. Several days (and kilometers) later... It's Saturday, October 25, mid sixties and we're lined up in the Guntersville Lake State Park, Alabama parking lot. Gayle Brantuk, Vice President of Glen-L Marine Designs takes a break on the Hot Rod's trailer fender step. She and her husband John flew in from Bellflower, California to attend the event. Click here to see some photos of the event and our boatbuilder interview.
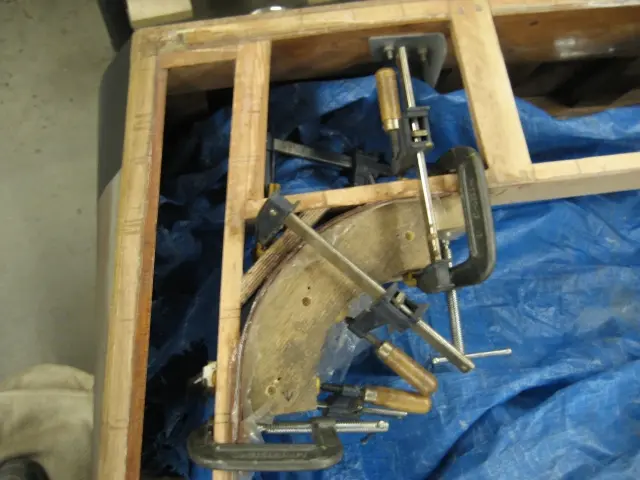
2. We've been working away at the boat over the winter but haven't much to show so far. Work on the cockpit continues. Over the next few weeks, we'll be laminating several layers of.100" veneer over the carlings. This will give a nice smooth radius to the inside corners. Click here to see how it was done.
Deck: Deck was covered with 10 ounce fiberglass cloth
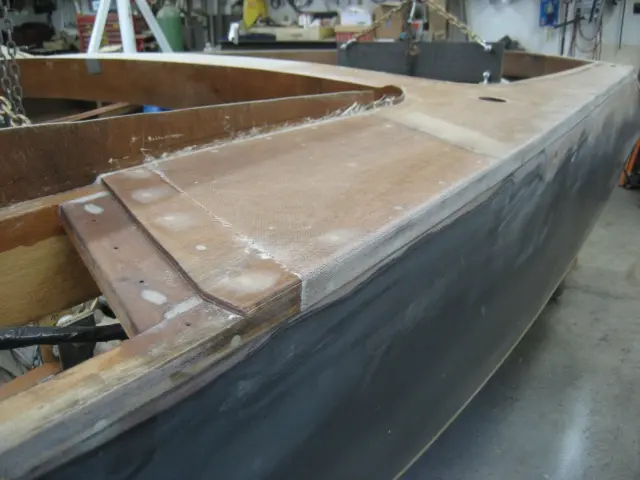
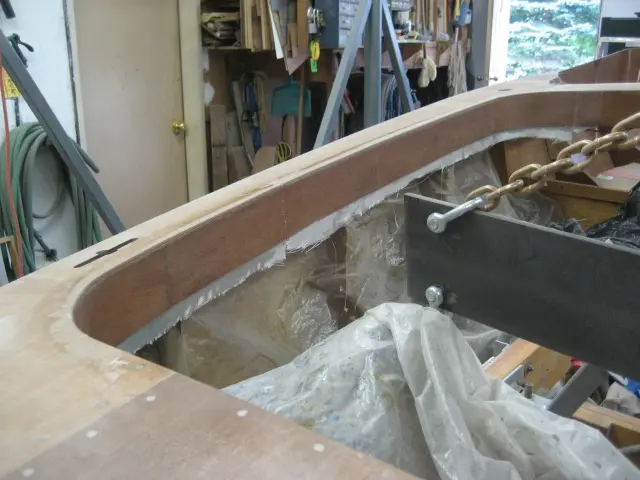
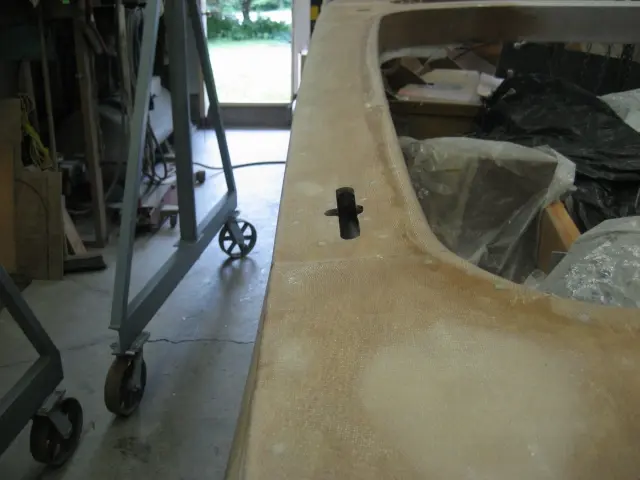
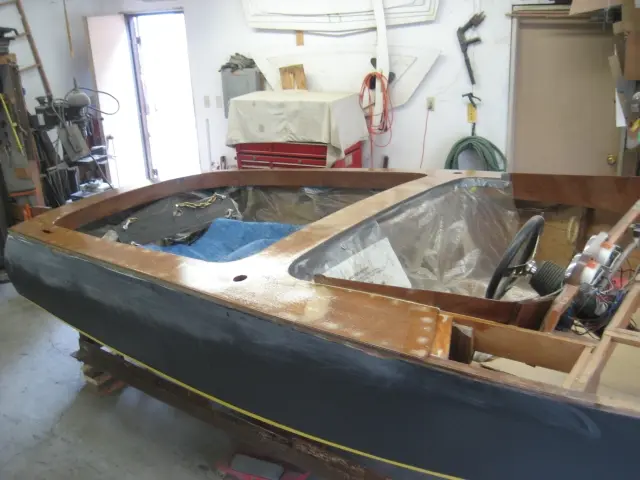
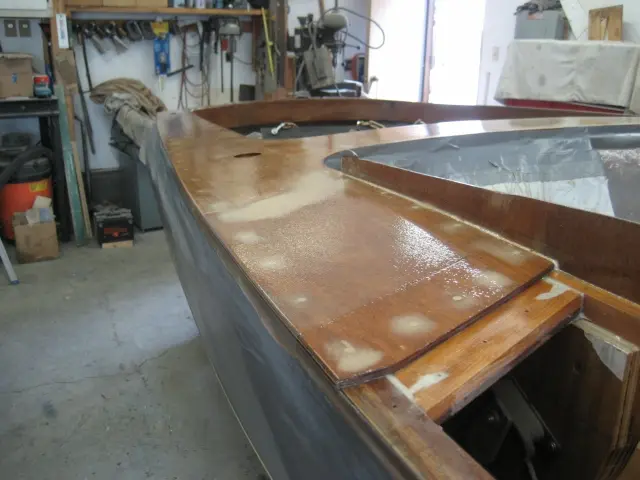
1. Deck was covered with 10 ounce fiberglass cloth. The cloth was draped around the radiused 'shoebox' edge. We had previously built up several layers of fiberglass mat and cloth along the sheer to form a 'shoebox' joint along the sheer. This deck-to-hull joint is used in fiberglass boats and saves a lot of time as the deck cloth doesn't overlap the hull, only a 3/4" wide strip at the sheer.
2. More cloth was applied to the rear cockpit carlings.
3. Cloth overlap will be ground down flush.
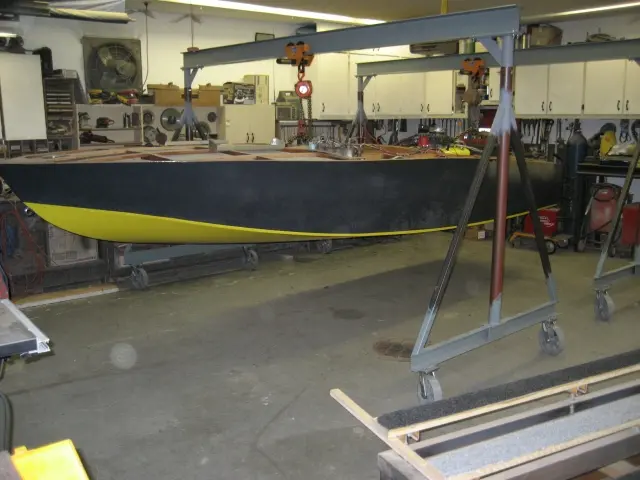
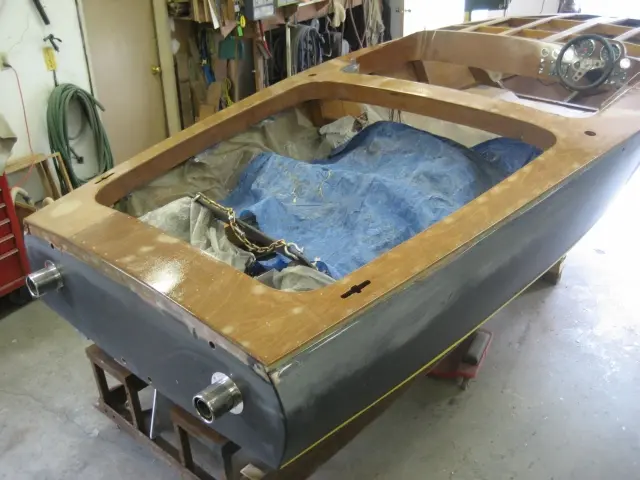
4. We've moved the boat from its trailer to our steel boat dolly. Much easier to work on the boat this way !
5. Fiberglass was blocked out with a straight-line air file fitted with 40 grit paper.
6. We'll be applying three coats of West epoxy resin before the first sanding.
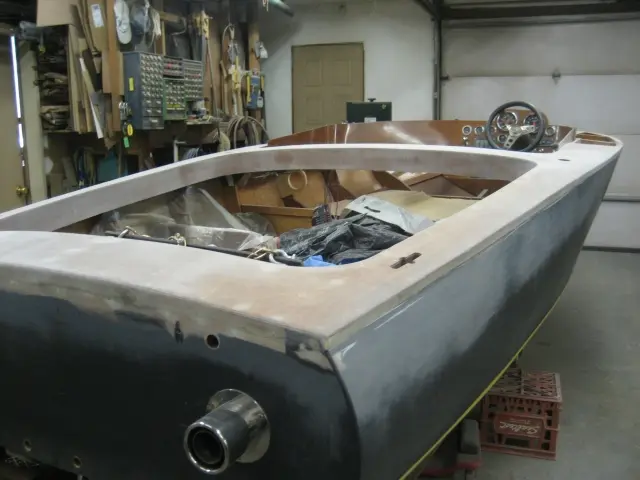
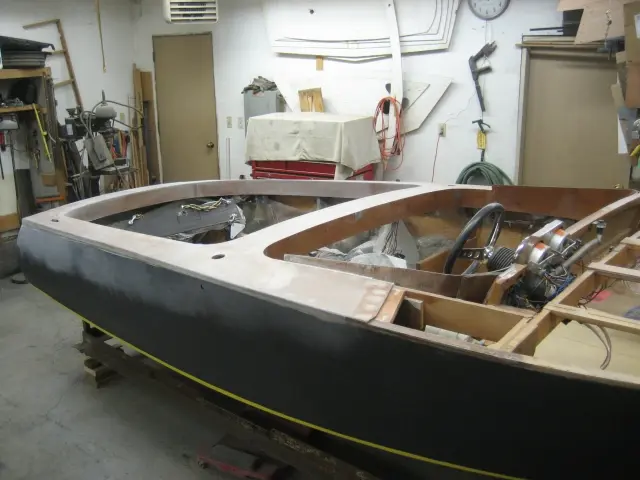
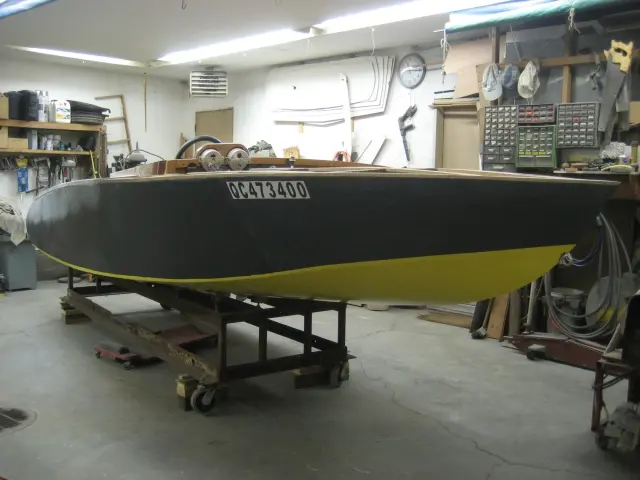
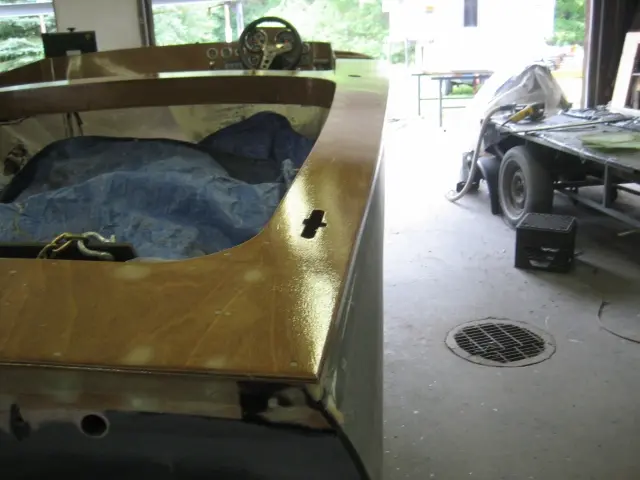
7. Time spent tweaking the sheer line was well worth the effort ! You'll notice the frame outline templates hanging on the wall next to the clock.
8. The deck will be painted, so to produce a solid base for sanding, we applied three rounds of West System epoxy catalysed with 207 hardener. Each coat was allowed to cure for three hours before applying the next coat.
9. A very light coat of epoxy was applied with a 6" foam roller...
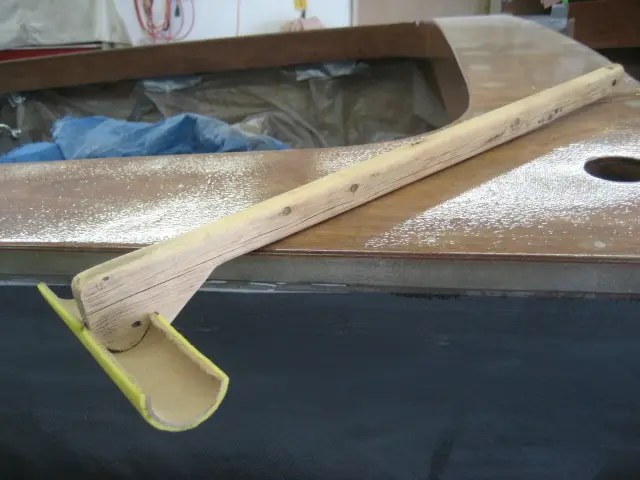
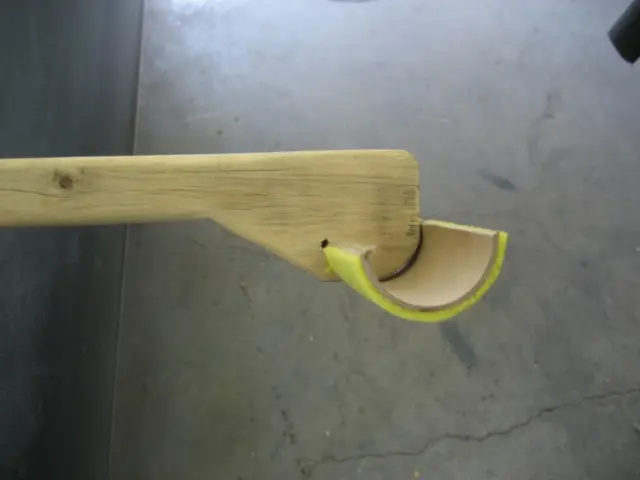
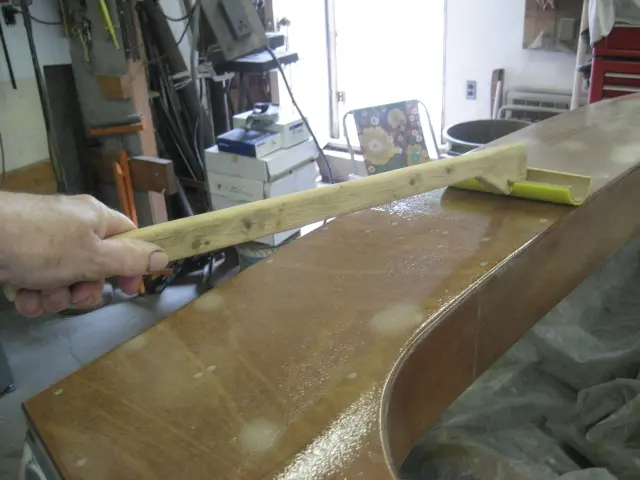
10–11. ... and tipped with a West 8" foam roller cut in half and affixed to the end of a 24" piece of 1" x 2".
12. The tipping tool is lightly dragged on the epoxy surface until the tool starts to stutter. This breaks up the air bubbles induced by rolling on the epoxy and distributes a very thin coat of epoxy. You'll save many hours of sanding if you can minimize surface texture and runs !
13. '
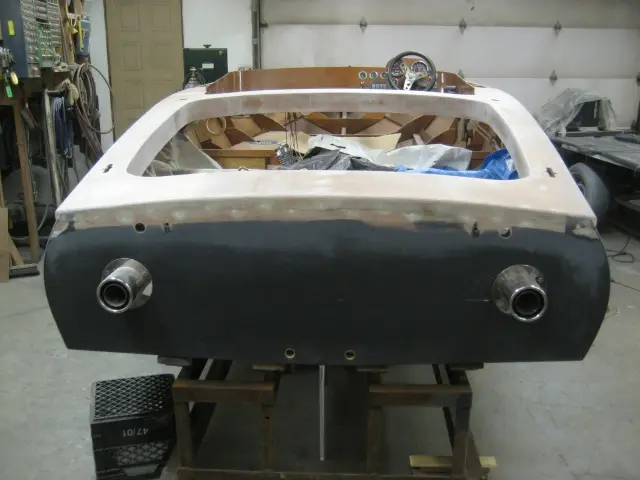
14–15. '
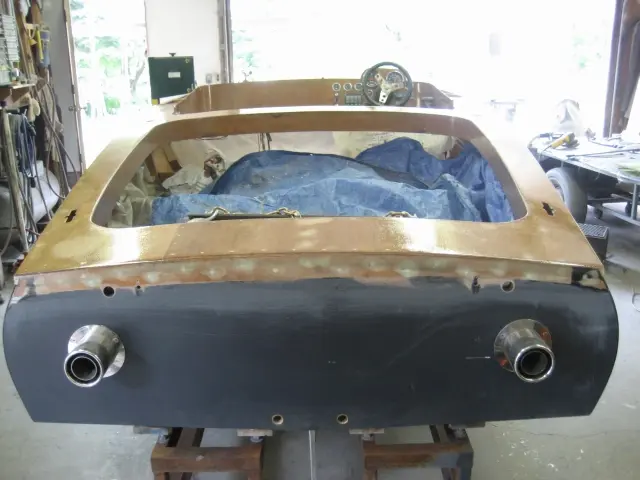
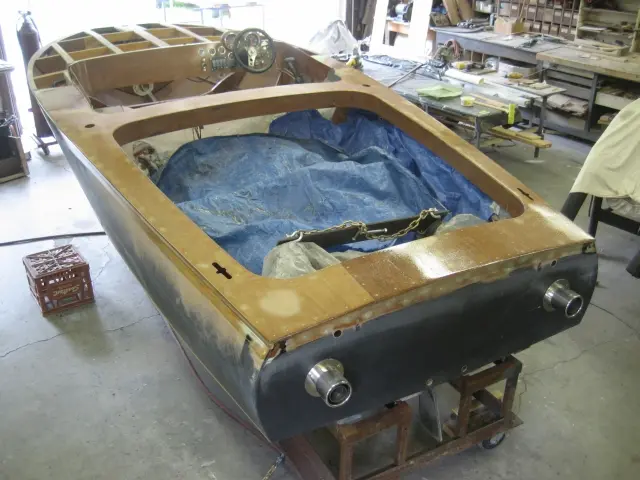
16. The rear deck was sanded with an inline air file with 40 grit sandpaper and blocked with a longboard. The initial sanding was followed up with two barrier coats of West System epoxy catalysed with 207 hardener spaced three hours apart. The extra coats provide a thick sanding base. The hull sides were also air filed and blocked with a longboard. Surface was wiped down with DuPont Wash & Wipe (wax, grease and silicone remover) prior to spraying several rounds of DuPont URO Prime urethane primer surfacer.
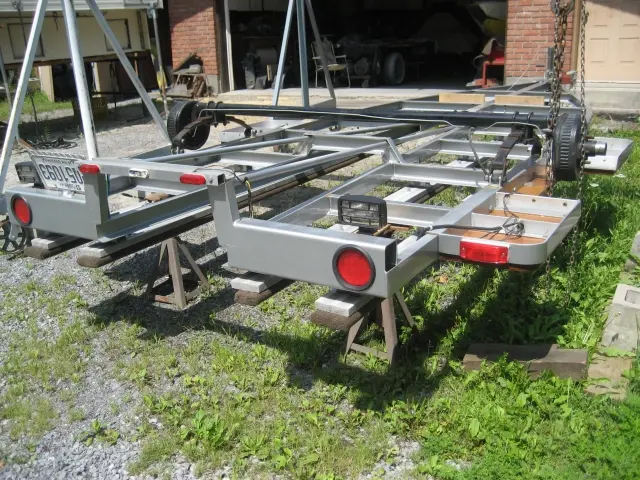
Trailer: We used the gantry lift to flip the trailer so we could easily weld the trailer tongue jac
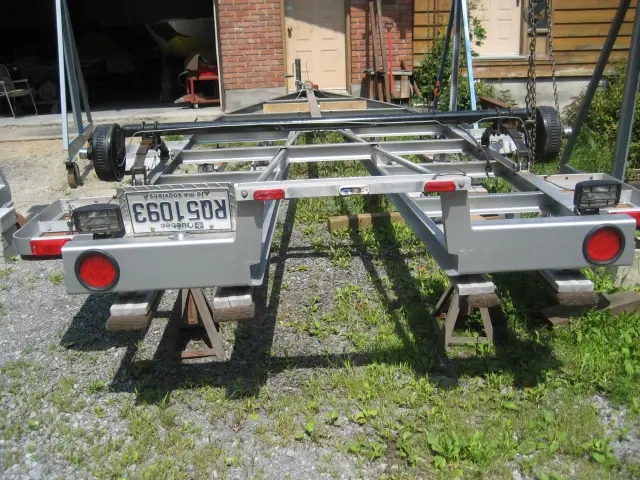
1–2. We used the gantry lift to flip the trailer so we could easily weld the trailer tongue jack mounting plate and build a removable winch stand.
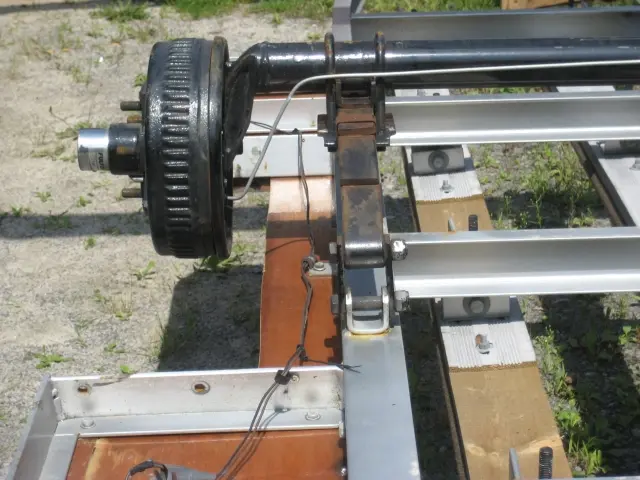
3–4. Here's a close-up photo of the 4" drop axle.
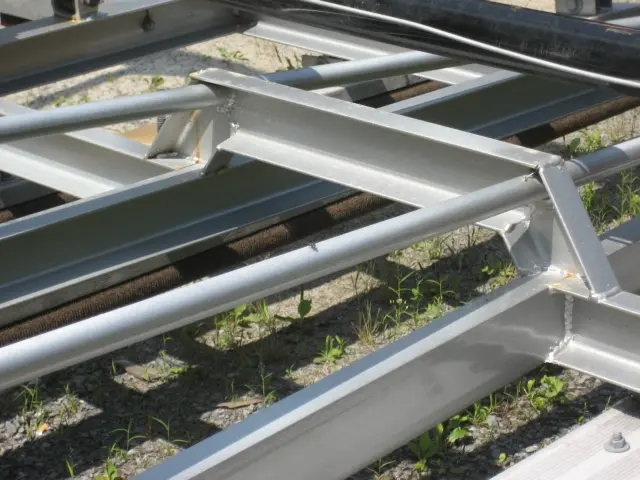
5. Our aluminum skid fin was too close to the crossmember so we cut it and created a U shaped extension to provide more clearance.
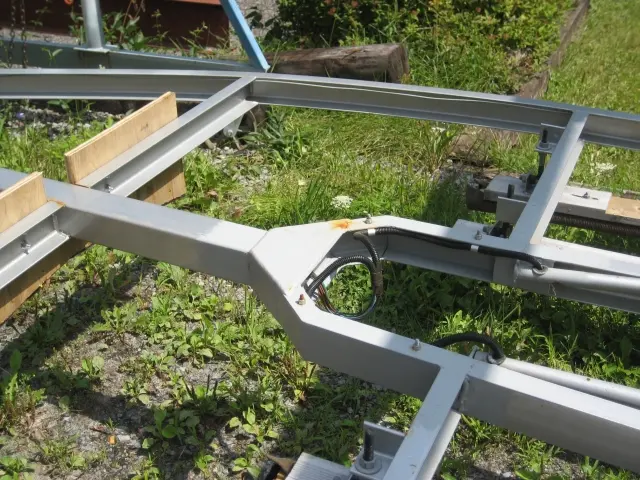
6. Here is a downside-up shot of the trailer tongue. We never liked the look of the tongue jack's strap-on U-bolts, so we molded the mounting bracket into the trailer tongue.
7. We also molded in a piece of heavy duty square tube to act as a receiver for a removable winch post.
Trailer: We welded a square tube stub into the fender step to receive a removable boat guide on the
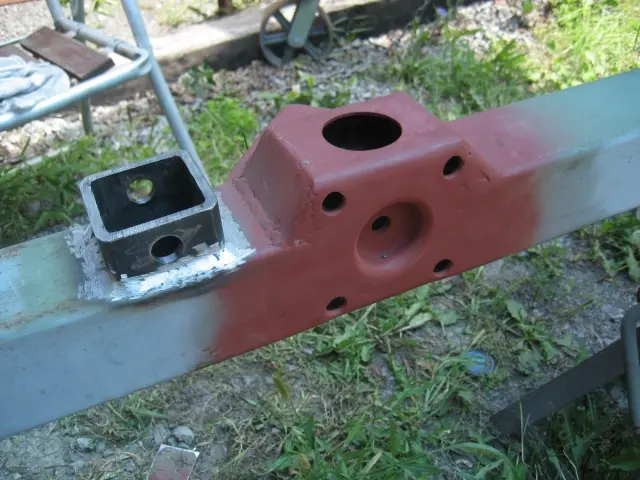
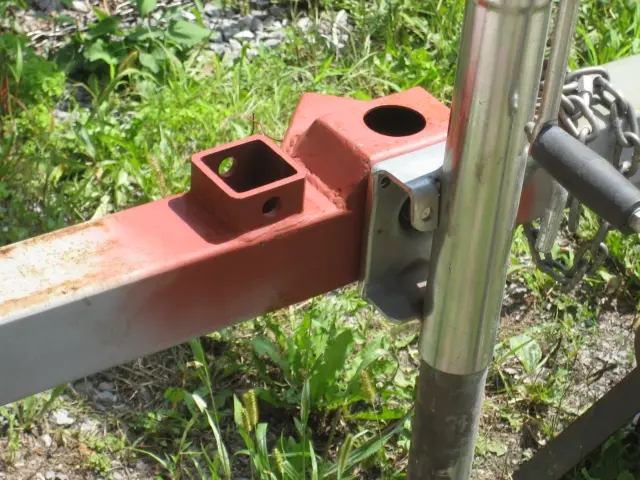
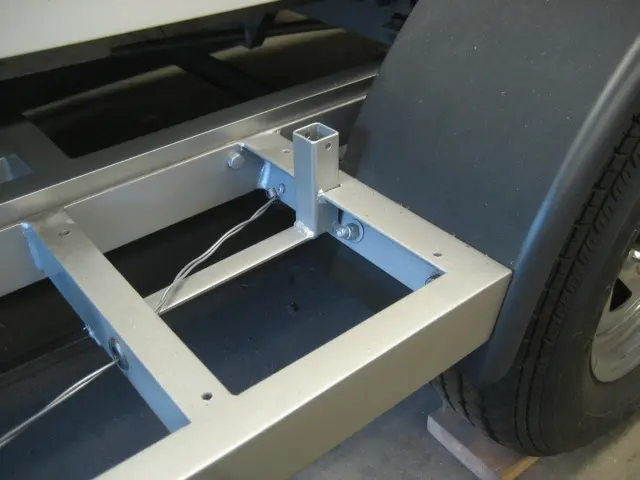
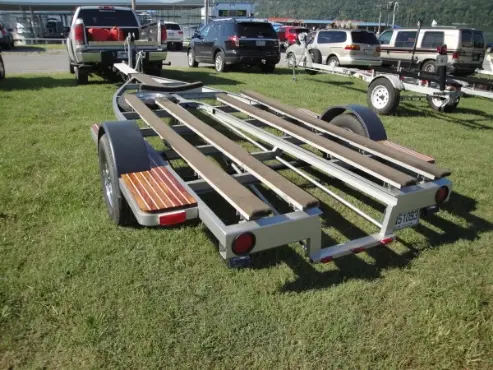
1. We welded a square tube stub into the fender step to receive a removable boat guide on the Port side. A 4' length of 1" square tube drops into the socket and is held in place with a 1/4" x 2" stainless steel pin.
2. At the 2012 Glen-L Boatbuilder Gathering, Lake Nickajack, Tennessee. Photo by Gayle Brantuk, Glen-L Marine Designs.
3. Photo by Gayle Brantuk, Glen-L Marine Designs.
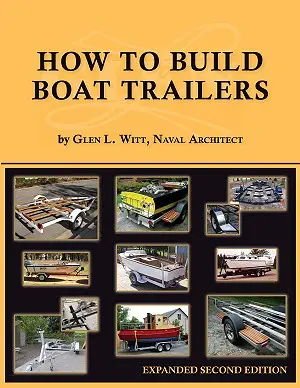
4. If building a boat trailer, I recommend ordering Glen Witt's book How to Build Boat Trailers. All aspects of trailer construction are covered, including axles, hubs, wheels, brakes, tires, springs, couplers, frame construction methods, and much more in easy-to-read non-technical language. How to Build Boat Trailers" by Glen L Witt. It's a real honour to have a photo of your boat trailer on one of Glen's books. Our Glen-L 2100 trailer is featured in the top middle and lower right corner of the book cover. Click here to see Glen-L's Trailer Plans.
1234
Nobody else here is logging a Hot Rod yet.
See the boat.