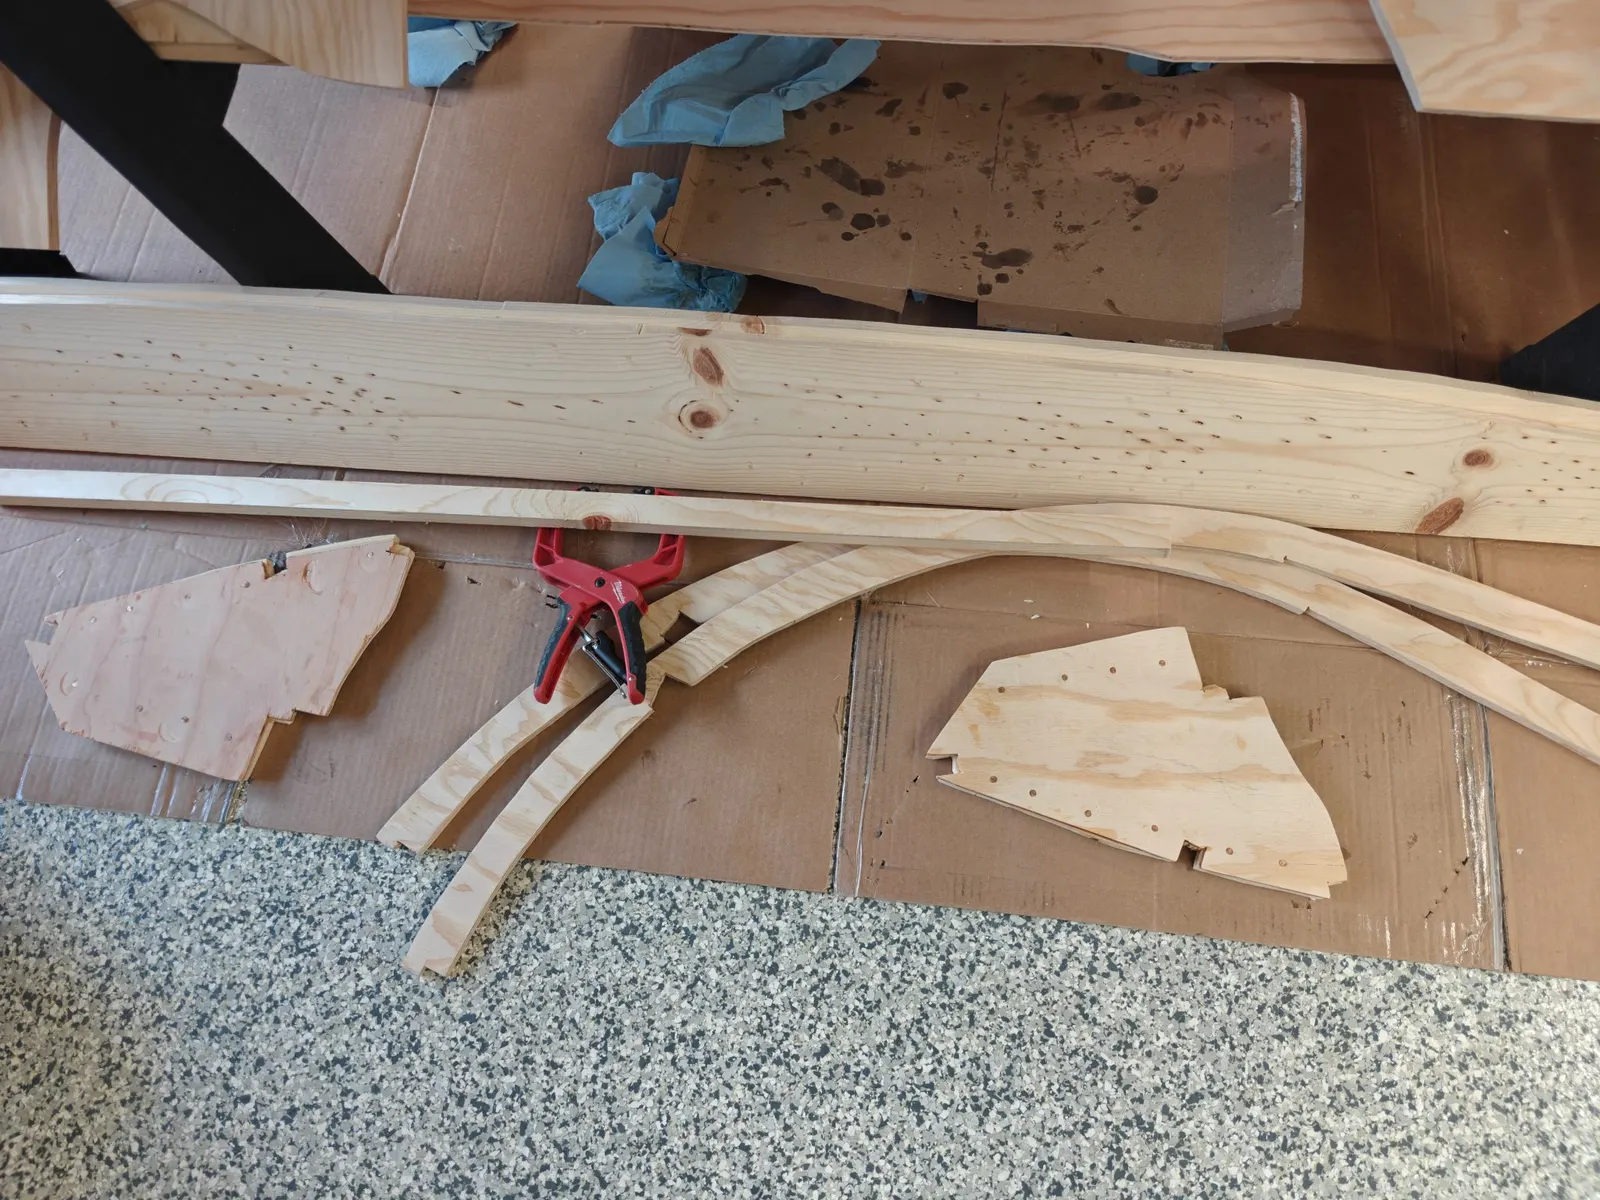
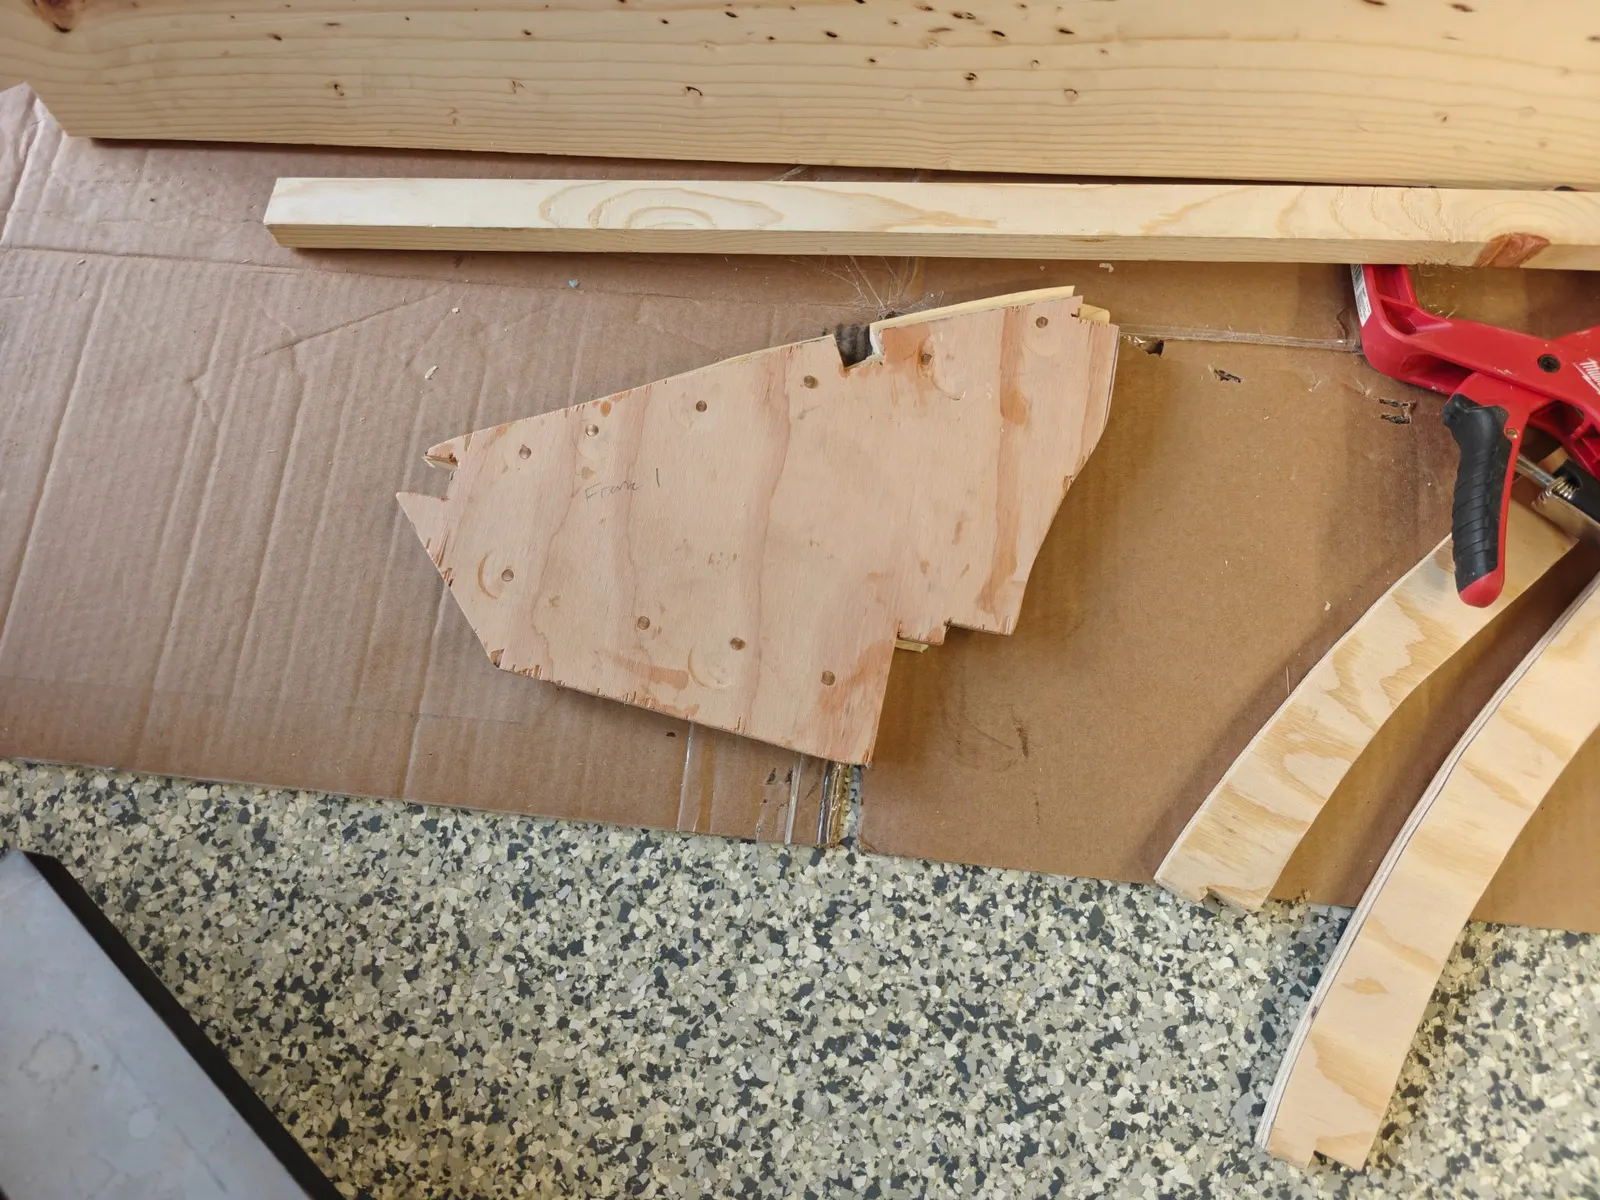
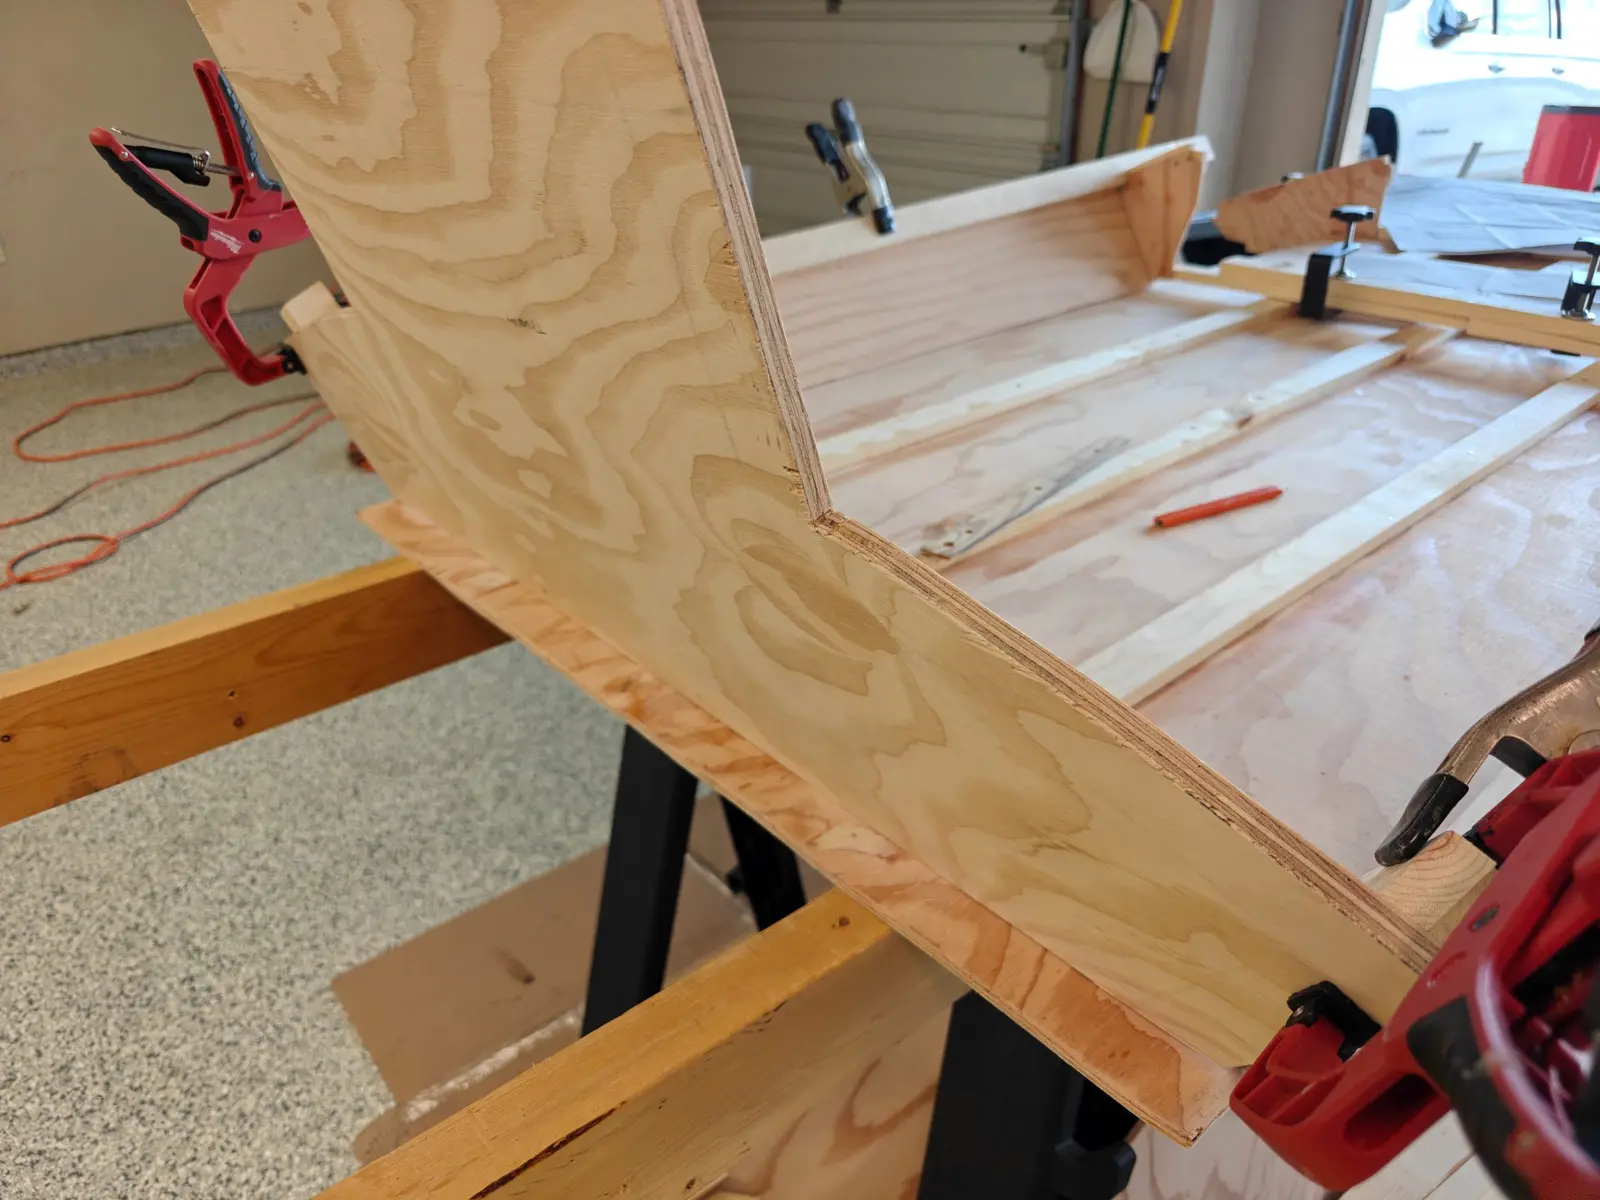
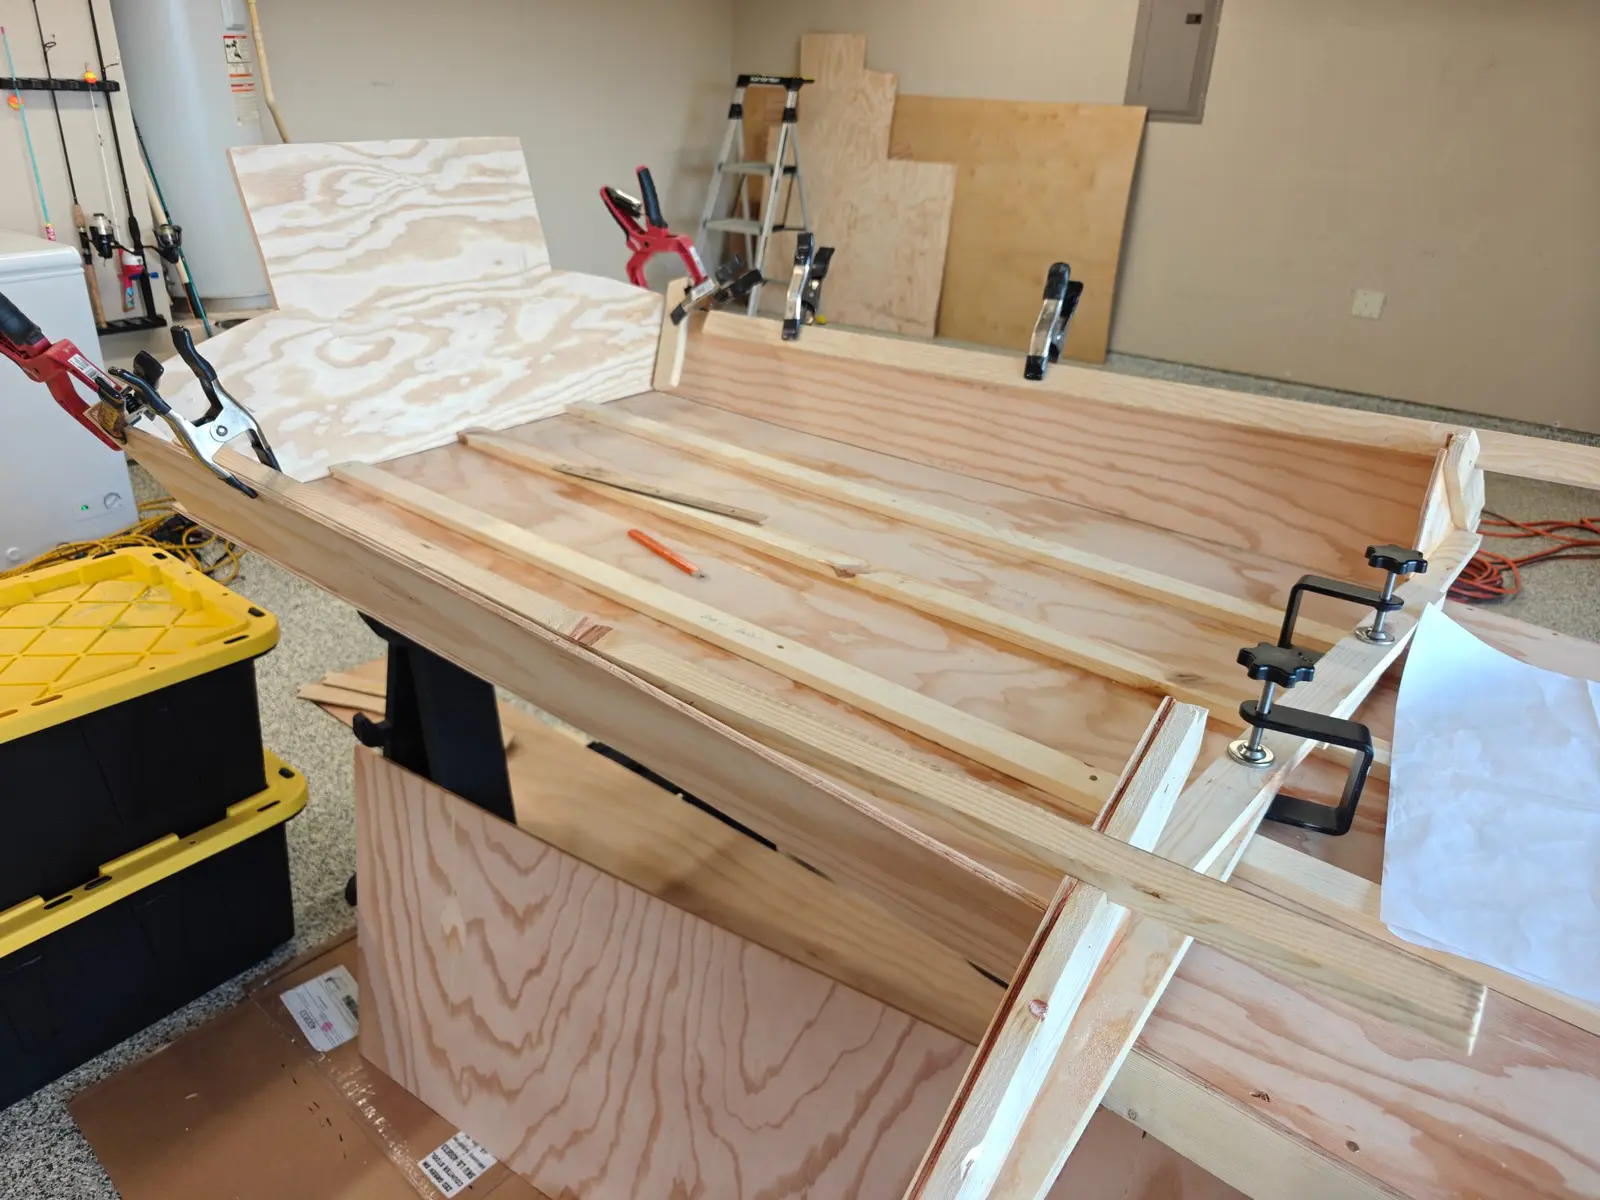
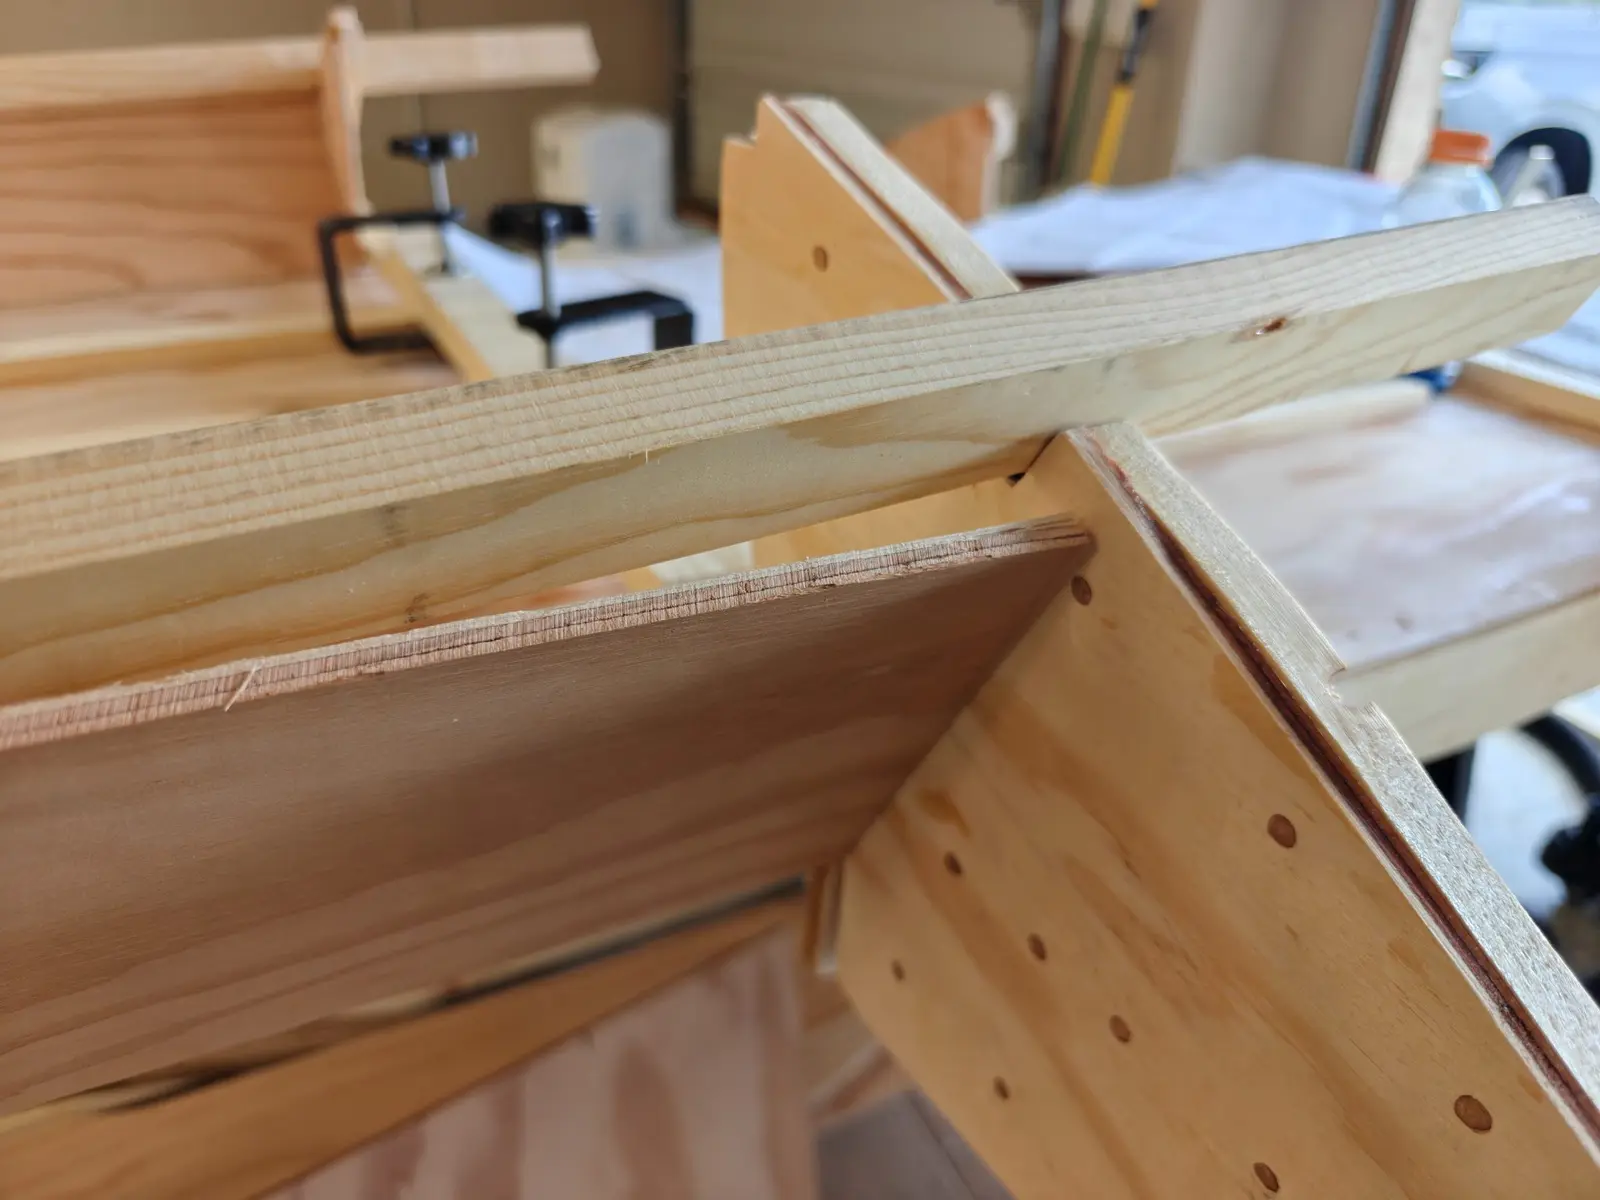
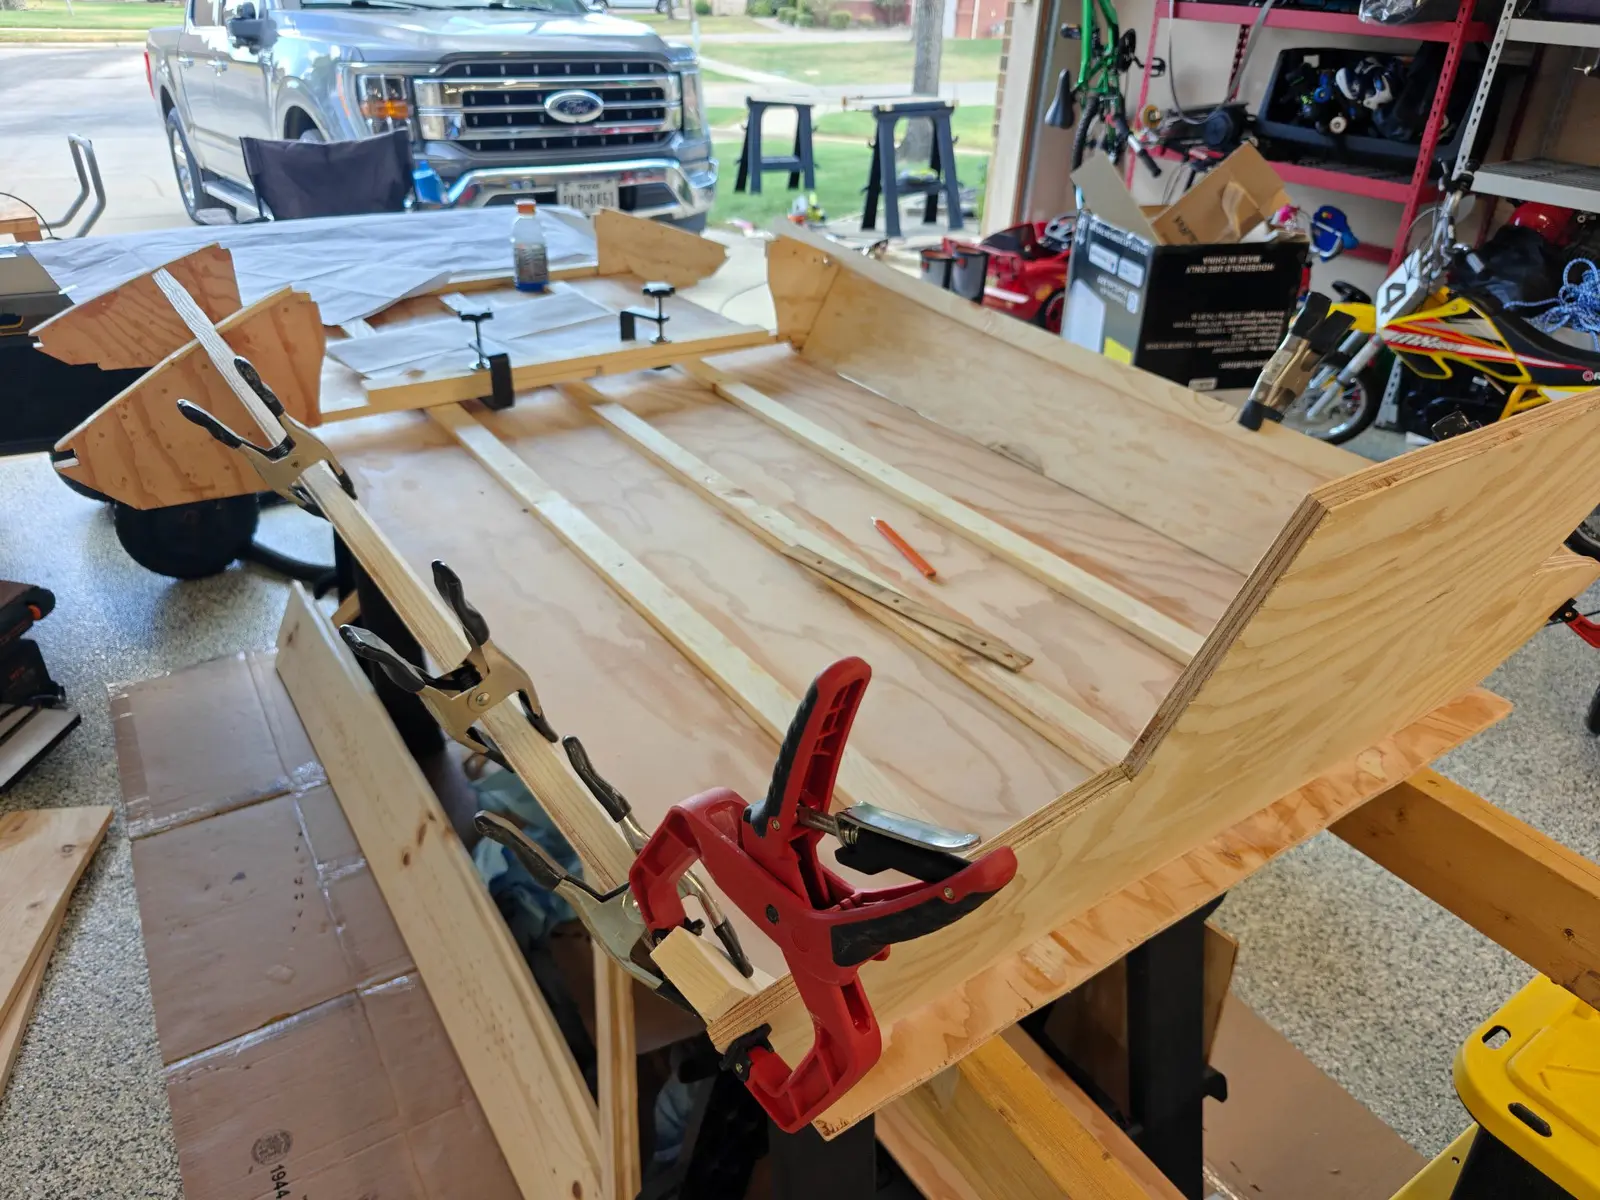
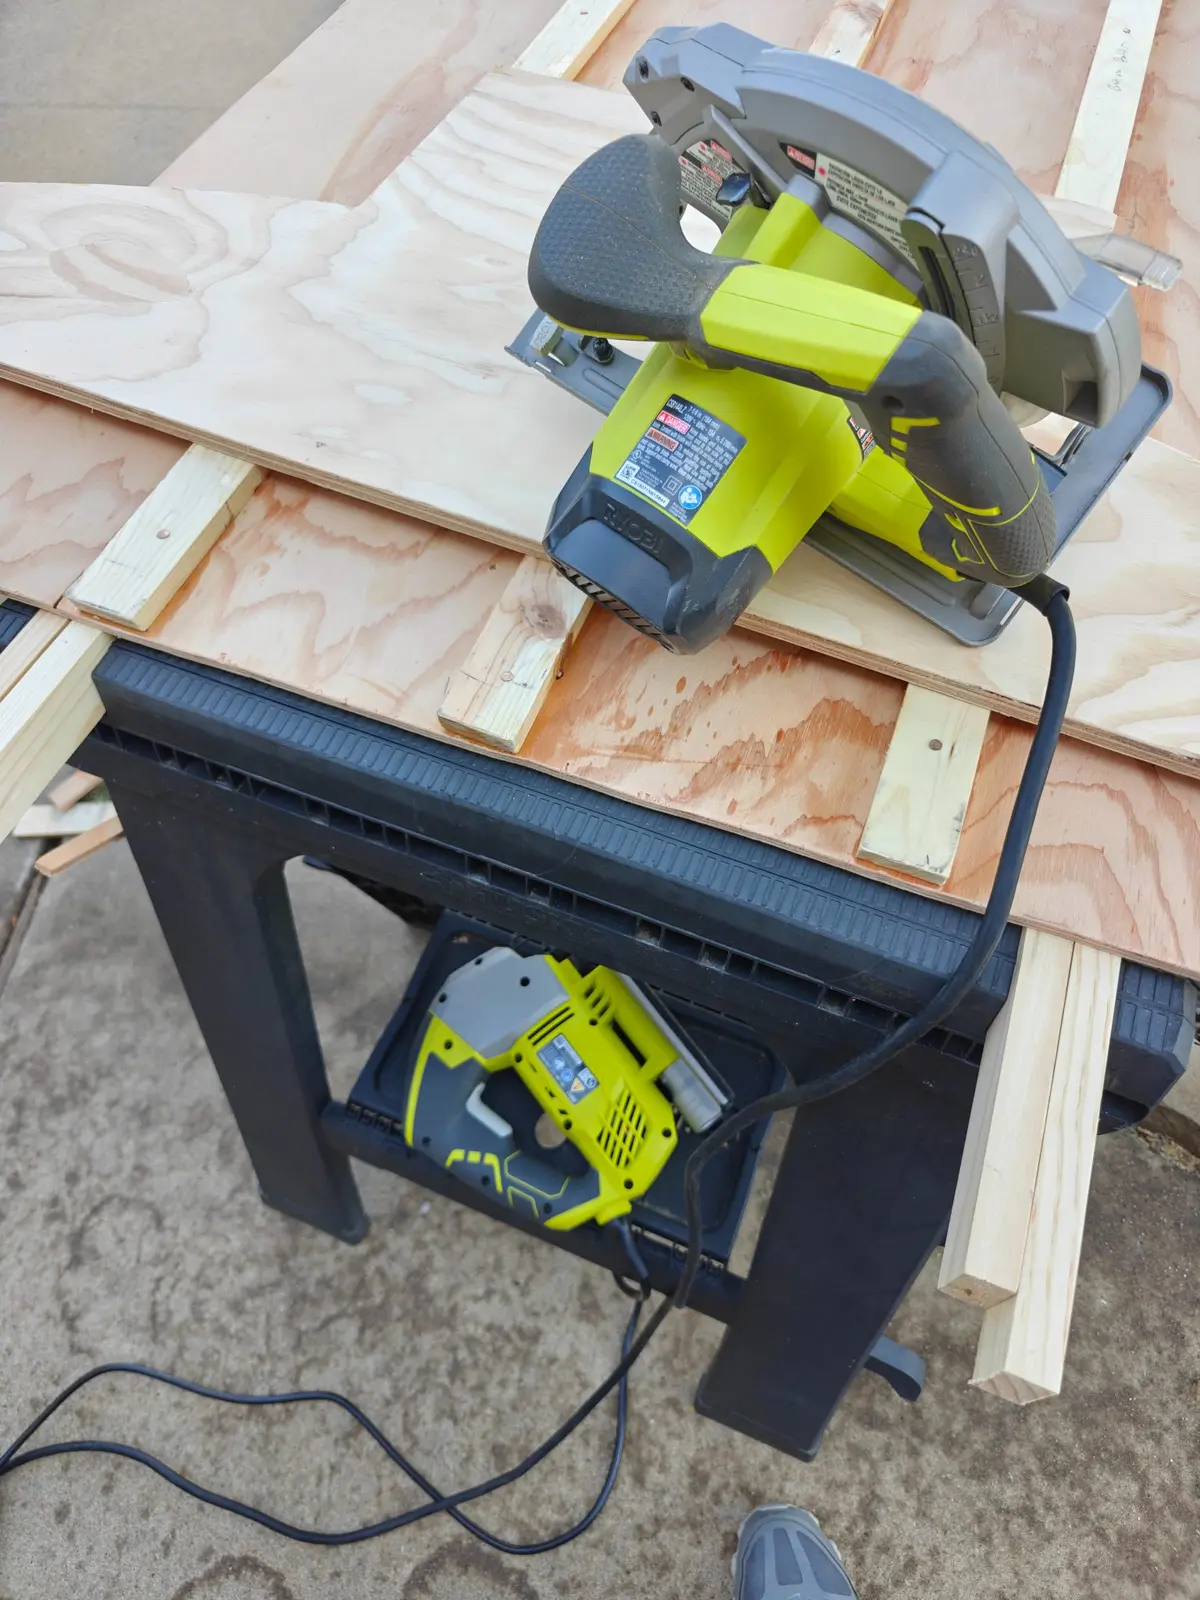
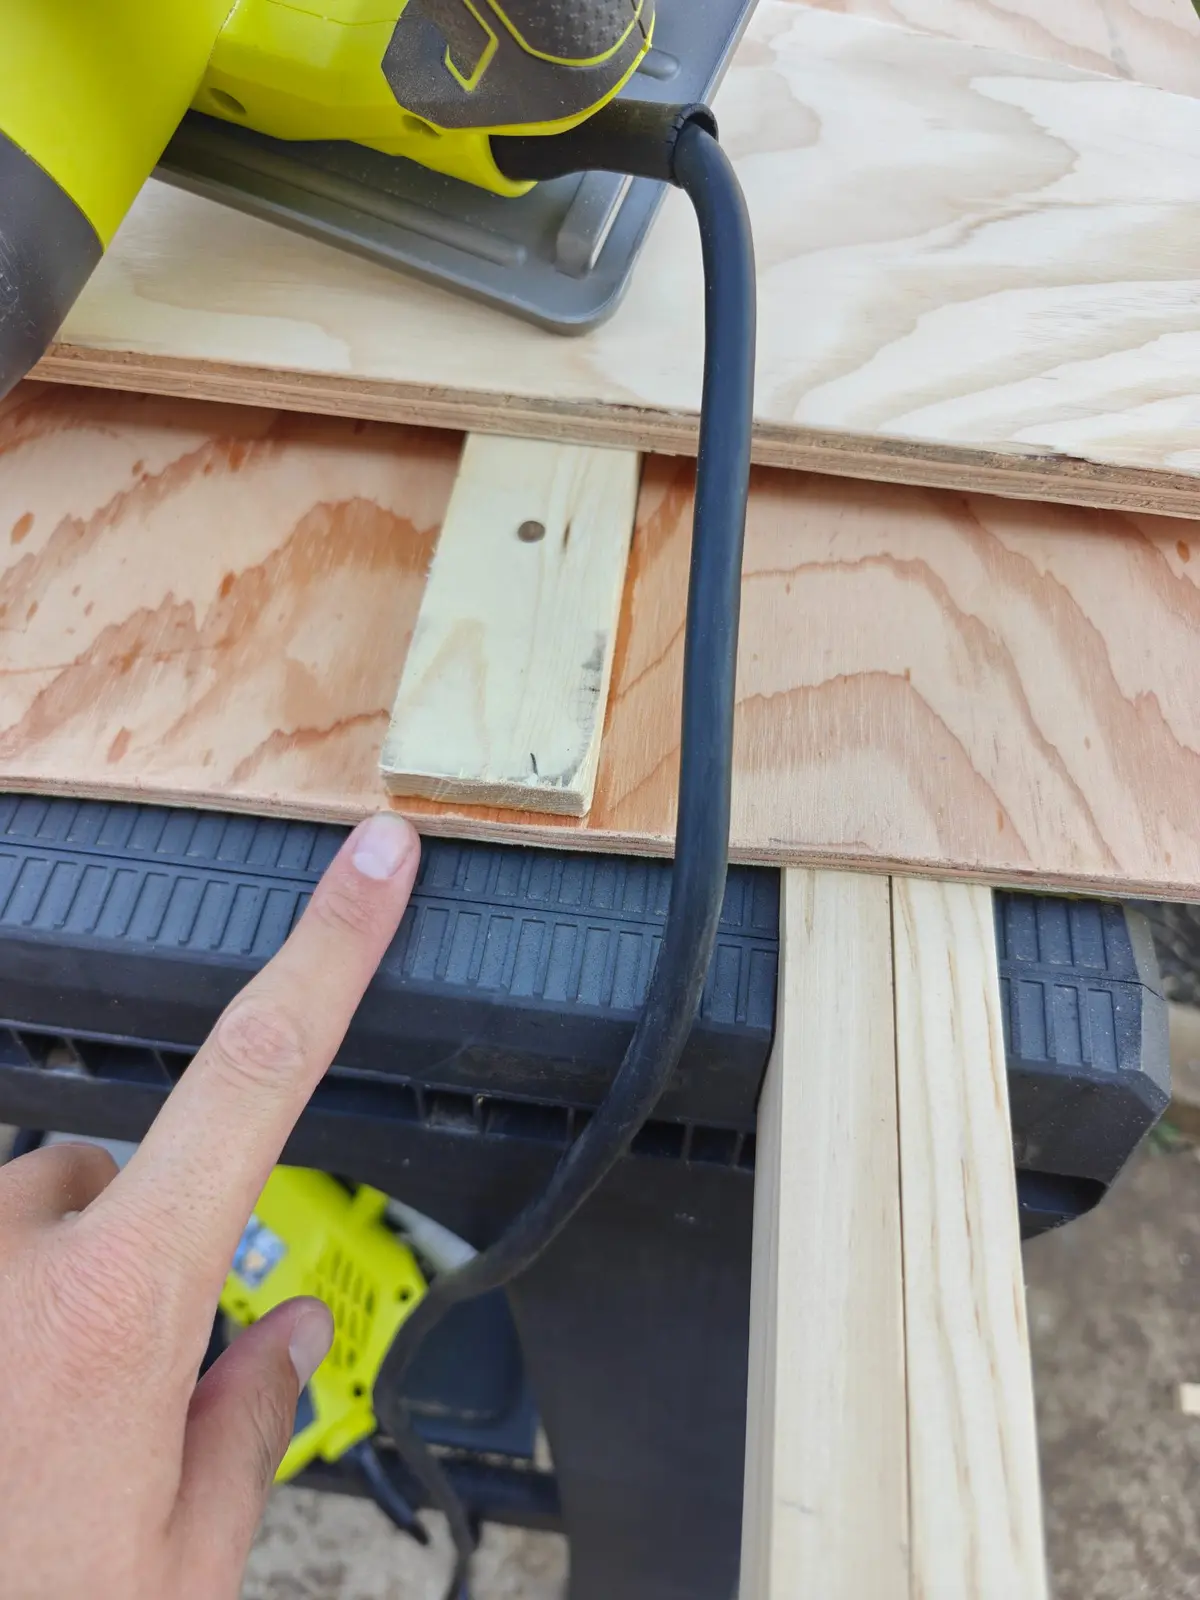
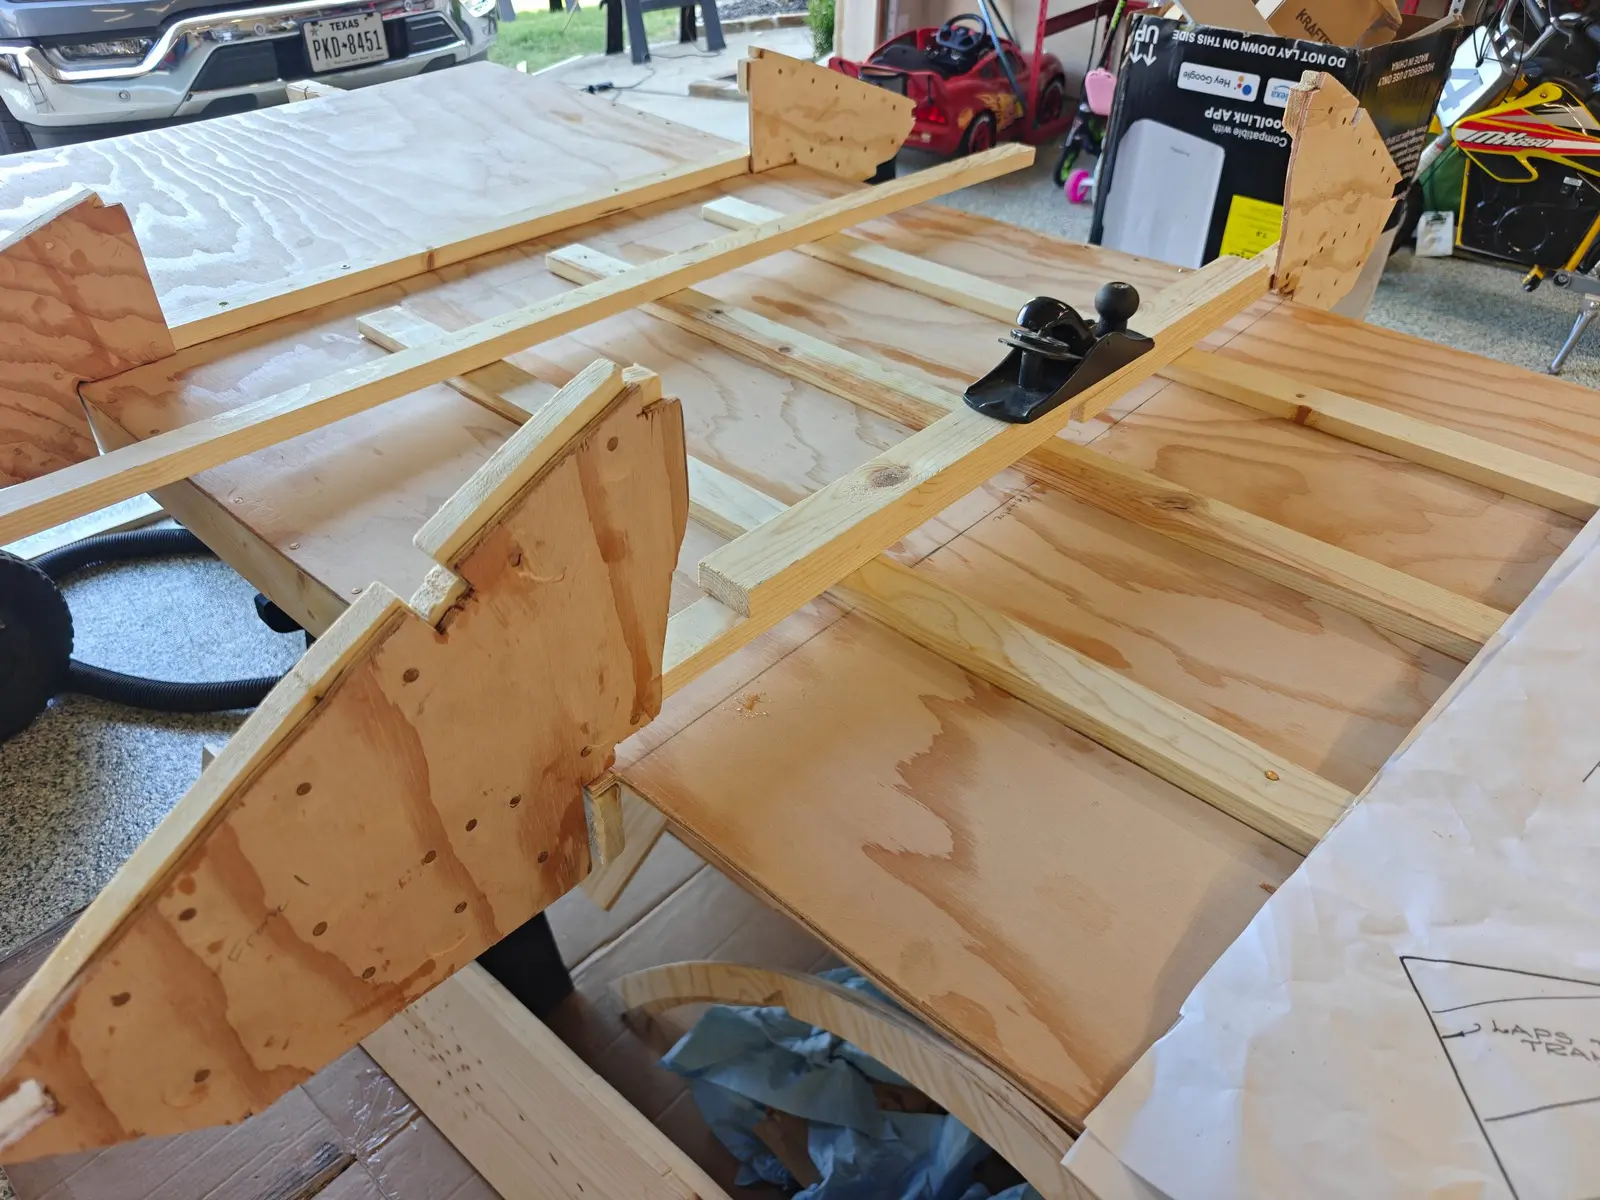
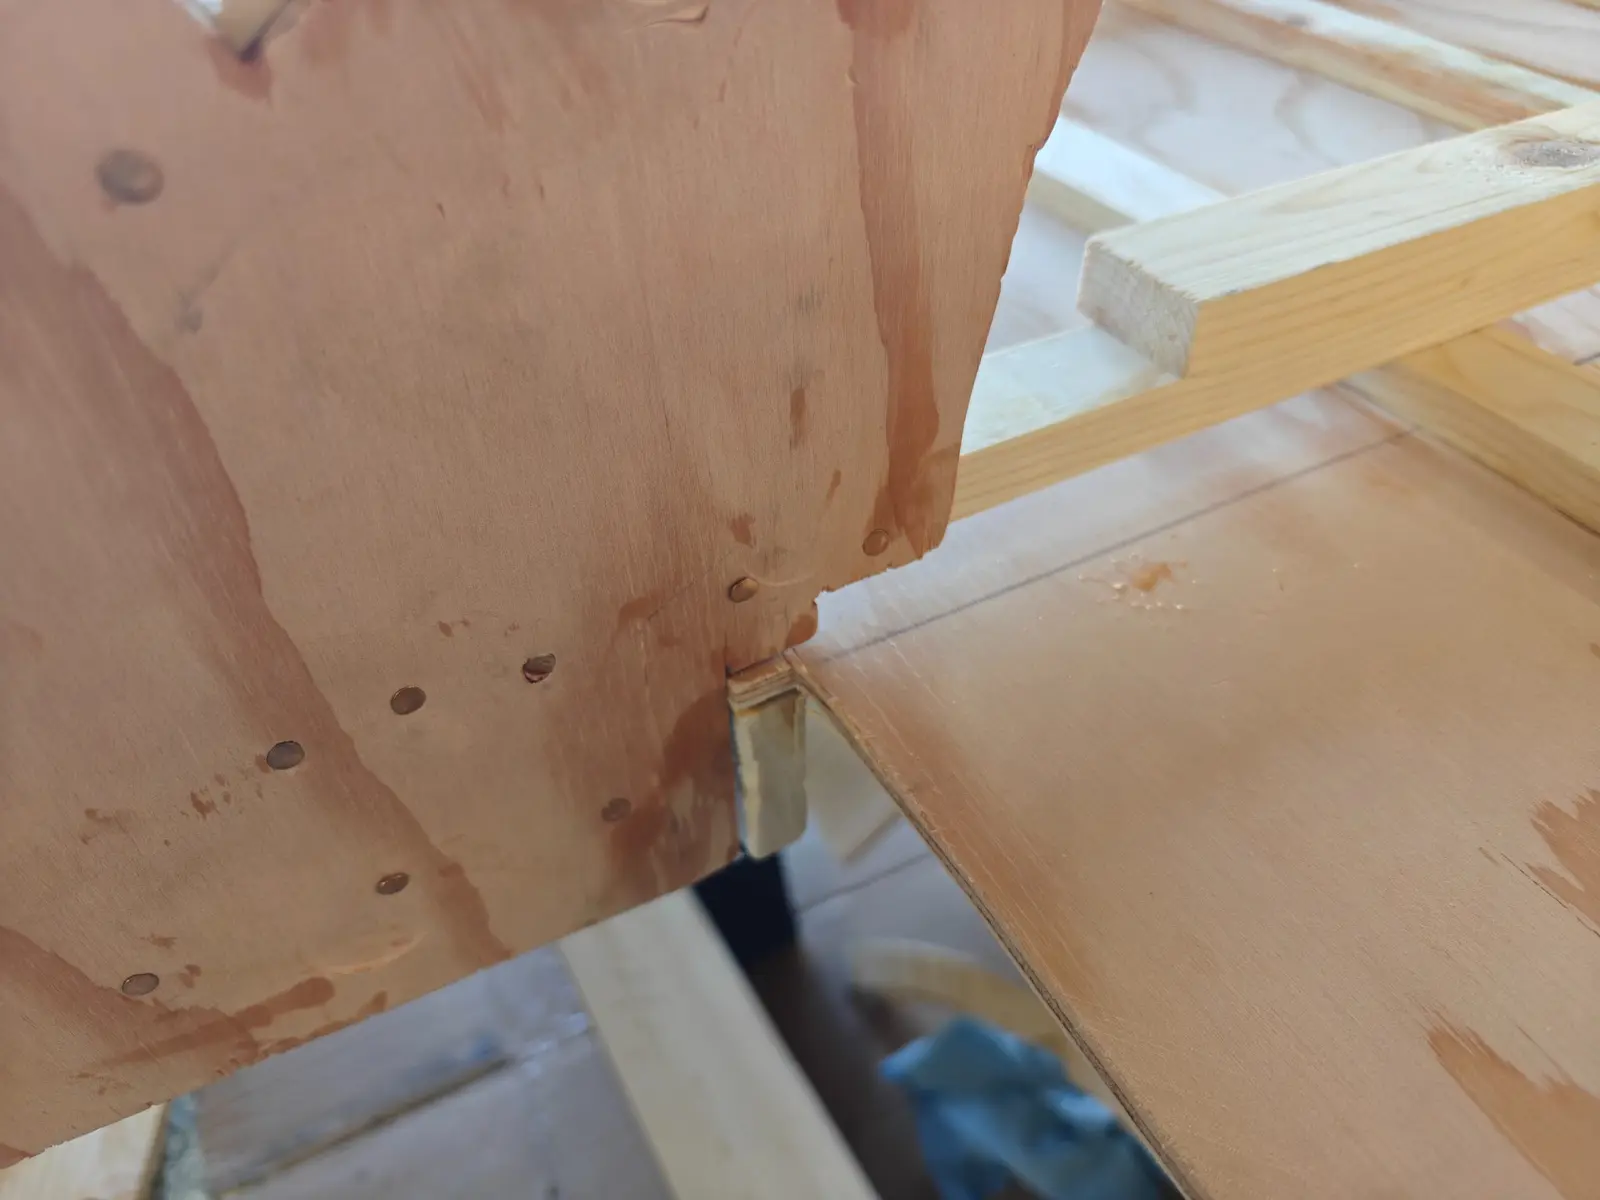
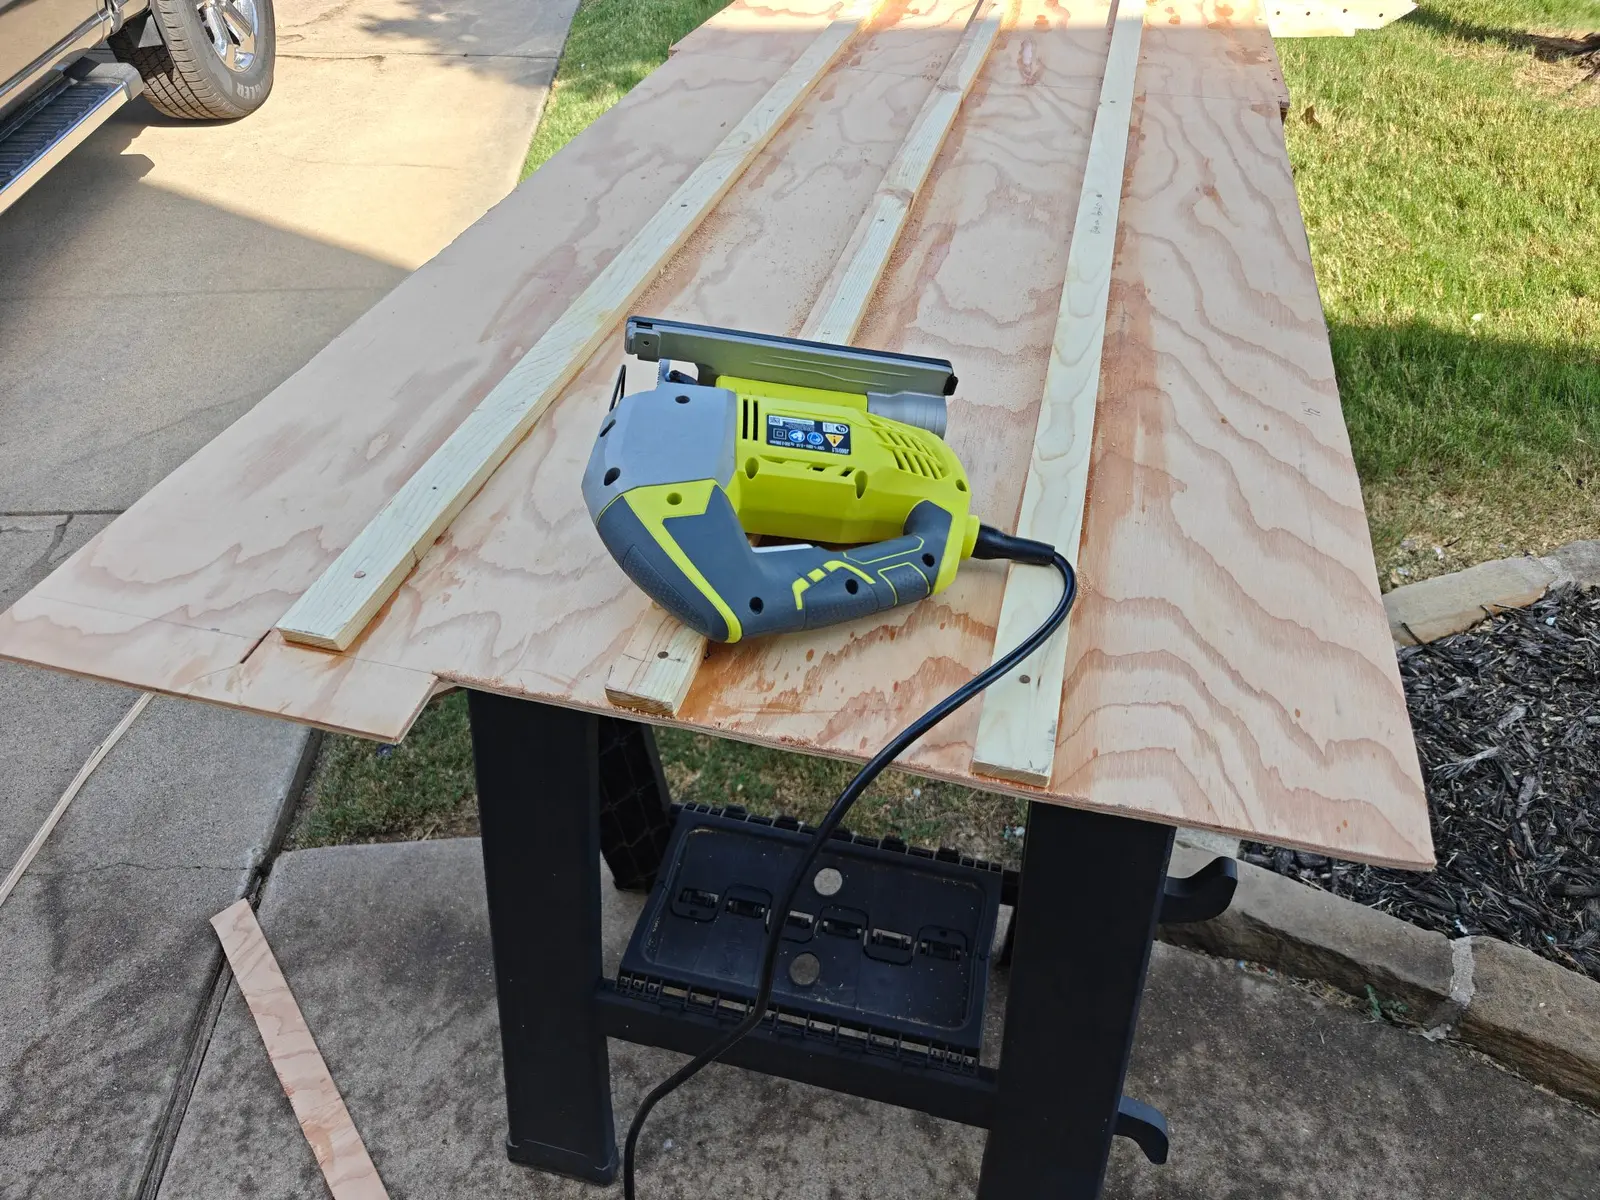
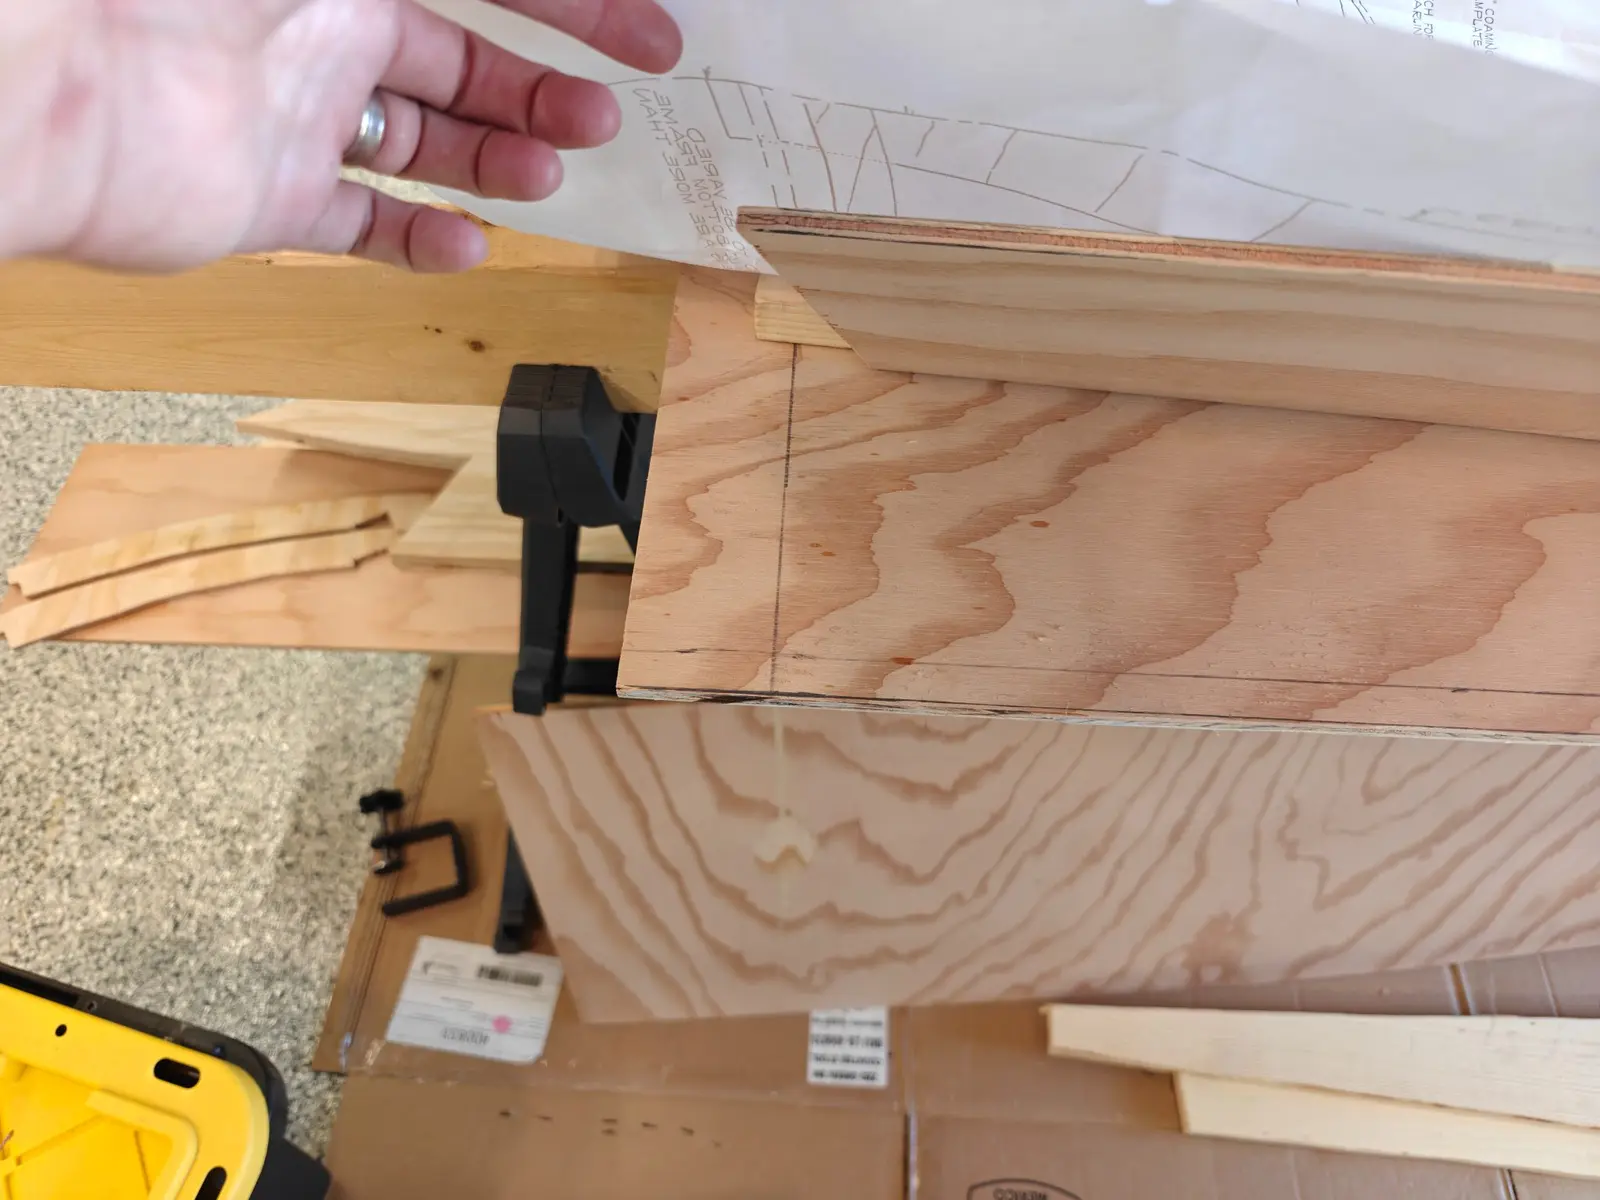
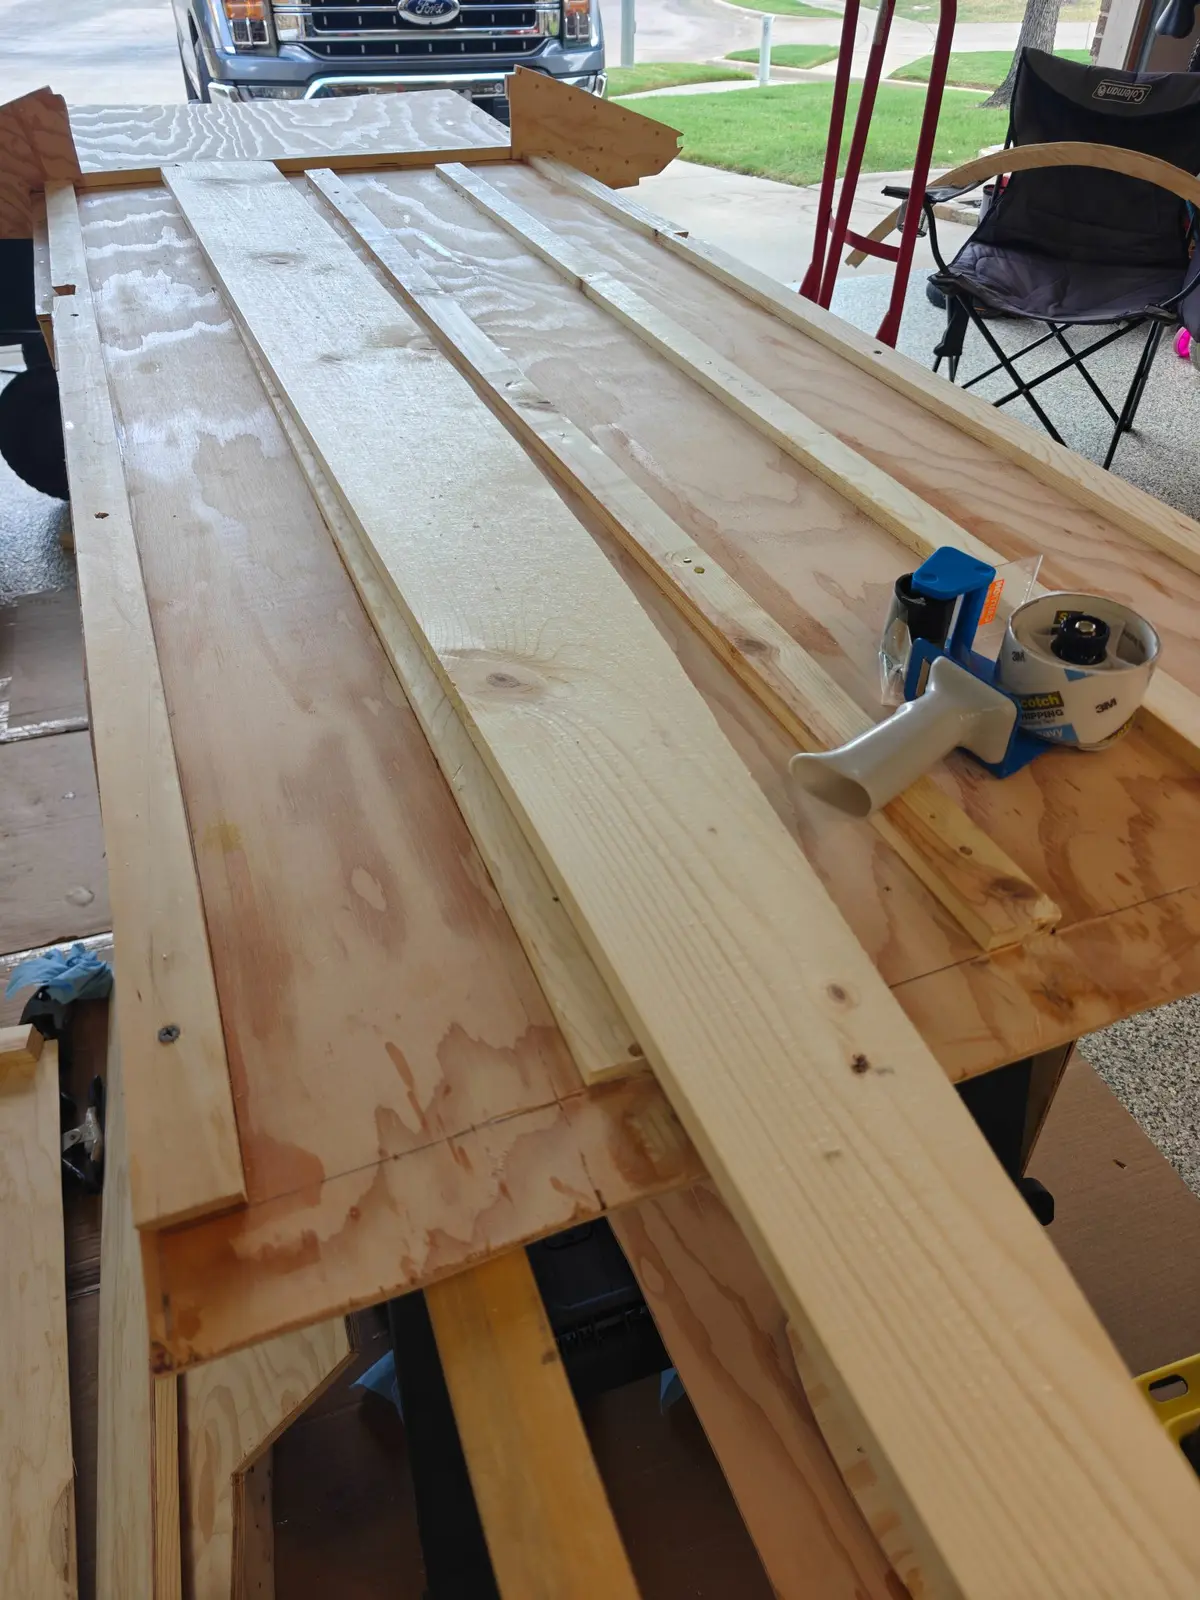
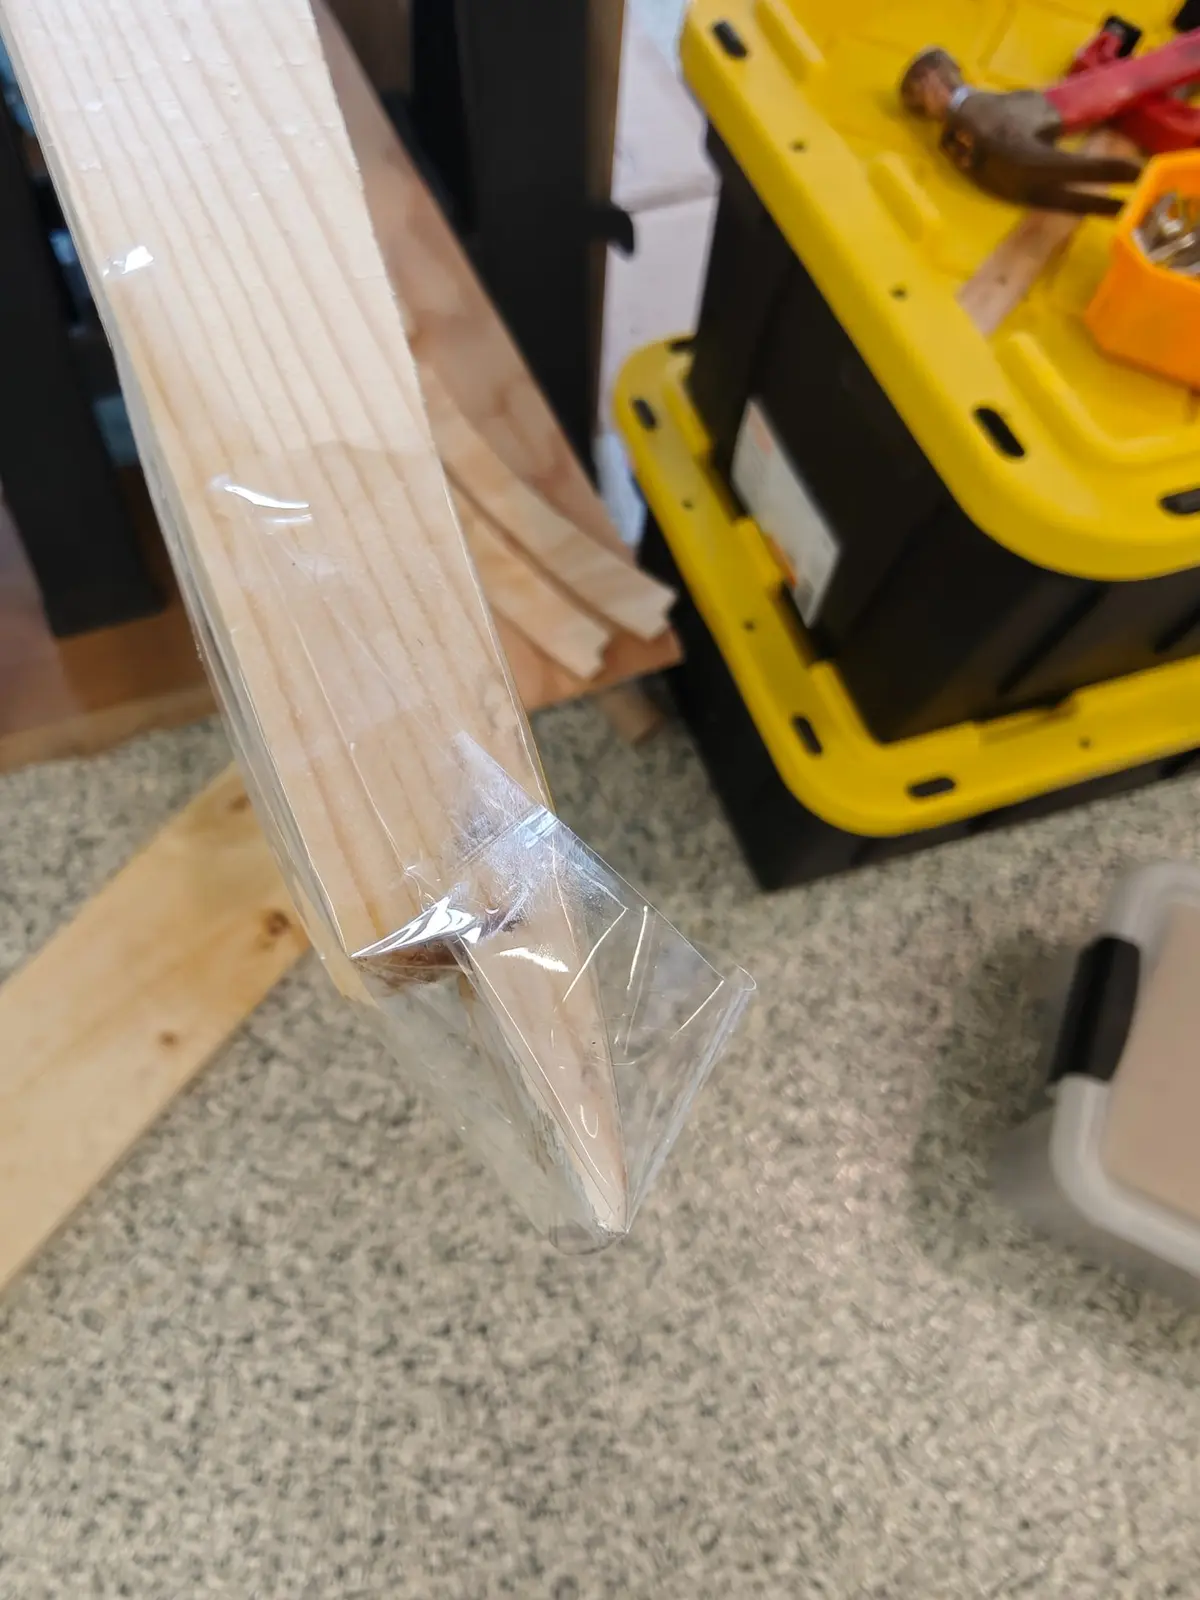
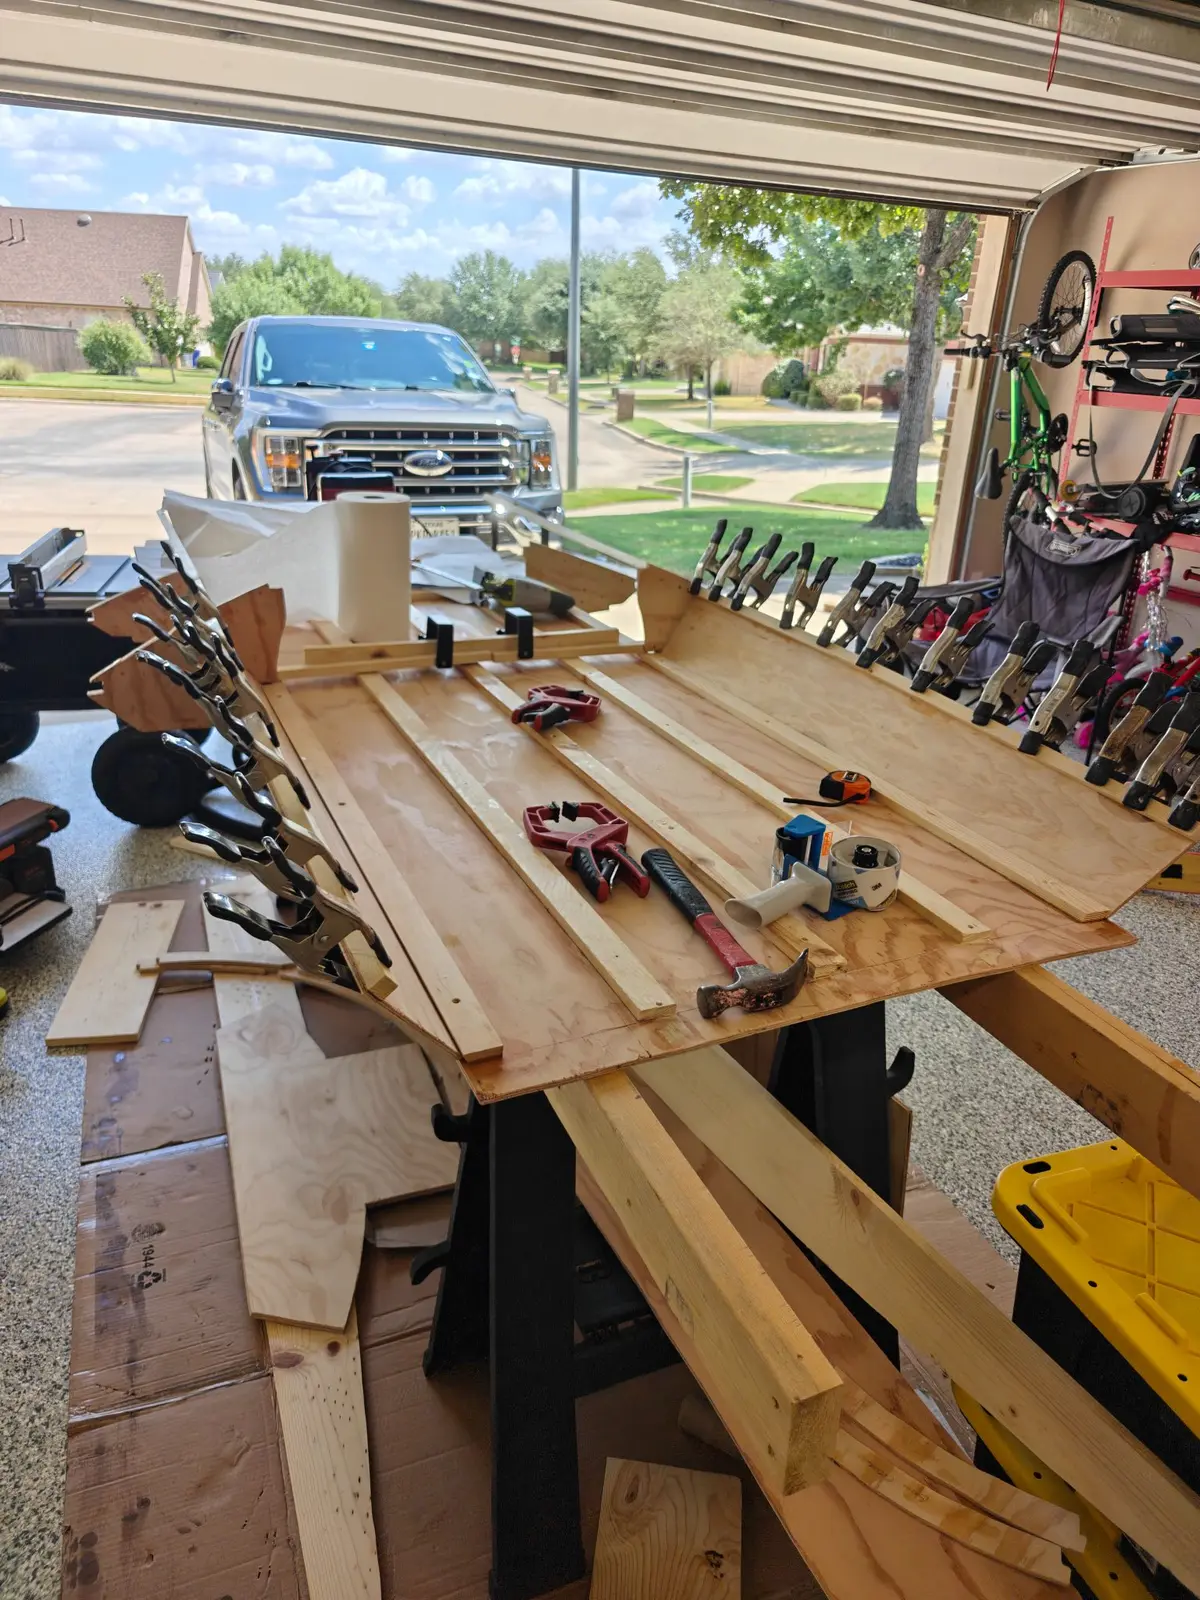
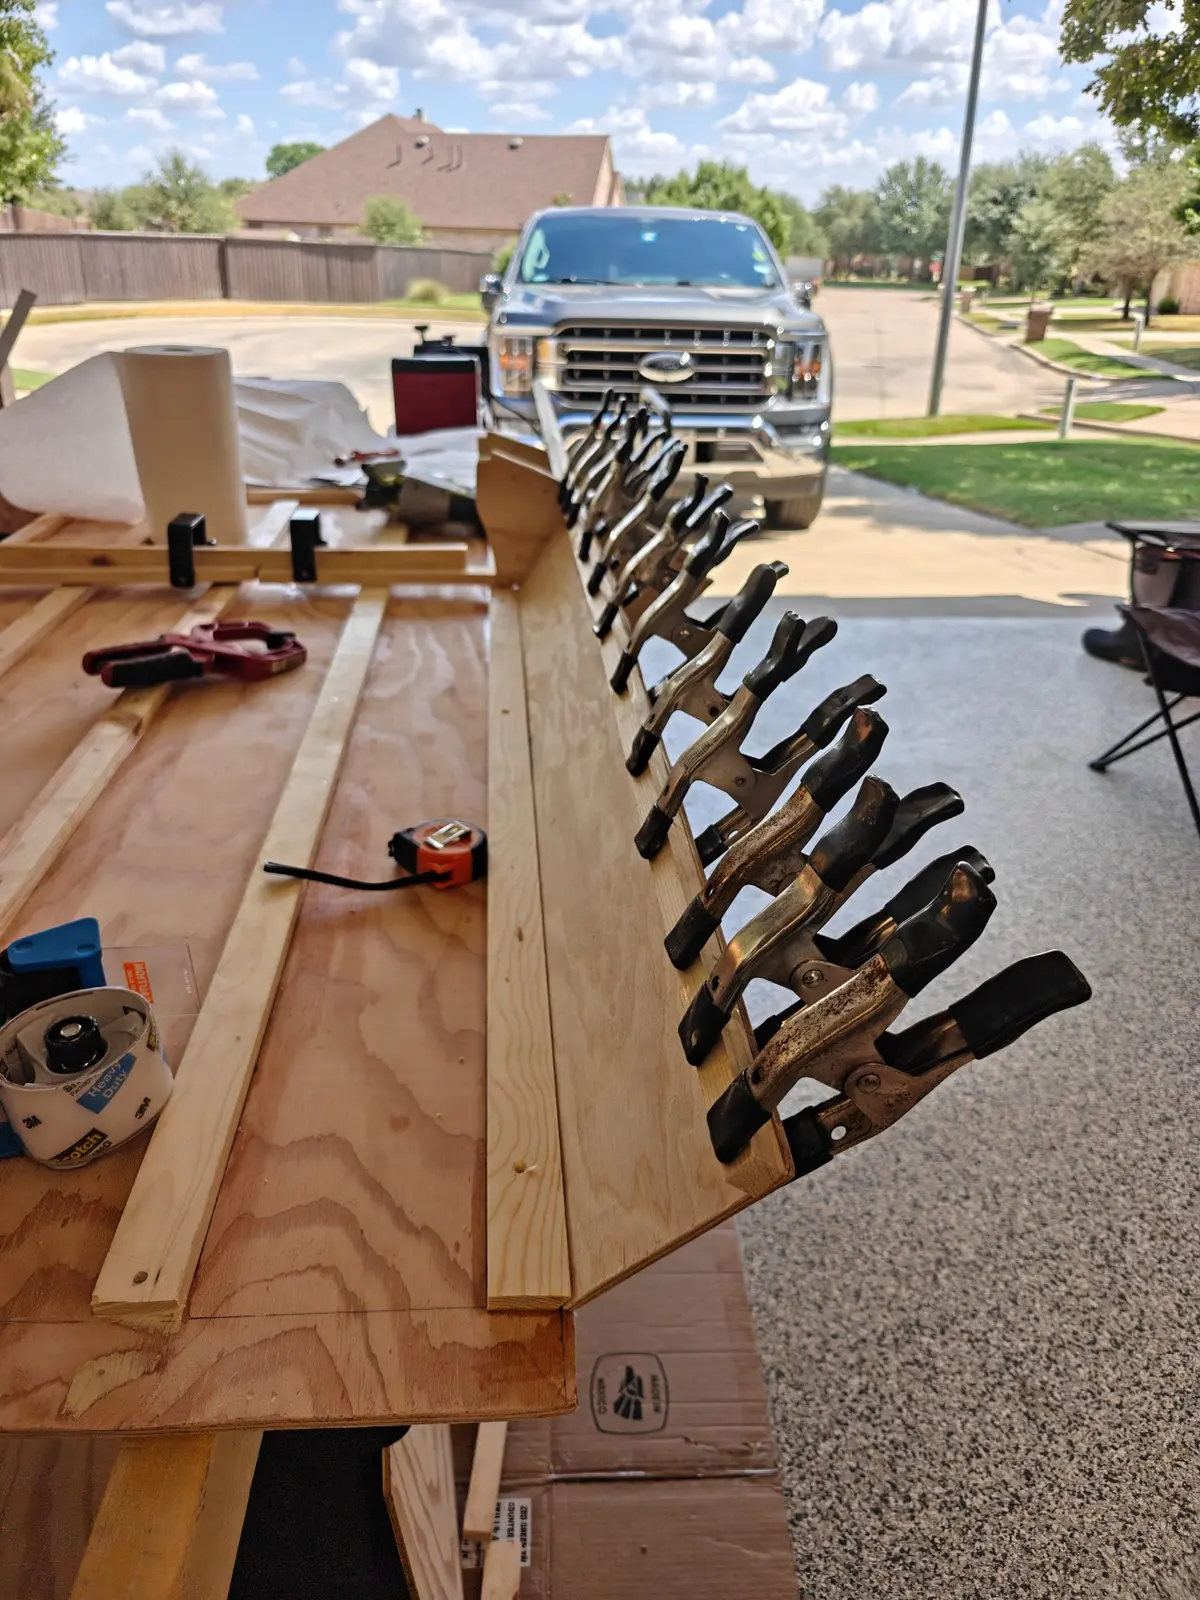
I only had a short amount of time today to build so I put together the pieces for frame one and I beveled the 30° on the side planks. I honestly could not find a good way to get the 30°, I thought about the table saw I ended up using a skill saw but I found it was not the best option. I ended up pulling out a block plane and eyeballing it
It was a frustrating day. I'm still very much at the point where I'm trying to understand the plans, and the photos in the manual are many years old, low resolution, and hard to read. The best thing has been going online and looking at other people's builds. Photos help, but descriptions and step-by-step notes are much more useful.
What I got done today
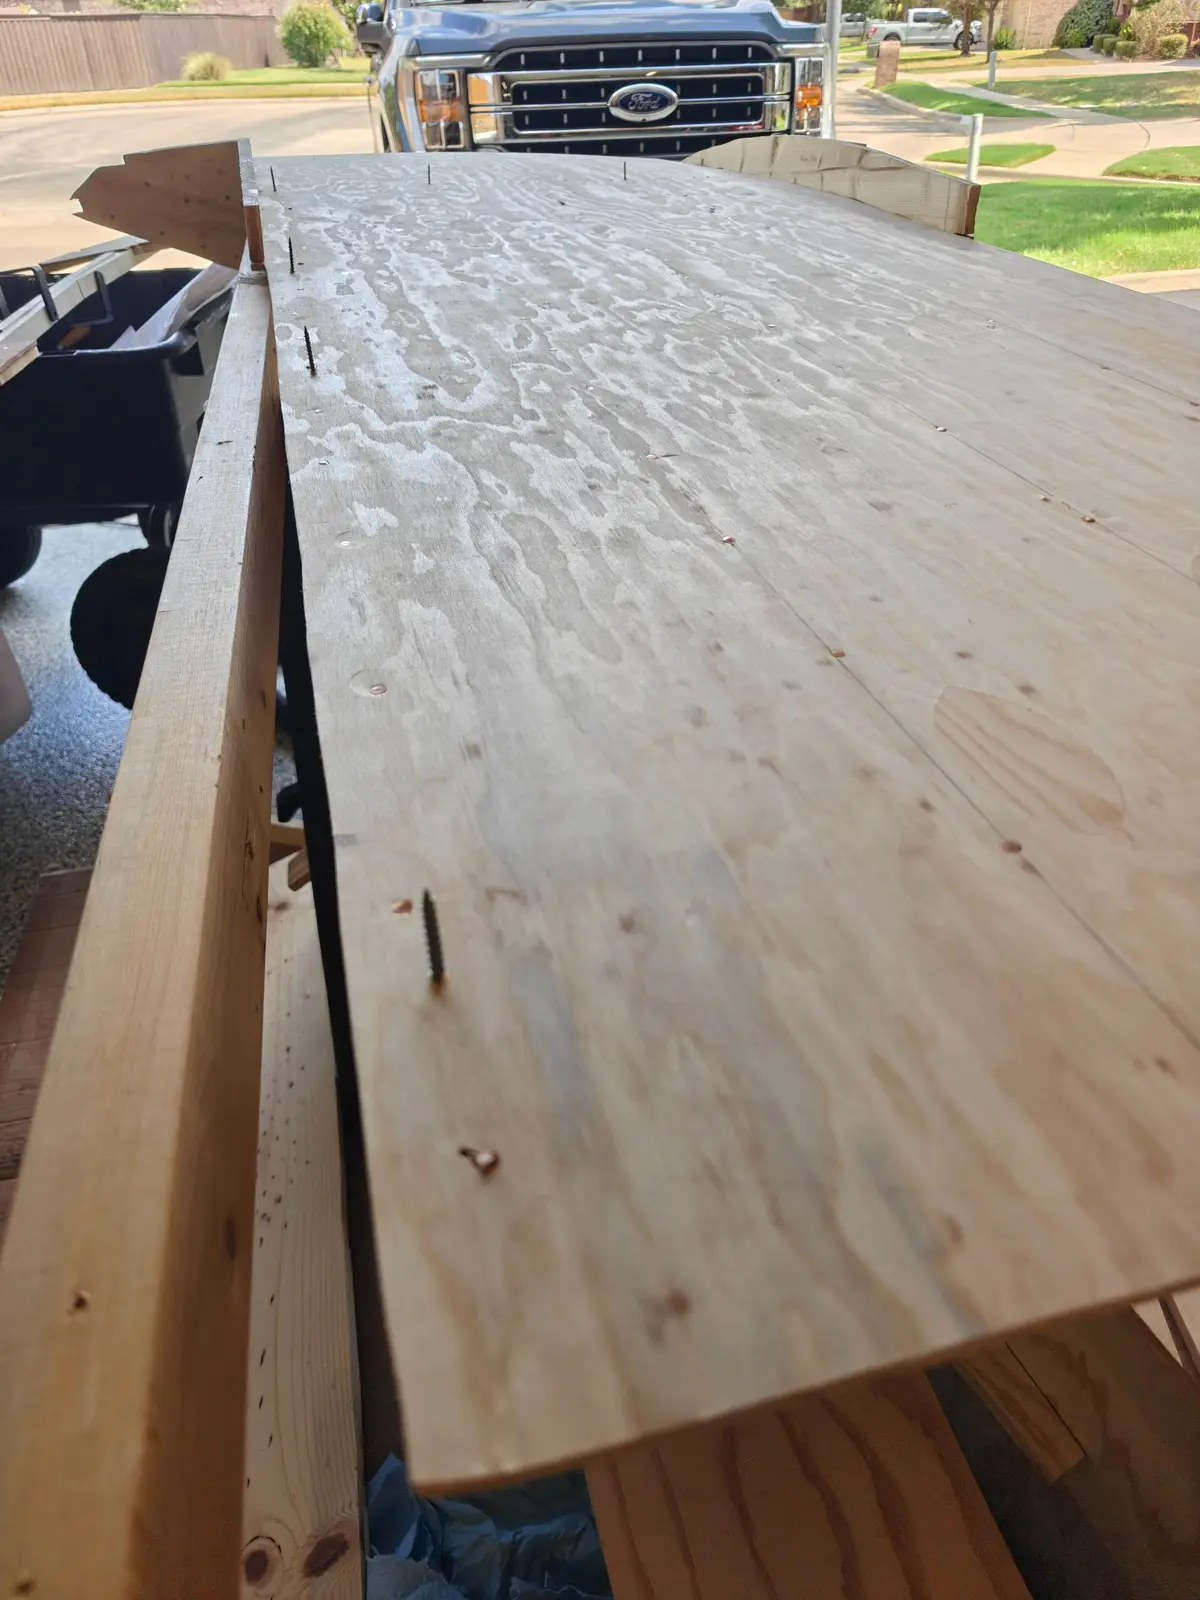
Bottom planking cutback. I realized I'd forgotten to cut the sides of the bottom hull panel after frame 2. From frame 2 all the way back to the transom, you're supposed to trim off about a half inch on each side. Not a big deal, I was able to do that pretty easily even with everything already in place.
Transom mark mix-up. While working on the bottom hull, I looked back at the plans and saw the transom end of the bottom plate marked at 1-7/8". I assumed that meant I was supposed to cut it off there. Turns out that's wrong. That line just marks where the transom meets the side panels; it's not a cut line.
Since I'd already cut it two inches short, I had to cut the side panels two inches shorter too, to match. Net result: the whole boat will end up about two inches shorter than spec. Nothing to be done about it at this point.
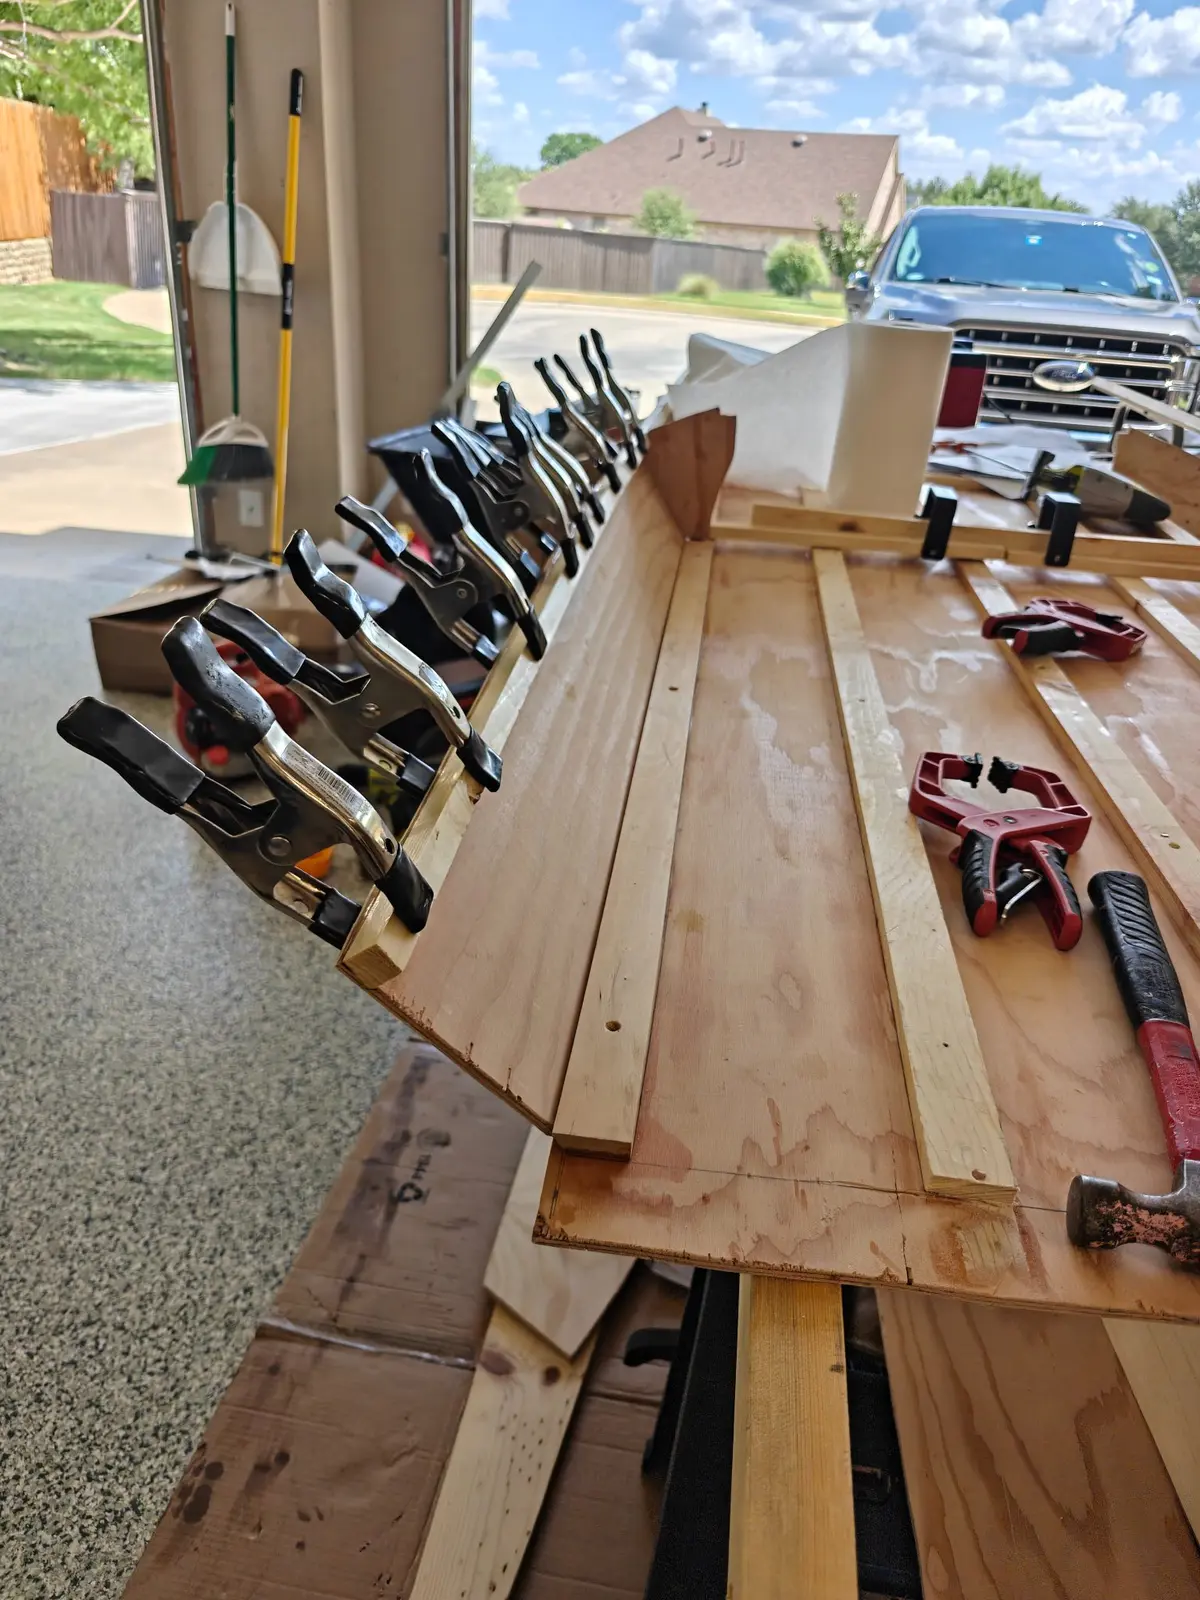
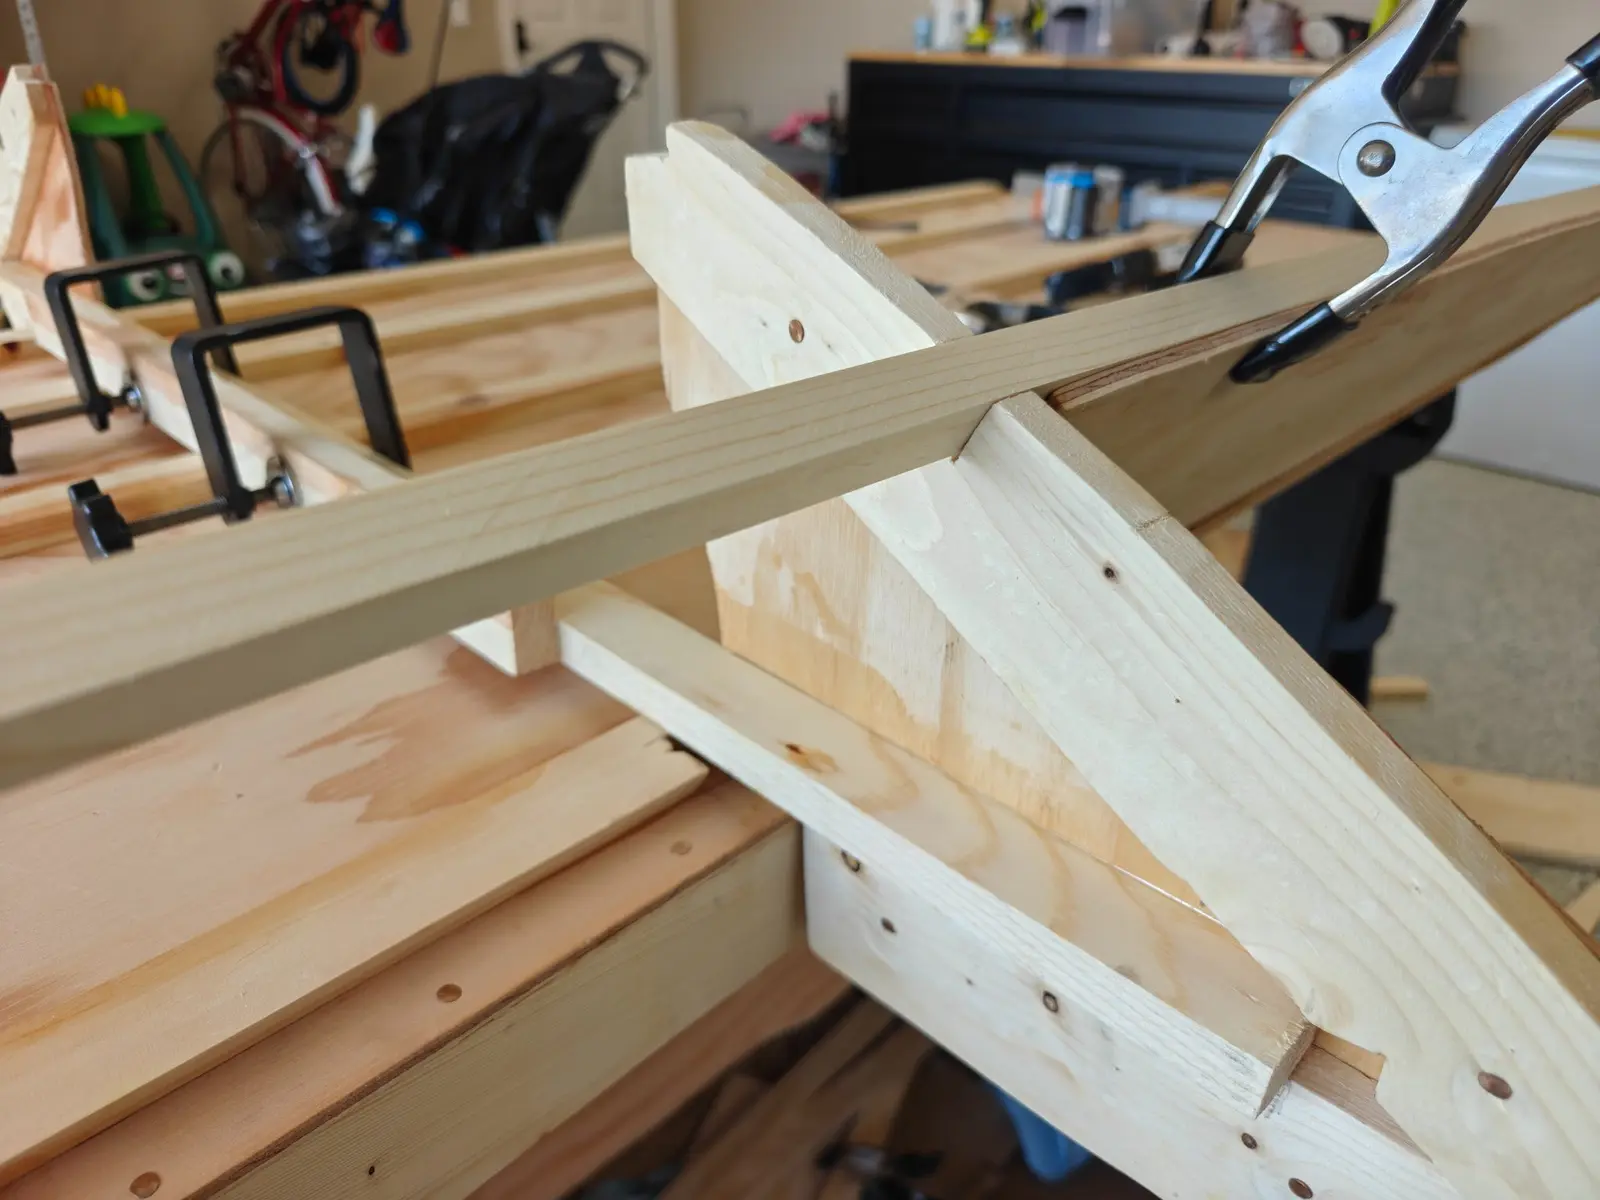
Frame 1 fit issue. Frame 1 wasn't sitting correctly, so I cut a new batten for it. The original one I'd sized turned out too short. The new batten was too long so I ended up cutting that batten in half and clamping the pieces together for now. I'll nail it properly once everything is in final position.
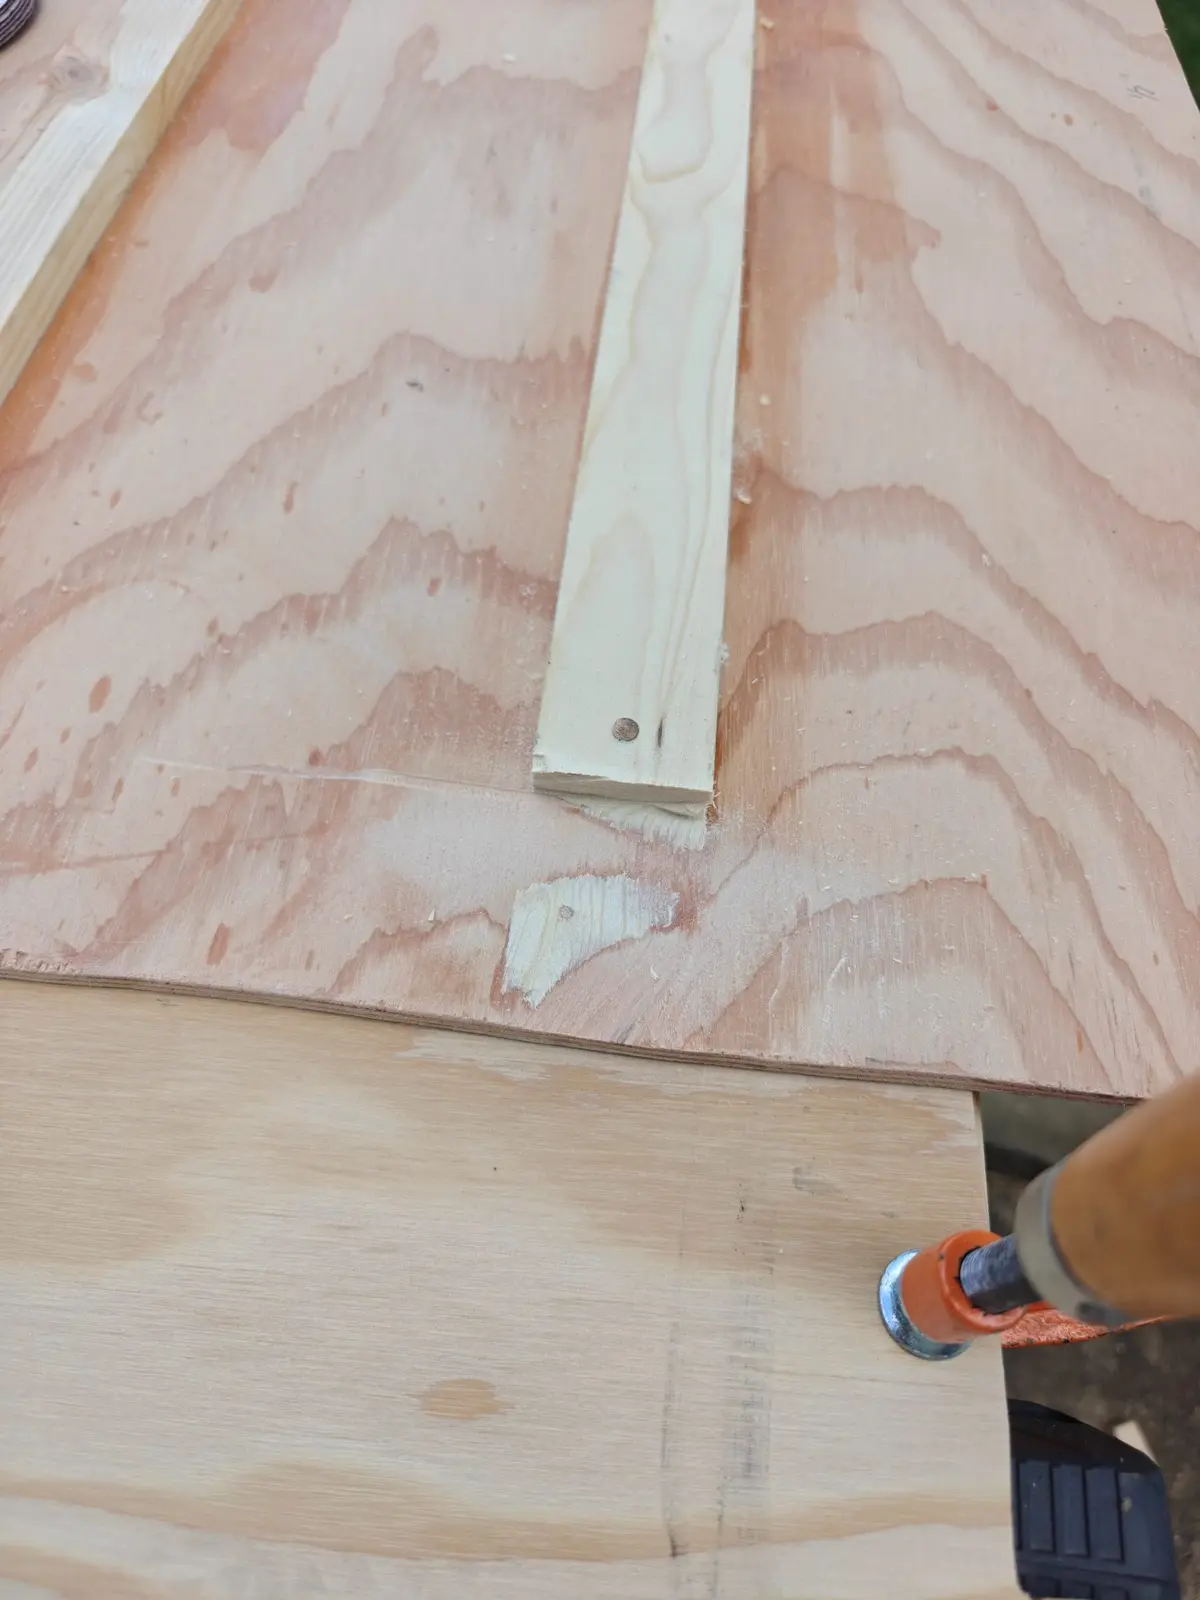
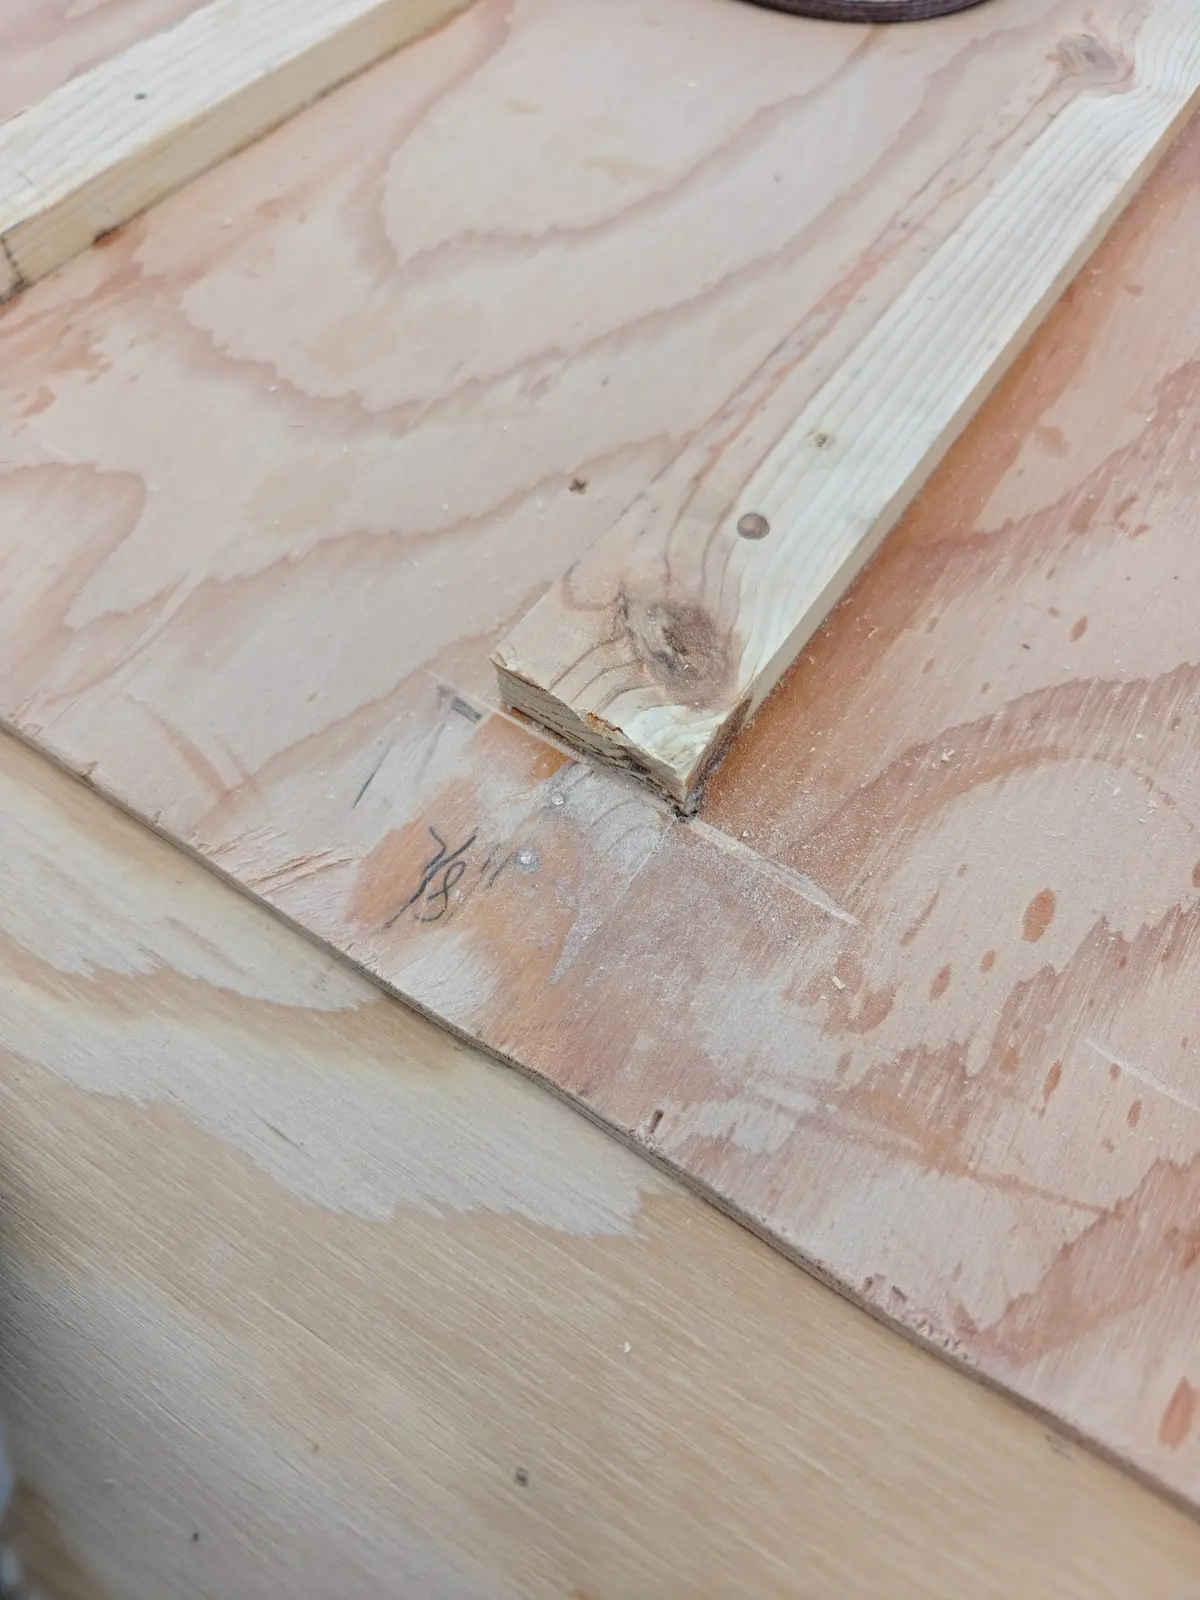
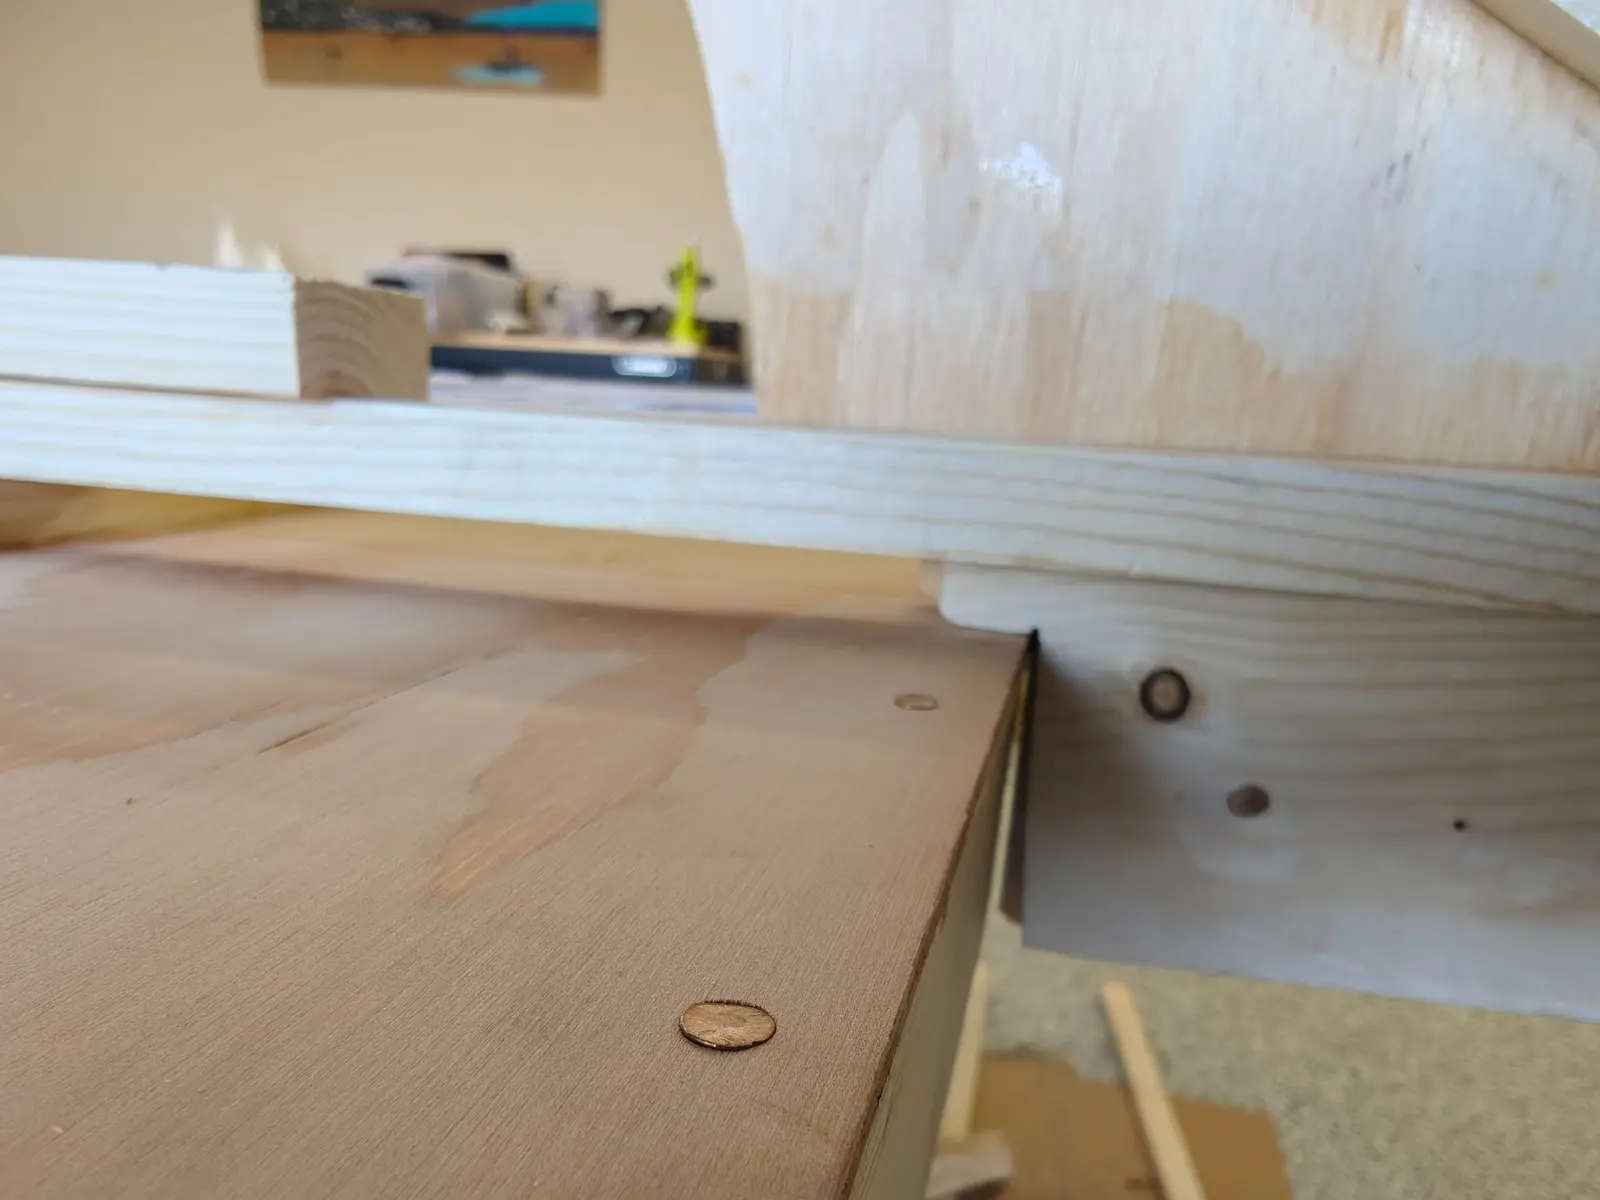
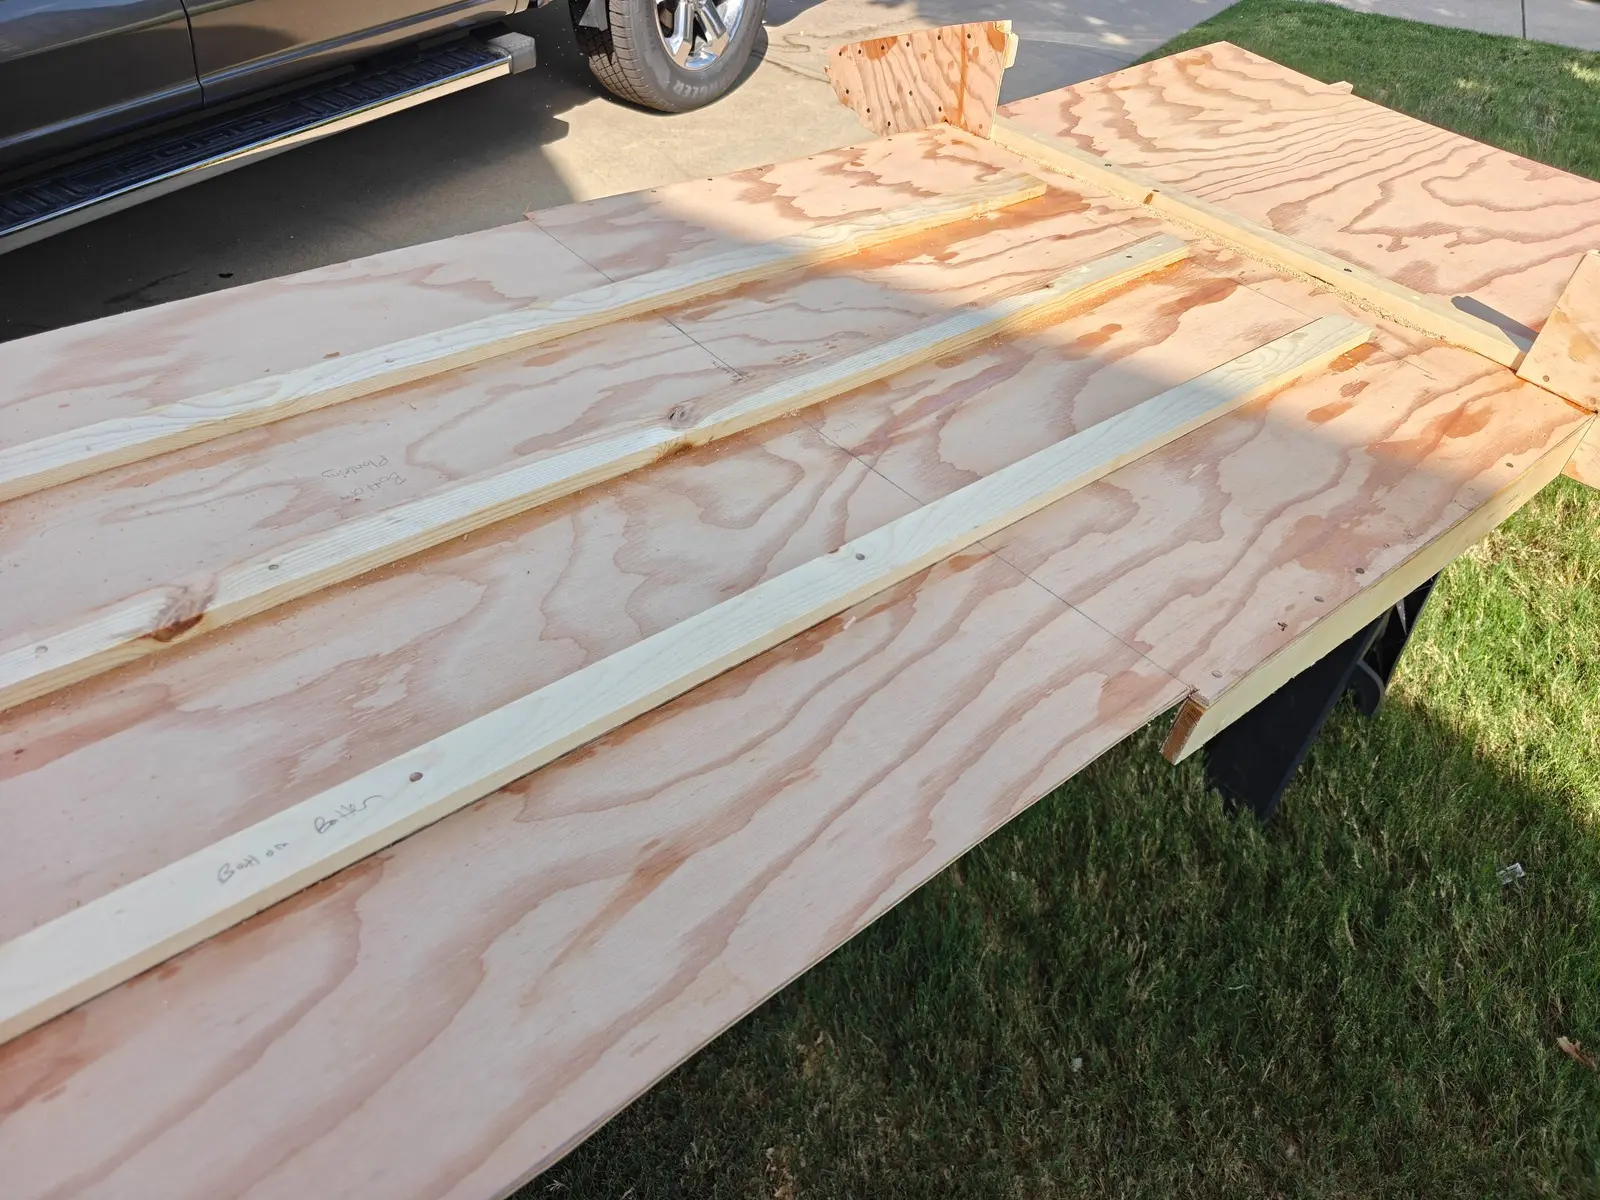
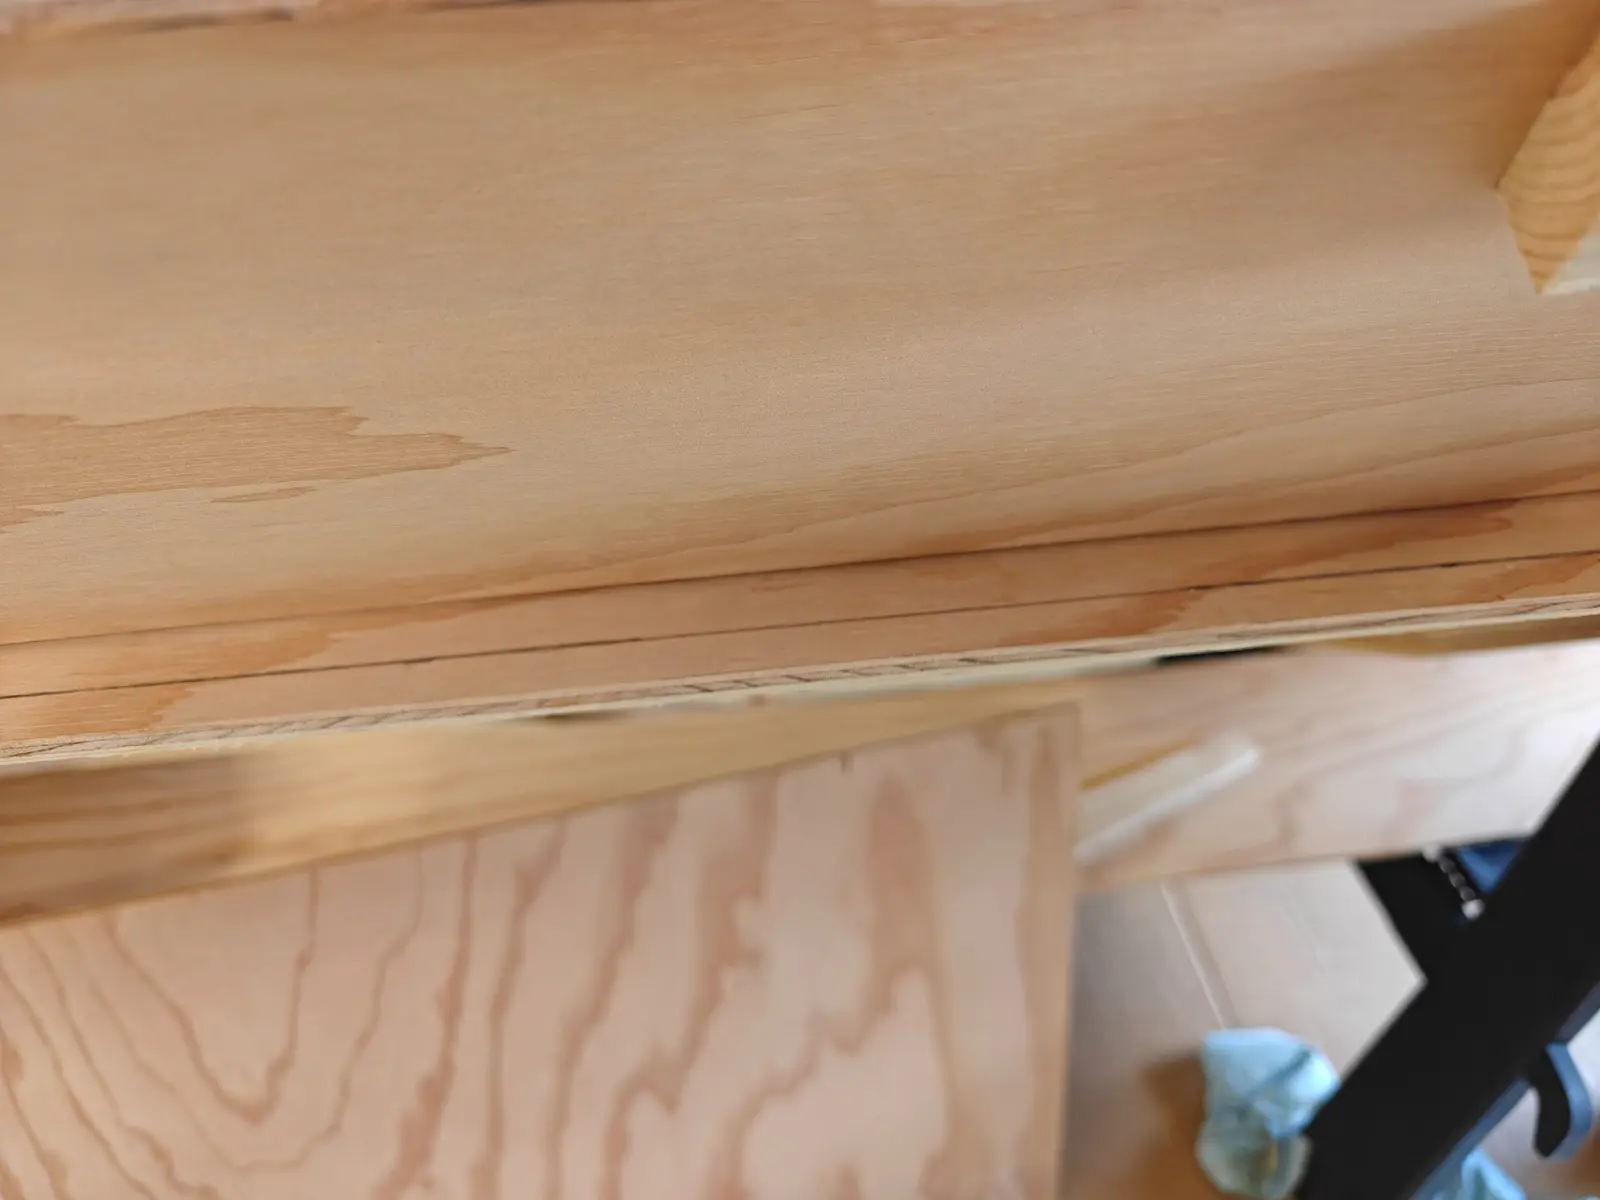
Bottom battens. Cutting the bottom plank back that 1-7/8" also meant trimming all three bottom battens back about two inches. That got messy with the old nails and glue, but after sanding it down, it looks decent.
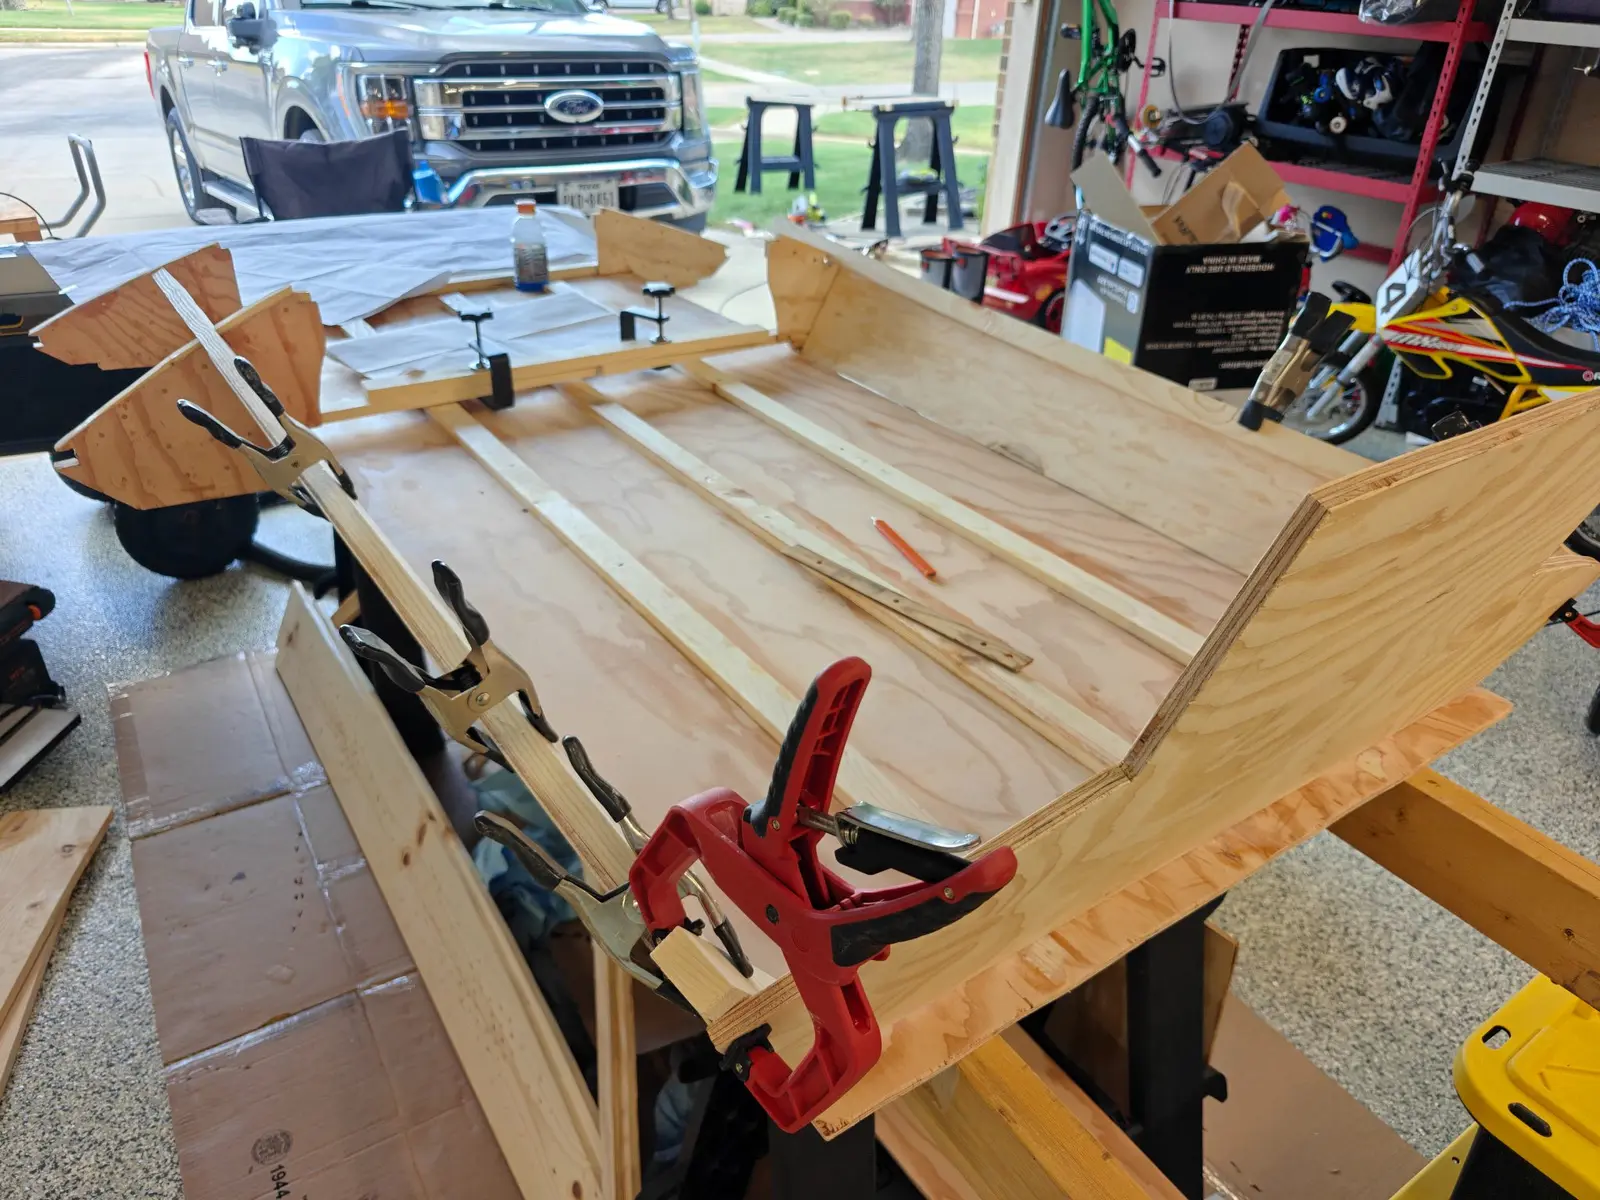
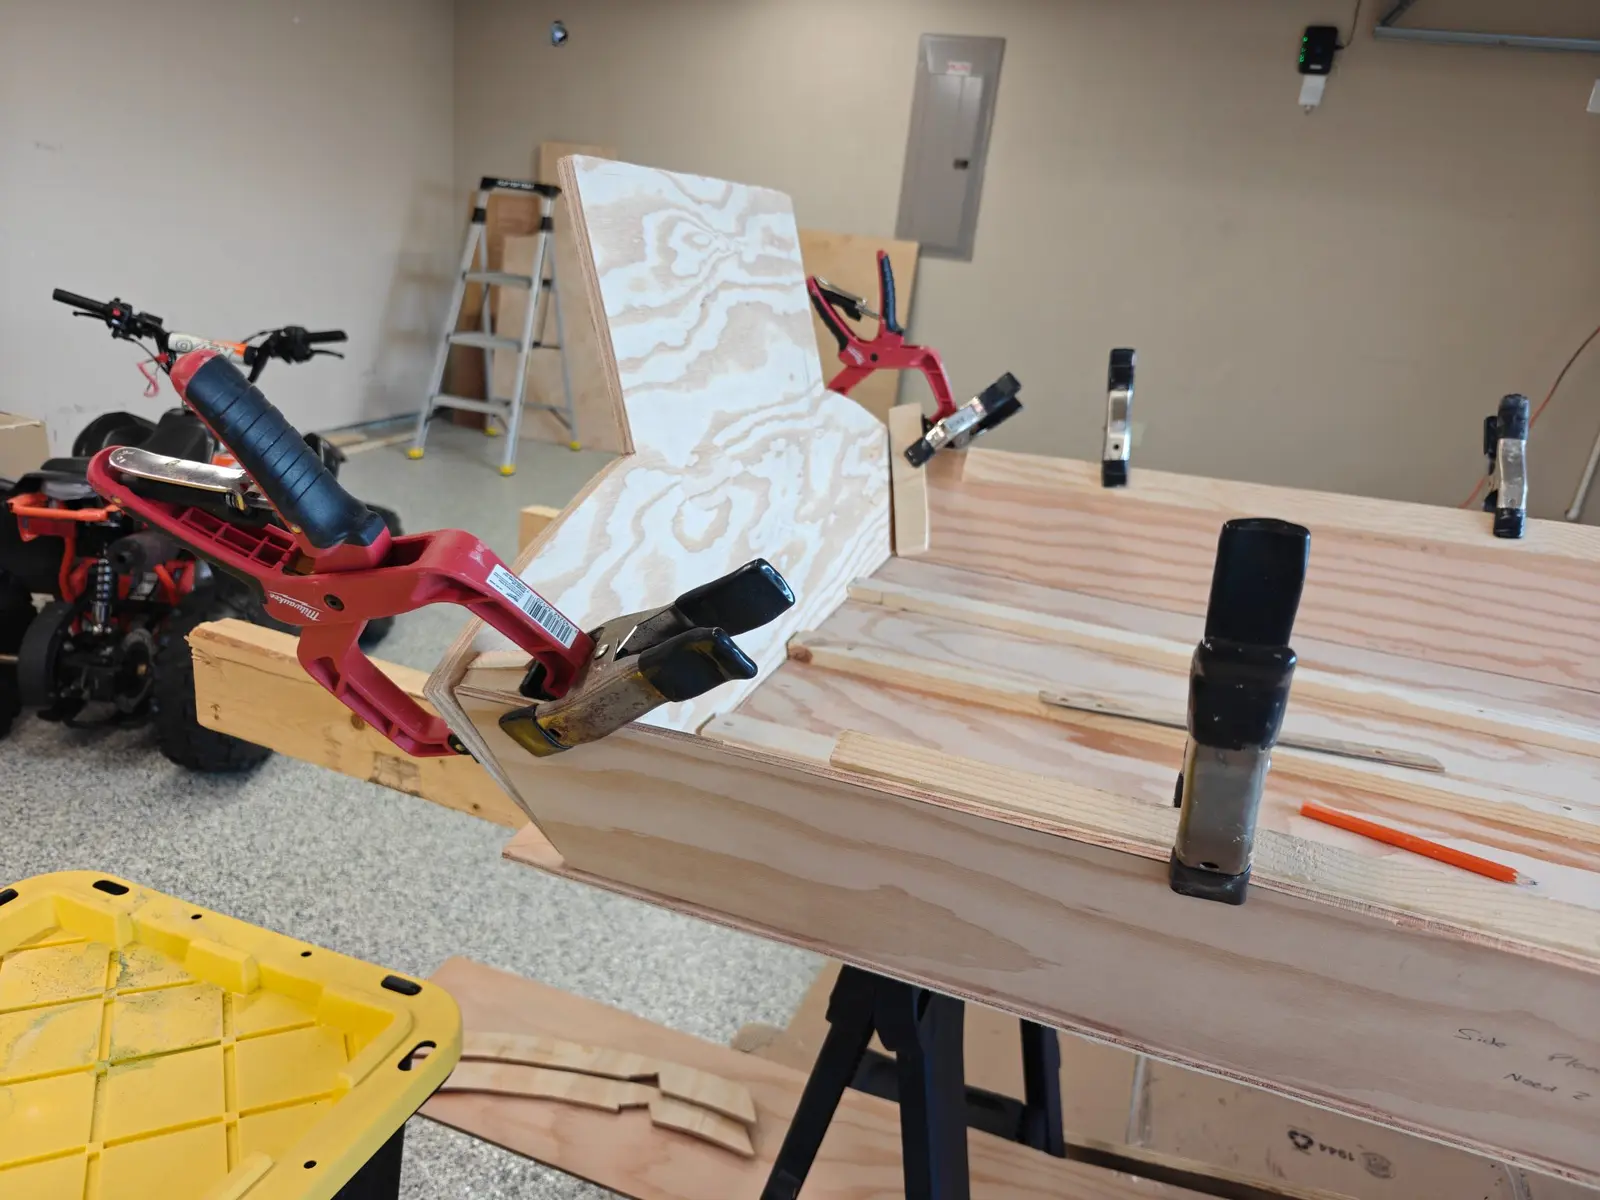
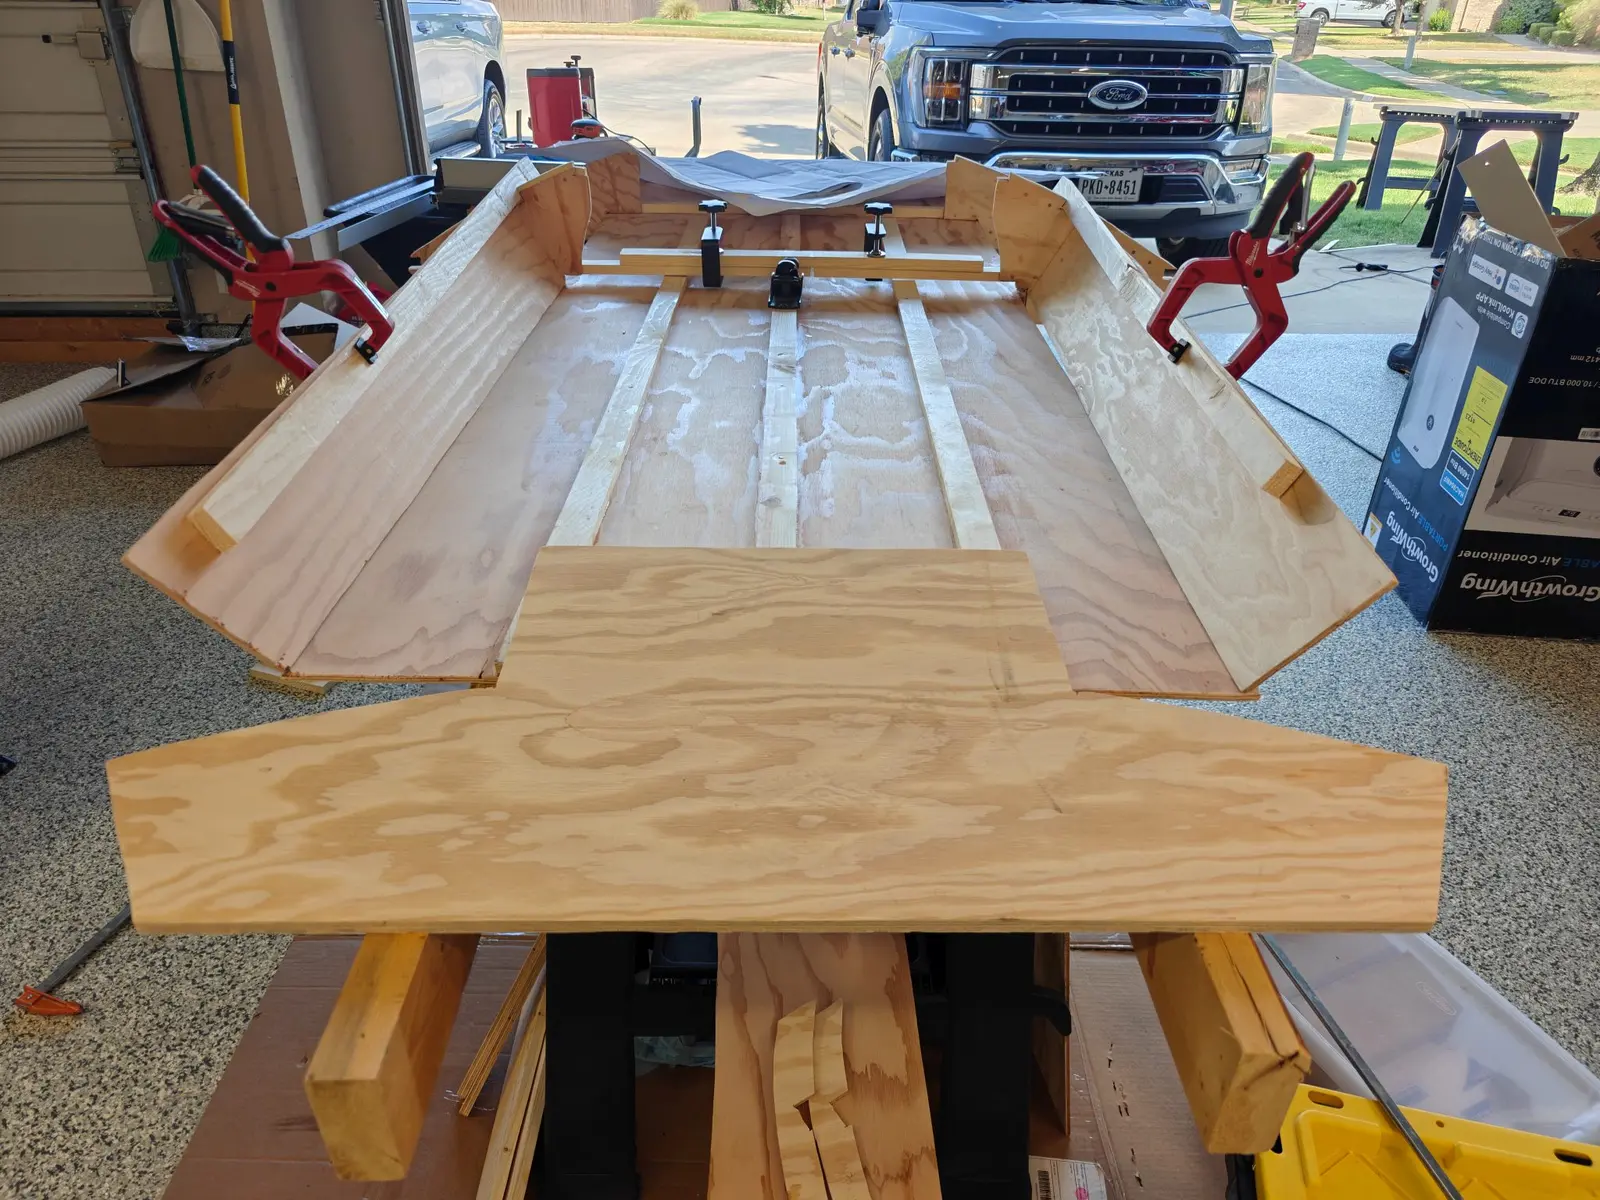
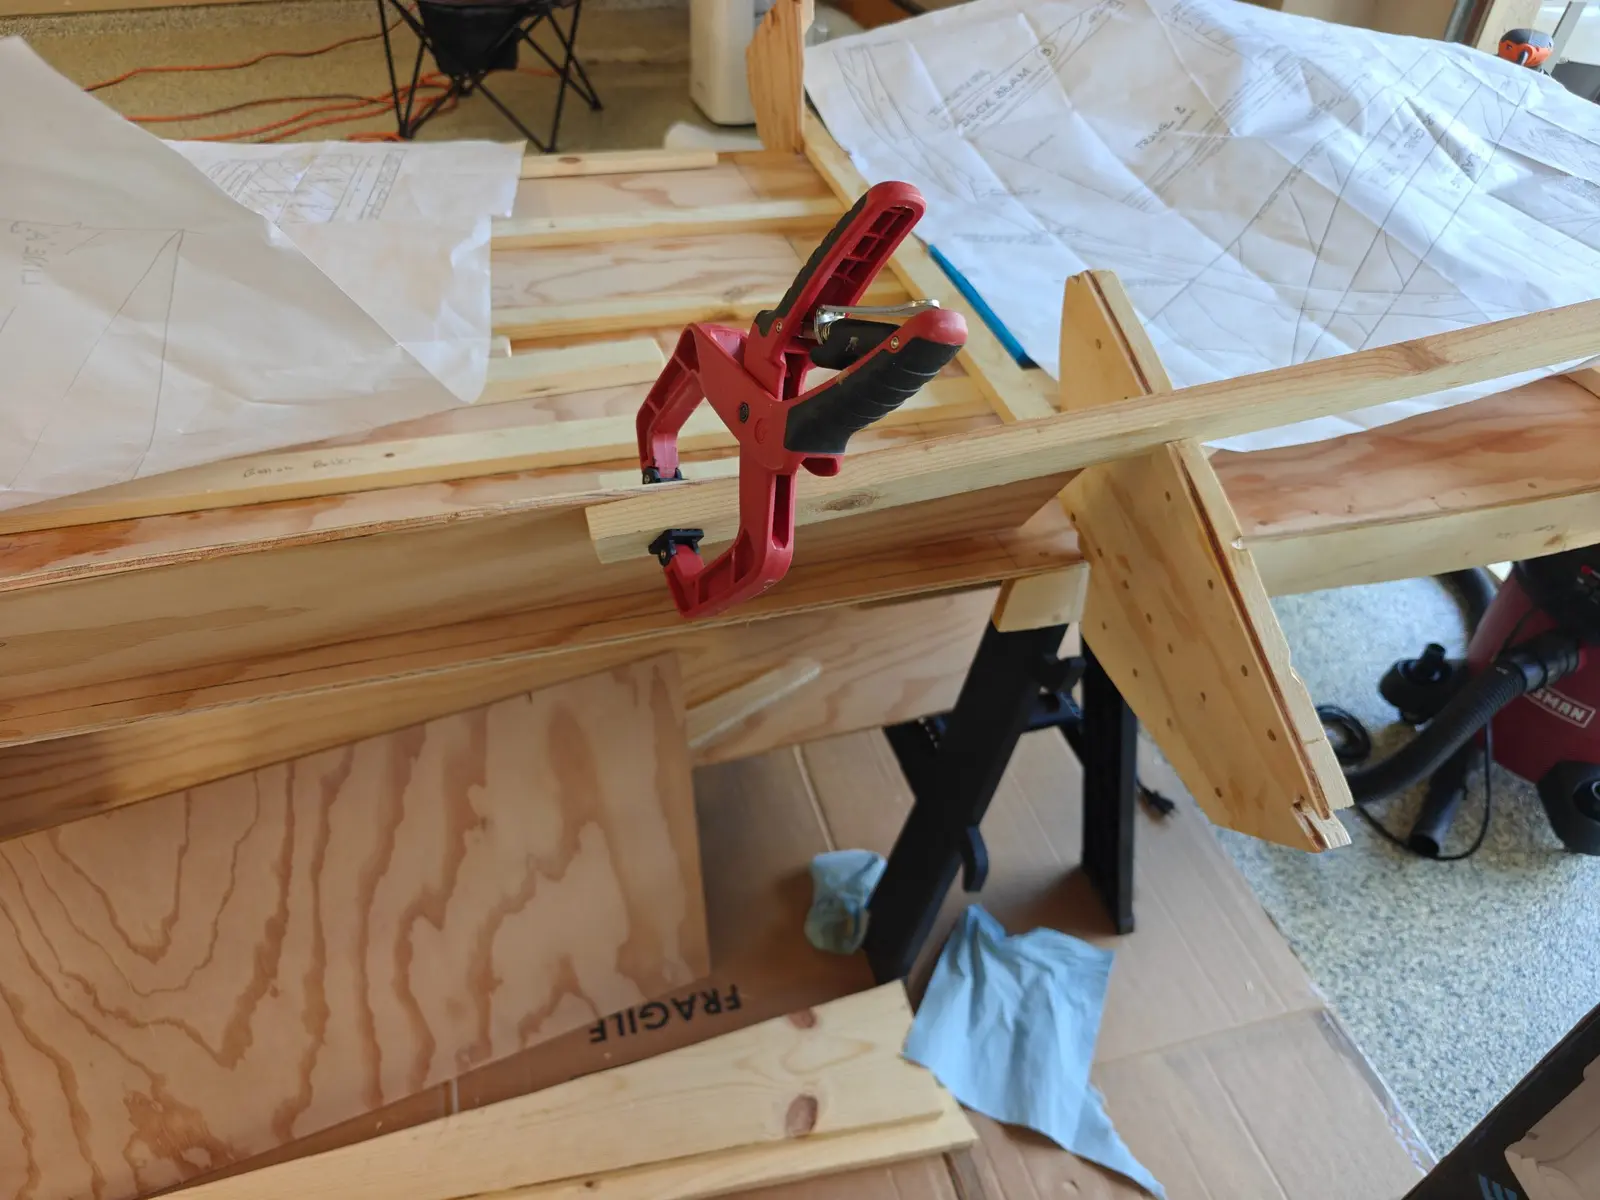
Dry fit. Laid out the side panels and connected them to frame 1 and the transom just to check the fit. Nothing glued yet, everything's just held with clamps (see photo).
I think at this point in the build I'm just getting comfortable over the fact that I've probably made mistakes and nothing seems to fit perfectly.
I have stare at the plans countless times and I still don't understand how some of the pieces are off in some cases about an inch. I know the one mistake I made which was cutting the AFT side too short by 2 in, that one was on me. But the rest I would expect should all be within reason.
Anyway, today I glued on the chines. Technically the plans say to put the chines on the side planking and then mount it to frame one and then mount everything to the boat, but I really wanted to make sure I had a straight line for the side planking and so I did it this way.
I don't know if the plans call for fiberglass taping the joints inside, but I'm probably going to end up doing that just to make sure everything is super strong. I don't like the small gaps, even though I know they will be covered with fillets, seeing as how this is going to be a boat for my kiddos, I want this as strong as a brick.
And also I stepped on the coaming, so you can see my Band-Aid there.
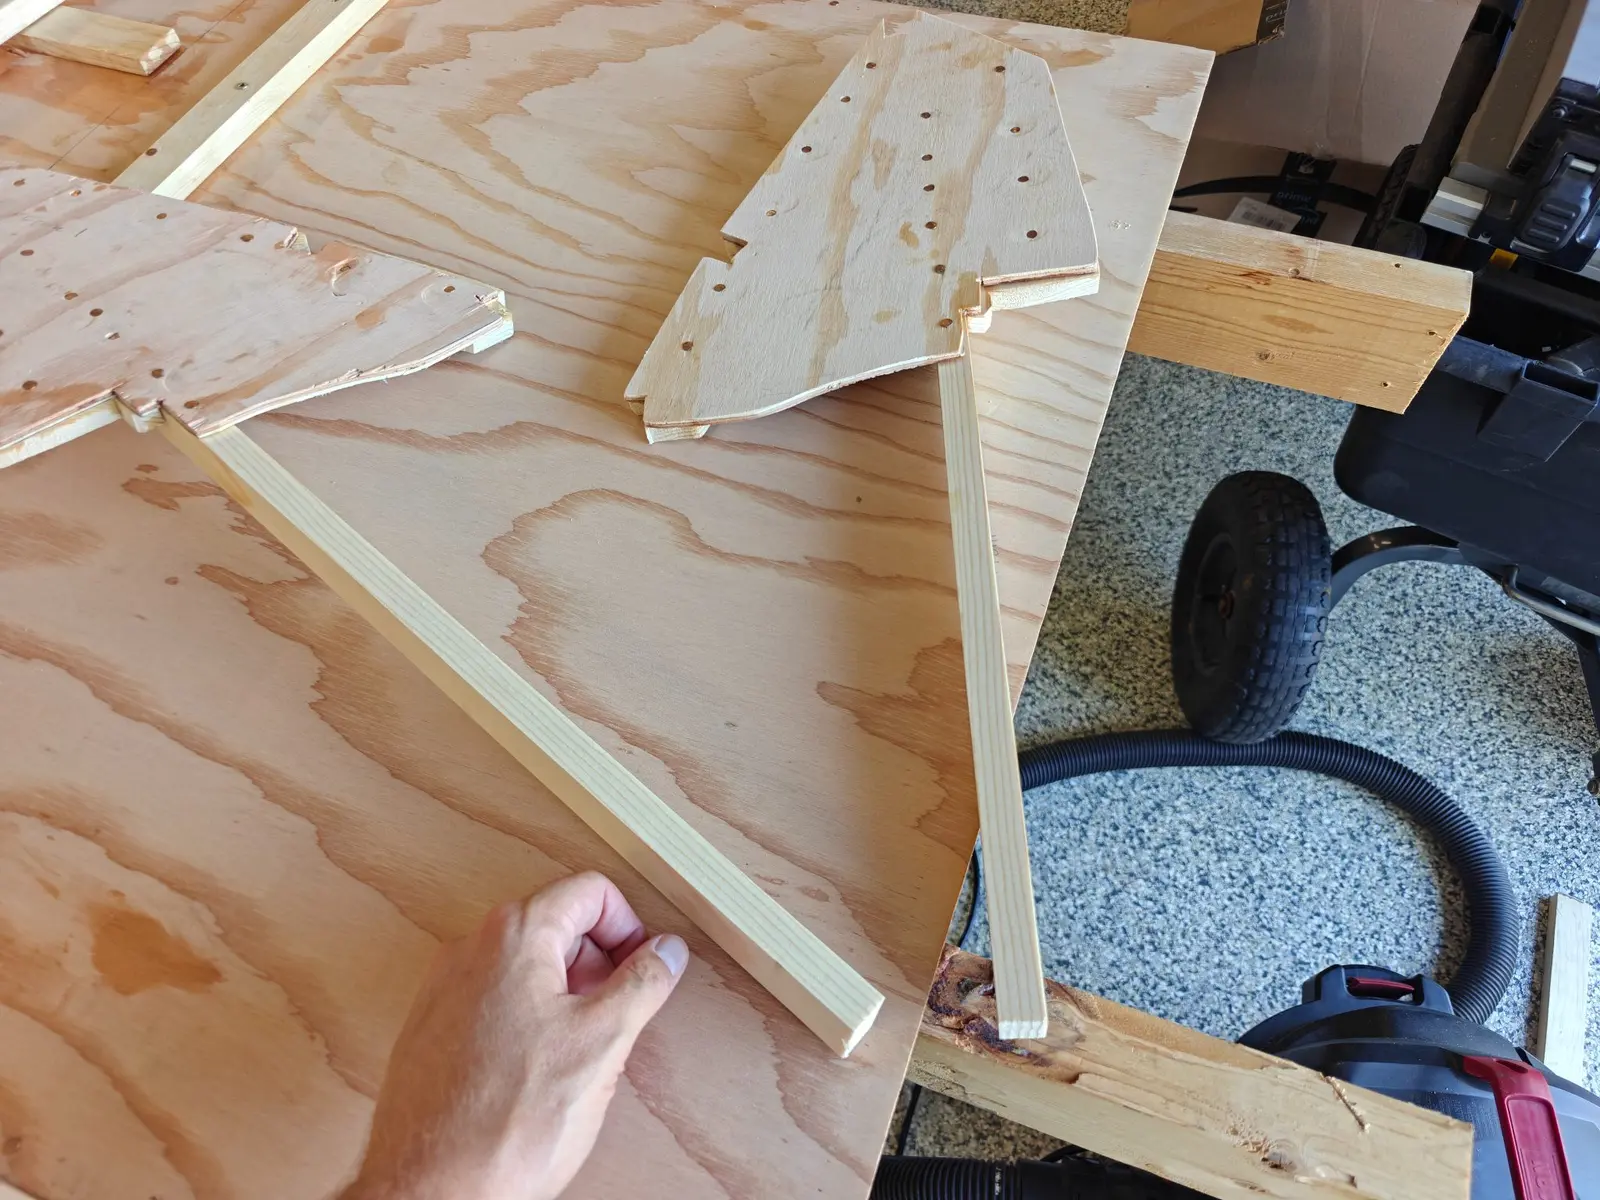
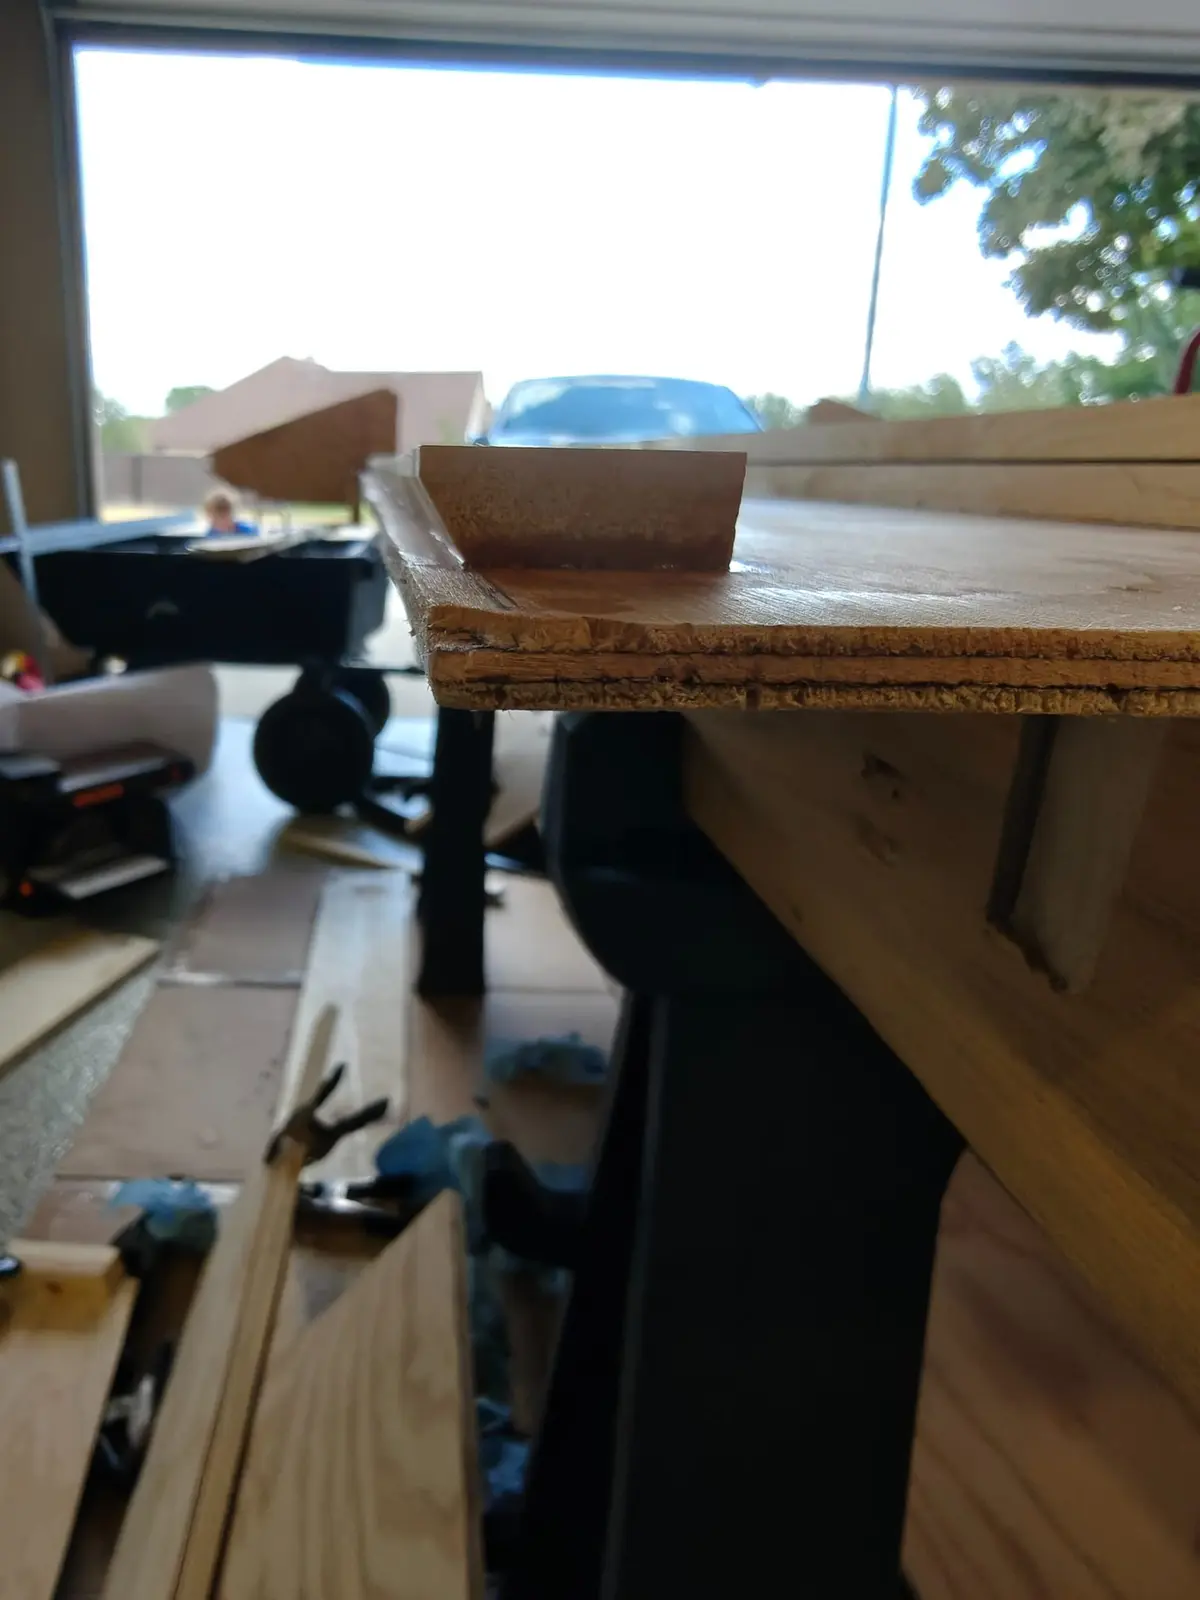
Today I put on the sheer clamps and mounted them to the side panel. The sheer clamps are 3/4 in by 3/4 in so I basically took a 1x2 and cut it right down the middle. I also had to cut out a little bit more in those grooves so that the plywood would correctly set on the bottom panel, it does not have to be perfect as this is what fillets are for. Anyway, so all I really did today was glue the sheer clamp and tomorrow I think I will finish mounting the sheer clamp to frame number one and frame number one to the actual boat.