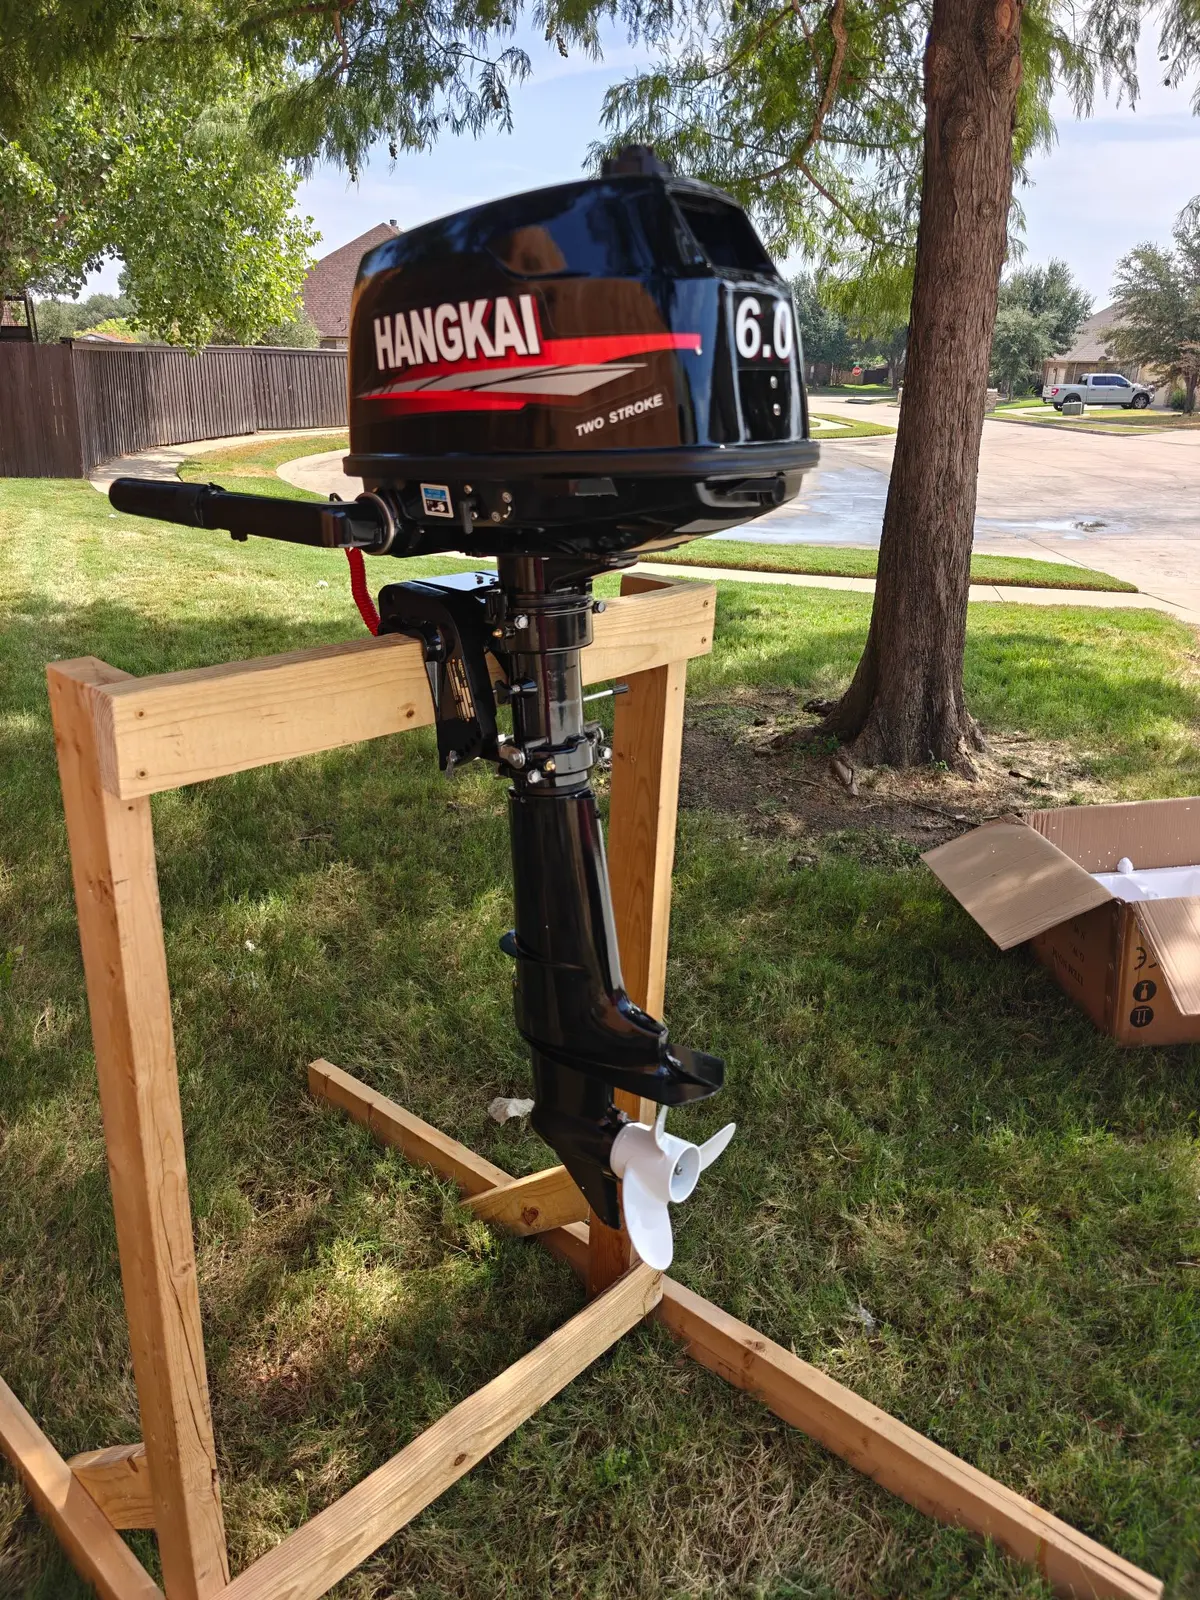
I got the new Mercury 2 stroke outboard in today, and im very excited about it. Haha just kidding, its a Hangkai. Honestly, I have seen pretty good reviews for this brand, so I will give it a chance. They say its a clone of the Tohatsu M5B.
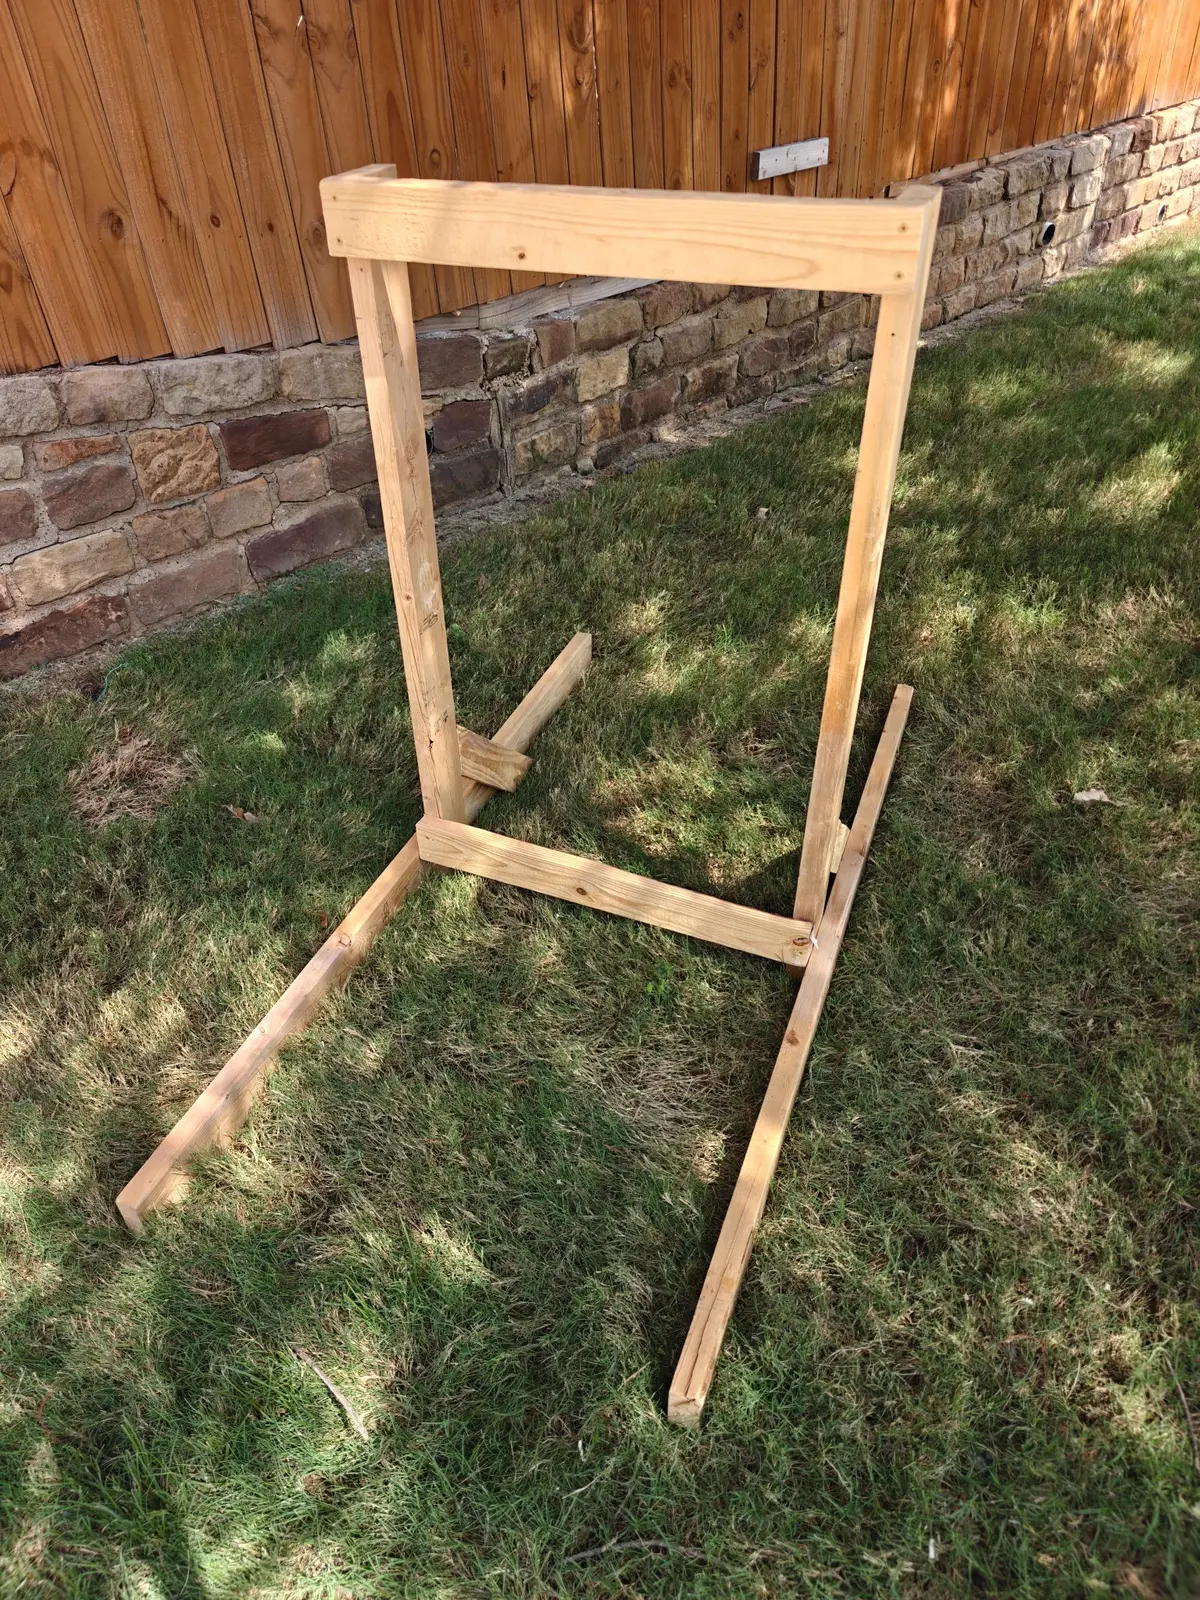
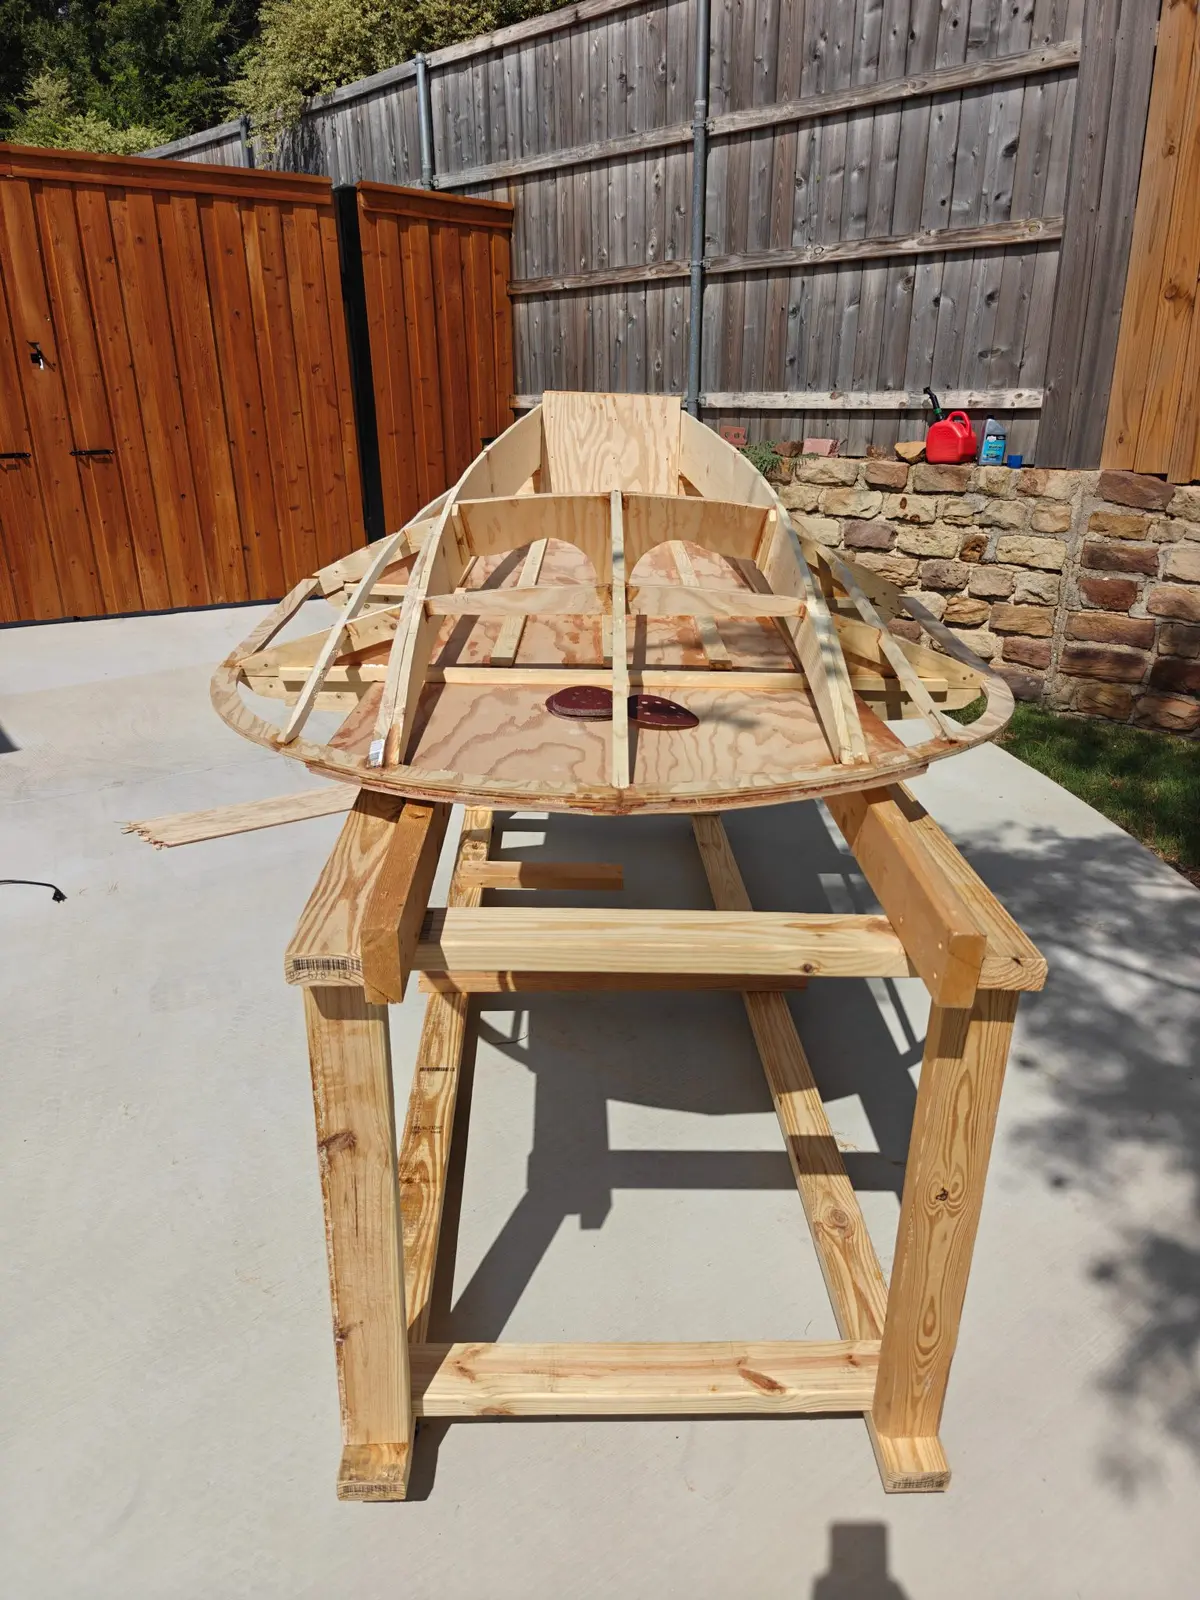
I built the motor stand with some wood I had laying around and fired up the outboard, it started with just a few pulls. I have been running it for about an hour and it seems like it's running fine. I had to adjust the idle, other than that seems like a decent engine.
Today I finally started using some of the power tools.
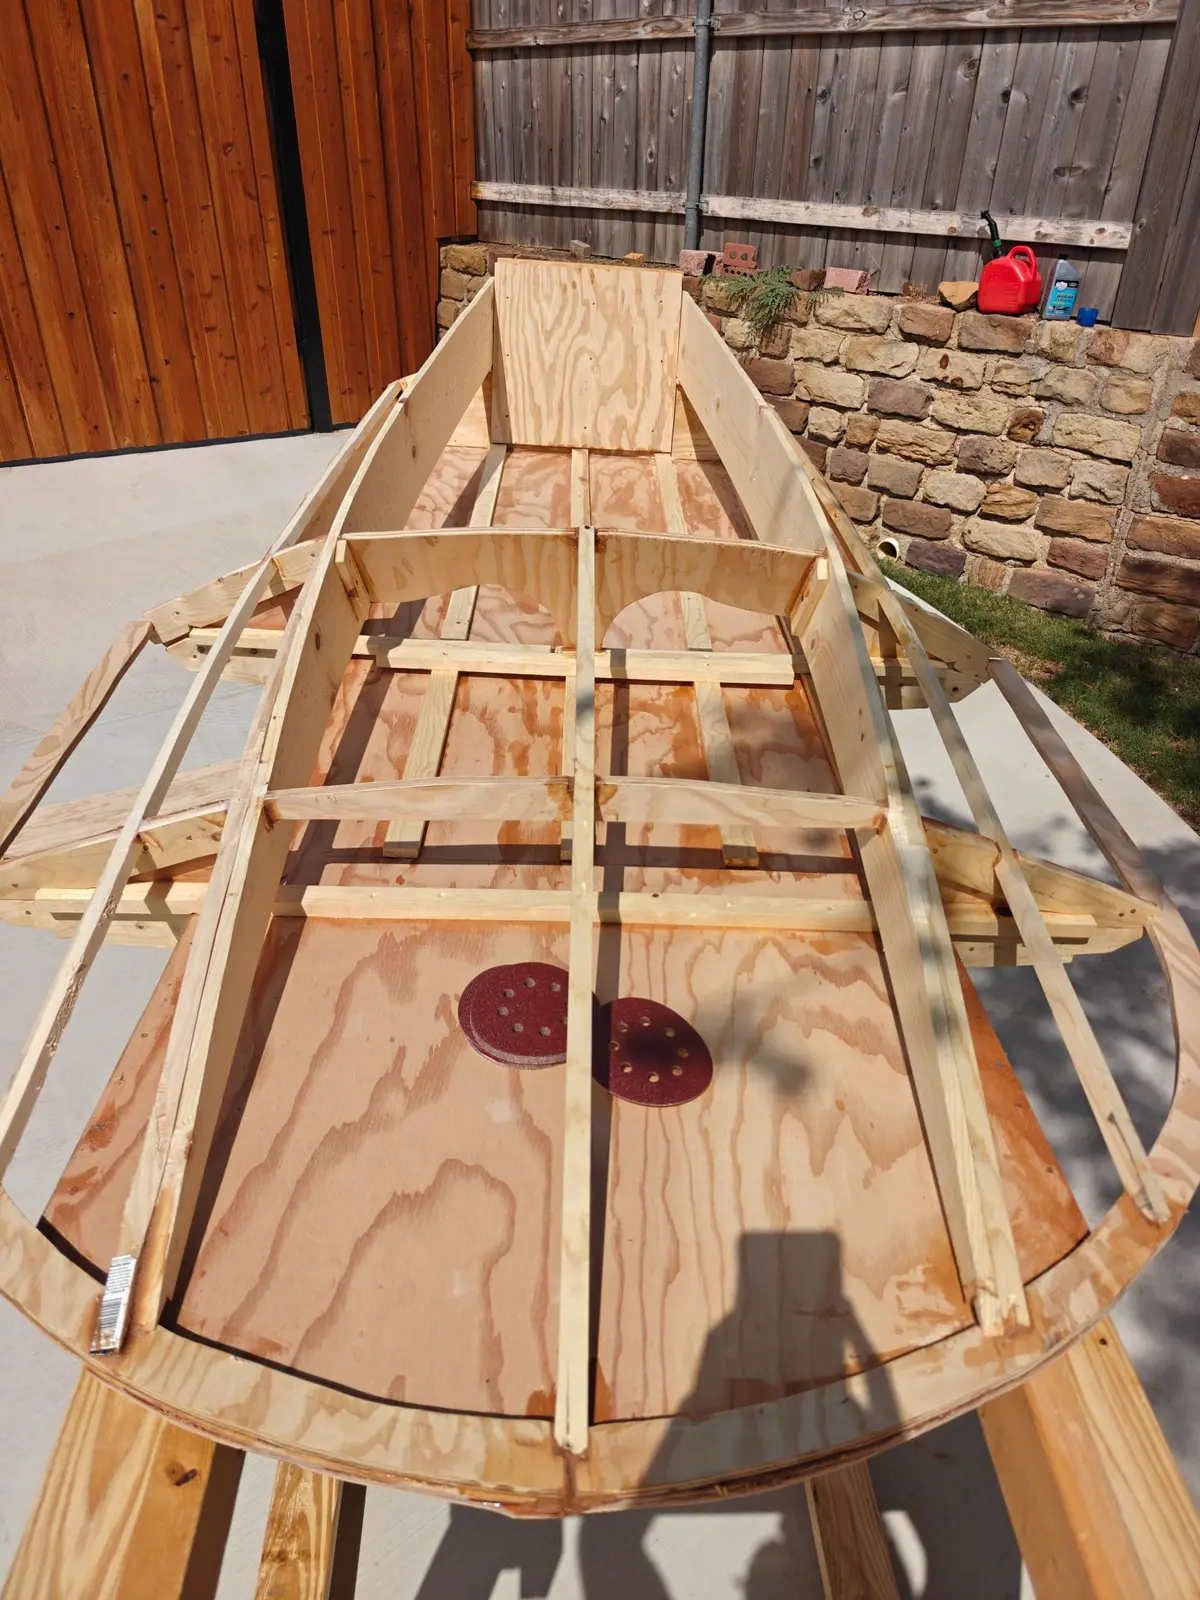
I took the boat outside and used the belt sander to knock off a lot of the rough edges. I evened up the coamings on both sides and did my best to even up the transom, since there was about a quarter inch gap on one side.
My 5" orbital sander was acting weird, so I tossed it and went and bought a DeWalt. This one should last me 20 to 30 years. I also picked up a bunch of 50 and 80 grit paper for both the orbital and the belt sander. I knew I had to move a lot of wood, and that's the lowest grit I feel comfortable with.
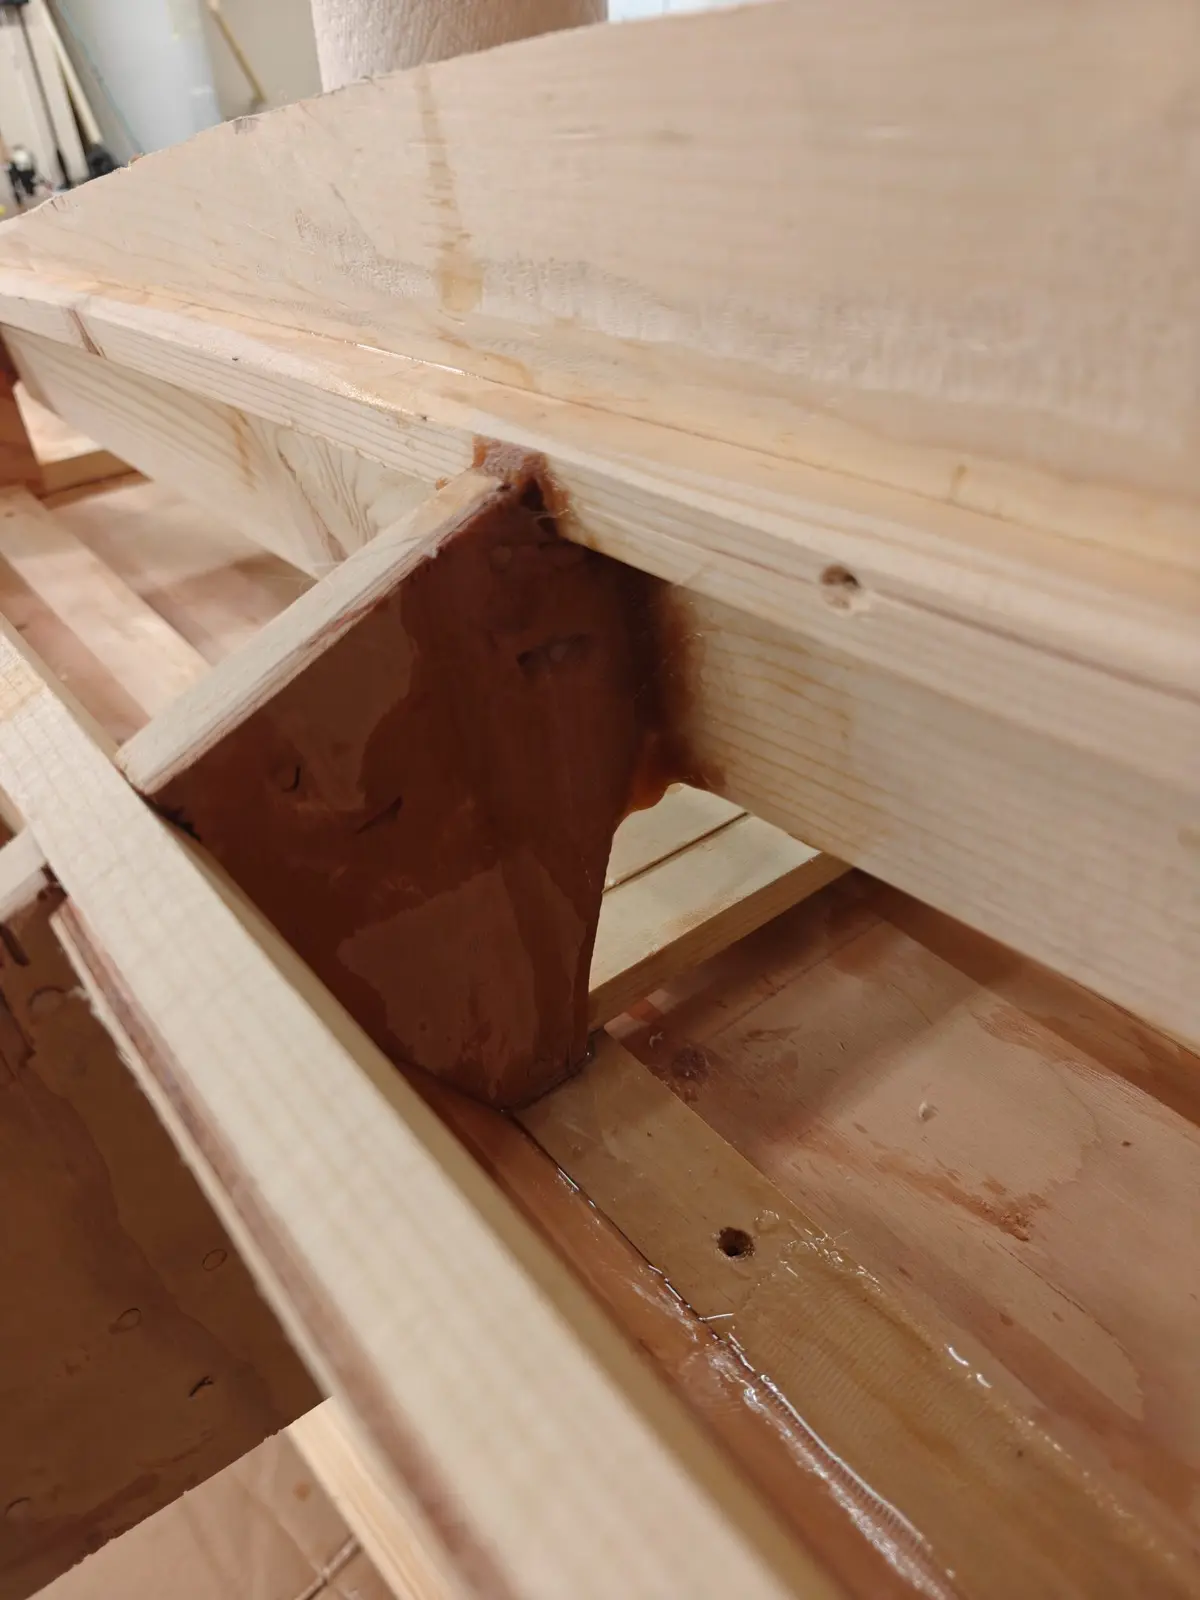
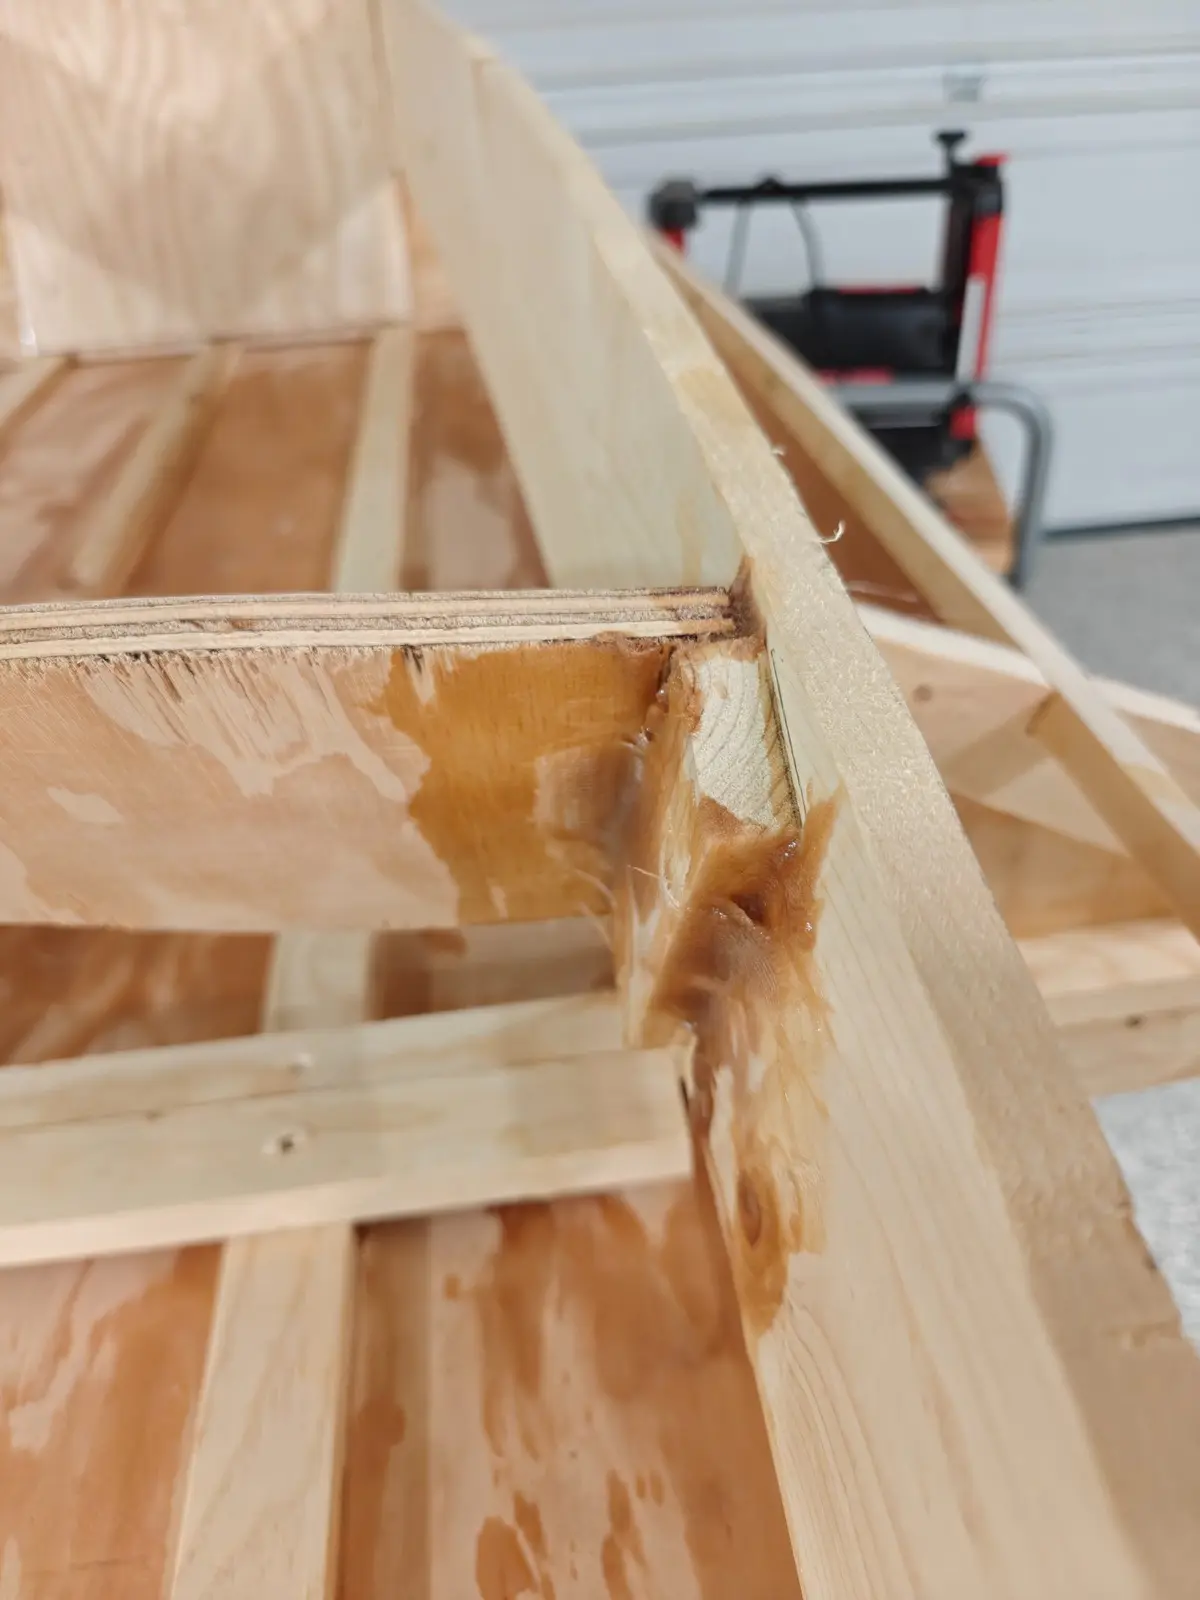
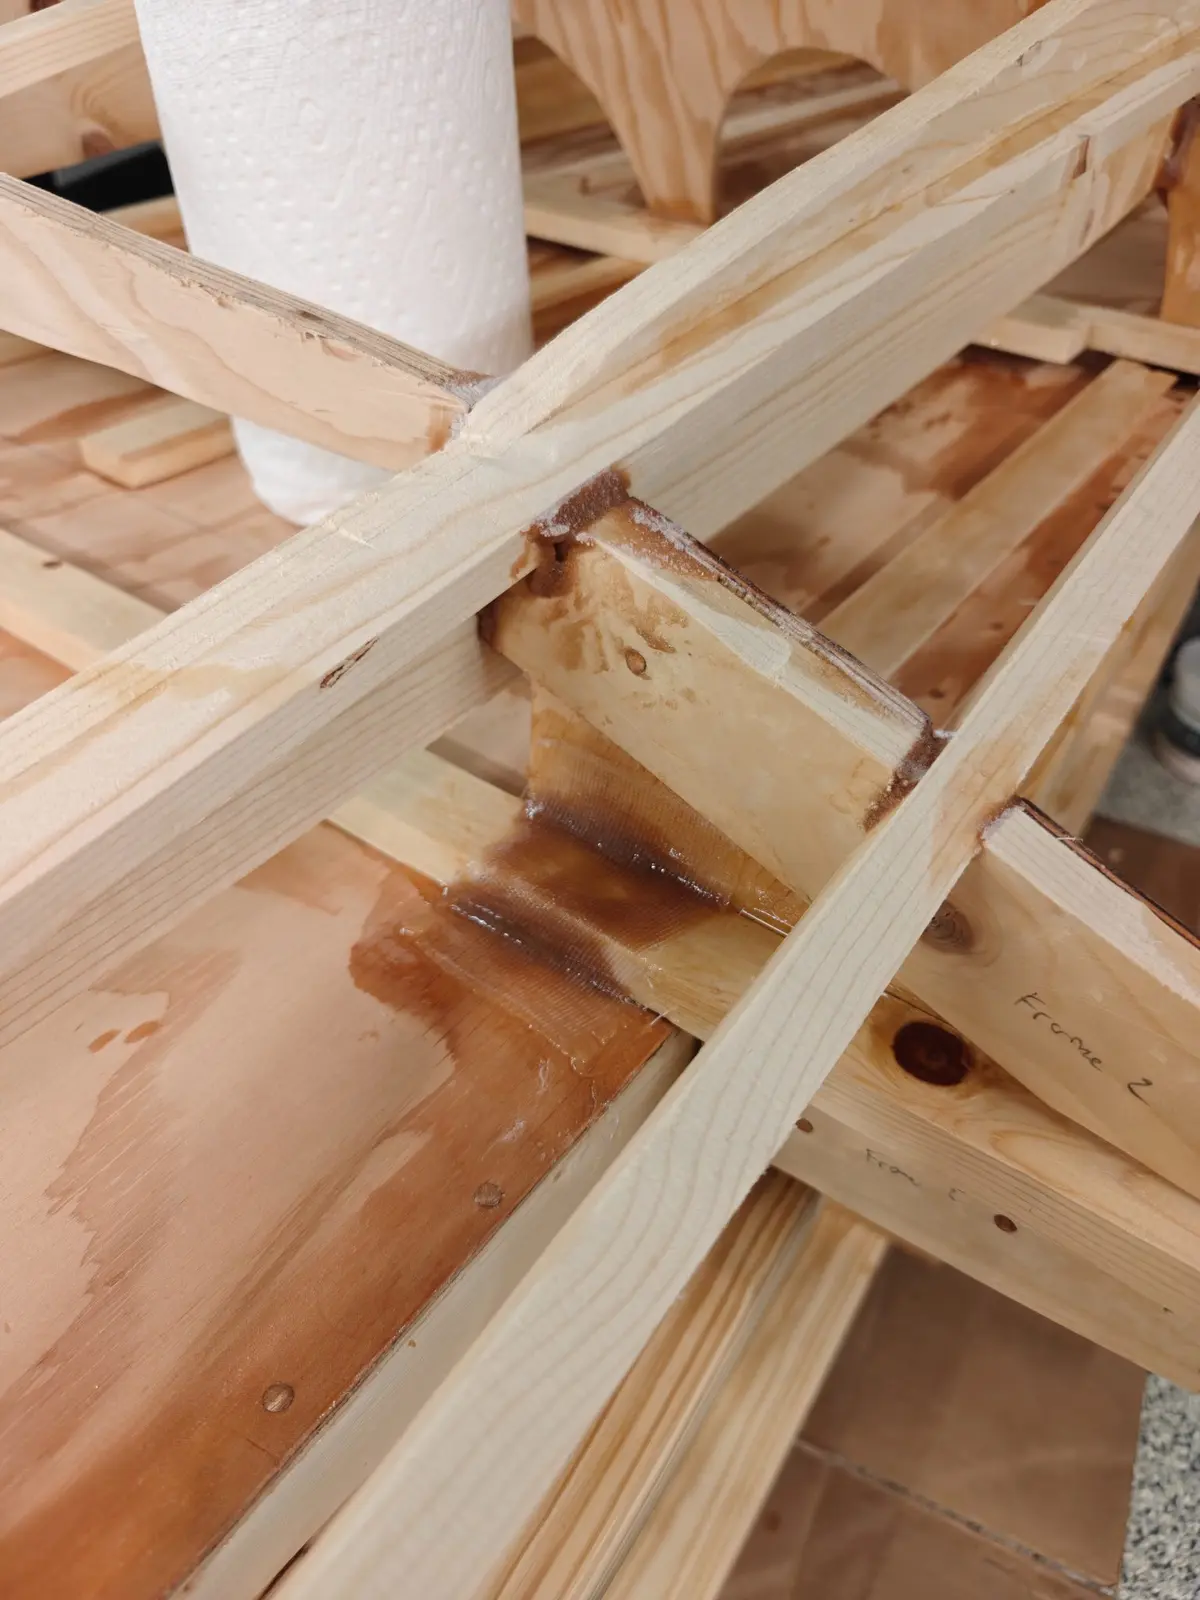
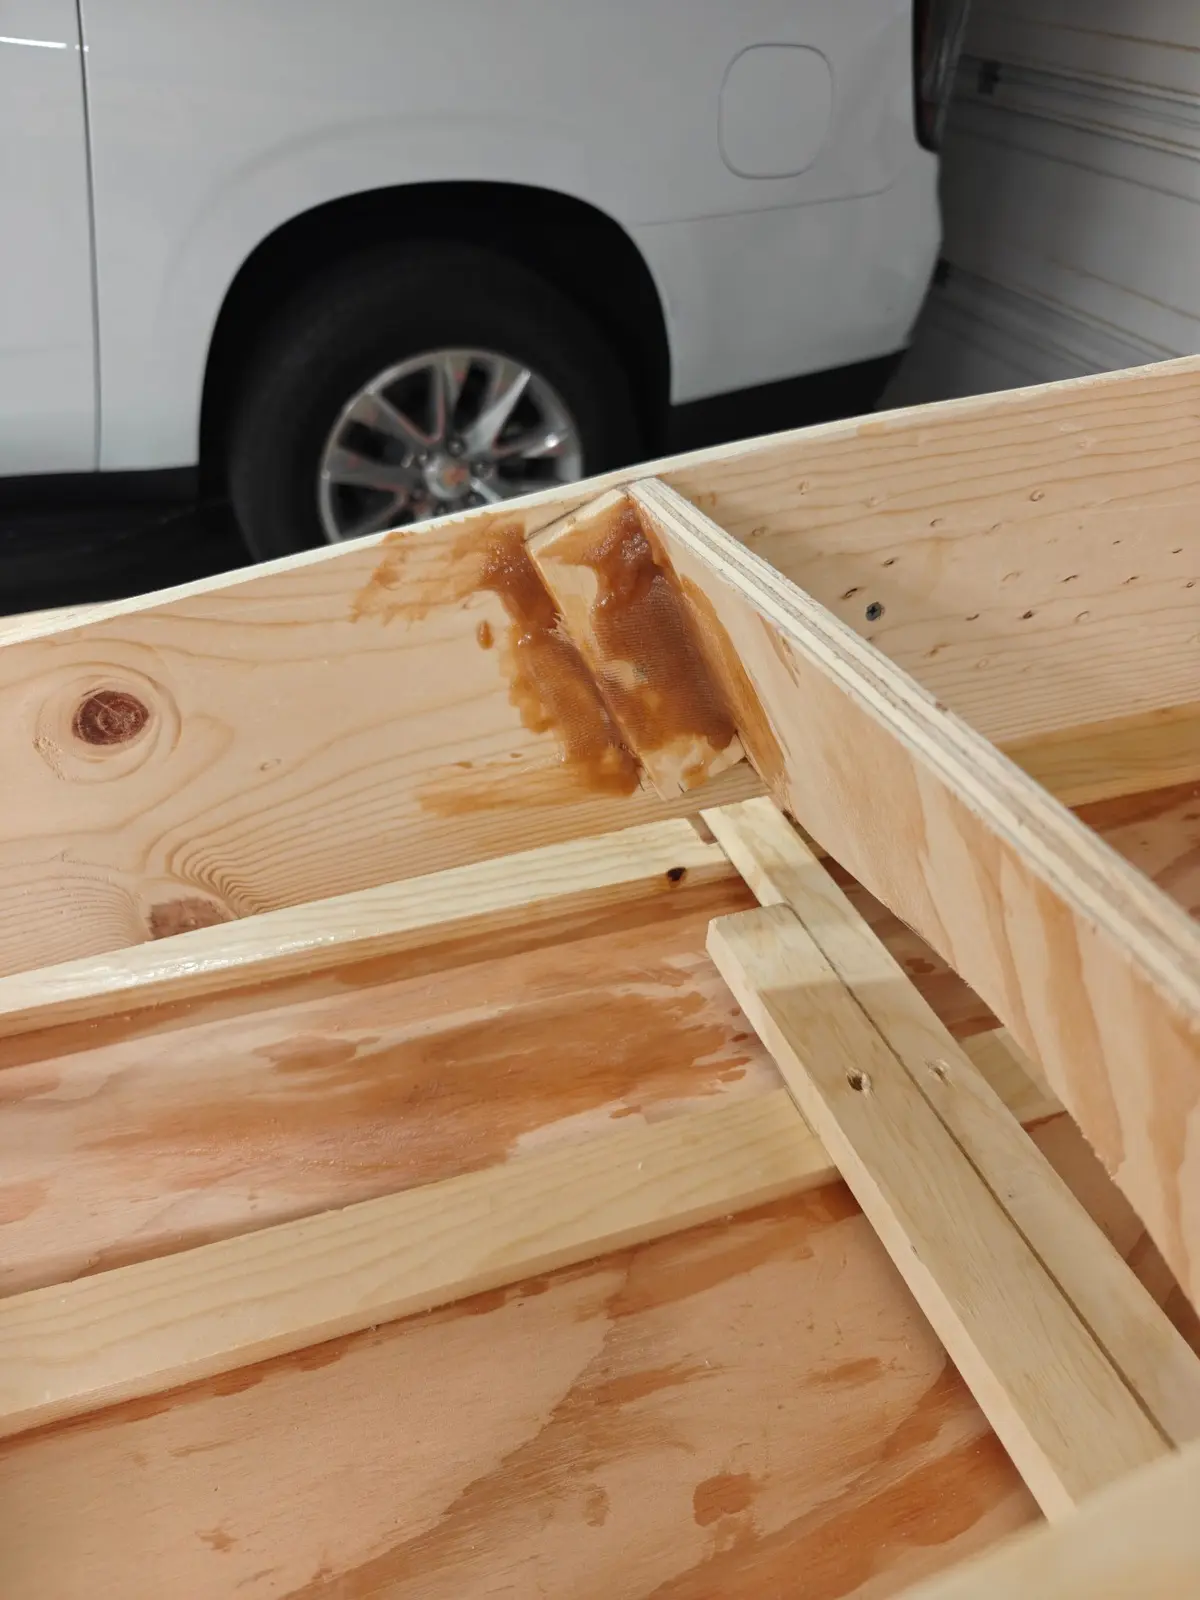
Fiberglass Taping
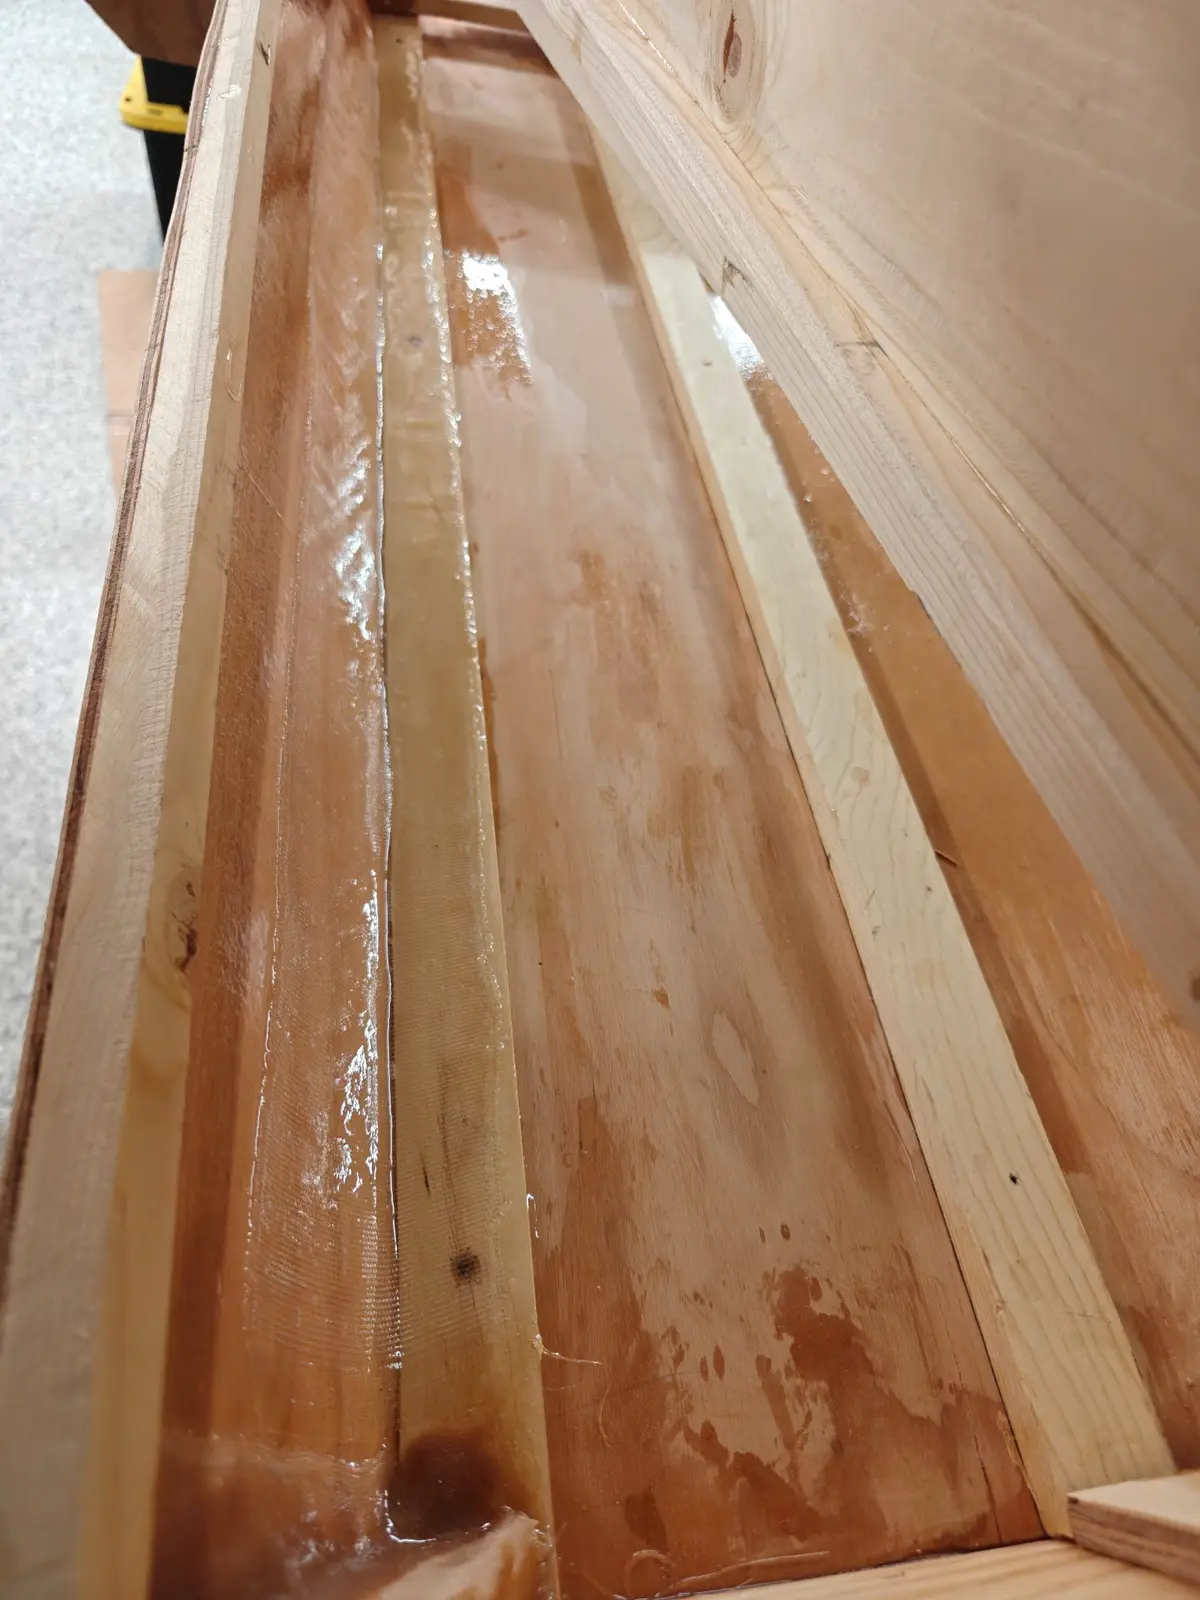
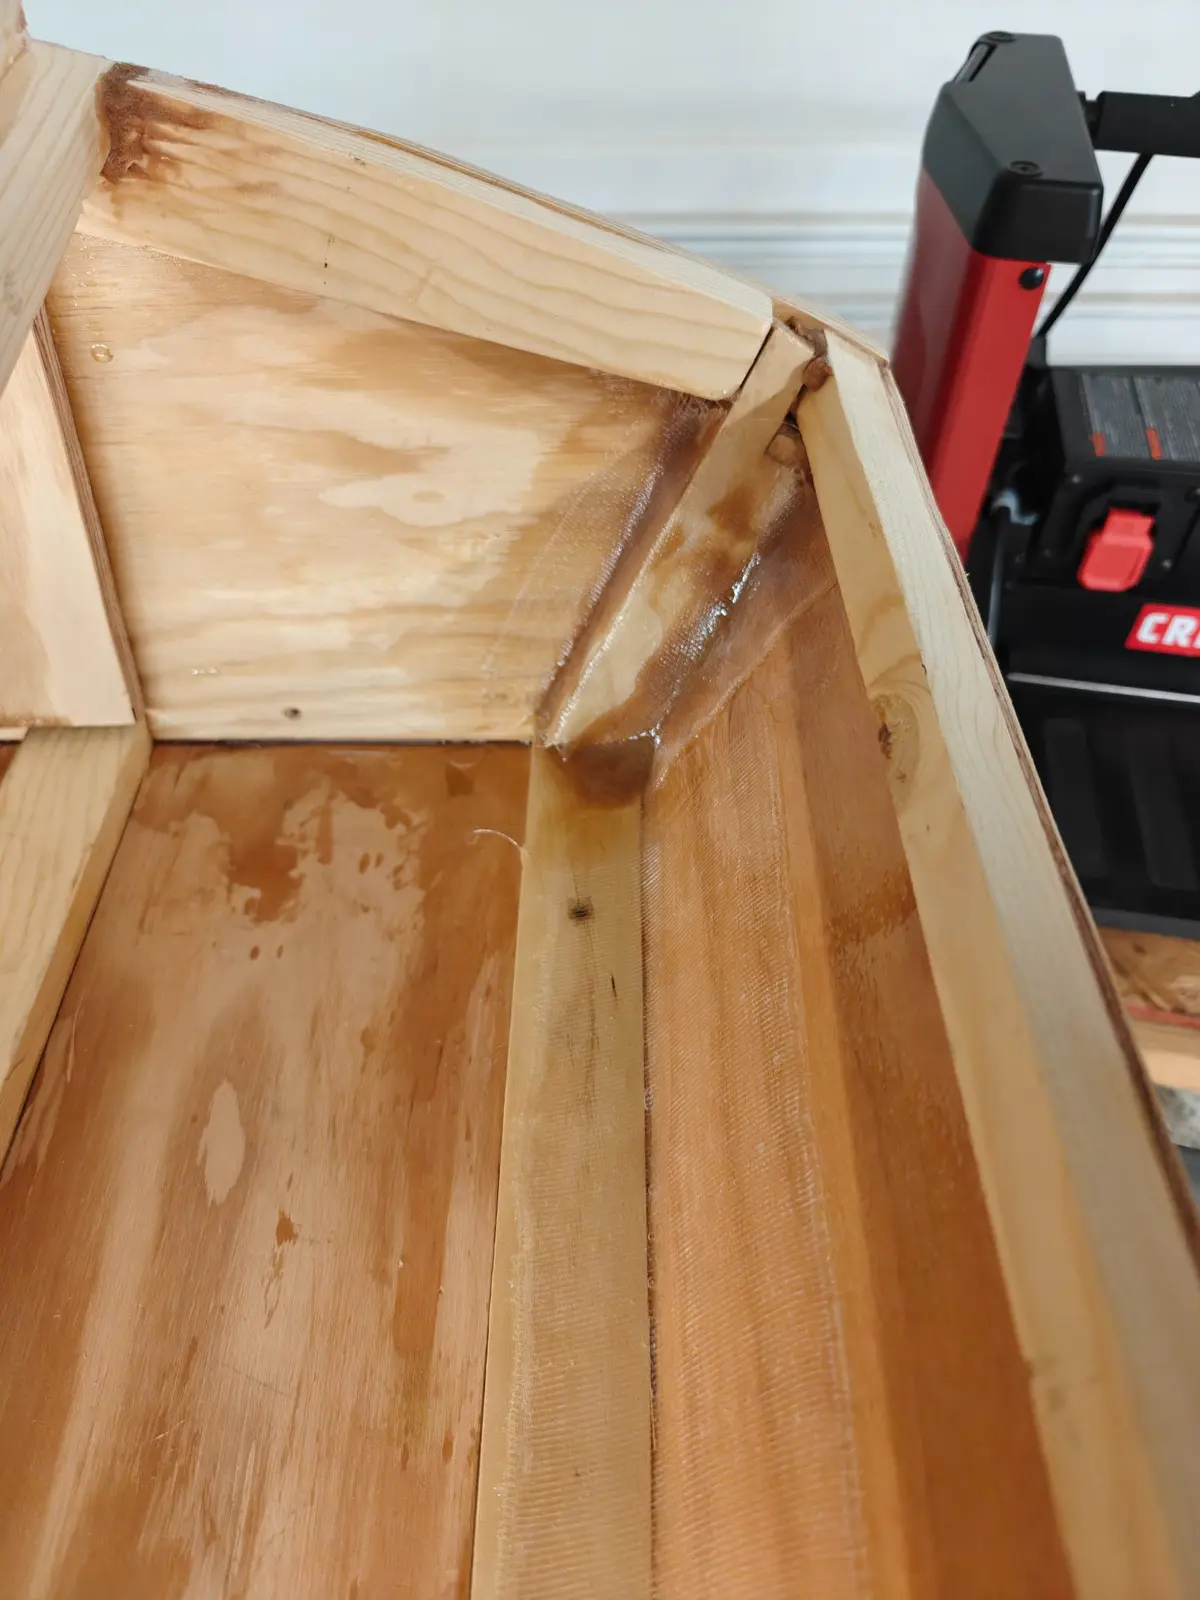
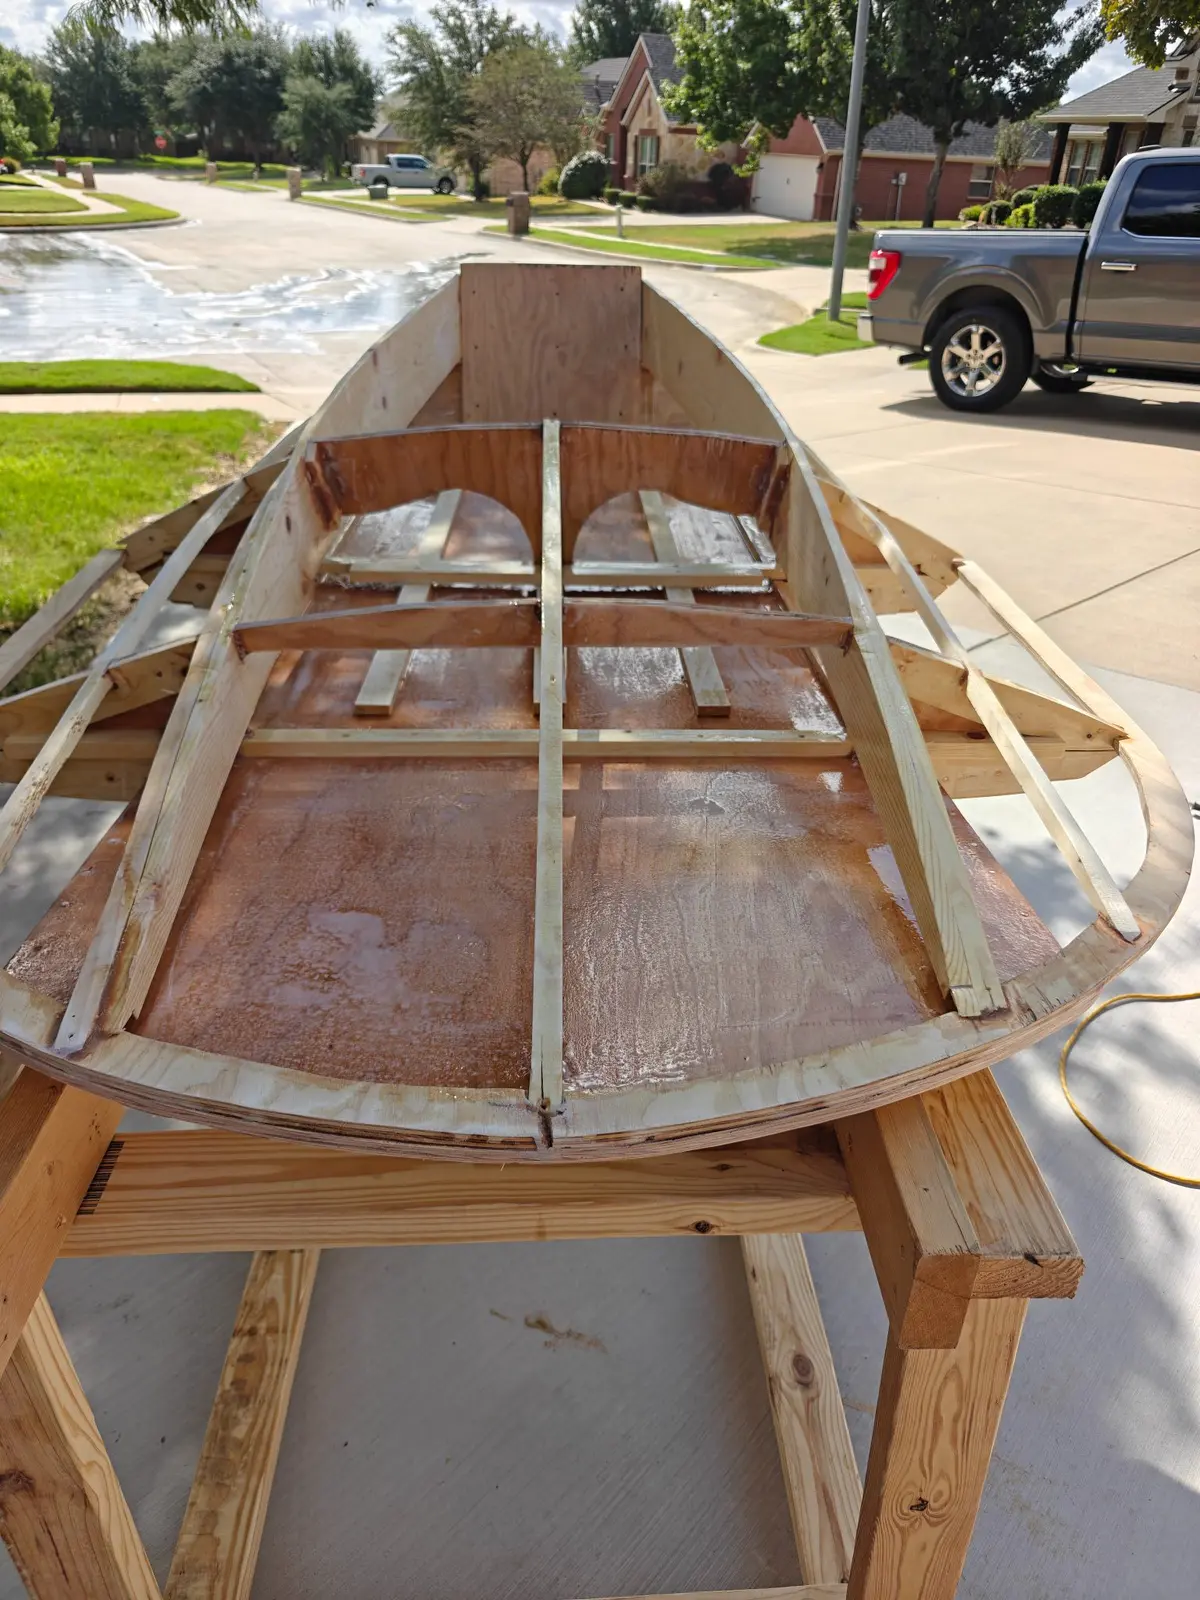
Once I felt pretty good about the sanding, I blew everything out, cleaned up the inside, and brought the boat back into the garage to start on some of the fiberglass taping.
Here's what got glassed today:
Side panels from the transom to the dashboard
Side panels to the transom
Both frames in various places
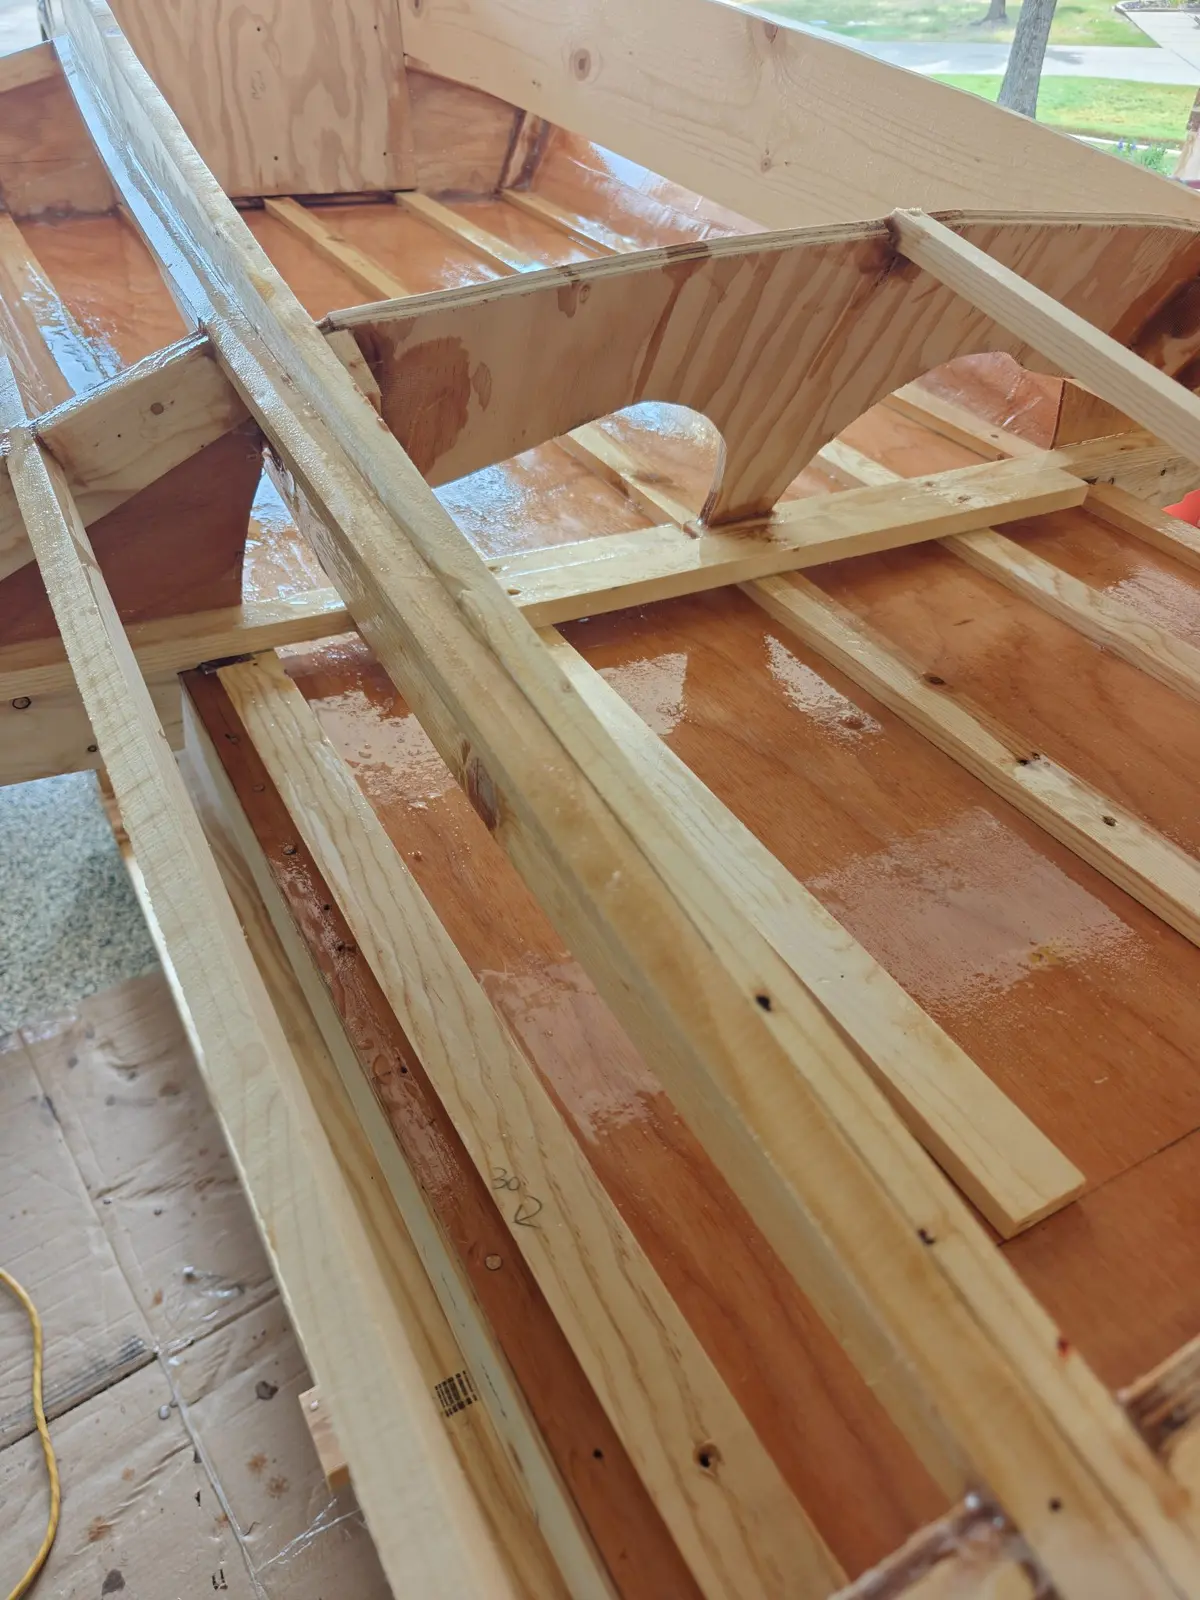
Anywhere there wasn't a nicely rounded surface, I added a very liquidy wood flour epoxy first. The idea is that glass doesn't bond well to sharp, straight edges and won't add much strength there. If you round those edges over with thickened epoxy, the glass adheres much better. This has worked on my past boats, and it looks like it's working on this one too.
Texas heat tip: Since it's still very hot here, I portioned out just the epoxy into separate cups and put them in the fridge for a couple of hours. It's an old trick we use here in Texas to buy an extra 10 to 15 minutes of working time.
What's Next
I still have 20 or 30 feet of fiberglass left, so I'll probably schedule another day to glass more joints. I have to epoxy the entire inside anyway before I start covering the boat.
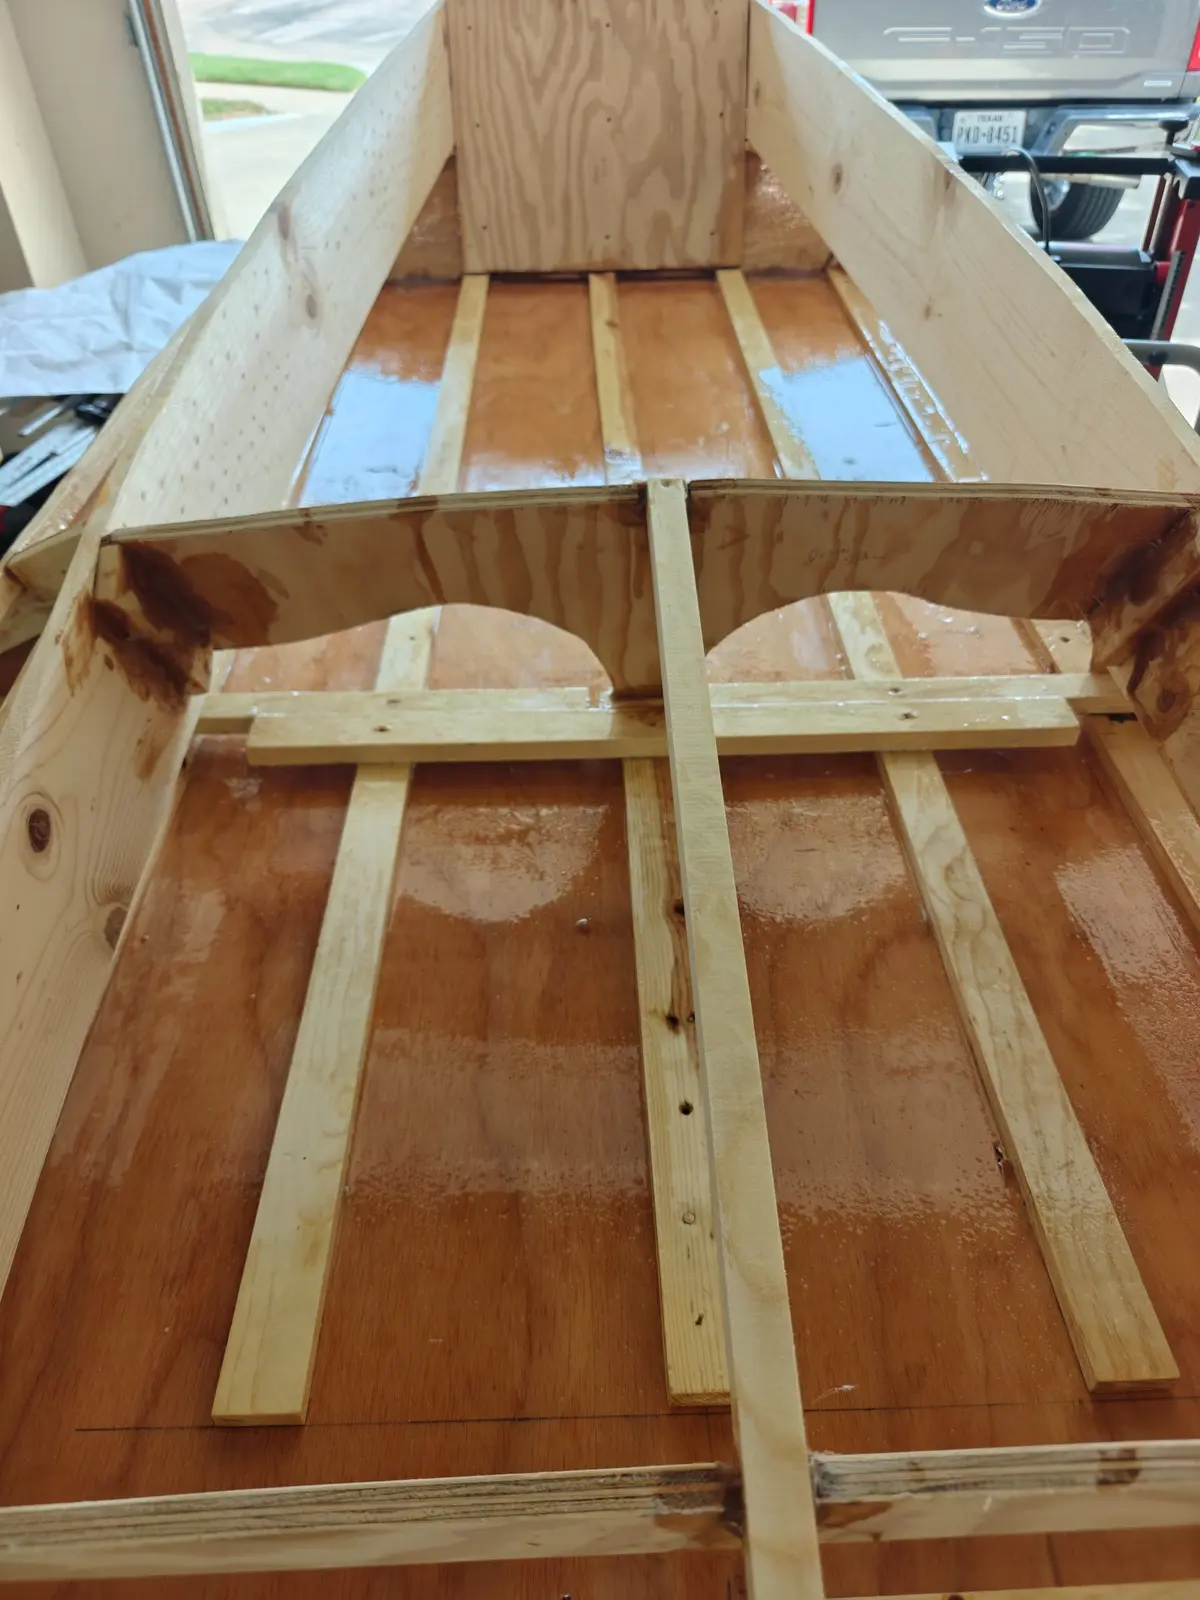
Starting to epoxy the interior, it's getting a bit hot in the garage so I'll stop for today. We have some more surfaces but probably I am about 70% done.
I did a light sanding today in preparation for the second coat of epoxy, I will try and get it in tomorrow before the rains. If I have time I might start to try and cut the top panels as well.