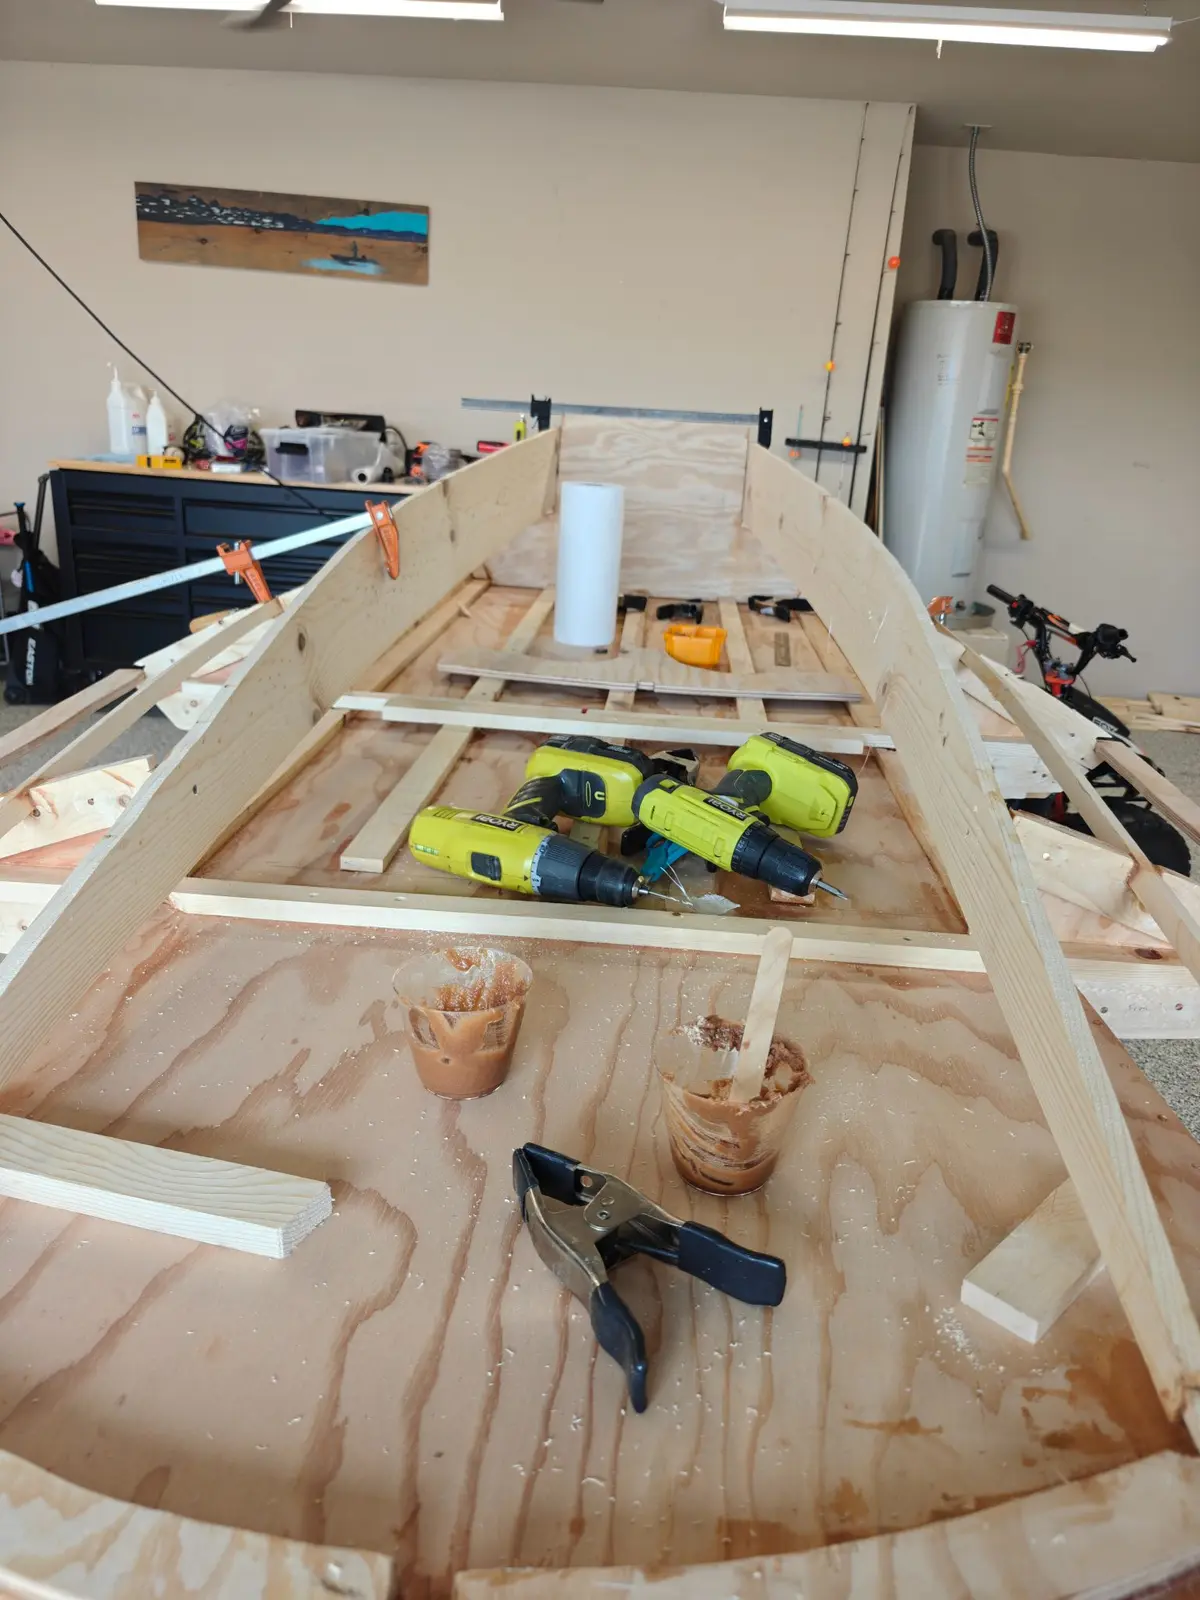
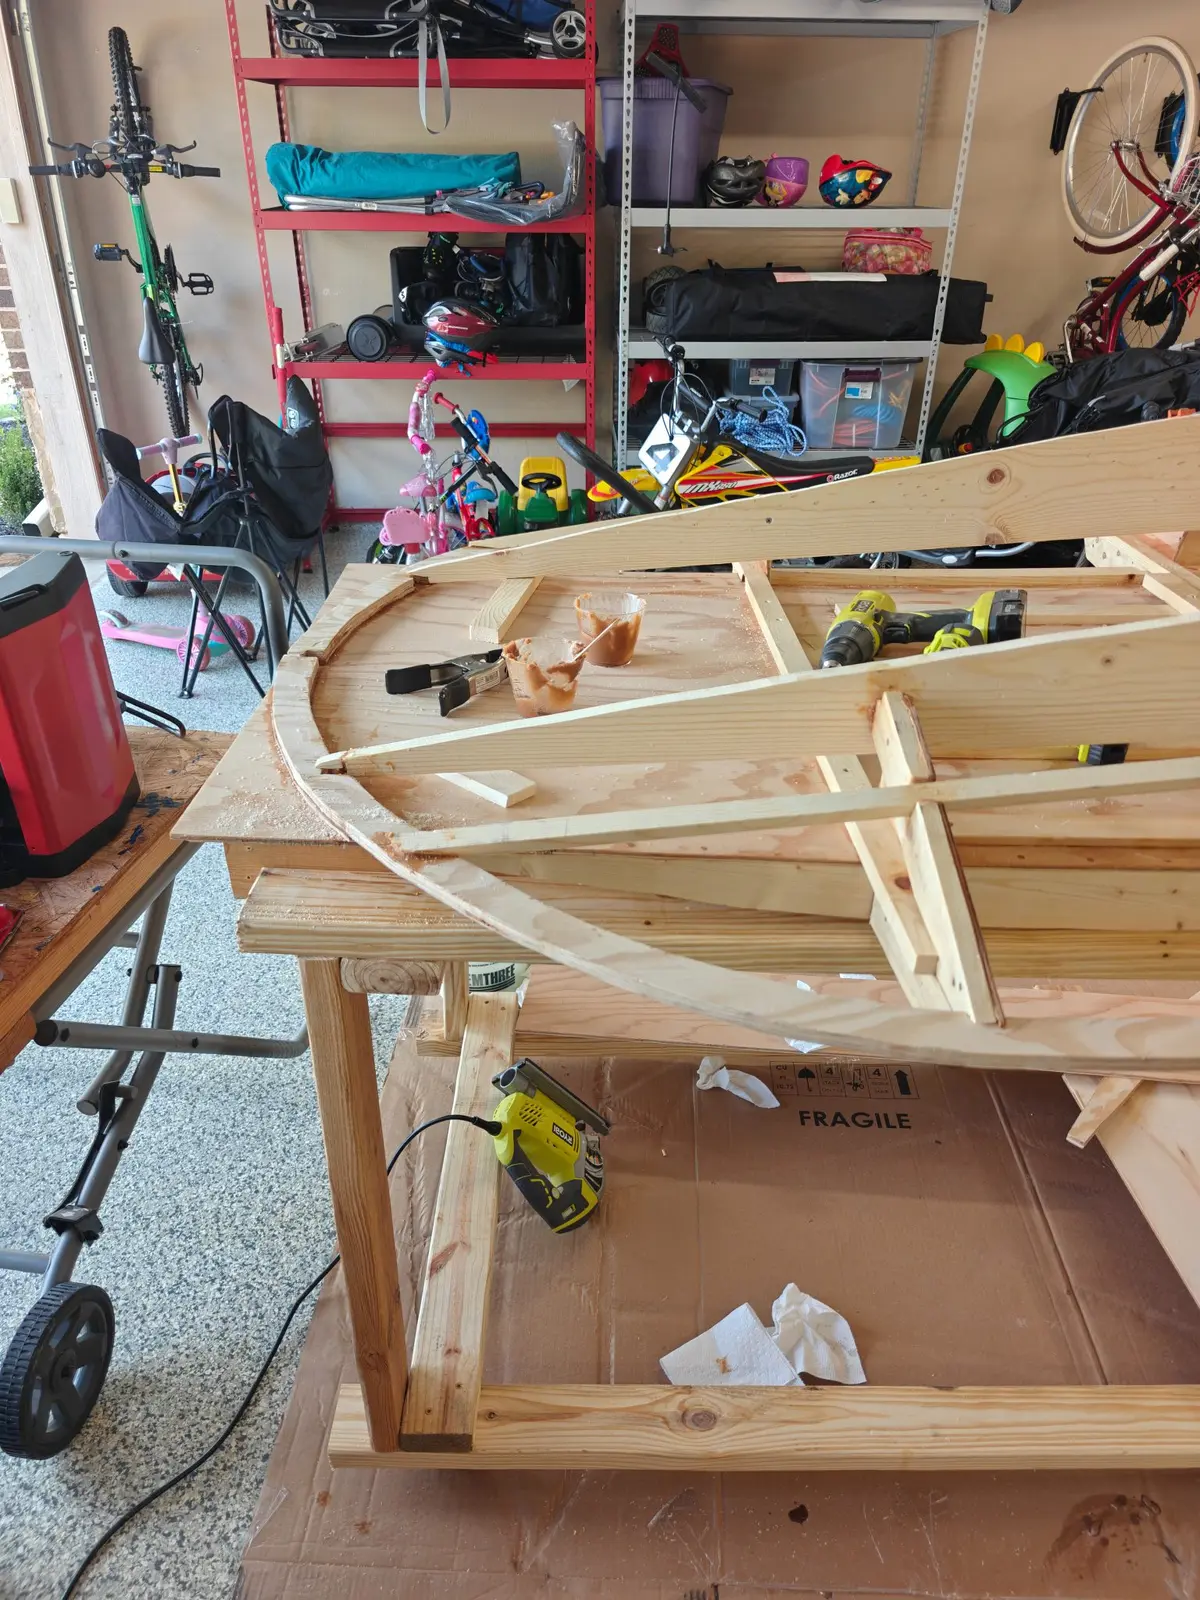
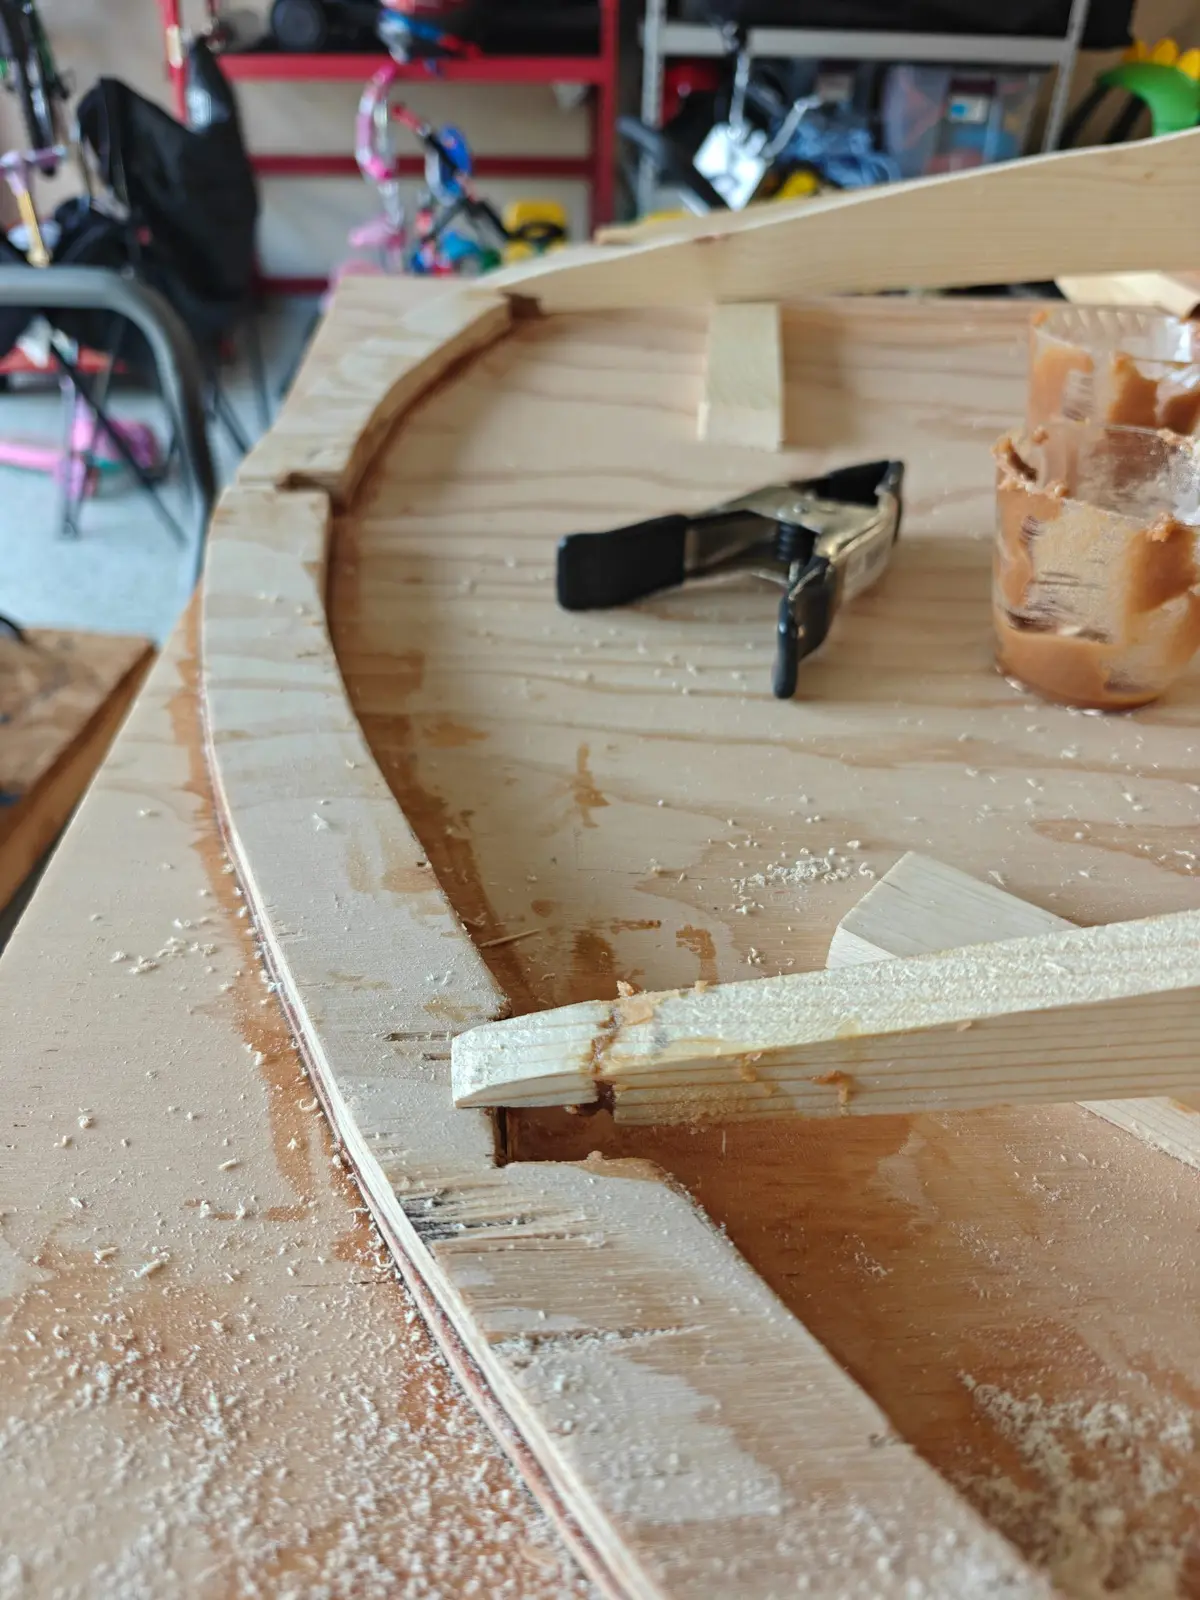
Finished mounting a few more pieces. Lots of wood flour to fill these gaps
Tiny Titan · new build
Building a small hydroplane for the kids to learn some basic boating skills on a fun boat!
Finished mounting a few more pieces. Lots of wood flour to fill these gaps
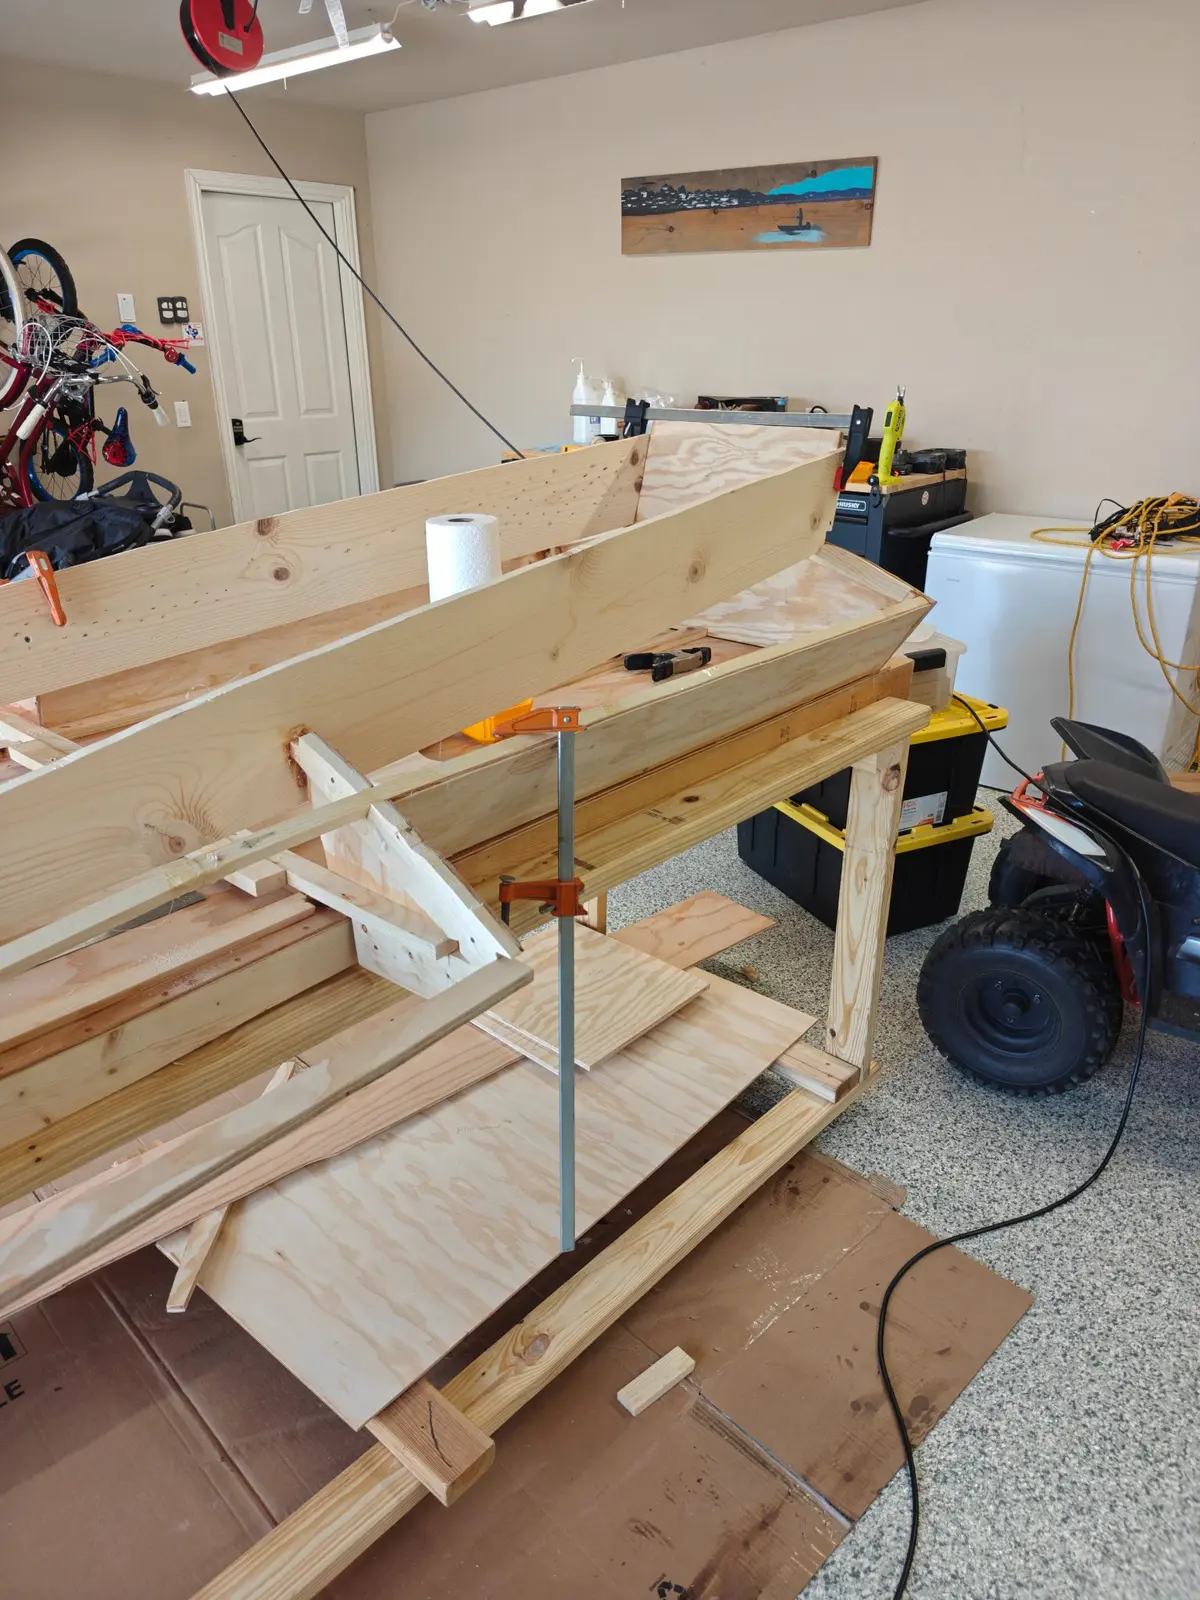
More glue and more clamping.
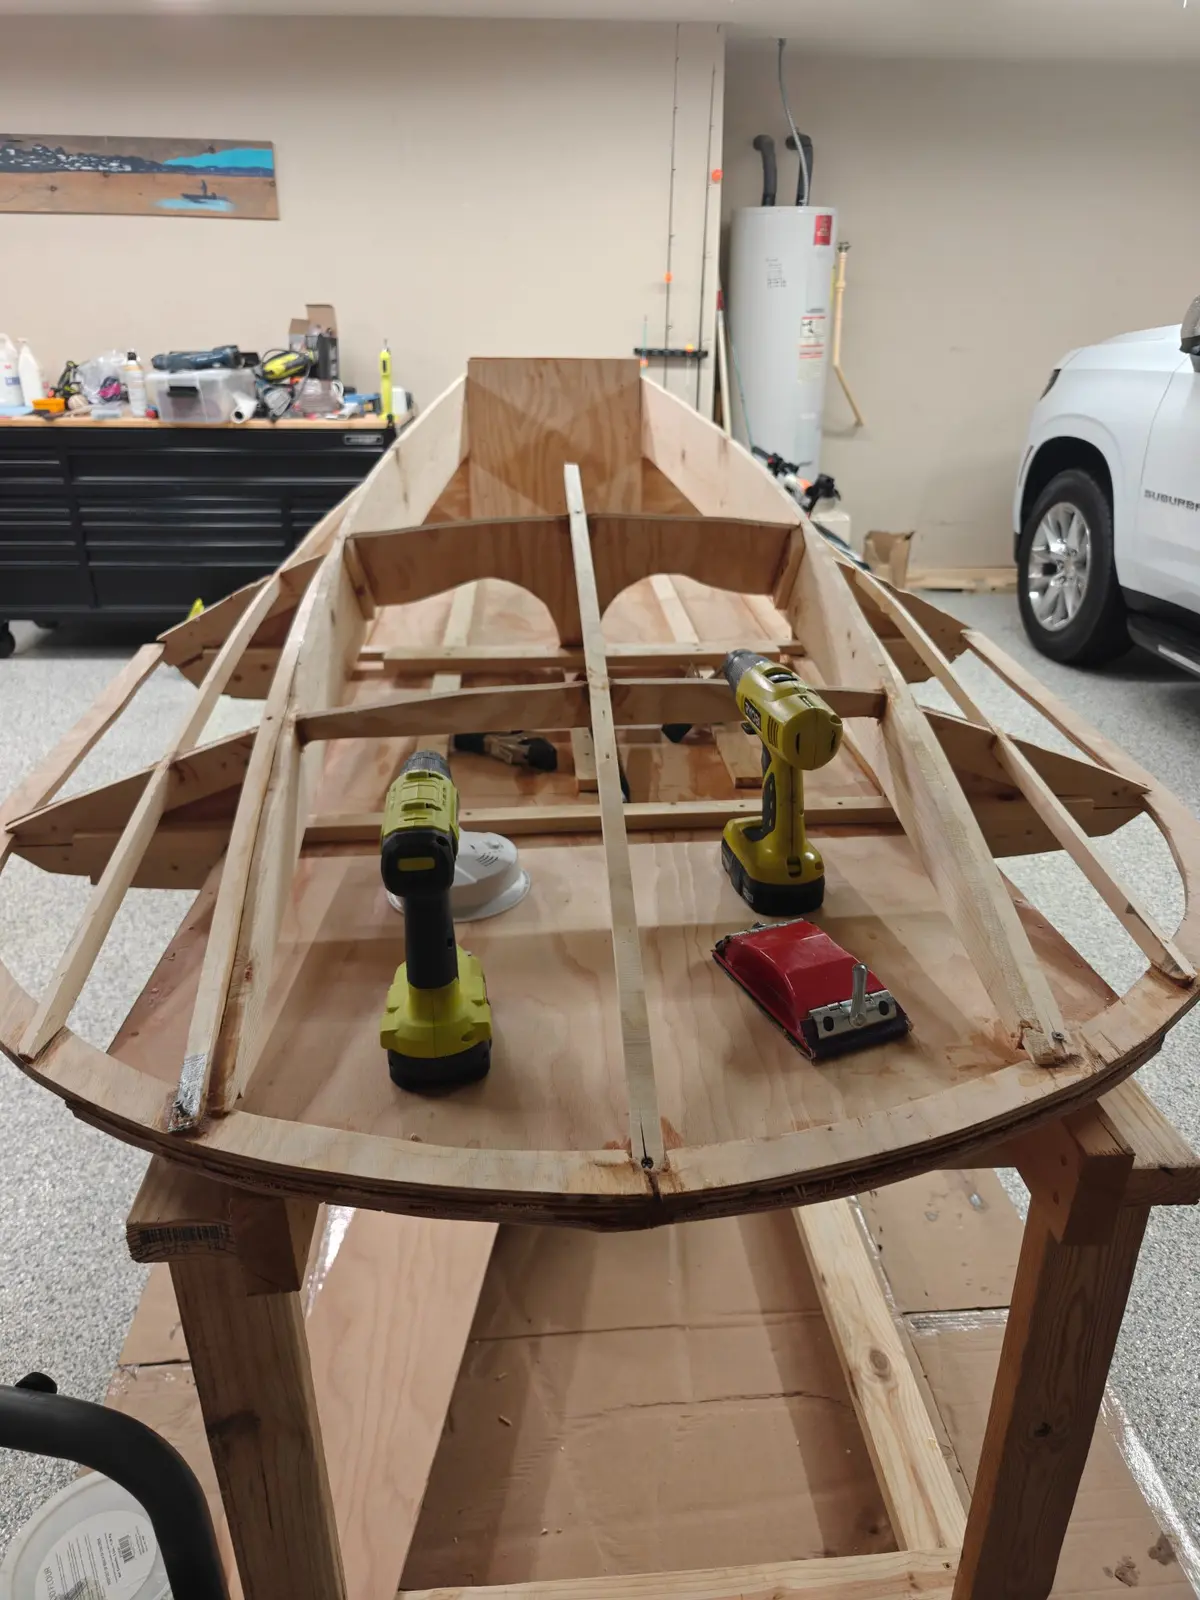
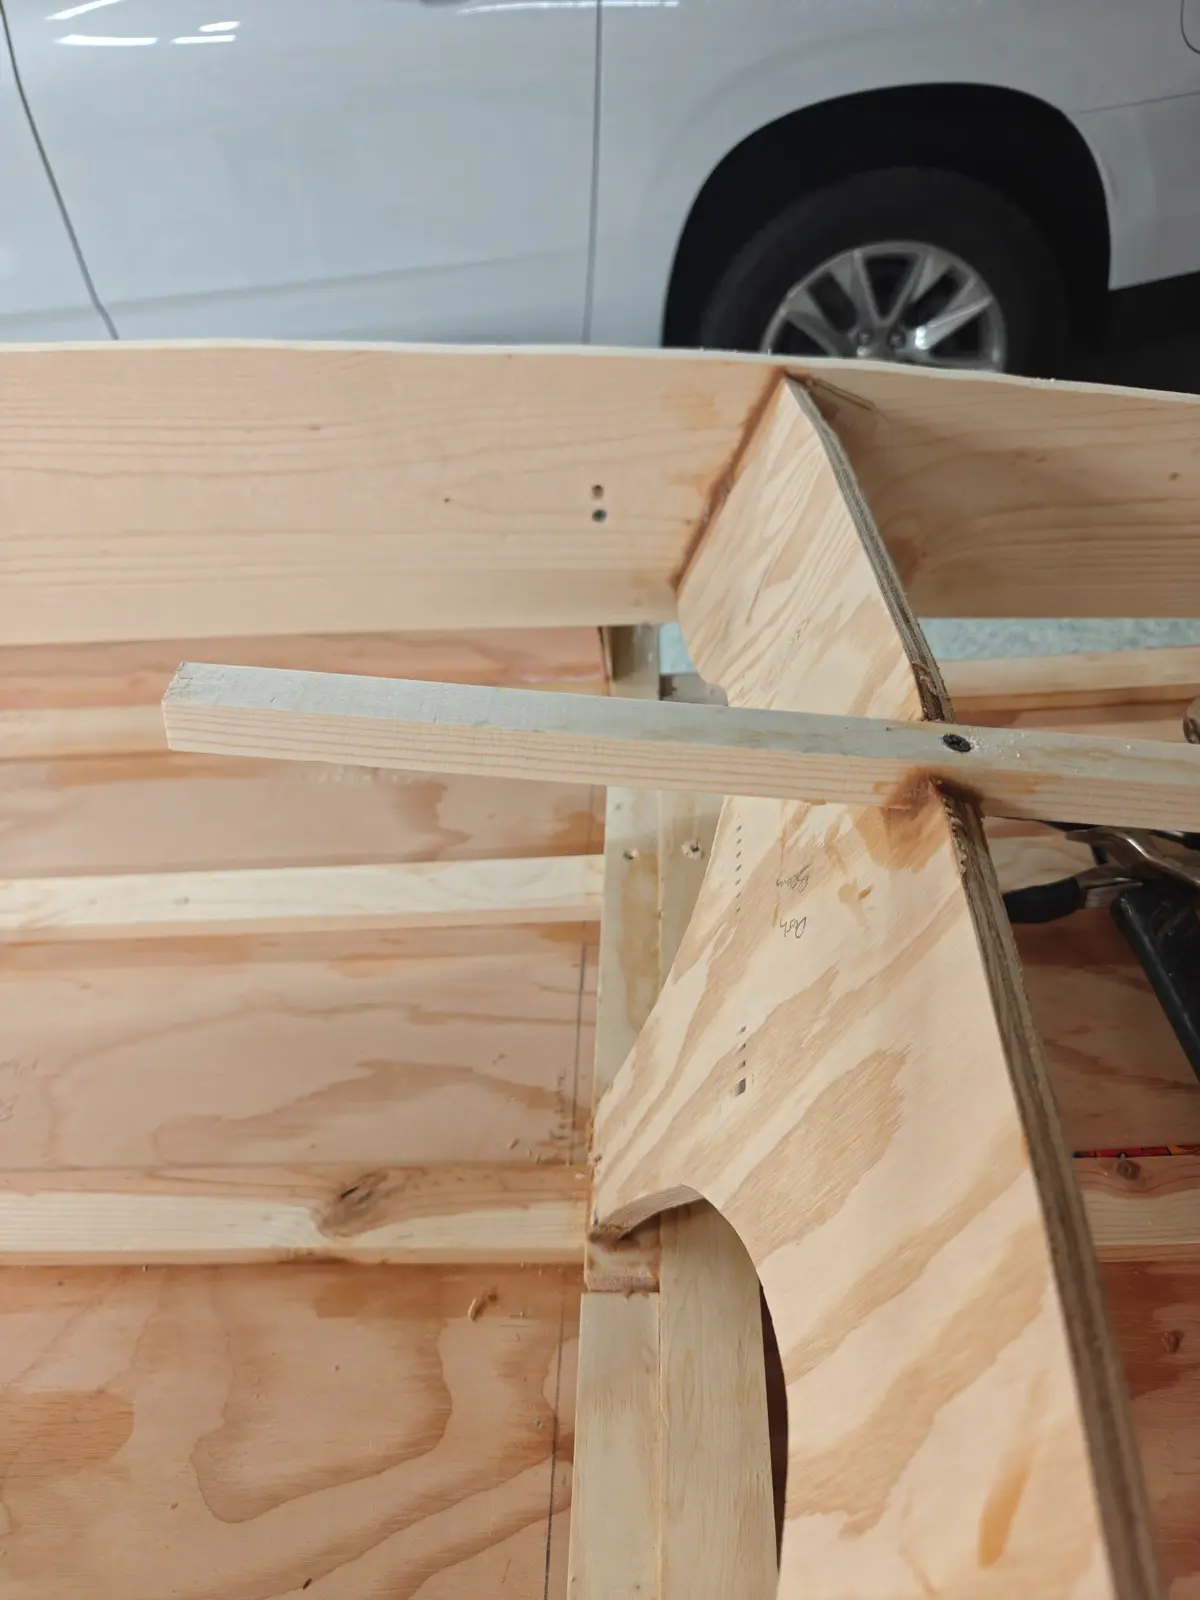
I fitted the carling on both sides of the coaming and glued in place. Lots of clamps and a few temporary screws for this step.
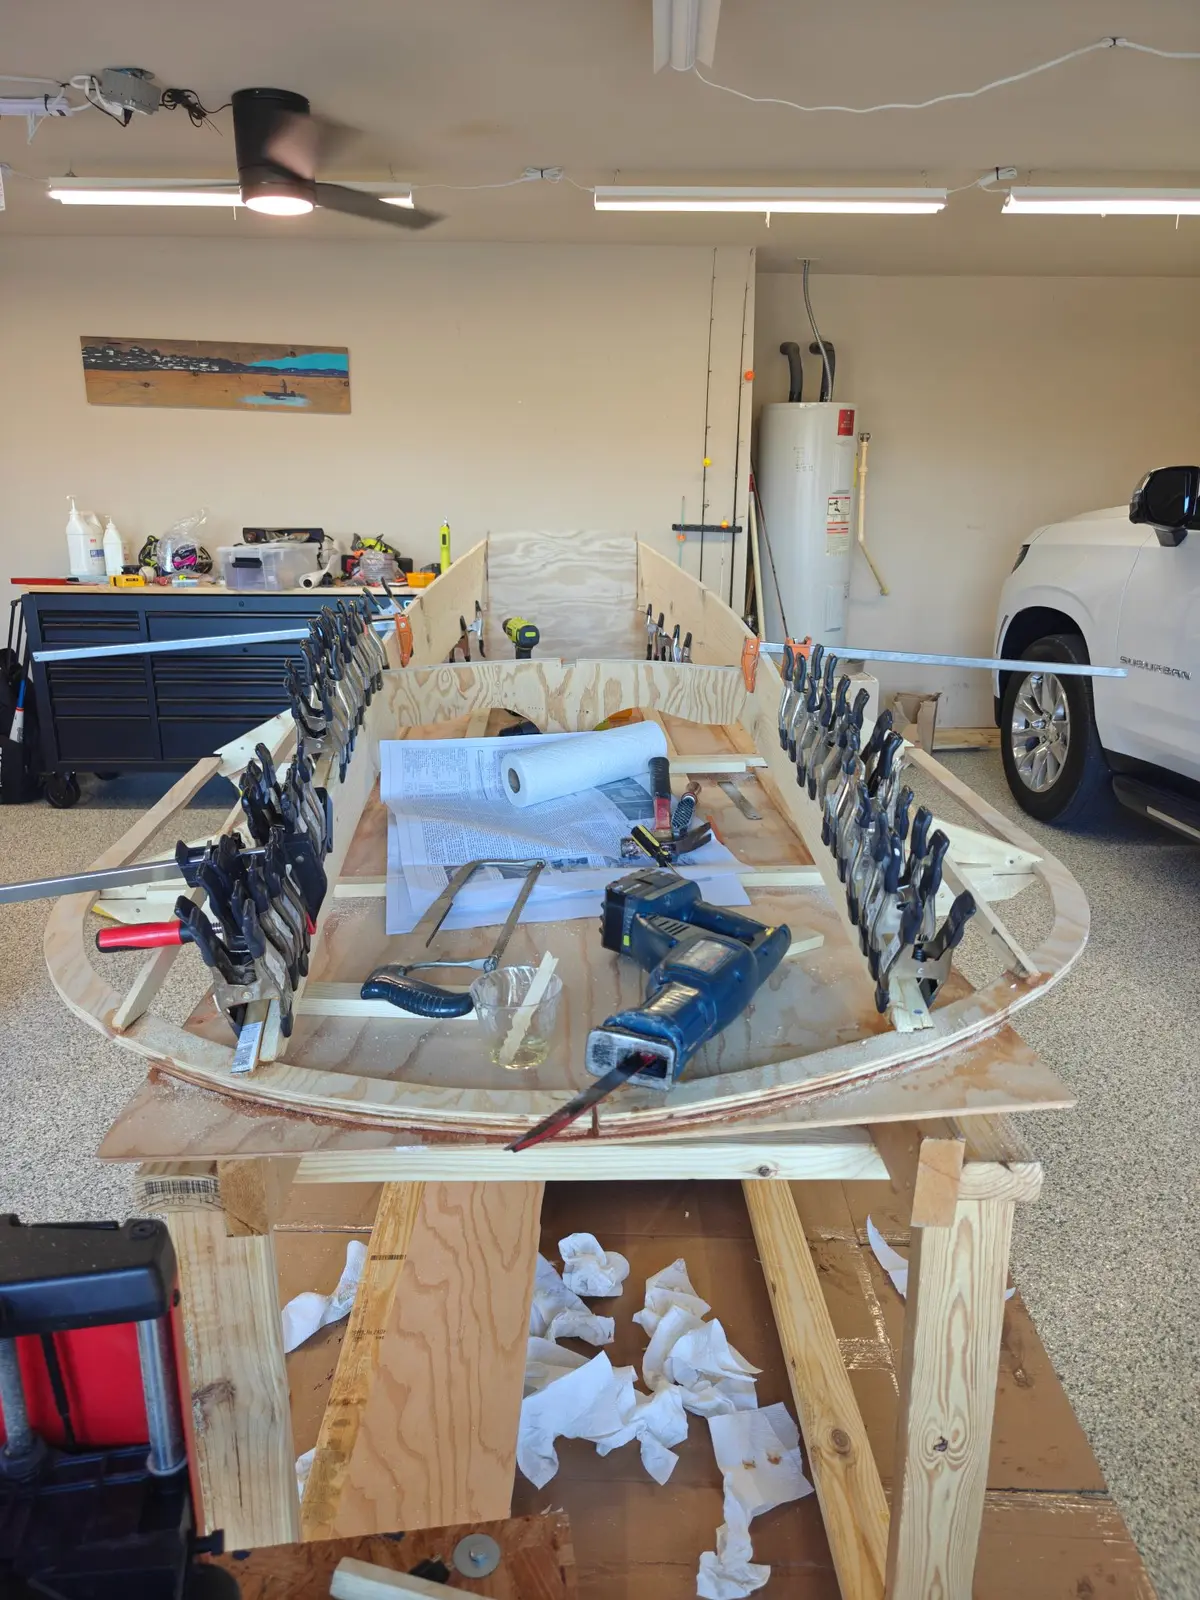
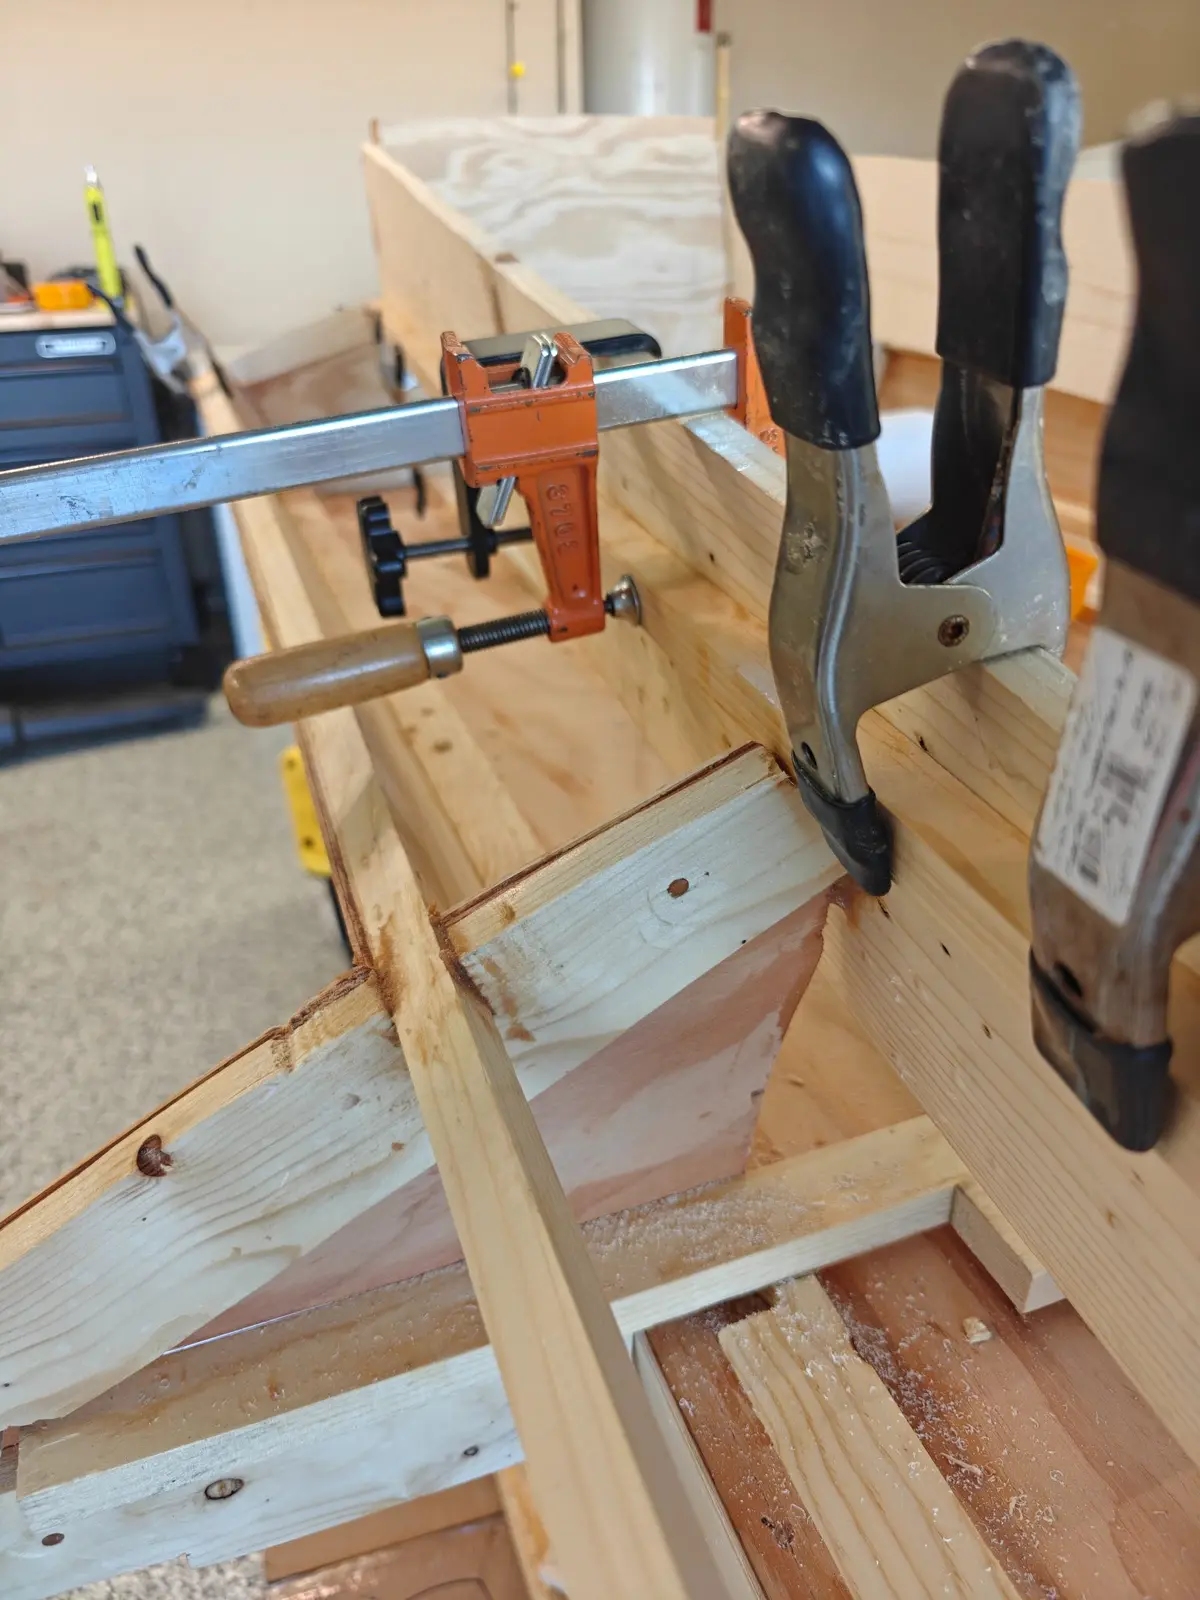
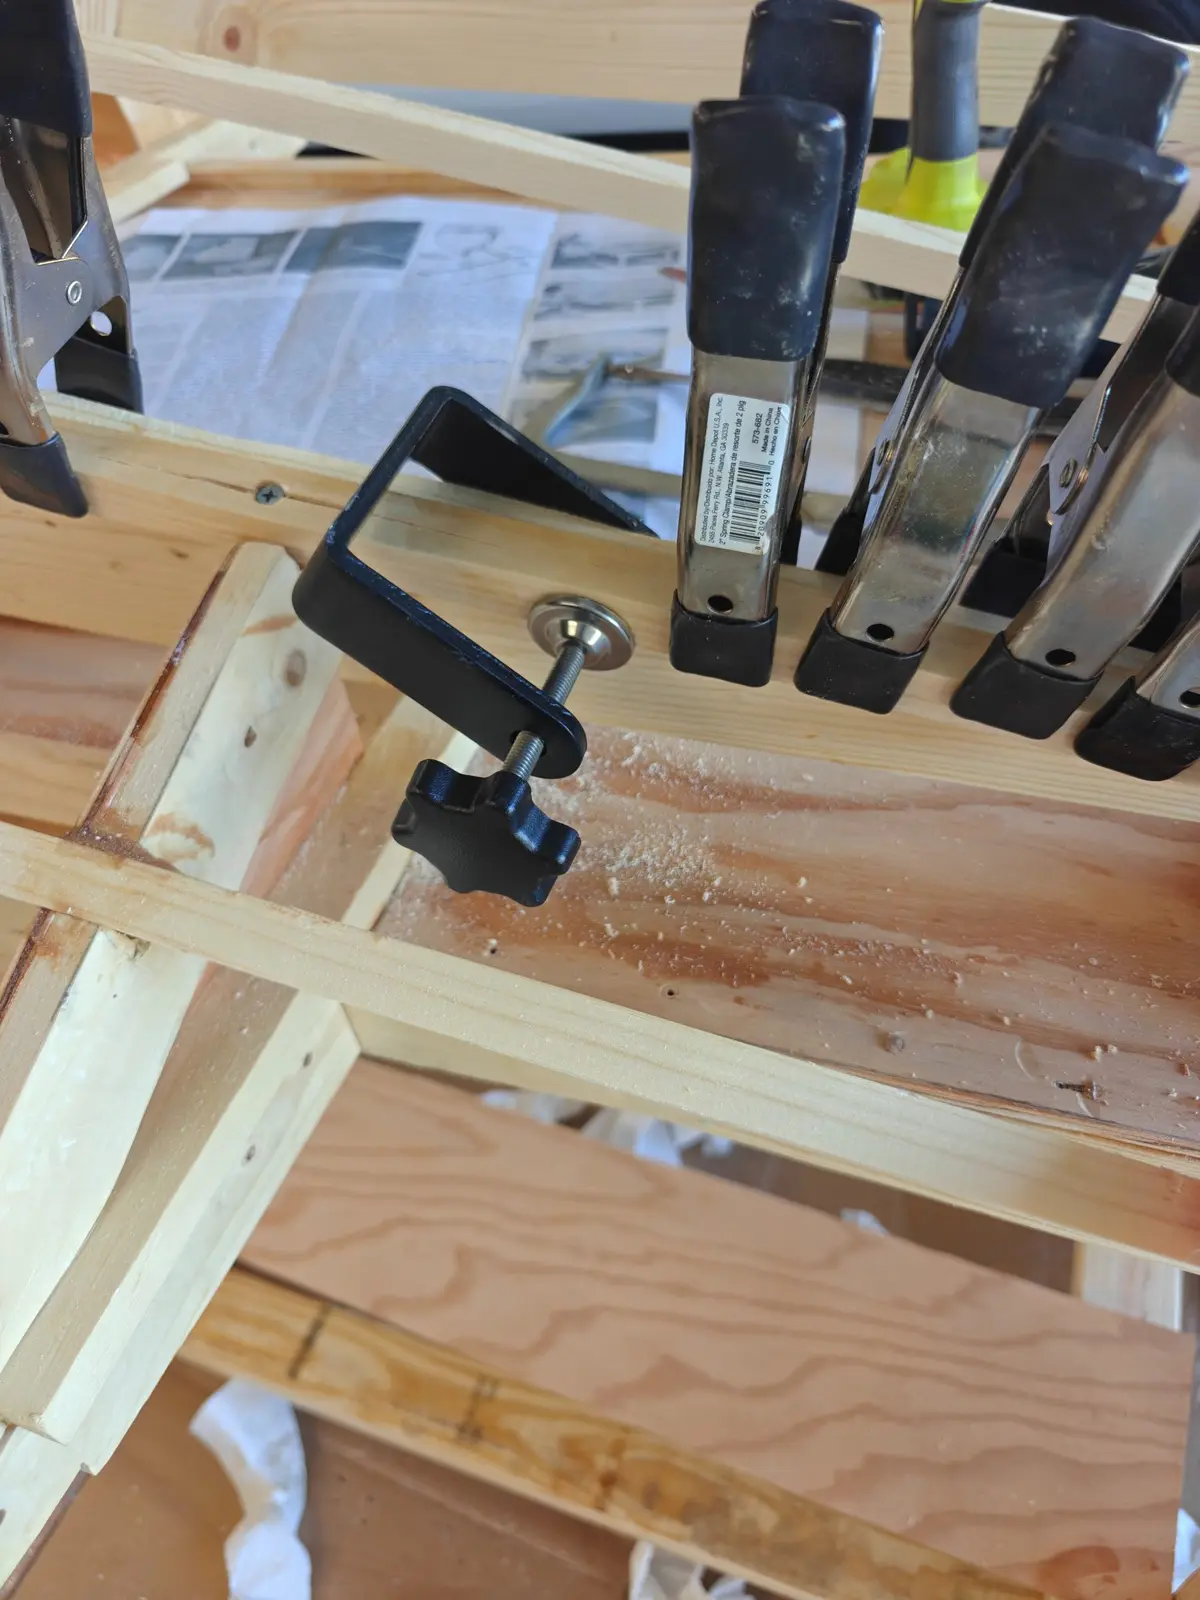
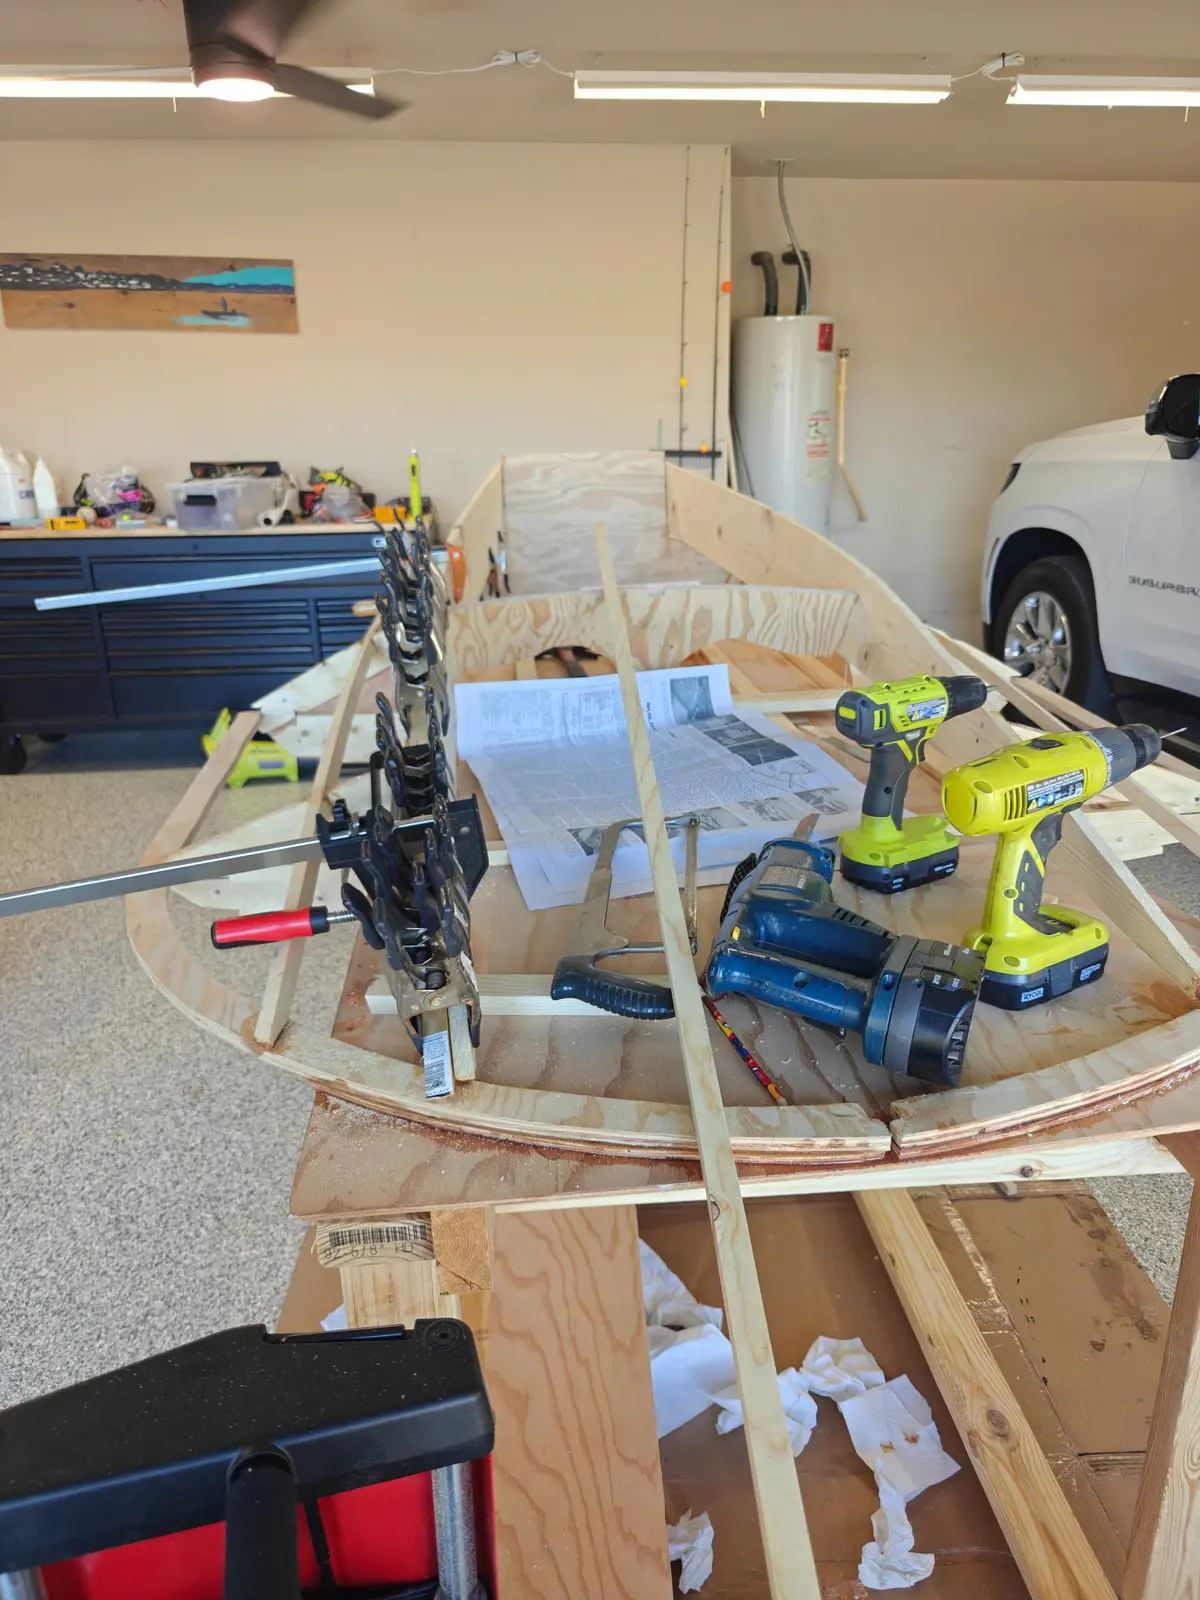
I didn't do much today other than removing all the clamps and lightly sanding and cleaning the interior. I still have the dash and one more piece to mount before I start to Glass tape the inside. Then I have hours of sanding before I can get to the top deck.
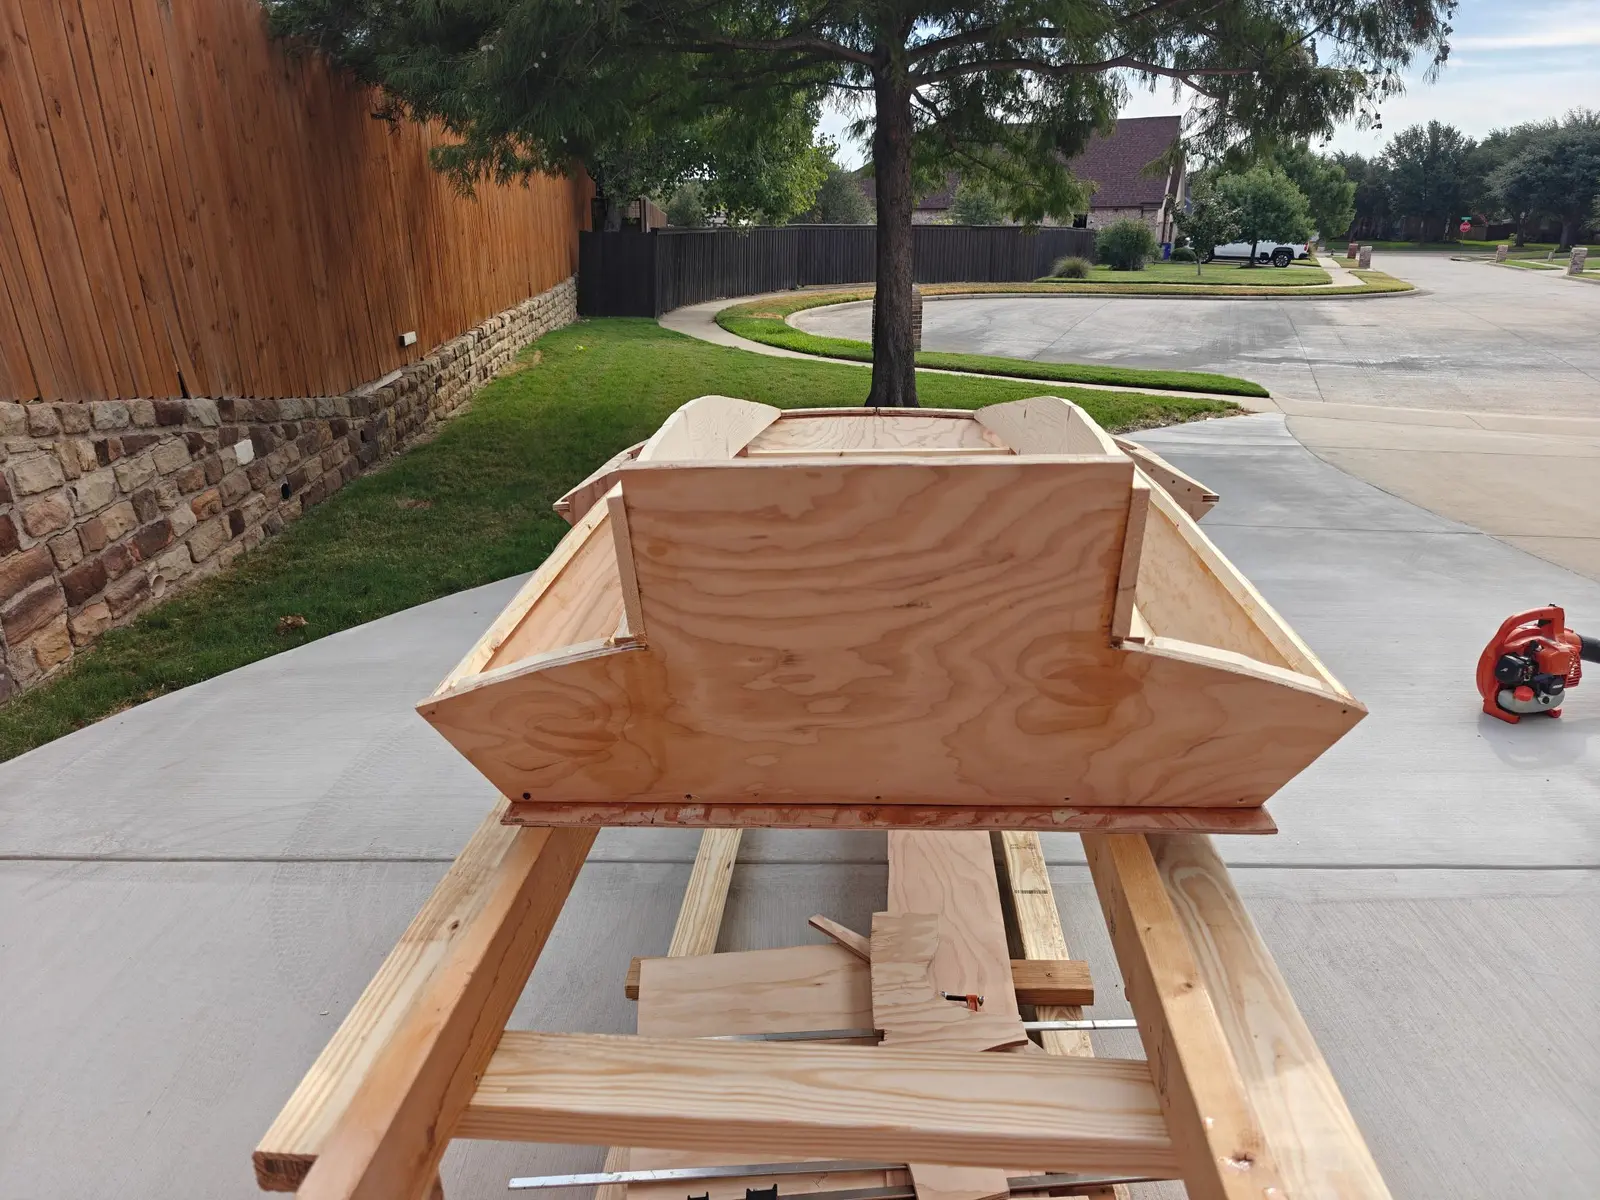
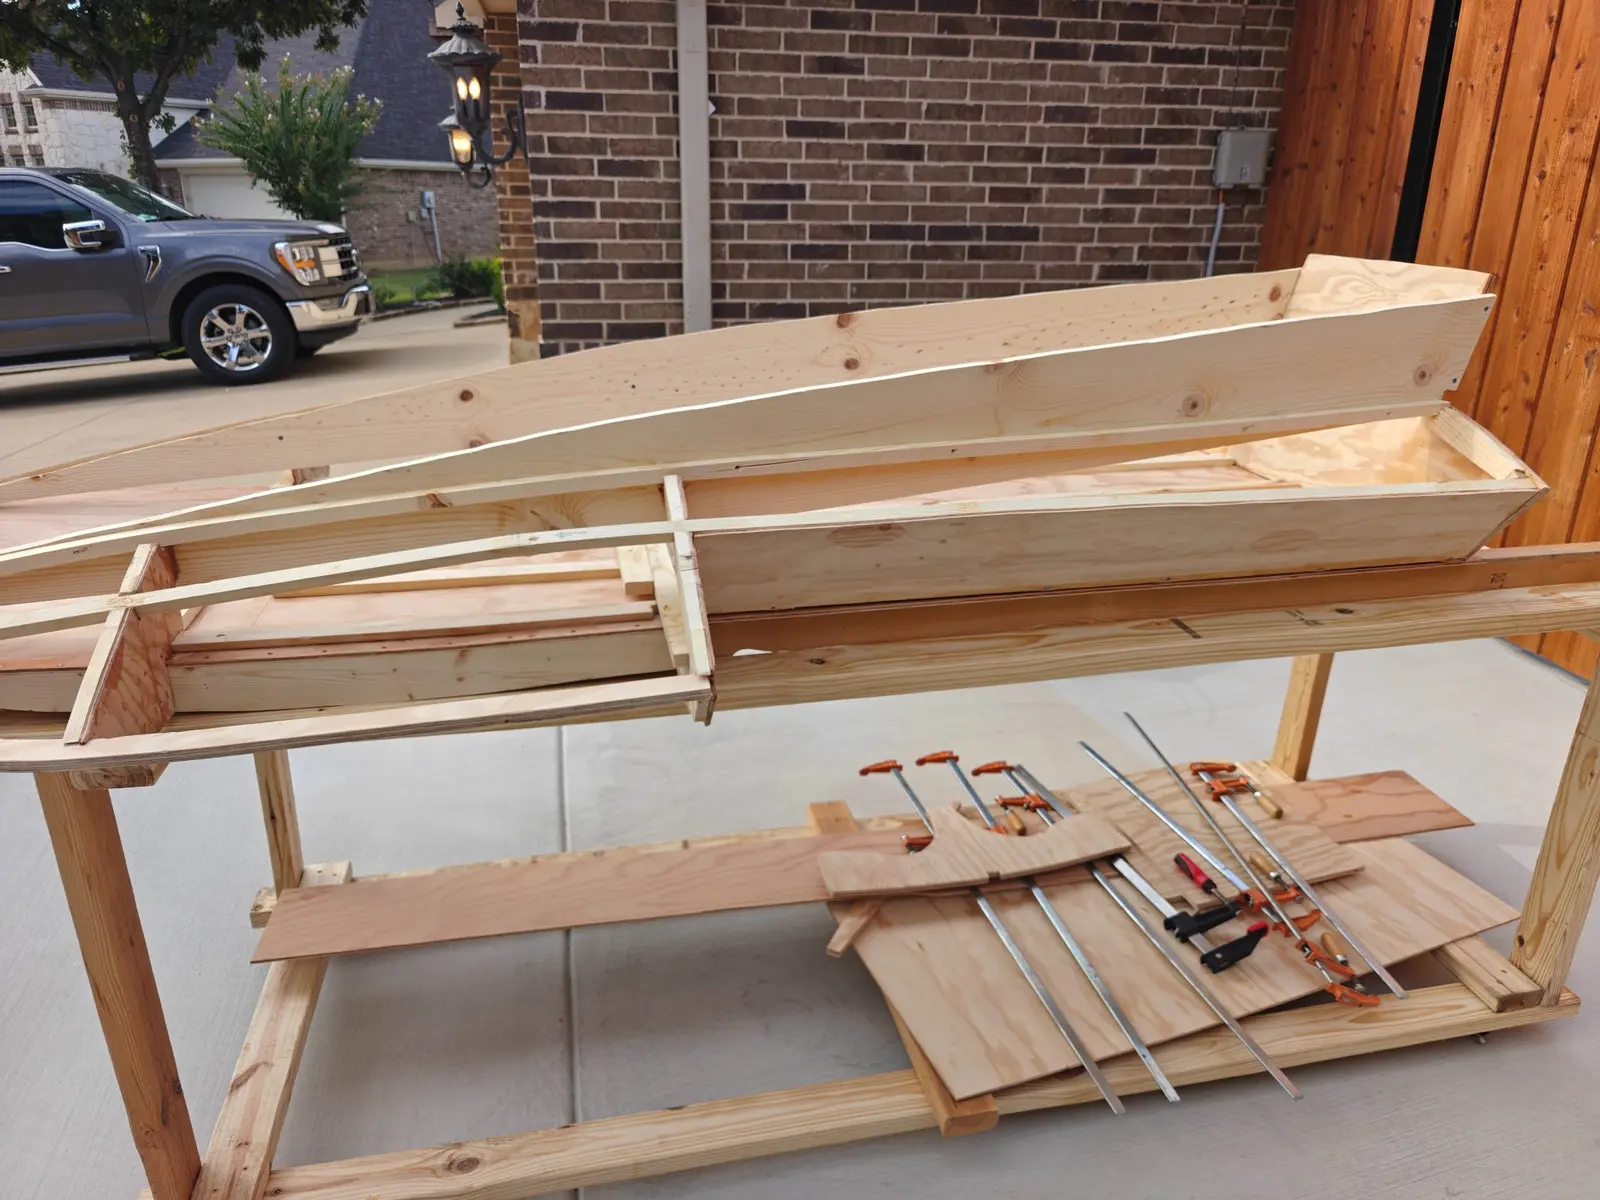
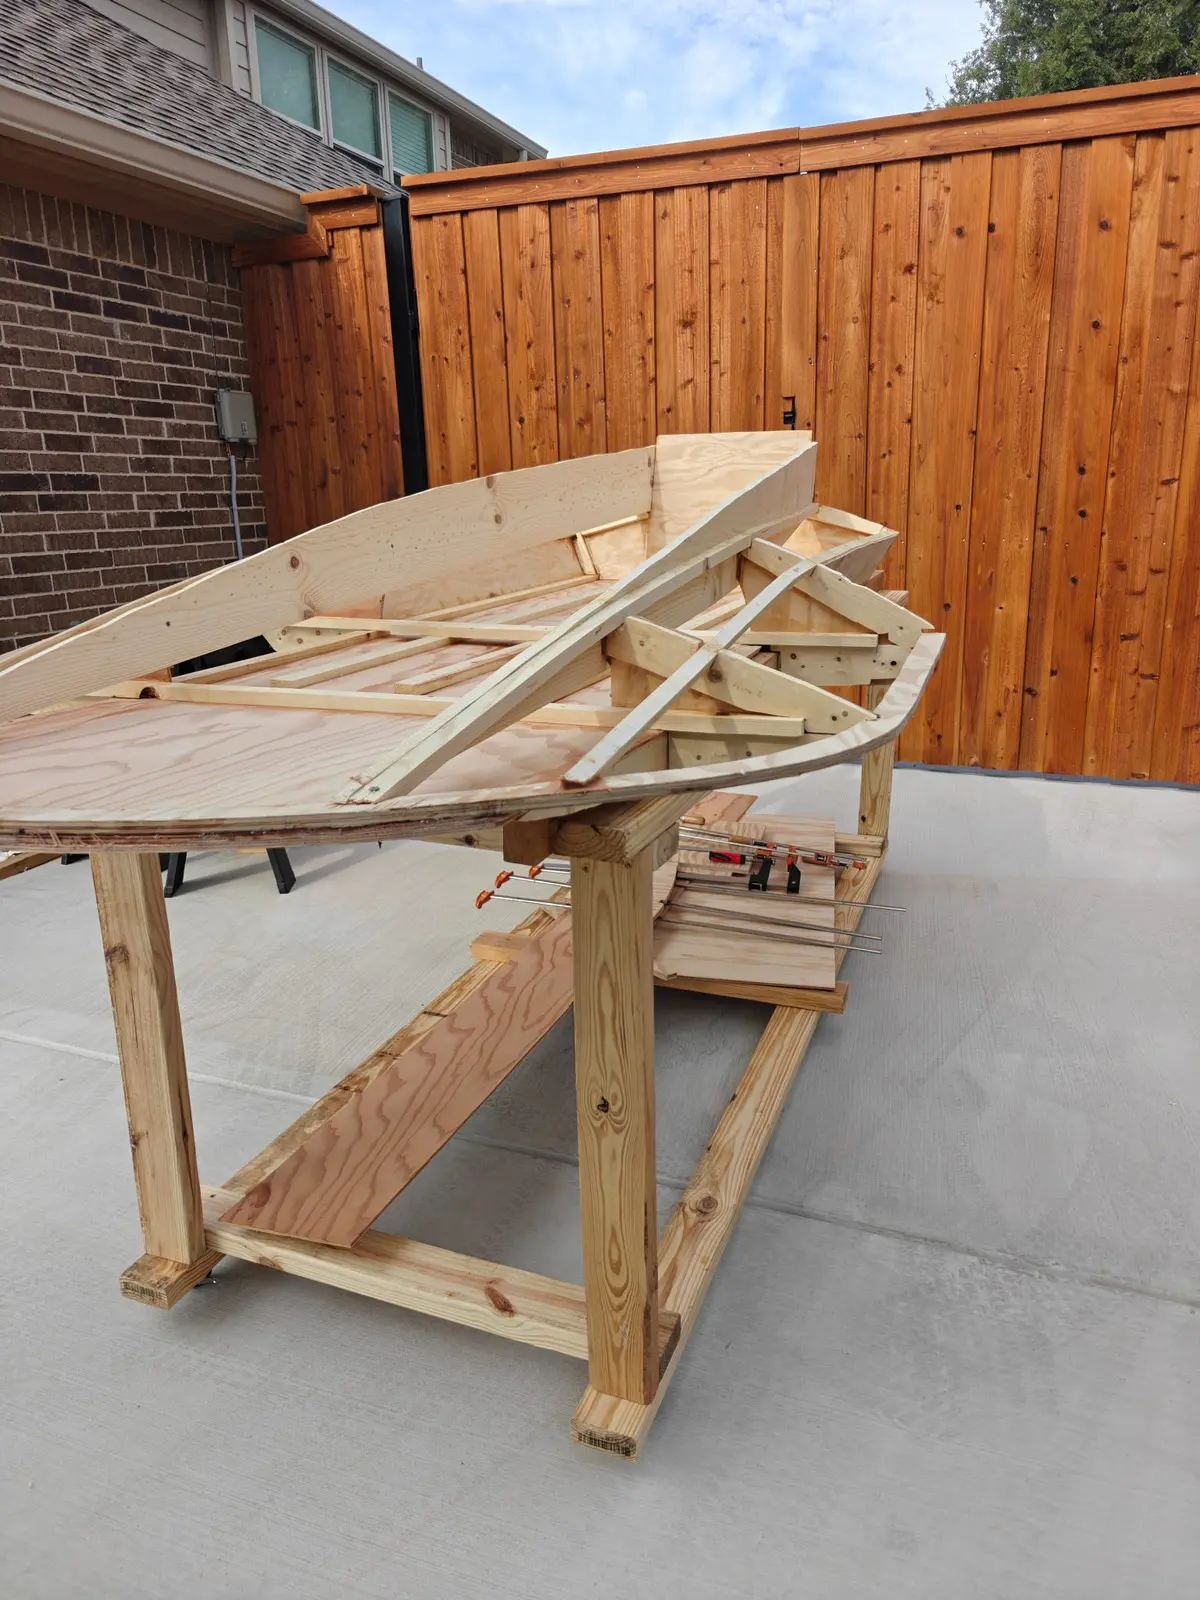
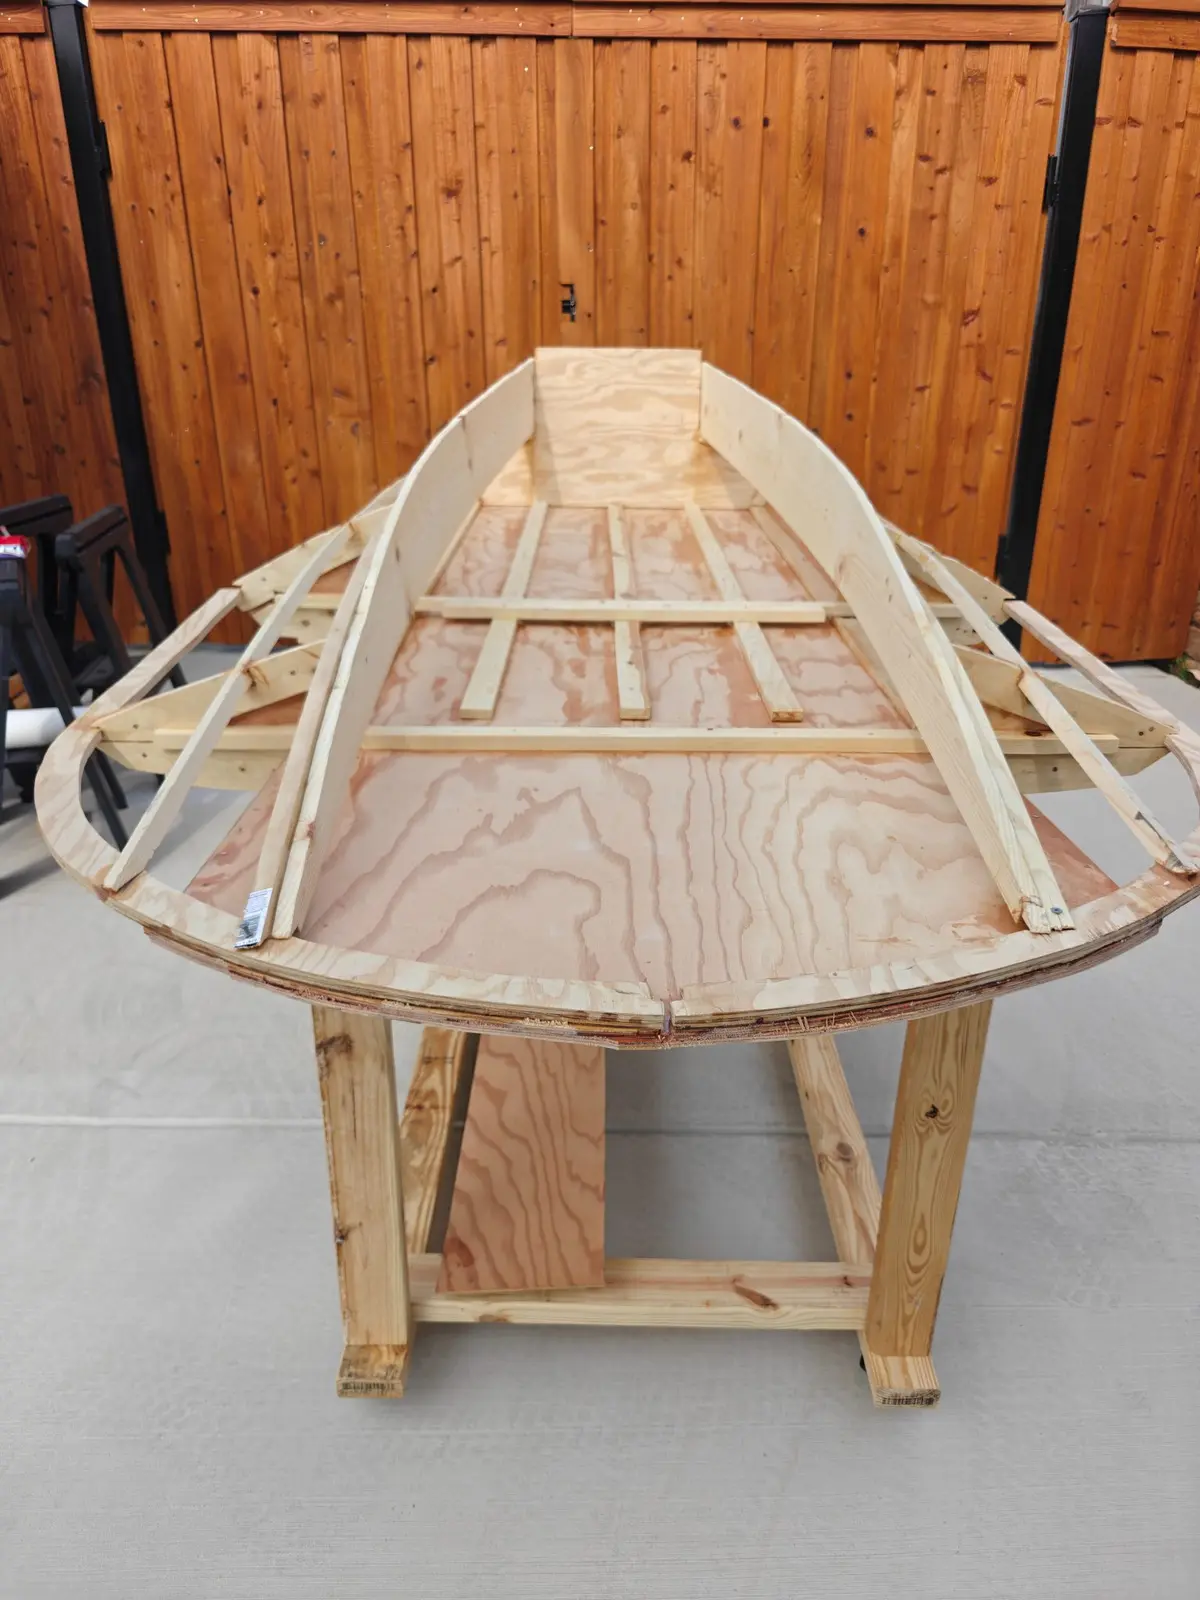
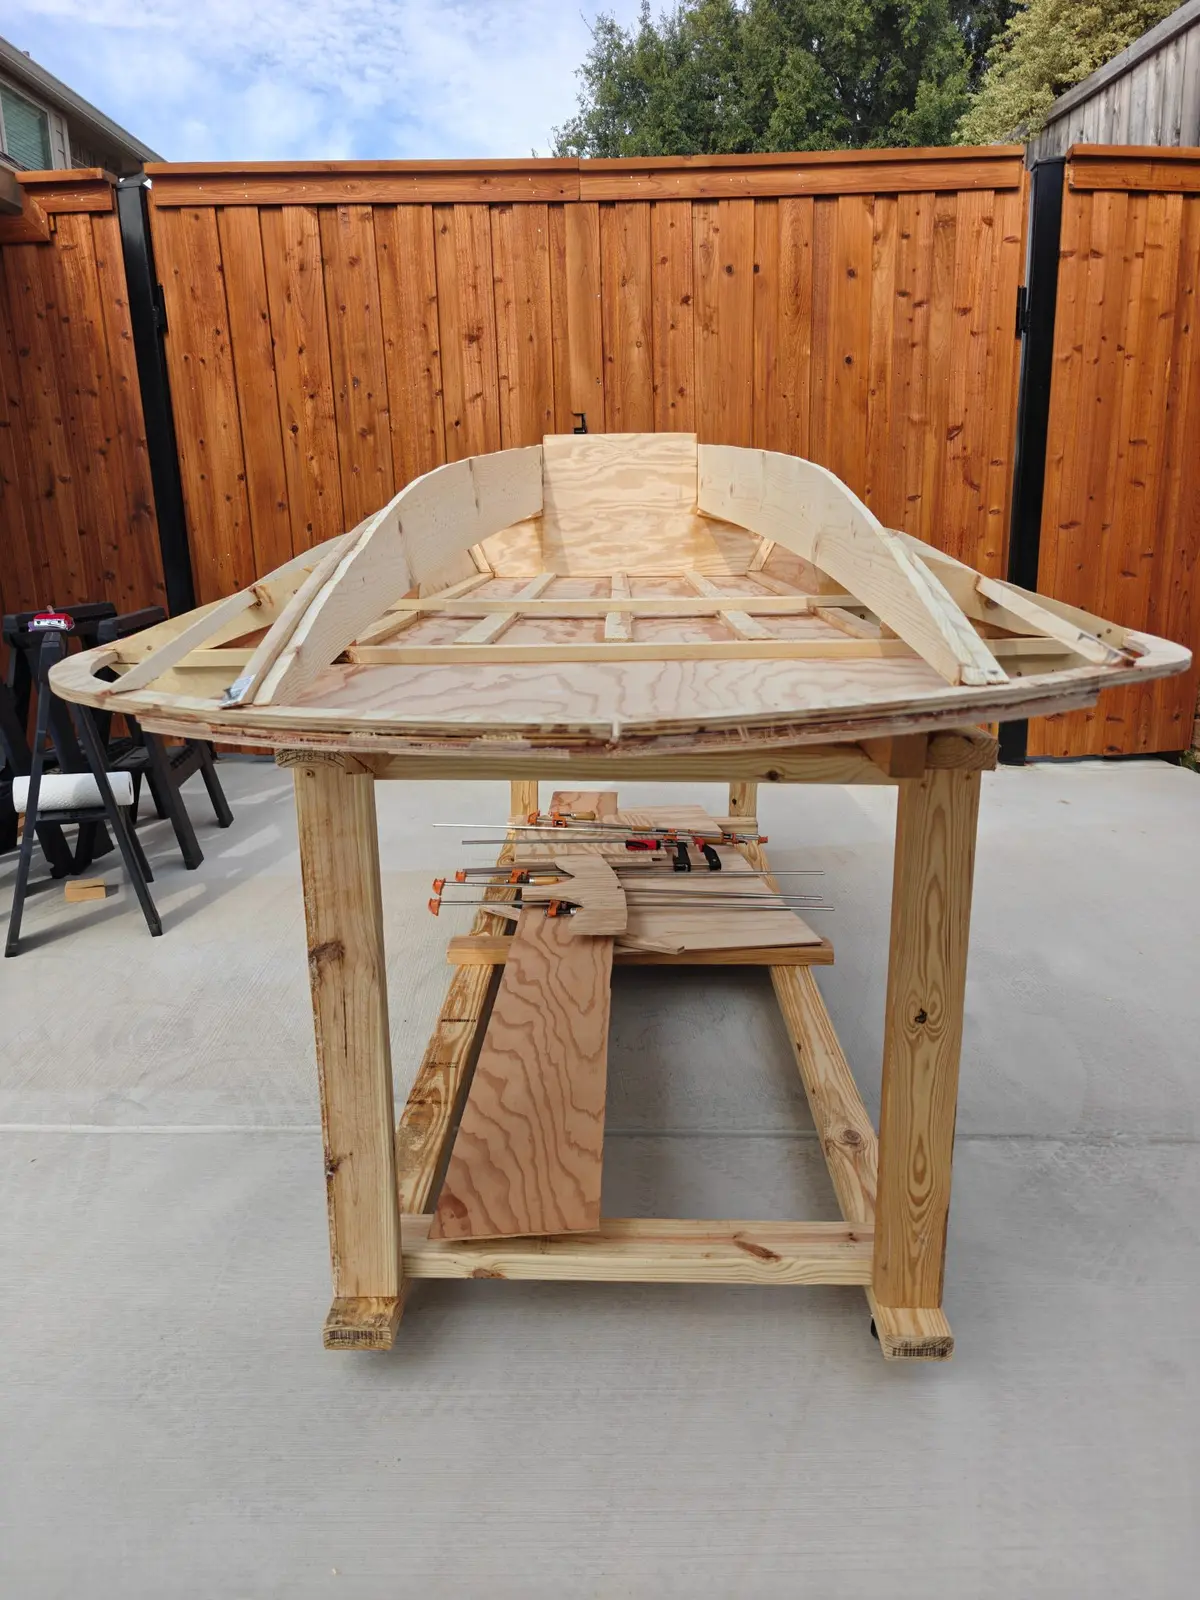
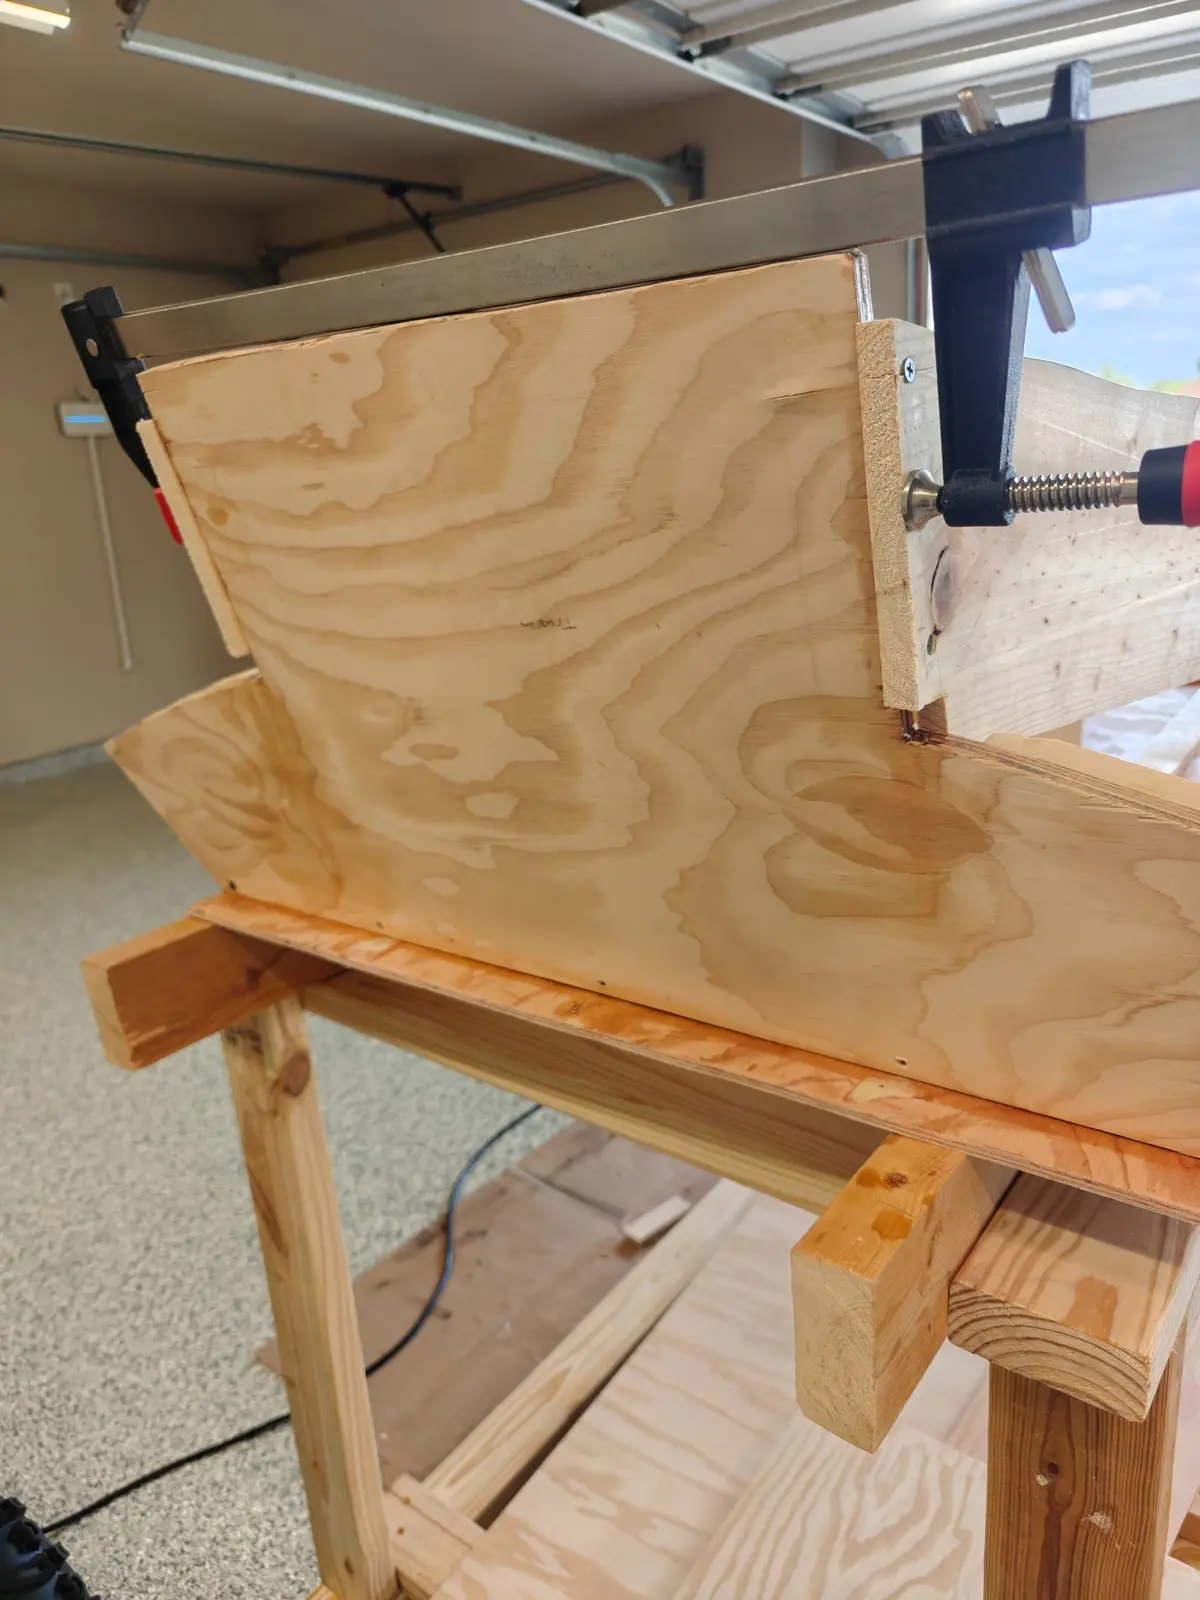
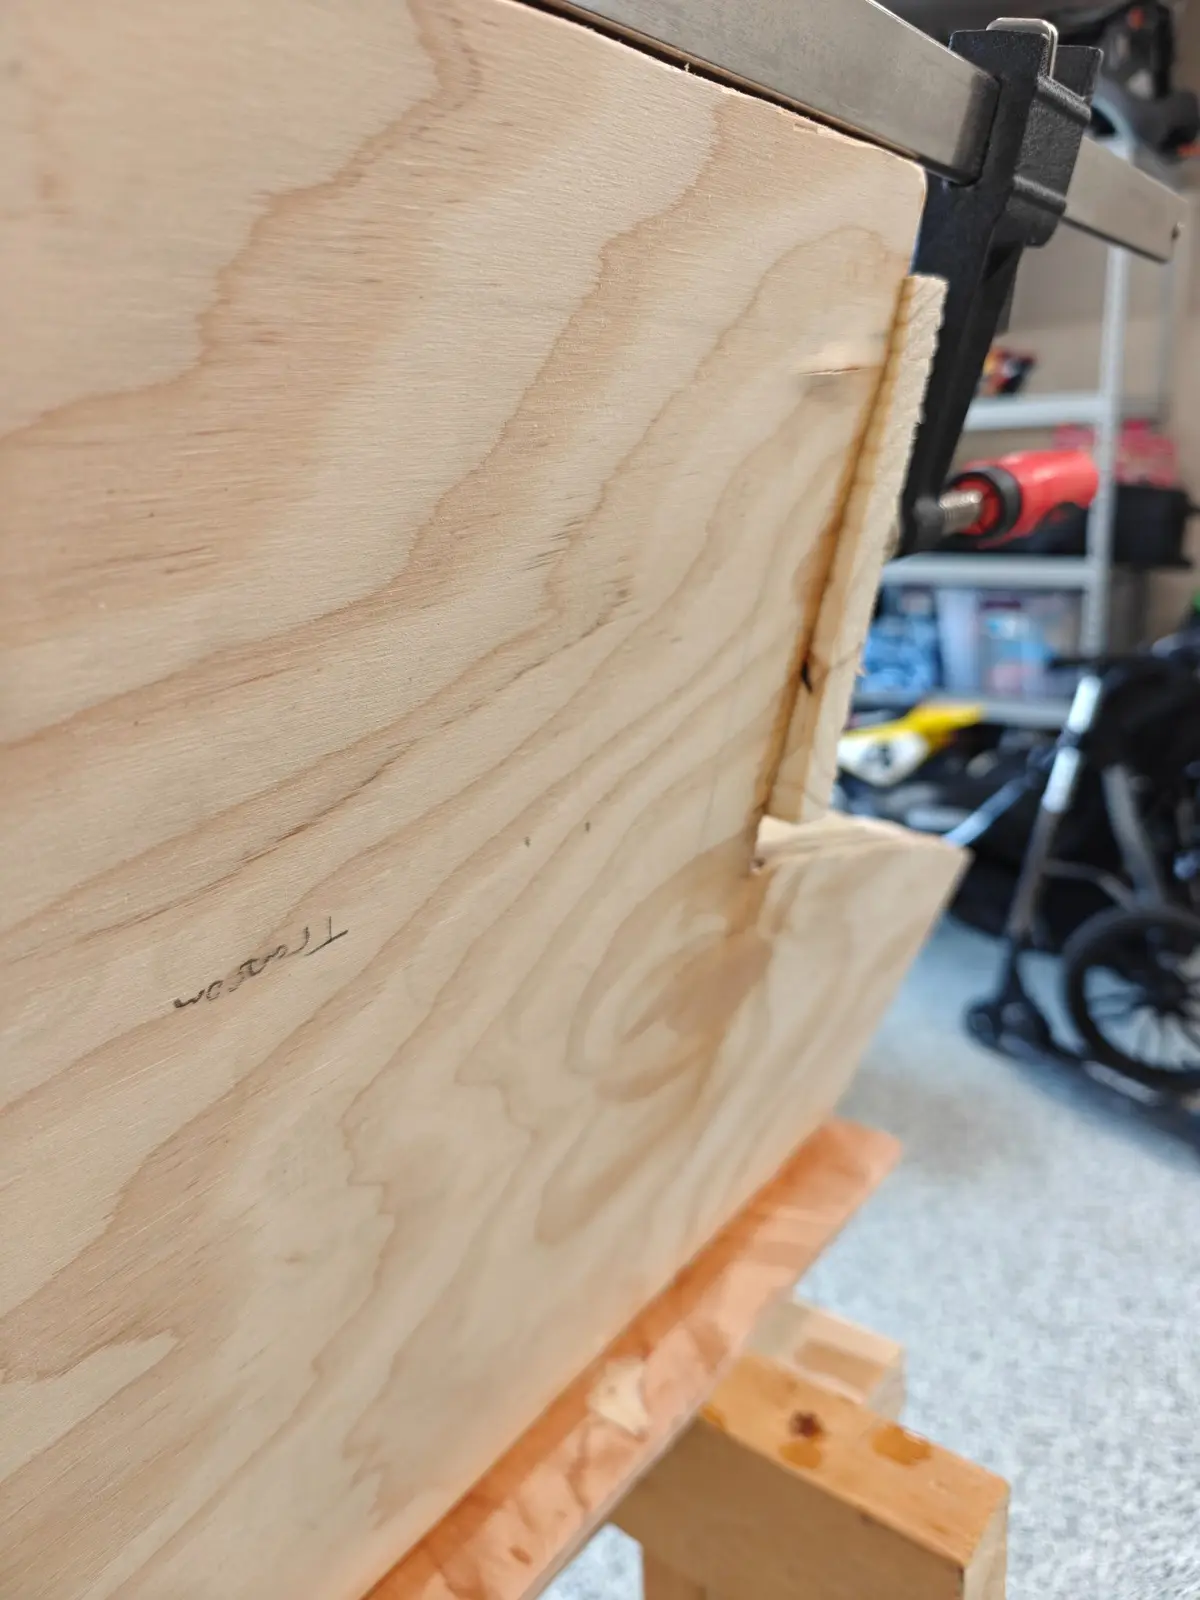
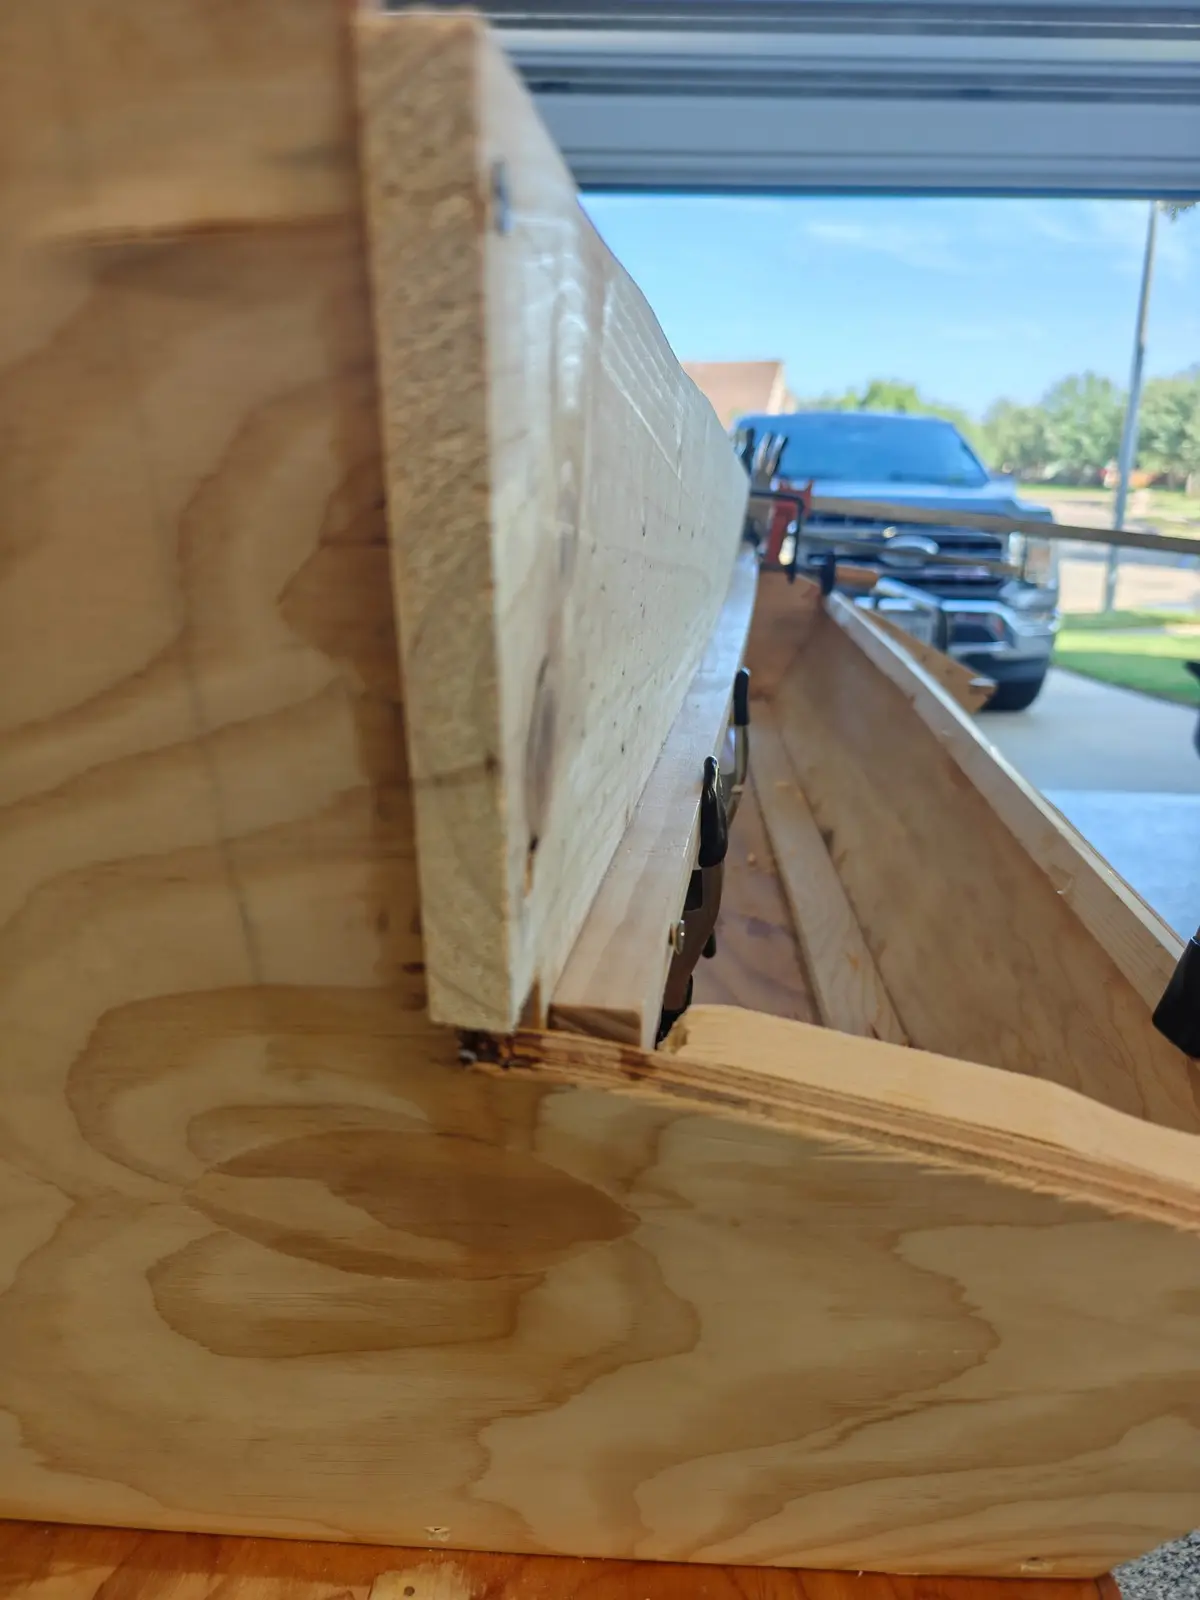
I got the two transom boards on, one goes behind the transom and the other goes in front of it in the cockpit area. I put a ton of epoxy on both sides and then held them together while I glued the other one and then once I had both of them together I drilled six screws through them as well as a bunch of clamps. Before I did any of this though I put on the transom block as shown in the drawings I will cut it later. I was feeling lazy tonight.
Also as you can see I have mounted the dash. Now when I was fitting this a week or so back I ended up cutting it about 2 in short right in the middle where it touches the bottom of frame one. This ended up being a mistake and had I kept the original inch and a half or 2 in it would have fit perfectly. I also glued on the bow cap or whatever it's called.
I also had a little bit of time so I went back through and put epoxy fill it wherever I could to close some of the gaps. You have to be careful with the stuff as it is very heavy and extremely difficult to sand, so I would only put it in areas where you want to add strength, or where you are meeting a more rounded spot for glass taping.
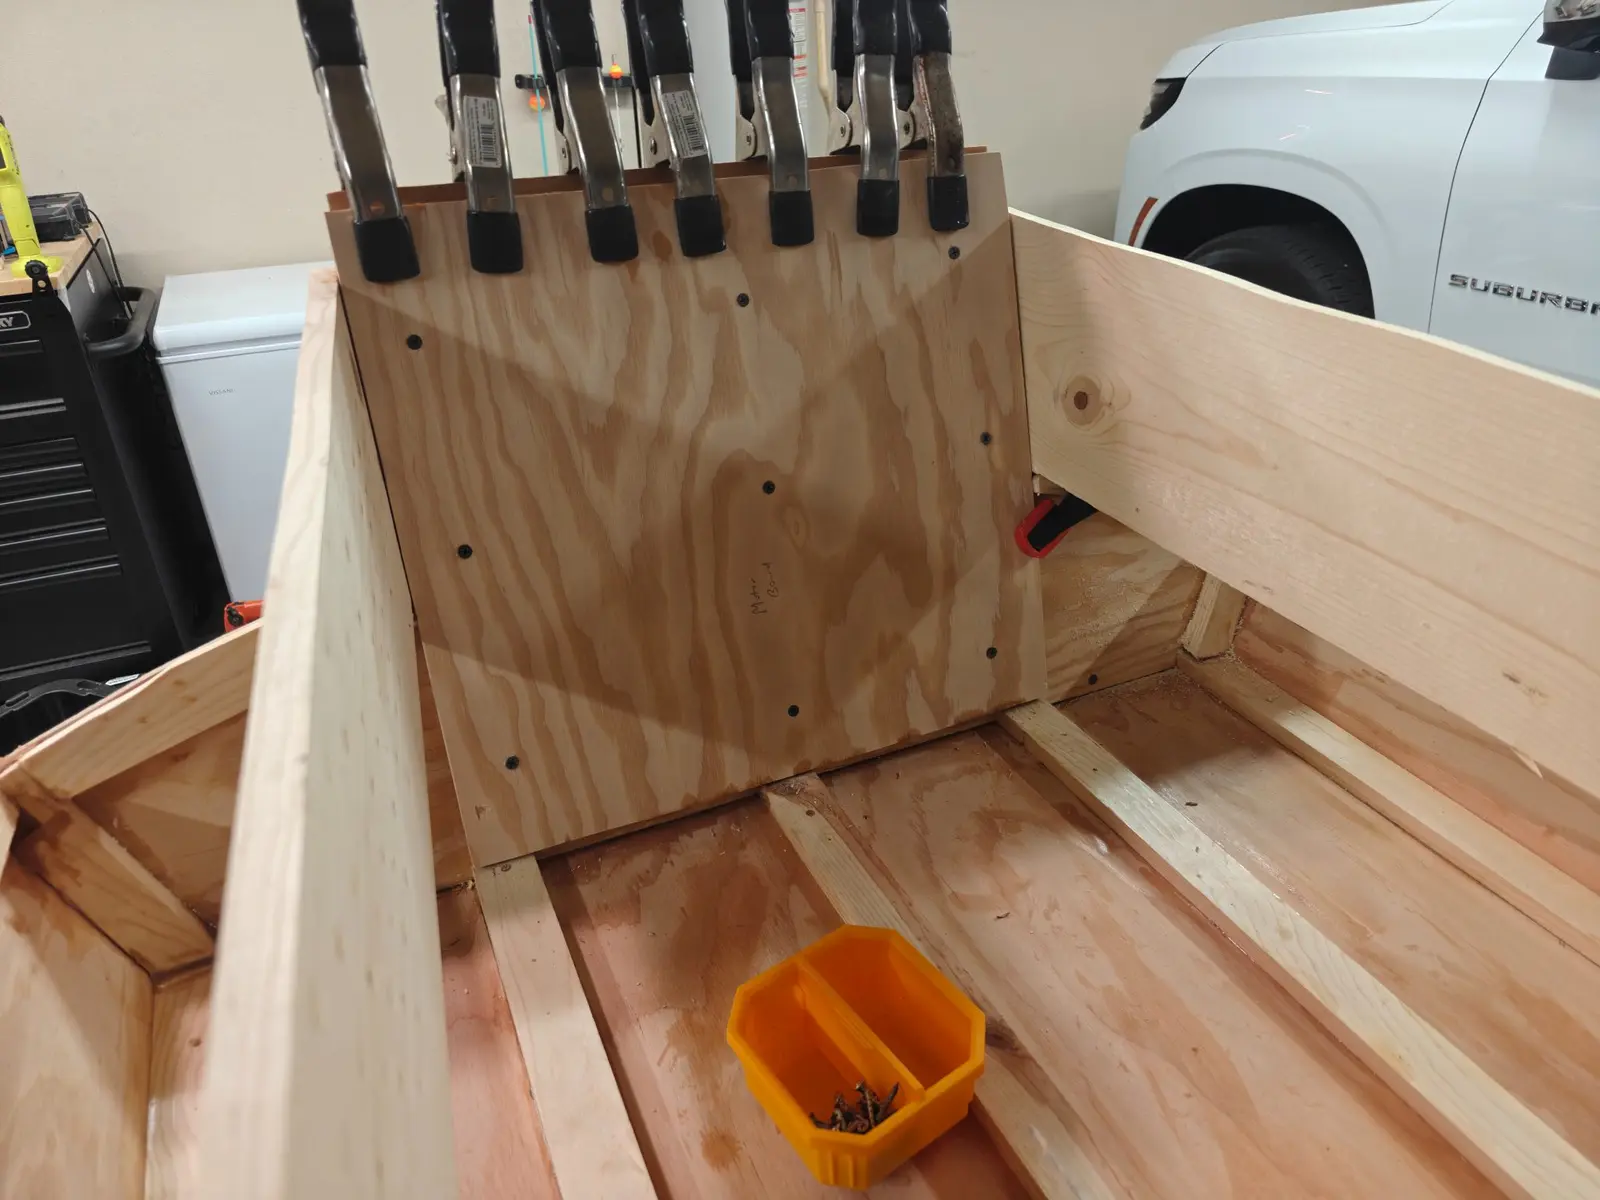
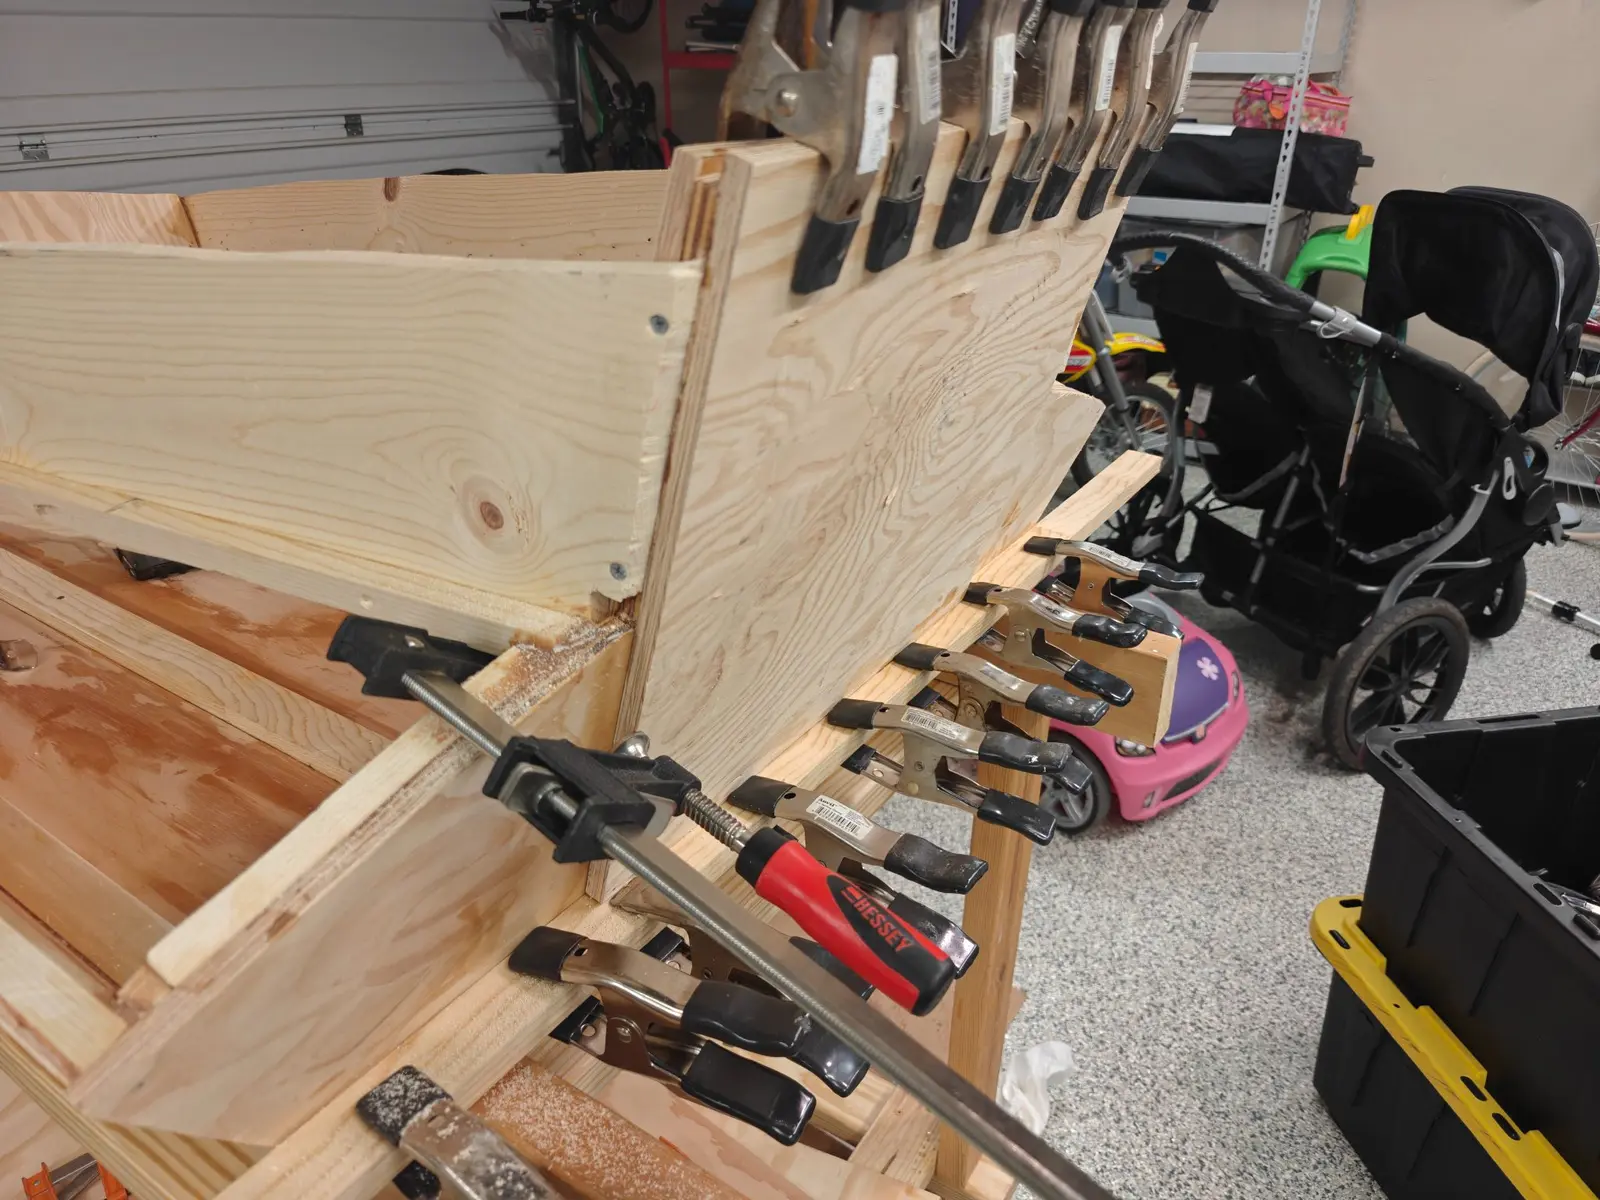
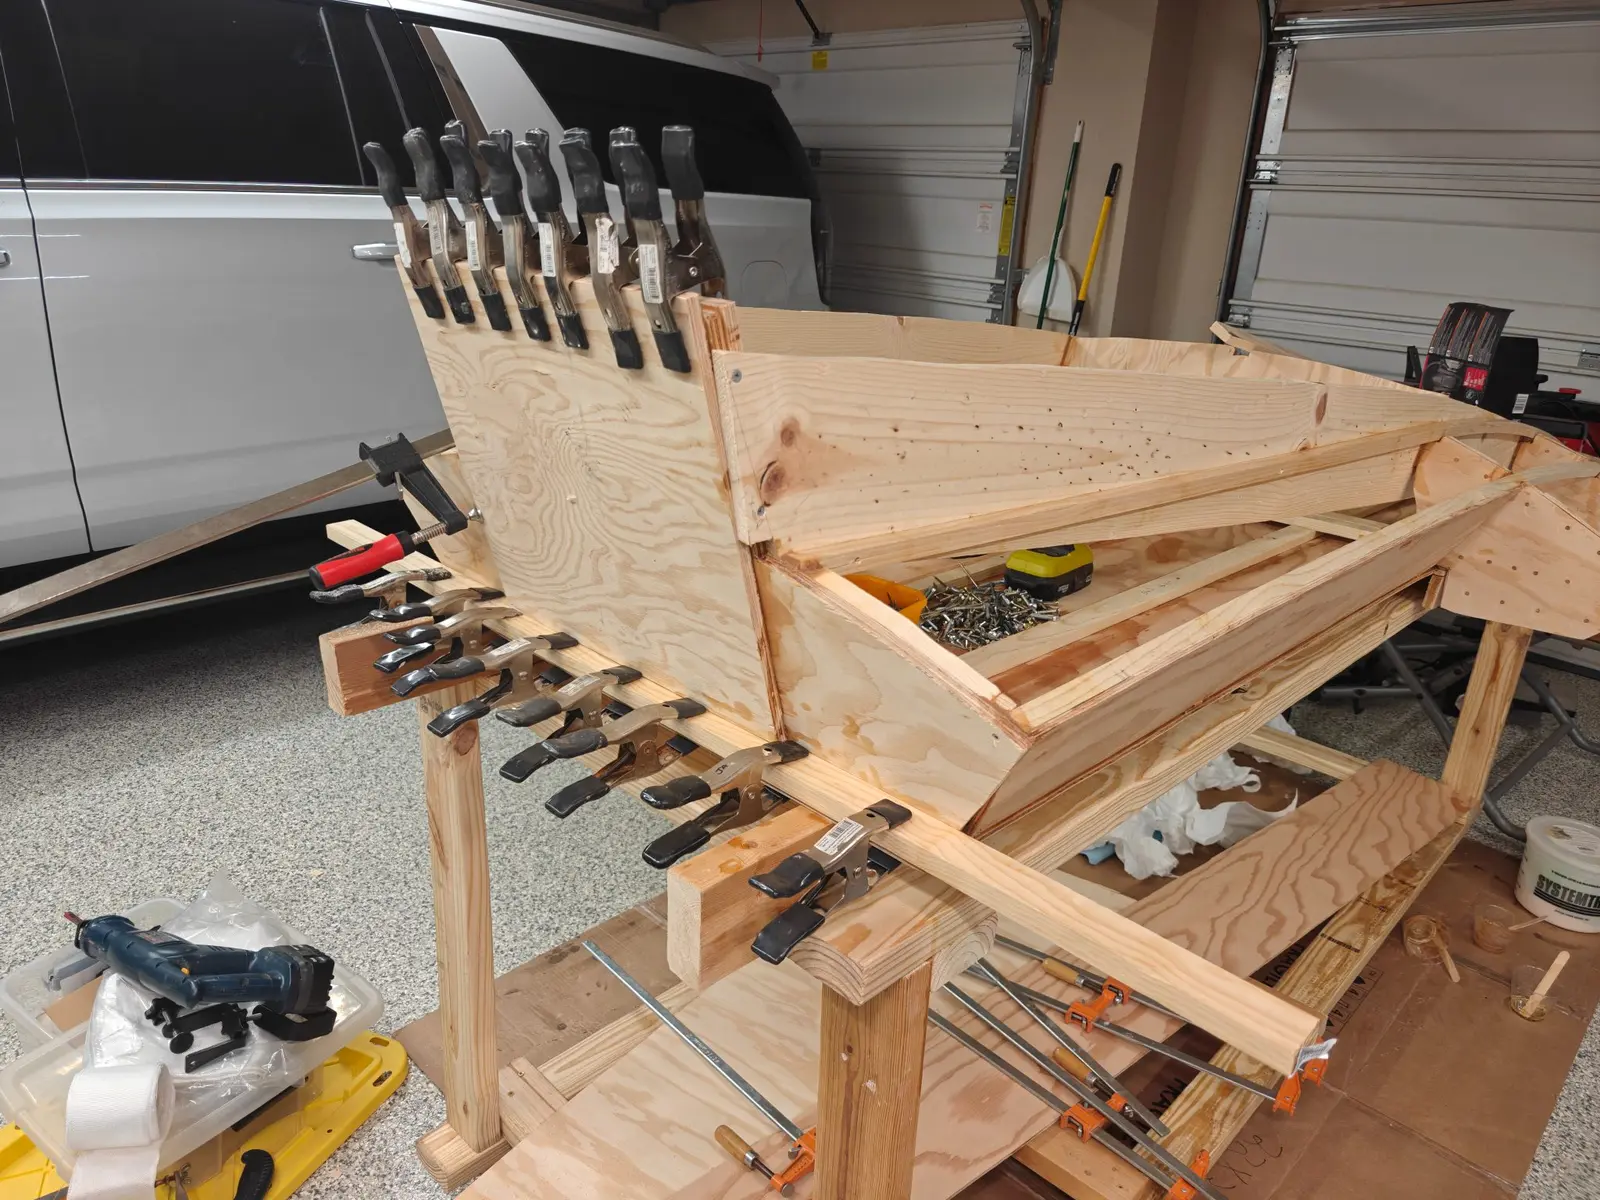
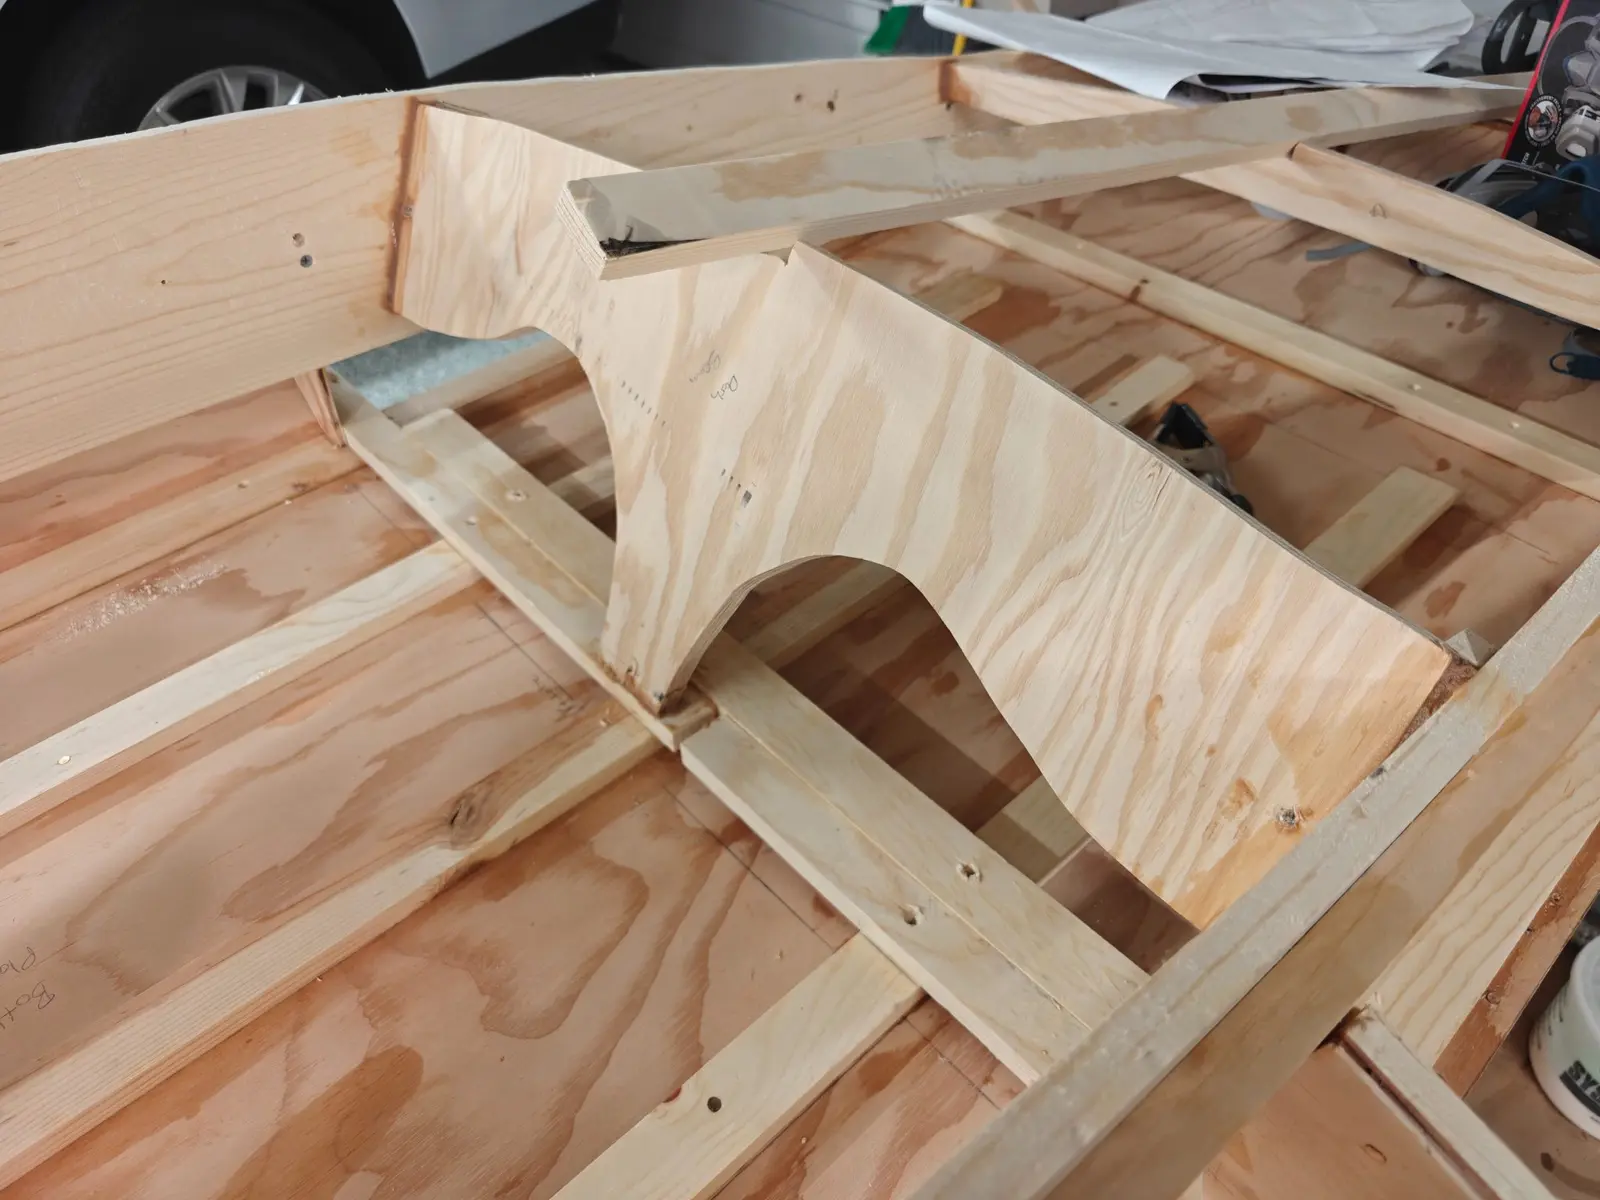
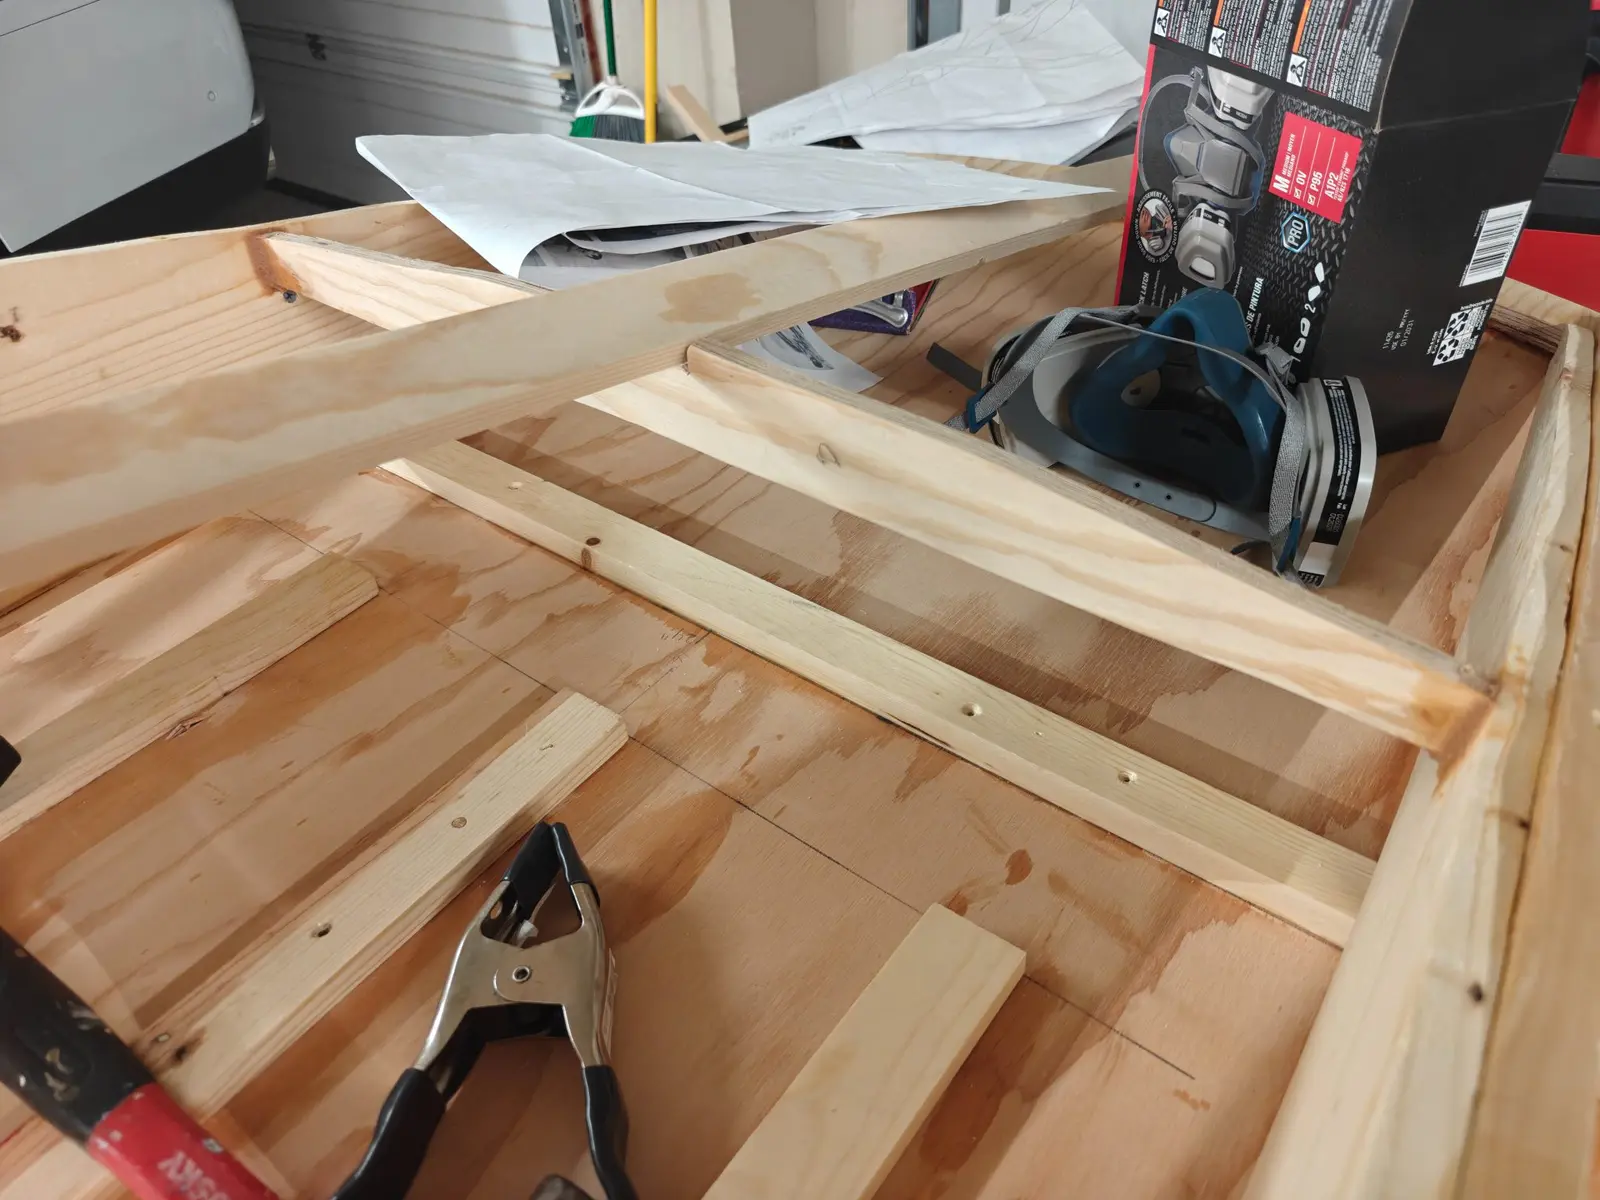
Today I planed and put in the bow batten. I had some extra thicken epoxy so I filled in some of the outside holes.
I think that's just about all the parts that have to get mounted for the structure, so whenever I get some time I need a good 2-hour block, I'm going to go outside and do a really good sanding to even out all the surfaces and get rid of all the extra gunk. I'm also going to use that time to add in some fiberglass on the inside into the joints and edges in which I think will need it the most. This boat is meant to go fast and take a beating and I don't want any wood pieces snapping if I can avoid it. So a little glass here and there will just help and it won't add that much weight.
| Item | Qty | Supplier | Cost |
|---|---|---|---|
| Boat Plans | 1 | Glen-L | $75.00 |
| Plug in jigsaw | 1 | Ryobi | $100.00 |
| lumber | 1 | Home Depot | $100.00 |
| Fir AB Marine 1/4" 4x8 | 2 | Plywood company | $200.00 |
| Fir AB Marine 1/2" 4x8 | 1 | Plywood company | $137.00 |
| Birch 1/8 4x8 Plywood | 1 | Plywood company | $35.00 |
| Craftsman planer | 1 | Craftsman | $329.00 |
| Fasteners and Fiberglass kit | 1 | Glen-L | $400.00 |
| 6HP 2 Stroke Hangkai Outboard Engine | 1 | Hangkai | $575.00 |