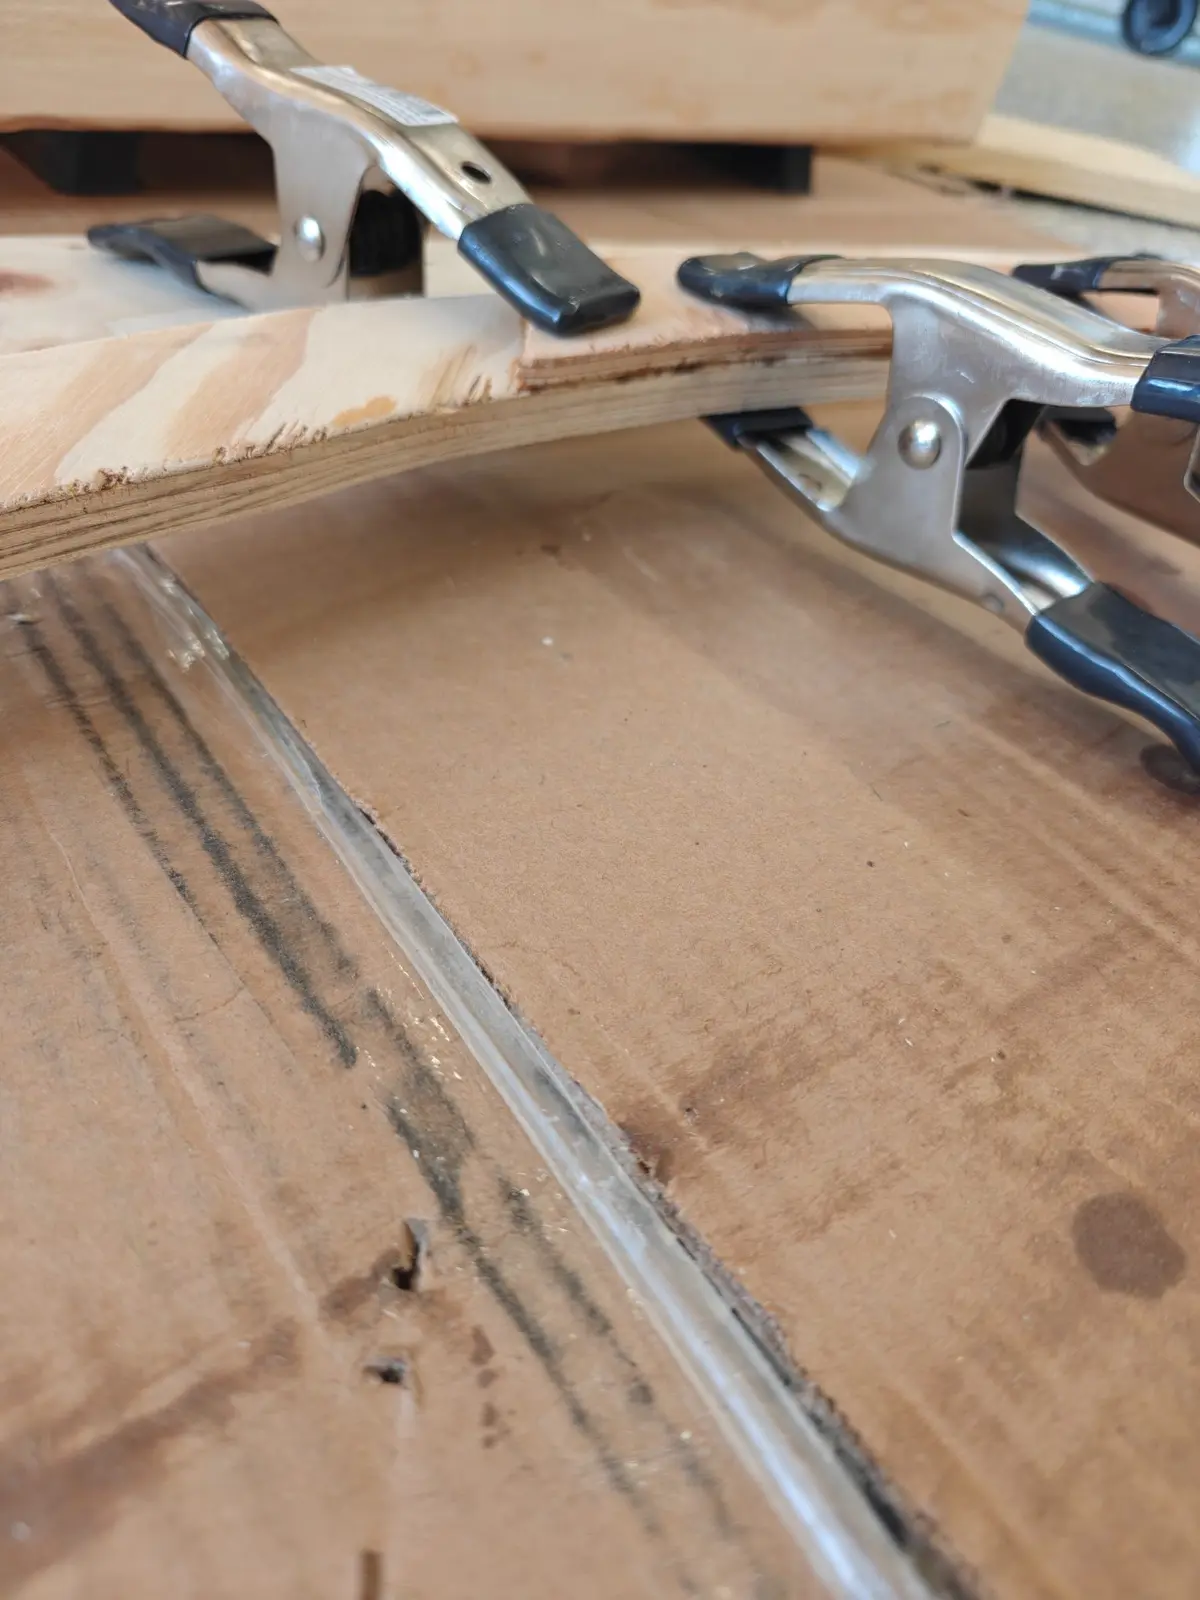
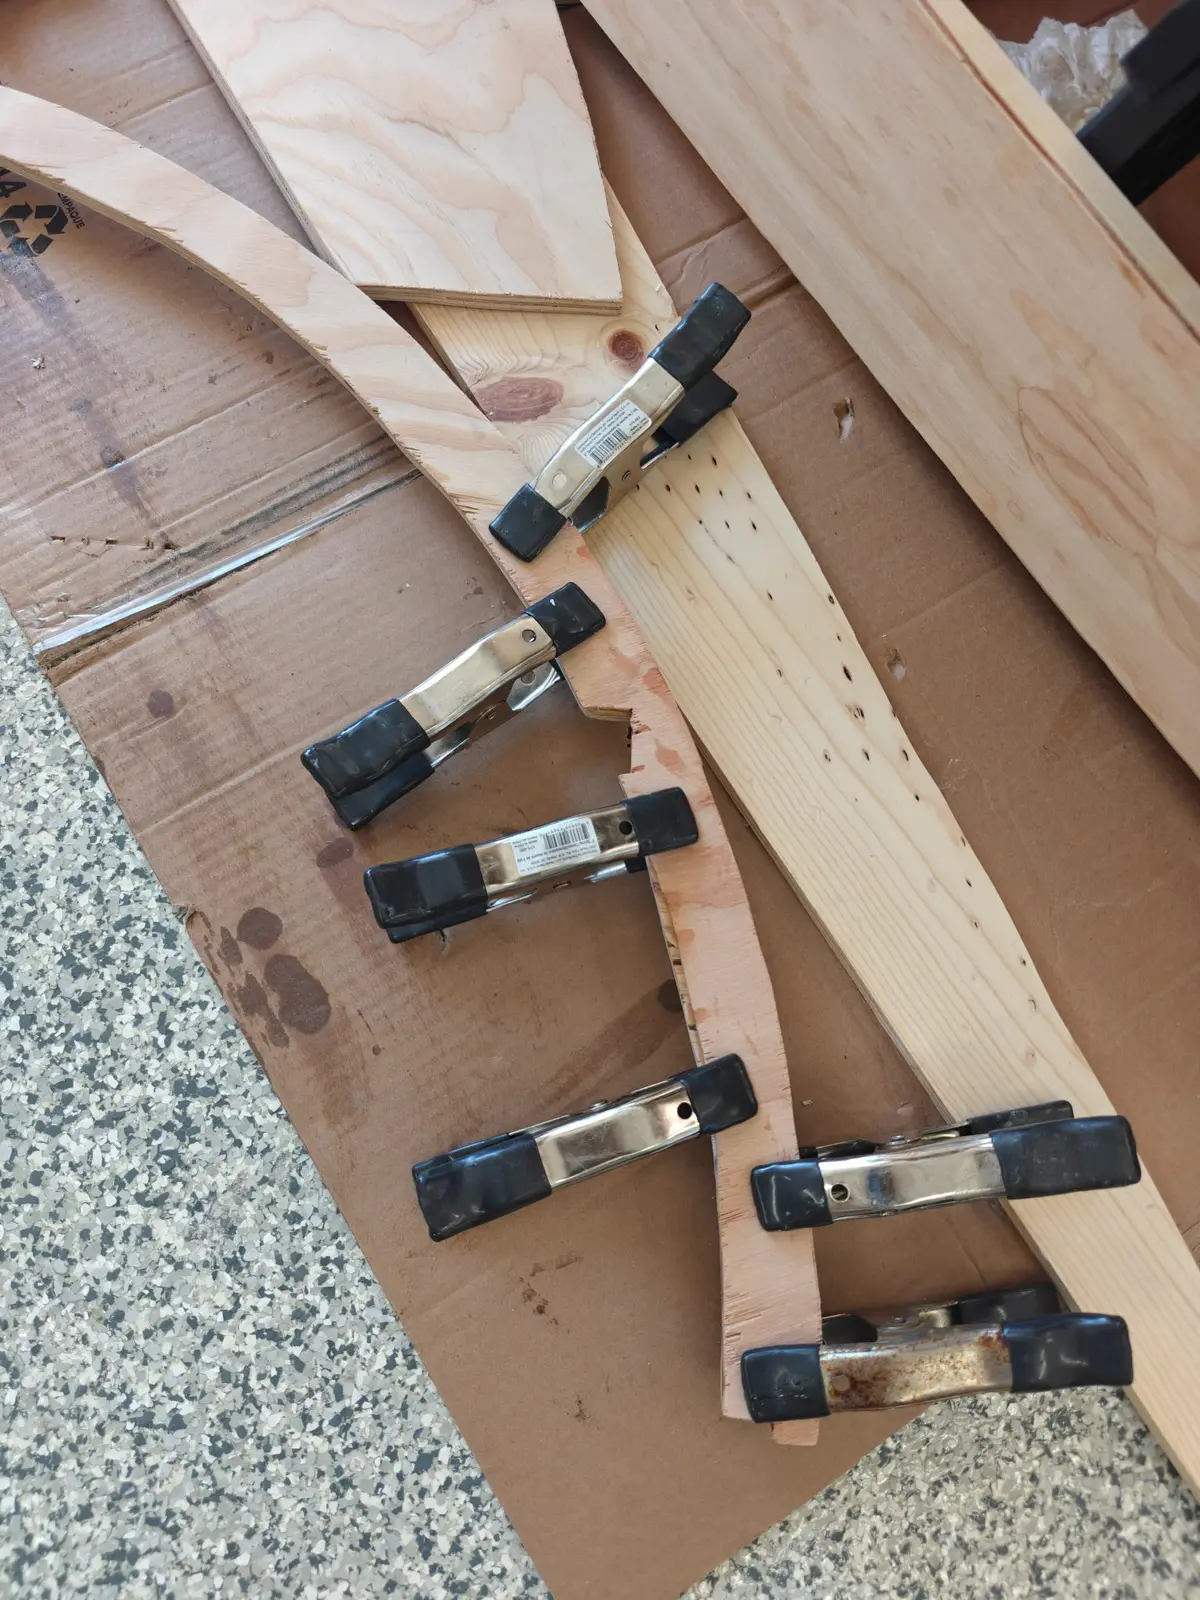
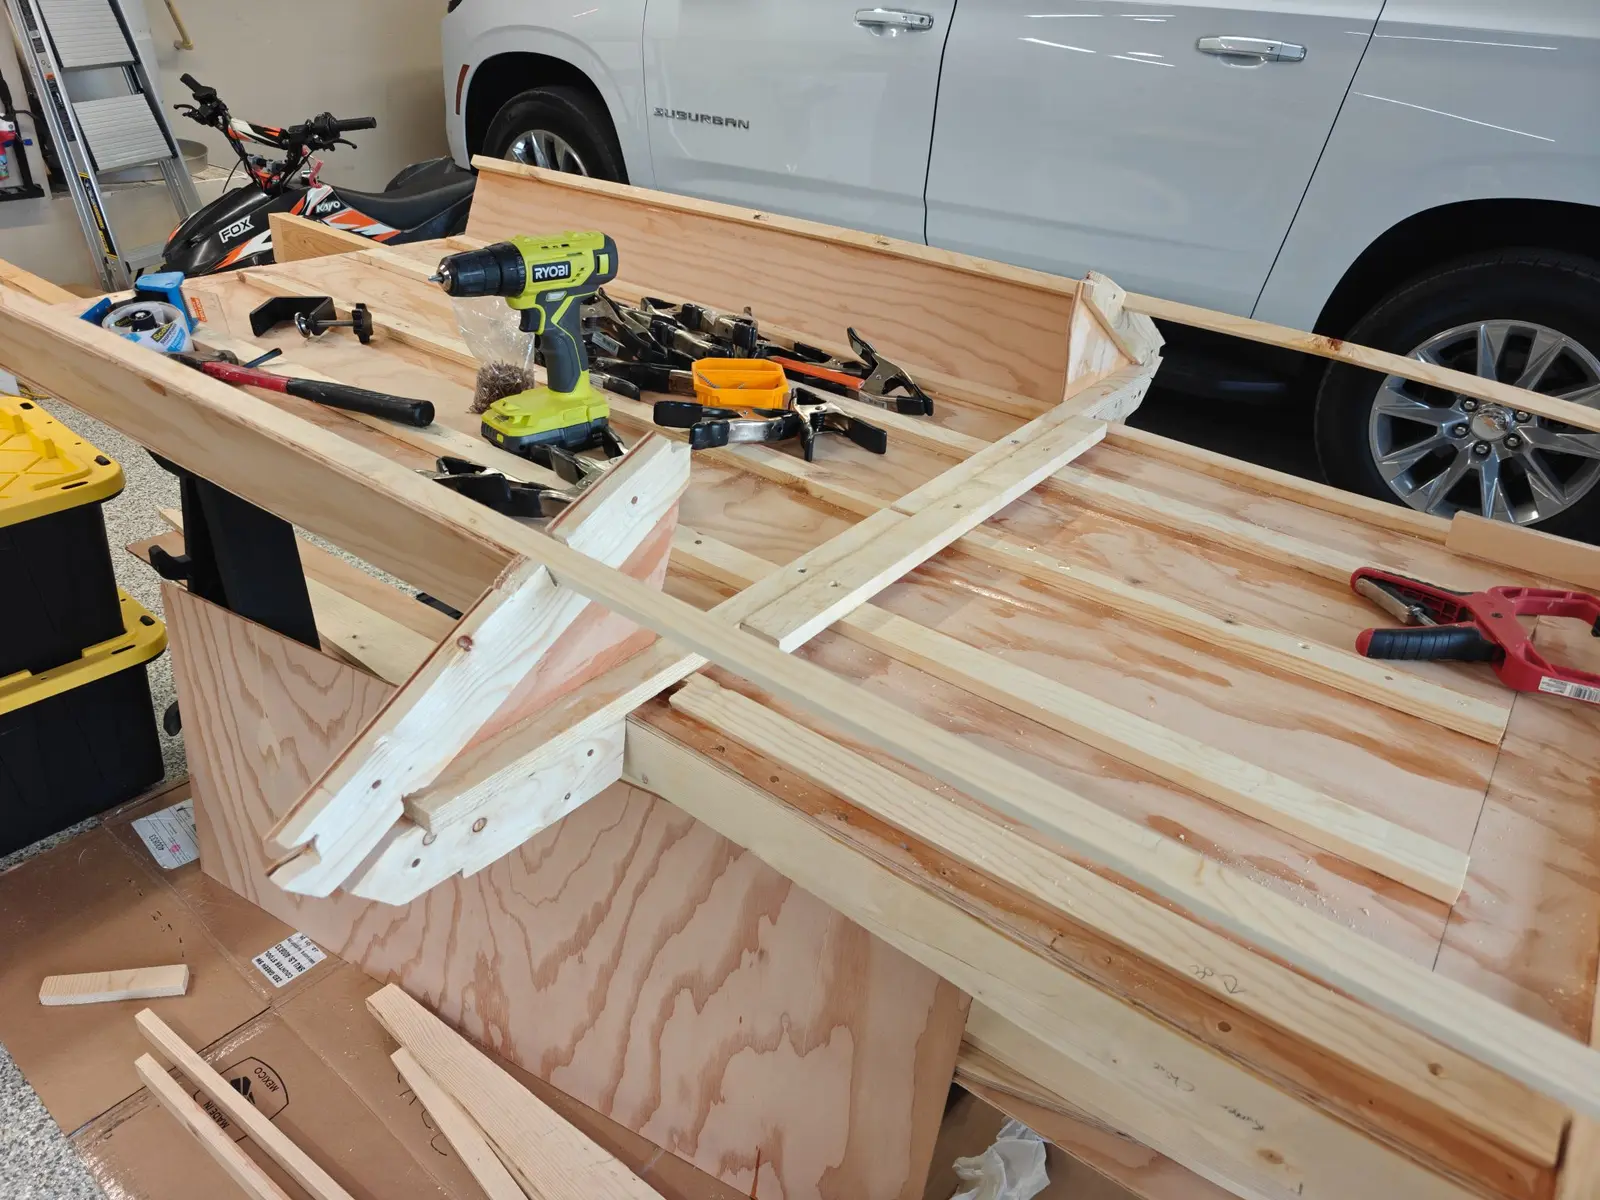
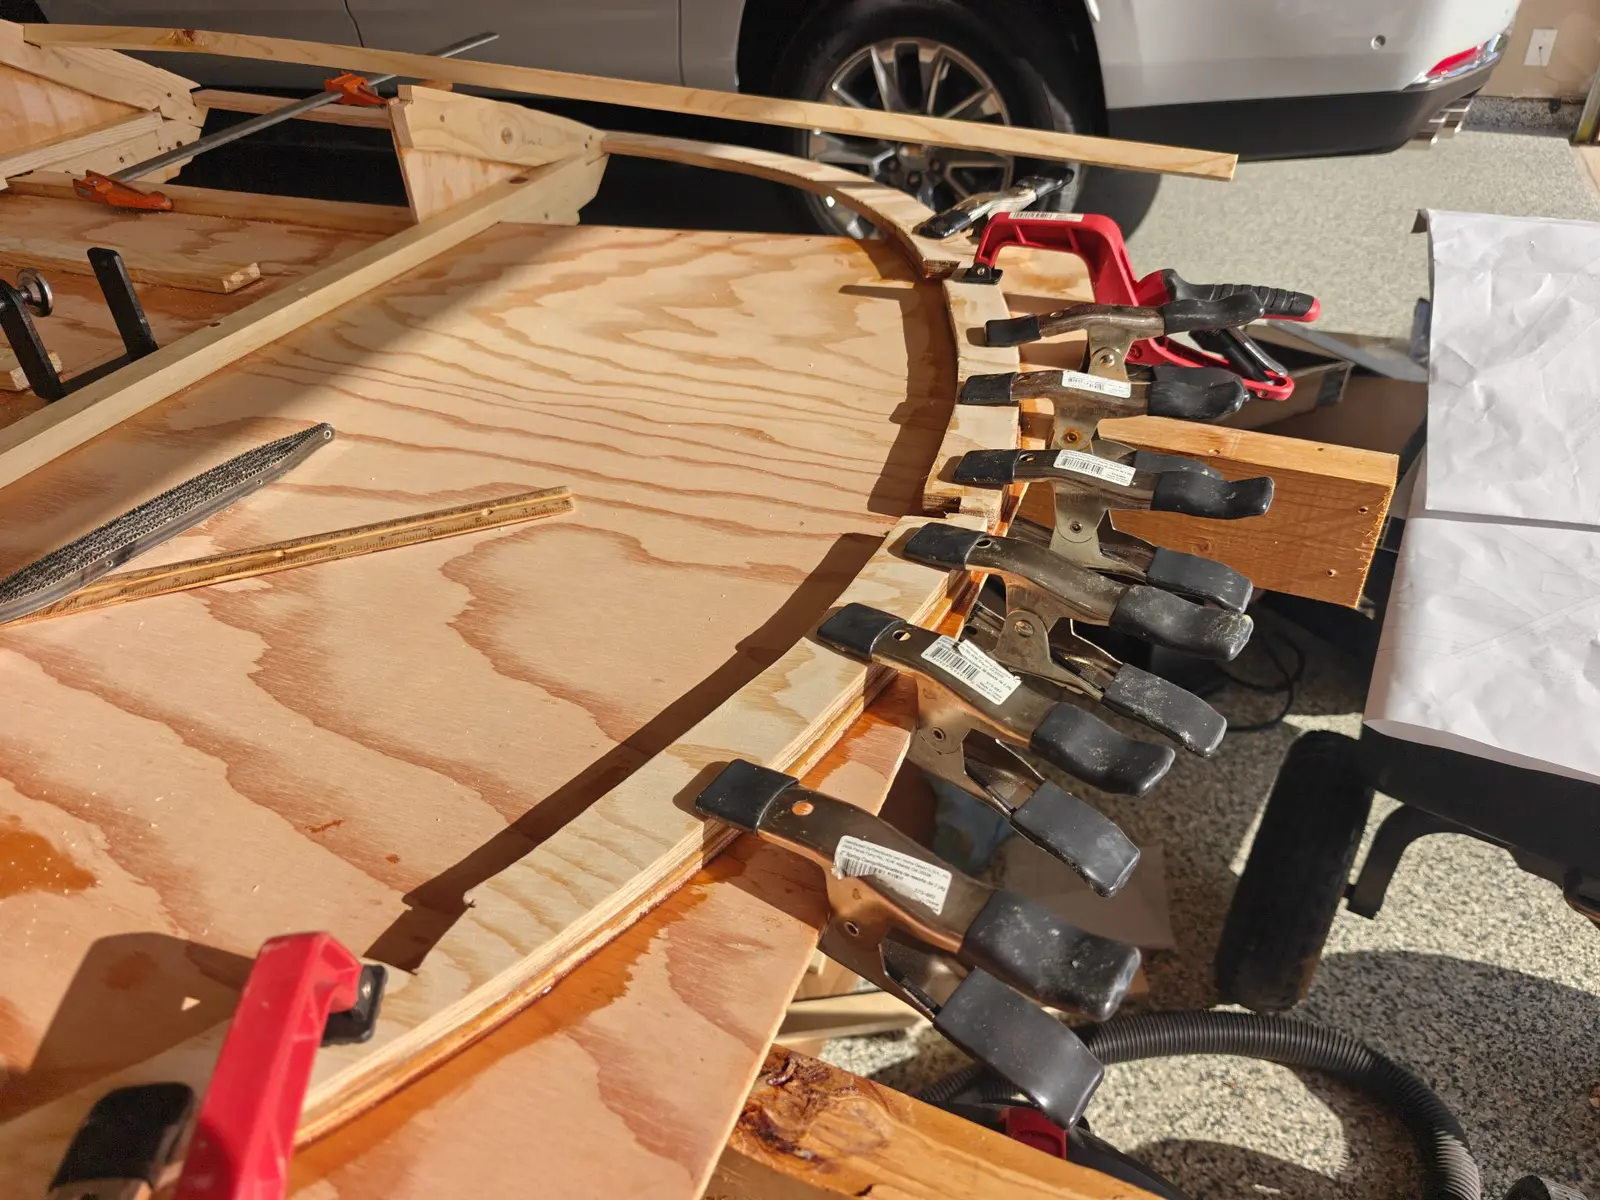
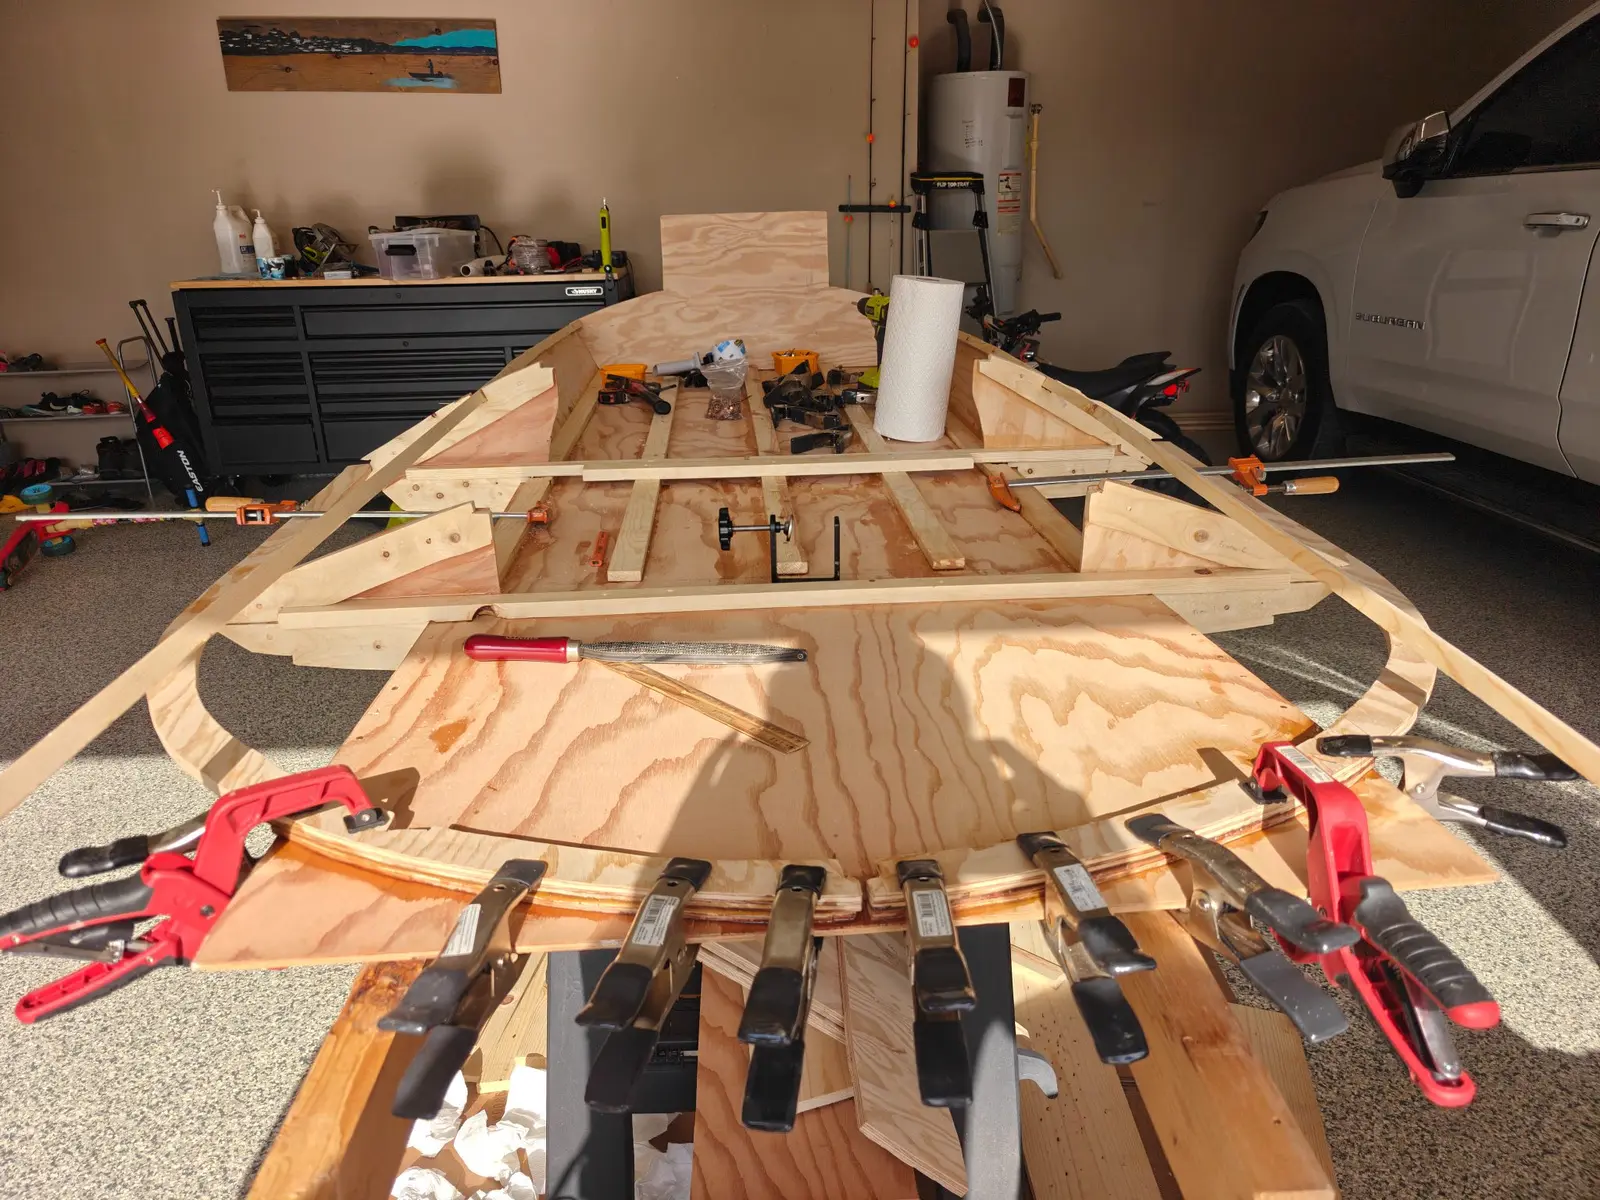
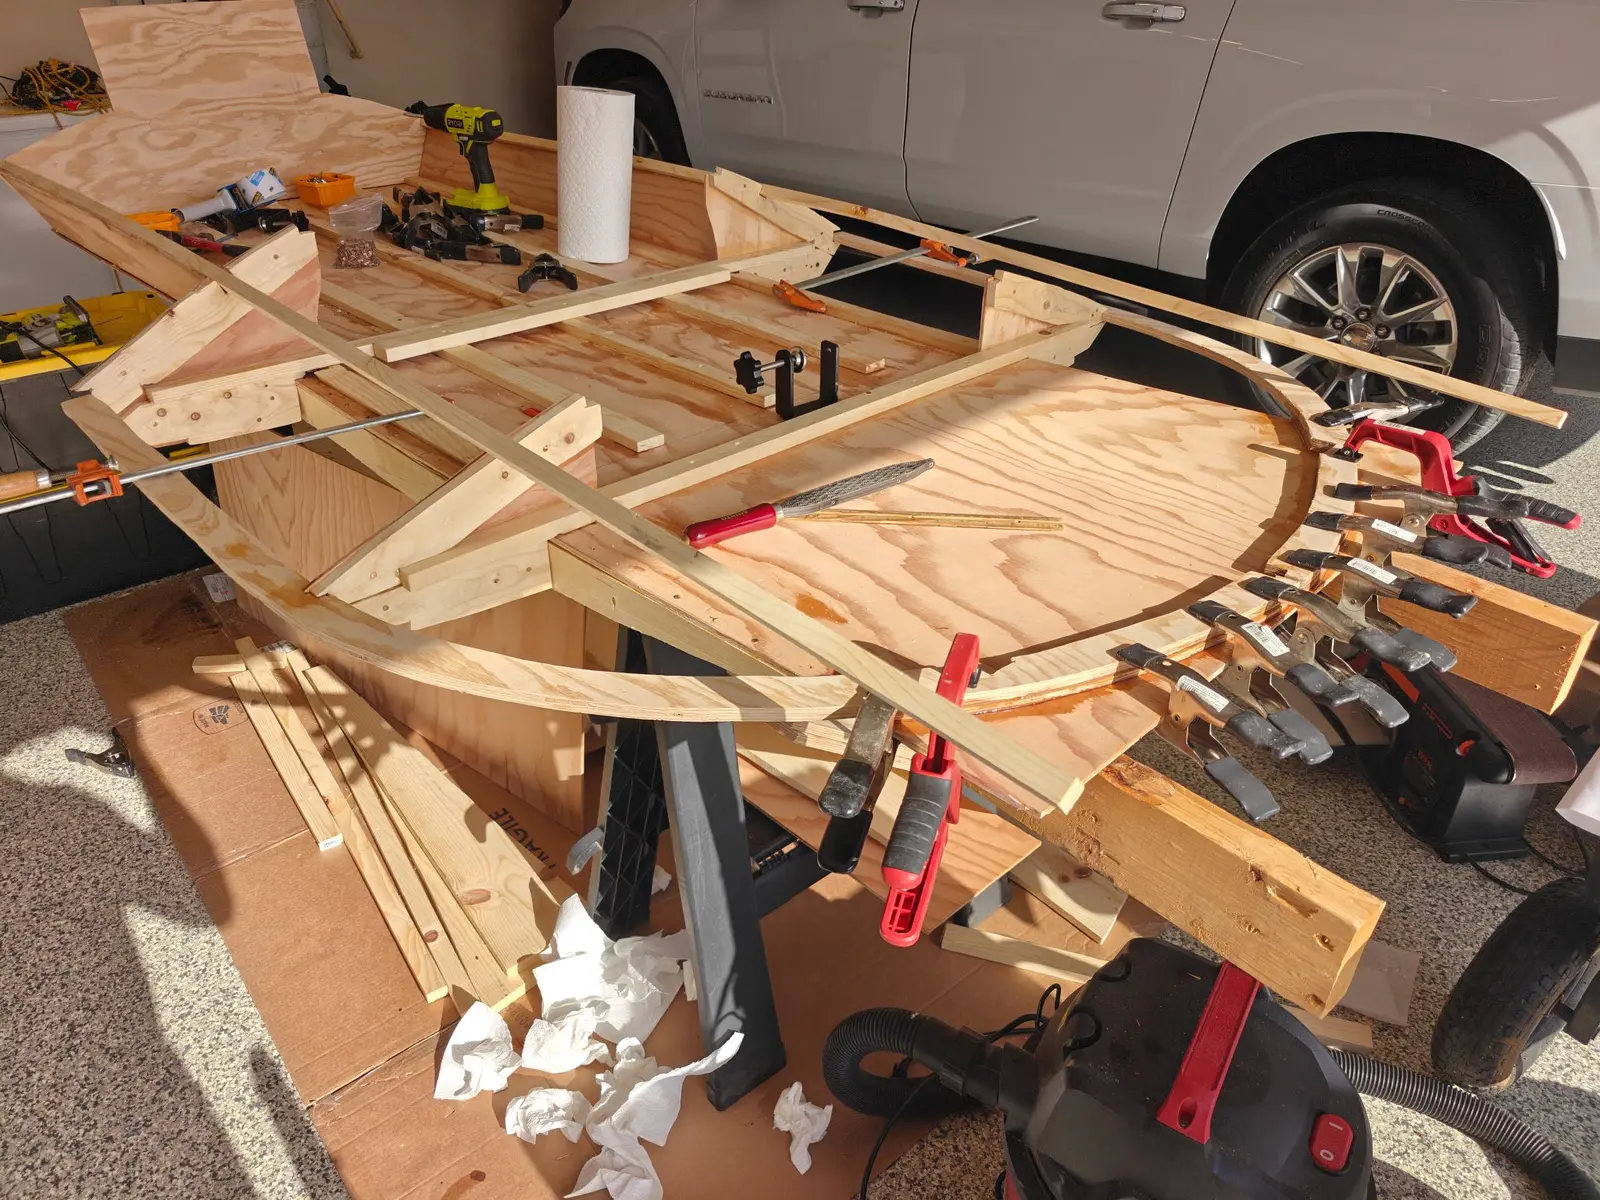
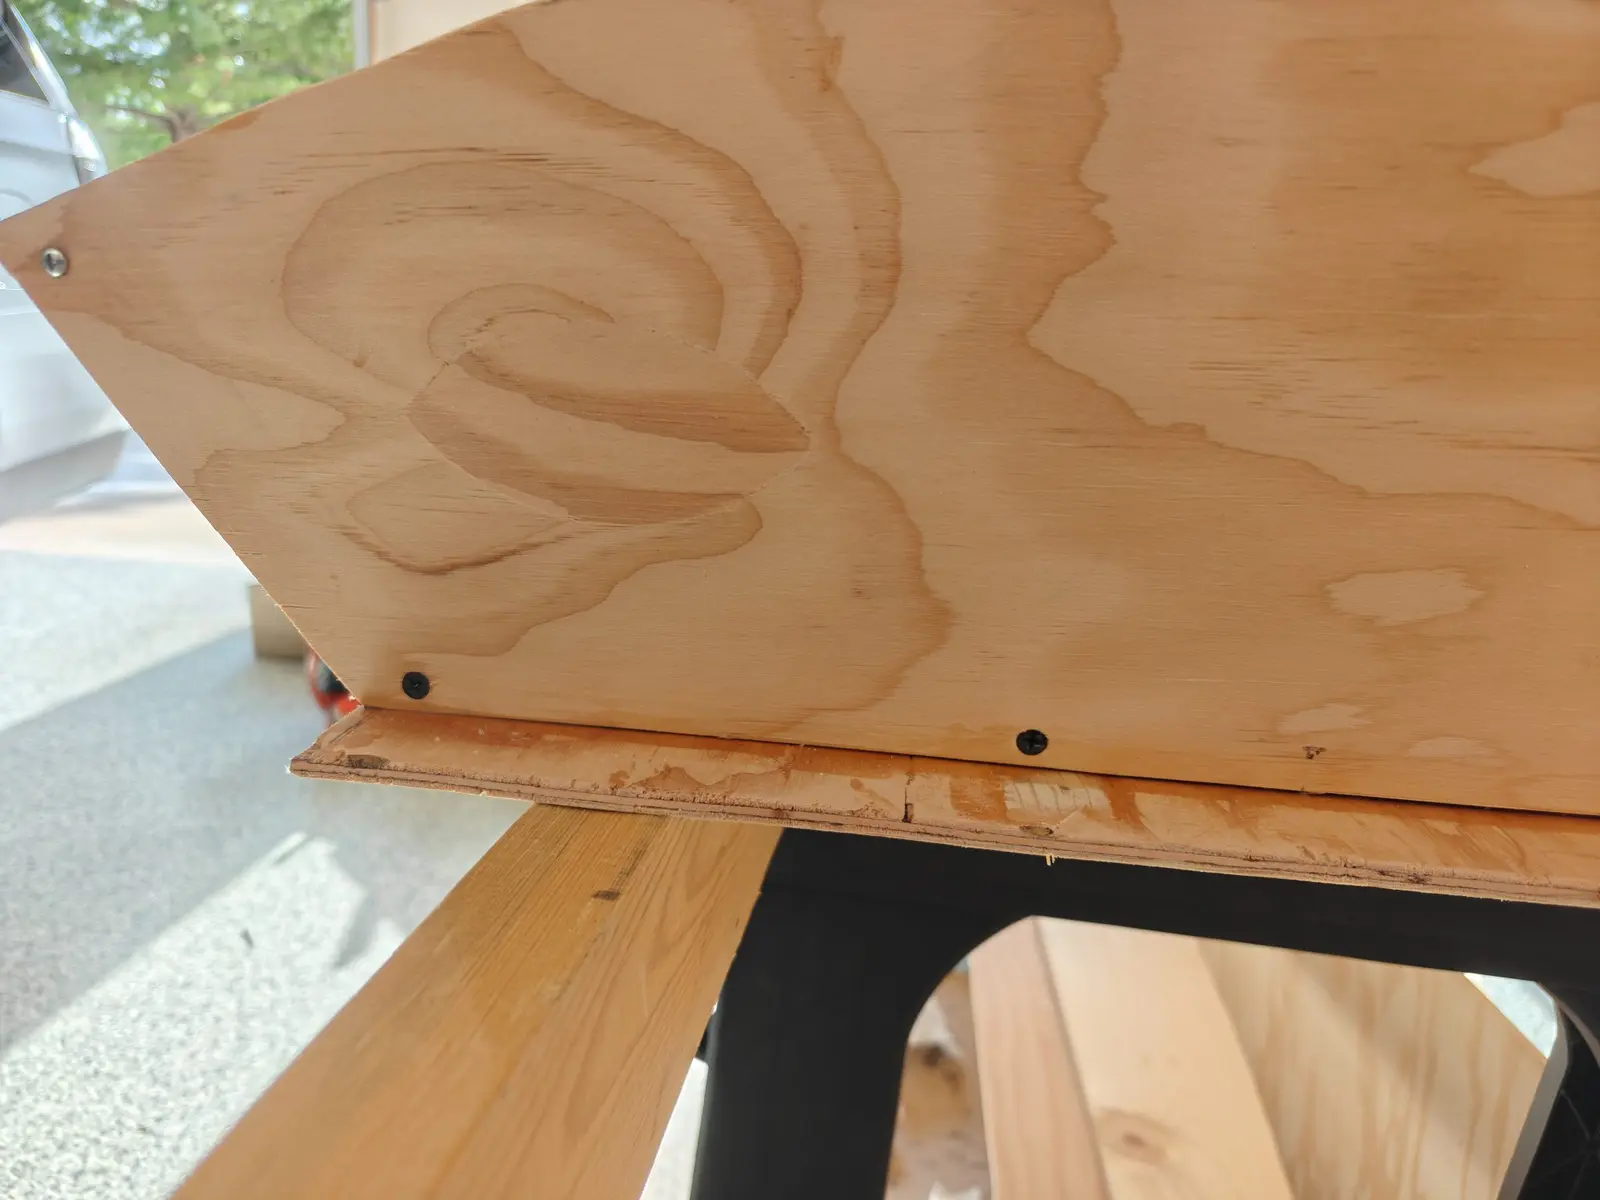
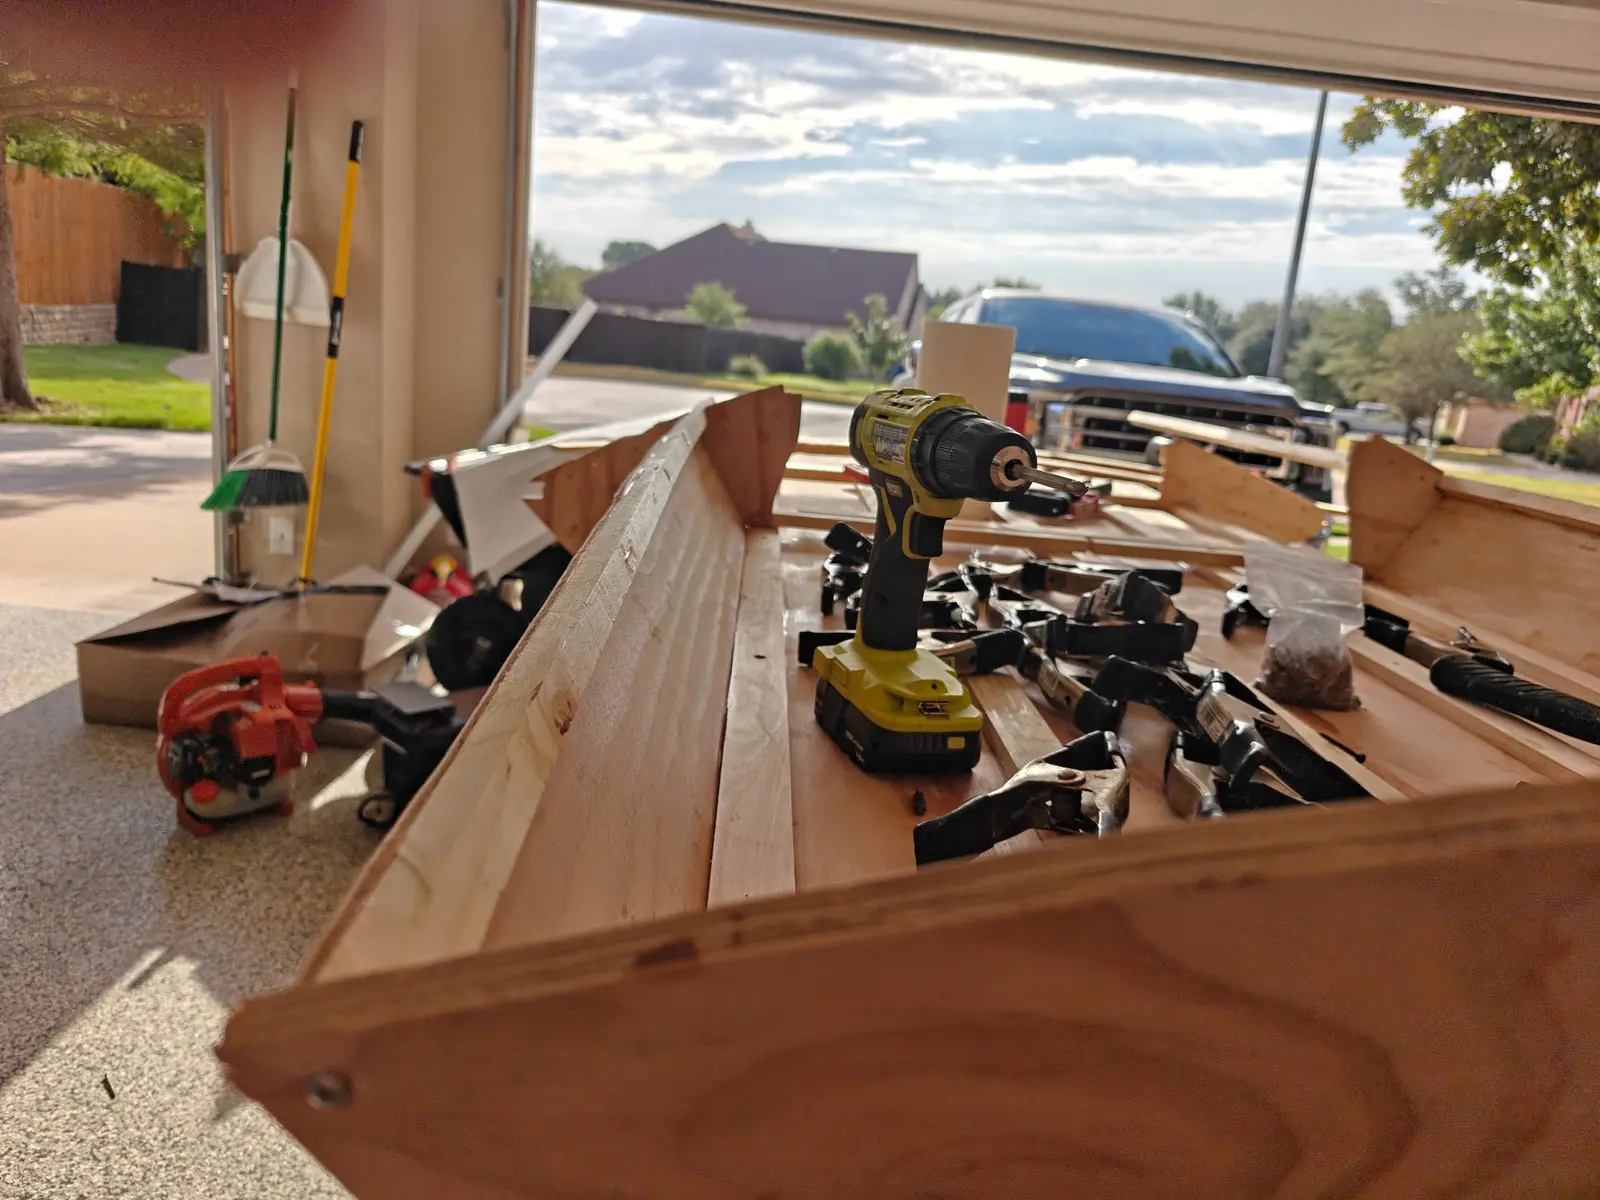
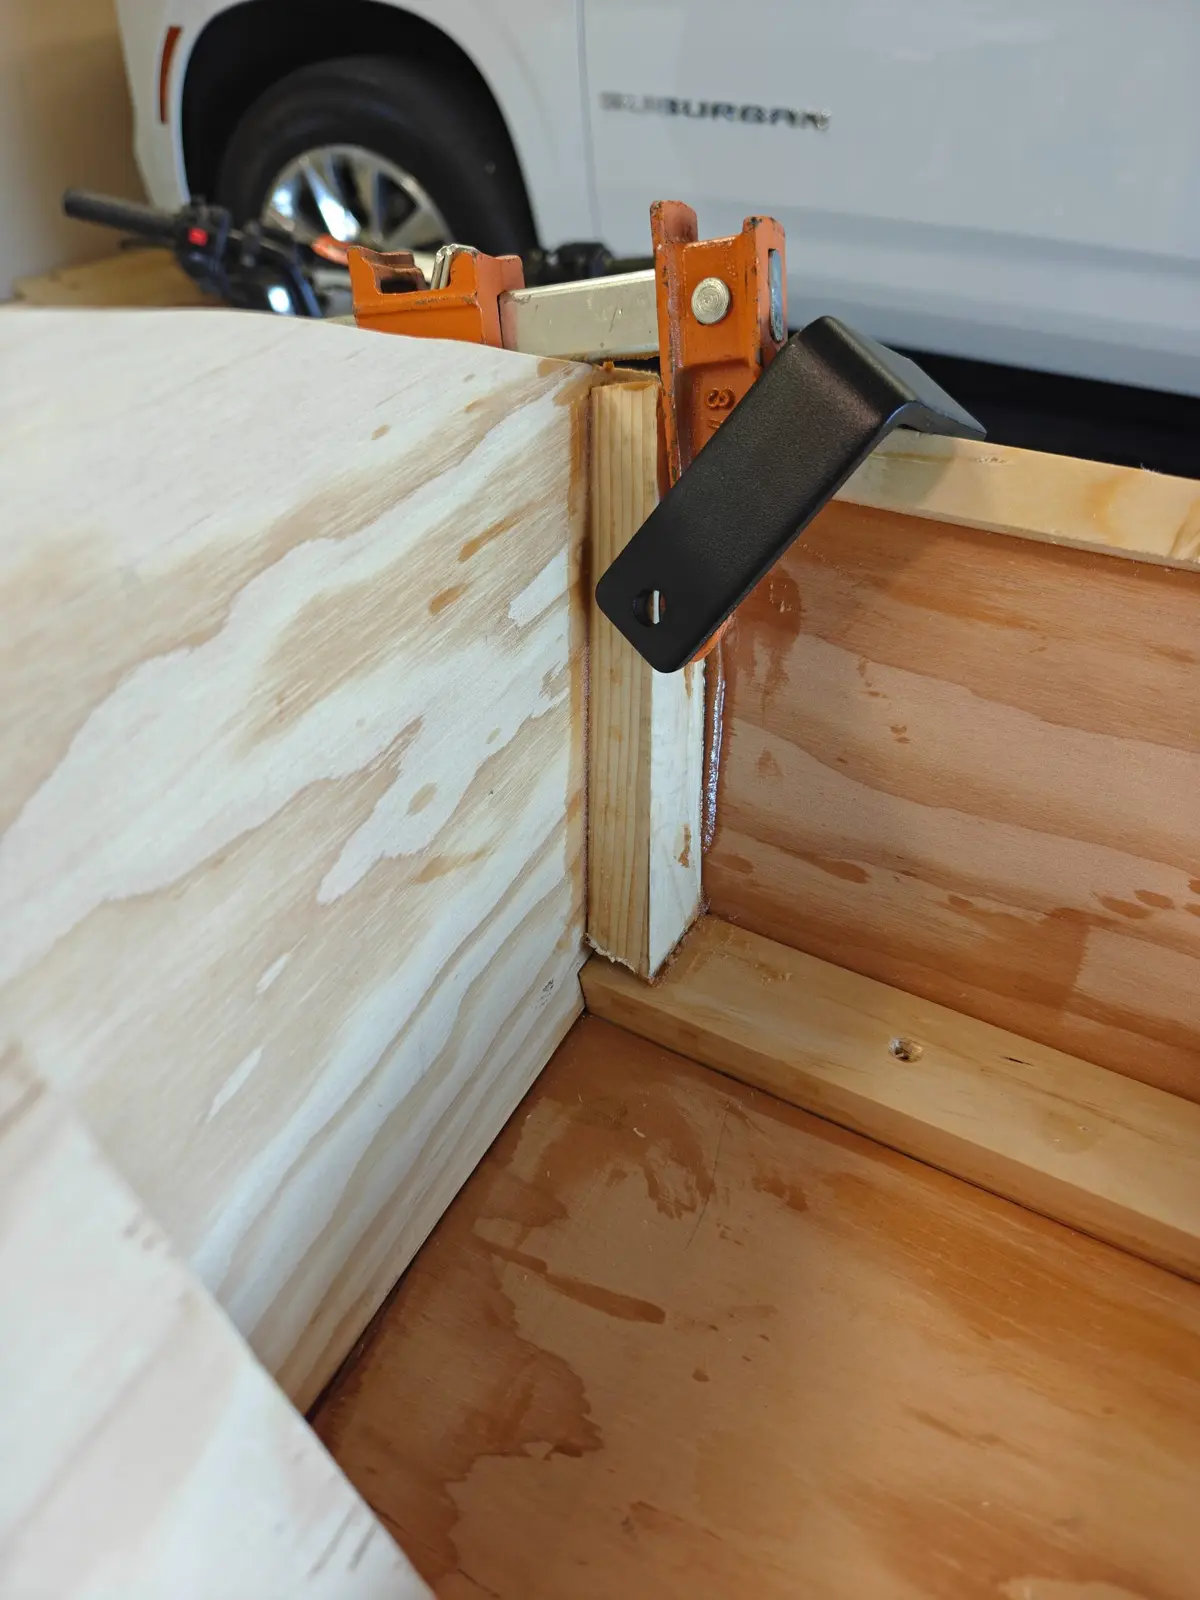
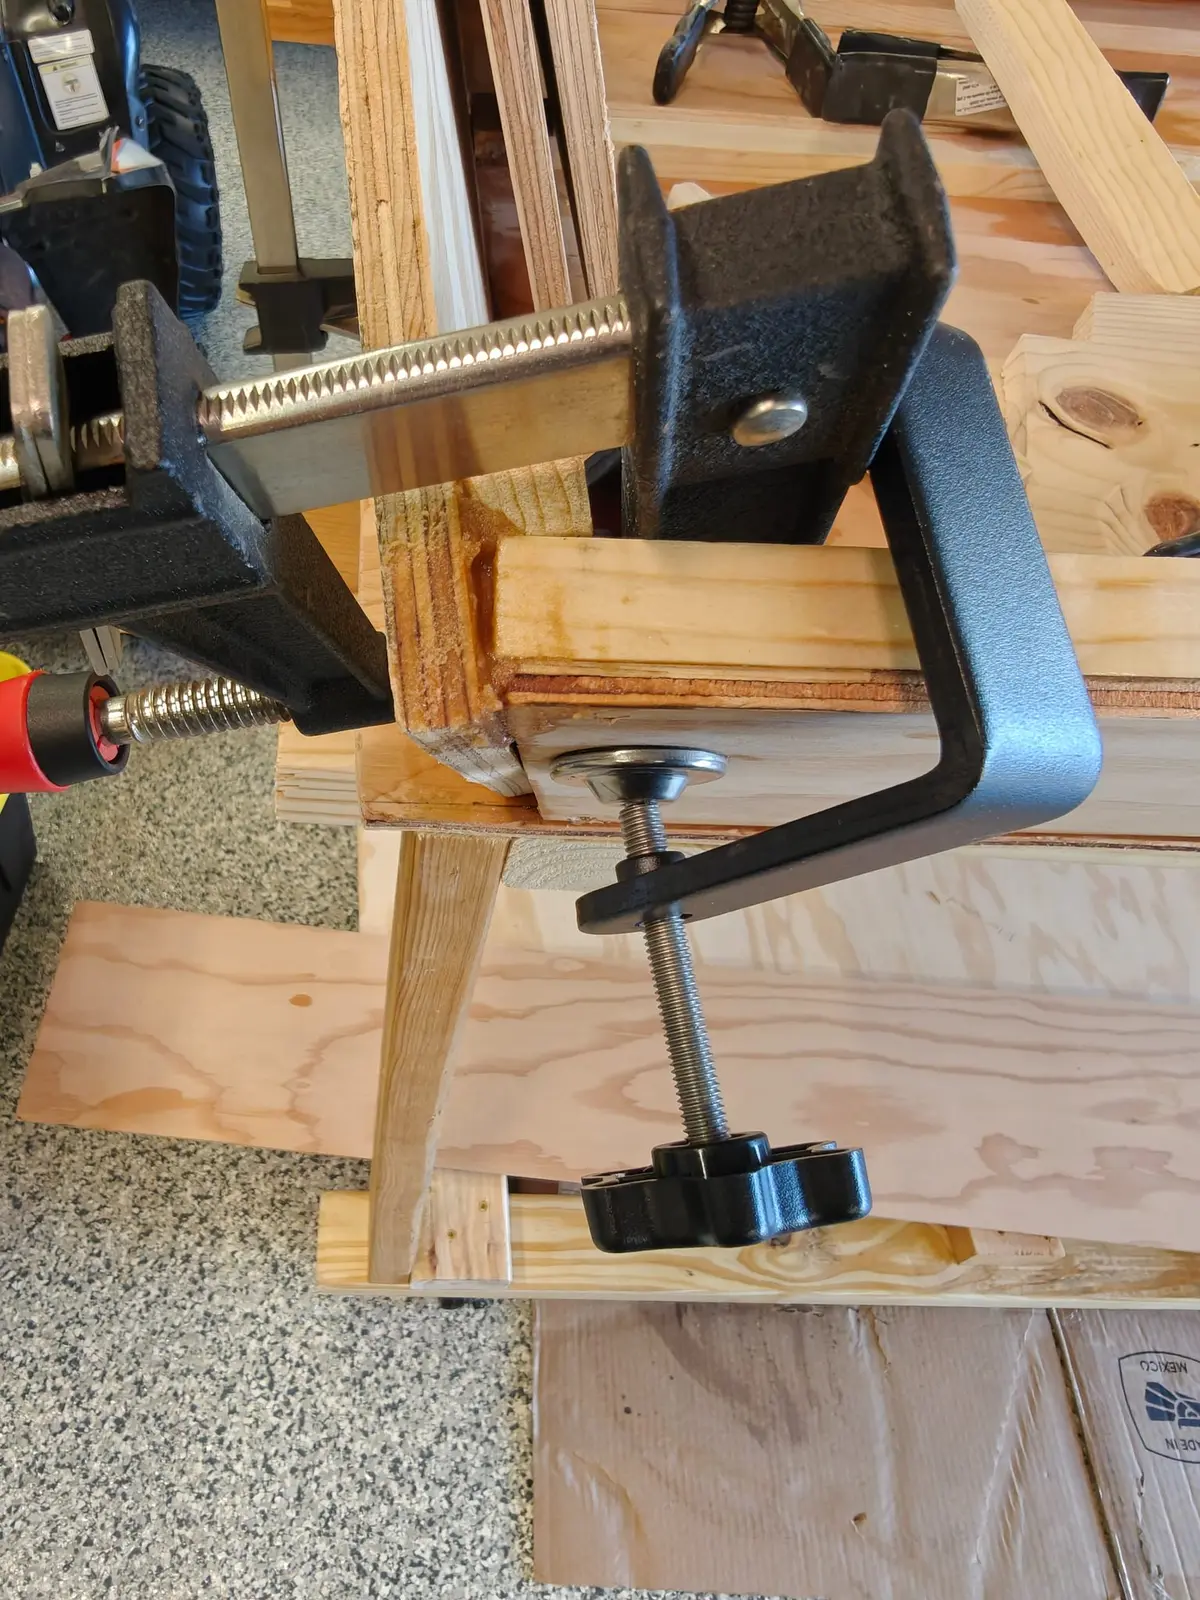
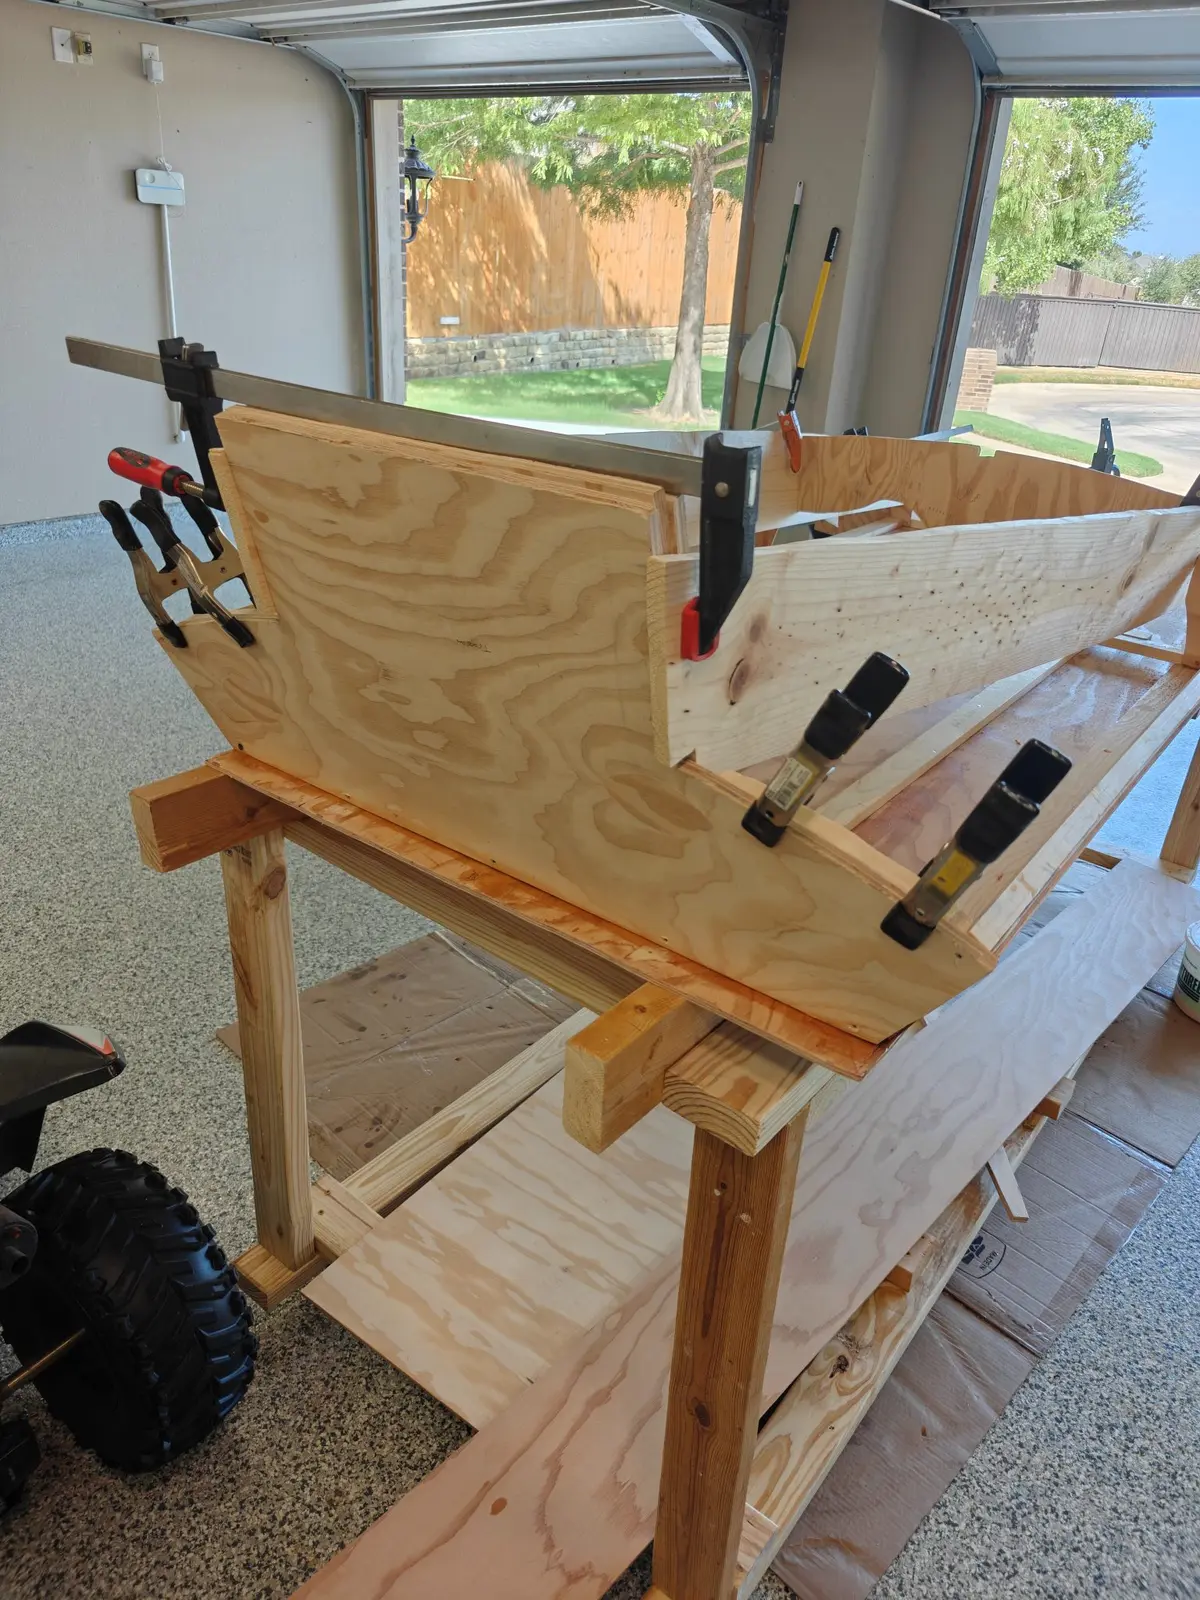
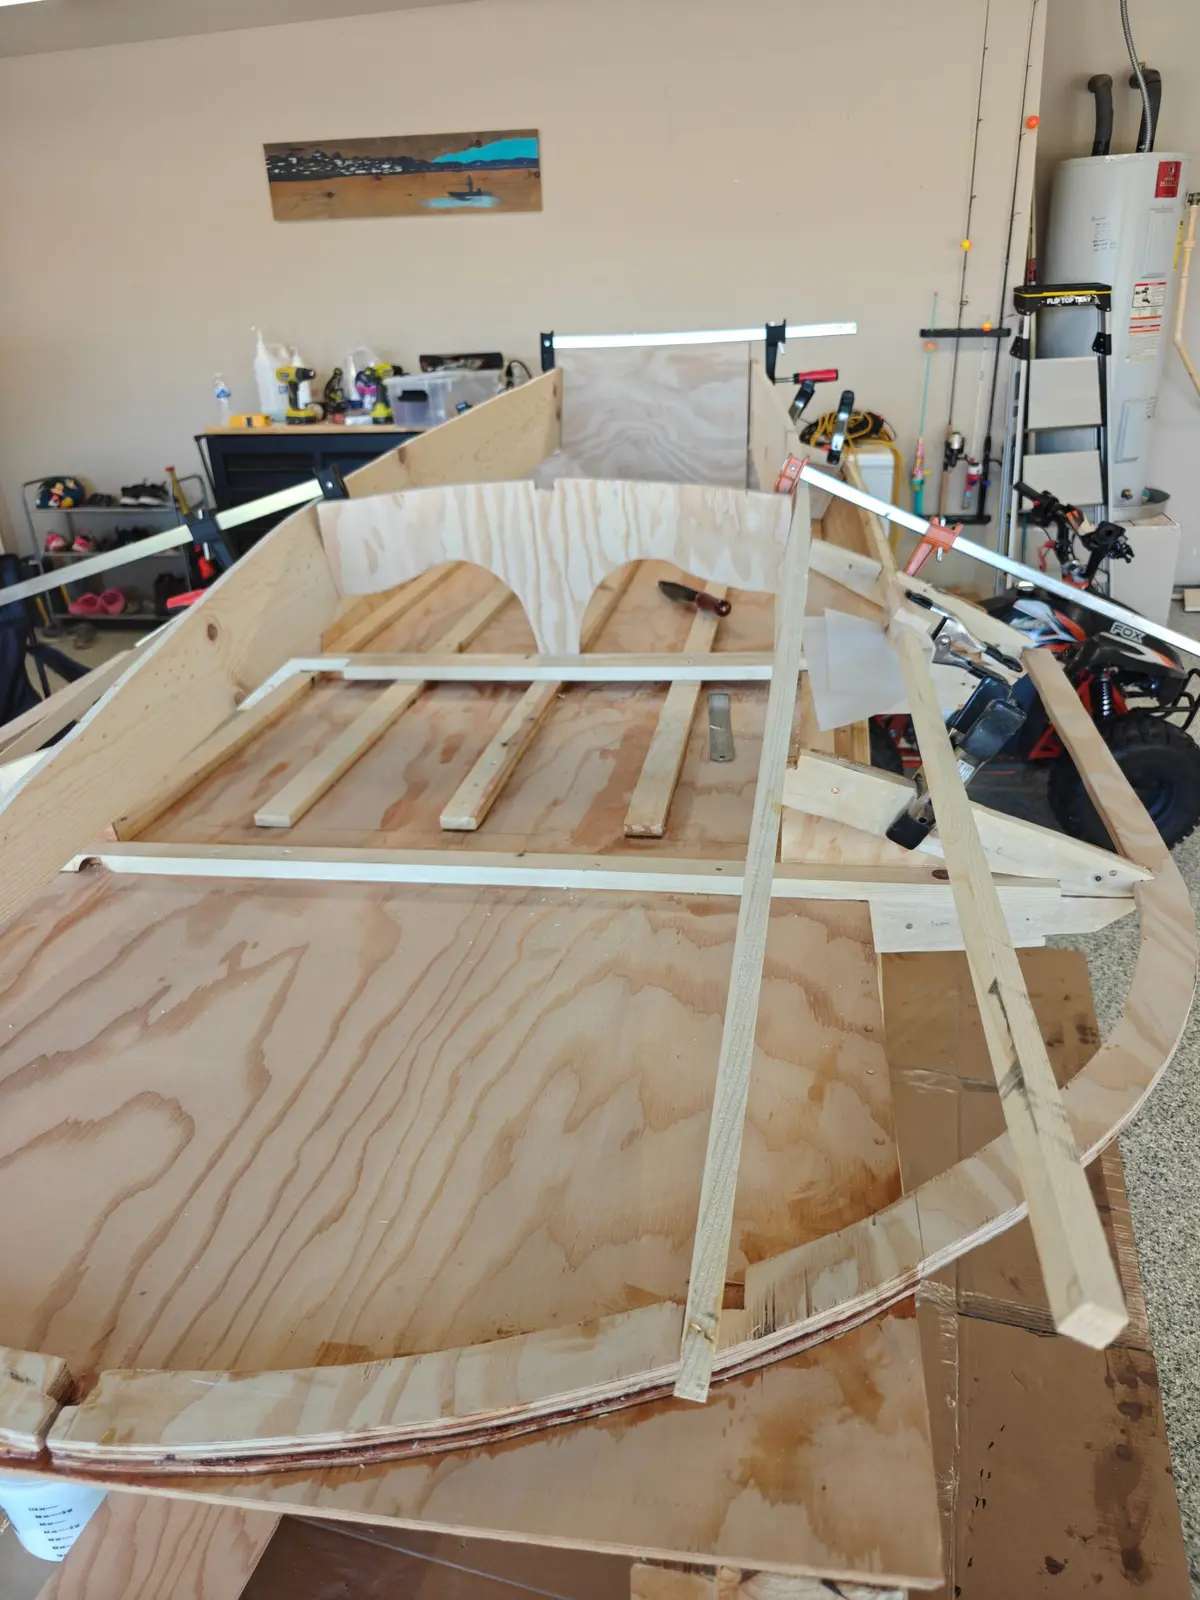
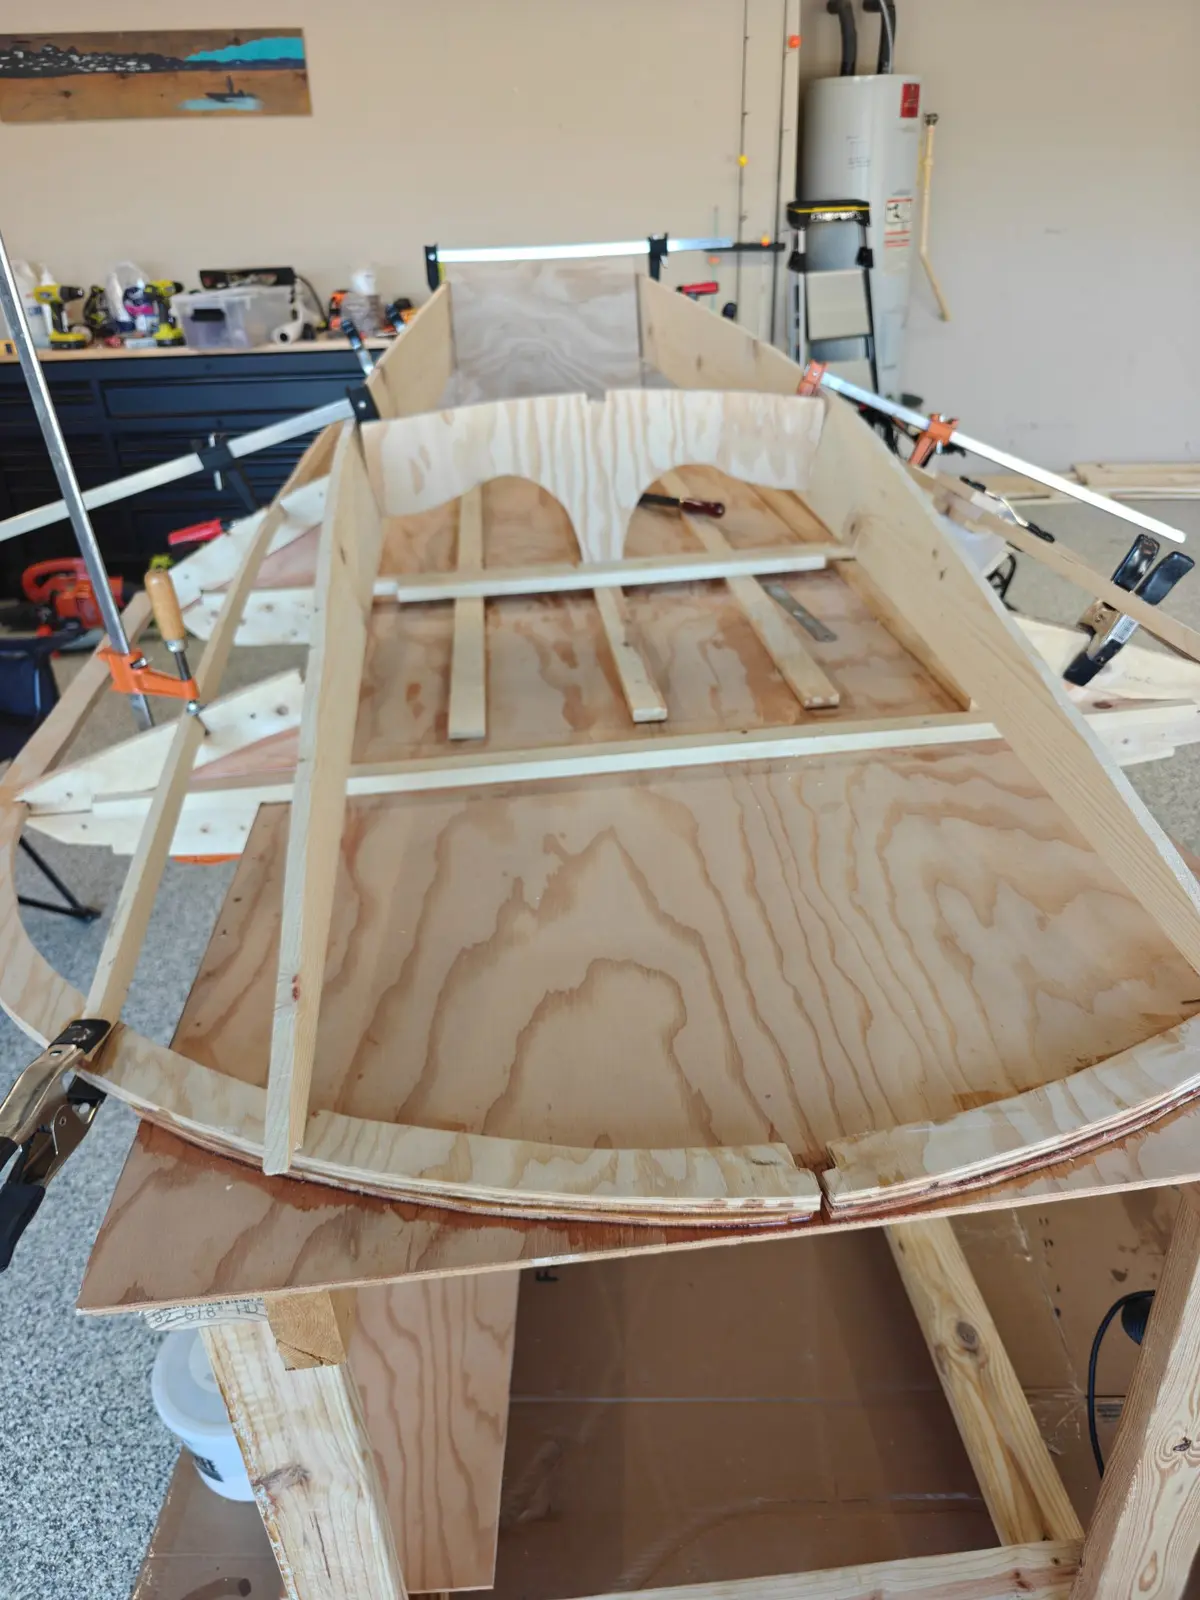
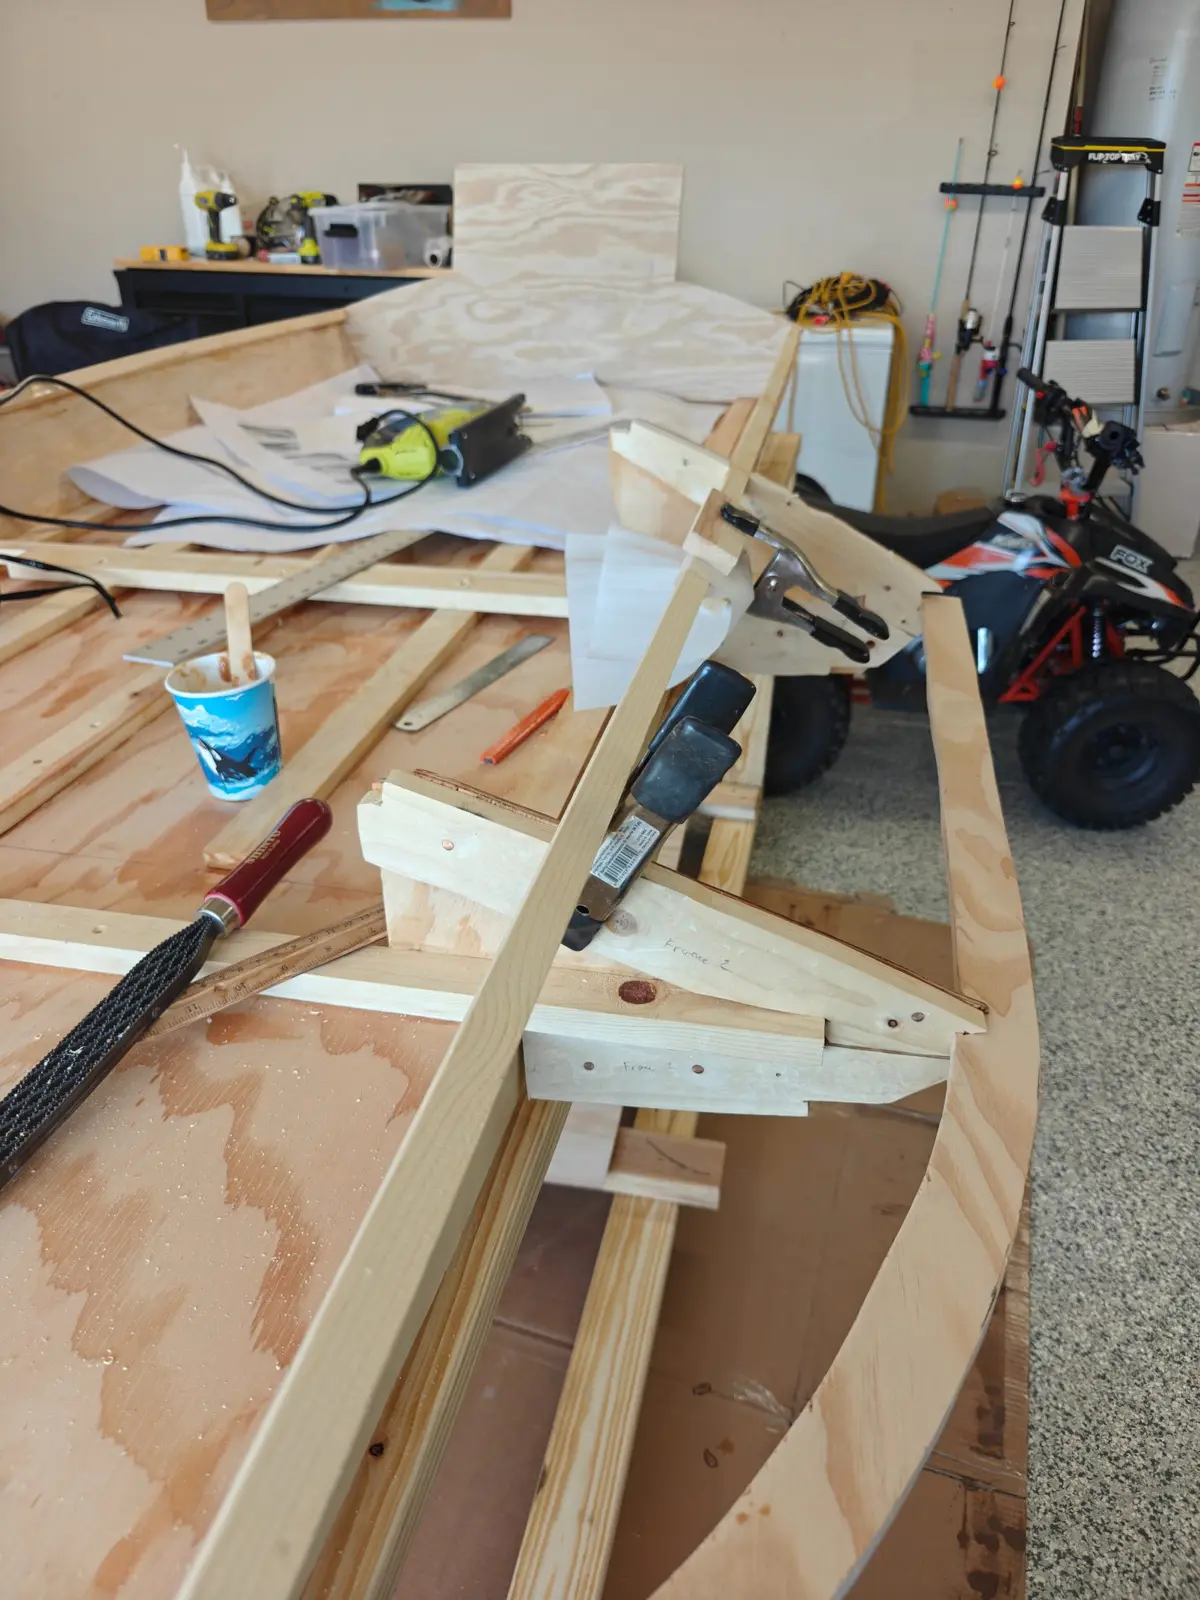
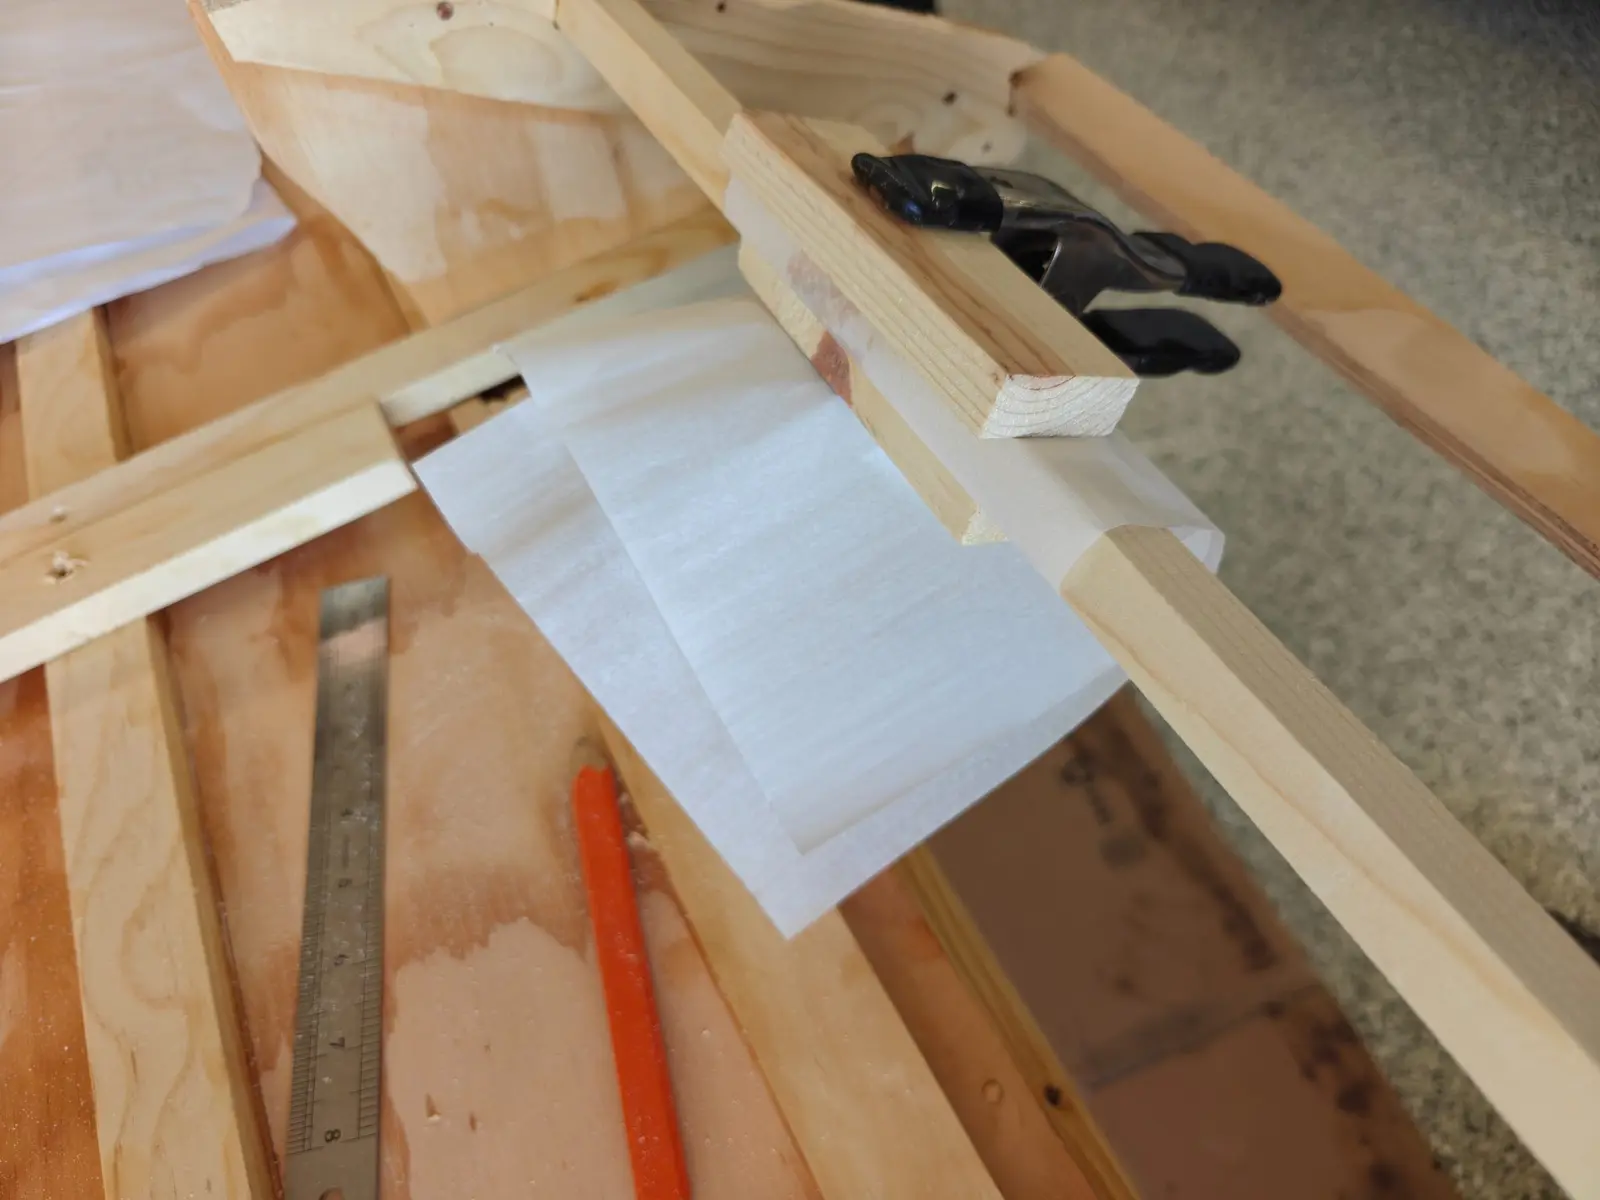
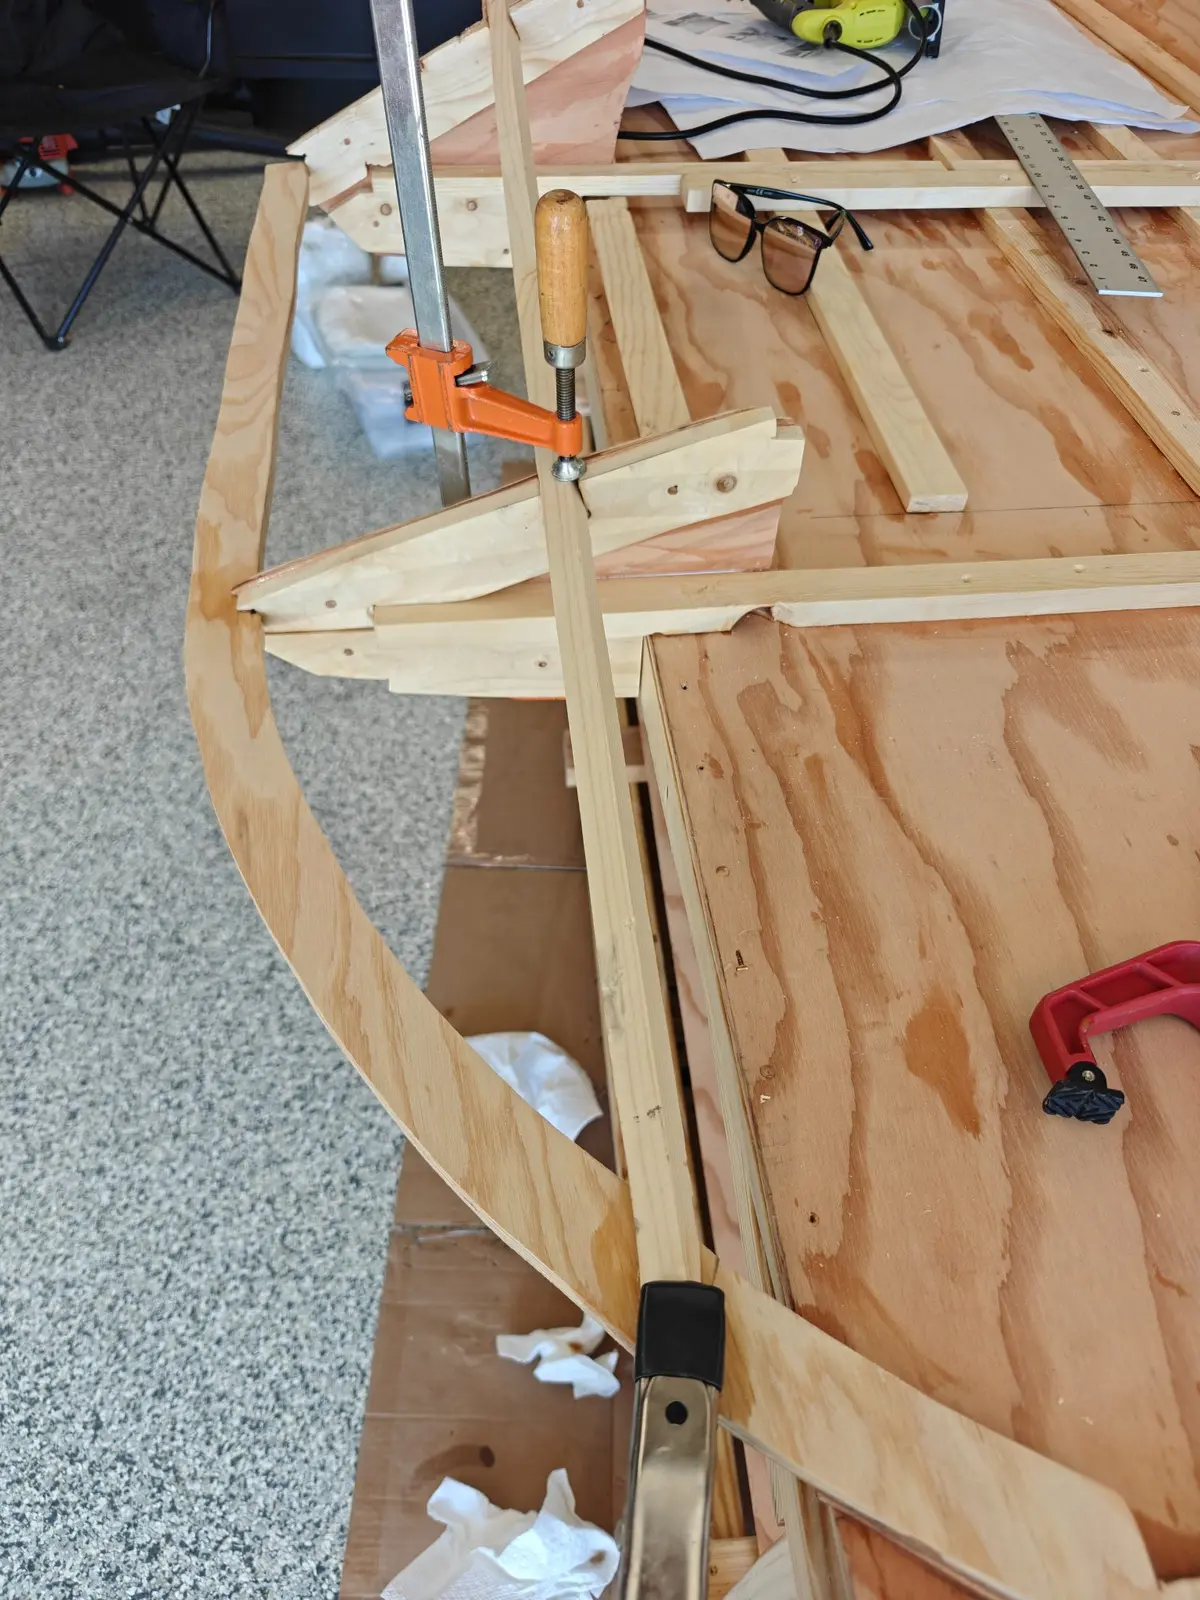
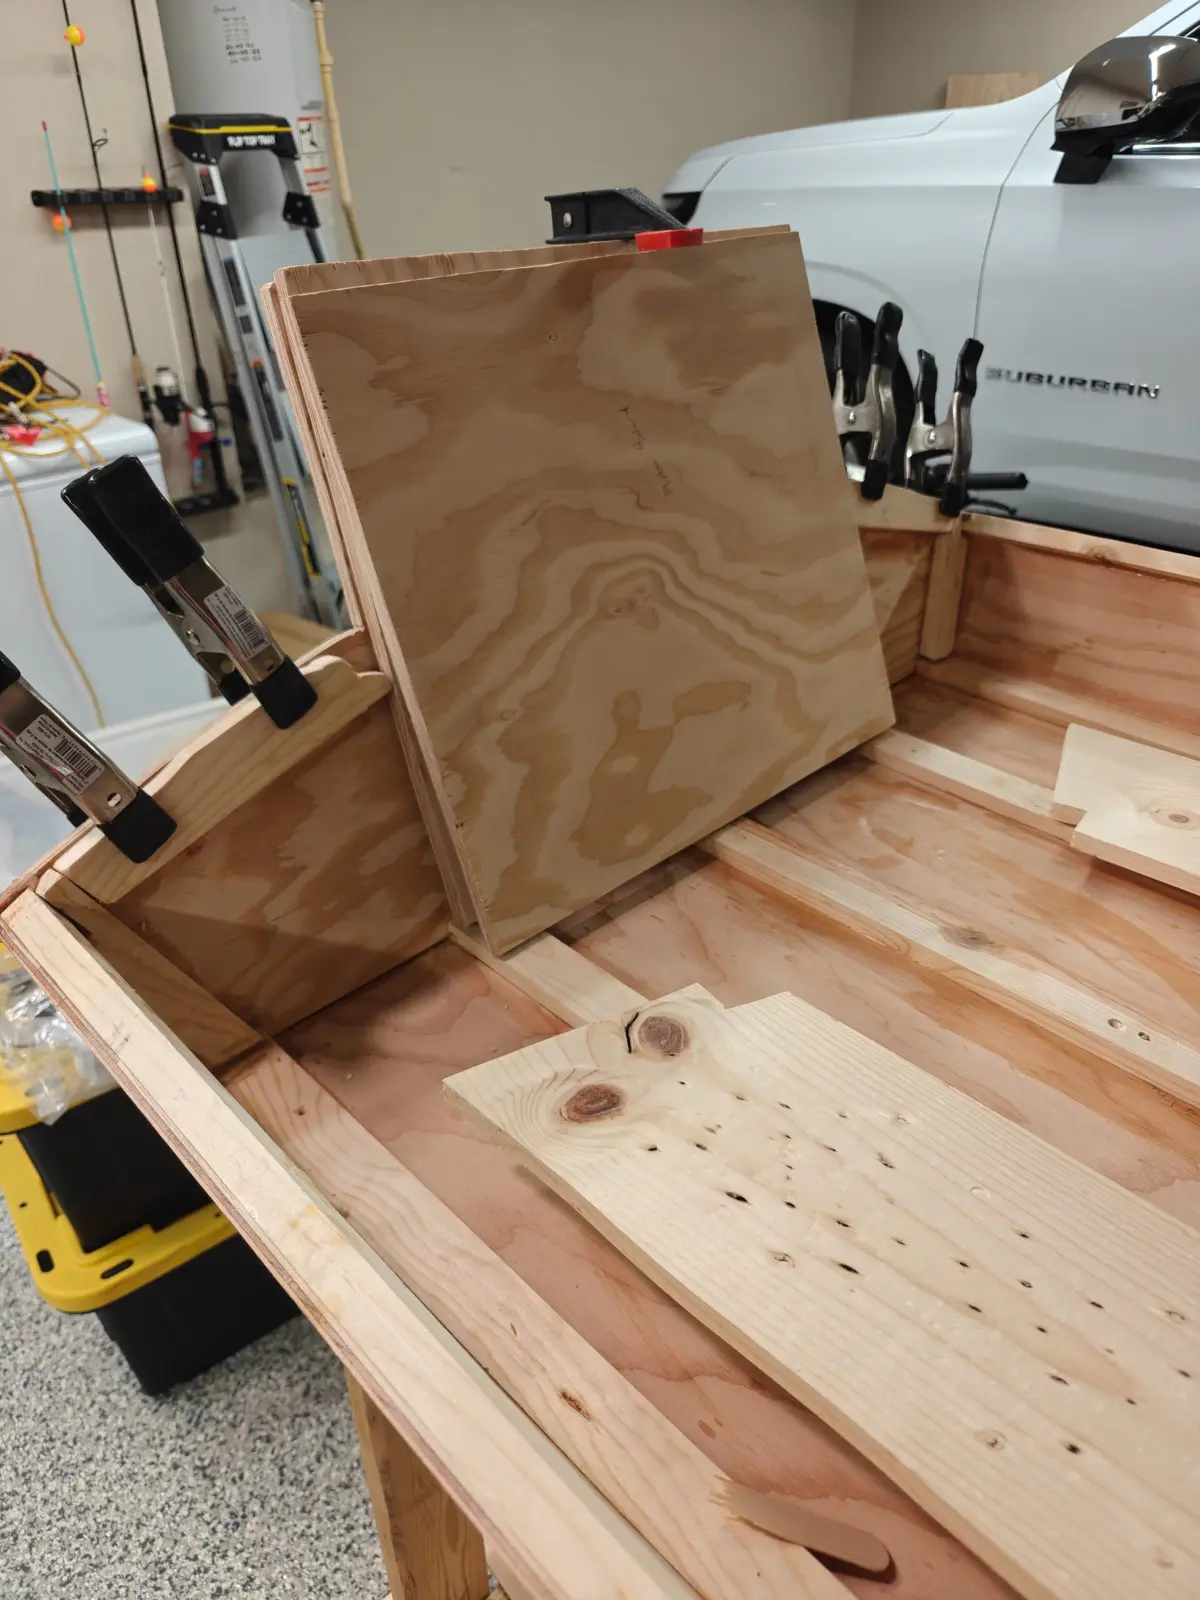
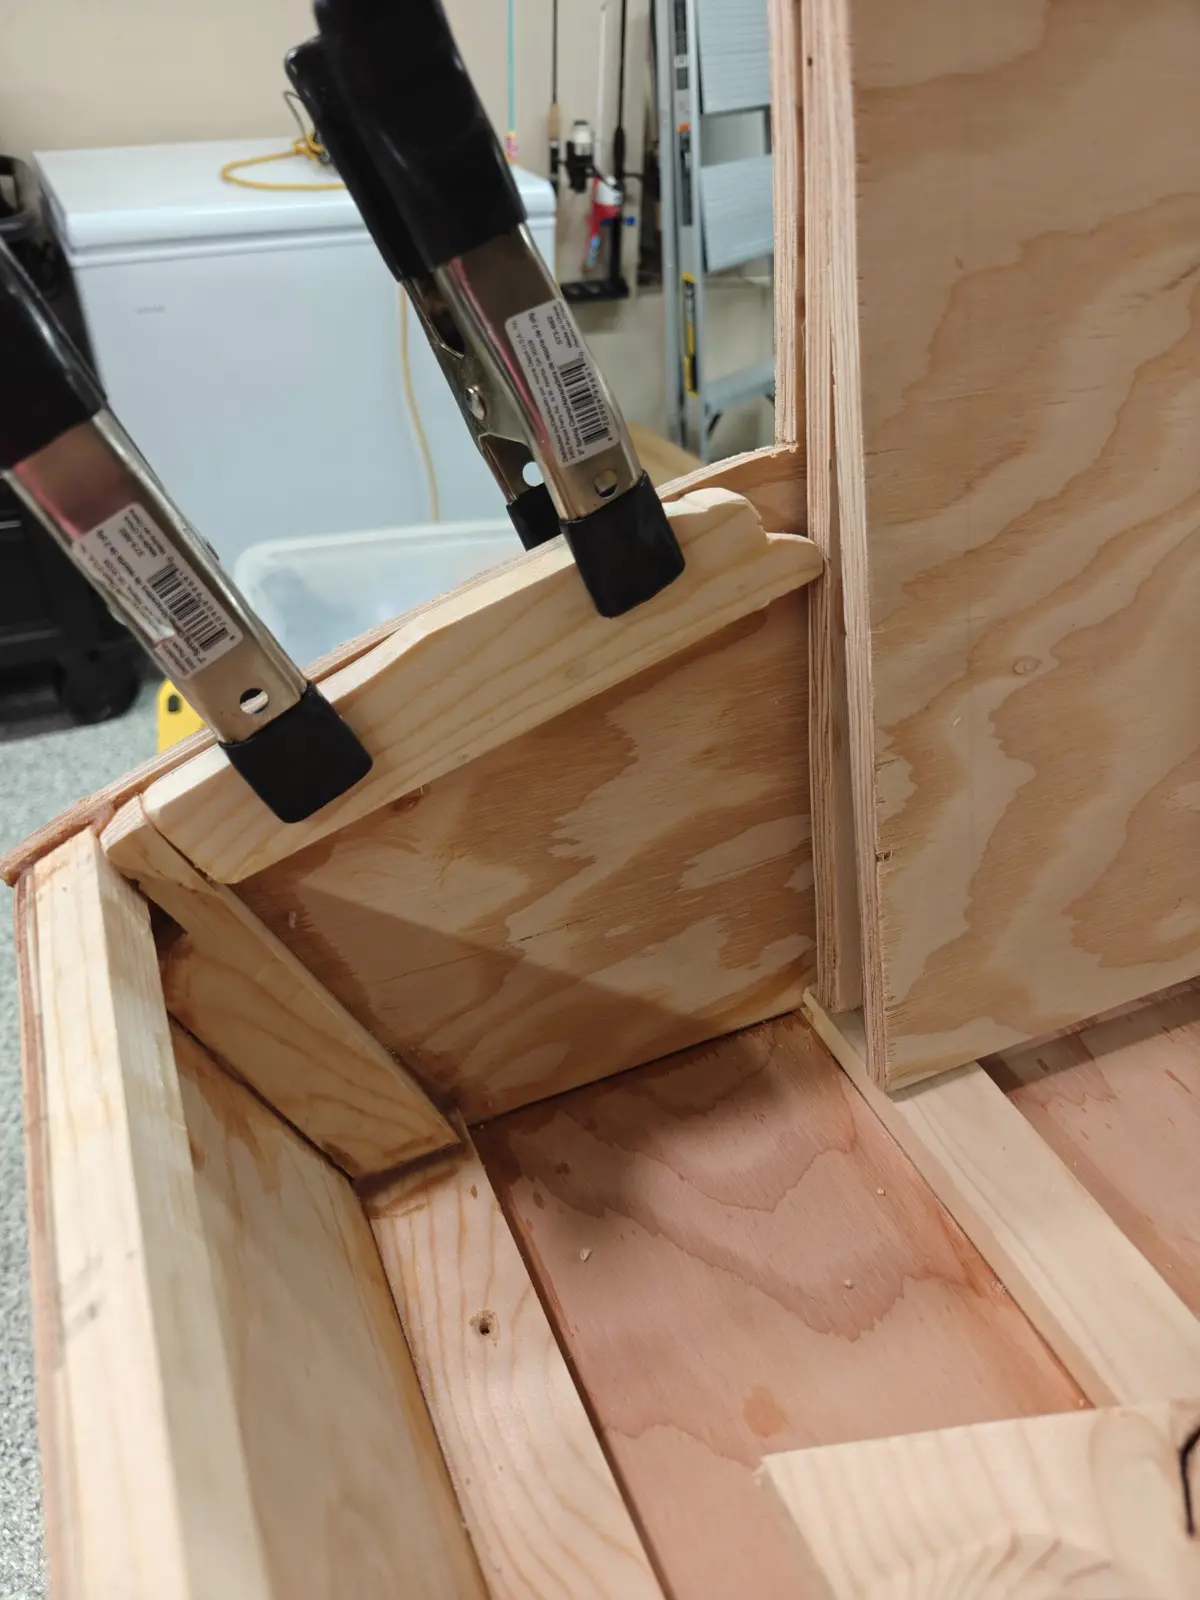
I spent a few minutes this morning just clamping on the bow pieces. There is about a one foot section of the bowel that gets an additional one quarter inch plywood. Pretty straightforward.
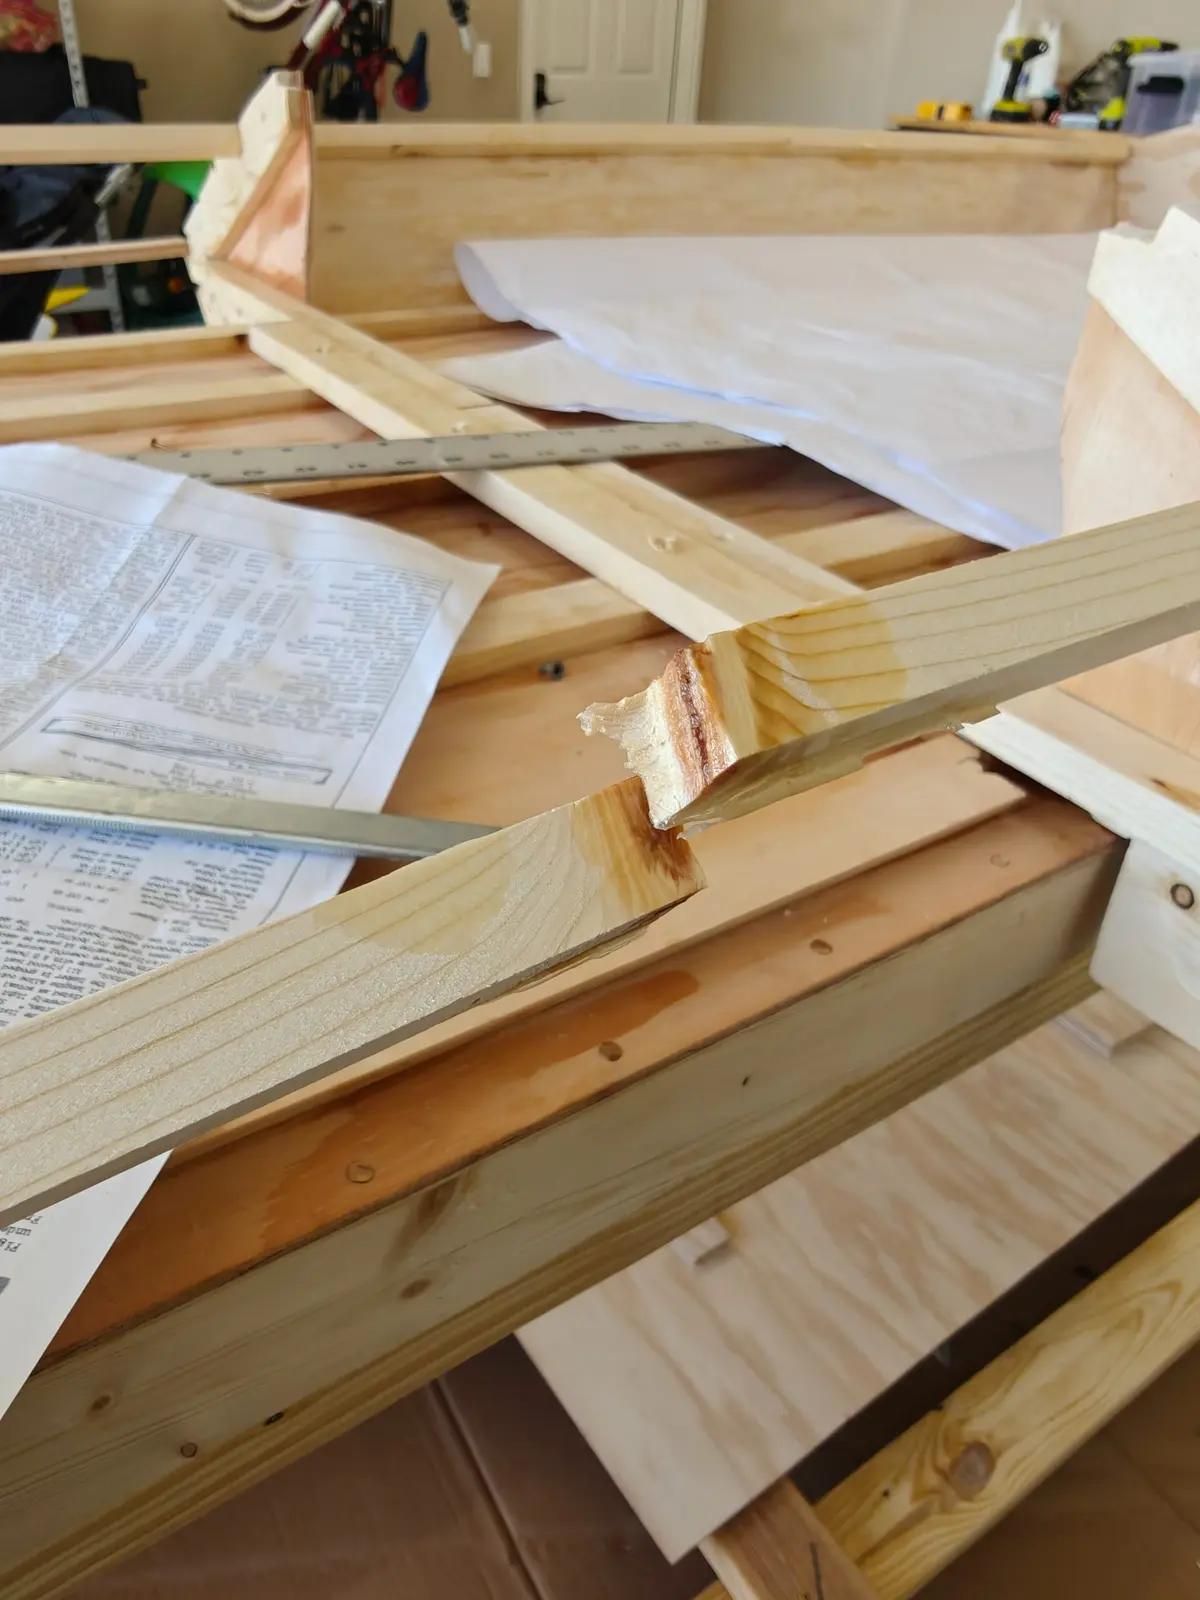
Oh and I accidentally broke the sheer clamp, so you can see the Band-Aid I've got going on here.
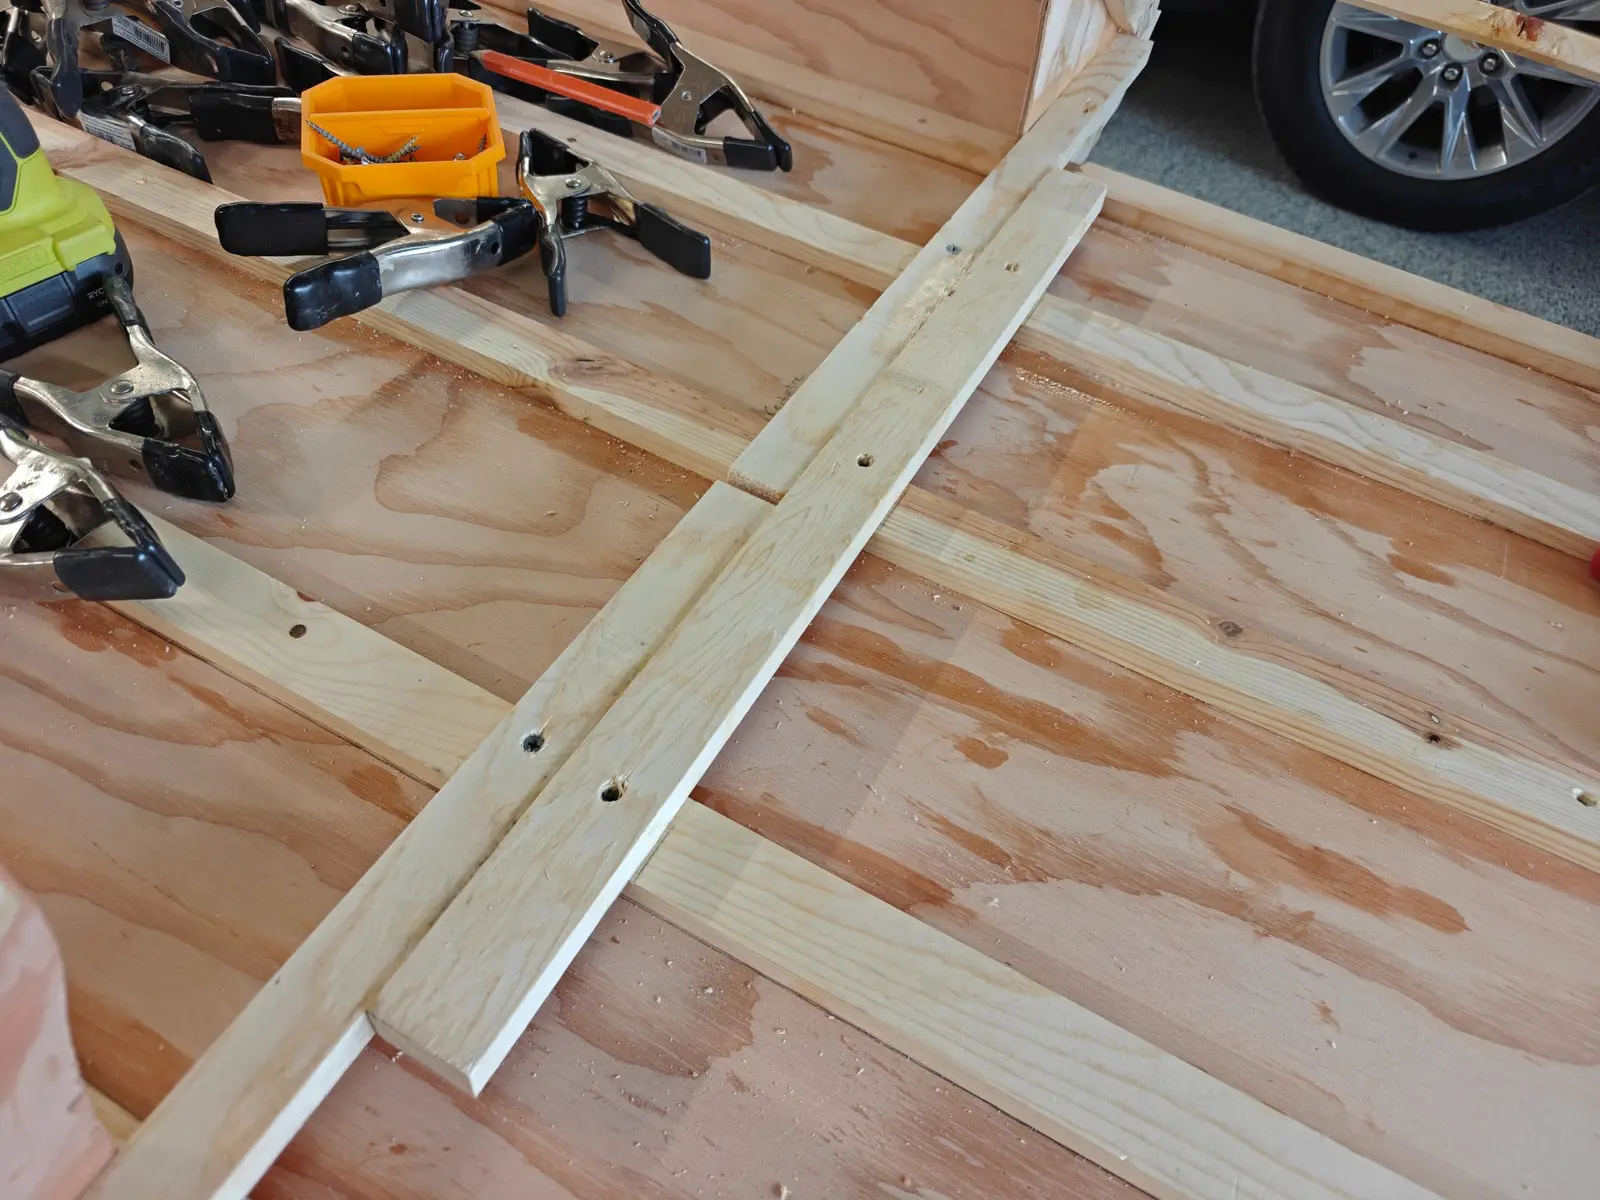
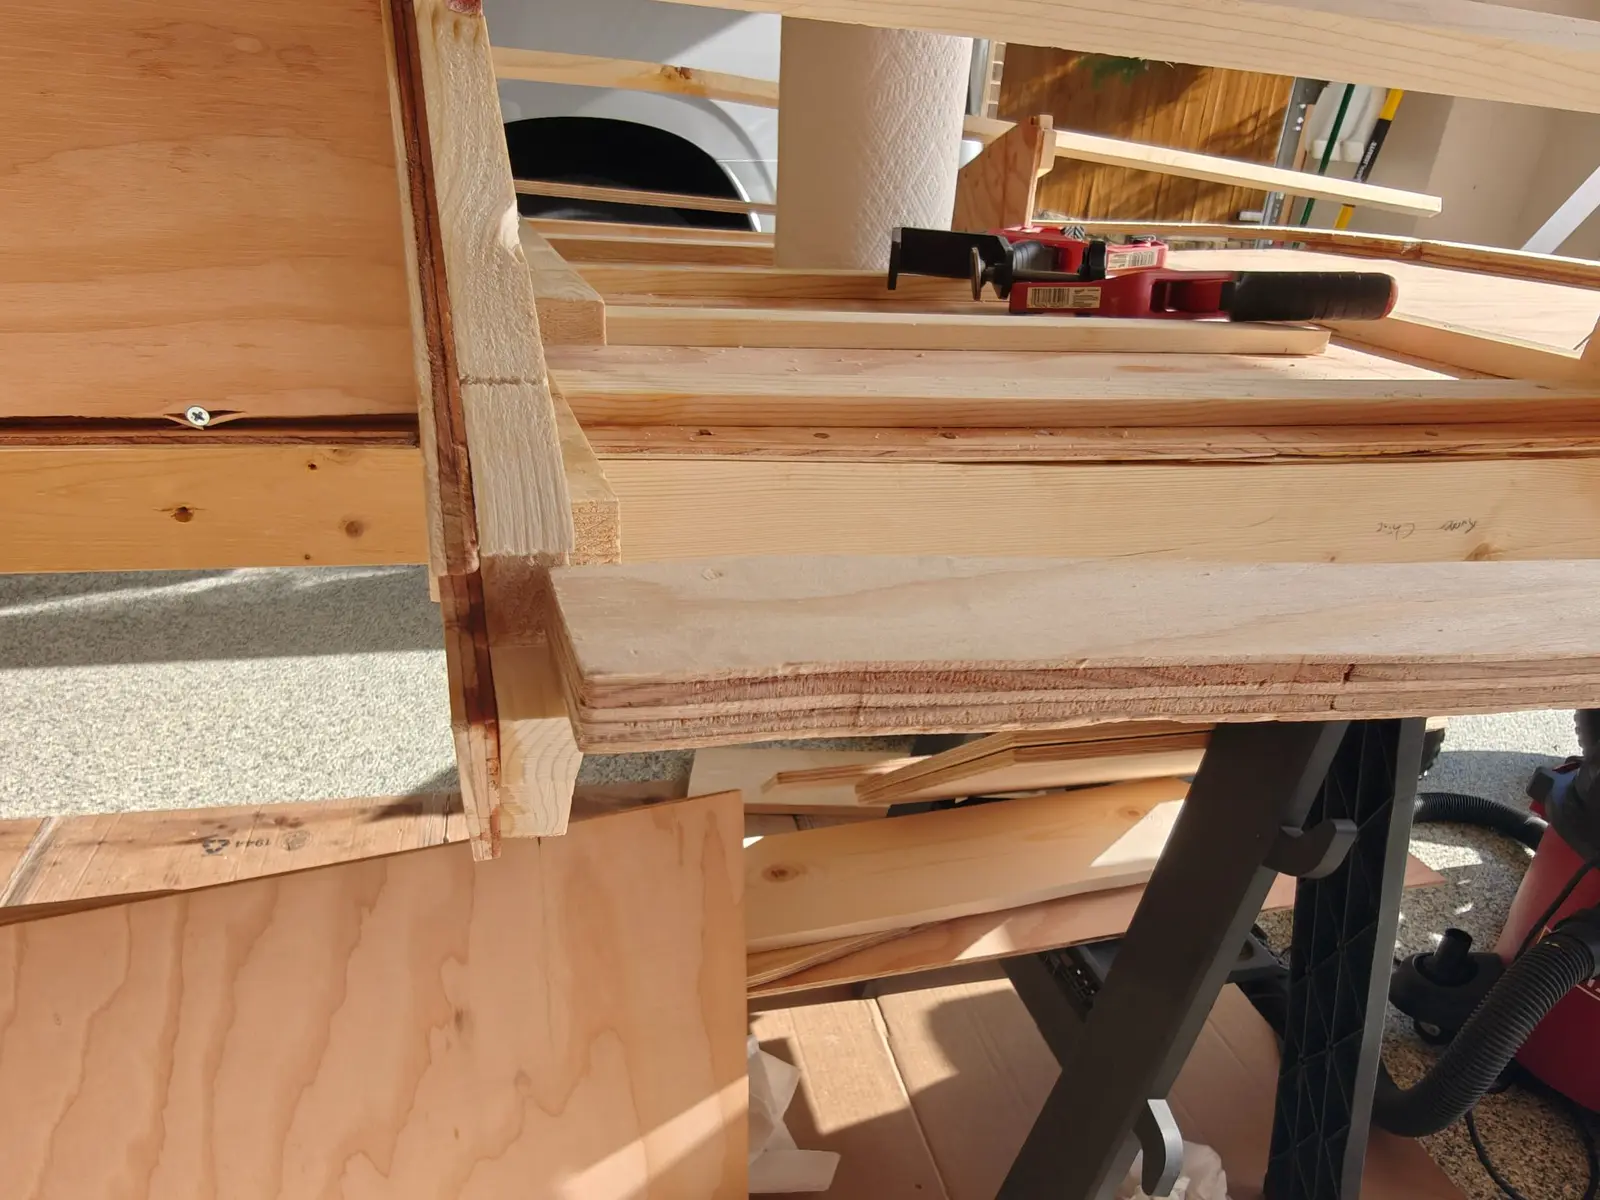
Update: because it's so hot here in Texas everything blues within an hour and it's strong within 4 hours. I came back in later tonight and I glued and nailed frame number one in place. Because I had the measurements wrong on the batten I had to fix to it another piece and glue that together, that's why it looks like that.
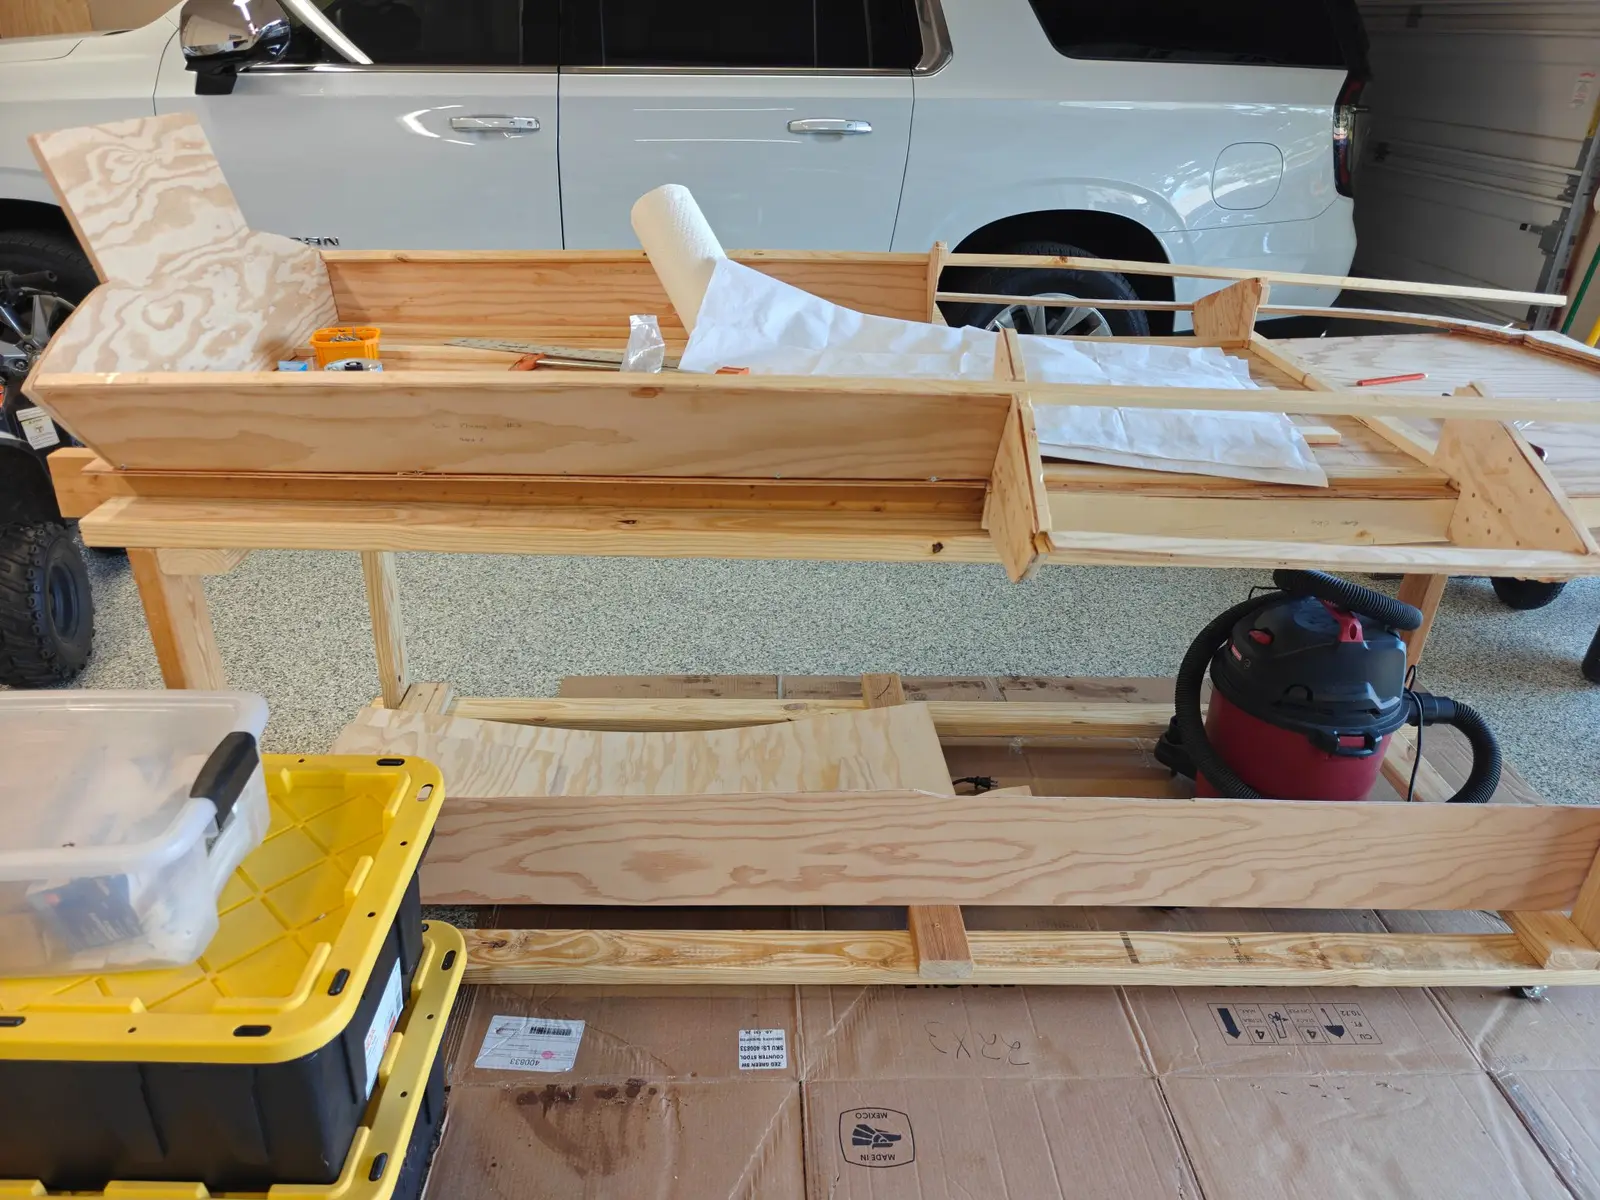
It is definitely starting to look like a boat now. Today I glued and mounted the side planks and the transom as well as the sheer clamp to frame one. I also went ahead and glued and mounted the bow piece.
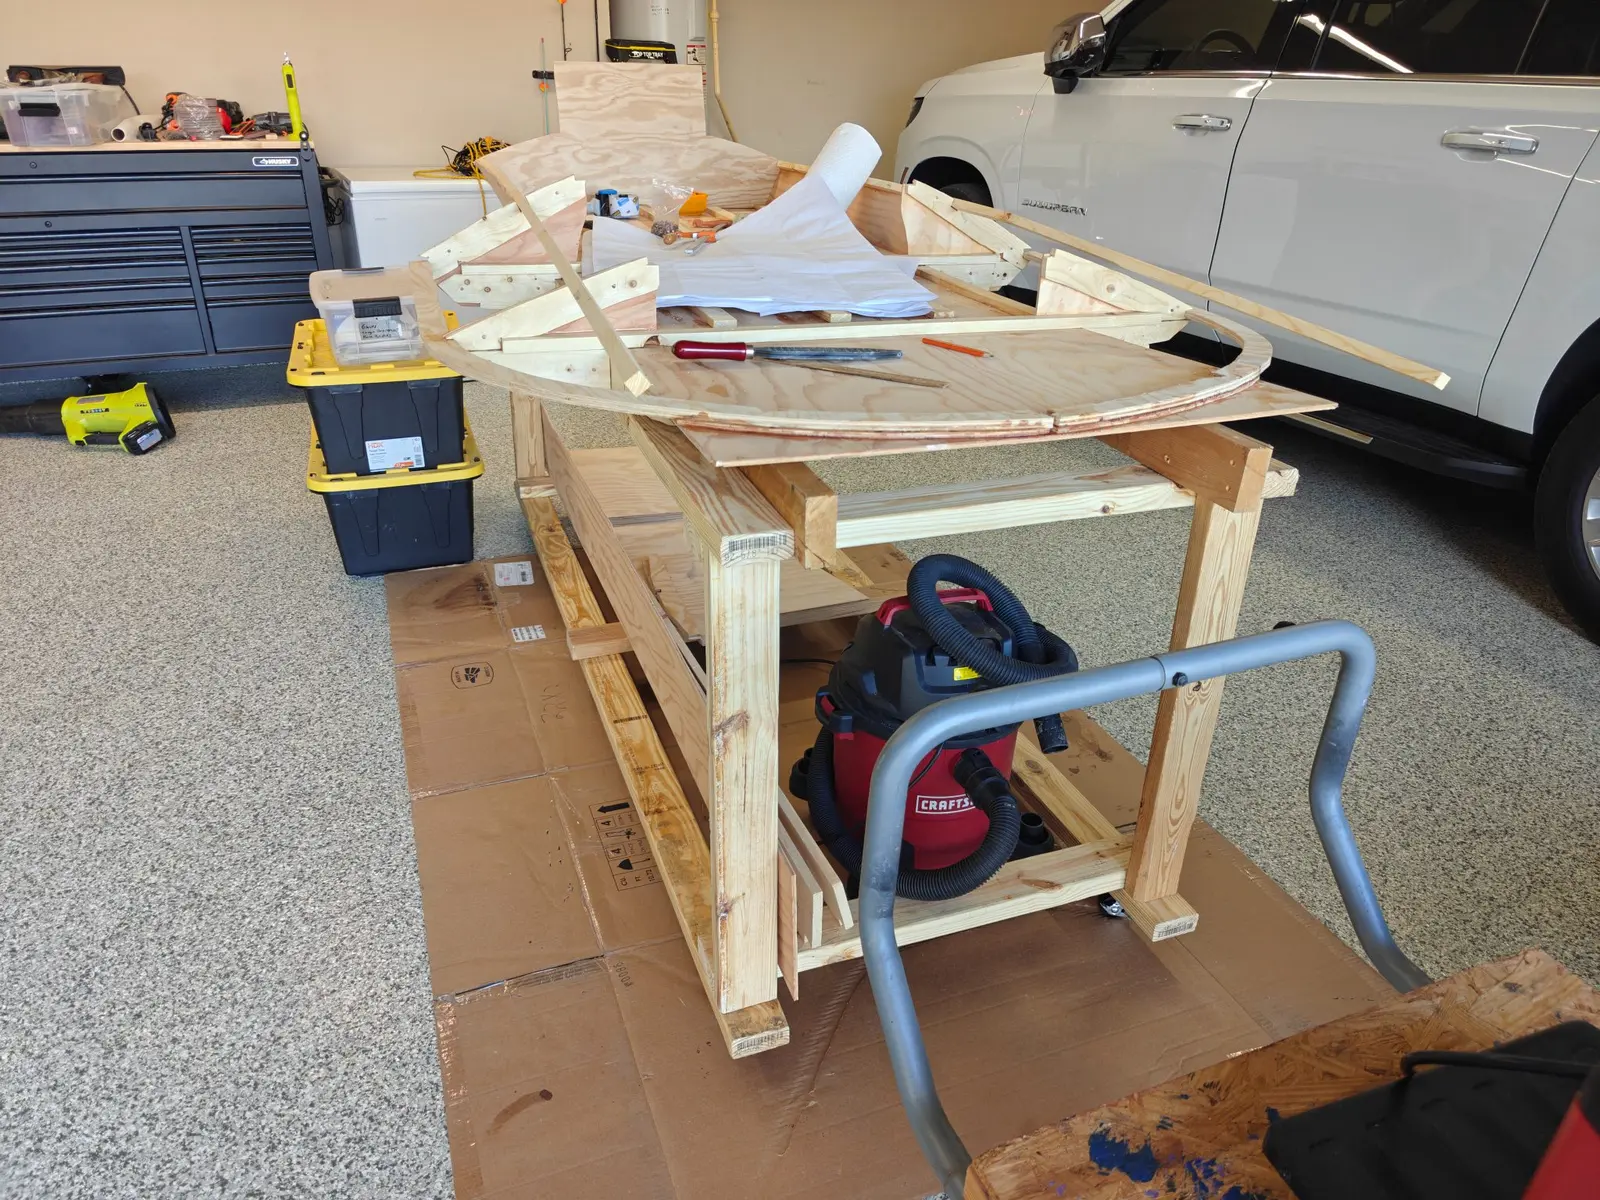
I'm at the point now where it's going to get heavy enough where I would like to have some casters so I will probably go to Home Depot later today and get a bunch of 2x4 so I can build a mobile sawhorse.
Upgraded my workbench by making it a custom fit for the boat and added casters. I think this is a necessary step because I don't like to do any sanding or cutting in the garage and from this point forward the boat is going to be too heavy and fragile to be lifting it back and forth to my outdoor sawhorse.
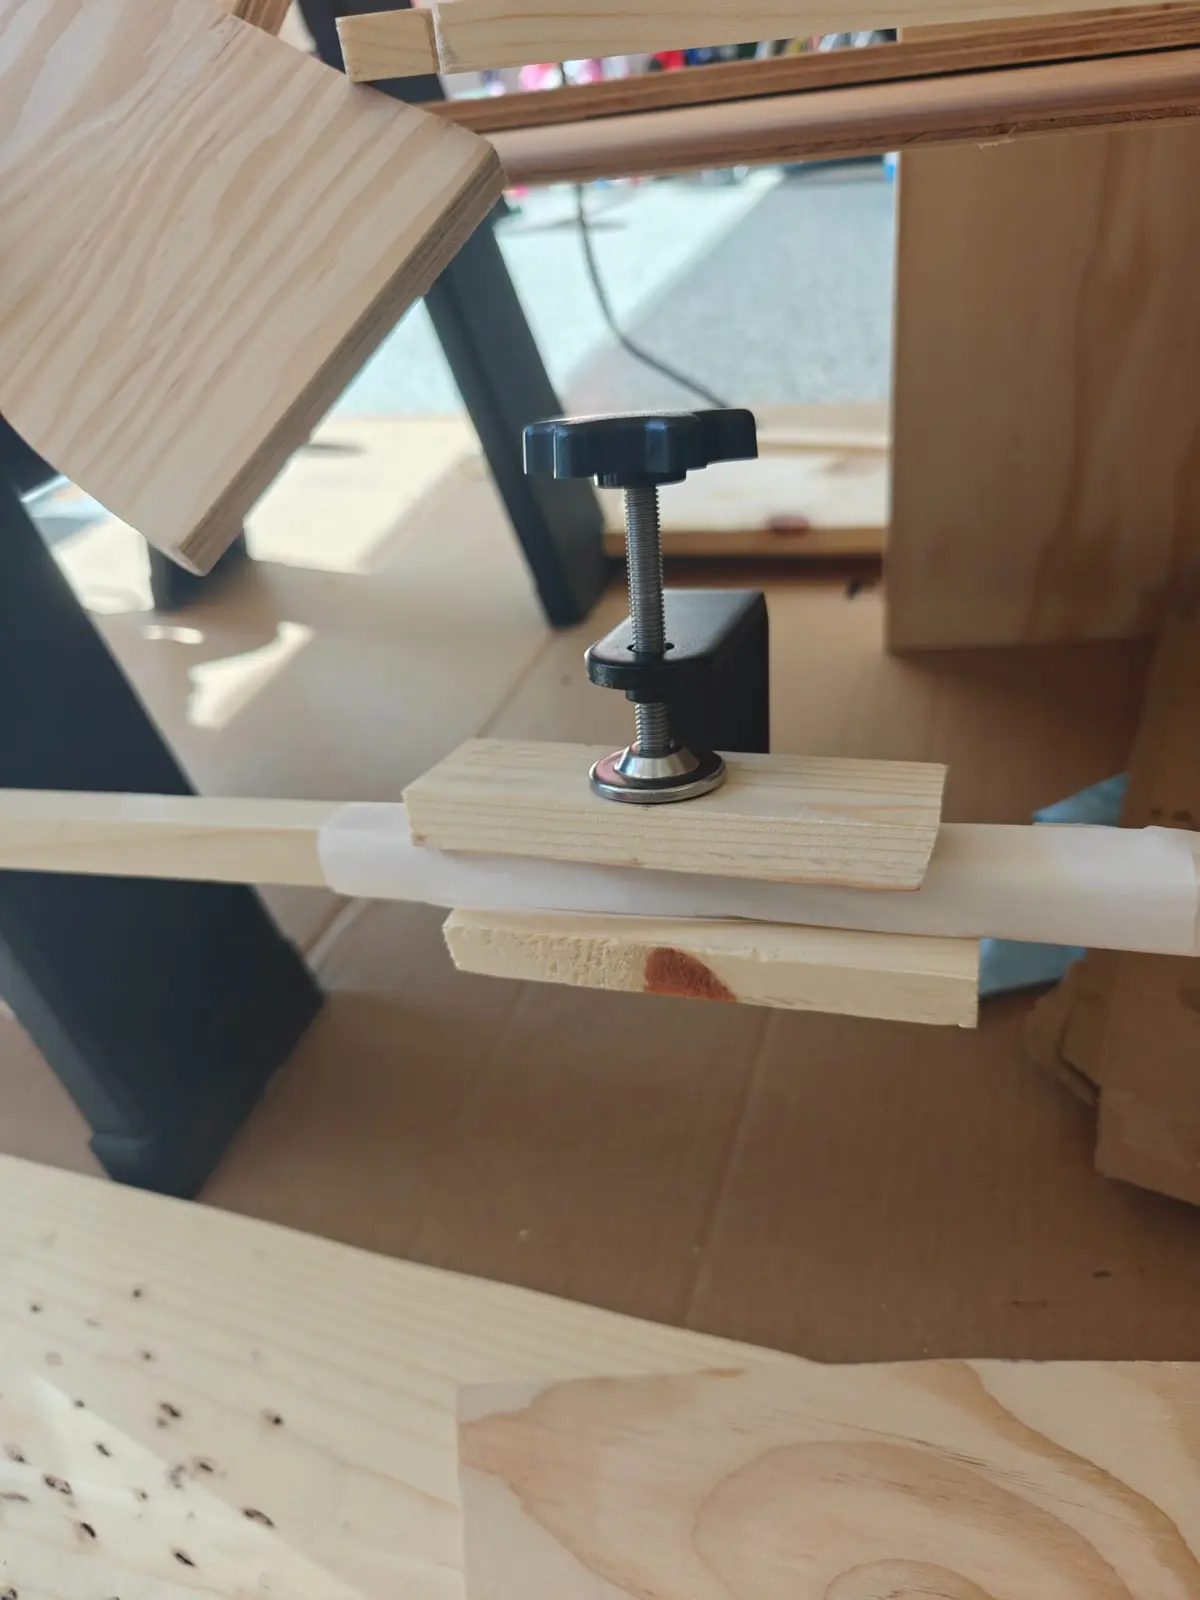
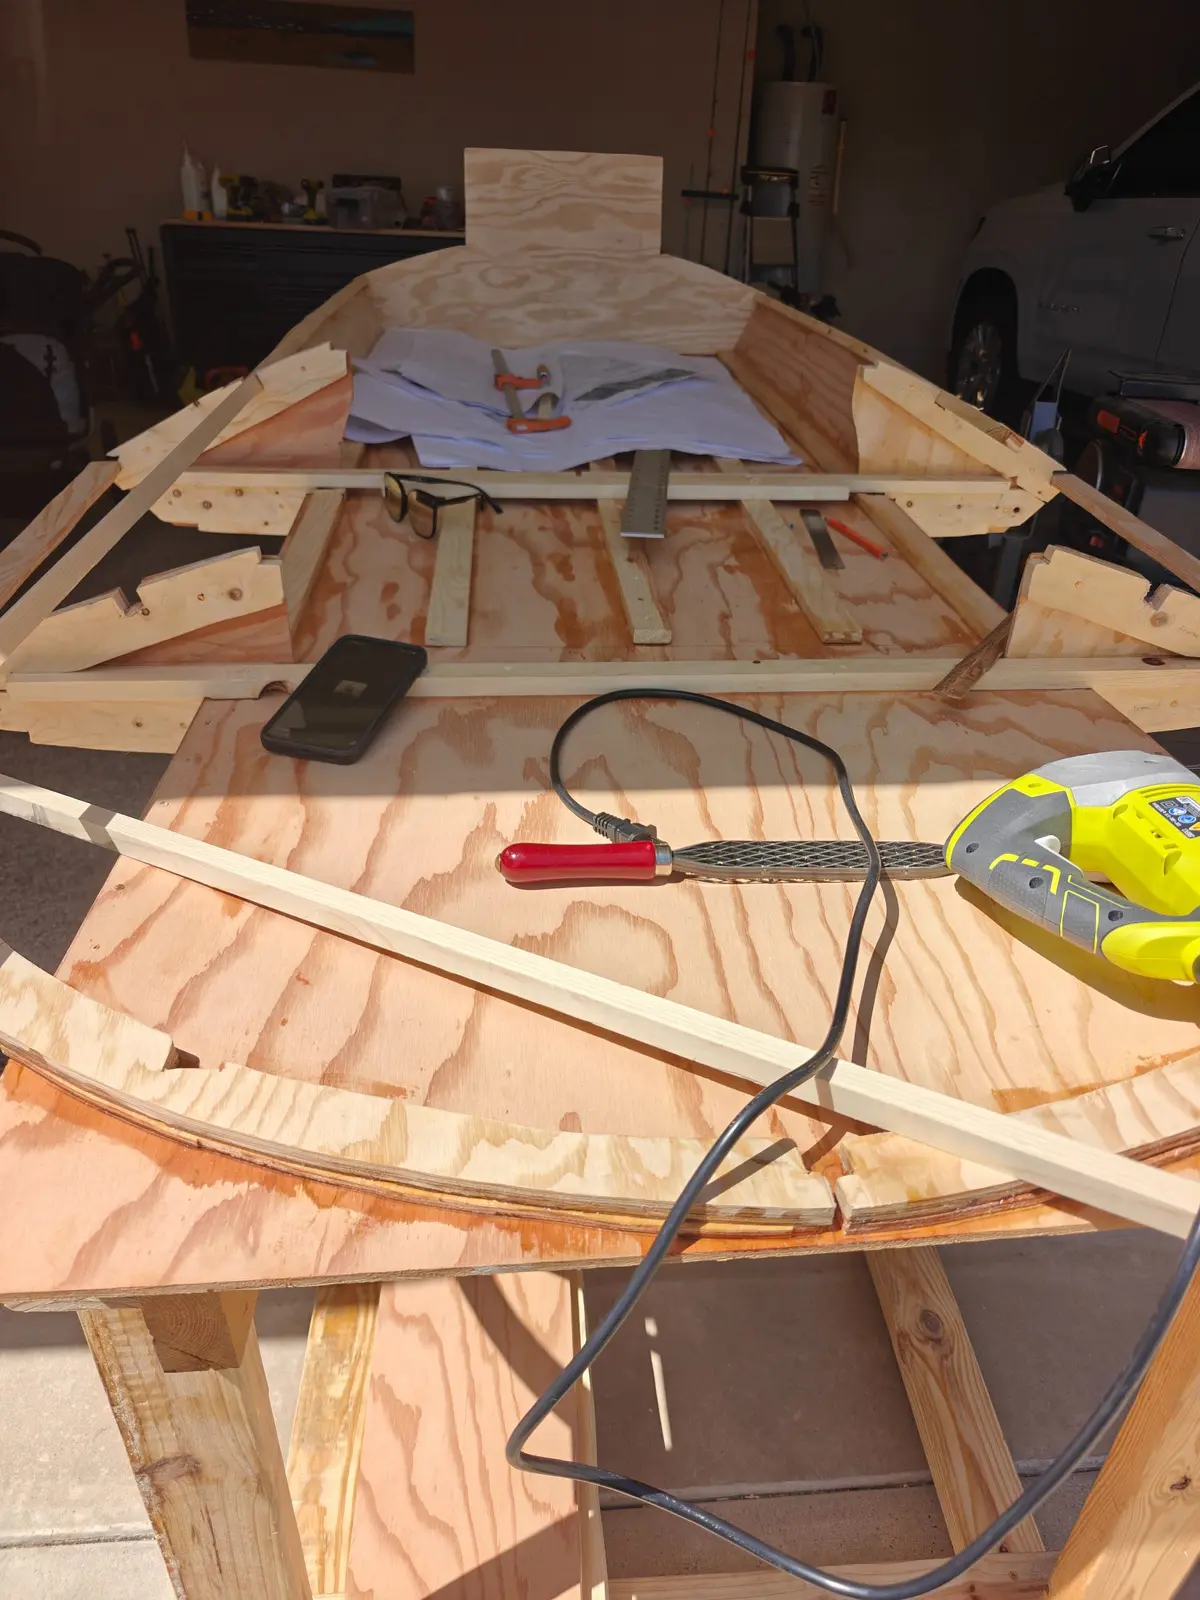
Well, I broke another piece. Honestly, I kind of expected this one to break. I had broken it a while back and just put a Band-Aid on it, but this time it needed a proper fix: a scarf joint.
Today I spent quite a bit of time dry fitting everything on the boat, including the coaming, the transom frame, the engine boards, and the dashboard panel. Nothing fits perfectly. I know I've complained about this in almost every post, but nothing fits perfectly. Everything is a quarter inch off, and in some cases up to half an inch off. It's frustrating, since I've put a lot of time into getting here and it just doesn't feel right.
For my next boat (cough, cough, the Squirt, cough, cough), I think I'll cut the pieces in different phases, a little bigger than needed, and trim them down to fit. For this boat, though, the damage is done. I don't plan on recutting most of the pieces at this point.
I've also decided to fiberglass tape a lot of the interior pieces. The plans don't call for it, but I'll feel a lot safer knowing everything is glassed so nothing comes loose down the road. It shouldn't add much weight, maybe a few pounds, and I'm not taping everything. But I'll definitely be taping the blocks to the exterior frame, the side panels, the bottom battens, and a few other components. It'll probably take a few days, but I want it done before I start on the paneling.
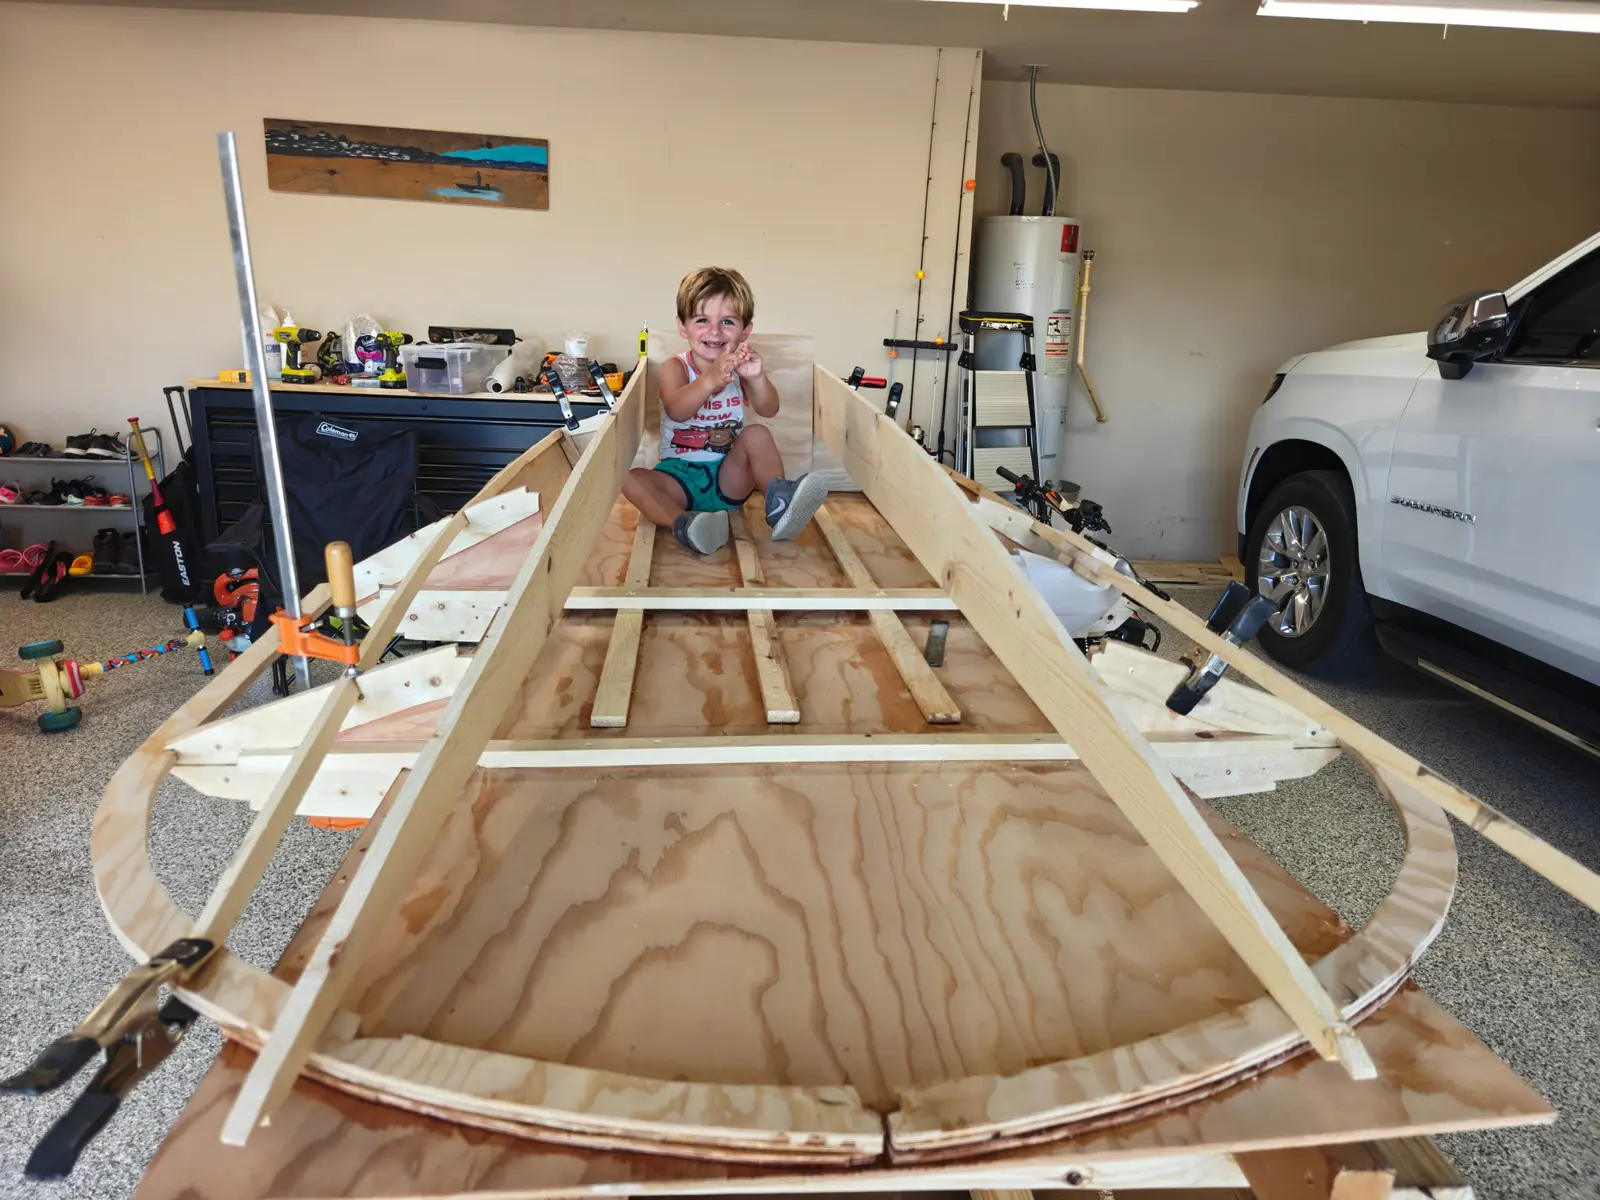
On a happy note, my son said it's starting to look like a boat, so I let him hop in for a picture.