Sheer fairing nearing completion
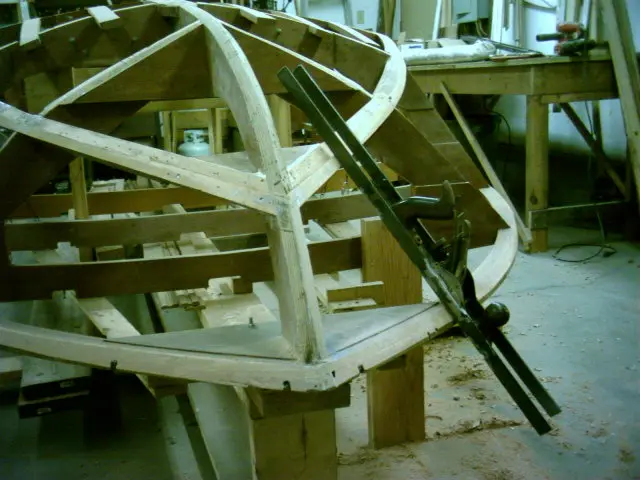
Sheer fairing nearing completion. To span from chine to sheer, we've welded two 30" long pieces of 1/8" by 1" flat steel bar to each side of an old jack plane. This speeds up the fairing process and is very accurate.
Chine was faired from frame # 4 to the stem.
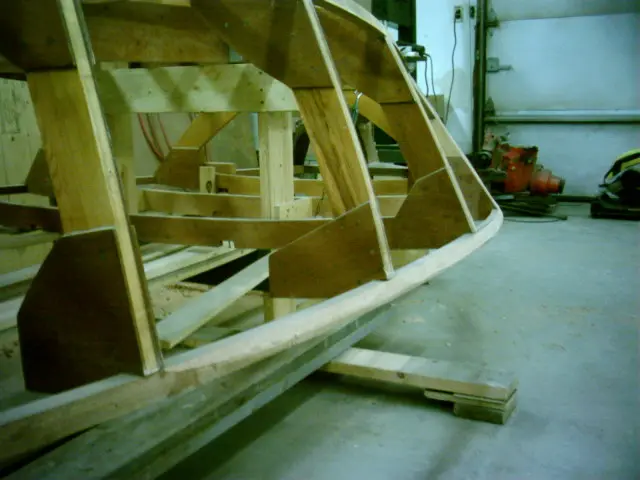
Most of the first sheer lamination was faired away
Most of the first sheer lamination was faired away.
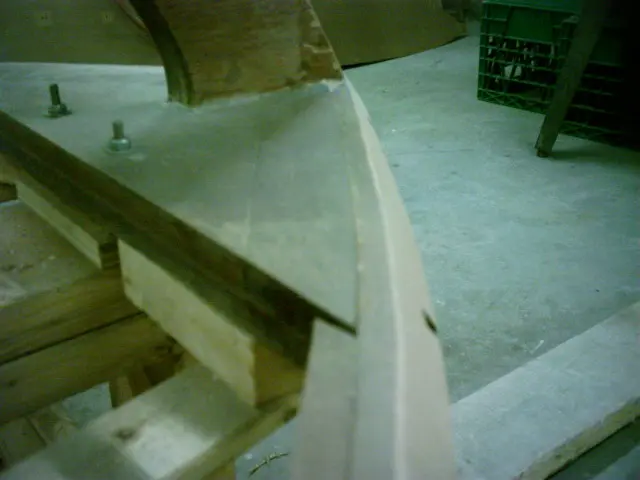
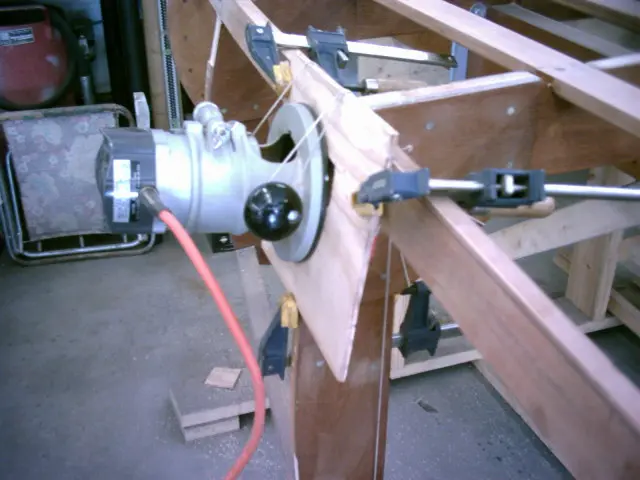
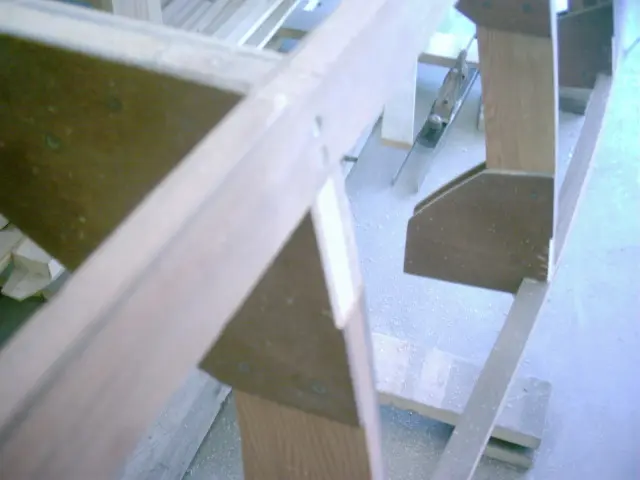
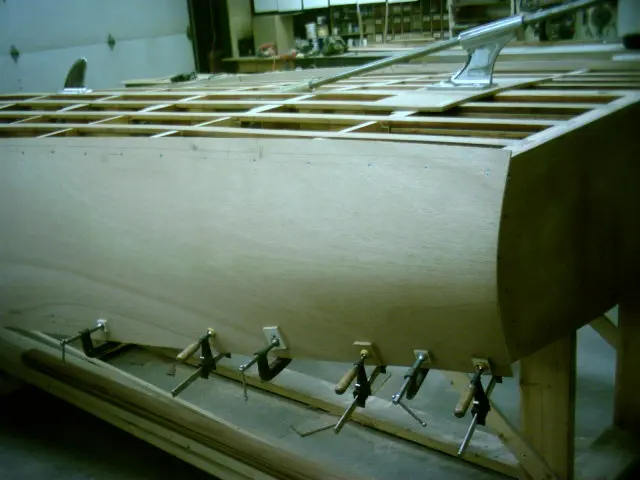
The frame sides must be faired so that they don't project against the plywood planking
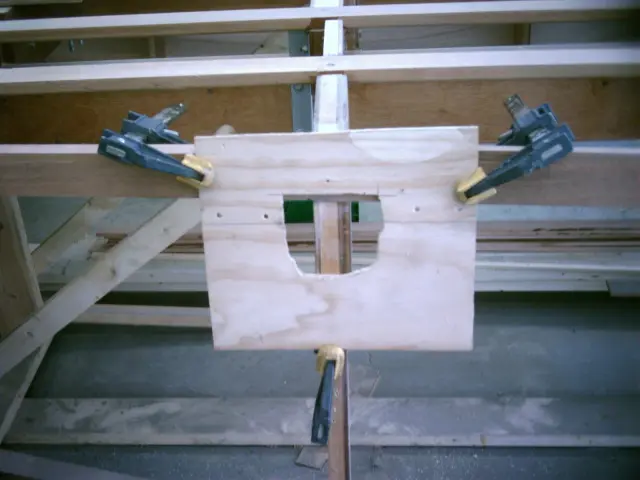
The frame sides must be faired so that they don't project against the plywood planking. This would cause a 'hard spot' which could cause the panel to fracture. Our trusty router jig was clamped to the side of the frame.
The router bit depth was set to cut 1/16" below the chine surface.
The operation was repeated at the sheer junction. A block plane was used to fair the remainder of the frame.
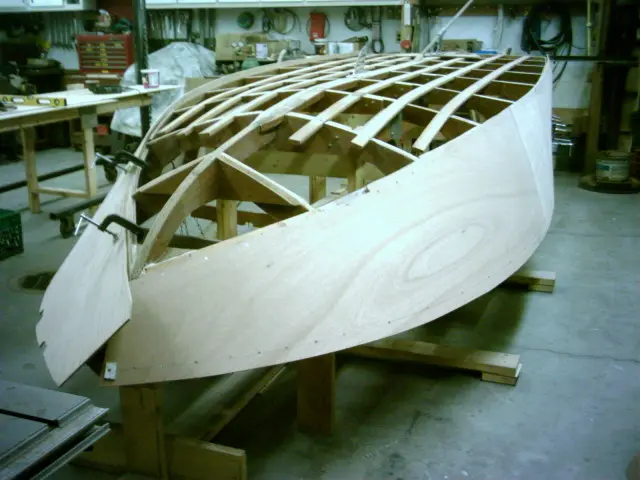
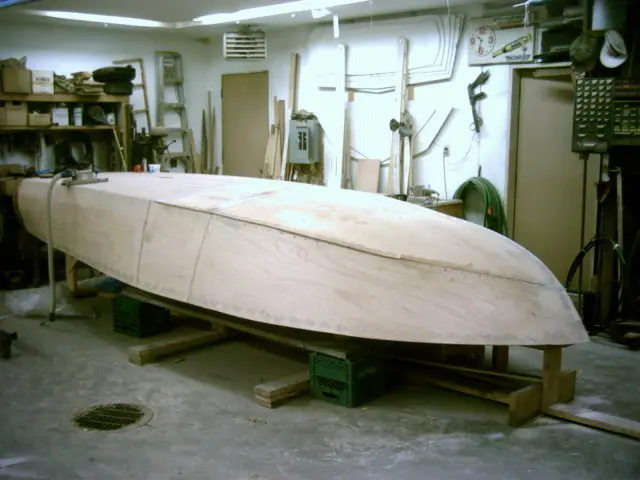
Starboard side planking installed. The port side is being fitted.
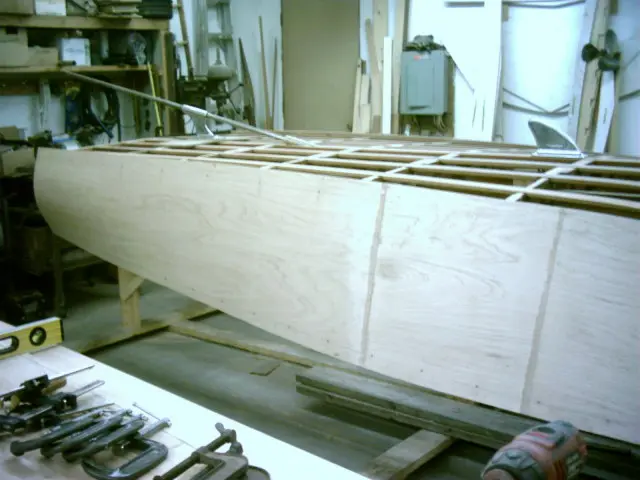
Two scarf joints fall between frames #4 and #6.
View from the starboard rear. The tumblehome is quite severe but the 5 ply marine plywood conforms to the radius quite easily.
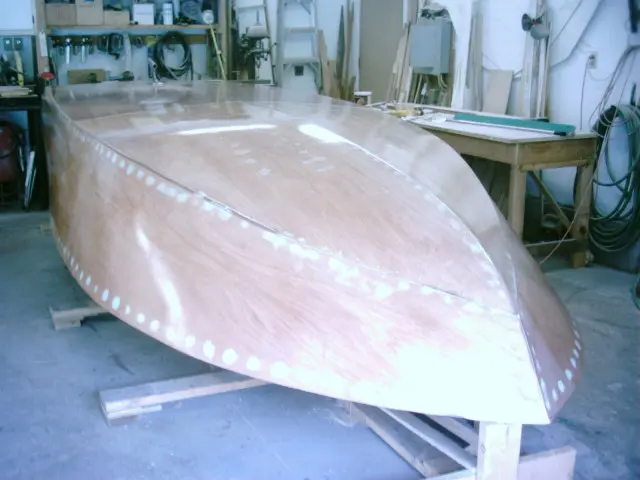
Screw holes were puttied with Interlux Watertite YAV135
Screw holes were puttied with Interlux Watertite YAV135. It's a two-part, fast drying epoxy compound for filling holes, repairing scratches in gelcoat and fairing fiberglass. It can also be used below the waterline to fill gelcoat blisters.
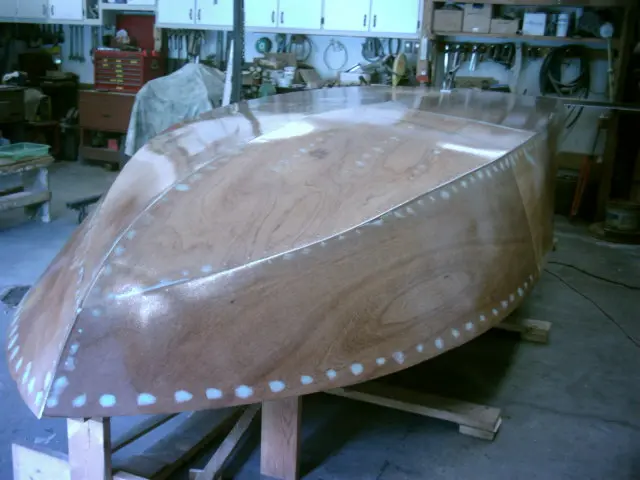
Took Friday off to feather the overlaps and sand the hull with 40 grit sandpaper
Took Friday off to feather the overlaps and sand the hull with 40 grit sandpaper. Straight-line and orbital air files saved a lot of time on this job. We splurged on a DeWalt commercial duty 6" variable speed orbital sander for feathering the overlaps. The hull was rinsed with water, scuffed with a 3M scotch pad and allowed to dry overnight. Three rounds of epoxy spaced about two hours apart were applied on Saturday.
Filling and fairing is next !