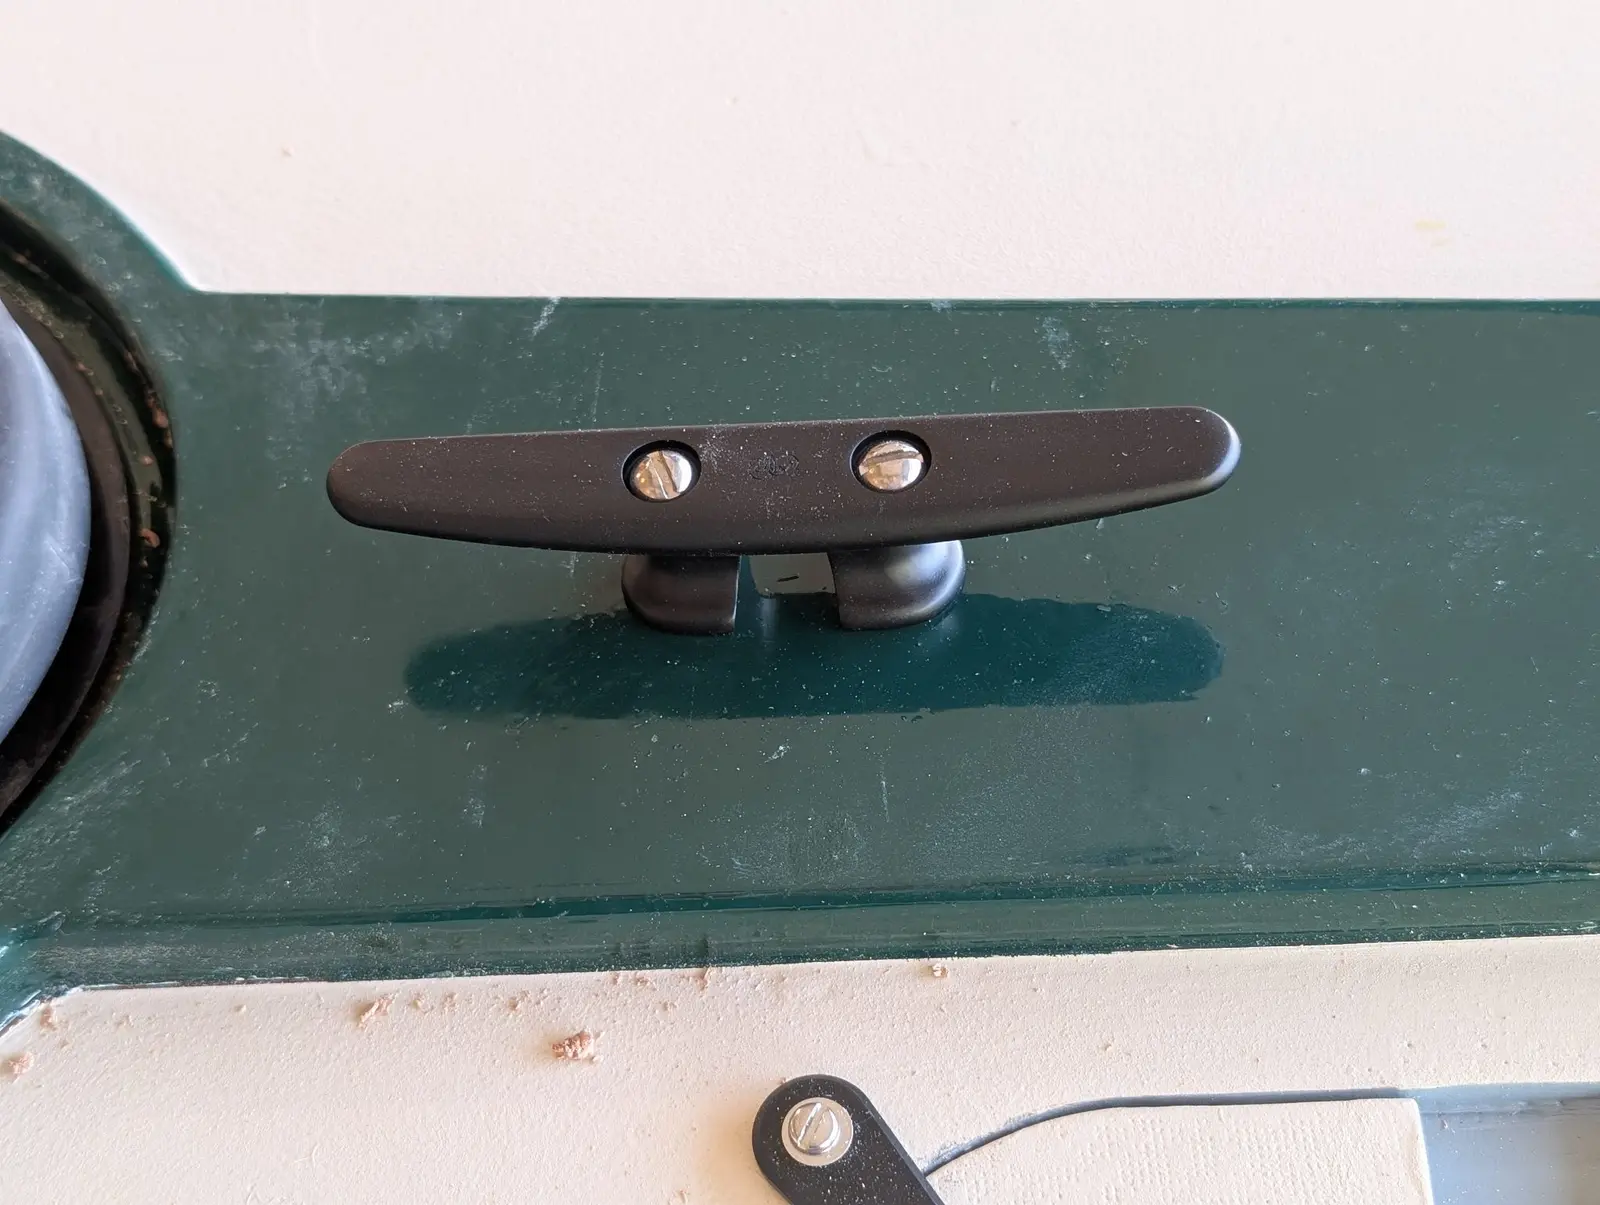
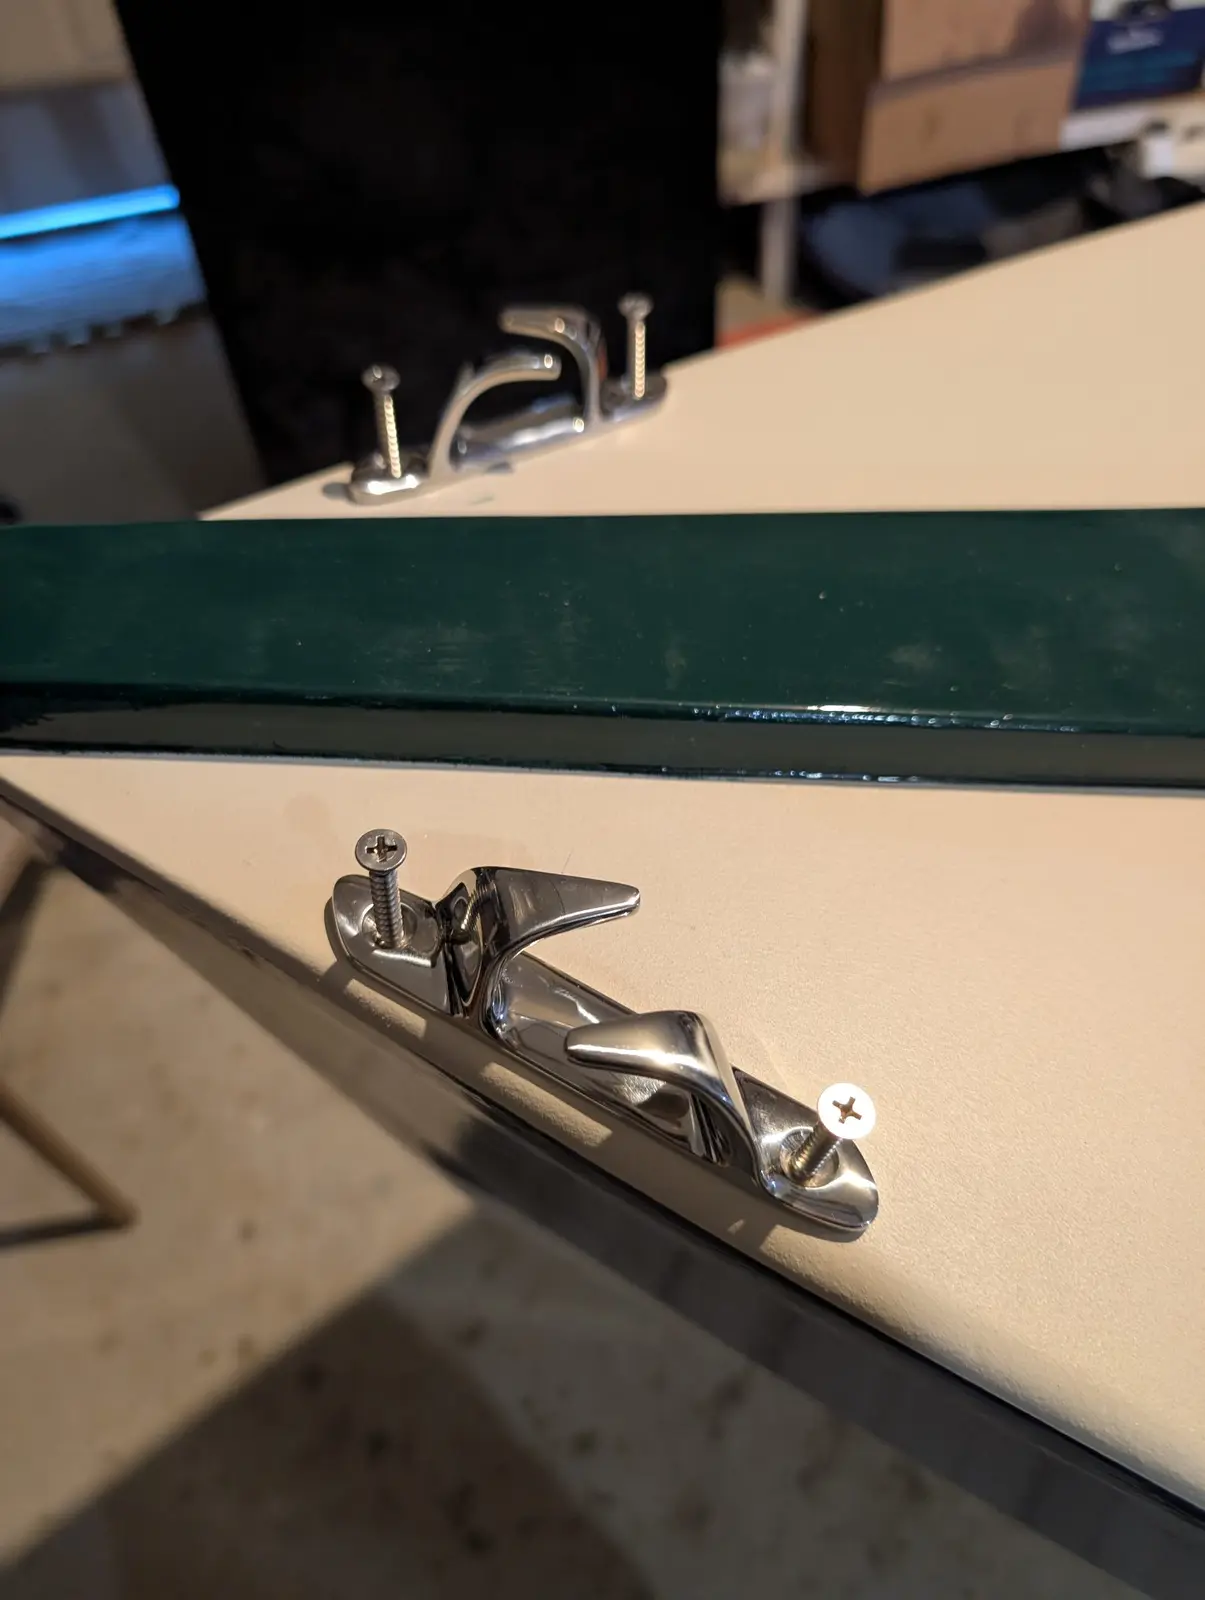
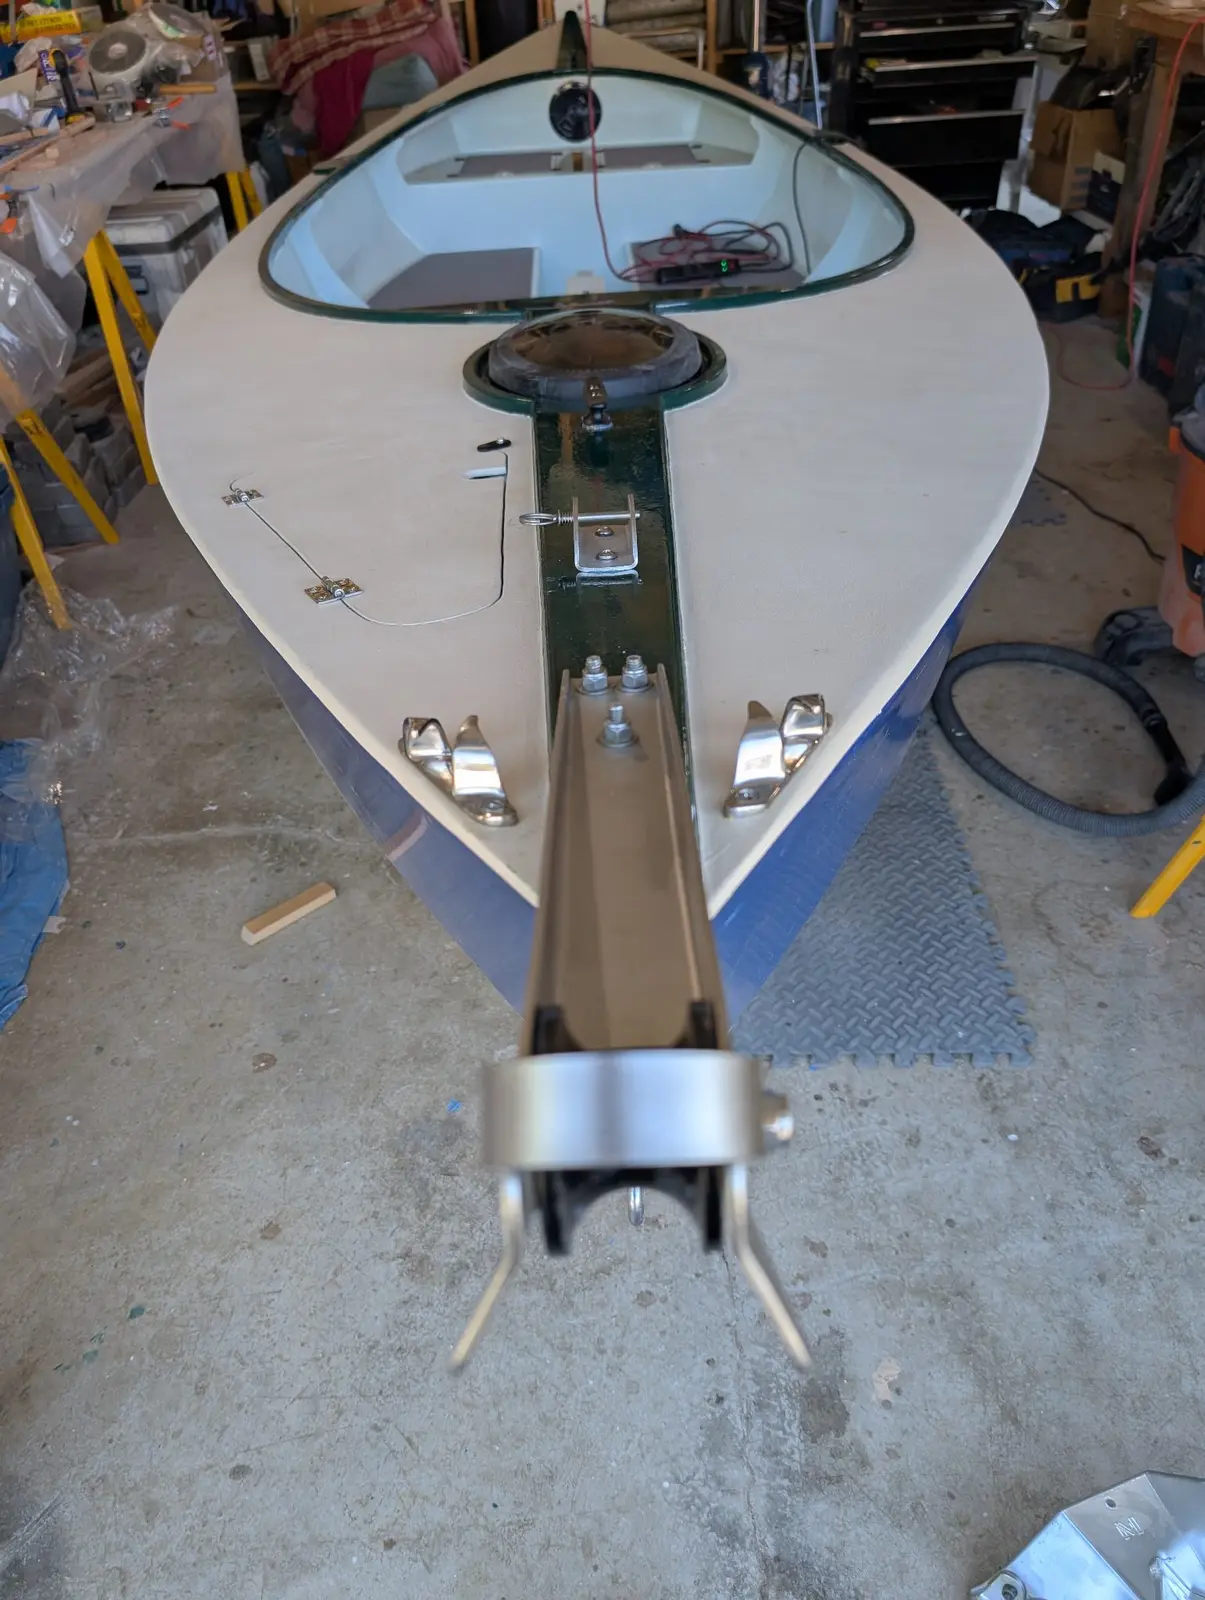
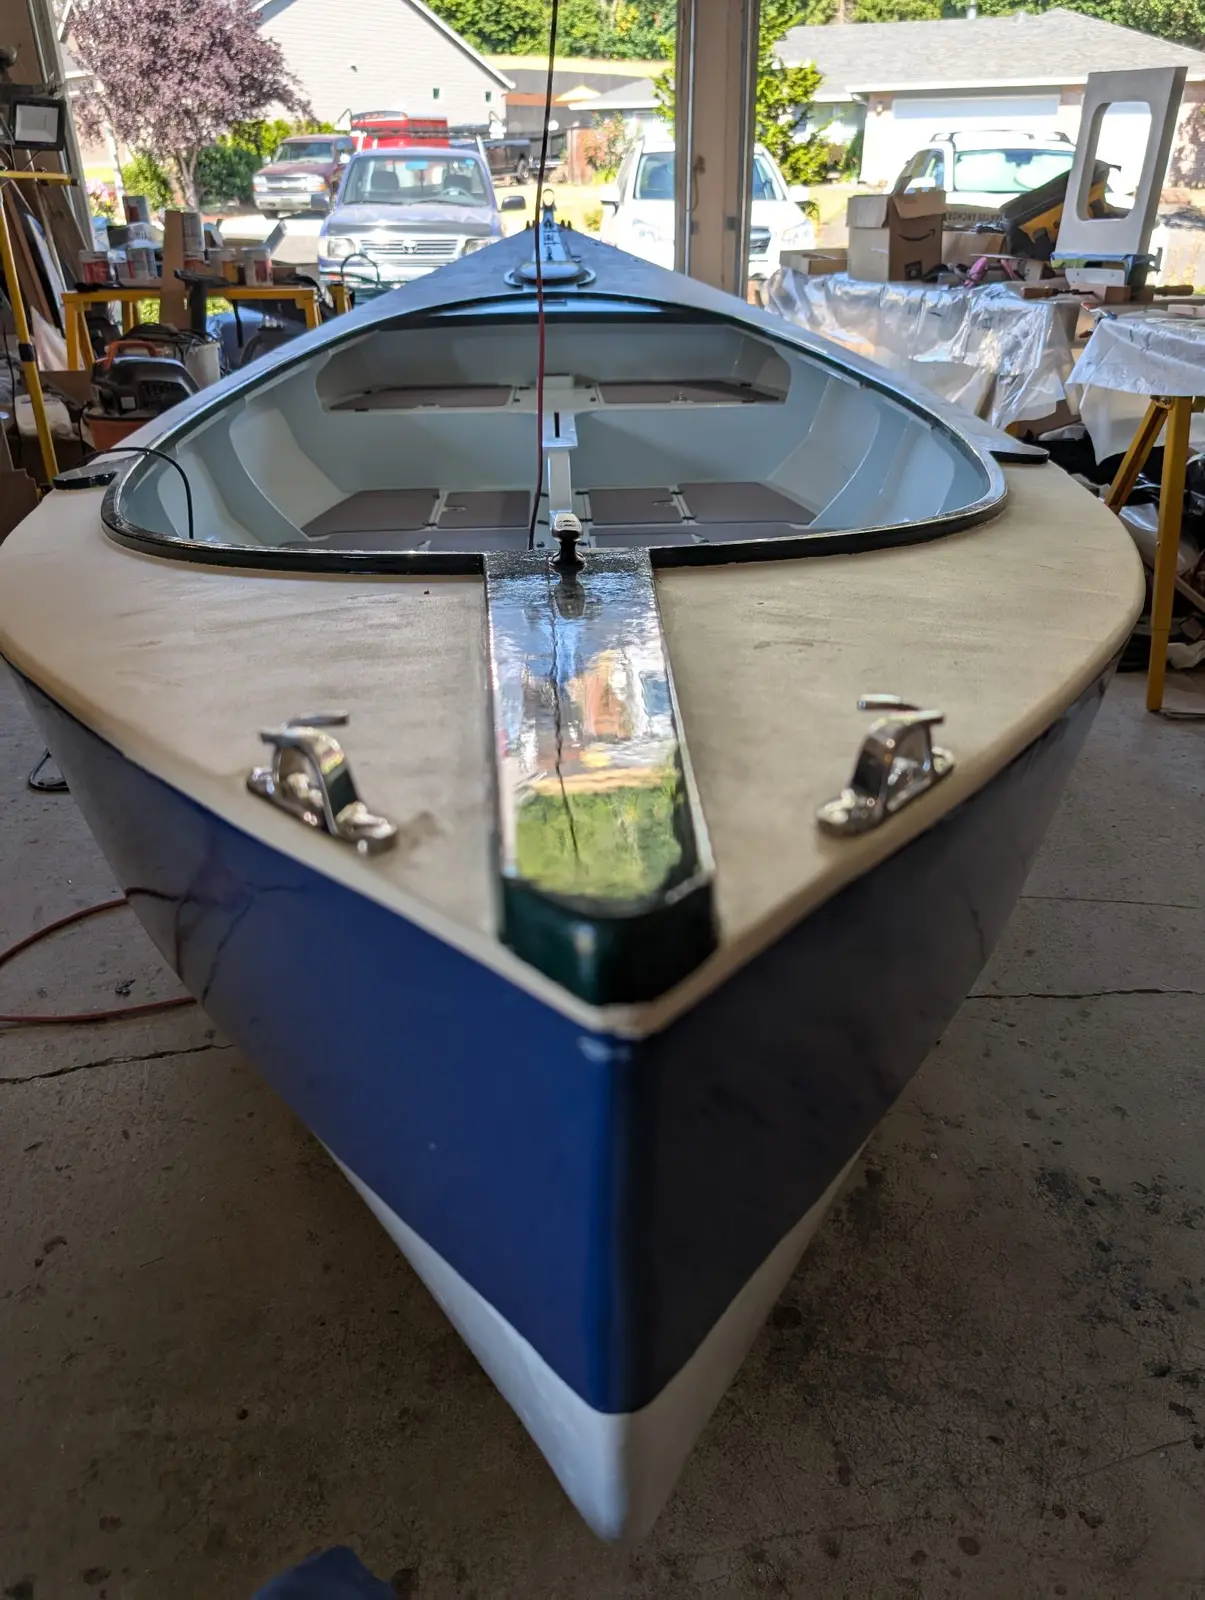
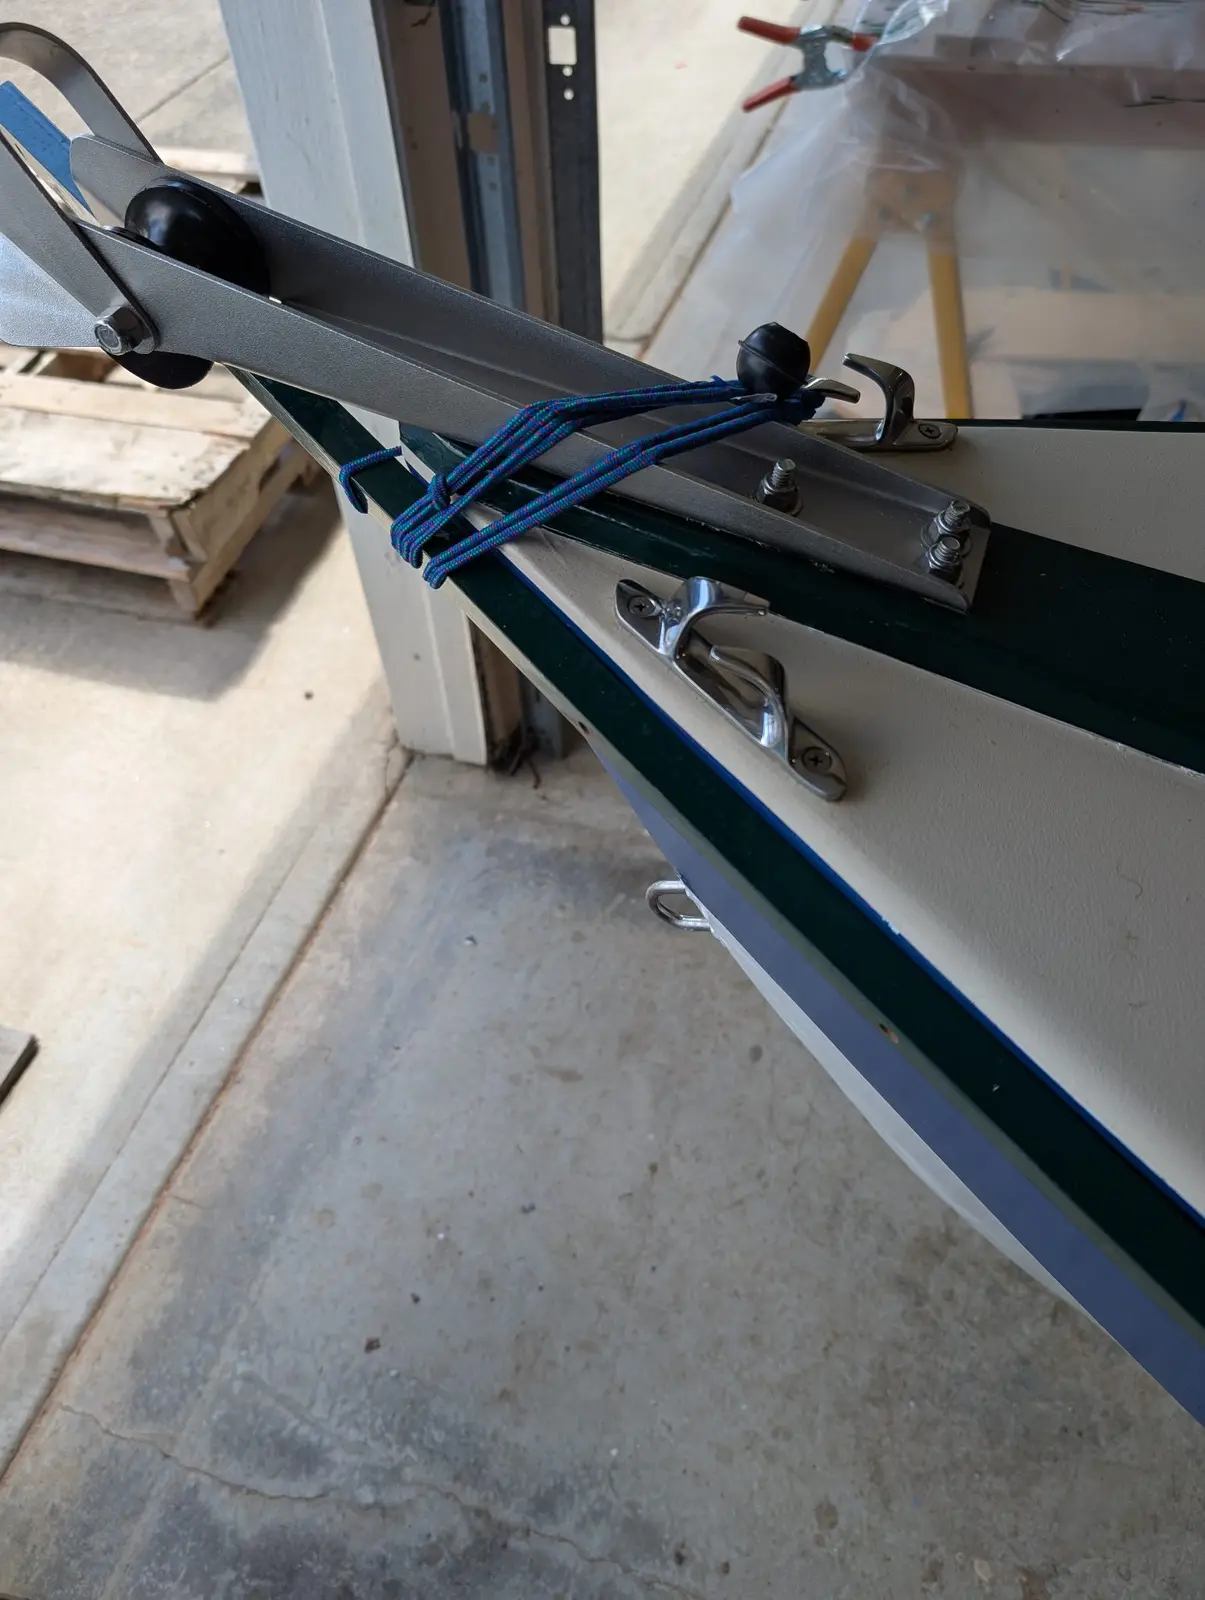
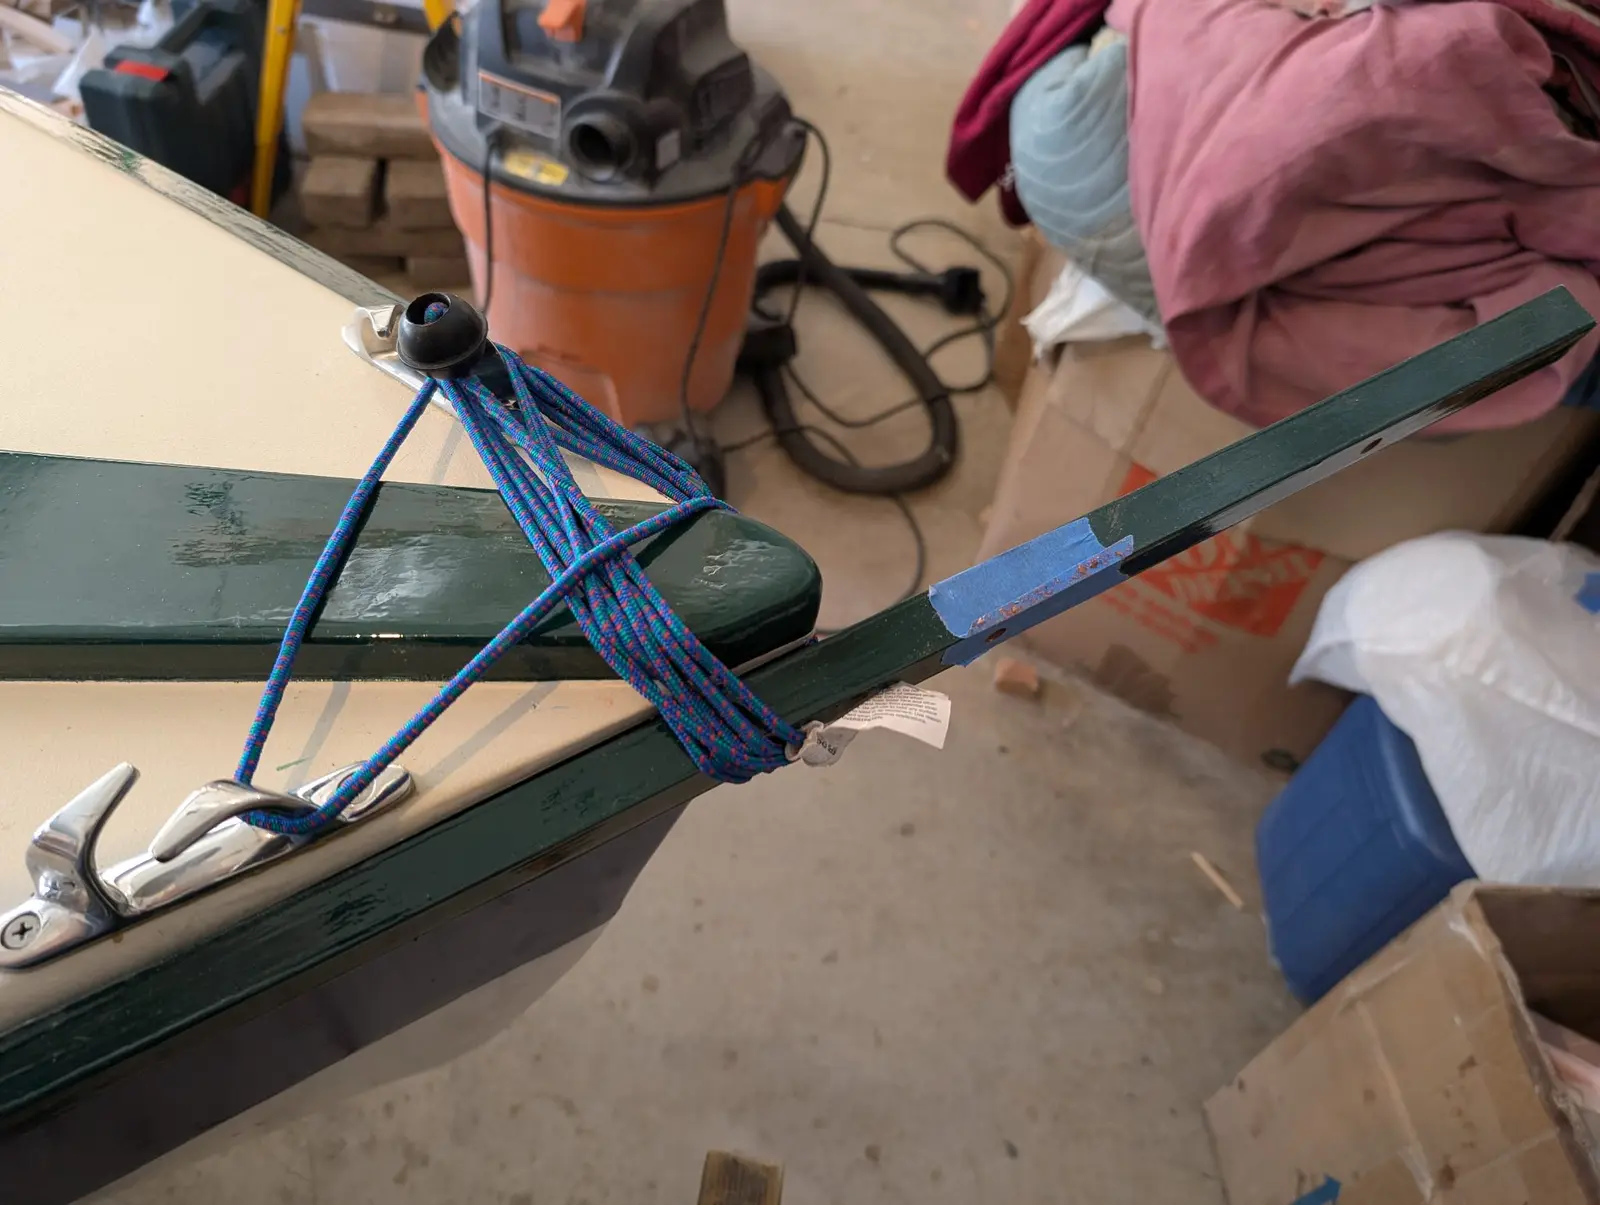
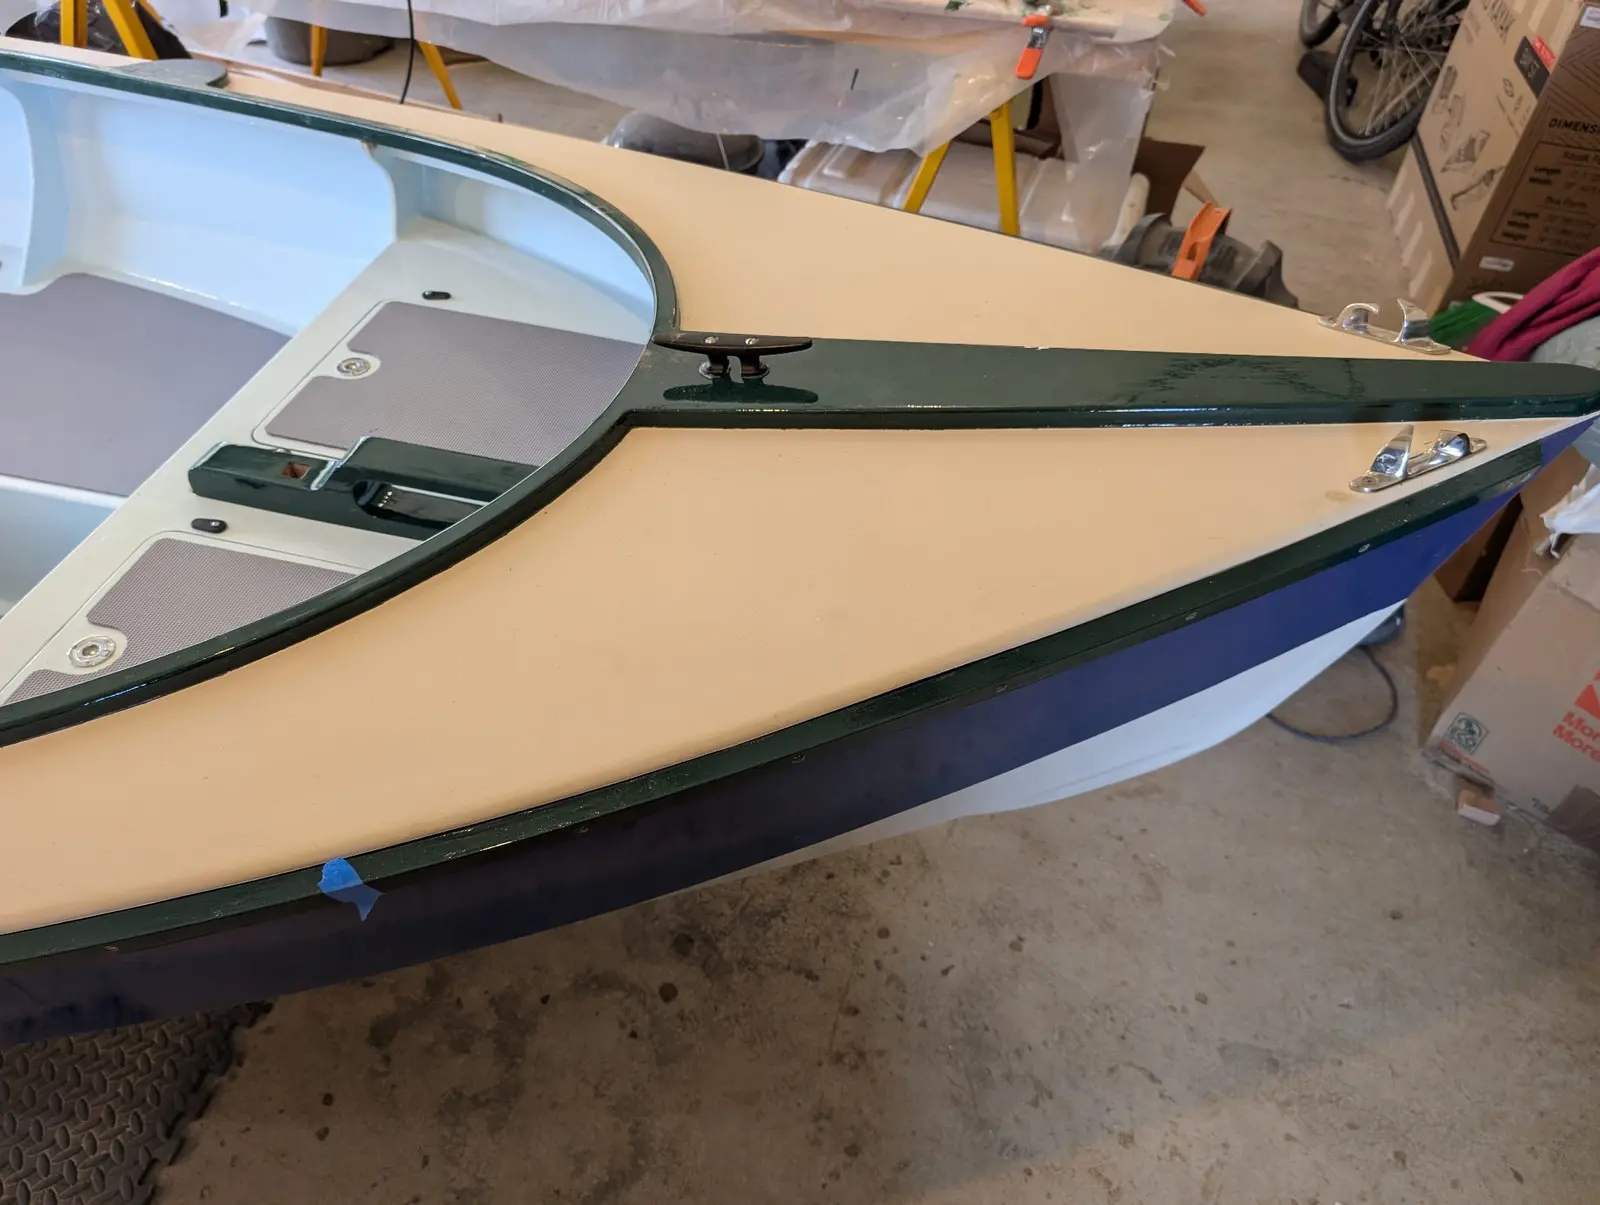
I began installing various deck hardware components, including cleats, chocks, and the anchor pulpit. The main horn cleats, fore and aft, as well as the anchor pulpit, are through-bolted on the deck. They are bedded with 3M 4200 marine silicone sealant. The chocks are screwed into the sheer clamp and bedded with Dolphinite.
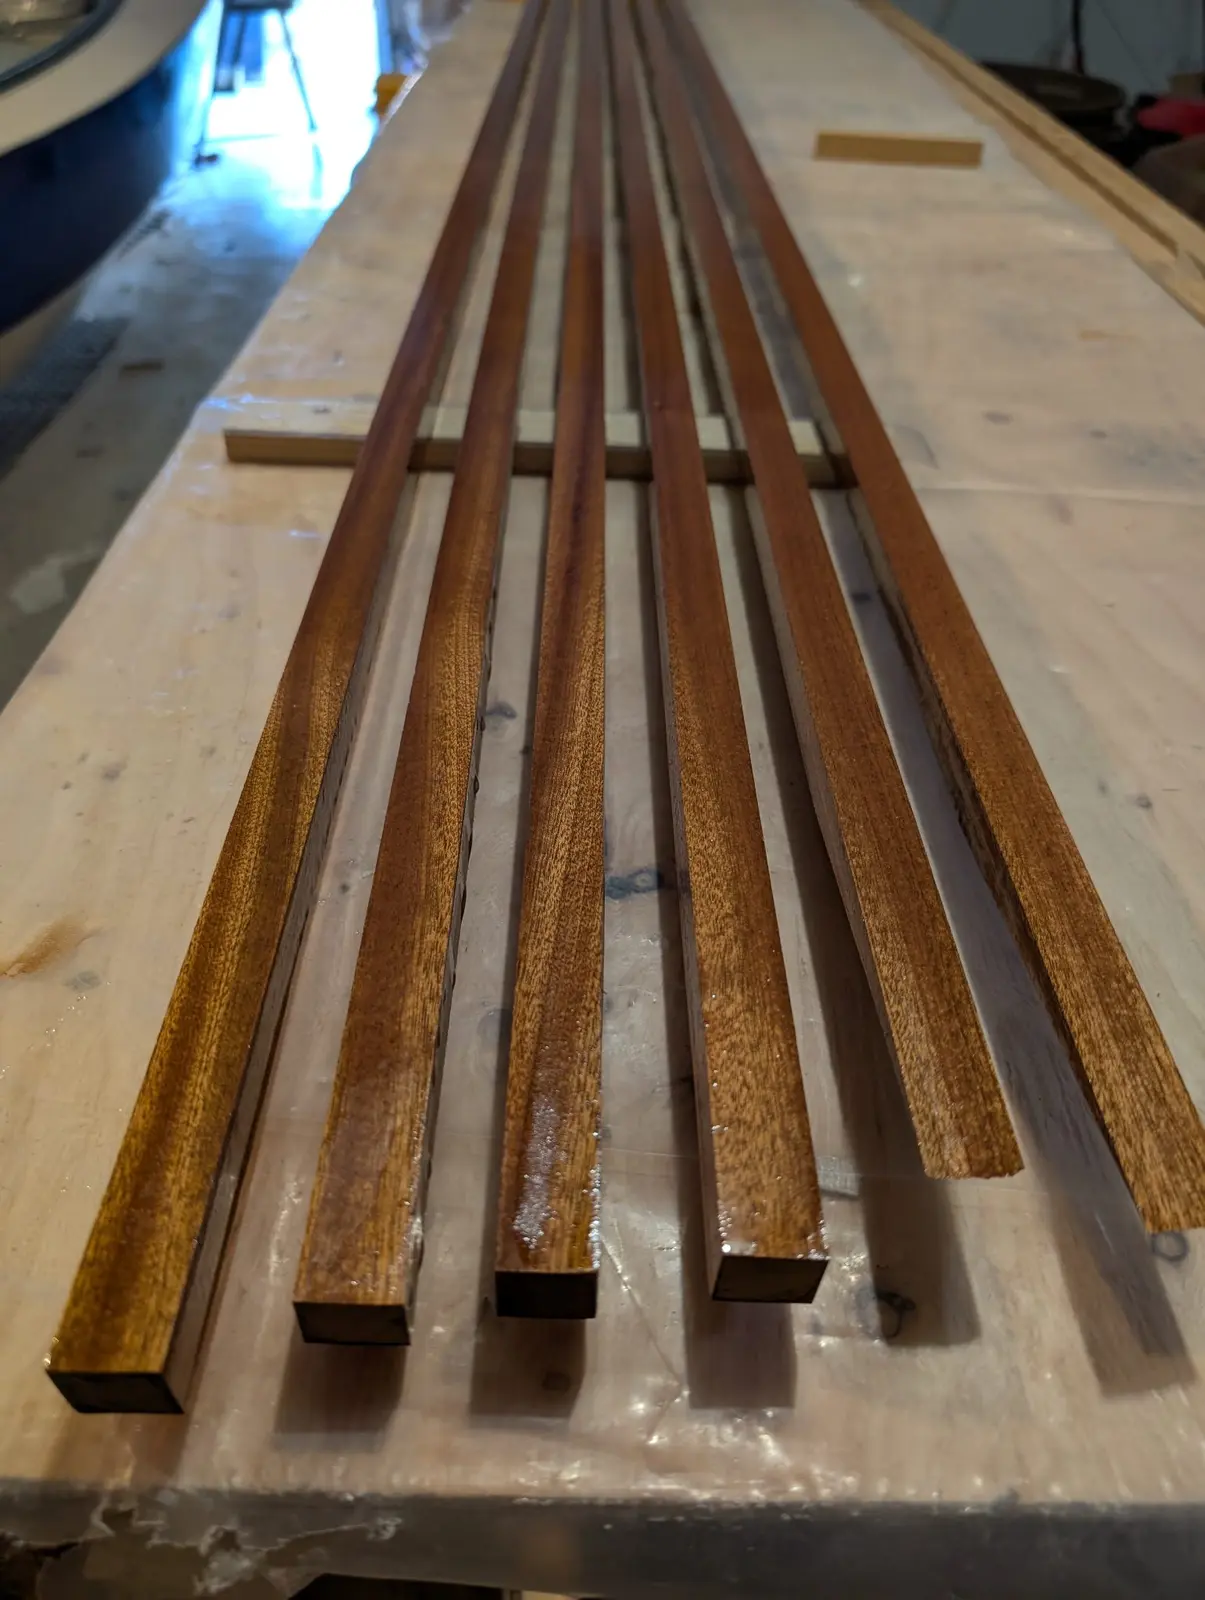
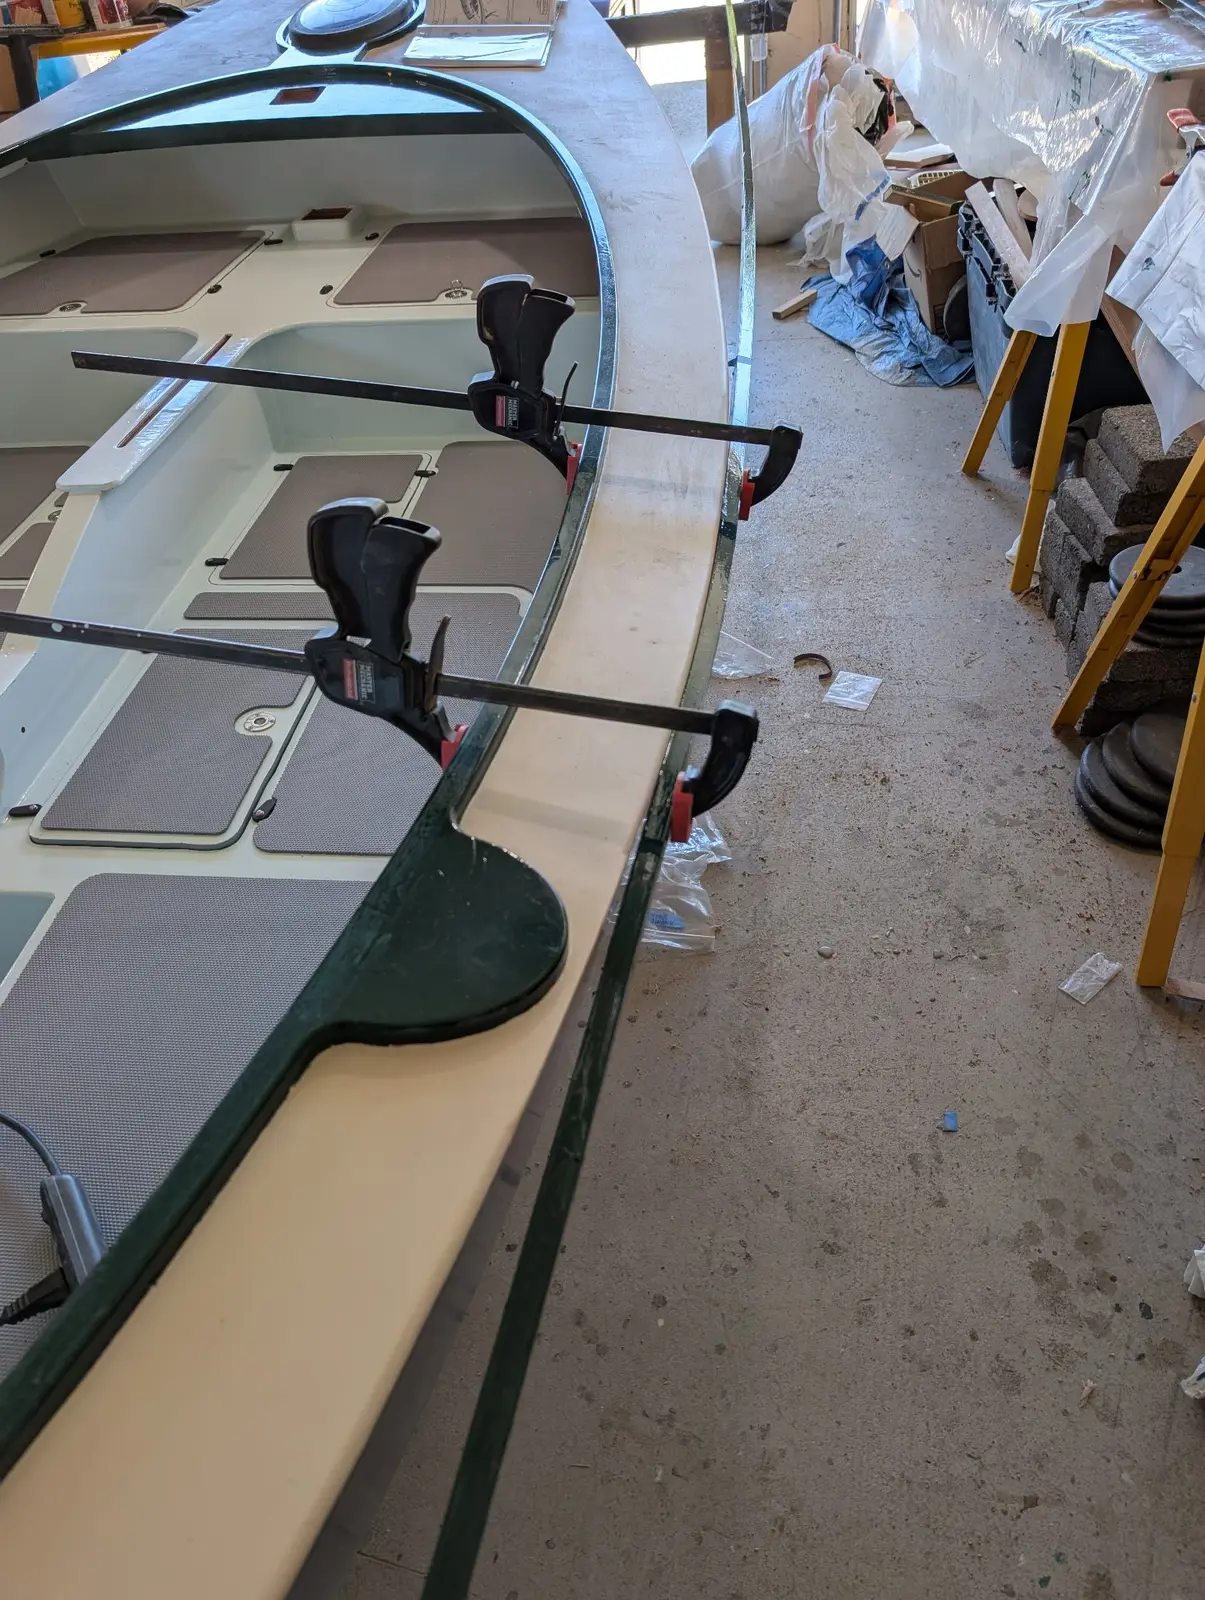
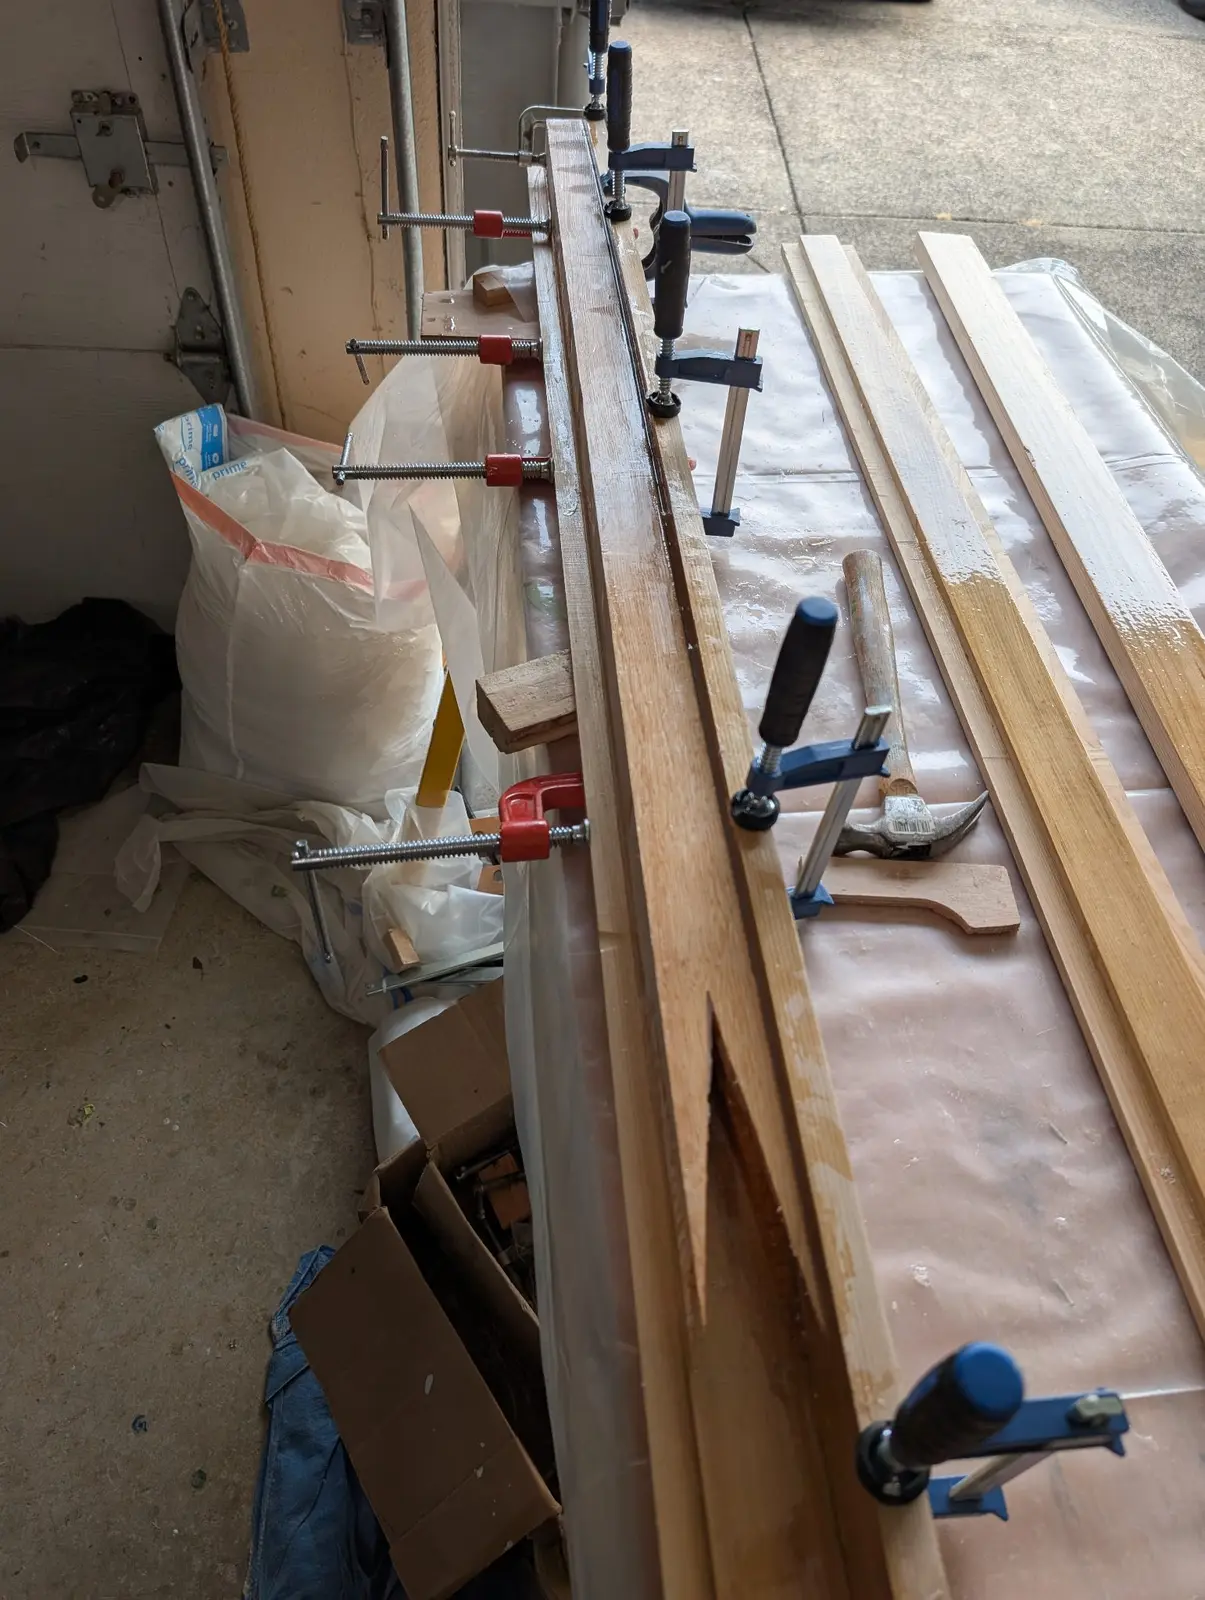
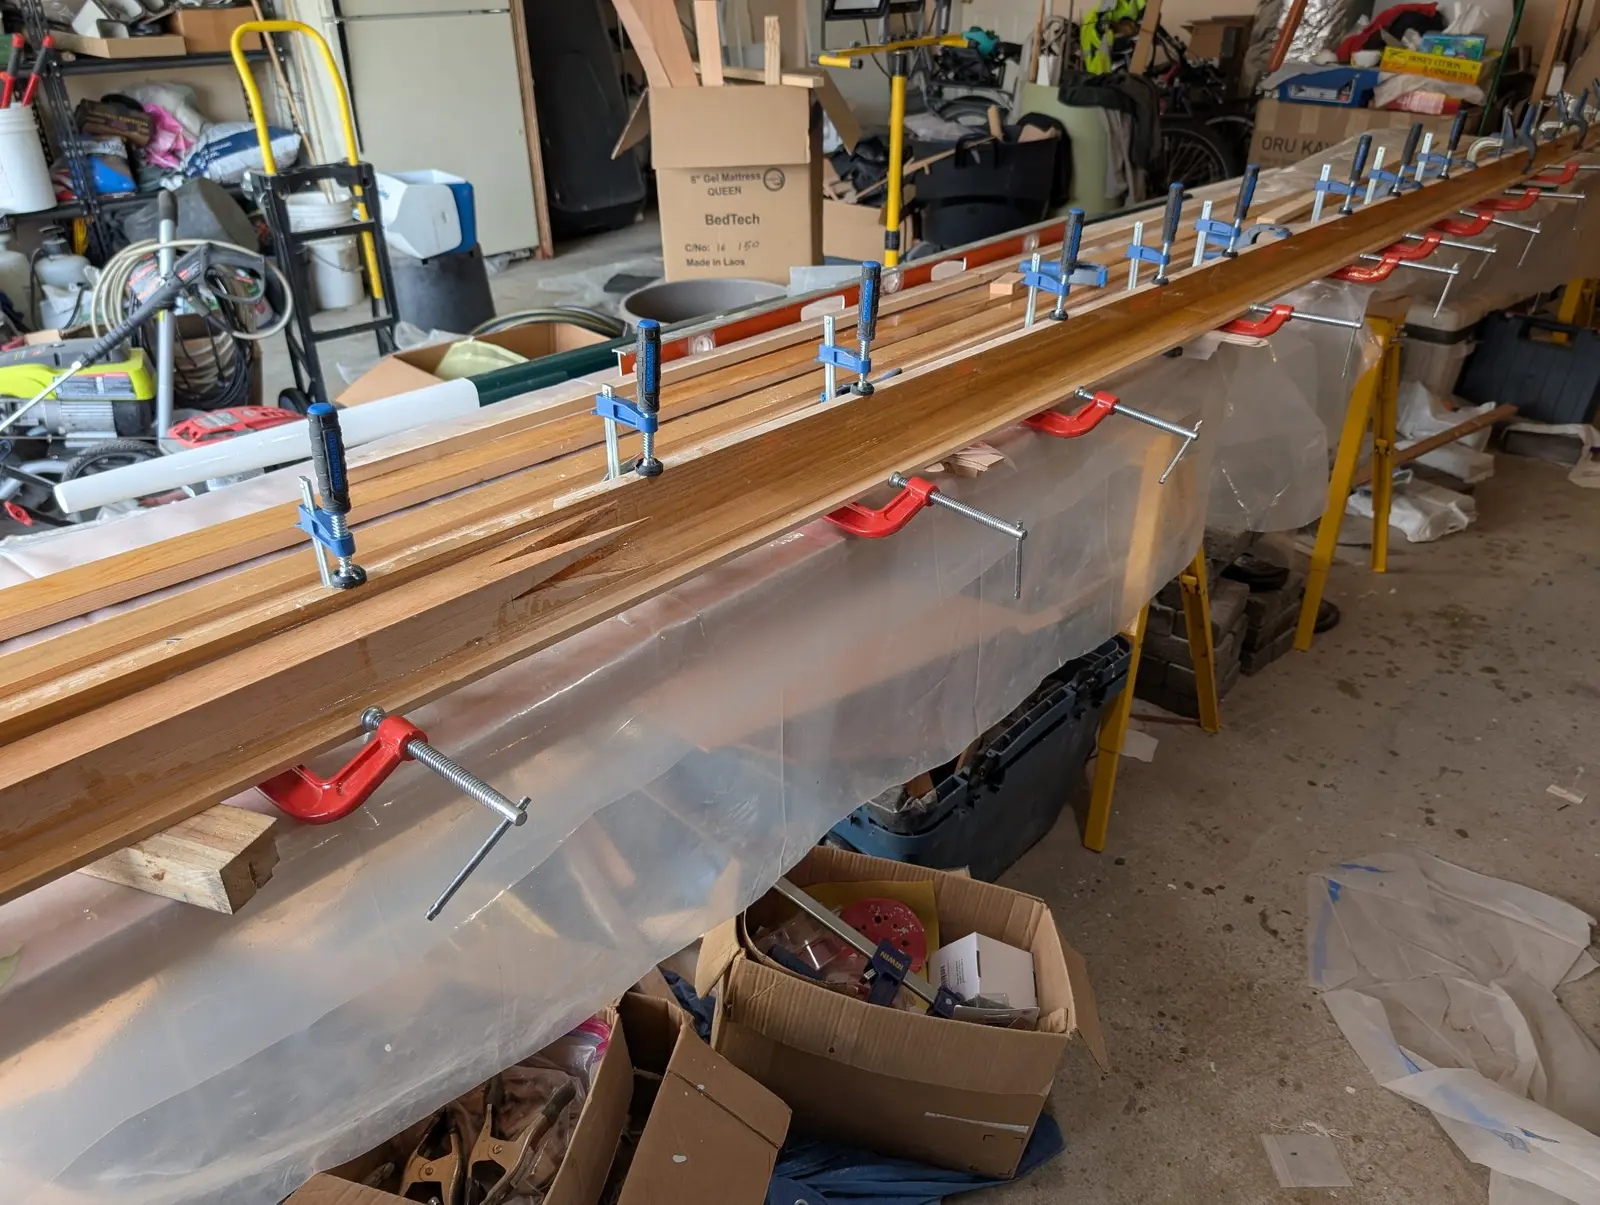
The rub rails are built up of three scarfed pieces of Mahoganoid wood that are primed and painted with Toplac Plus. The fasteners are screwed through the hull and into the sheer strake and bedded with Dolphinite. It was easy to place and fasten the rails in the middle of the boat because I could clamp them using the coaming. It was much more difficult in the bow and stern because there was nothing to clamp to. I had to get creative with bungee cords and the like. In retrospect, I think I should have started at one end or the other and worked towards the other end of the boat. I also should have asked for someone's help. This really isn't a one-person job.
Prior to scarfing, the pieces of the rub rail were given 2 coats of epoxy to seal the wood
Priming is not strictly necessary for paint adhesion, but it definitely helps to create a nice smooth finish
After final painting the fastener holes were pre-drilled and countersunk. The SS screwheads and the hole between the rub rail and hull will be bedded with Dolphinite
Clamping is easy amidships
Awkward to pull it all tight at the bow and stern
Finished! Not perfect, but good
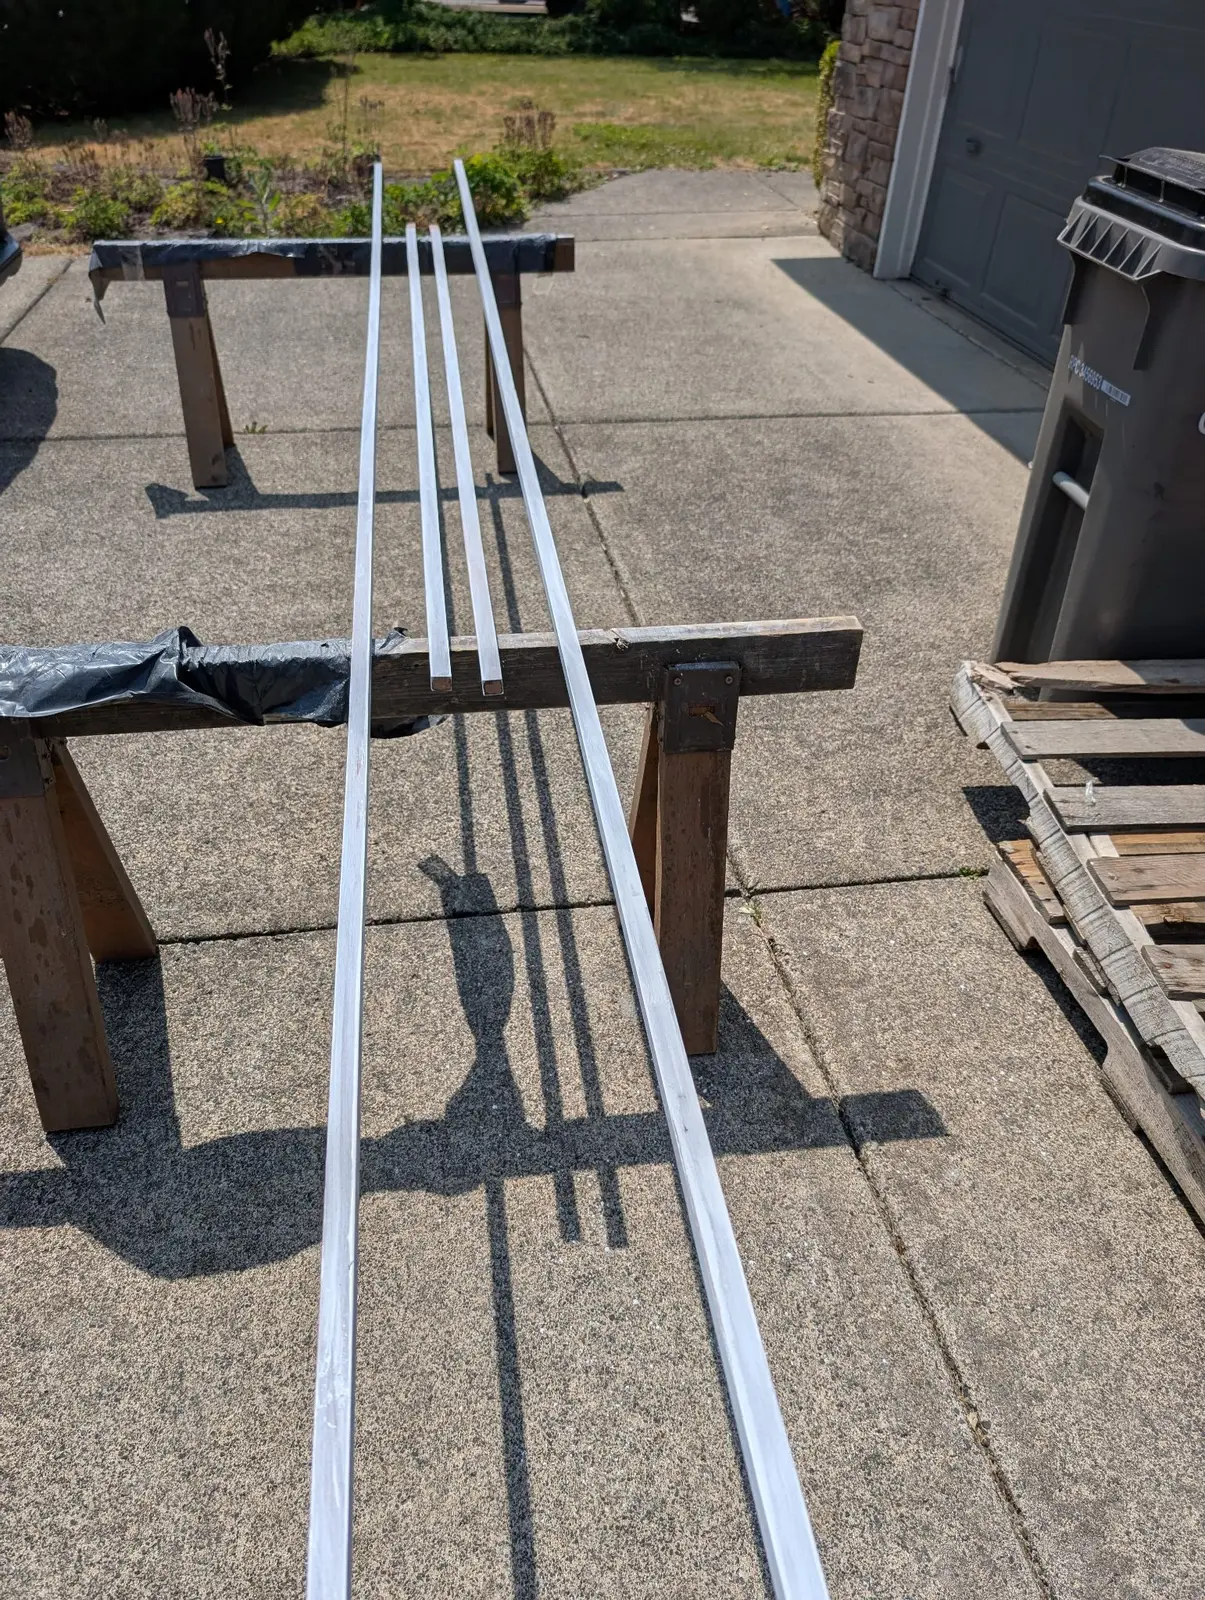
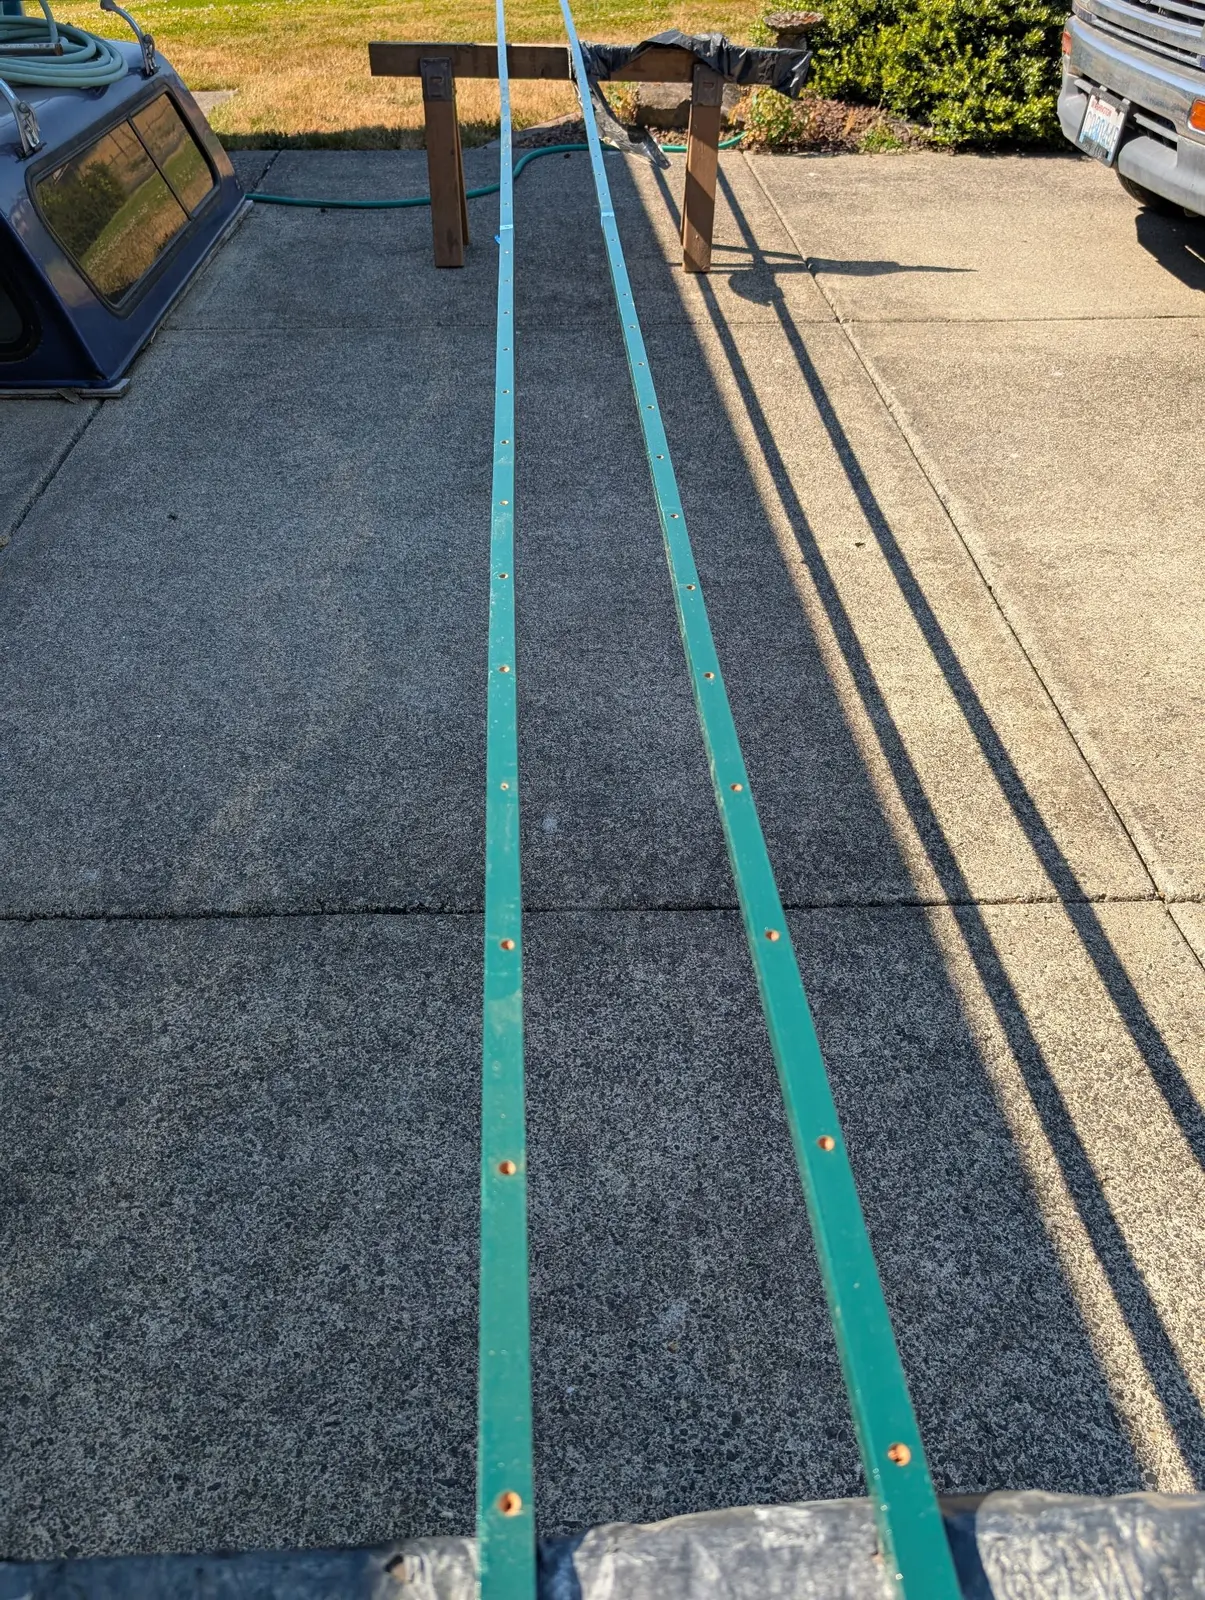
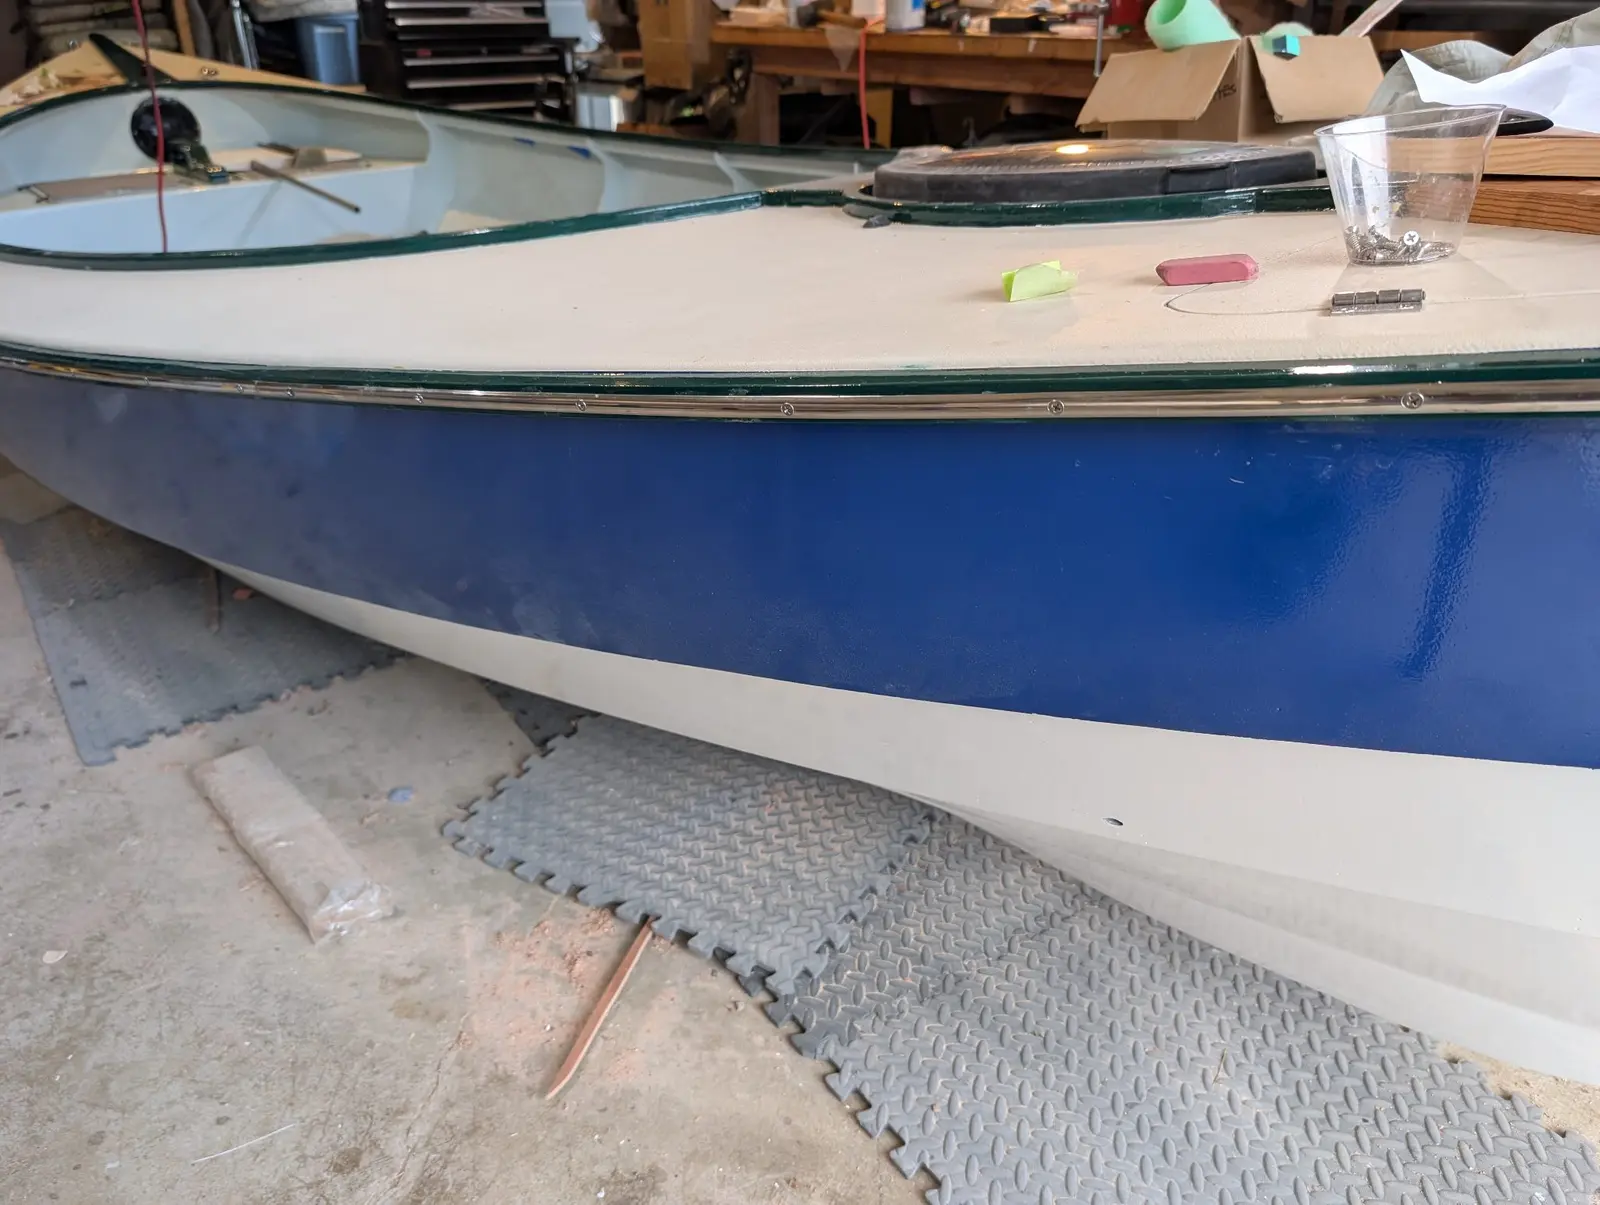
Stainless steel half-round (channels, not solid) pieces are screwed into the rub rails for even more protection. The fasteners are bedded with Dolphinite.
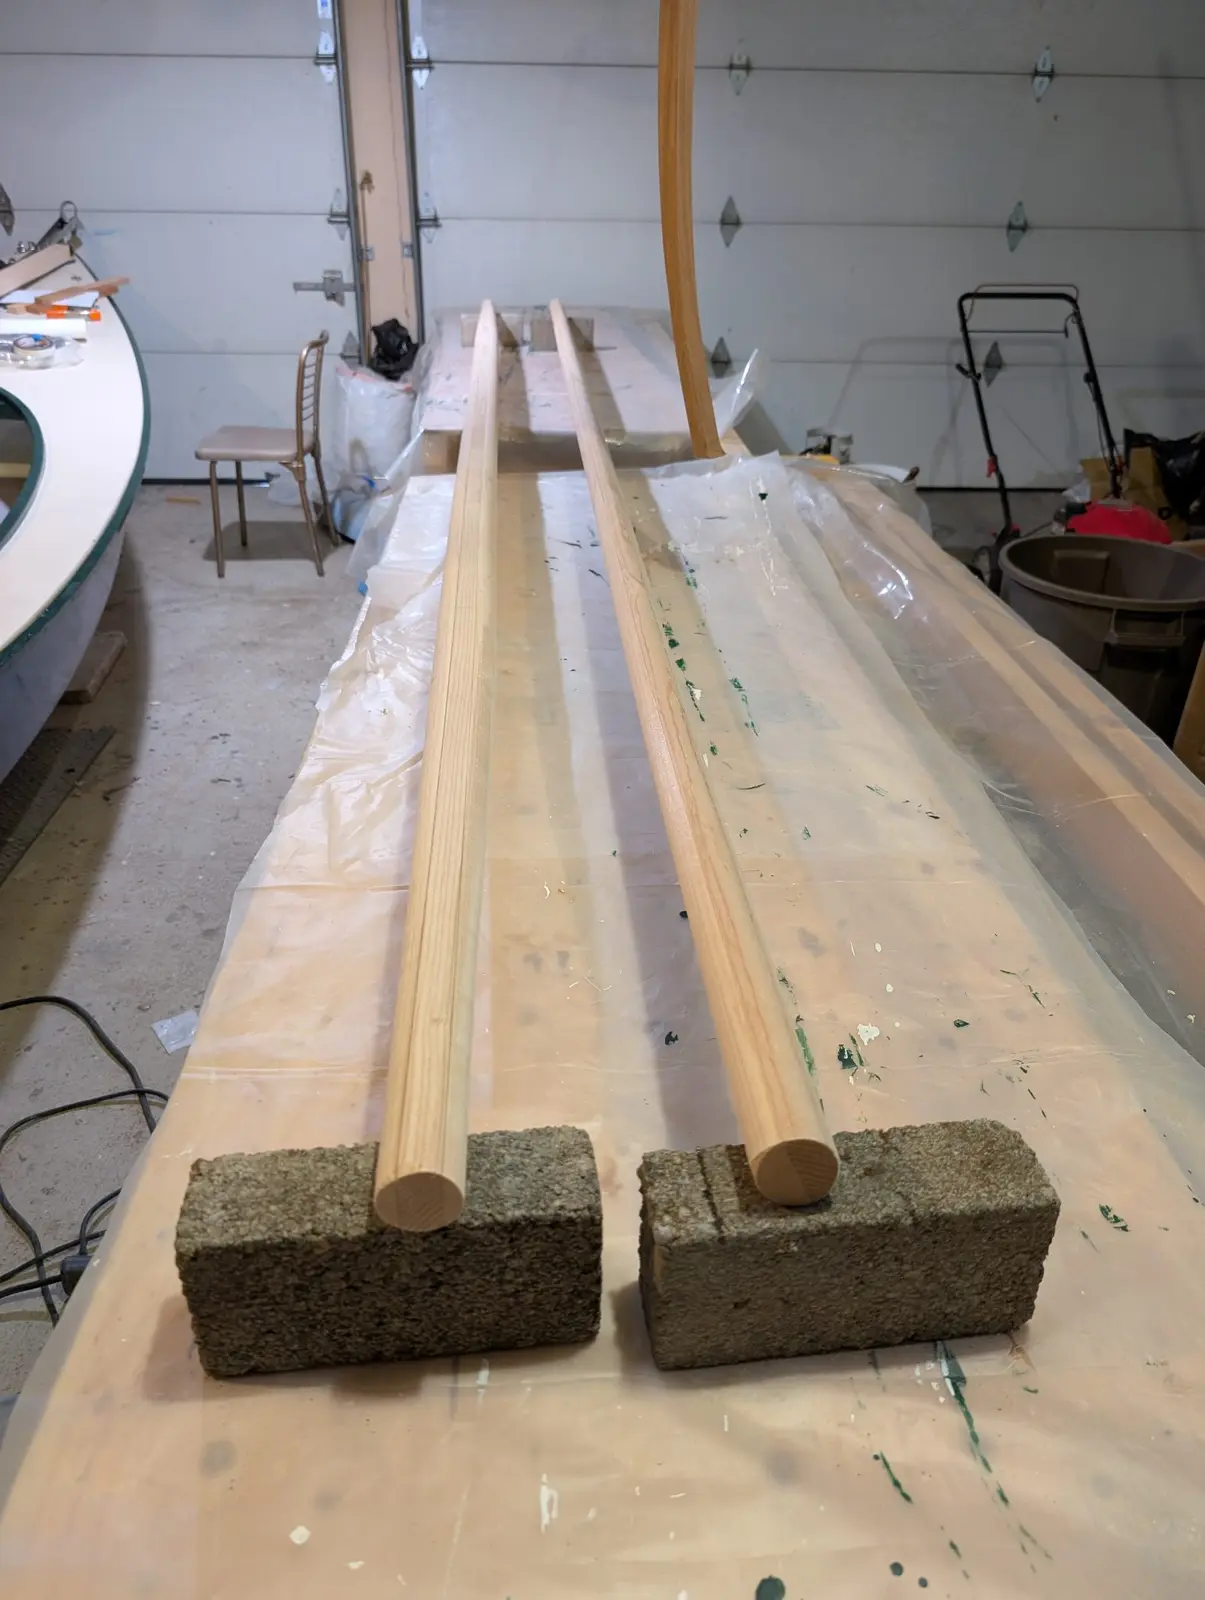
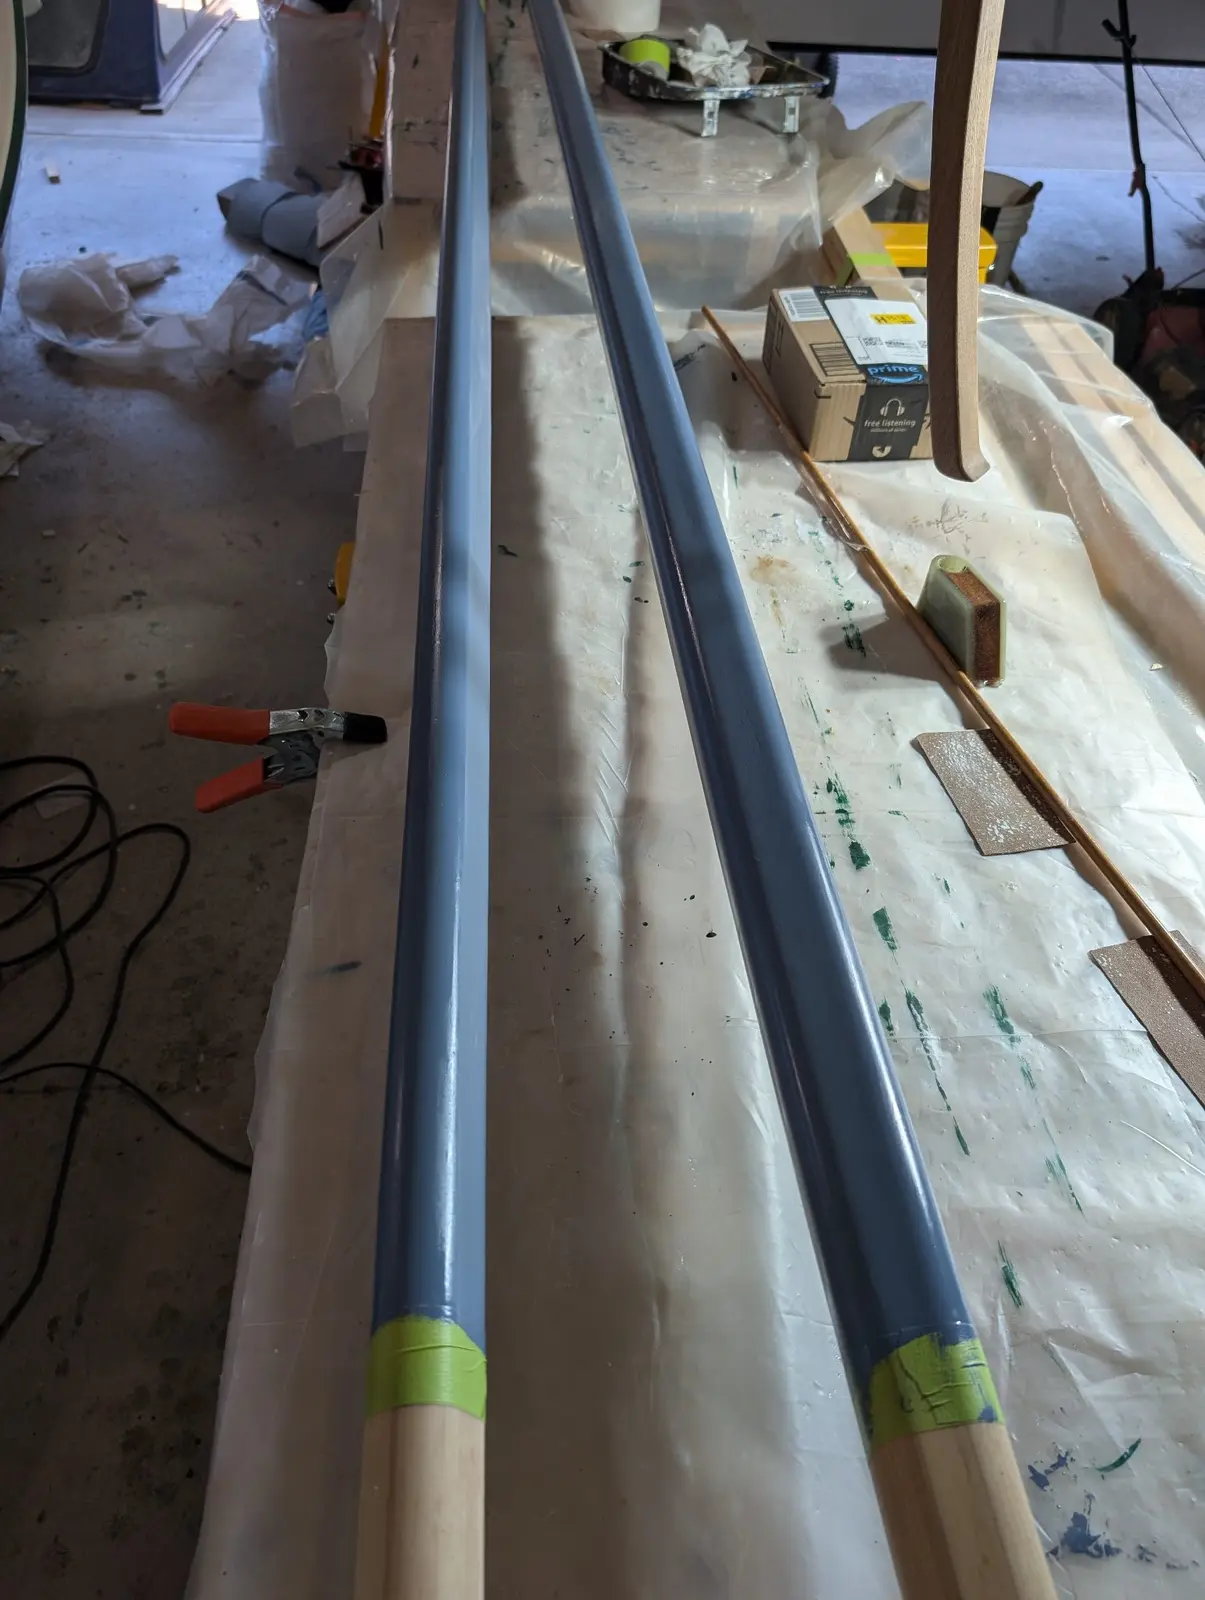
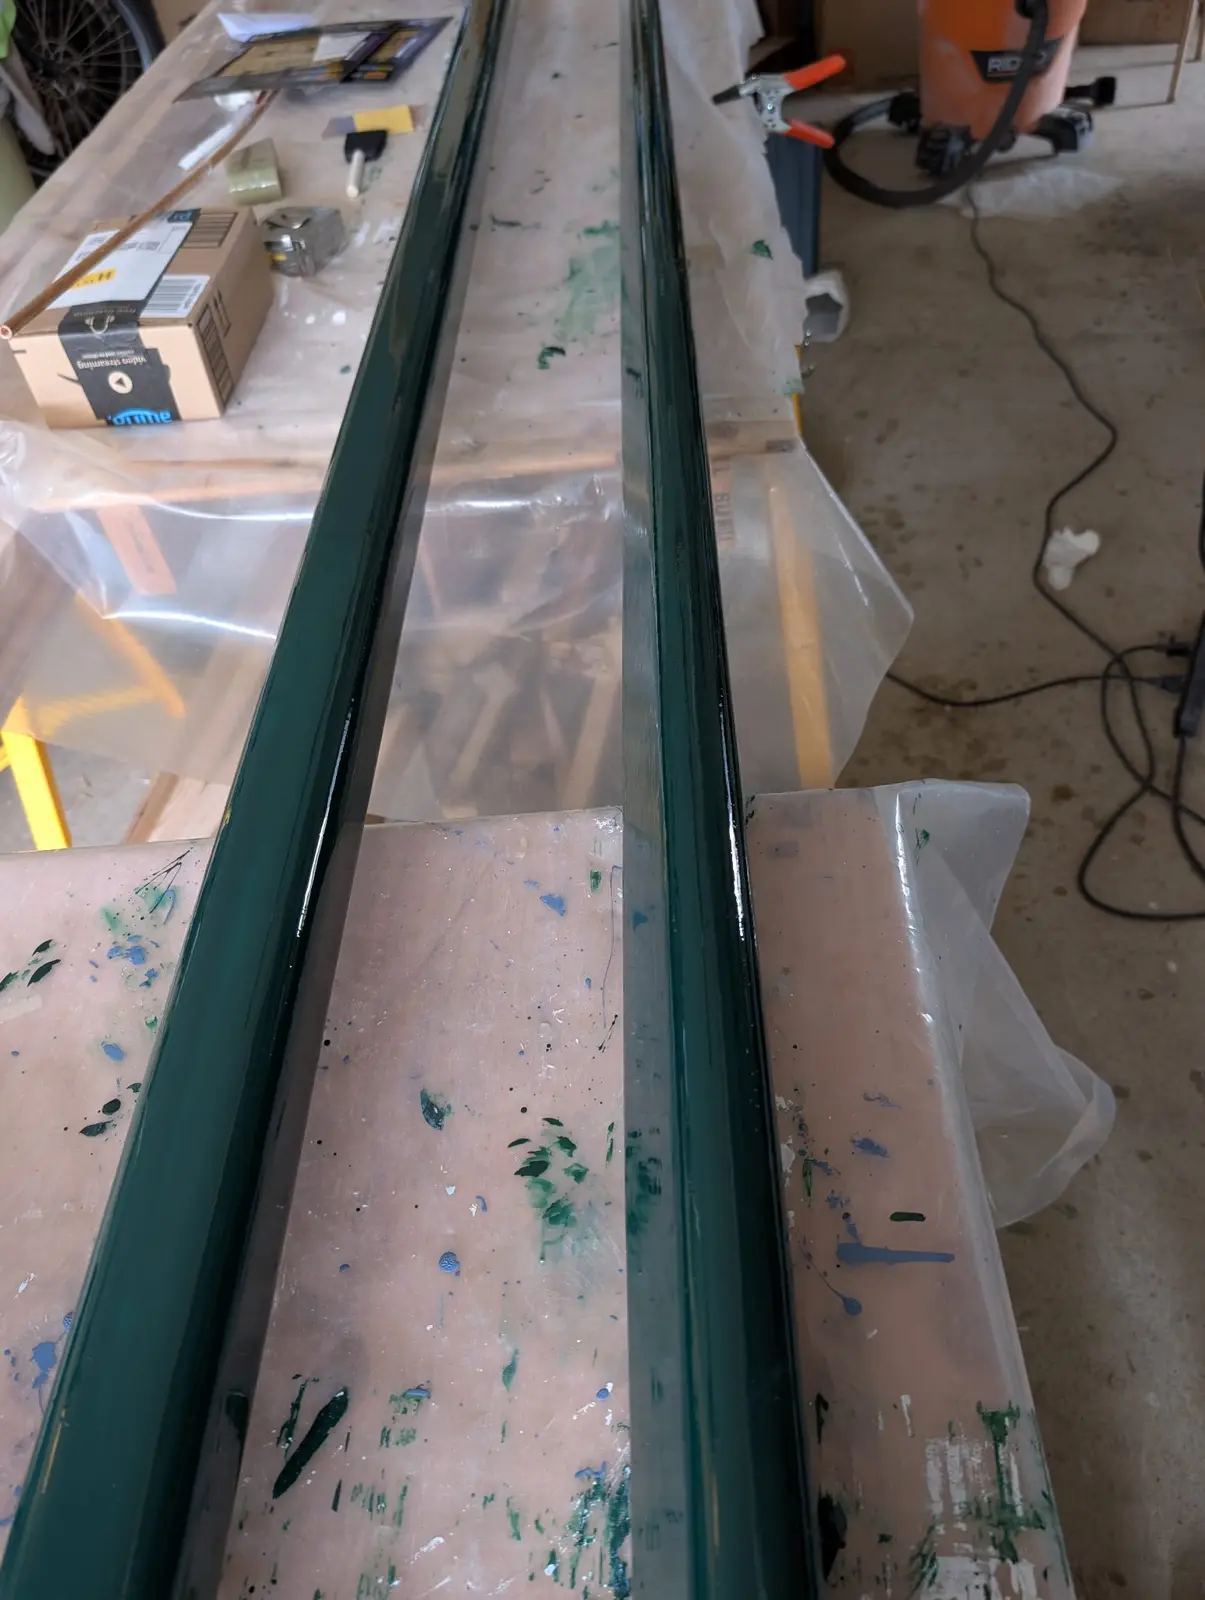
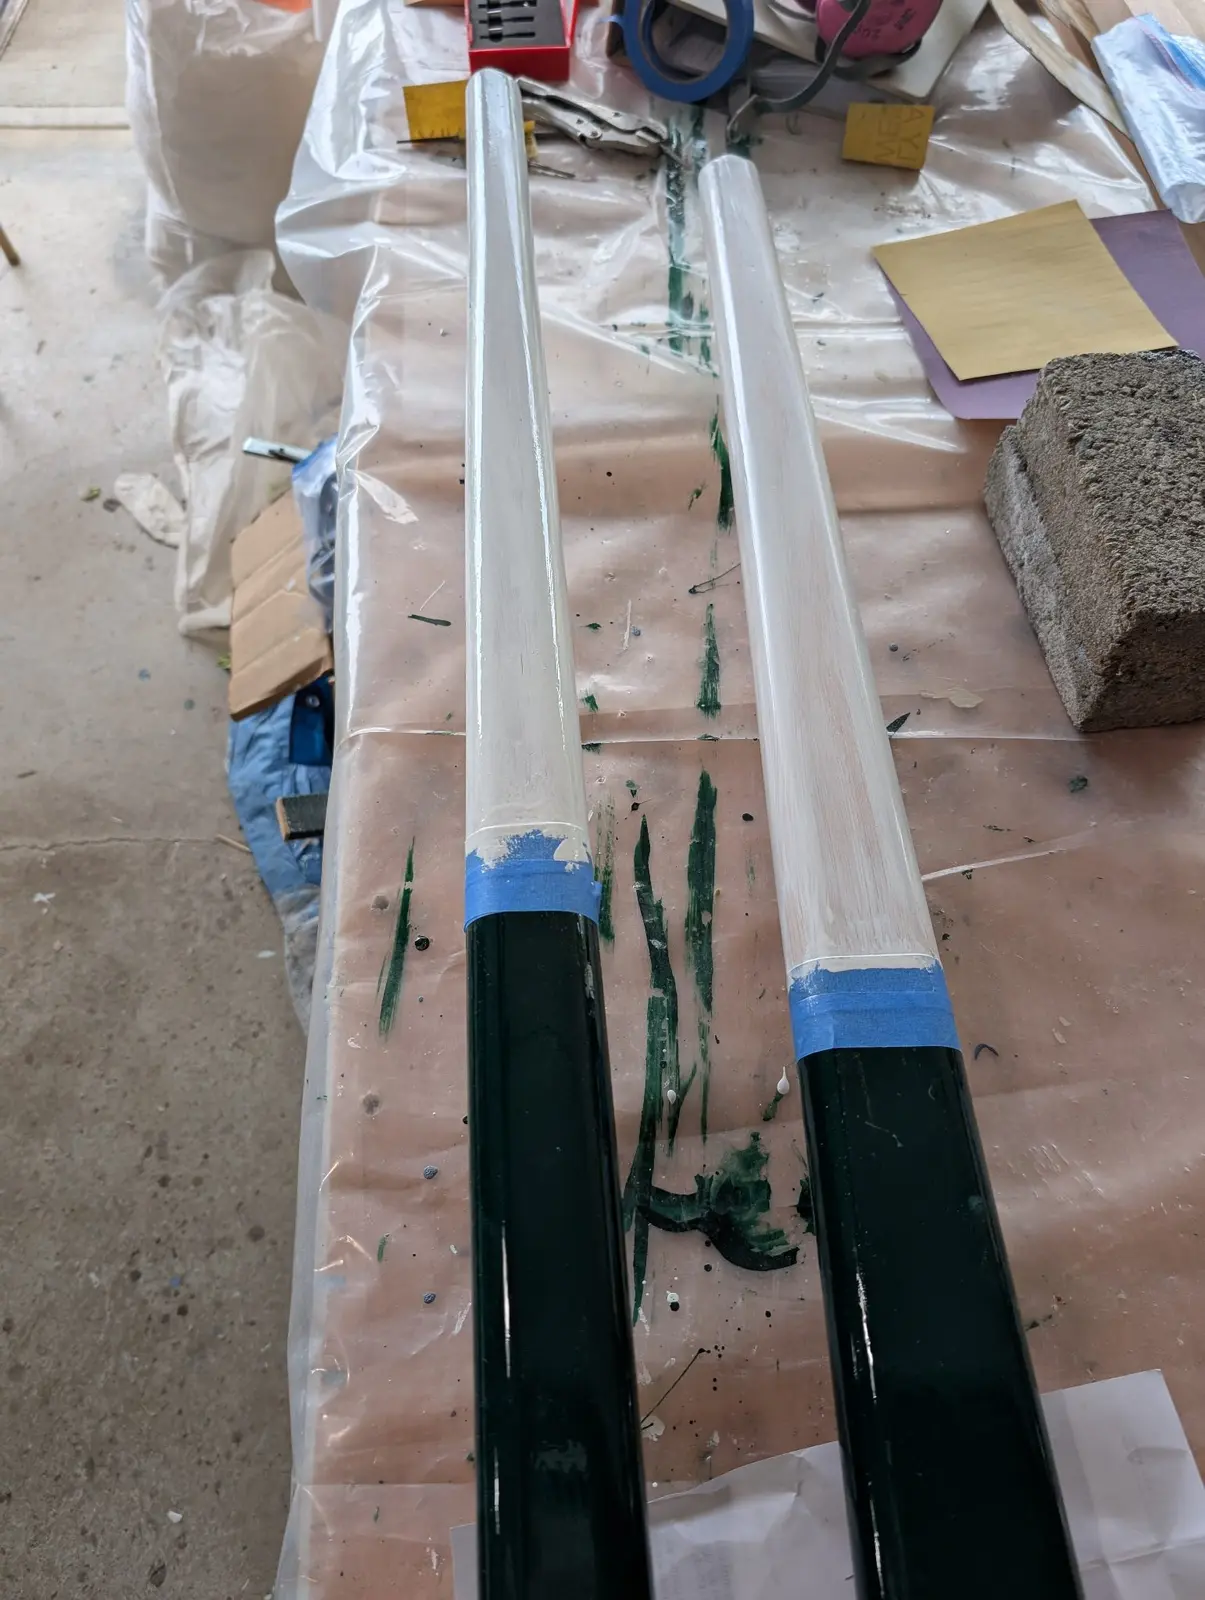
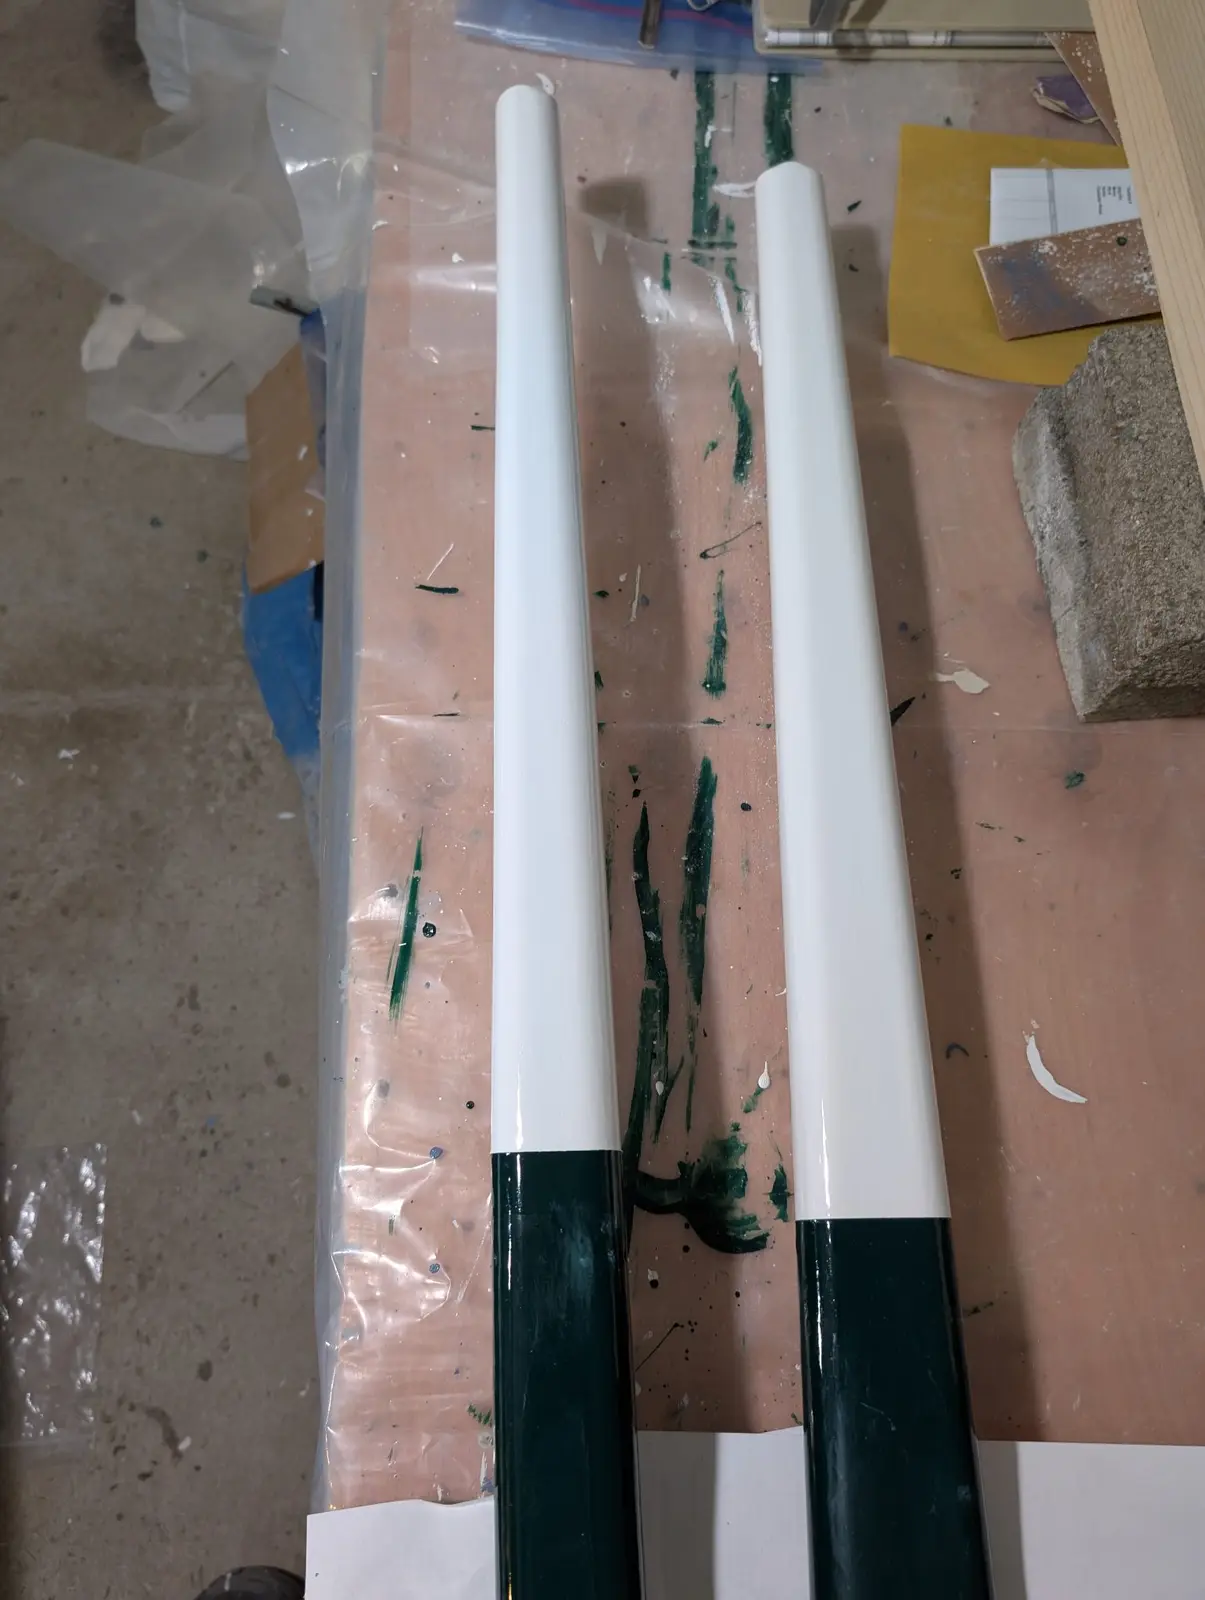
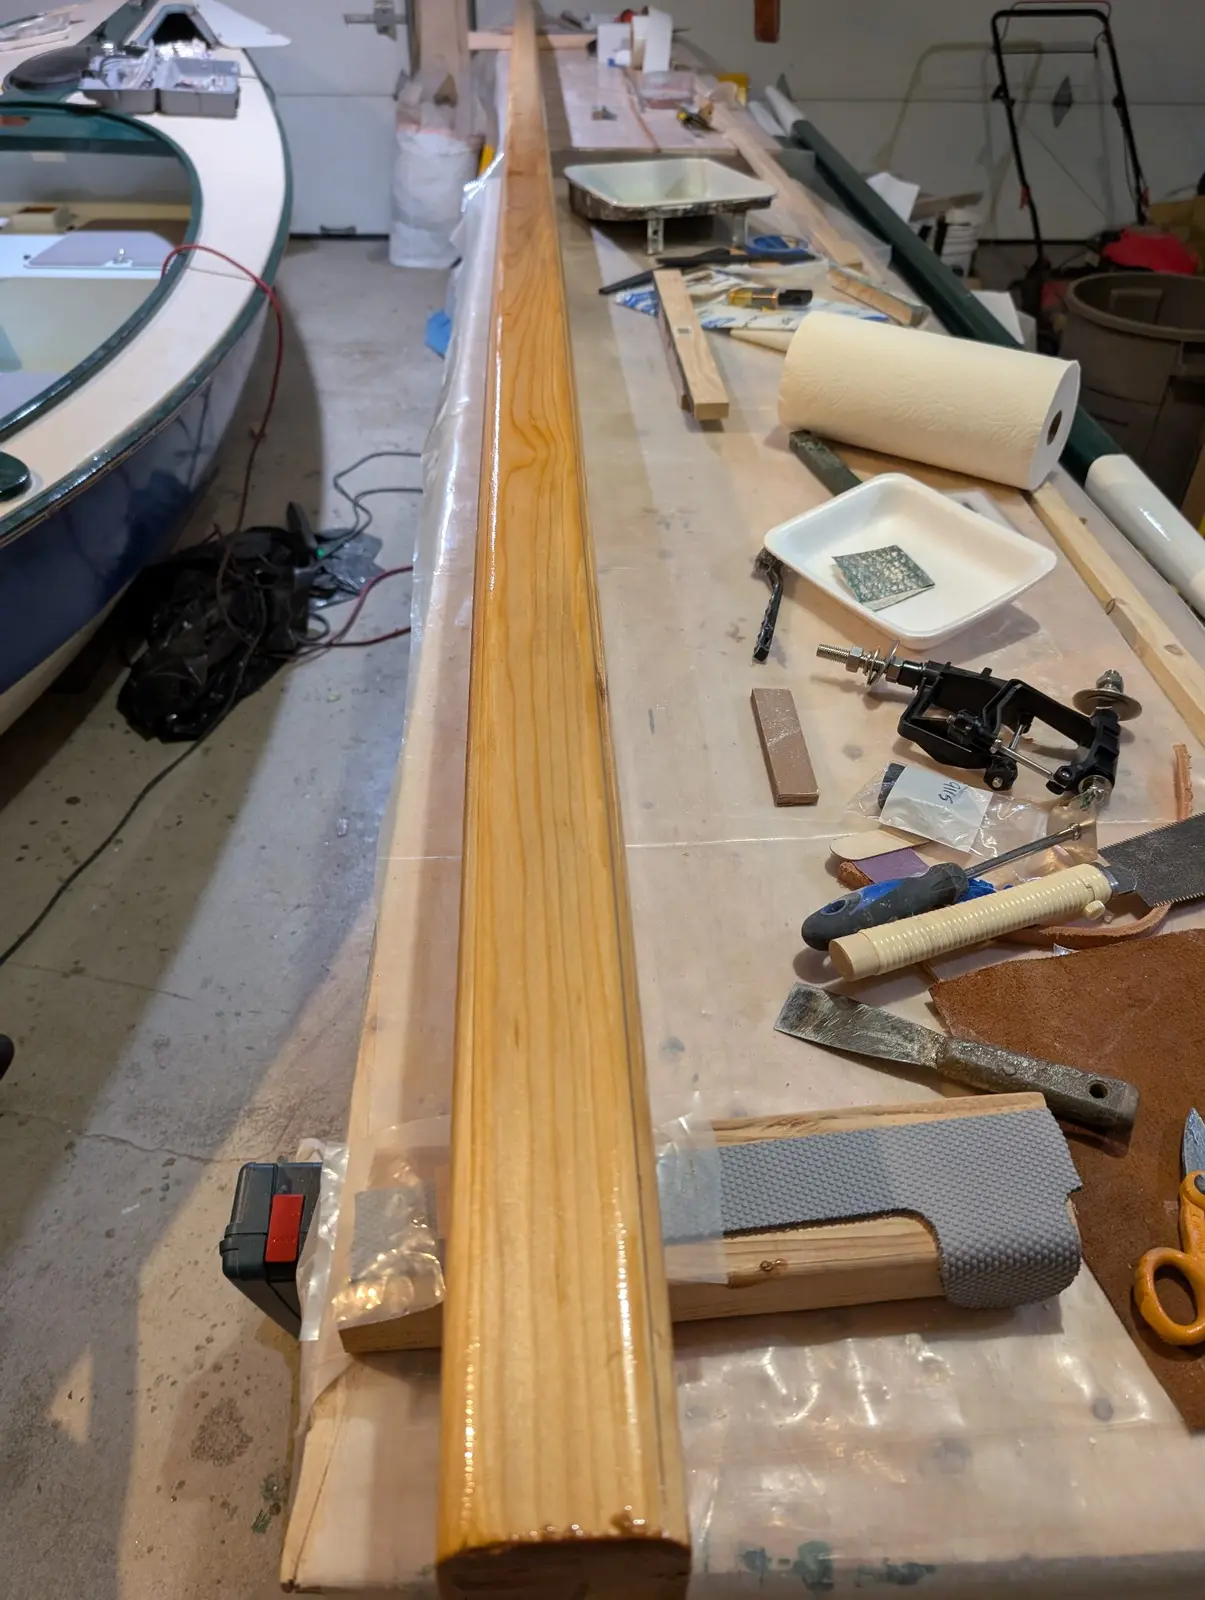
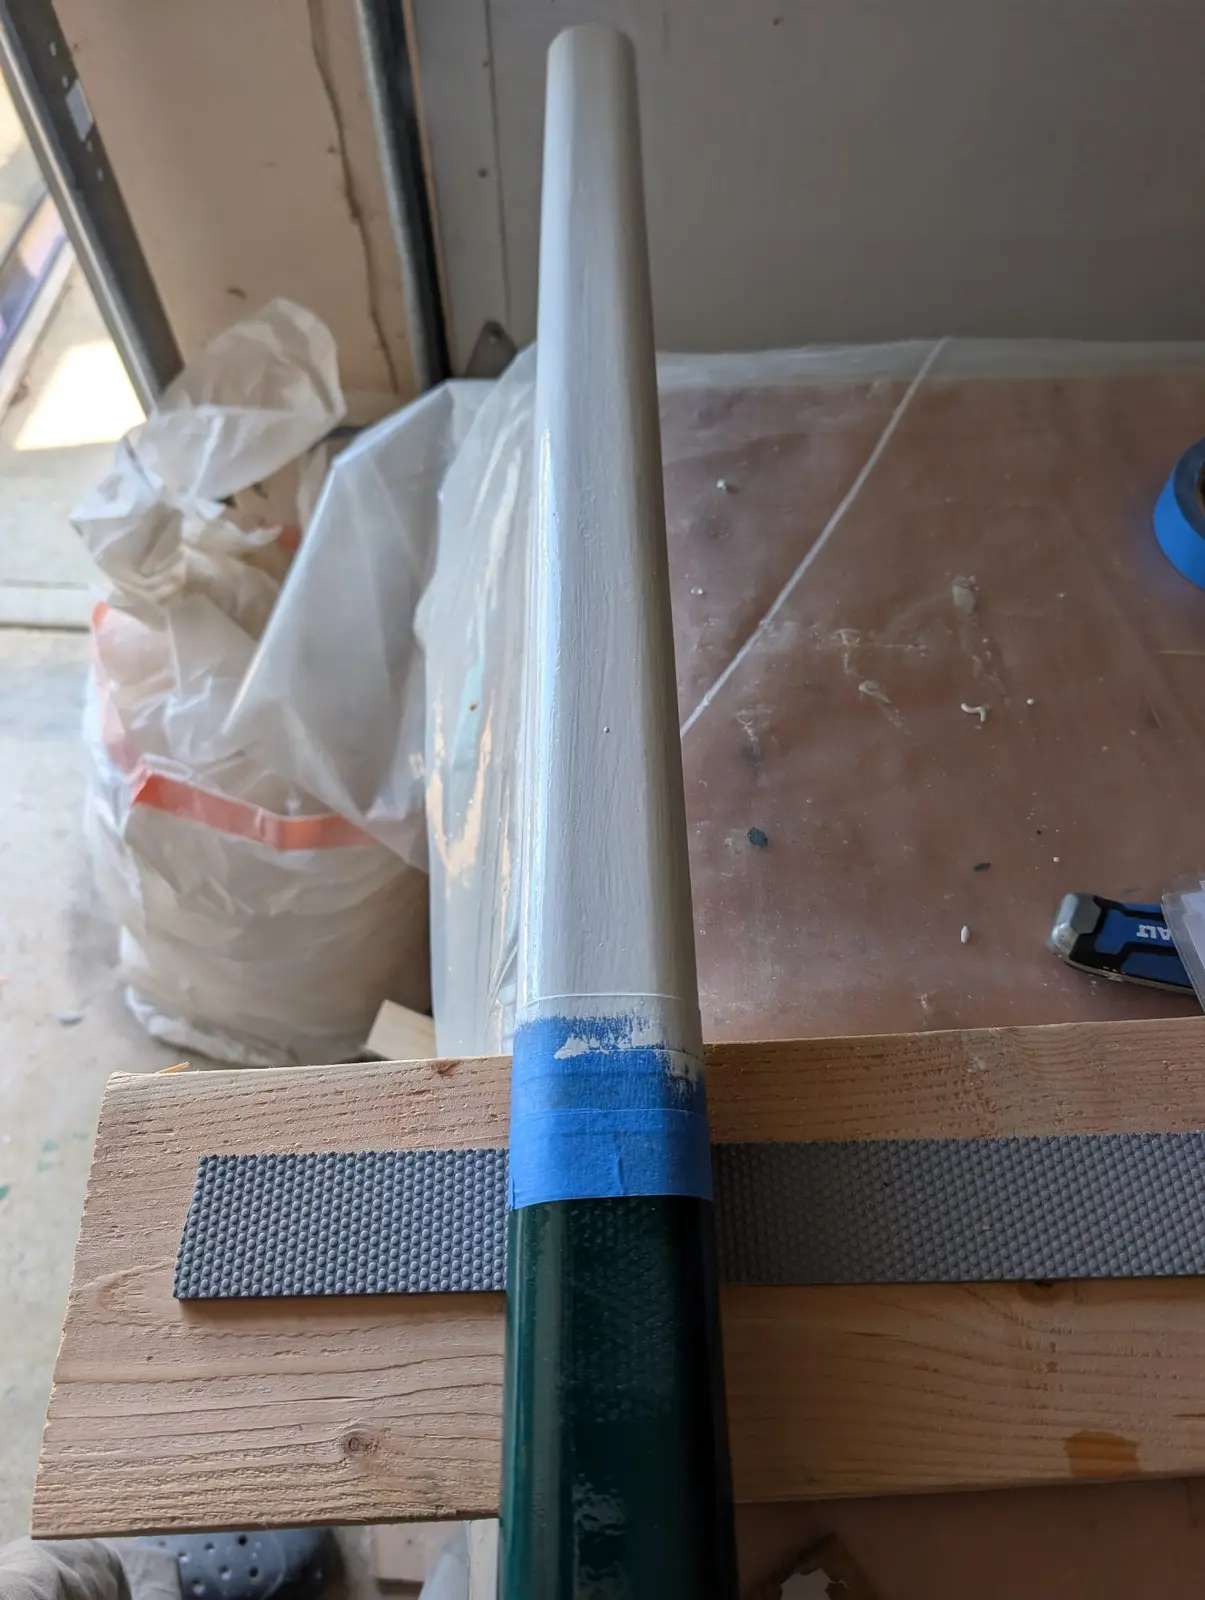
The yard and boom were sealed with two coats of epoxy, then primed and painted in two colors (Donegal Green and Mediterranean White). Where I grew up, this was a common color scheme for boats that weren't playthings for the rich and famous. I always liked the way it looked. I switched to the darker Interlux primer in the hope I could get full paint coverage with fewer coats. I almost could get away with 2 coats of paint, but in the end needed 3, just like everywhere else.
Build the mast yourself, they said. It'll be easy, they said.
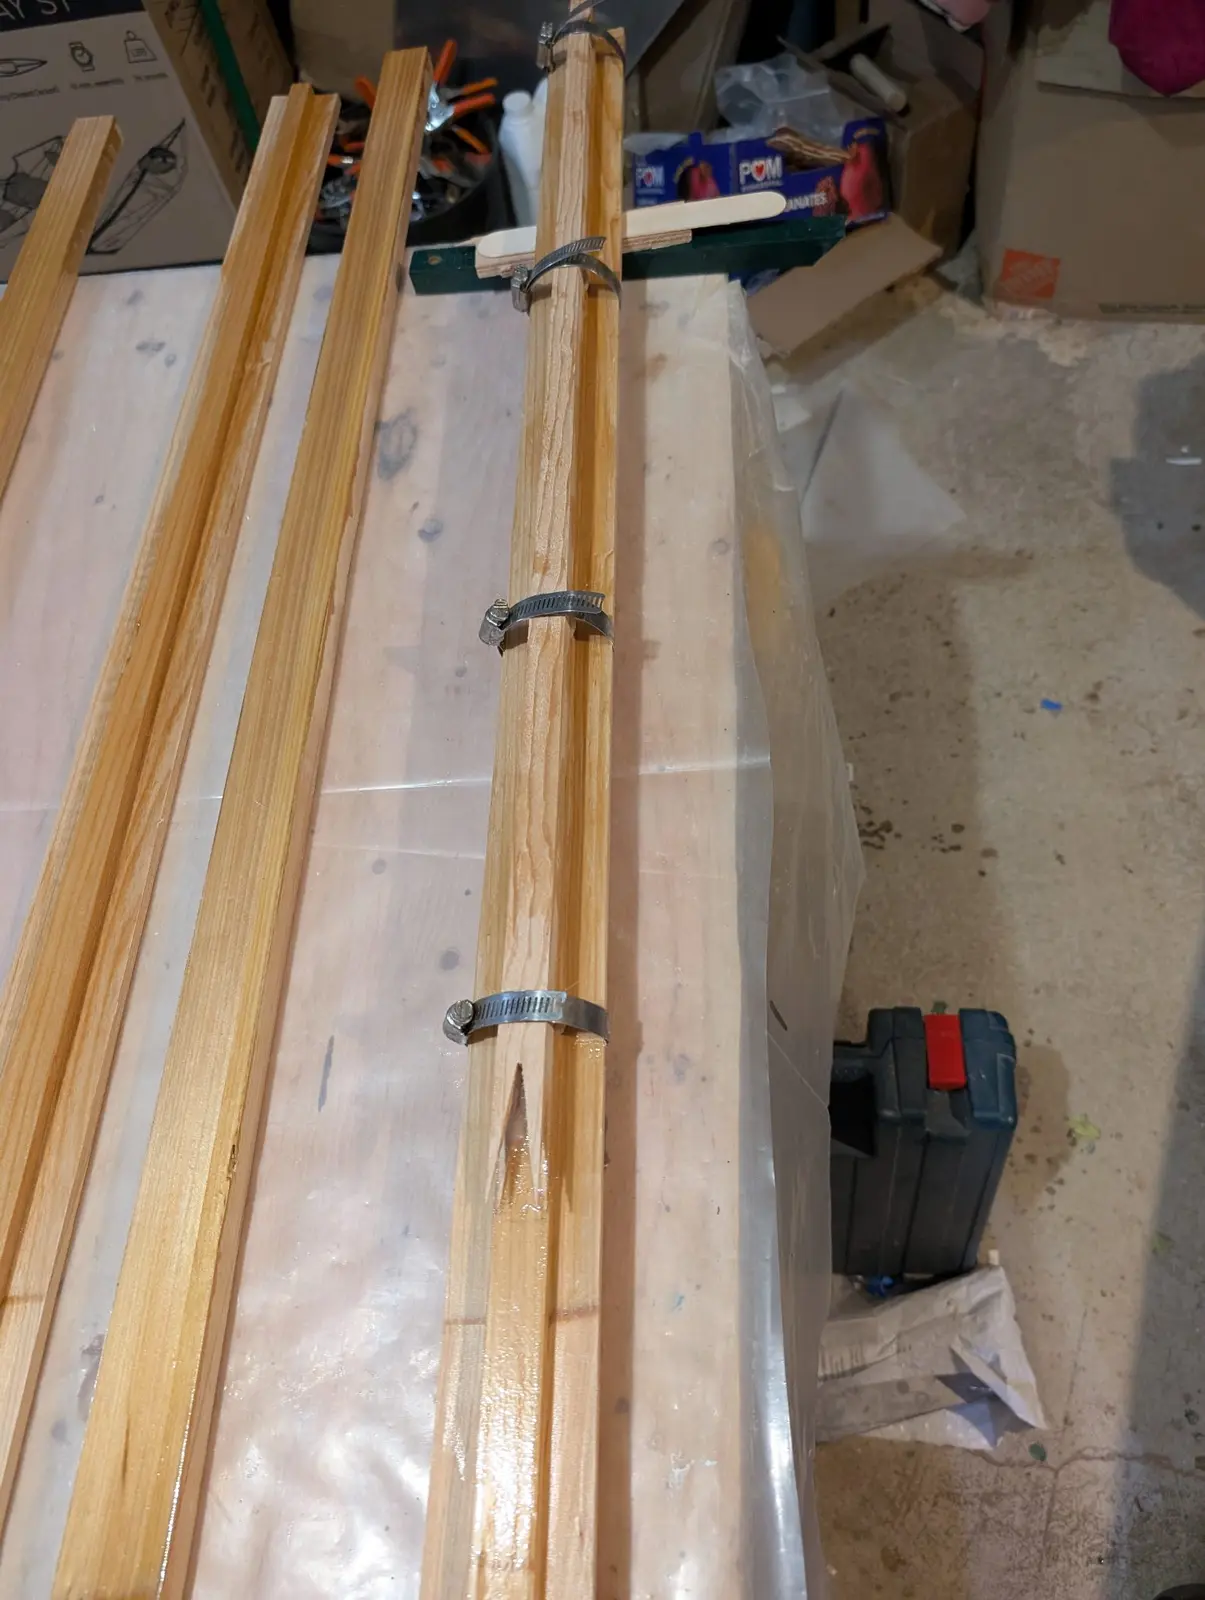
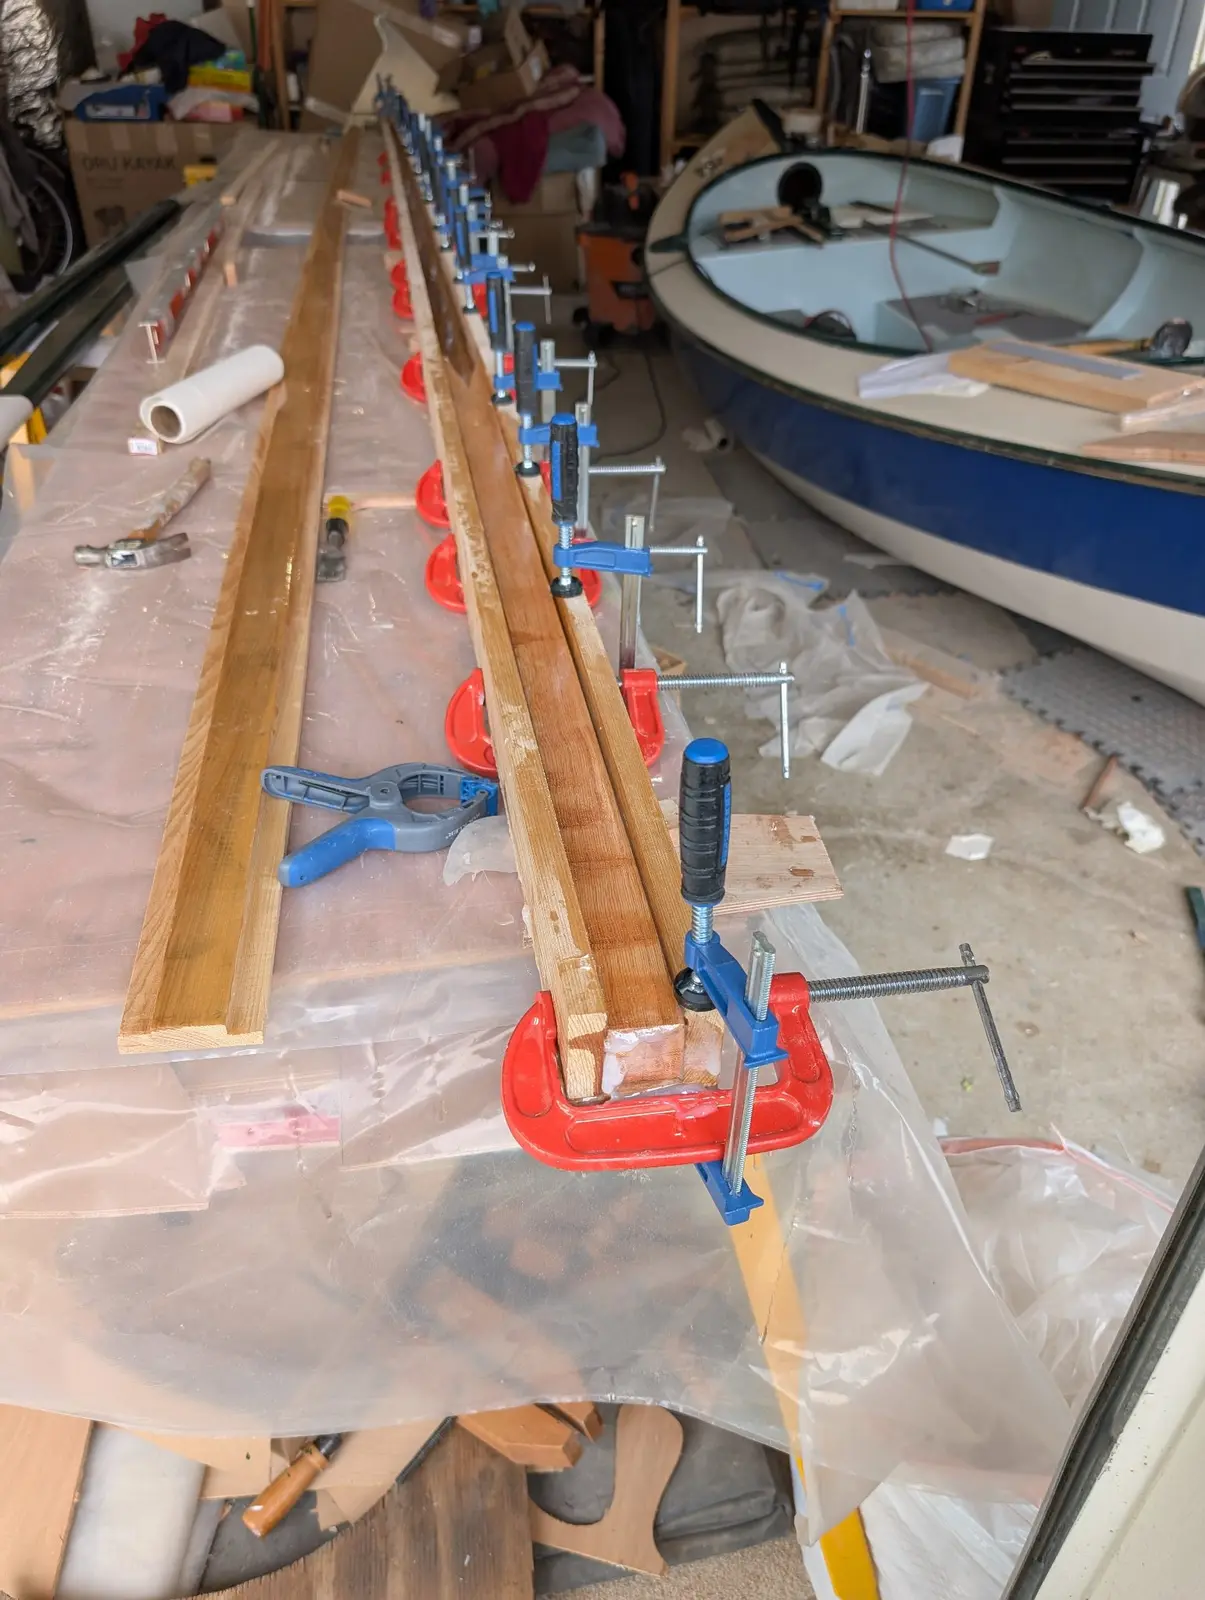
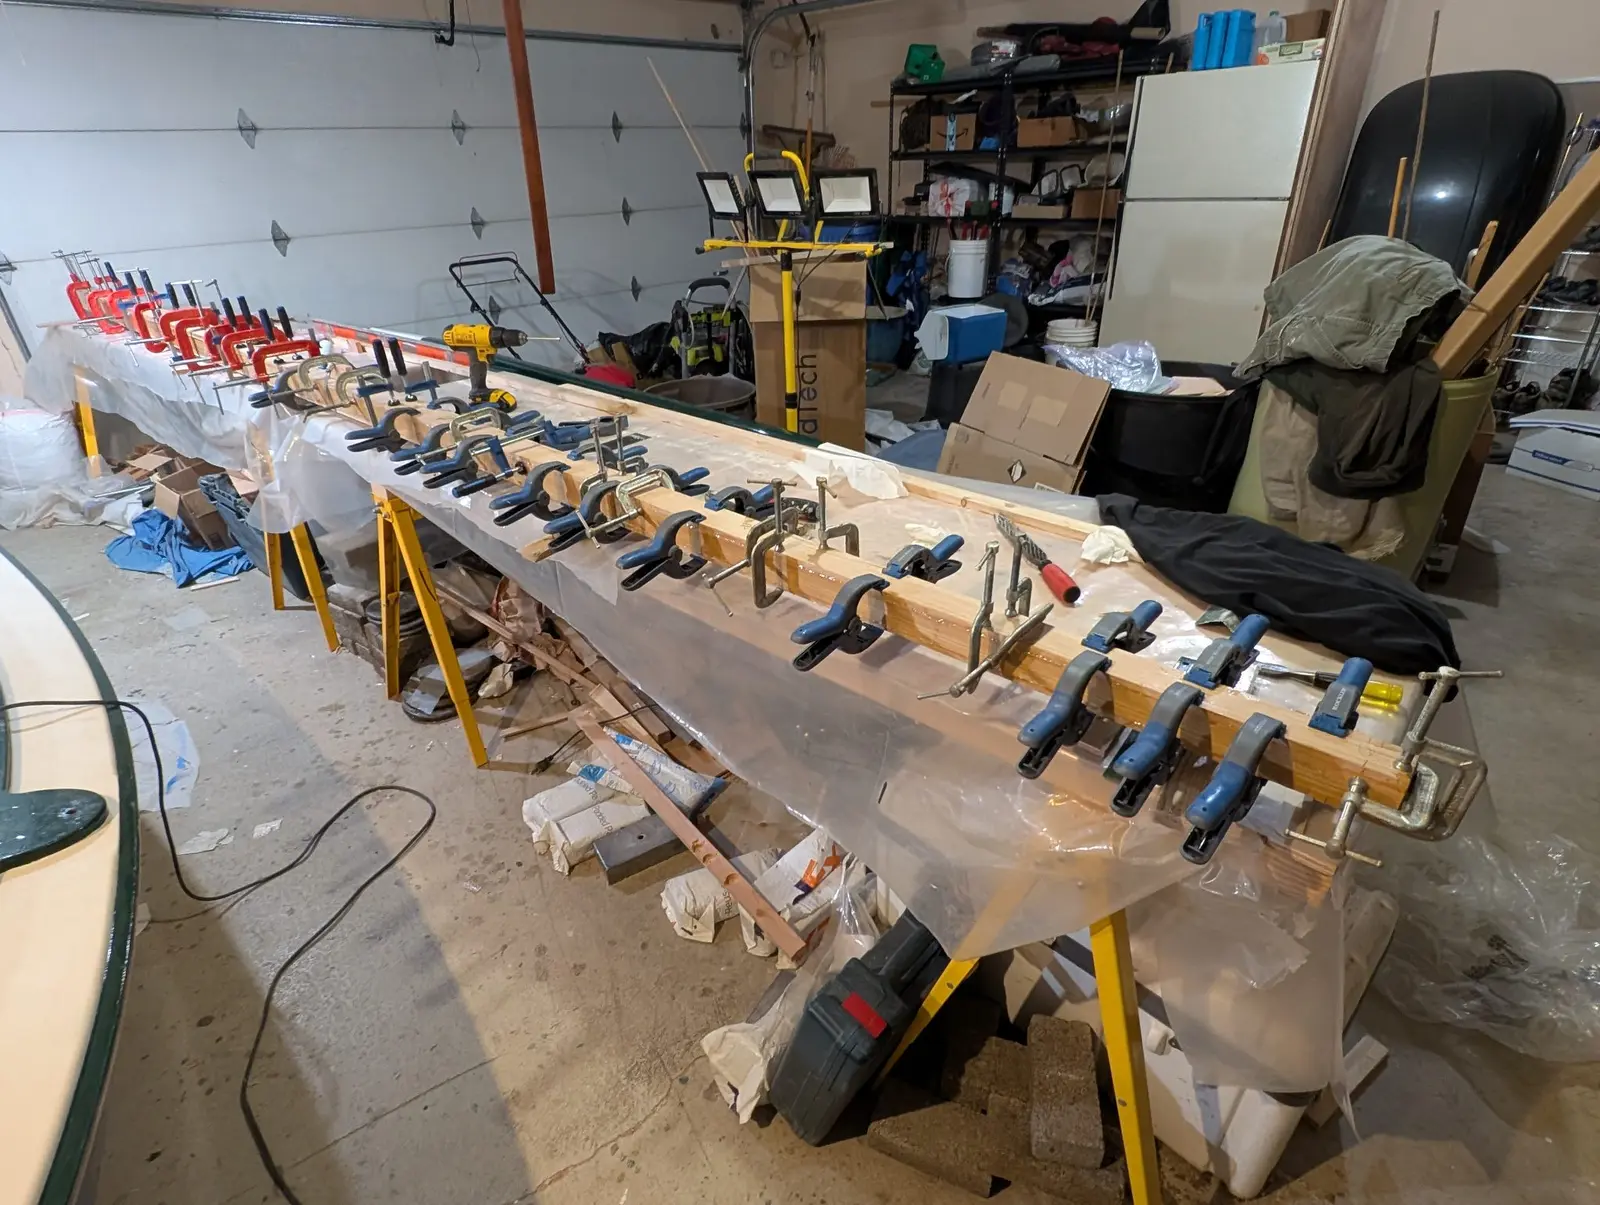
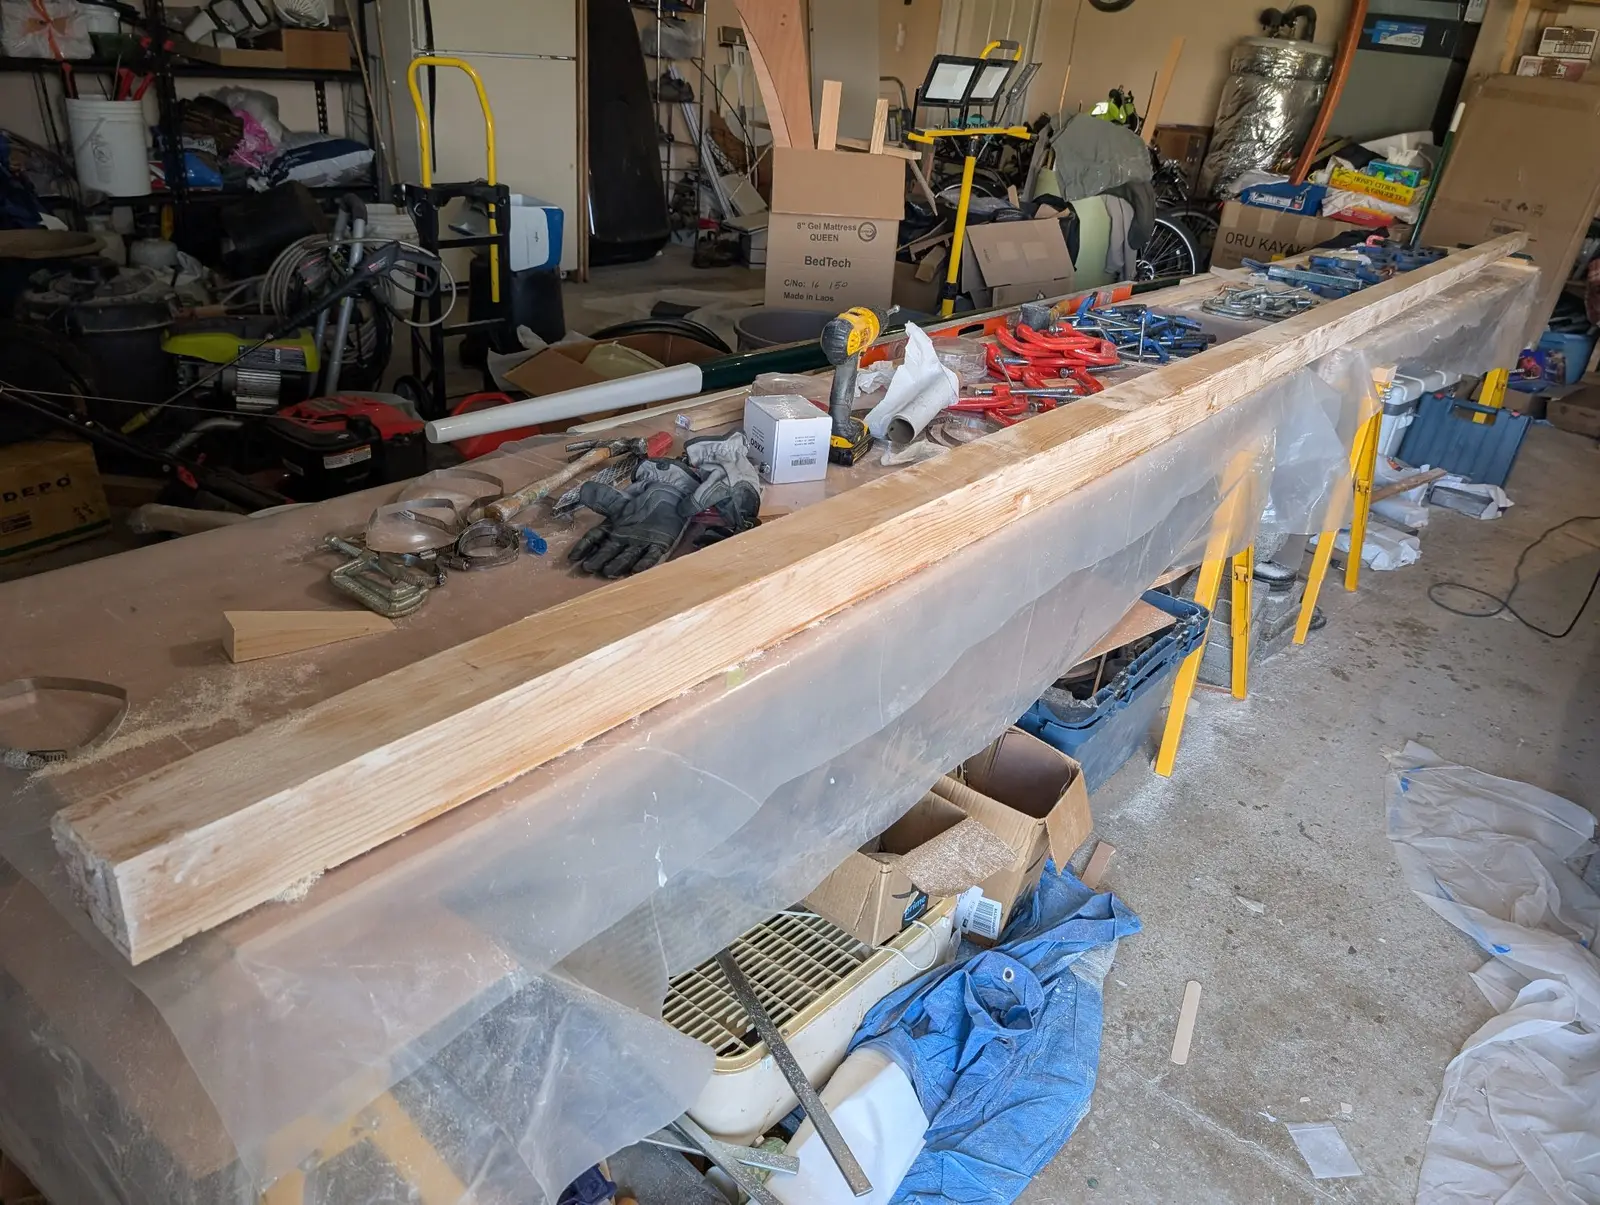
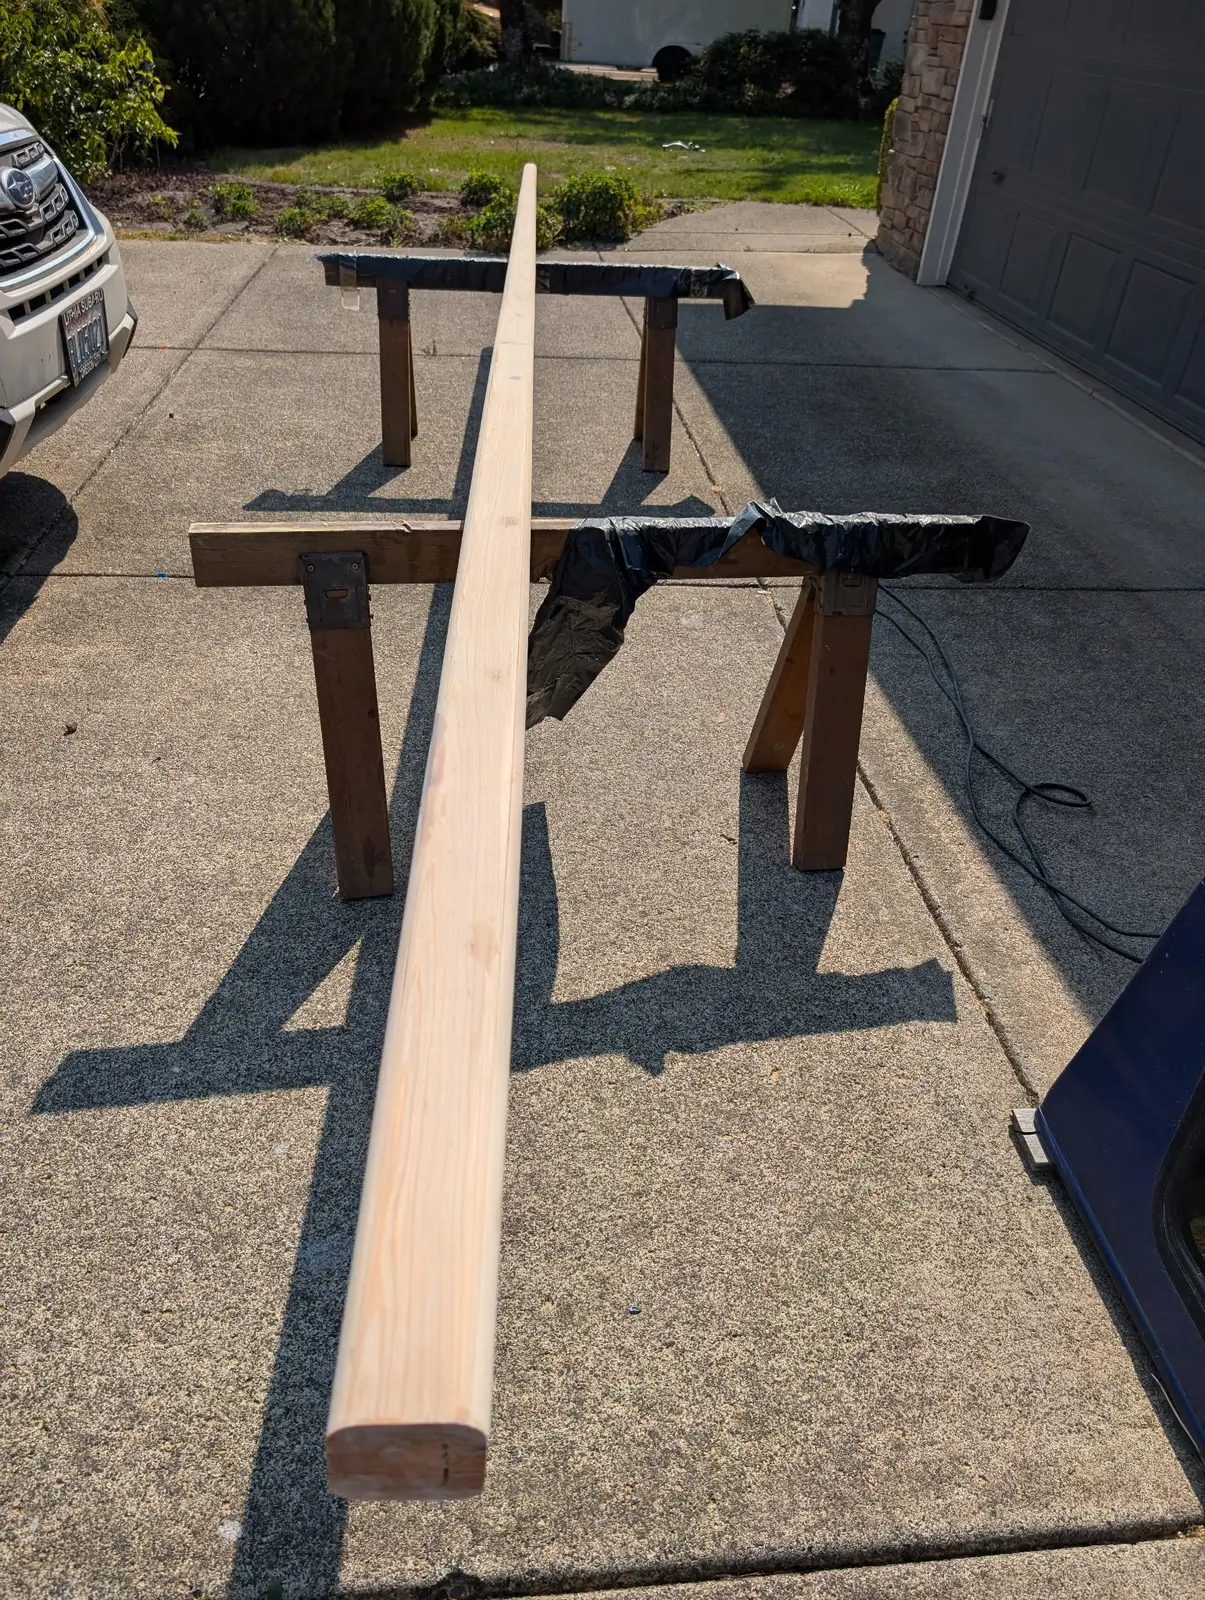
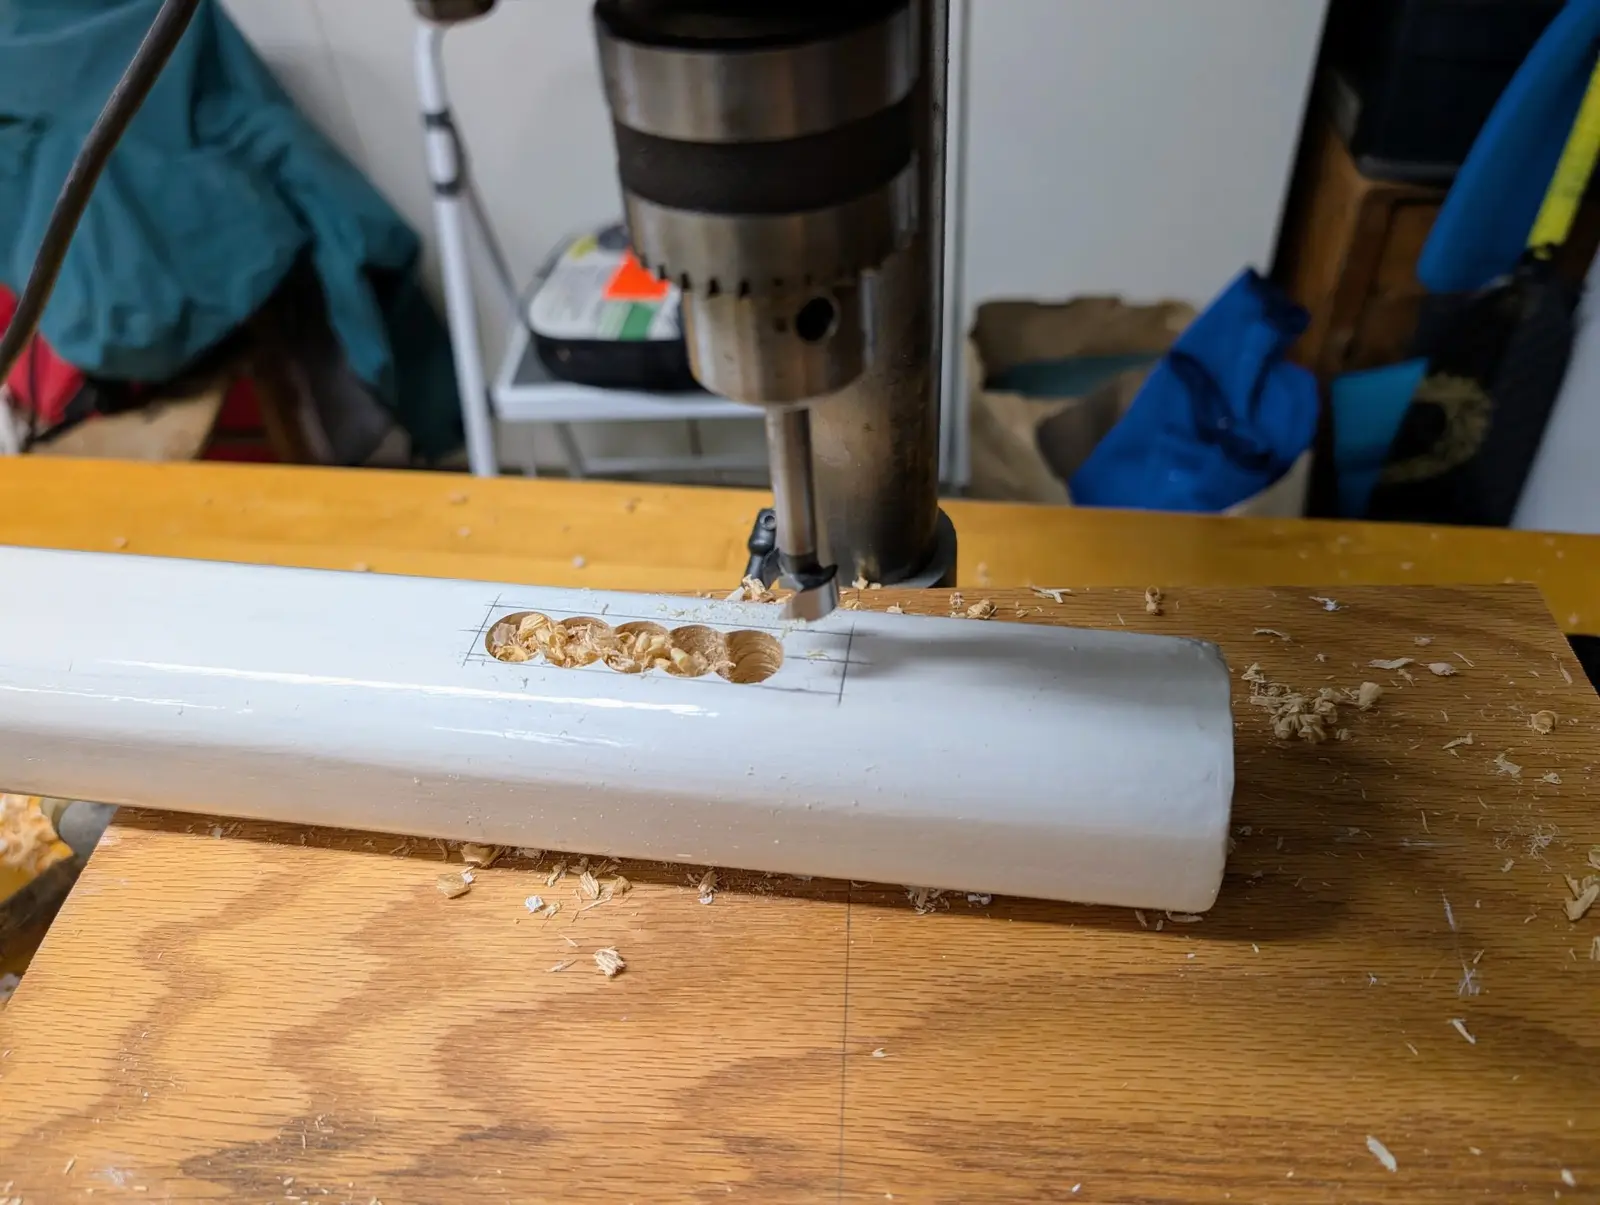
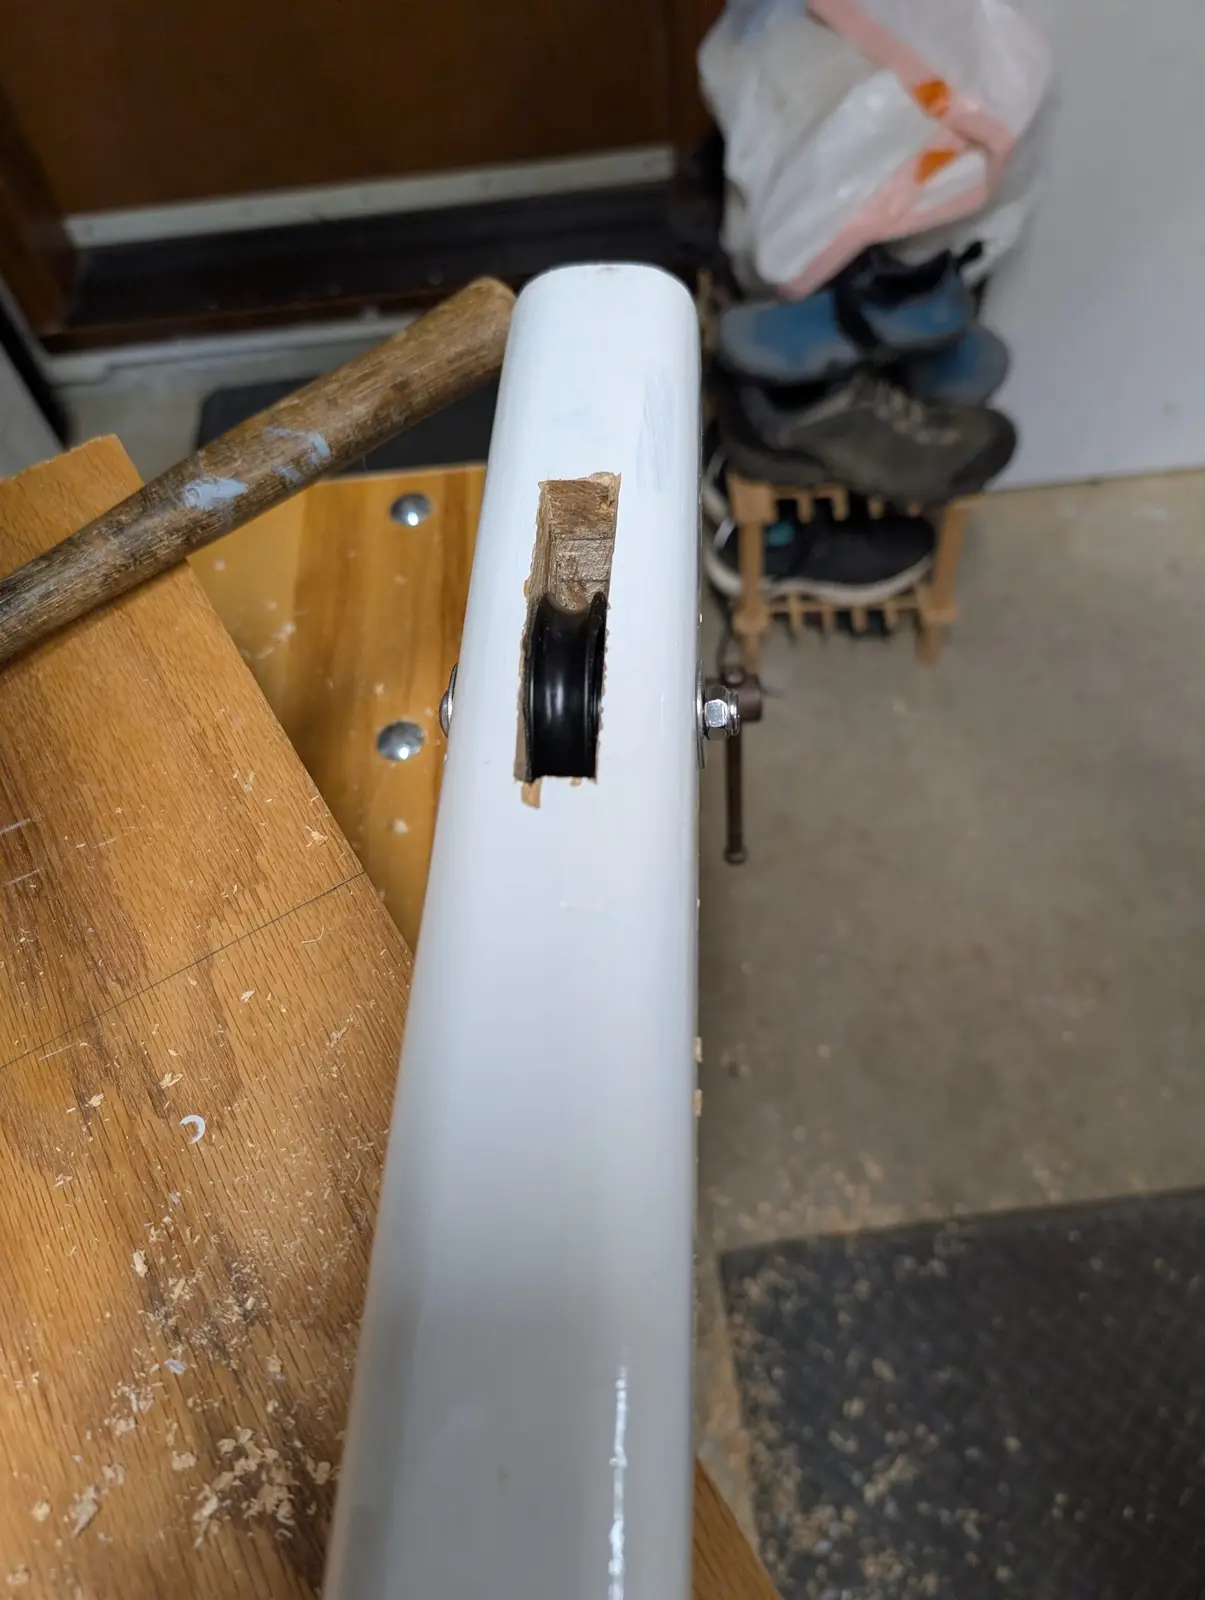
The 17' mast on Kembali is a hollow box with solid plugs on either end. The staves are scarfed from 3 pieces of solid timber, into which the tapers are cut from templates supplied by CLC. Then 3/4" rabbets are cut into both interior sides of the front and back staves. The side staves are glued into these rabbets, and the solid end plugs are emplaced during final assembly. Finally, all four edges of the mast blank are rounded over with a router, and a slot is cut in the peak to accept the halyard sheave. It's all incredibly easy to do....not. There are a lot of pictures here showing
most of the steps.
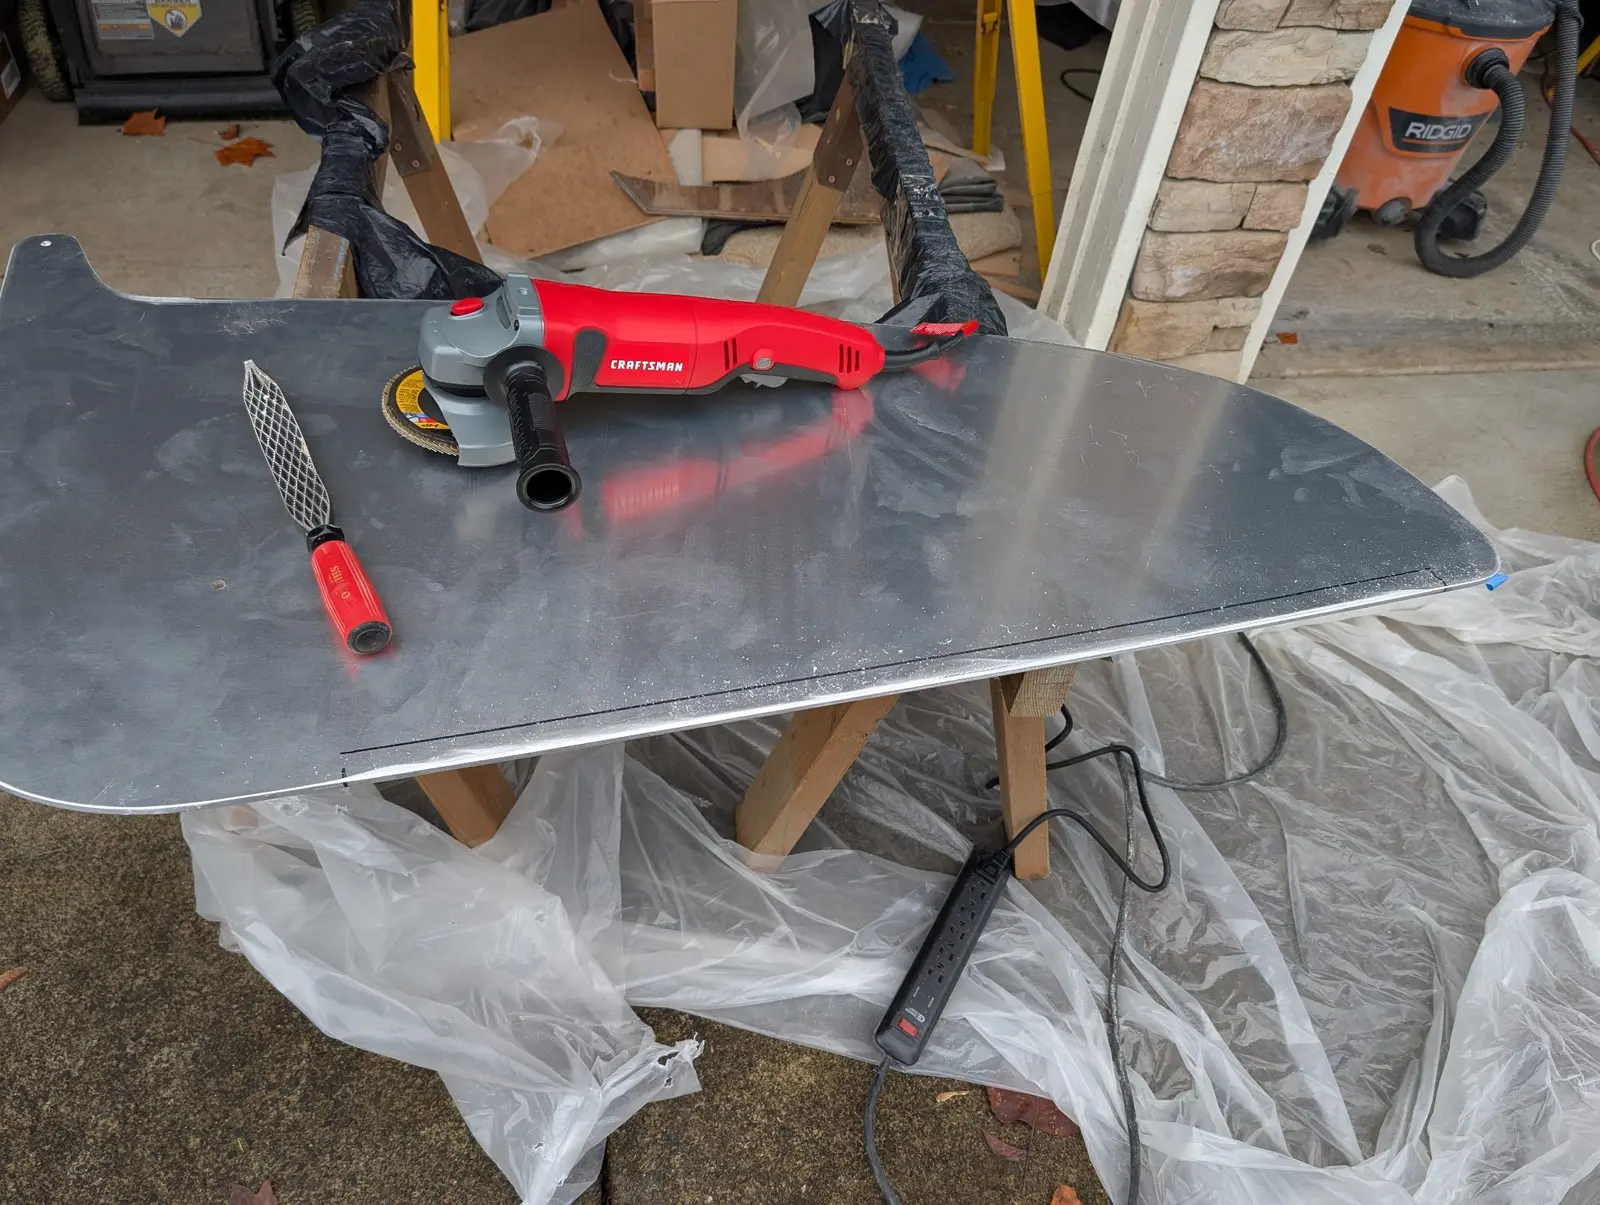
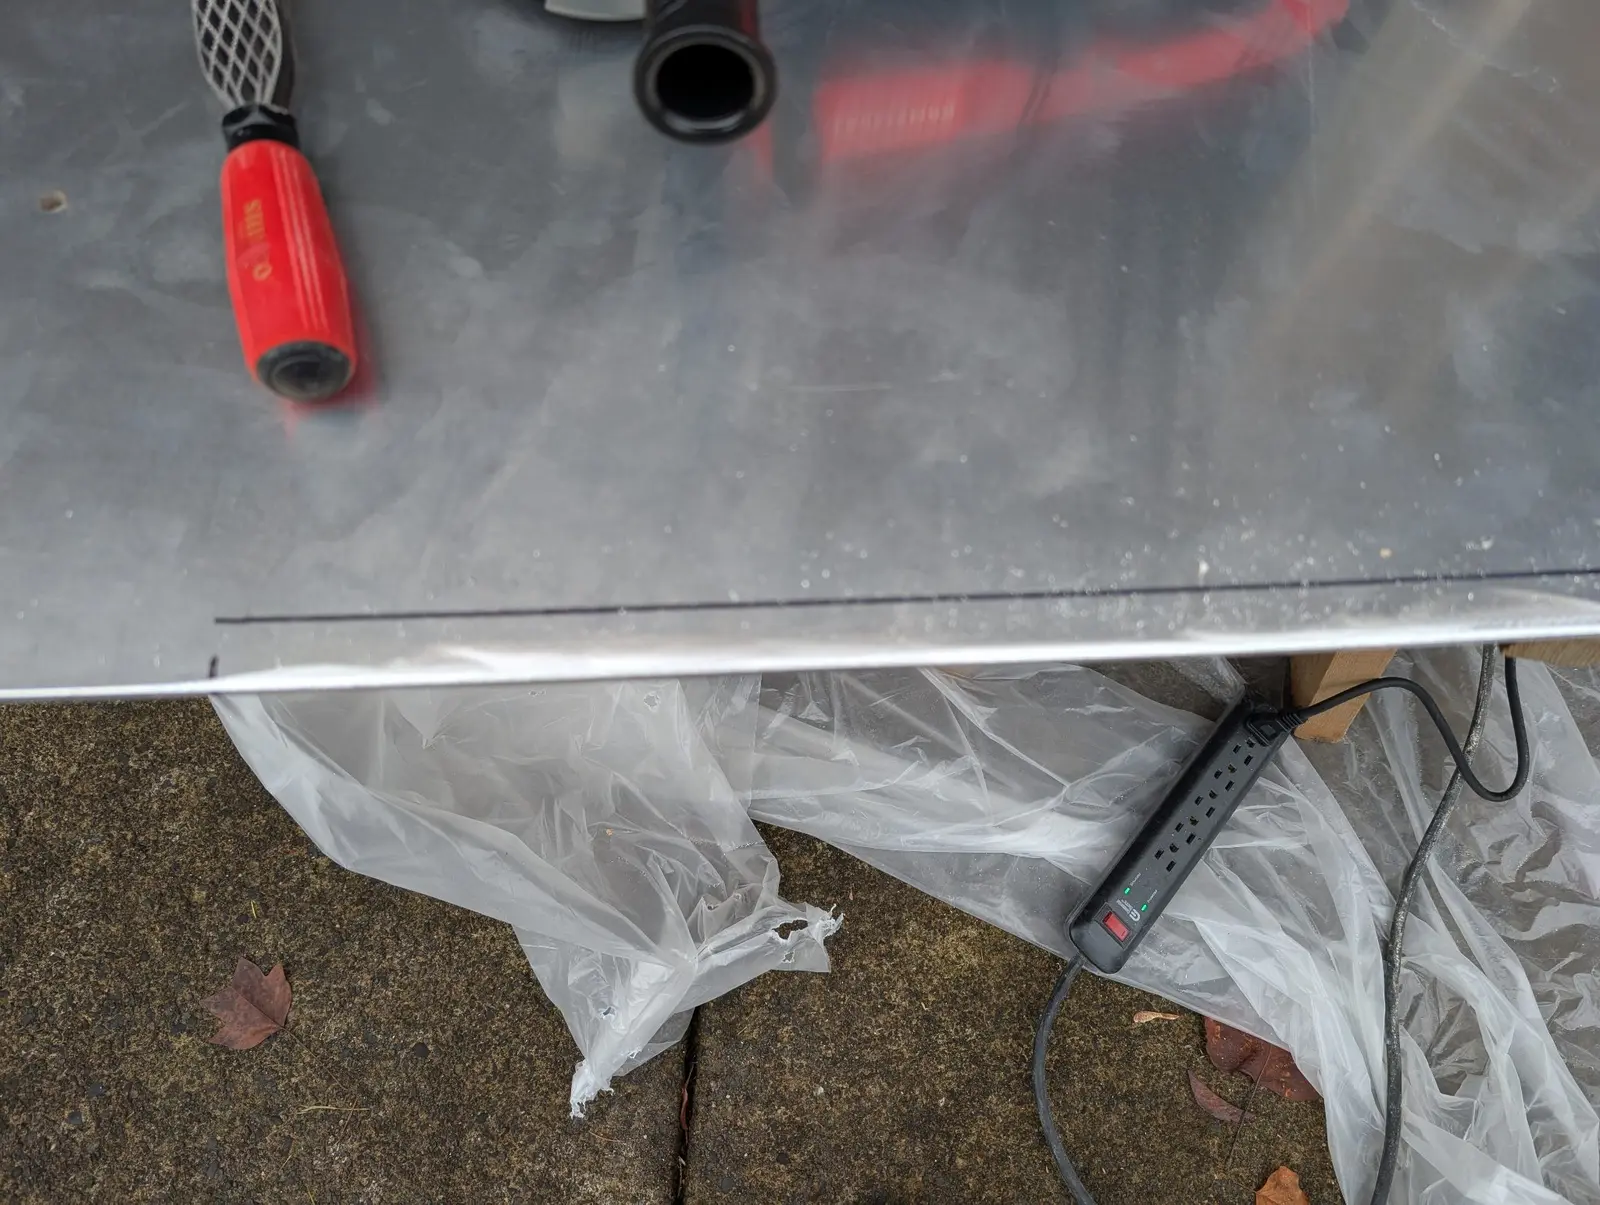
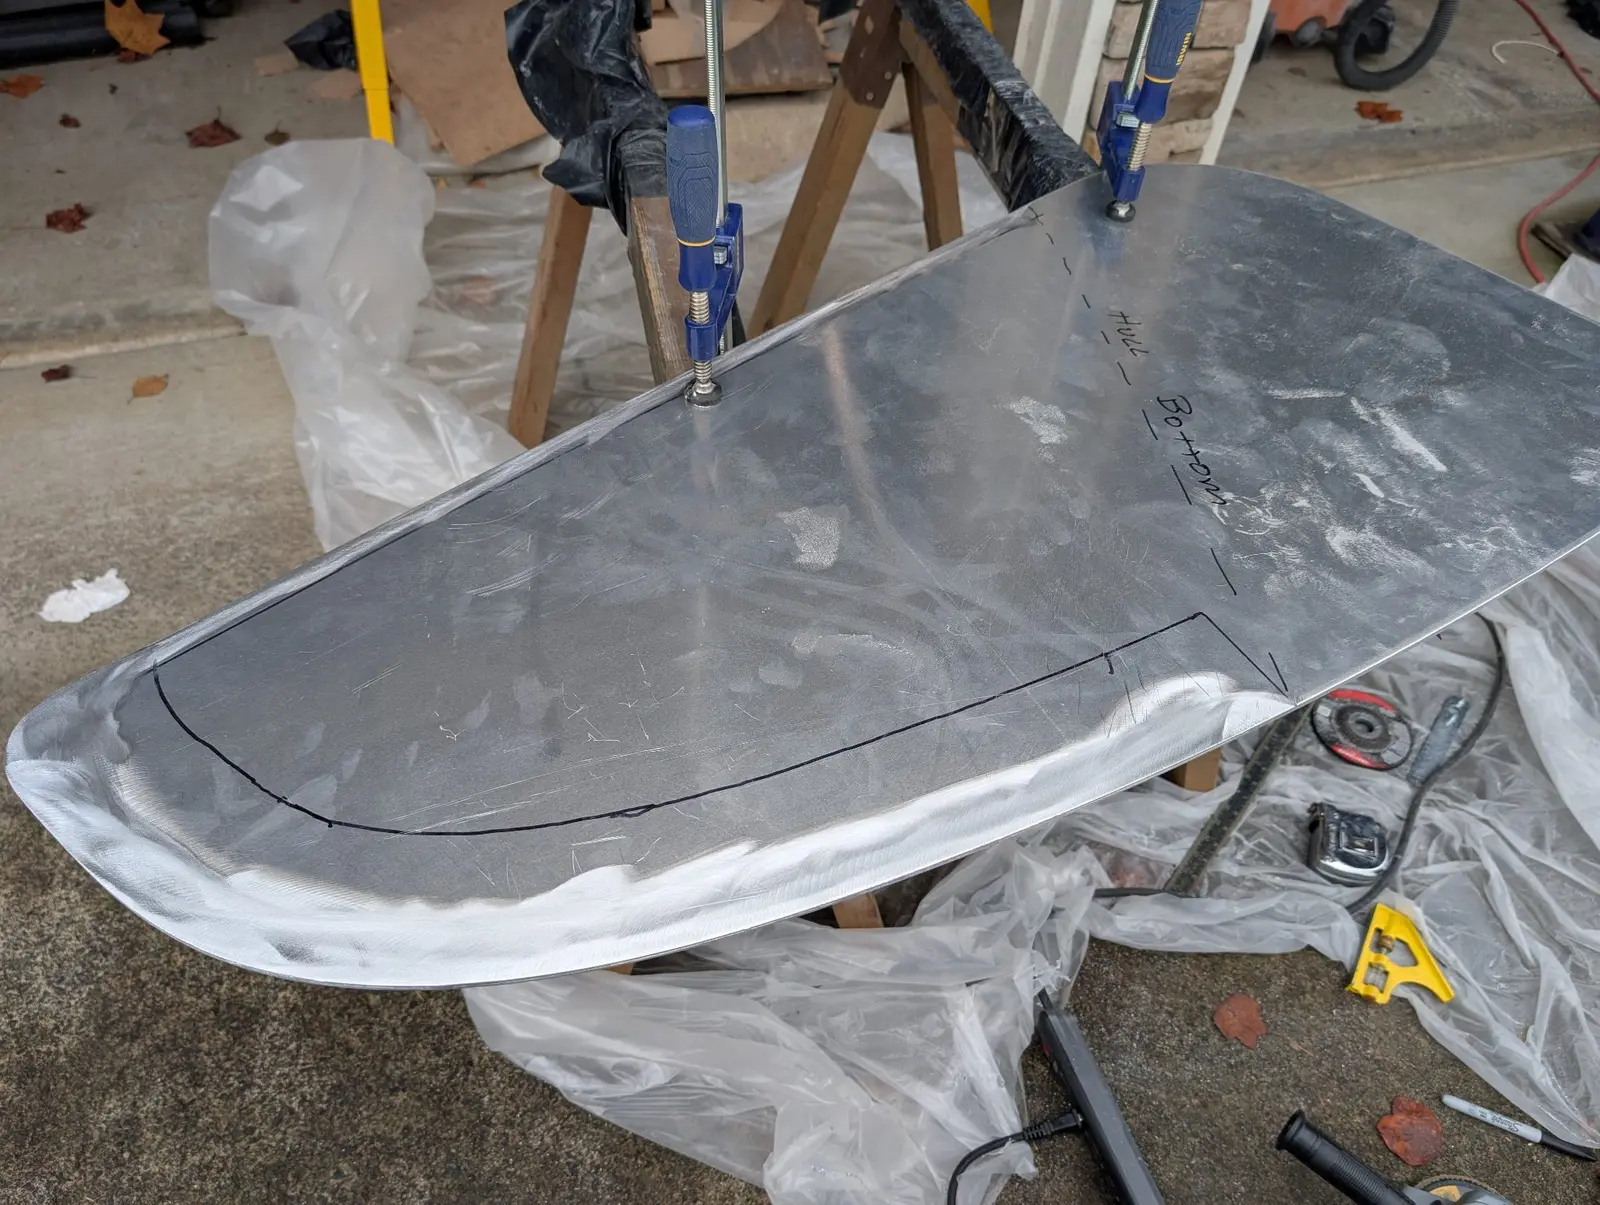
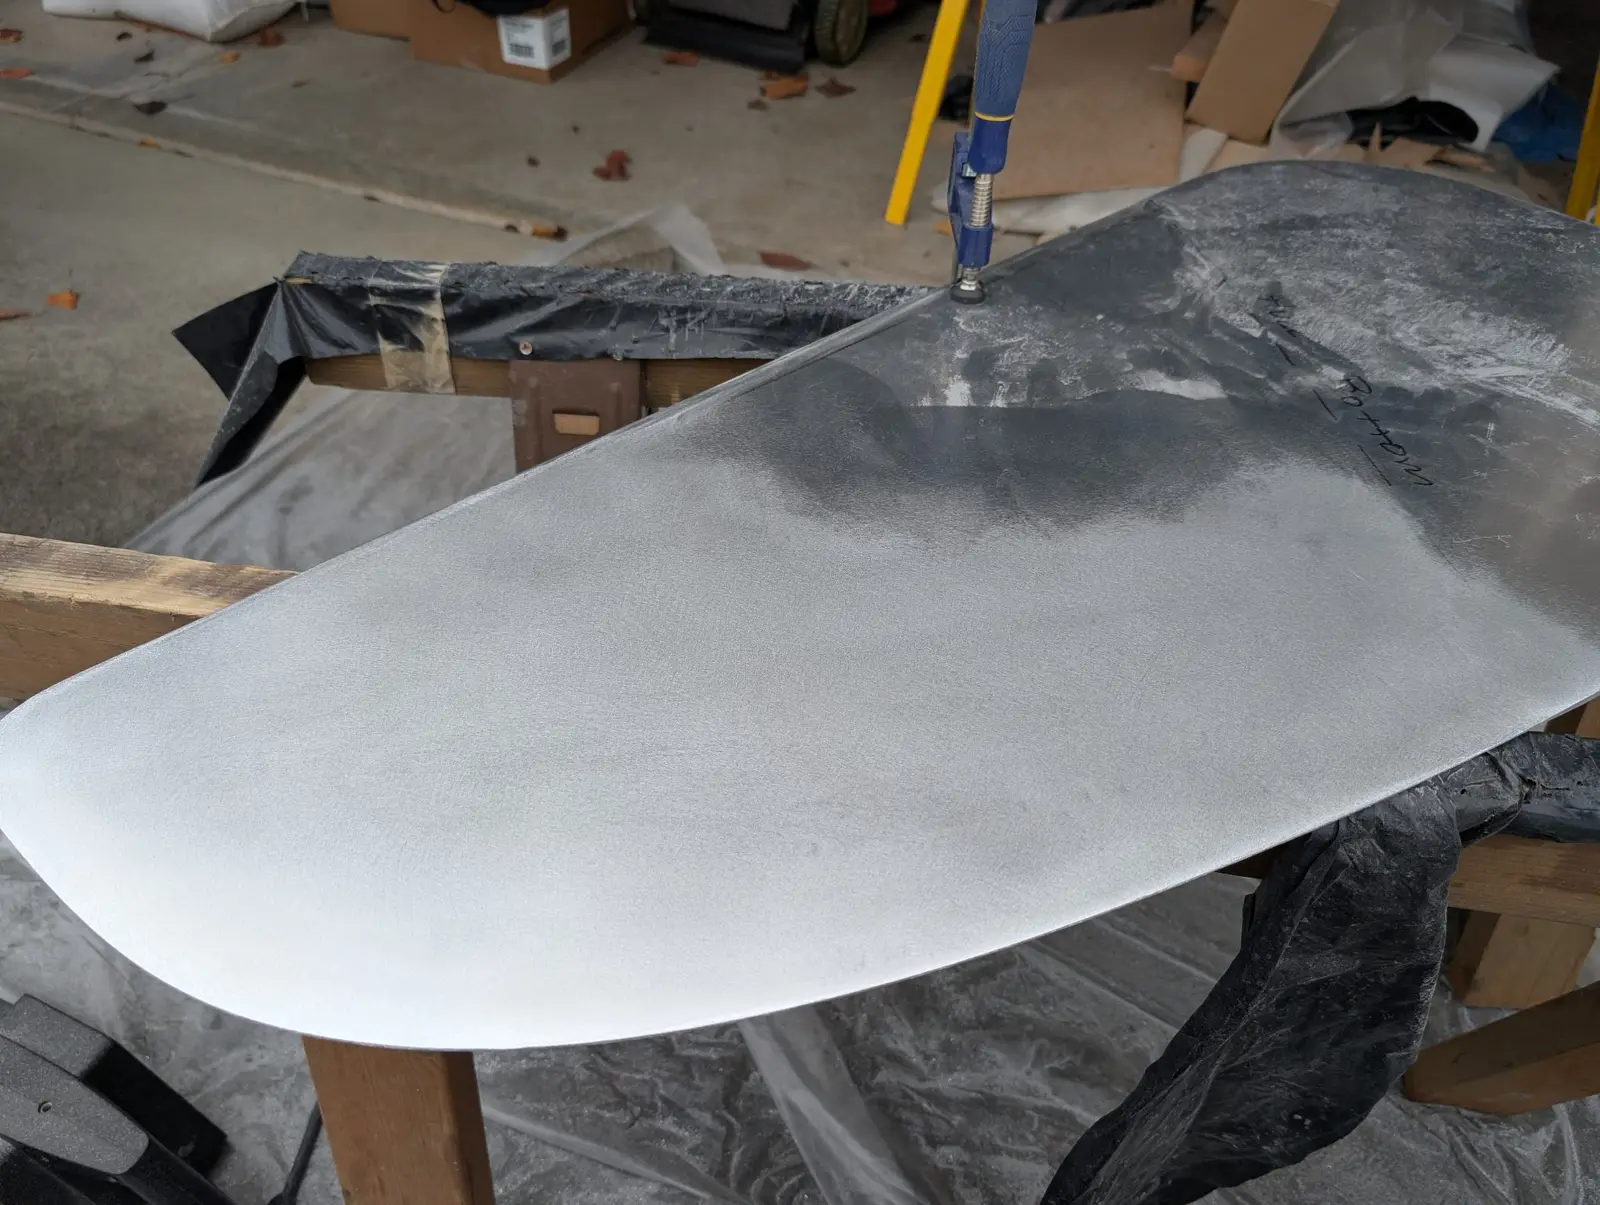
CLC supplies a 1/4" thick Aluminum centerboard blank, cut to shape, with a pre-drilled pivot hole. The build manual lays out how the tapers should be done to give the centerboard the proper hydrodynamics. The only problem was I had no clue how to work the aluminum. I tried to find a machine shop to do it, but it was too small a job and had too long a lead time. I ended up doing it myself with a cheap angle grinder (which died), a shinto rasp (an amazing tool), files, and a random orbital sander. I took the surface to 600 grit to make it nice and smooth. Elapsed time on the job was about 6 hours, spread over two days.
1234
Nobody else here is logging a The Guider yet.
See the boat.
What it cost
$14,893.59
$11,979.81
Into the boat
$1,785.00
Shipping
$1,128.78
Tax
Shipping added
14.9%
on top of the goods: the cost most people forget when they price a kit boat.