Gluing the outside seams
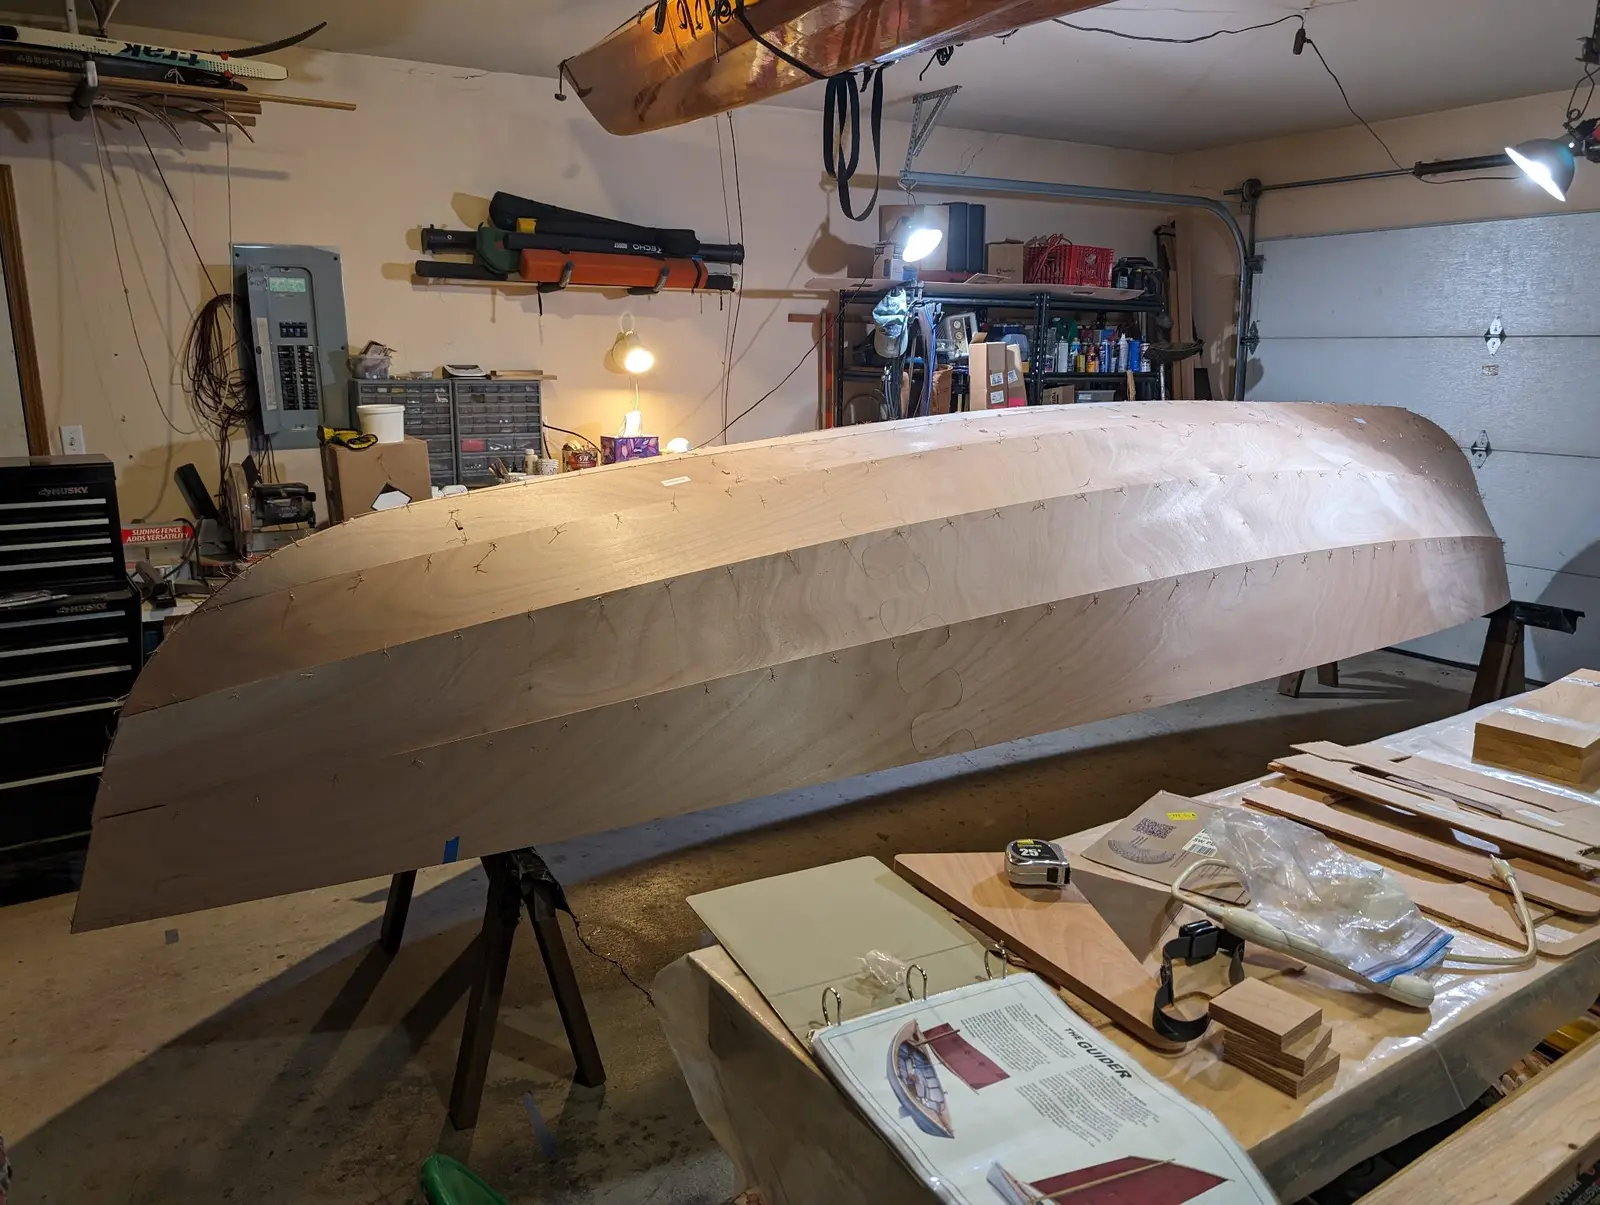
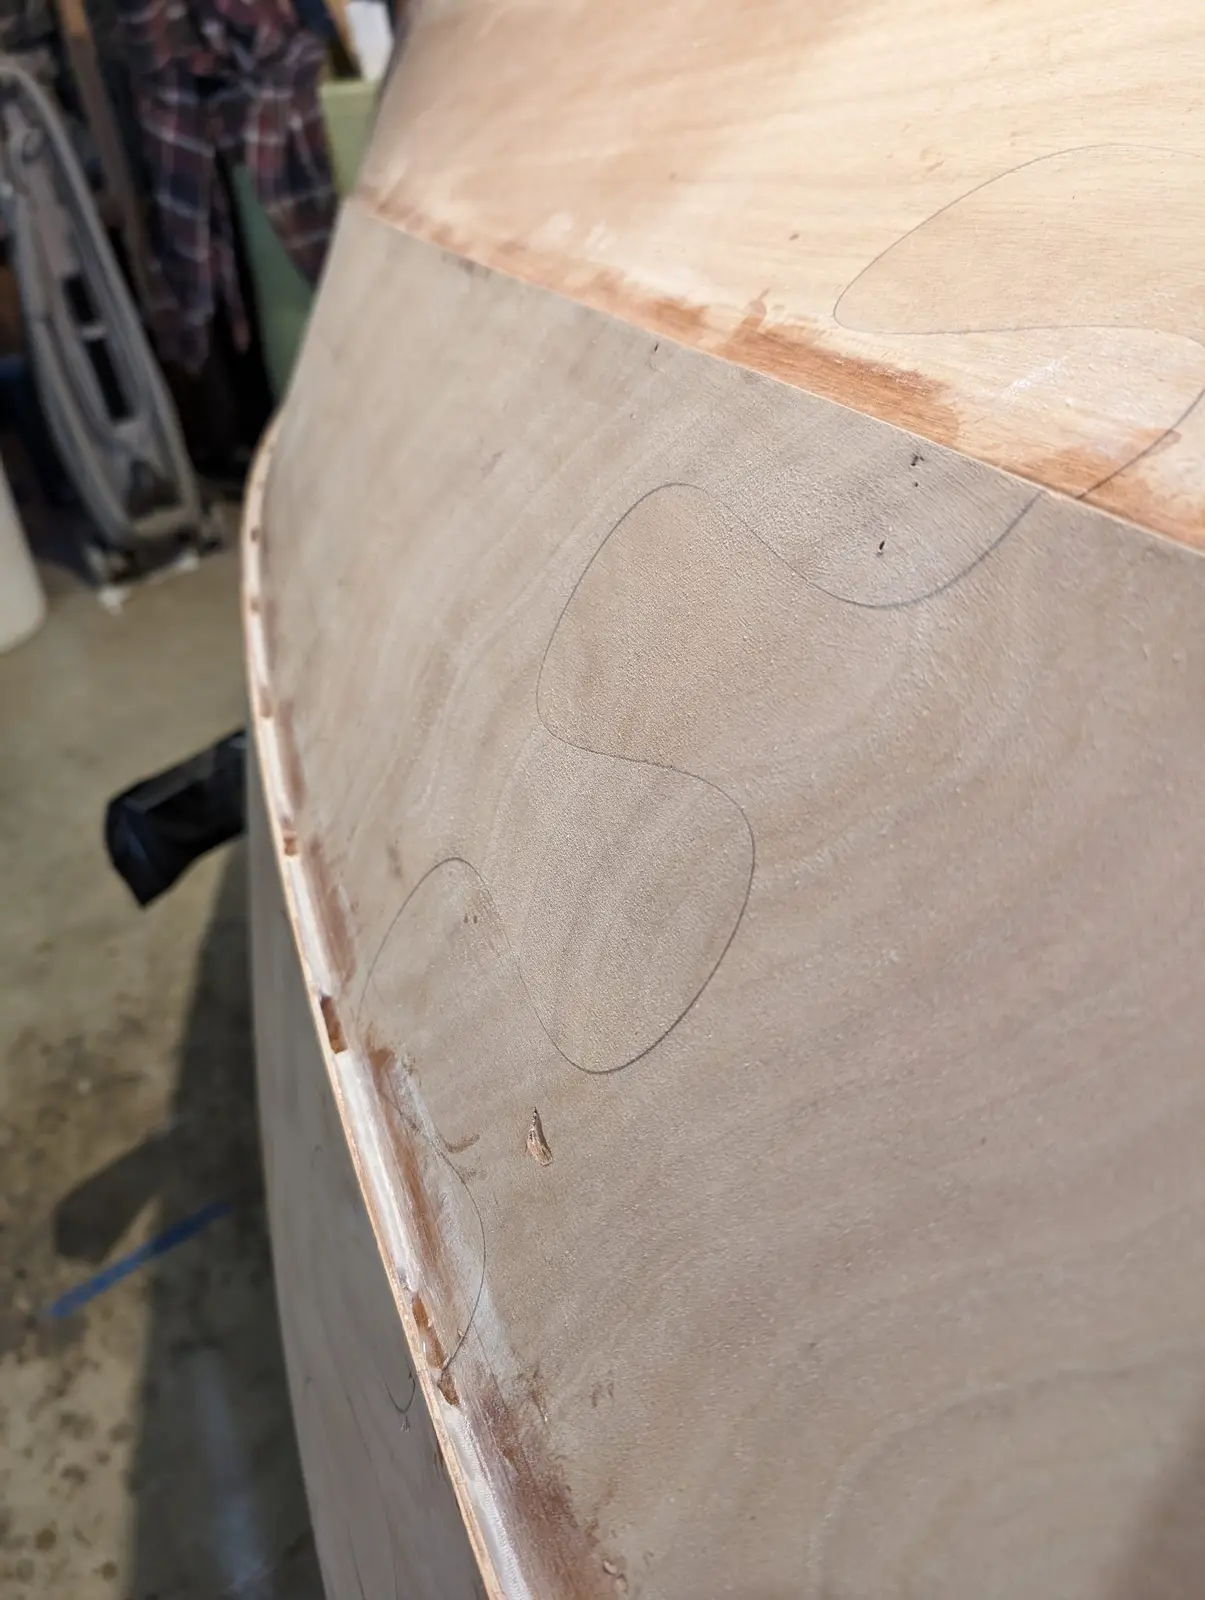
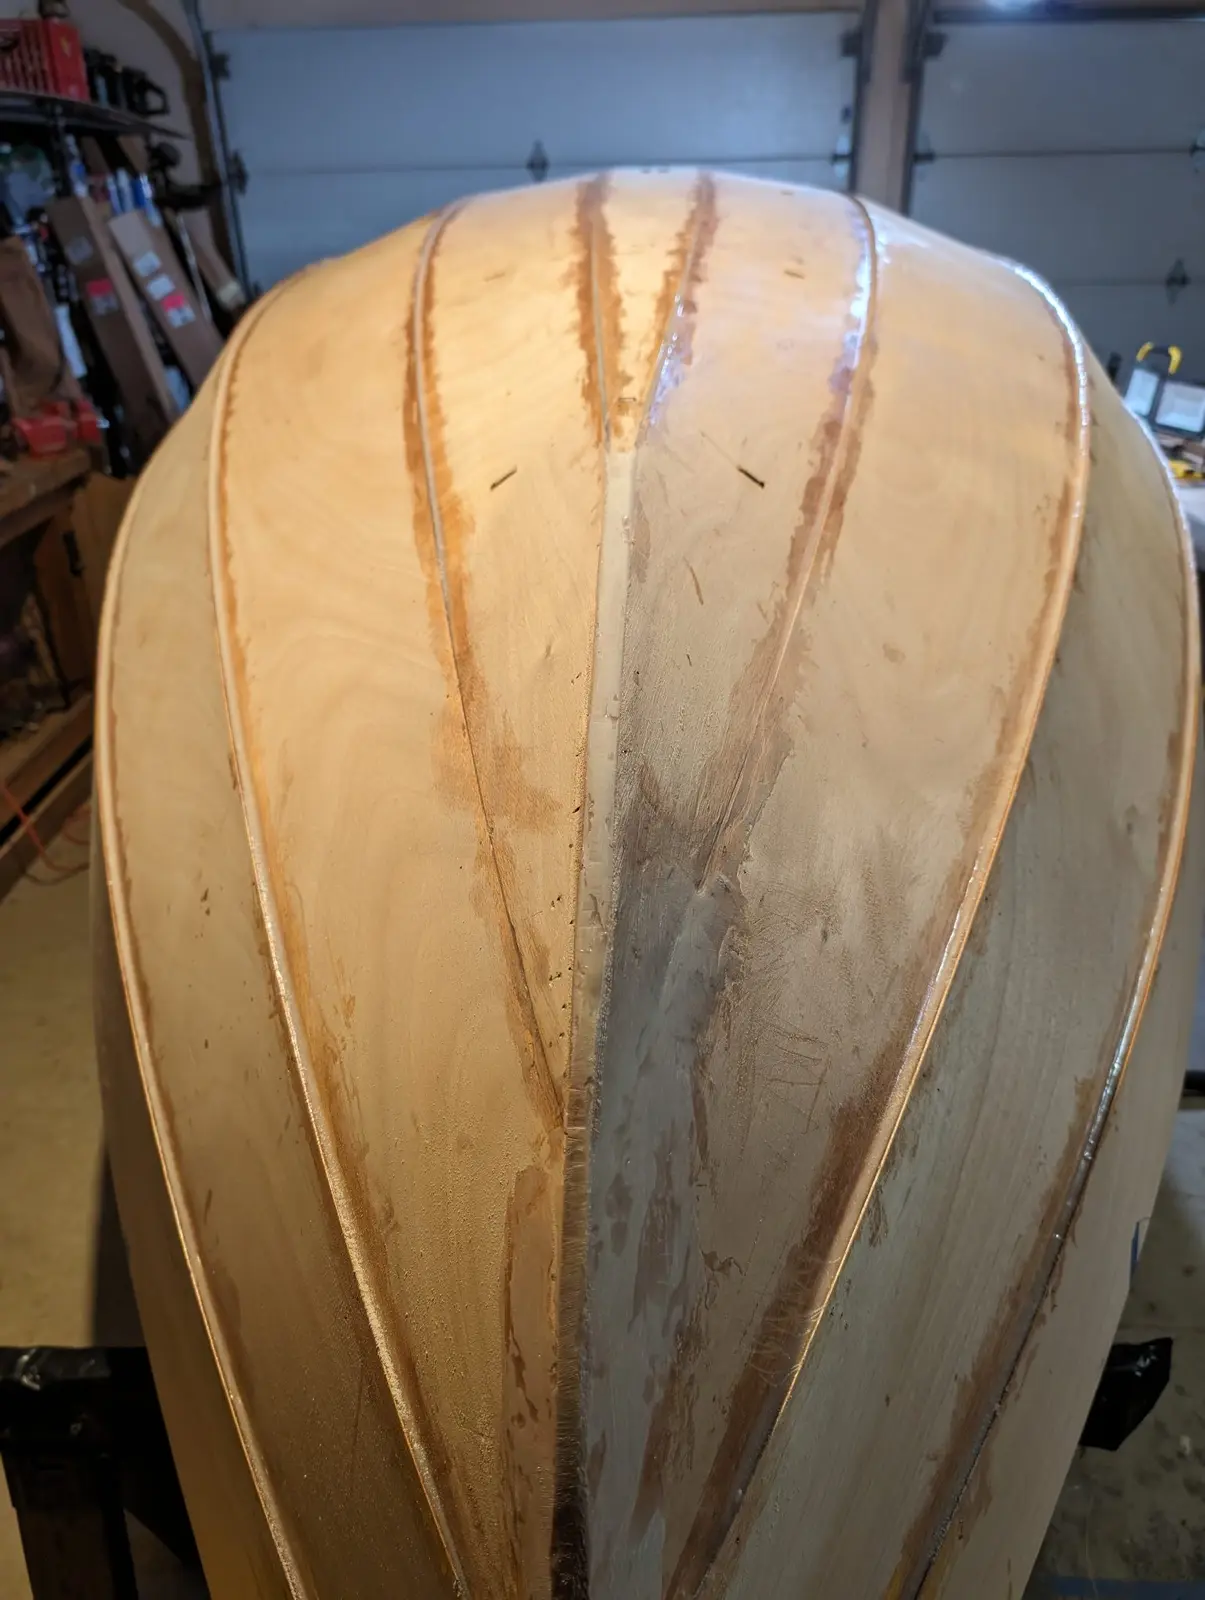
Once the seams and frames are all tacked with epoxy on the inside, the boat is flipped and the same is done on the outside of the hull. The edges of the planks where they meet other planks are rabbeted to form a shoulder. When the planks are aligned properly, this creates clean contacts with an overhang at the junction. Small beads of thickened epoxy are injected into these shoulders between the copper stitches to glue the planks together. This is only to tack the planks together; a smooth fillet of thickened epoxy will be laid over these tacks later. Once these tacks are cured all the copper stitches are removed from the hull and a smooth fillet of thickened epoxy is laid down over the exterior seams of all the planks. Then the boat is flipped again to continue work on the inside.
Building the centerboard trunk
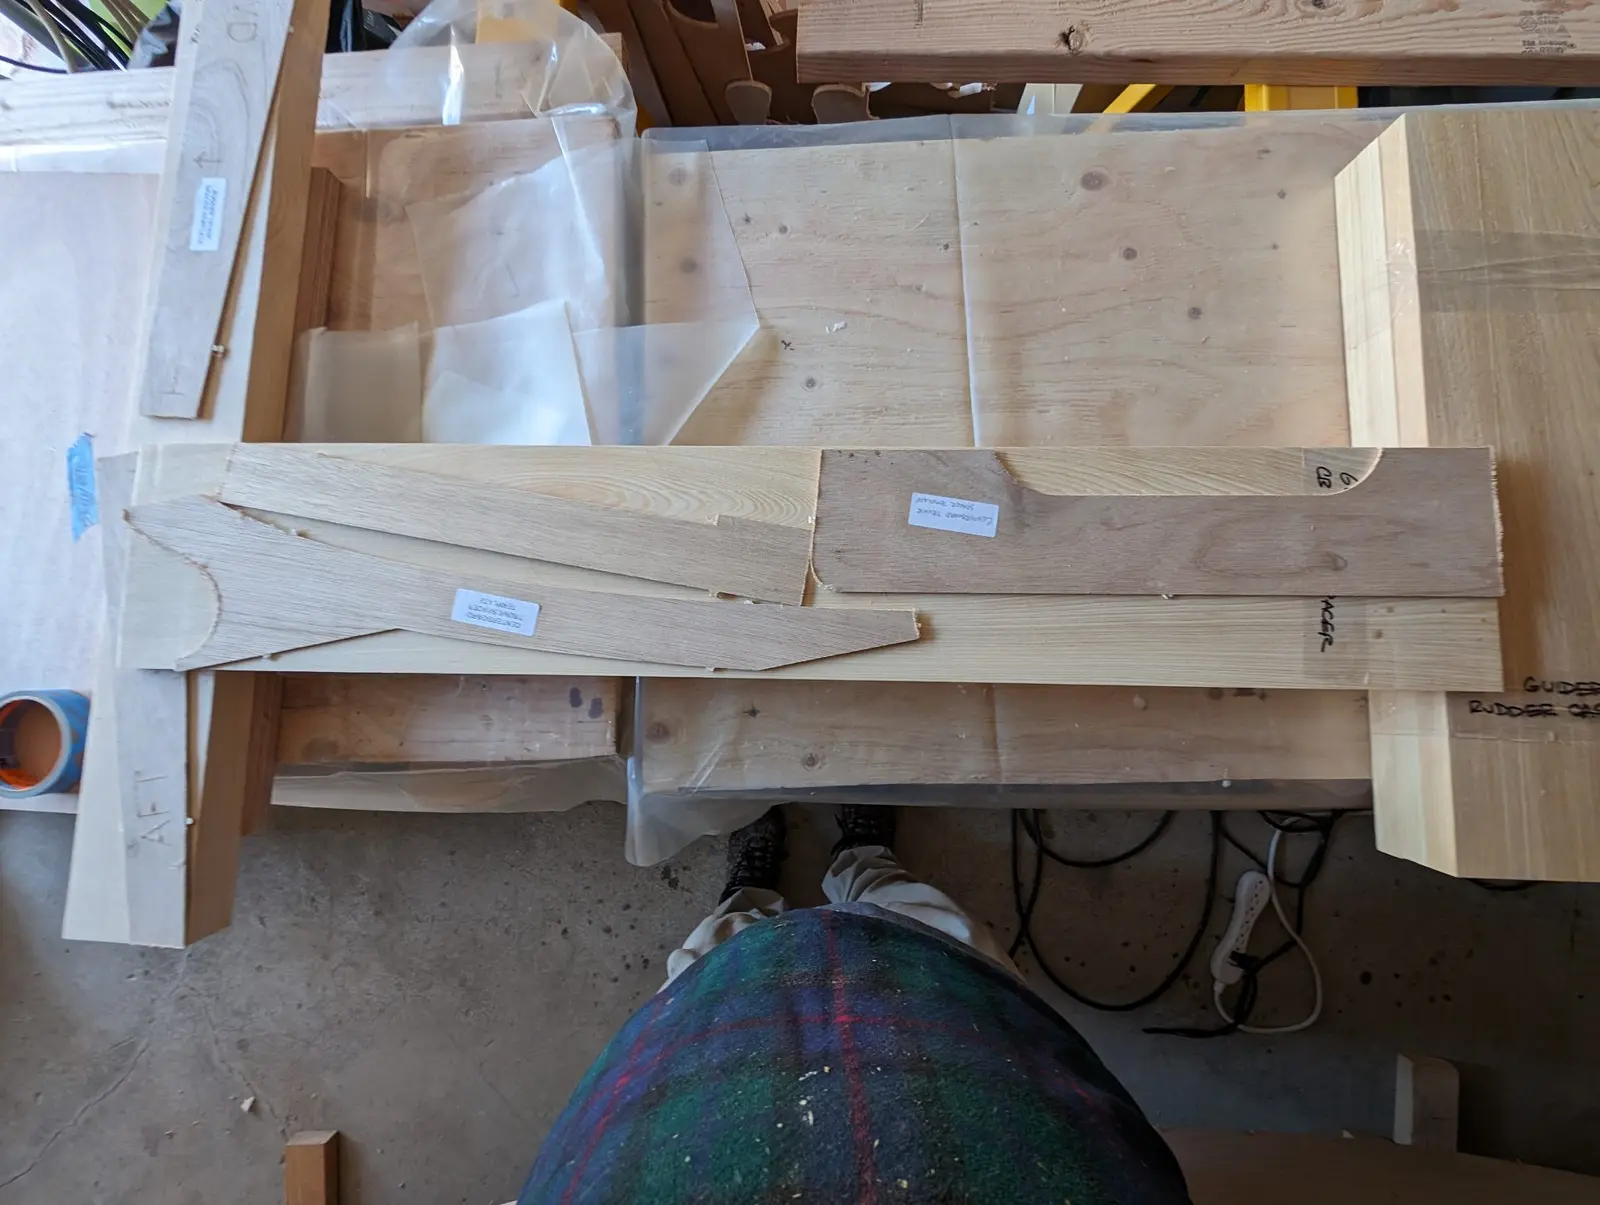
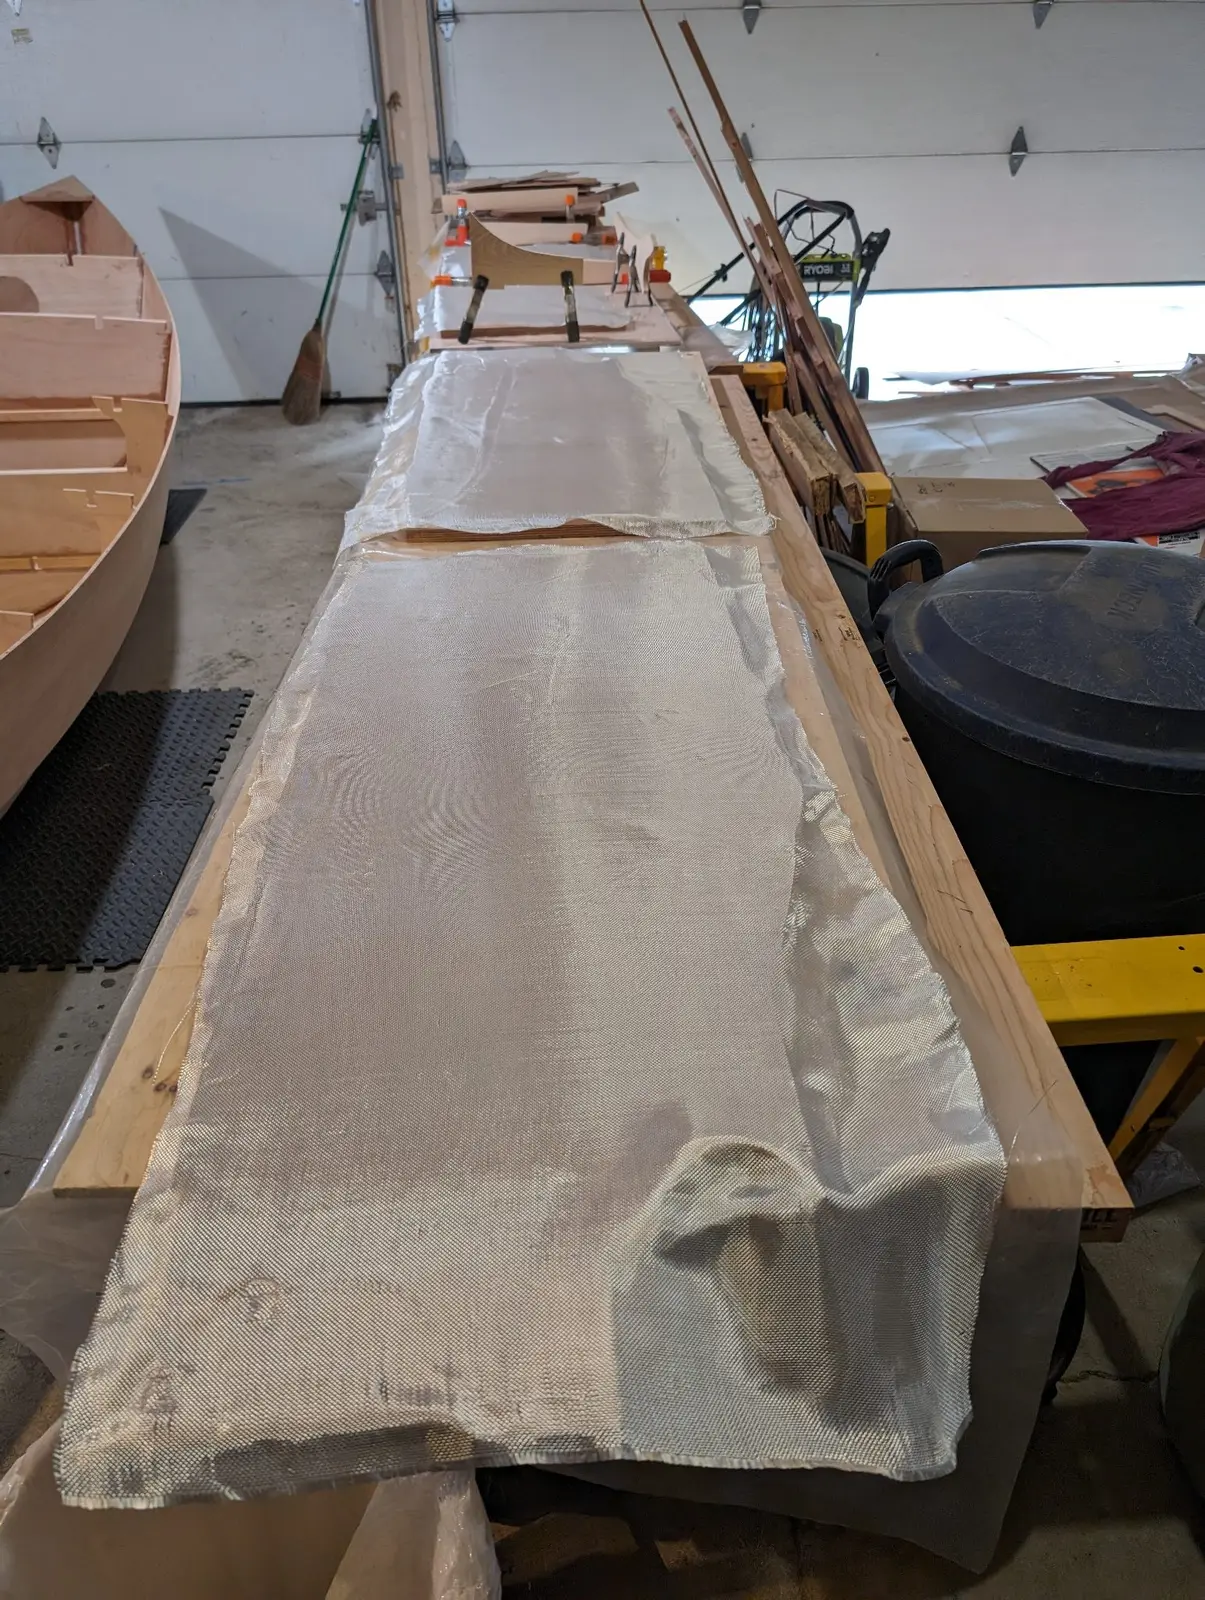
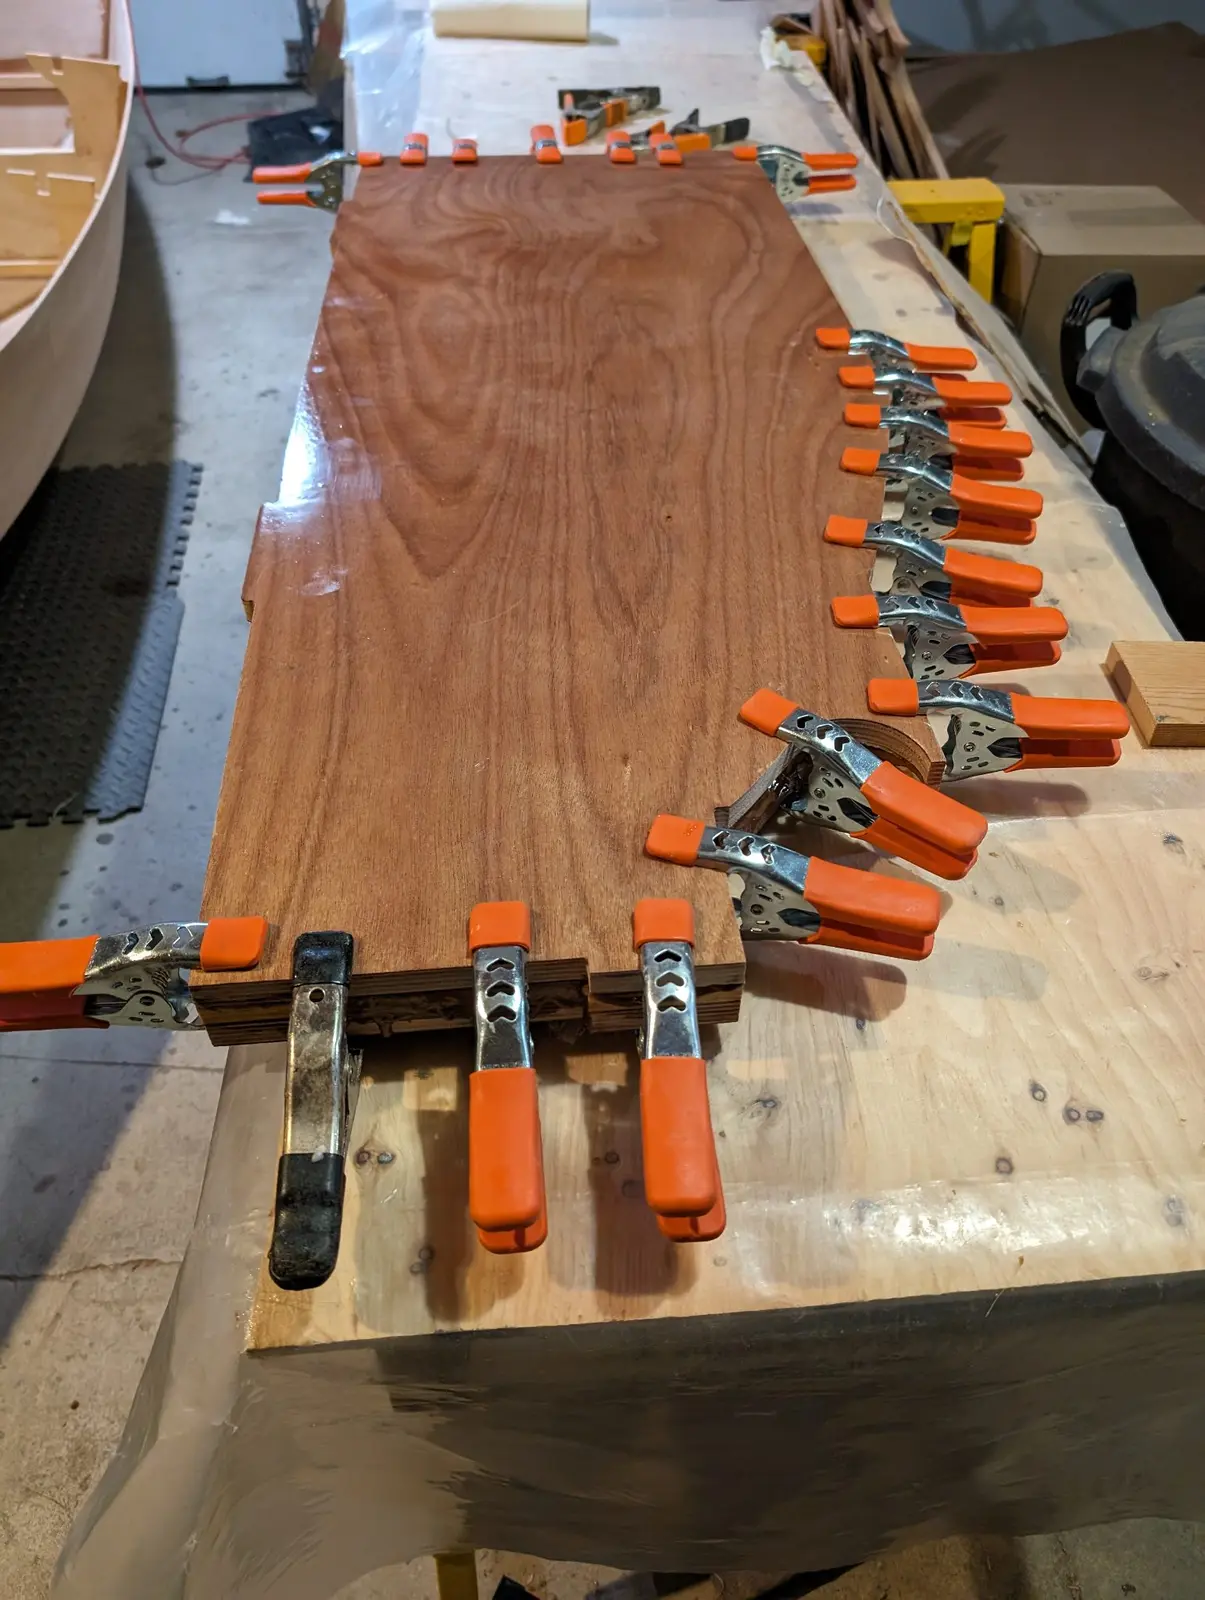
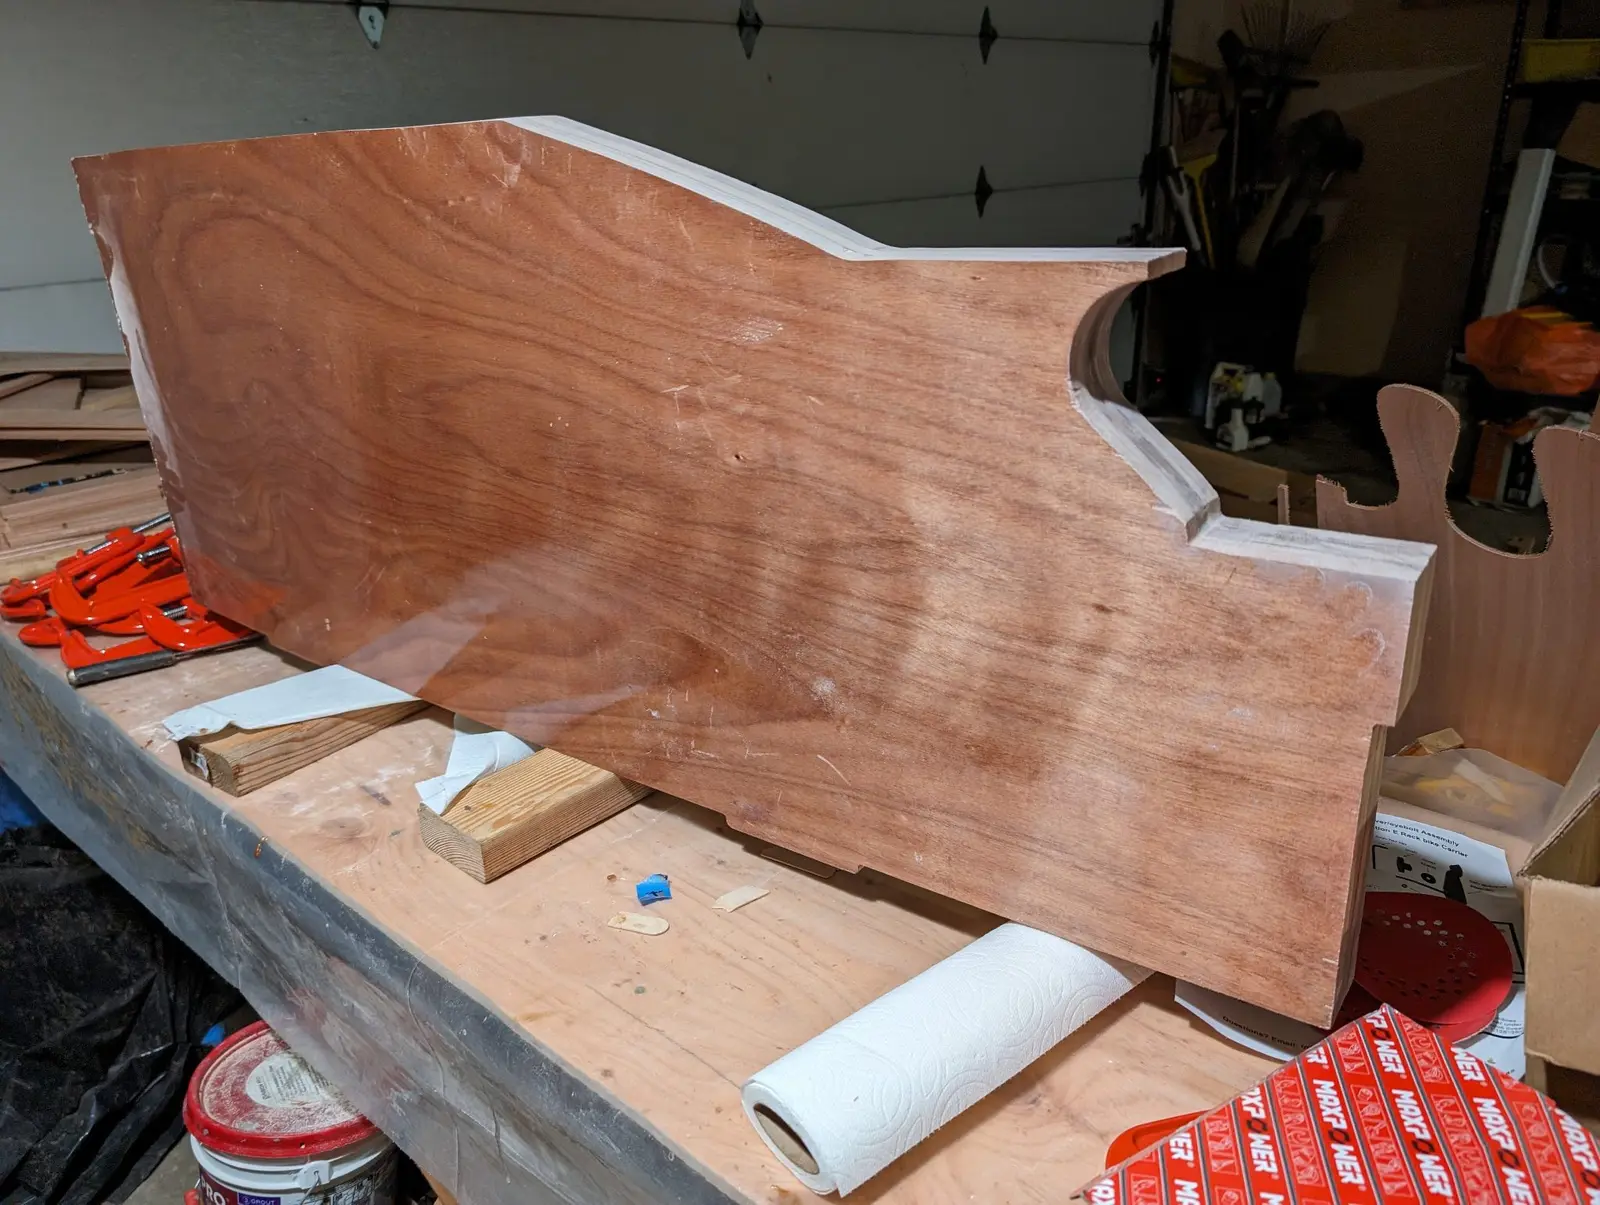
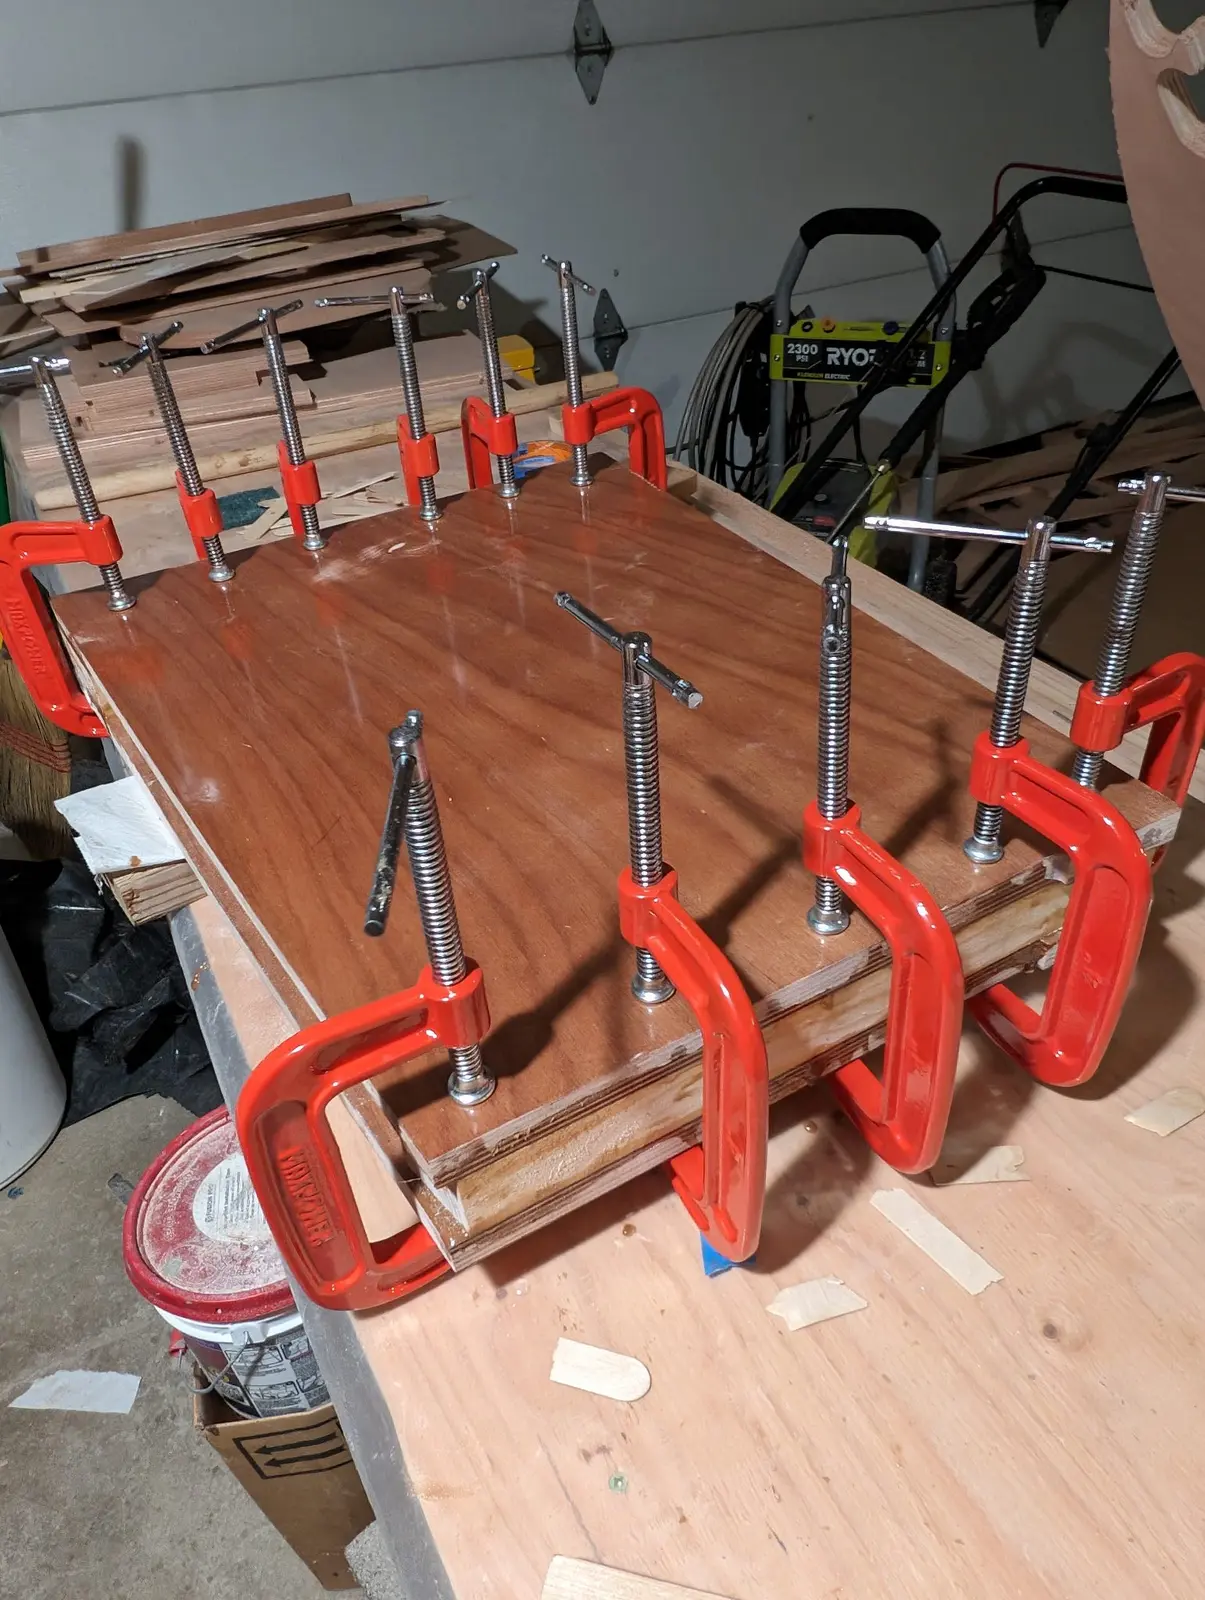
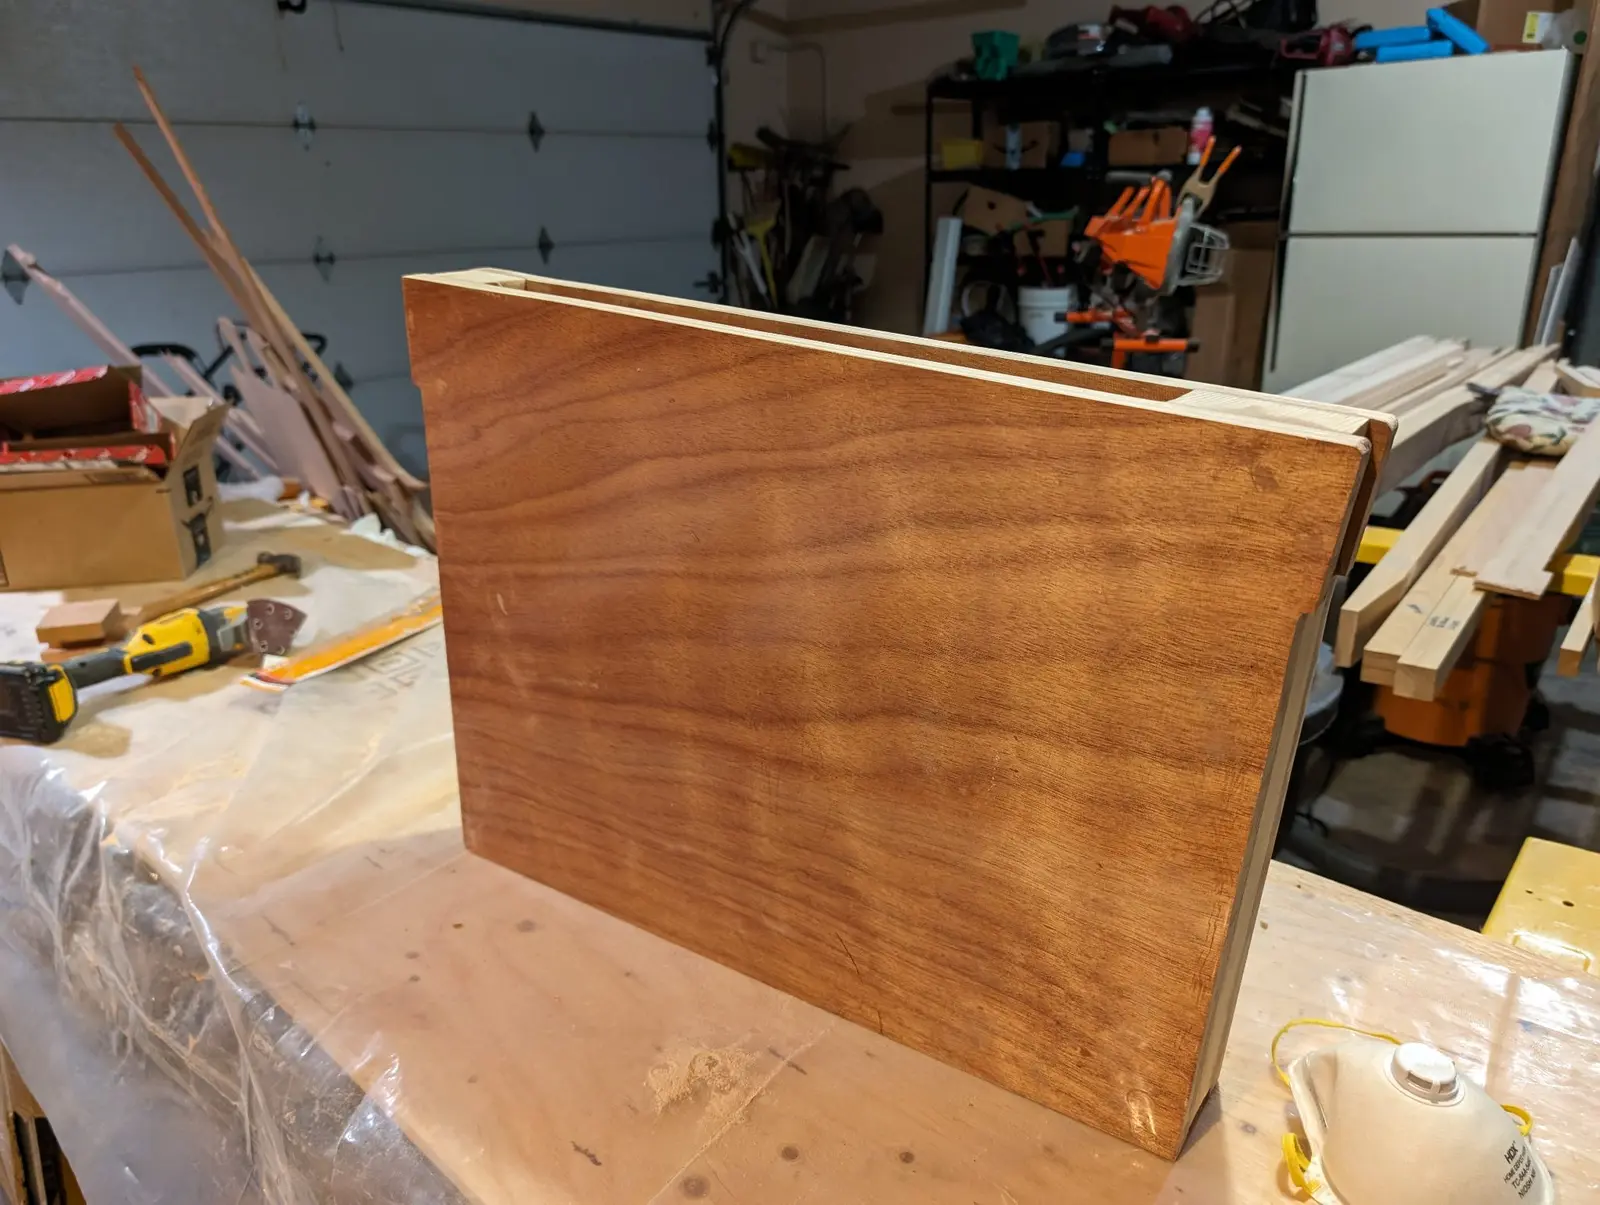
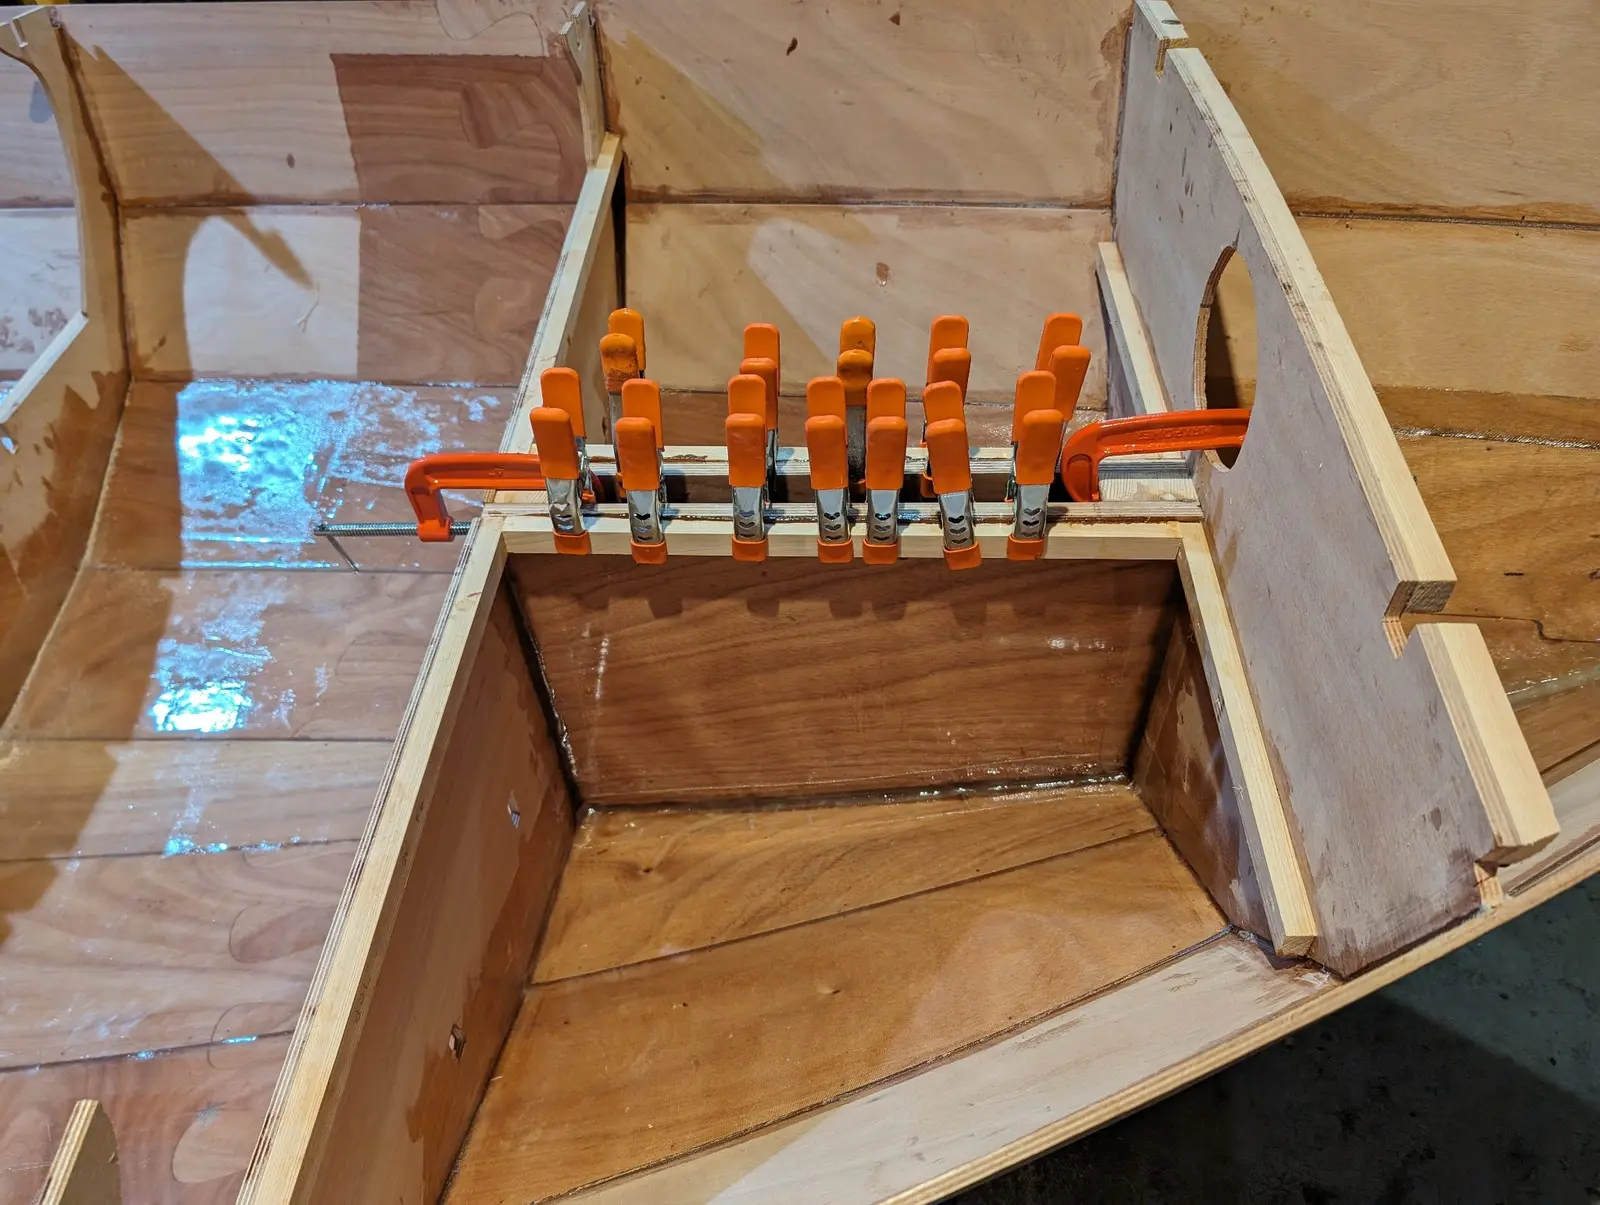
I built the centerboard trunk. CLC provides doorskin templates for cutting dimensional lumber (cypress) for the edges. It's fiberglassed inside and out.
Glassing the hull interior
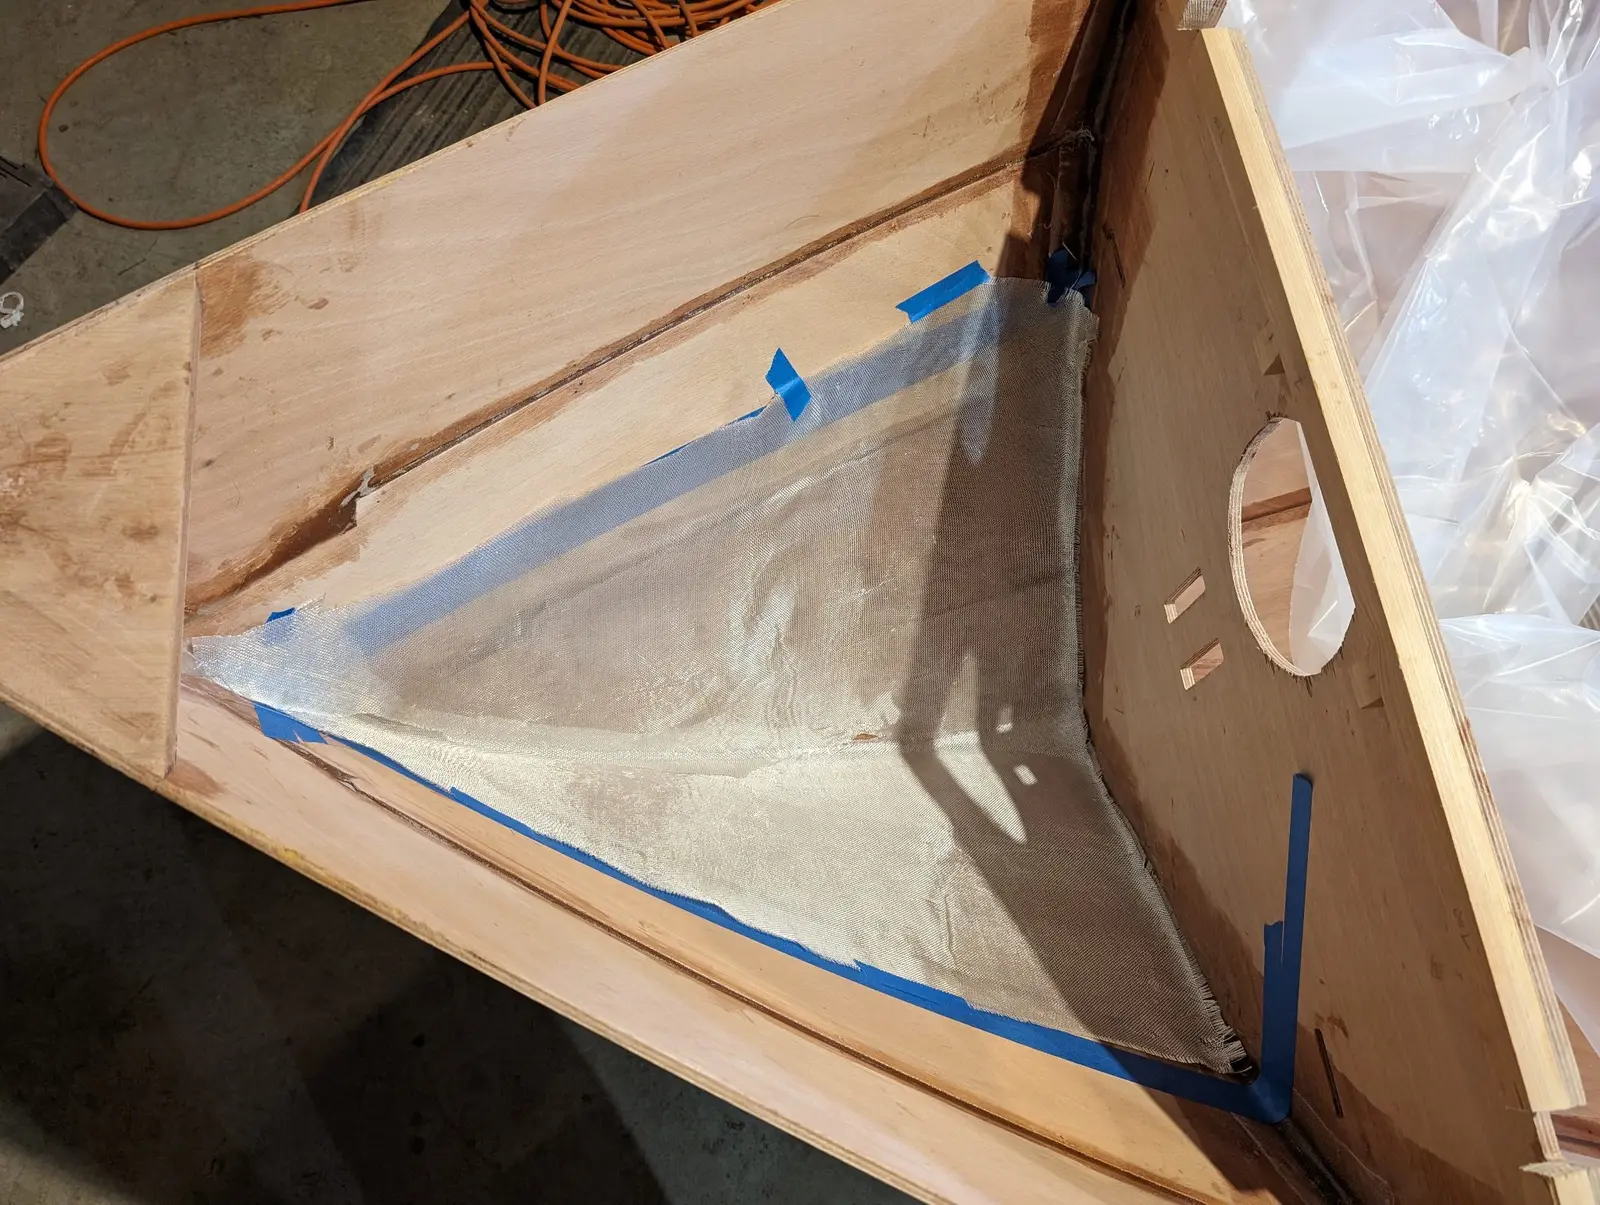
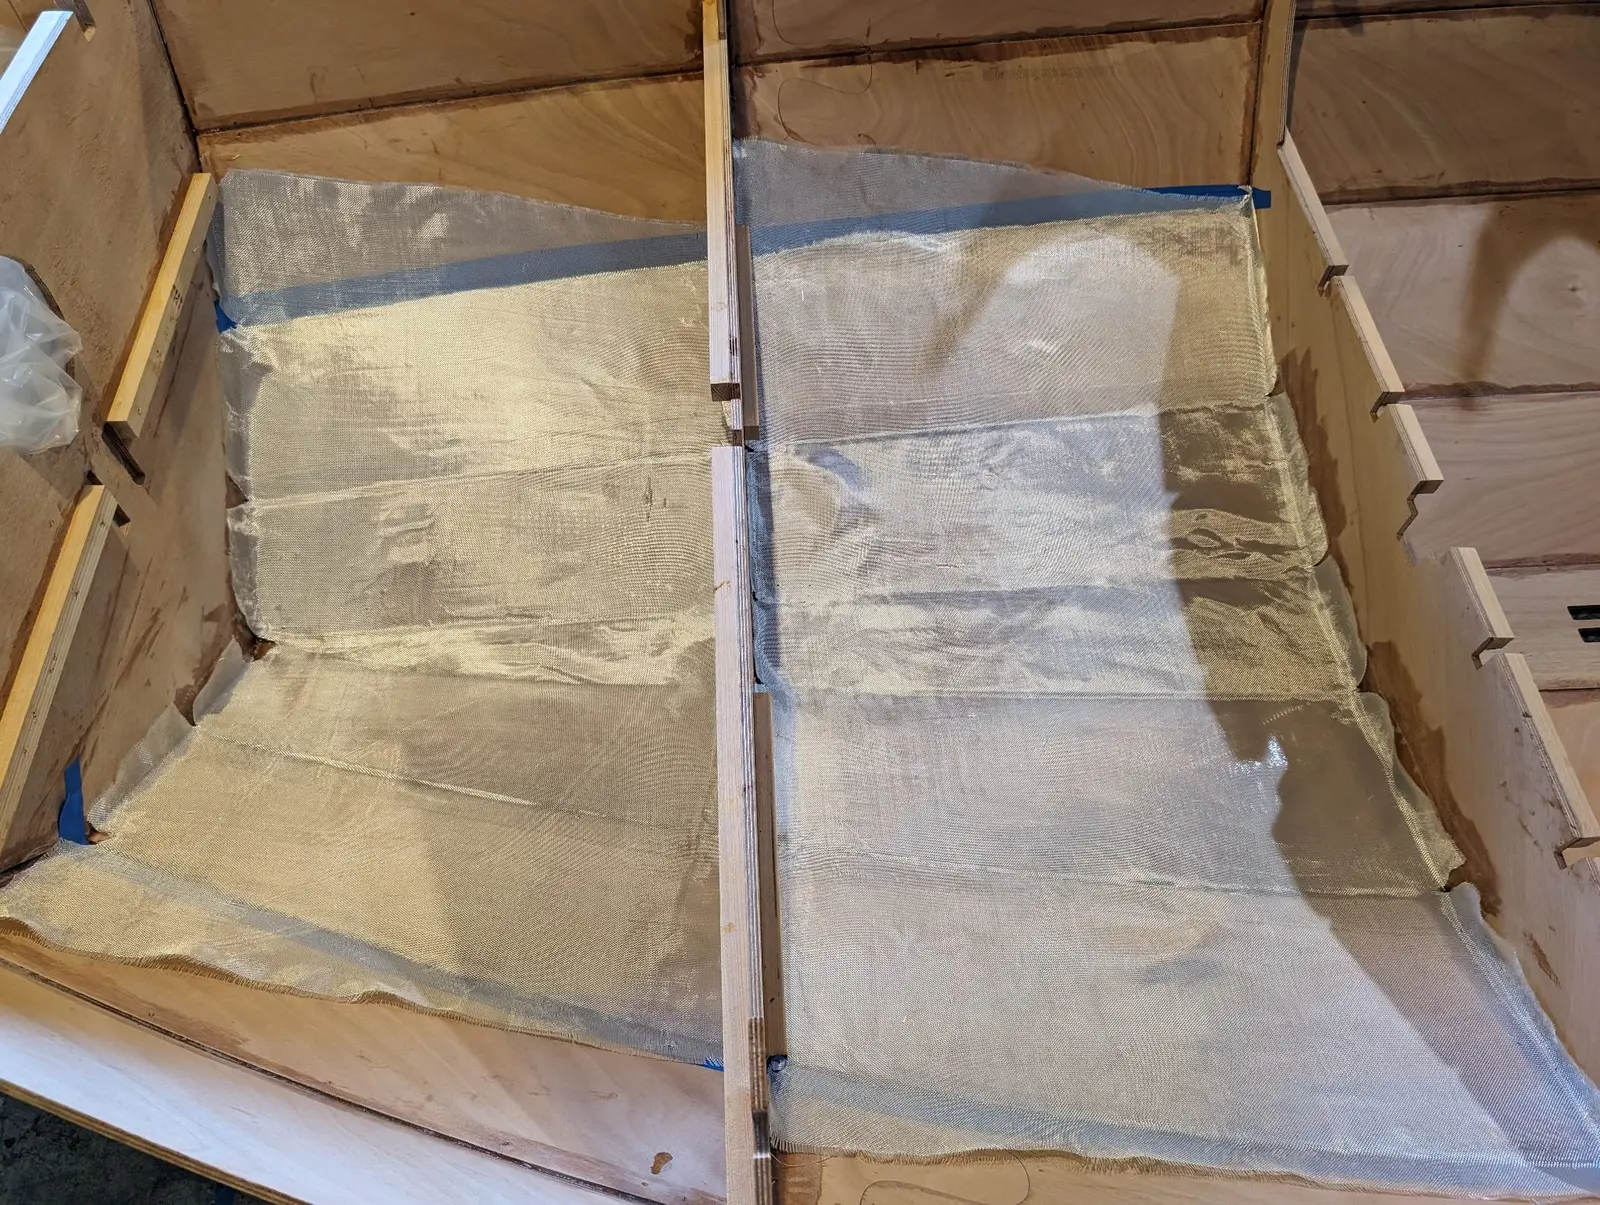
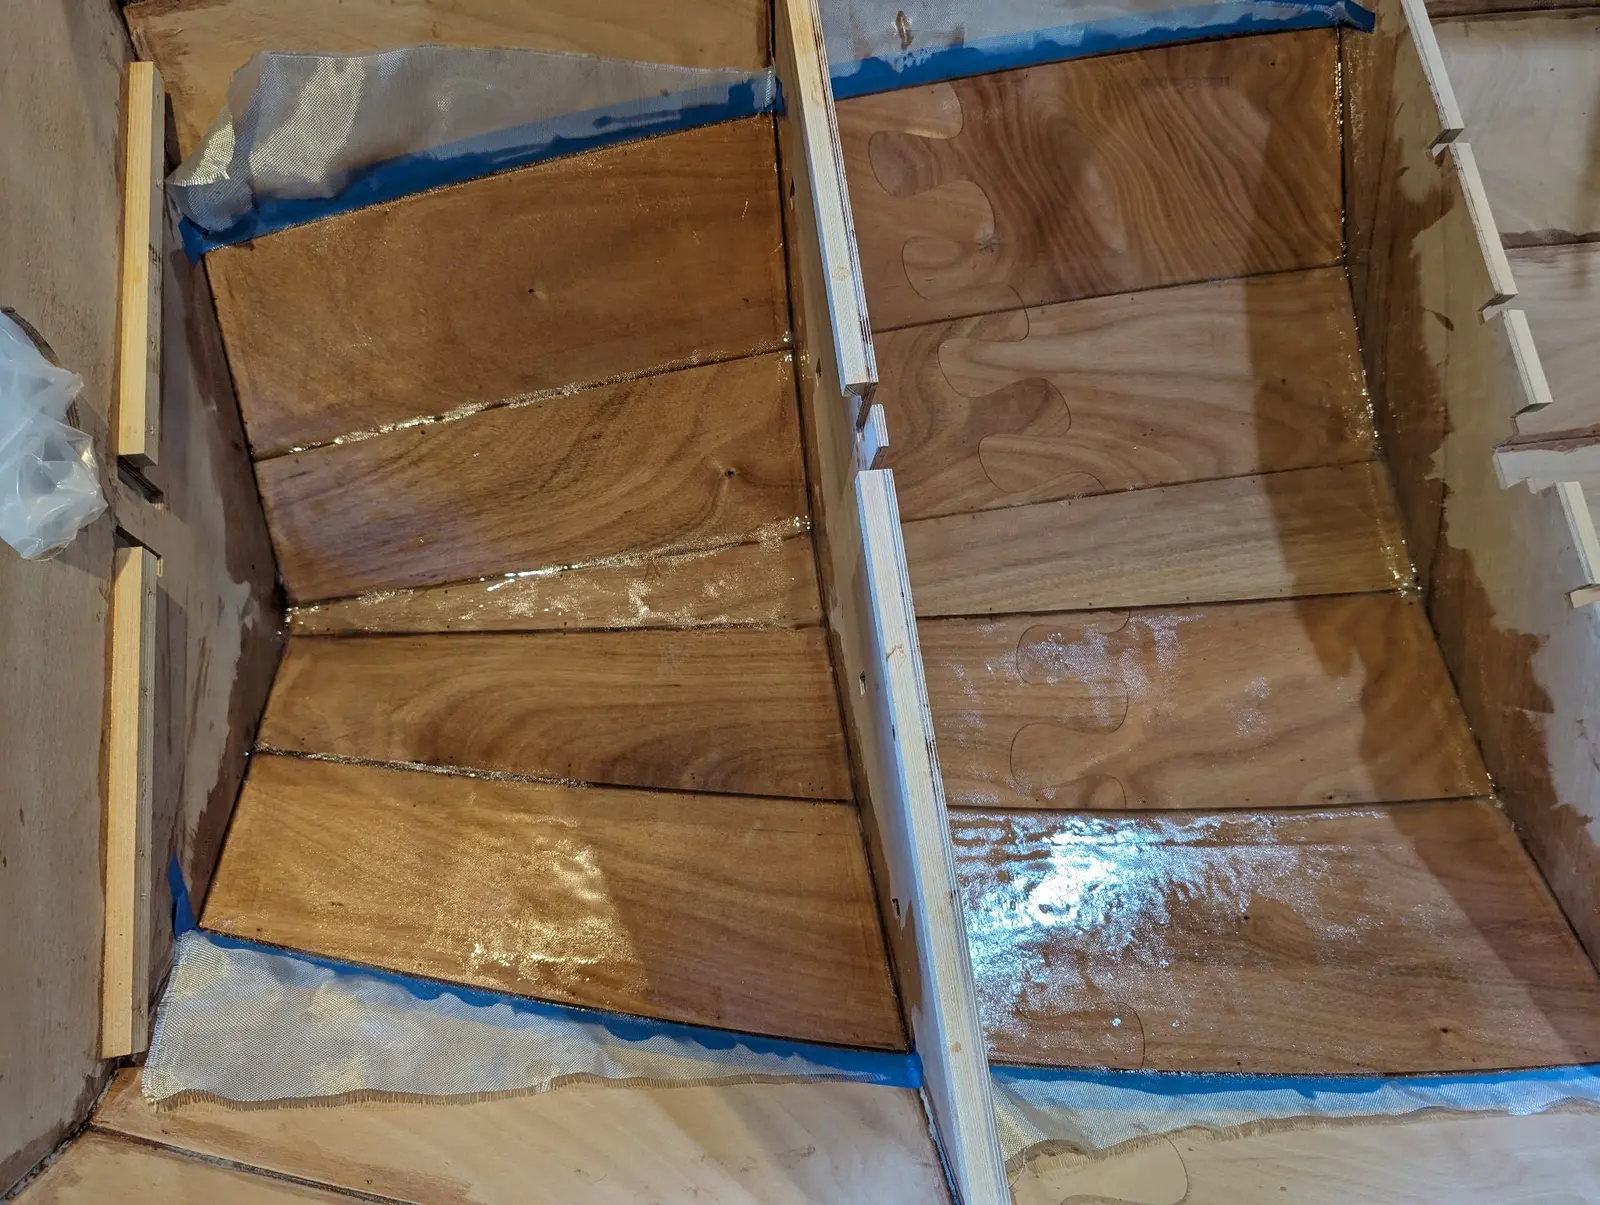
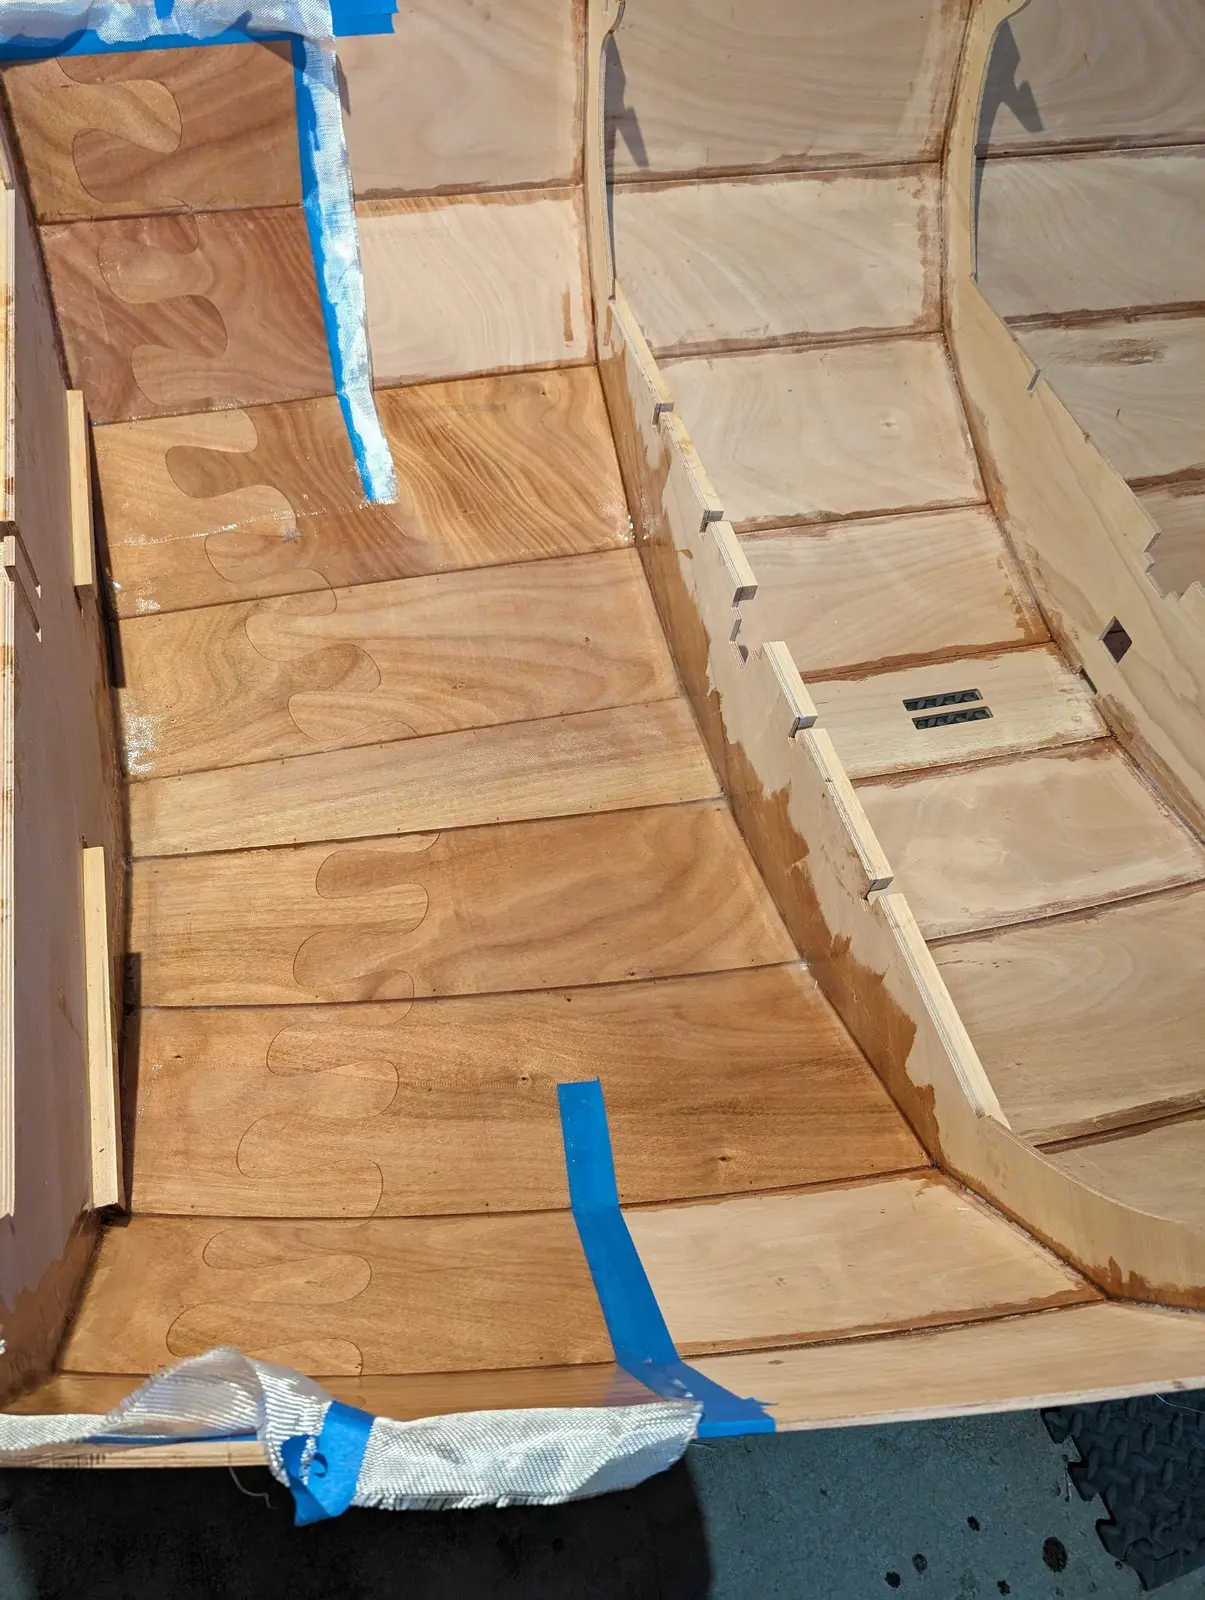
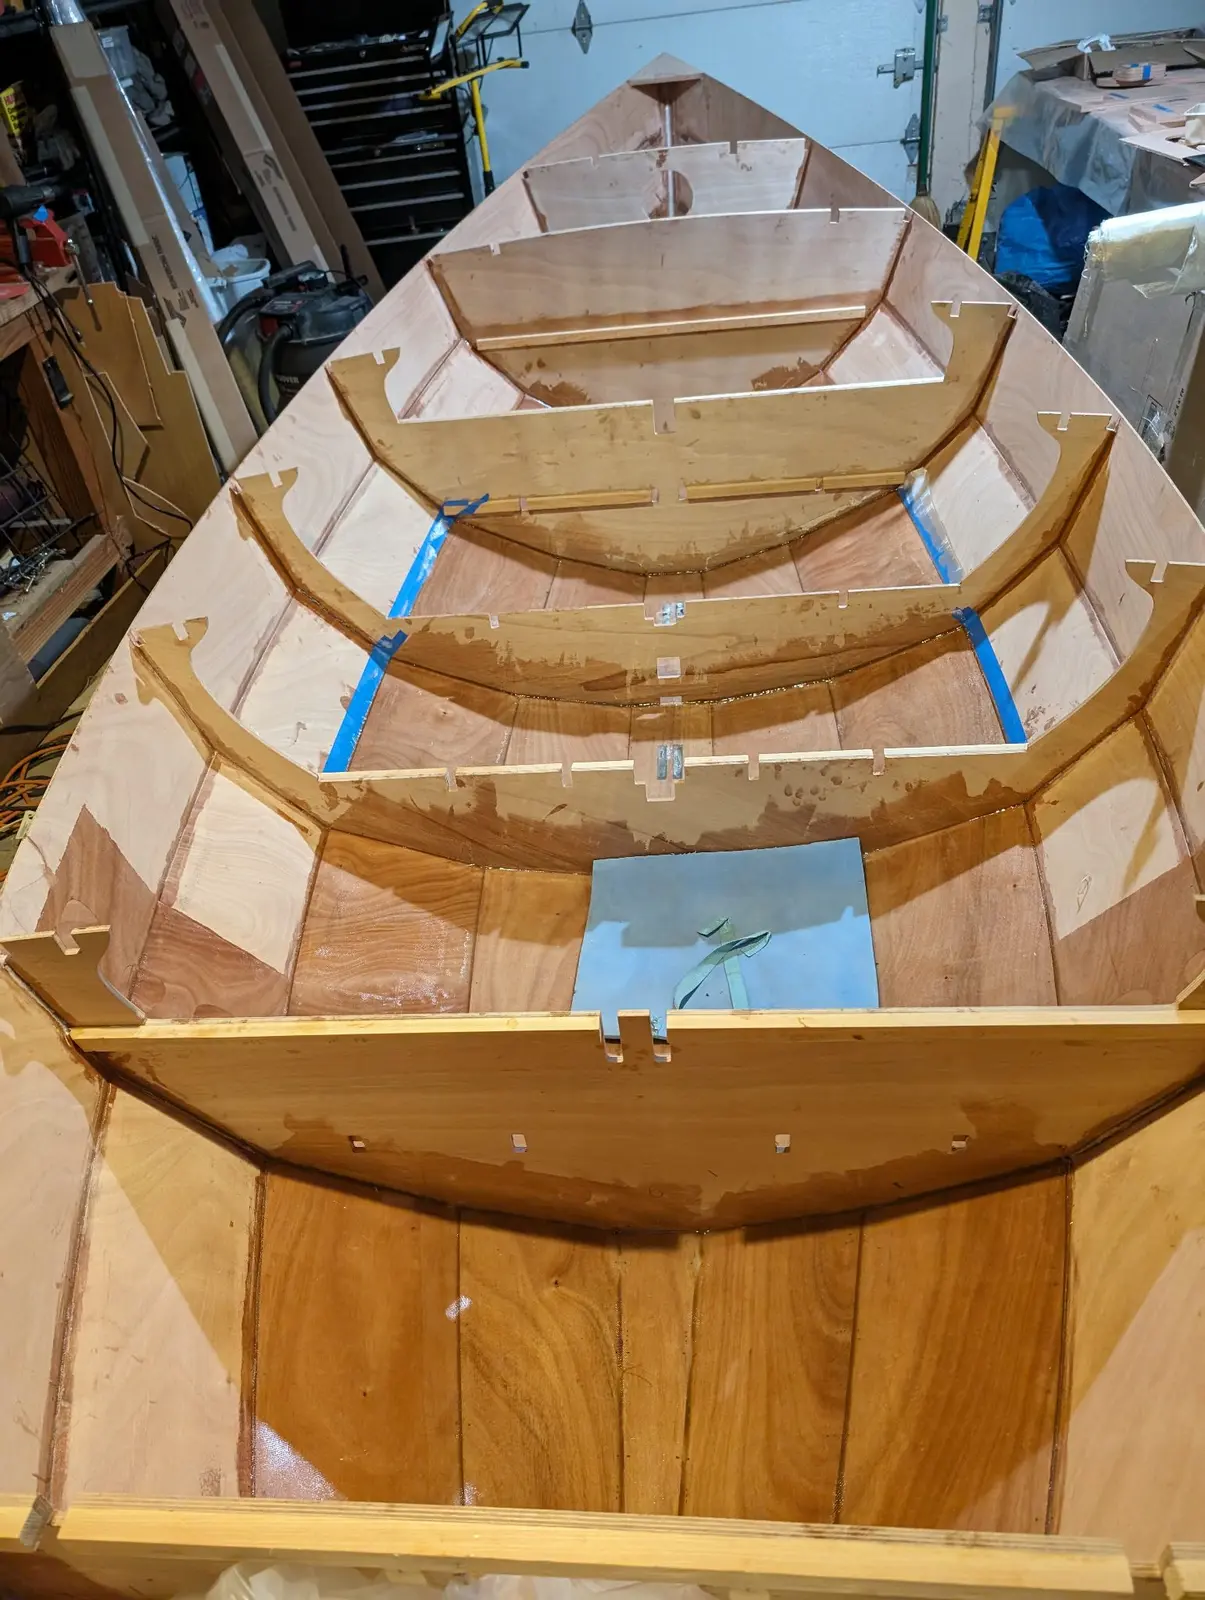
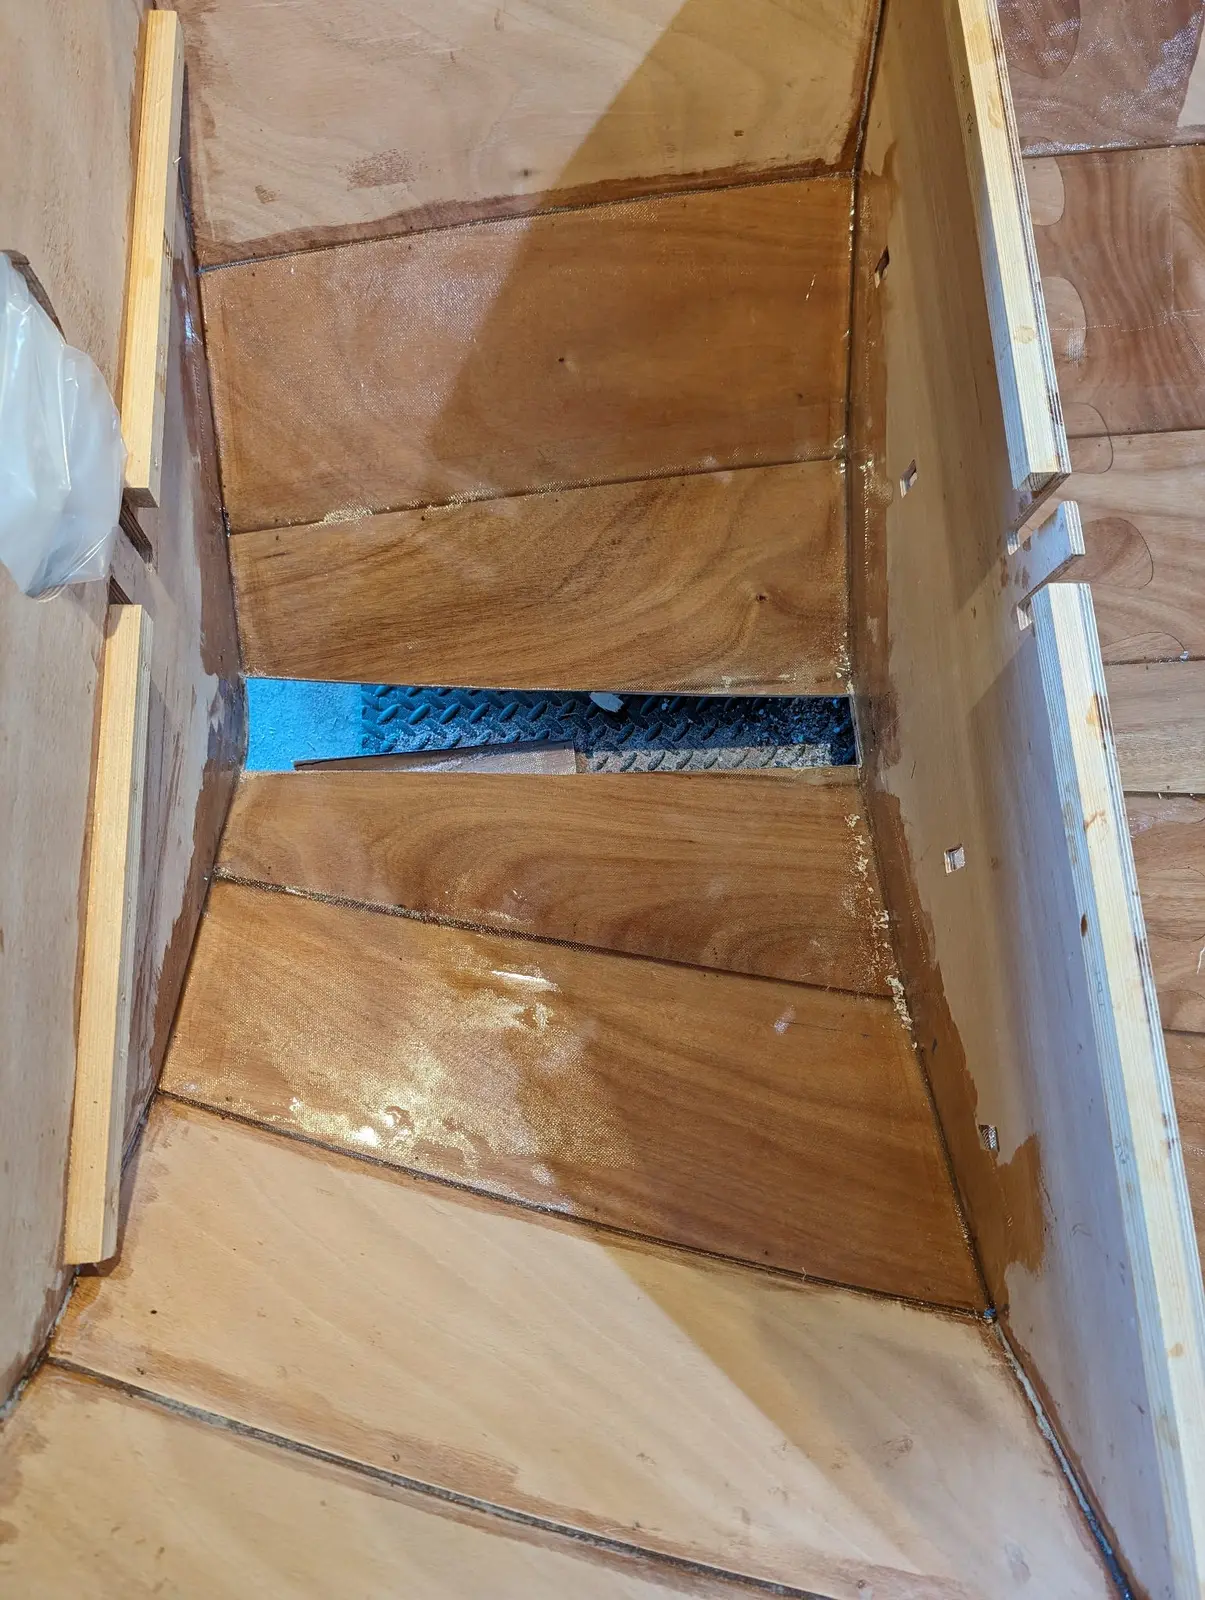
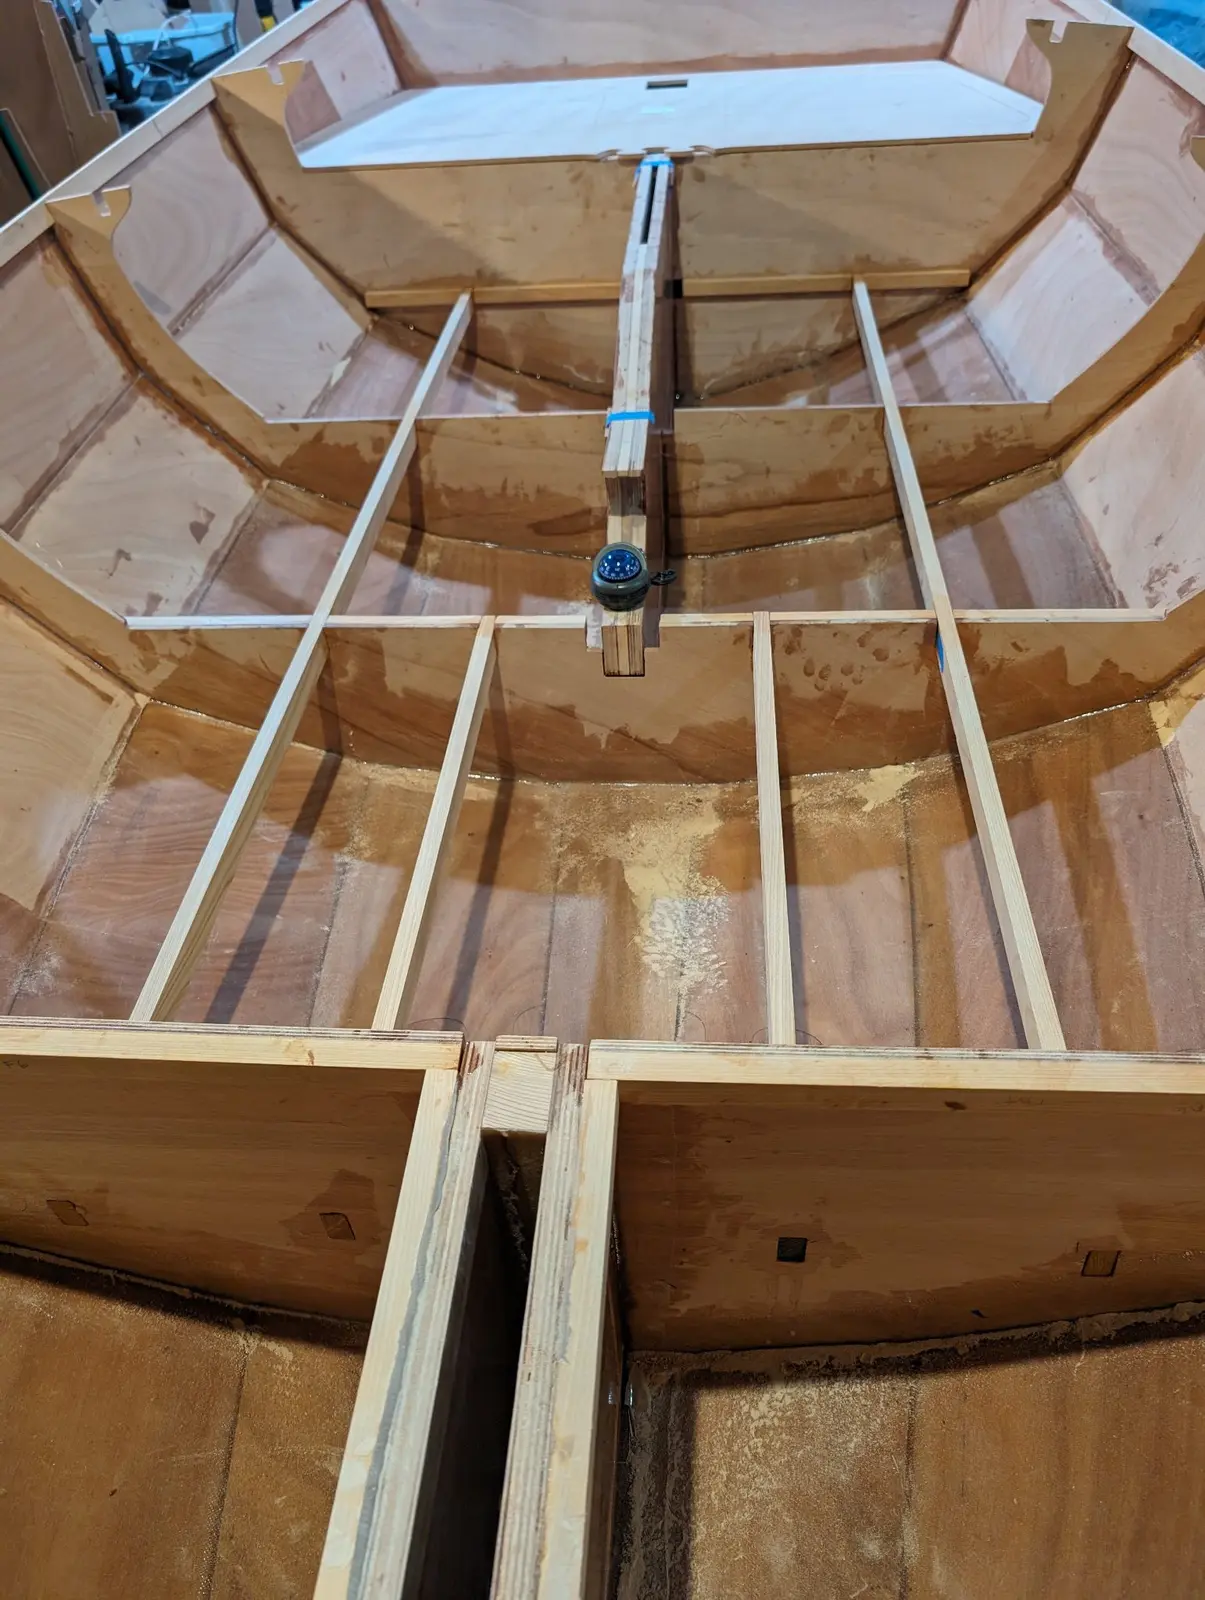
Fiberglassing the inside of the hull is a little complex because the frames are already in the boat. Each section of cloth has to be custom-cut to fit. CLC calls for fiberglass on the inside of the keel plank and planks 1 and 2 only. CLC provides 8 oz FG cloth for this. I extended the glass up higher in a few spots where I thought extra strength might be needed. I now think that was a waste of epoxy and glass, and added excess weight up high in the boat. I wouldn't do it that way again.
Building and installing the rudder trunk
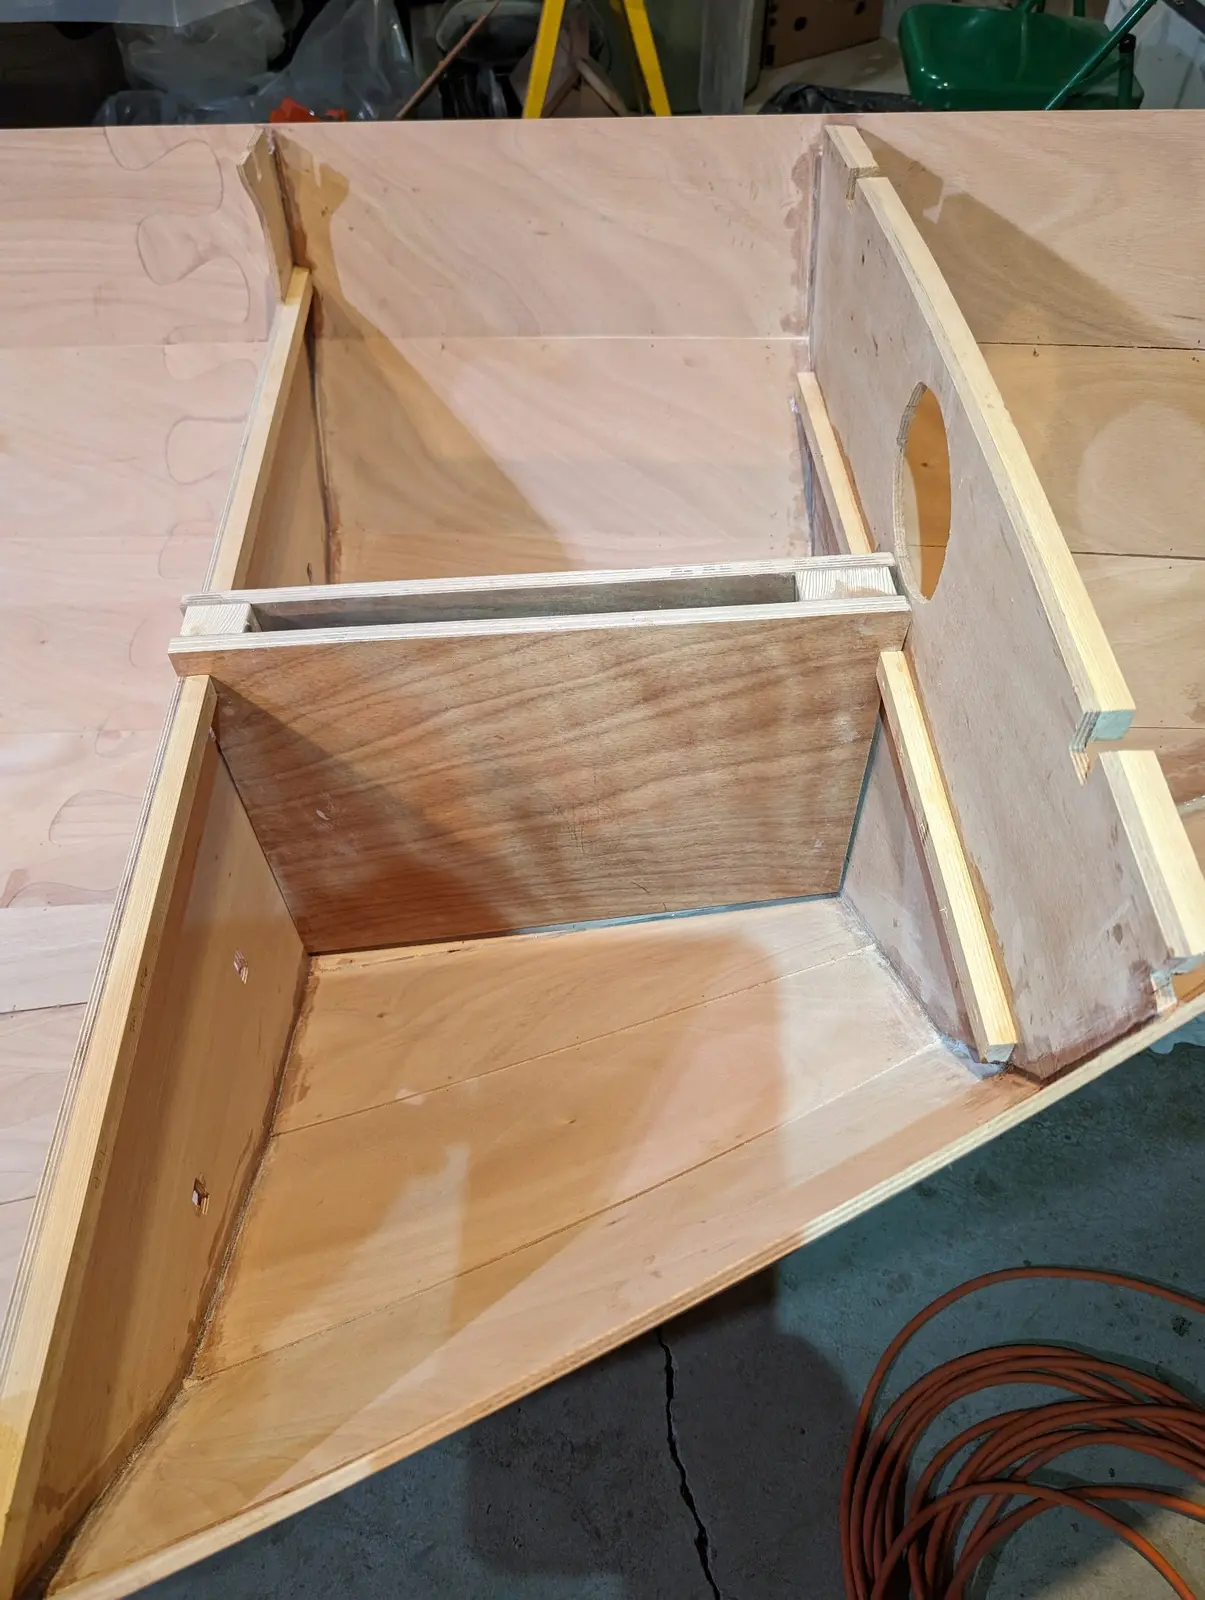
The Guider has its rudder mounted in an inboard cassette. It's a complicated bit of building that is coming up, but here I am building the rudder trunk that the cassette will mount into. The rudder trunk is built much like the centerboard trunk. You use CLC-provided templates to cut out some solid timber edge pieces, then everything is fiberglassed, and the box is glued together. In order to mount the rudder trunk, you have to cut a big slot in the hull for it to sit on. There are alignment slots in the frames and tabs on the trunk to get into the right place. Then the box is filleted and taped in.
Deck cleats and beams installed, dry fitting the deck
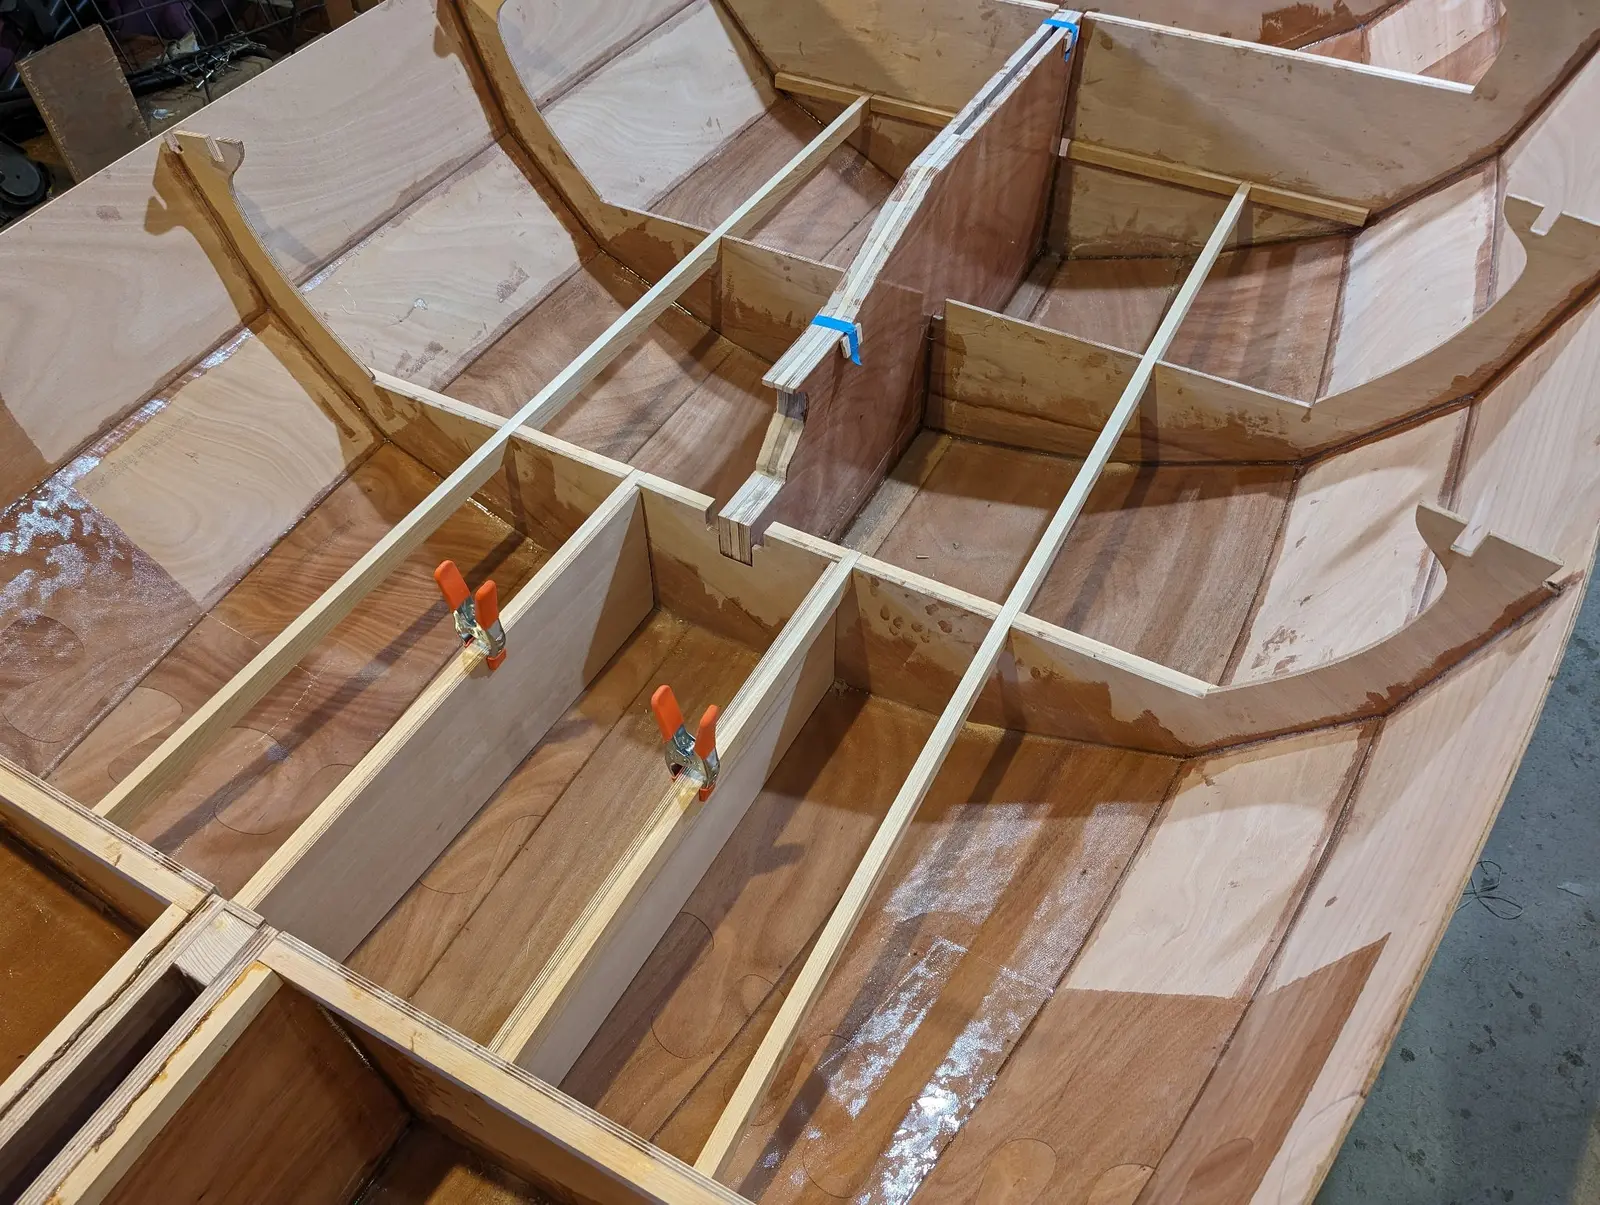
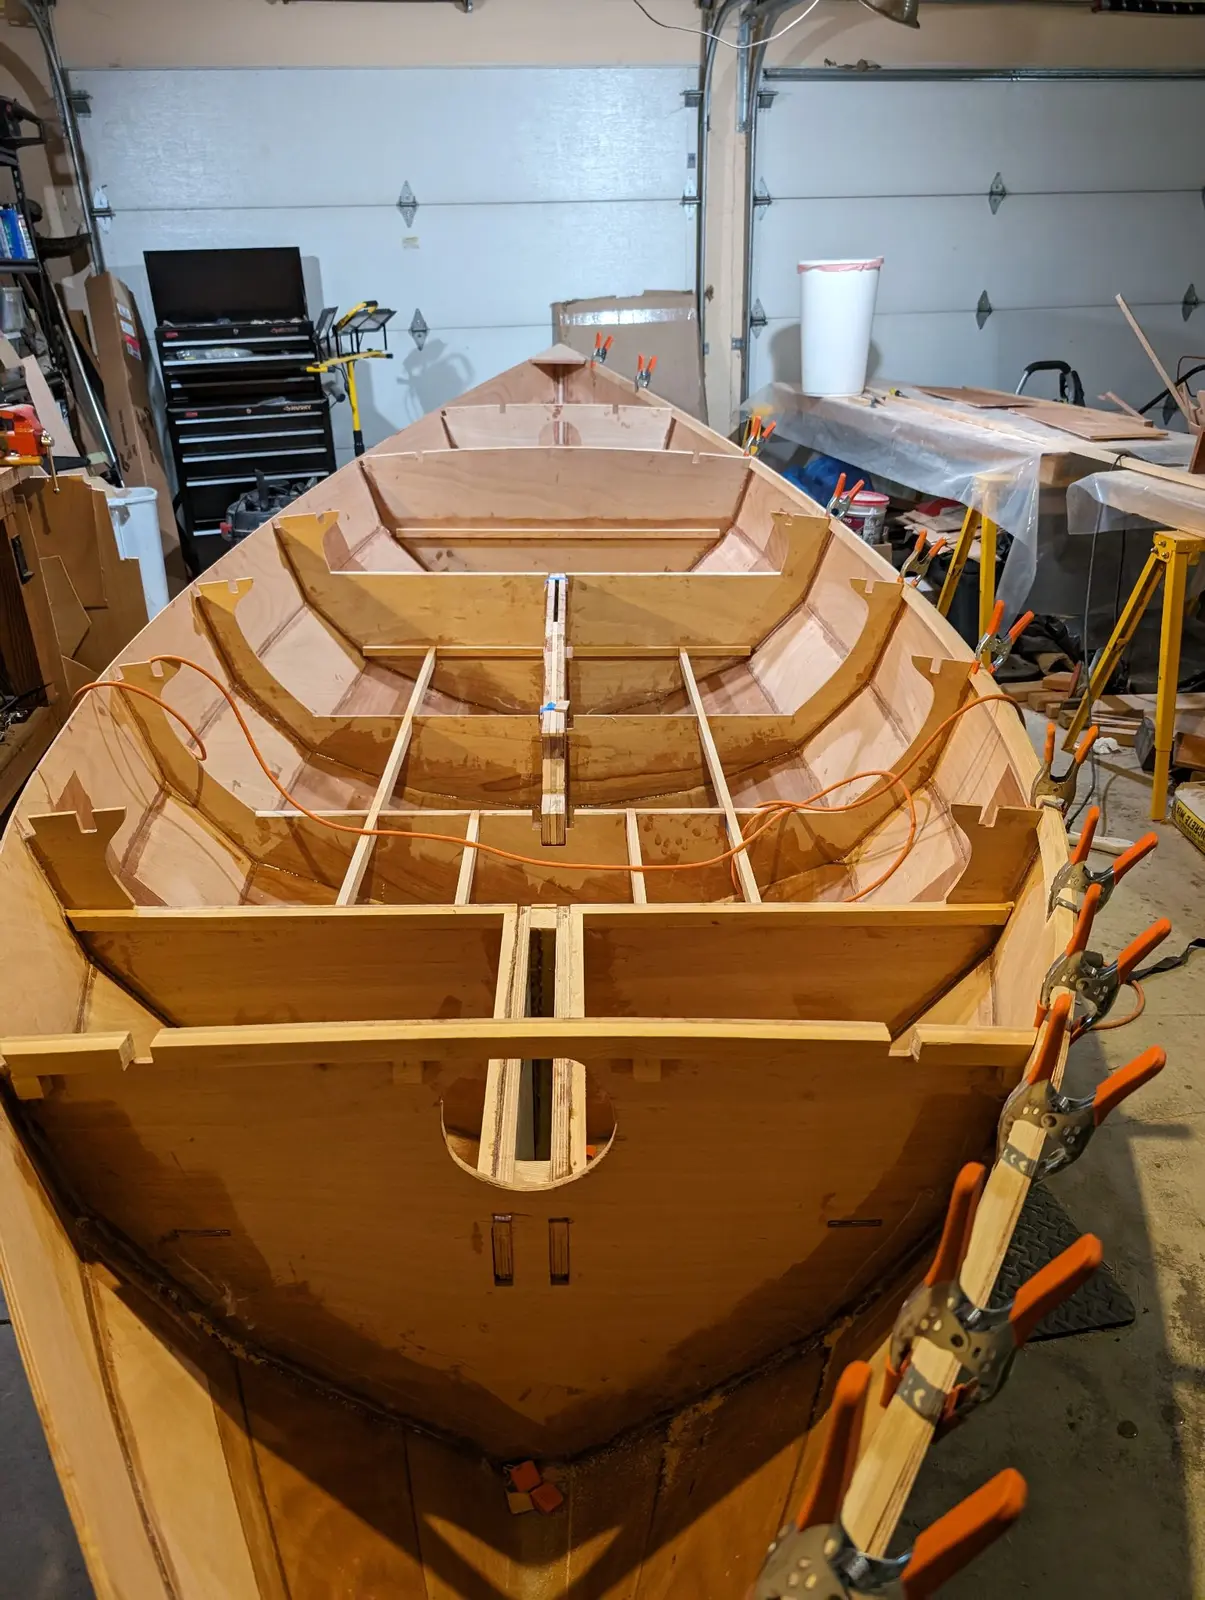
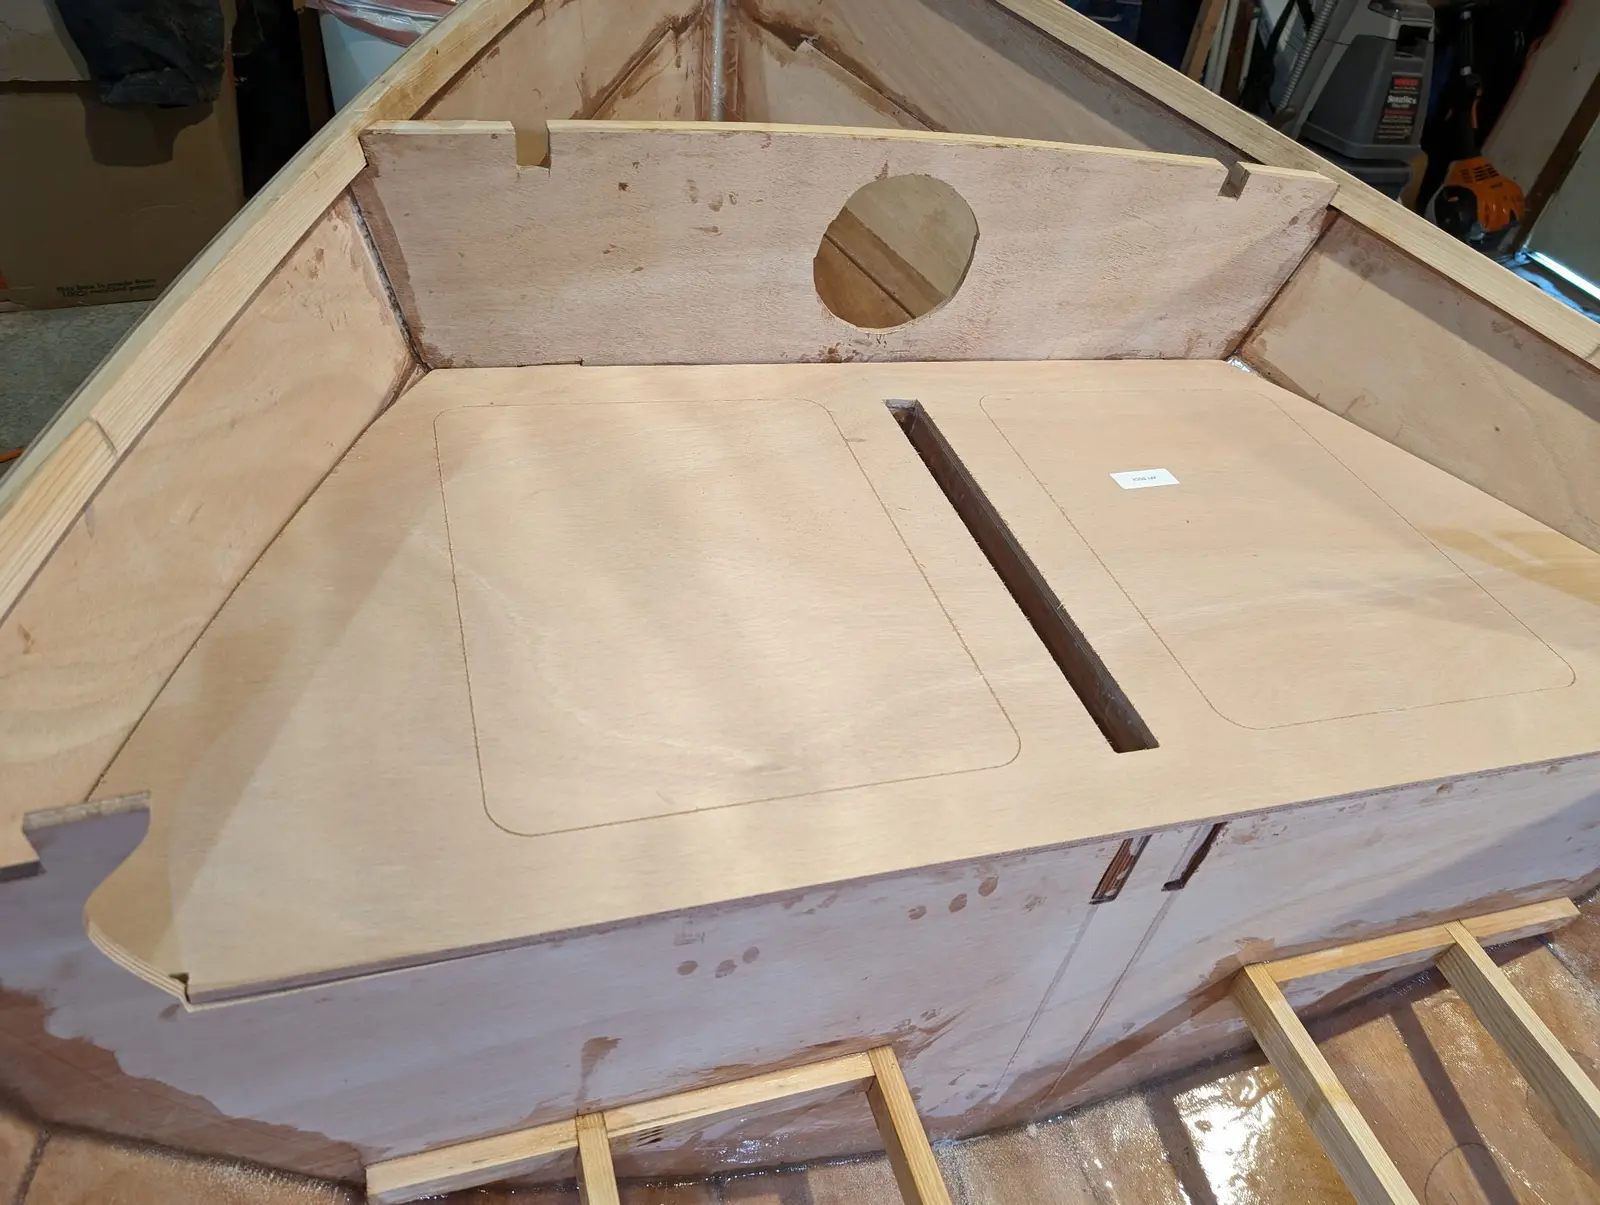
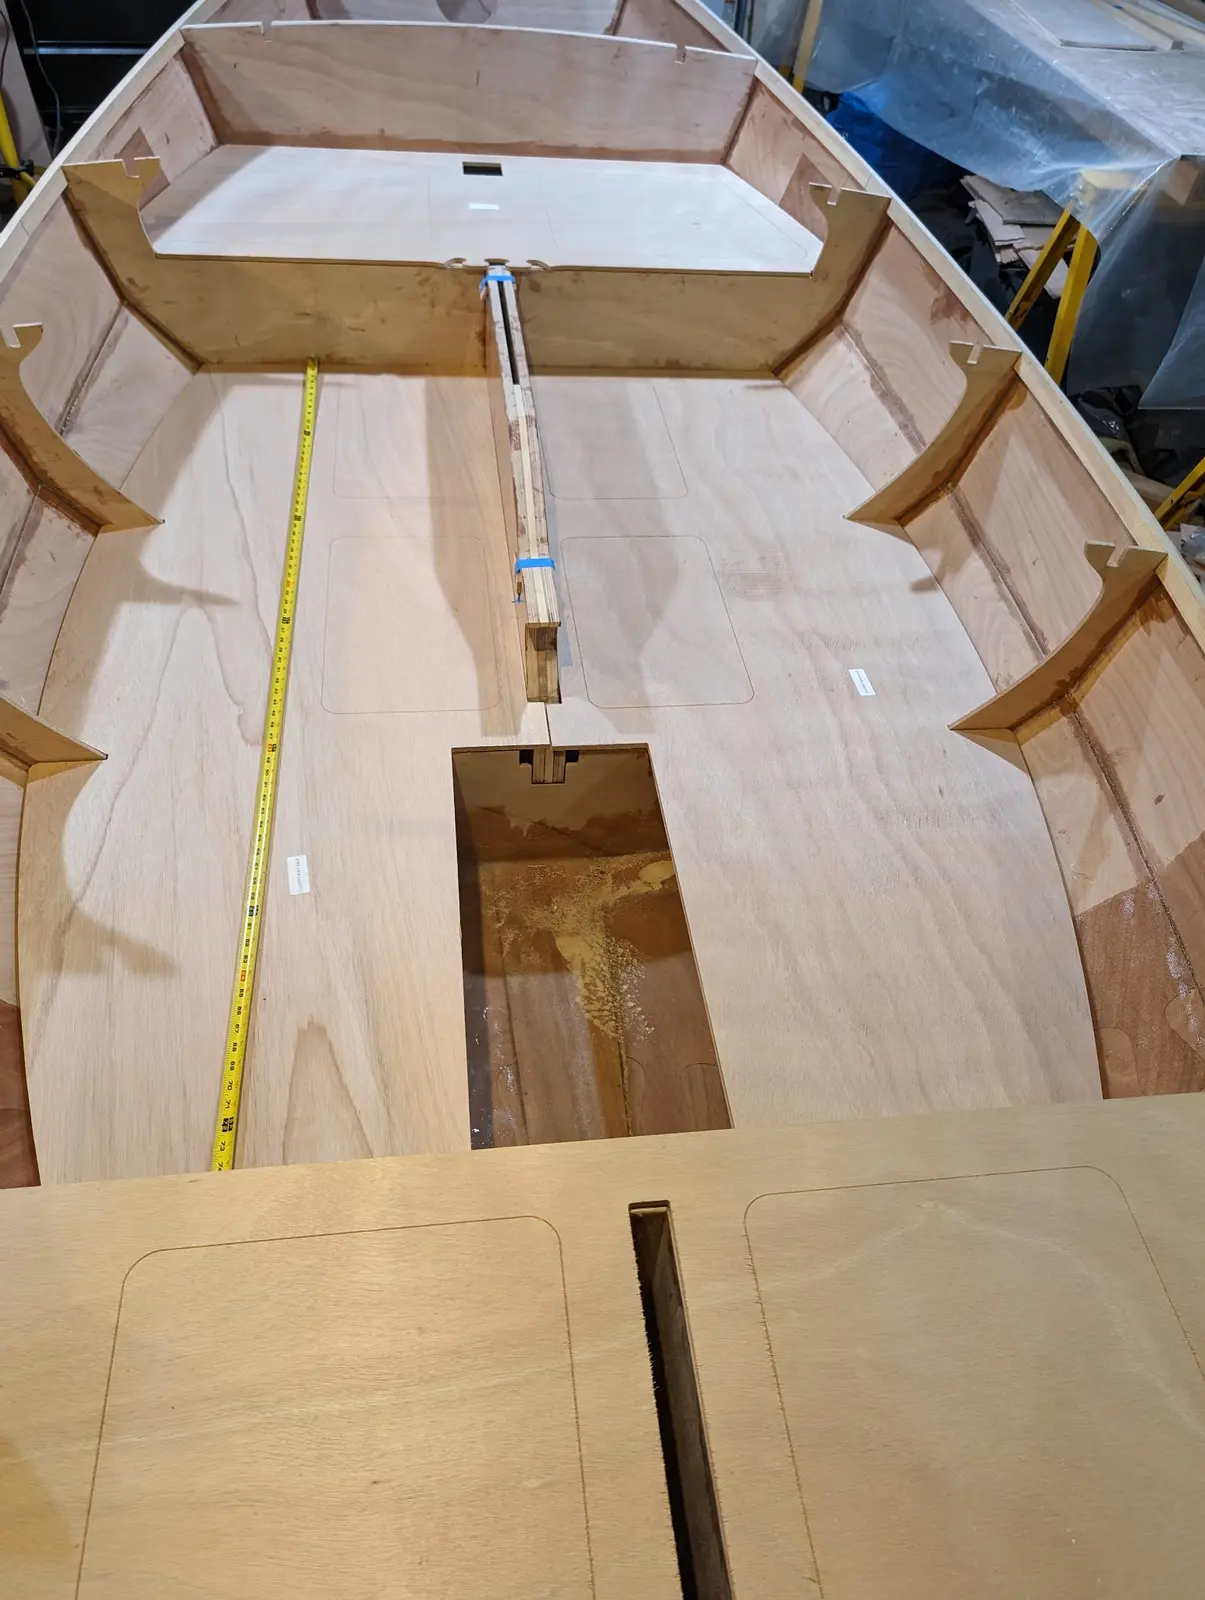
The Guider cockpit is fully enclosed with decks. These decks are supported by cleats on the frames and stiffening beams that run between the frames. Then the decks are dry-fitted to make sure everything is supported. The thin lines on the cockpit decks are the outlines of hatches that will be cout out later.