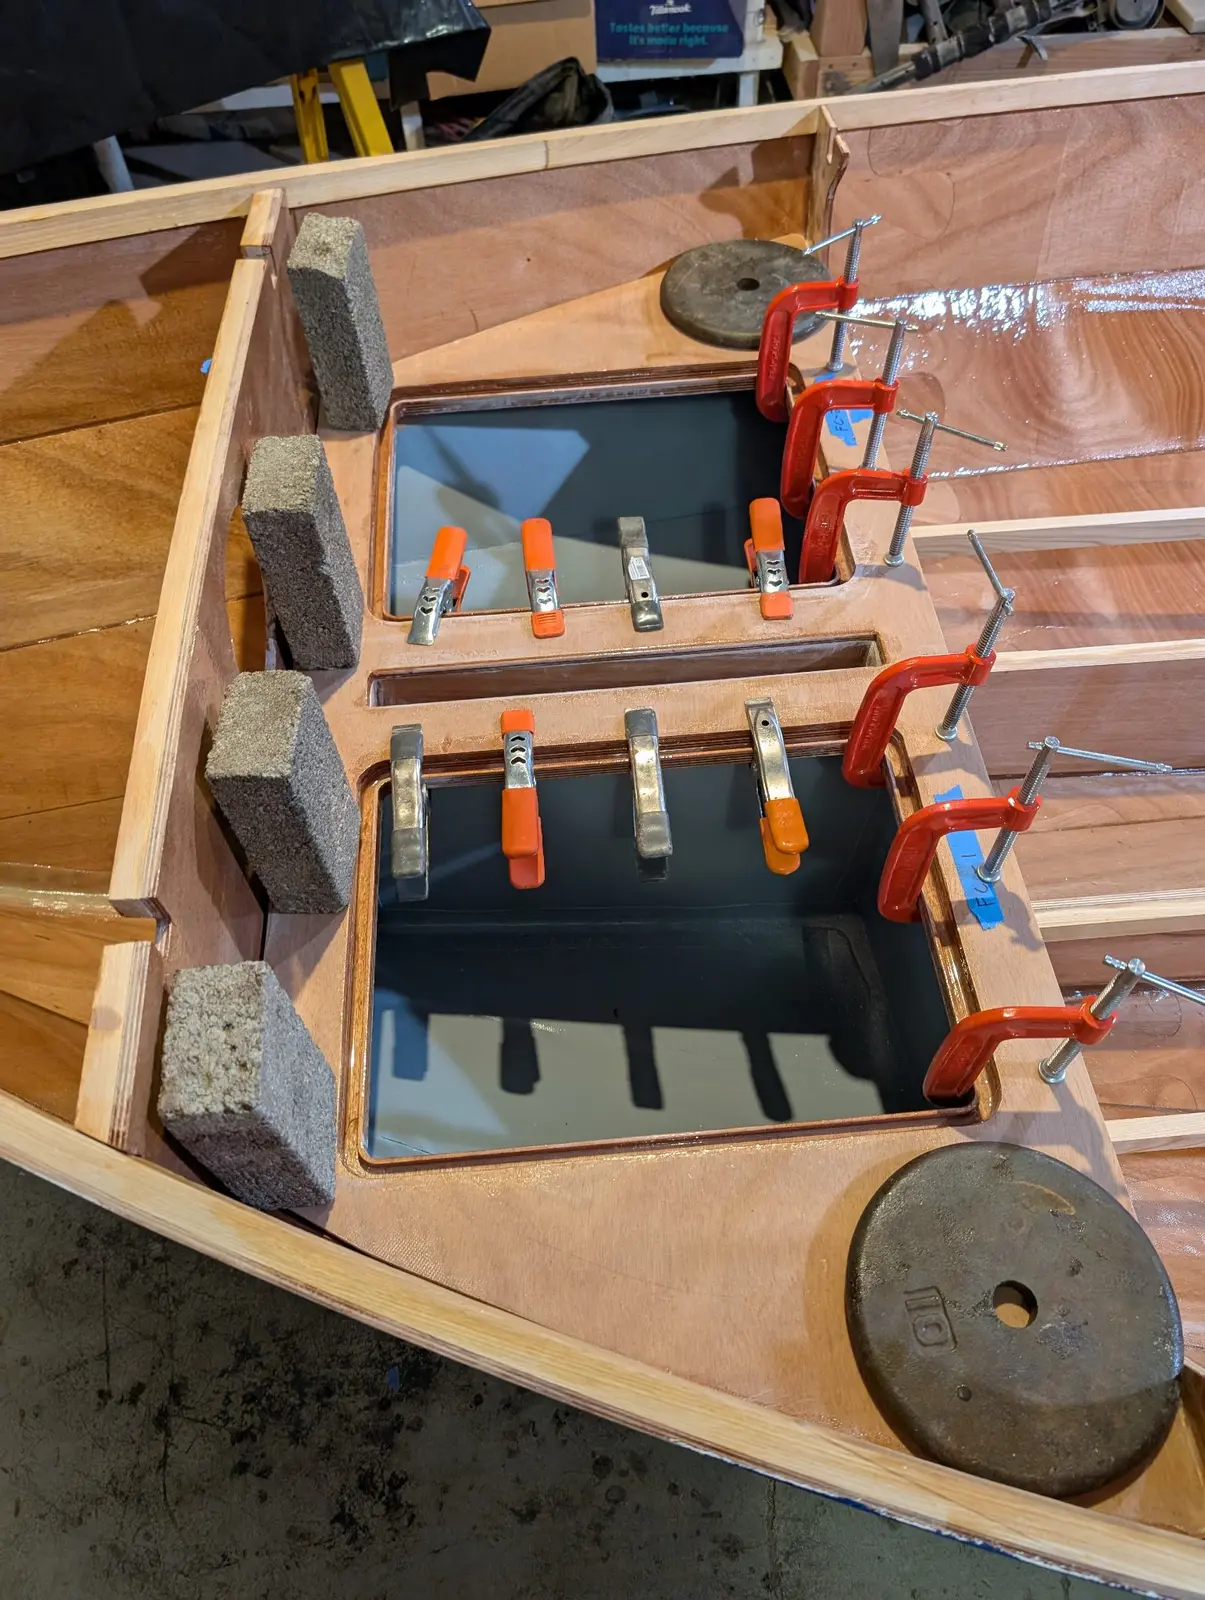
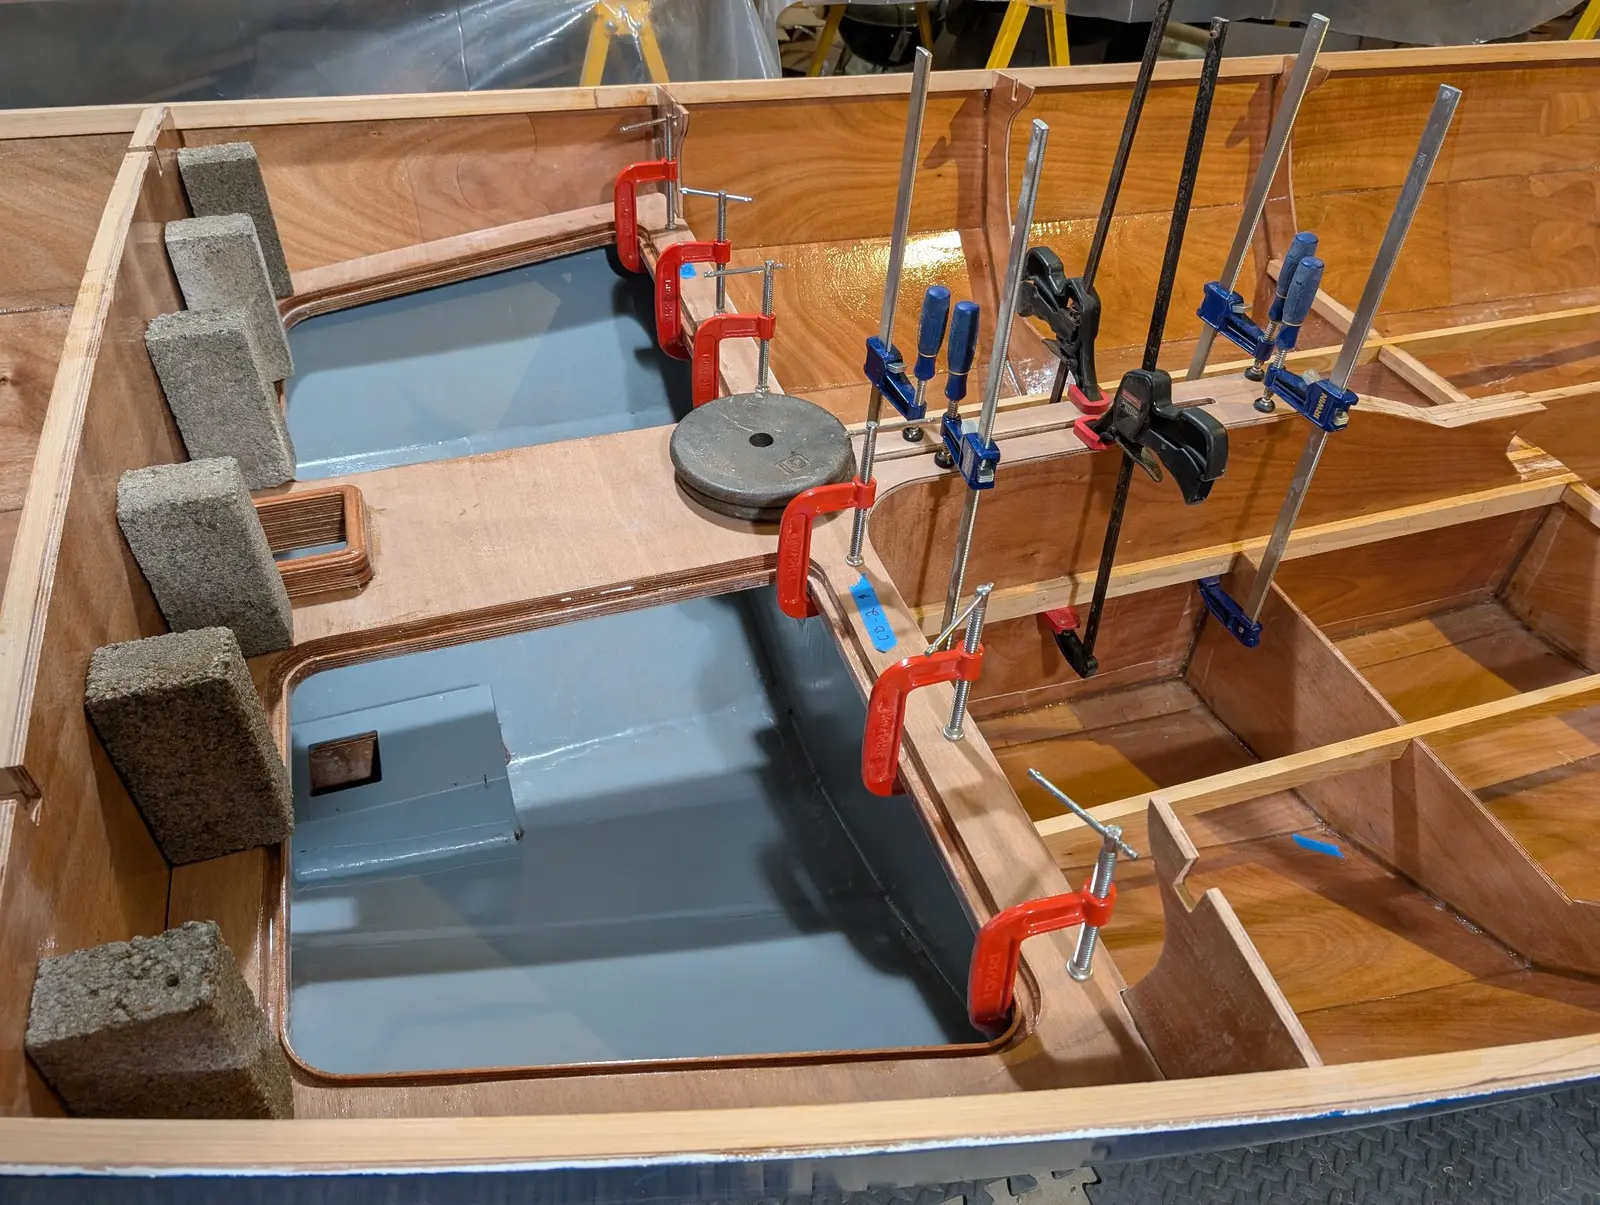
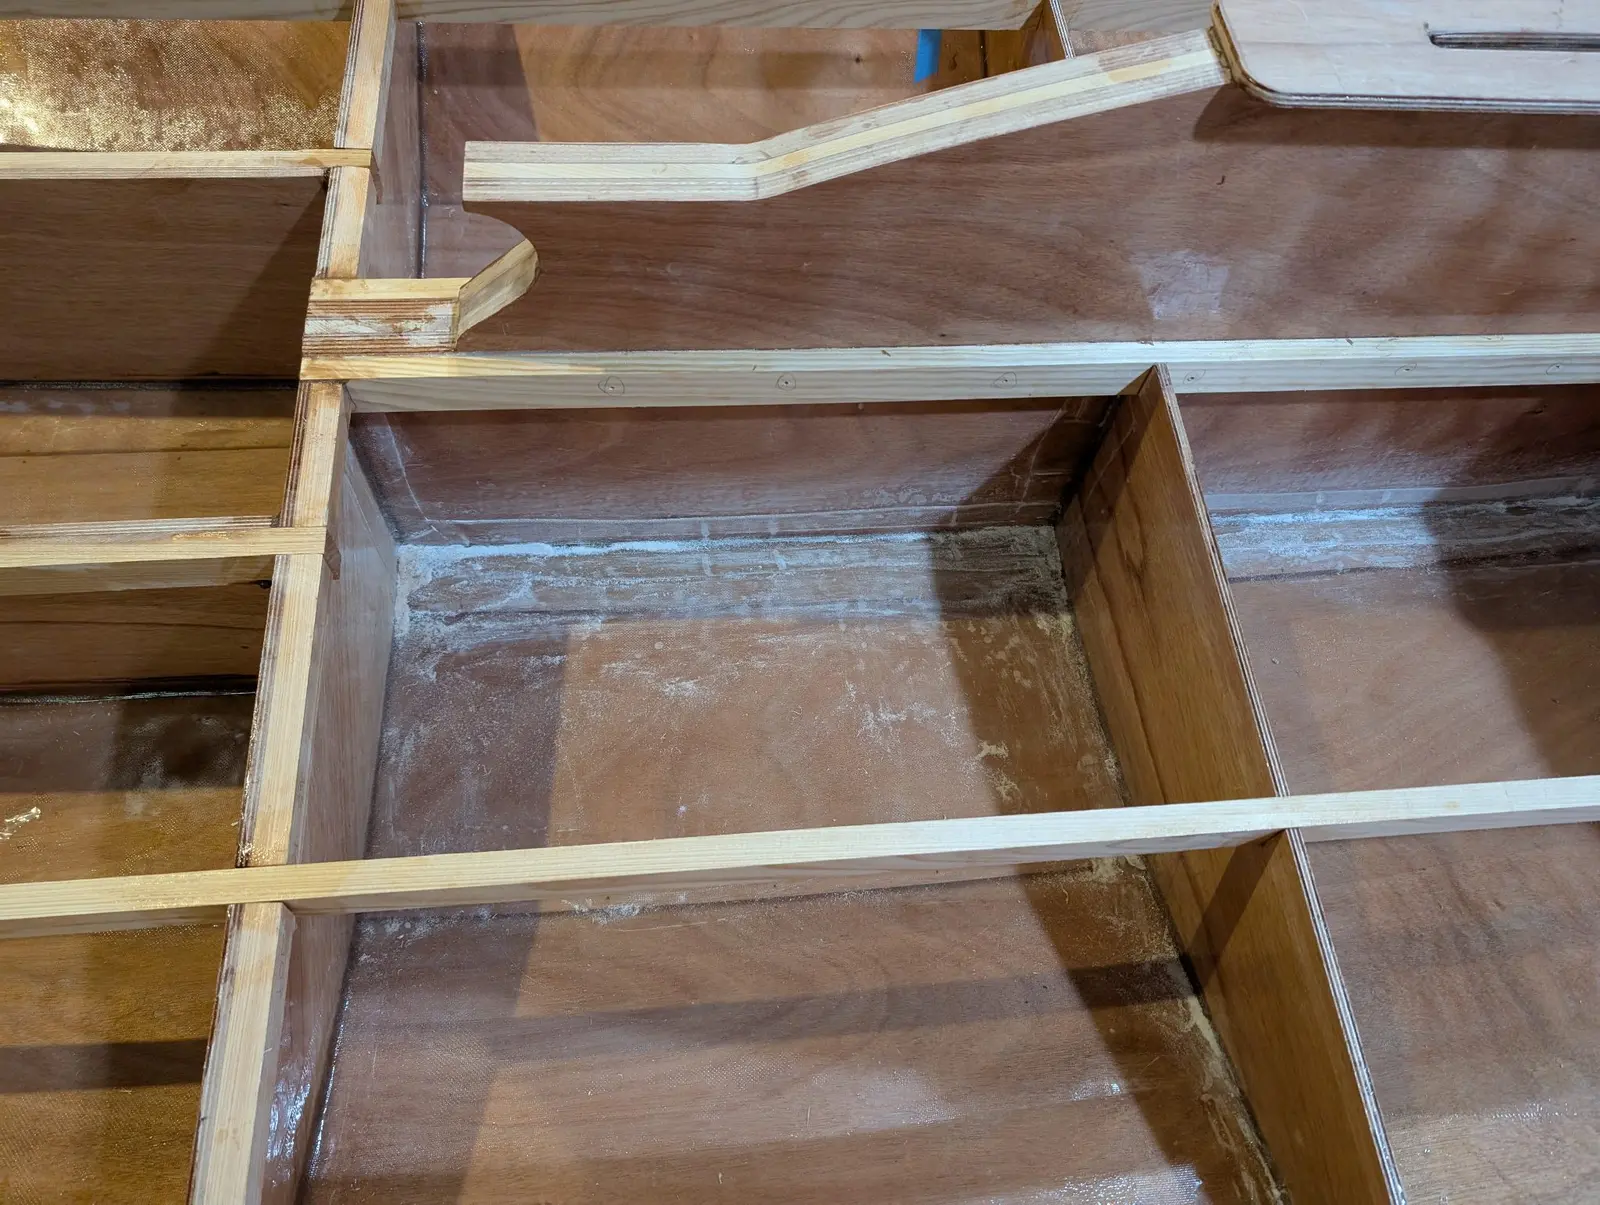
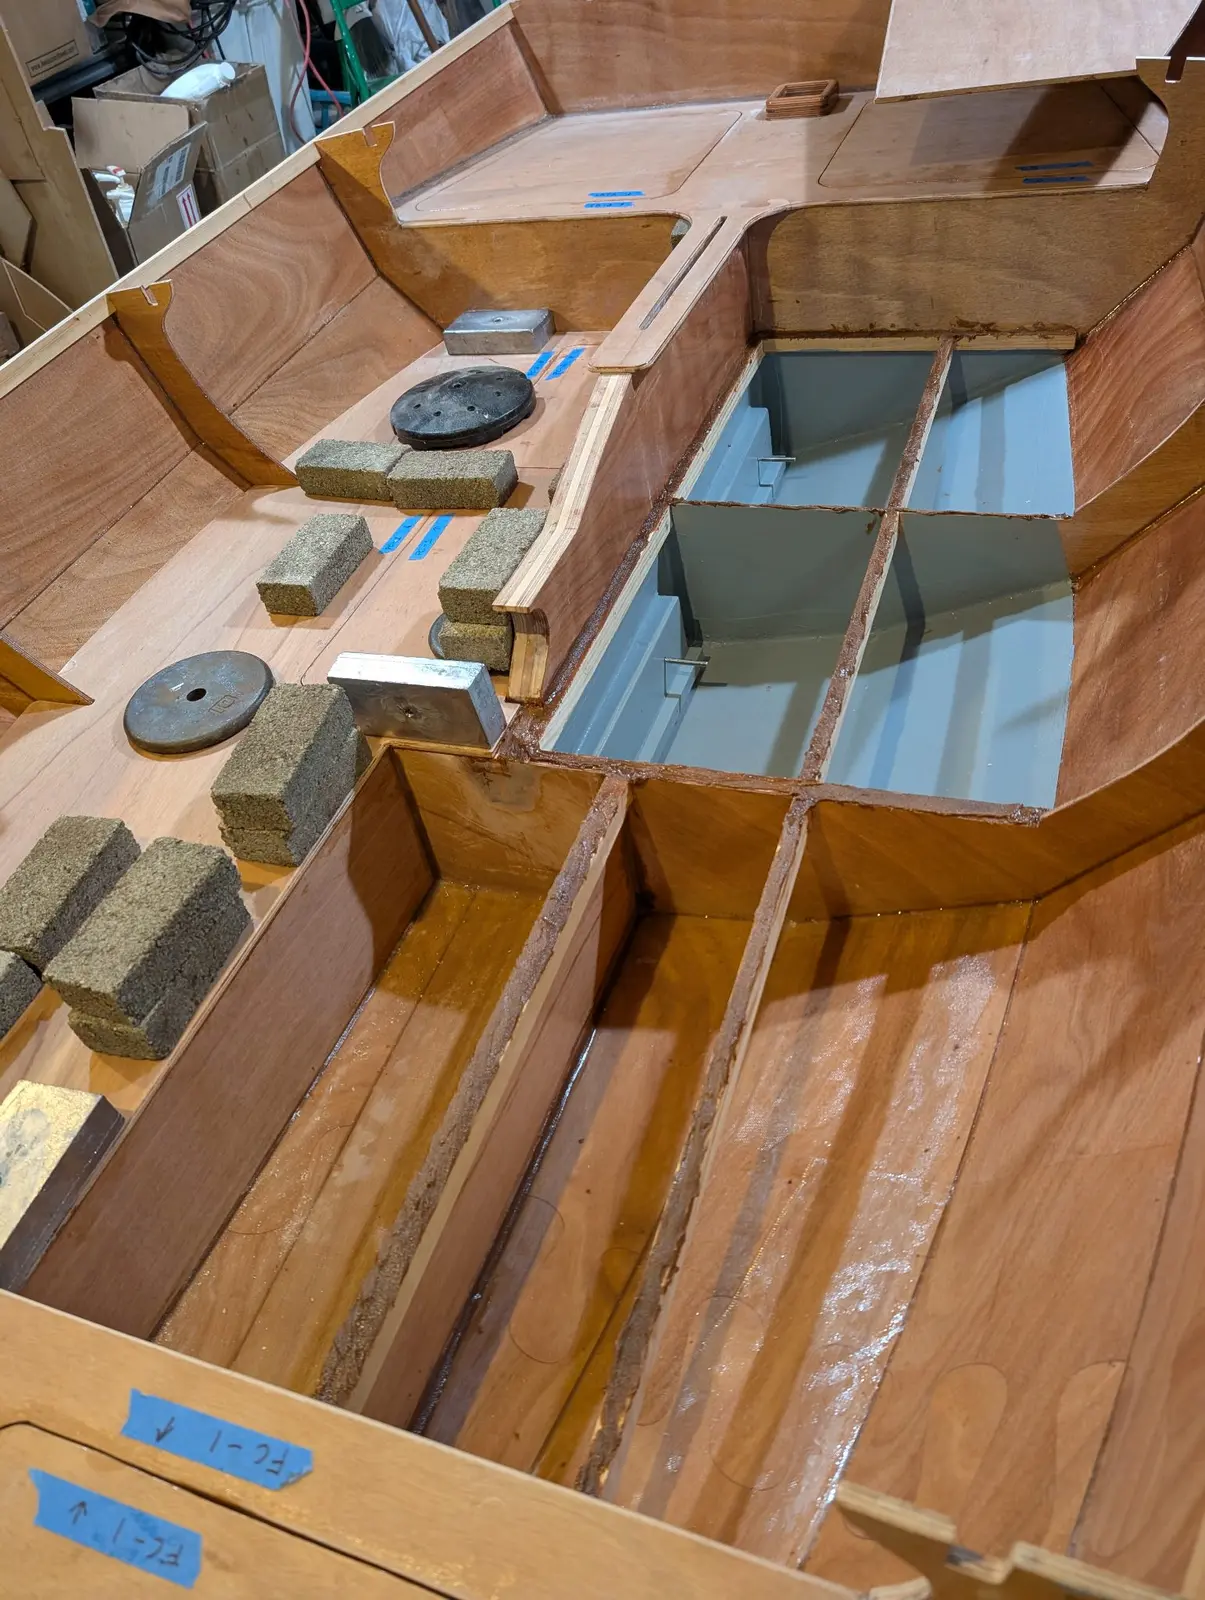
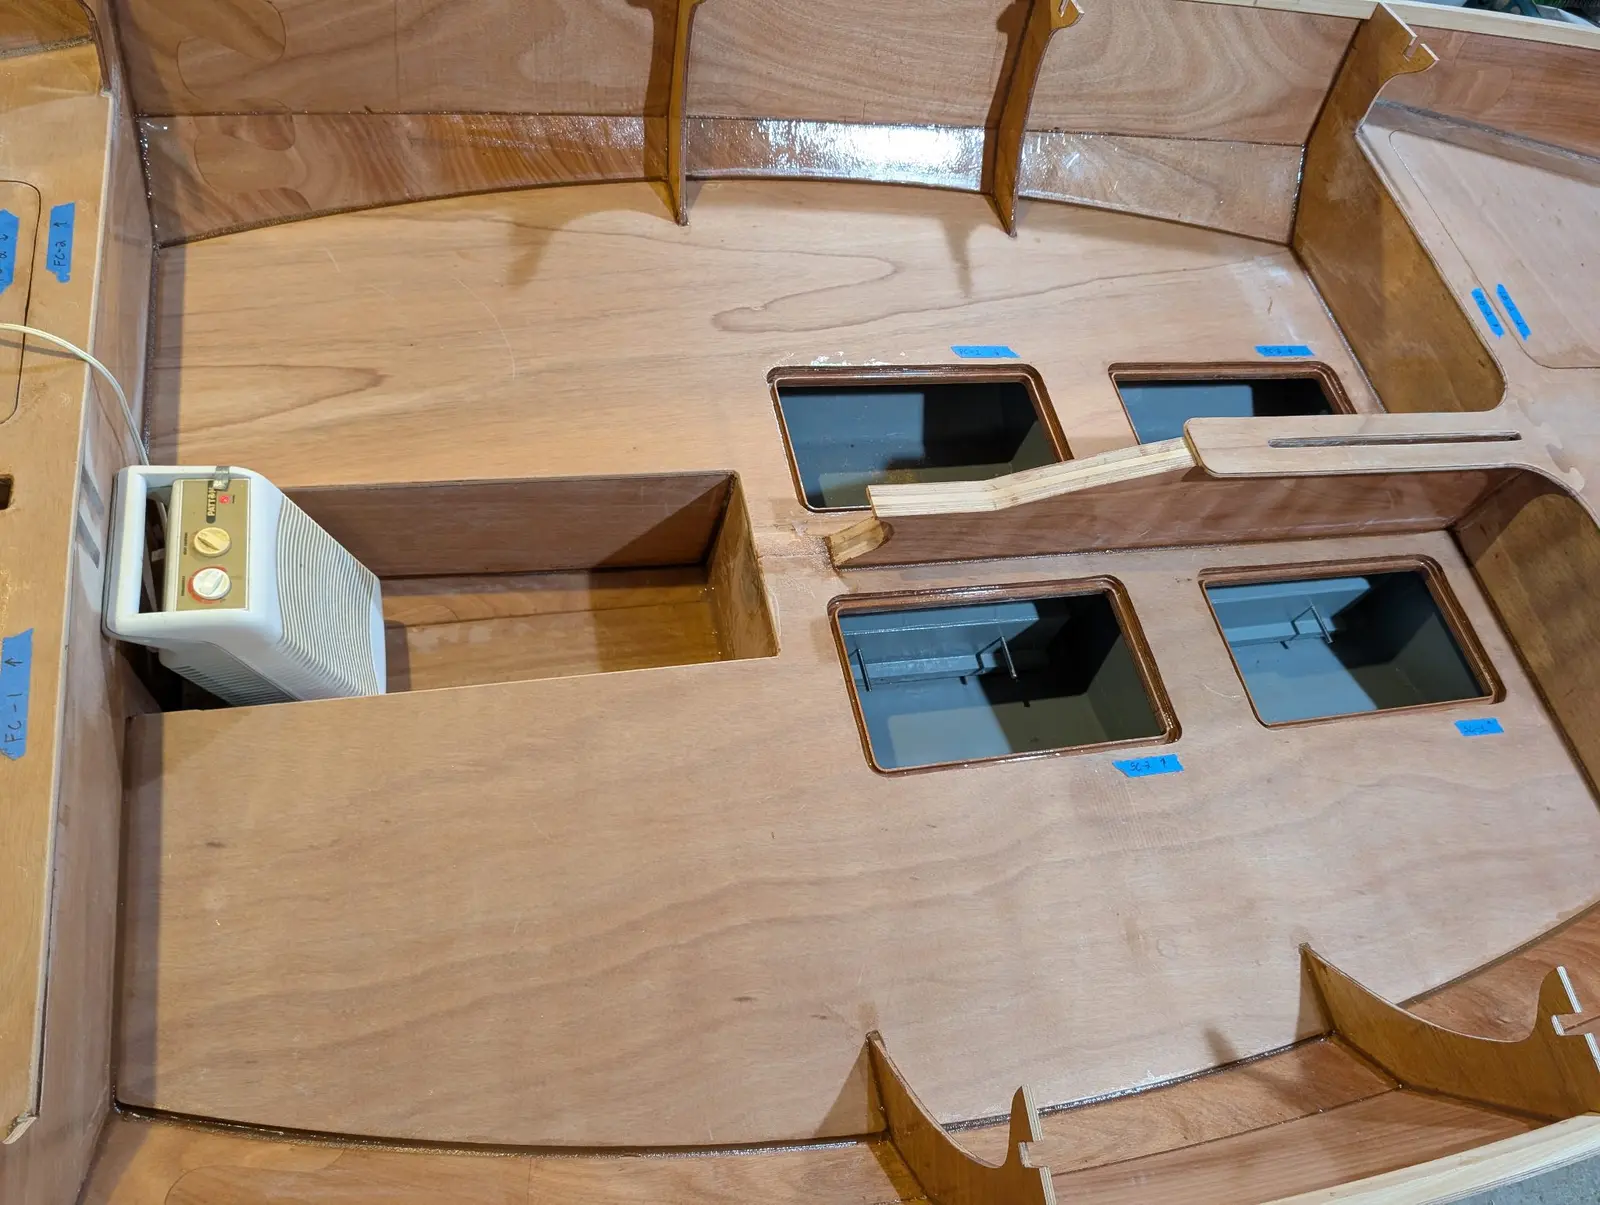
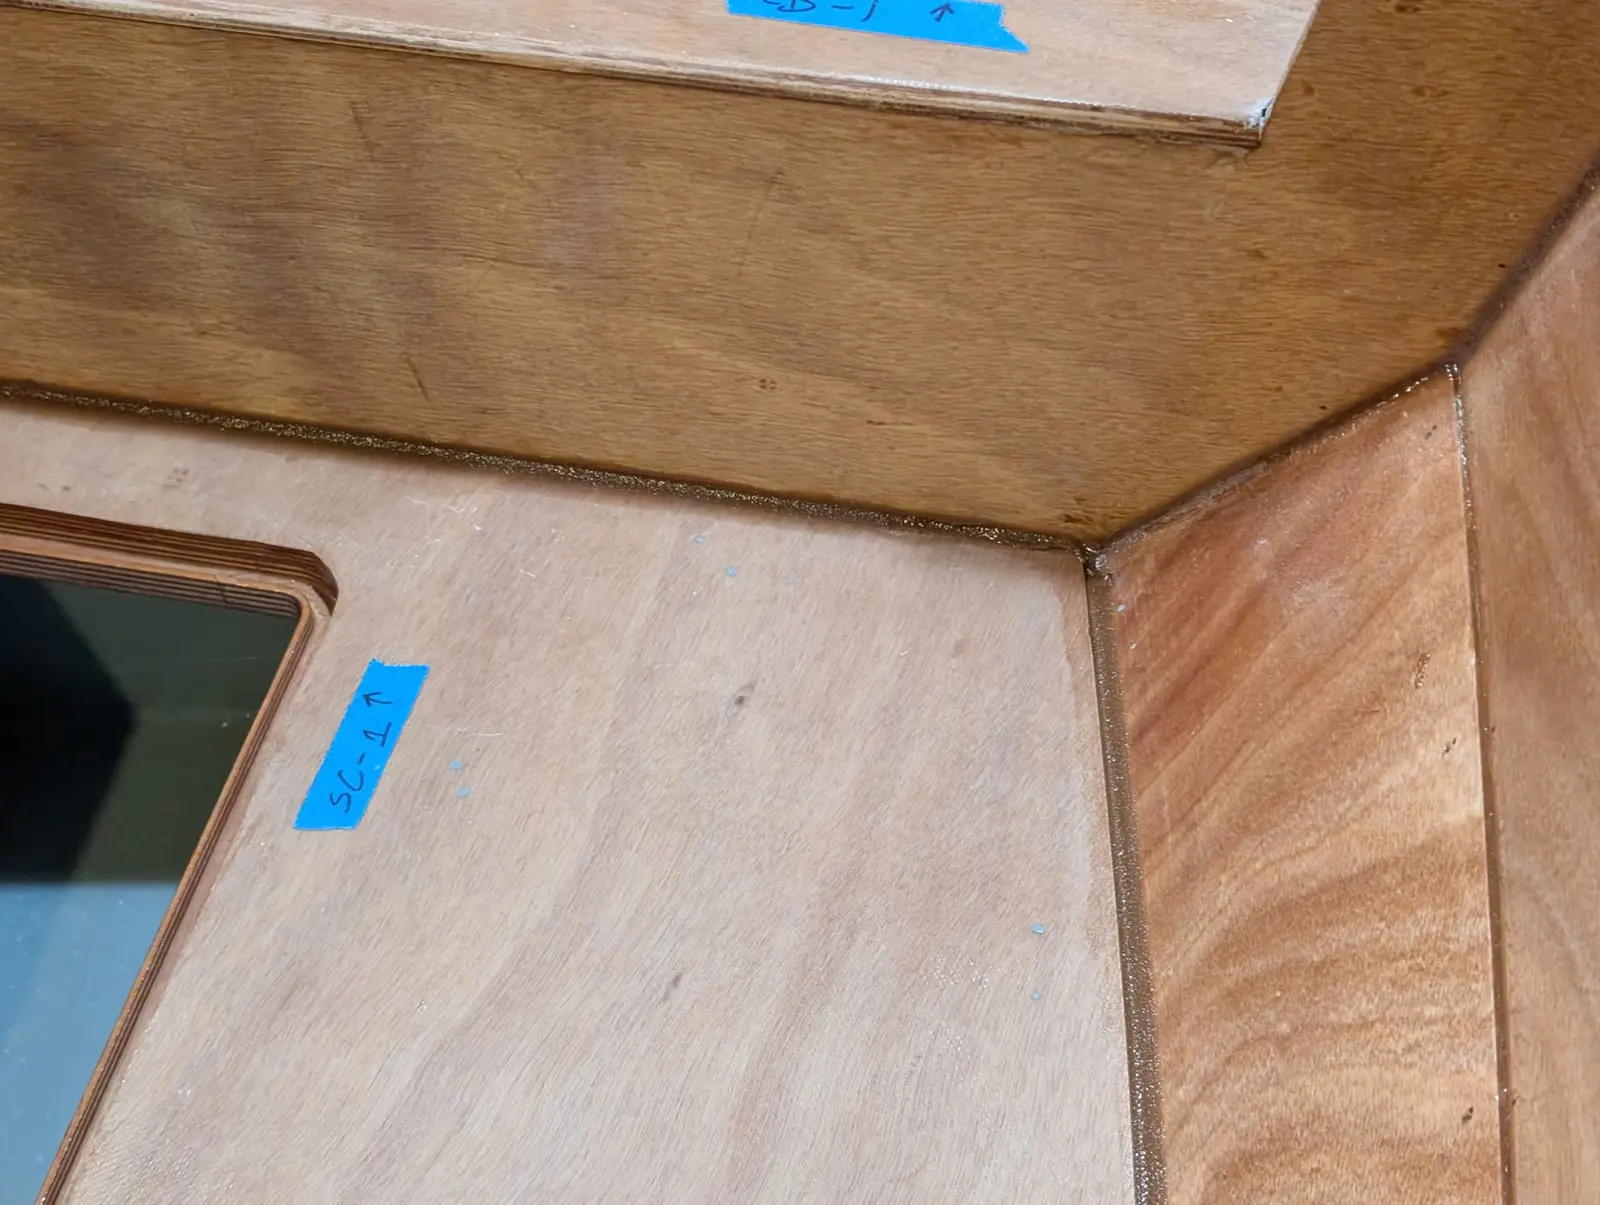
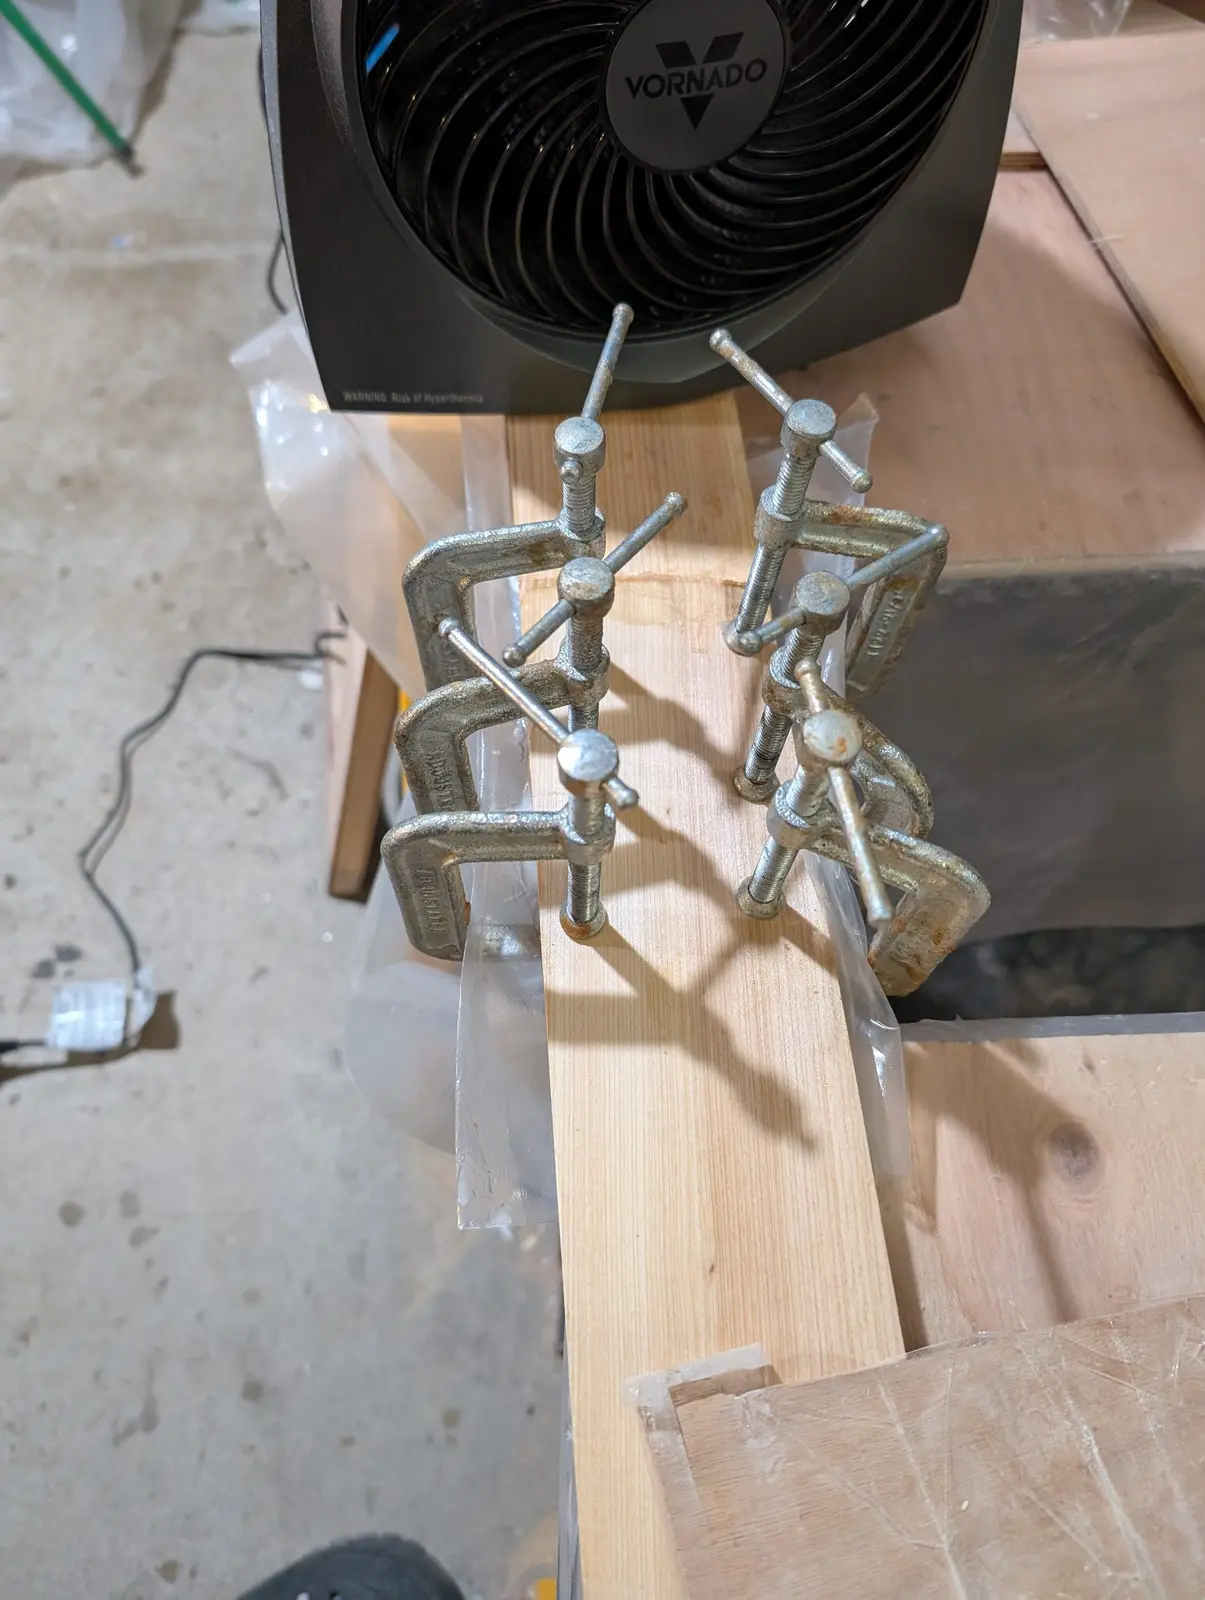
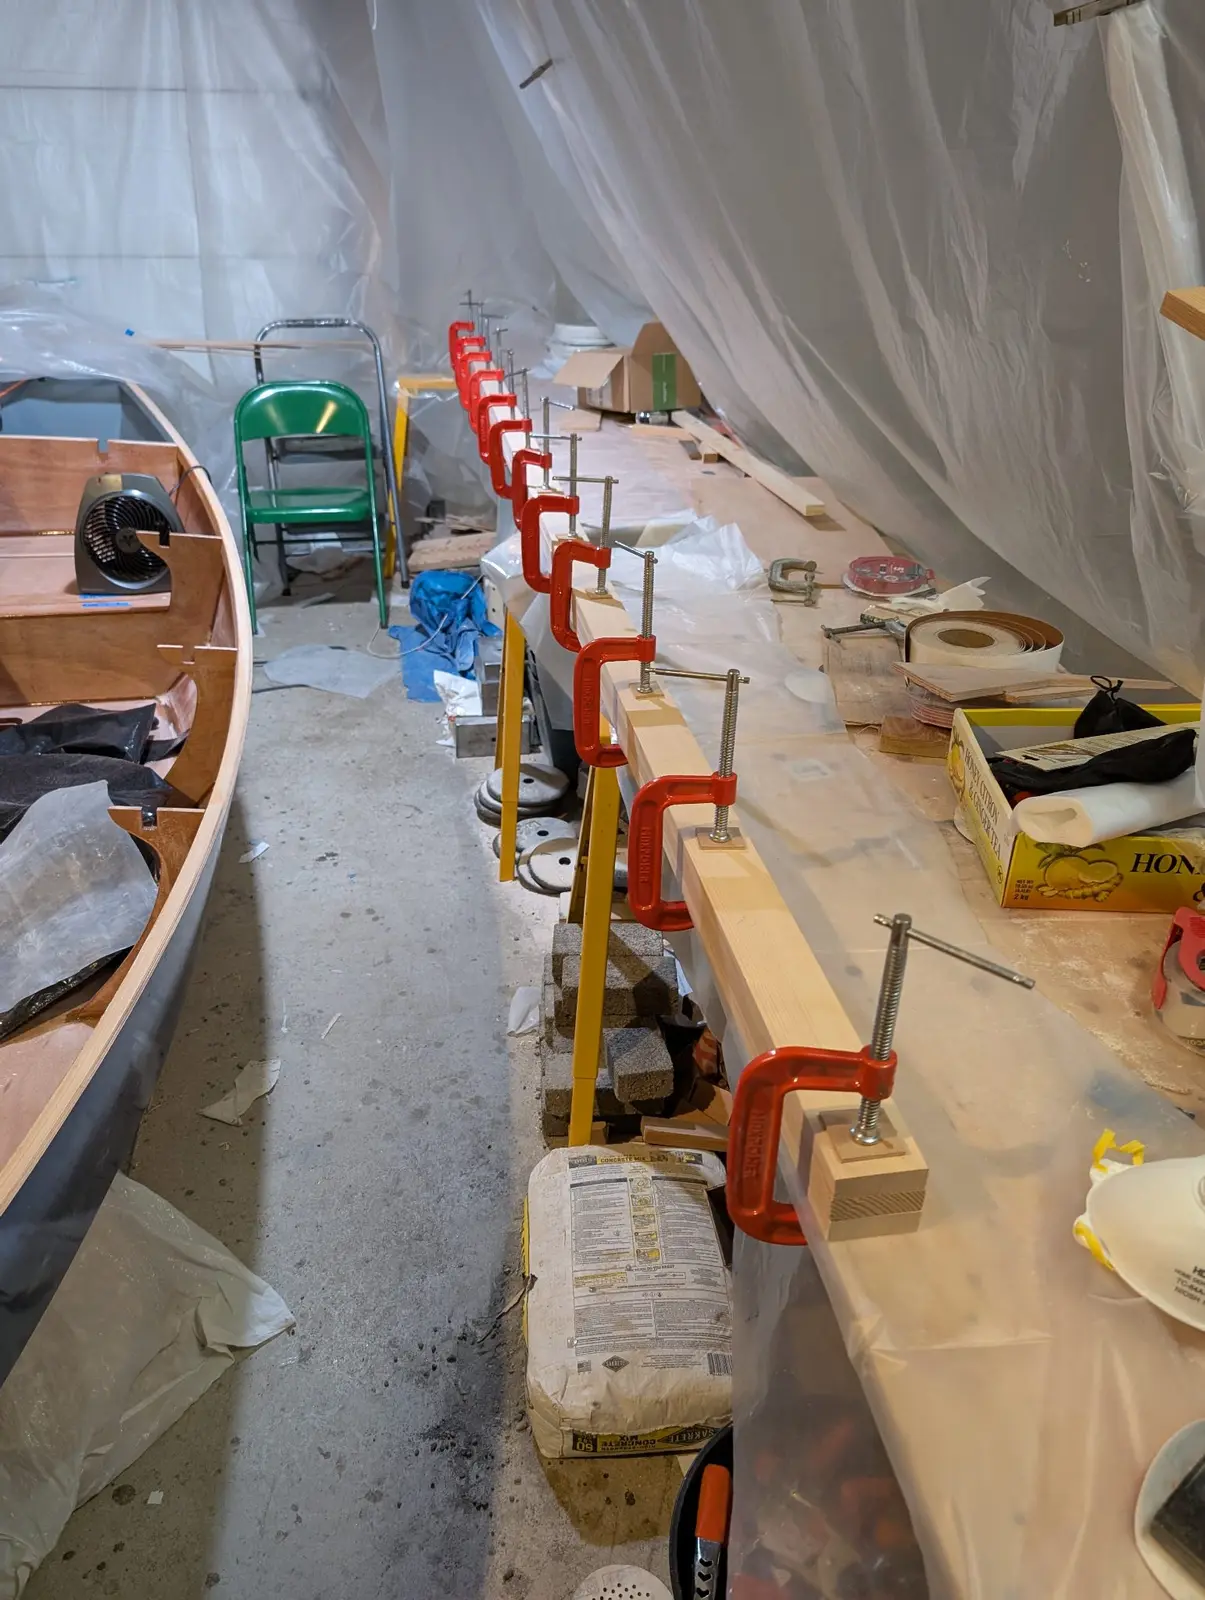
The aft cockpit deck and the forward cockpit deck are epoxied down to the tops of frames or intermediate cleat supports. You only get one shot at this, so it pays to dry-fit everything a couple of times, make some temporary alignment marks, get all your weights and clamps ready, and rehearse it. I brushed epoxy onto the undersides of the decks where they would sit on supports and then squeezed a thick bead of thickened epoxy down on those supports. Then the decks go in, alignment marks are checked, final adjustments are made, and then weights and clamps are placed.
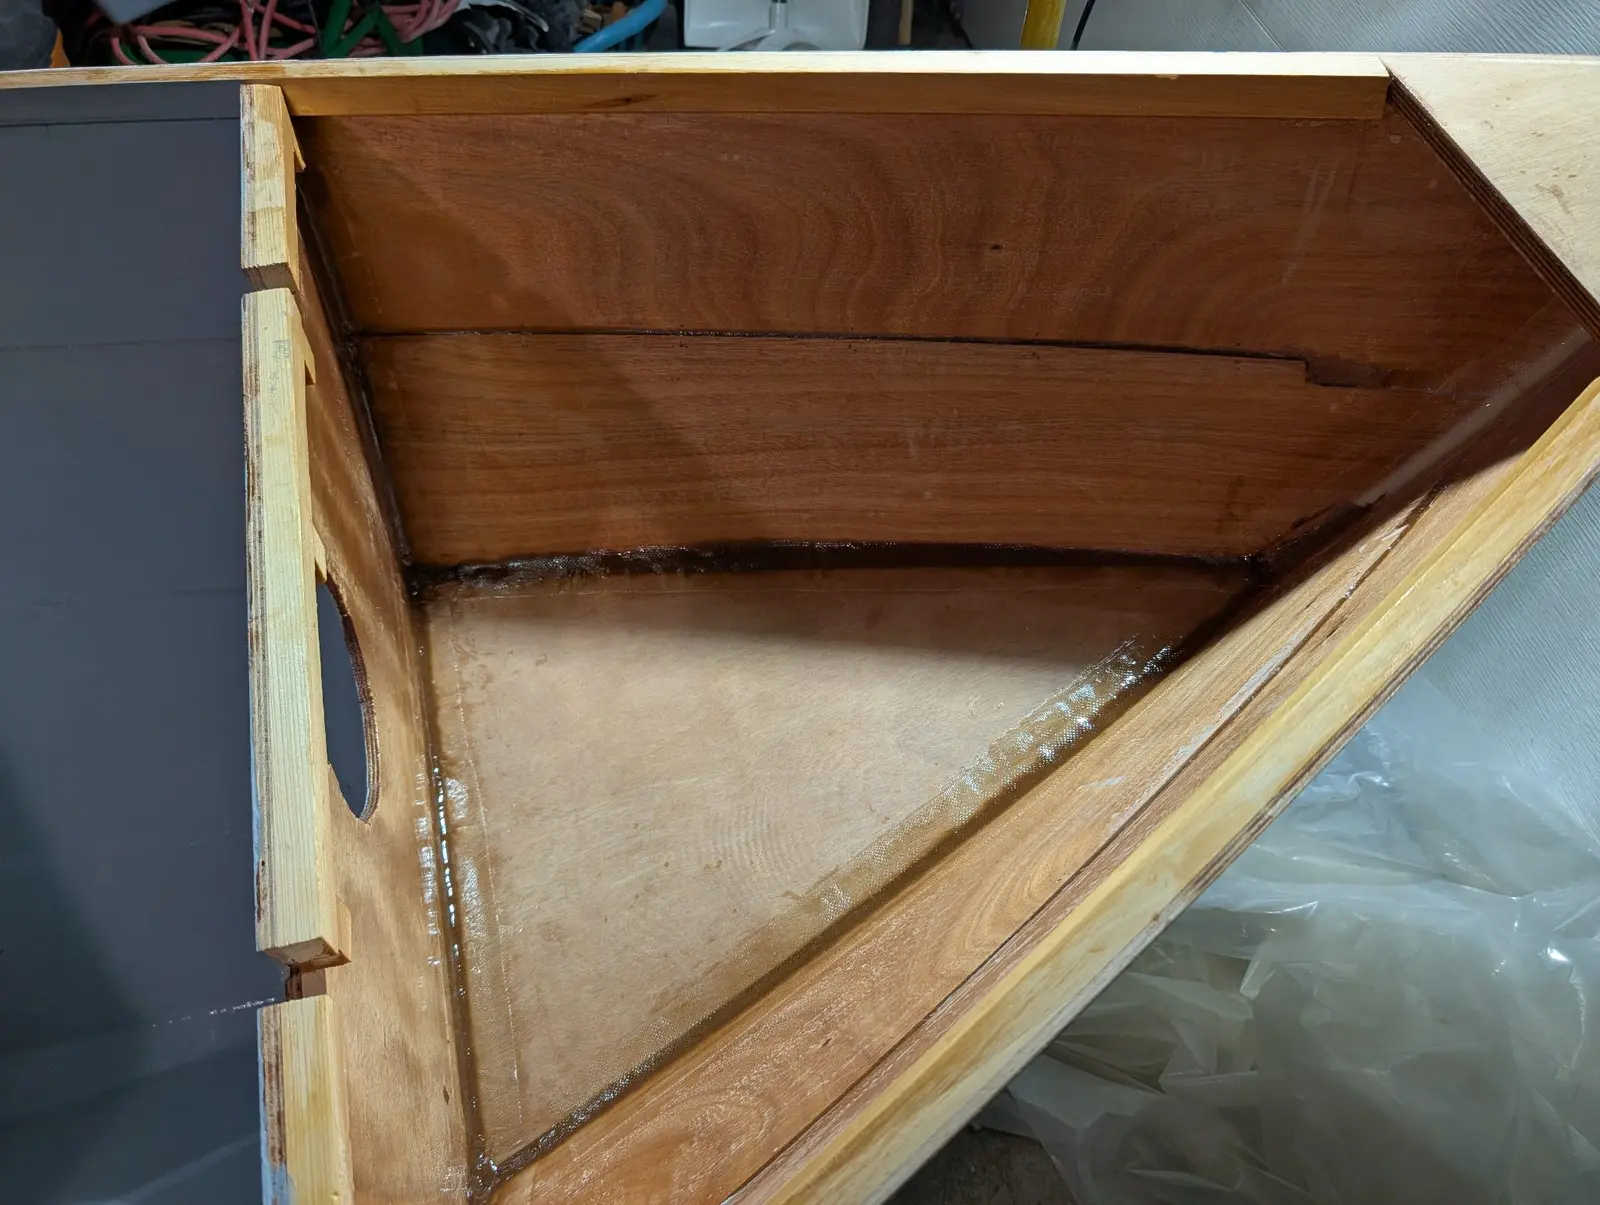
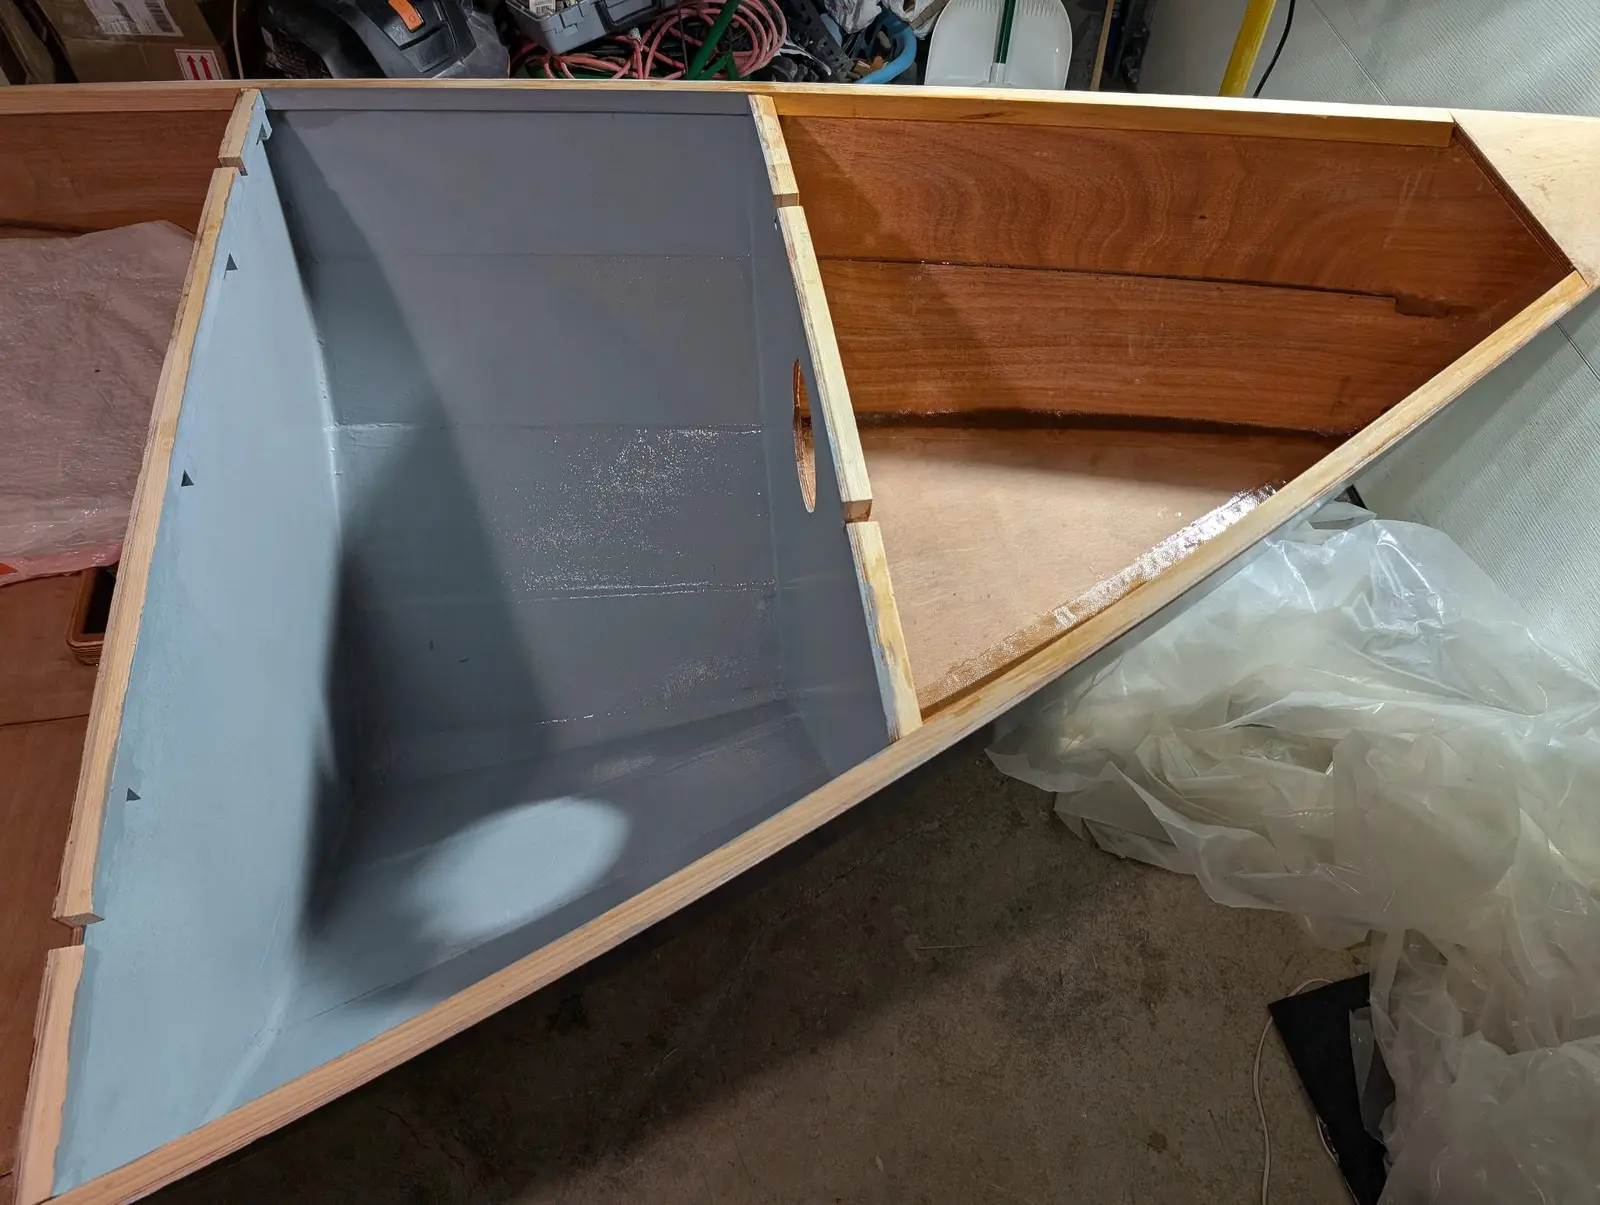
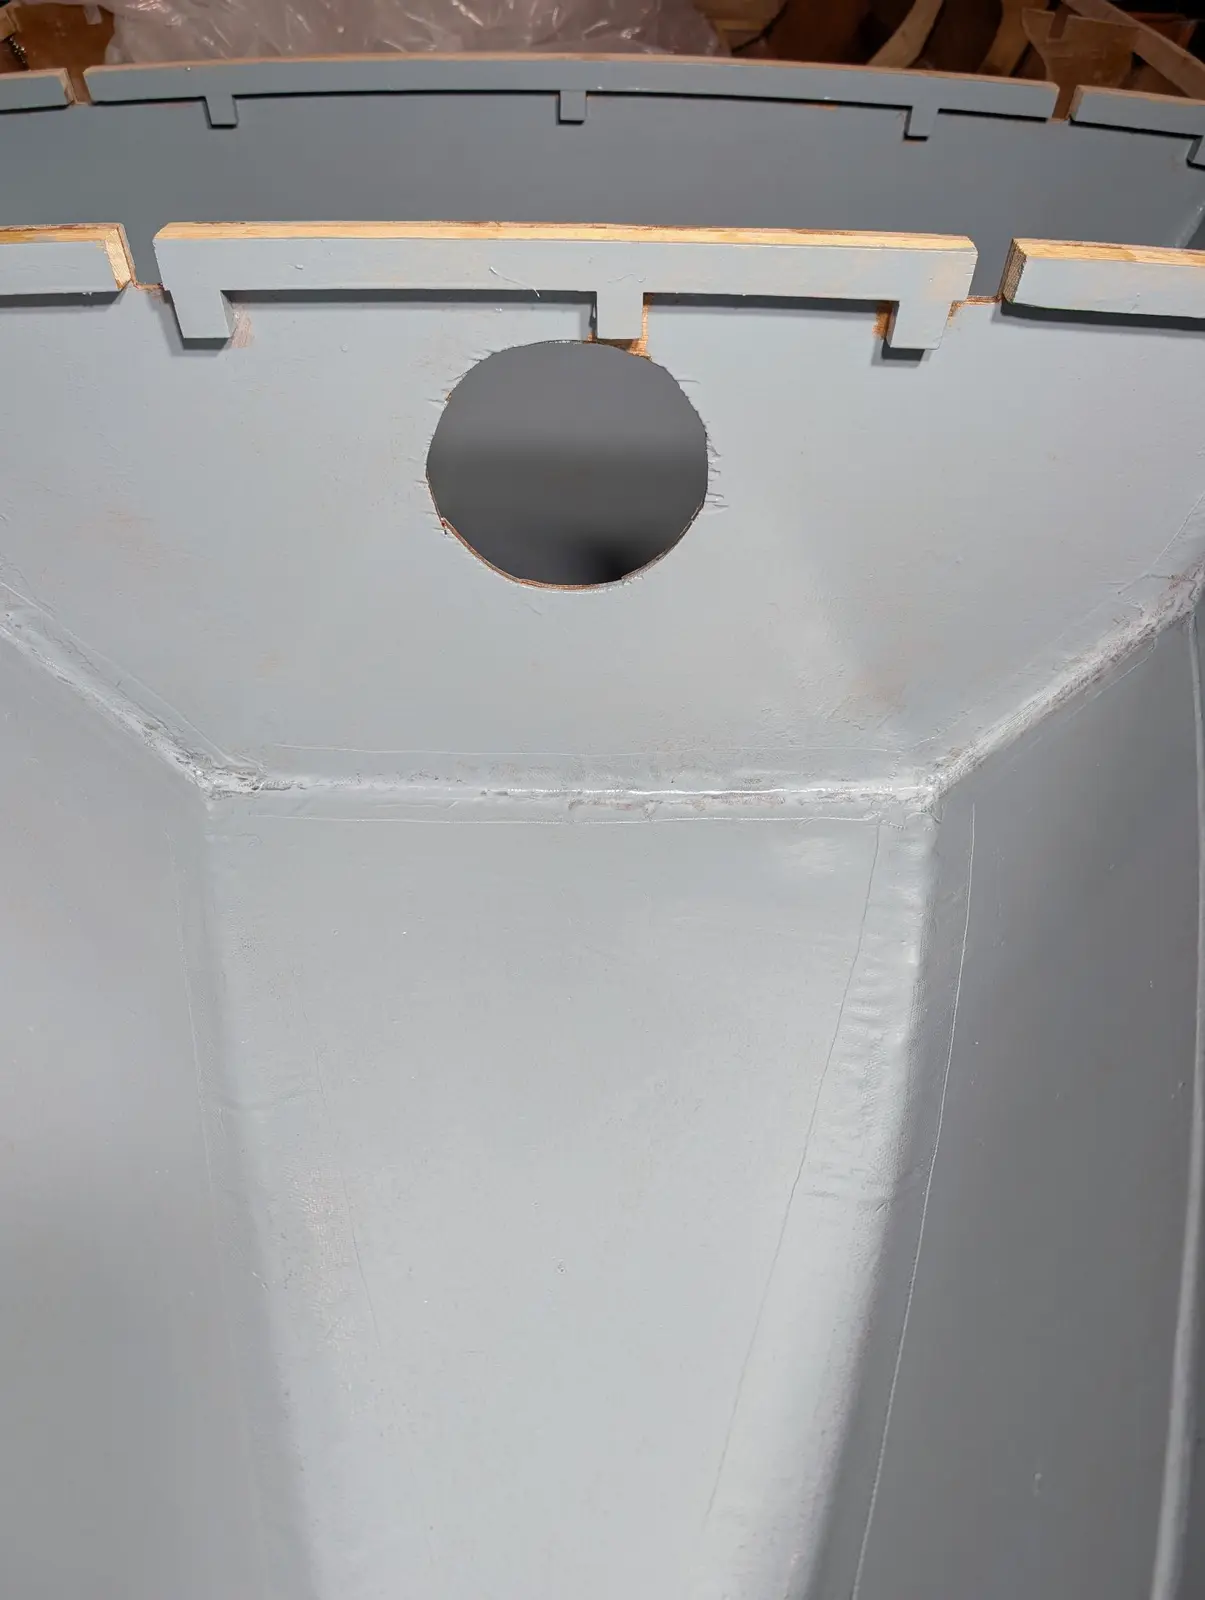
in the bow a small deck is put over the flotation chamber to create the anchor locker. The anchor itself will be hanging from a pulpit on the bow. The rode will be stored in this locker, with two holes at the lowest points of the locker on both sides to provide drainage for any water brought up when the anchor is weighed. Also, I am terrible at cutting round holes. This one will have a round inspection plate installed. I am not quite sure CLC put this here, since there will be another way into that space. Ours is not to question why....
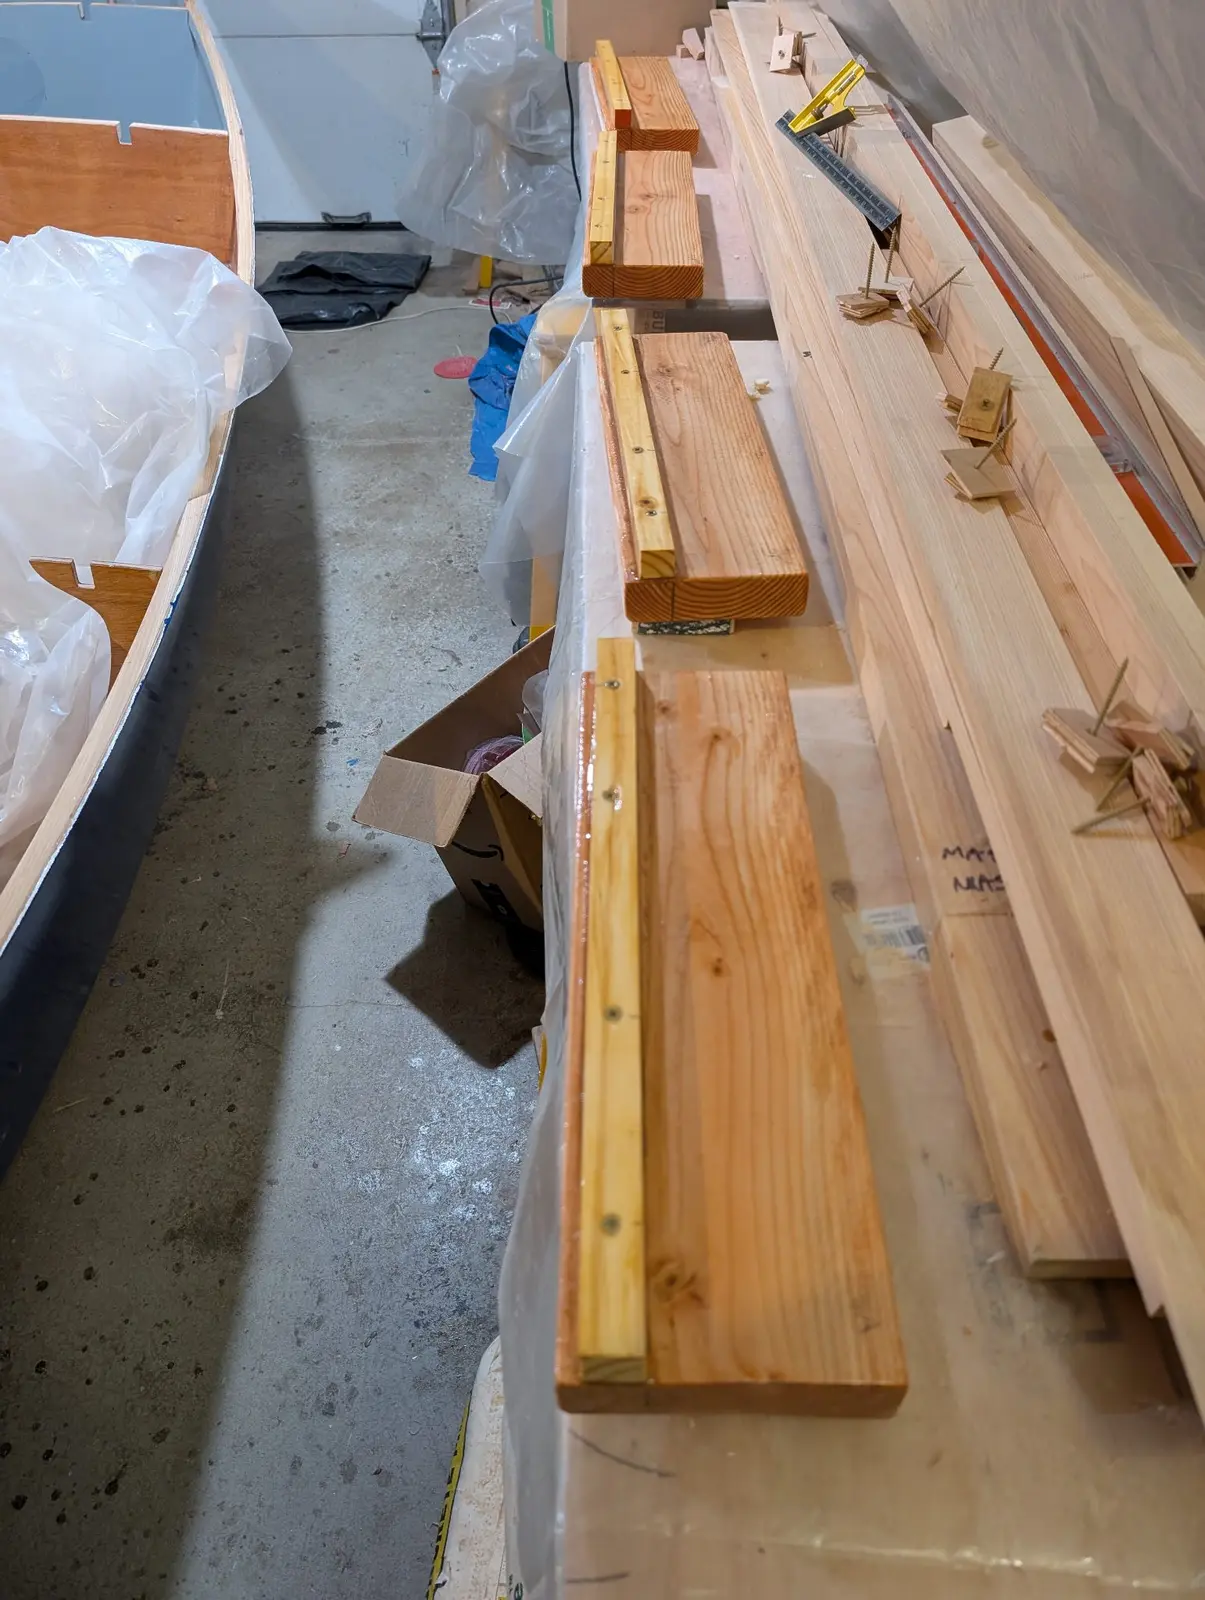
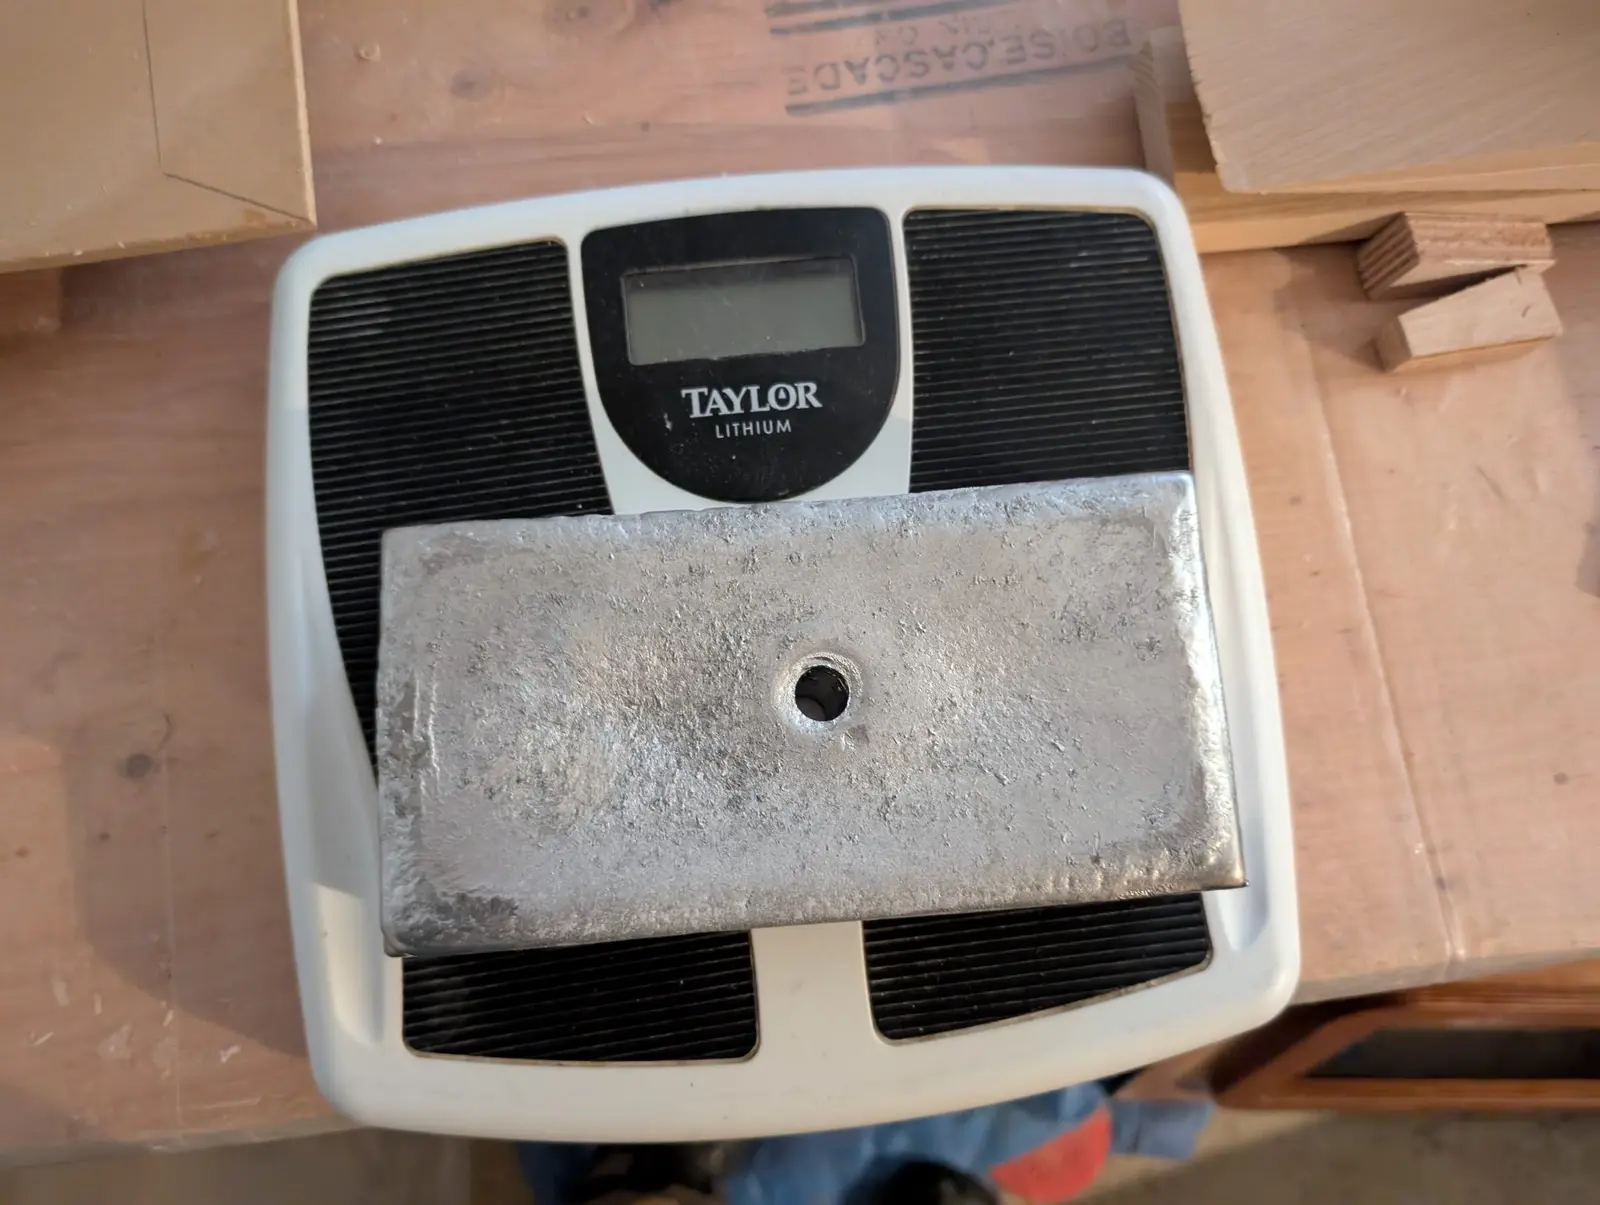
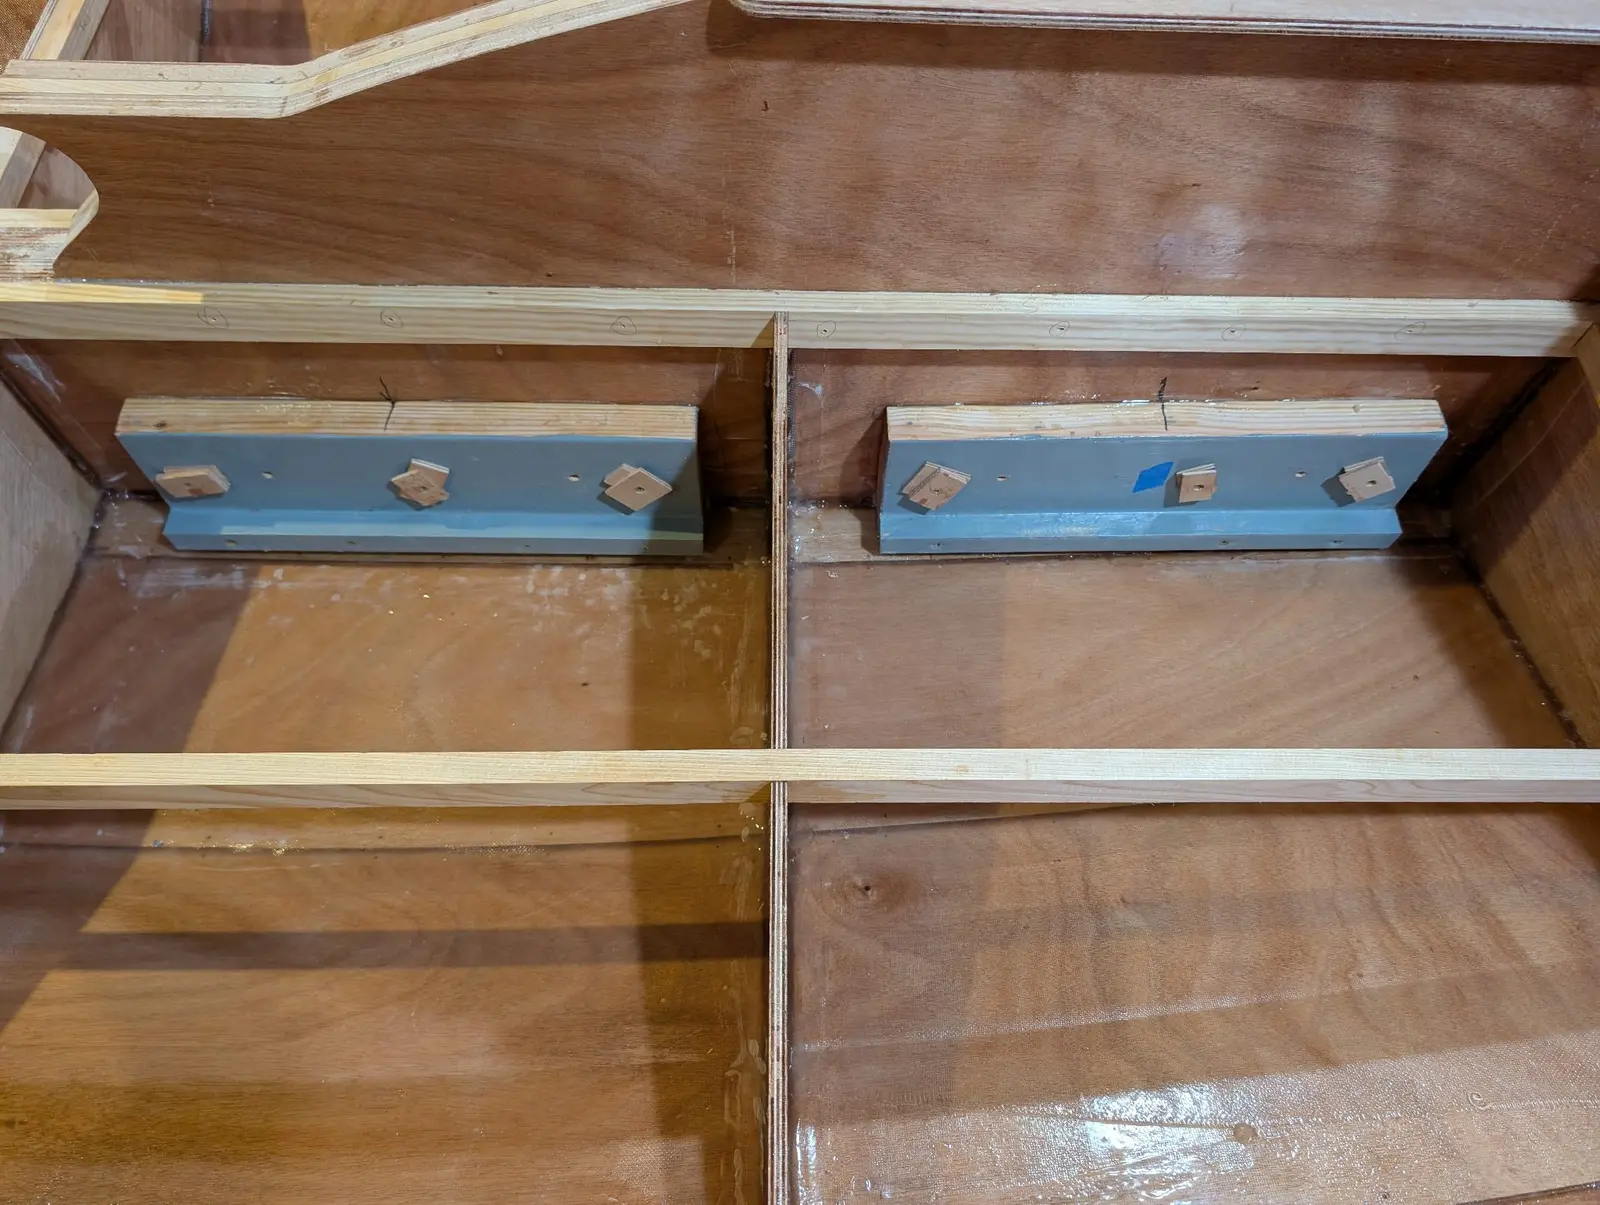
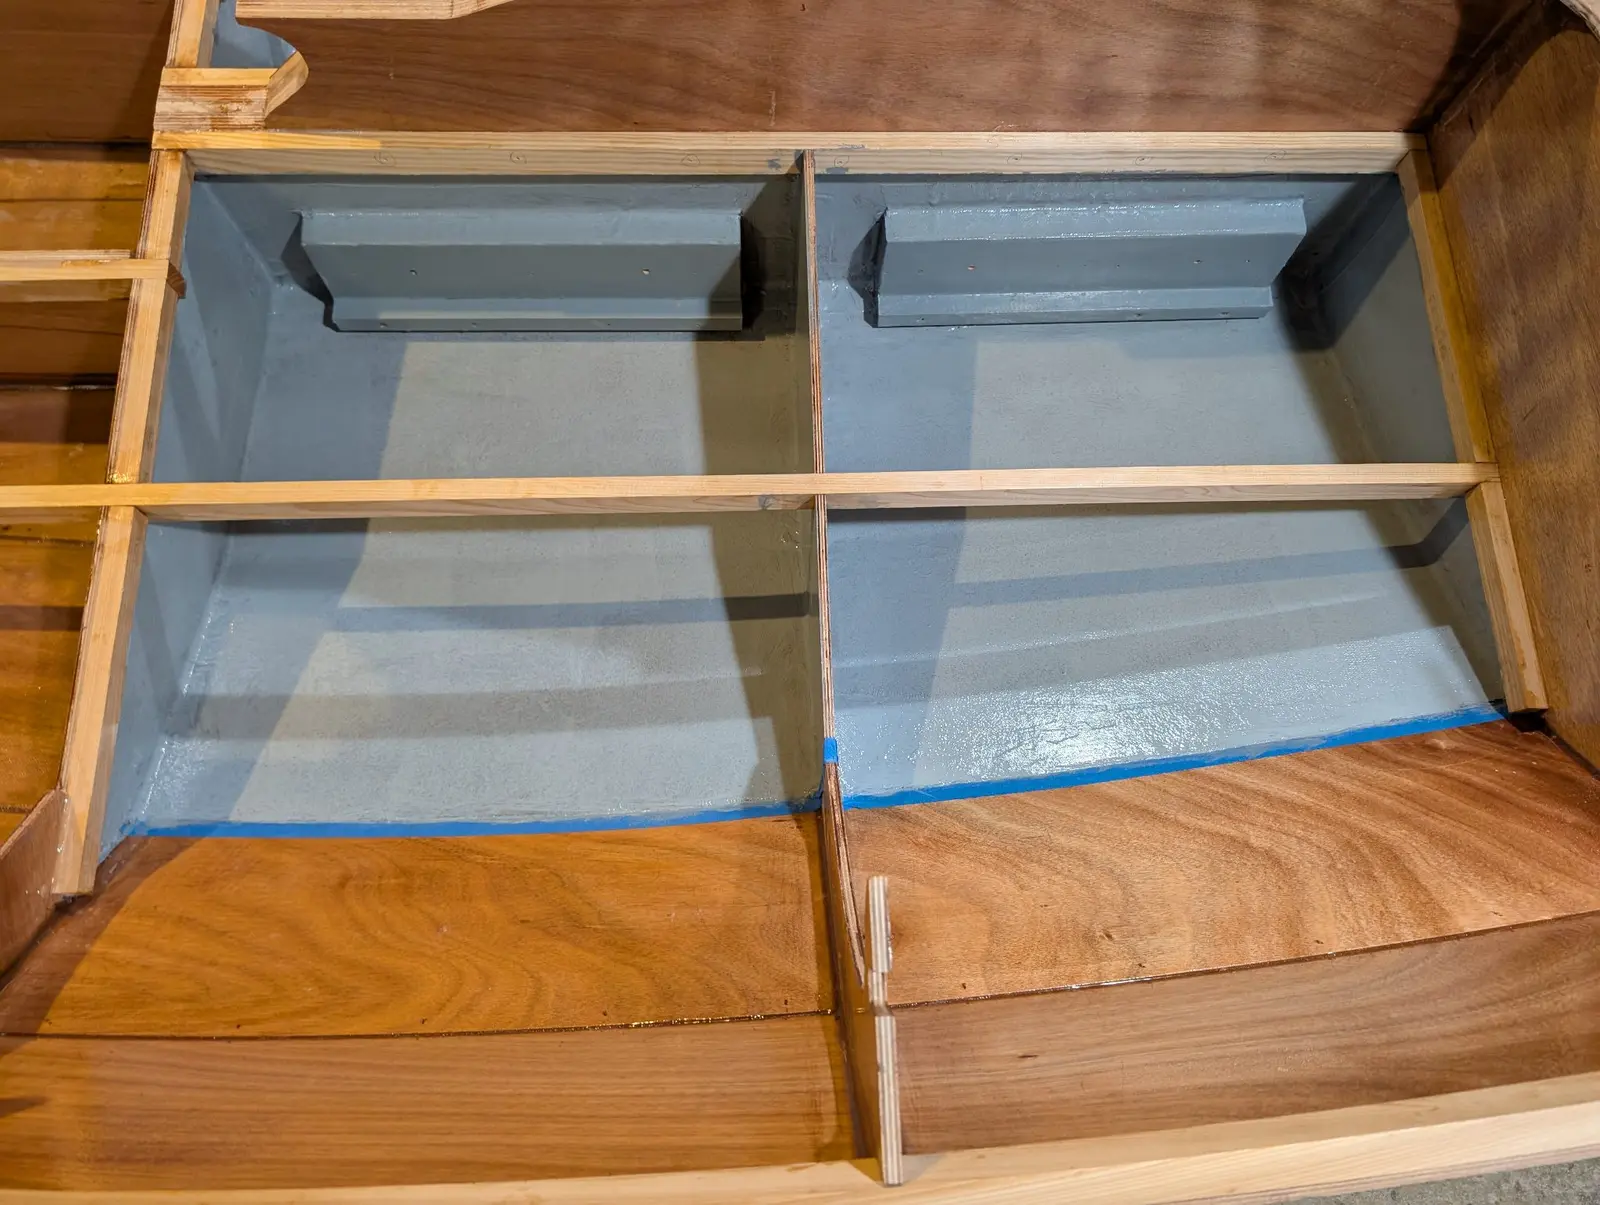
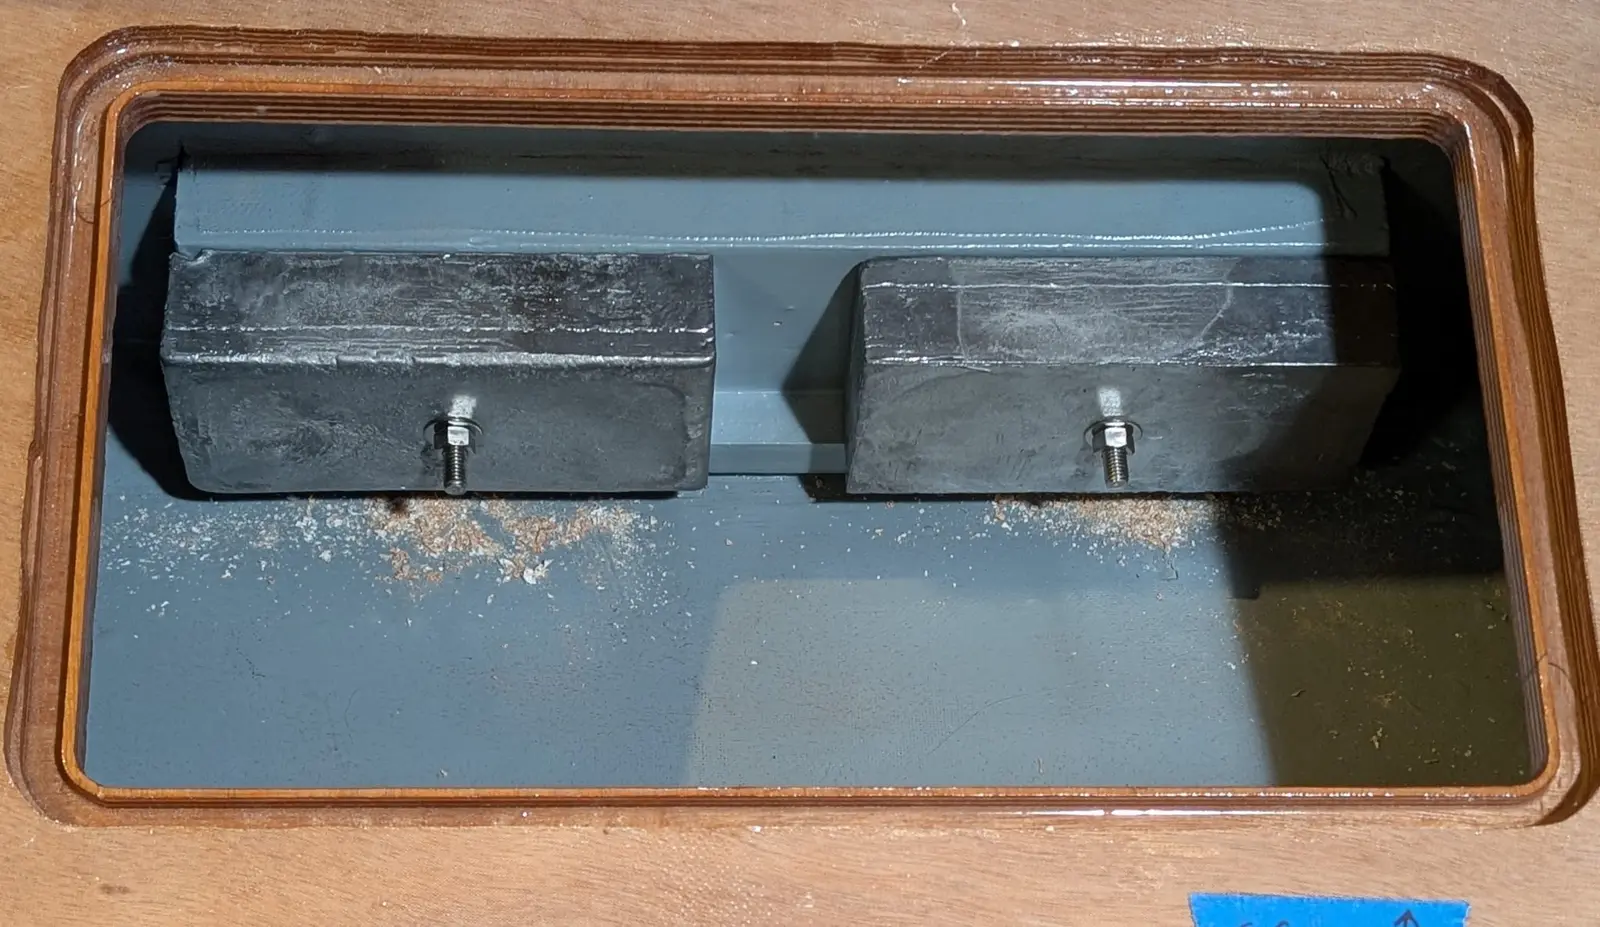
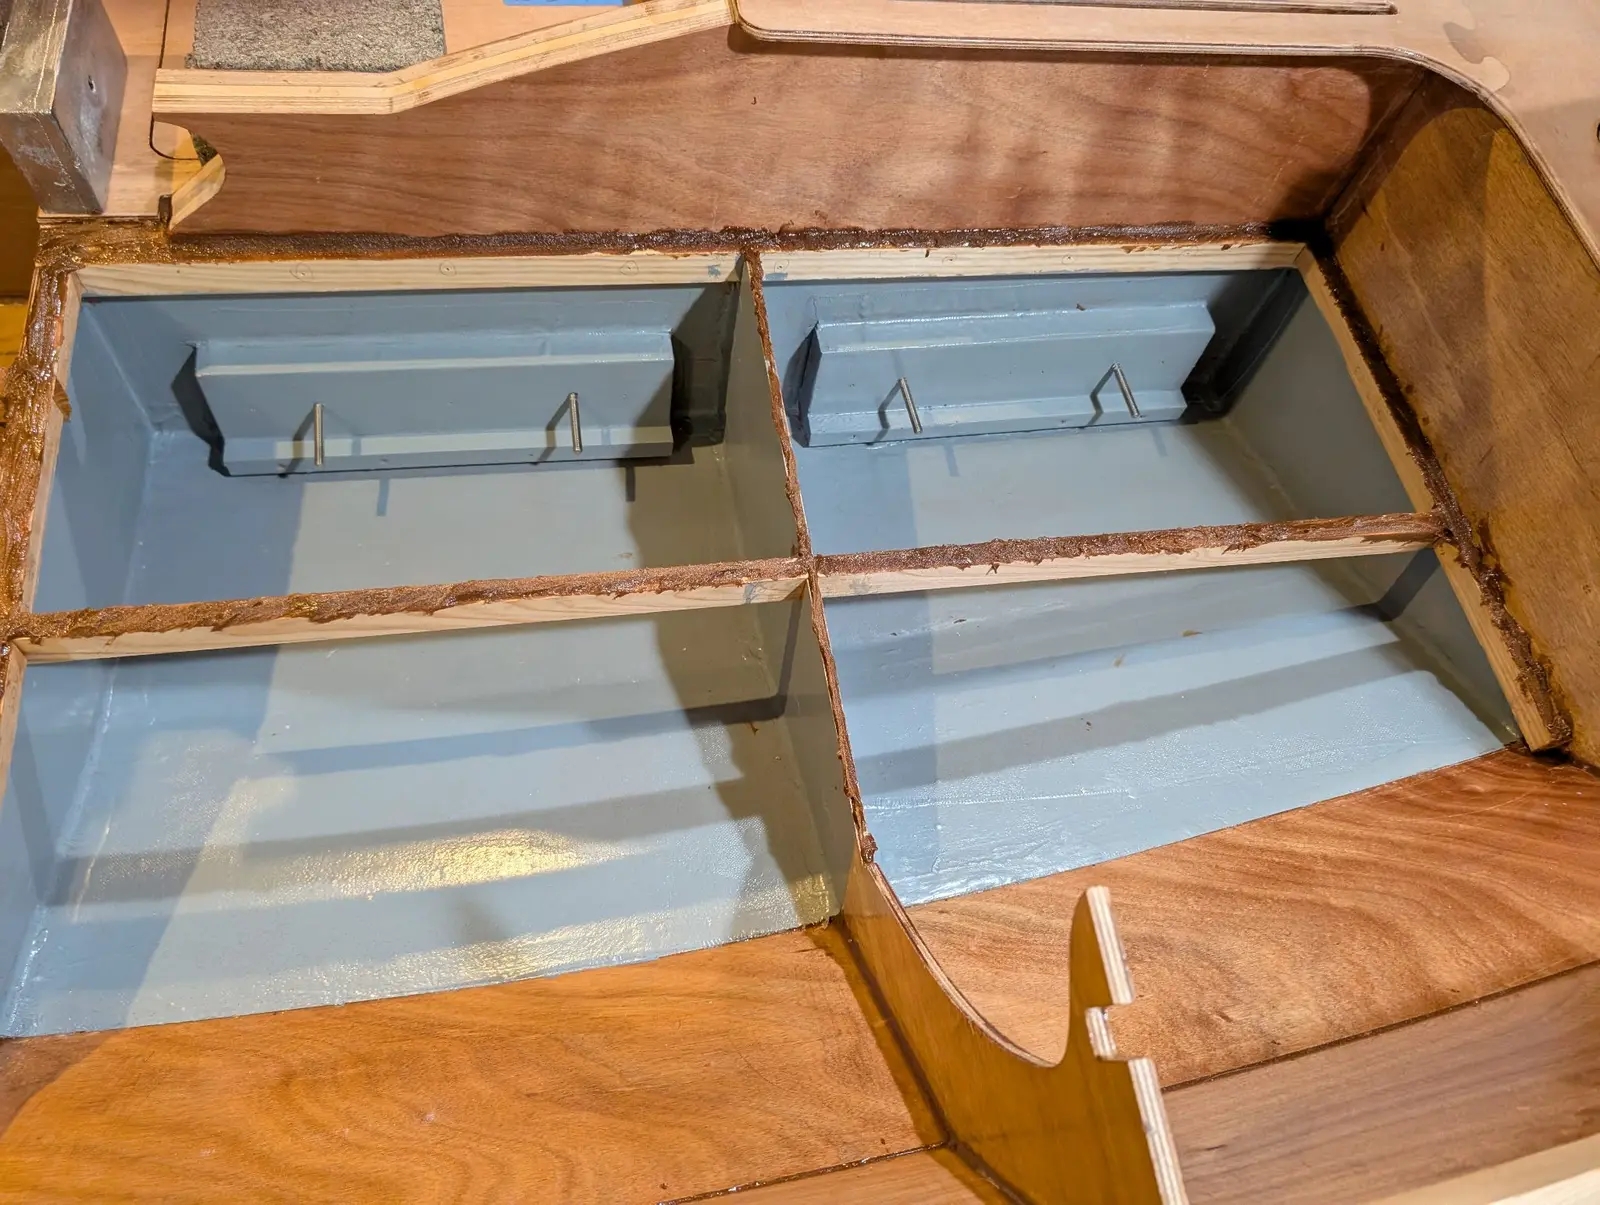
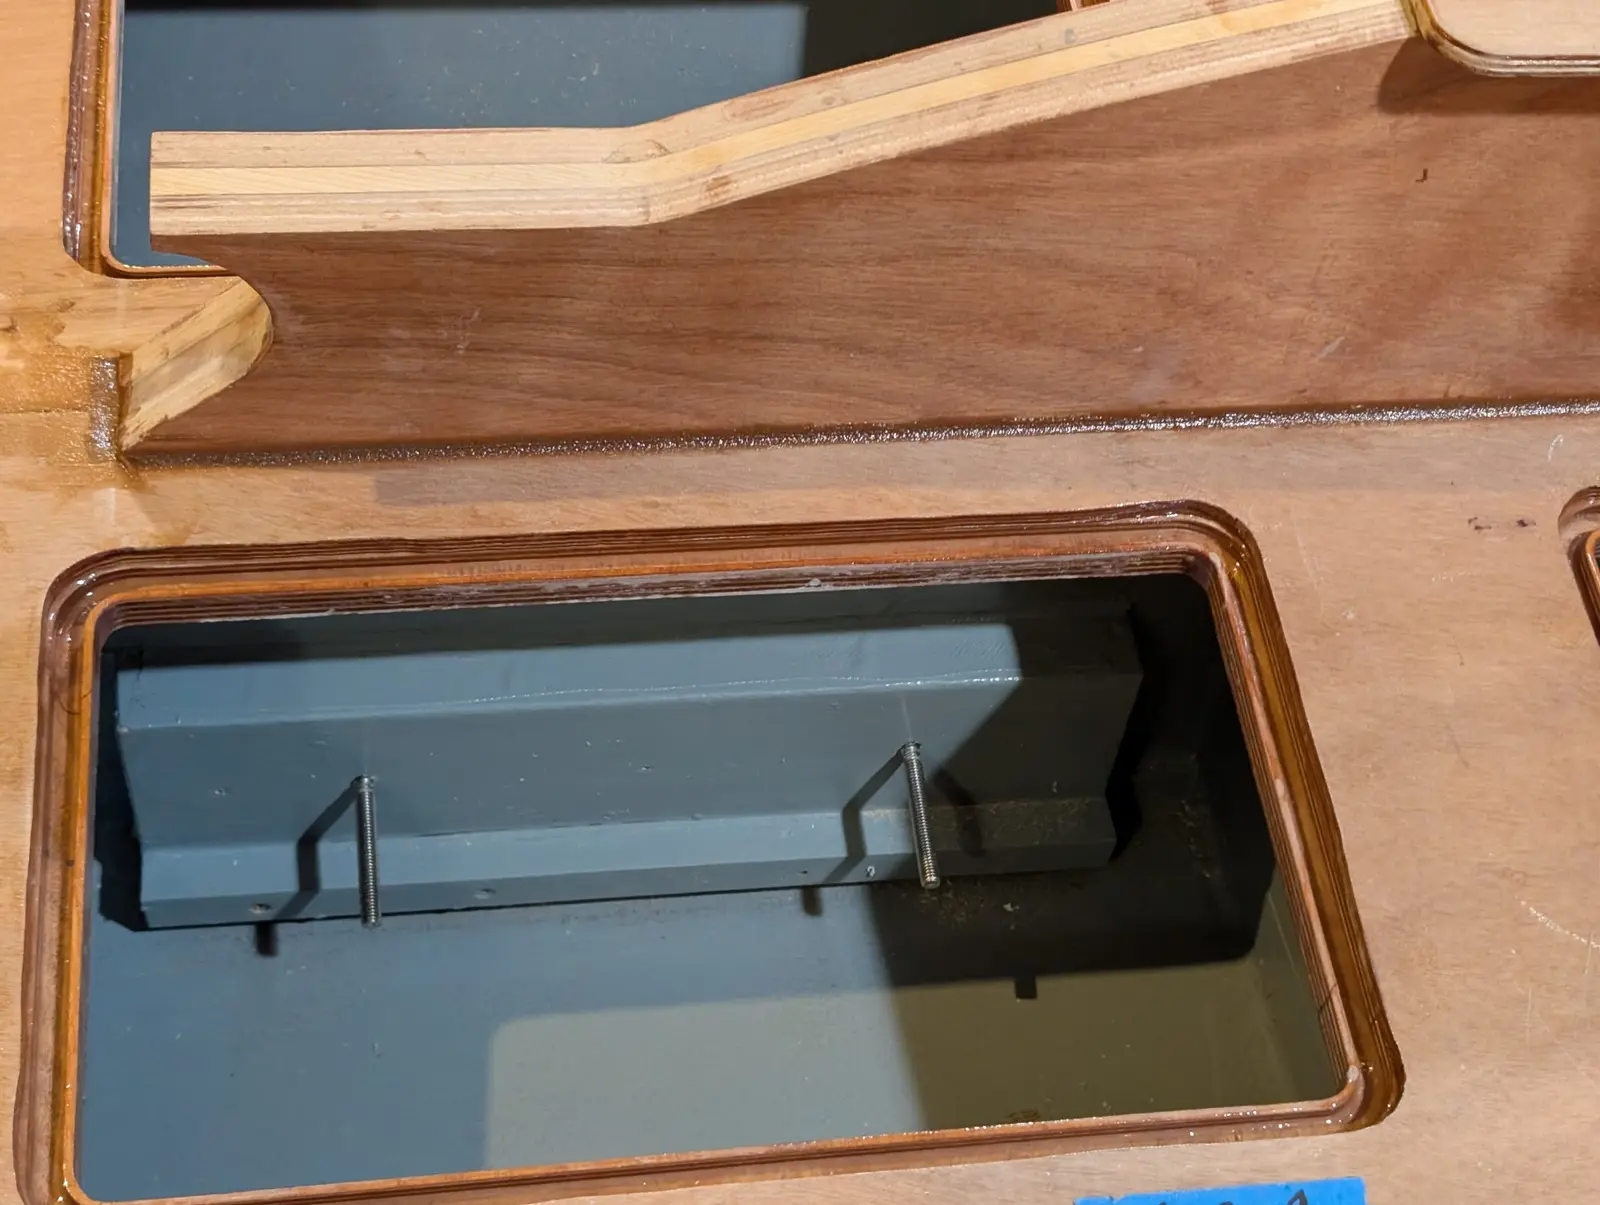
CLC calls for 200 Lbs of ballast for this boat, especially when lightly loaded. I worried and fretted about this a LOT. Finally, I decided to buy lead bricks from Roto Metals (https://rotometals.com). I had worried about shipping lead, but they just chuck each brick in a USPS fixed-price box and send it first-class mail. It seems a little unfair but.... Each brick comes pre-drilled, so I built wooden brackets and put stainless steel studs in them. Then those were attached to the centerboard trunk with ss screws, epoxy, and fiberglass tape. The bricks are mounted on the studs and held with ss lock washers and wing nuts (hex nuts shown in the photo were replaced with wing nuts later). I did it this way to make sure the ballast wouldn't shift if I laid the boat over, and to make it easily removable for trailering.
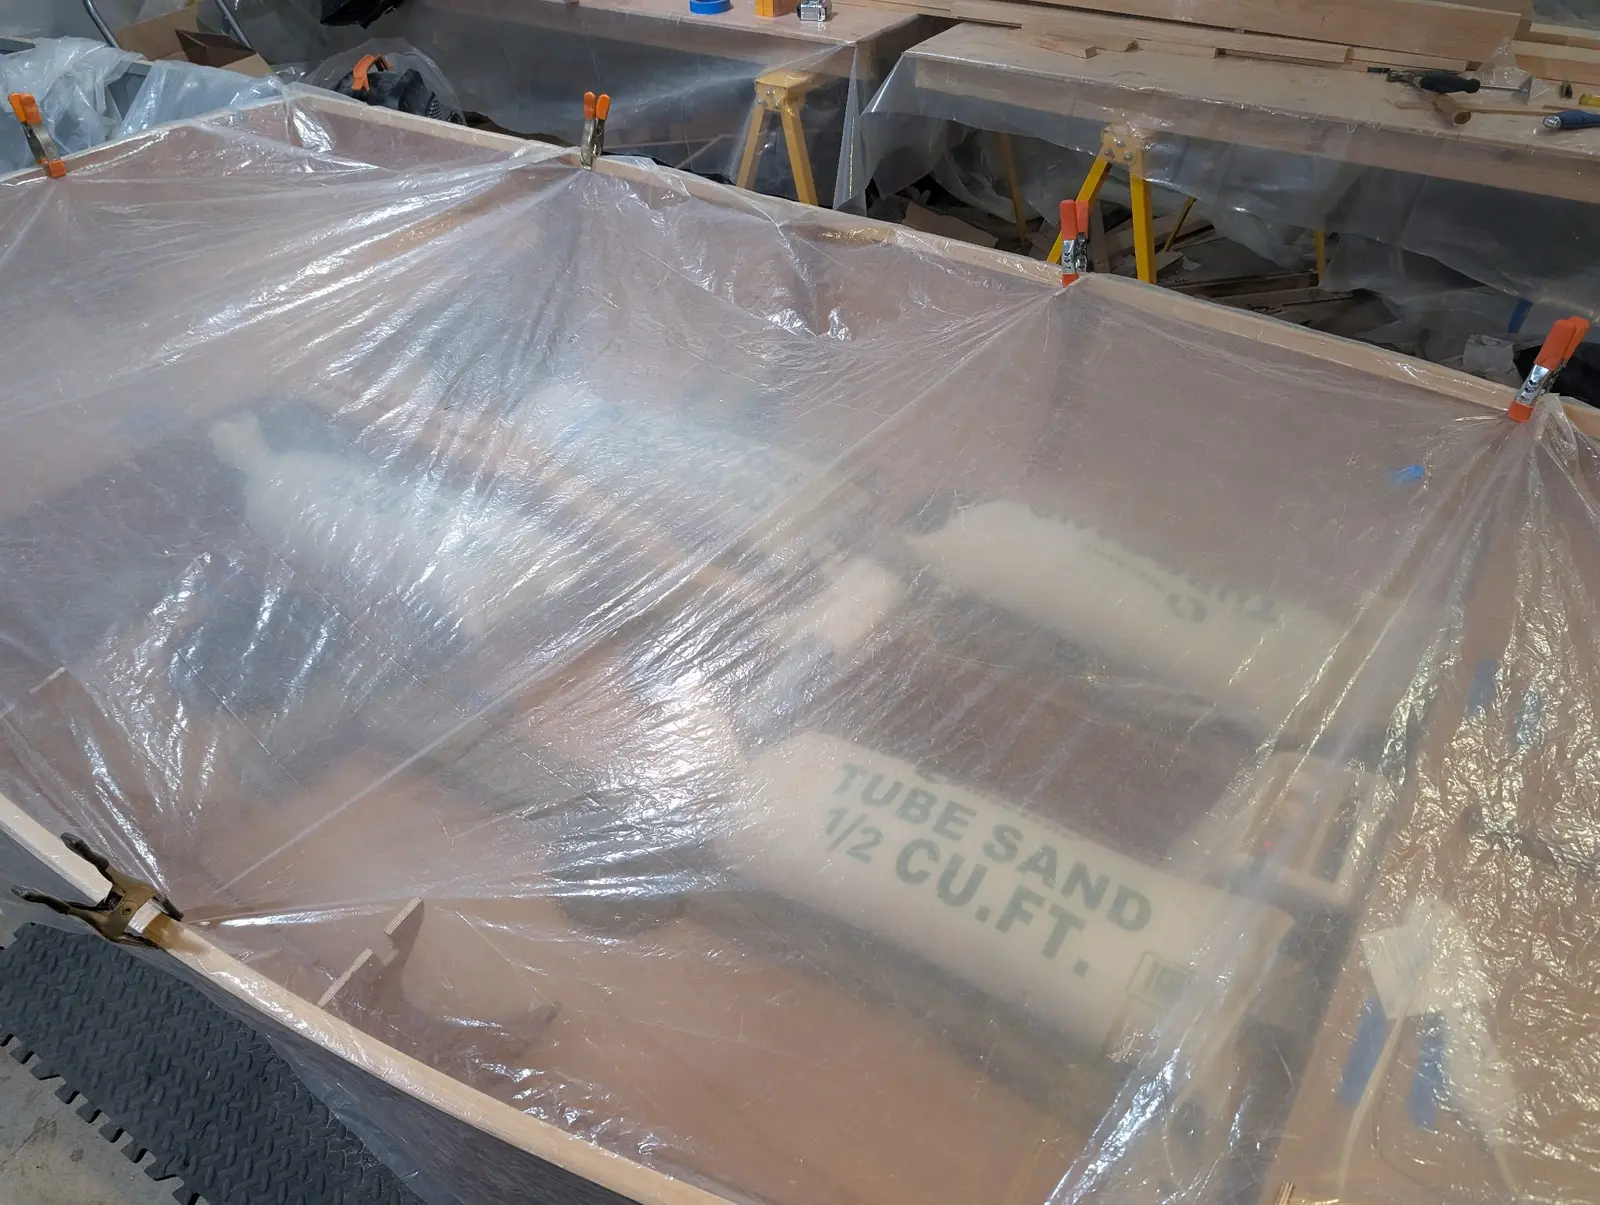
The two main cockpit decks are now epoxied to their supports. This is similar to the two other cockpit decks, except that these have no convenient spots to clamp them down. They are held in place with a bunch of weights ( lead bricks, steel plates, bags of sand). It's cold this time of year, and my workspace is unheated, so I draped it in plastic with a space heater inside. Then all the decks are filleted to keep water from standing anywhere and increase the strength of the join.
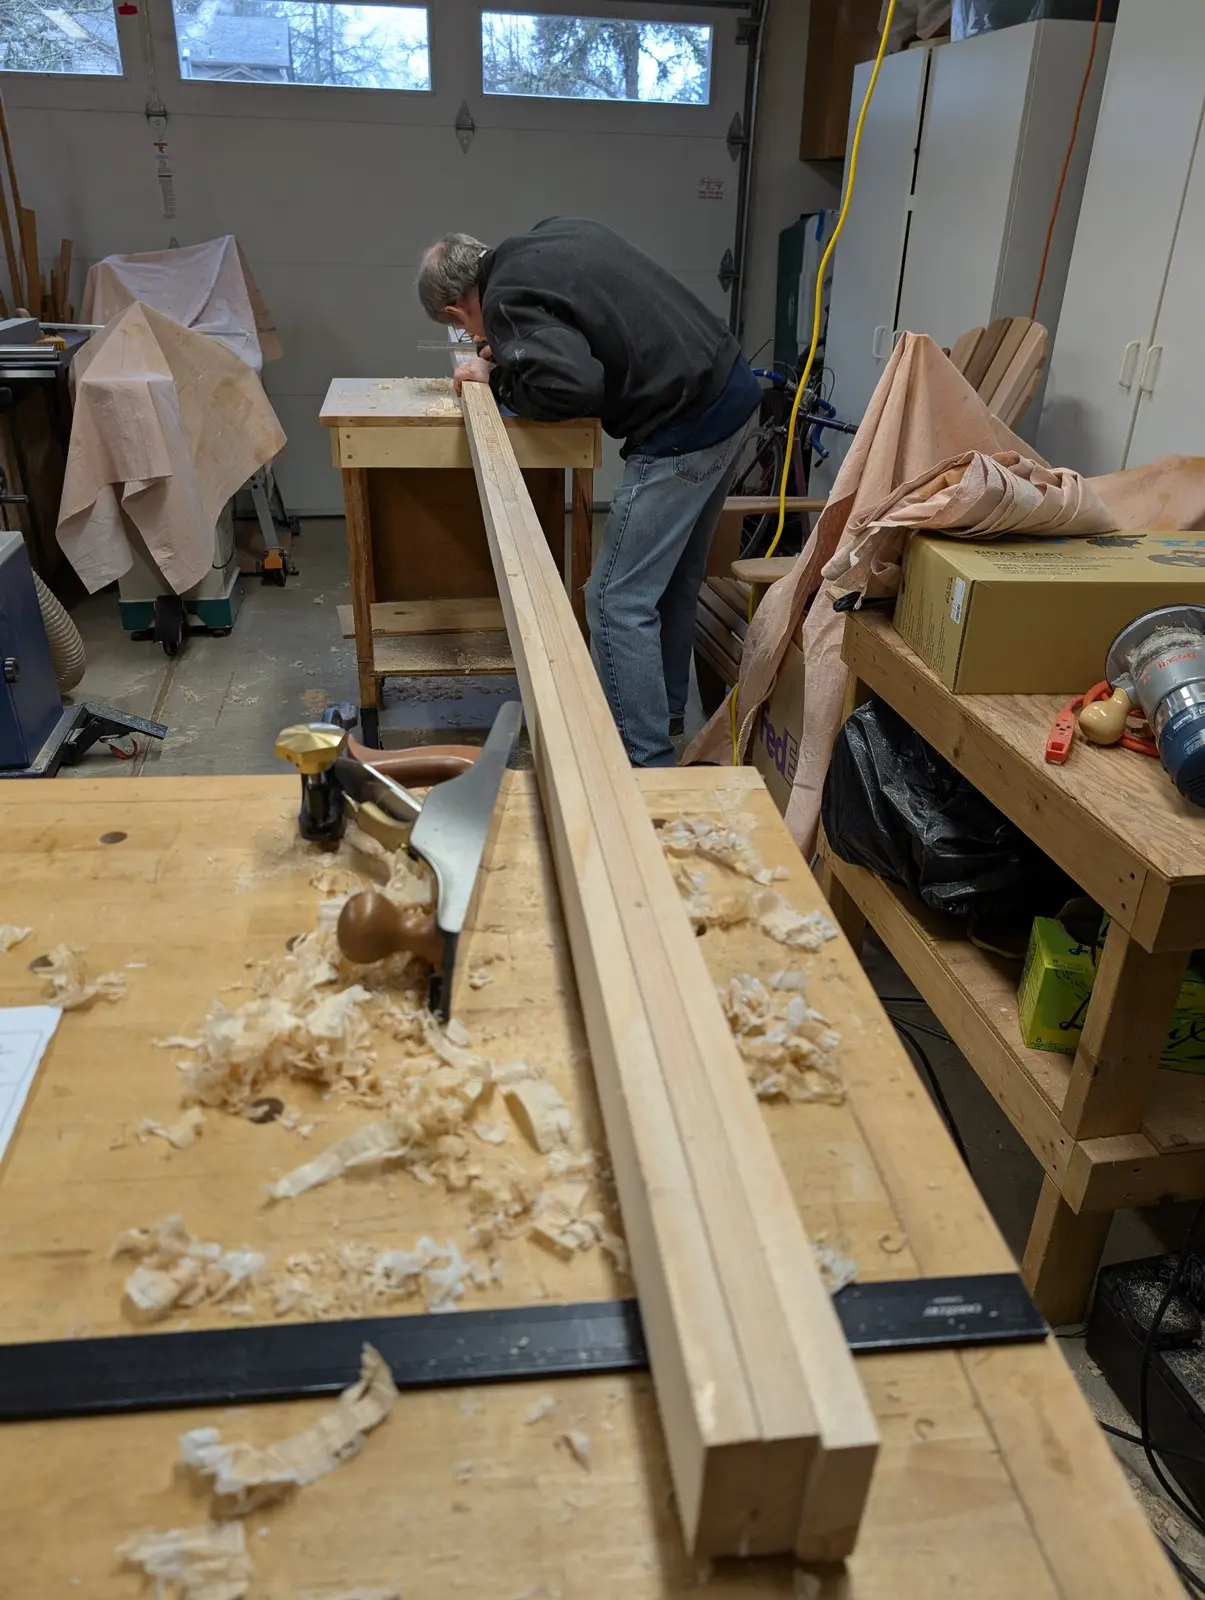
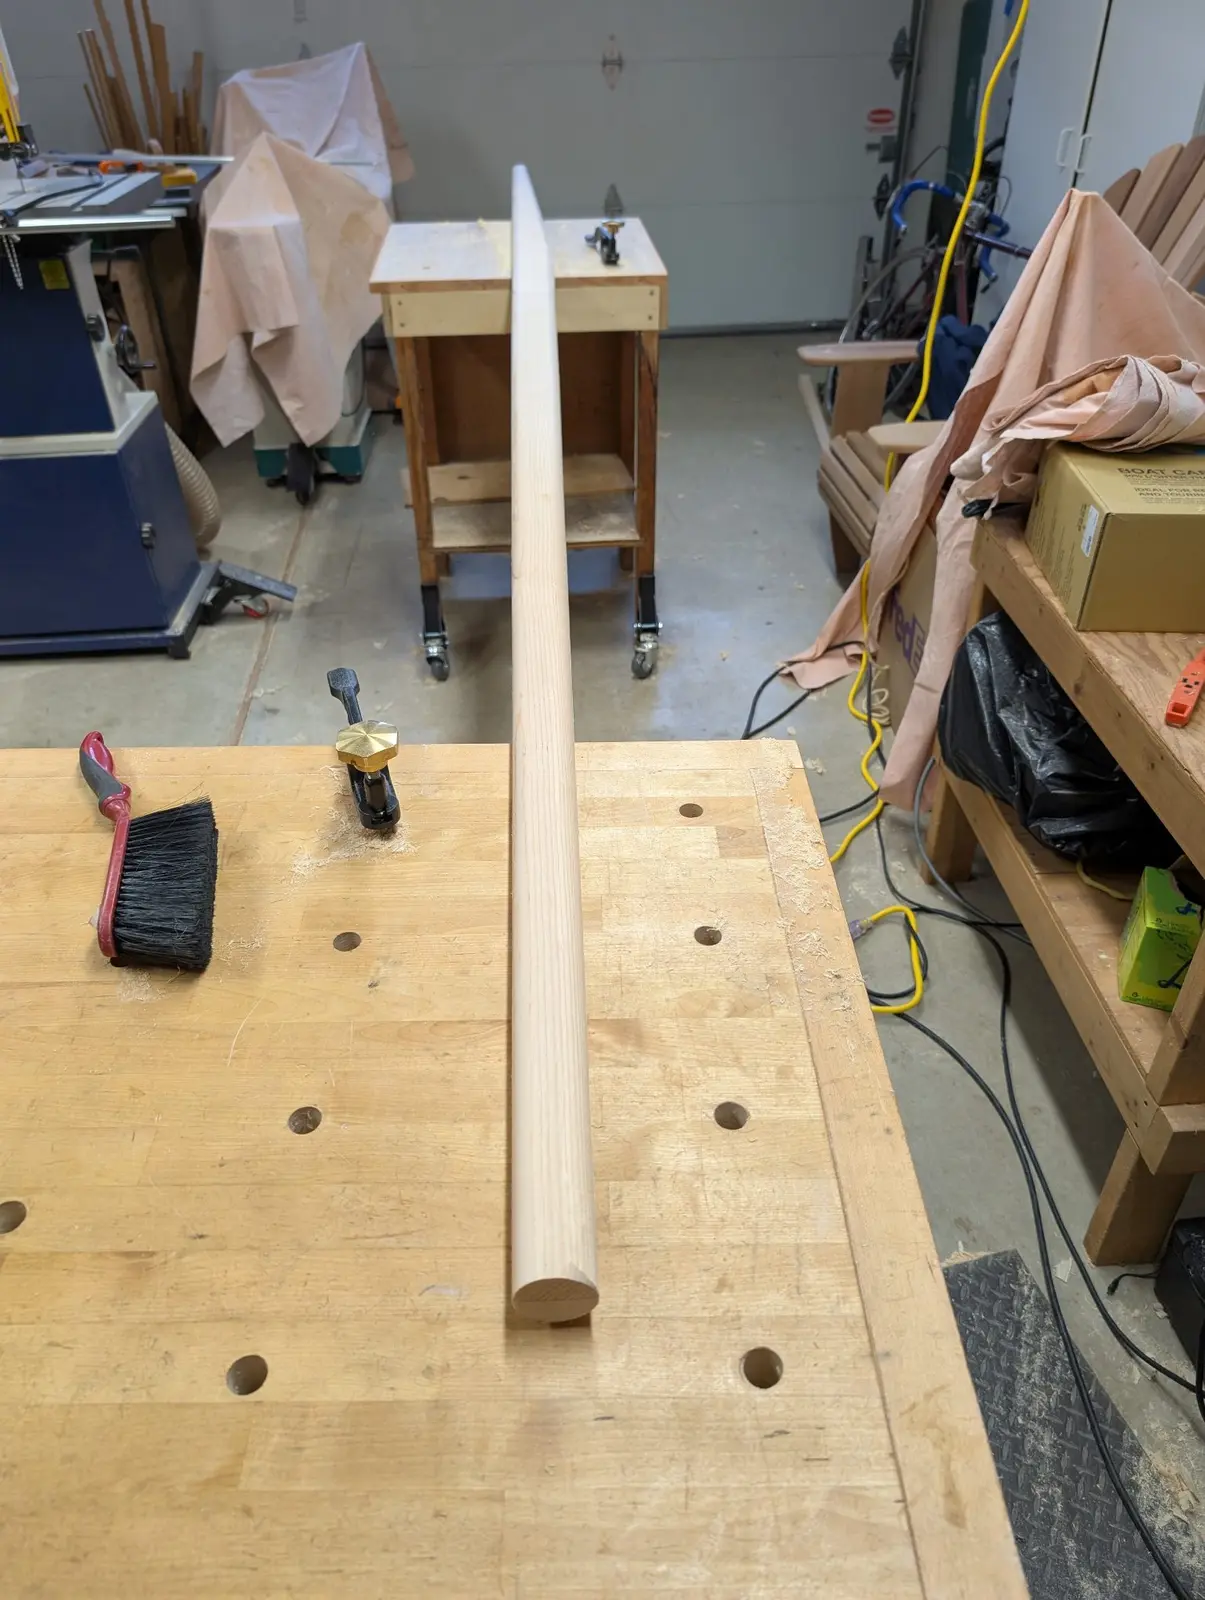
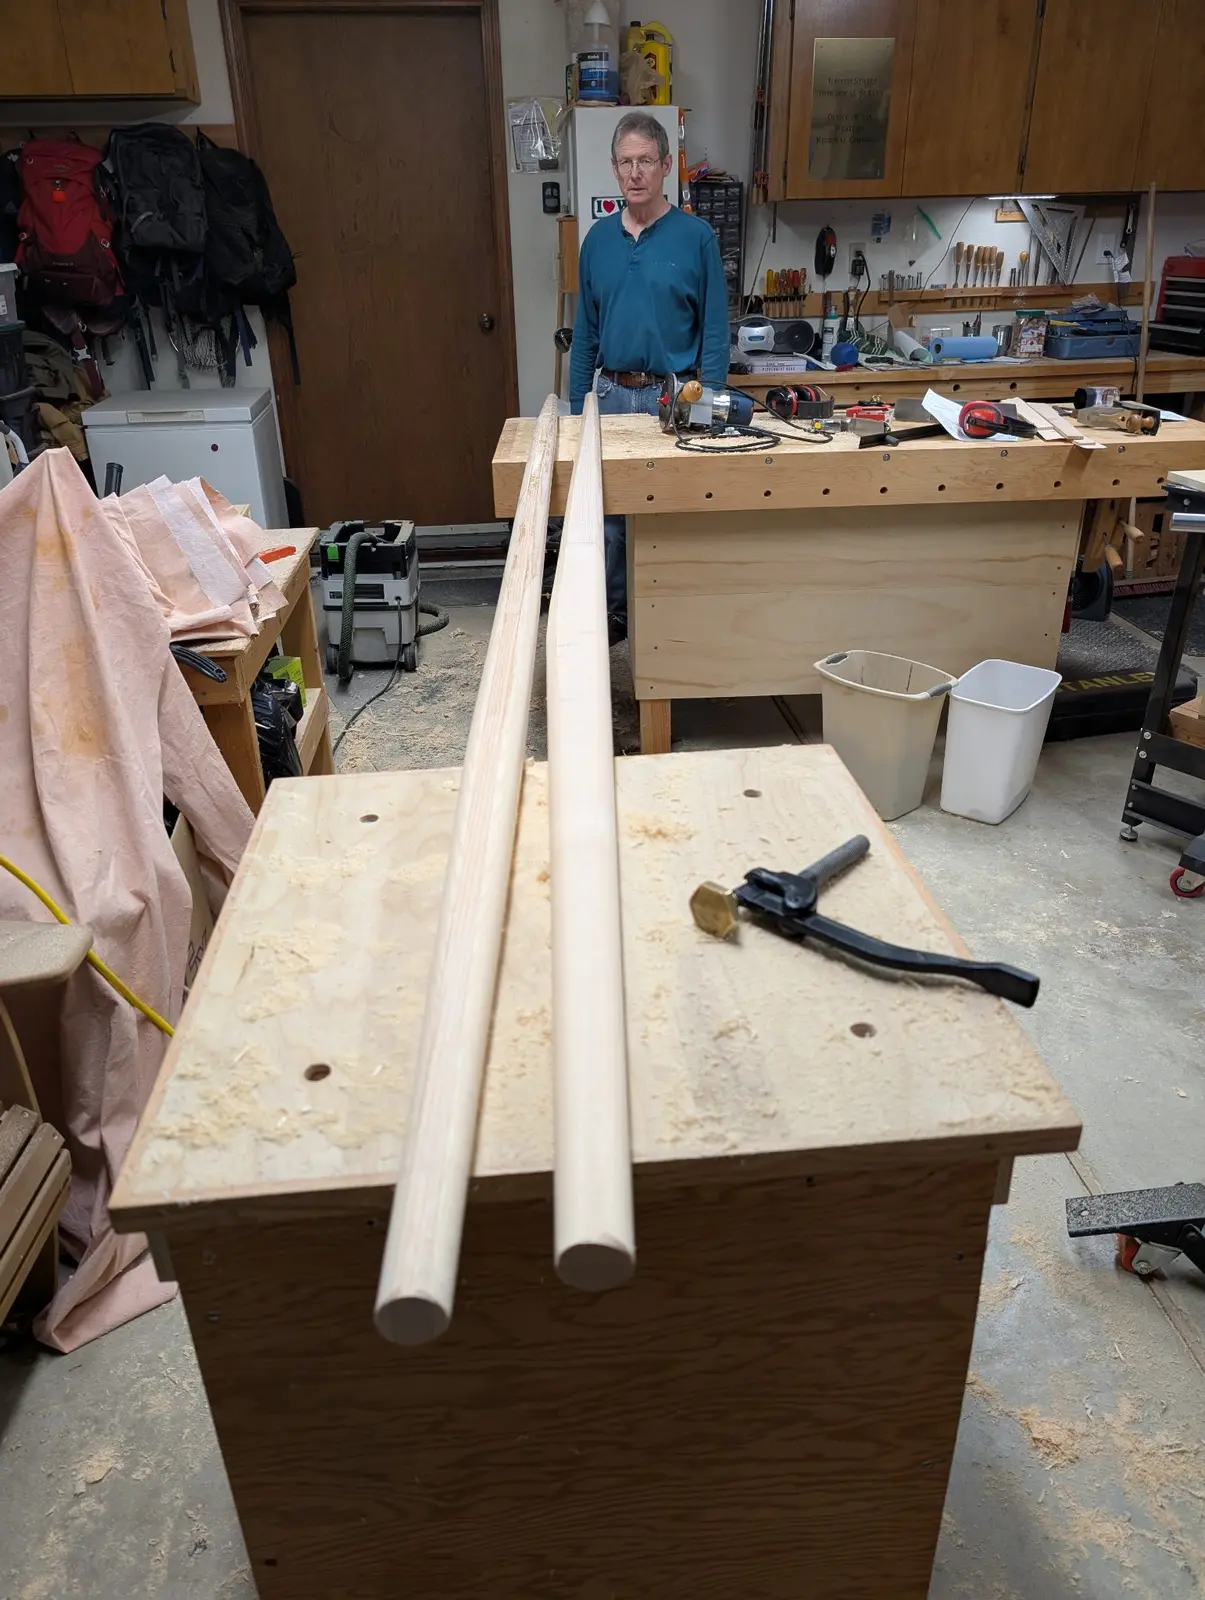
There is a yard and a boom for the Guider. The sail is laced to the yard but is loose-footed at the boom. Both spars are solid and built from glued pieces of solid wood; in my case, cypress supplied with the kit. The tapers for each were marked with full-size templates supplied by CLC and then cut with a bandsaw. After cutting the tapers into the blanks, the final profiles were worked in with hand planes. I owe much of the success of spar building (and many other things) to a good woodworking friend who has the gear and expertise. In exchange, I take him sailing. I think it's a win-win situation.
Laminating the blanks for the spars
The square blanks are planed flat on all four faces
The tapers are marked with templates (not shown), and then final shaping is done with handplanes and sandpaper
Just finished yard and boom (paint and rigging to be added later; watch this space)
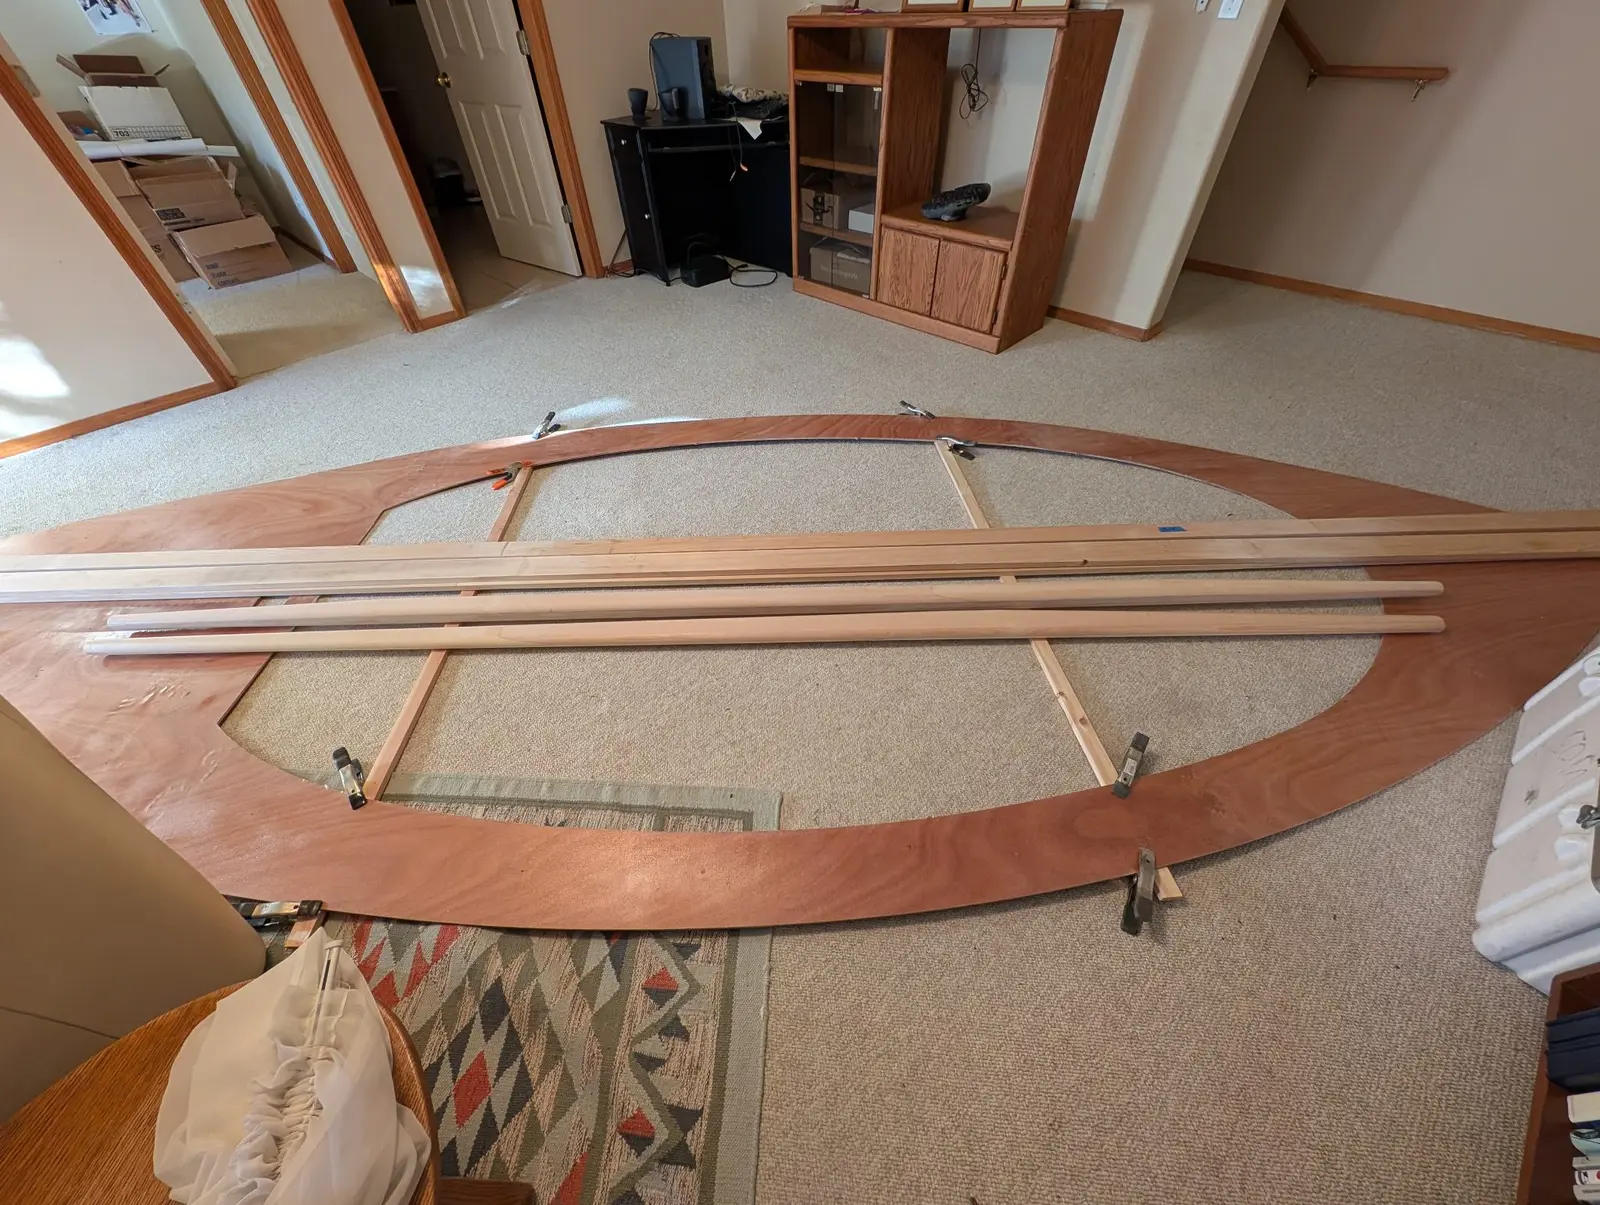
Shaped spar and yard, with mast blank, sitting with the deck, awaiting more work.
123456
Nobody else here is logging a The Guider yet.
See the boat.
What it cost
$14,893.59
$11,979.81
Into the boat
$1,785.00
Shipping
$1,128.78
Tax
Shipping added
14.9%
on top of the goods: the cost most people forget when they price a kit boat.