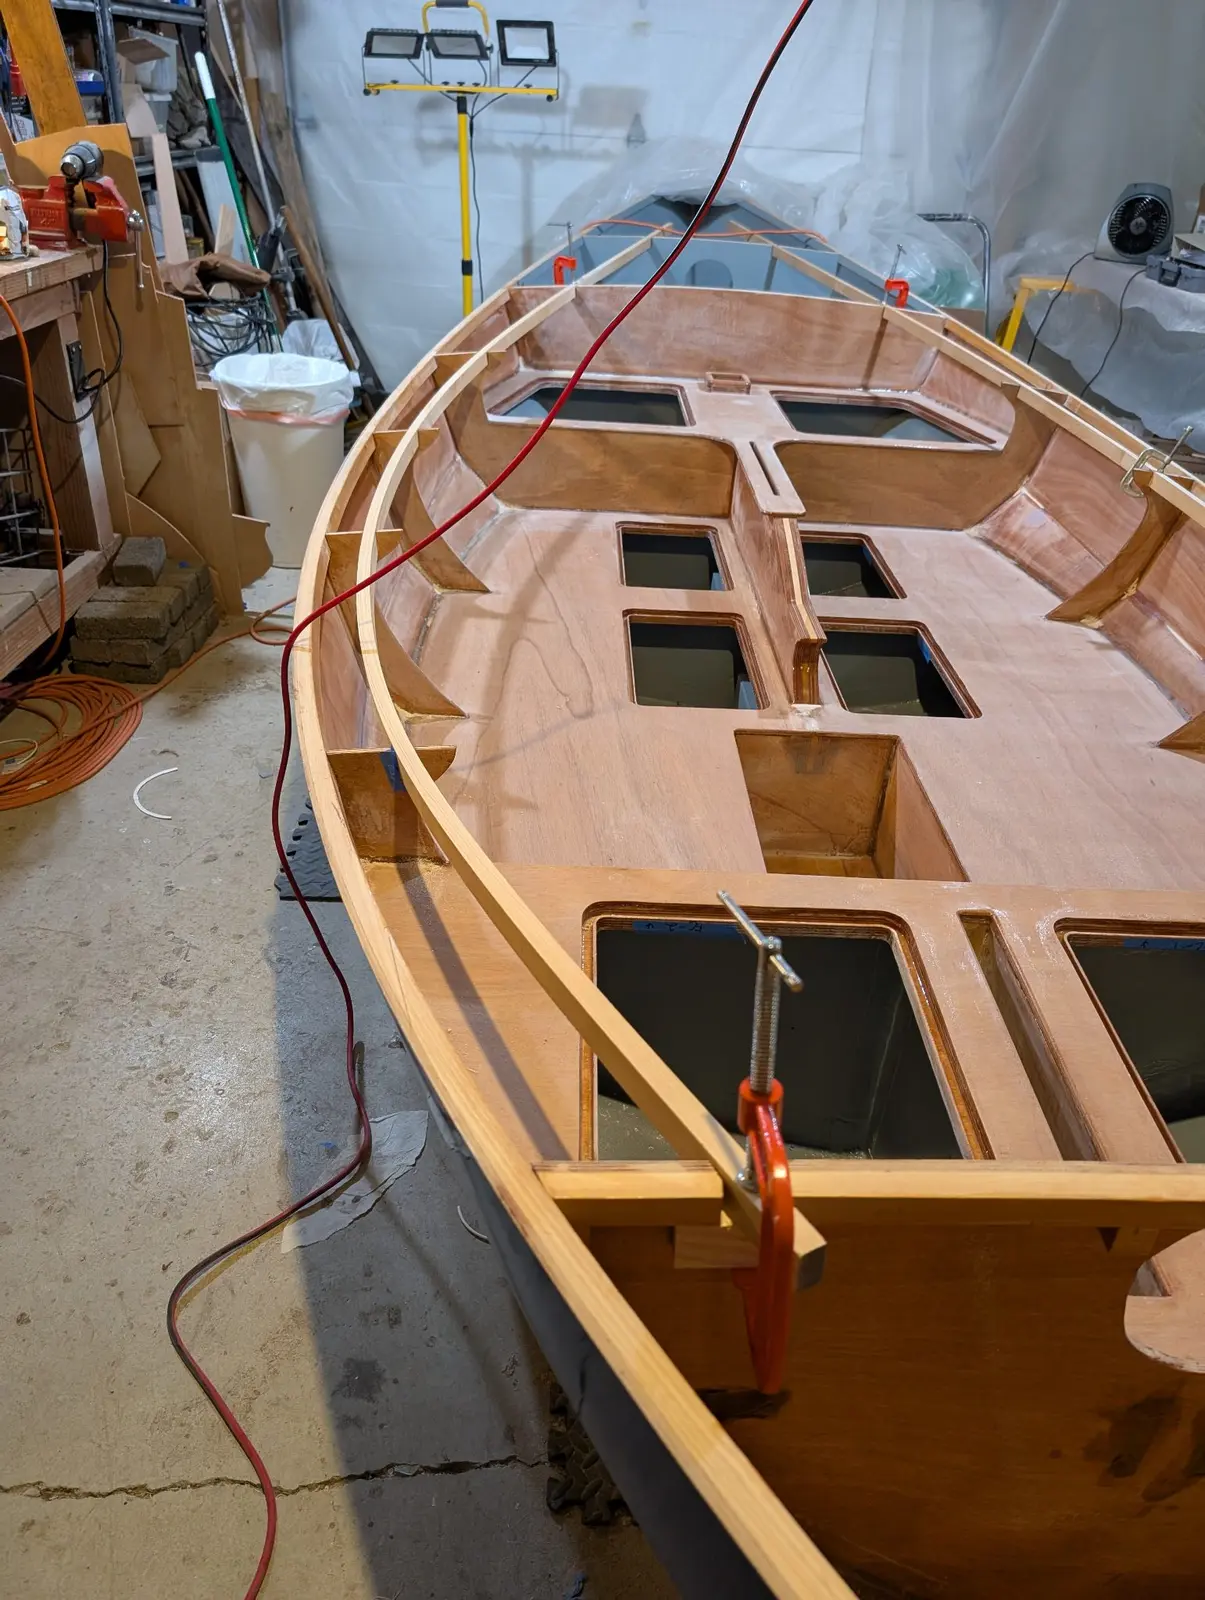
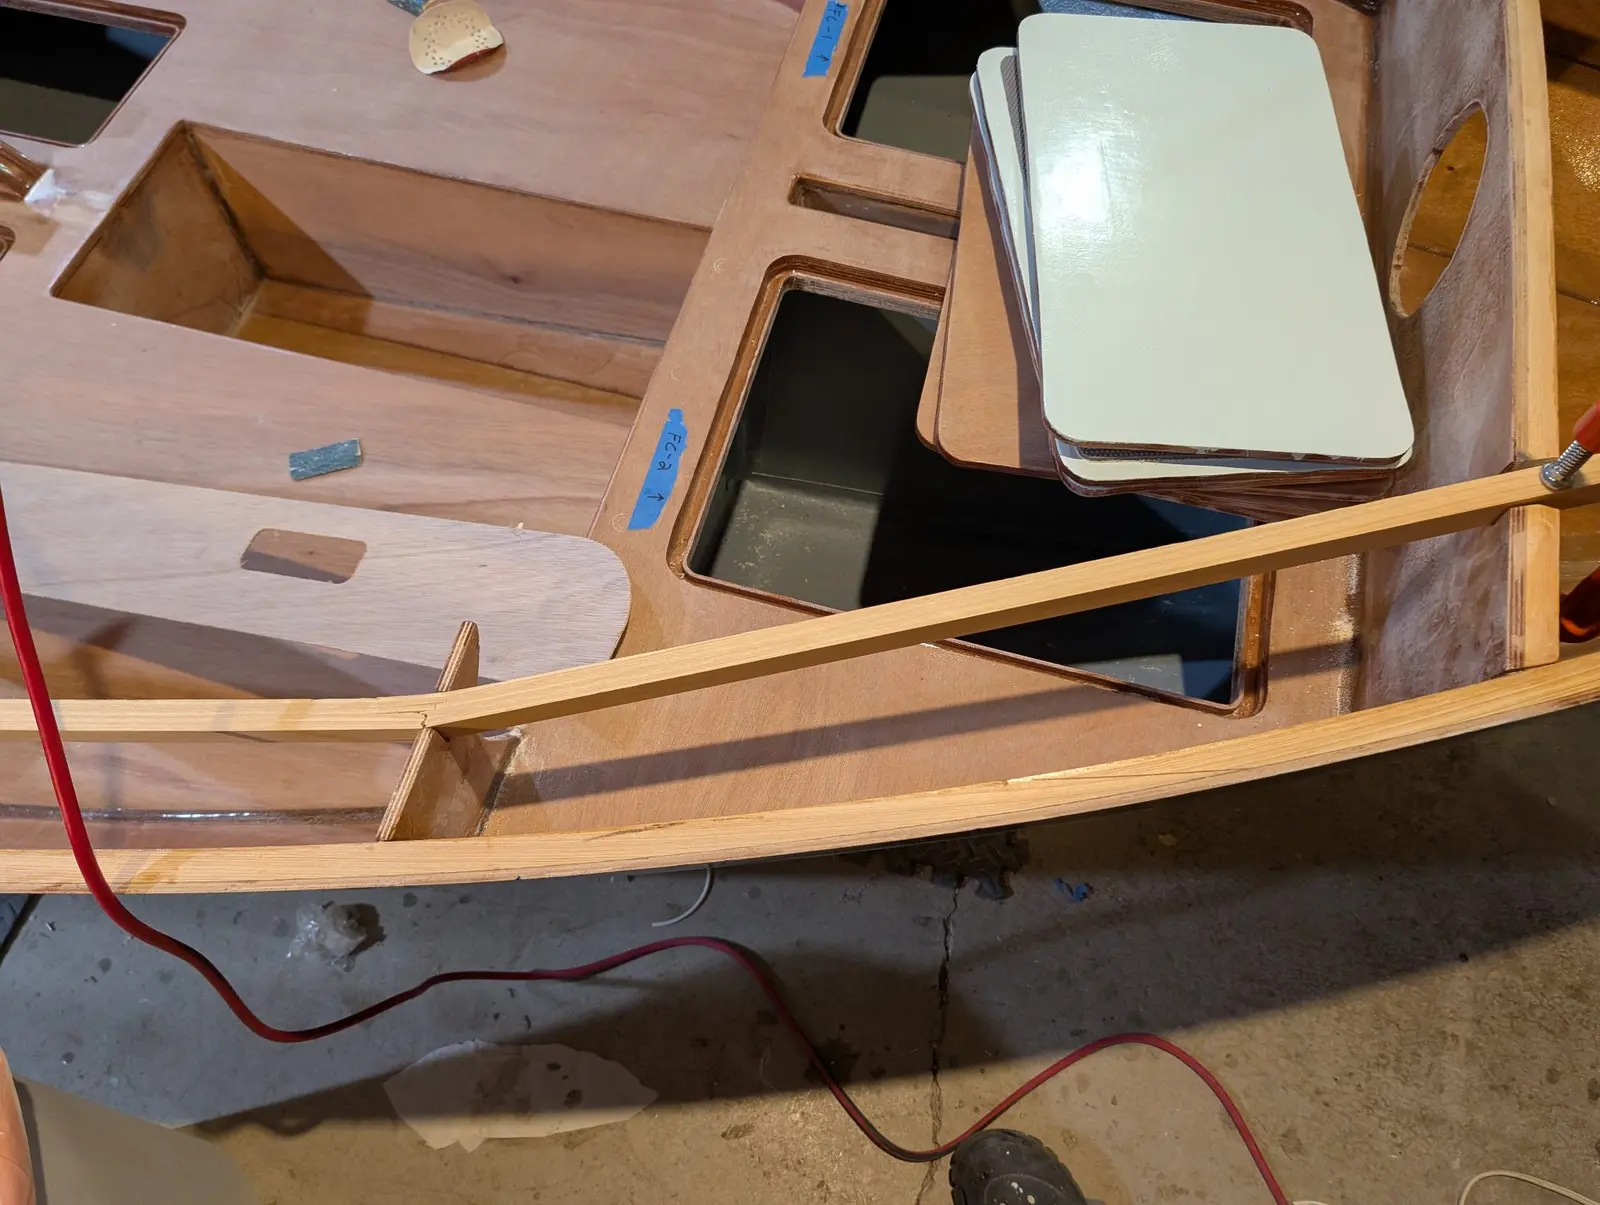
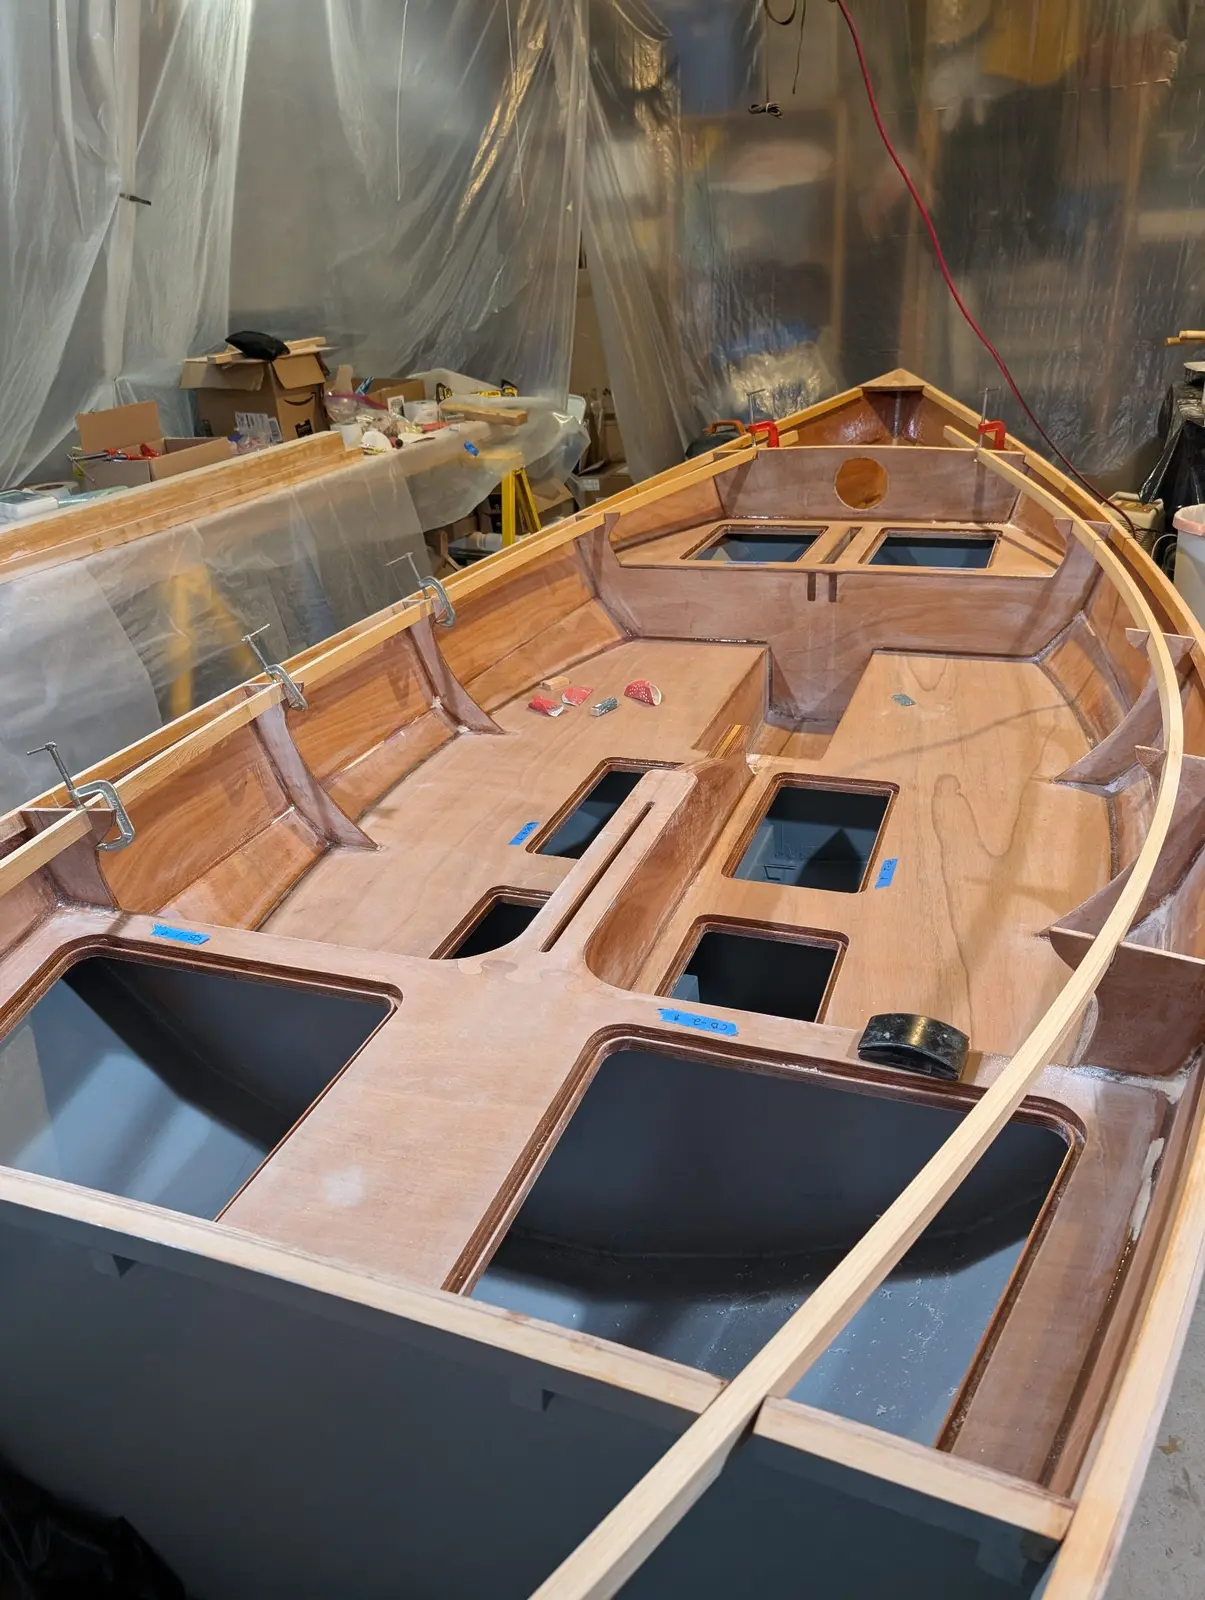
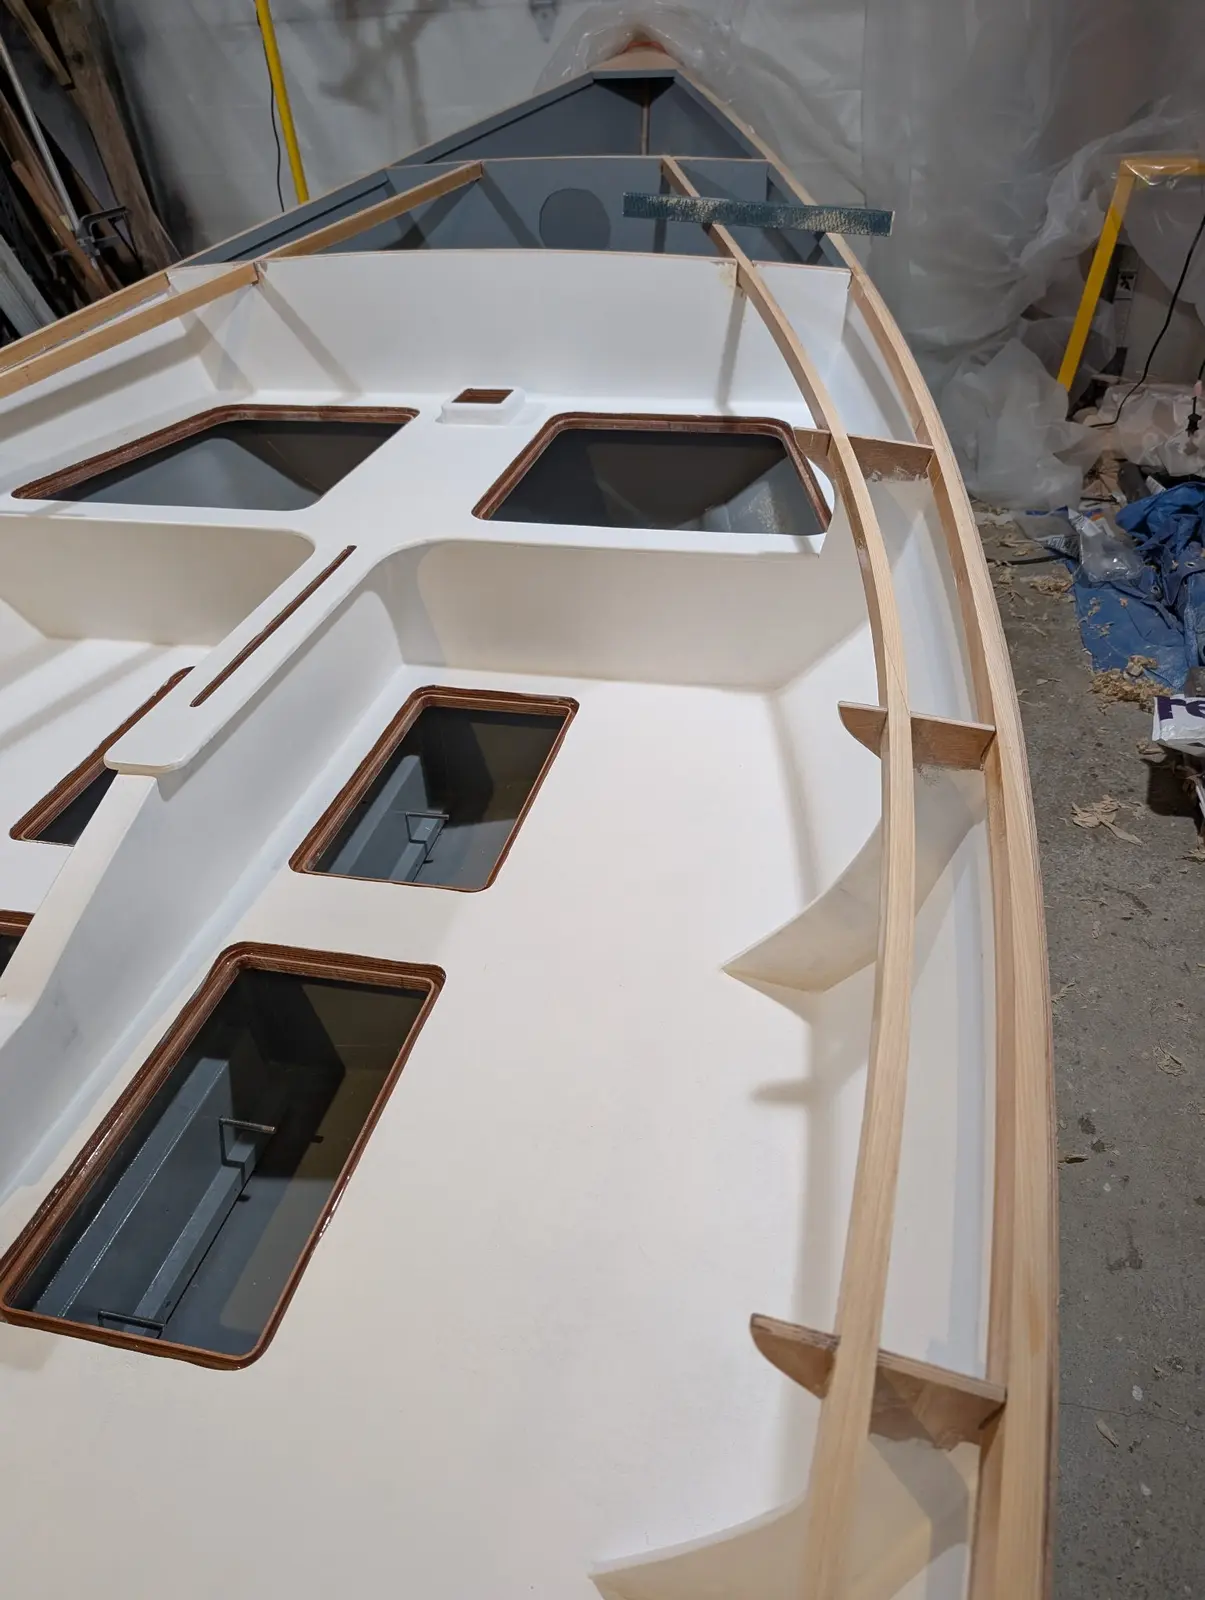
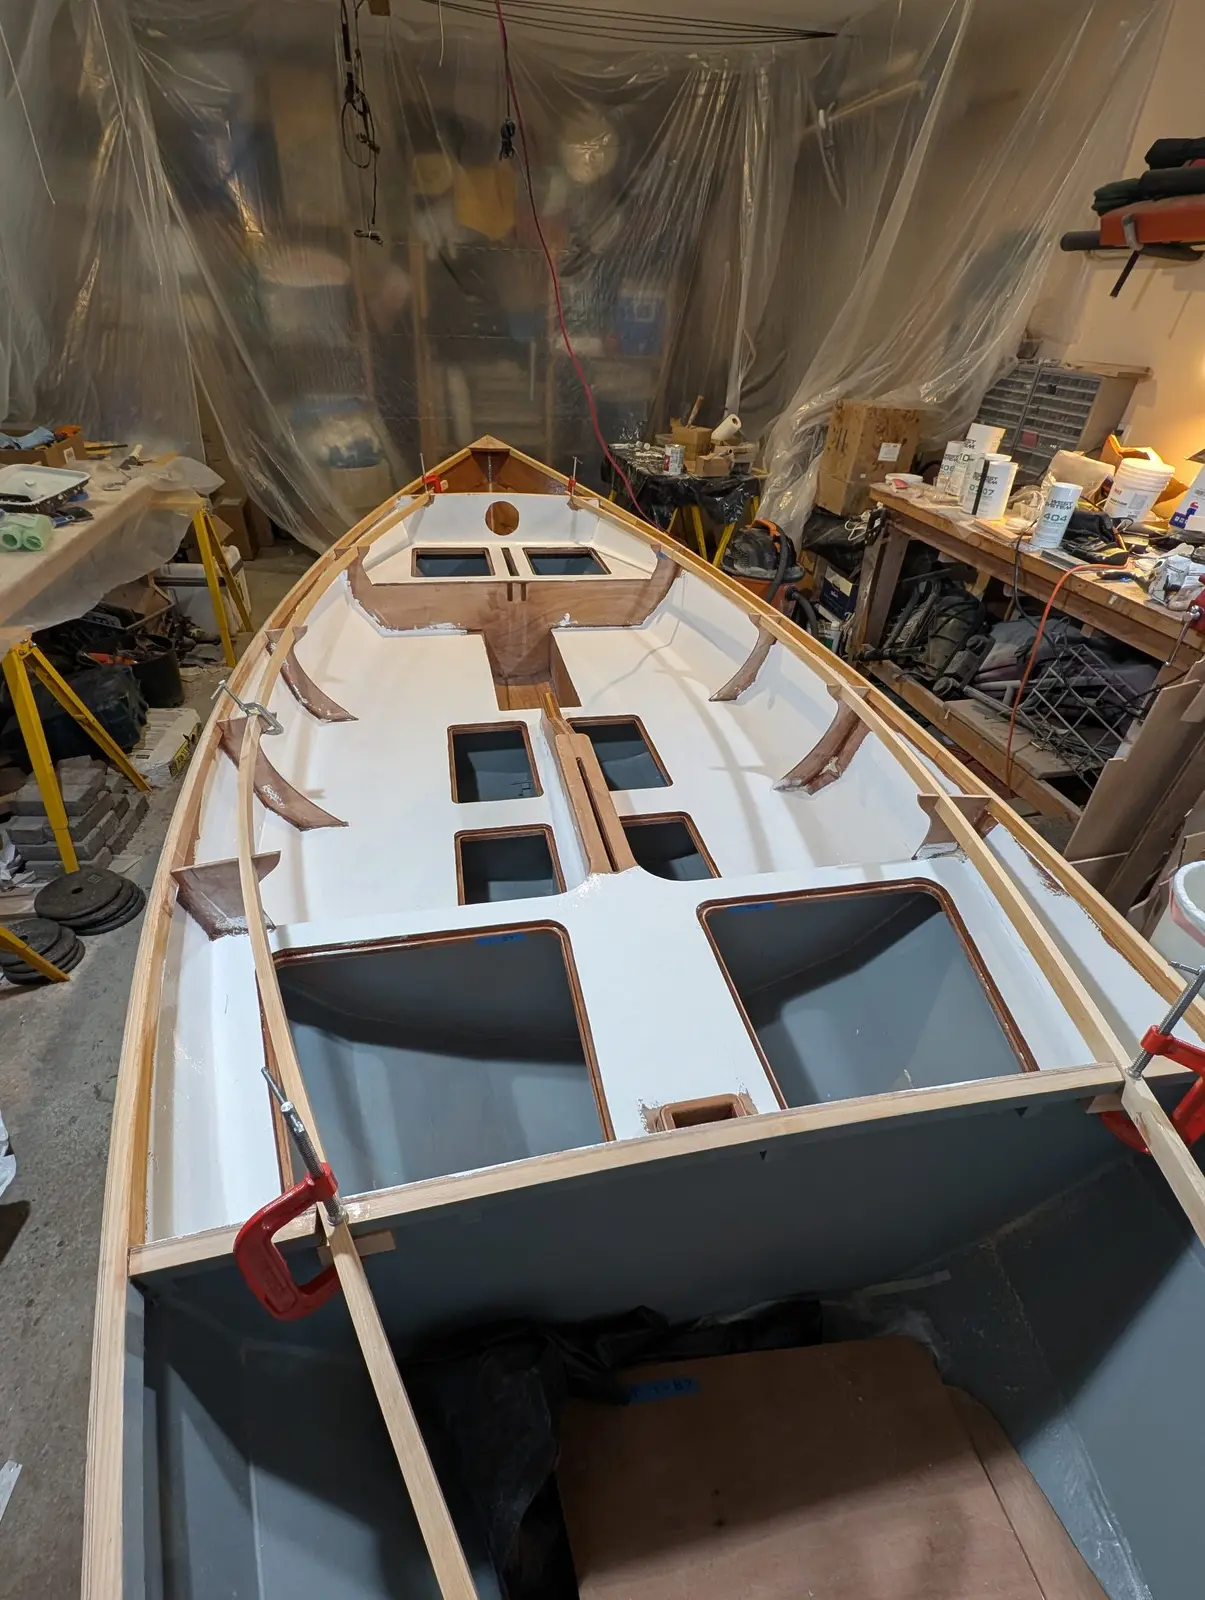
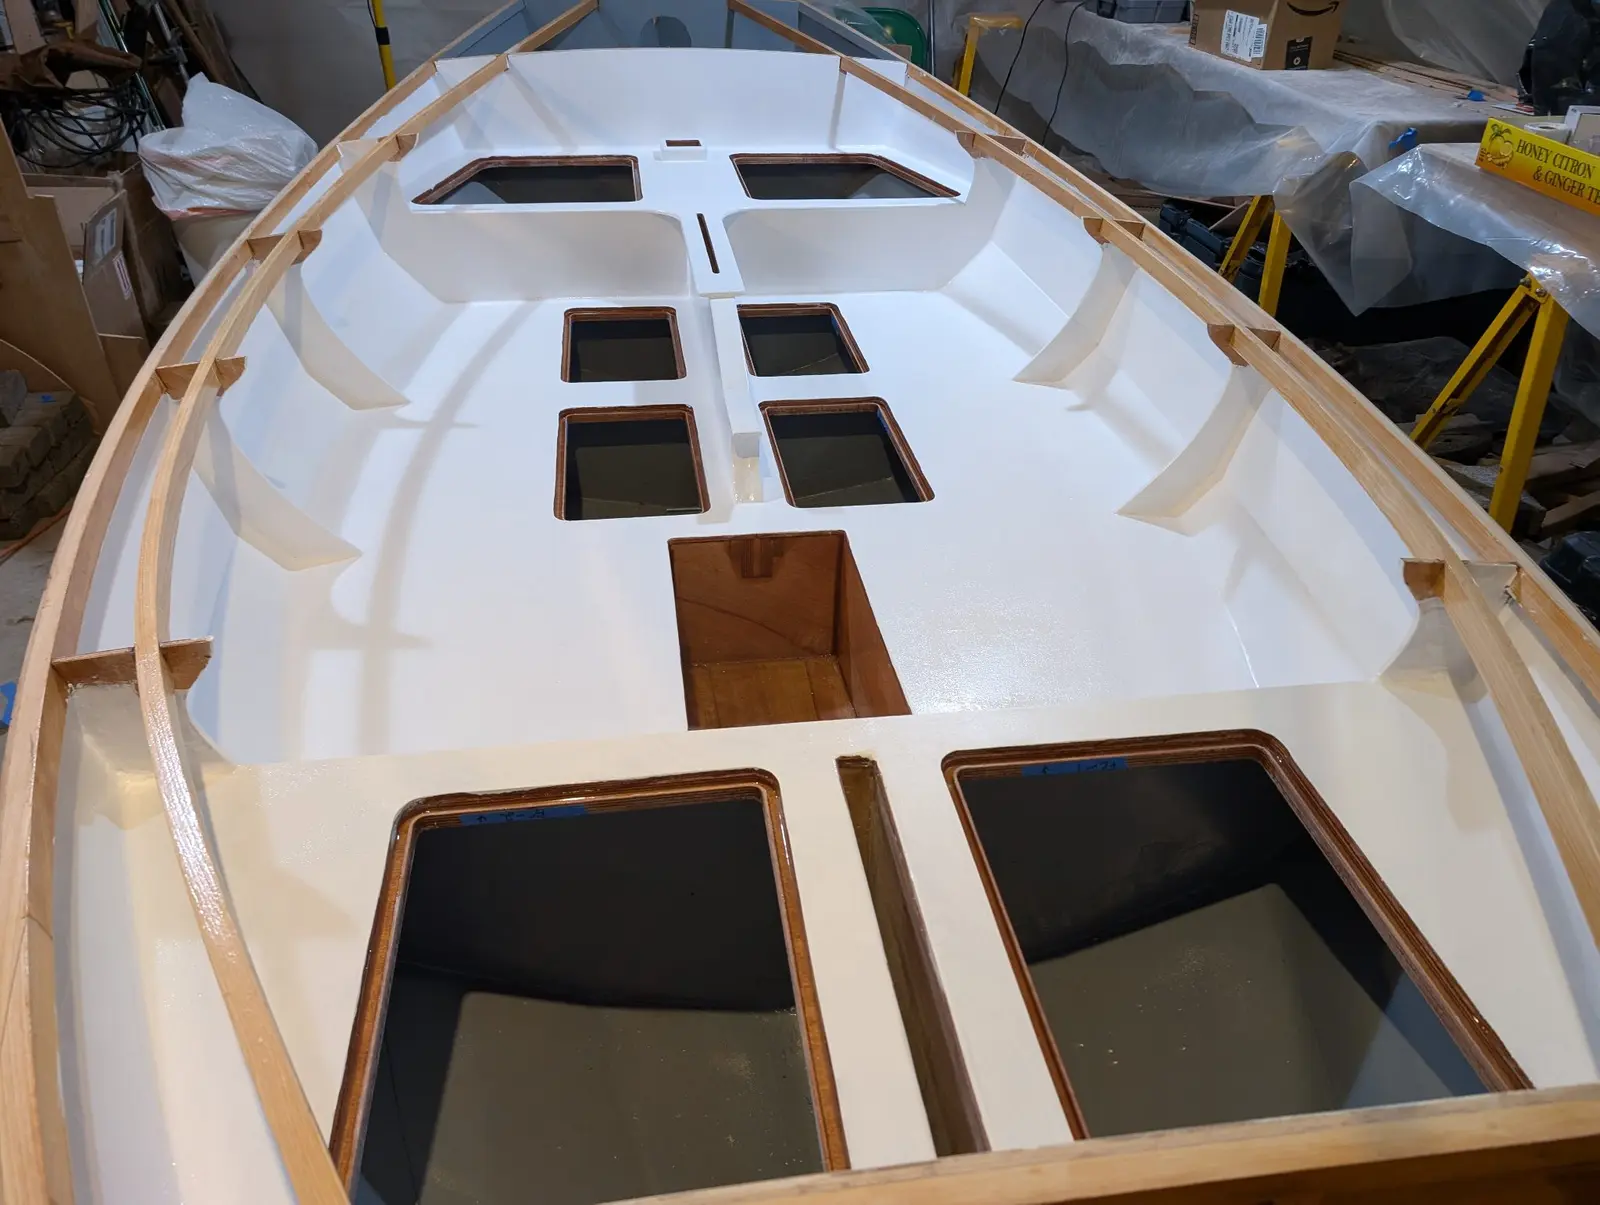
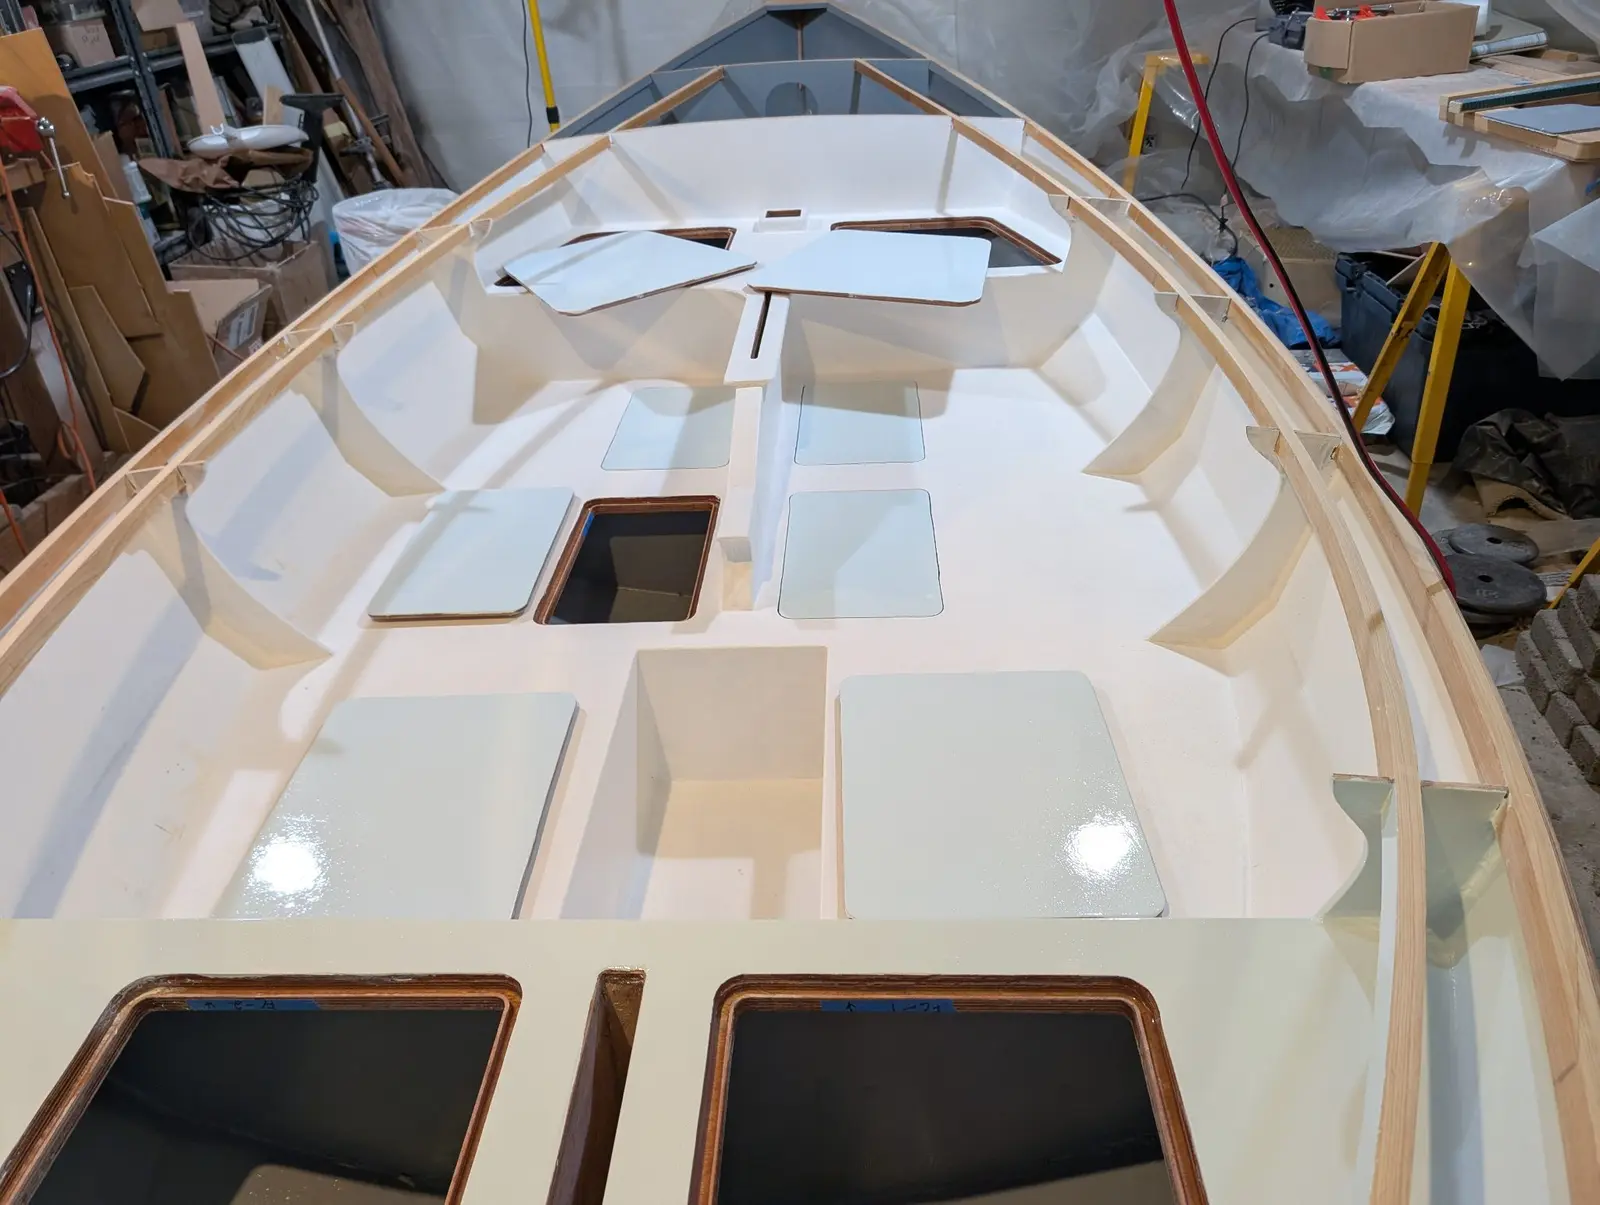
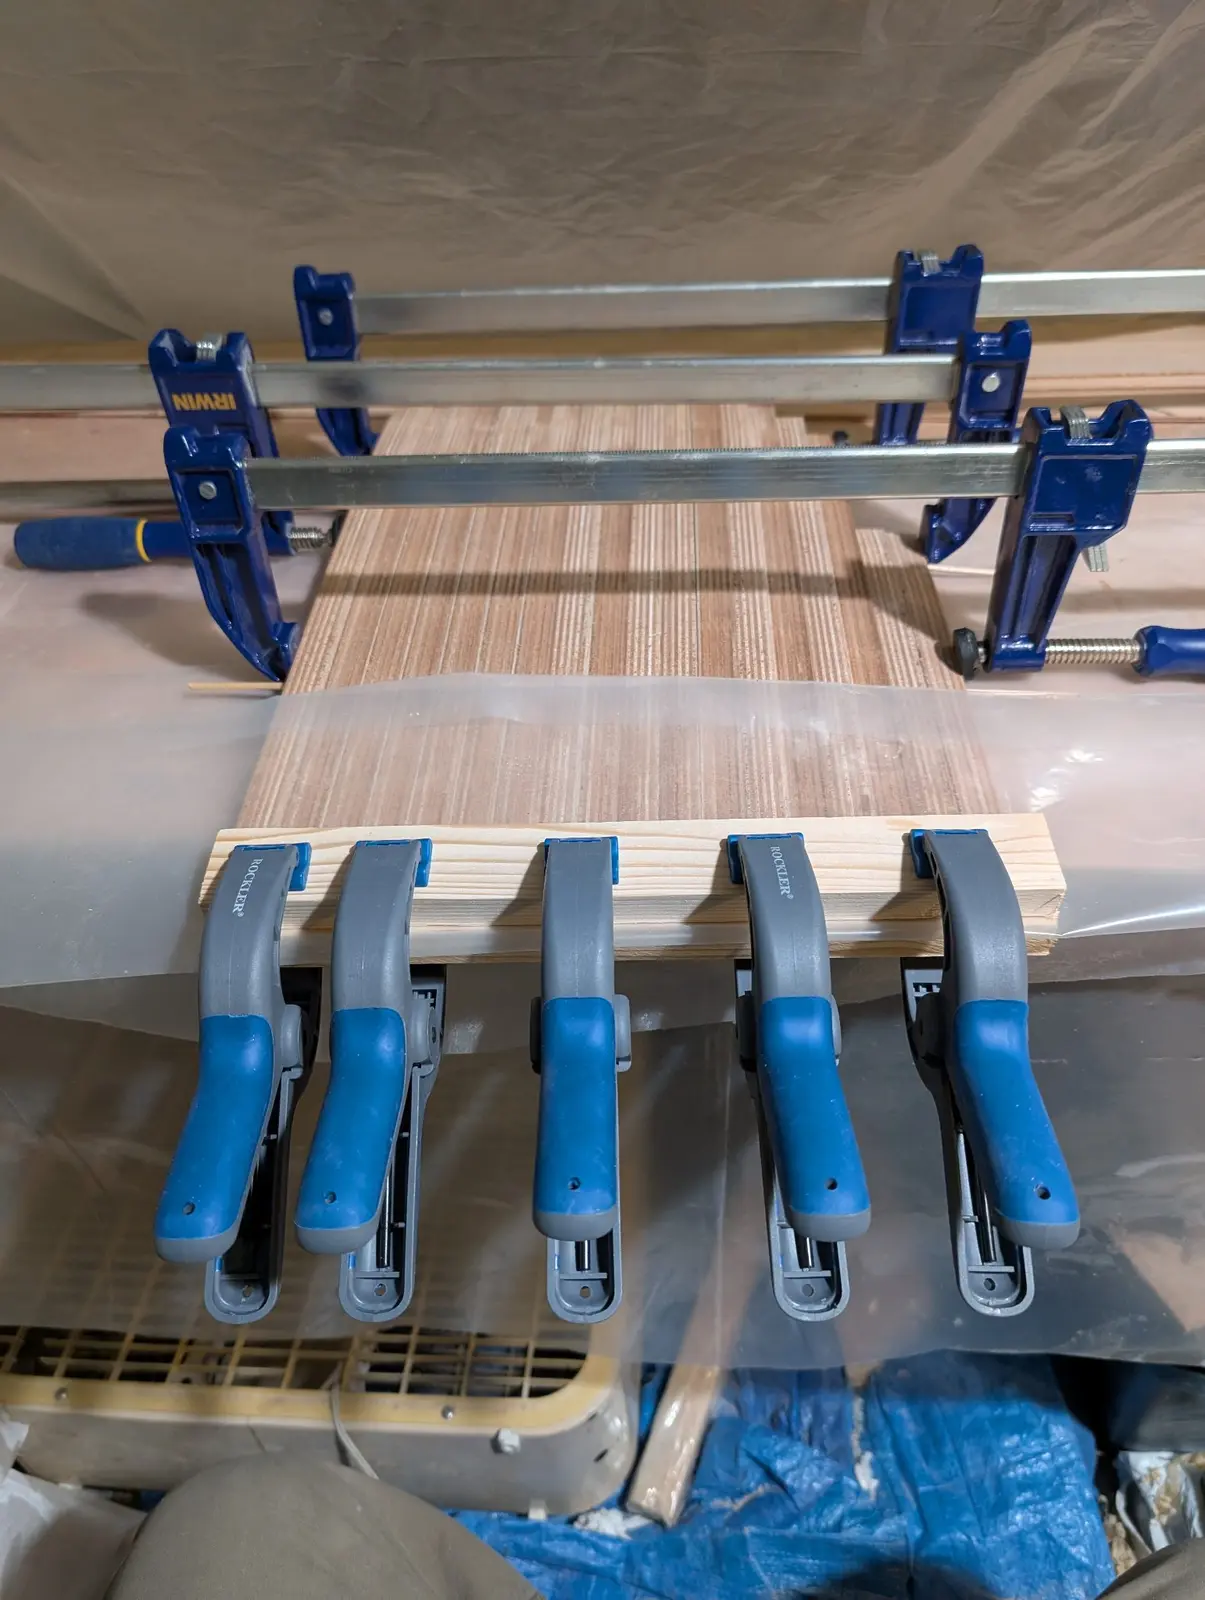
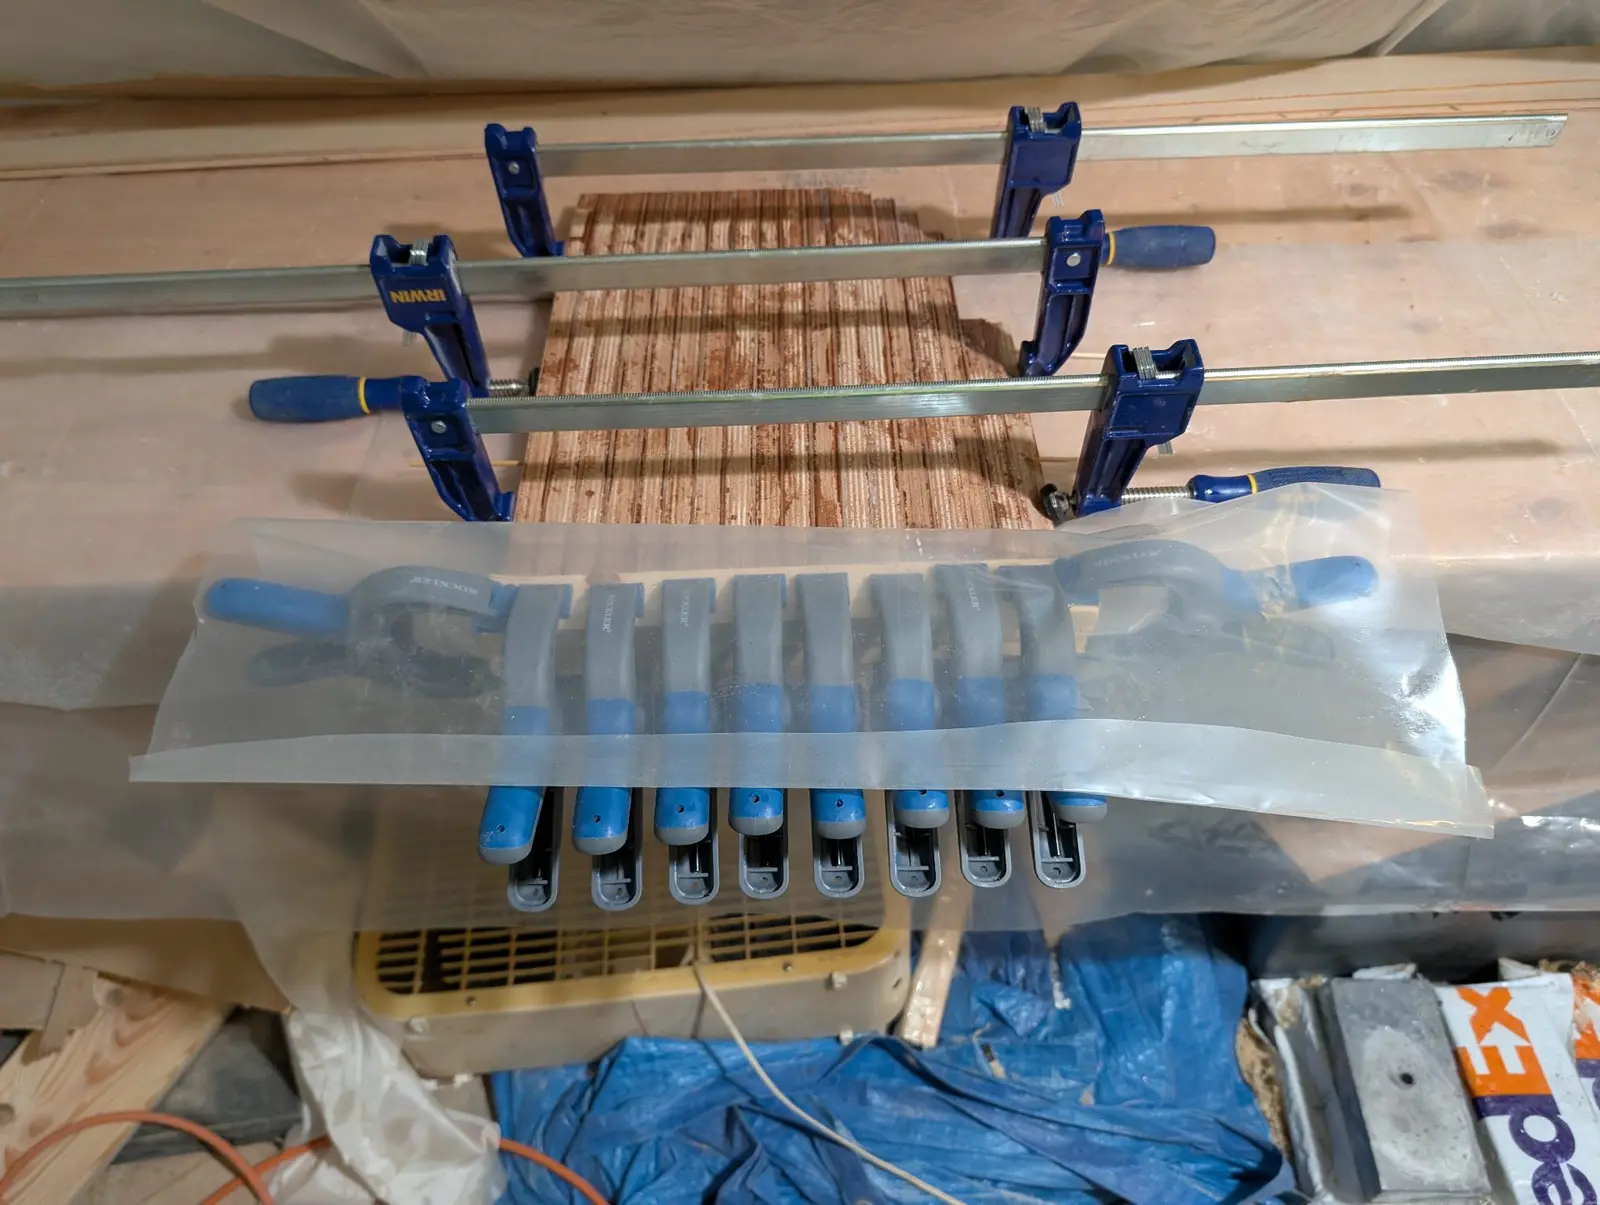
The deck carlins are long battens sprung into notches in the frame inboard of the shear clamps. They support the inner part of the main deck. I had a little setback doing this because I didn't open up one of the frame notches sufficiently. This created an unfair curve in the port carlin and created a stress point in the timber. It snapped right at that stress point. I re-scarfed the carlin, opened the notch a bit, and reinstalled it successfully.
In addition to rocker fore and aft, the deck also has camber athwartship. In order to get a tight fit of the main deck on the sheer plank and deck carlin, they have to be planed so the deck sits flat on them. CLC provides a full-width template to help with this. This is a time-consuming process, but it pays to proceed carefully and thoughtfully here.
The template for shaping the sheer plank is shown at the top
I also found sticking sandpaper on long sanding boards to be very useful for small adjustment.
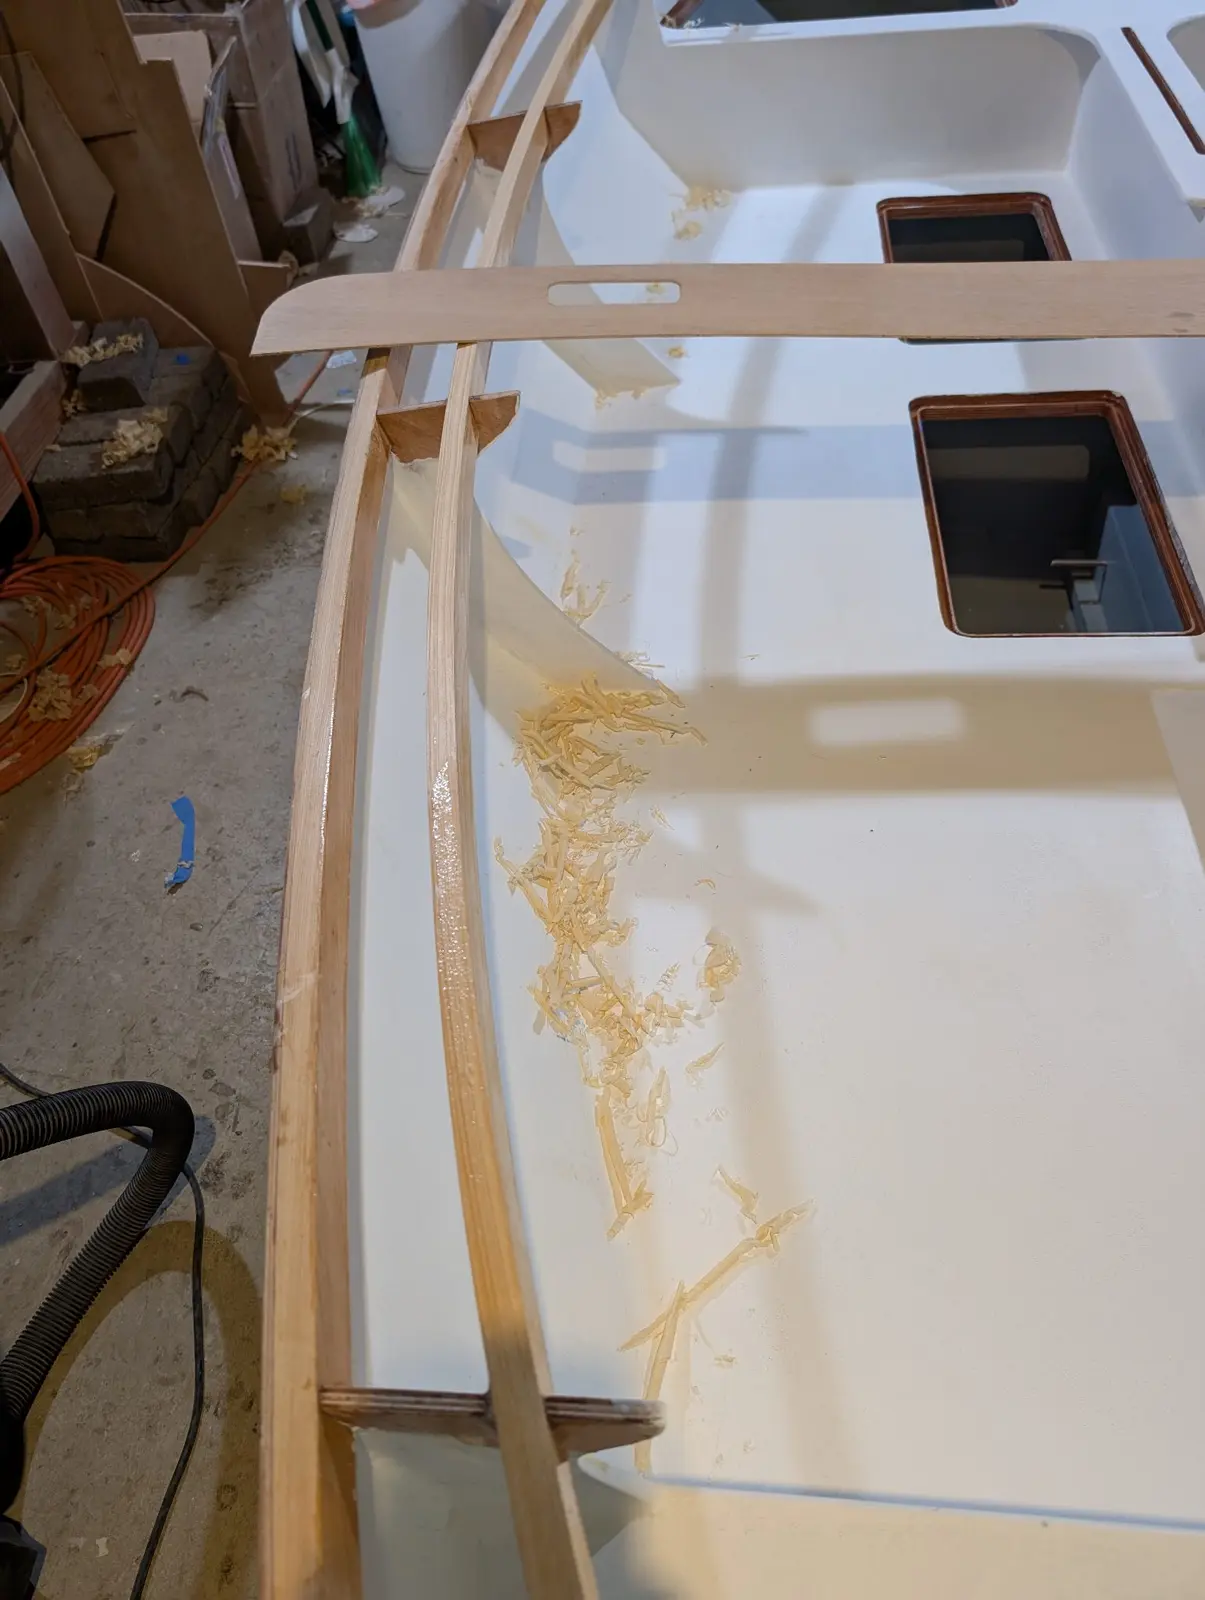
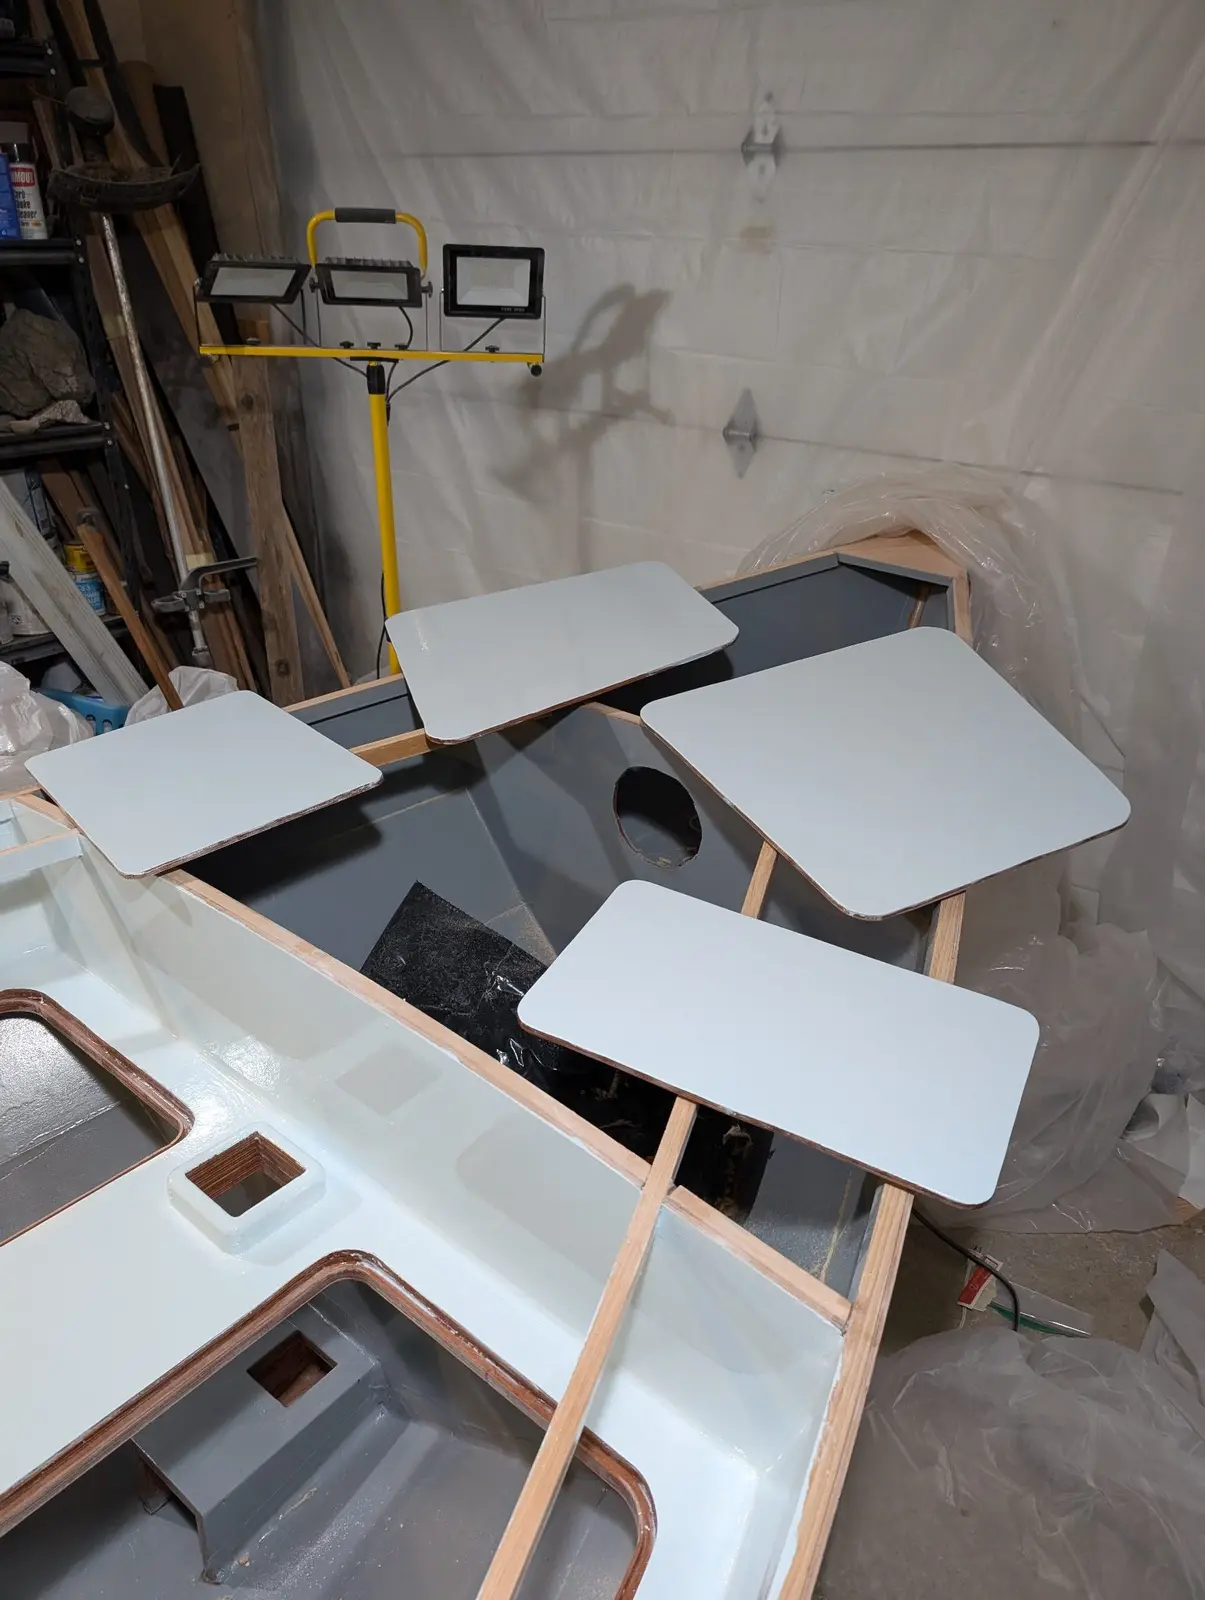
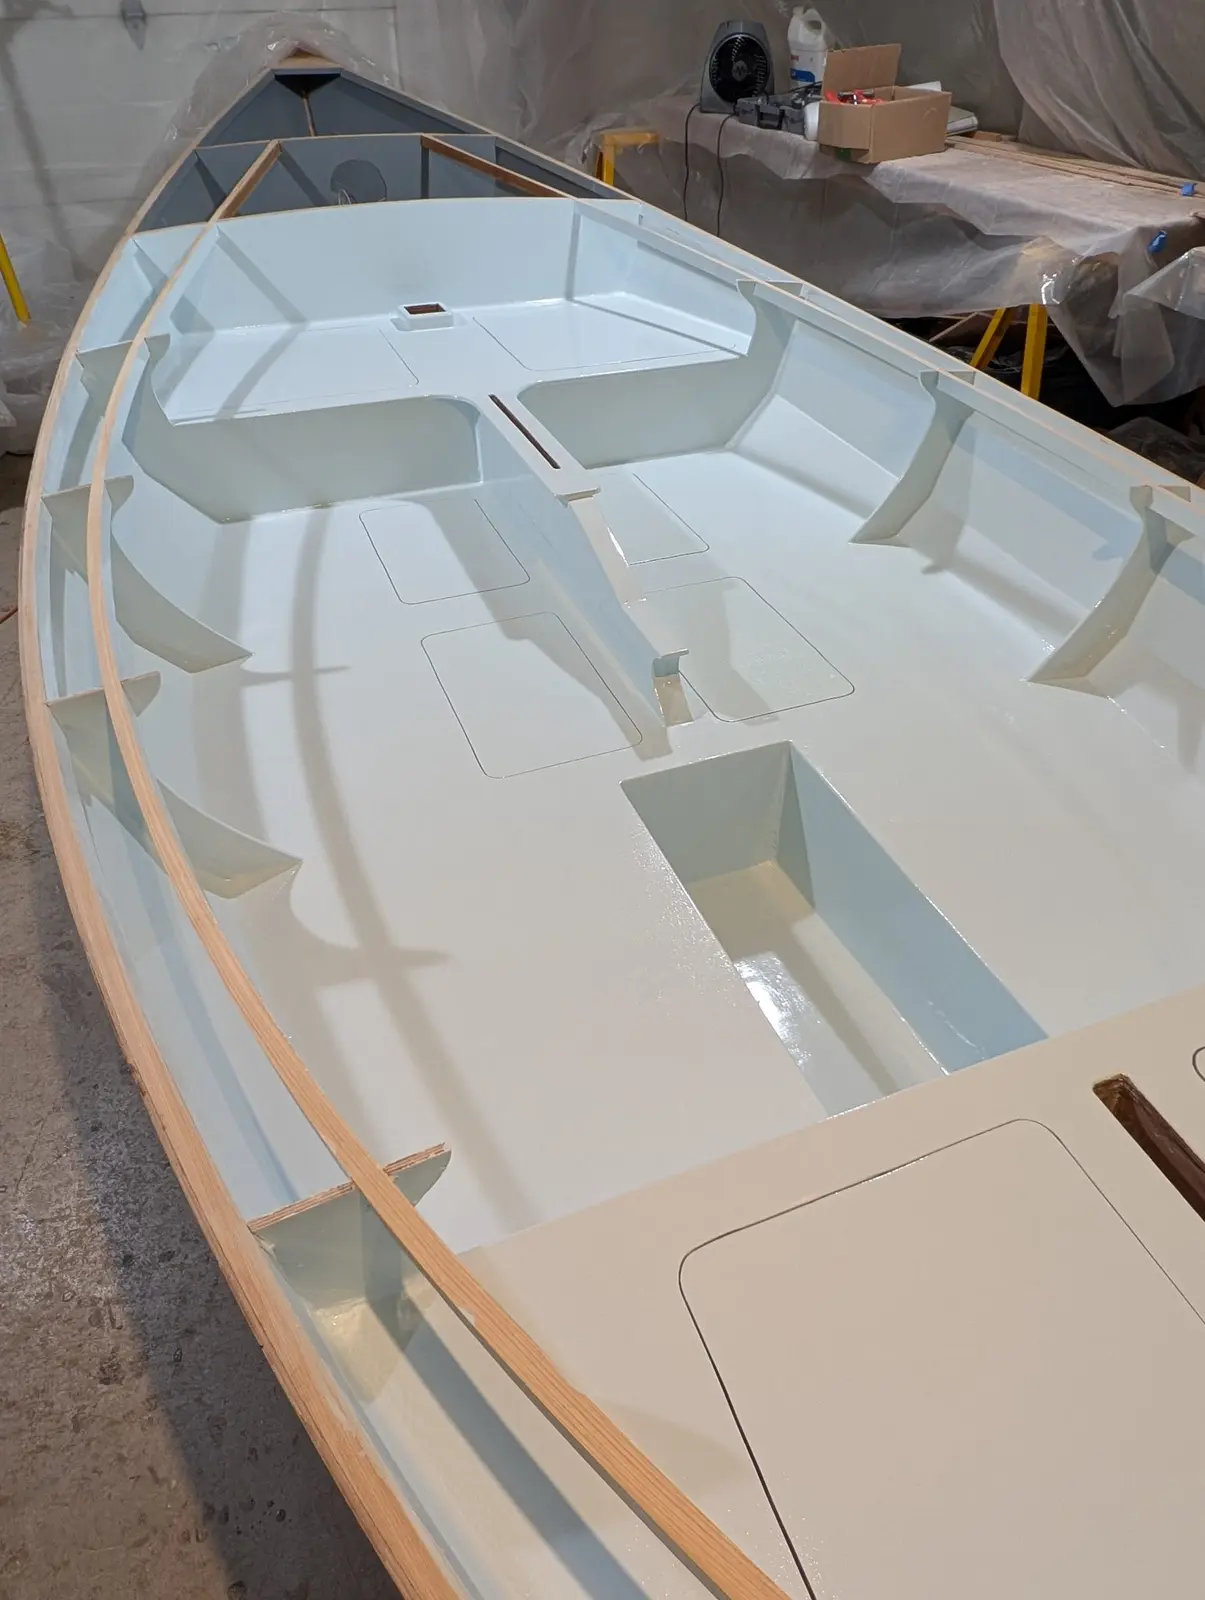
From about Jan 18 to Feb 6 was spent painting the interior decks, hatches, and the inside of the hull in the cockpit. Painting is tedious, but it pays to be careful. I used peel coat on all the surfaces when I glassed them, which gives a smooth surface at a macro level but leaves a fine matte texture behind that persists unless you actually fair the surface. Consequently, I didn't really get a glossy, mirror finish on the paint. I think it looks ok though. Everything was primed with two coats of Interlux Top-Kote Plus, and then three coats of Interlux Toplac Plus. I generally liked both products and found them pretty forgiving. The Toplac final coats were a shade called Icy Blue, which really seems white to me, but when it's right up against a true white, it does have a bluish tint.
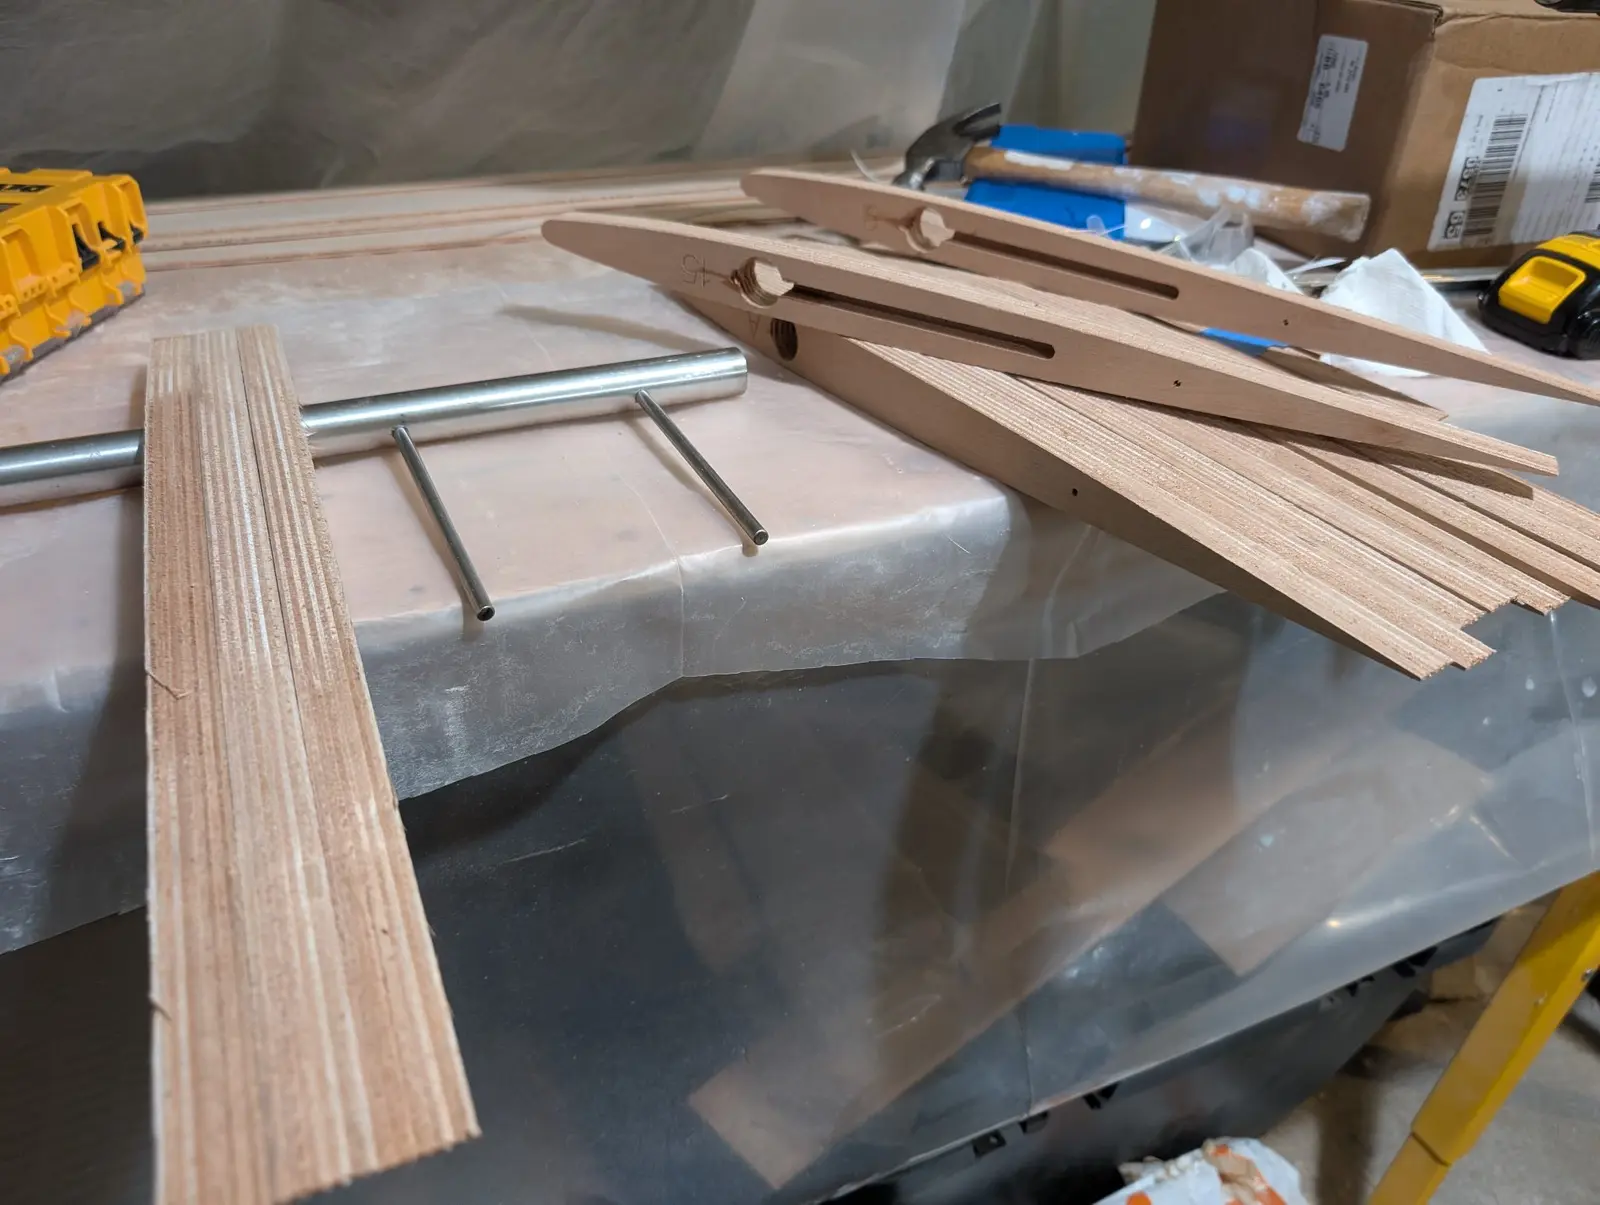
The rudder blade is built of stacking foil shapes cut from marine plywood. A stainless steel tube for a rudder post slides through the top foils. Two small stainless steel rods are inserted through the rudder post and fit into slots in two of the foils to handle the torque from the blade. Small dowels are inserted into holes in the stack of foils to keep everything aligned.
Here you can see the way the foils stack on the rudder post. Also visible are the rods that translate the torque from the post to the blade, and the slots into which those rods fit.
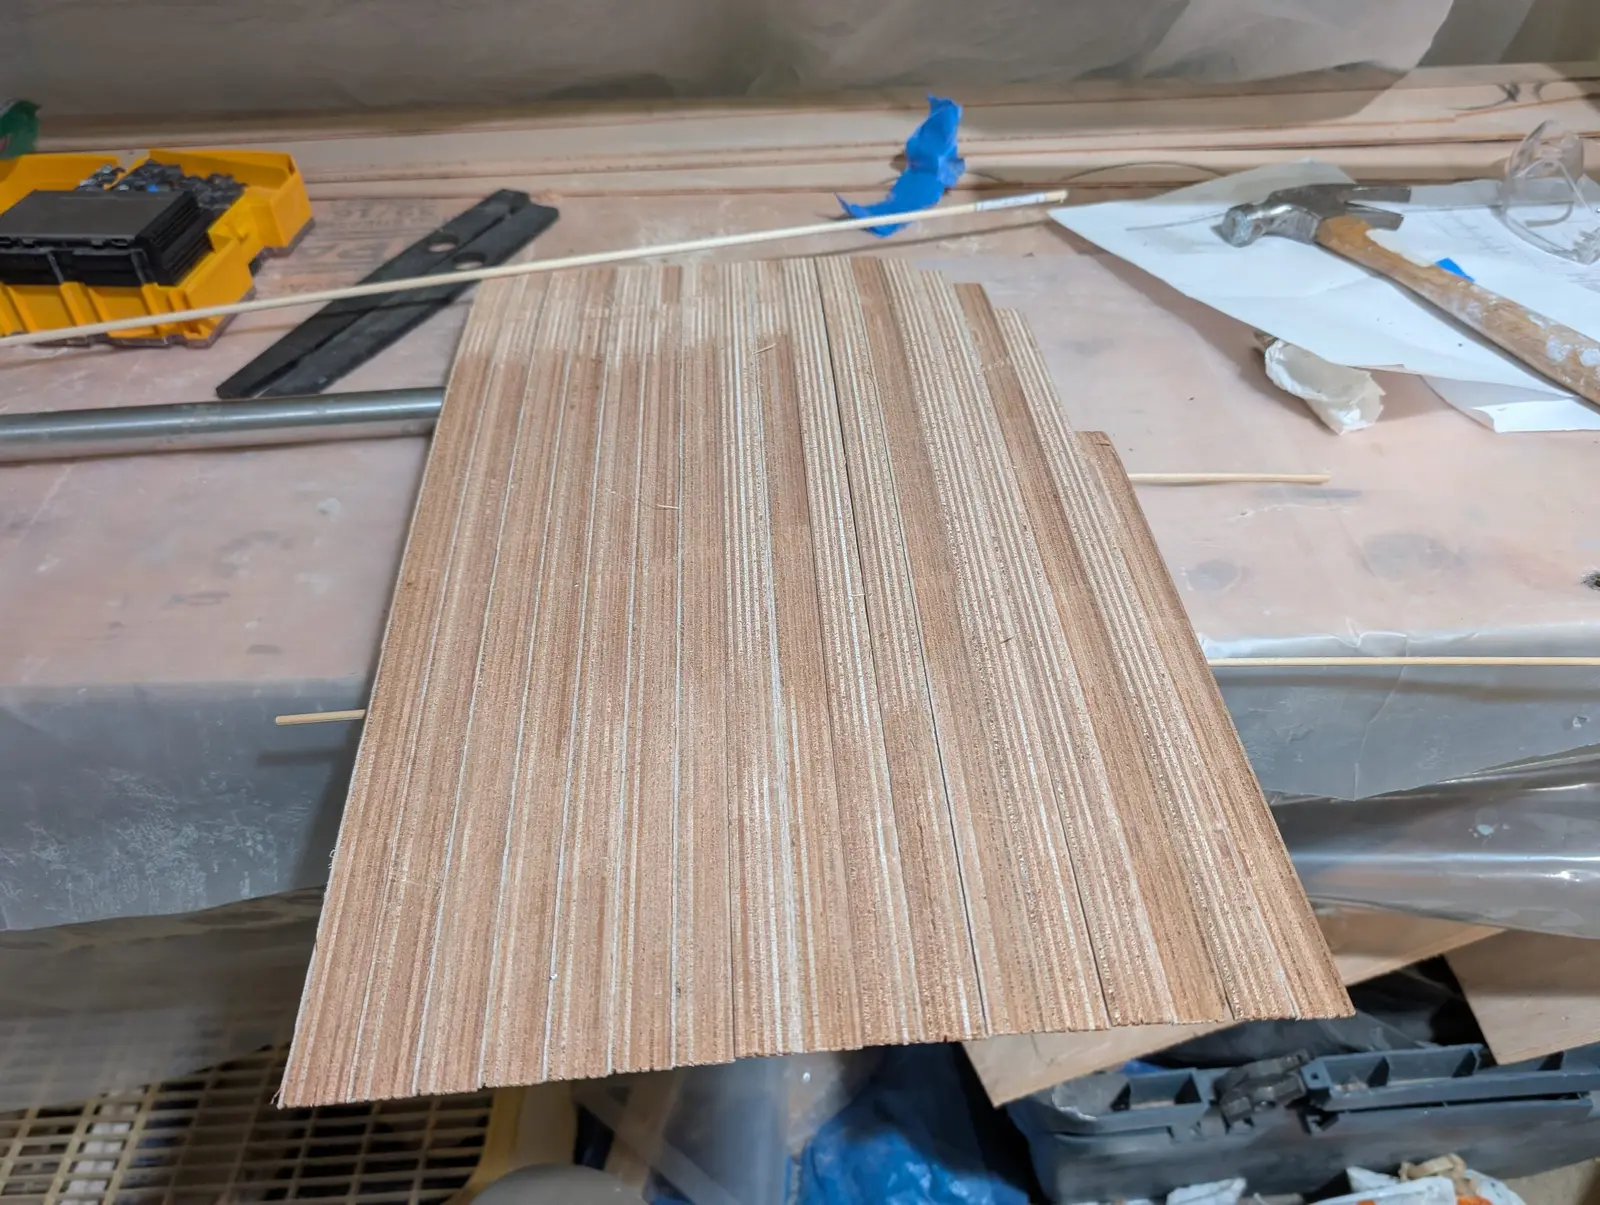
The rudder blade stacked up dry. You can see the small wooden dowels that keep everything aligned.
All dry-fitted with clamps in place. It's always useful to dry-fit things and practice the procedure before you get epoxy involved.
All glued up and clamped
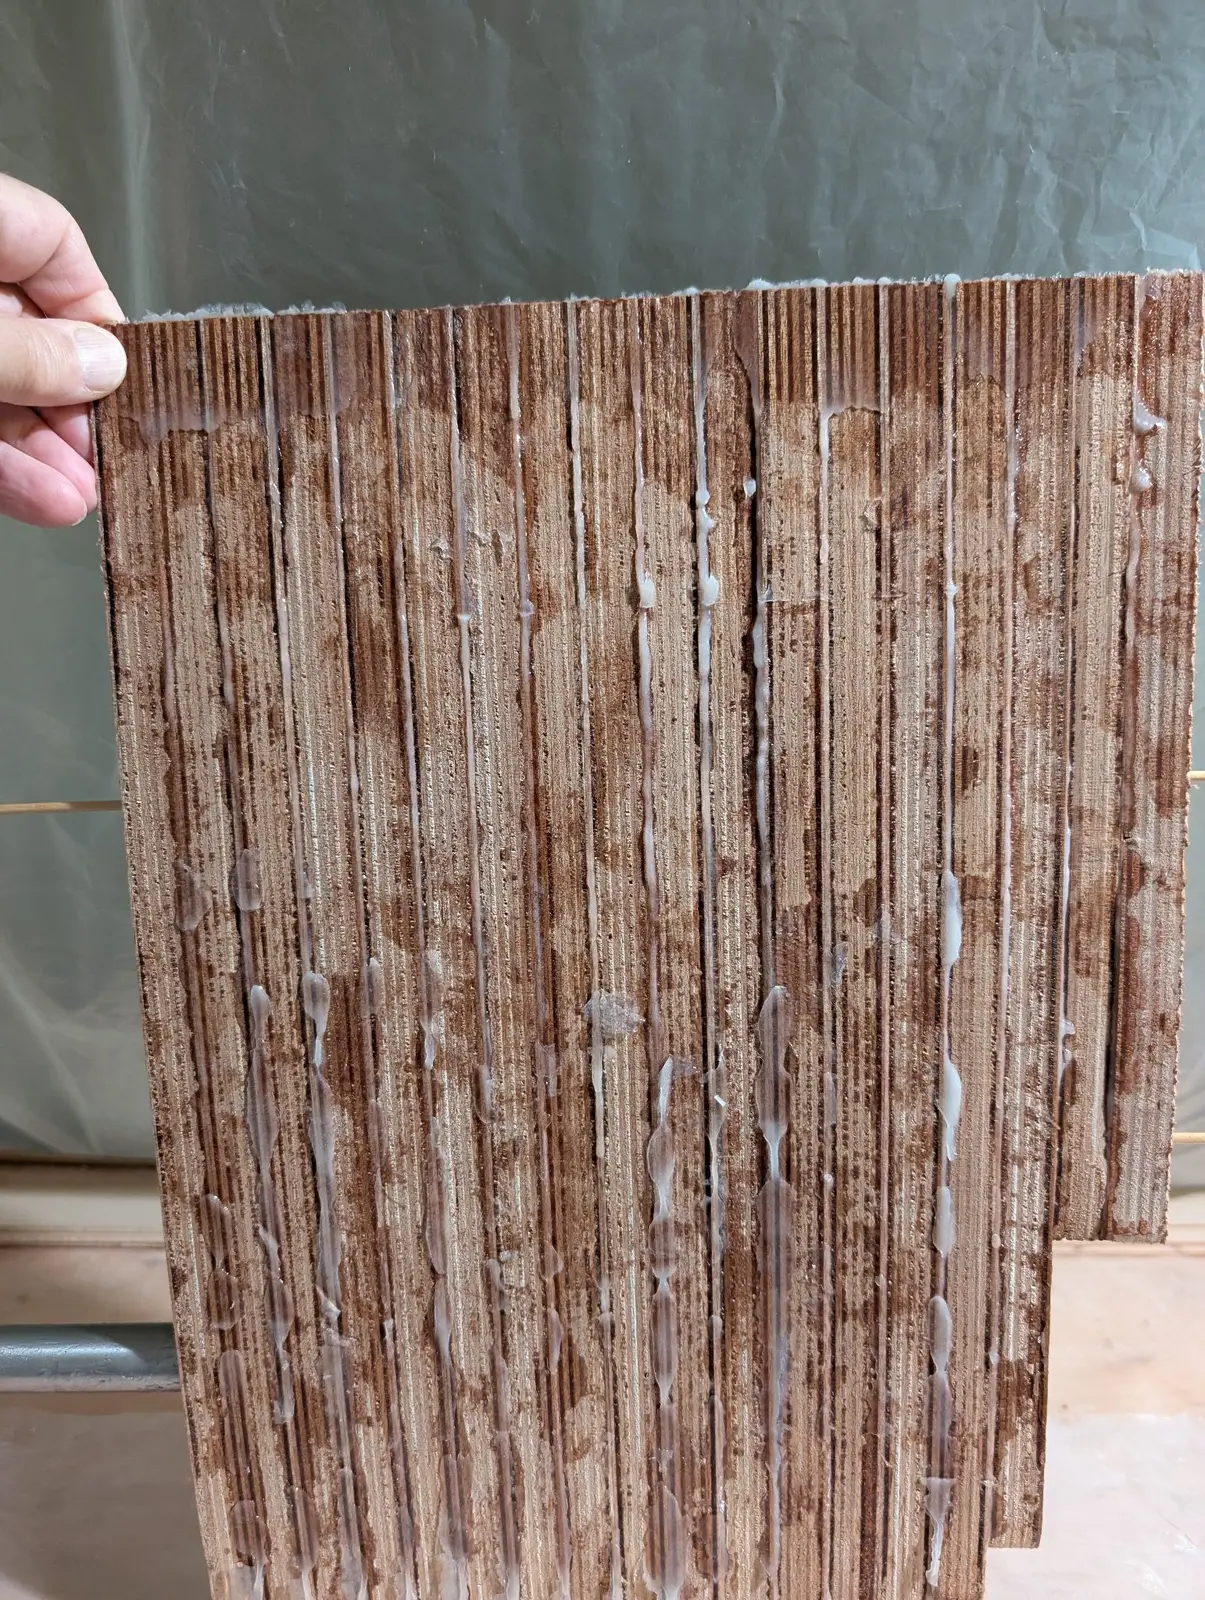
Rough rudder blade, glued and cured.
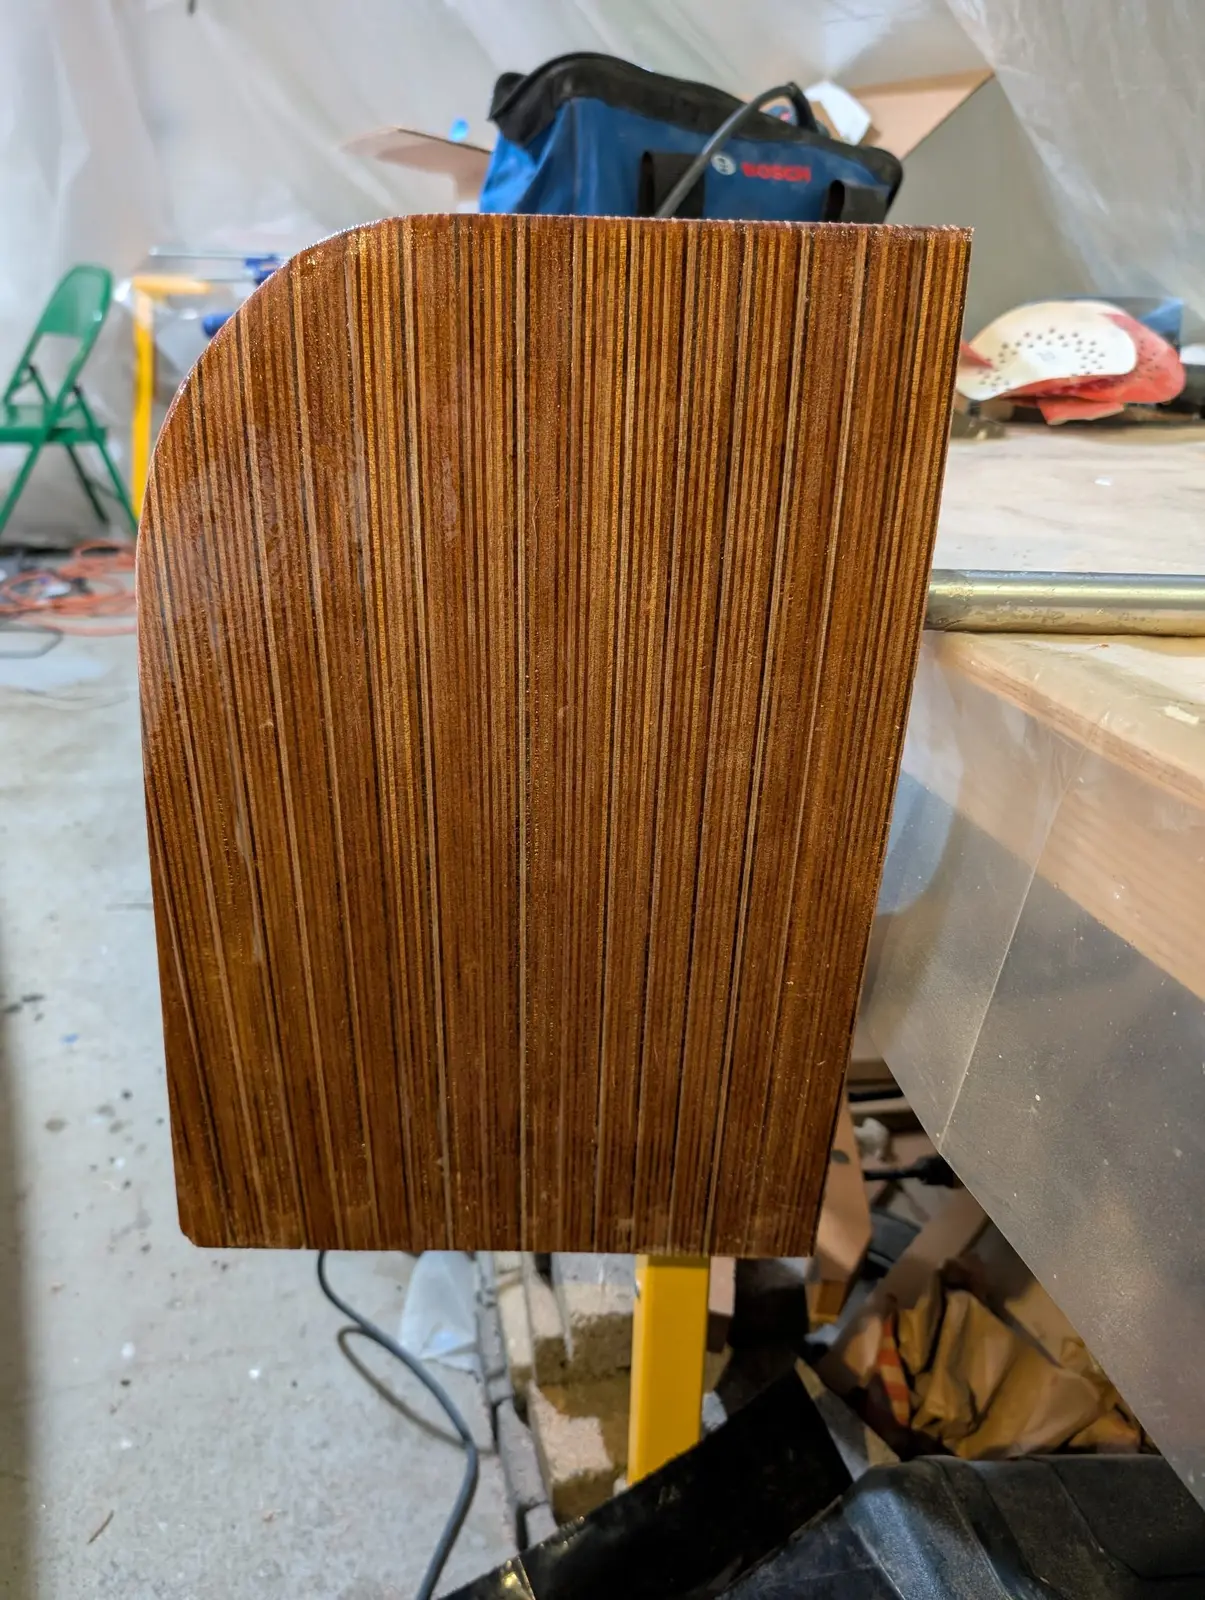
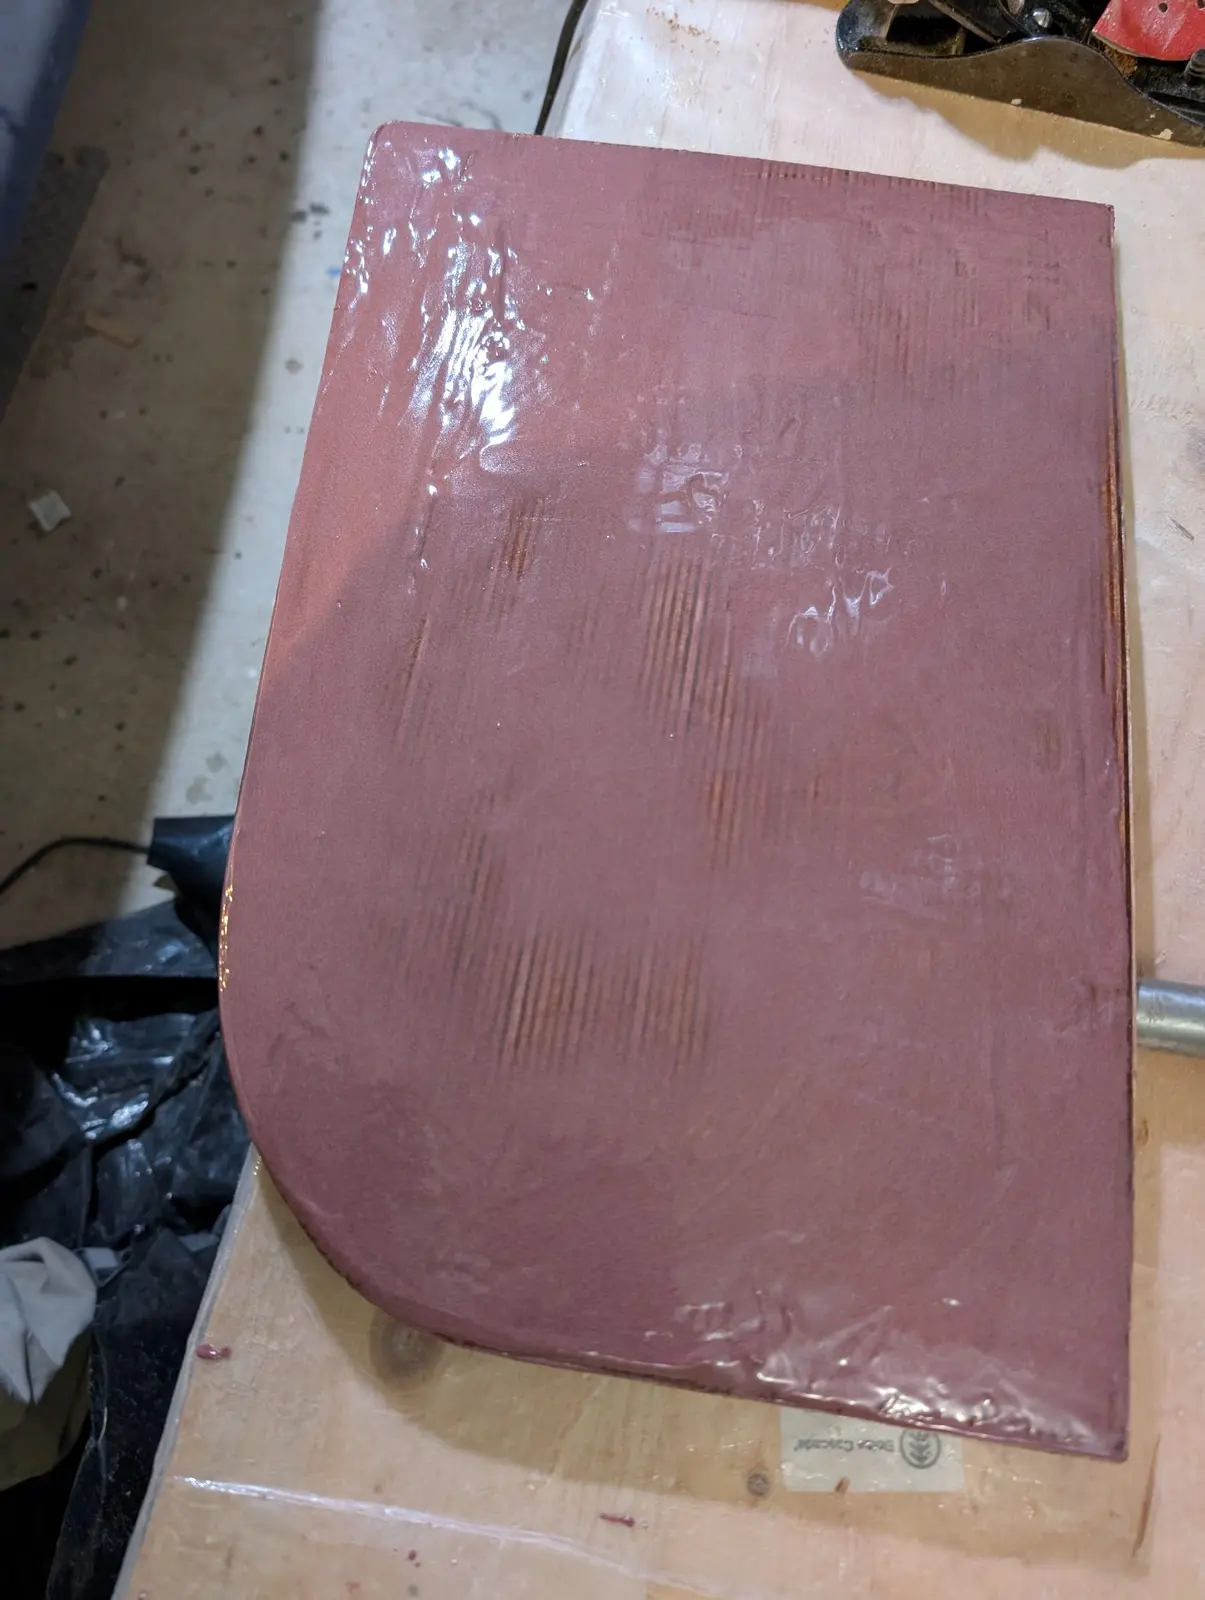
The blade cut to shape, sanded and coated with epoxy
The blade must be smooth and fair, so I have put medium-density fairing compound on it. It took several applications with sanding to get it satisfactorily smooth. The photo does not show its final state.
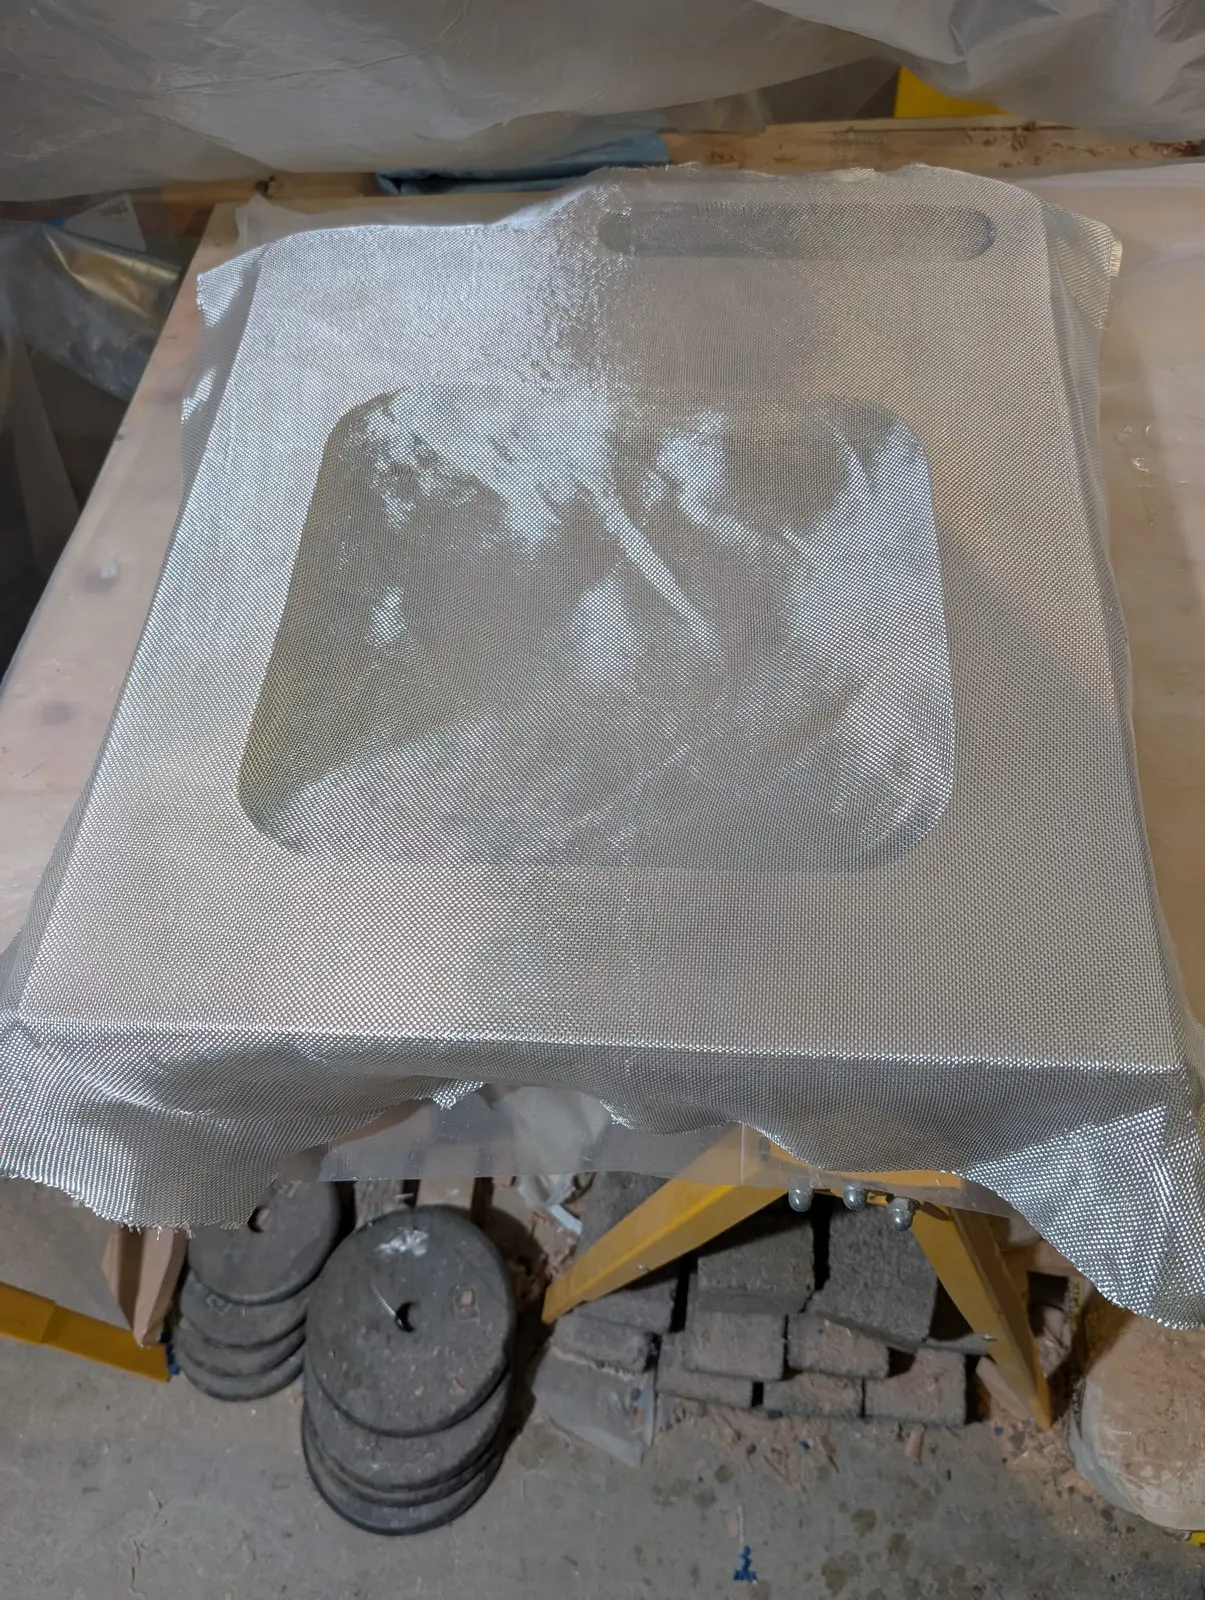
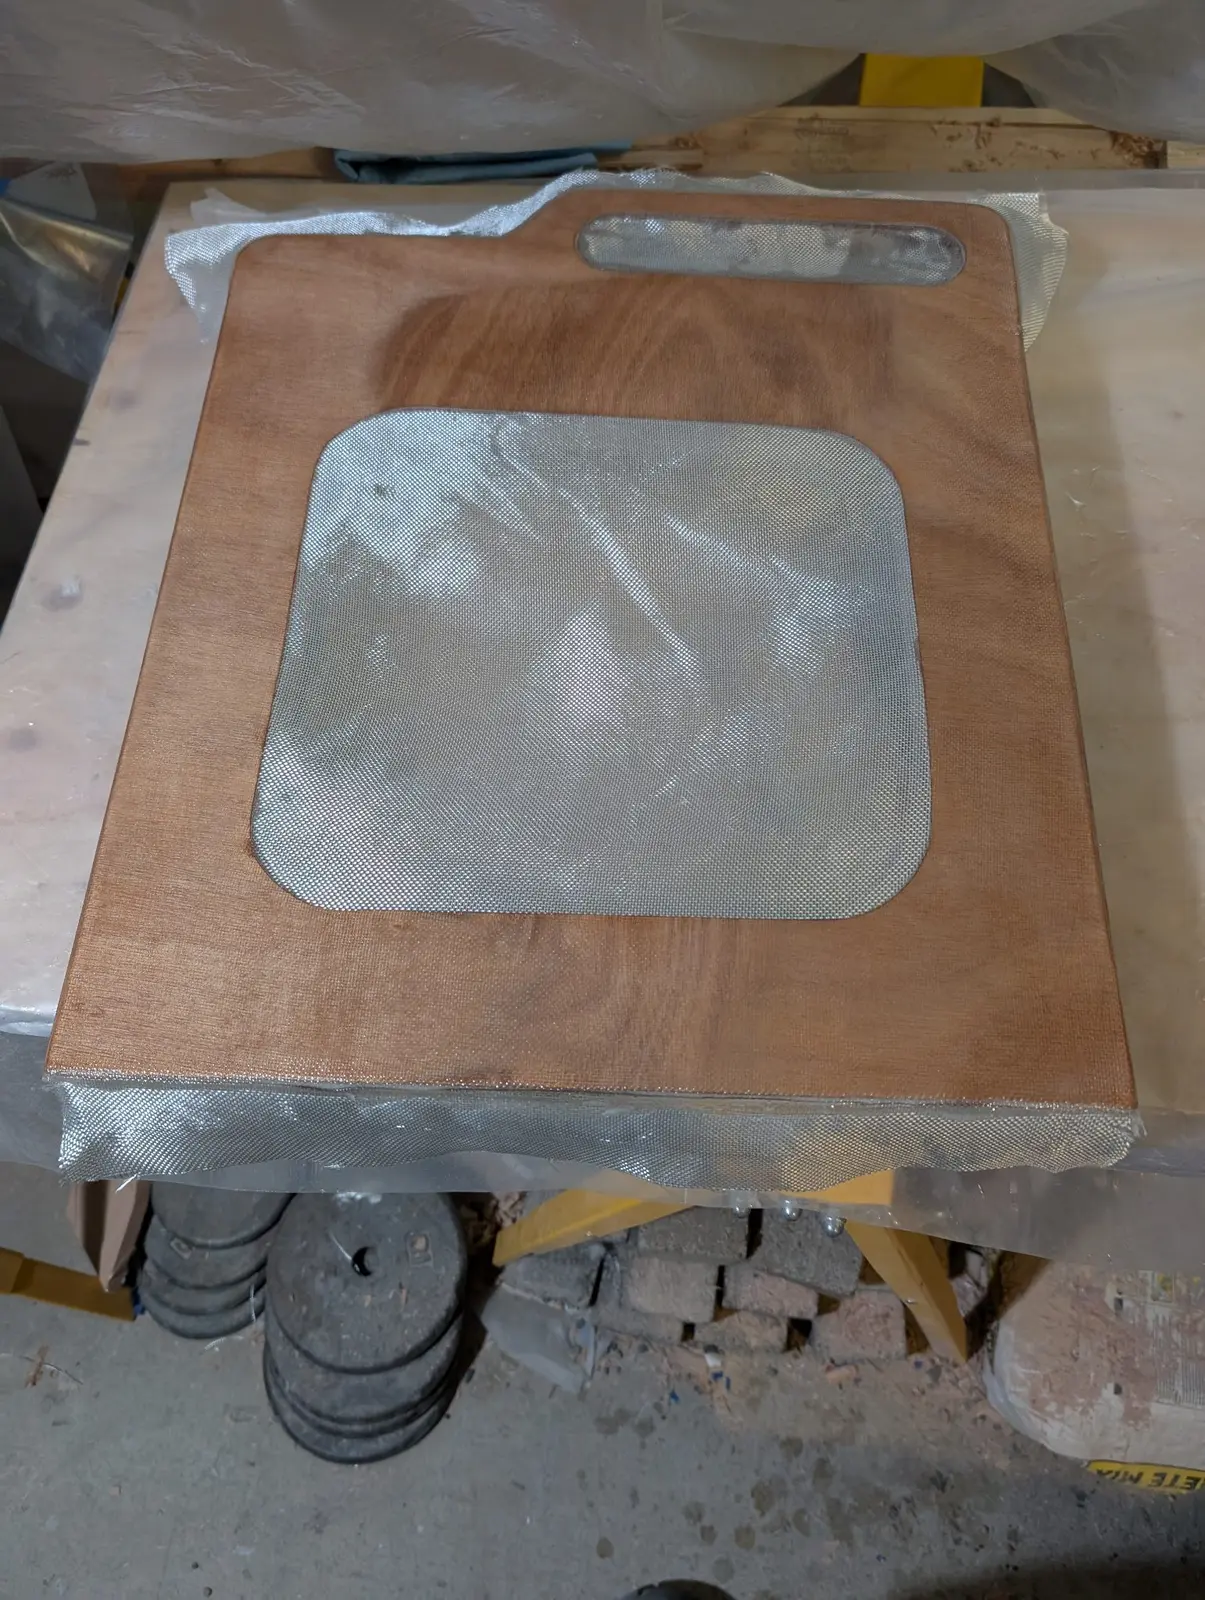
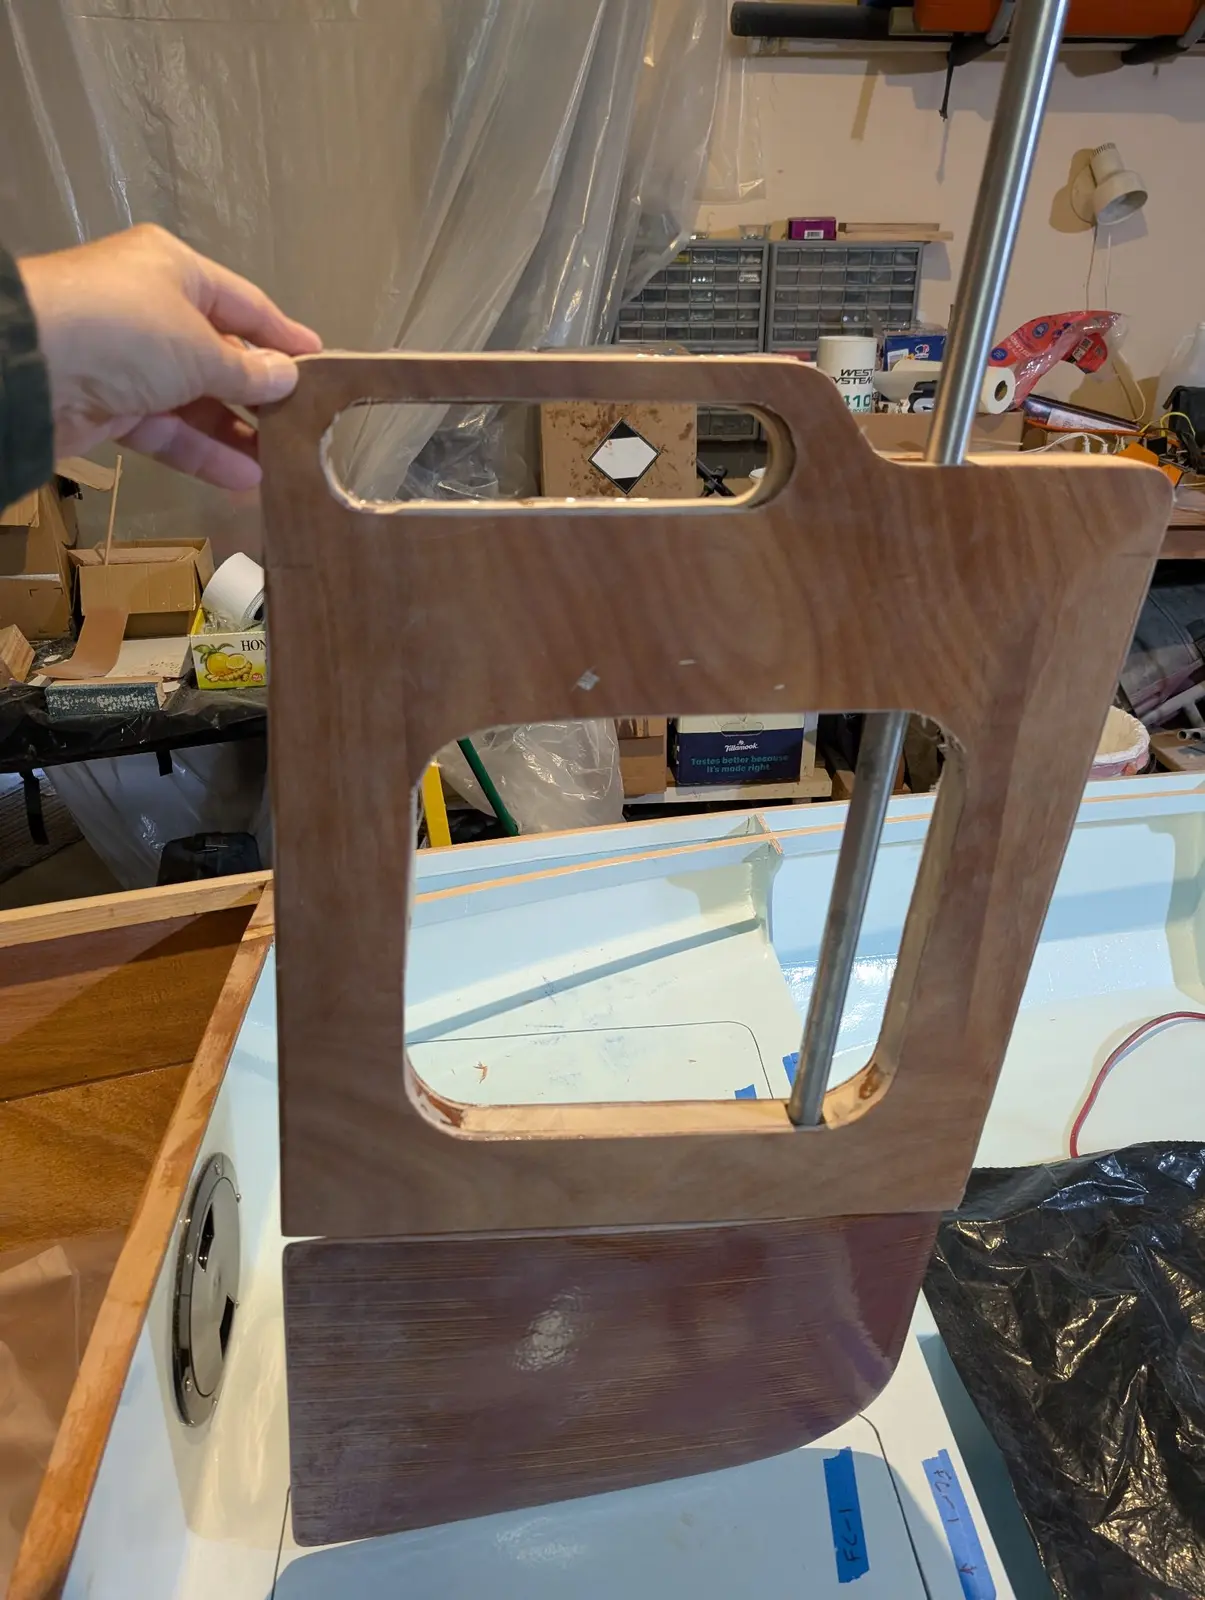
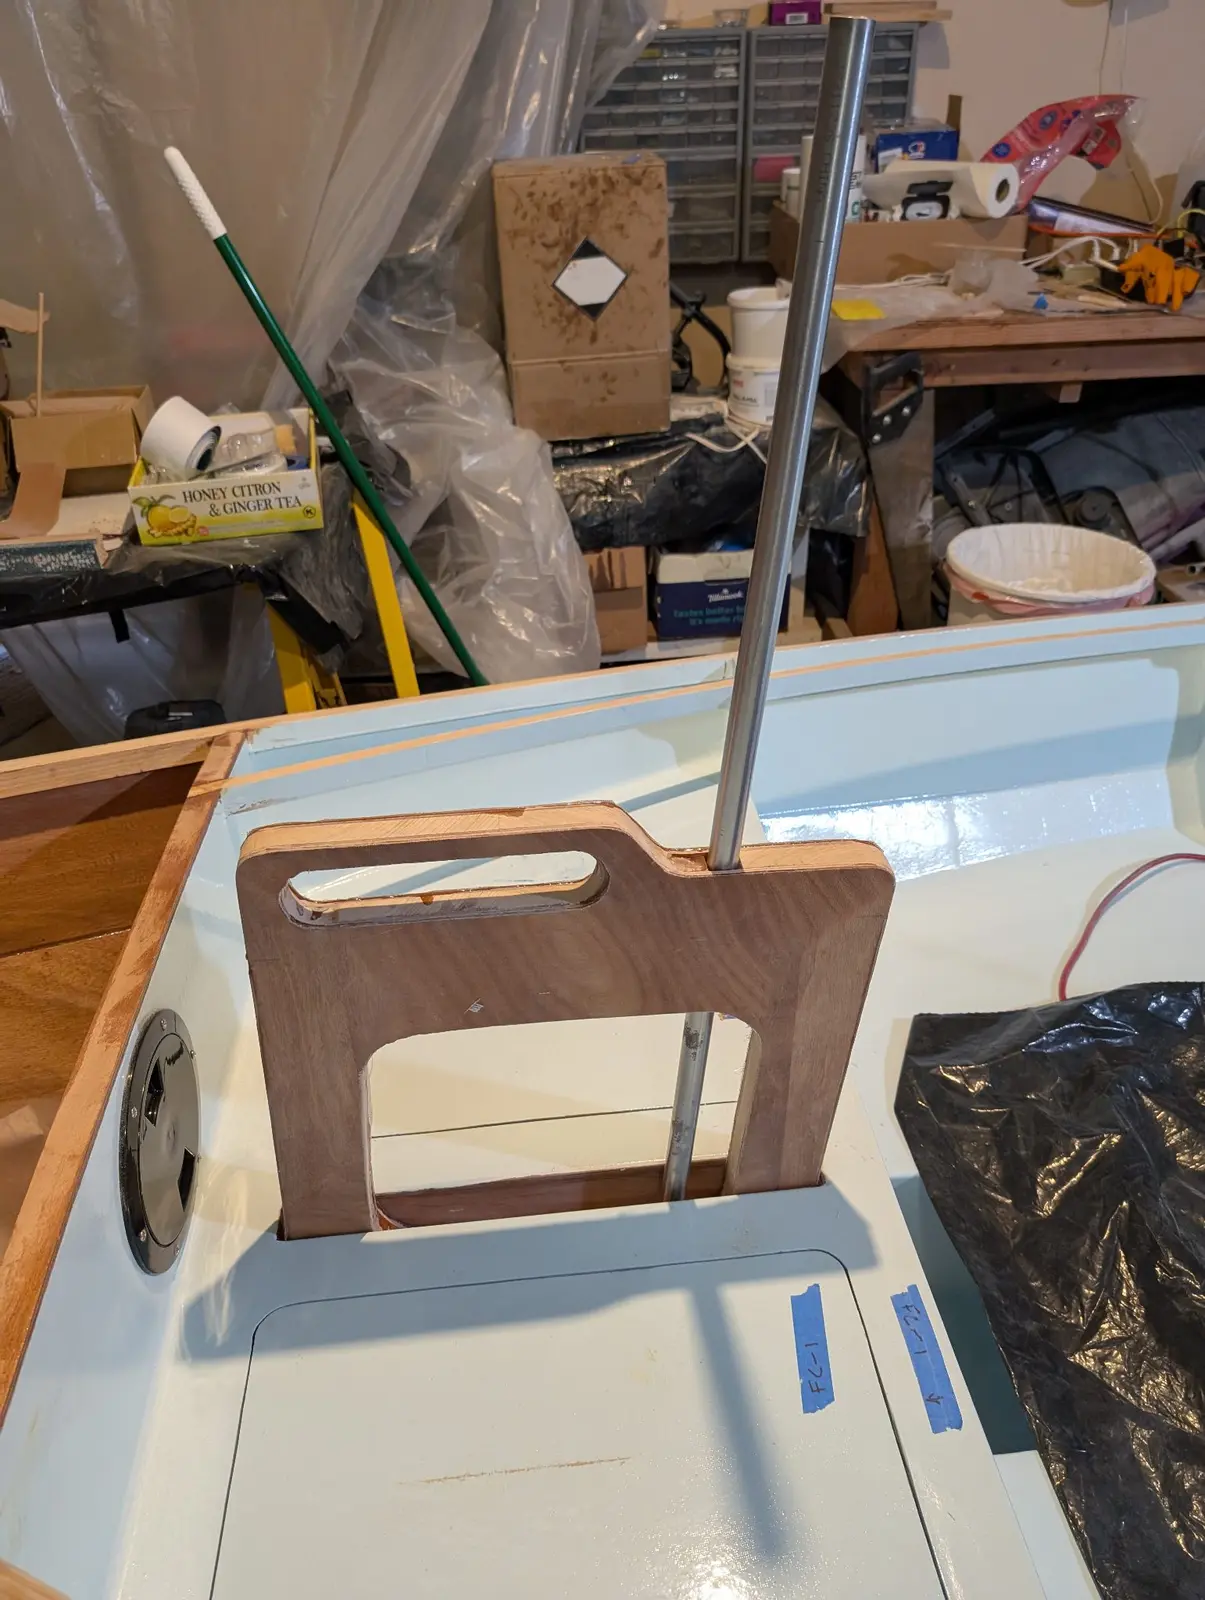
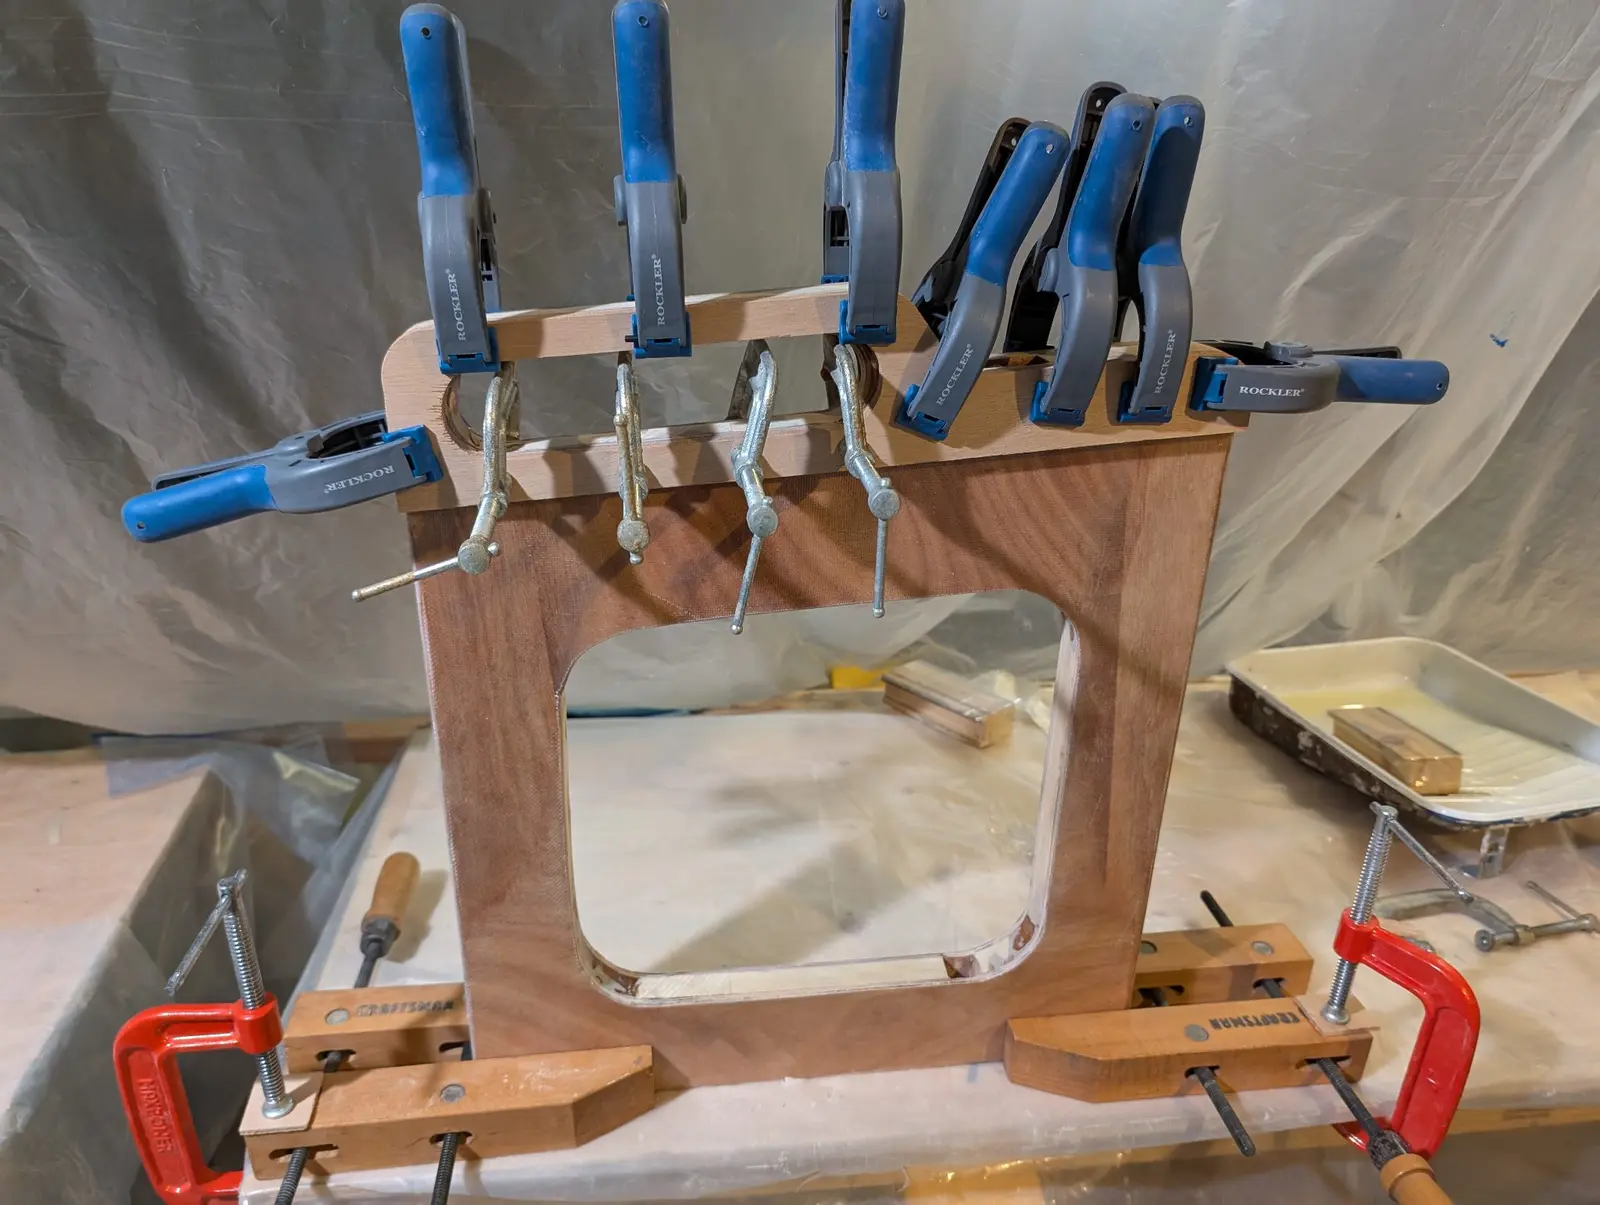
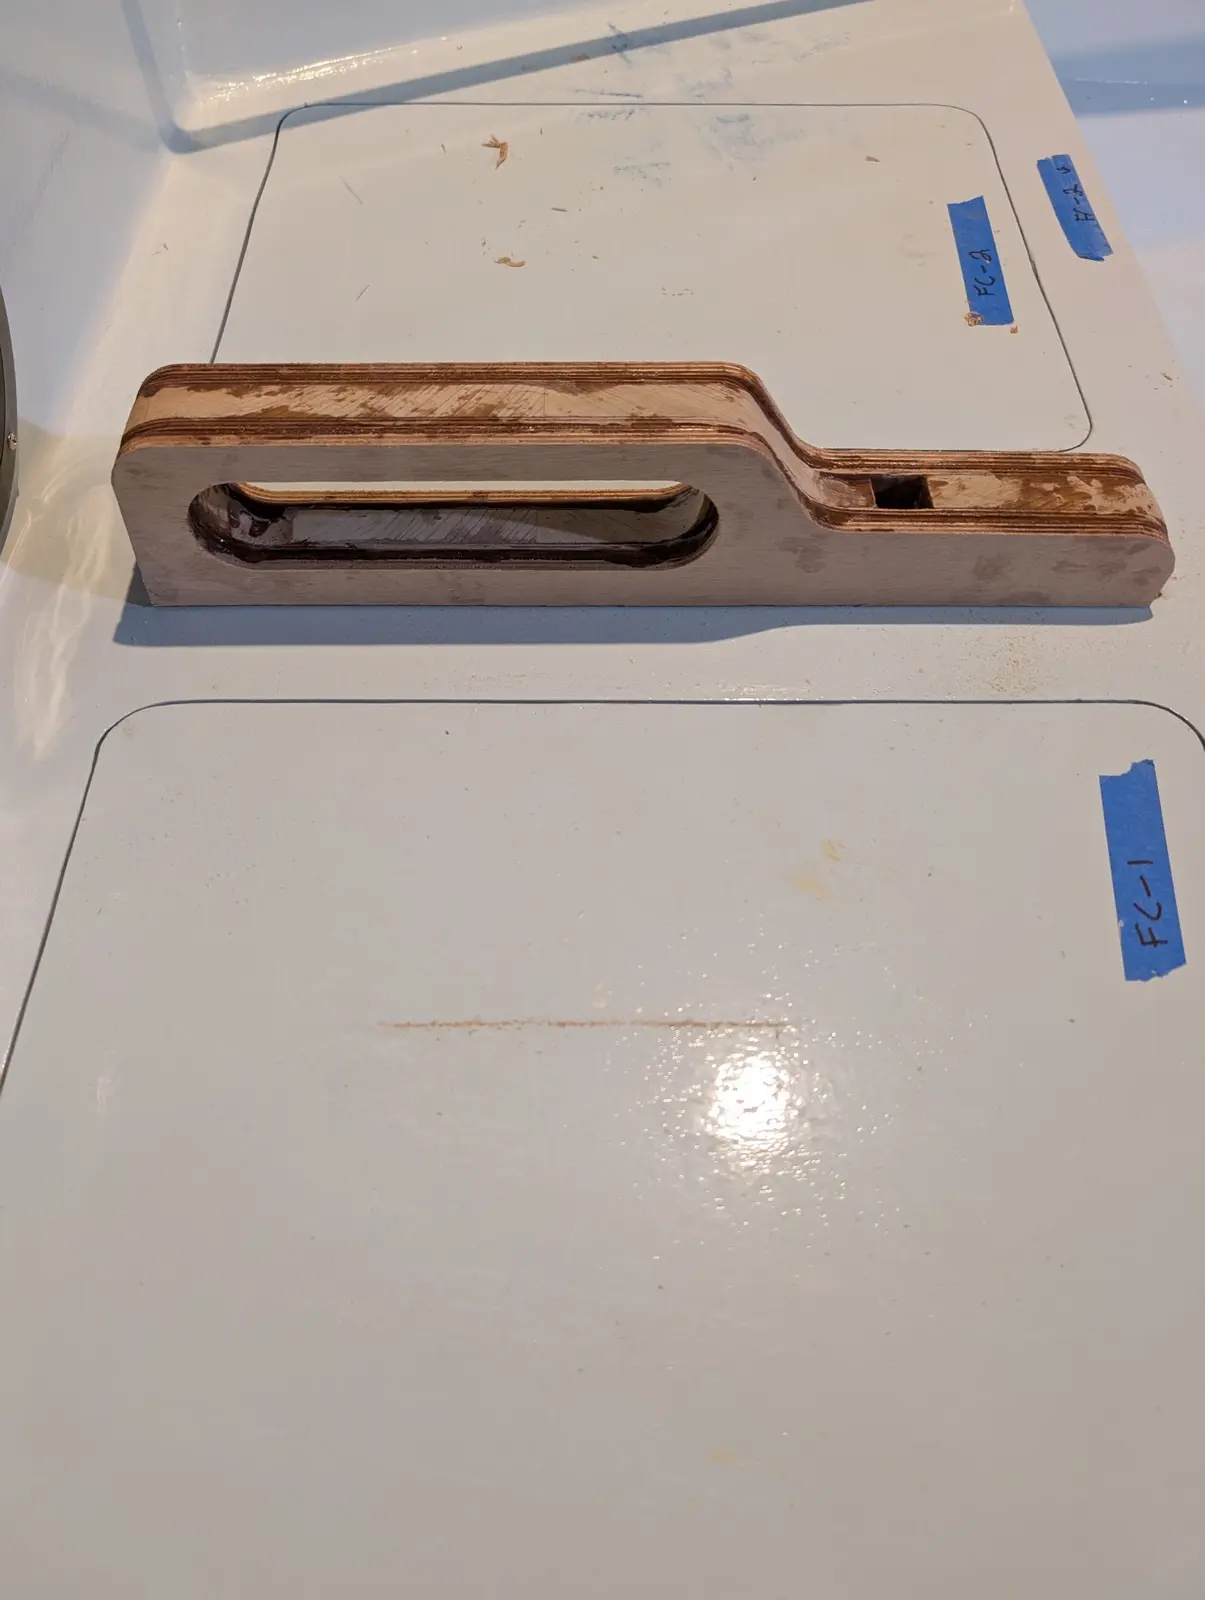
With the rudder blade done, I returned to work on the rudder cassette. Both sides are glassed and the rudder post and blade are inserted to check the fit. Then the cheeks, which sit on the shoulders of the rudder slot, are glued on.
Fiberglass cloth going on
cloth wet out and curing.
Rudder post and blade fitted to the cassette
Rudder assembly sitting in its slot in the deck/hull
Cssette cheeks being glued to the cassette.
It fits!
123456
Nobody else here is logging a The Guider yet.
See the boat.
What it cost
$14,893.59
$11,979.81
Into the boat
$1,785.00
Shipping
$1,128.78
Tax
Shipping added
14.9%
on top of the goods: the cost most people forget when they price a kit boat.