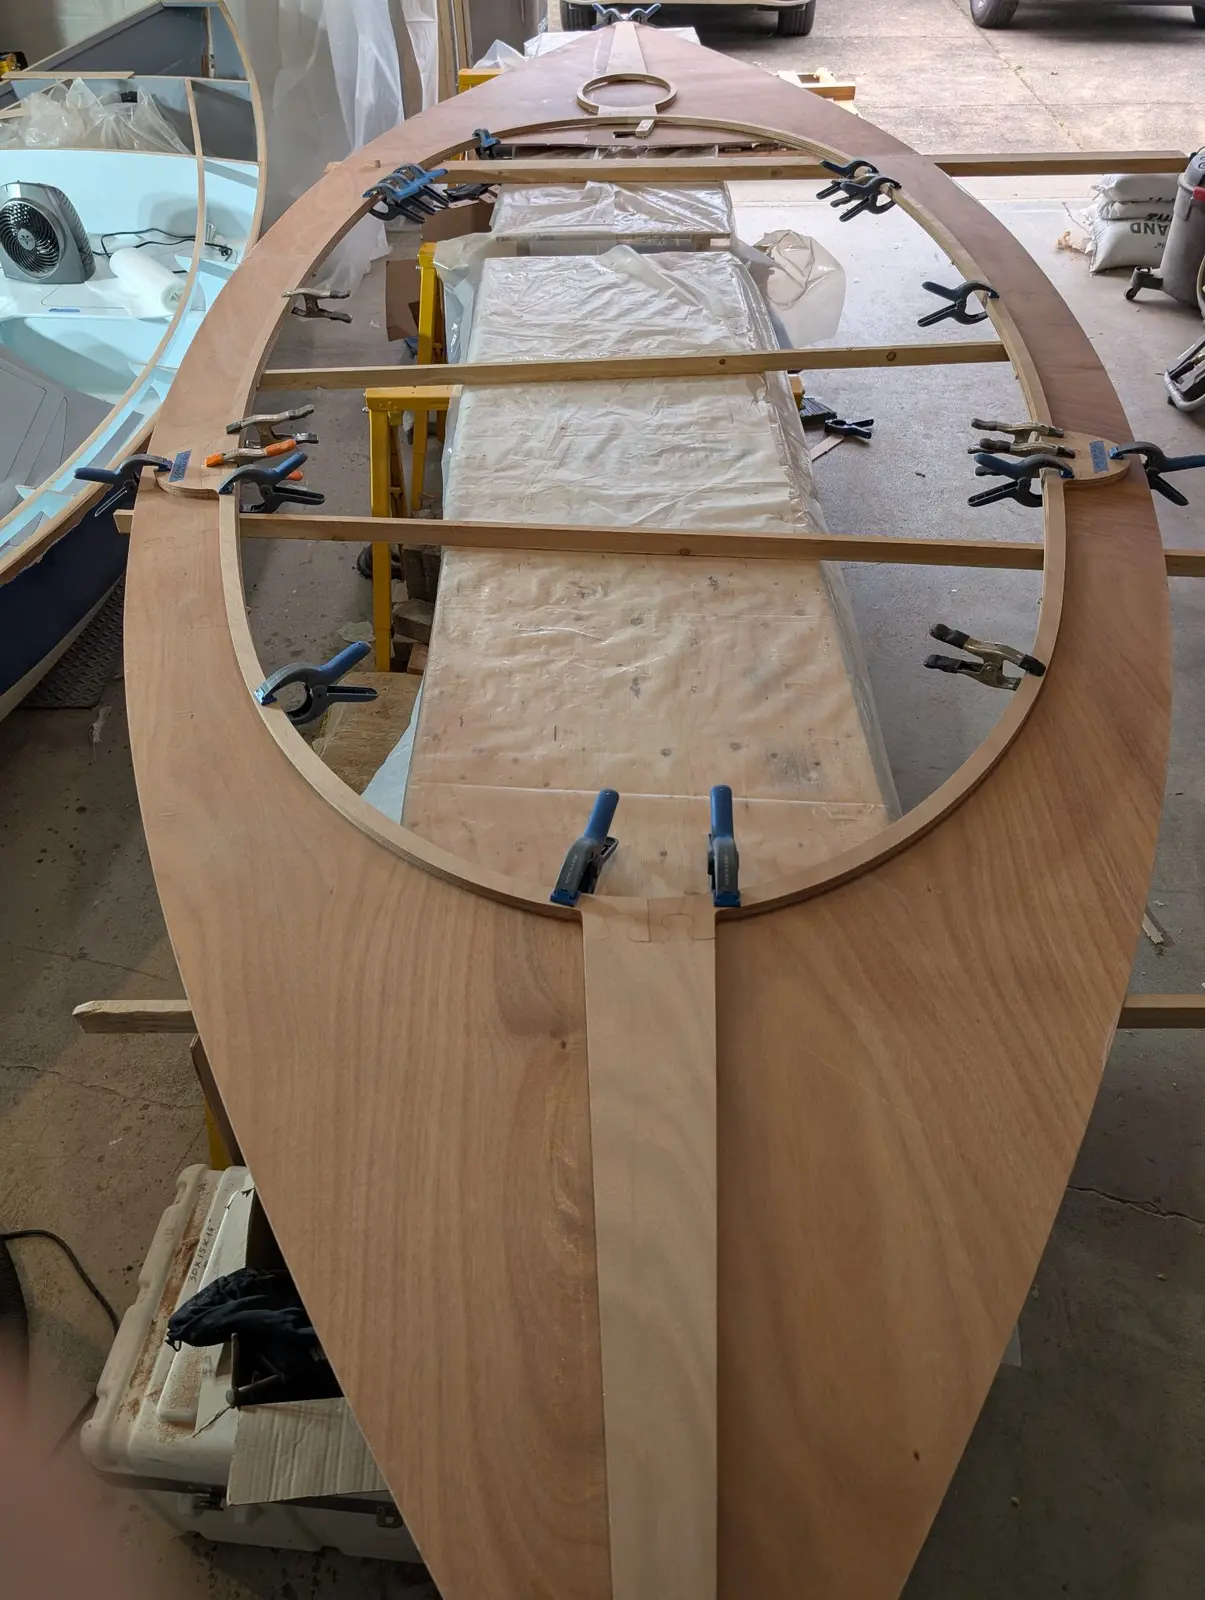
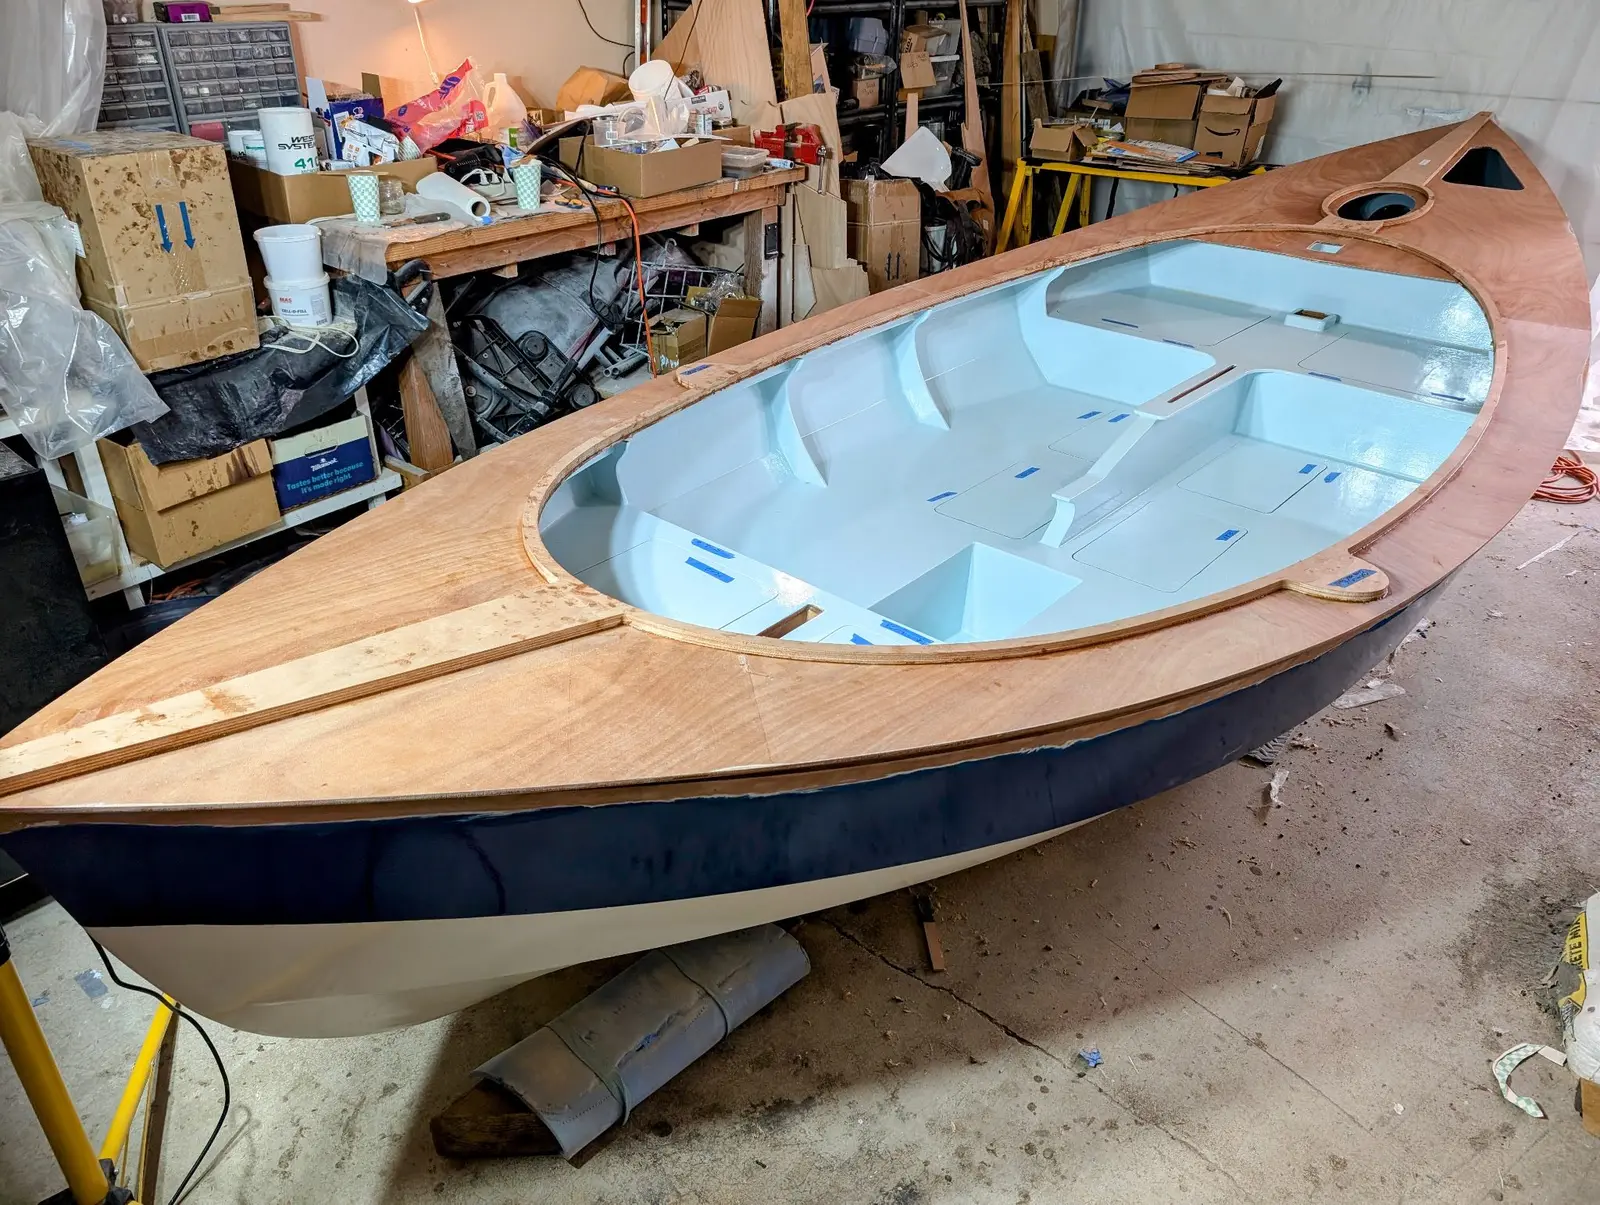
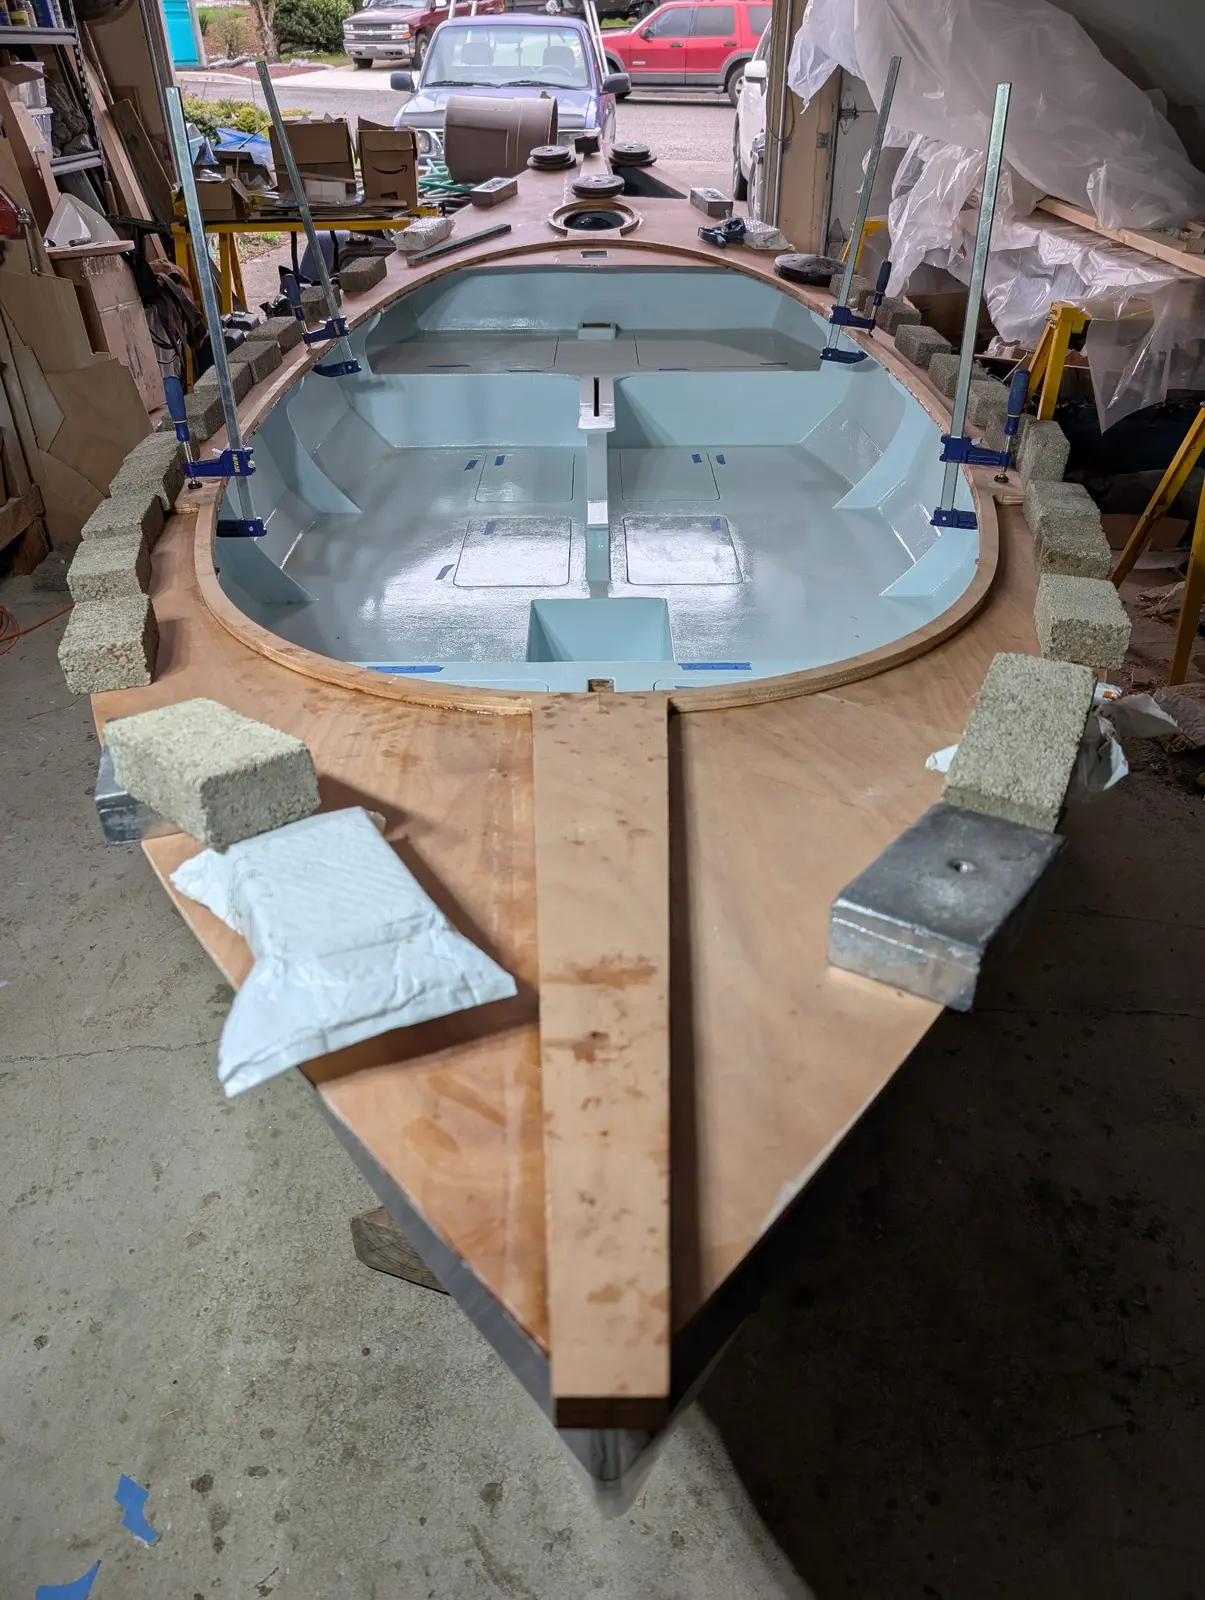
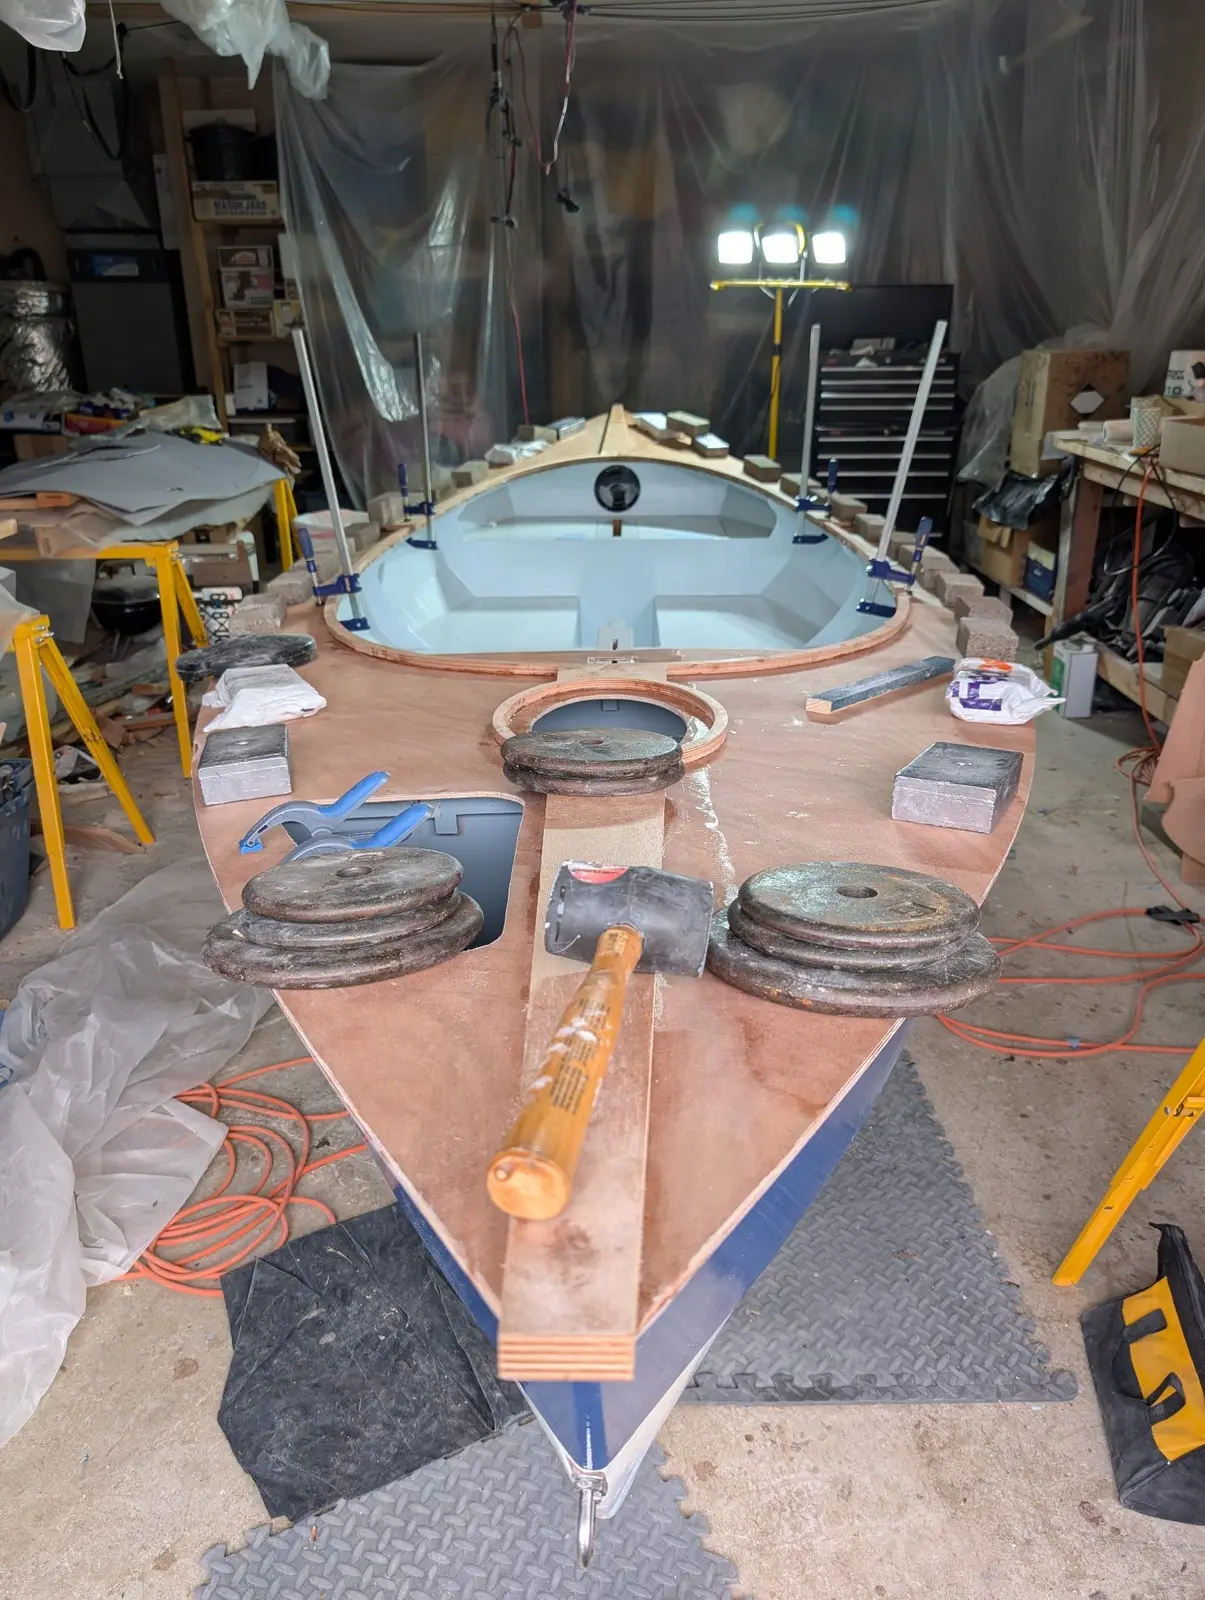
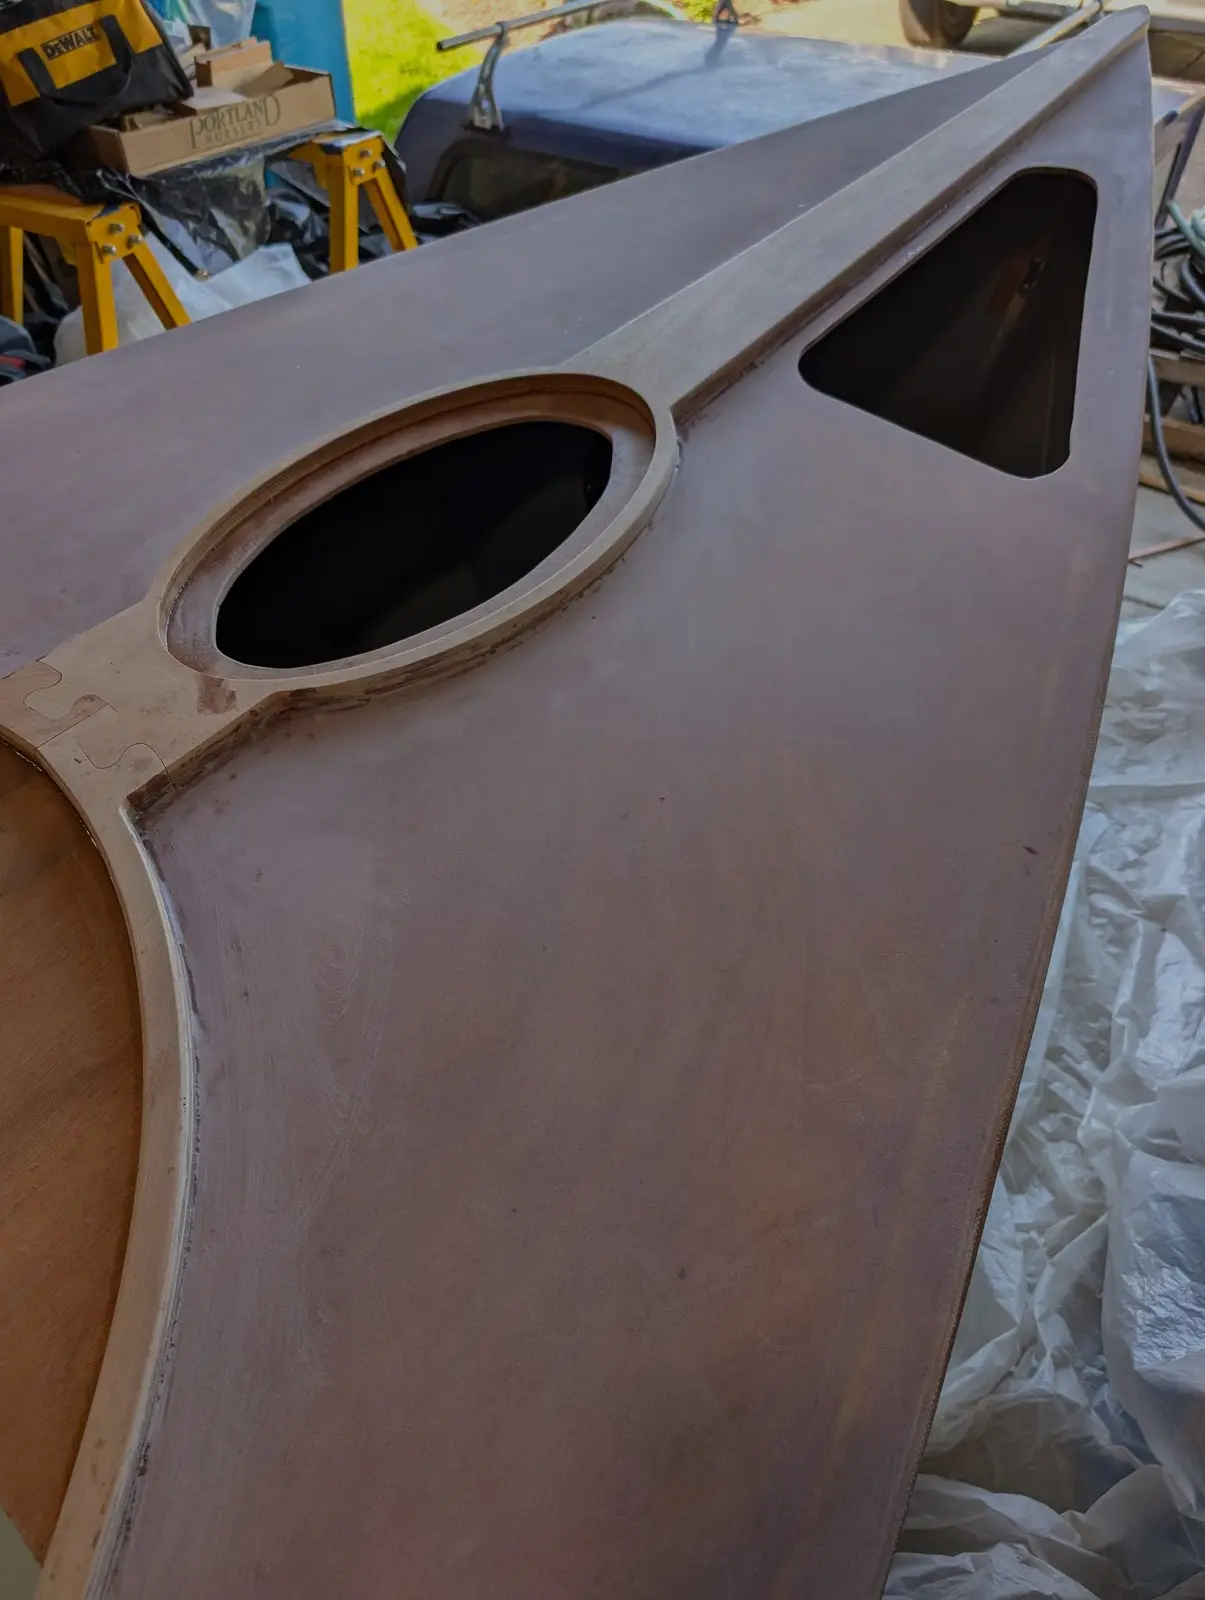
The next sequence was gluing the coaming and king plank assembly to the main deck. This was a big and quite difficult job.
Dry fitting with a few clamps. I didn't really have a big enough job table, so I used 1 x 2" strapping to support everything.
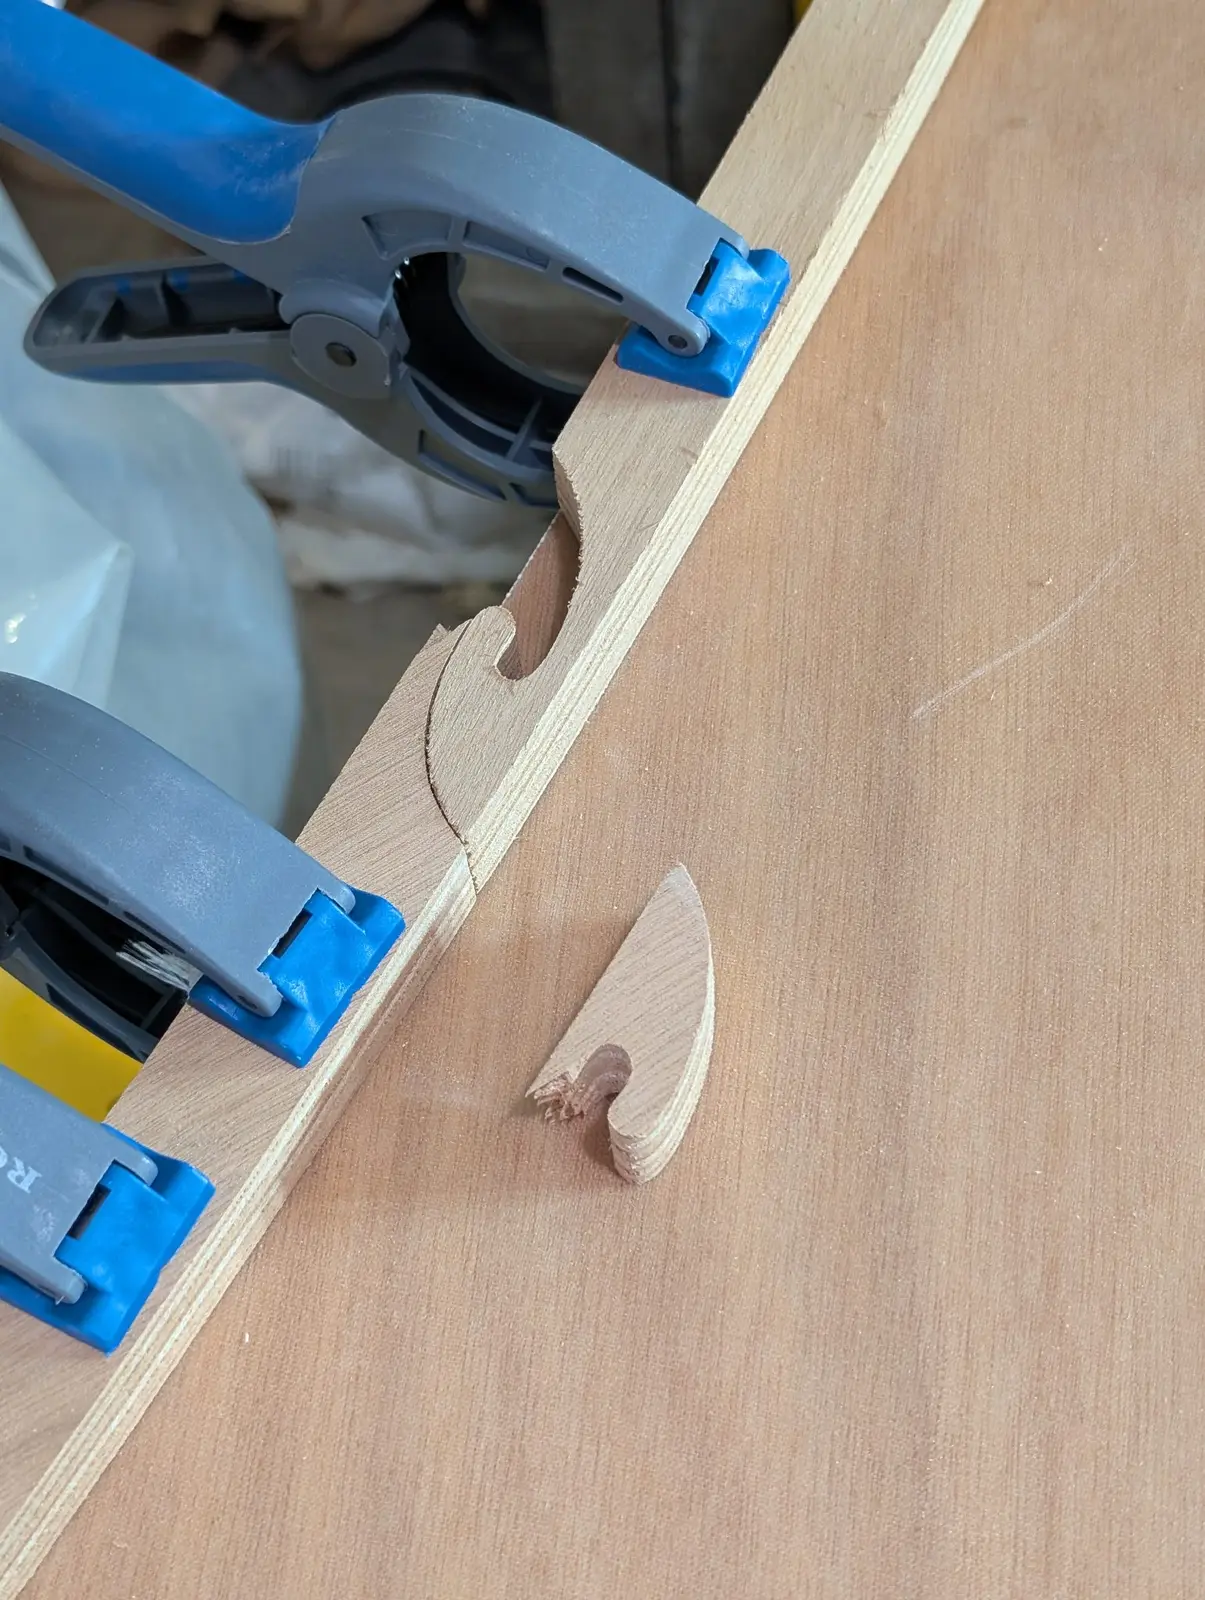
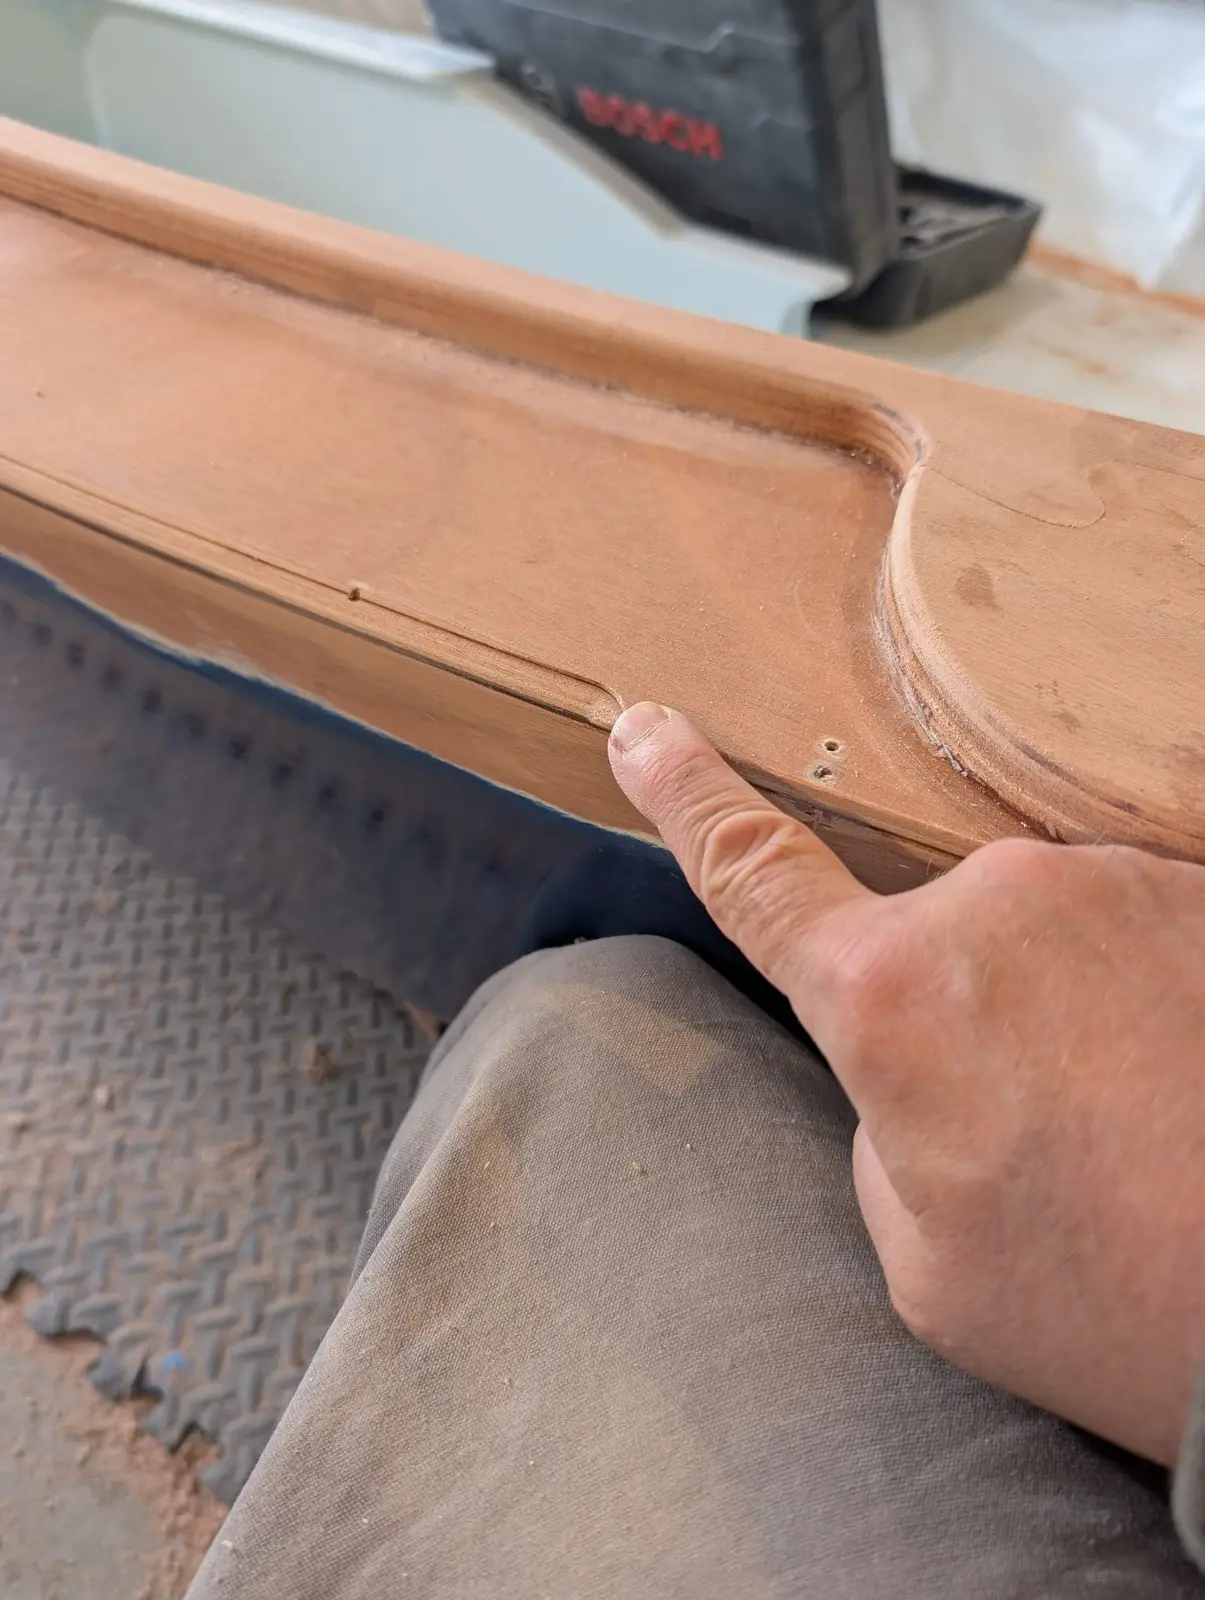
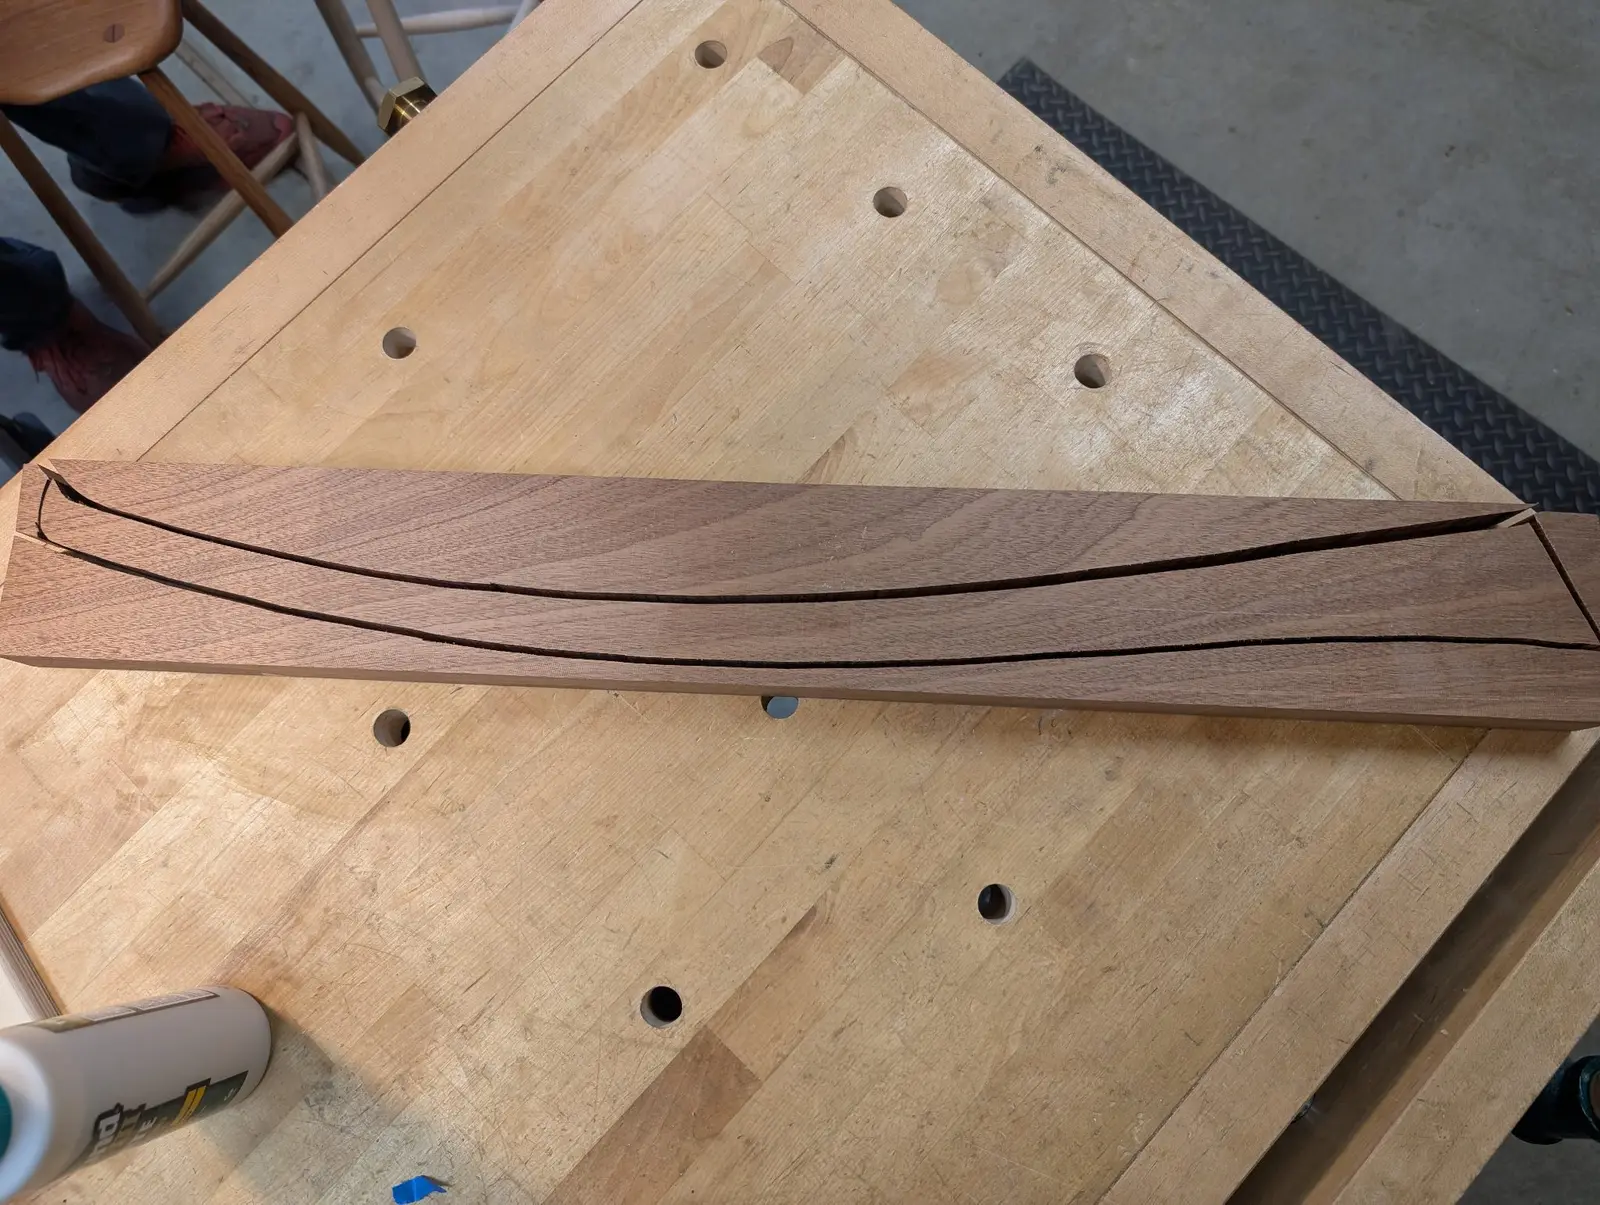
The finger joints on the coaming are quite delicate, and I broke one. I just glued it all back together, which seemed to work just fine.
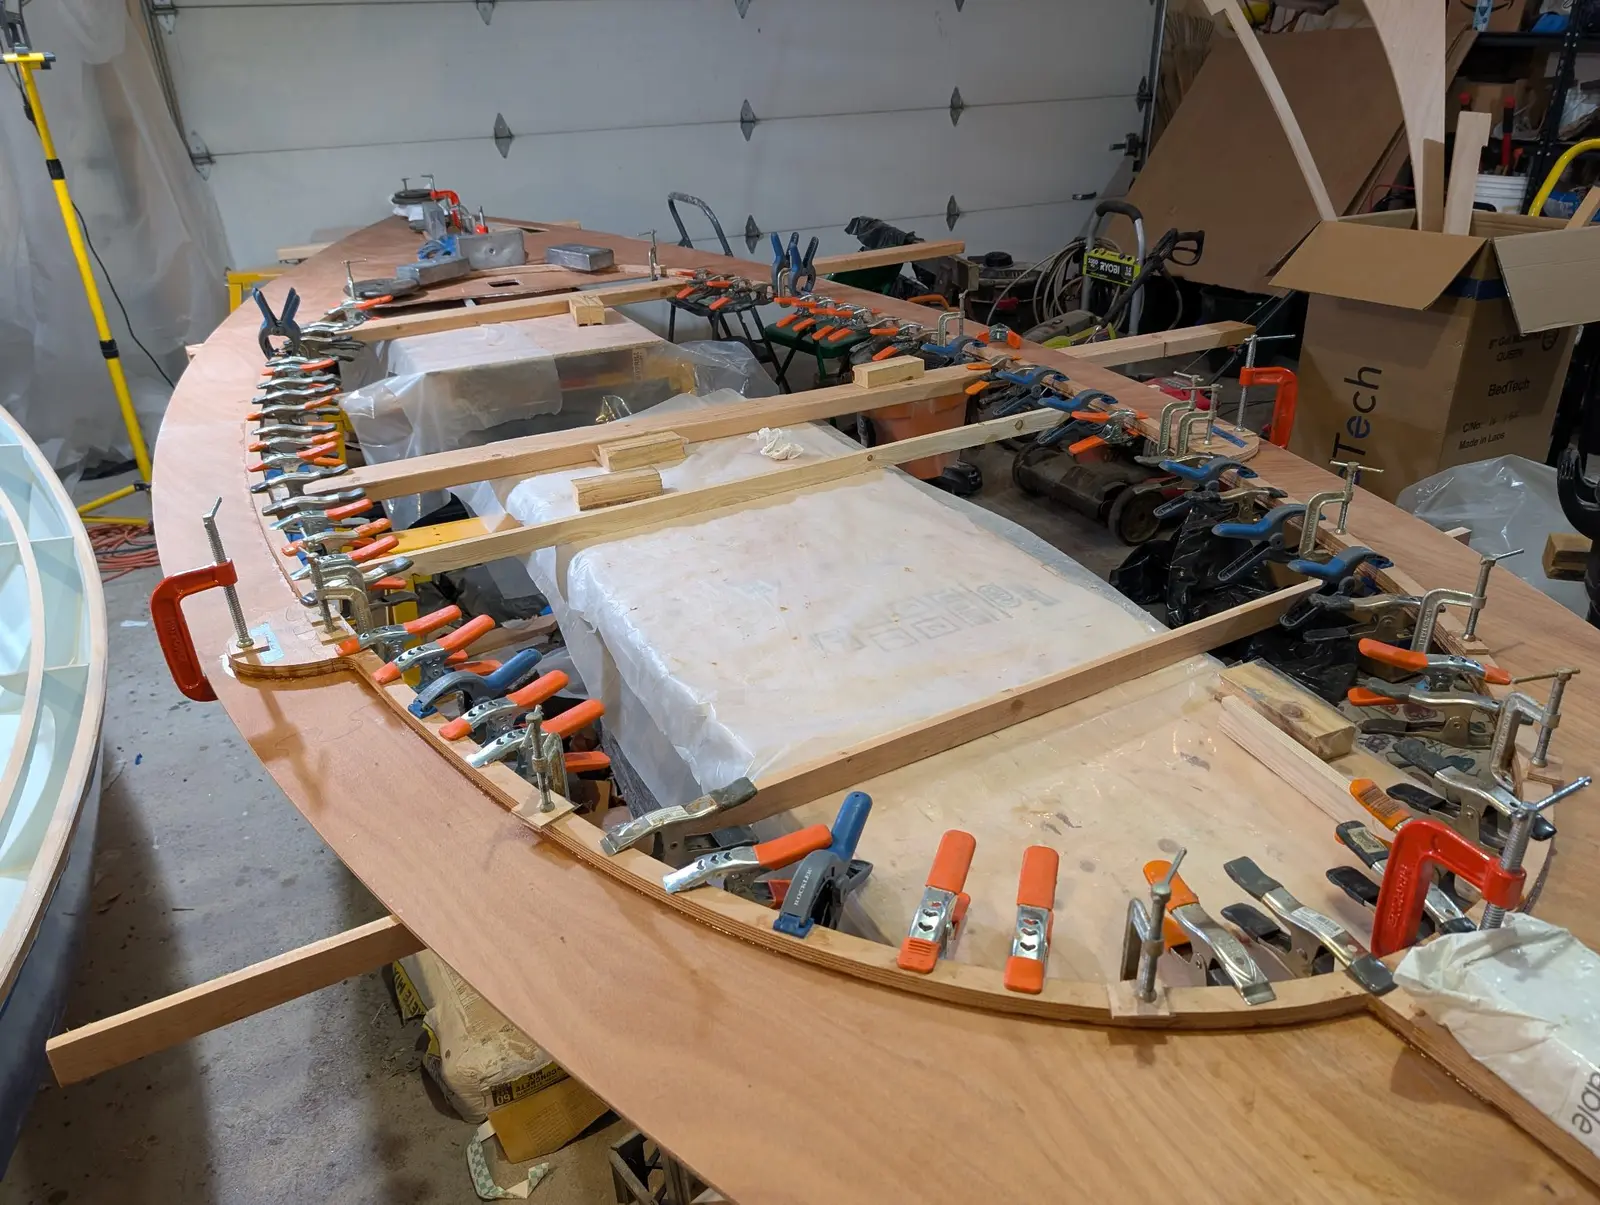
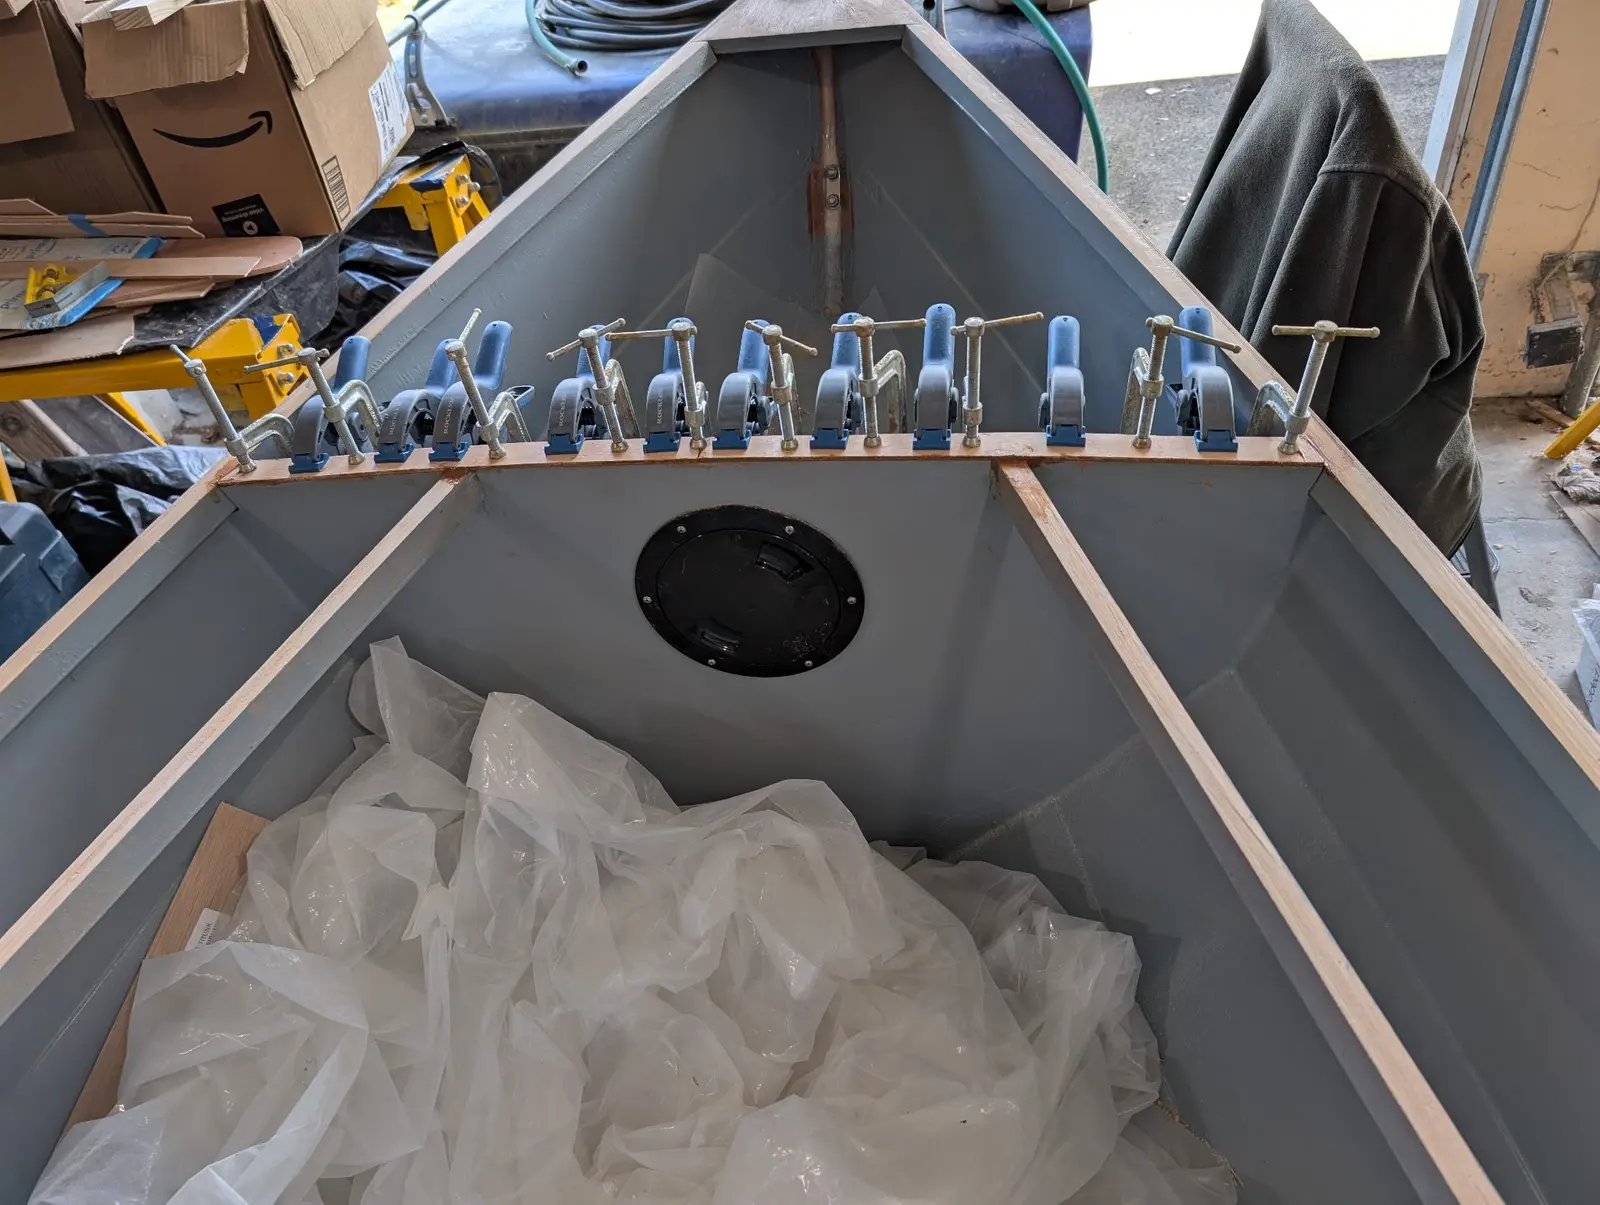
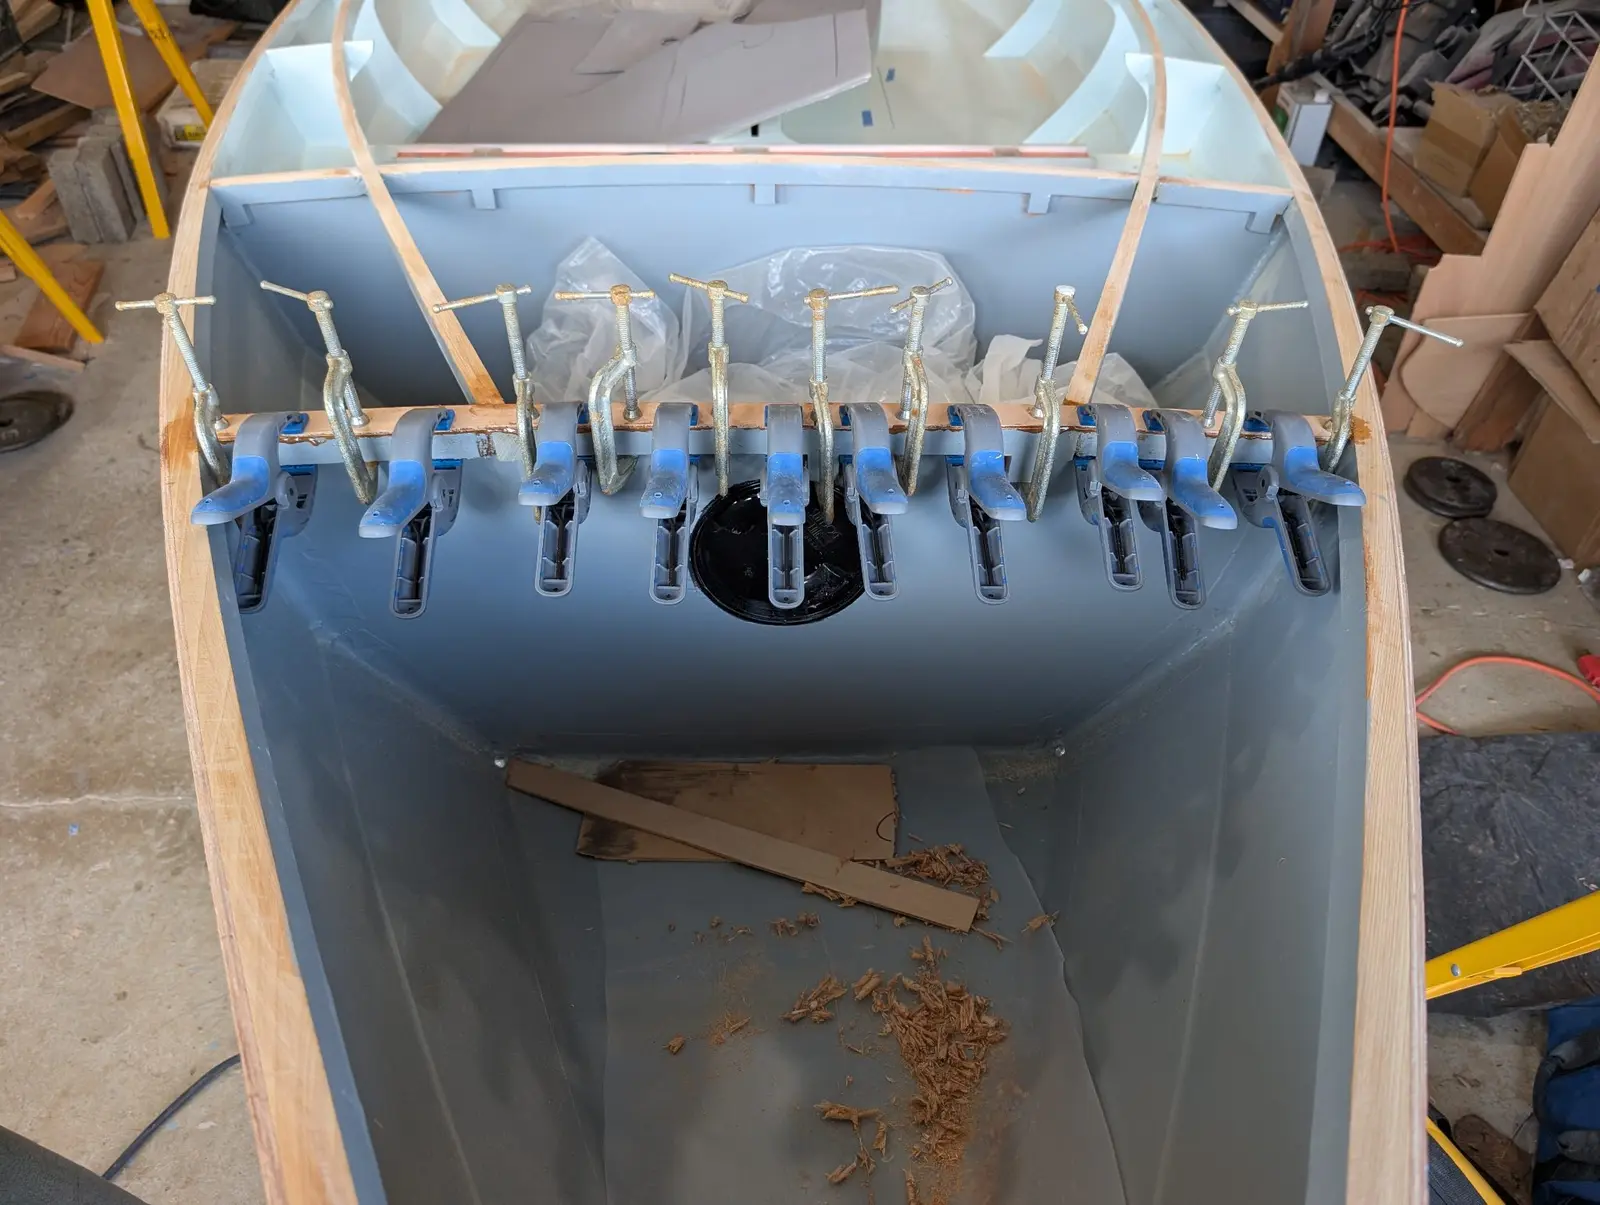
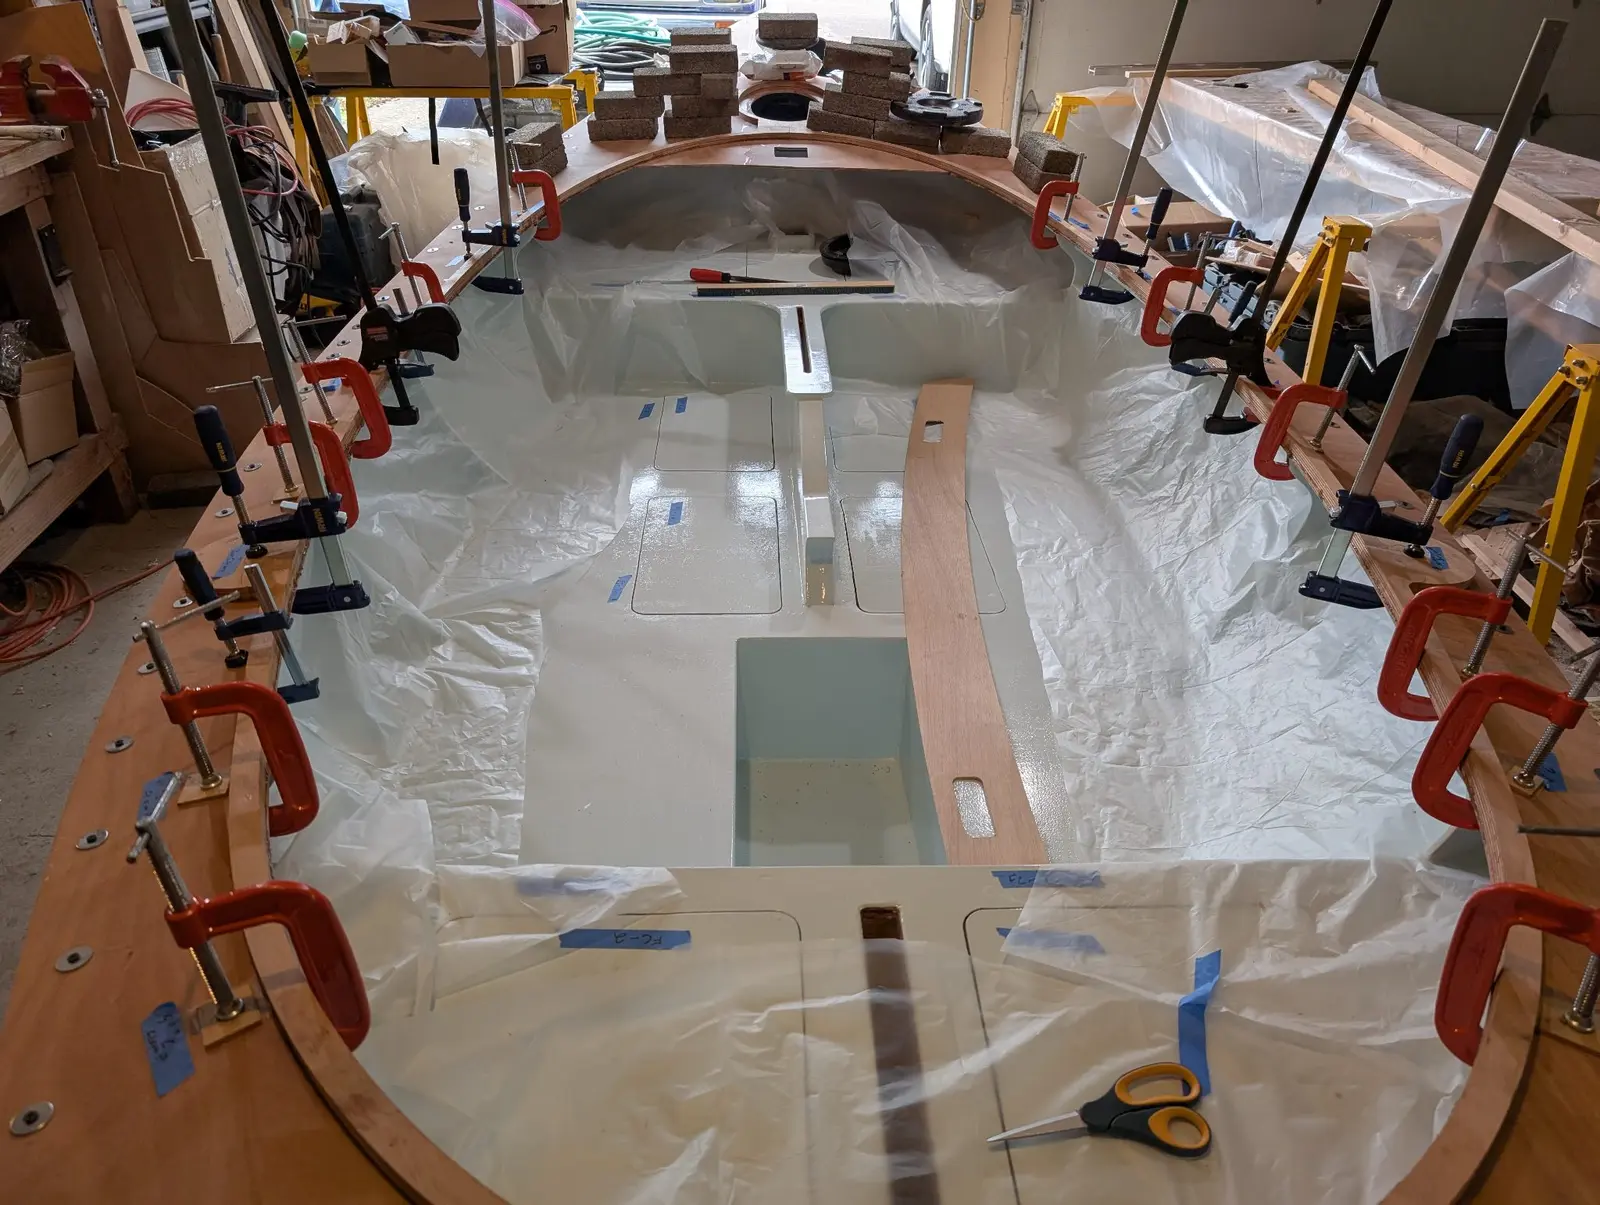
Clamps and more clamps are required.
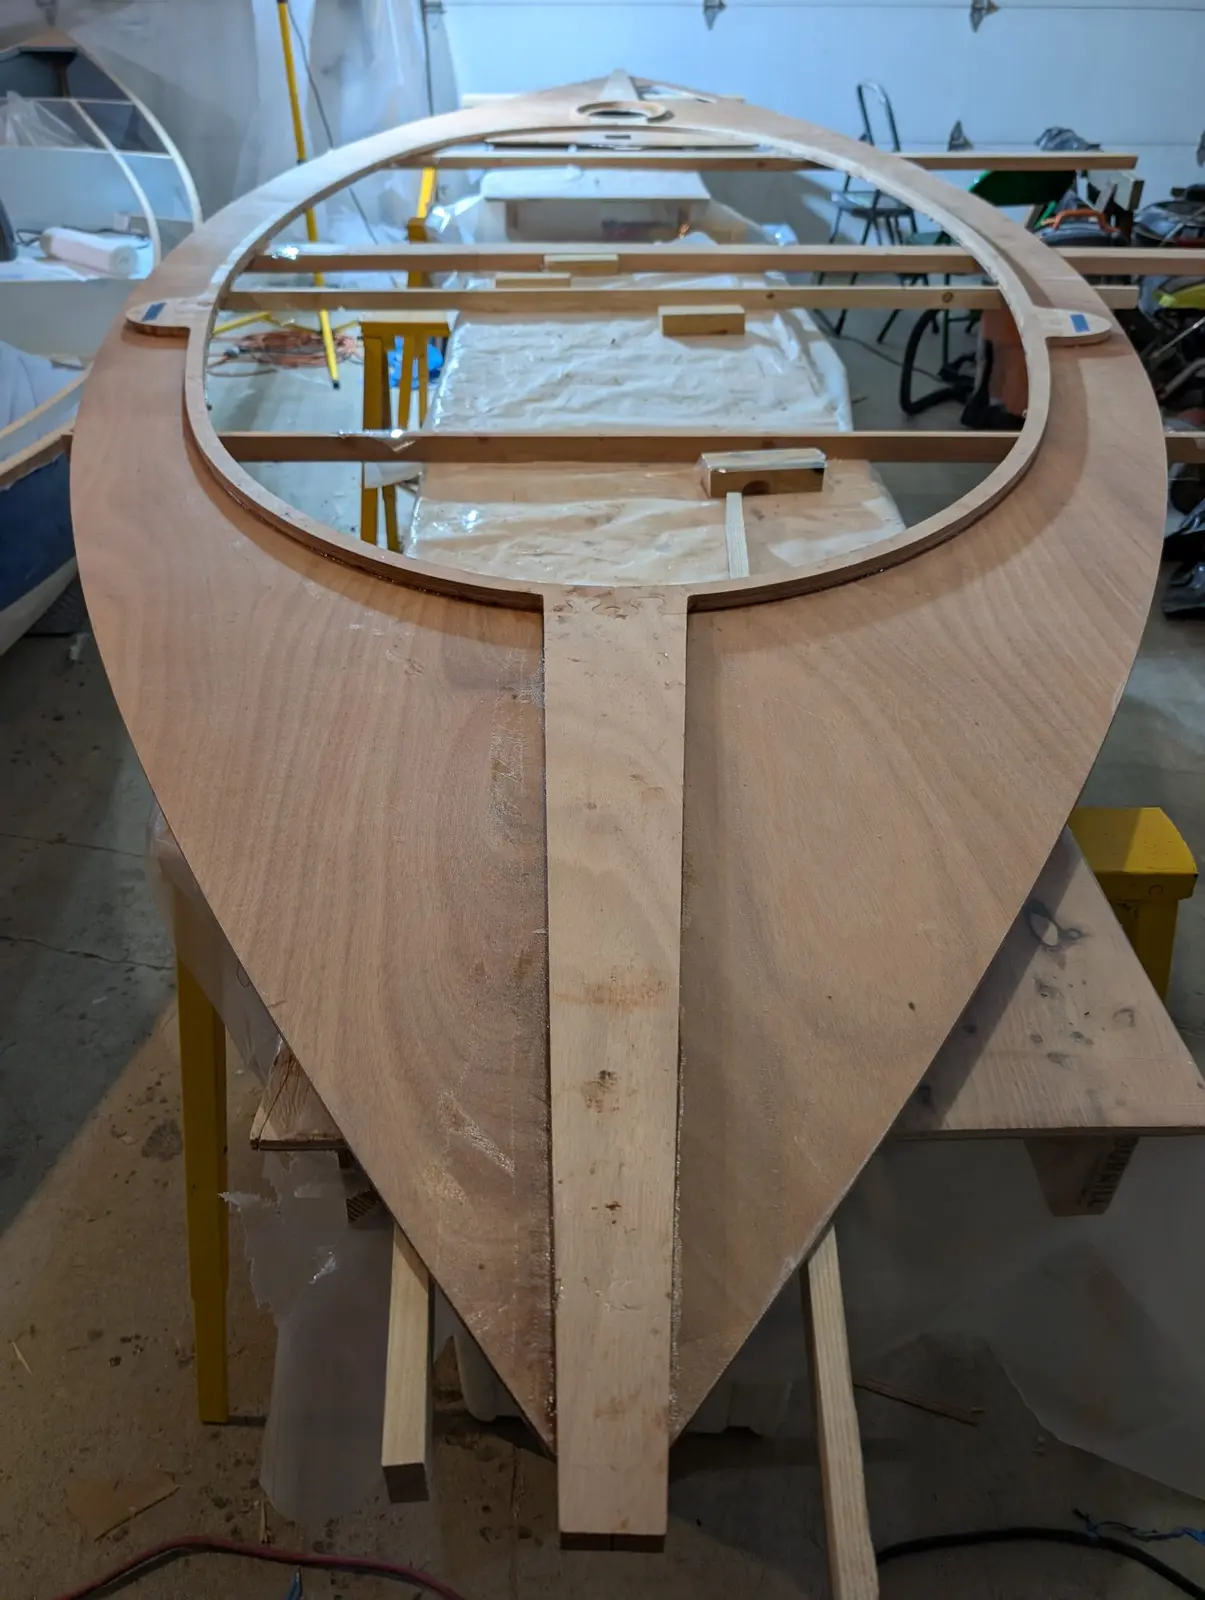
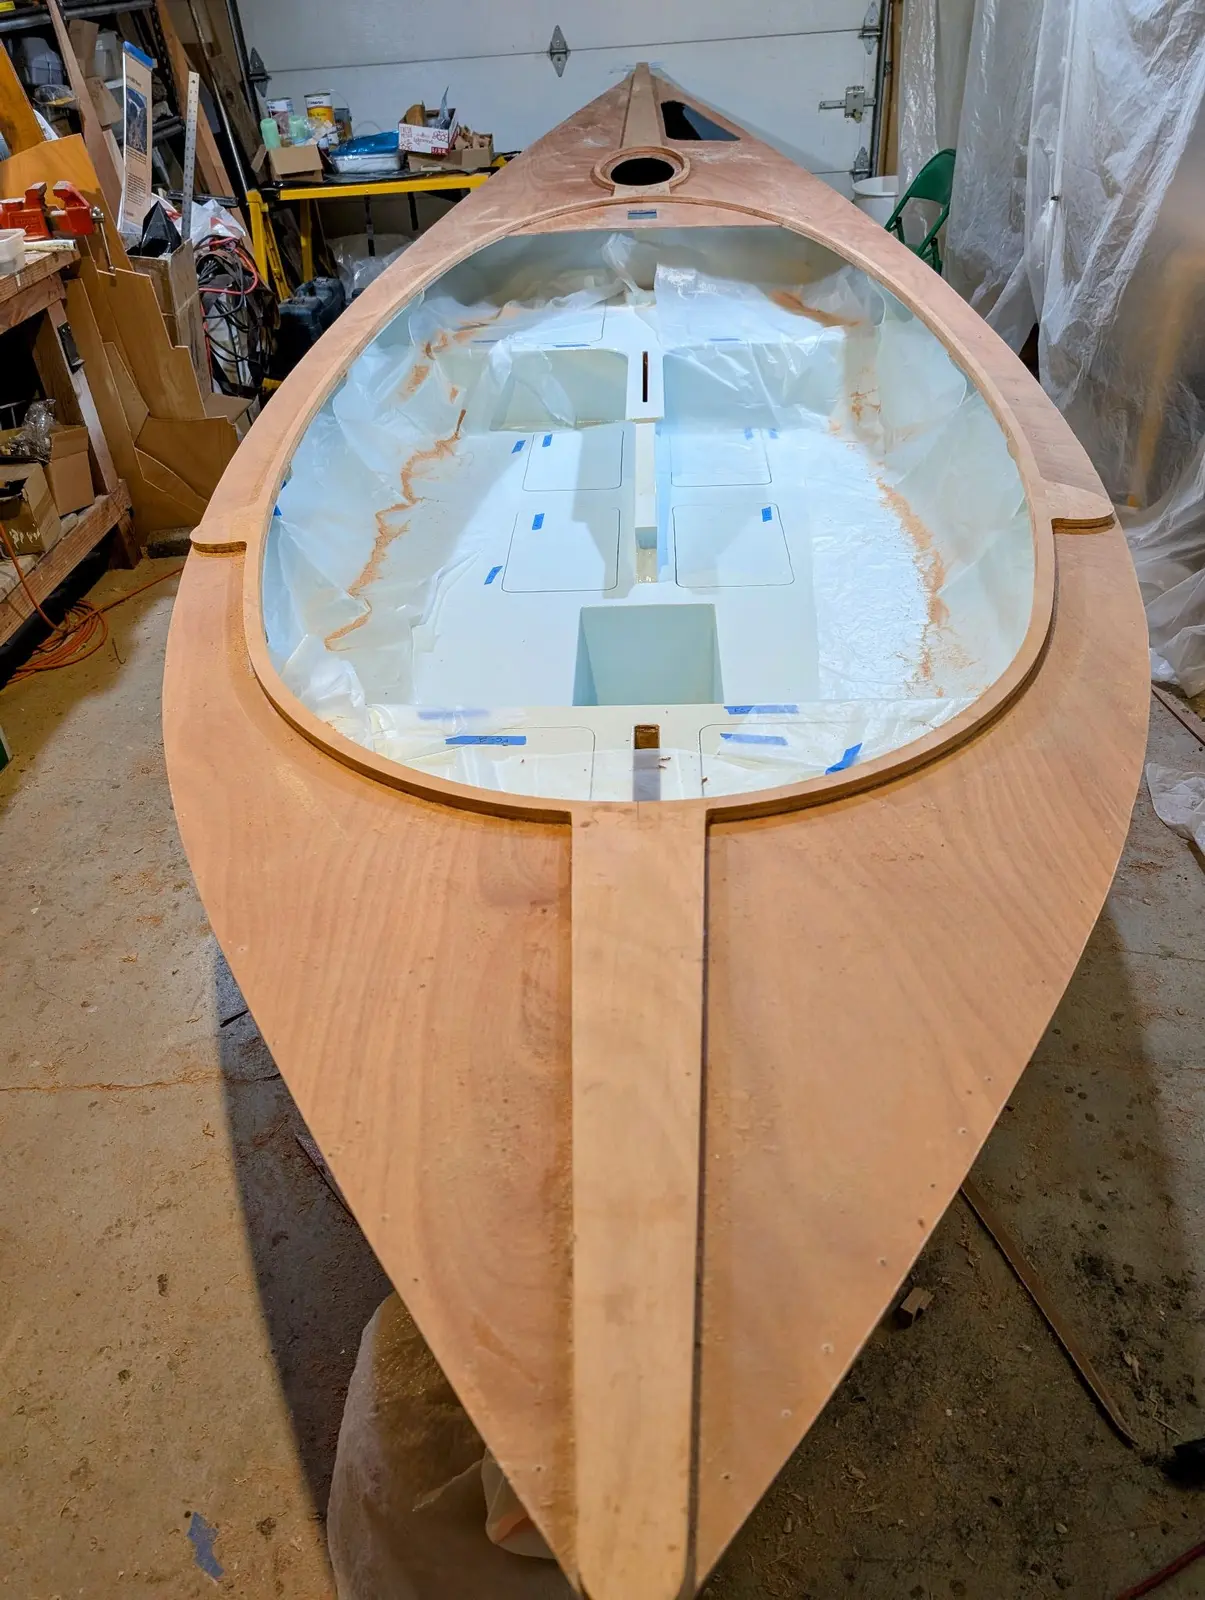
Cured and clamps removed
The deck was set on the hull to check fit. It really didn't fit perfectly. There are so many places in the whole build where things might be off a bit. It's going to be fine.
When I put the main deck on the hull, it was immediately clear it didn't fit well. The frames impose a significant camber athwartship. Having glued the coaming and king plank while it was off the boat meant the deck was essentially flat along that axis. I found I could remind it of its duty with a lot of weight and clamps to force it into place. The second problem was that somehow frames 1 (bow) and 7 (stern) were not sitting up enough. There was a 3/8" gap between the deck in frame in both places. The solution was to shim up each frame with a plywood strip to fill the gap. I used the CLC template to plane the shims to the approriate curve. I am not really sure what went wrong there but I assume I just didn't get the planks seated completely tight and so they stood proud of the frames? maybe?
Dry fitting the main deck to the hull.
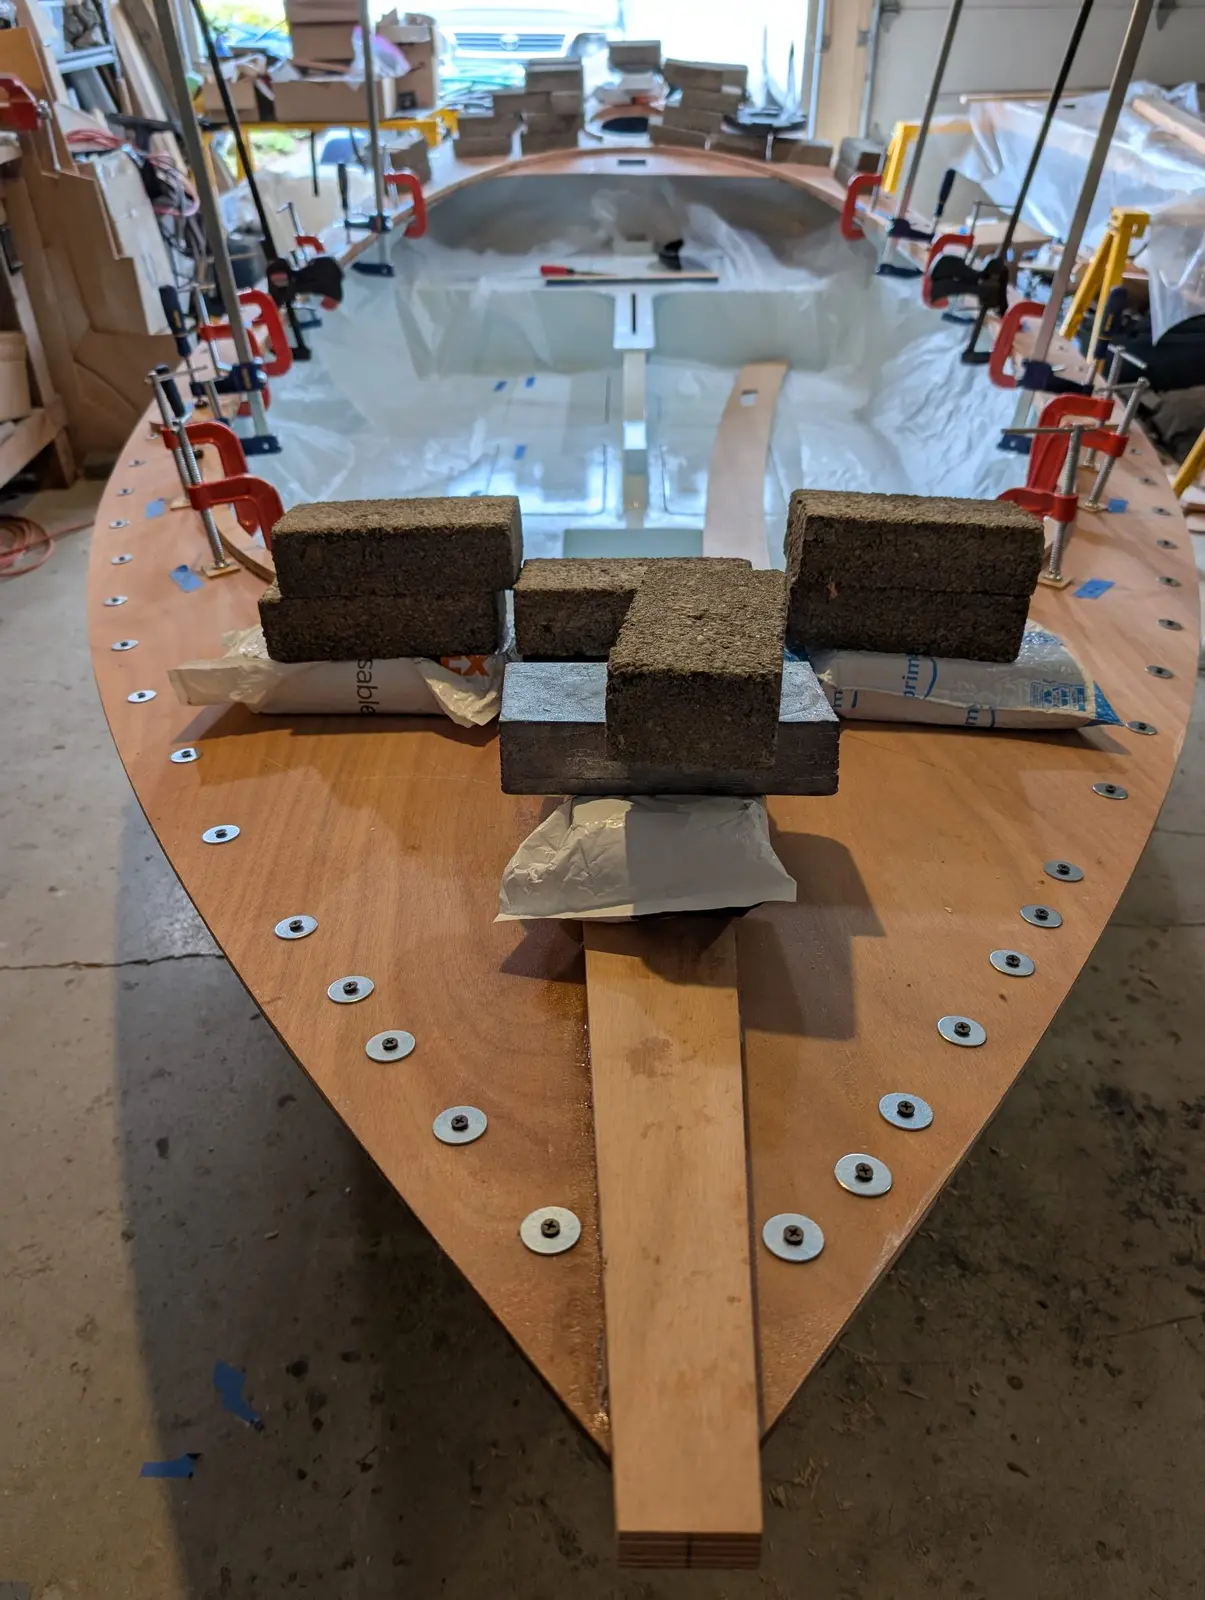
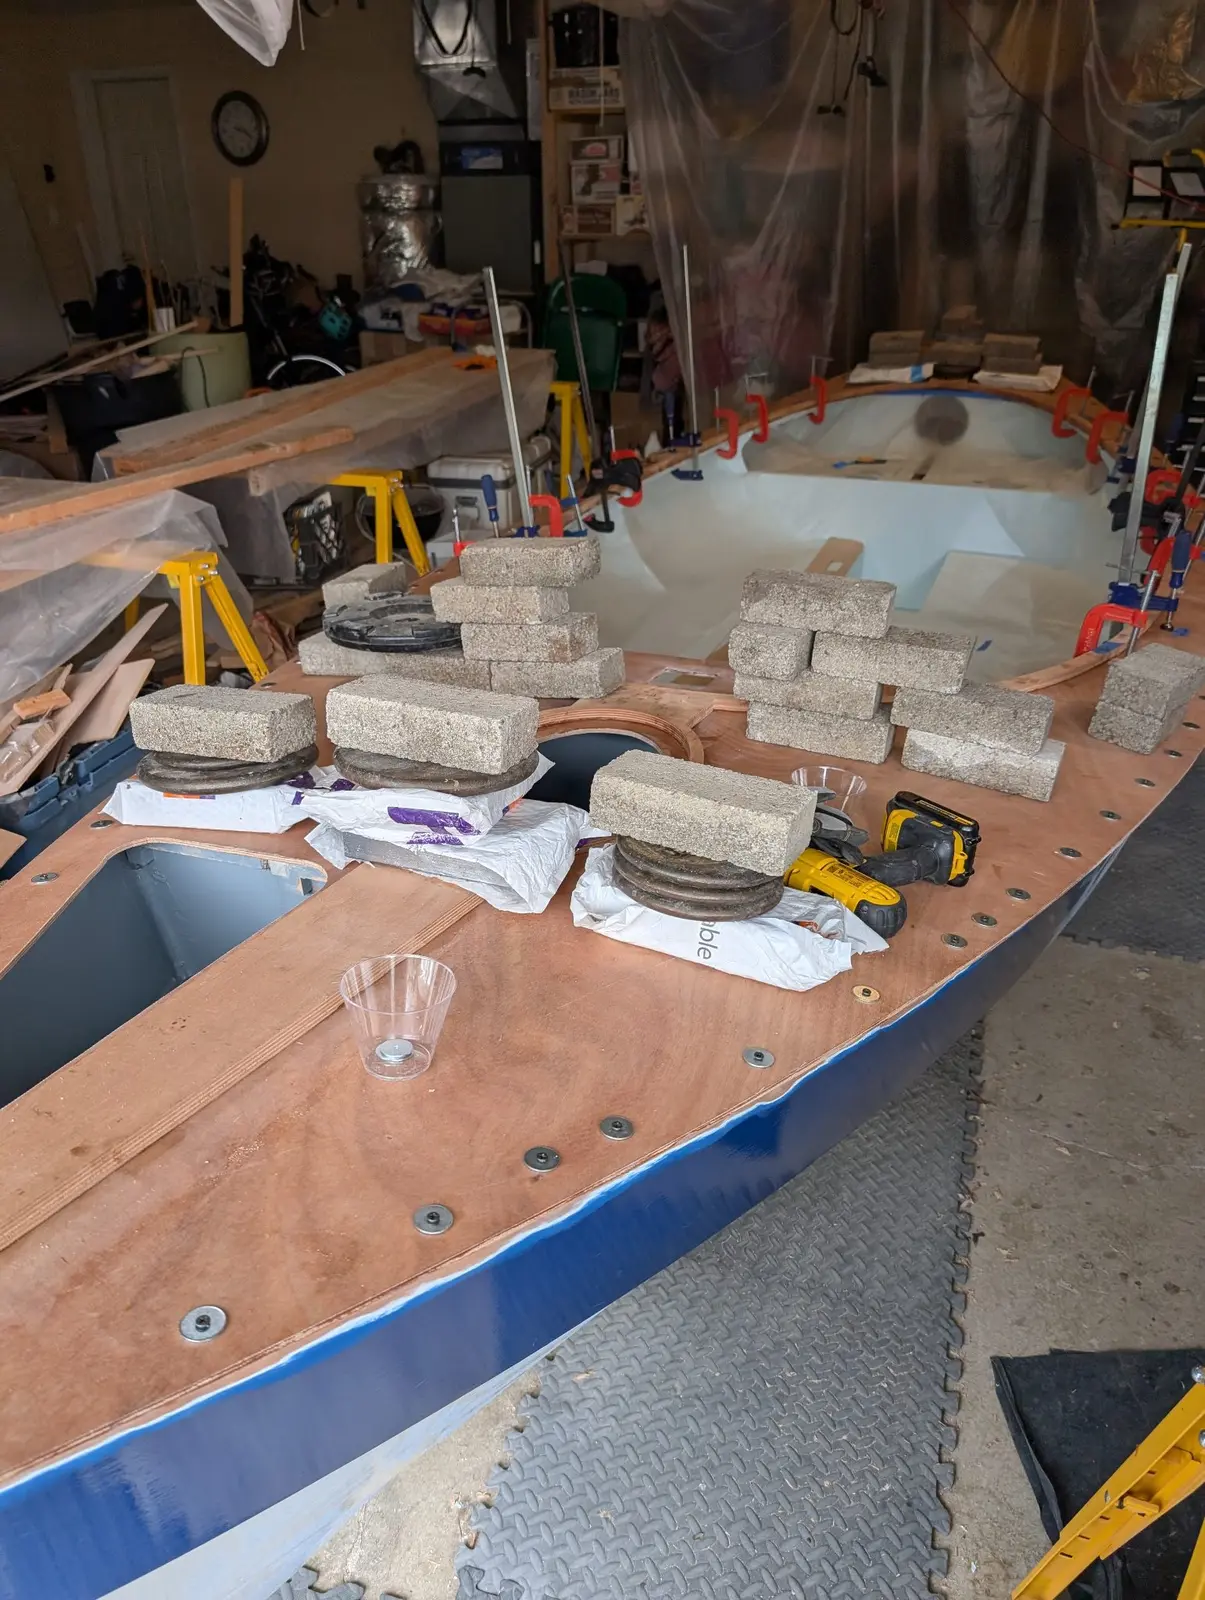
With a LOT of weight and clamps, I was able to get the deck to conform to the camber of the frames
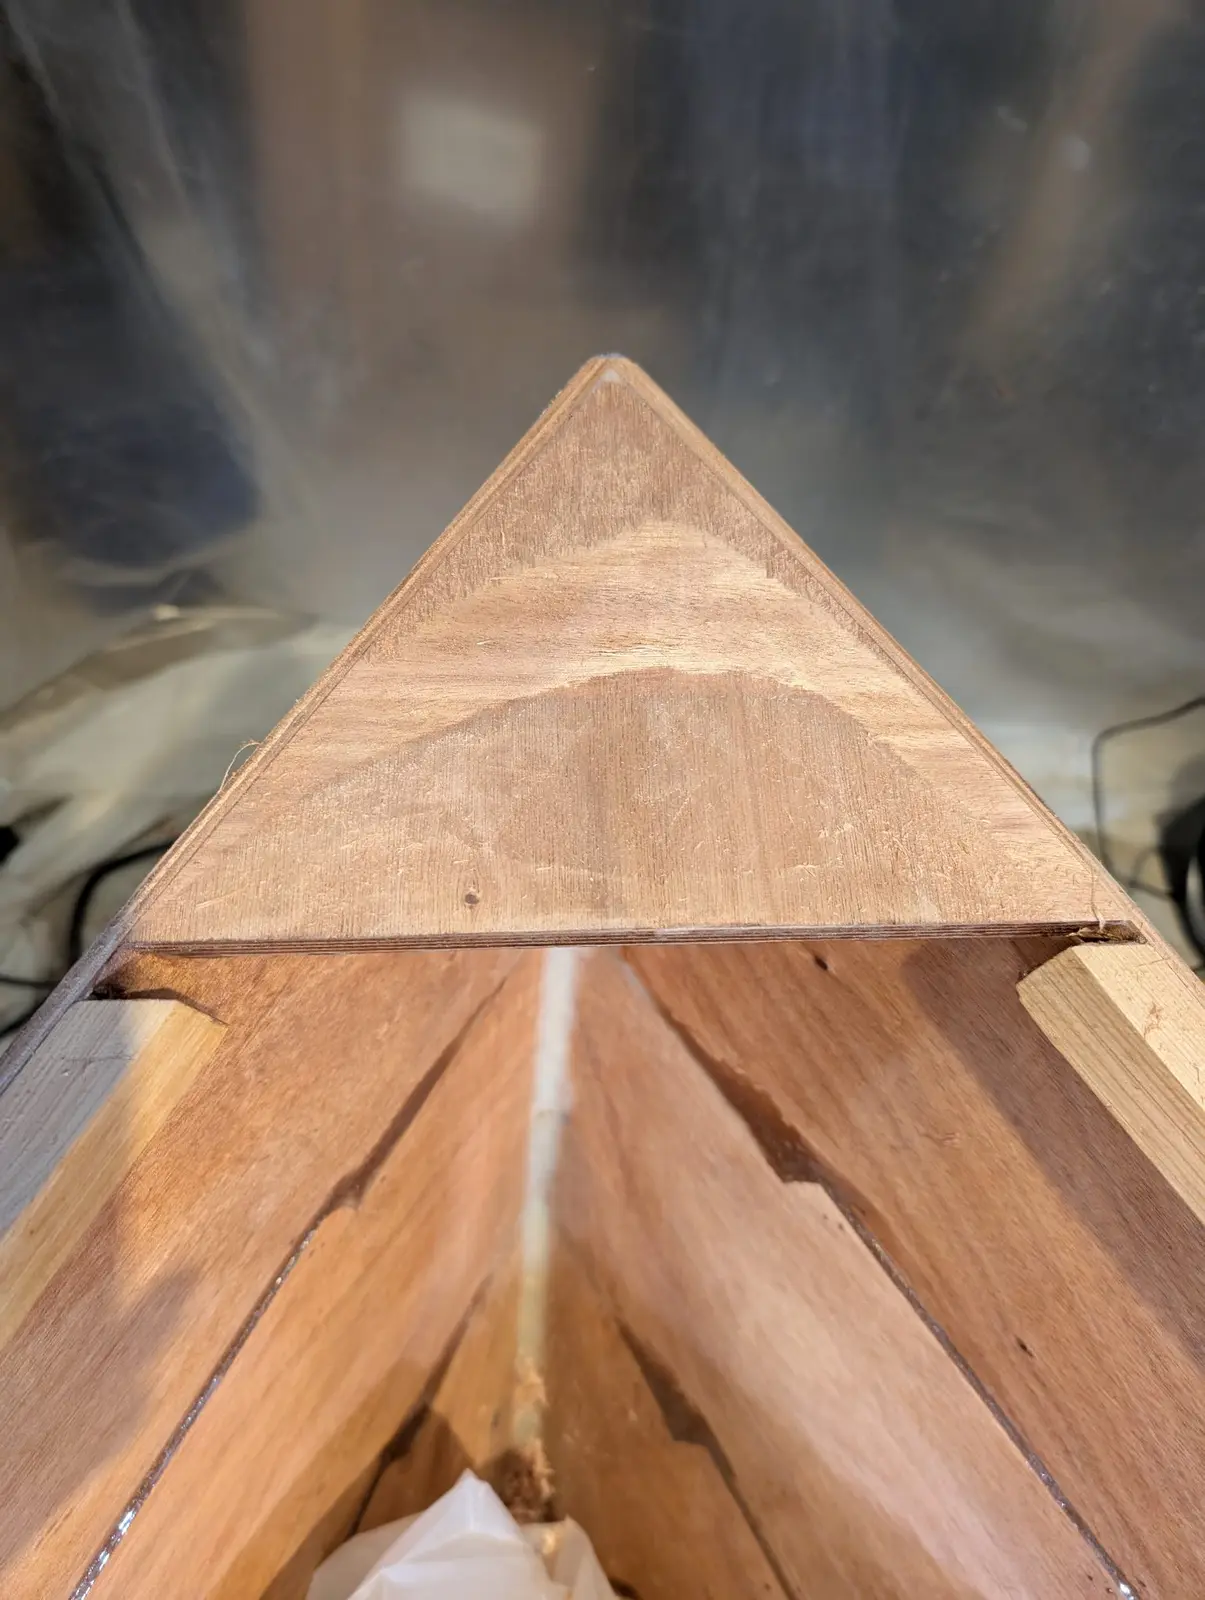
The breasthooks at bow and stern both needed to be shaved down to get the deck to sit flush on them.
4, 5. Somehow, frames 1 and 7 were too low and had to be shimmed up. Then I planed them down to conform to the camber template CLC provided
After fretting about alignment, fixing fit problems, and a lot of prep work, I finally glued on the main deck. When finished, there are no mechanical fasteners between the deck and the hull; you have to get it glued down securely in one take. There are no second chances.
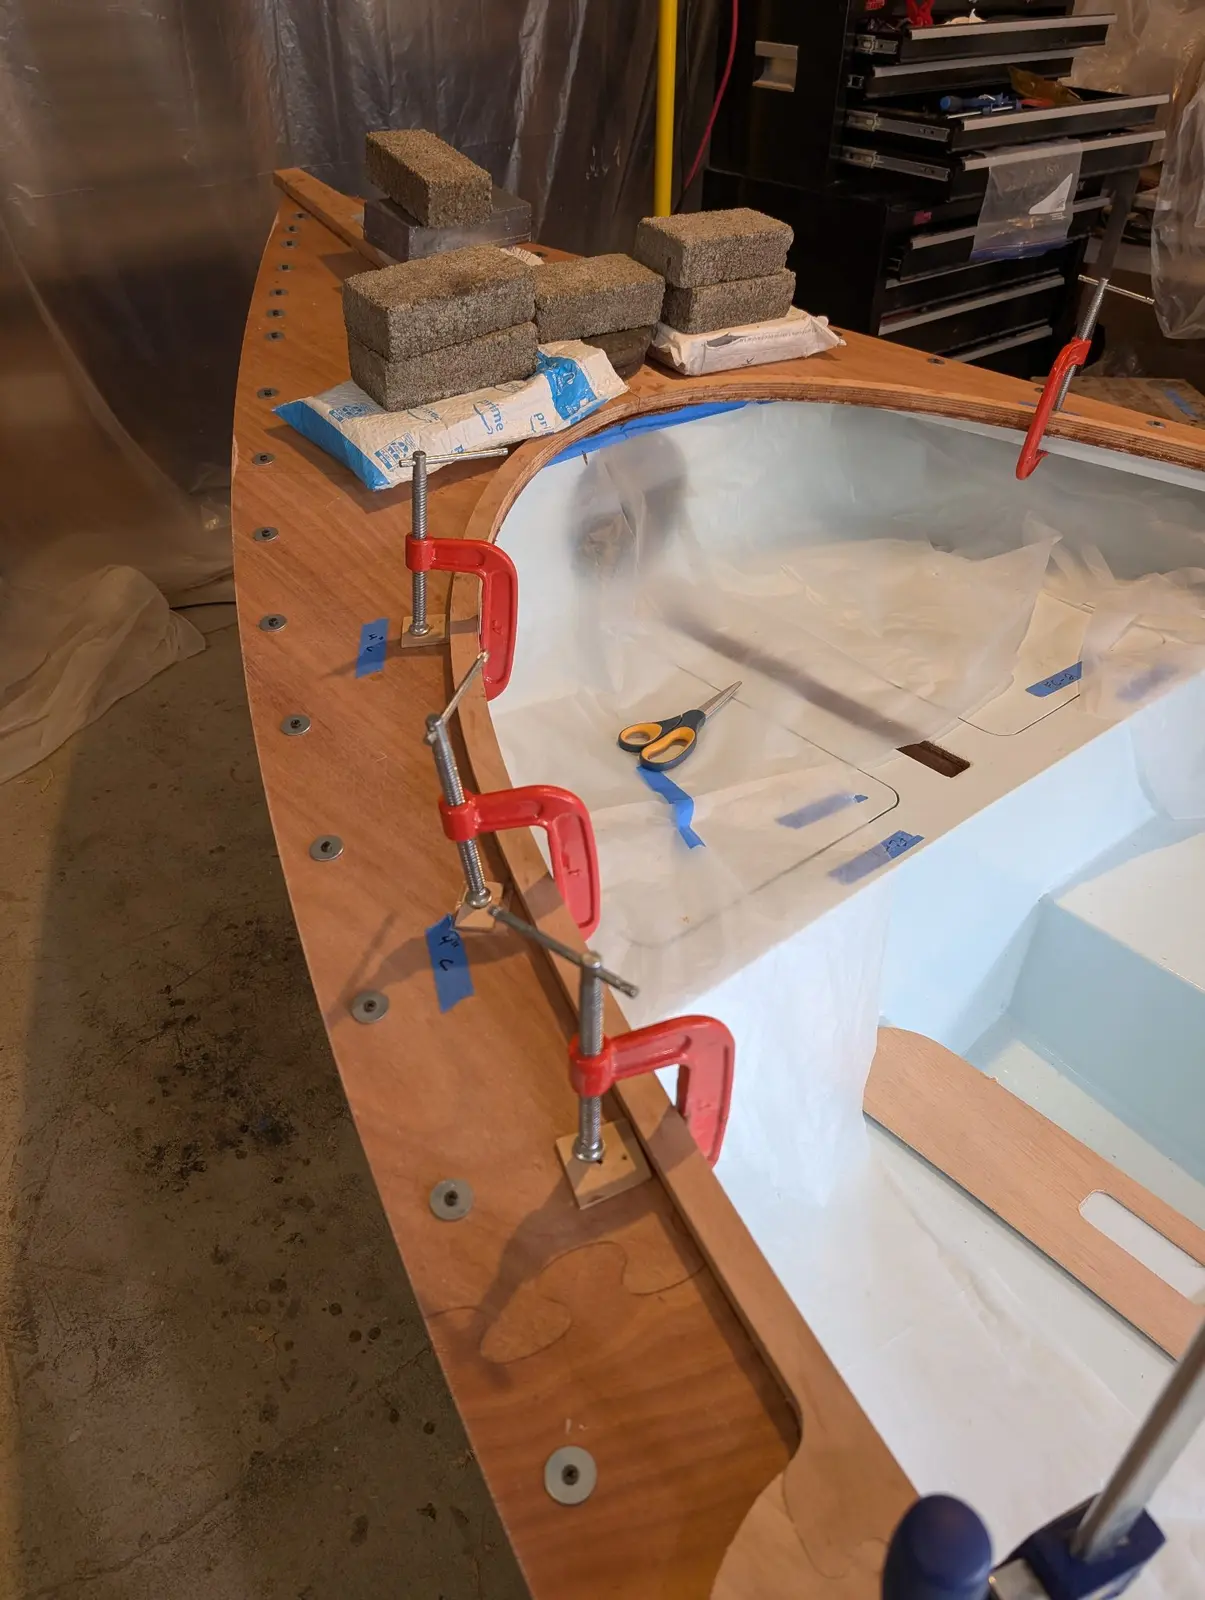
It takes a lot of weight to get the flat deck pressed down onto the cambered supports. I used fender washers and wood screws to pull it down to the shear planks. CLC provides a gauge for locating these accurately. I couldn't locate the interior supports accurately enough, so there I relied on weight, lots of weight.
The inside clamps are pulling the deck down to the deck carlins
I used lead bricks, cast iron weights, and concrete bricks to make the deck behave. It seems to have worked!
The carlins, shear planks, frames, and breasthooks got generous beads of thickened epoxy on their tops so I sheeted the interior in case some wanted to drip down.
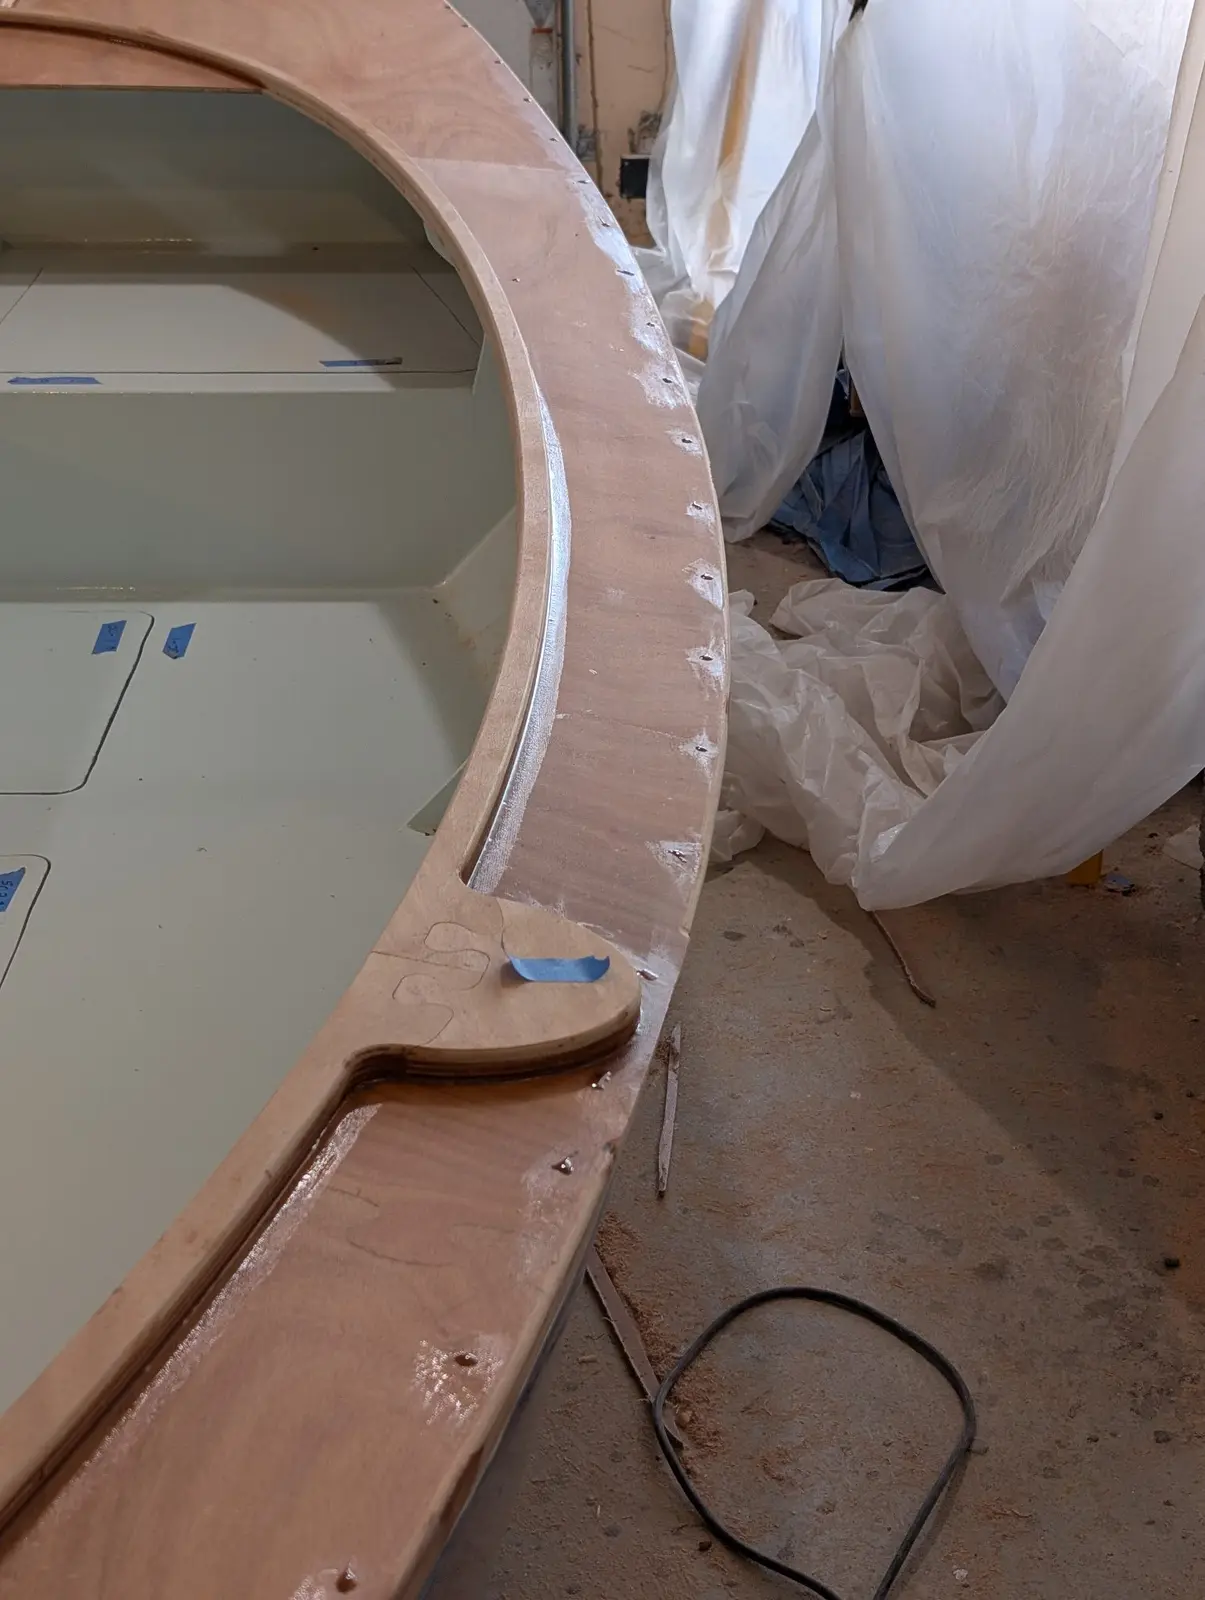
After removing all the clamps and fasteners, I ran my router on the edge with a flush cut bit
Since I am going to reinforce the Devil's seam I also ran a round over bit along the edges so the tape would lie down properly. I couldn't use the router too near the oarlock pads. I just left it sharp and didn't tape there.
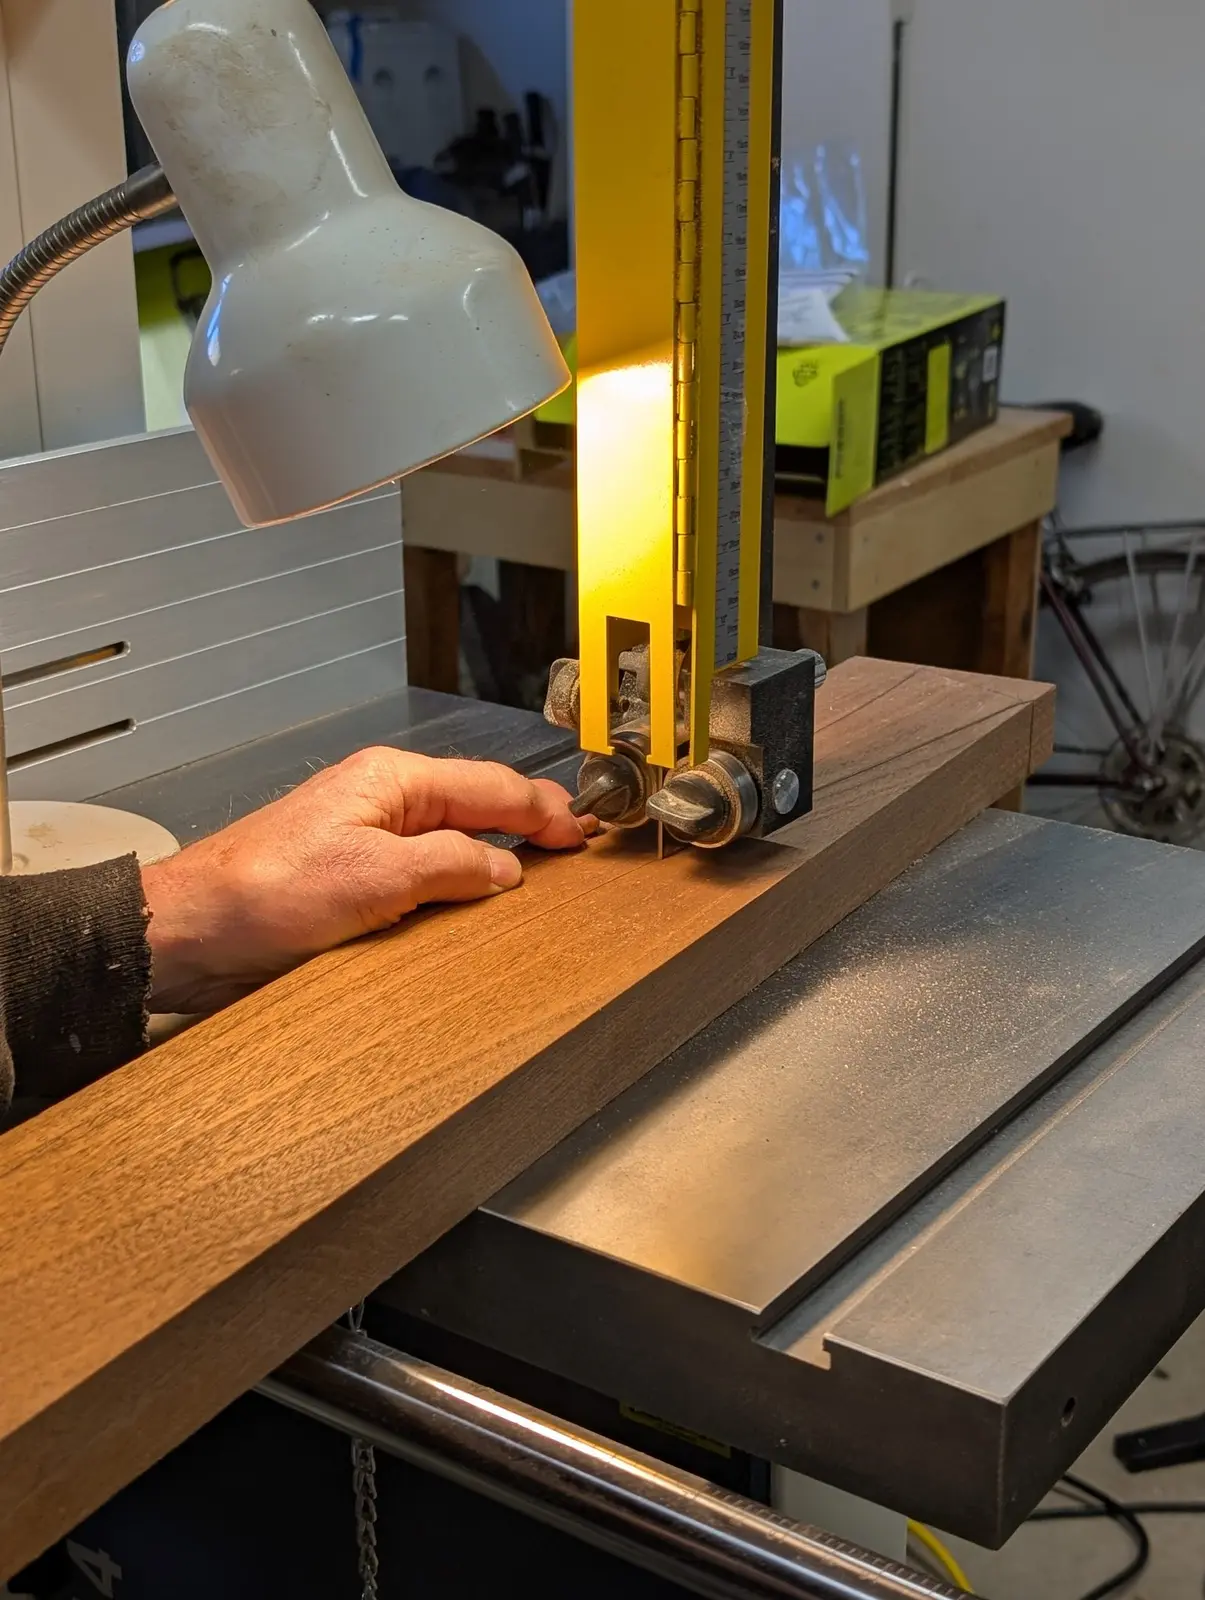
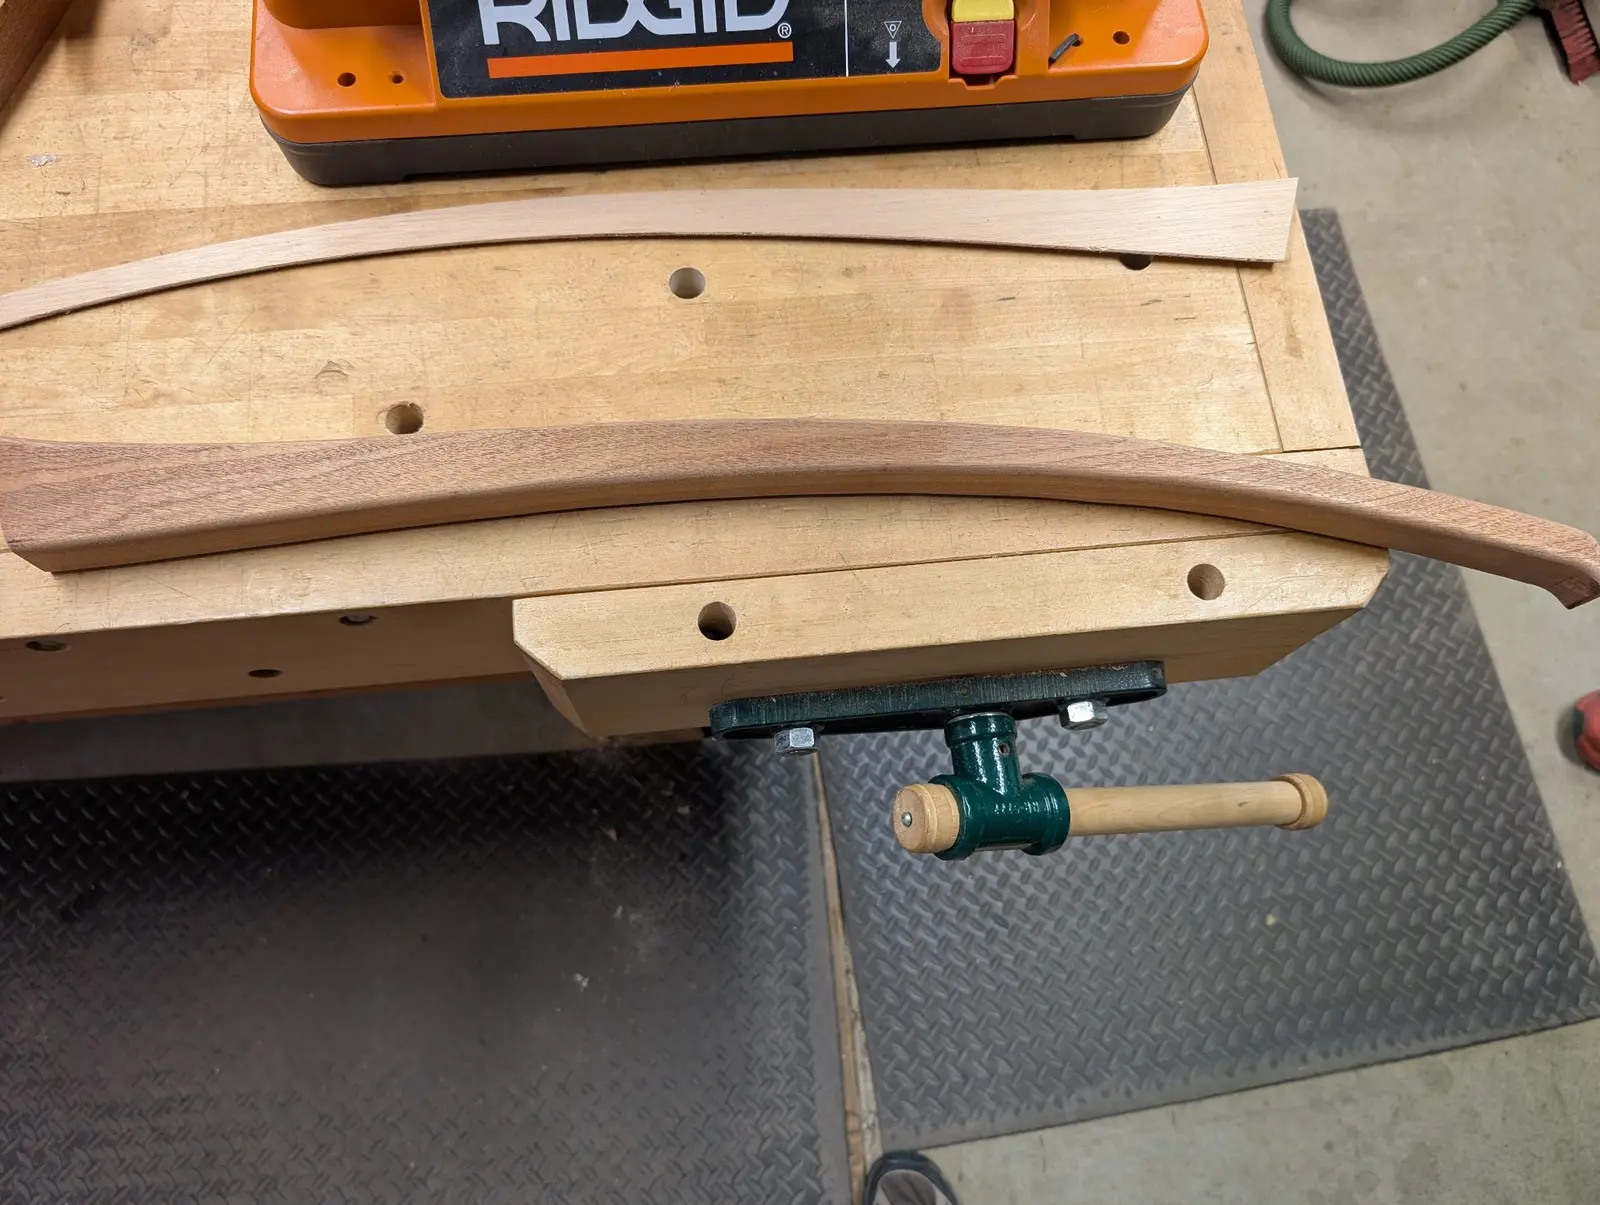
CLC provides a template for the tiller shape. I cut it out with a bandsaw from a solid piece of Mahoganoid wood supplied with the kit. The edges were rounded over with a router, and then the piece was finished with an oscillating belt sander to remove tool marks.
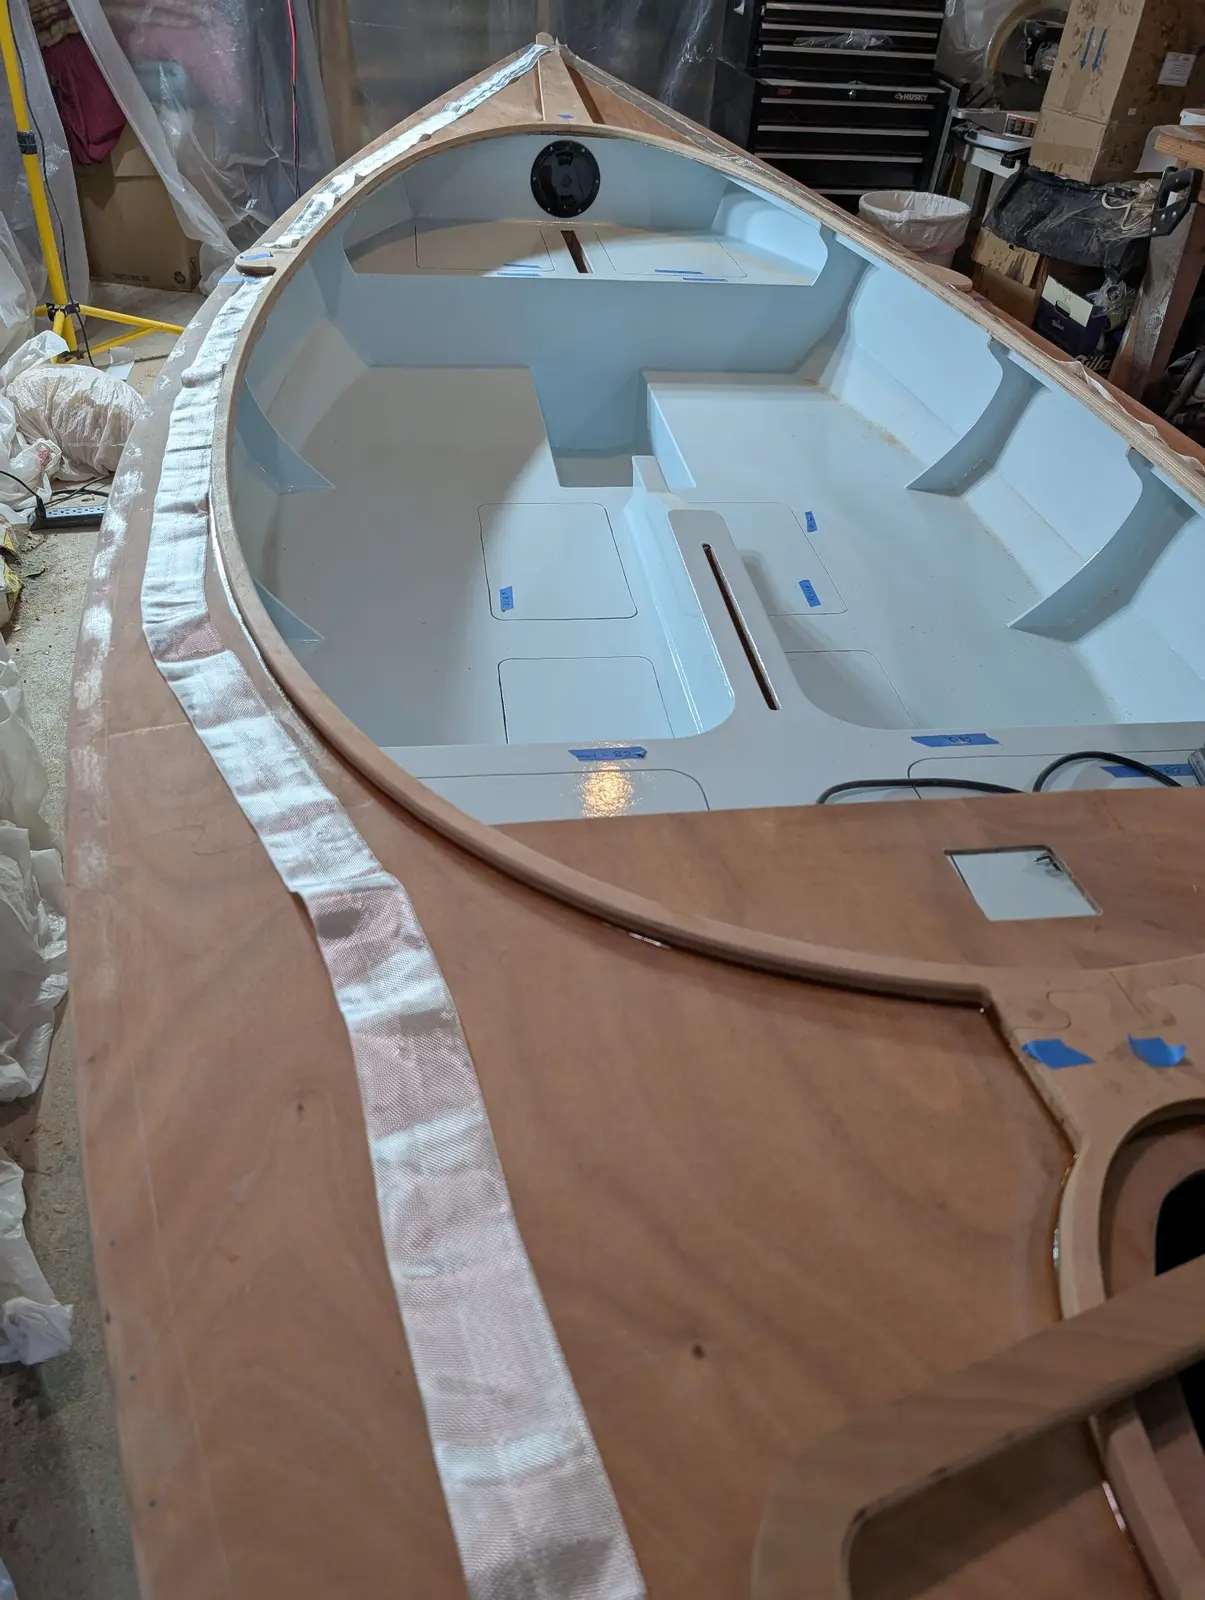
Now that the deck is glued onto the boat, I need to reinforce the Devil's seam with FG tape.
Fill all the screw holes that had fender washers to clamp the deck down, sand them smooth.
Lay out the tape and practice the glue up steps. I decided NOT to cut off the tape selvages, dooming myself to more sanding. I just don't do well with loose tape edges. They always seem to end up fraying and making a nuisance of themselves.
Tape is down and curing.
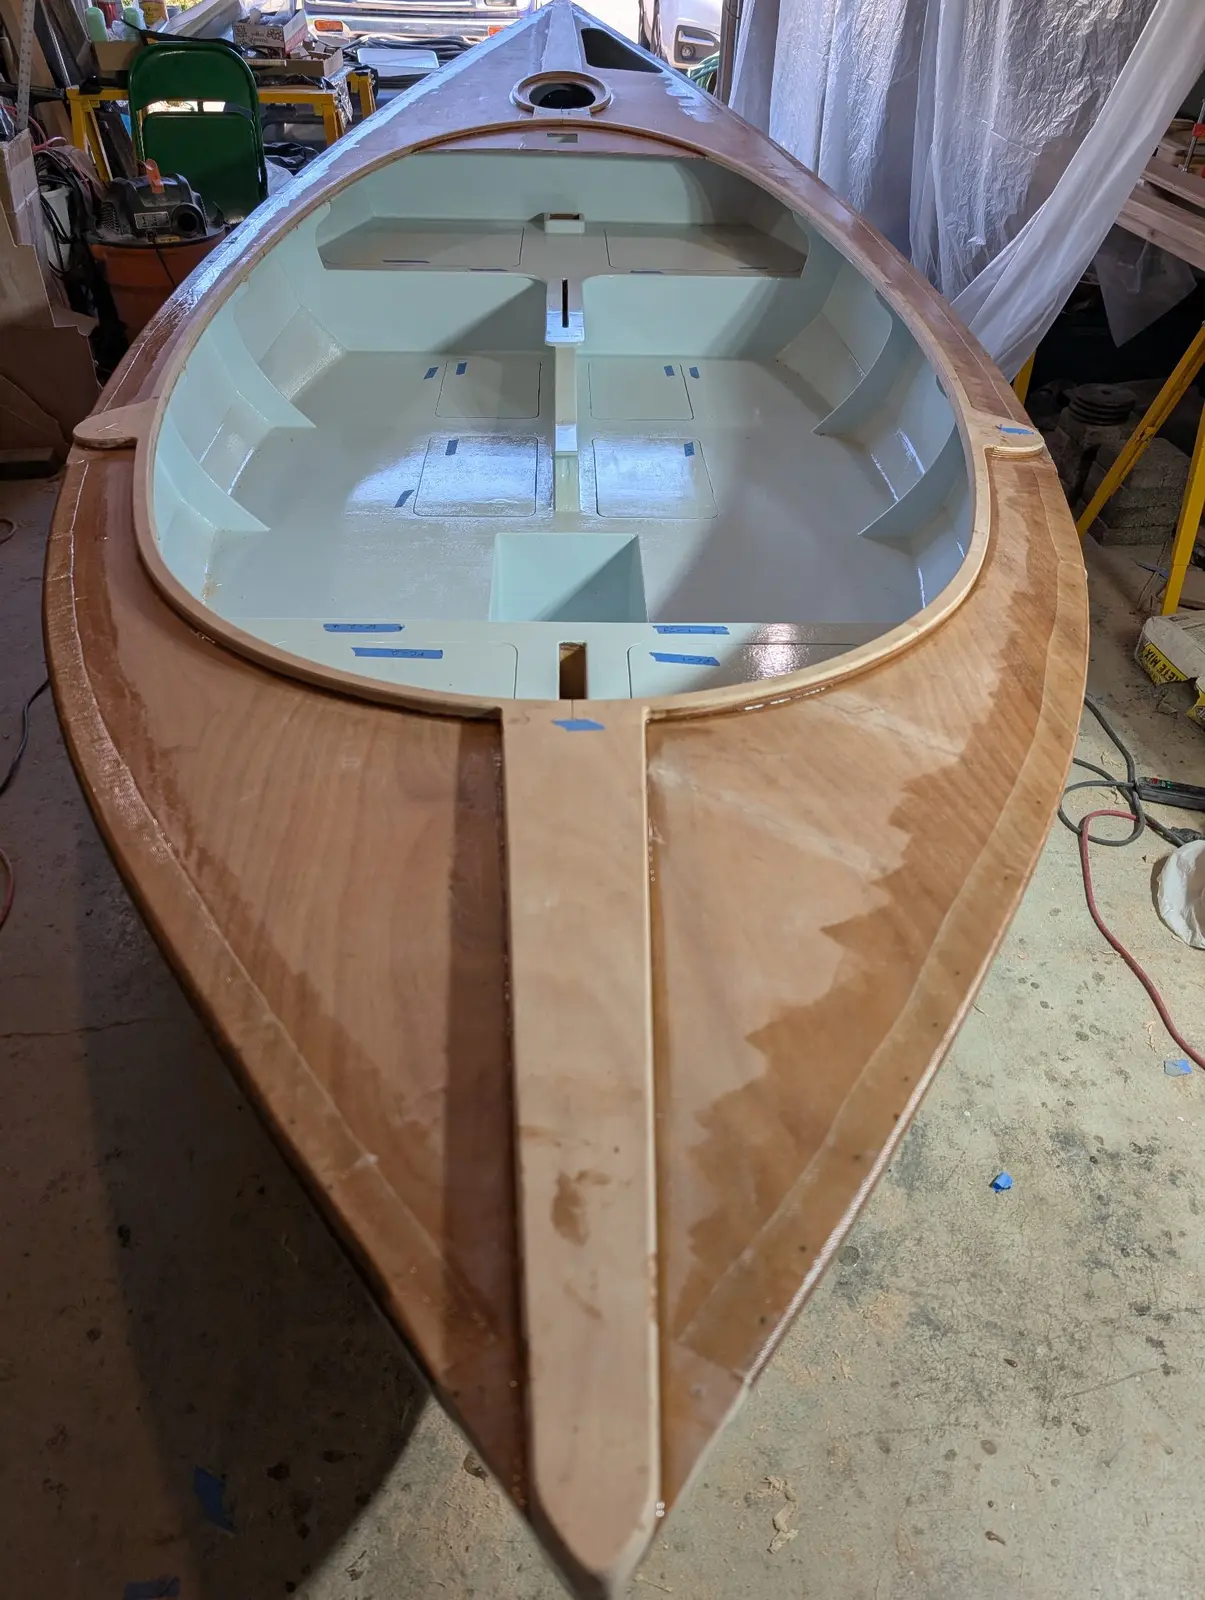
I want this to be a very smooth deck so I laid down a thick coat of medium density filler.
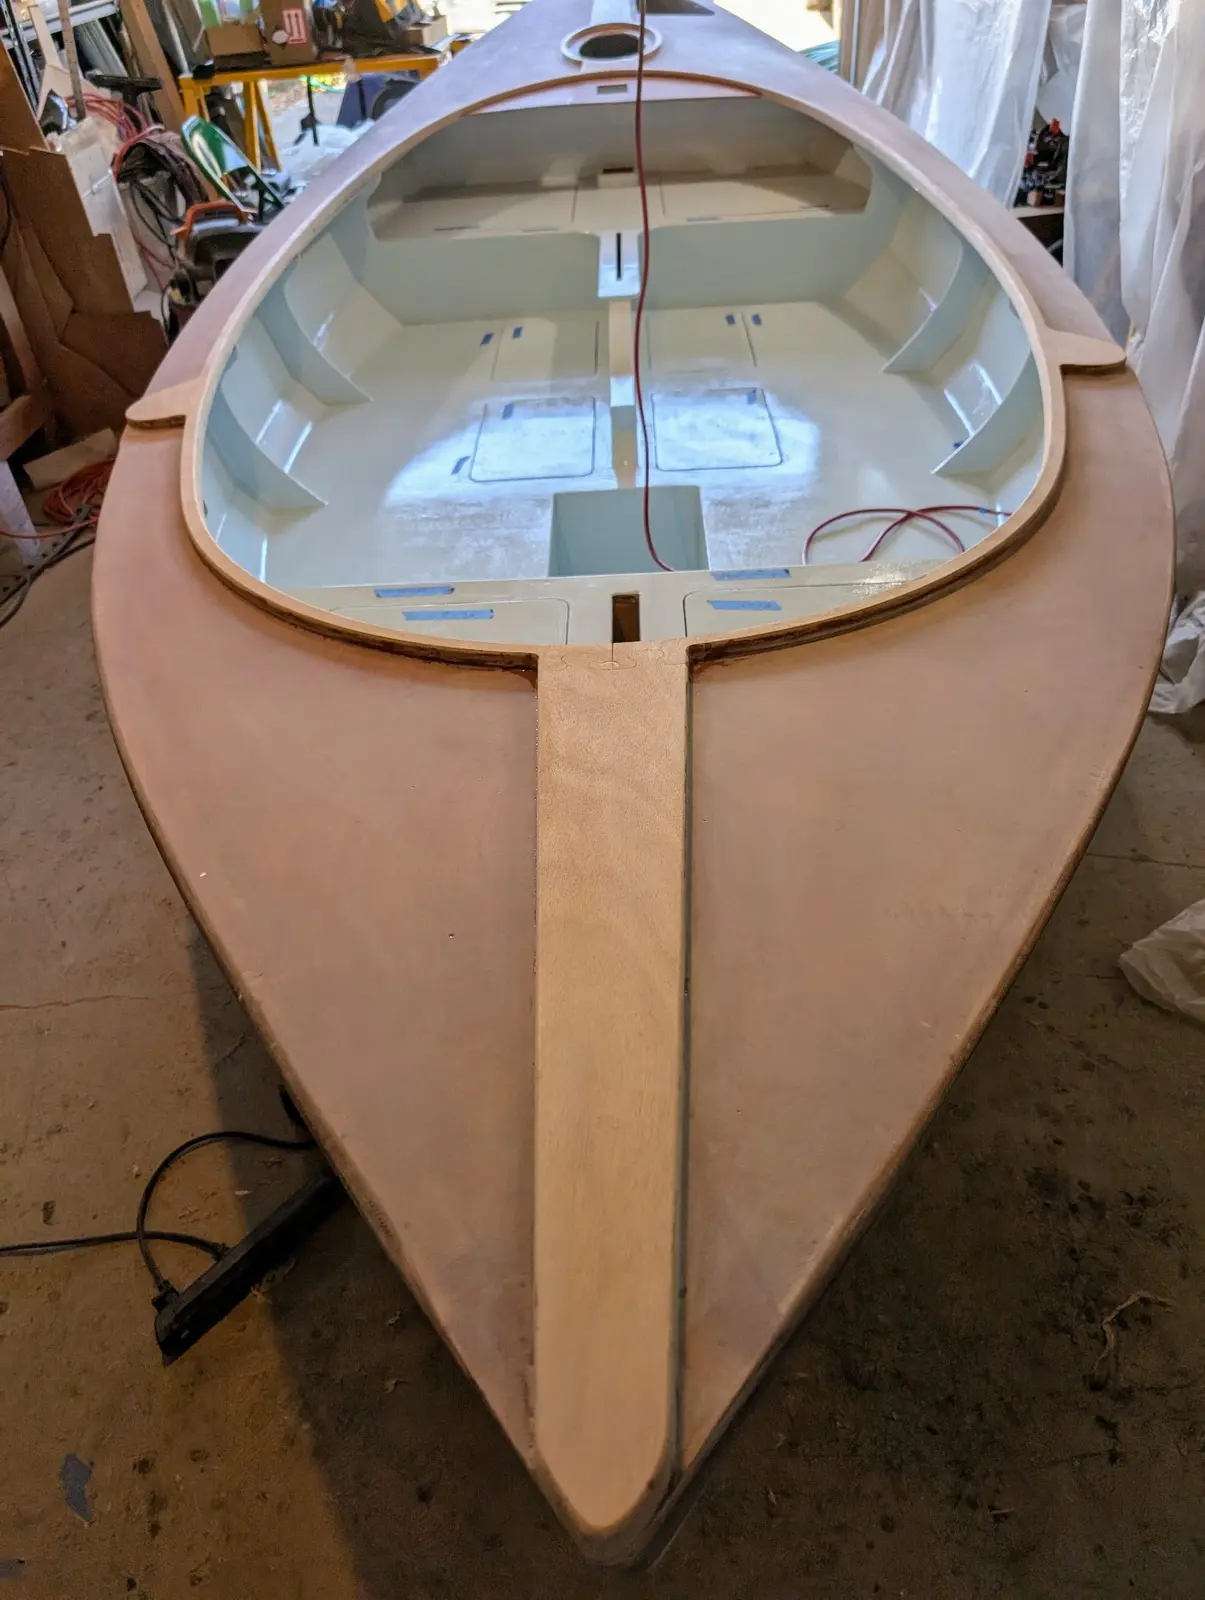
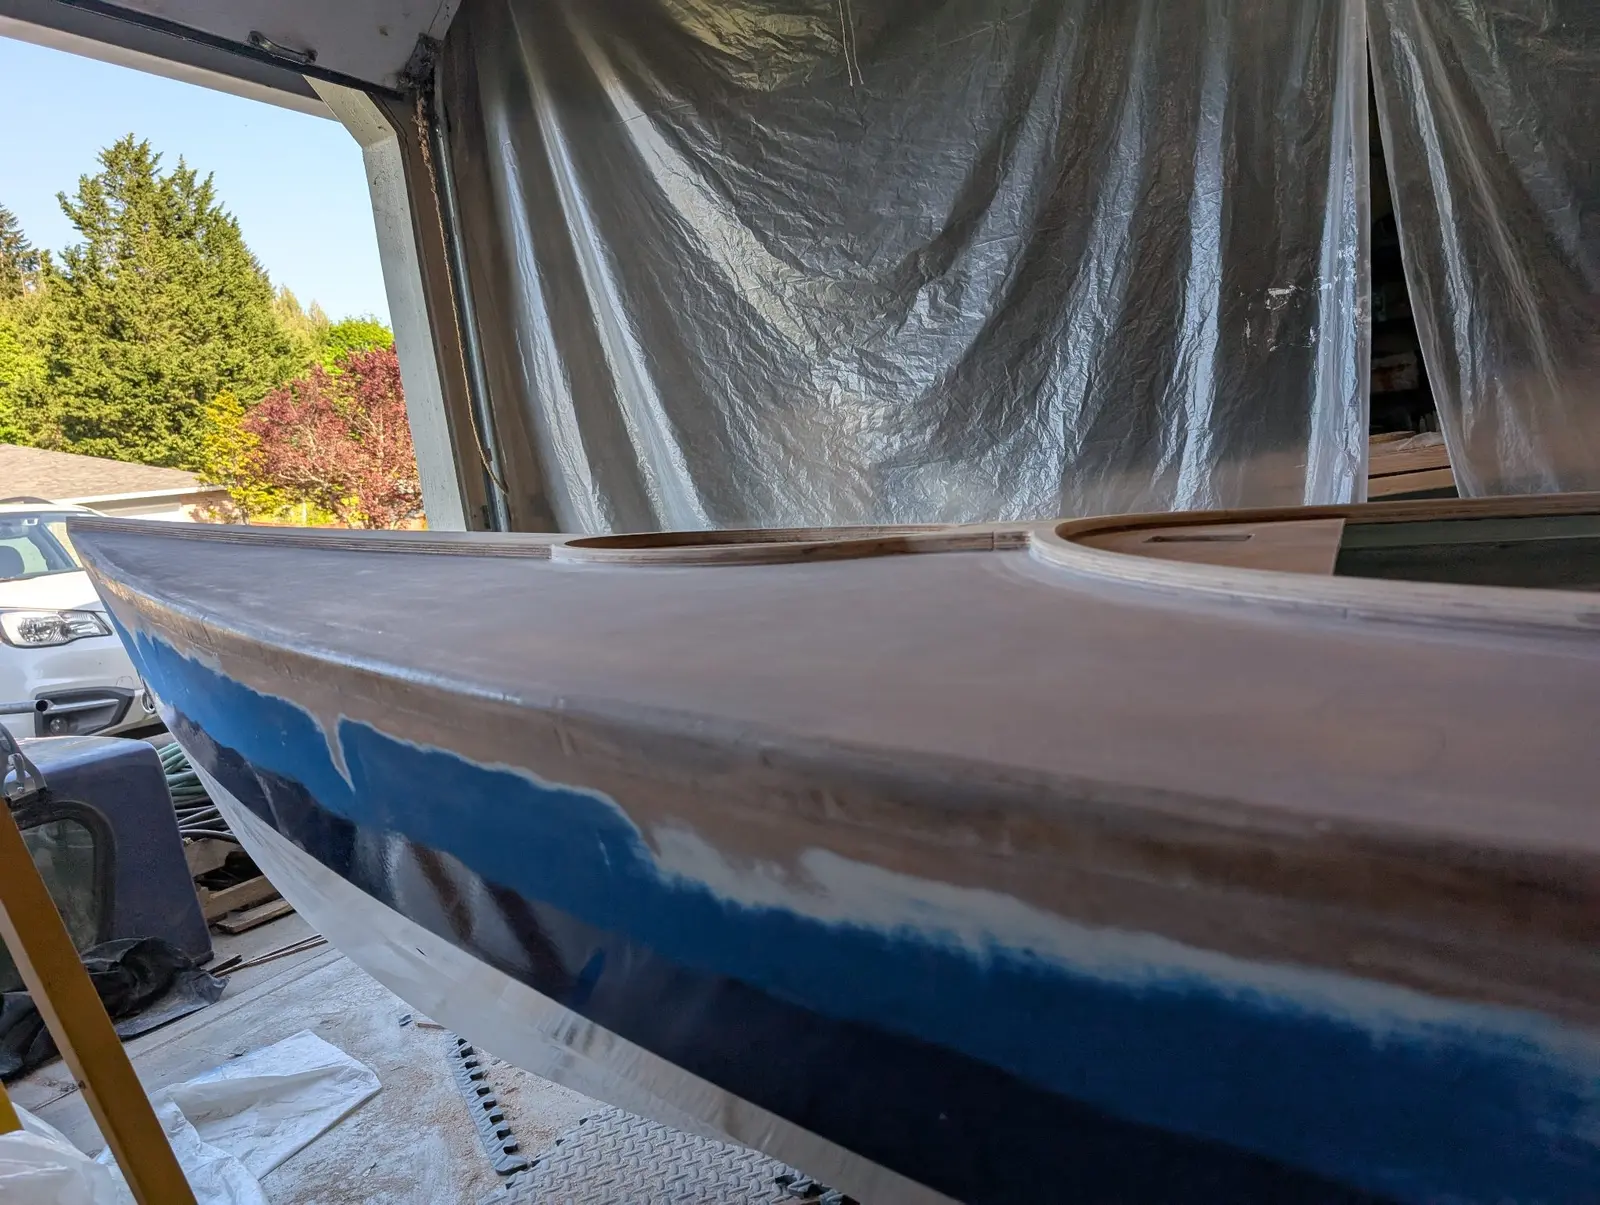
Filler sanded, view from rear
filler sanded, view of deck
Rather than fairing the tape into the hull, I just feathered it in by sanding
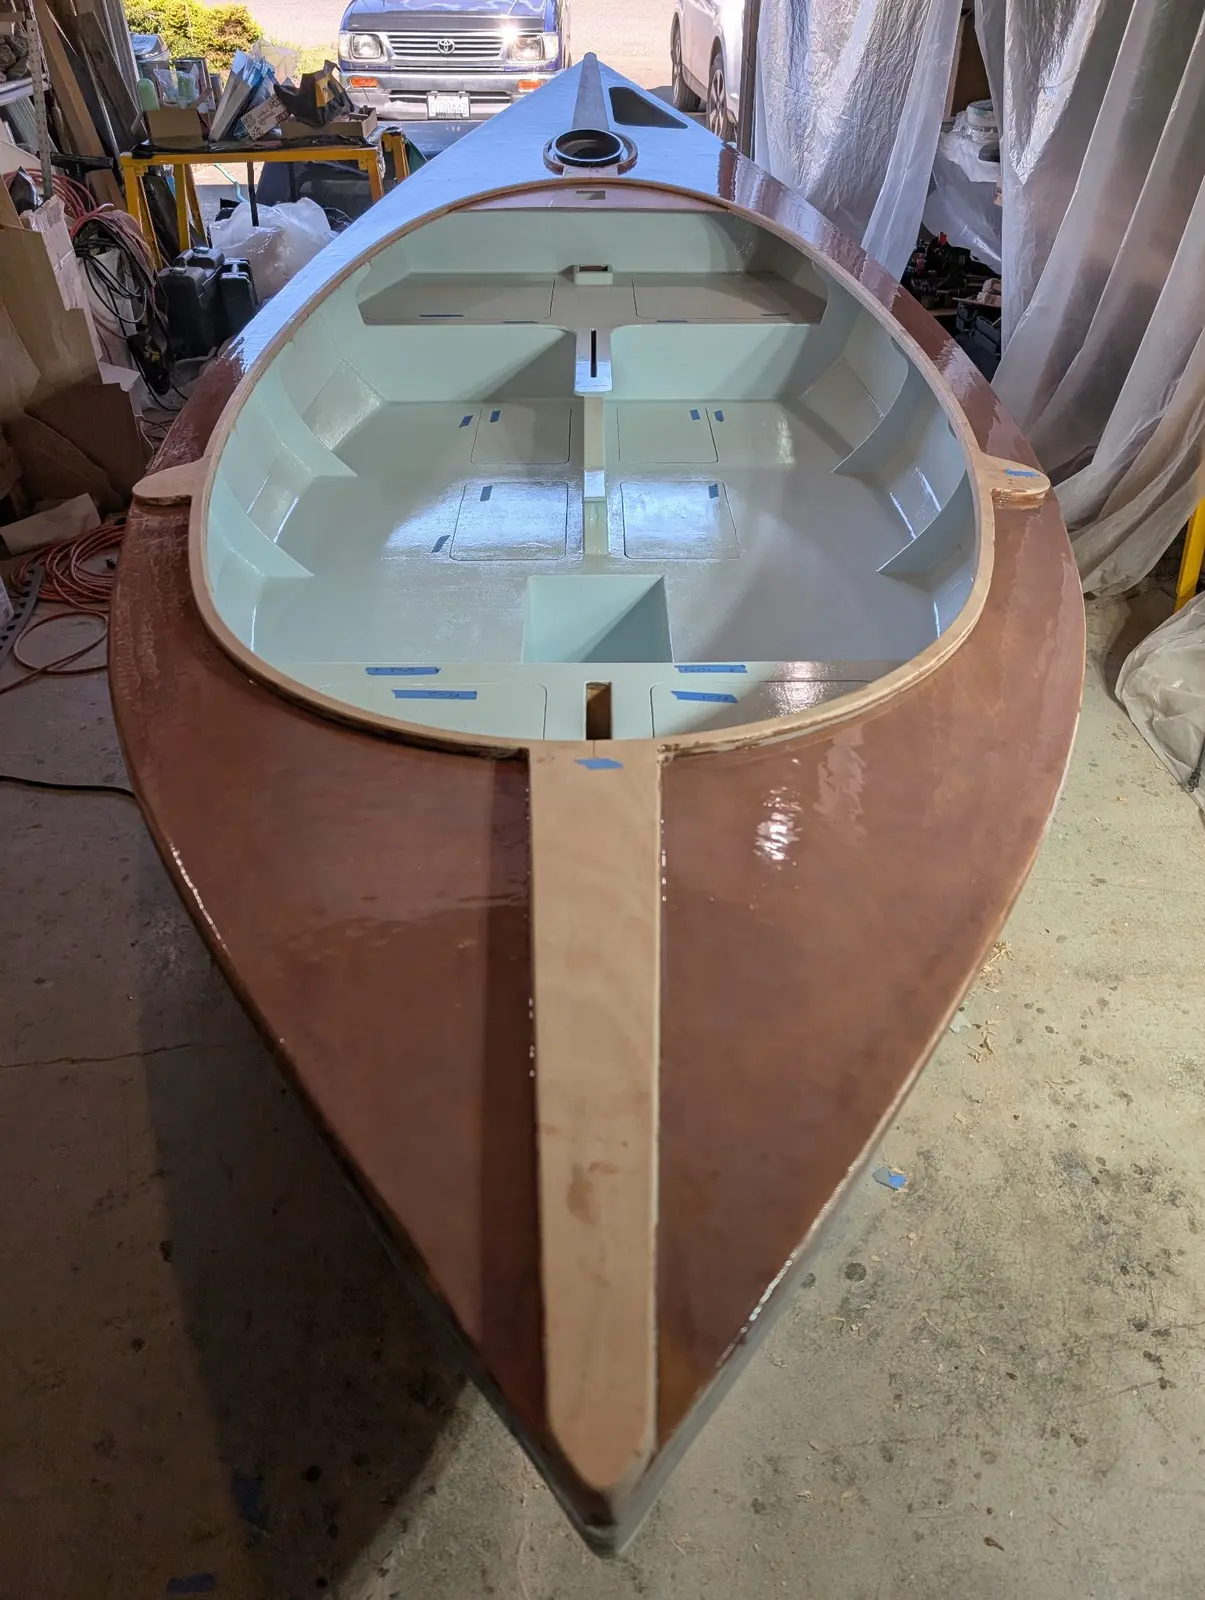
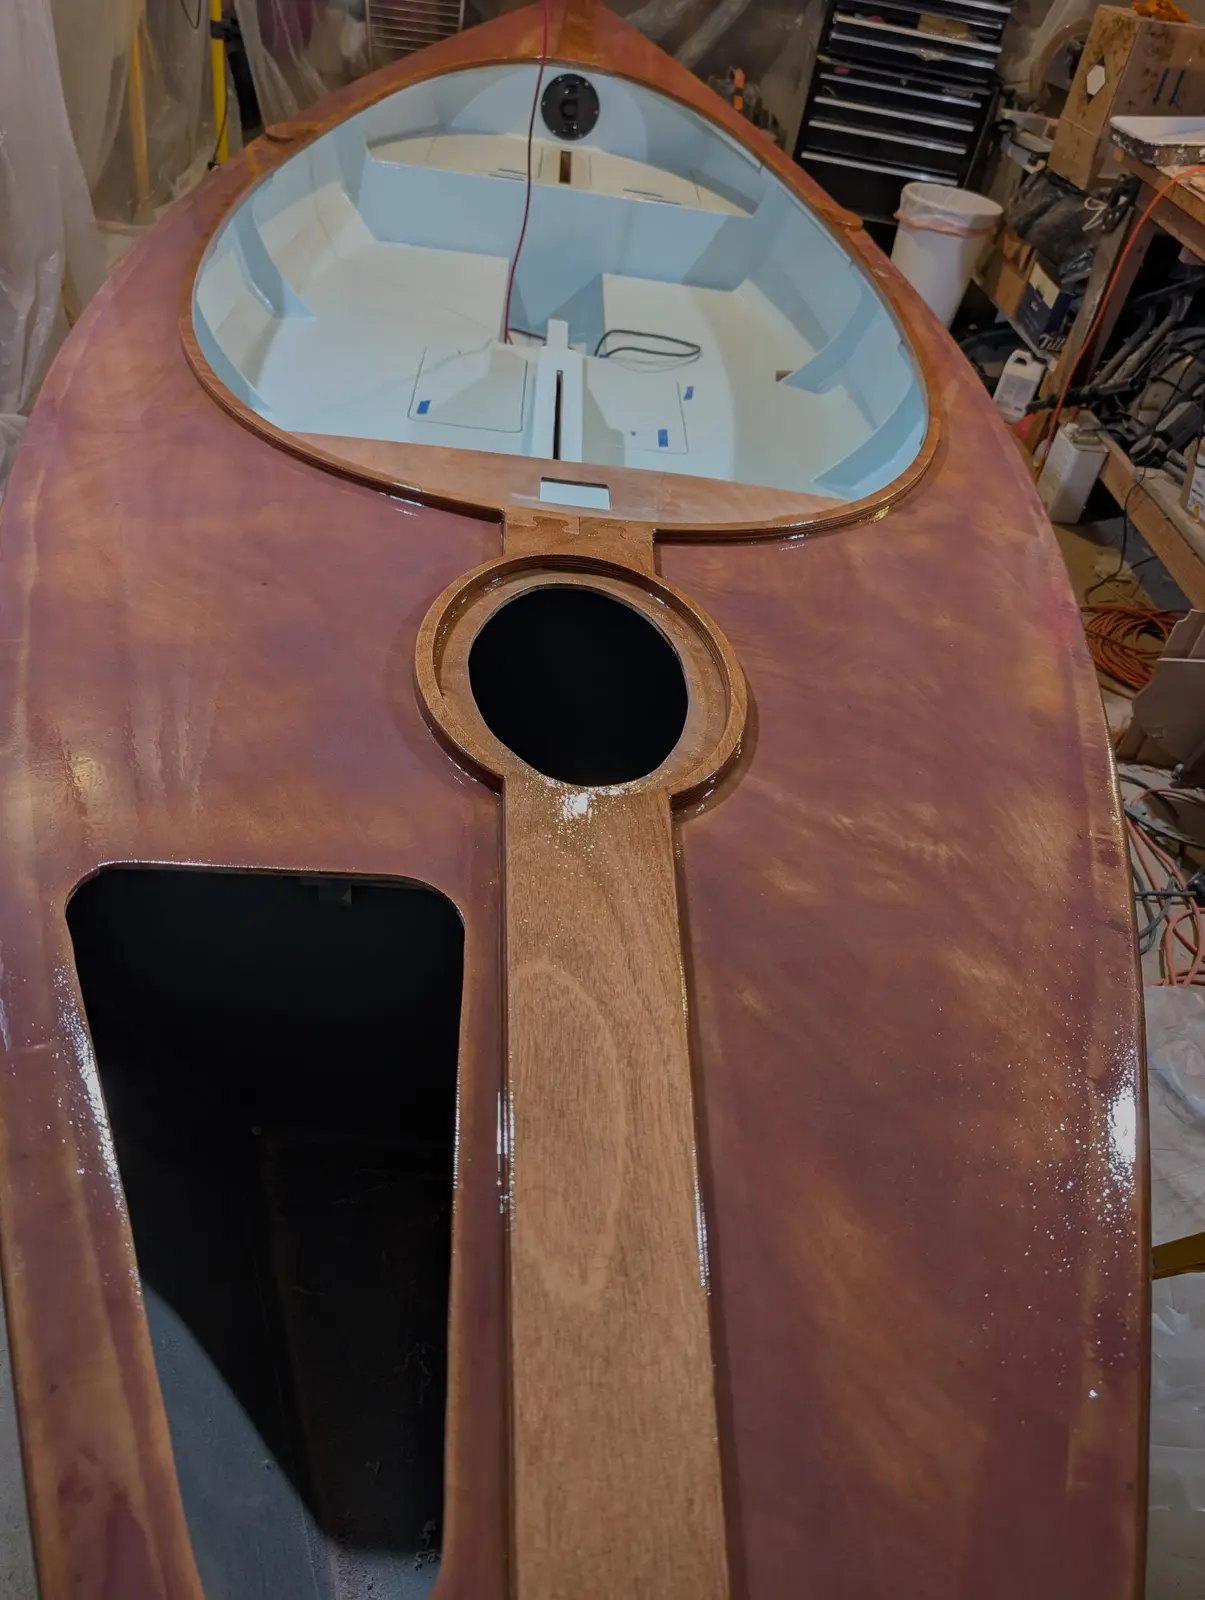
A final coat of epoxy over the fairing layer. This is probably unnecessary but I didn't want any water to get into the fairing if the paint were to be gouged or something. Besides, I just love epoxy work....
12345678
Nobody else here is logging a The Guider yet.
See the boat.
What it cost
$14,893.59
$11,979.81
Into the boat
$1,785.00
Shipping
$1,128.78
Tax
Shipping added
14.9%
on top of the goods: the cost most people forget when they price a kit boat.