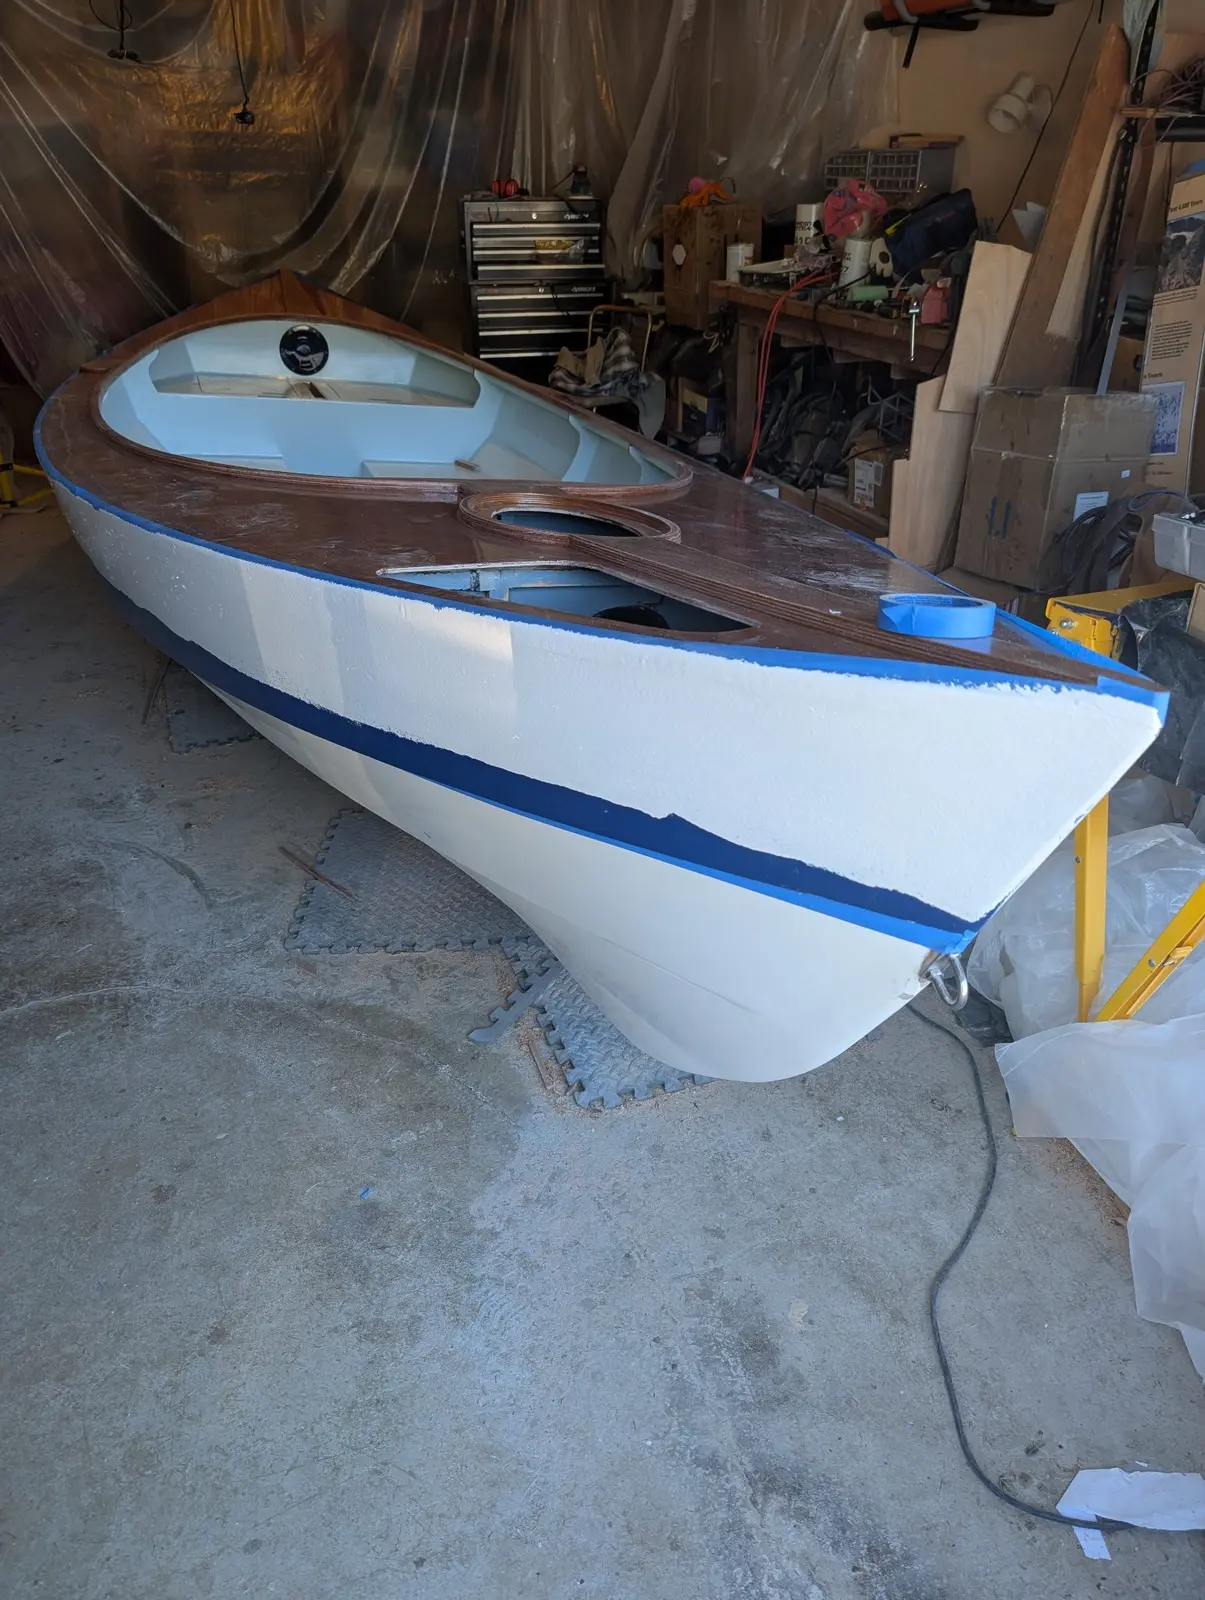
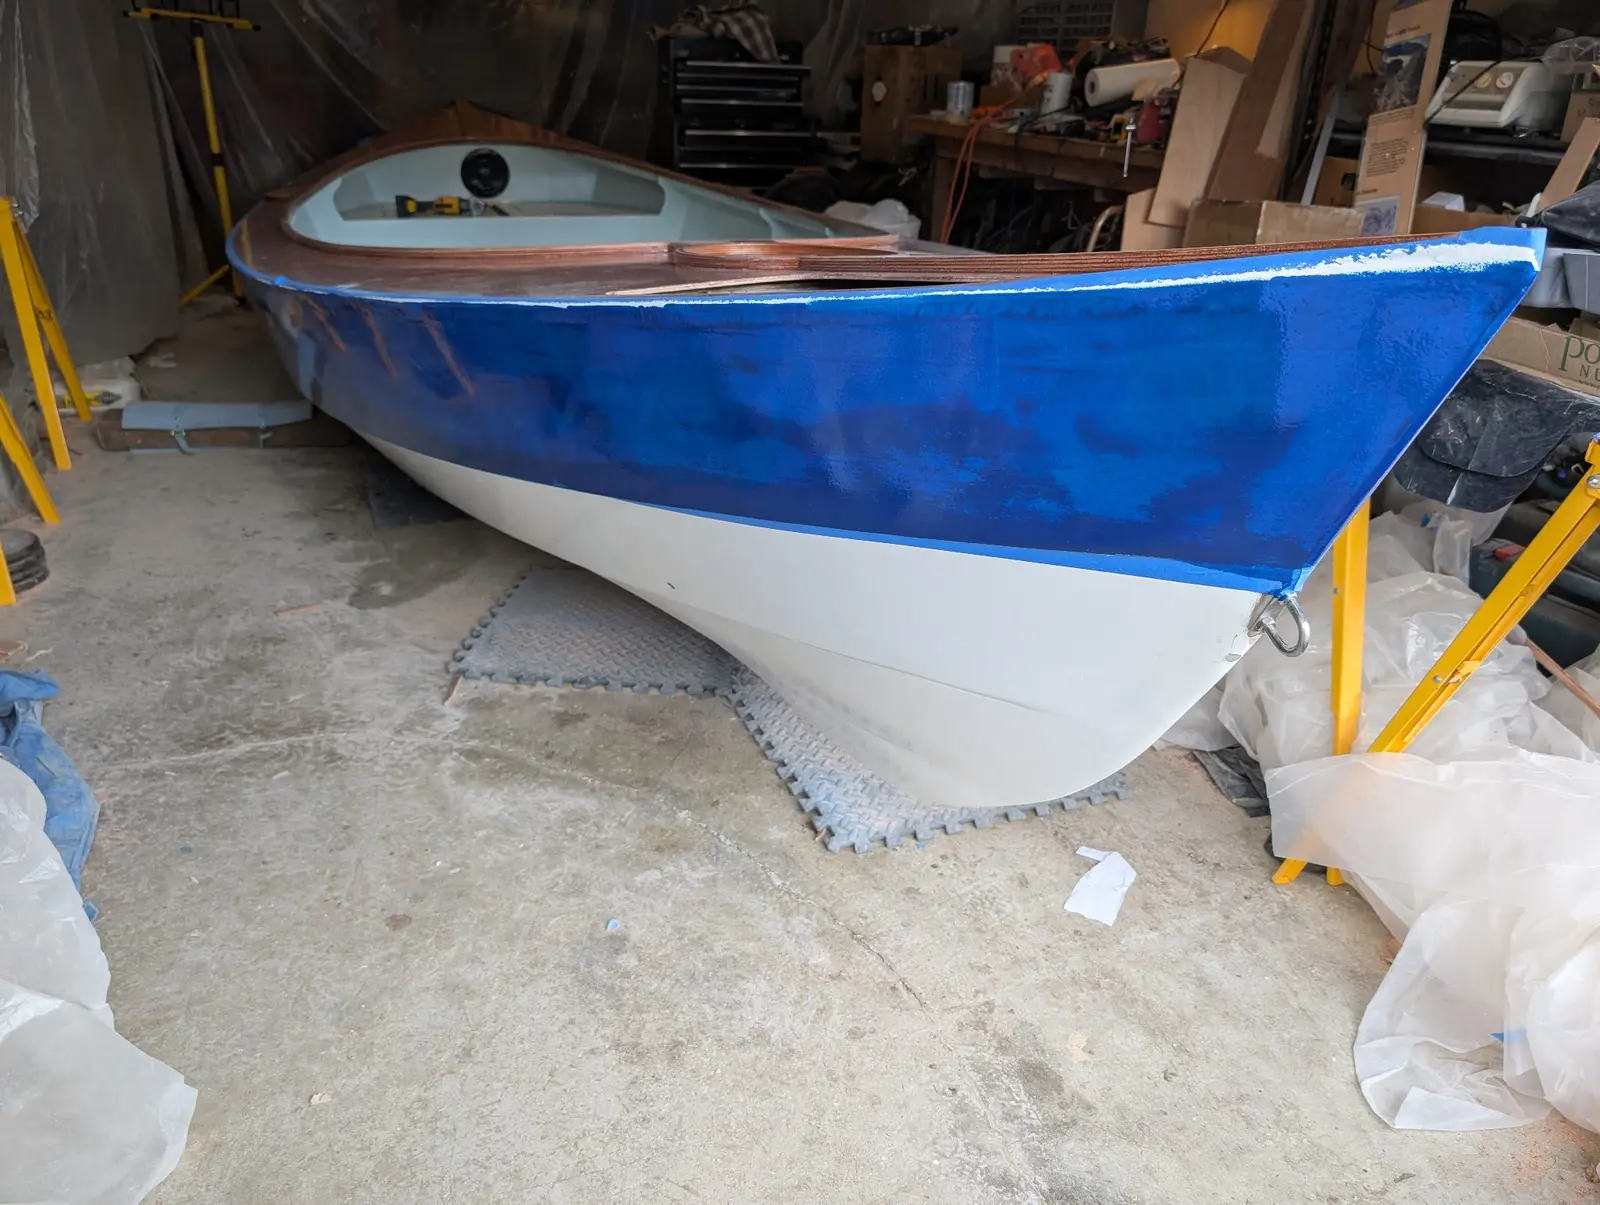
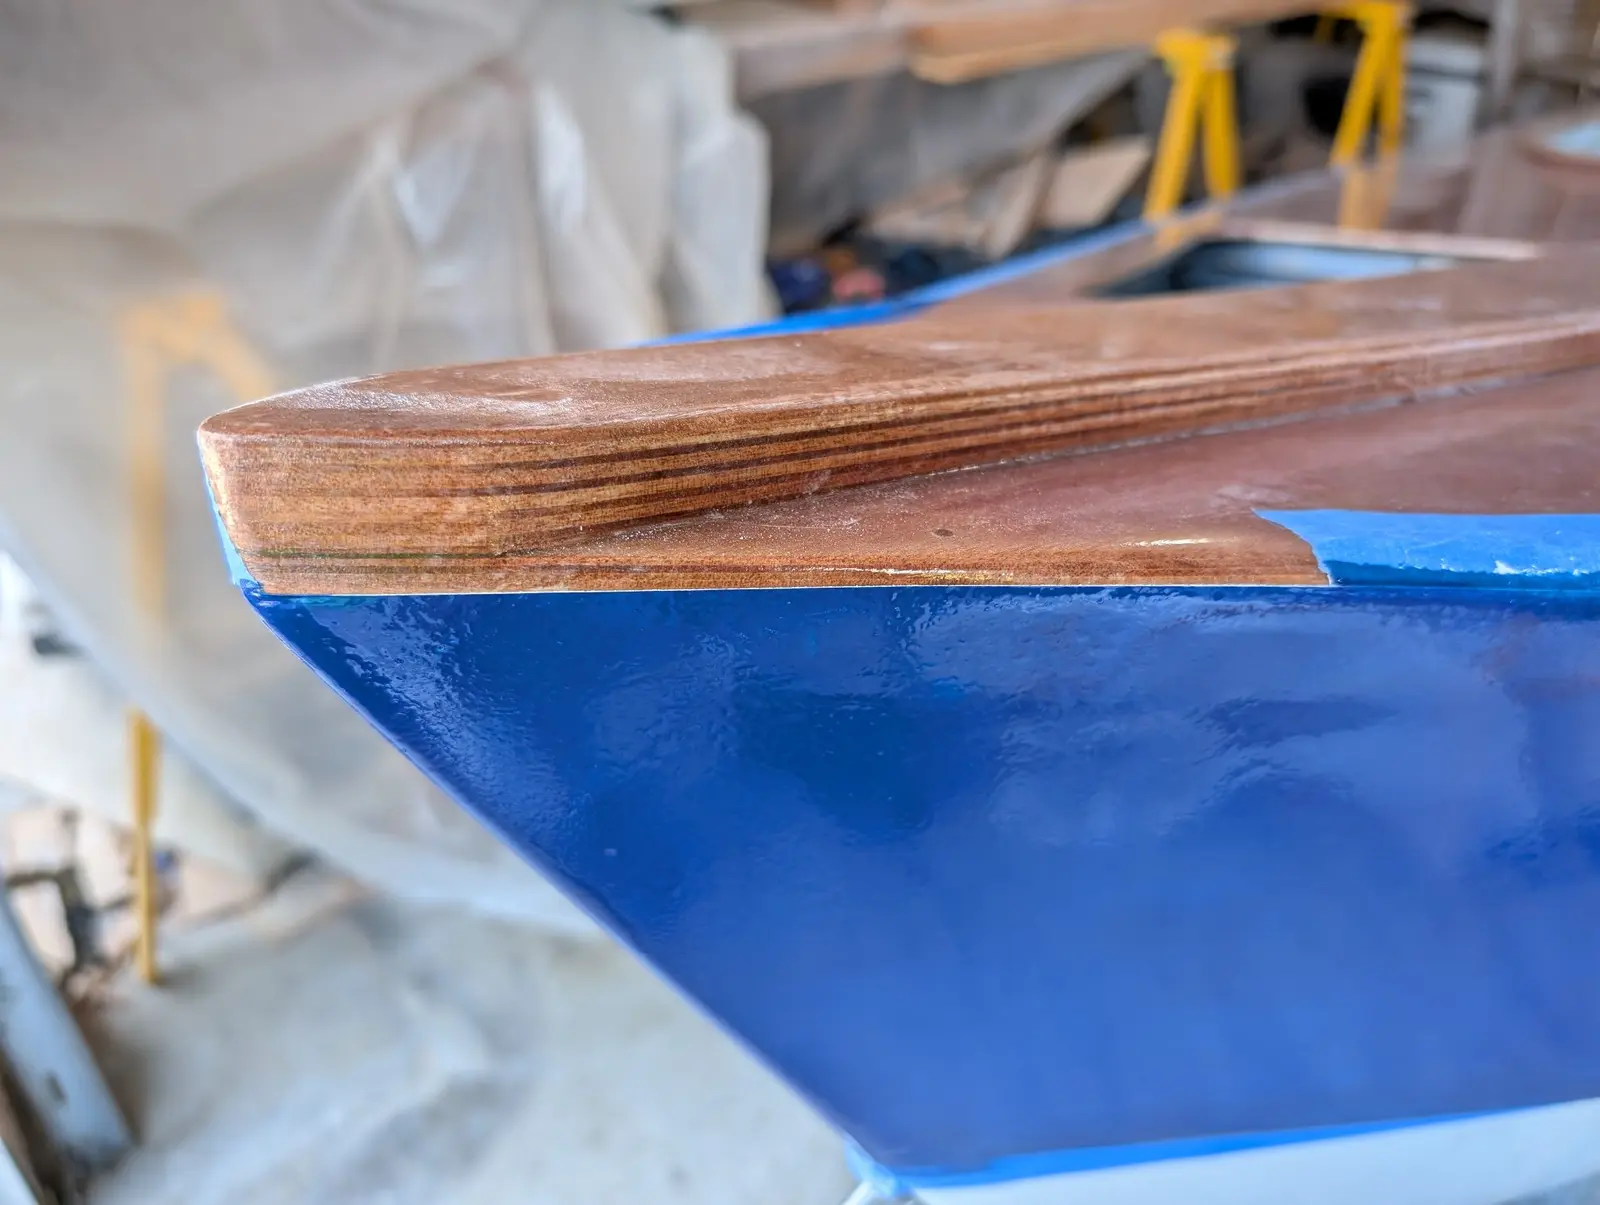
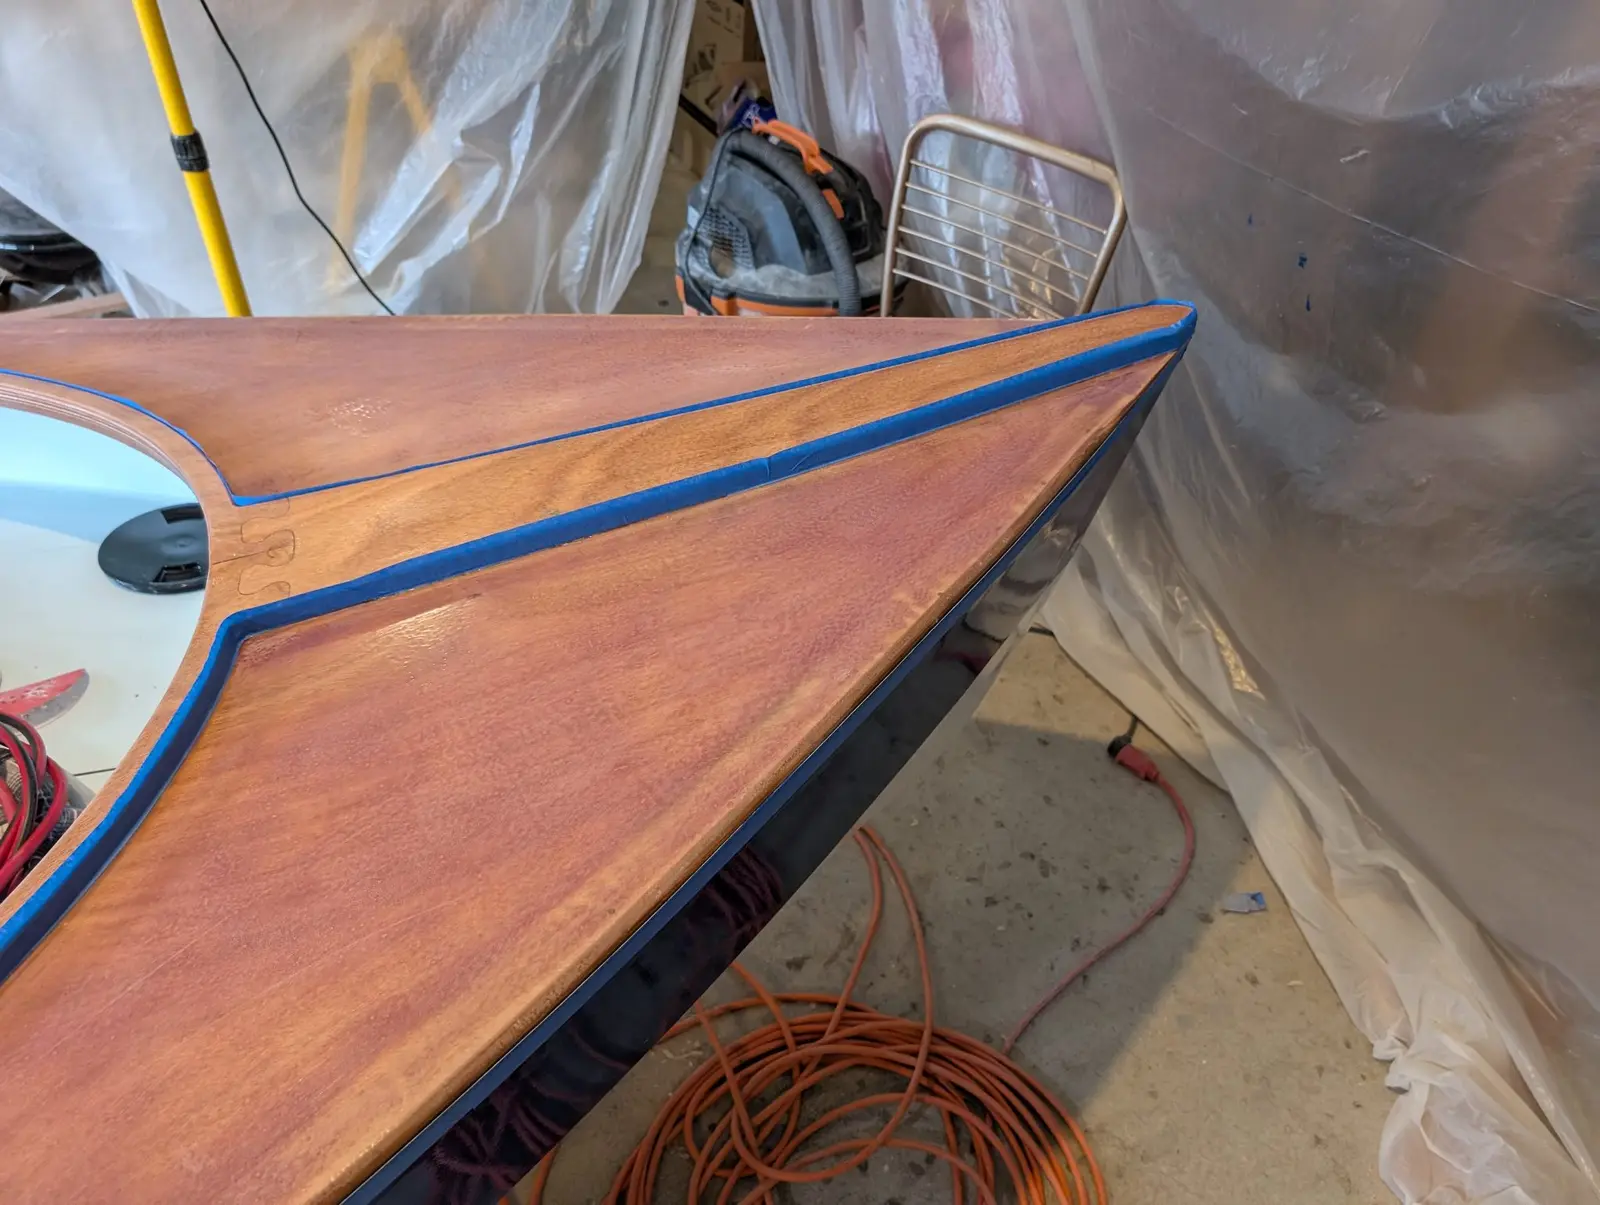
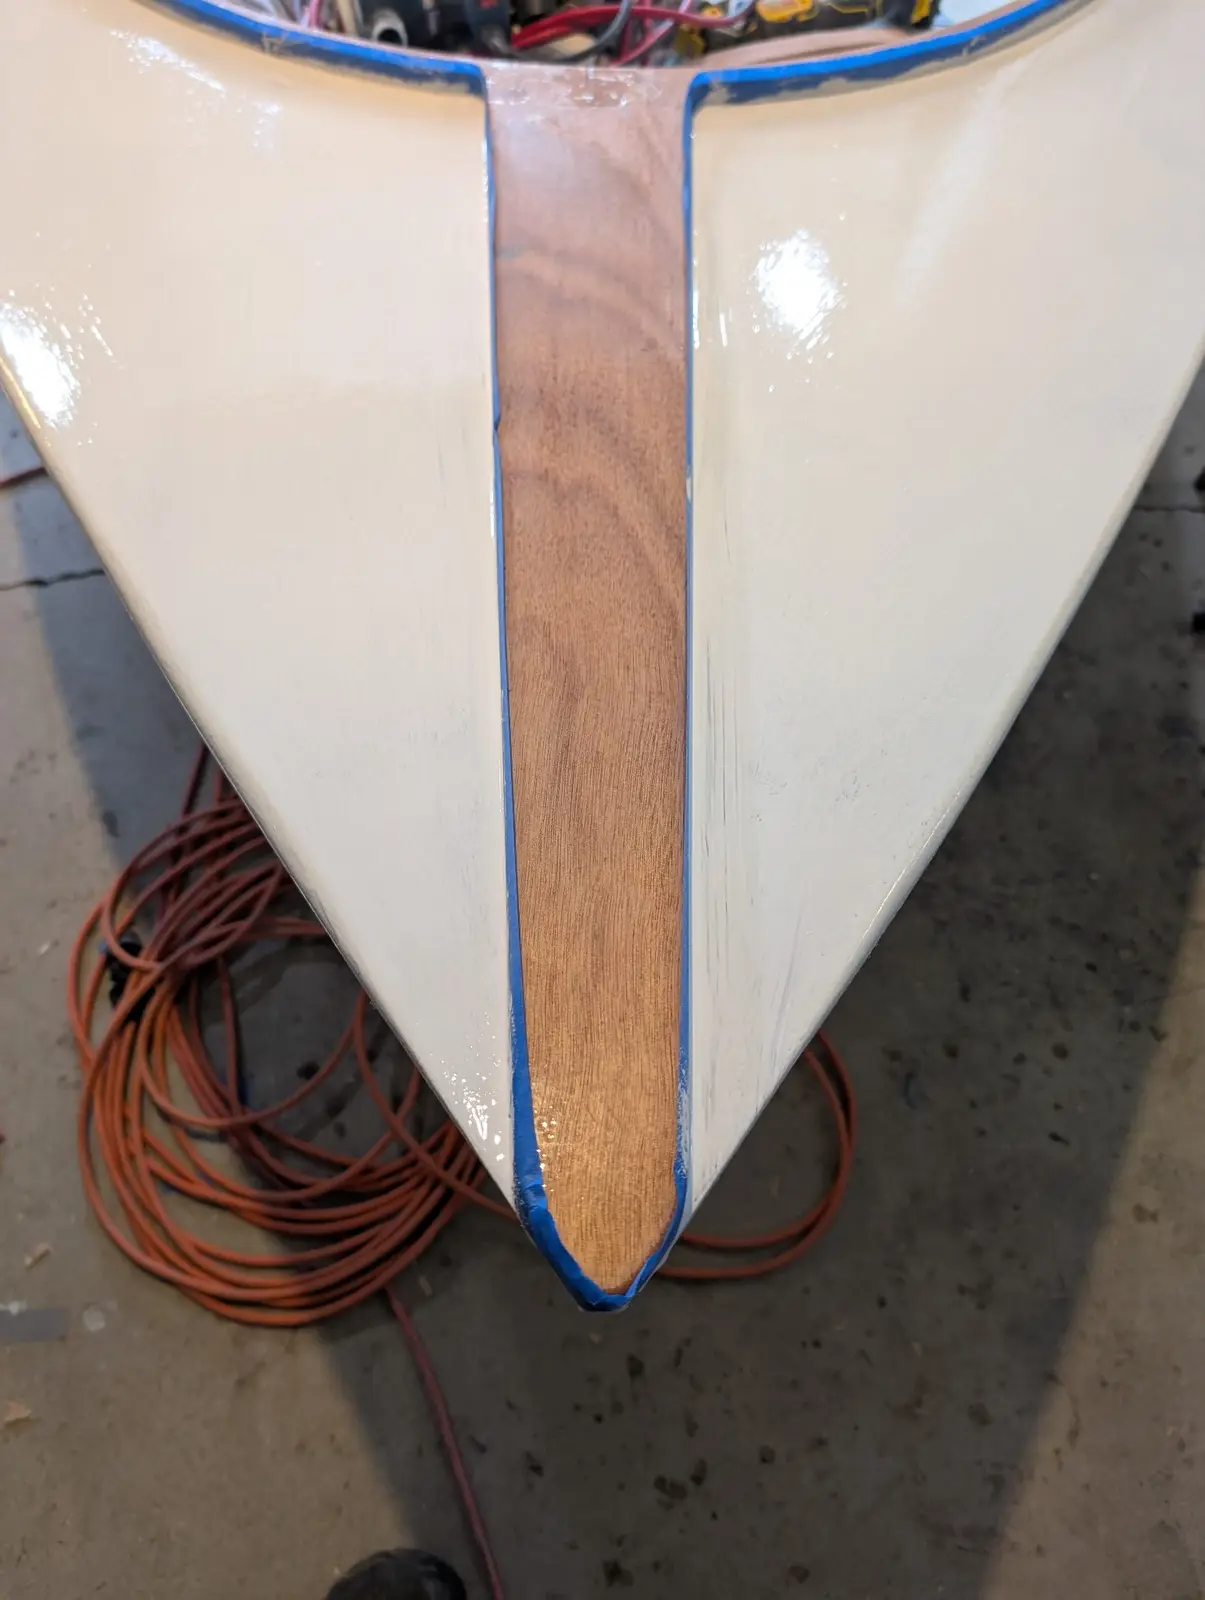
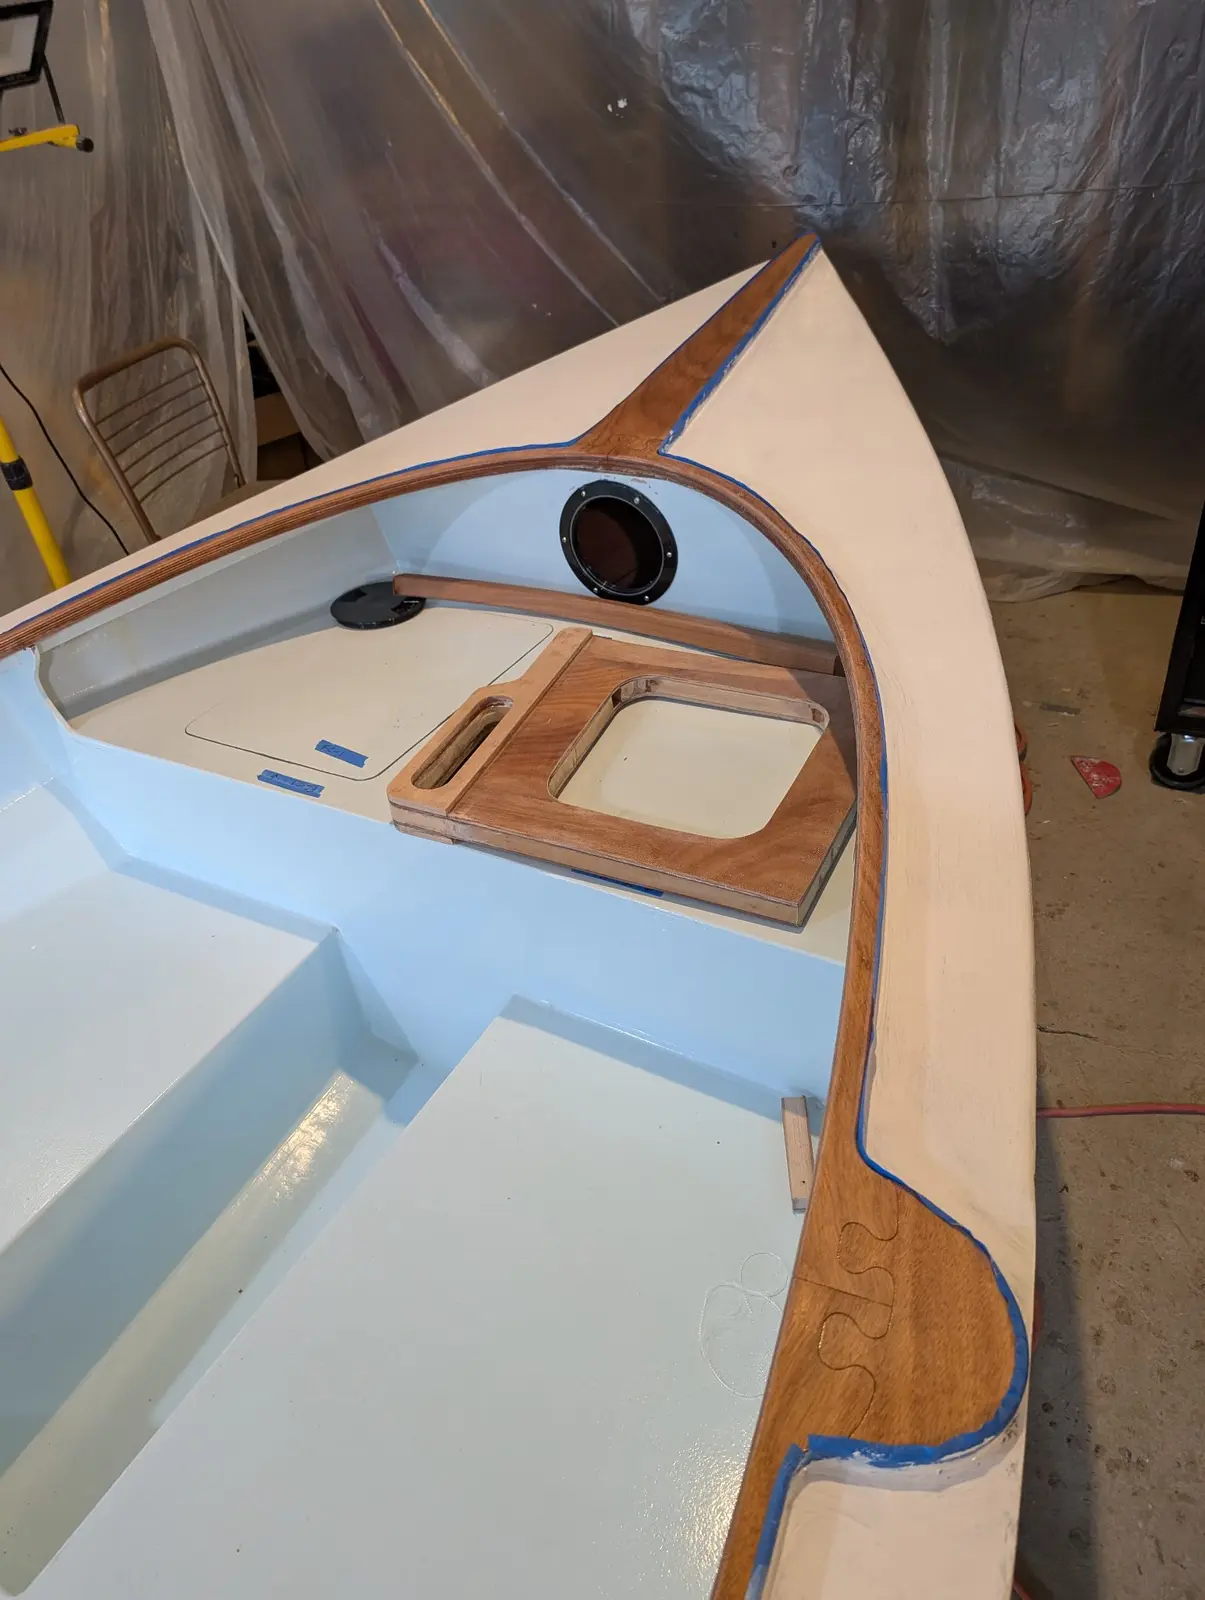
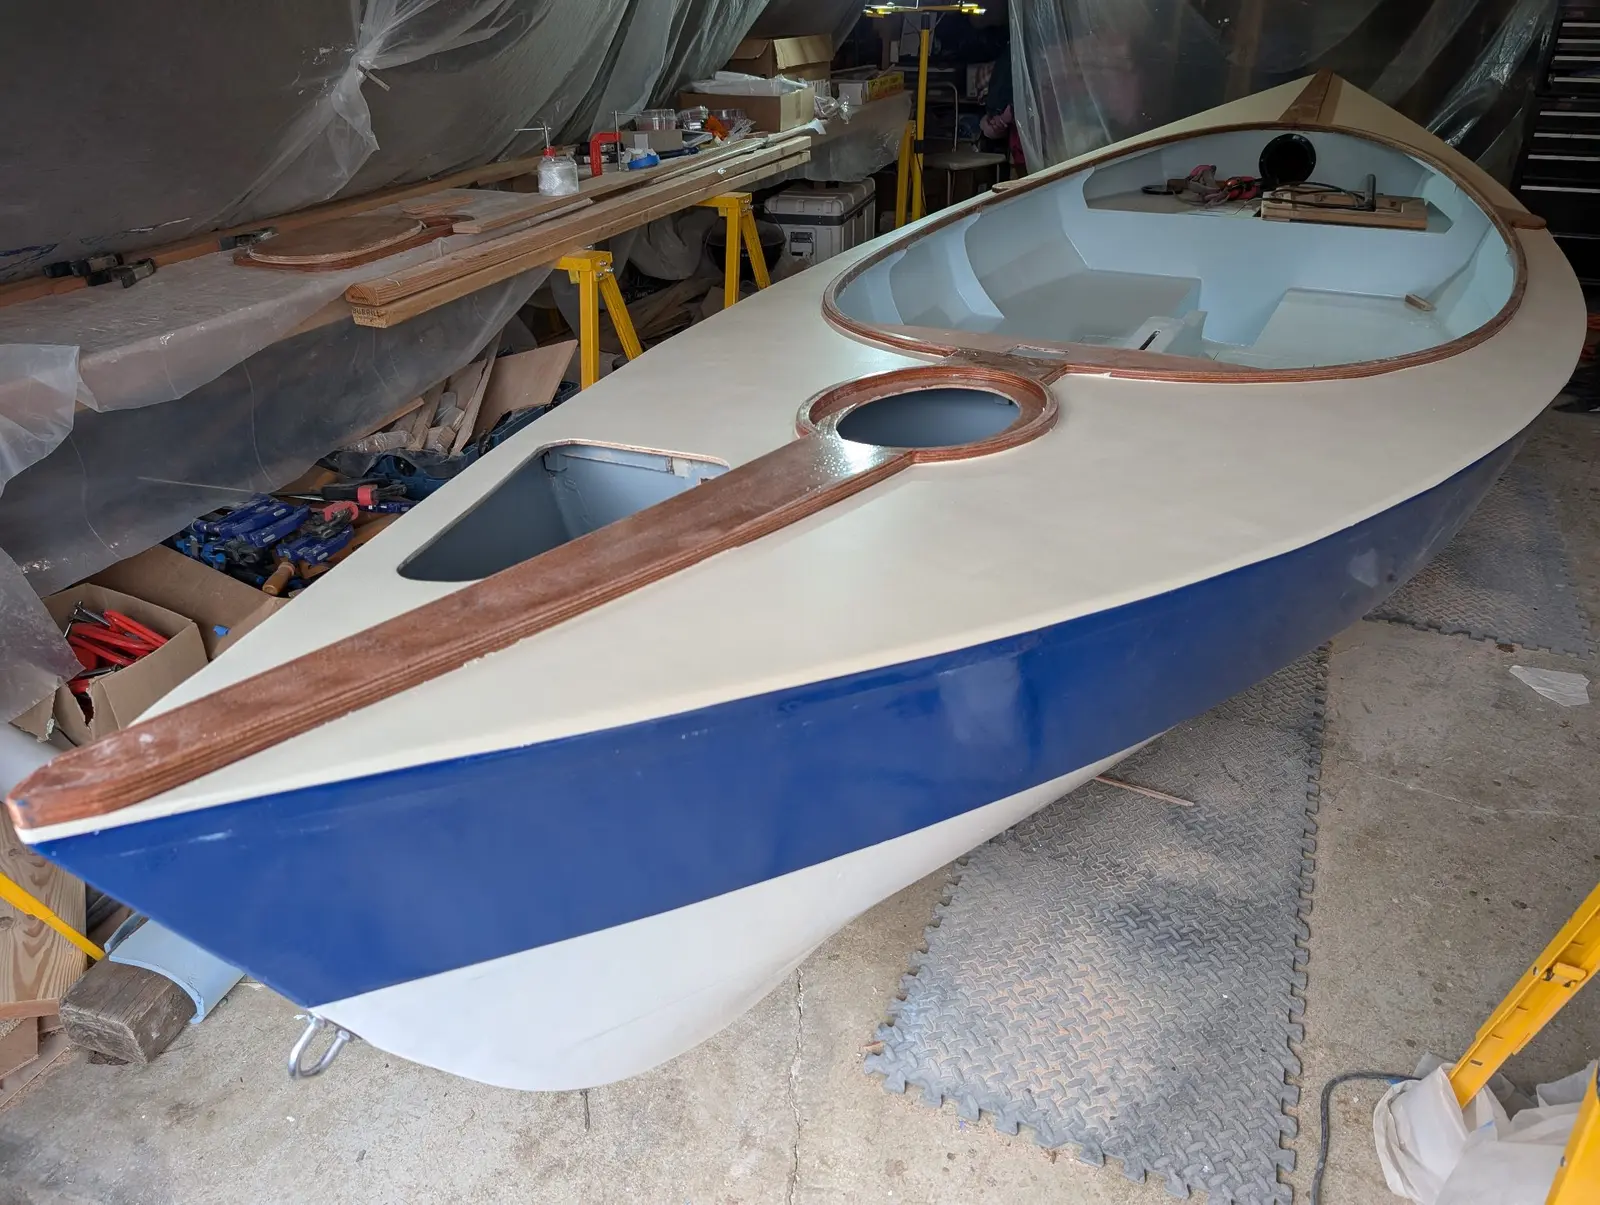
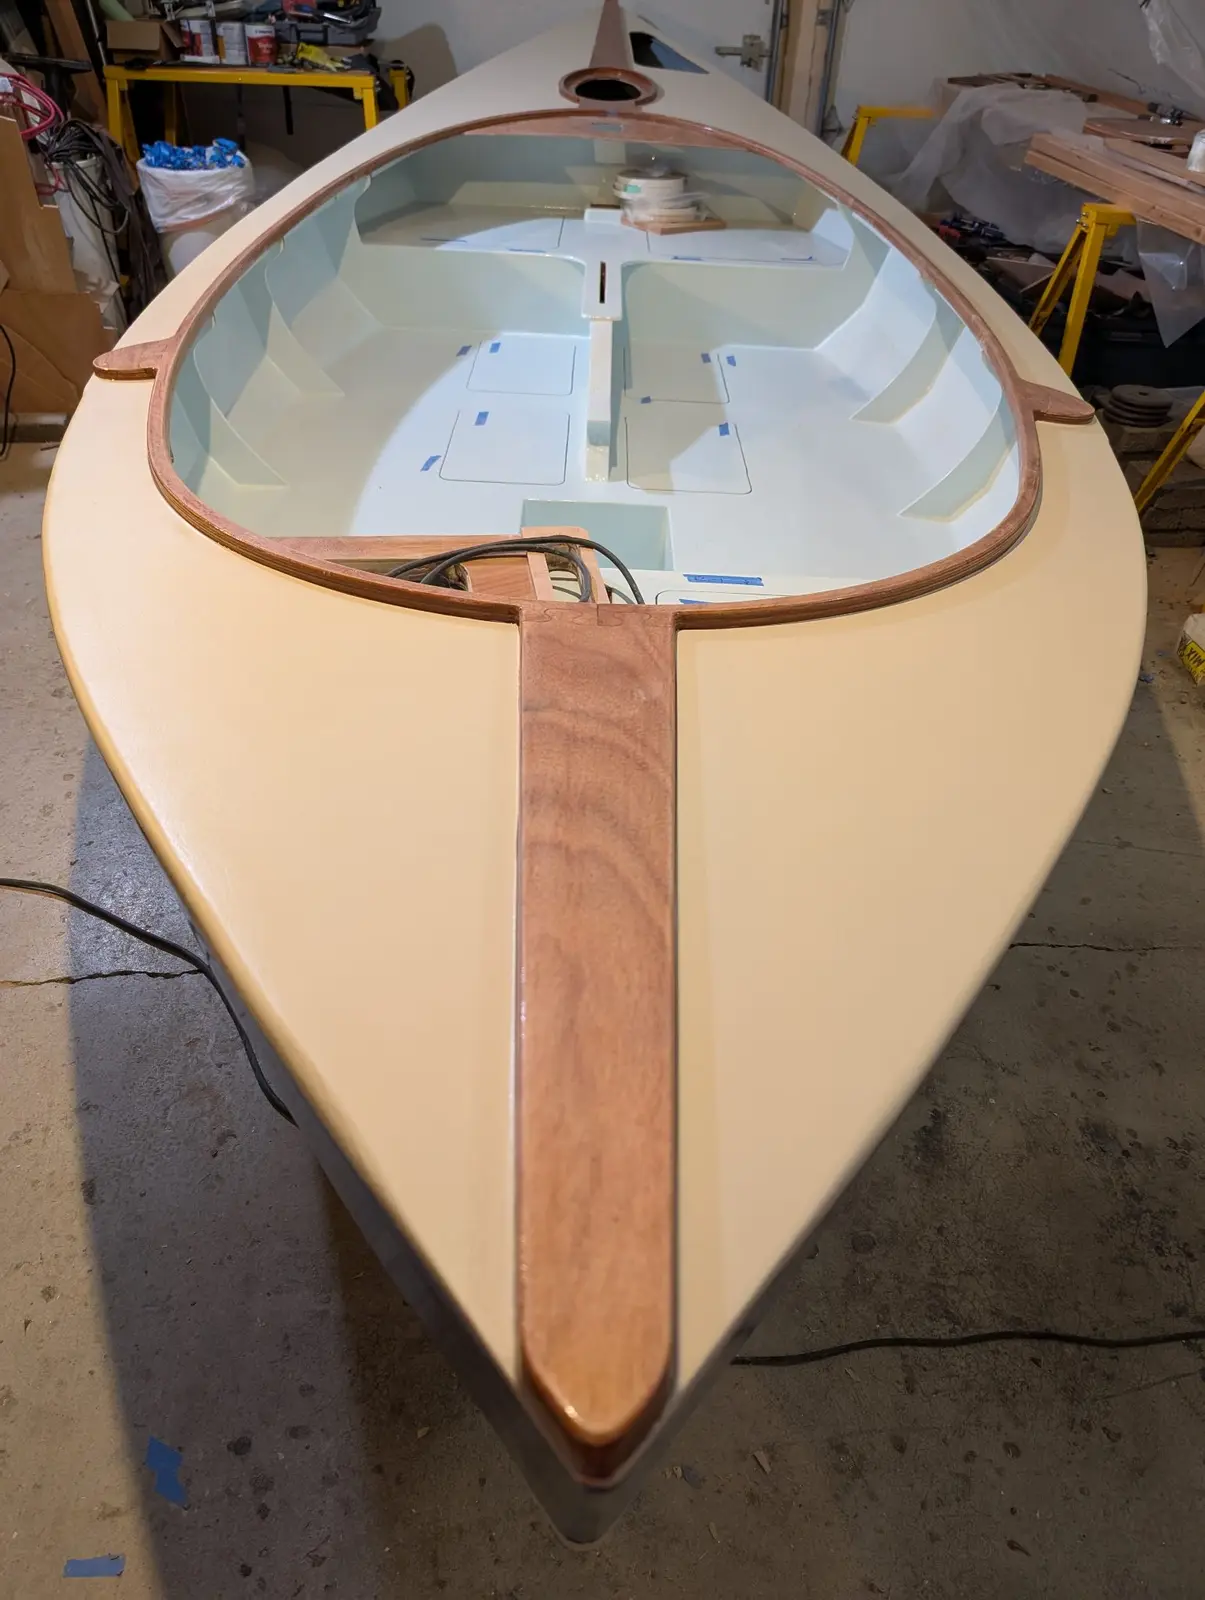
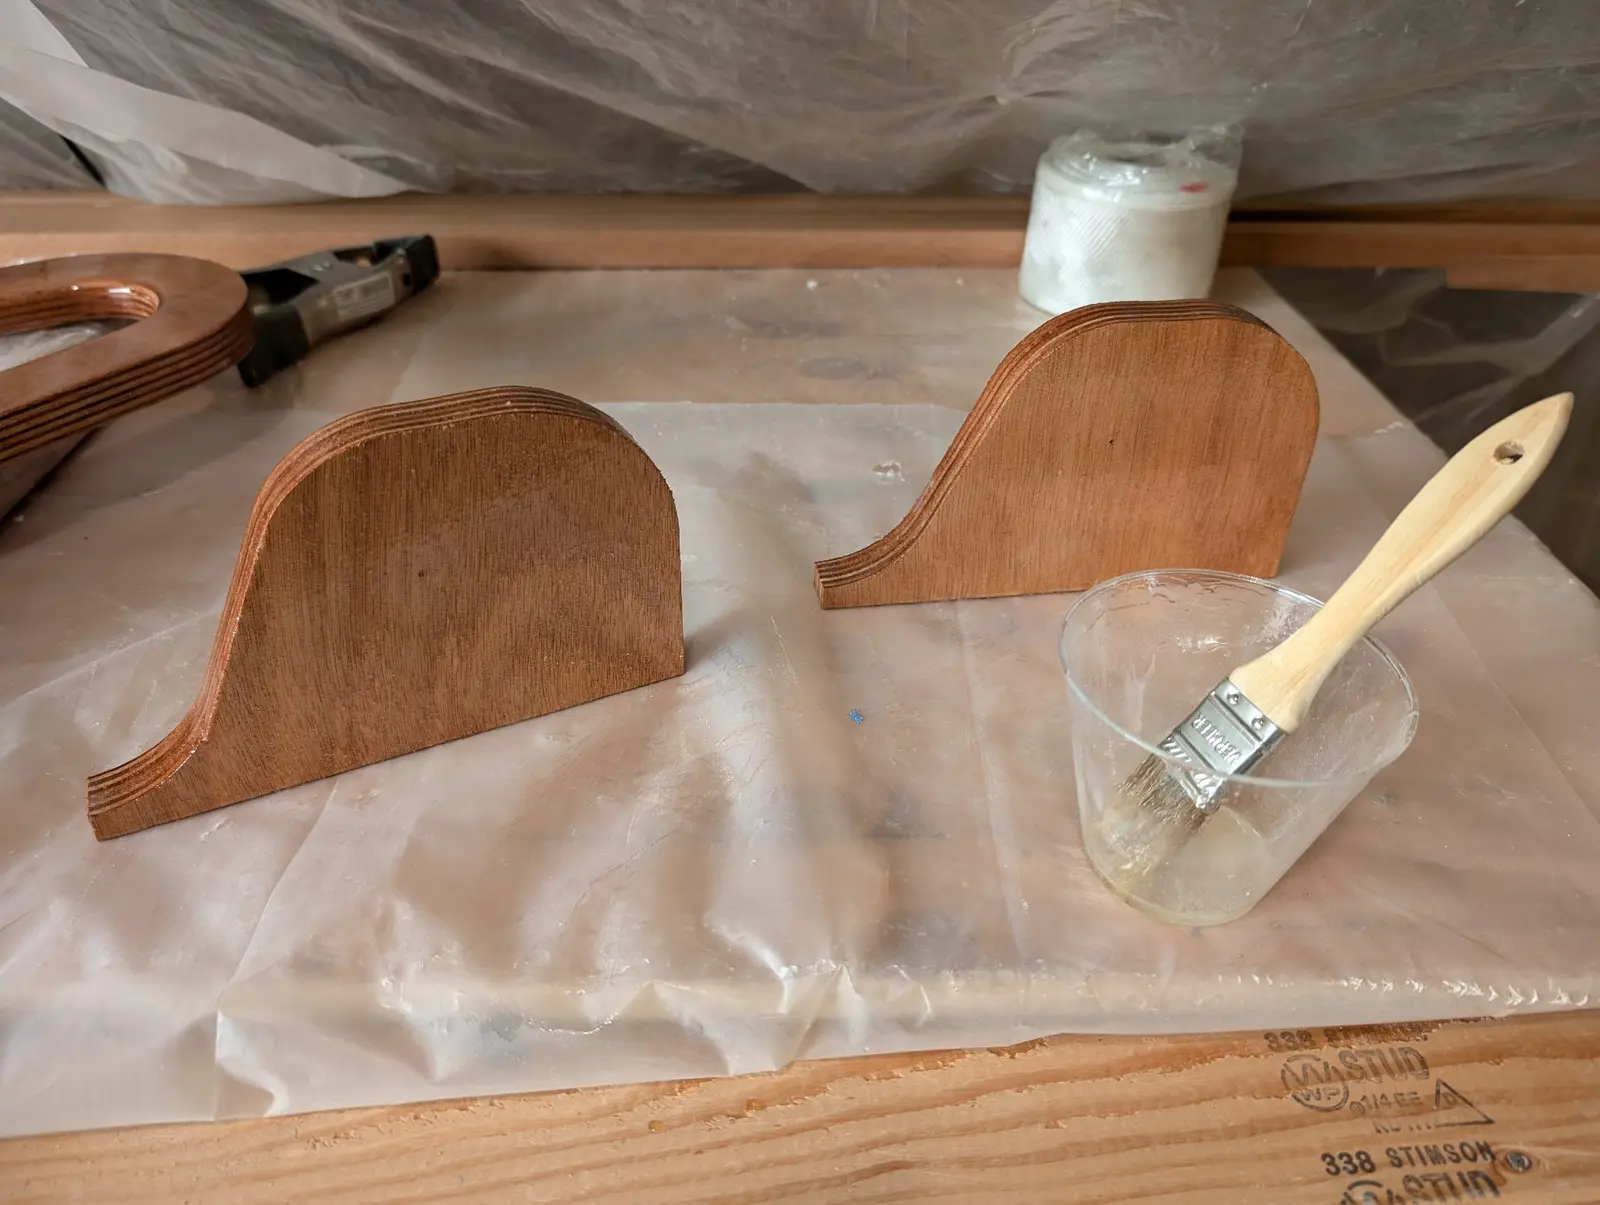
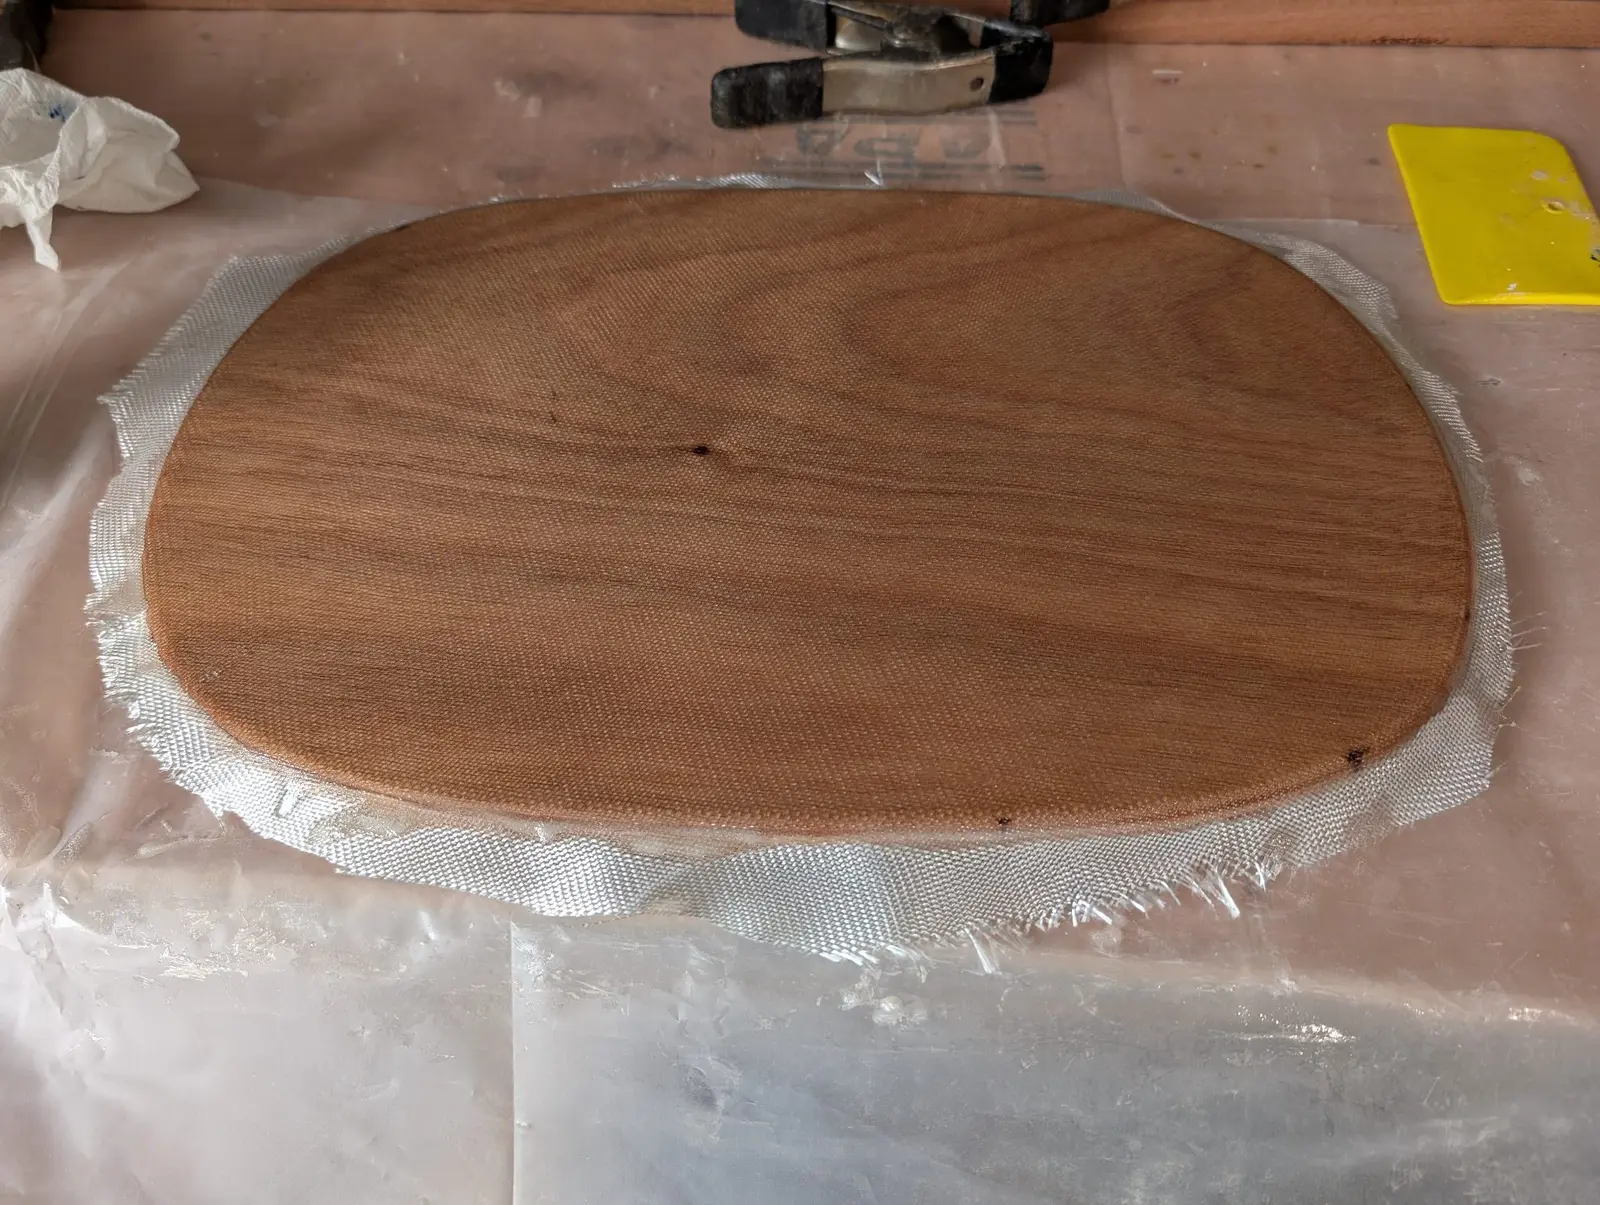
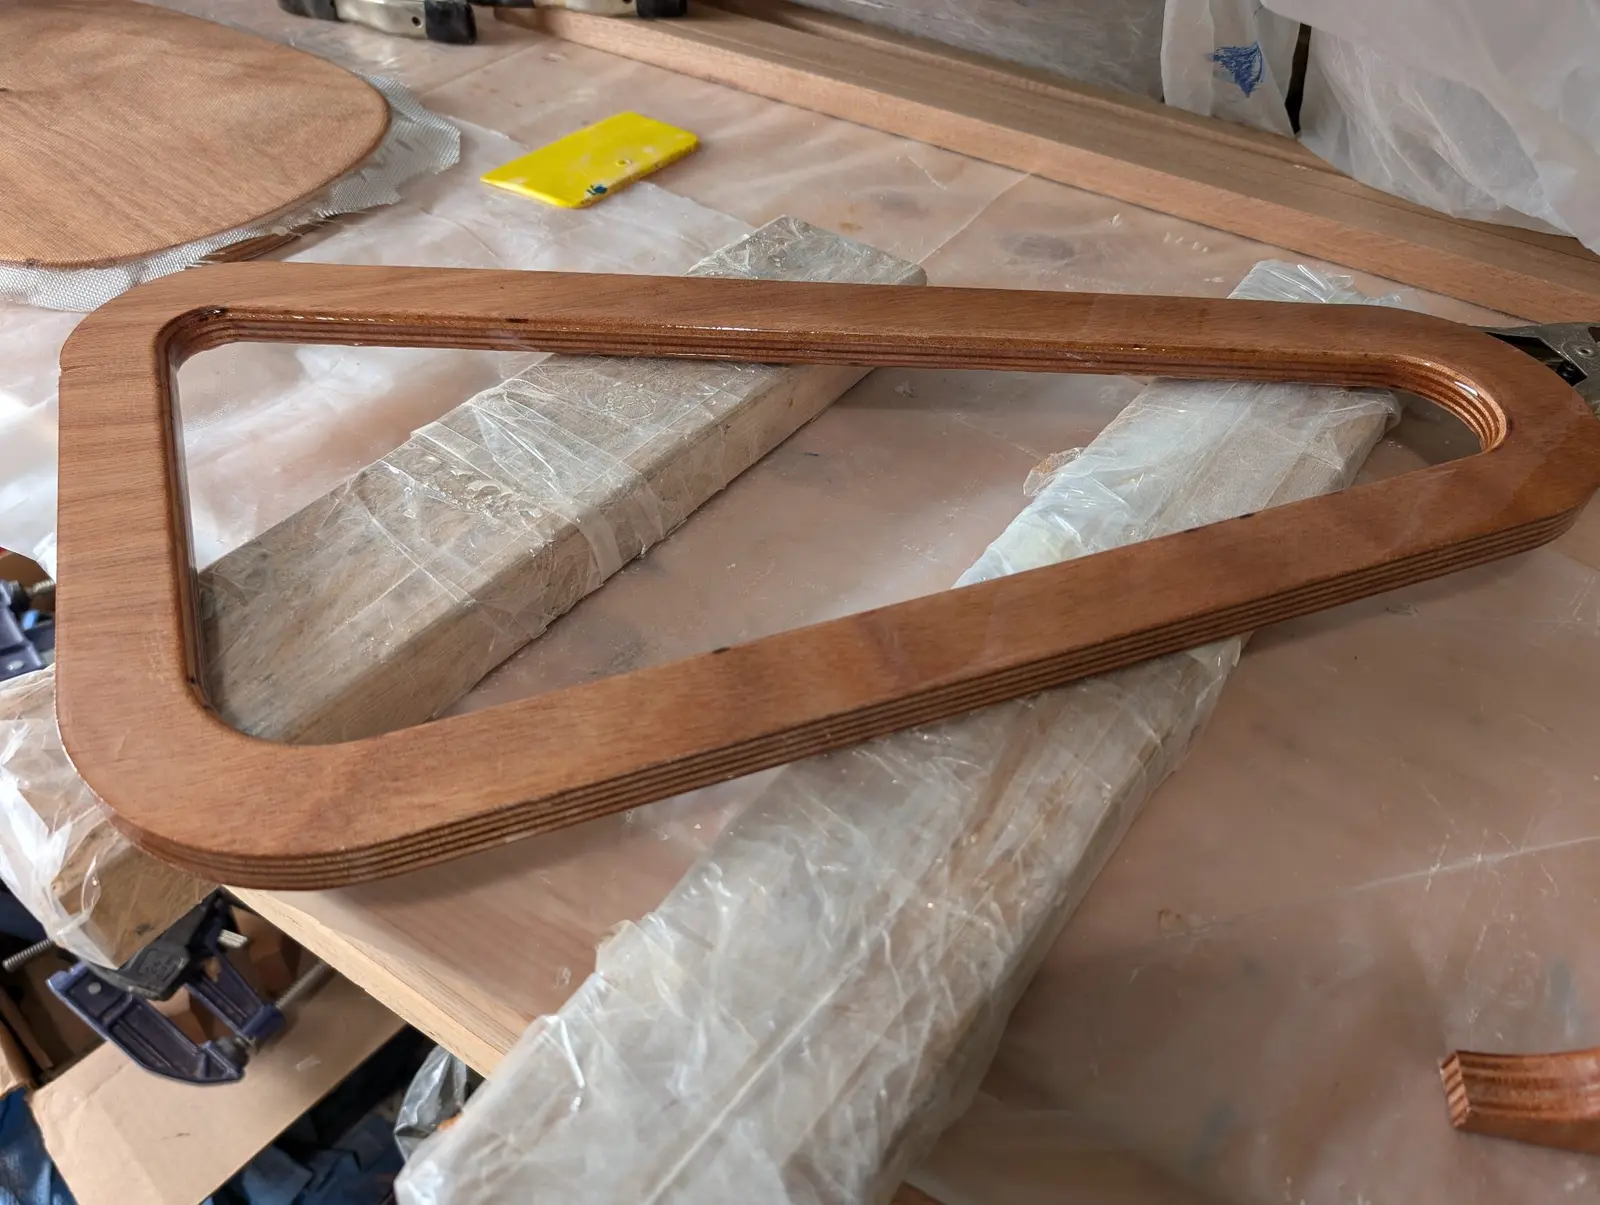
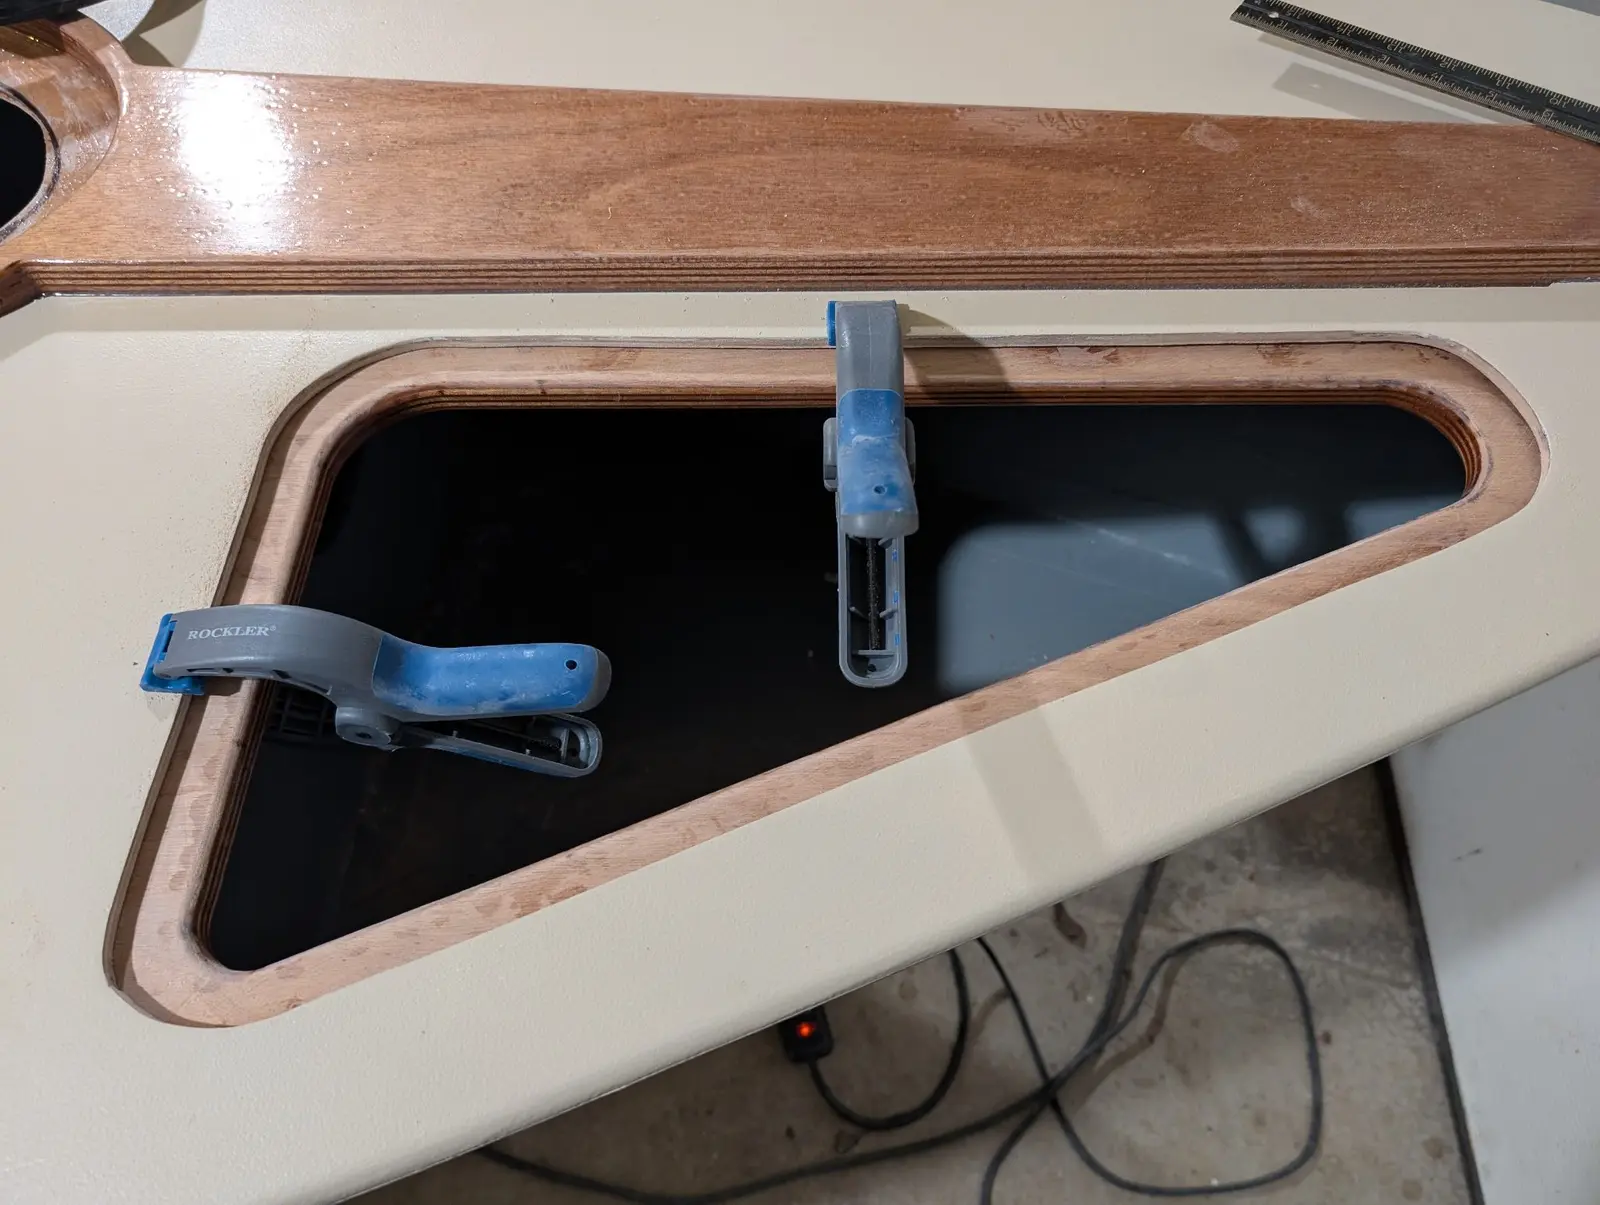
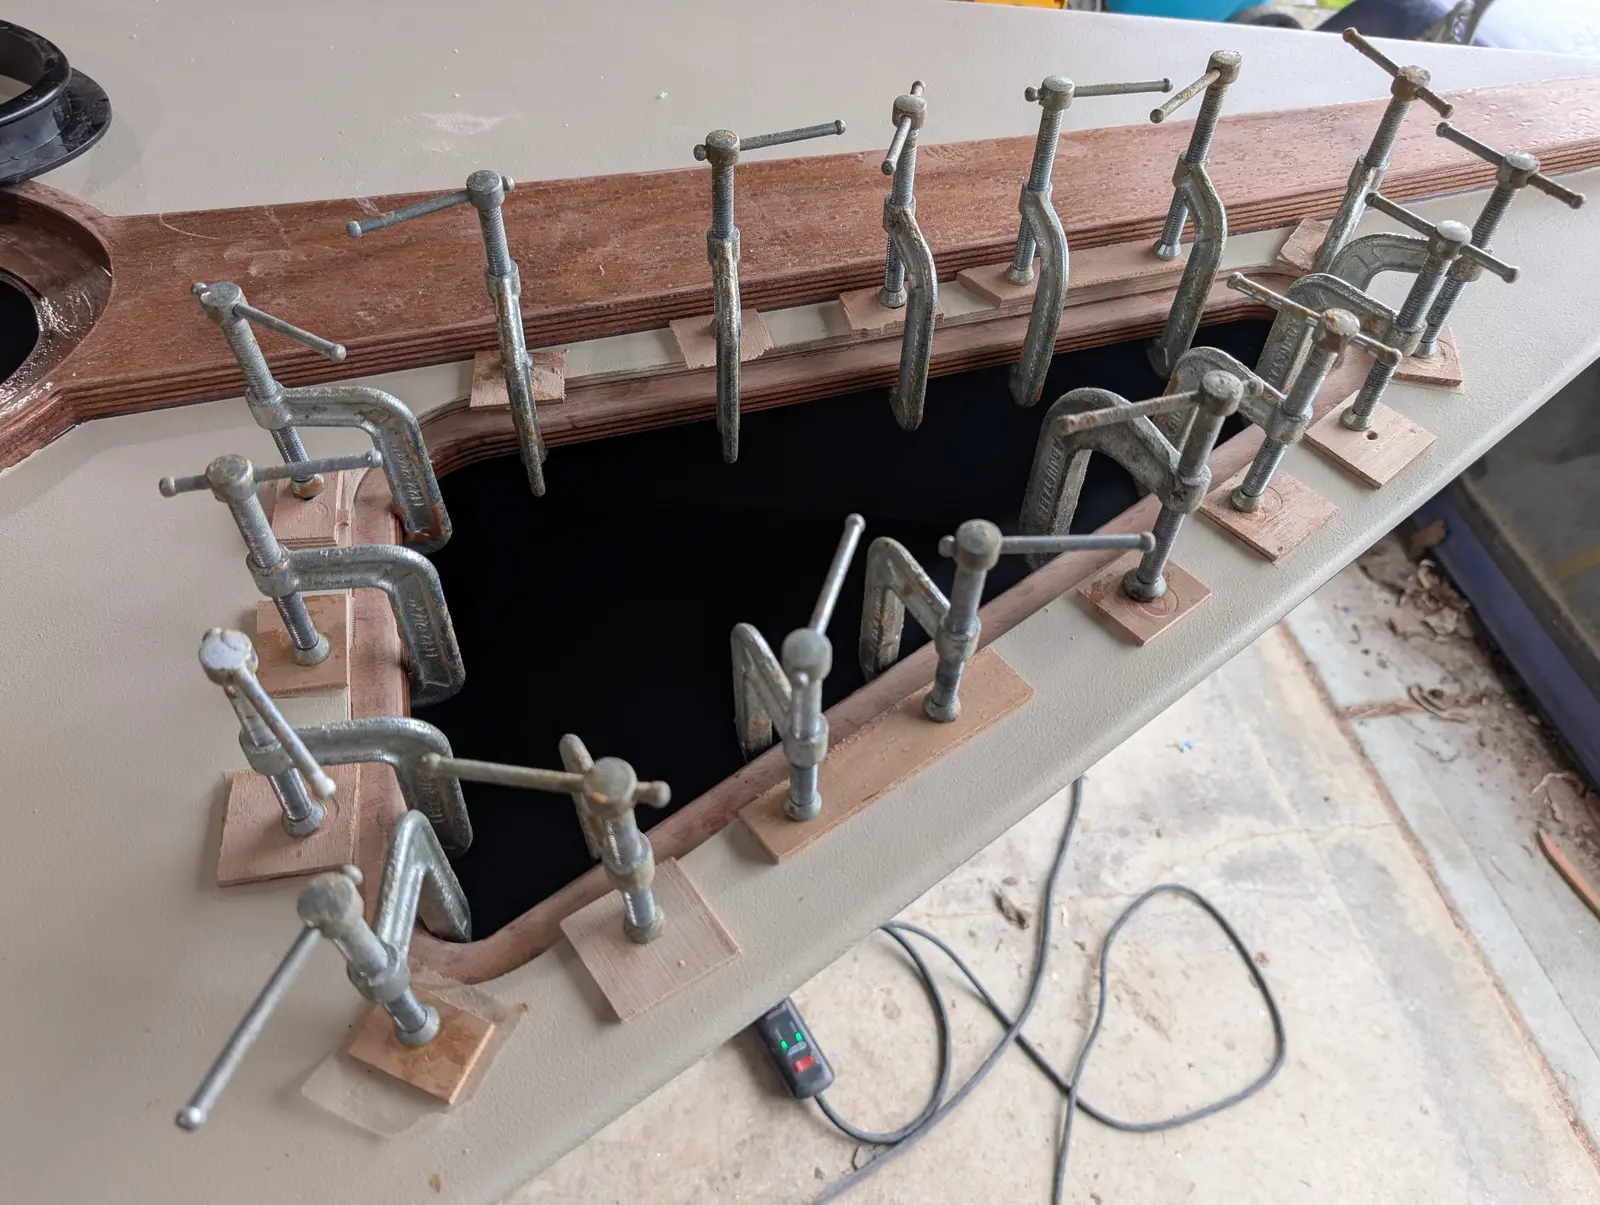
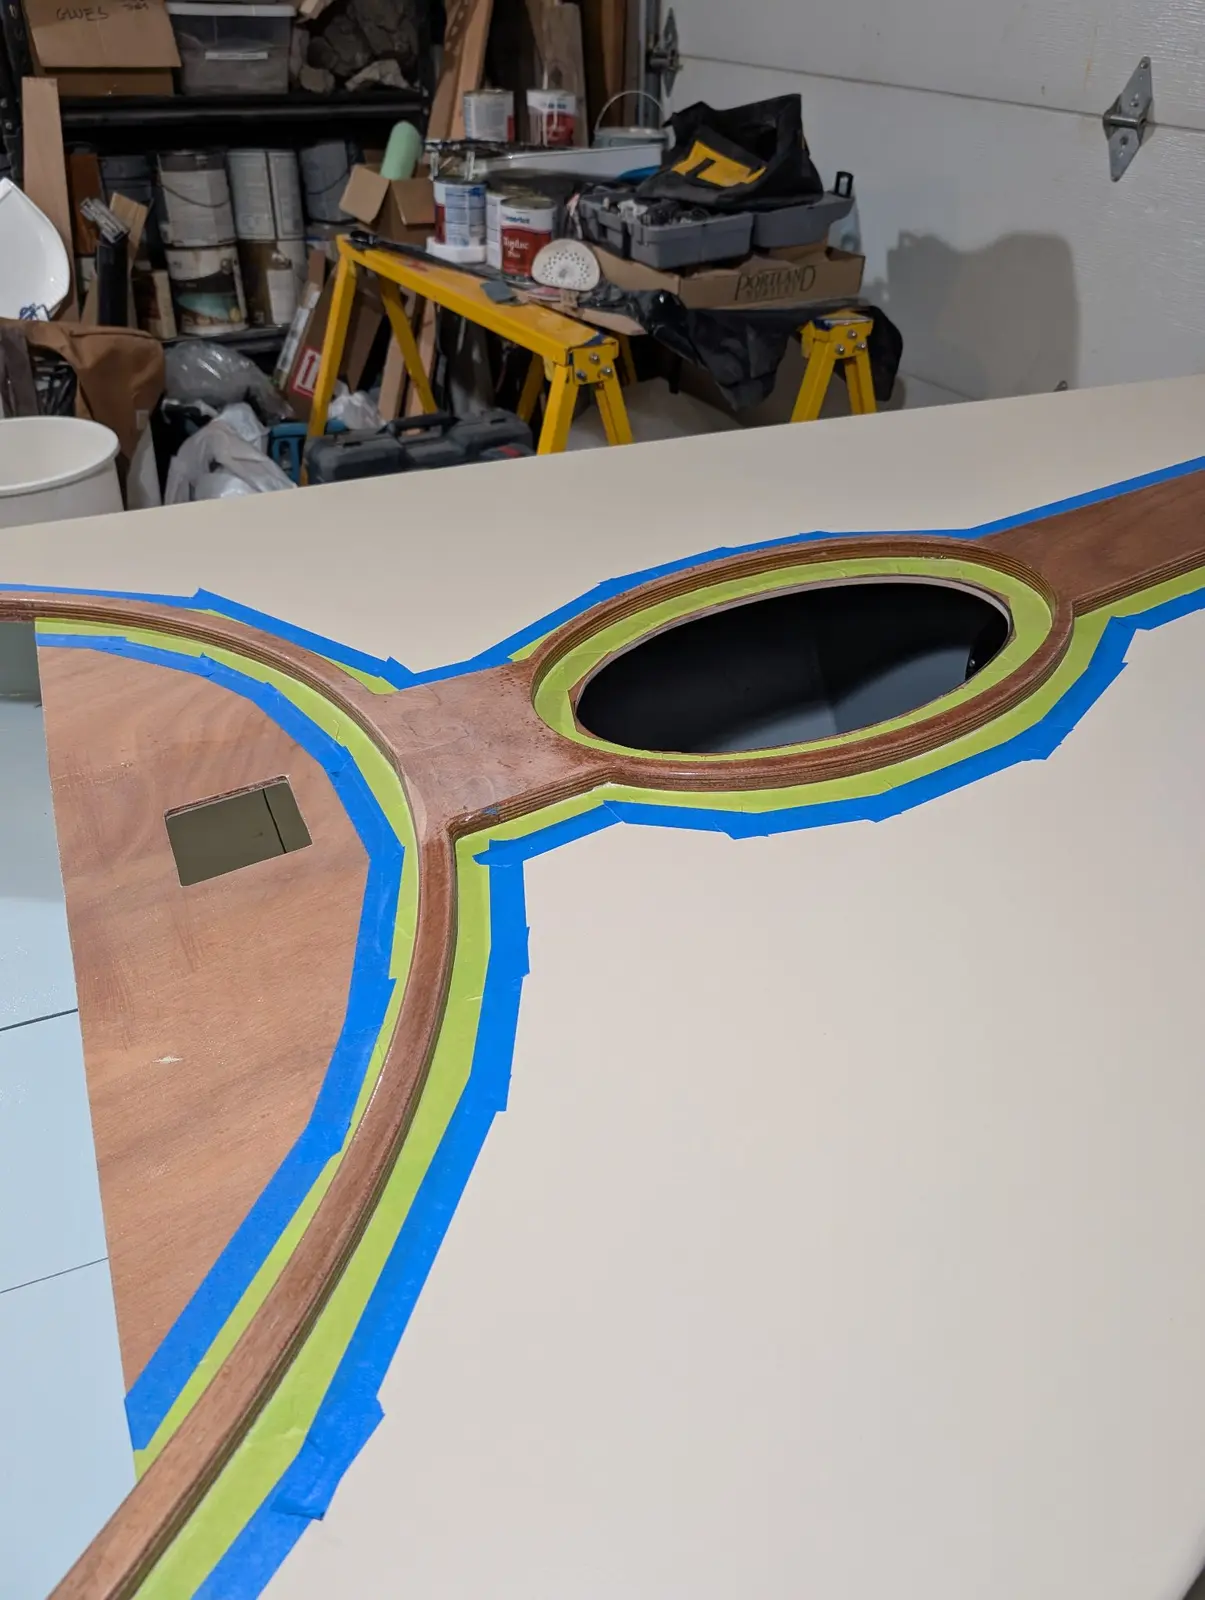
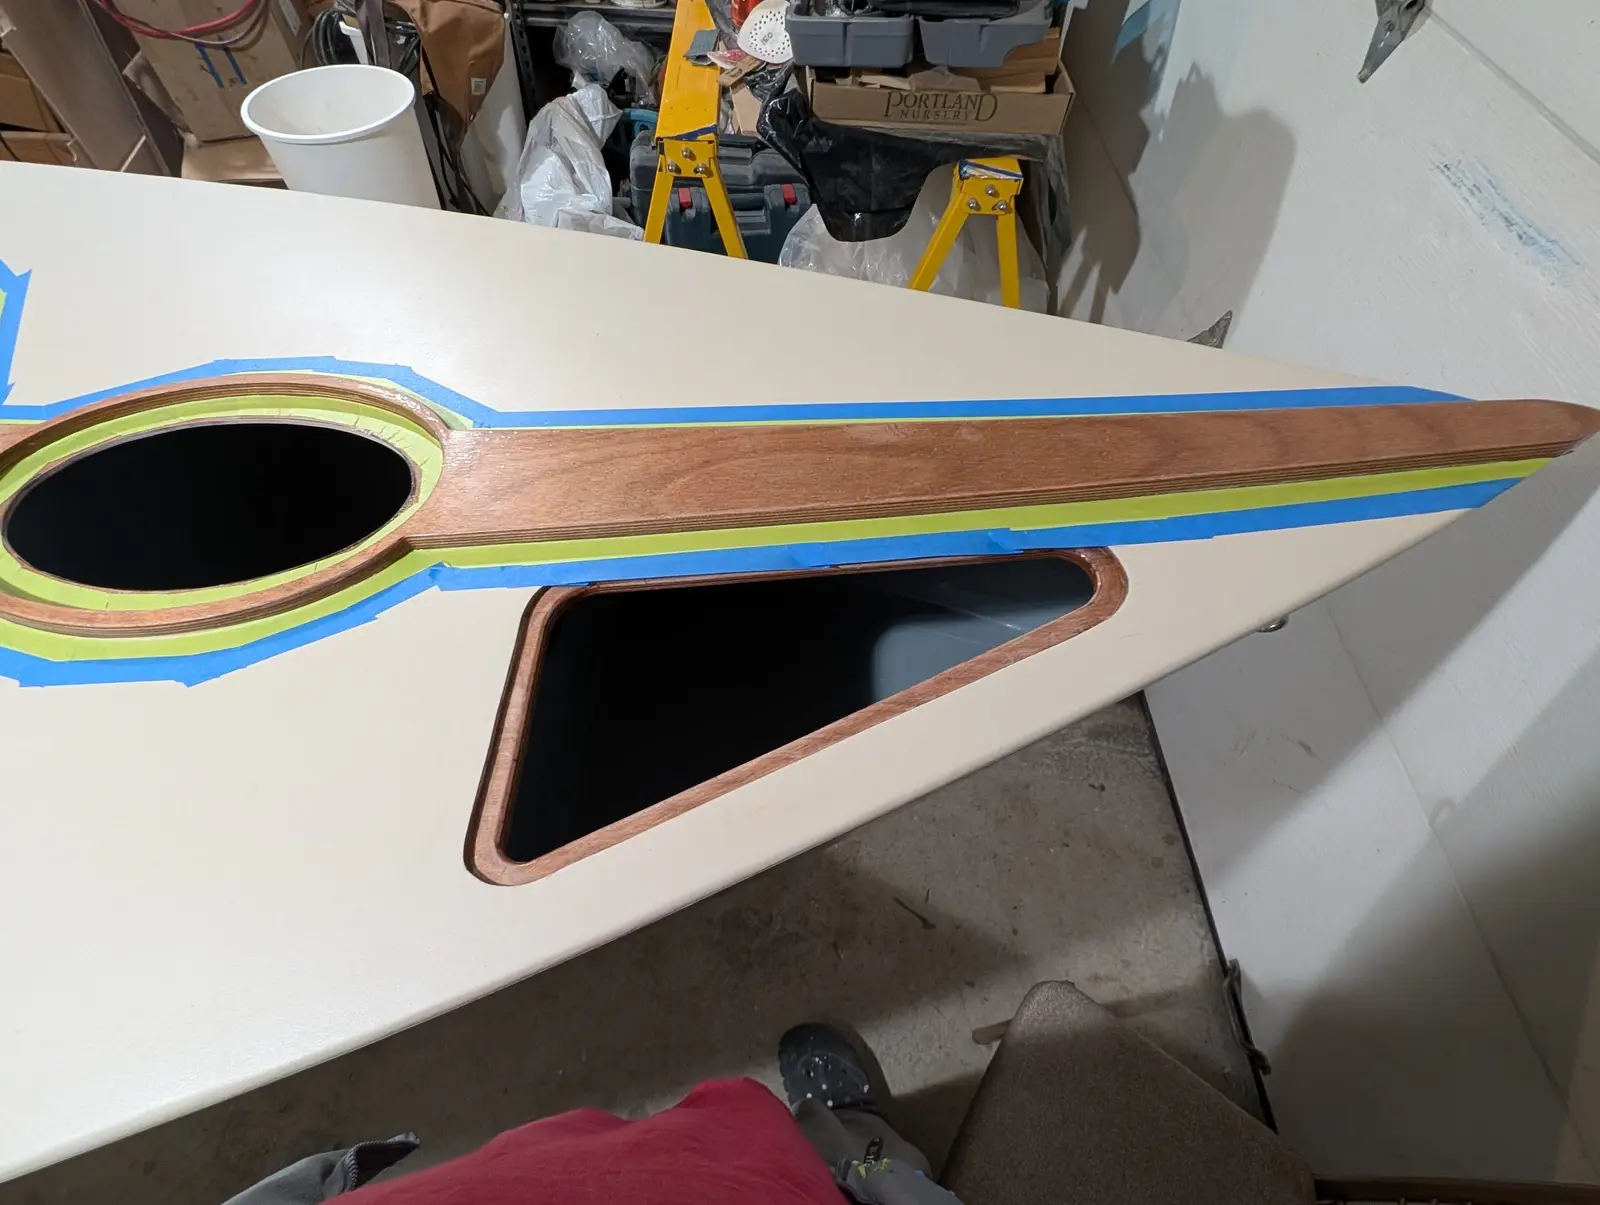
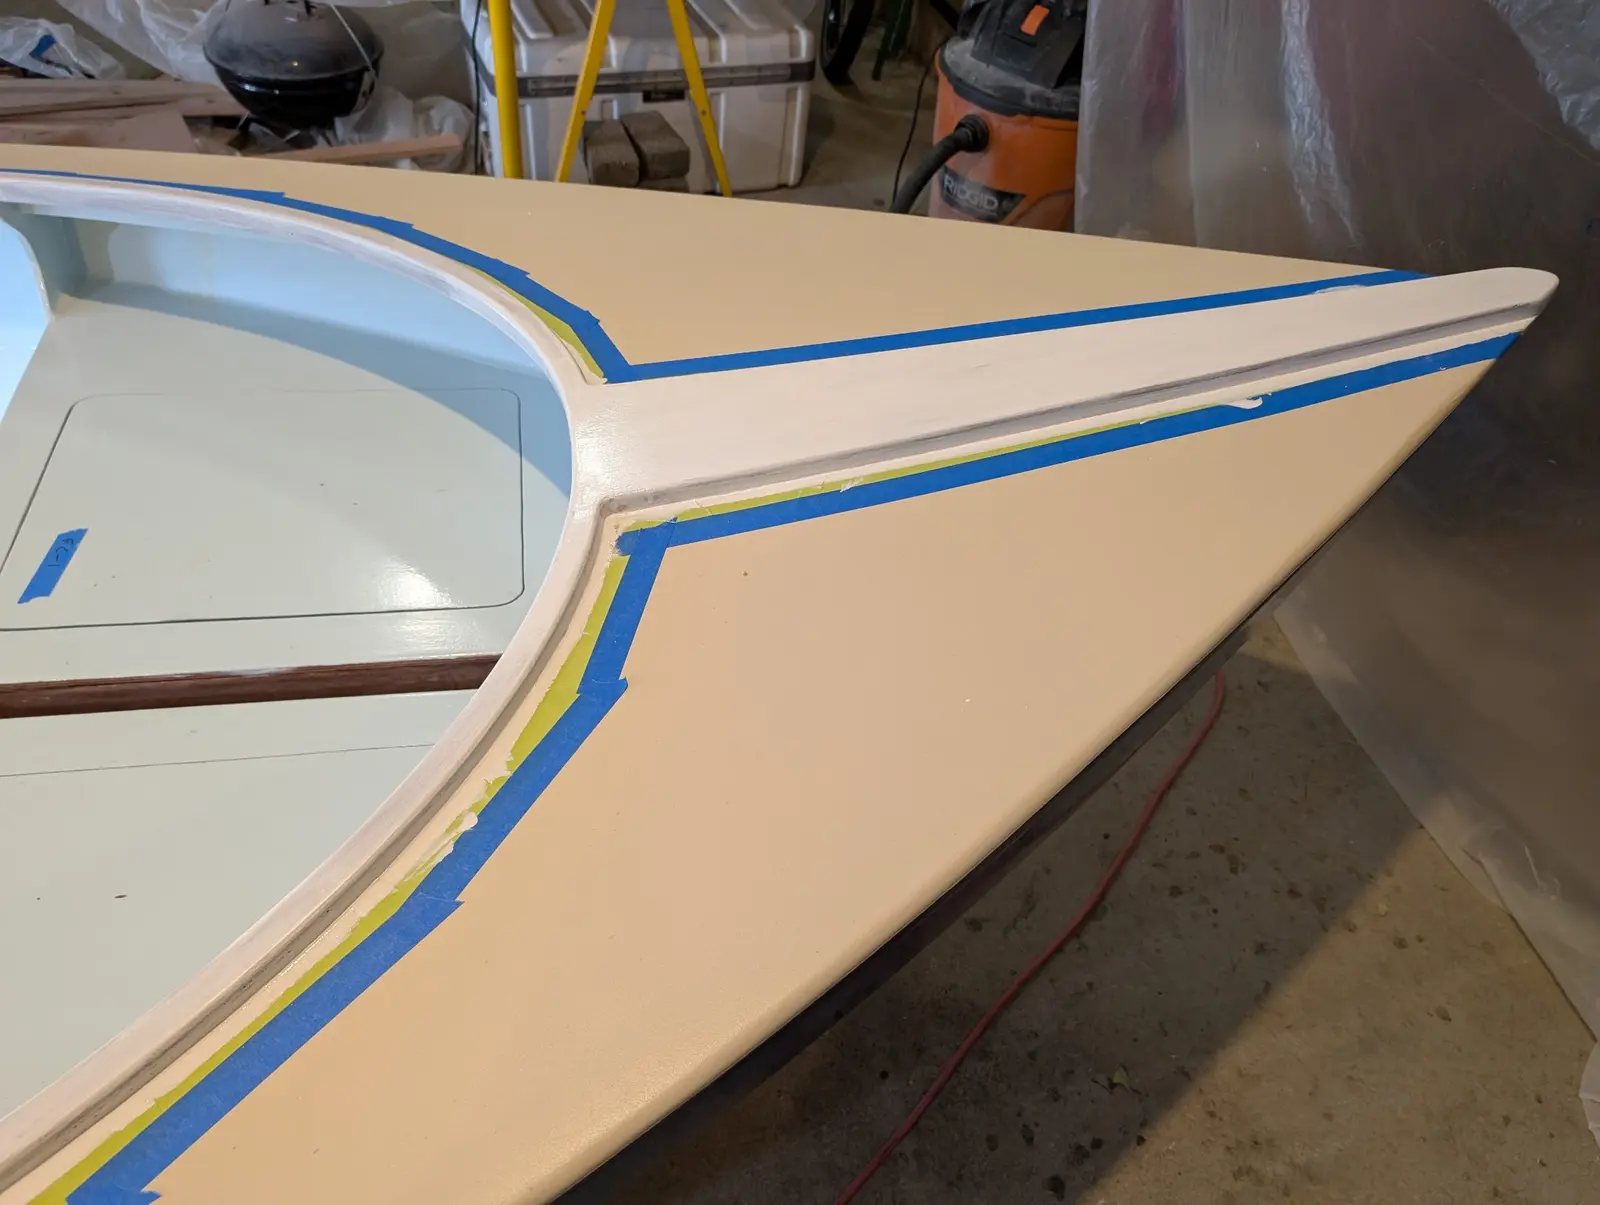
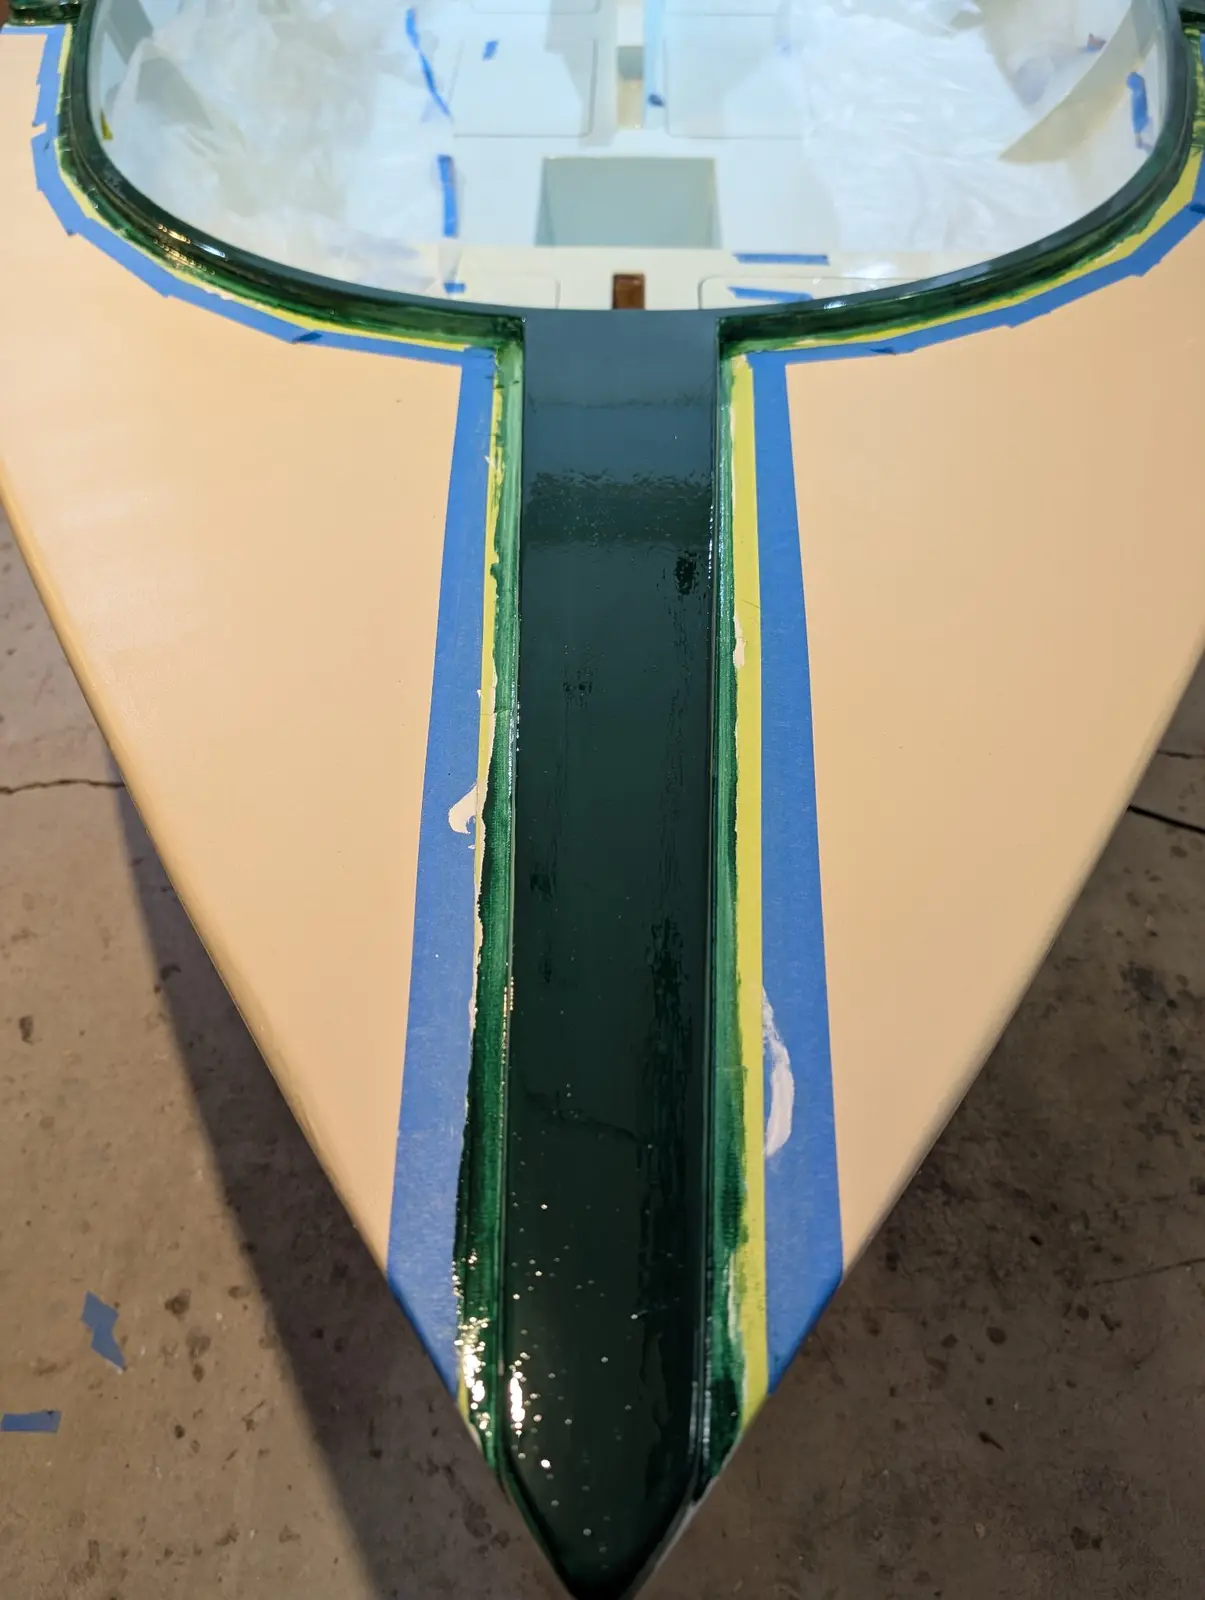
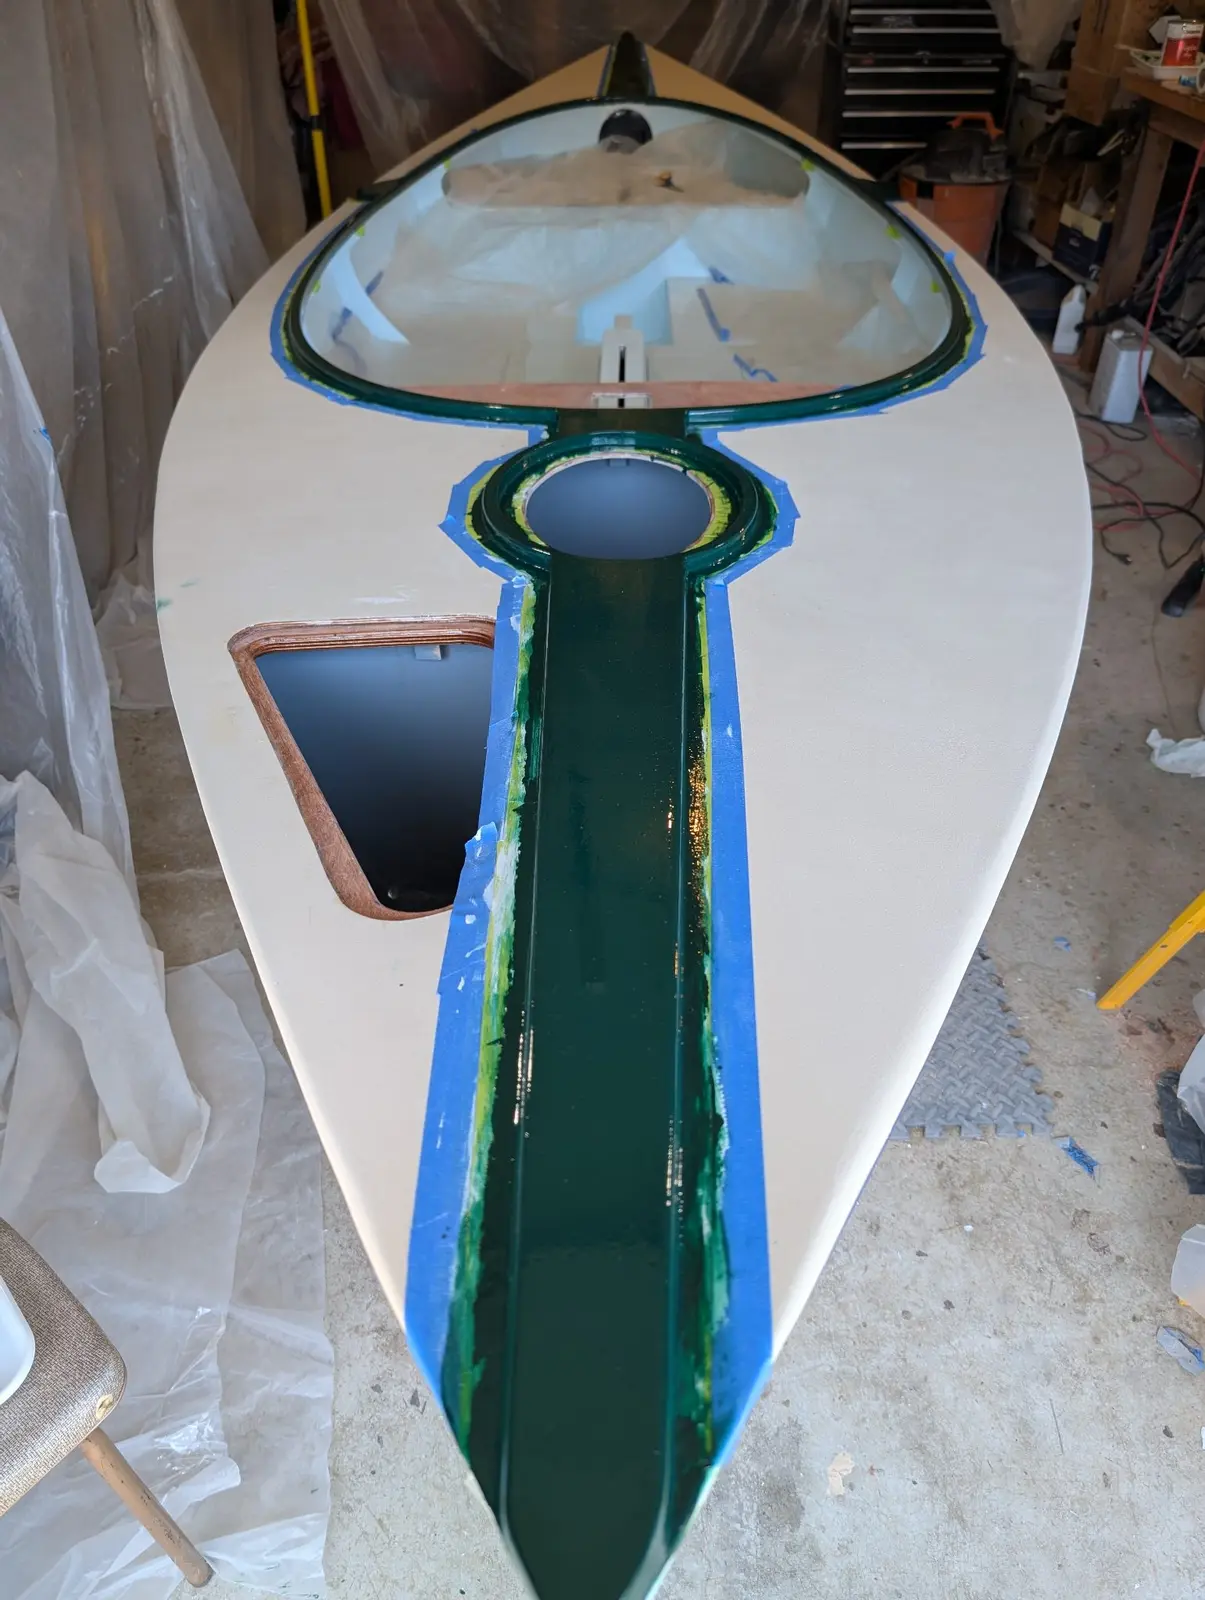
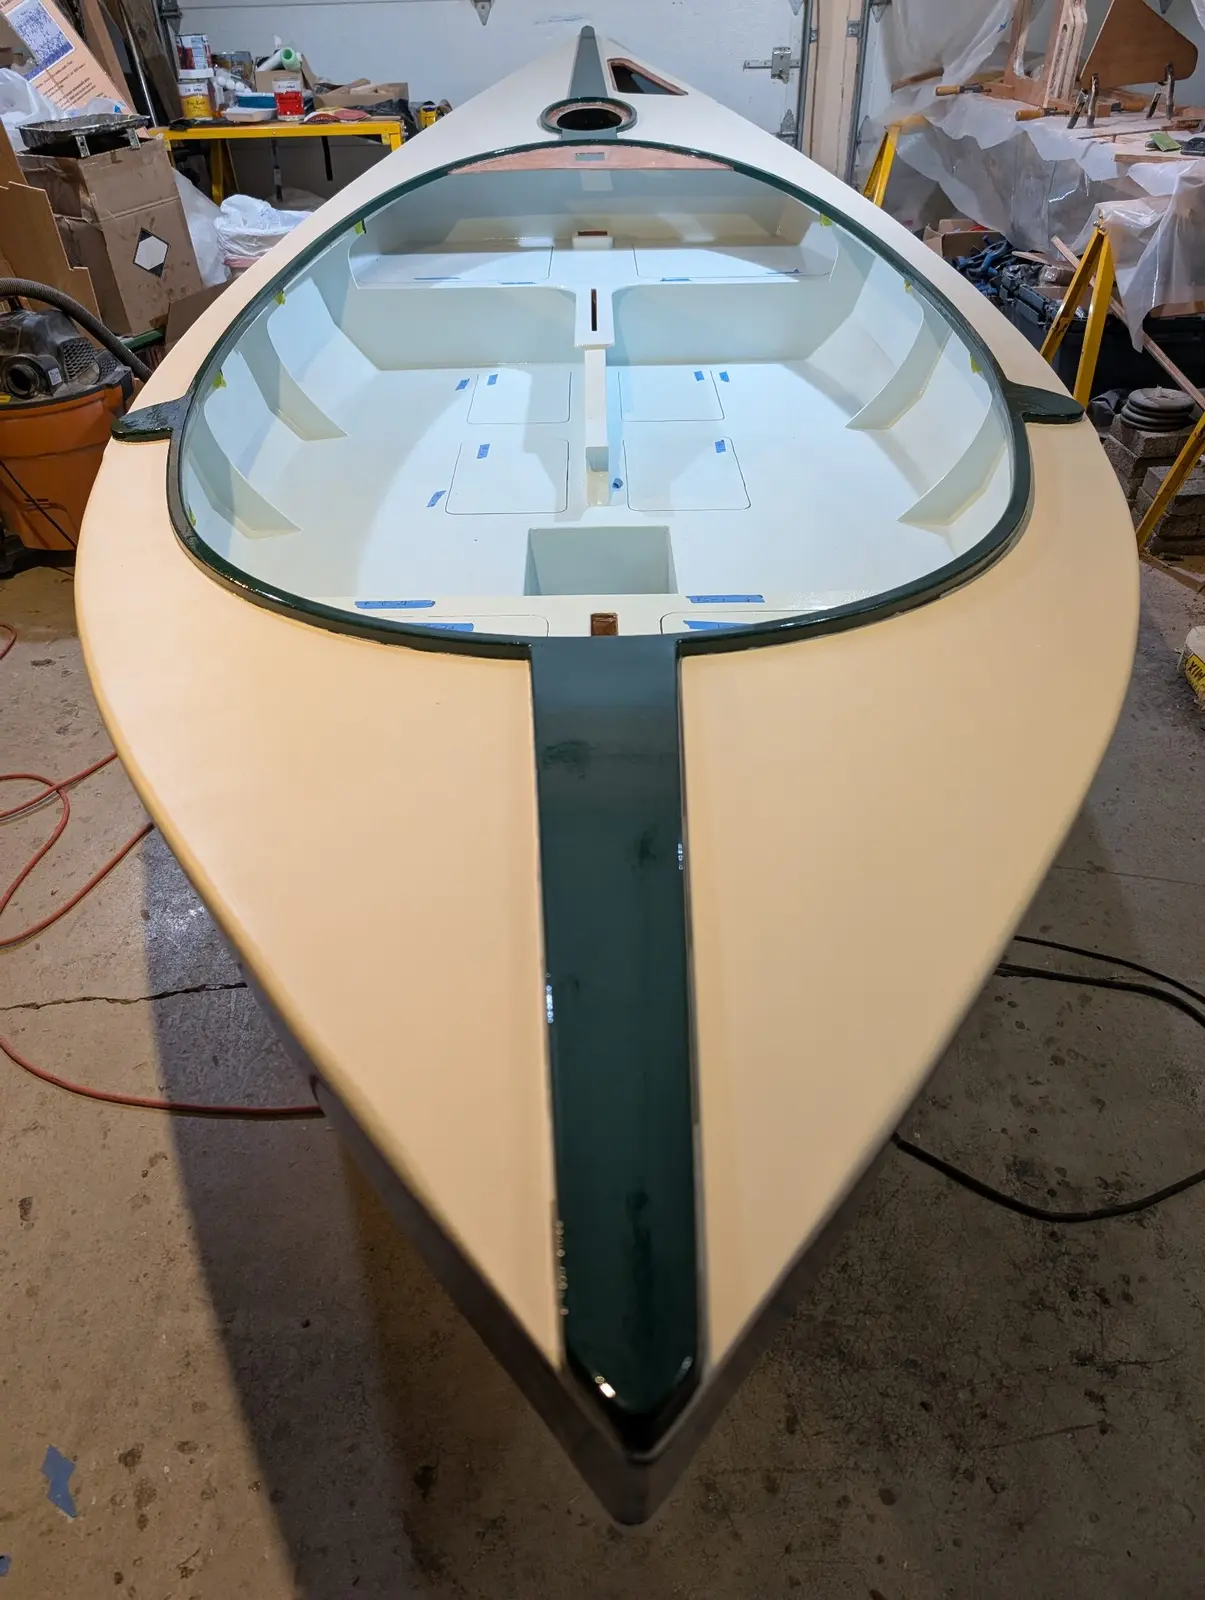
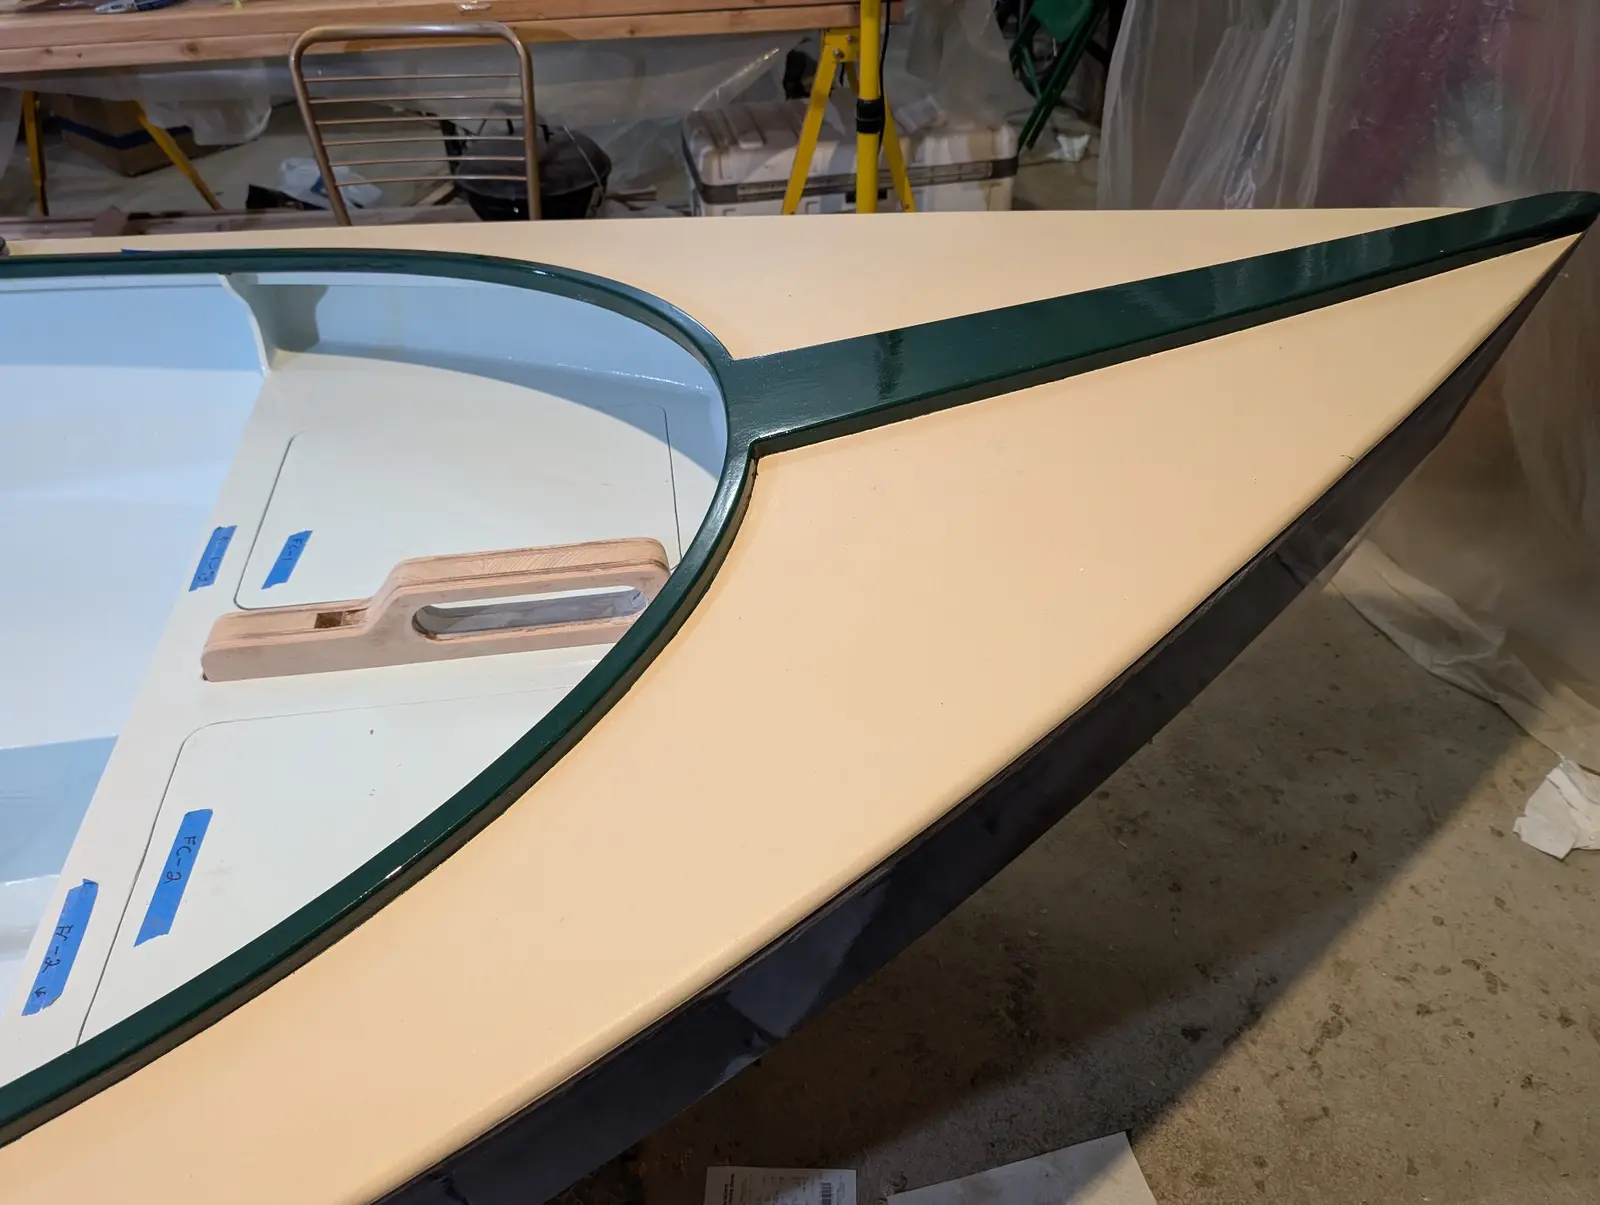
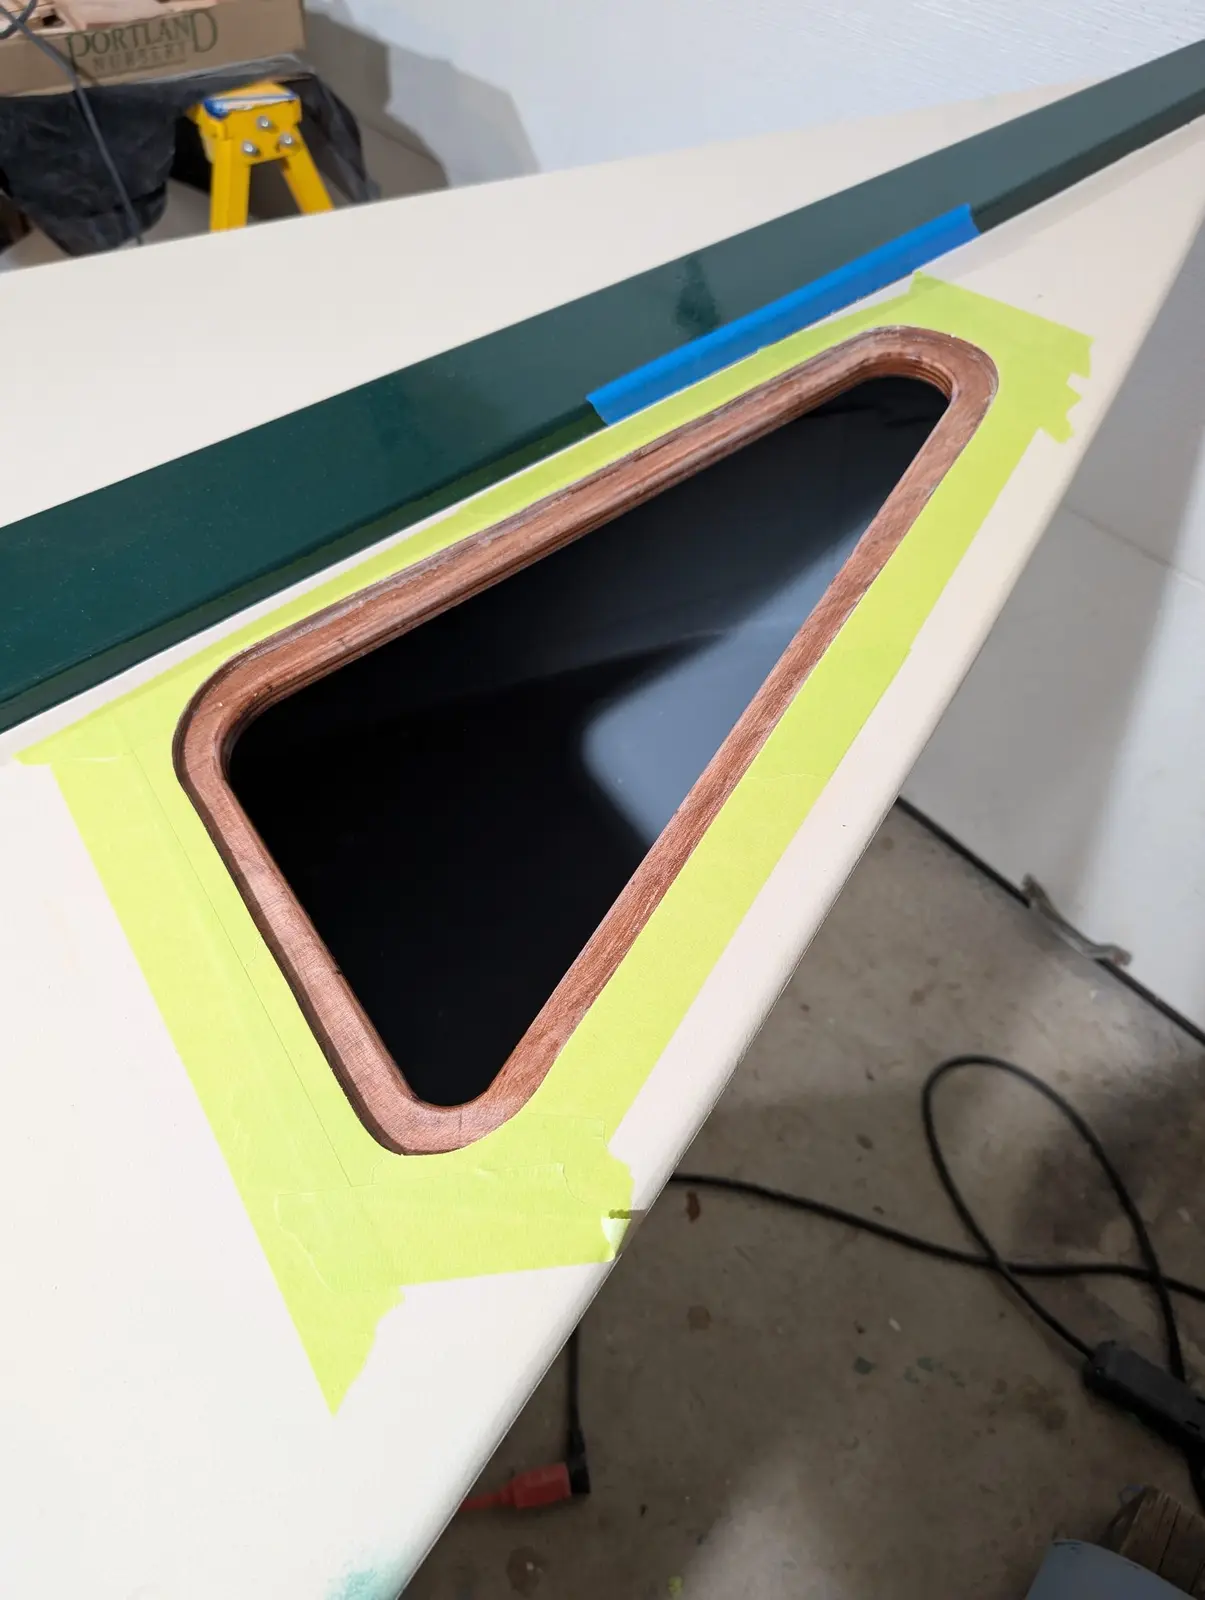
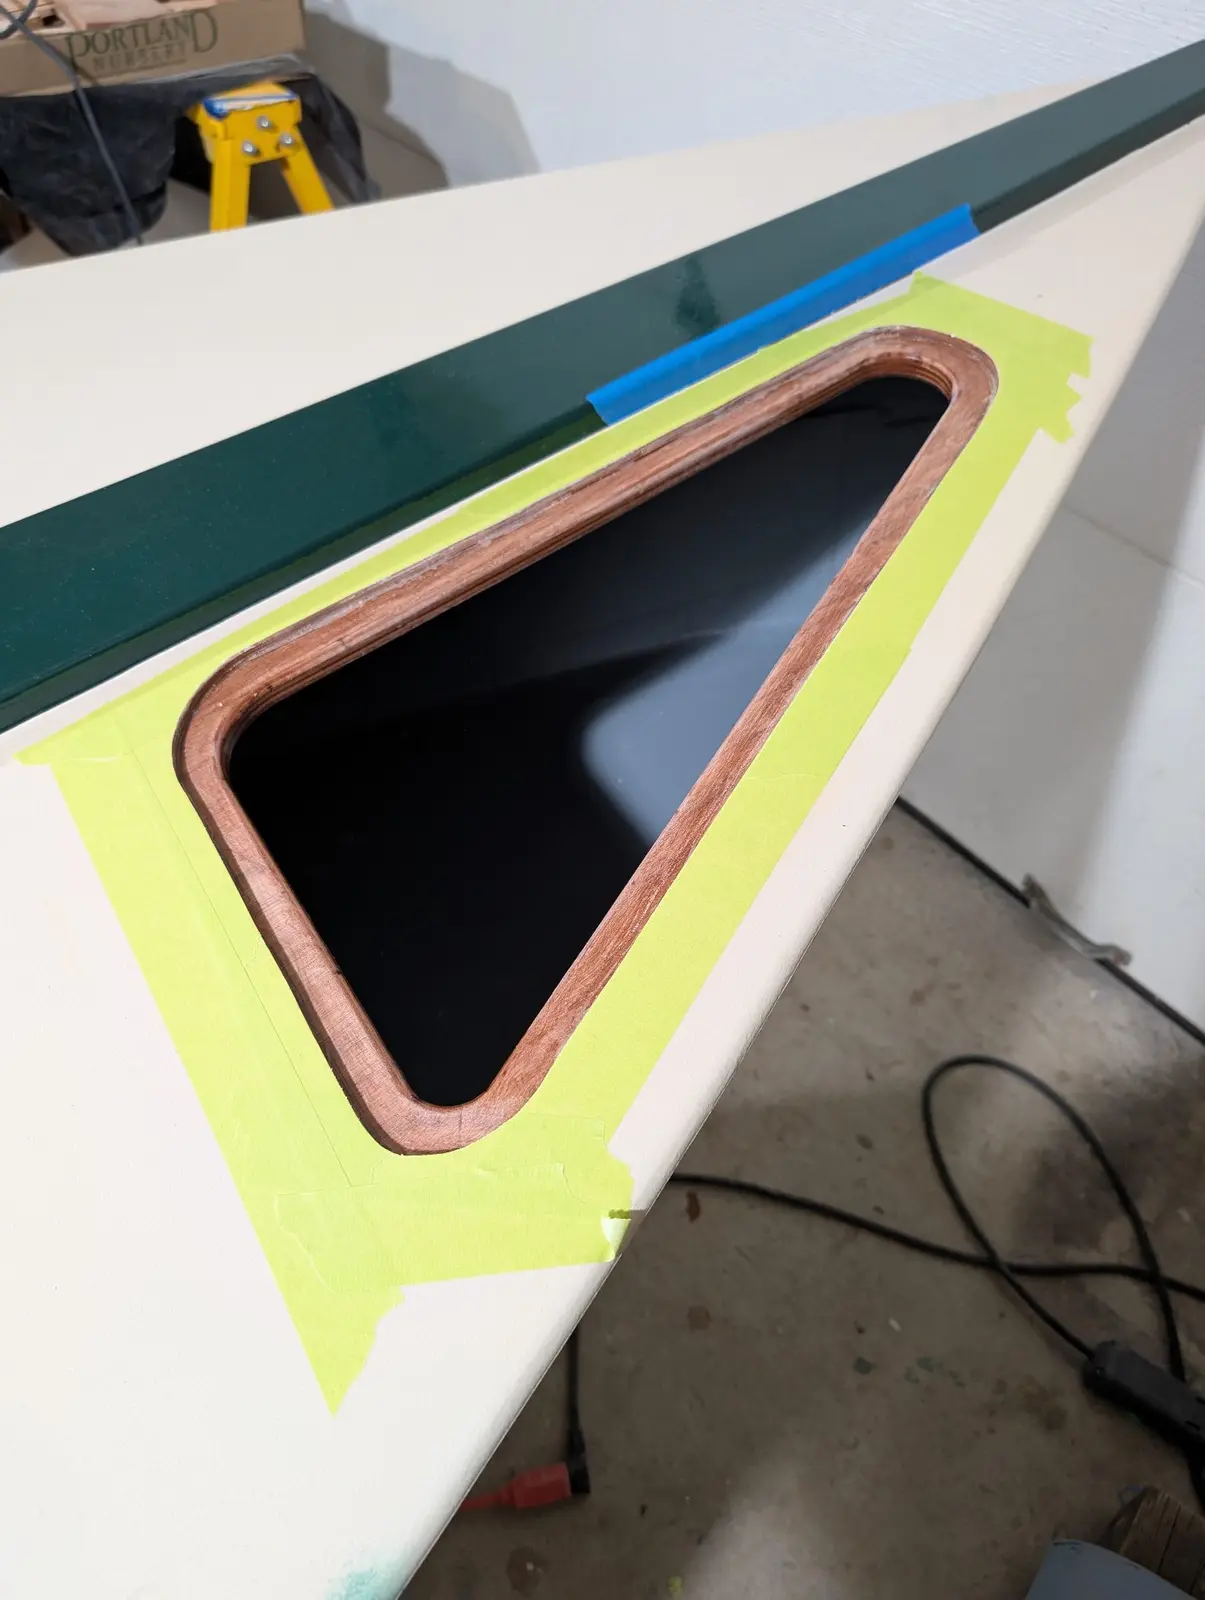
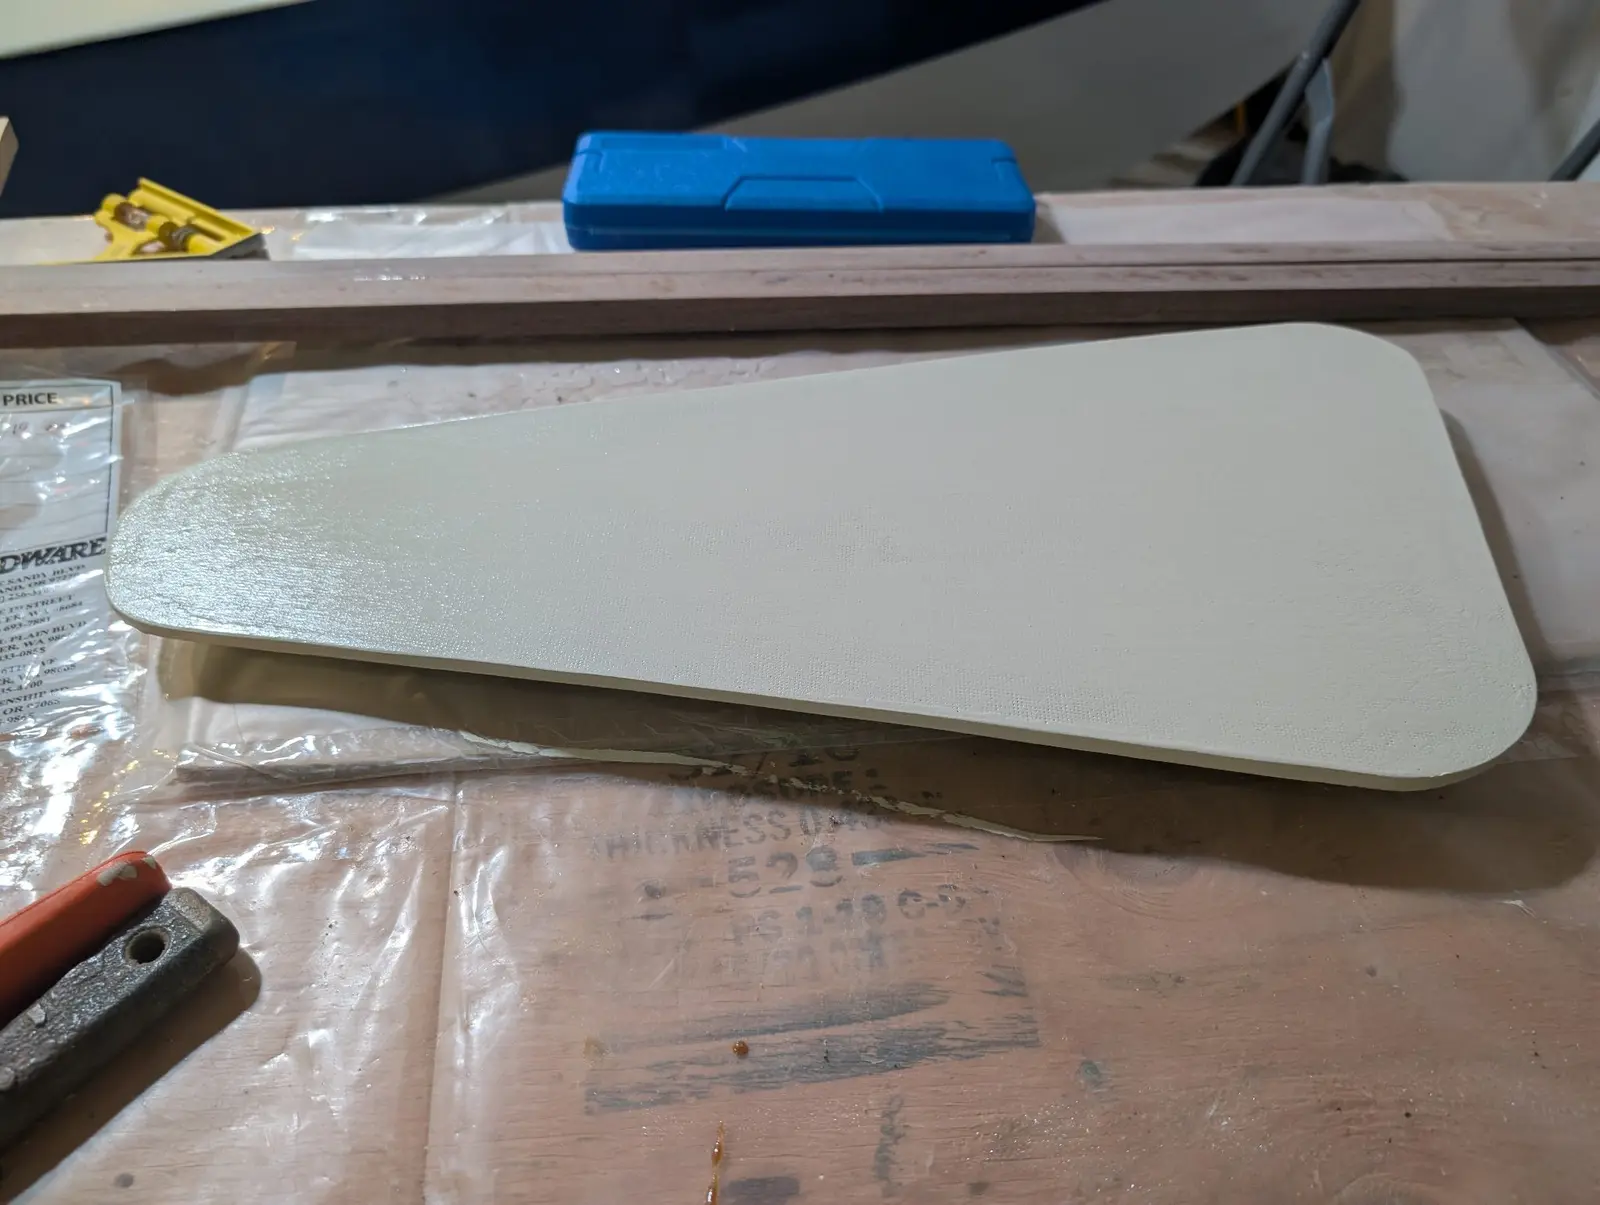
What followed was 2 weeks of painting work. Masking, priming, painting, second coat, touchup, removing the masking tape, more touchup etc. I am not going to take you through the agony in great detail. I use Interlux Interdeck non-slip paint in sandy beige for the deck. If I haven't said so before, I used Interlux Sapphire Blue for the shear strake and Mediterranean white for the rest.
I hate varnishing. I love clear-finished wood, but the little time I have left on this Earth is not going to be spent varnishing wood. Everything on this boat will be painted, except the tiller, which will be finished with Tung Oil. The photos just show progress painting the coaming and king plank. Because the desk is non-slip, and therefore rough, I used the green painter's tape here. It's advertised for rough surfaces but is more expensive than the blue tape. It helped some but there was still some wicking of green paint under the tape. The solution was to mask off the coaming and paint over the green paint that escaped onto the deck. There are two coats of primer and three coats of Toplac Plus in Donegal Green.
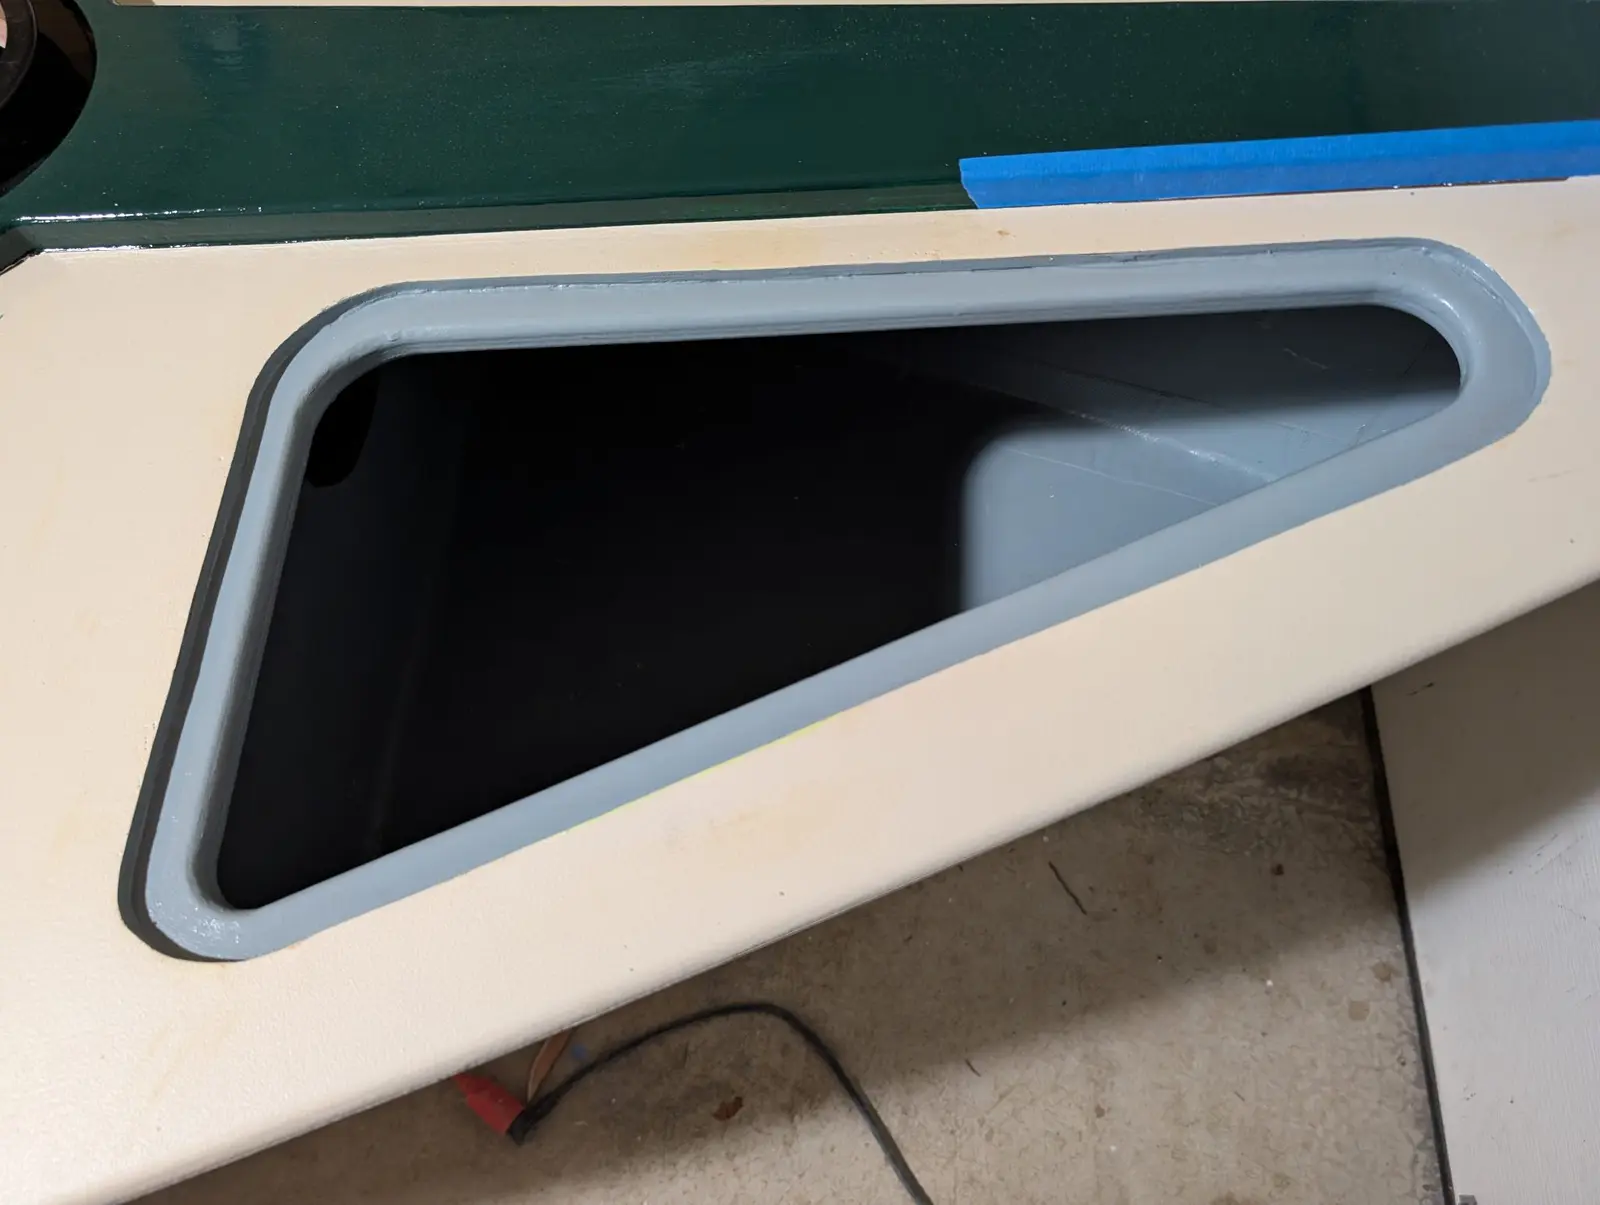
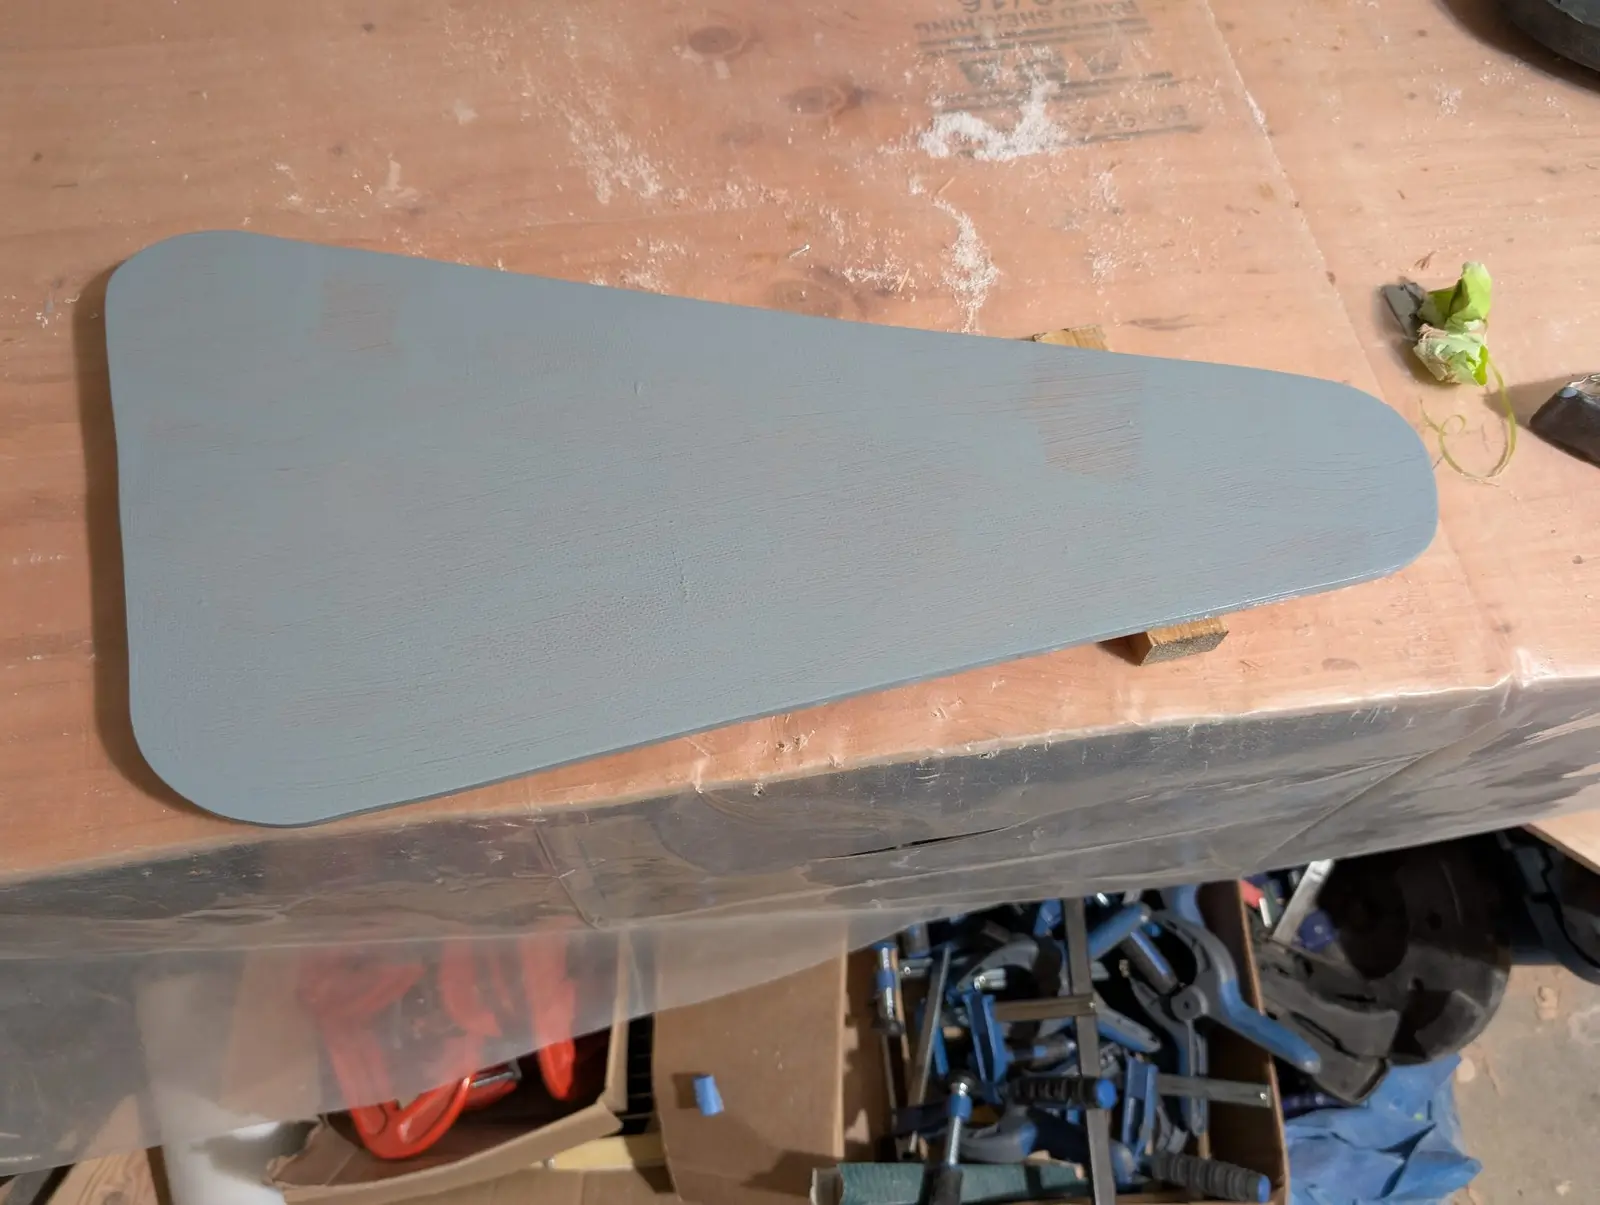
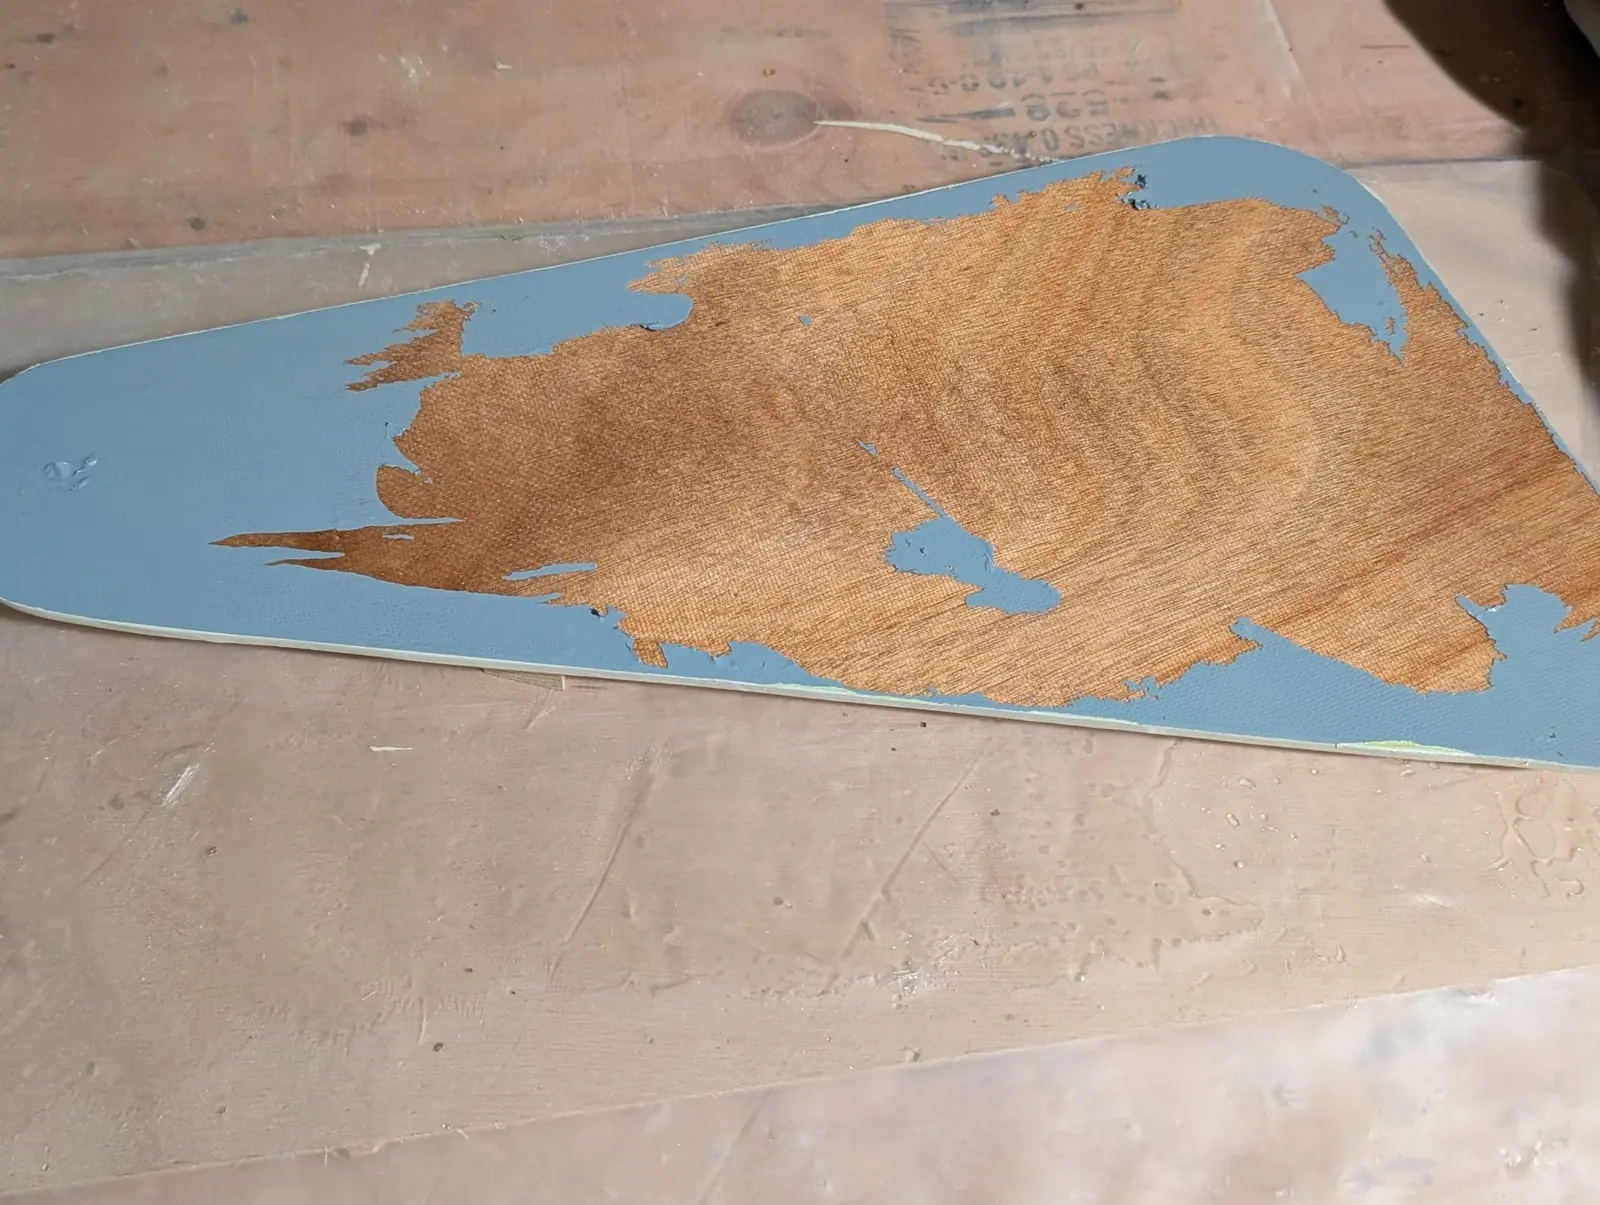
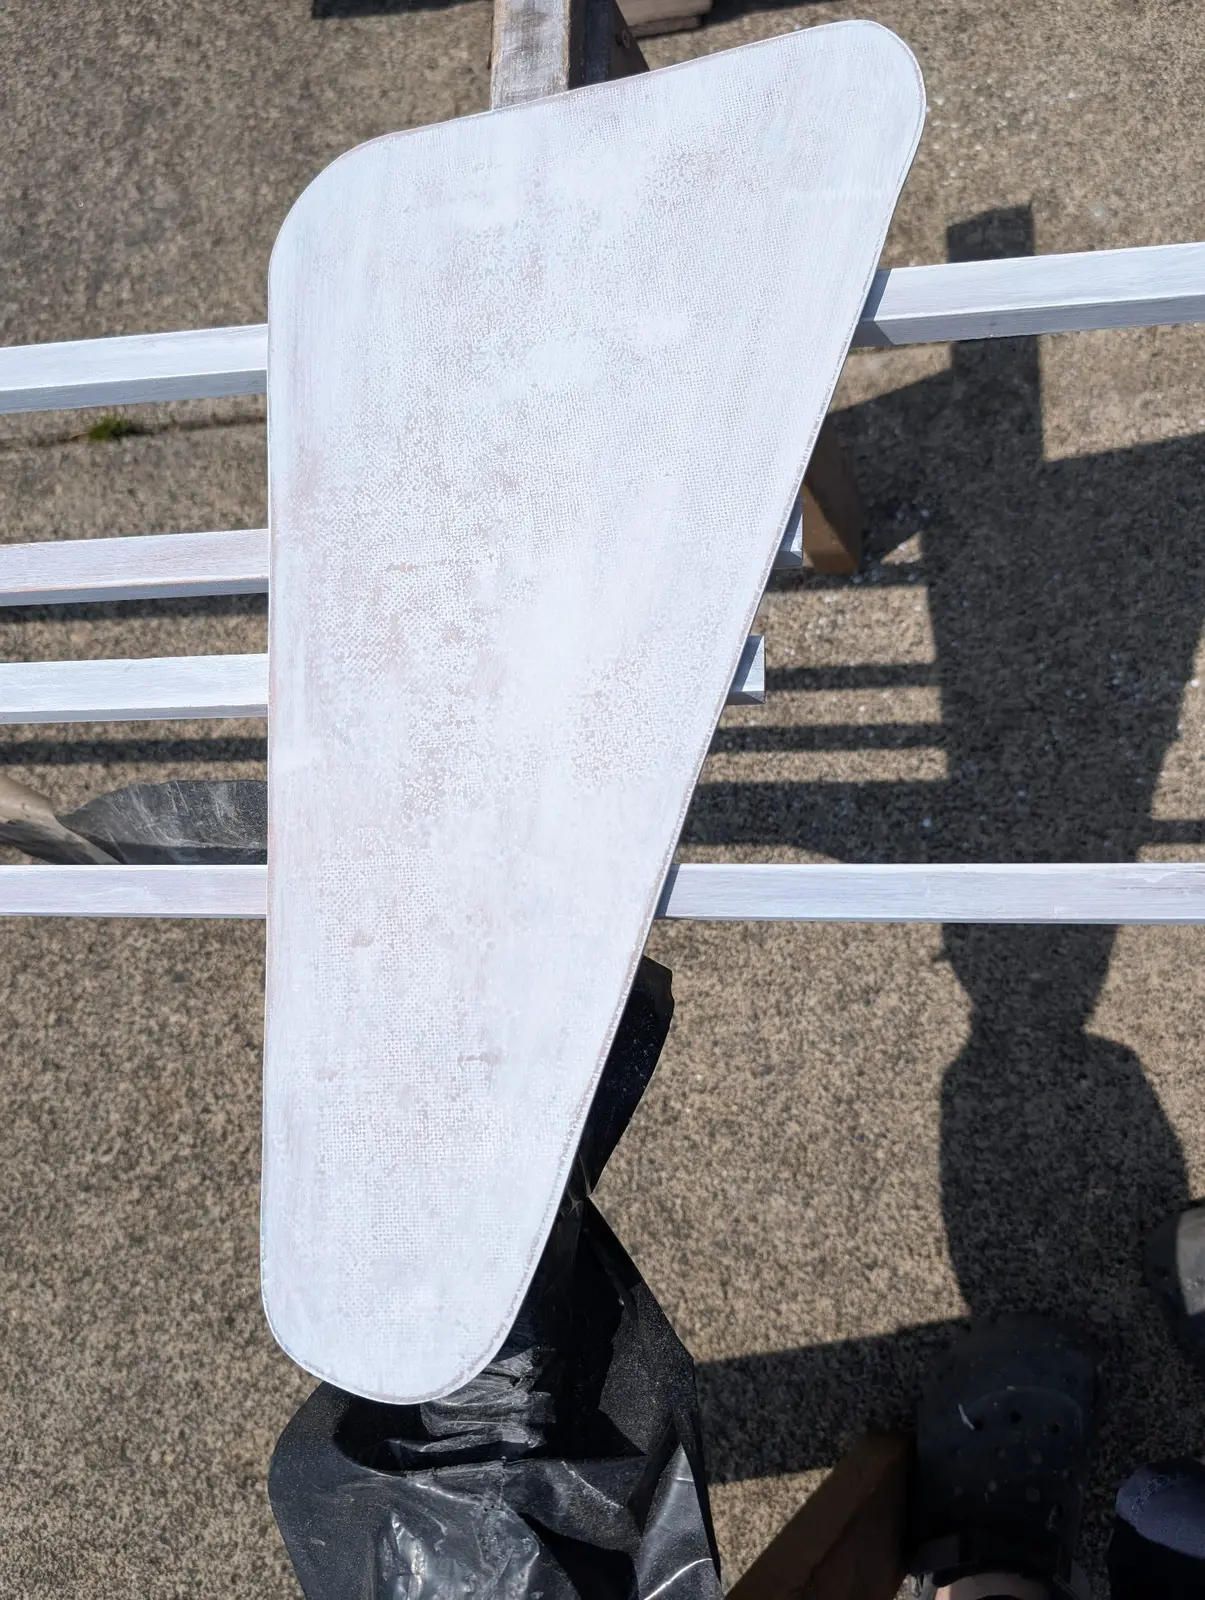
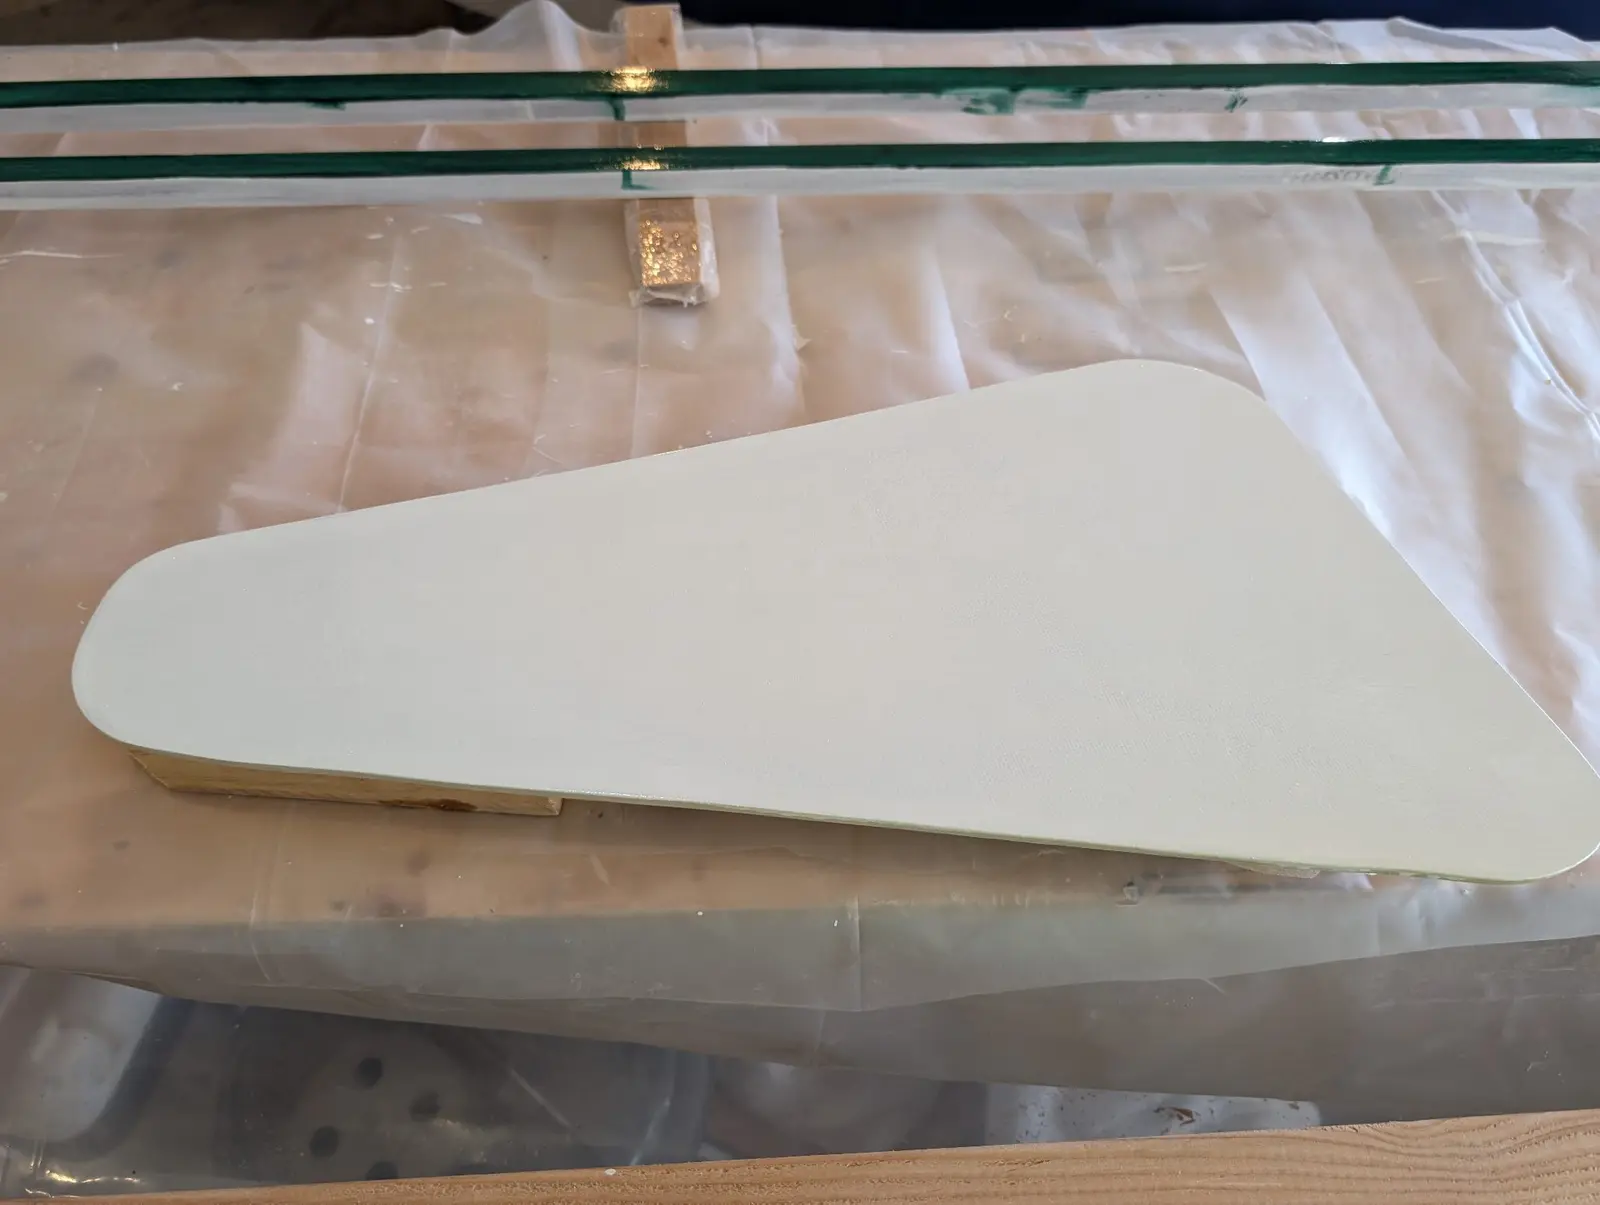
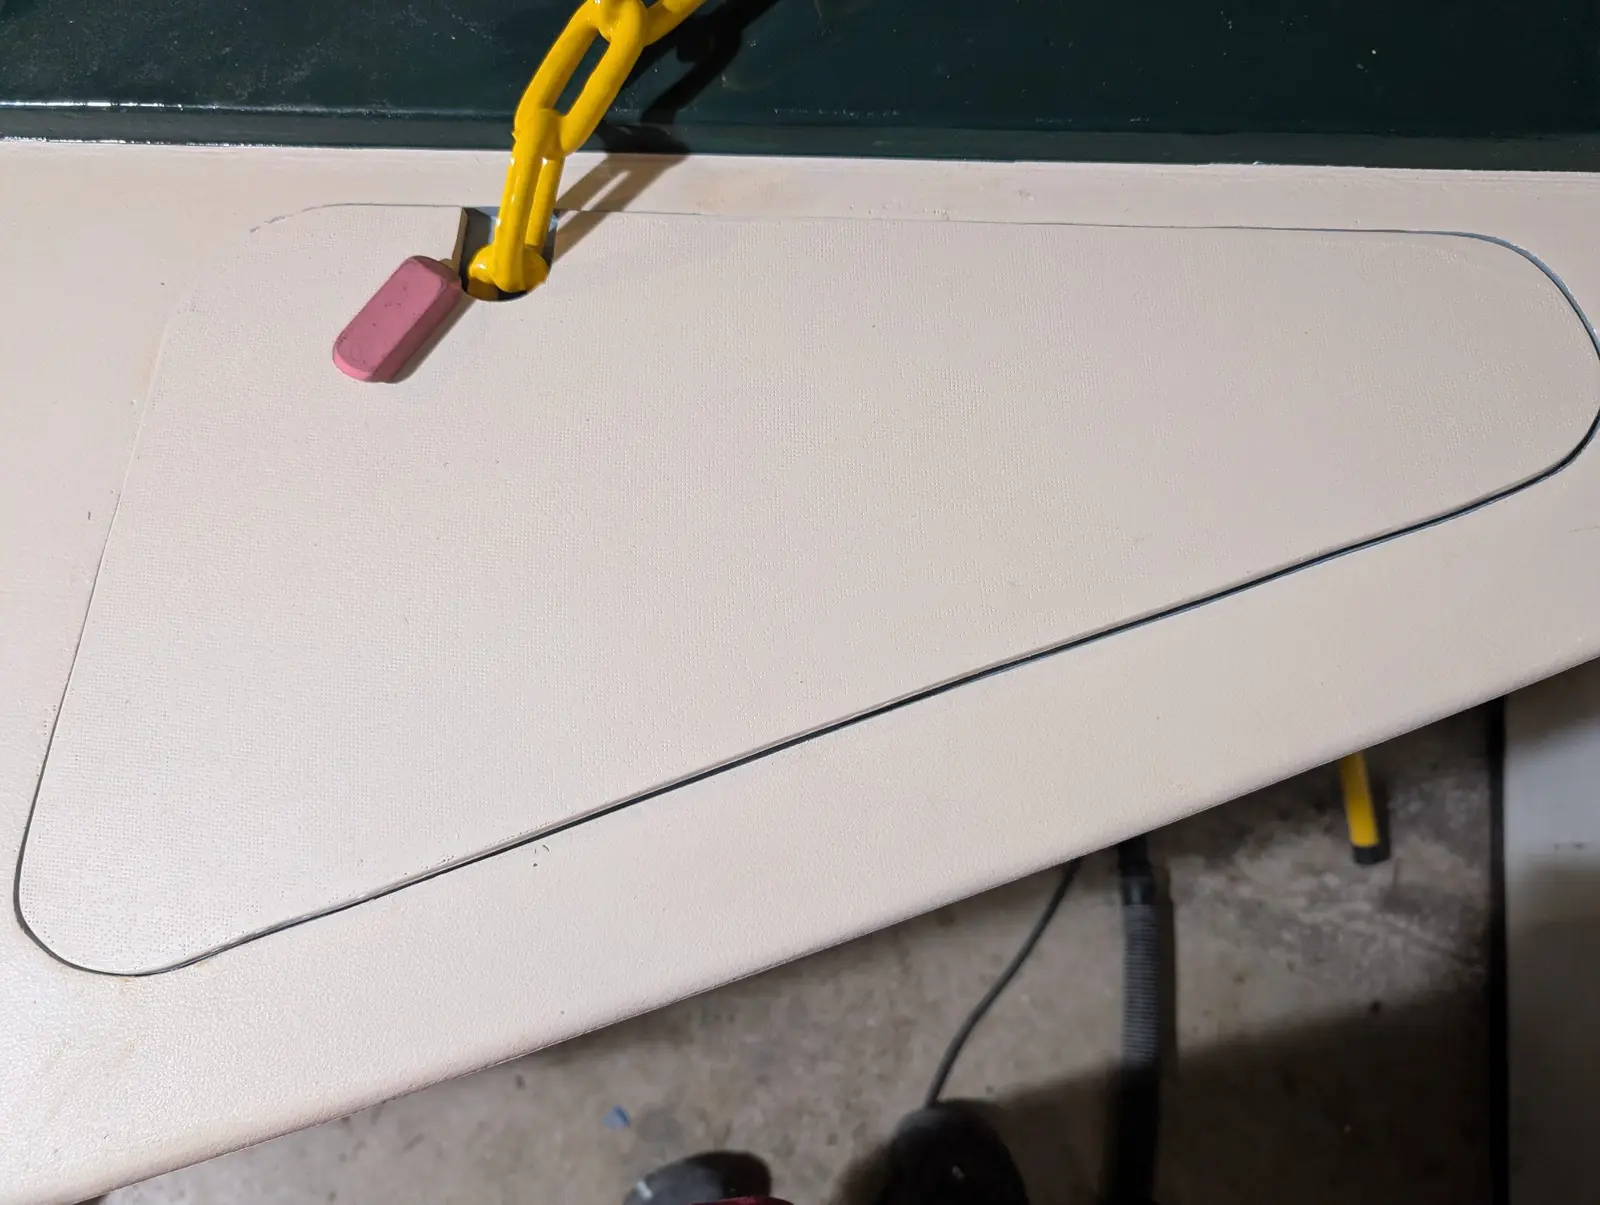
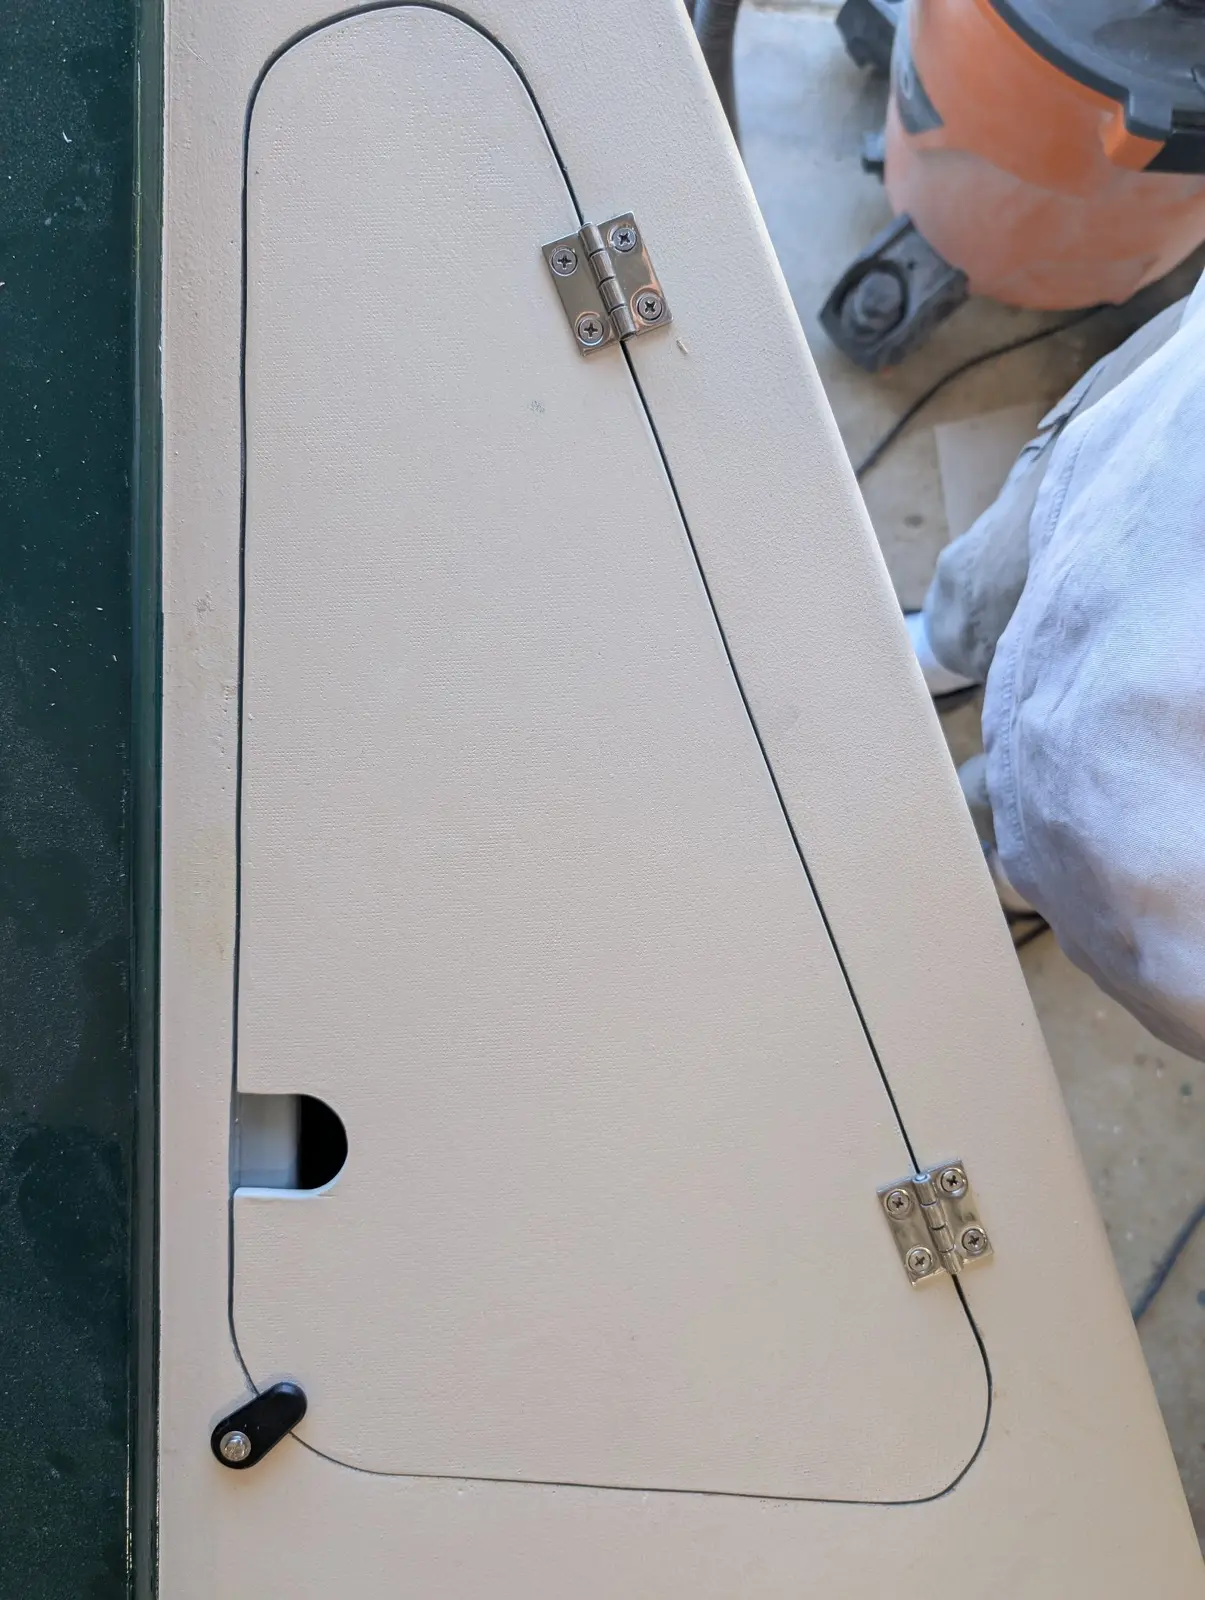
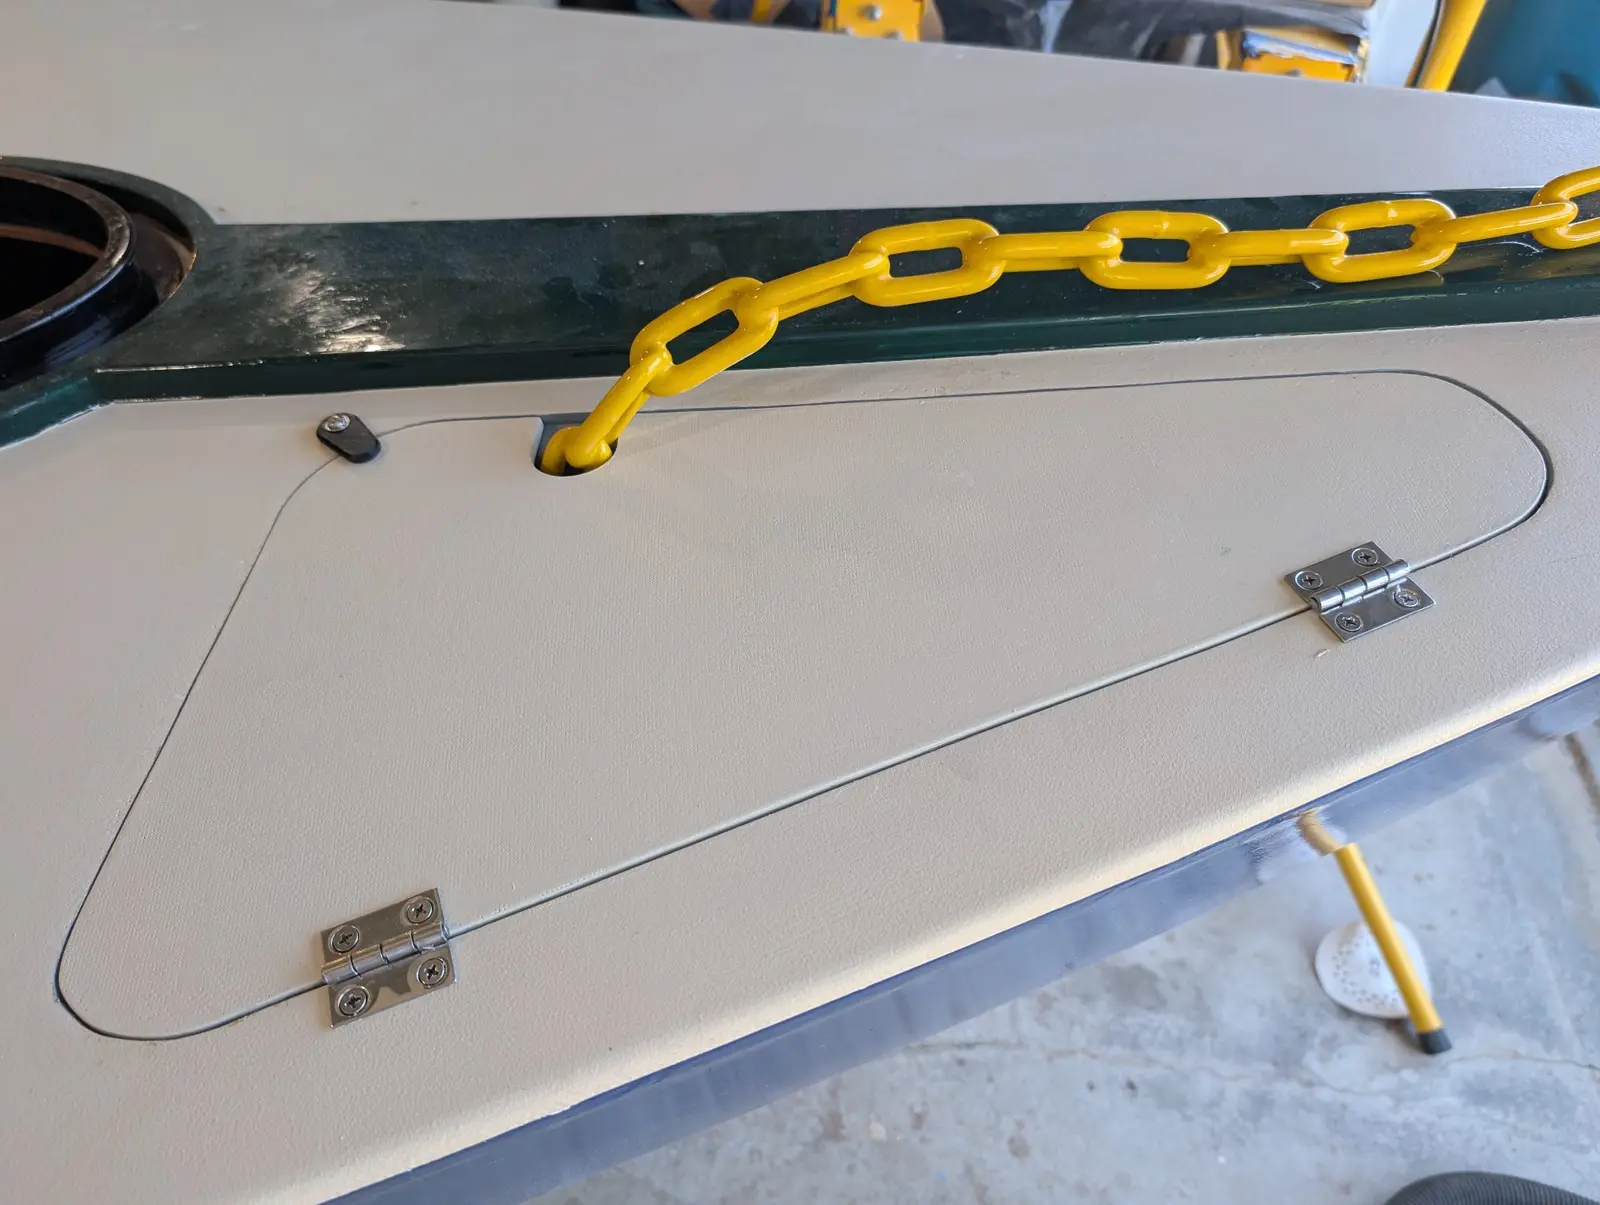
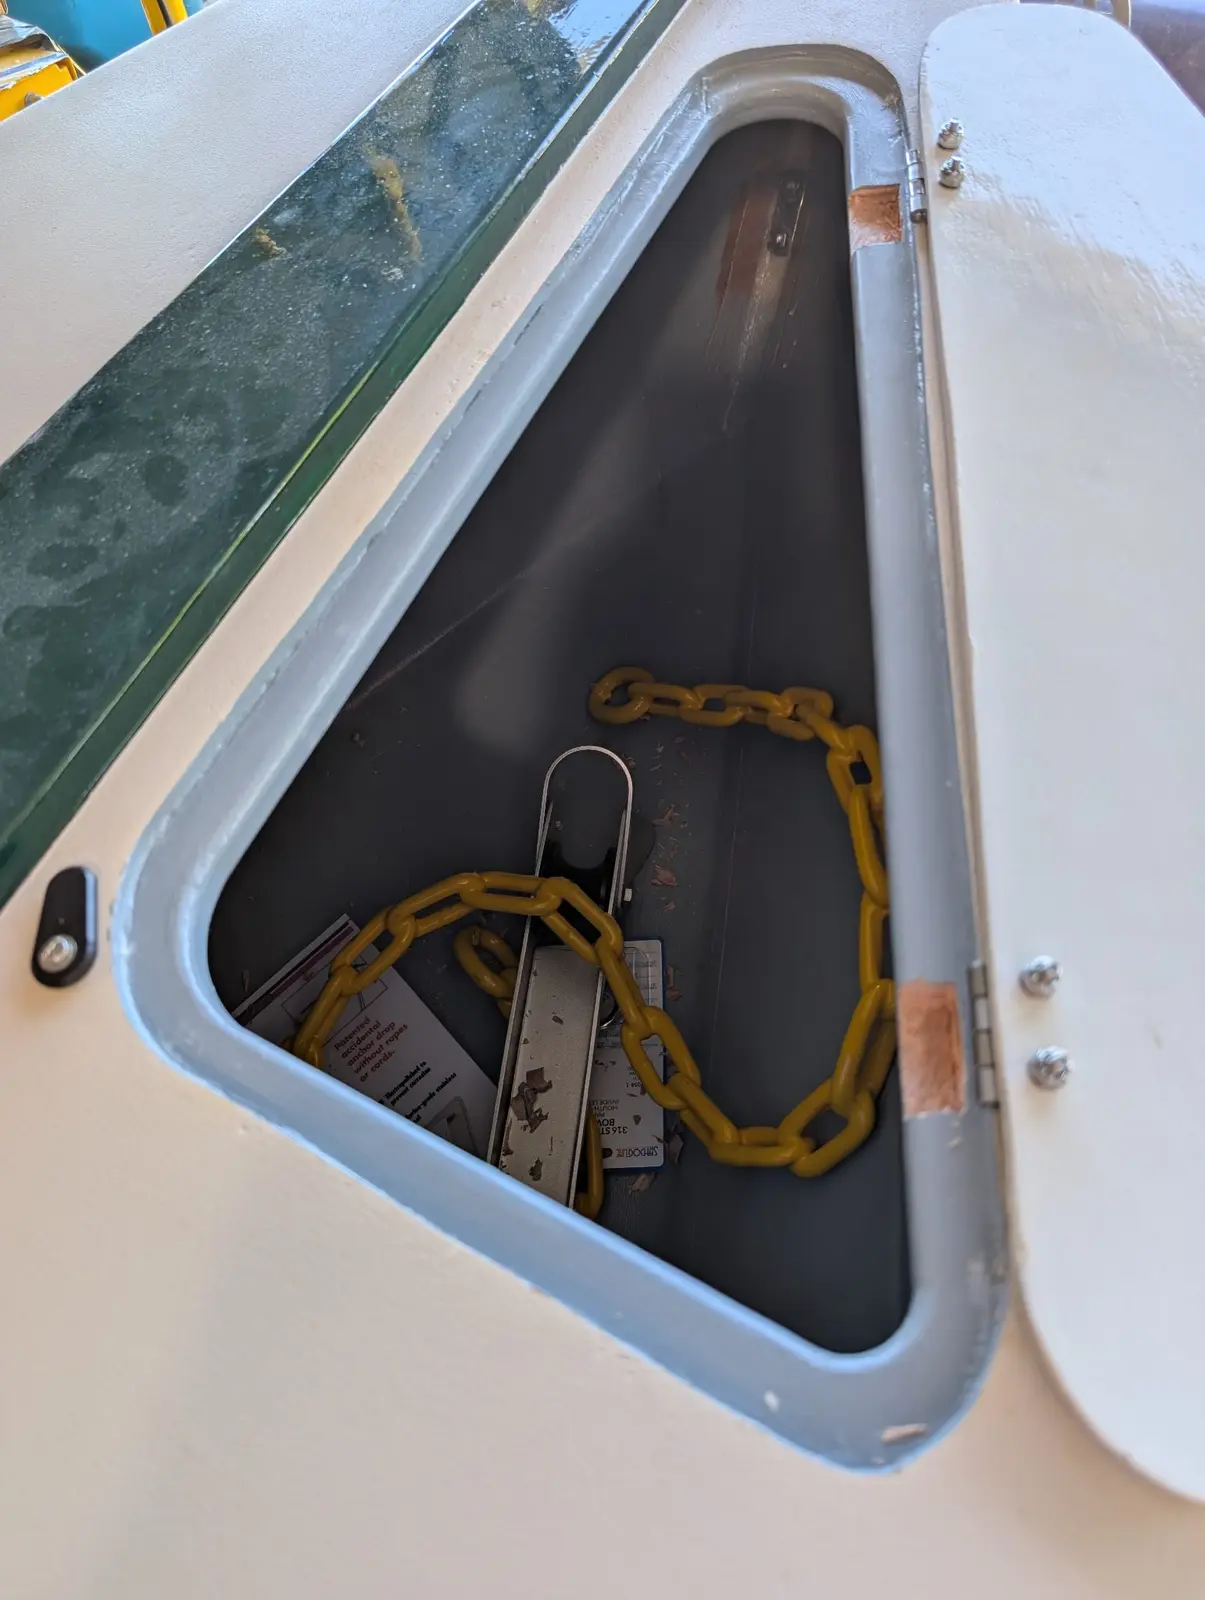
The photos are about finishing up the anchor locker hatch. In 3 you can see how I painted latex over epoxy, and it looks pretty good. A while later, in 5 you can see a near-total failure of the latex to hold onto the epoxy. I am not sure what happened here. I have been painting latex over epoxy for decades and have never had a failure. Elsewhere on the boat, the same paint has bonded tenaciously to the exact same type of epoxy. I am not sure what happened. I stripped off the failed paint, primed it with Pre-Kote Plus and repainted. It is holding on fine after that. In 8-11 you can see the placement of the hinges, cutout for the chain, and the hatch dog. This hatch cover doesn't have a gasket seal because the anchor locker has drains on port and starboard to let water out.
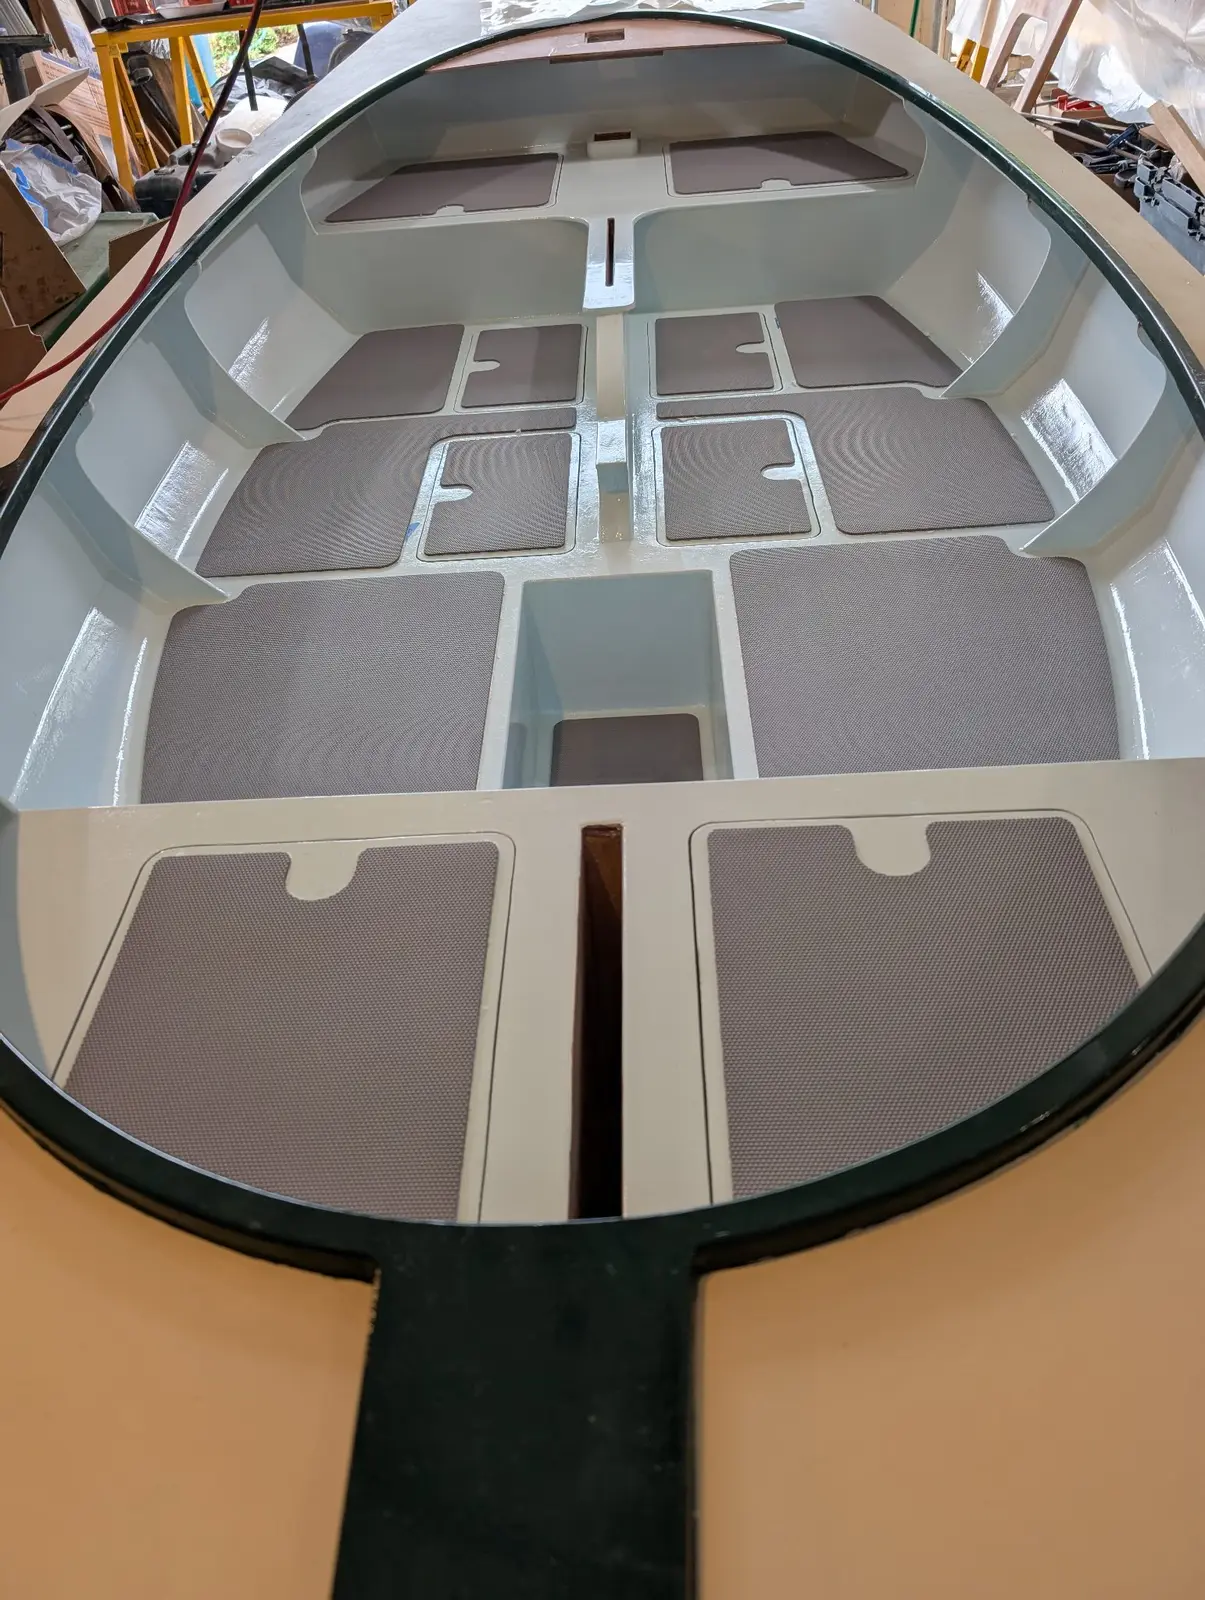
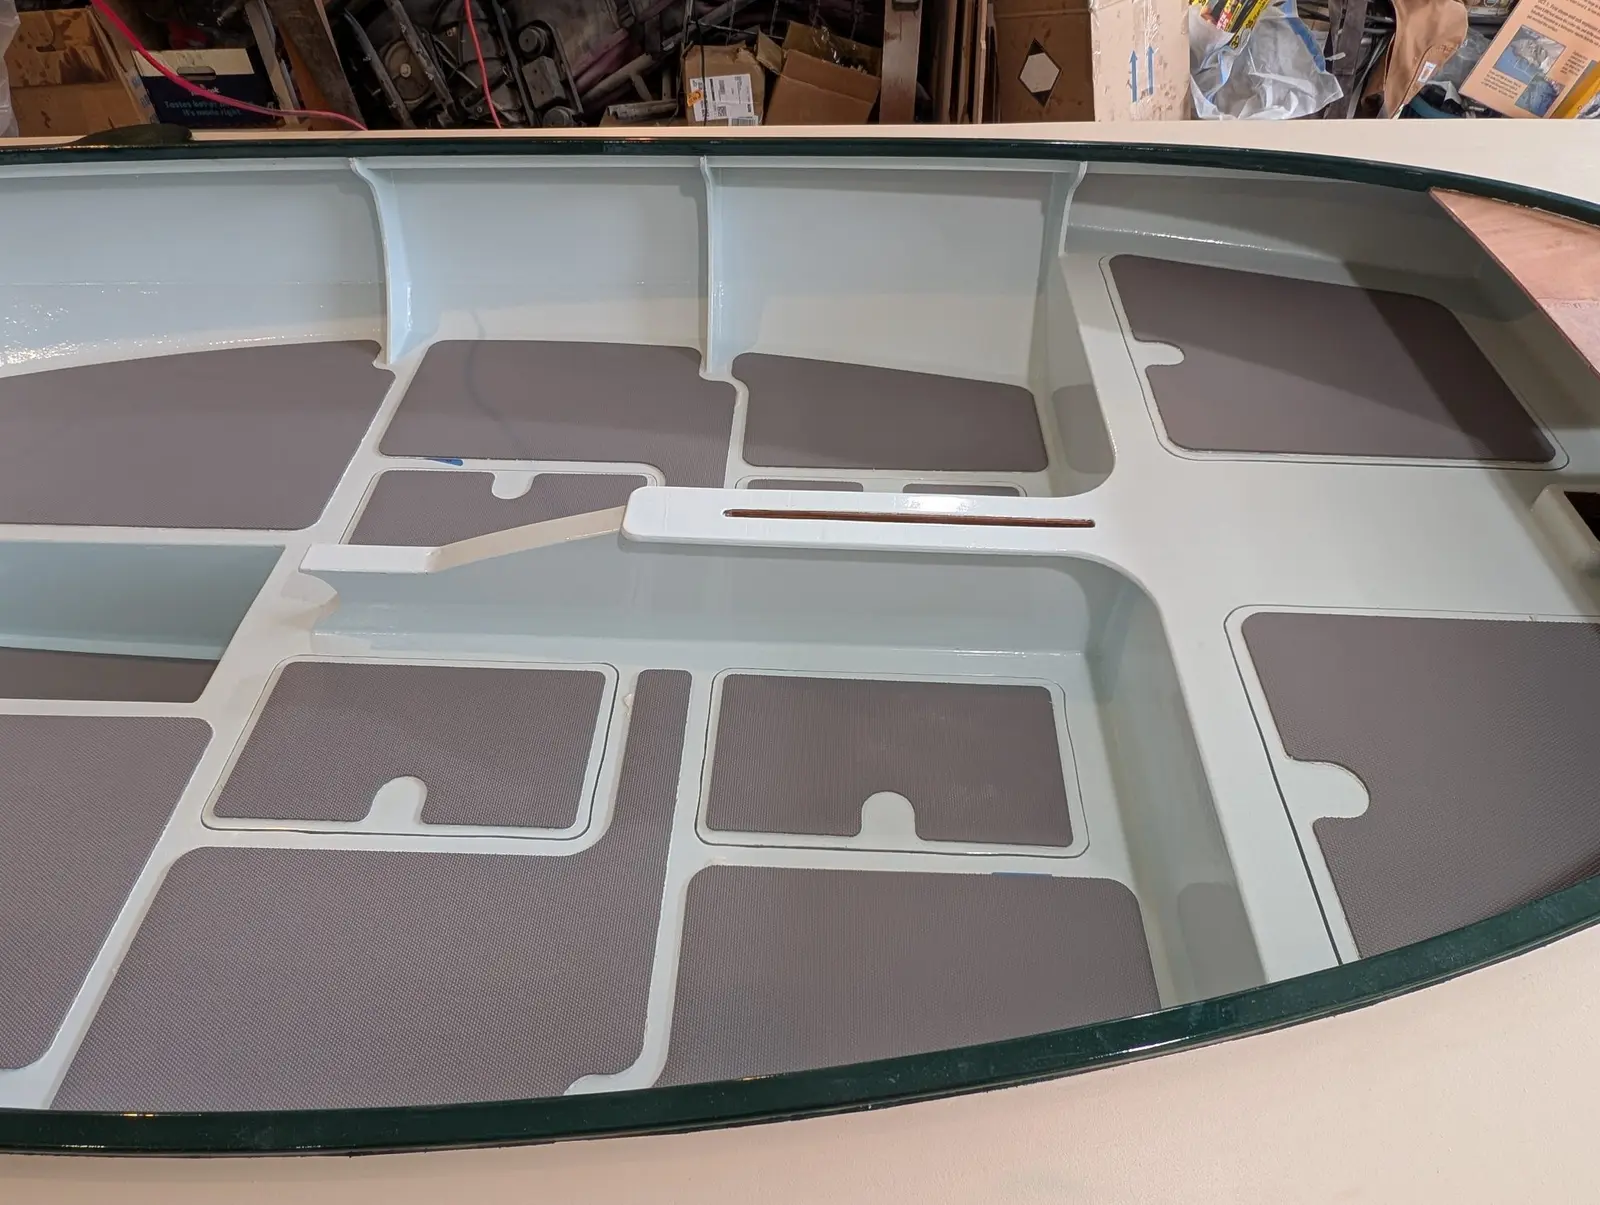
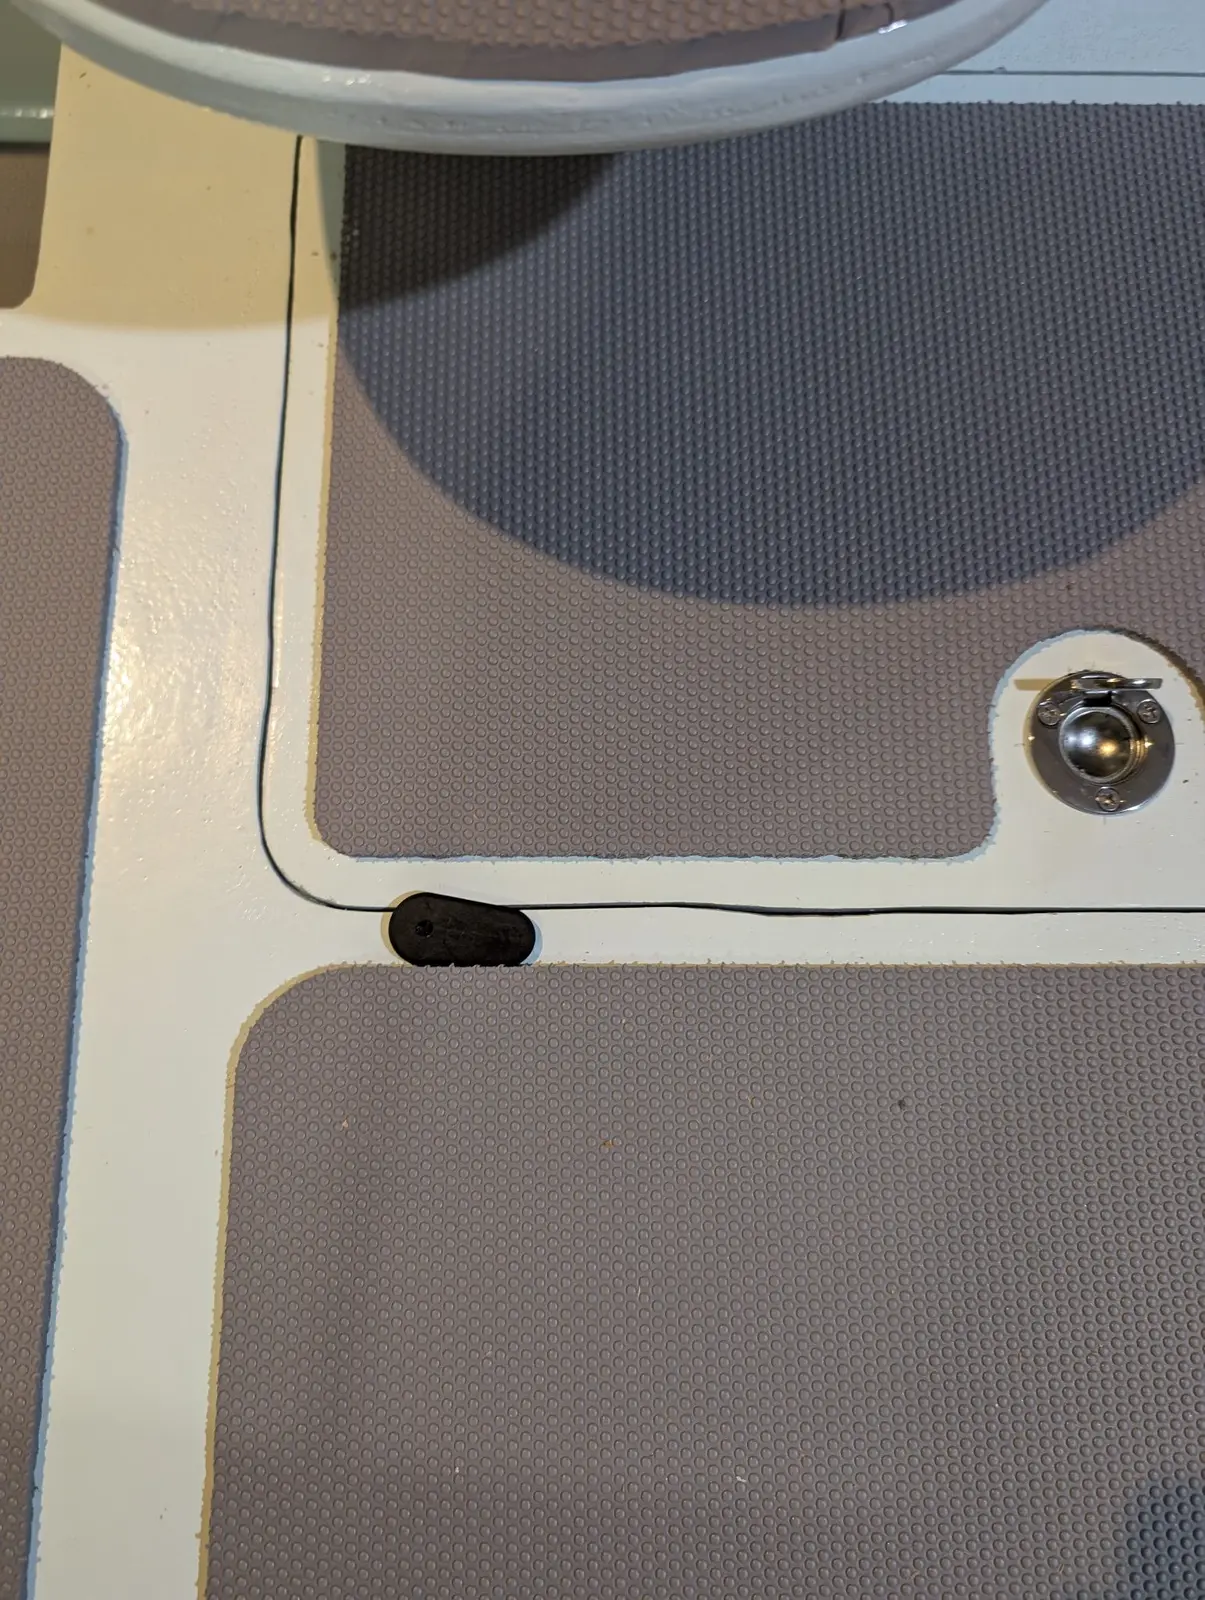
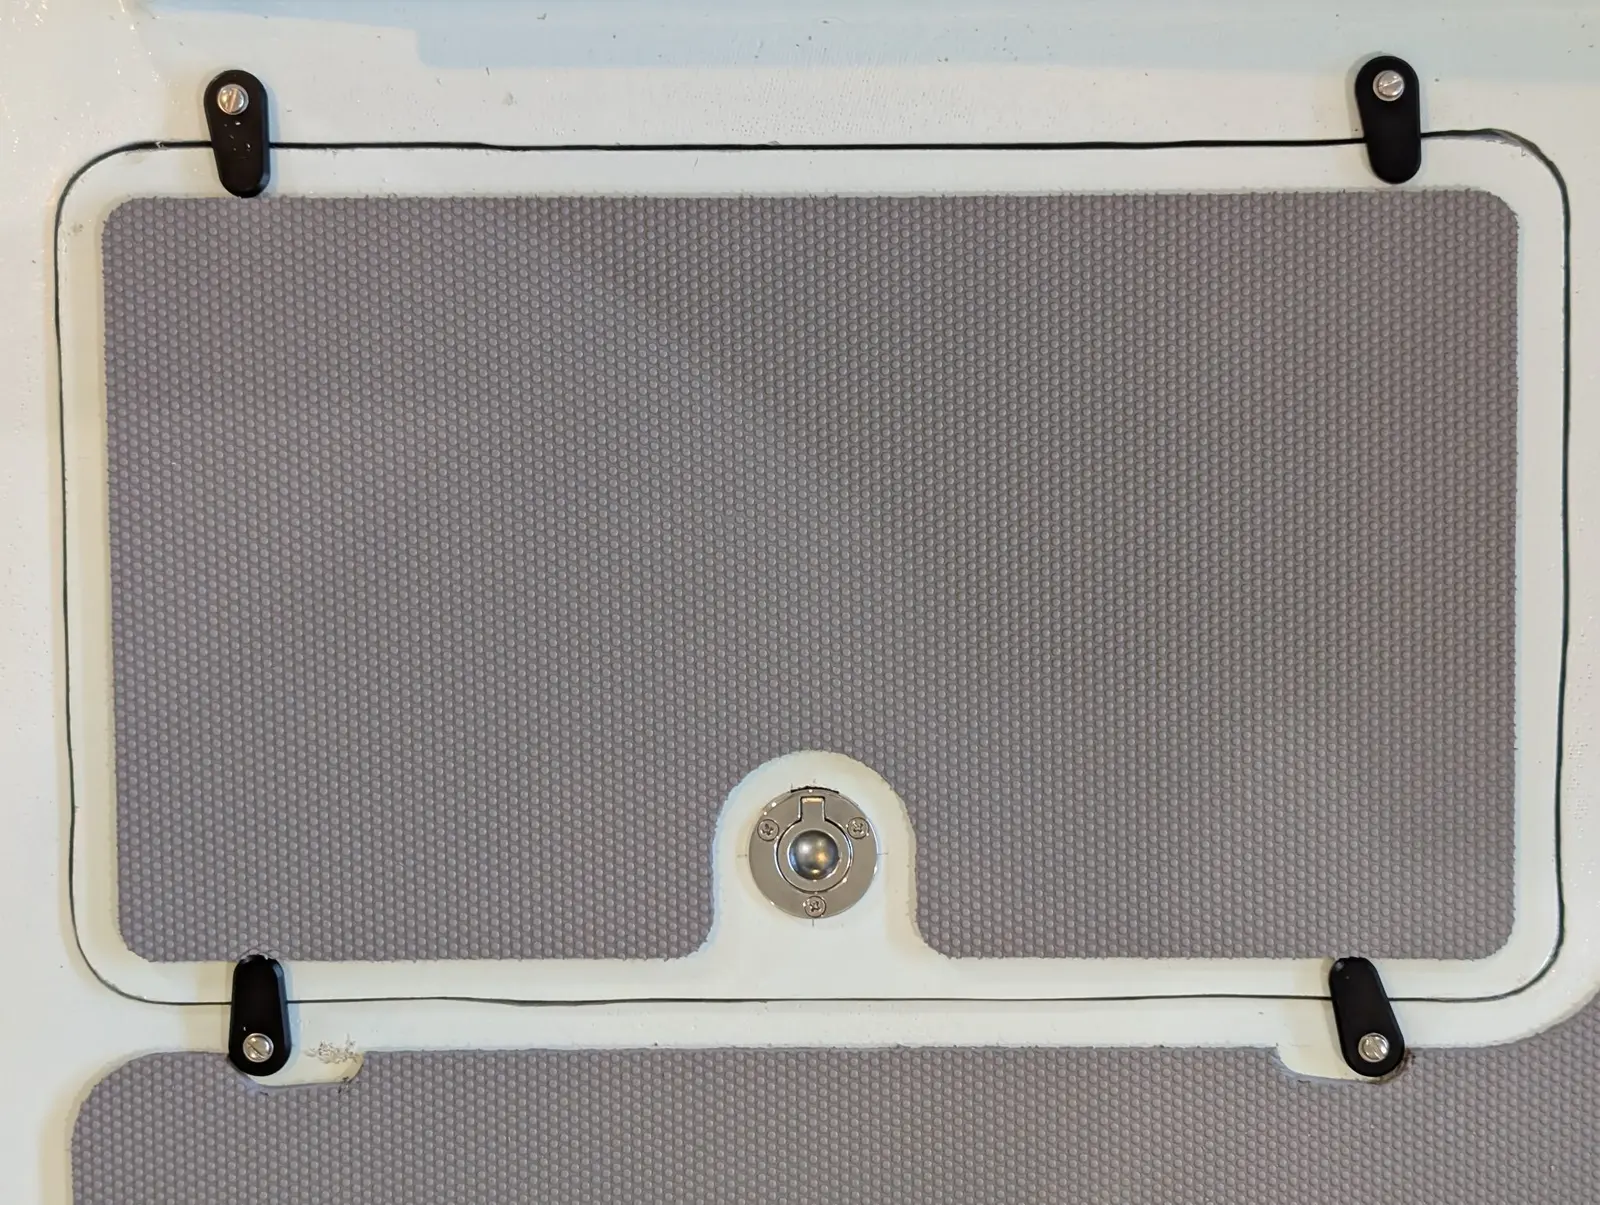
I purchased the non-skid foam package from CLC. I like the idea, and I think it looks good. The semicircular cutouts are for the hatch pulls. It was pretty easy to apply but I should have thought it through a bit more and maybe dry fit everything. As it is, in some places I have had to trim the foam to make room for the hatch dogs (see 4). Also, I am thinking the screws for the hatch dogs will let water in, maybe not a lot and maybe not fast. With all the effort to have sealing gaskets on the hatches, this seems like bad design. Perhaps there is a better way, but not now.
1234
Nobody else here is logging a The Guider yet.
See the boat.
What it cost
$14,893.59
$11,979.81
Into the boat
$1,785.00
Shipping
$1,128.78
Tax
Shipping added
14.9%
on top of the goods: the cost most people forget when they price a kit boat.