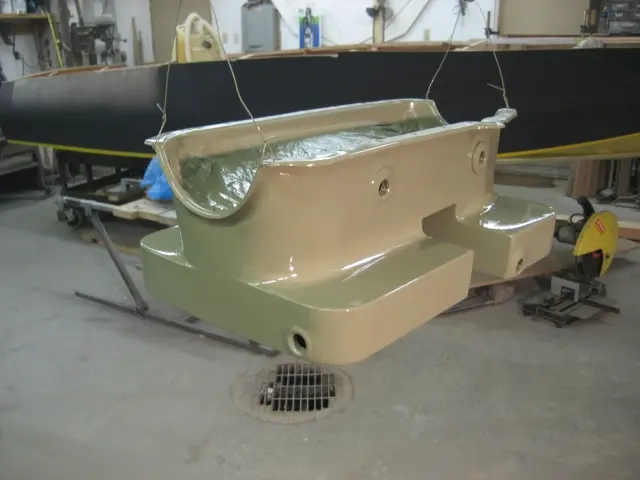
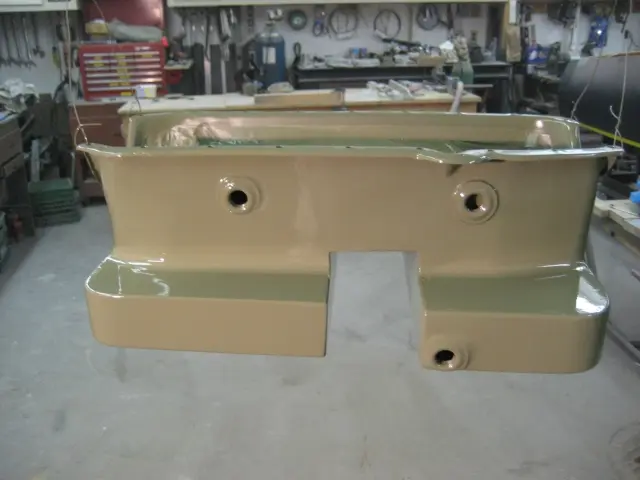
Welded joints were silver-soldered and the oil pan was tested for leaks
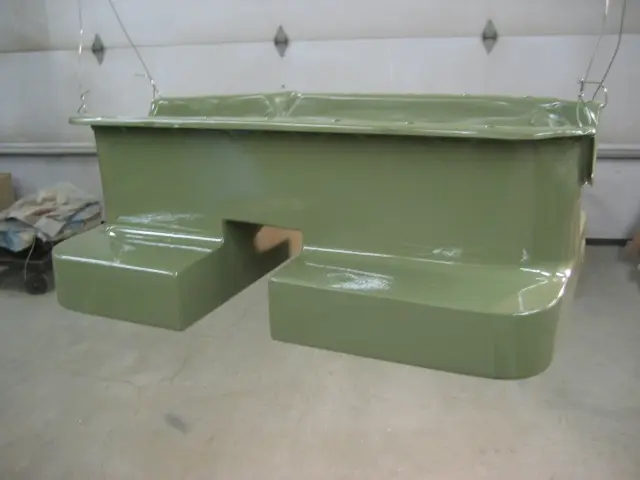
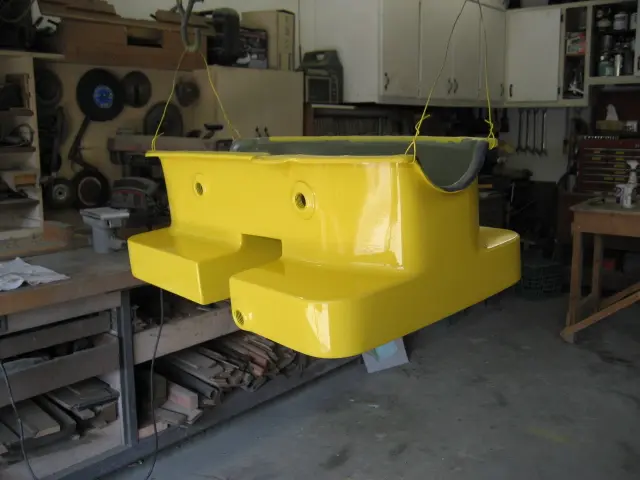
Welded joints were silver-soldered and the oil pan was tested for leaks. Several rounds of aluminized body filler (Evercoat Metal-2-Metal) were applied and smoothed out. The pan was prepped and shot with two coats of DuPont 2580CR DTM primer.
The two plugs at the top of the pan will be used to insert a hose into each sump. A rotary drill pump will make short work of oil changes. Several rounds of primer surfacer and block-sanding will be needed to get the substrate ready for paint. We're thinking of going with Corvette Yellow...
Pan interior will be chemically cleaned and have all seams sealed with multiple coats of DTM primer.
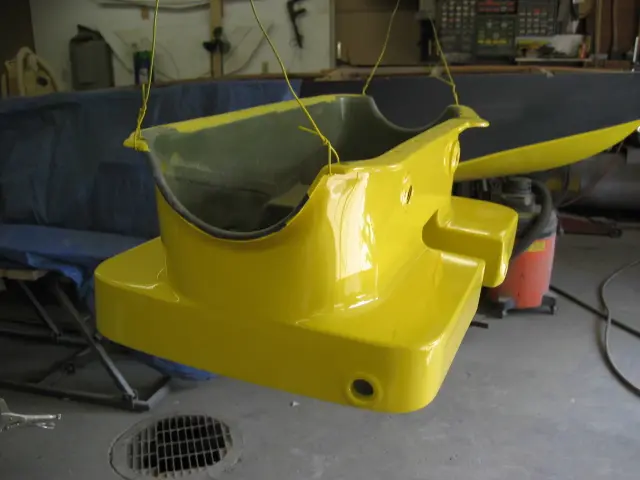
At last !
At last ! The finished product... Pan was shot with Dupont Uro-Prime primer-surfacer, block-sanded with 100 grit, reprimed, puttied, blocked with 180/220/320 grit, sealed, topcoated with white basecoat followed by Corvette Yellow basecoat and finished with several rounds of two-part Urethane Clear.
Pan interior was previously sealed with multiple coats of Dupont DTM primer.
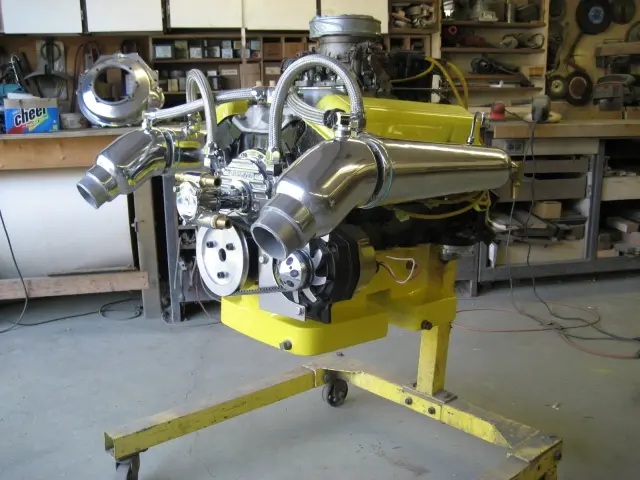
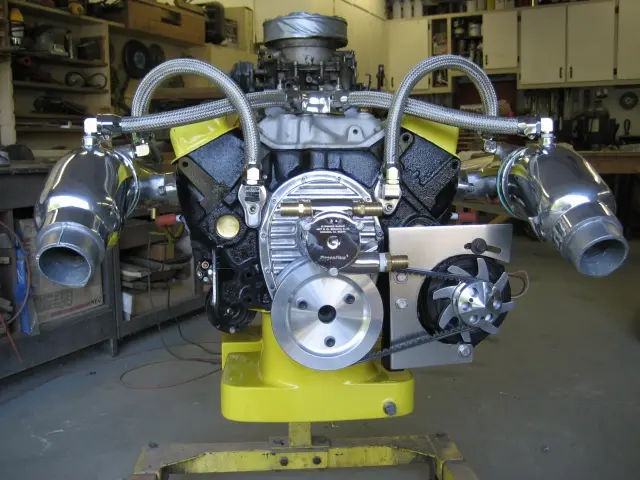
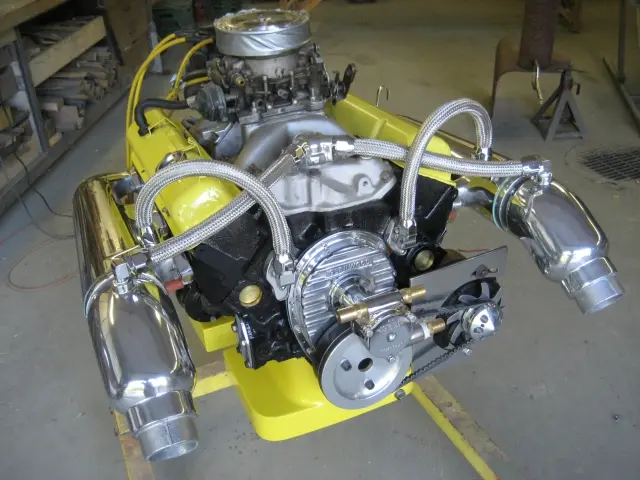
Over the weekend, we installed the oil pan, remote oil filter relocation kit, dipstick tube and the newly painted altern
Over the weekend, we installed the oil pan, remote oil filter relocation kit, dipstick tube and the newly painted alternator bracket. This engine is ready to install !
The stock stamped steel alternator pulley and fan were upgraded to lightweight aluminum billet pieces.
Time flies when you're having fun !
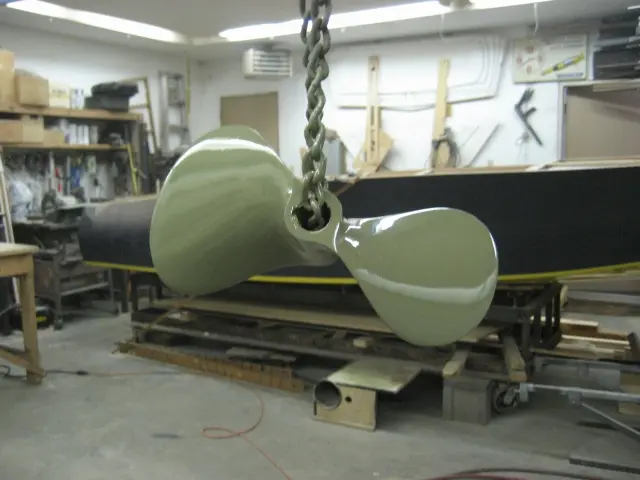
Time flies when you're having fun ! It's time to get back to the boat and get her finished up... First order of the day was to prime the Menkens 2-blade propeller we picked up before Christmas. It's an 11-1/2" diameter by 15" pitch forged steel unit which should allow the engine to spin into the stratosphere... The part was etched and cleaned with DuPont Metal conditionner. This was followed by two rounds of DuPont 2580CR DTM Urethane Primer.
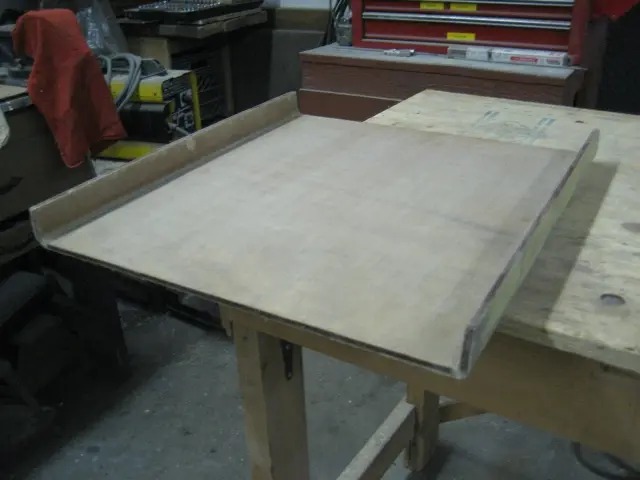
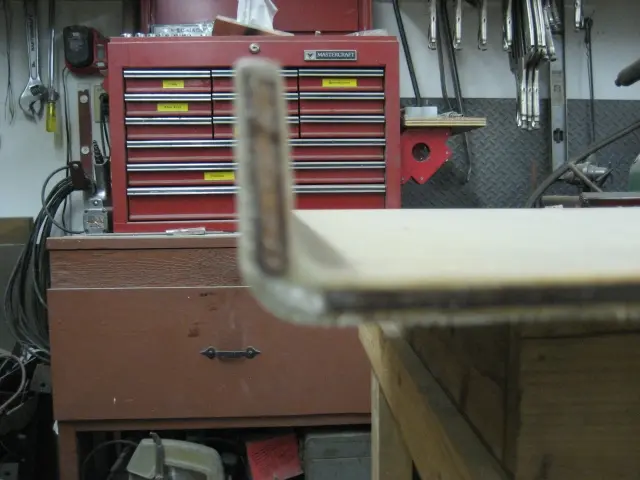
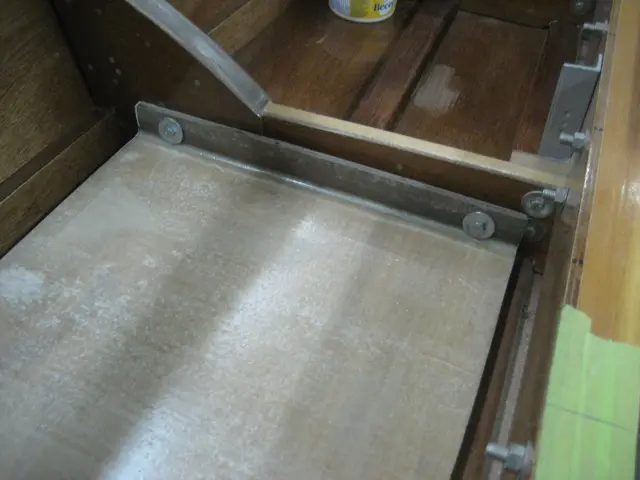
Here's a photo of the fuel tank platform we molded several months ago.
A piece of 1/4" marine-grade plywood was sandwiched between multiple layers of 6-1/2 ounce fiberglass cloth and 2 ounce mat. The radiused edges were built up from several cloth laminations.
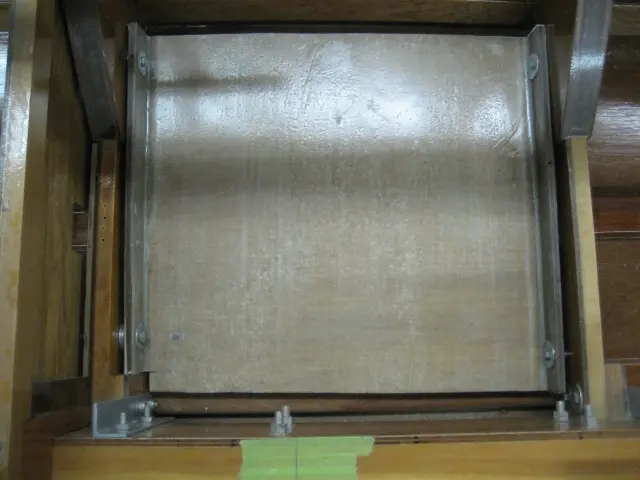
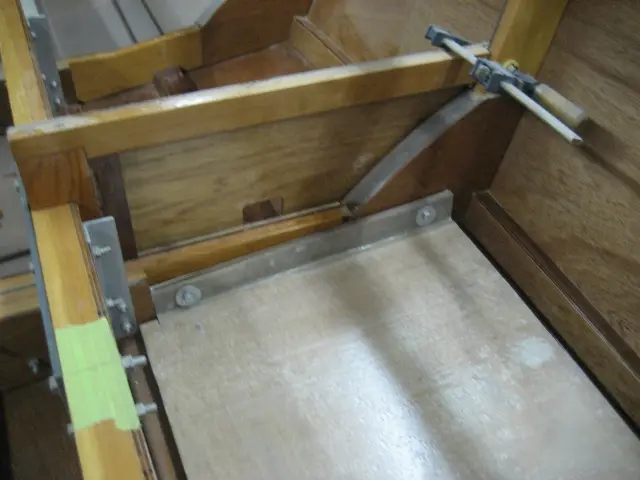
The cradles are bolted to frames # 3 and # 4. A 3/8" gap was left between the cradle and bottom battens.
Spacers will be fabricated to space out the cradle from the frame. This will ensure adequate drainage and ventilation between the two parts.
The rear jump seat's front panel is being fitted. The intent is to bolt the jump seat supports so they can be easily removed in the future.
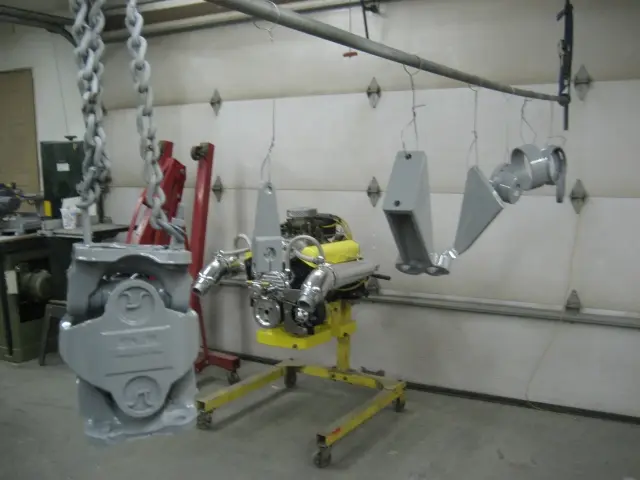
Here's the last of the mechanical components being painted
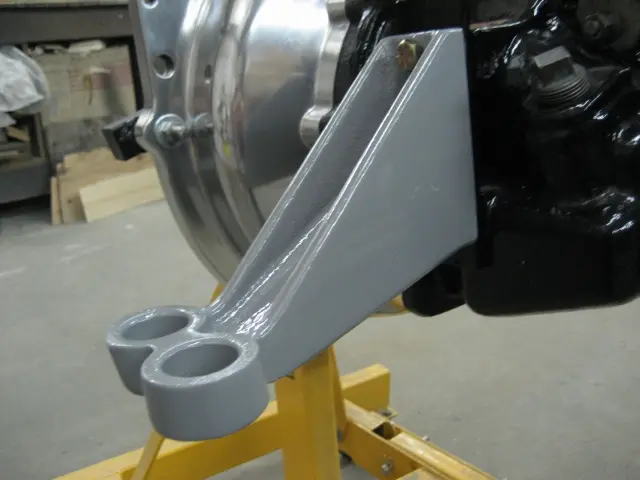
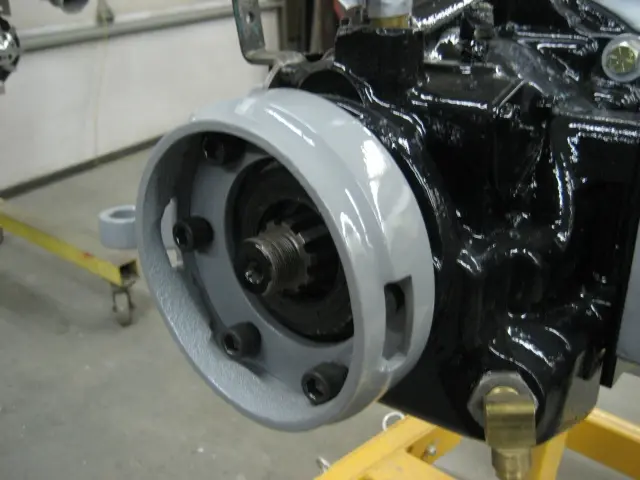
Here's the last of the mechanical components being painted. H-joint assembly, v-drive shifter, transmission mounts, v-drive flange takeoff, torque tube guards and transmission takeoff adapter.
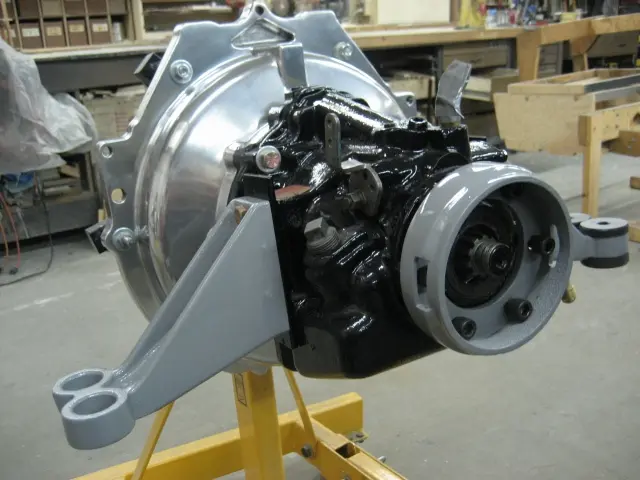
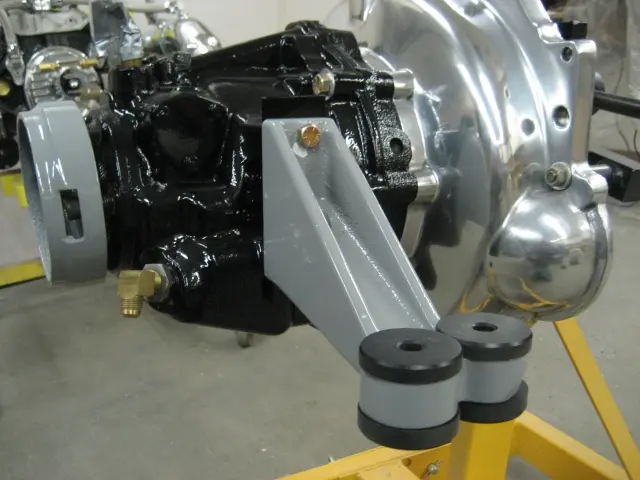
The transmission mounts were installed with grade 8 bolts.
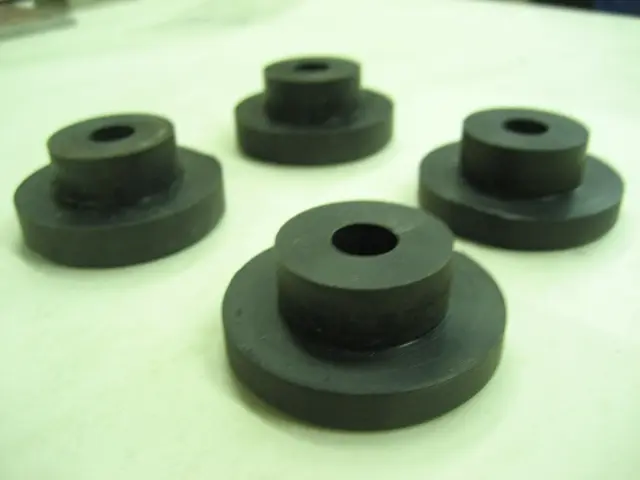
The old soft rubber bushings were removed...
... and replaced with custom Delrin bushings. These are more of Steve Flewitt's handiwork !
The solid mounts will prevent the engine and transmission from flexing under heavy torque loads.
The custom torque tube guard adapter is being installed.