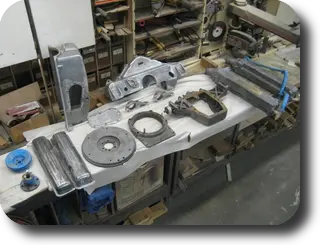
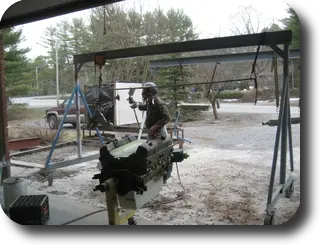
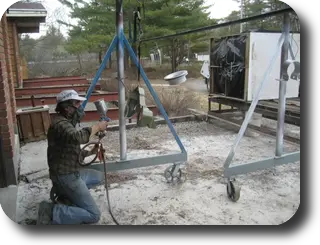
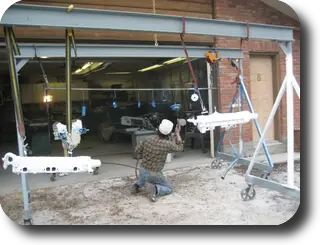
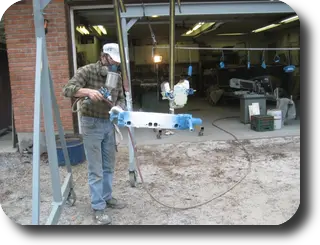
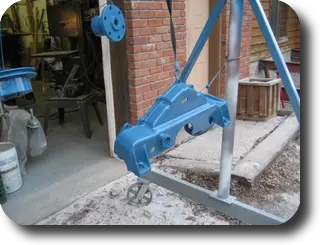
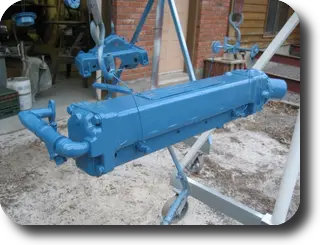
Chris-Craft 283 rebuild: Exhaust manifolds and other painted parts were chemically stripped and sandblasted
Exhaust manifolds and other painted parts were chemically stripped and sandblasted.
Hot Rod · new build
LaunchedExhaust manifolds and other painted parts were chemically stripped and sandblasted.
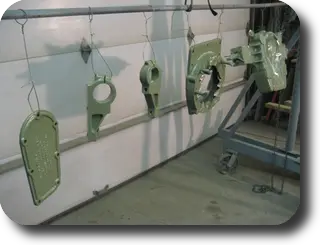
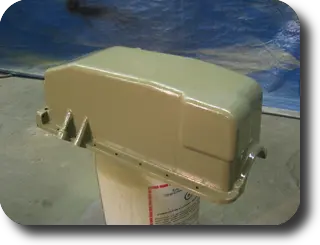
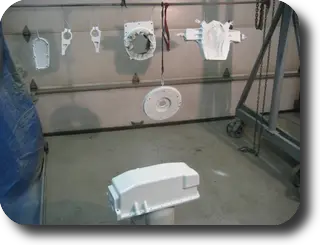
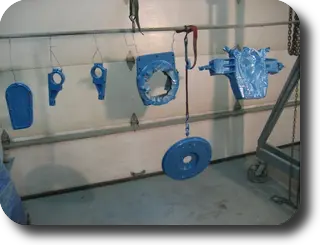
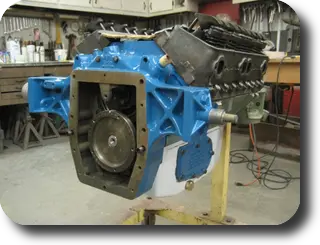
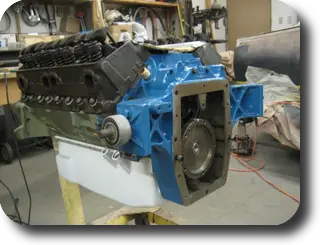
1. Parts were primed with DuPont 2580CR DTM urethane primer.
2. Aluminum oil pan was etched with DuPont Metal Conditioner prior to priming. This promotes paint adhesion on bare aluminum parts.
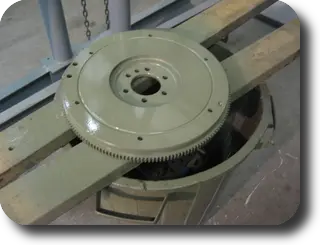
3. Flywheel.
4. To stabilize the color and kick up the topcoat, we sprayed a white basecoat. Paint is DuPont Imron urethane.
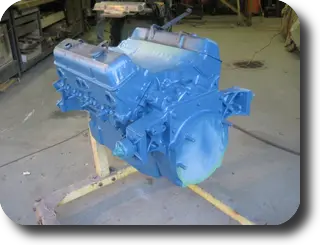
5. We couldn't get an Imron color match to the Chris-Craft blue, so we used a Nason acrylic enamel which was custom mixed using DuPont's Kodak color match system.
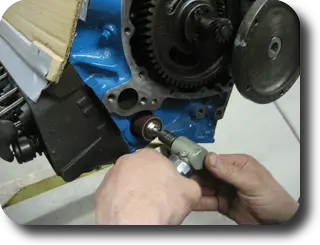
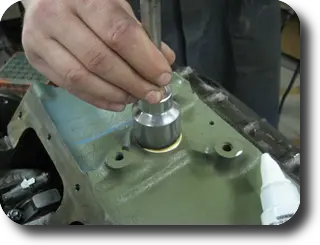
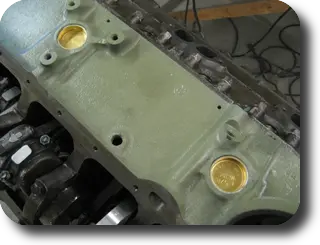
1–2. Frost plug holes were scuffed to bare metal.
3–4. Brass frost plugs installed with a socket used as a drift.
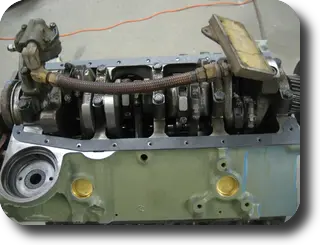
5. Oil pump, pickup hose and pickup screen assembly installed.
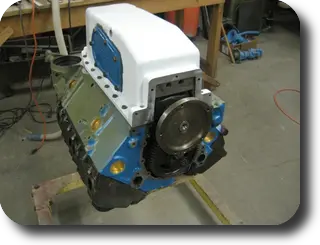
6. Oil pan installed. We prepainted the block's front face because it will be partially obstructed when the rear cover is installed.
7. Rear cover installed.
8. As soon as the engine is buttoned up, the cylinder heads will be primed, remaining non-blue parts will be painted white and then topcoated with blue paint.
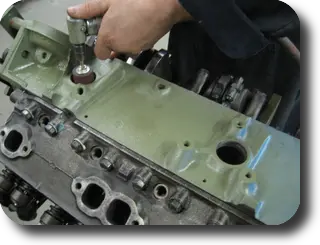
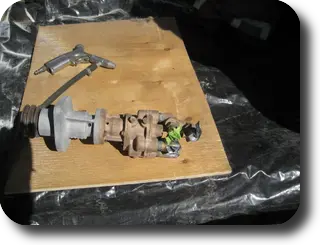
Water pump bead blasted.
Bare sandblasted/bead blasted parts.
Parts primed with DuPont 2580CR DTM urethane primer.
Base coat of white Imron urethane.
Nason acrylic enamel custom mixed to match Chris-Craft Blue.
Engine block painted.
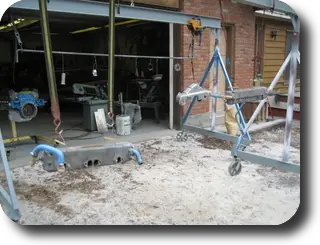
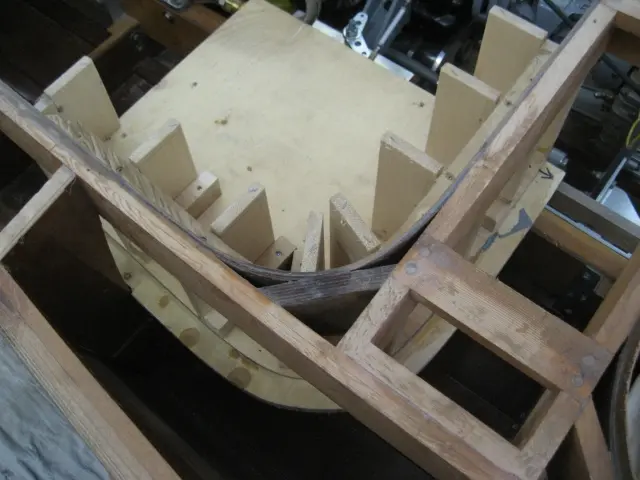
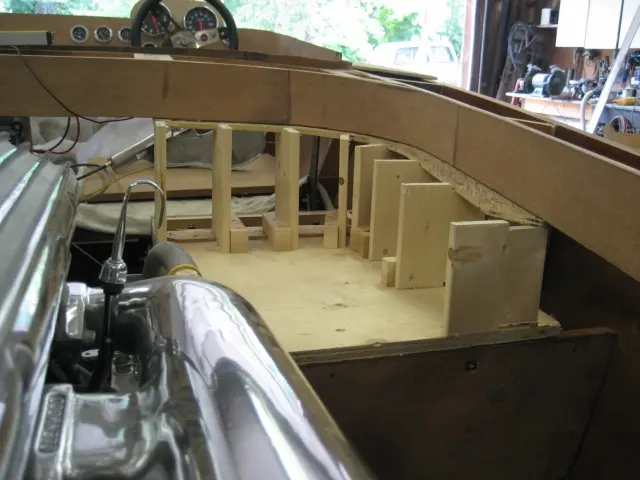
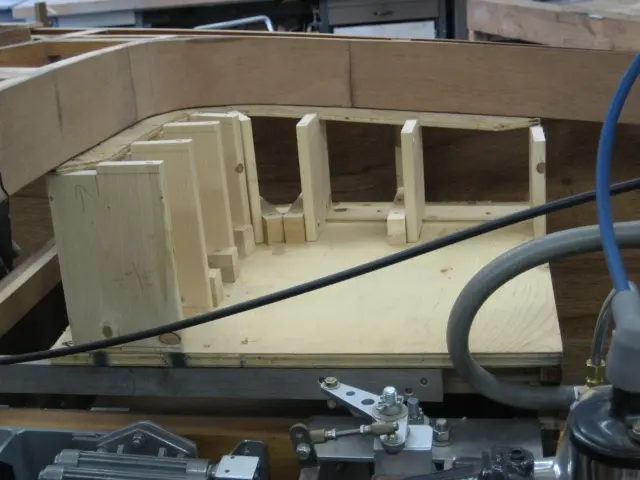
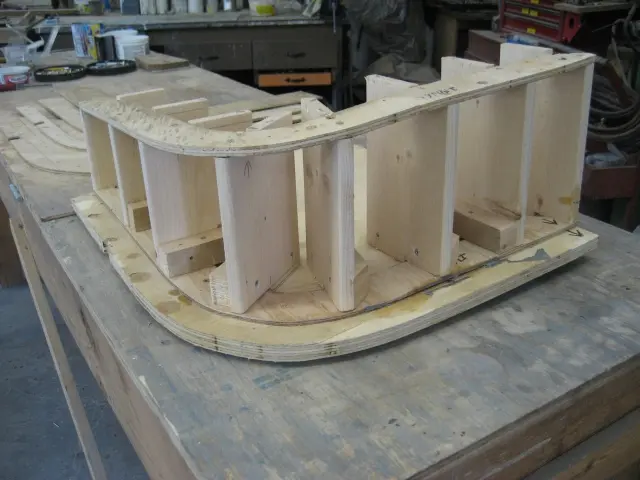
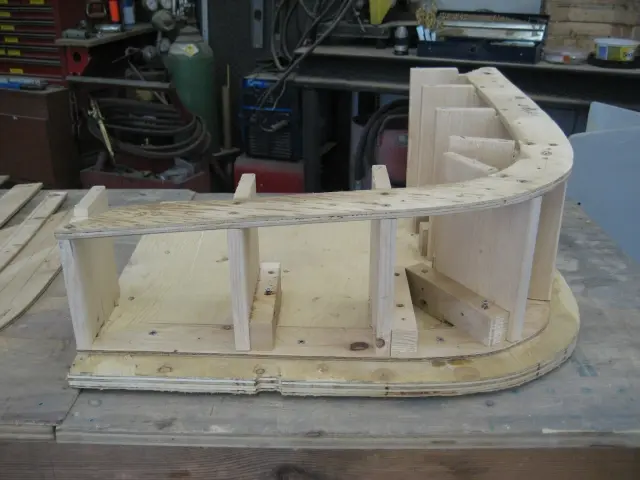
The following photos depict construction details for the rear jump seats. A custom-built ten gallon aluminum fuel tank will reside under each seat.
1. Building a form consisting of a piece of 3/4" plywood over the starboard-side seat frame.
2. Pieces of scrap 1" x 6" spruce lumber were slipped into place to define the vertical surface.
3. A 1/4" gap was left between the seat vertical and bottom edge of the carling. Side piece was inset 1" from the carling's outside face. In the foreground, you can see our custom-built transmission shifter arms and linkage. More on this later !
4. Several pieces of 1" x 6" stubs were used to define the shape.
5. Building this form reminds me of when, as a kid, my Dad and I used to build HO model train tables. With a bit of fiberglass screening, plaster of Paris and paint, this would make a great railbed for a river trestle approach !
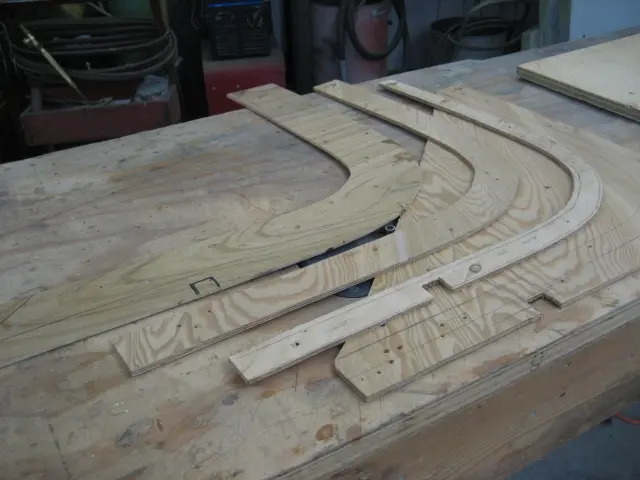
6. We produced 1/4" plywood templates to accurately reproduce the required parts.
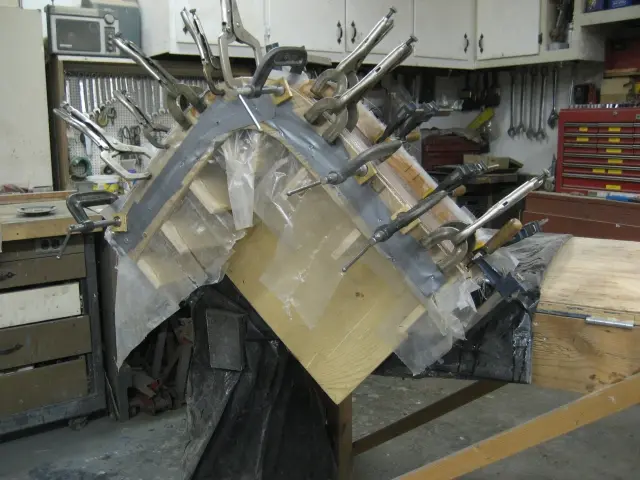
7. The mold was affixed to the router table and covered with 6 mil plastic before applying the laminates.
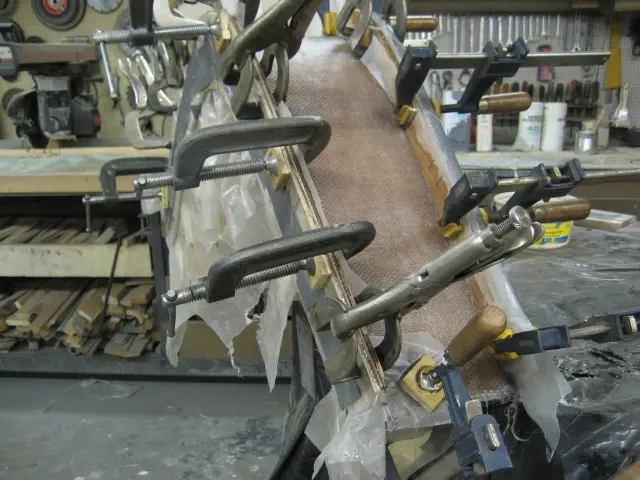
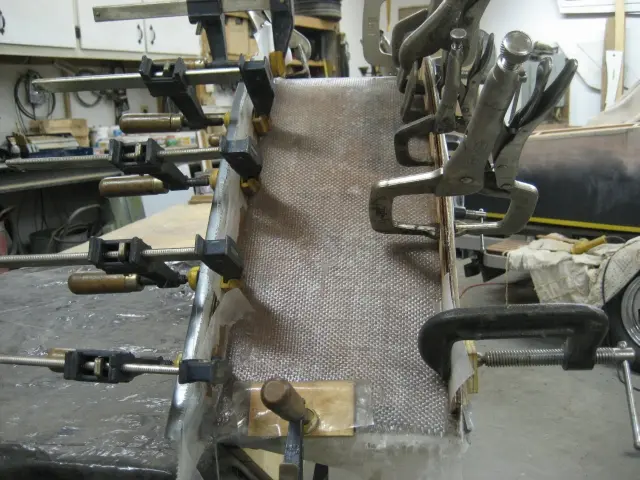
8. First lamination was a.100" mahogany veneer followed up with 1-1/2 ounce chop strand mat and topped with a layer of 8 ounce woven roving.
9. The flanges on either side of the lamination consist of woven roving topped with a 1/4" plywood flange which was used to compress the fiberglass and impart some strength to the flange.
Nobody else here is logging a Hot Rod yet. See the boat.