boatbuildlog

Hot Rod · new build

Launched

Glen-L Hot Rod

Make a book Feed The whole log, 52 entries and every photo, laid out as a book to print, bind and keep.
260
Entries
n/a
Hours
n/a
Written up afterwards
1203
Photos
Nov 2003
Started
Systems Link

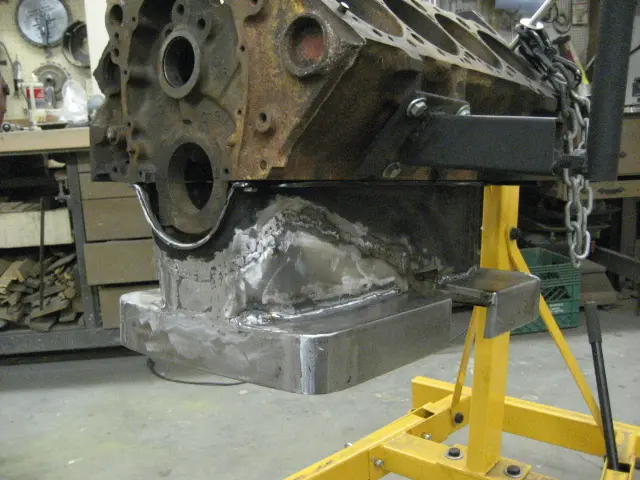
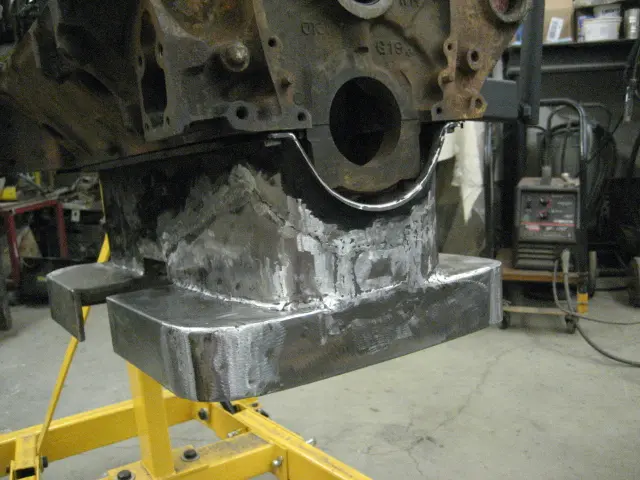
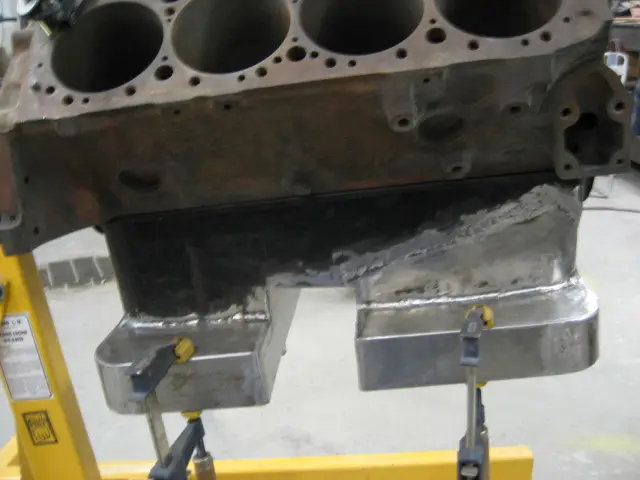
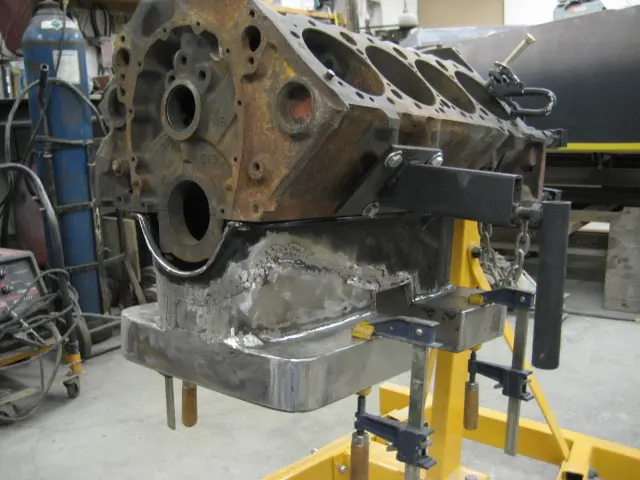
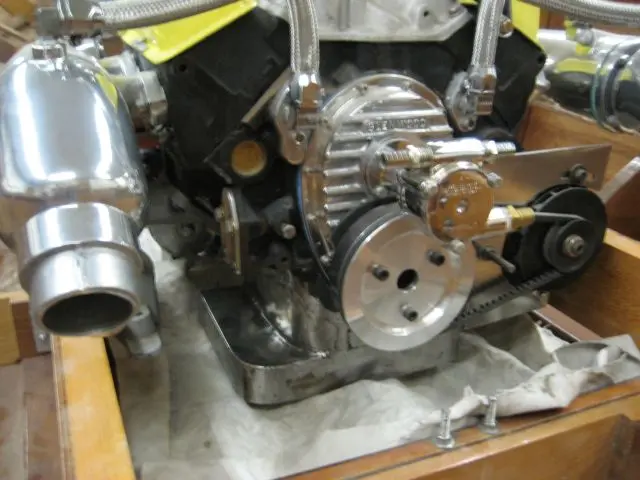
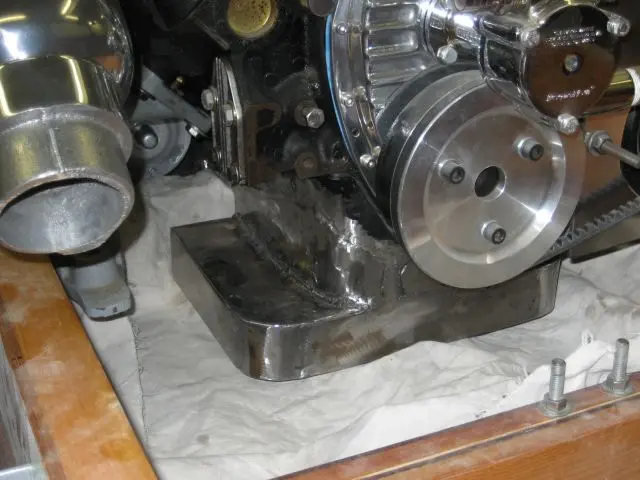
Custom oil pan: After much mig welding and grinding, the pan is starting to take shape

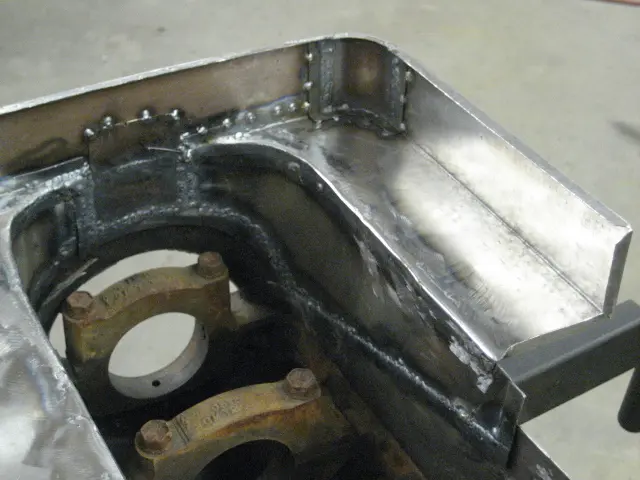
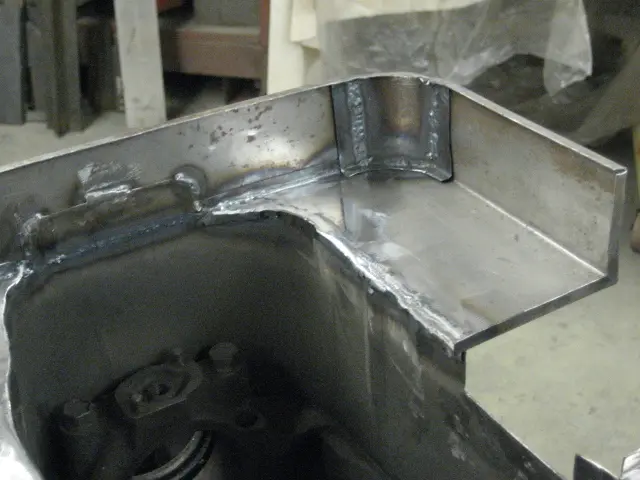
1. After much mig welding and grinding, the pan is starting to take shape...

2. Corners were cut back and rounded by adding hand-formed 1-1/2" radius sheet metal corner pieces. The joints were metal-finished to hide the welds.

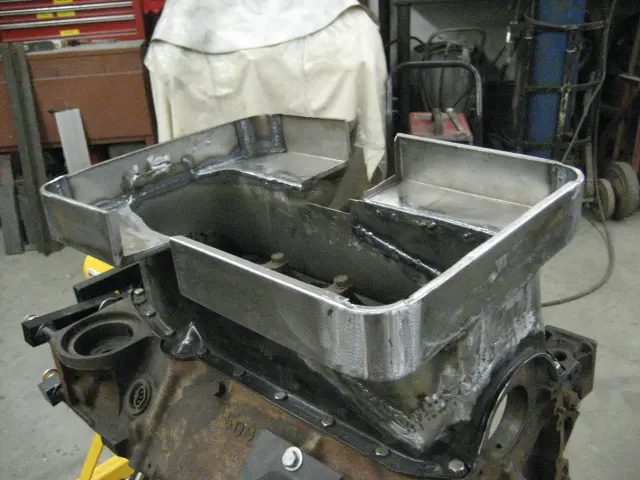
3. View from inside the pan.

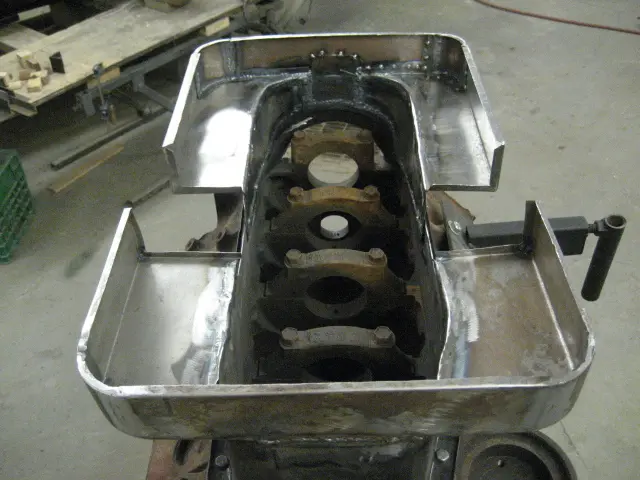
4. Front sump kickouts are 3/4" narrower than the rear.

5. Much grinding and cleanup is required on the inside of the pan.

6. Two 16 gauge bottom panels were cut and fitted.

1 Hot Rod: Custom oil pan: After much mig welding and grinding, the pan is starting to take shape
2 Hot Rod: Custom oil pan: After much mig welding and grinding, the pan is starting to take shape
3 Hot Rod: Custom oil pan: After much mig welding and grinding, the pan is starting to take shape
4 Hot Rod: Custom oil pan: After much mig welding and grinding, the pan is starting to take shape
5 Hot Rod: Custom oil pan: After much mig welding and grinding, the pan is starting to take shape
6 Hot Rod: Custom oil pan: After much mig welding and grinding, the pan is starting to take shape
Systems Link

Custom oil pan: Two 16 gauge bottom panels were cut and fitted

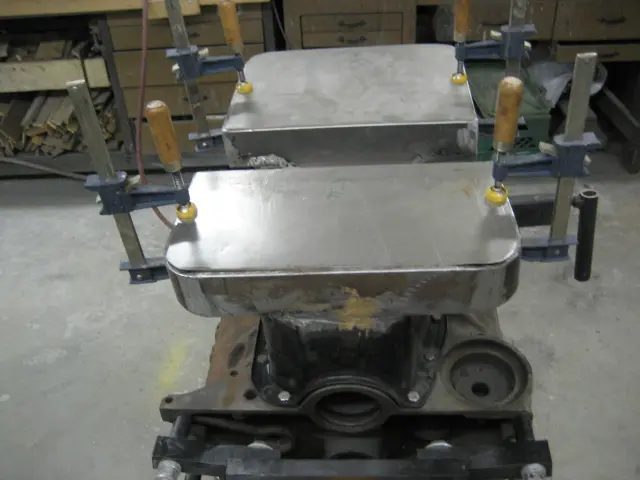
1. Two 16 gauge bottom panels were cut and fitted.

4. Trial fitting before final welding.

1 Hot Rod: Custom oil pan: Two 16 gauge bottom panels were cut and fitted
2 Hot Rod: Custom oil pan: Two 16 gauge bottom panels were cut and fitted
3 Hot Rod: Custom oil pan: Two 16 gauge bottom panels were cut and fitted
4 Hot Rod: Custom oil pan: Two 16 gauge bottom panels were cut and fitted
Systems Link

Custom oil pan: Trial fitting before final welding

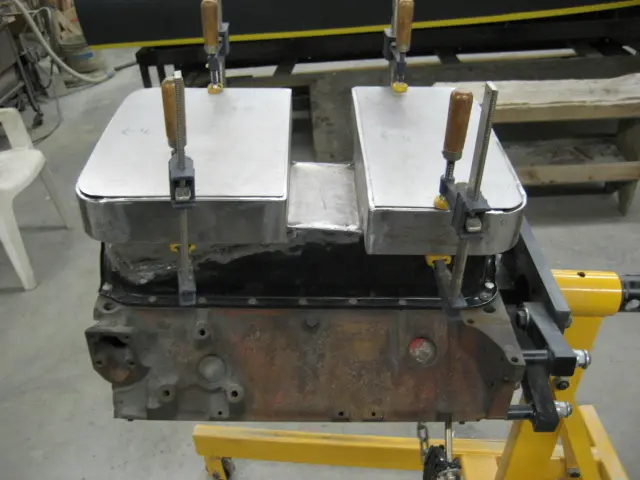
1. Trial fitting before final welding.

10–11. Now that looks a lot better !

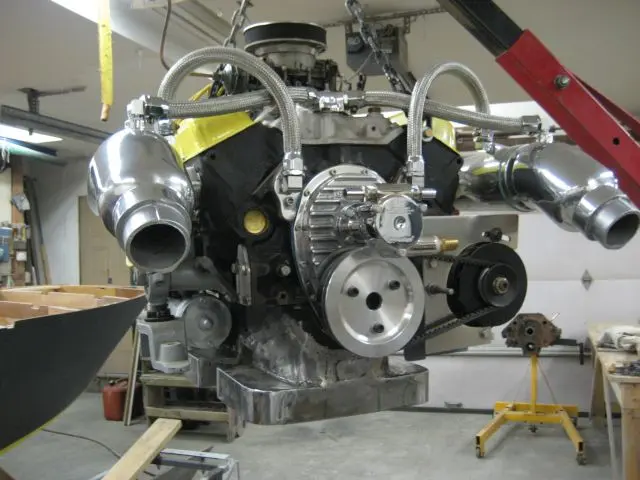
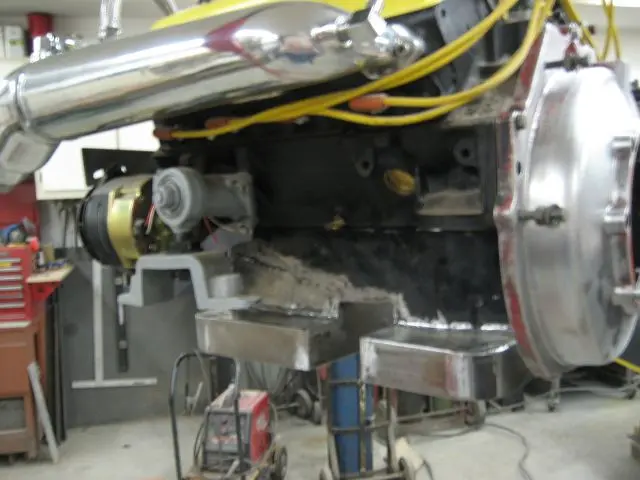
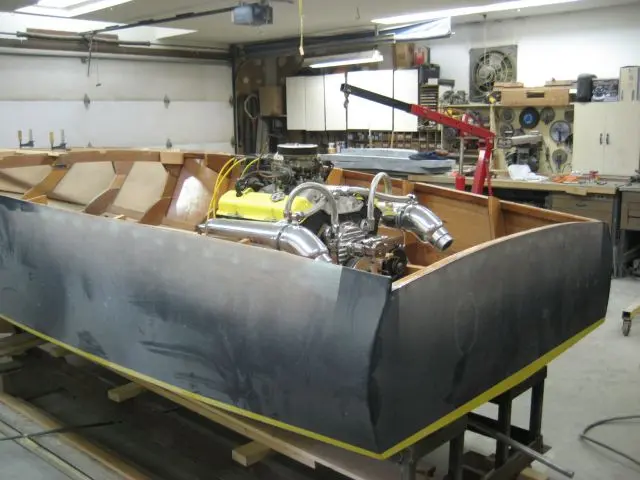
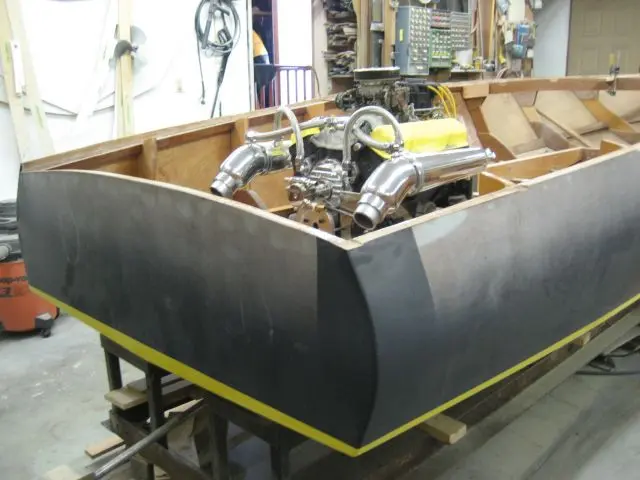
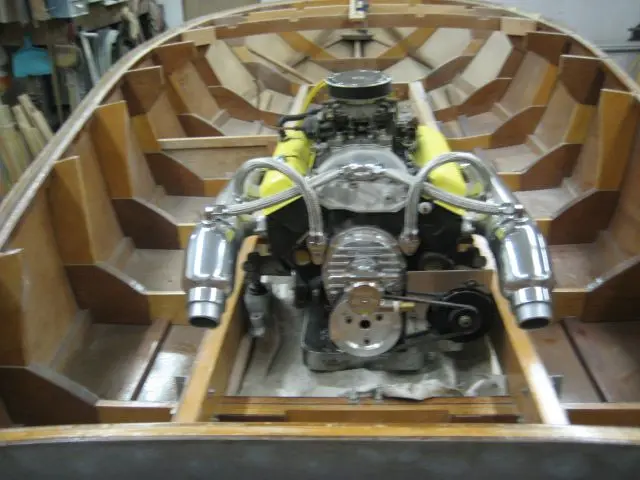
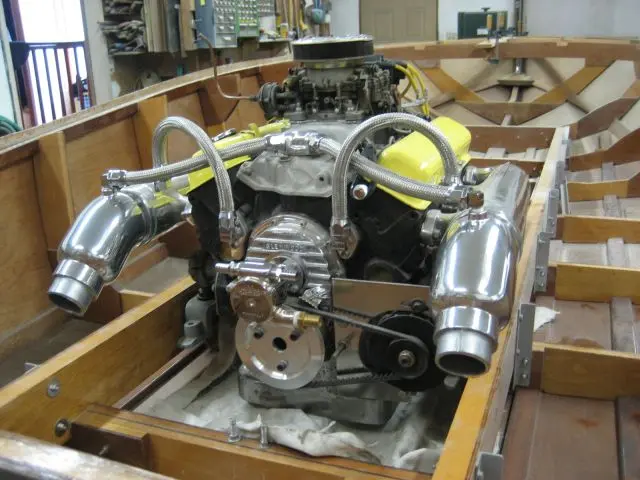
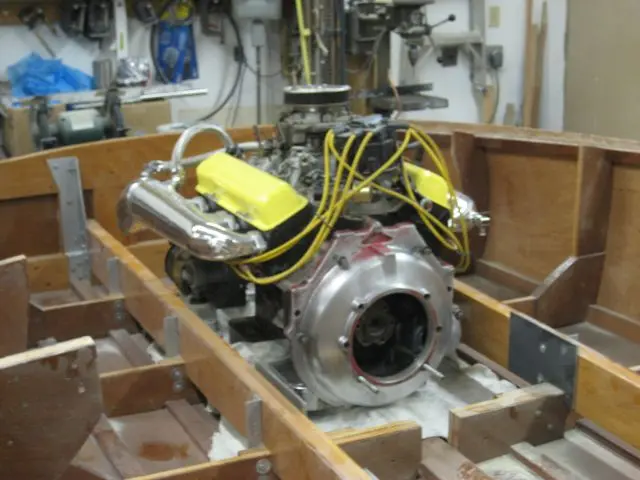
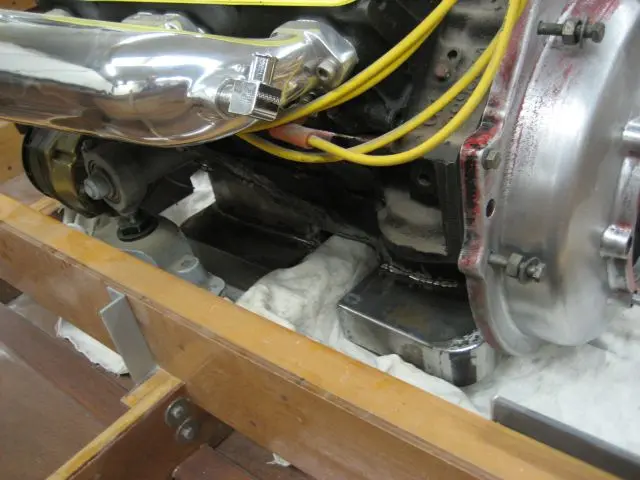
12–13. Before we modified the oil pan, the rear sump straddled a frame. When viewed from the side, it stuck out quite a bit above the carlings. By altering the pan, the engine sits 2-1/2" lower which should lower the boat's center of gravity and improve handling.

1 Hot Rod: Custom oil pan: Trial fitting before final welding
2 Hot Rod: Custom oil pan: Trial fitting before final welding
3 Hot Rod: Custom oil pan: Trial fitting before final welding
4 Hot Rod: Custom oil pan: Trial fitting before final welding
5 Hot Rod: Custom oil pan: Trial fitting before final welding
6 Hot Rod: Custom oil pan: Trial fitting before final welding
7 Hot Rod: Custom oil pan: Trial fitting before final welding
8 Hot Rod: Custom oil pan: Trial fitting before final welding
9 Hot Rod: Custom oil pan: Trial fitting before final welding
10 Hot Rod: Custom oil pan: Trial fitting before final welding
11 Hot Rod: Custom oil pan: Trial fitting before final welding
12 Hot Rod: Custom oil pan: Trial fitting before final welding
13 Hot Rod: Custom oil pan: Trial fitting before final welding
Systems Link

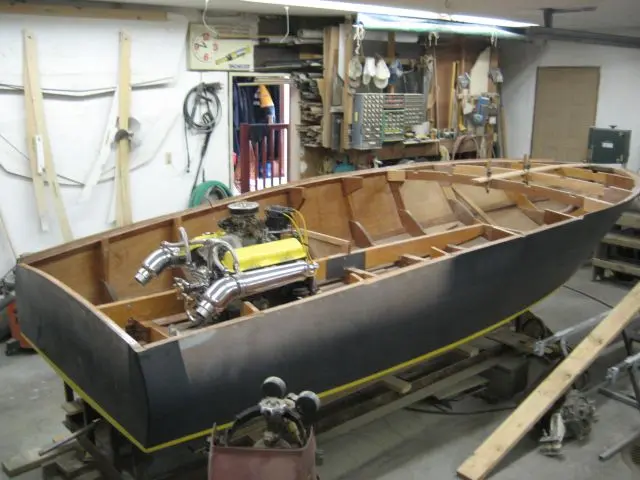
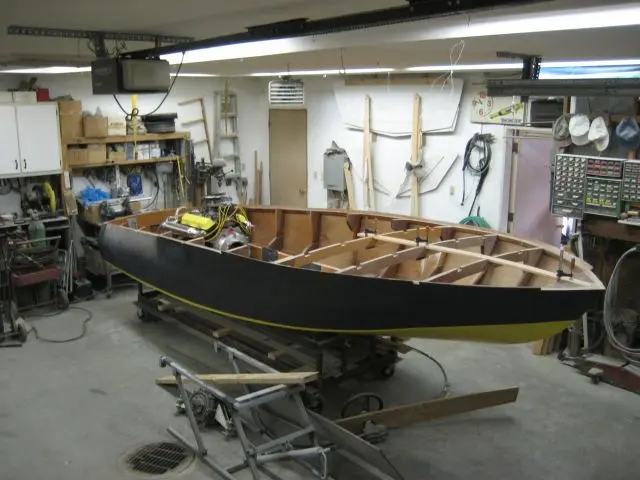
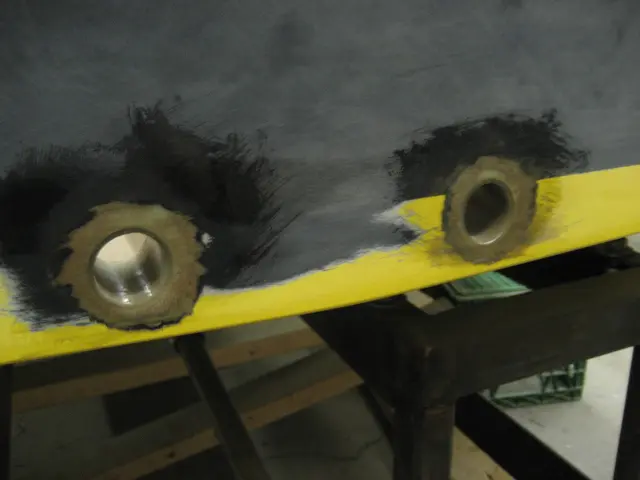
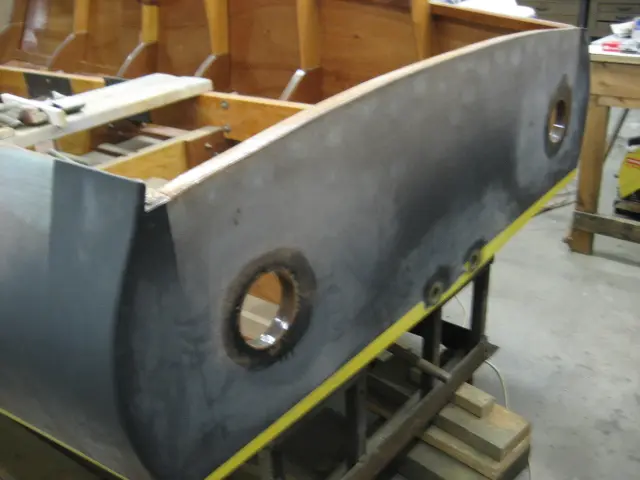
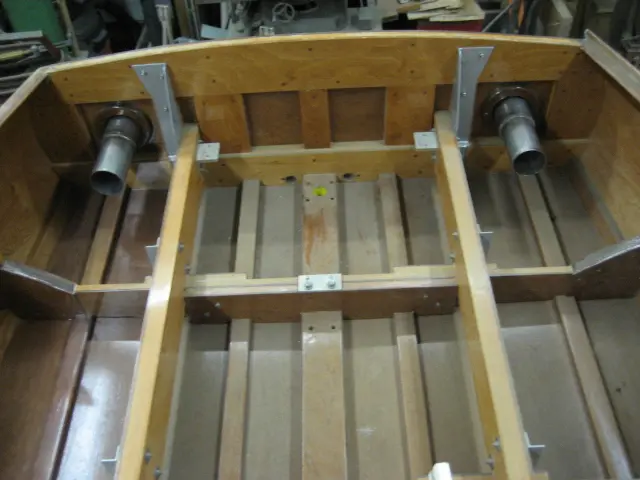
The transom drain plugs were cut out with a hole saw

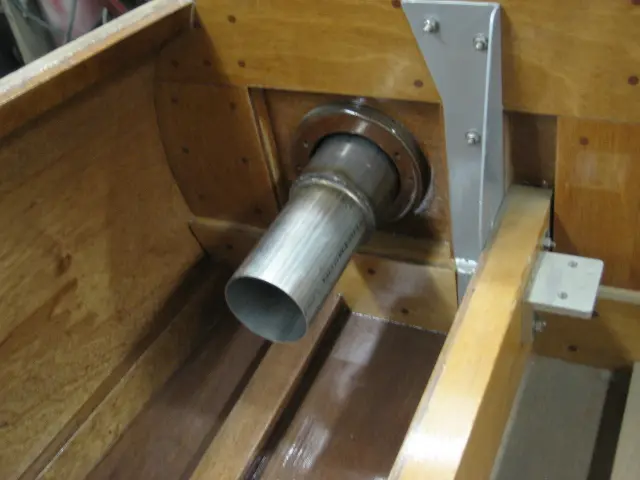
1. The transom drain plugs were cut out with a hole saw. Fiberglass tubes were fabricated and epoxied into the holes.

2. A hole saw makes quick work of cutting out the exhaust outlet holes.

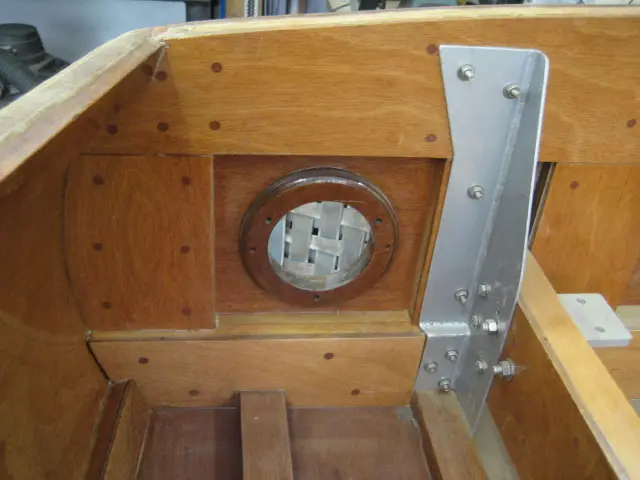
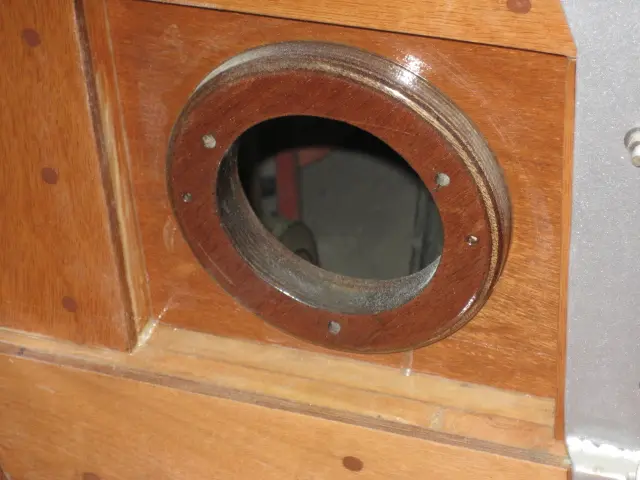
3. Interior view of the transom. A 3/4" marine plywood backing plate was fabricated and epoxied to the transom.

4. The inside lip was waterproofed with one layer of 6-1/2 ounce fiberglass cloth. The hole was drilled 1/8" oversize to allow a thick bead of sealant around the exhaust tip's circumference.

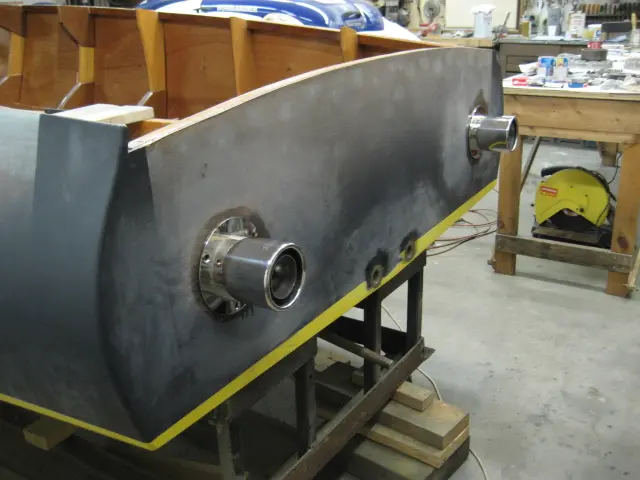
5–6. The Gibson Transom Mount Power Tip mufflers look sweet ! Click here to see the muffler specifications.

7. We reduced the 4" OD stainless pipe to 3-1/2".

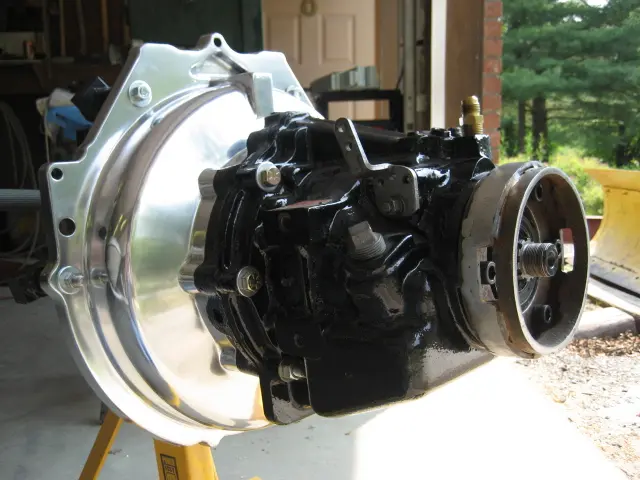
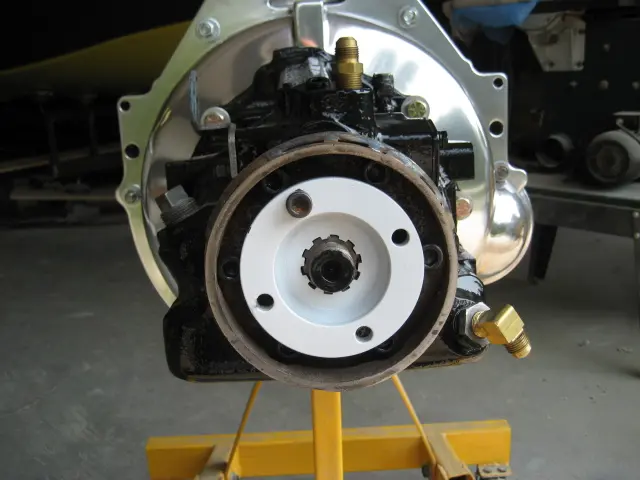
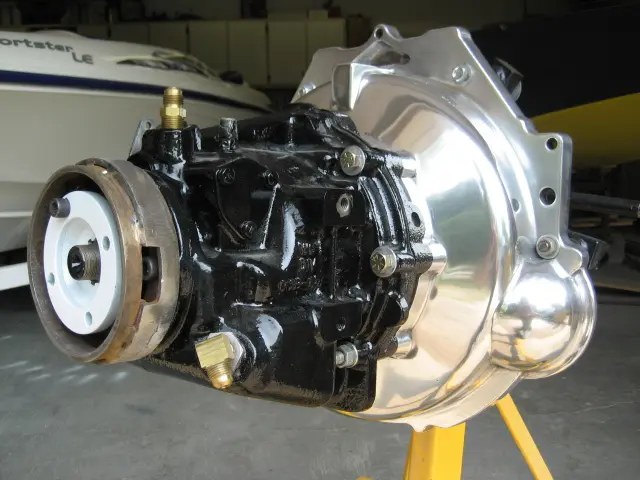
8. The rough-cast aluminum Velvet Drive bellhousing was brought back to life with many hours of sanding and polishing. We fabricated a torque tube guard adapter which mounts to the transnission's end-cover.

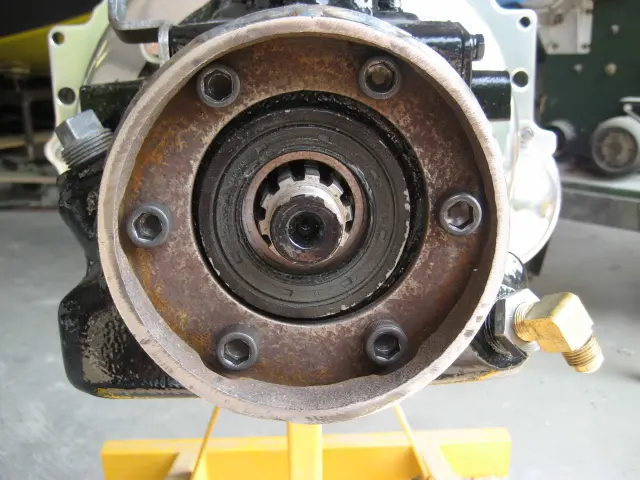
9. The cap bolts were replaced with hex head bolts in an effort to gain more clearance. The base was cut from a piece of 1/4" steel plate. A 1-1/2" wide slice from a 6" well casing was welded to a larger pipe which was in turn welded to the mounting plate.

10. With the transmission hub installed, there's just enough room to insert a hex key to tighten the end-cover bolts.

11. Slots cut into both sides of the part allow access to the hub bolts. I wasn't able to find a manufactured adapter, so like many parts on the boat, you have to build your own. It won't be a real Hot Rod unless it's got a bunch of homegrown parts on it !

1 Hot Rod: The transom drain plugs were cut out with a hole saw
2 Hot Rod: The transom drain plugs were cut out with a hole saw
3 Hot Rod: The transom drain plugs were cut out with a hole saw
4 Hot Rod: The transom drain plugs were cut out with a hole saw
5 Hot Rod: The transom drain plugs were cut out with a hole saw
6 Hot Rod: The transom drain plugs were cut out with a hole saw
7 Hot Rod: The transom drain plugs were cut out with a hole saw
8 Hot Rod: The transom drain plugs were cut out with a hole saw
9 Hot Rod: The transom drain plugs were cut out with a hole saw
10 Hot Rod: The transom drain plugs were cut out with a hole saw
11 Hot Rod: The transom drain plugs were cut out with a hole saw
Systems Link

We fabricated a frame truss plate to span the stuffing box at frame # 4

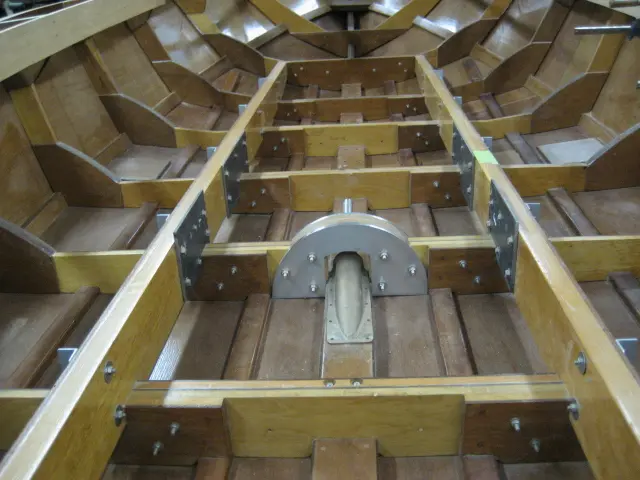
1. We fabricated a frame truss plate to span the stuffing box at frame # 4. It's made from 3/8" thick T356 aluminum plate. The v-drive and transmission mounting plates were bolted to the stringers with 3/8" stainless steel machine bolts. Also visible in the top left corner of the photo is the carling. We'll have more pics of this after it's been all glued up.

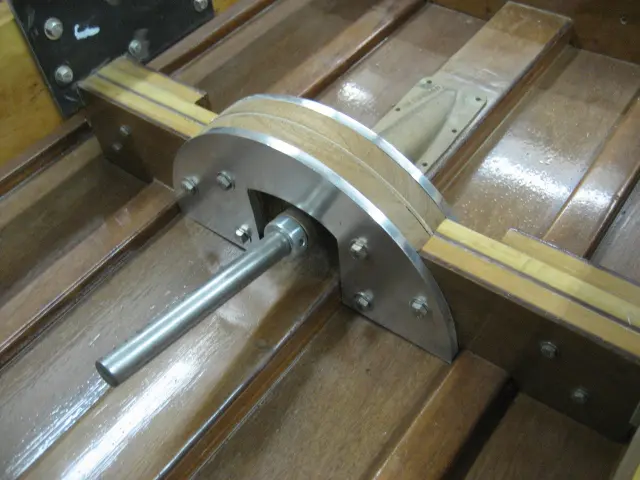
2. We'll be installing a stainless steel pop-up bow light in the strongback. This will require routing out a rather large hole which will seriously affect the member's integrity. We therefore laminated three pieces of 1/4" 5-ply marine grade plywood to the douglas fir strongback. This will retain it's curved shape.

1 Hot Rod: We fabricated a frame truss plate to span the stuffing box at frame # 4
2 Hot Rod: We fabricated a frame truss plate to span the stuffing box at frame # 4

Nobody else here is logging a Hot Rod yet. See the boat.