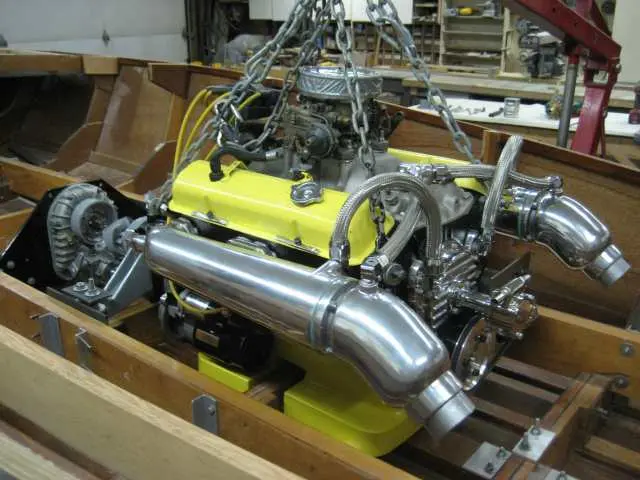
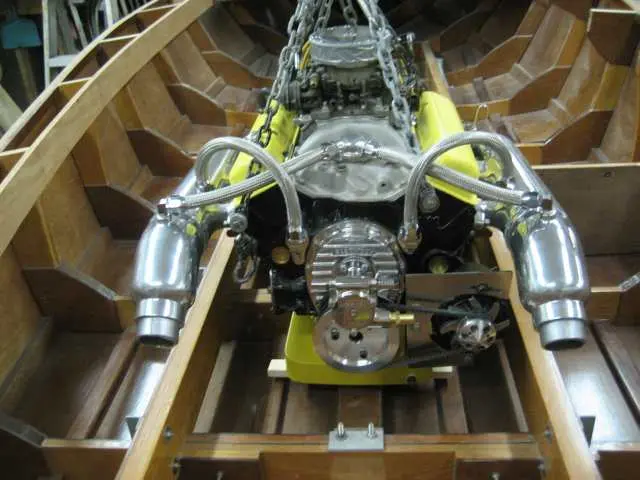
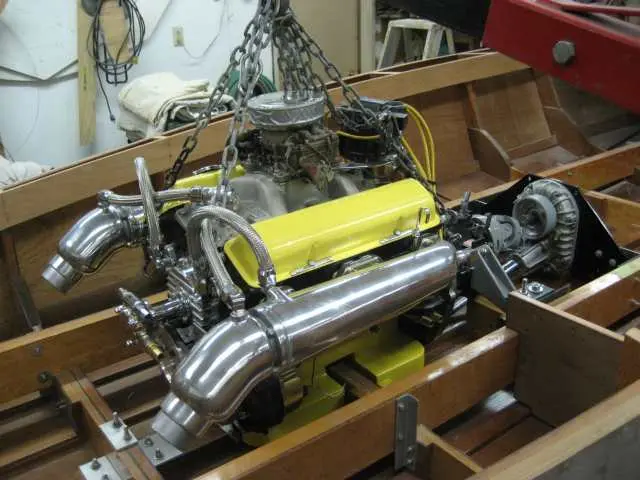
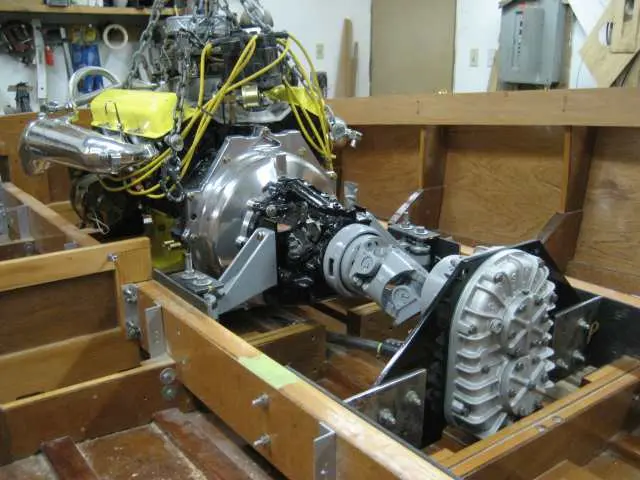
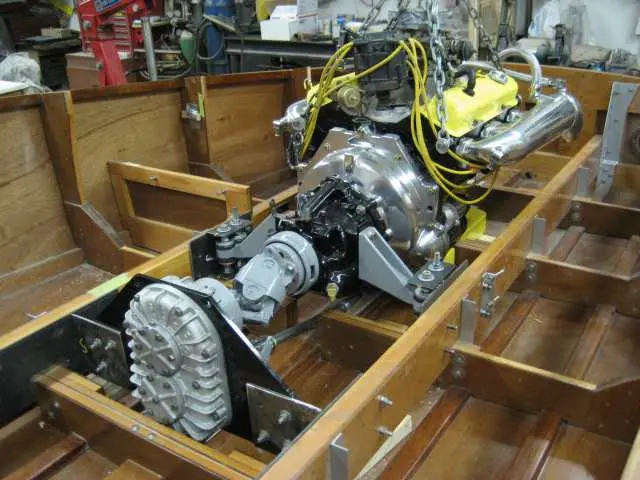
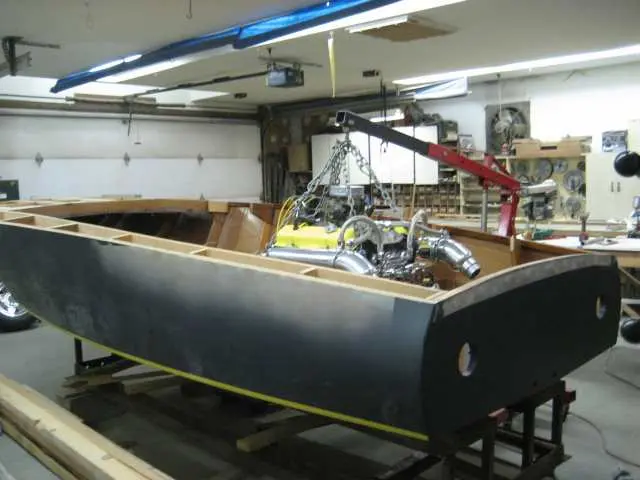
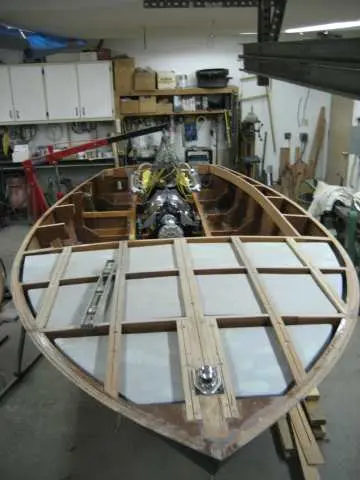
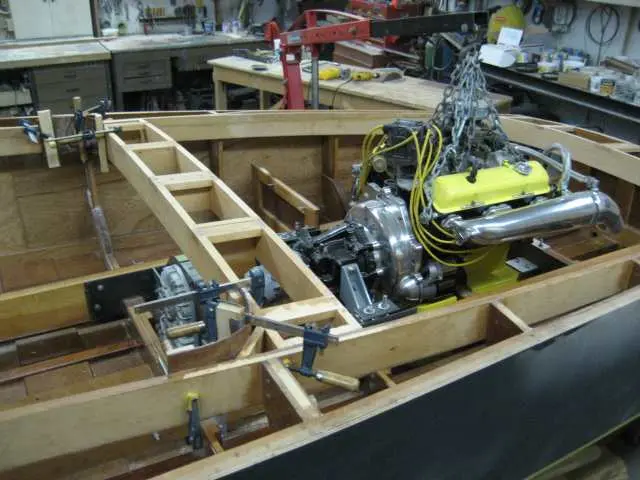
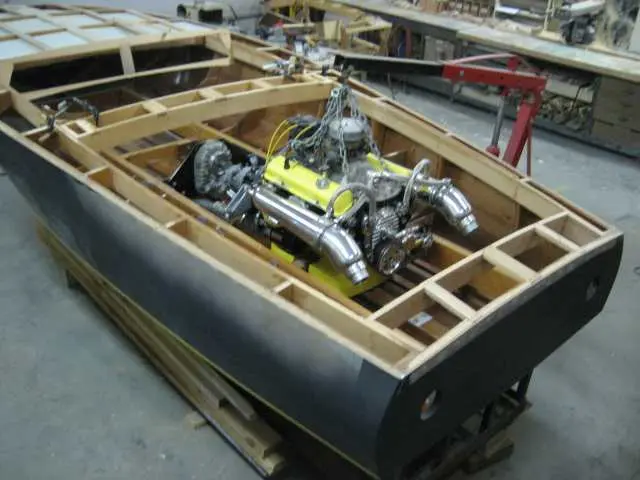
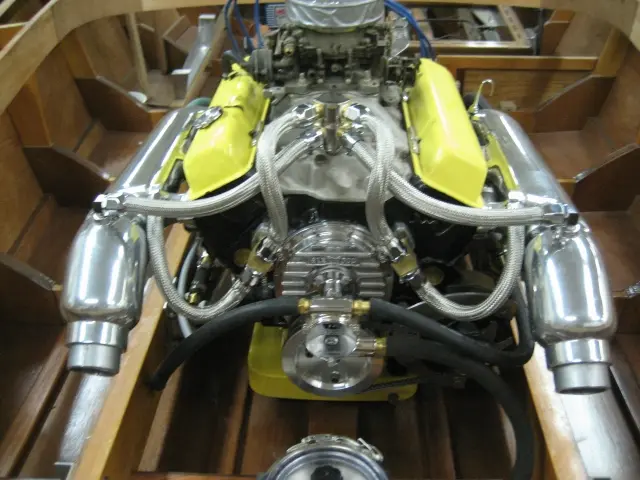
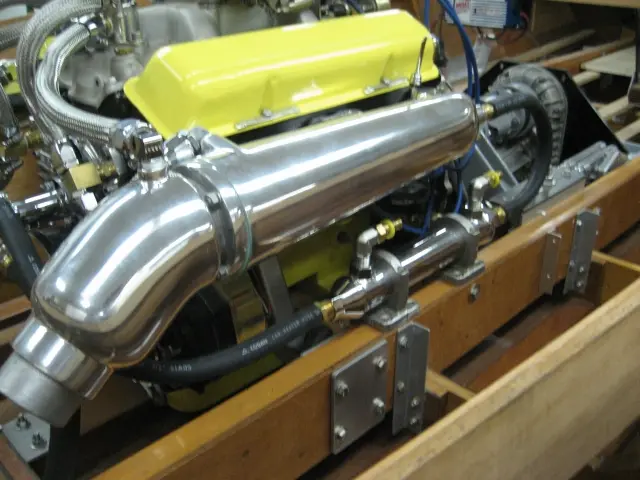
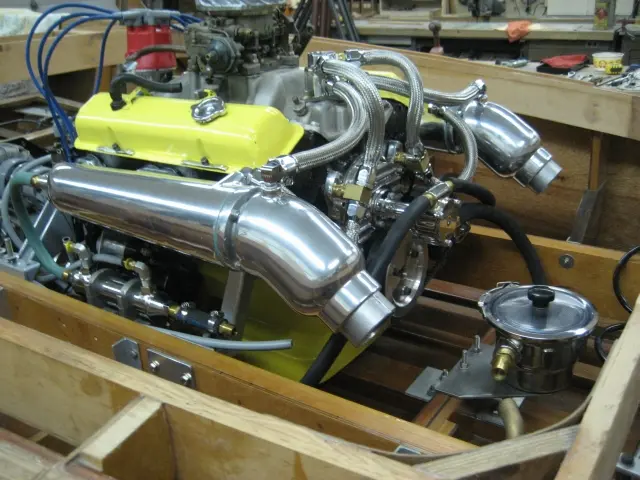
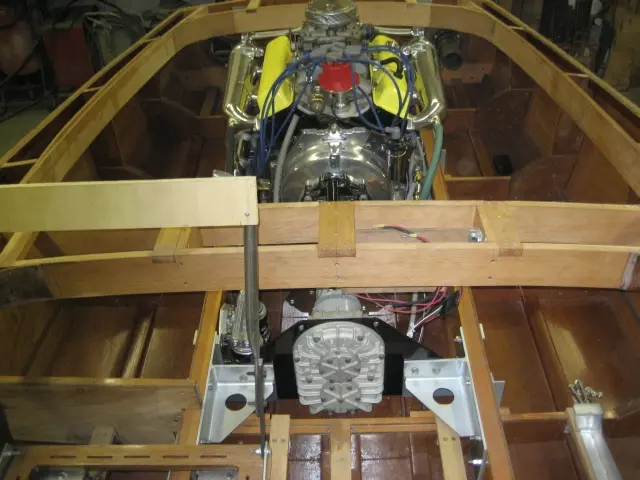
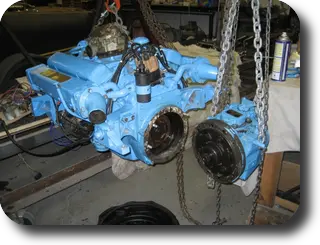
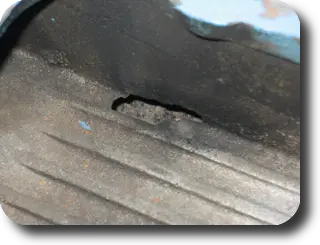
1. Here's the day I've been waiting for ! Engine, transmission and v-drive installed with very few issues.
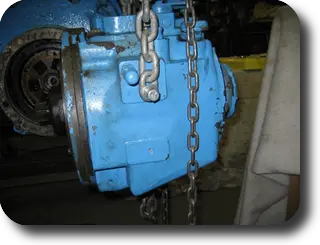
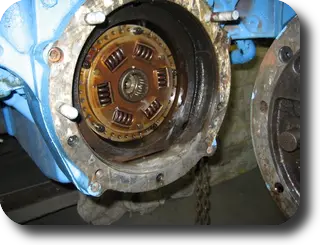
2–3. We don't have enough clearance between the torque tube guard adapter and the v-drive take-off hub. The hex-head bolts used to retain the guard will have to be swapped out for flat head machine bolts.
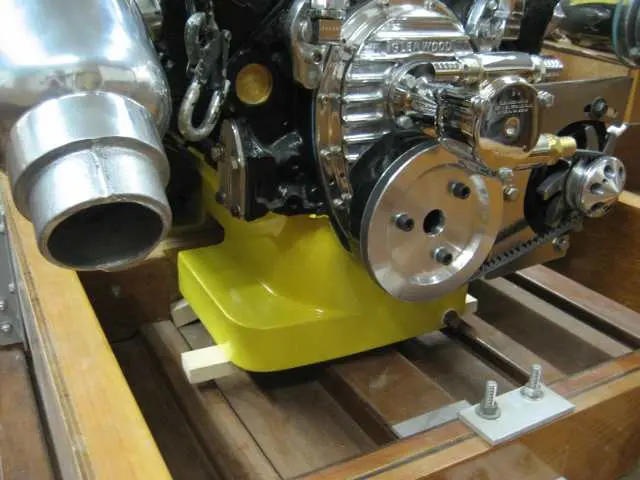
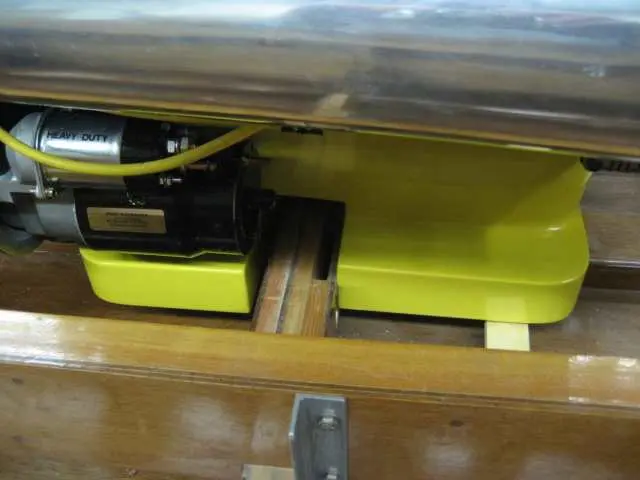
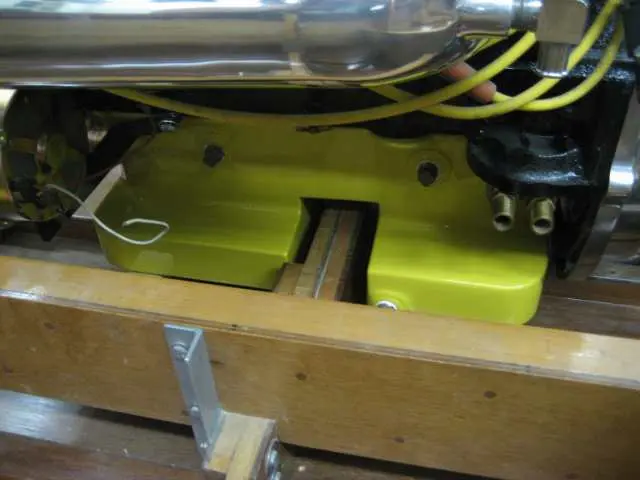
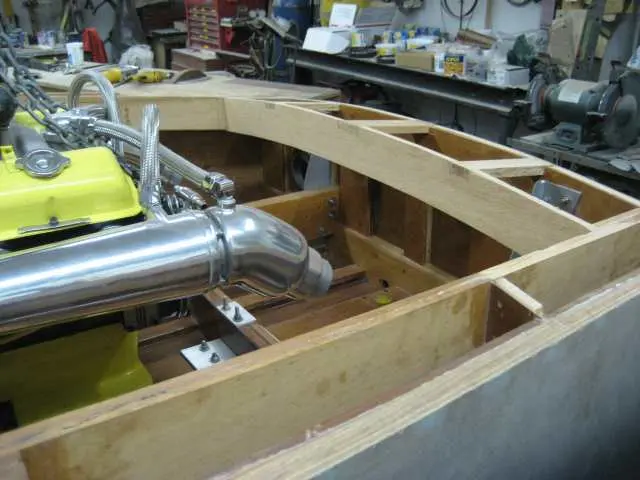
6–7. Here's a close-up of the oilpan straddling frame # 2.
8. Oil capacity has been expanded from 4 quarts to 12 quarts.
9. The custom oil pan lowered the engine by 3-1/2". A lot of work, but the engine is horizontal and nicely nestled into the boat.
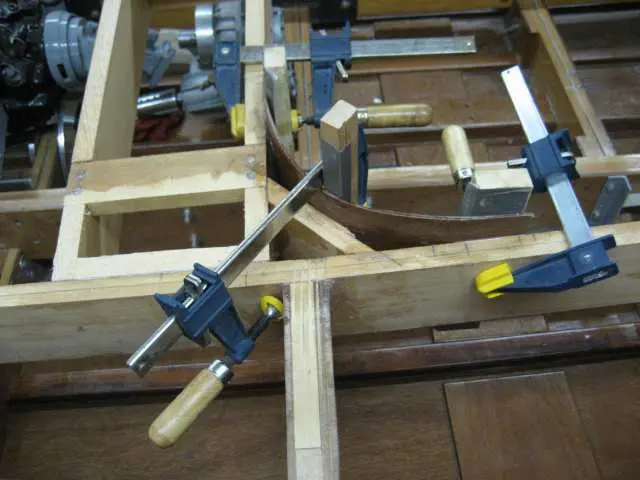
10. The intermediate deck beam straddles the carlings at frame # 4.
The intermediate deck beam straddles the carlings at frame # 4
1. The intermediate deck beam straddles the carlings at frame # 4.
2. Coaming corners were radiused with plywood veneer. We ran some 1/8" marine- grade mahogany plywood through the planer to remove one face. This makes it much easier to bend !
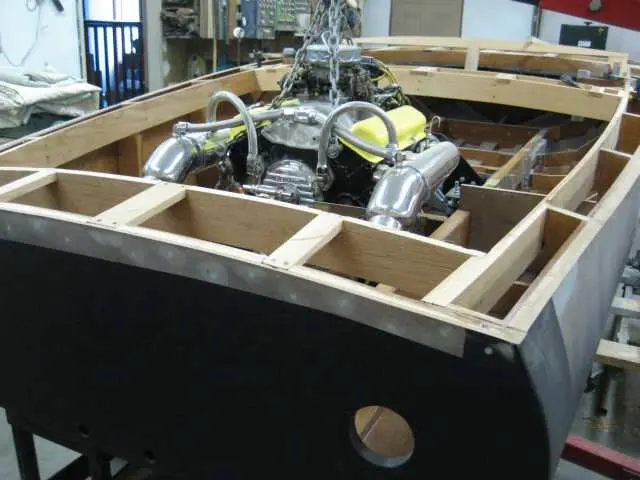
3. Transom deck beam is 9" wide.
4. The bottom edge of the beam was molded to a width of 3-1/2".
5. View from the transom.
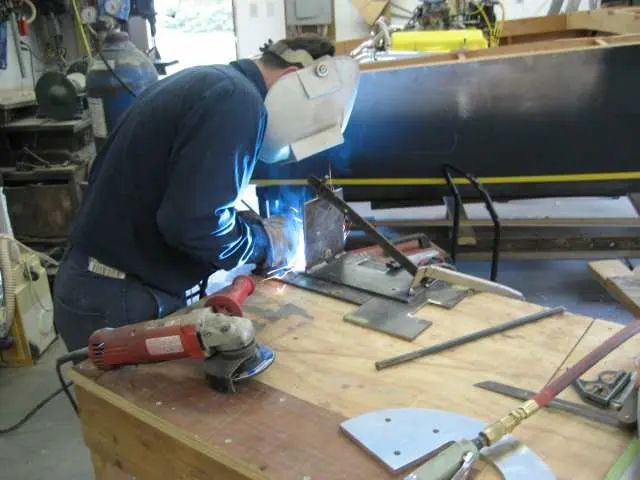
6. Here's my friend Colin finish-welding up the v-drive mounting plate. We spent the day finalizing the transmission mounts. With all components bolted in, we measured for the propeller shaft.
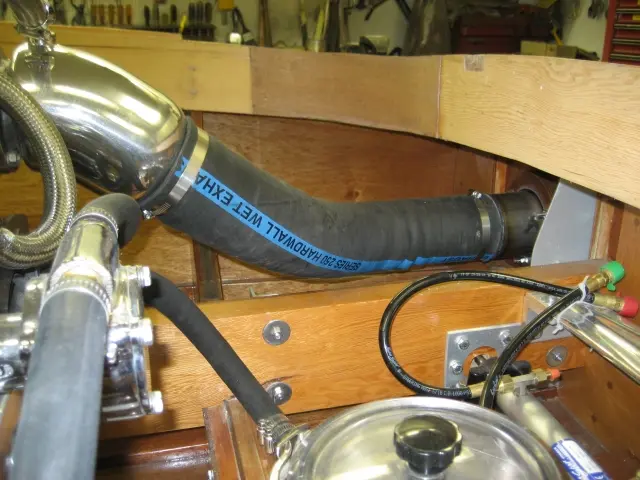
The Hardin Marine thermostat housing required us to re-plumb most of the engine plumbing
1. The Hardin Marine thermostat housing required us to re-plumb most of the engine plumbing.
2. A Glenwood oil cooler was mounted to the stringer. This should reduce engine oil temperature and increase engine life.
3–4. Yet another Glenwood oil cooler was installed below the Velvet Drive's fill plug level. This adds extra capacity to the system and ensures that the trans is at its maximum fill level at all times. An MSD billet aluminum marine distributor, digital ignition box complete the engine installation.
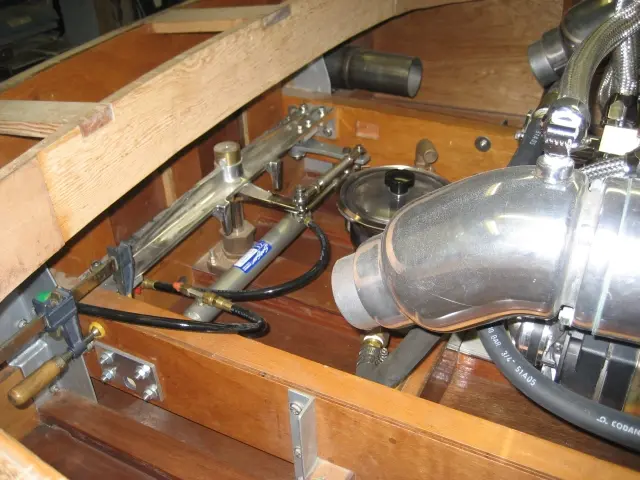
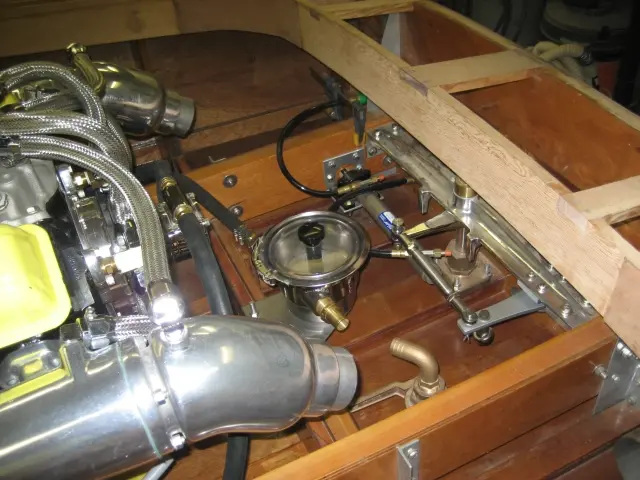
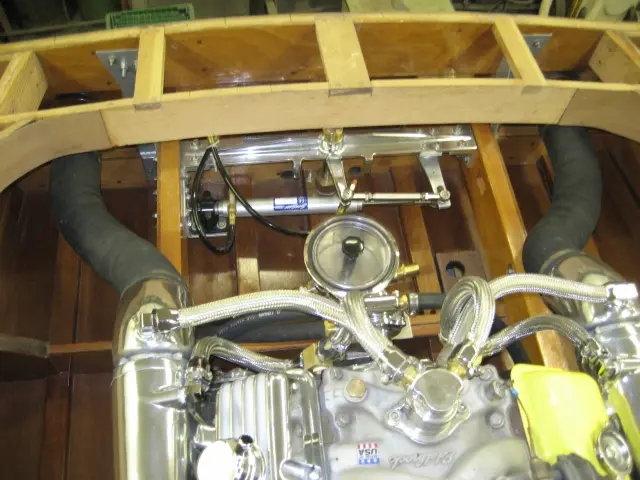
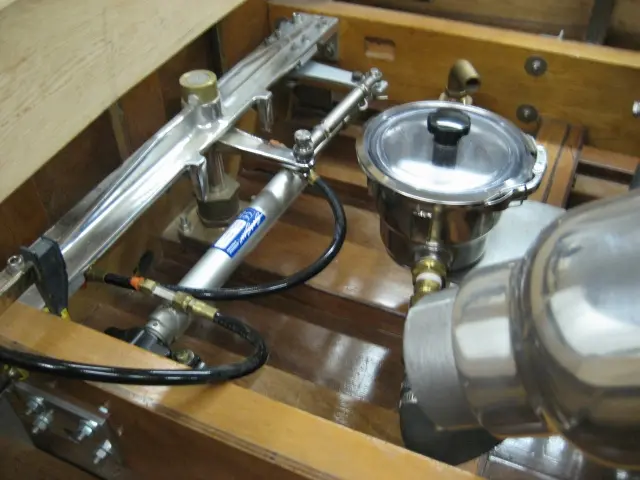
5–6. Last of the hydraulic steering components were installed. A Gil offshore sea strainer filters raw water before feeding it into the cam-driven water pump and oil coolers.