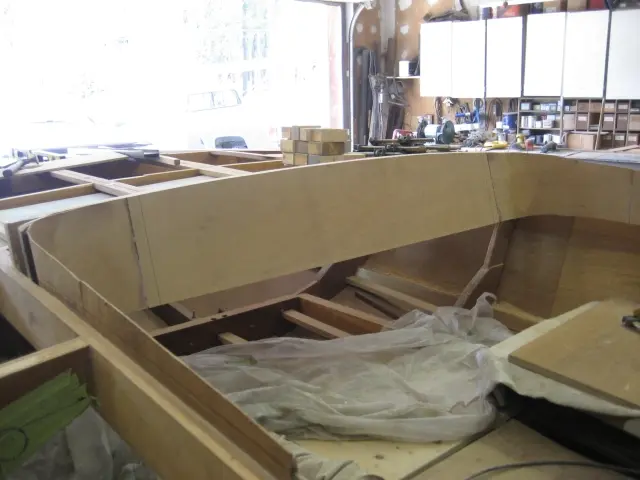
Work on the front cockpit carlings and dash continues
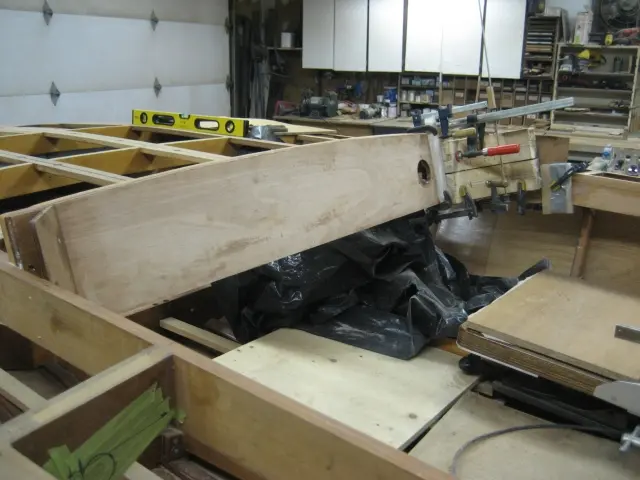
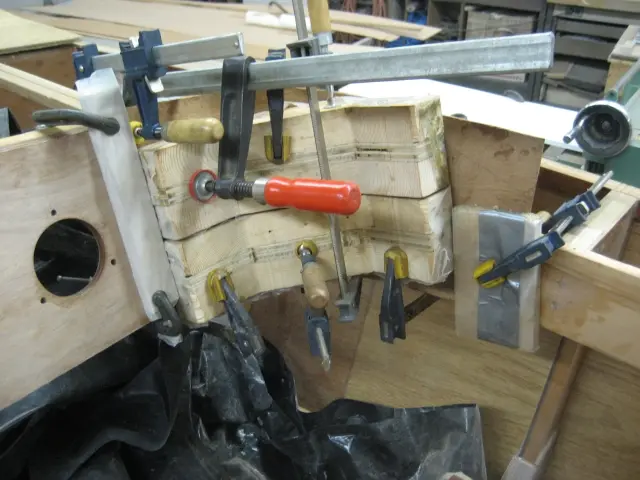
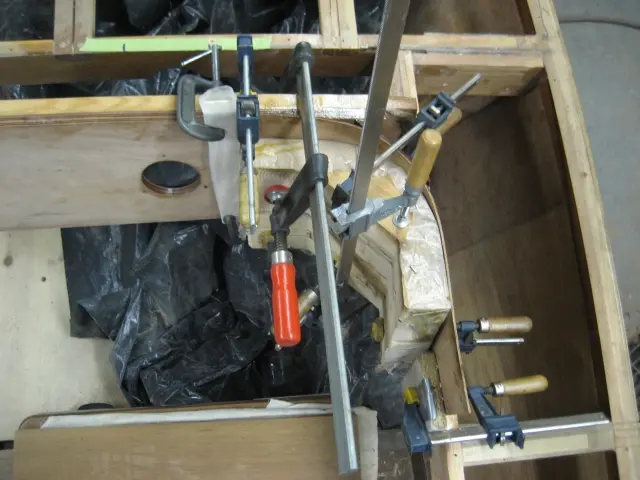
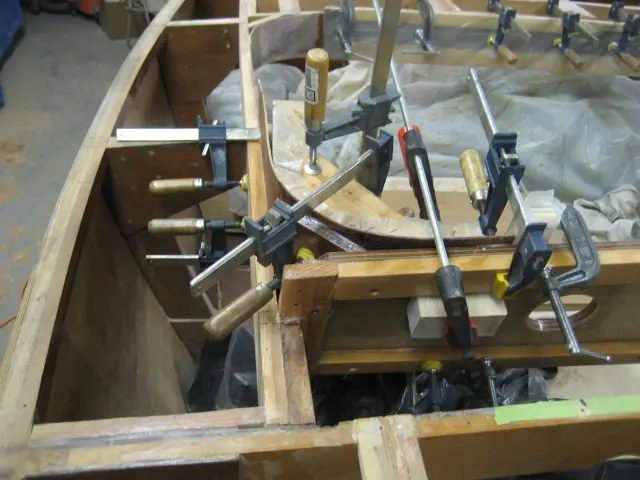
Work on the front cockpit carlings and dash continues. We've snapped a lot of pictures to describe the process. Click here to see how it was done.
Hot Rod · new build
LaunchedWork on the front cockpit carlings and dash continues. We've snapped a lot of pictures to describe the process. Click here to see how it was done.
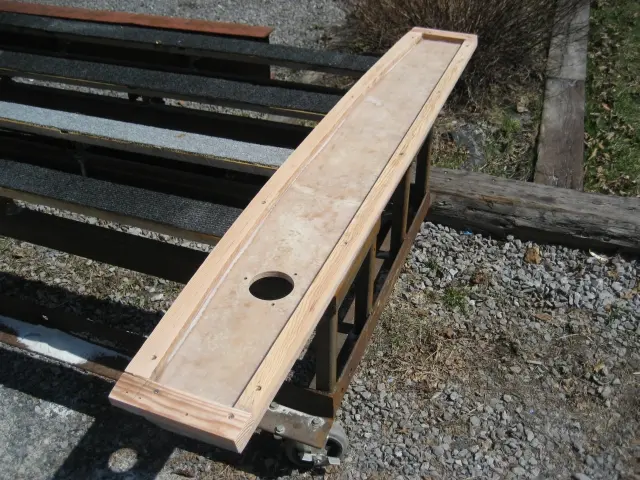
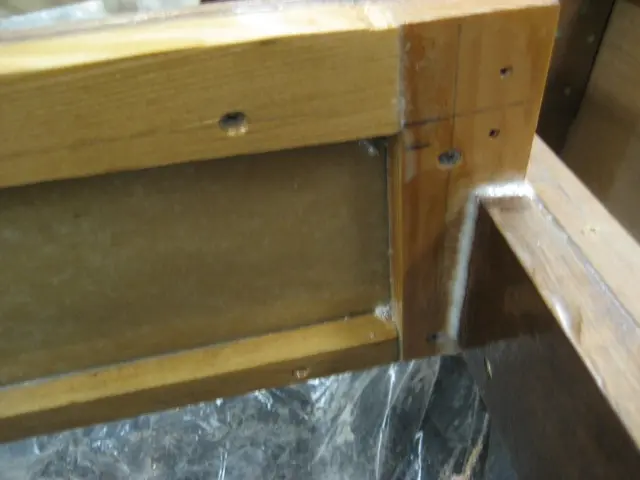
1–2. We encapsulated the inside dash surface with one layer of two ounce mat followed up with one layer of 6 ounce fiberglass cloth. This will prevent the exposed plywood surface from checking with exposure to the elements.
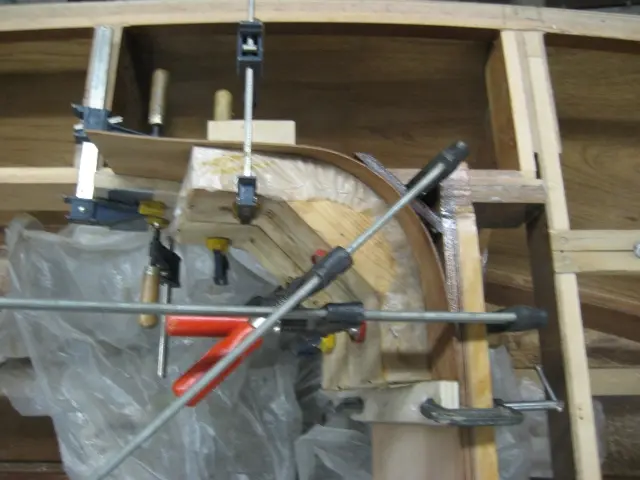
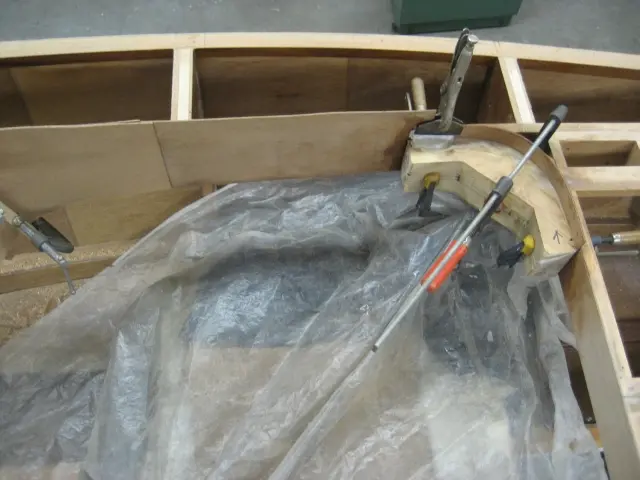
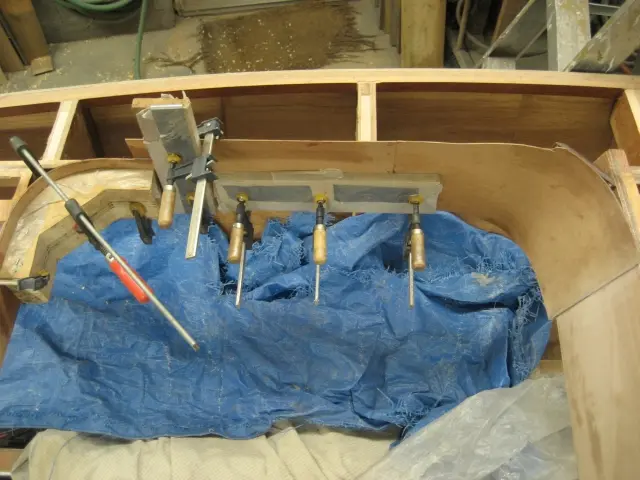
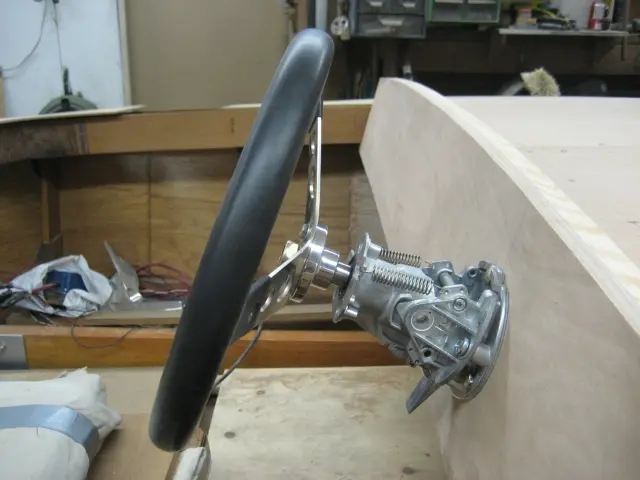
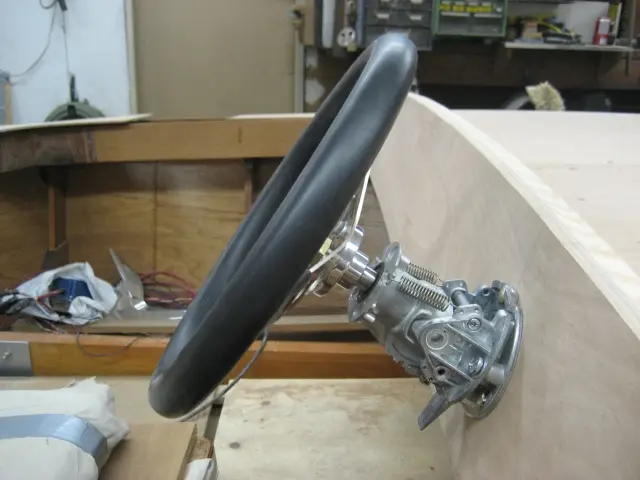
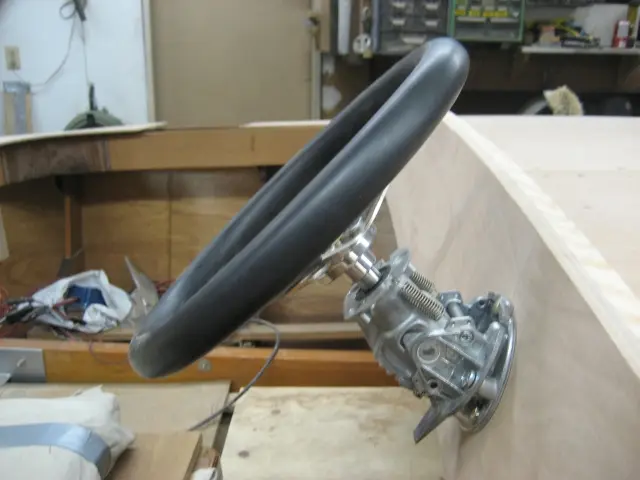
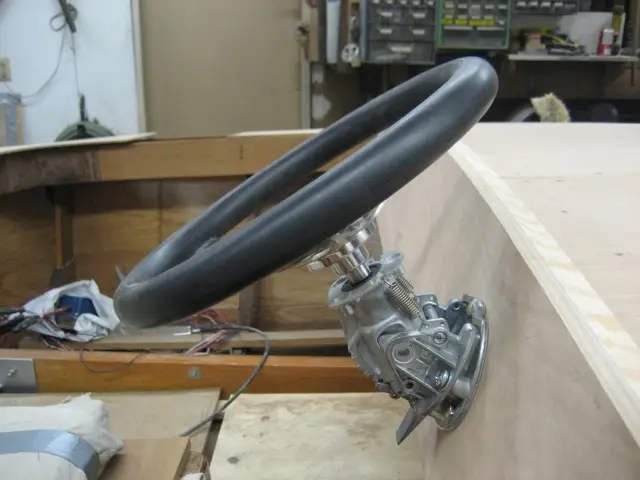
1–2. The tilt helm is a very nice feature.
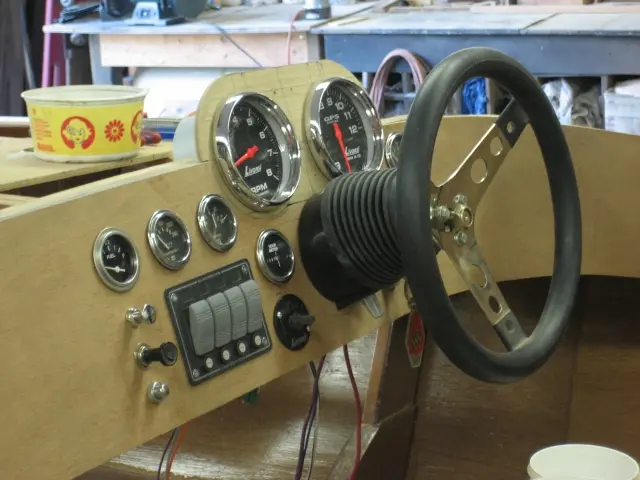
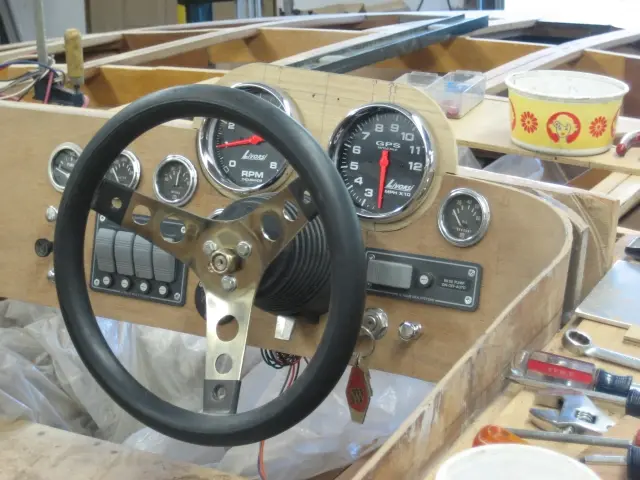
6. We quickened the steering action to 3 turns lock-to-lock by using a SeaStar 2.0 Sport Tilt Pro Helm displacing 2 cu.in./rev. and a SeaStar BA125-7ATM cylinder. The tilt option was well worth the added expense !
7. An aluminum backup plate was fabricated to mount the hydraulic helm to the dash.
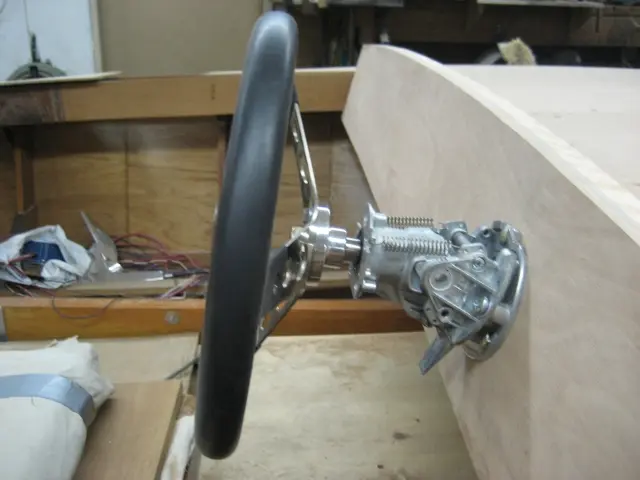
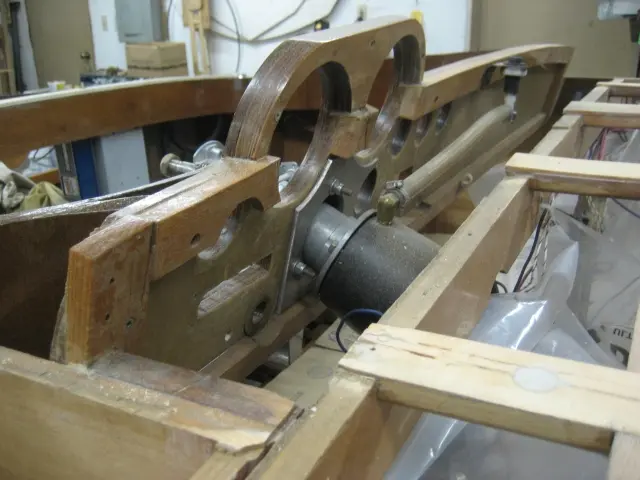
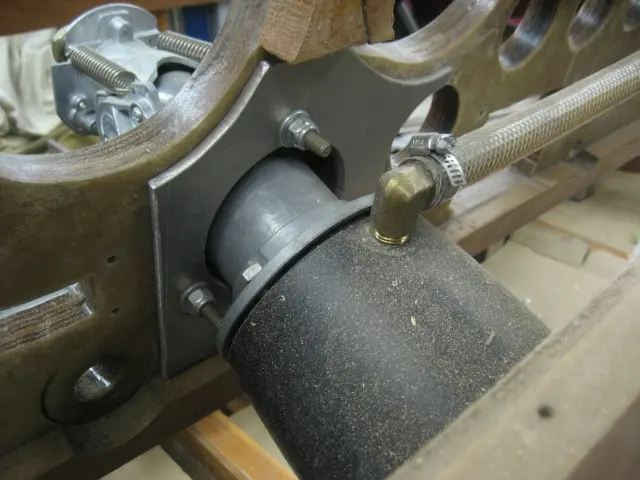
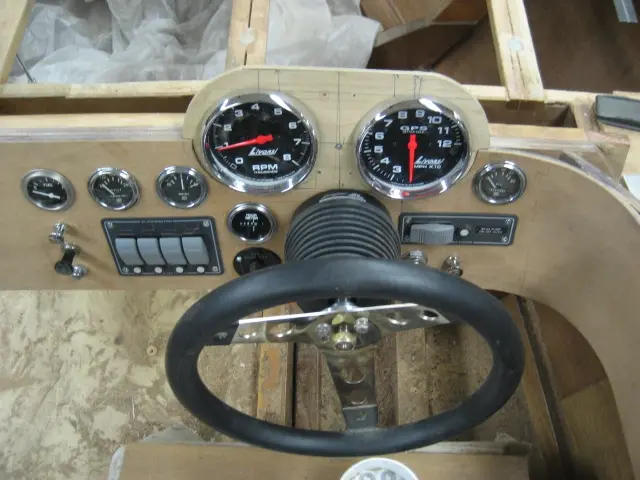
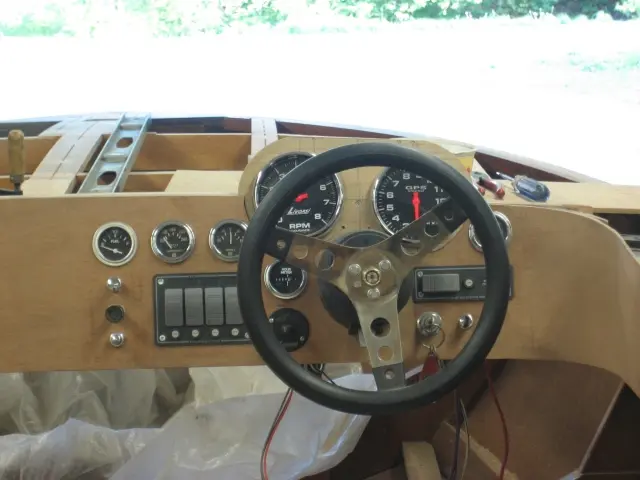
1. Gauges were installed over the weekend and are ready for wiring. The helm is a SeaStar Pro Tilt hydraulic unit. 5" Monster GPS speedometer and tachometer are made by Livorsi. The water temperature, oil pressure and volt meter gauges are vintage VDO units salvaged from a Chris-Craft cabin cruiser. The fuel level and hour meter gauges are Teleflex Heavy Duty gauges. Rocker switches are fully waterproof. GPS speedometer recall/reset toggle switch is located to the left of the helm. There's still another layer of mahogany veneer to apply on the dash before applying the final finish clear coats.
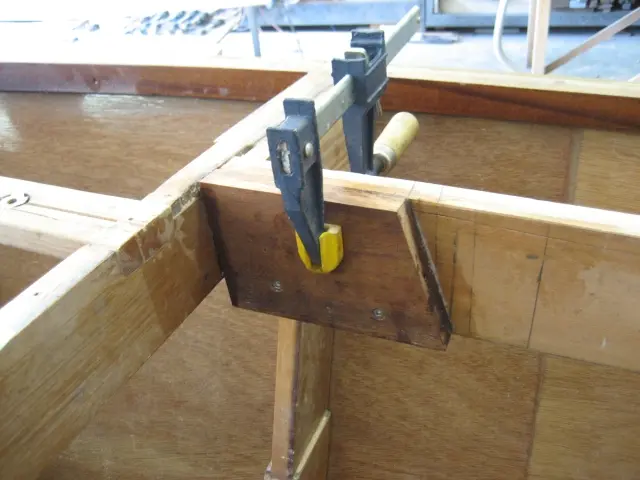
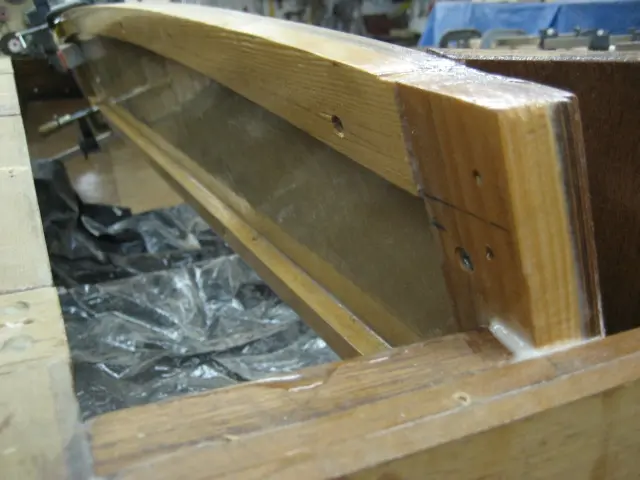
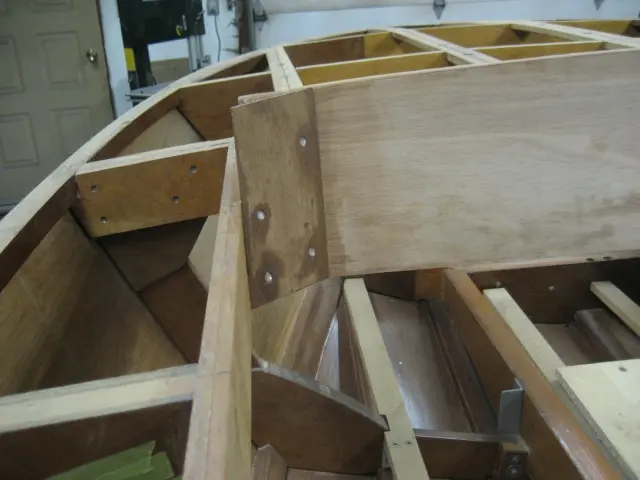
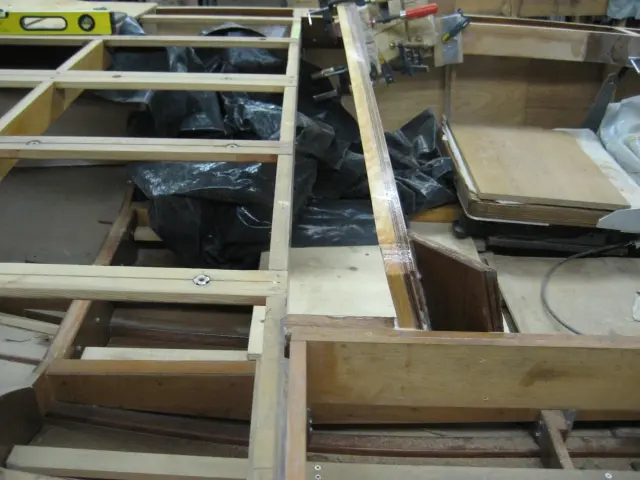
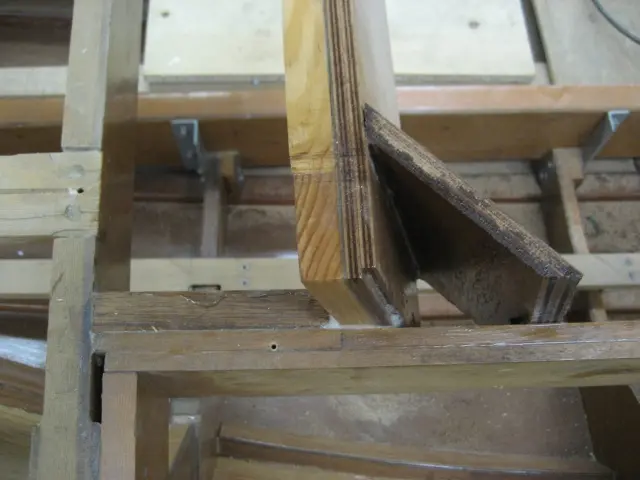
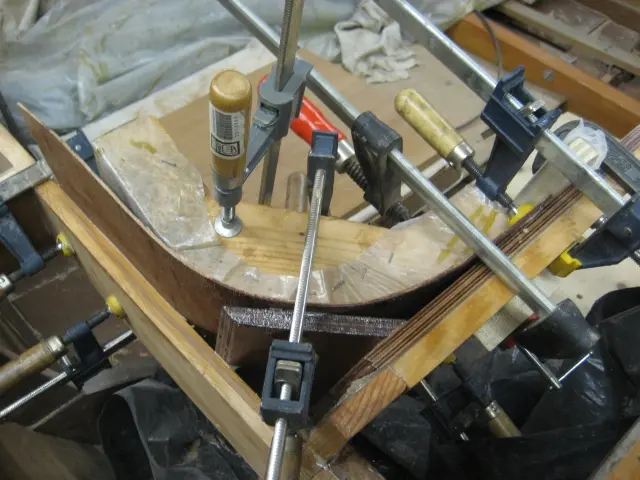
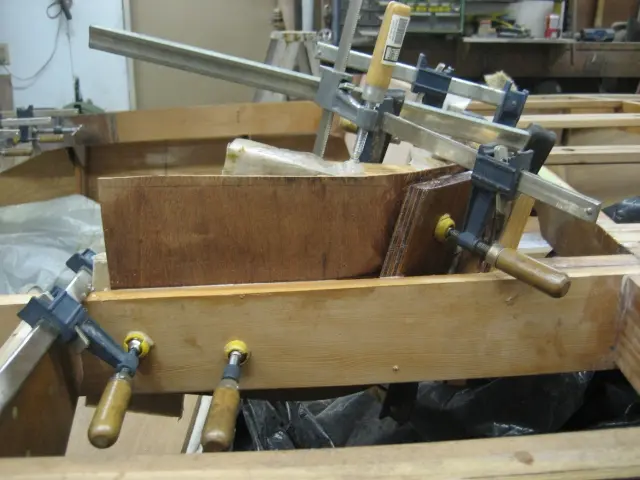
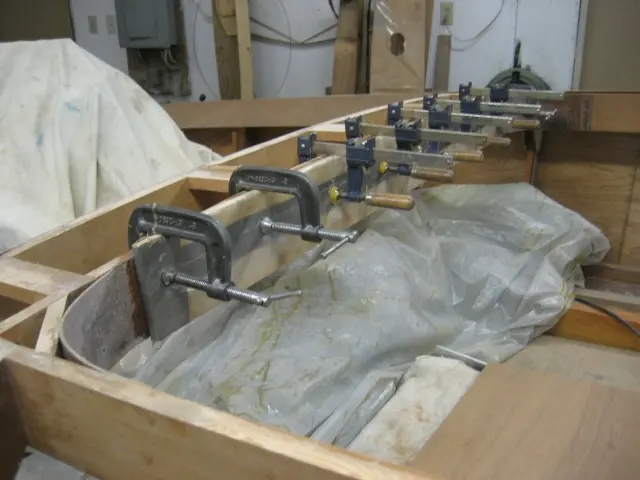
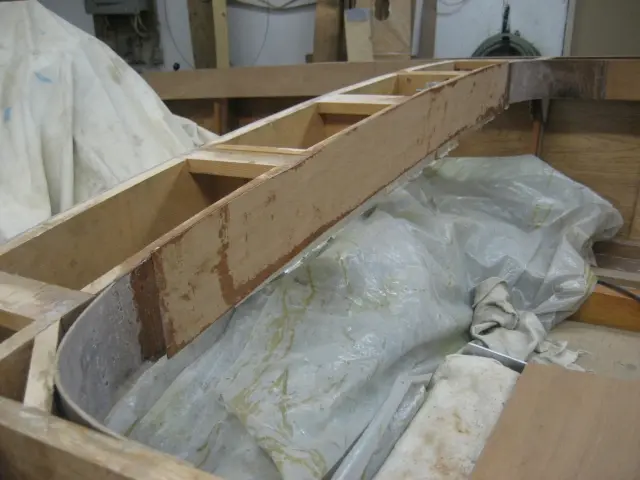
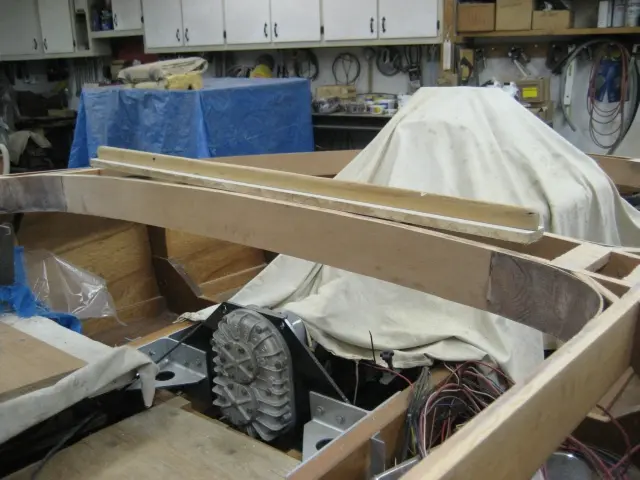
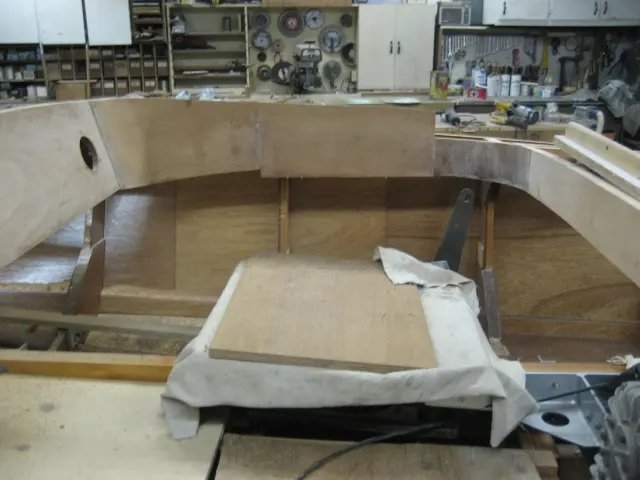
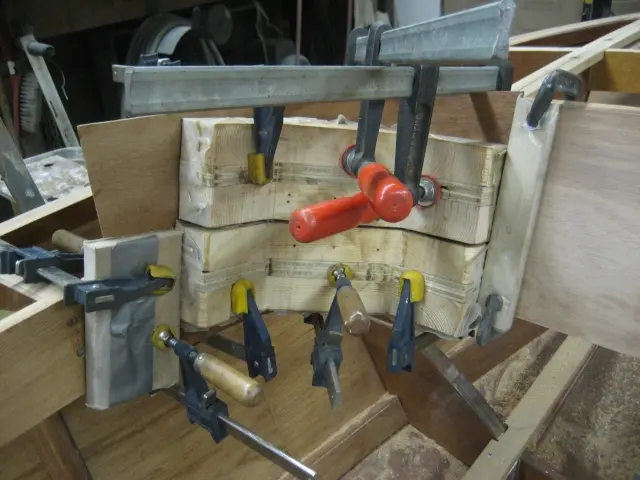
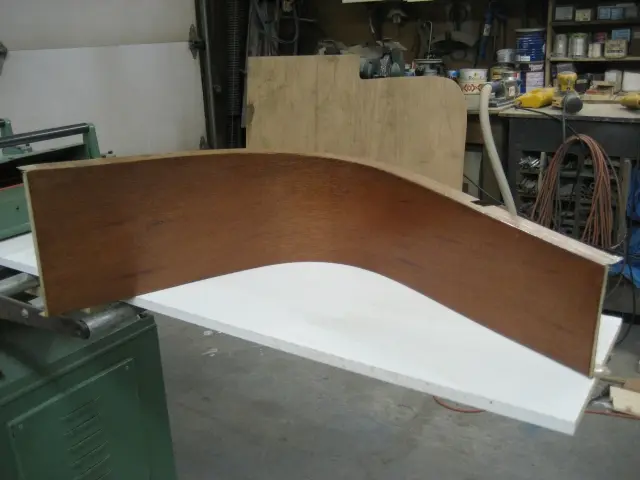
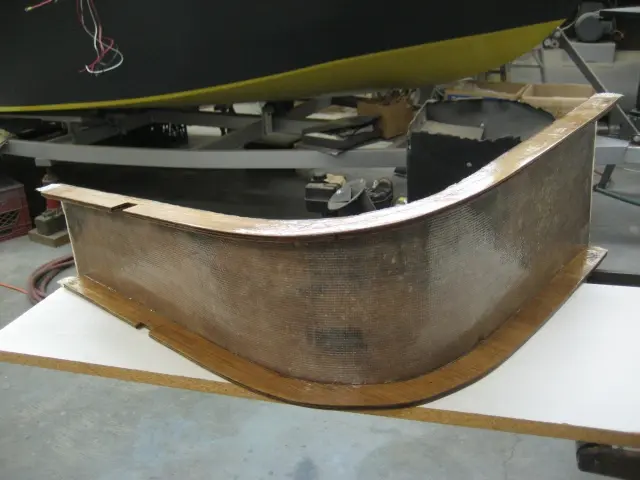
2–4. We extended the radiused corner coamings to the the rear jump seat backs. Since this photo was taken, the seat supports have been veneered and topcoated with several coats of epoxy and automotive clearcoat We're holding off on final assembly until the fuel tank cradles and battery box are installed.
Casting was a success ! The piece fits like a glove and conforms nicely to the carling's lower edge.
1. Here's the part after we've pulled it from the plug. Total weight is less than one pound.
2. Edges were trimmed and the part was given a light sanding before coating with West Epoxy catalyzed with 207 Special Coating hardener. Aluminum clips will be used to retain the top flange to the carling. The lower flange will bolt to the seat bottom.
3. Ends were left long so that they can be trimmed after installation.
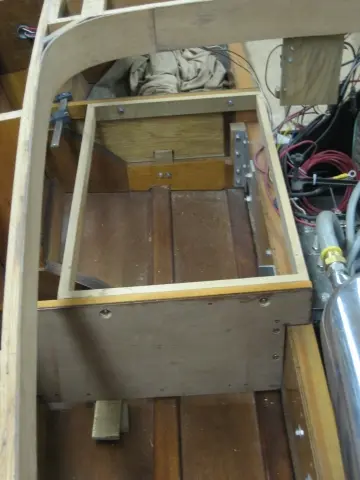
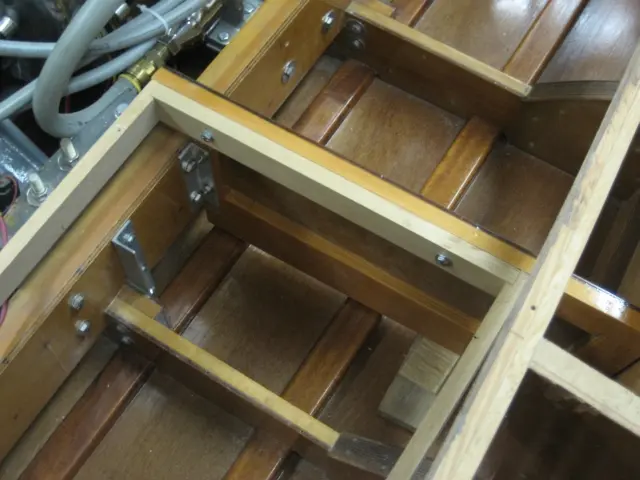
4. The starboard seat base was installed.
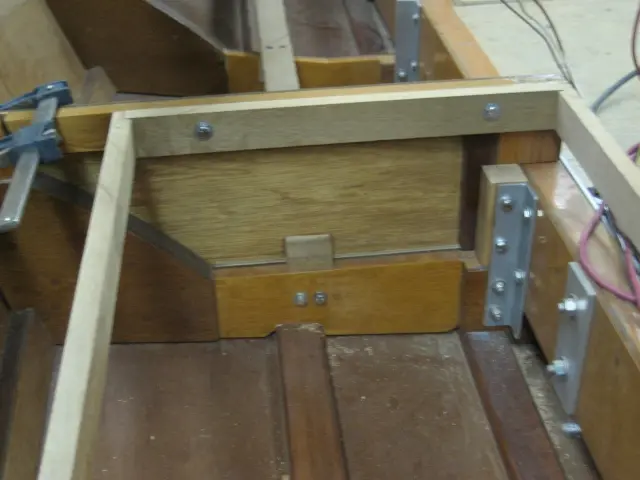
5. Front partition was bolted to the frame clip at frame # 3.
6. Rear partition was bolted to the motor stringer with an aluminum angle.
Nobody else here is logging a Hot Rod yet. See the boat.