boatbuildlog

Hot Rod · new build

Launched

Glen-L Hot Rod

Make a book Feed The whole log, 40 entries and every photo, laid out as a book to print, bind and keep.
260
Entries
n/a
Hours
n/a
Written up afterwards
1203
Photos
Nov 2003
Started
Hardware & Fit-Out Link

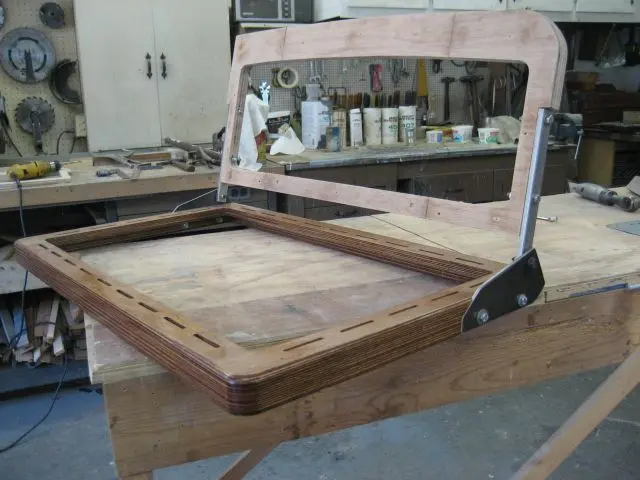
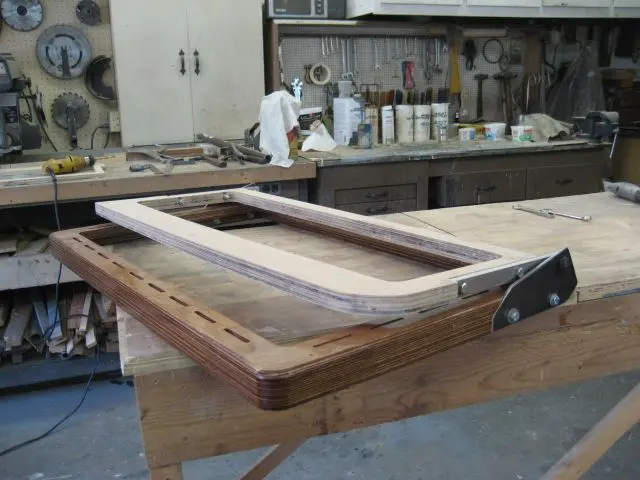
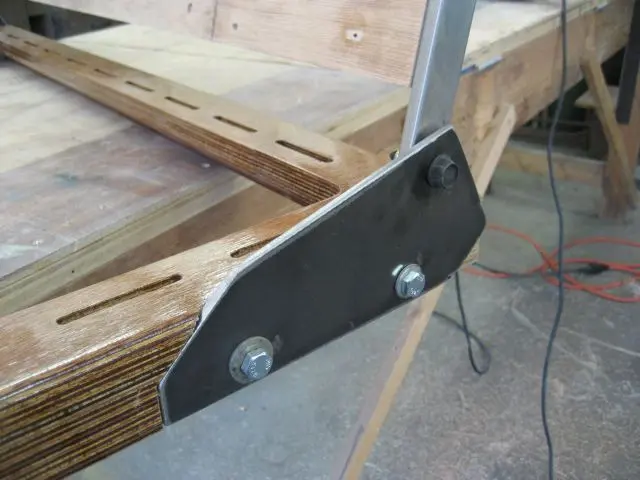
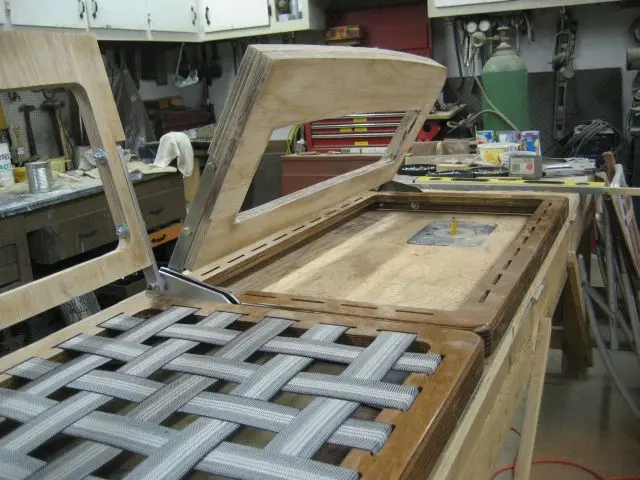
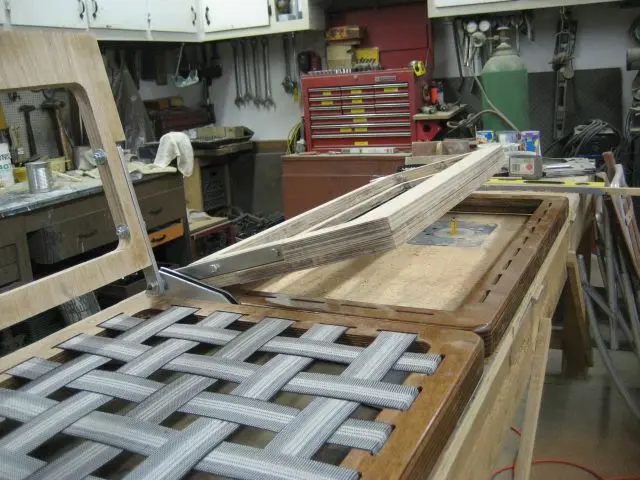
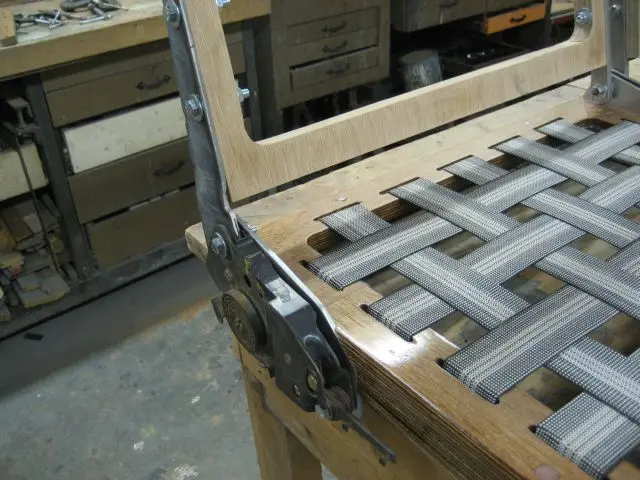
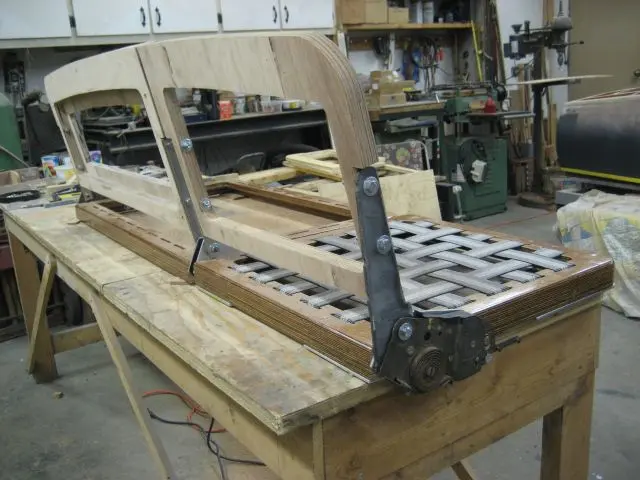
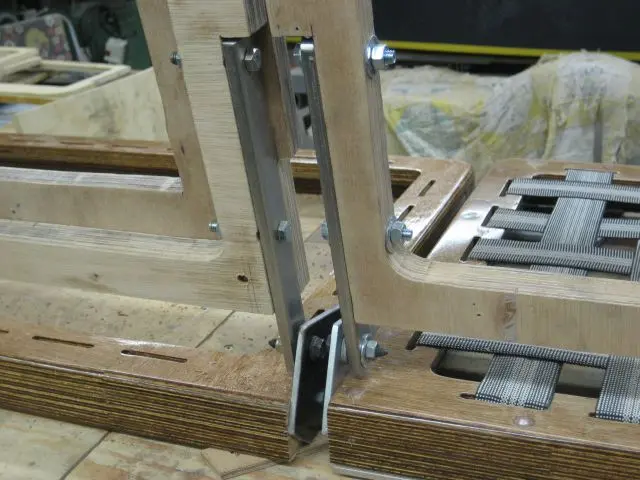
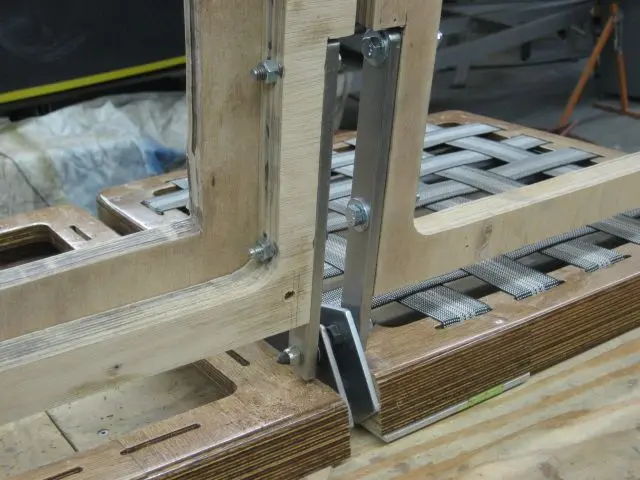
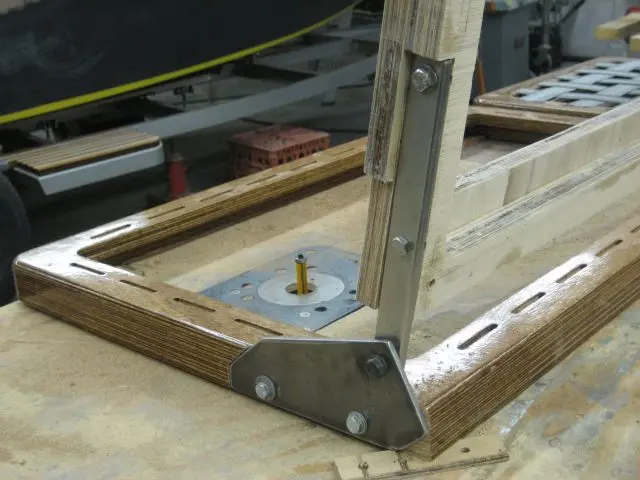
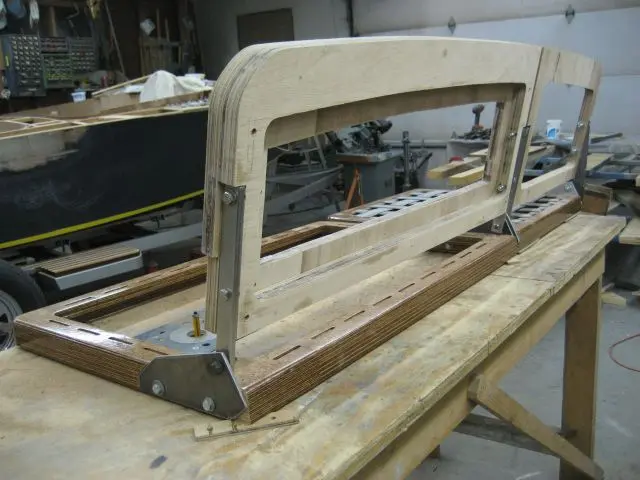
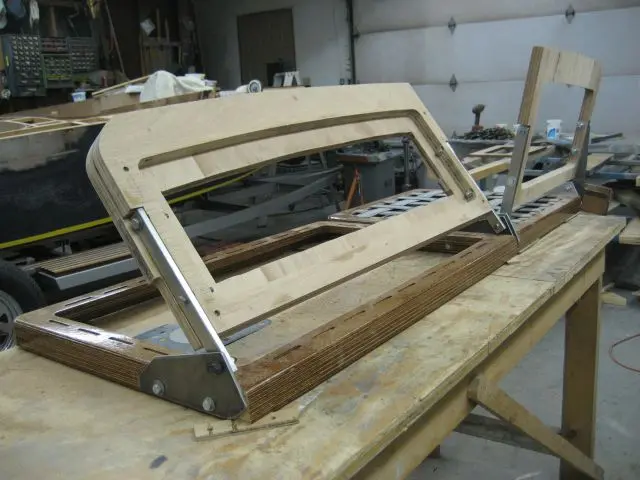
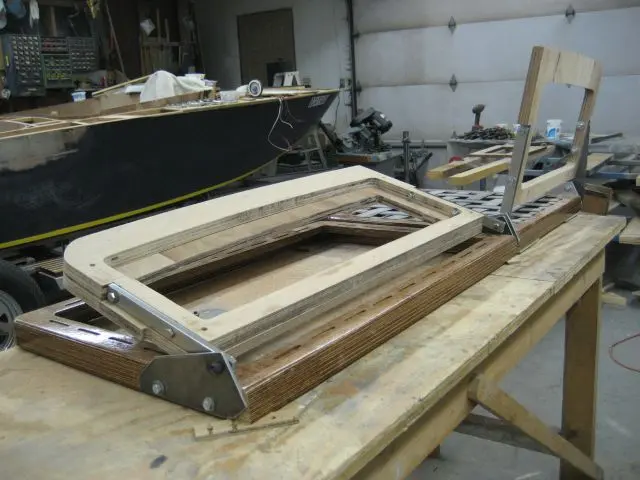
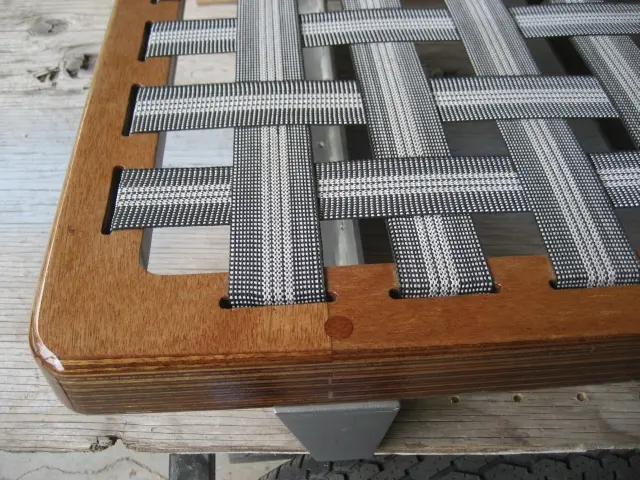
Seats: Driver's seat back webbing layer

1–2. Driver's seat back webbing layer.

3–4, 6–7, 10–15. Passenger seat back folds to horizontal position.

5. Parts were trimmed and fitted.

8. Driver's backrest is fully adjustable.

9. Seat back tilt mechanism was taken from a GM van.

1 Hot Rod: Seats: Driver's seat back webbing layer
2 Hot Rod: Seats: Driver's seat back webbing layer
3 Hot Rod: Seats: Driver's seat back webbing layer
4 Hot Rod: Seats: Driver's seat back webbing layer
5 Hot Rod: Seats: Driver's seat back webbing layer
6 Hot Rod: Seats: Driver's seat back webbing layer
7 Hot Rod: Seats: Driver's seat back webbing layer
8 Hot Rod: Seats: Driver's seat back webbing layer
9 Hot Rod: Seats: Driver's seat back webbing layer
10 Hot Rod: Seats: Driver's seat back webbing layer
11 Hot Rod: Seats: Driver's seat back webbing layer
12 Hot Rod: Seats: Driver's seat back webbing layer
13 Hot Rod: Seats: Driver's seat back webbing layer
14 Hot Rod: Seats: Driver's seat back webbing layer
15 Hot Rod: Seats: Driver's seat back webbing layer
Hardware & Fit-Out Link

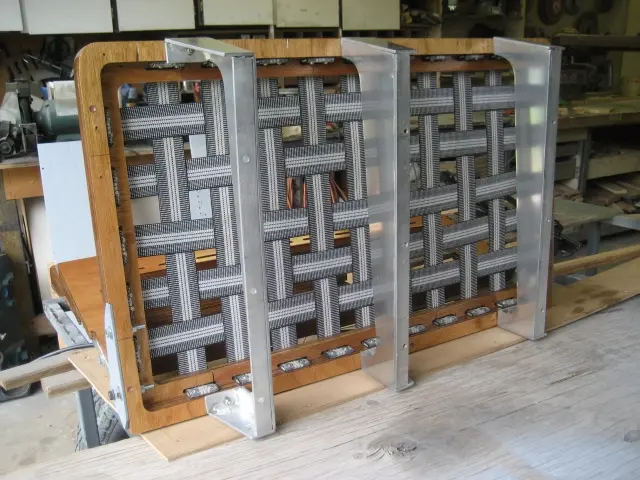
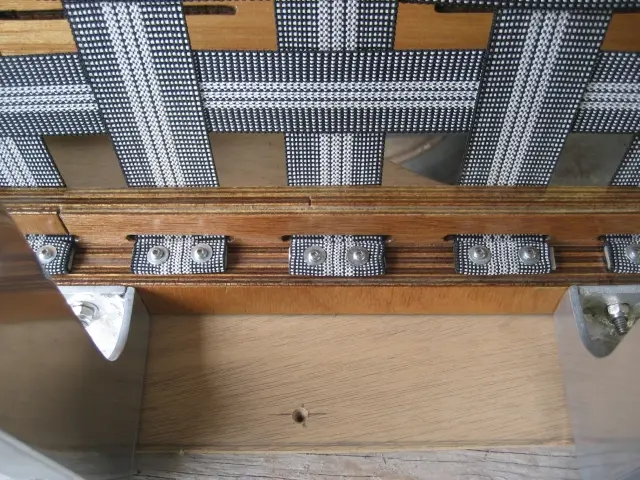
Seats: Here's the finished passenger seat ready for final installation

Here's the finished passenger seat ready for final installation. (Click the image for a higher resolution photo).

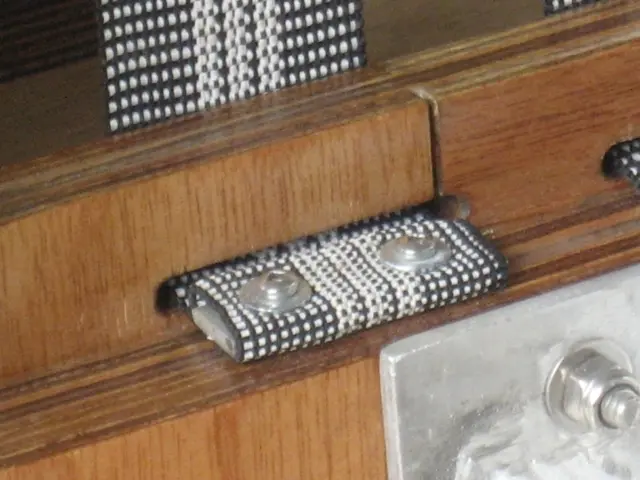
1–2. The rubber webbing was a very labour intensive job, but will make for very confortable seats !

3. The webbing was looped around a strip of 1/2" wide by 1/8" thick flat aluminum stock.

4. Two #6 x 3/4" stainless steel pan head machine screws were used to retain the webbing to the seat frame.

1 Hot Rod: Seats: Here's the finished passenger seat ready for final installation
2 Hot Rod: Seats: Here's the finished passenger seat ready for final installation
3 Hot Rod: Seats: Here's the finished passenger seat ready for final installation
4 Hot Rod: Seats: Here's the finished passenger seat ready for final installation
Hardware & Fit-Out Link

Jump seats and fuel tank: Final assembly for the Port fuel tank cradle and forward jumpseat bulkhead

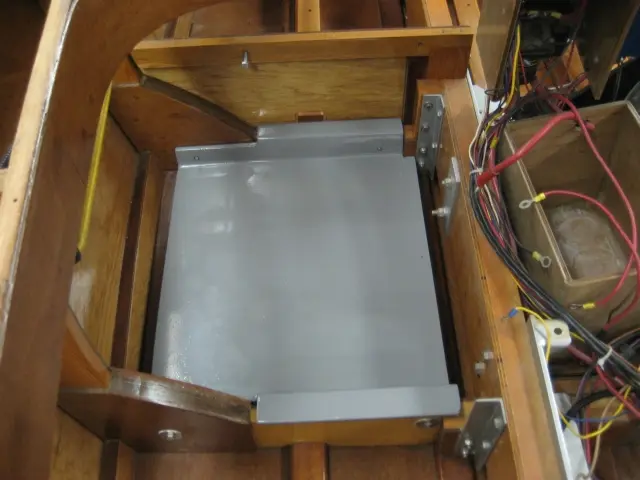
1. Final assembly for the Port fuel tank cradle and forward jumpseat bulkhead. Cradle bolt holes were bushed with fiberglass bushings. Sert-A-Nuts were installed flush on the inside face of the cradle flange.

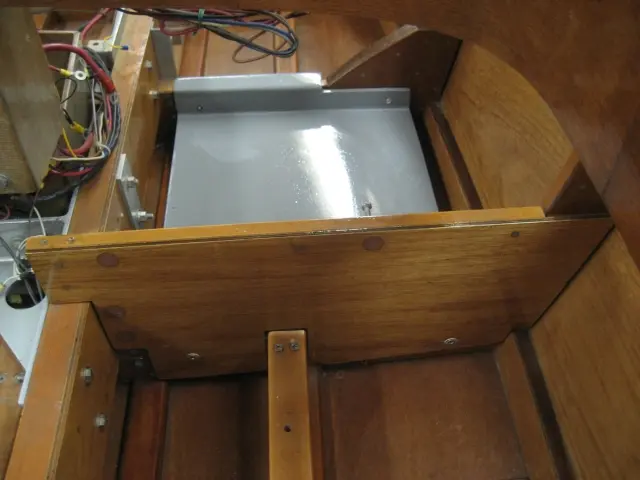
2. Here's a view of the forward jumpseat bulkhead looking aft.

1 Hot Rod: Jump seats and fuel tank: Final assembly for the Port fuel tank cradle and forward jumpseat bulkhead
2 Hot Rod: Jump seats and fuel tank: Final assembly for the Port fuel tank cradle and forward jumpseat bulkhead
Hardware & Fit-Out Link

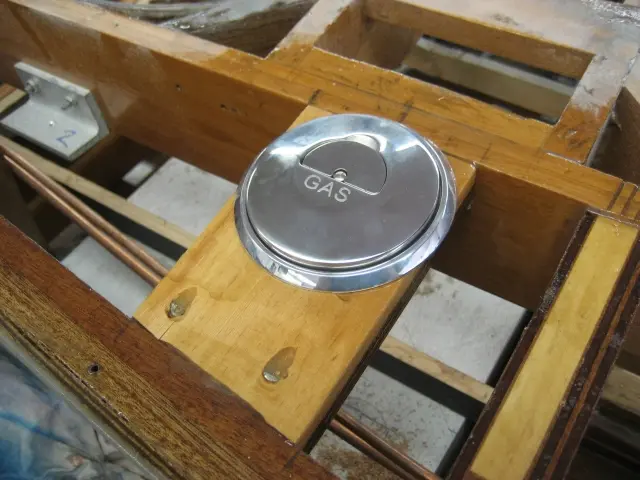
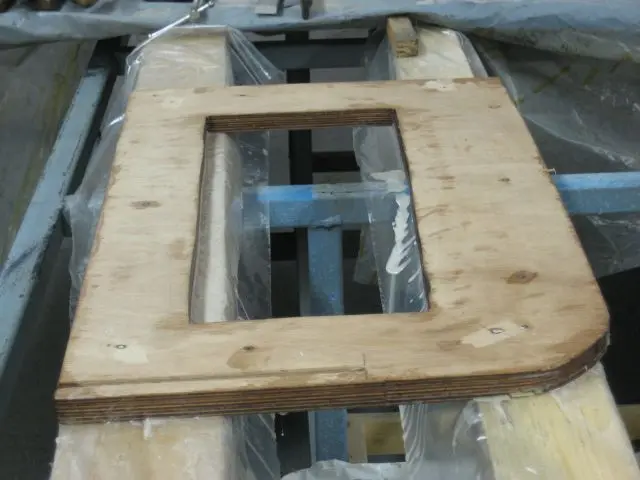
Jump seats and fuel tank: Fuel fill blocking was laminated from marine grade plywood and Douglas Fir stock

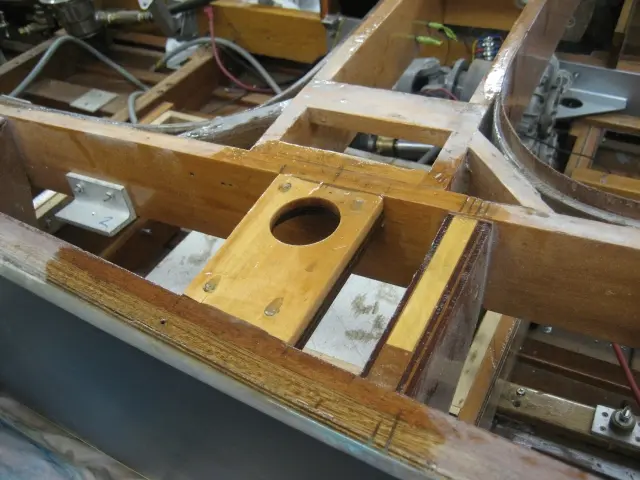
1. Fuel fill blocking was laminated from marine grade plywood and Douglas Fir stock. The plywood layer prevents the Fir from splitting.

2. A stainless steel 2" fuel fill will feed the 9.2 gallon fuel tank. The white plywood box is a mockup of the tank. Also visible in the photo are the hydraulic steering's annealed copper tubing lines. It's a very tight installation !
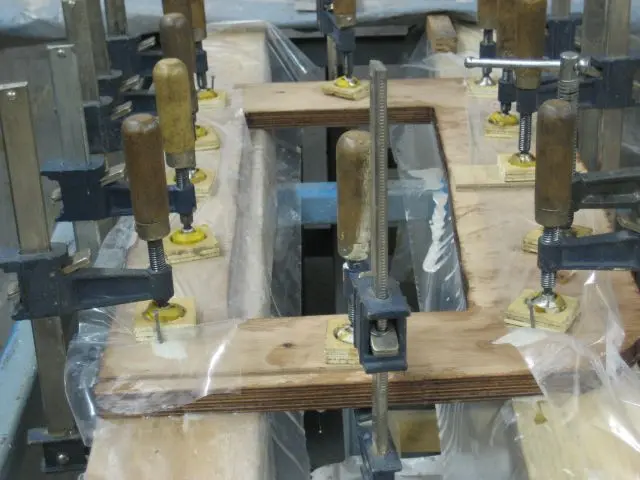
1 Hot Rod: Jump seats and fuel tank: Fuel fill blocking was laminated from marine grade plywood and Douglas Fir stock
2 Hot Rod: Jump seats and fuel tank: Fuel fill blocking was laminated from marine grade plywood and Douglas Fir stock
Hardware & Fit-Out Link

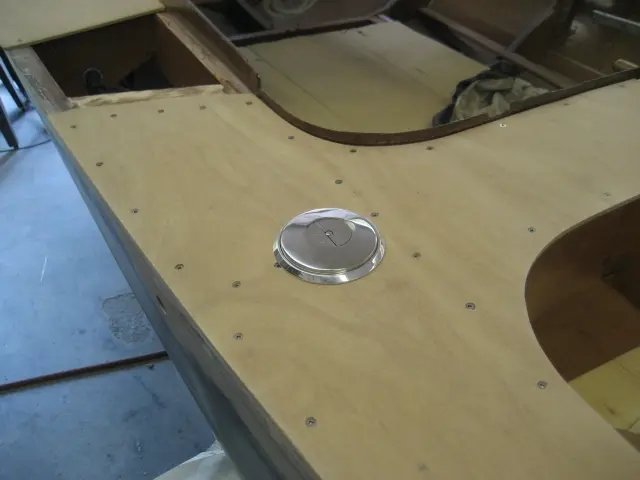
Jump seats and fuel tank: Deck sheeting was cut out for the fuel fills

Deck sheeting was cut out for the fuel fills.

Nobody else here is logging a Hot Rod yet. See the boat.