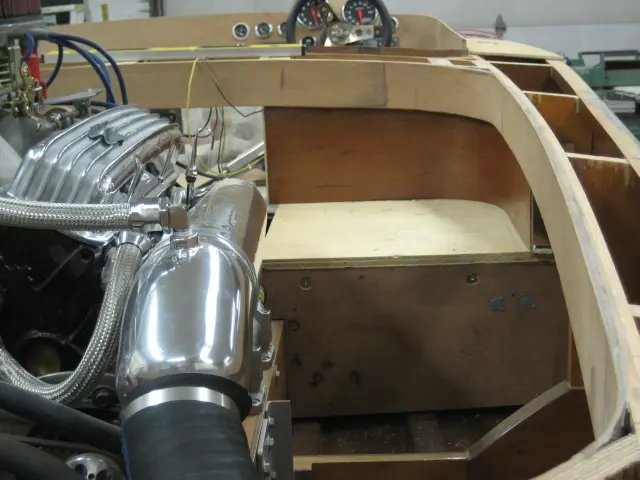
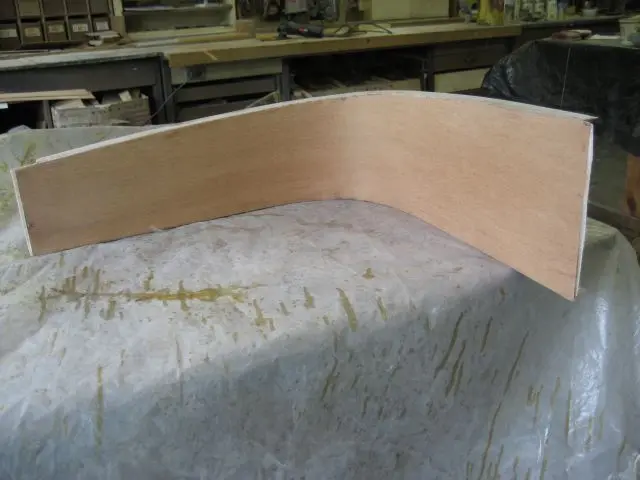
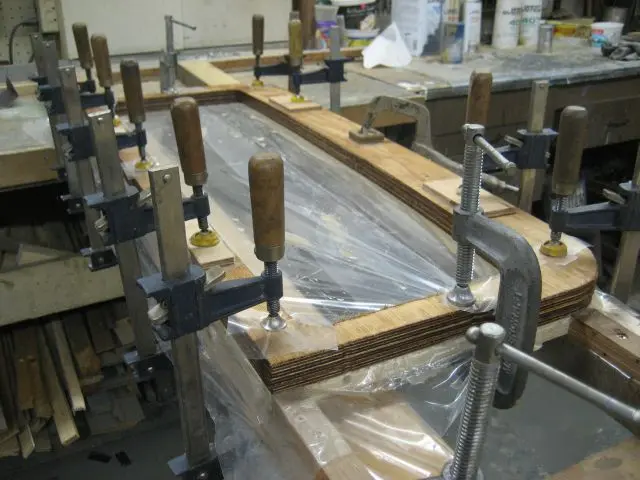
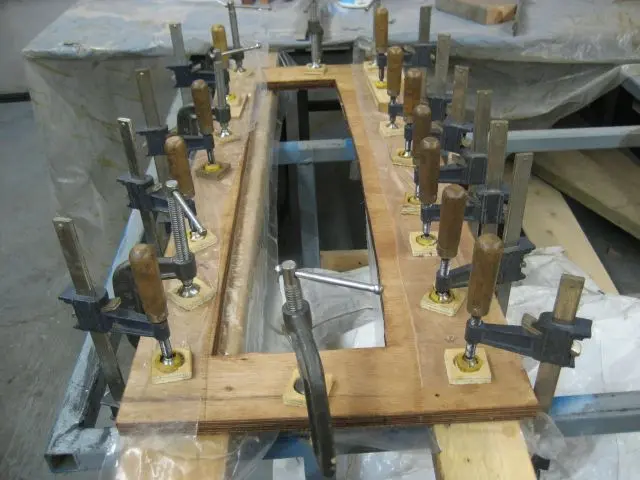
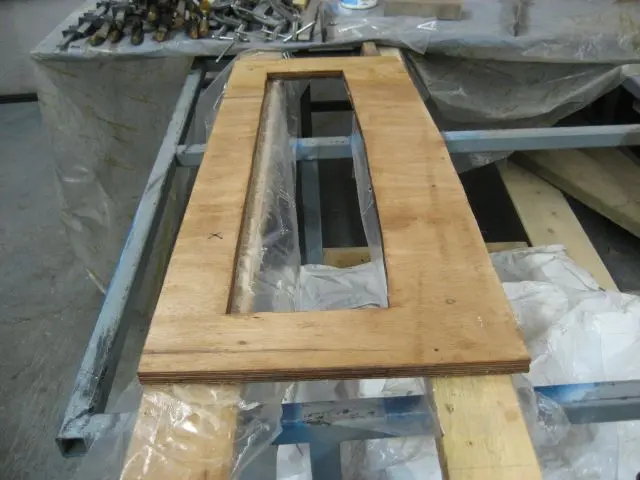
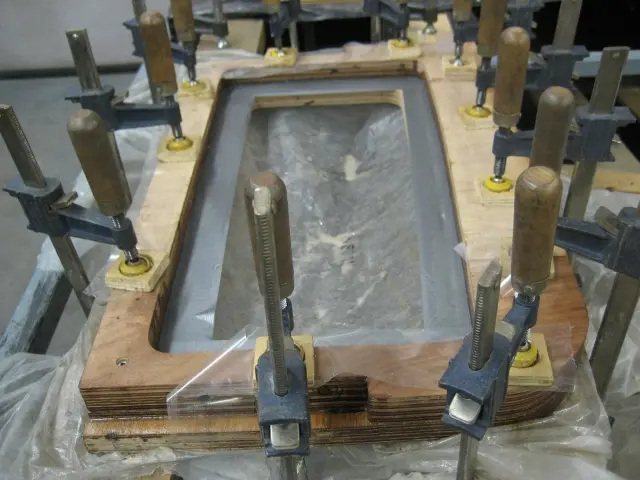
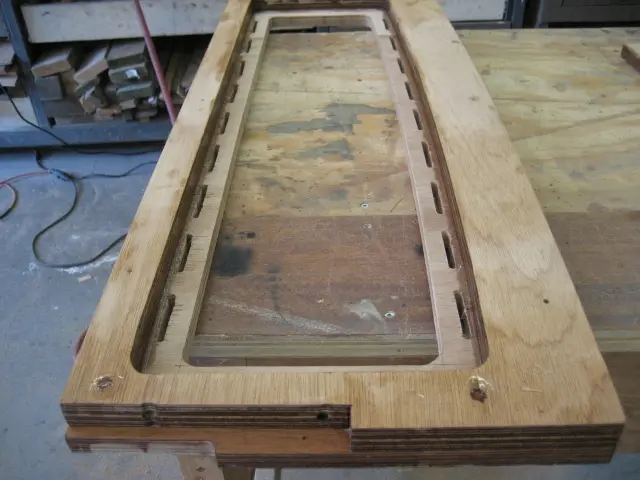
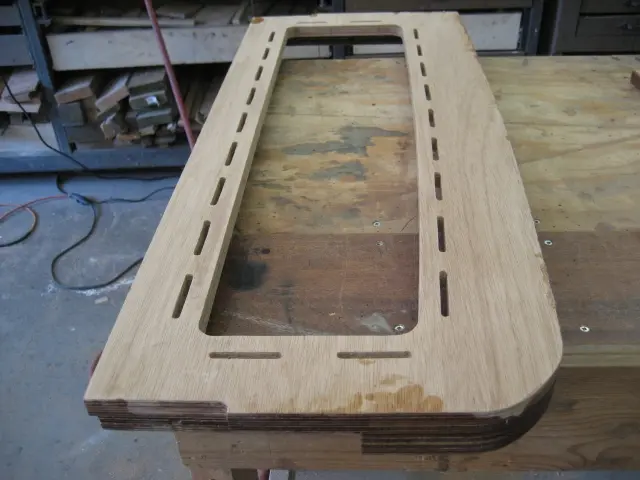
We extended the radiused corner coamings to the the rear jump seat backs
We extended the radiused corner coamings to the the rear jump seat backs. Since this photo was taken, the seat supports have been veneered and topcoated with several coats of epoxy and automotive clearcoat We're holding off on final assembly until the fuel tank cradles and battery box are installed.
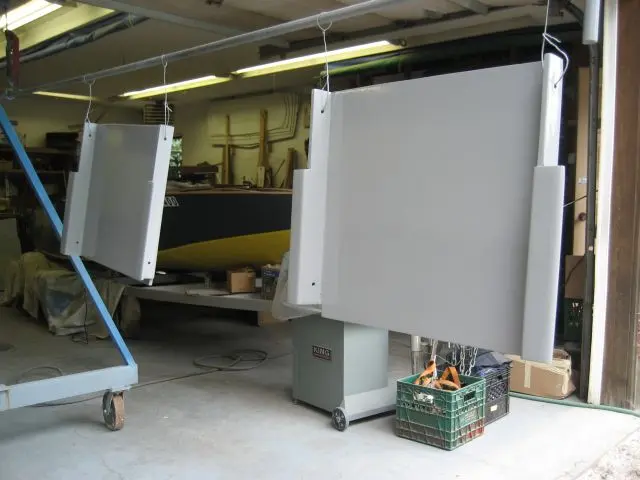
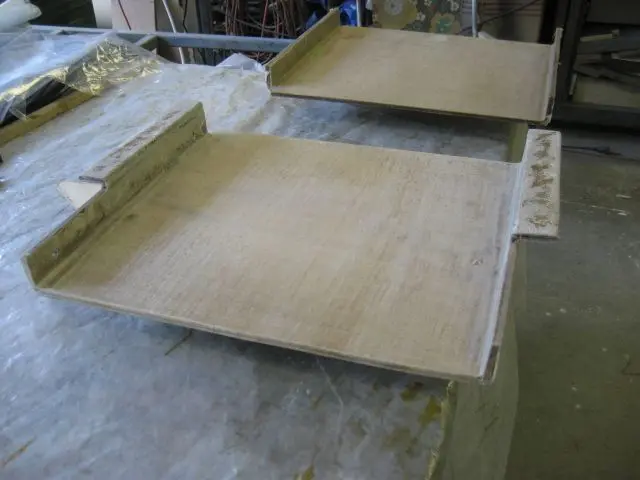
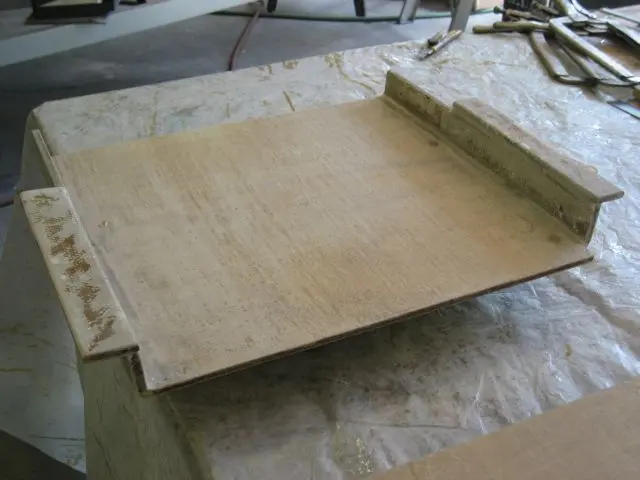
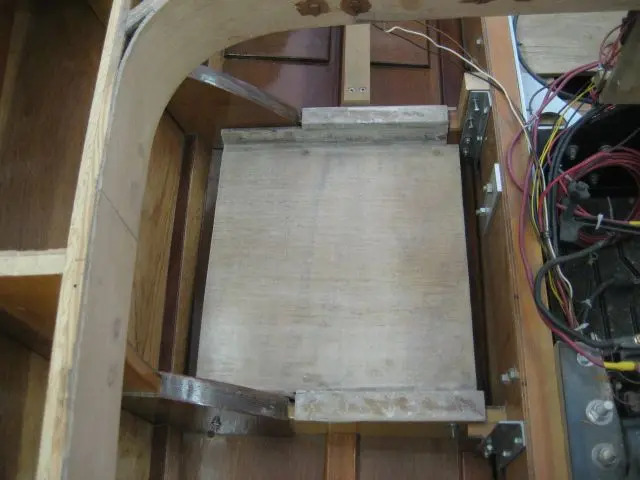
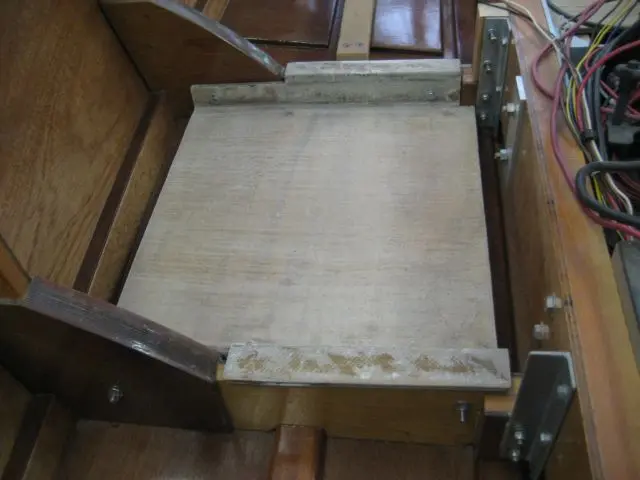
Fuel tank cradles are ready to install
Fuel tank cradles are ready to install. Click here to see the fuel tank cradle and jump seat construction photos.
Jump seats and fuel tank: Port side seat support completed
1. Port side seat support completed.
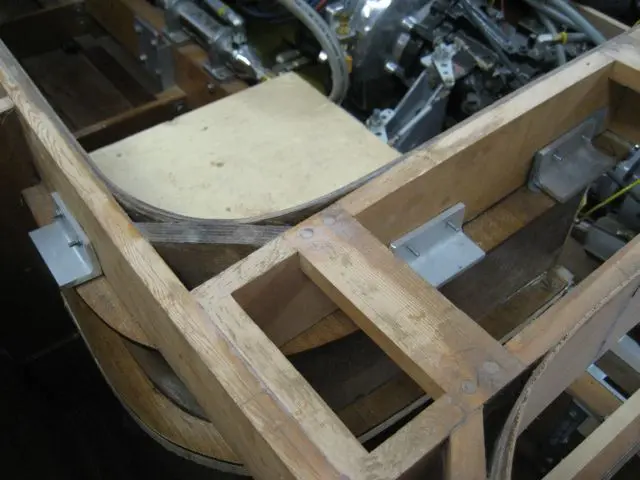
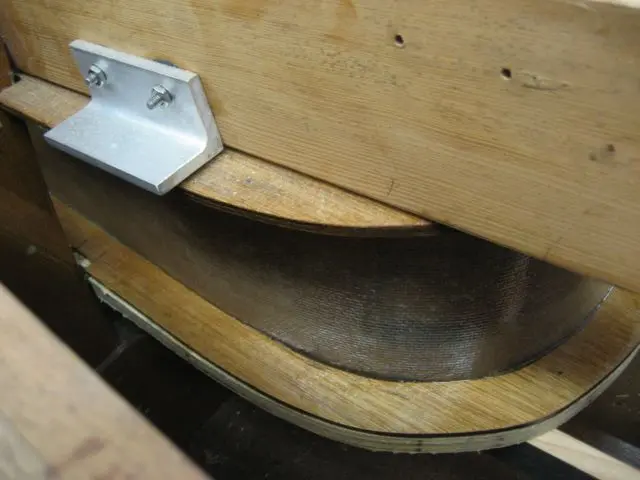
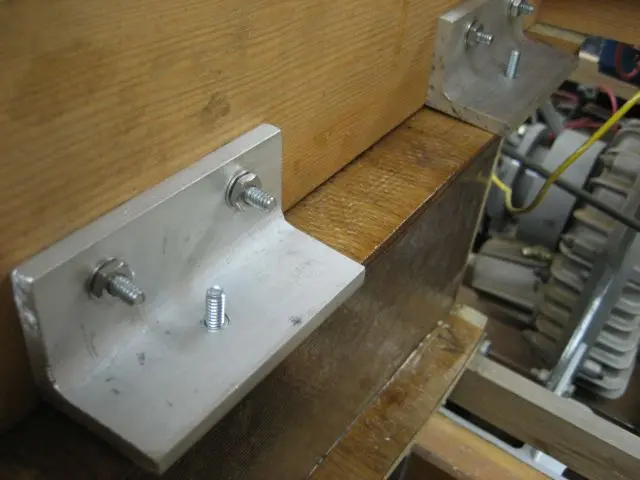
2. Aluminum angle clips were bolted through the rear cockpit carling to carry the seat support. Bolts were countersunk and epoxied to prevent the heads from turning. Wood plug bungs conceal the bolt heads.
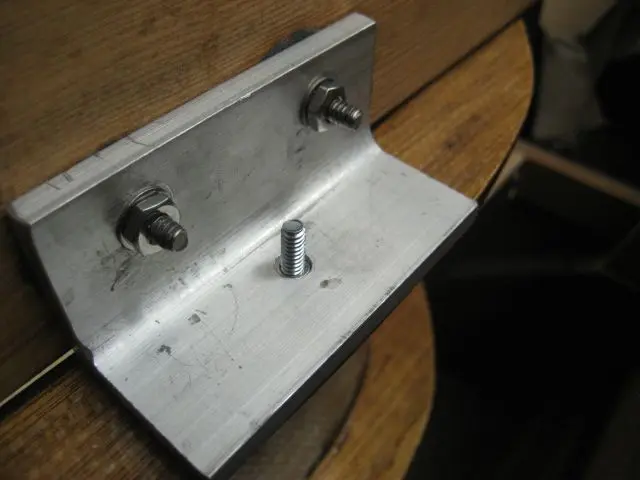
3. The aluminum clip mates to the seat support flange. We've inset the seat support 3/4" from the carling's inside edge. This will allow room for padding and upholstery.
4. We didn't want the upholstered panels to have any exposed fasteners, so we drilled the clips for aluminum Sert-A-Nuts. These are similar to blind rivets, but they're threaded to take machine bolts.
5. #10-20 machine screws are fastened from the bottom so they can be removed from the bottom.
Jump seats and fuel tank: The fuel tank cradles were built from 1/4" marine grade plywood sandwiched between a layer
1. The fuel tank cradles were built from 1/4" marine grade plywood sandwiched between a layer of 2 ounce chopped strand mat and 10 ounce woven roving laminated to both sides of the plywood. Building the cradles from aluminum stock would have been way quicker but the added weight would have required more flotation. Parts are lighter than aluminum and they float !
2. Loaded fuel tanks will be quite heavy, so we laminated two 1-1/2" ledger strips to the side of each cradle.
3. Fuel tank weight will be distributed to the top of the frames.
4. Parts were barrier coated with several rounds of West System epoxy, prepped with Dupont UroPrime 2K primer surfacer and topcoated with Dupont Imron urethane.
Seats: Passenger seat back hardware layer
1. Passenger seat back hardware layer.
2. Passenger seat back webbing layer.
3–4. Both pieces are glued and clamped.
5–6. Passenger seat back folds to horizontal position.