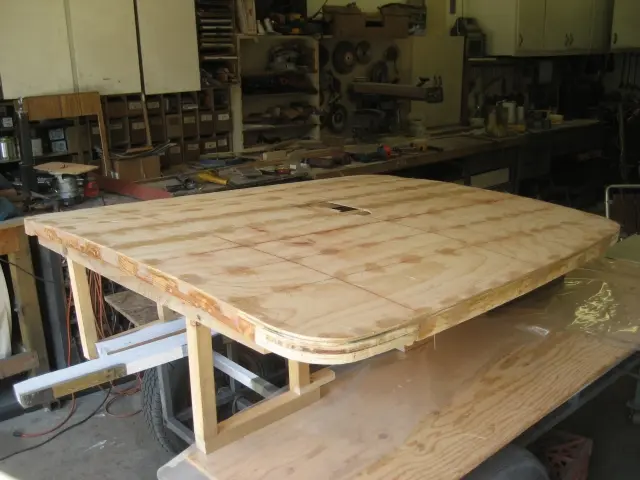
Tonneau cover: The remaining sub deck panels were glued and screwed
The remaining sub deck panels were glued and screwed. We're ready for fiberglass !
Hot Rod · new build
LaunchedThe remaining sub deck panels were glued and screwed. We're ready for fiberglass !
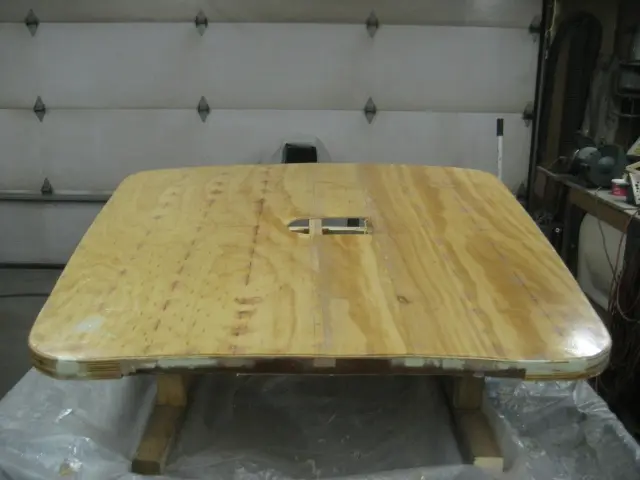
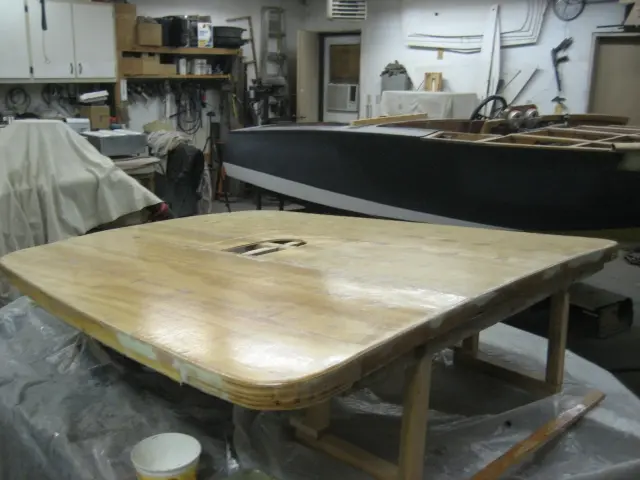
1. Six ounce cloth was applied with West System epoxy catalyzed with 206 Slow hardener.
2. The cover is ready for first sanding and weave fill coats.
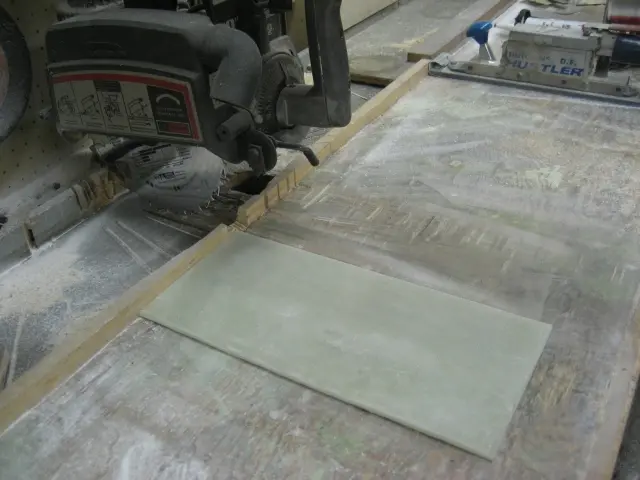
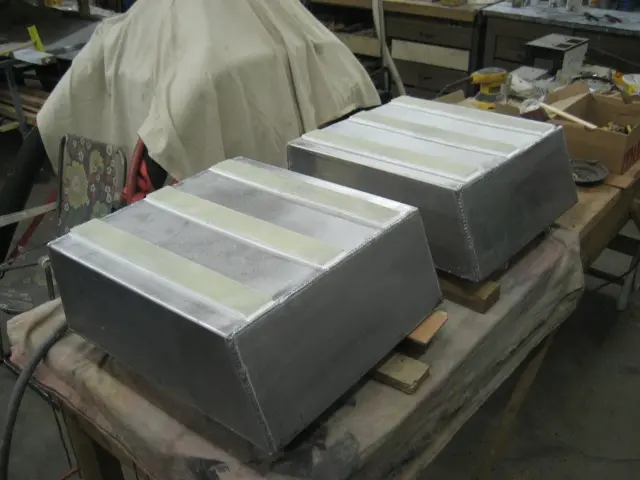
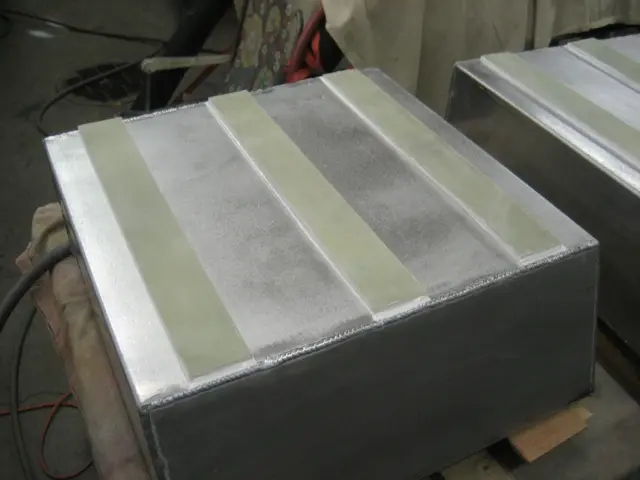
1. We'll be installing the fuel tanks using David Pascoe's method. Complete instructions are included in this article: How to Install an Aluminum Fuel Tank. The 1/4" thick fuel tank mounting pad was fabricated by laminating a fiberglass sandwich consisting of 6 layers of 2 ounce chopped strand mat between two layers of 6 ounce cloth. Once cured, we cut the composite into 2" wide by 16" strips.
2–3. Tank bottom was roughed up with 40 grit sandpaper, washed down with Wash & Wipe wax, grease and silicone remover, The strips were bonded to the tank with 3M 5200 adhesive.
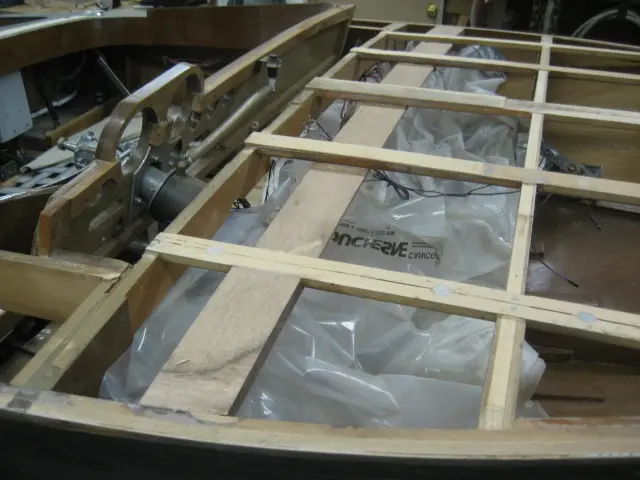
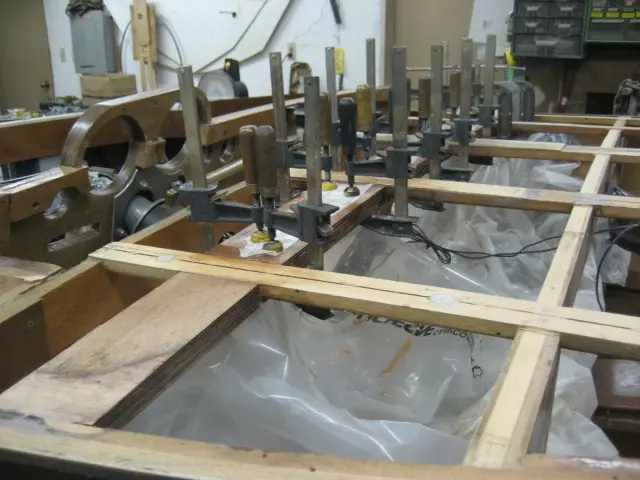
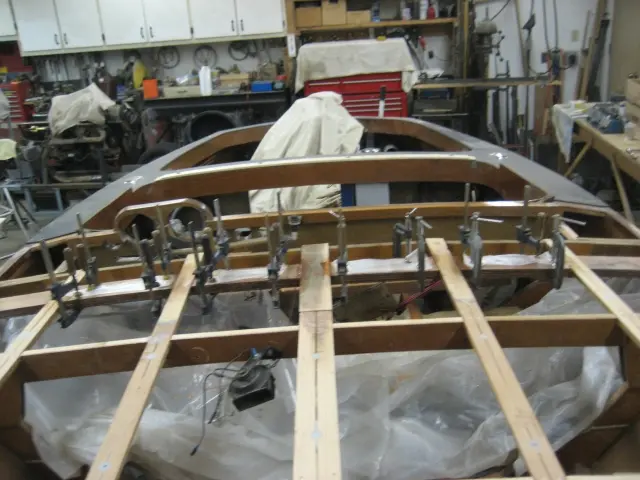
1. Time to finish up the front deck. We needed to build a wide deck beam to bolt the dash cowl to. We epoxied a 4-1/2" wide strip of 1/4" marine grade plywood to the bottom of the deck battens.
2. We laminated three layers of 1/4" marine ply to conform to the deck beam's curvature.
3. The pop-up bow light mounts in a plastic housing (at left of photo). The fit wasn't too good, the plastic was very flimsy and the bolt holes were way too close to the edge, so we fabricated a wood plug from some scrap wood (middle of photo). We wrapped the plug with Saran Wrap and wetted out three layers of 6 ounce fiberglass cloth with West System epoxy.
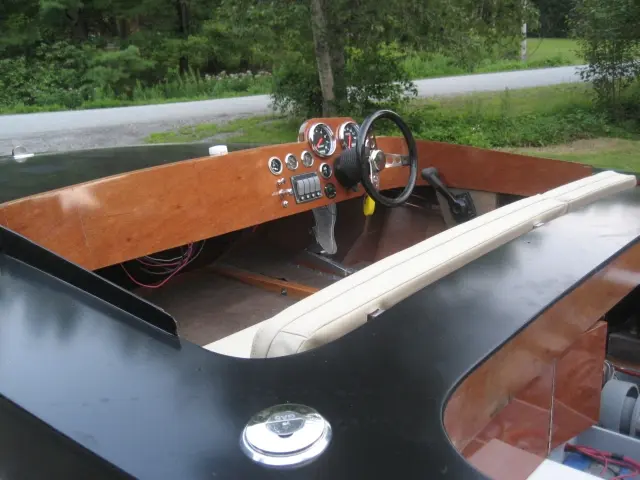
Here's the finished dash. (Click the image for a higher resolution photo).
Nobody else here is logging a Hot Rod yet. See the boat.