With night-time temperatures dropping into the 30s, it's far too cold for epoxy to...
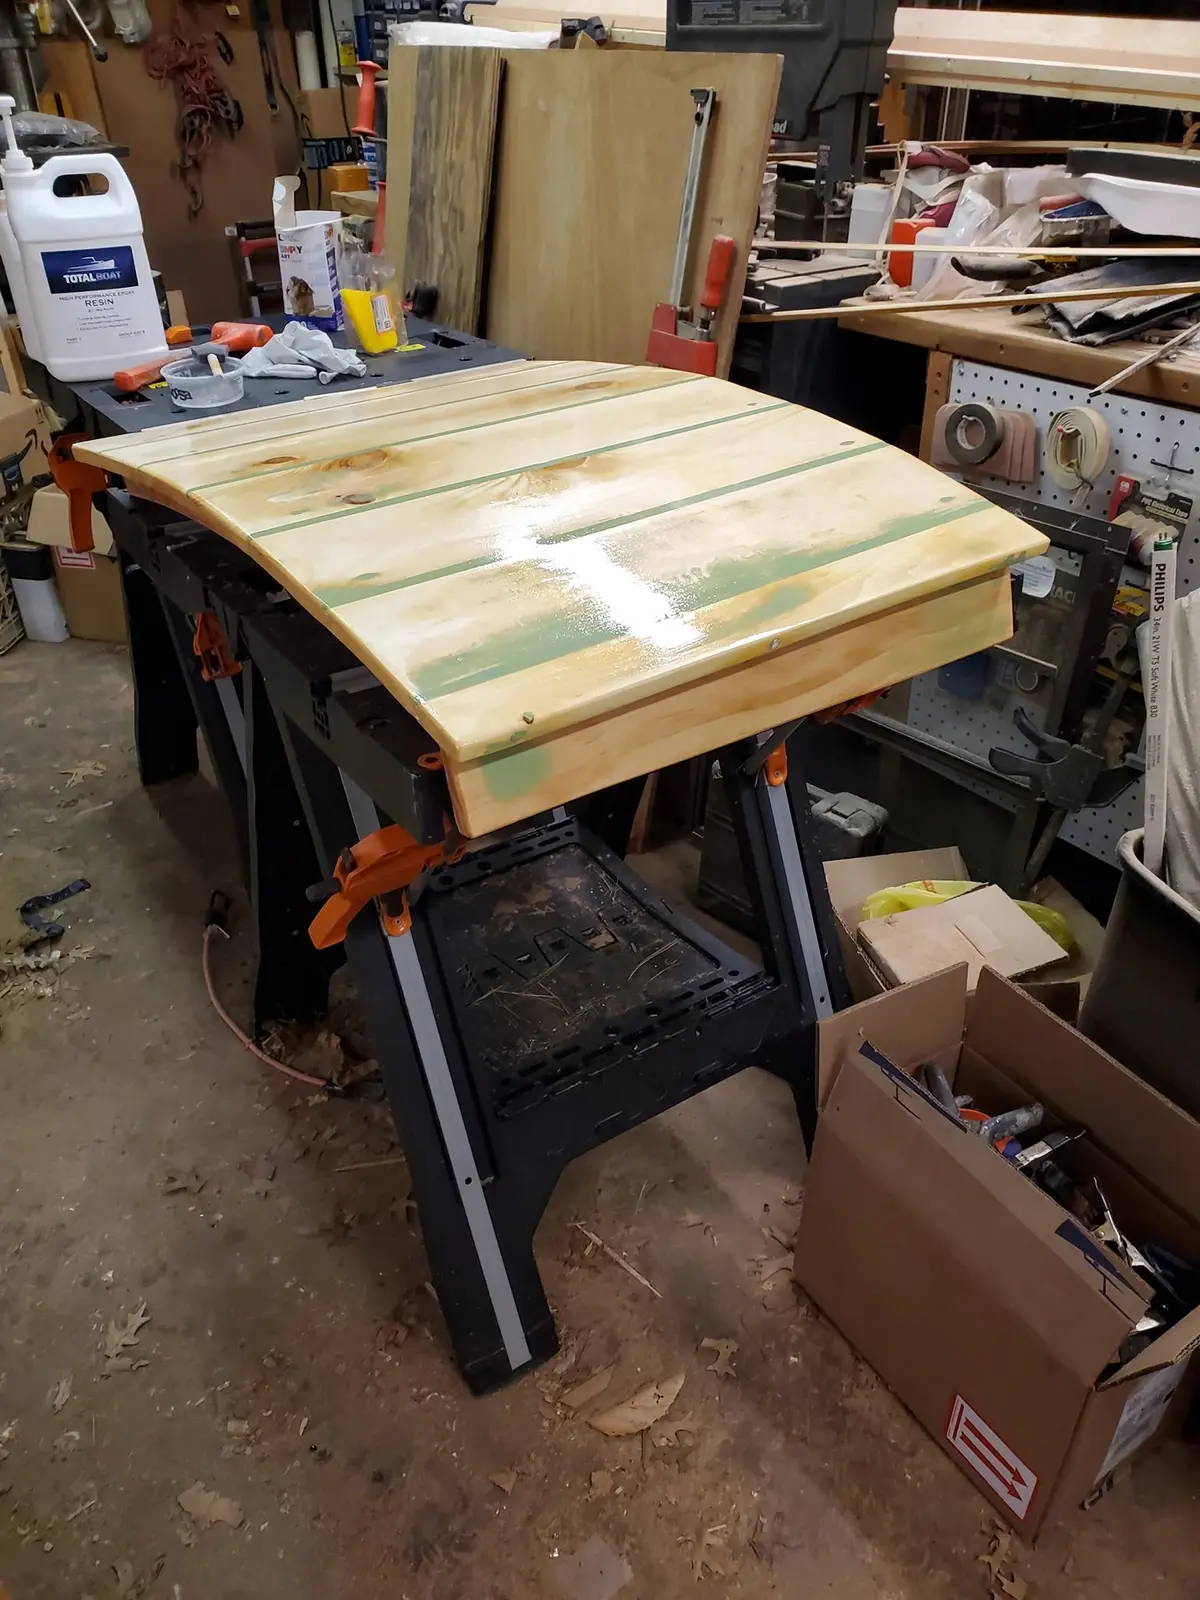
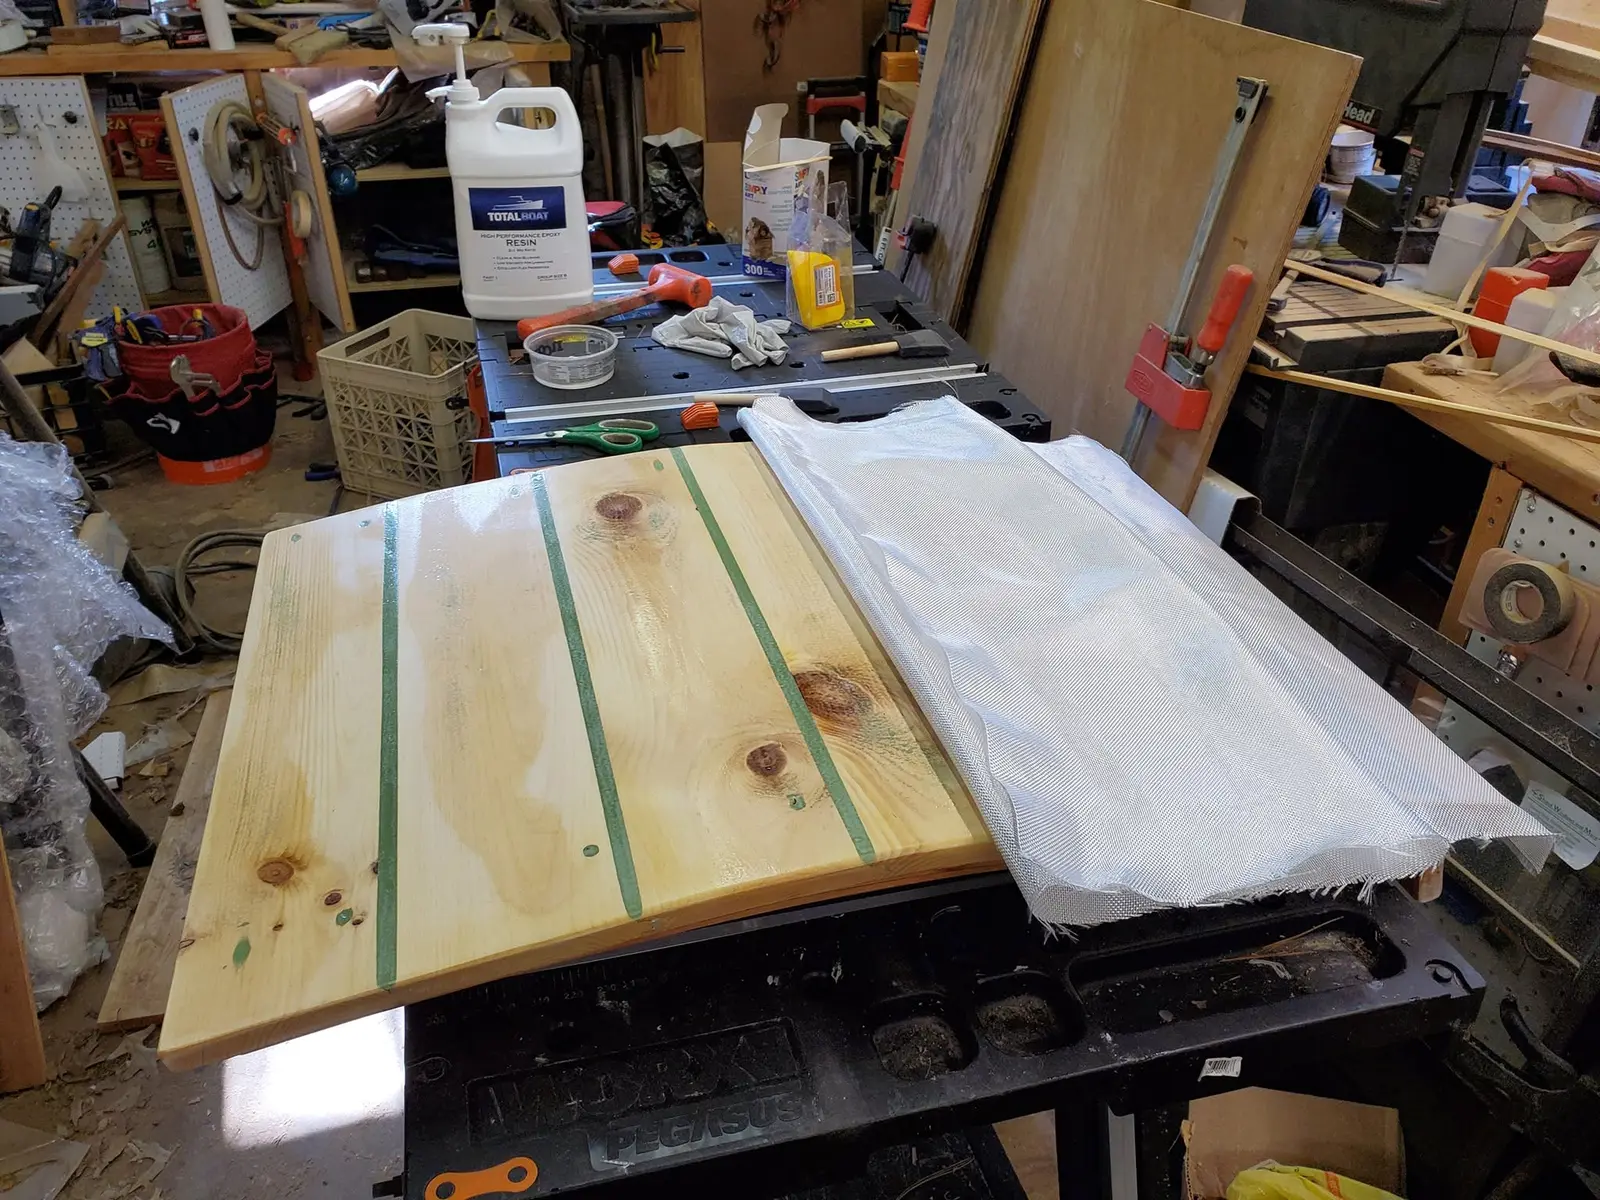
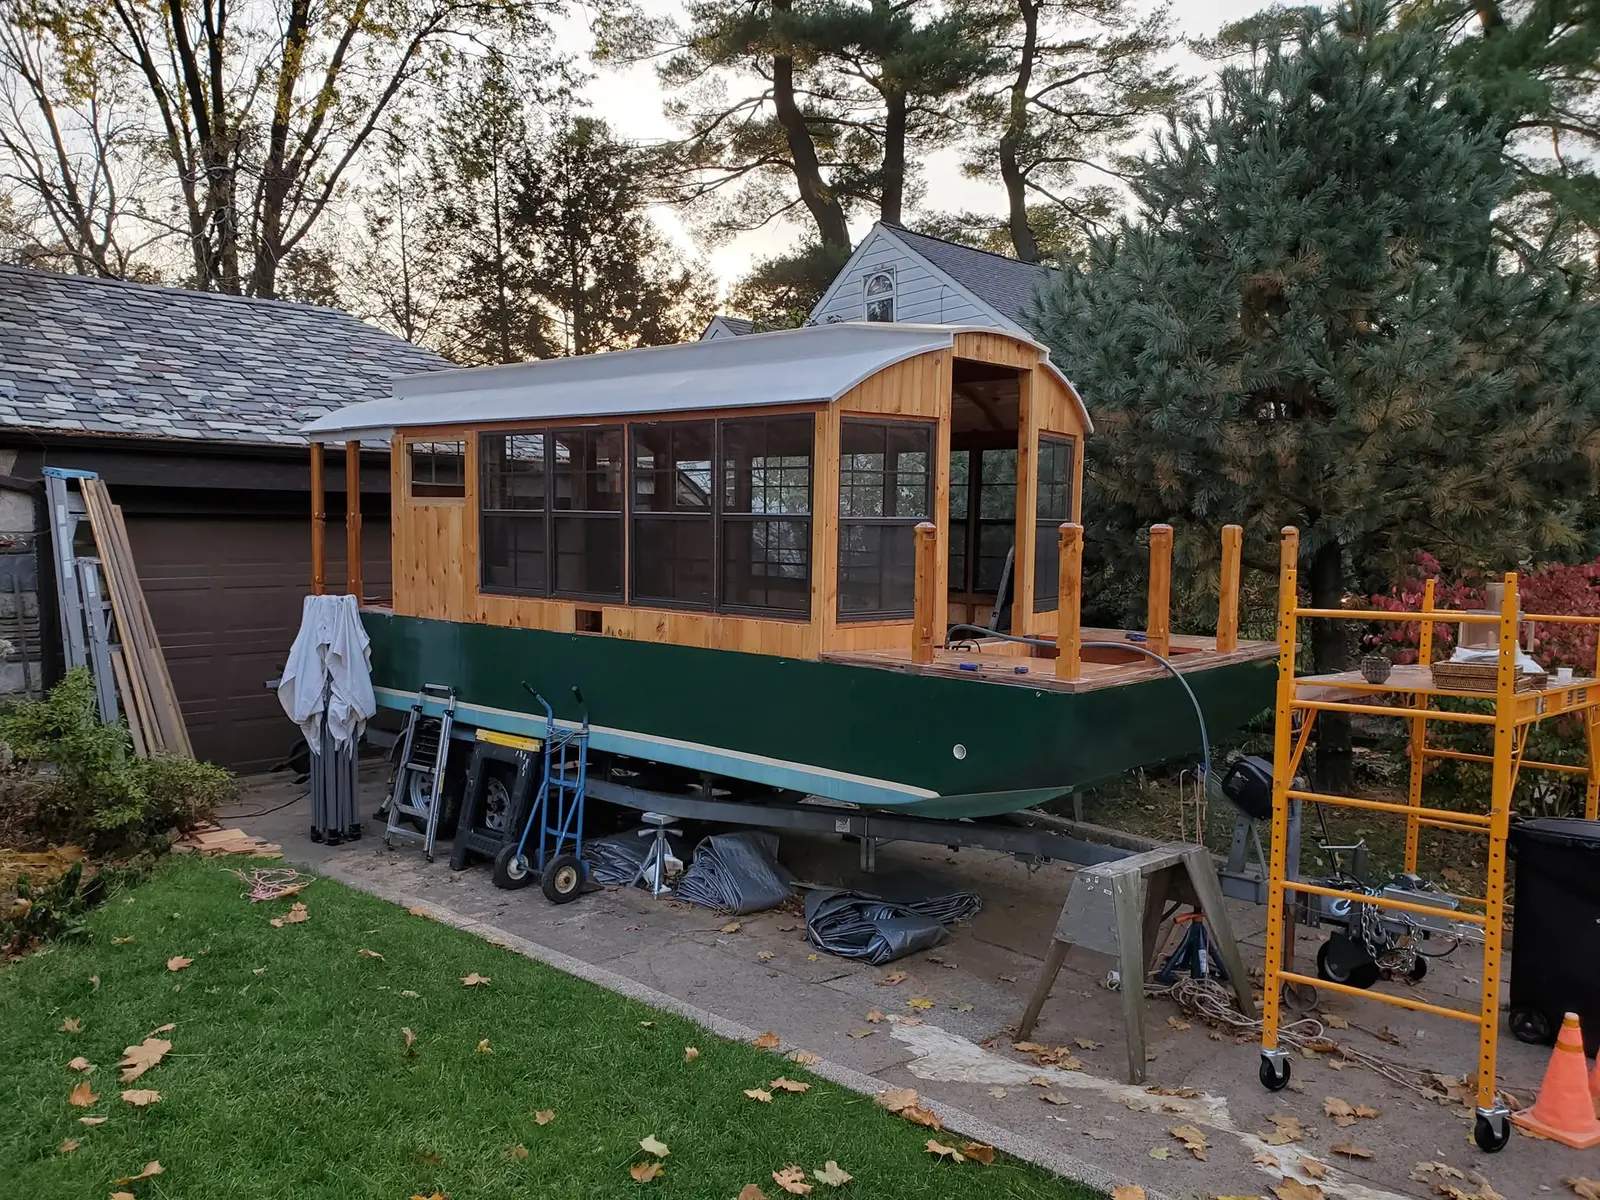
Houseboat update, Sunday, November 3, 2019 (Catching up on recently completed work...) With night-time temperatures dropping into the 30s, it's far too cold for epoxy to cure properly outdoors. But I can bring discrete Jersey Girl components into the garage, heated to a nice, toasty 65. Here's the port side gull wing roof panel, already faired and given a sealing coat of epoxy. Tomorrow, when it's cured, I will see if any areas have absorbed so much epoxy that it will need a second sealing coat. When I am confident that it is properly sealed, I will lay a section of fiberglass fabric over it and work epoxy through the weave until it is saturated. In the meantime, I will work on organizing this incredibly messy garage; I'll be spending a lot of time in it this winter.
I know that many people reading this are already knowledgable in how to lay down a...
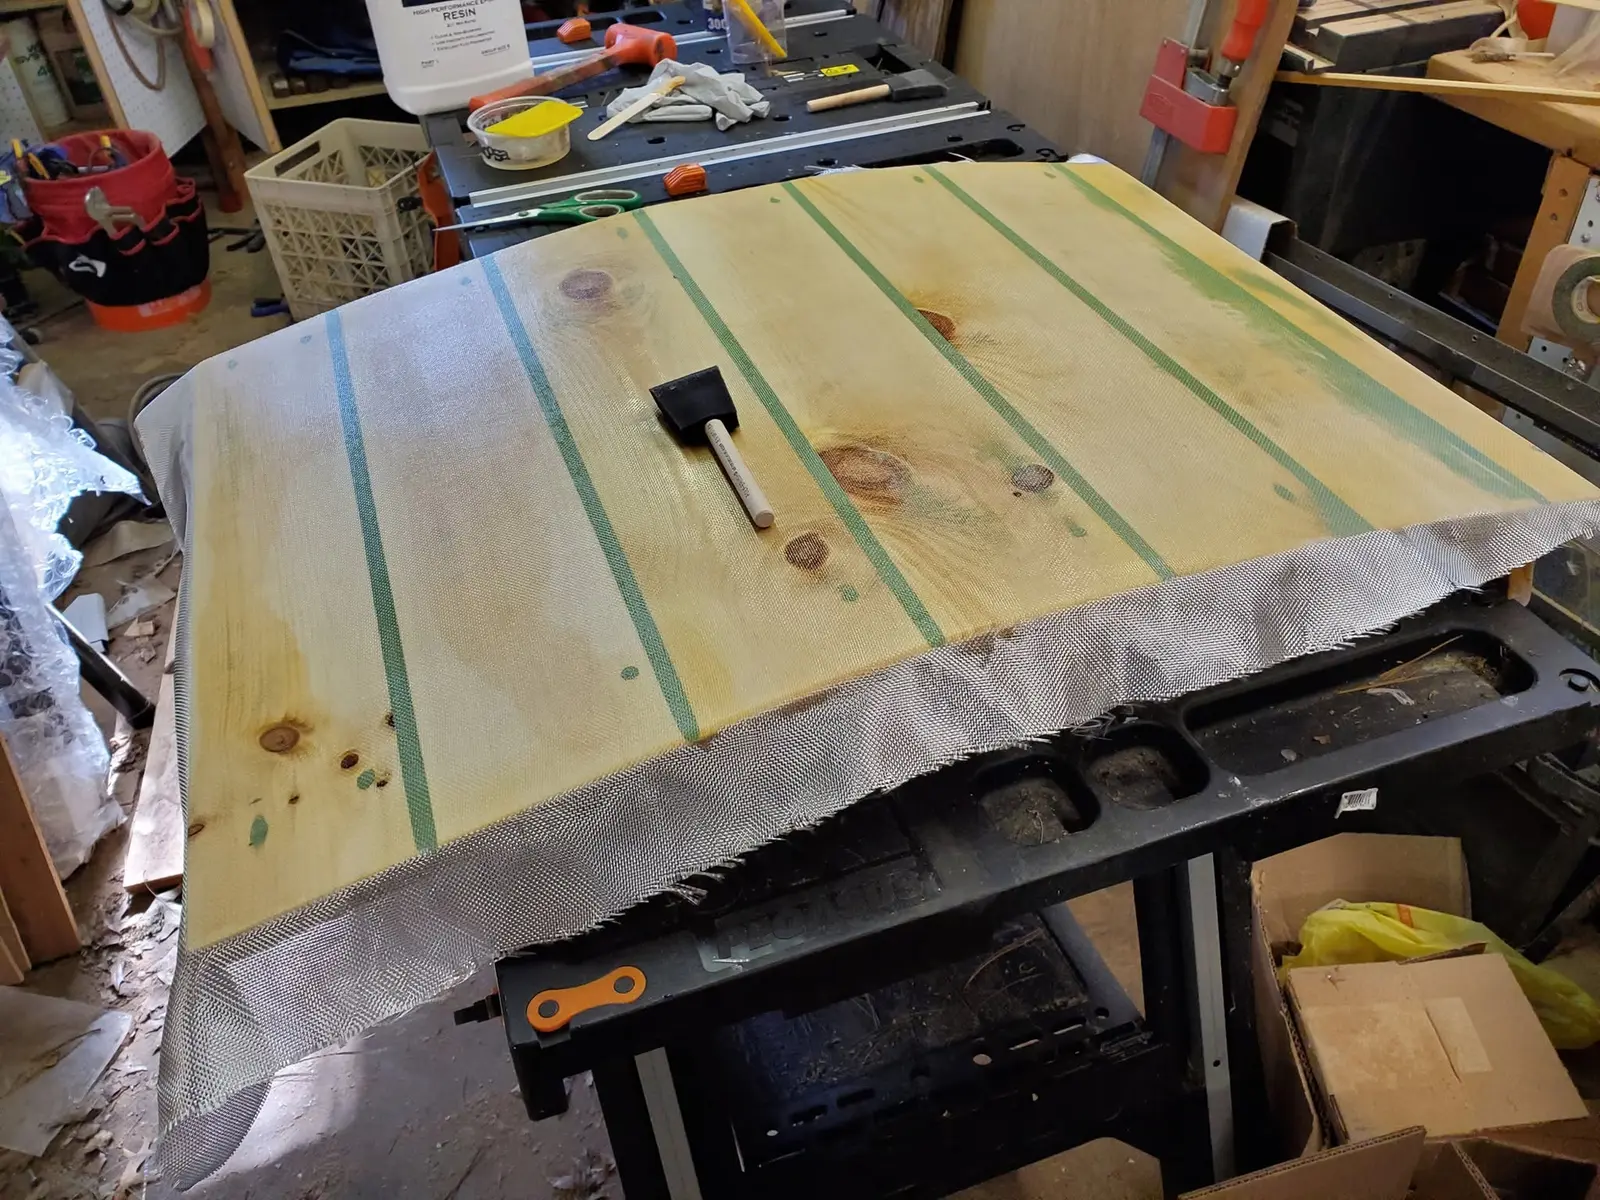
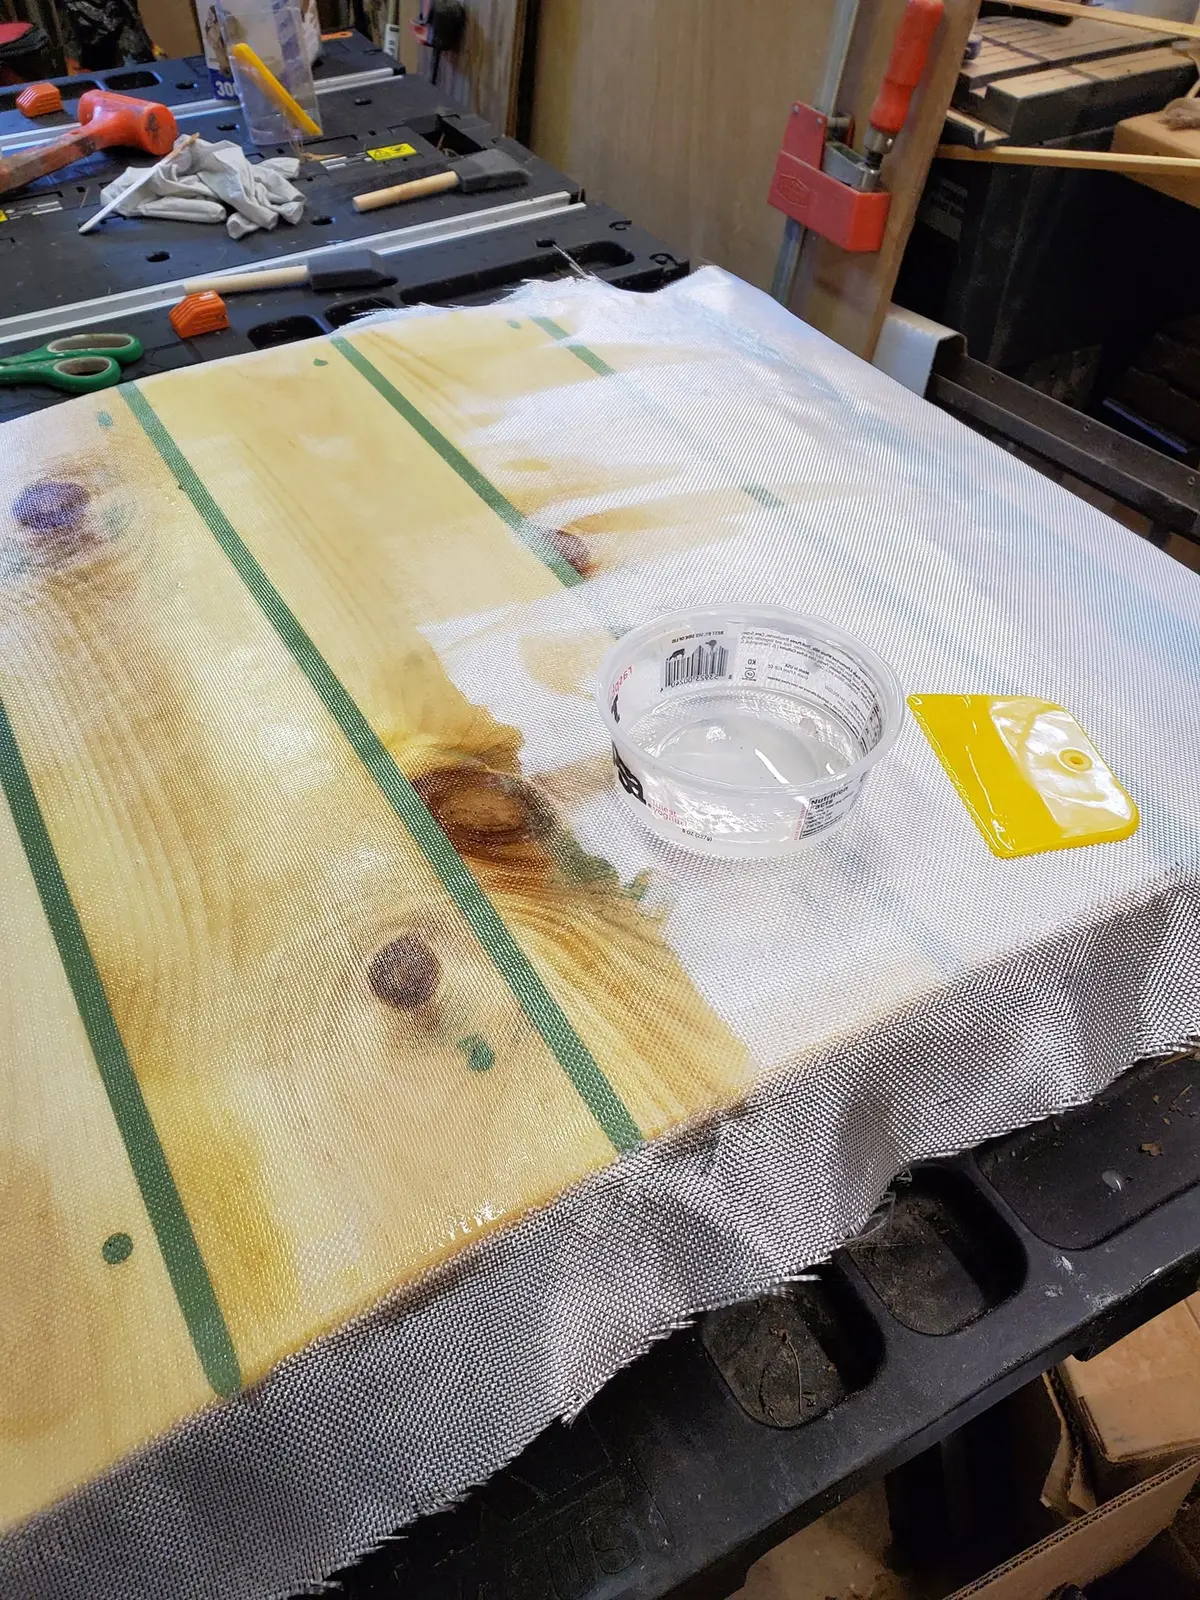
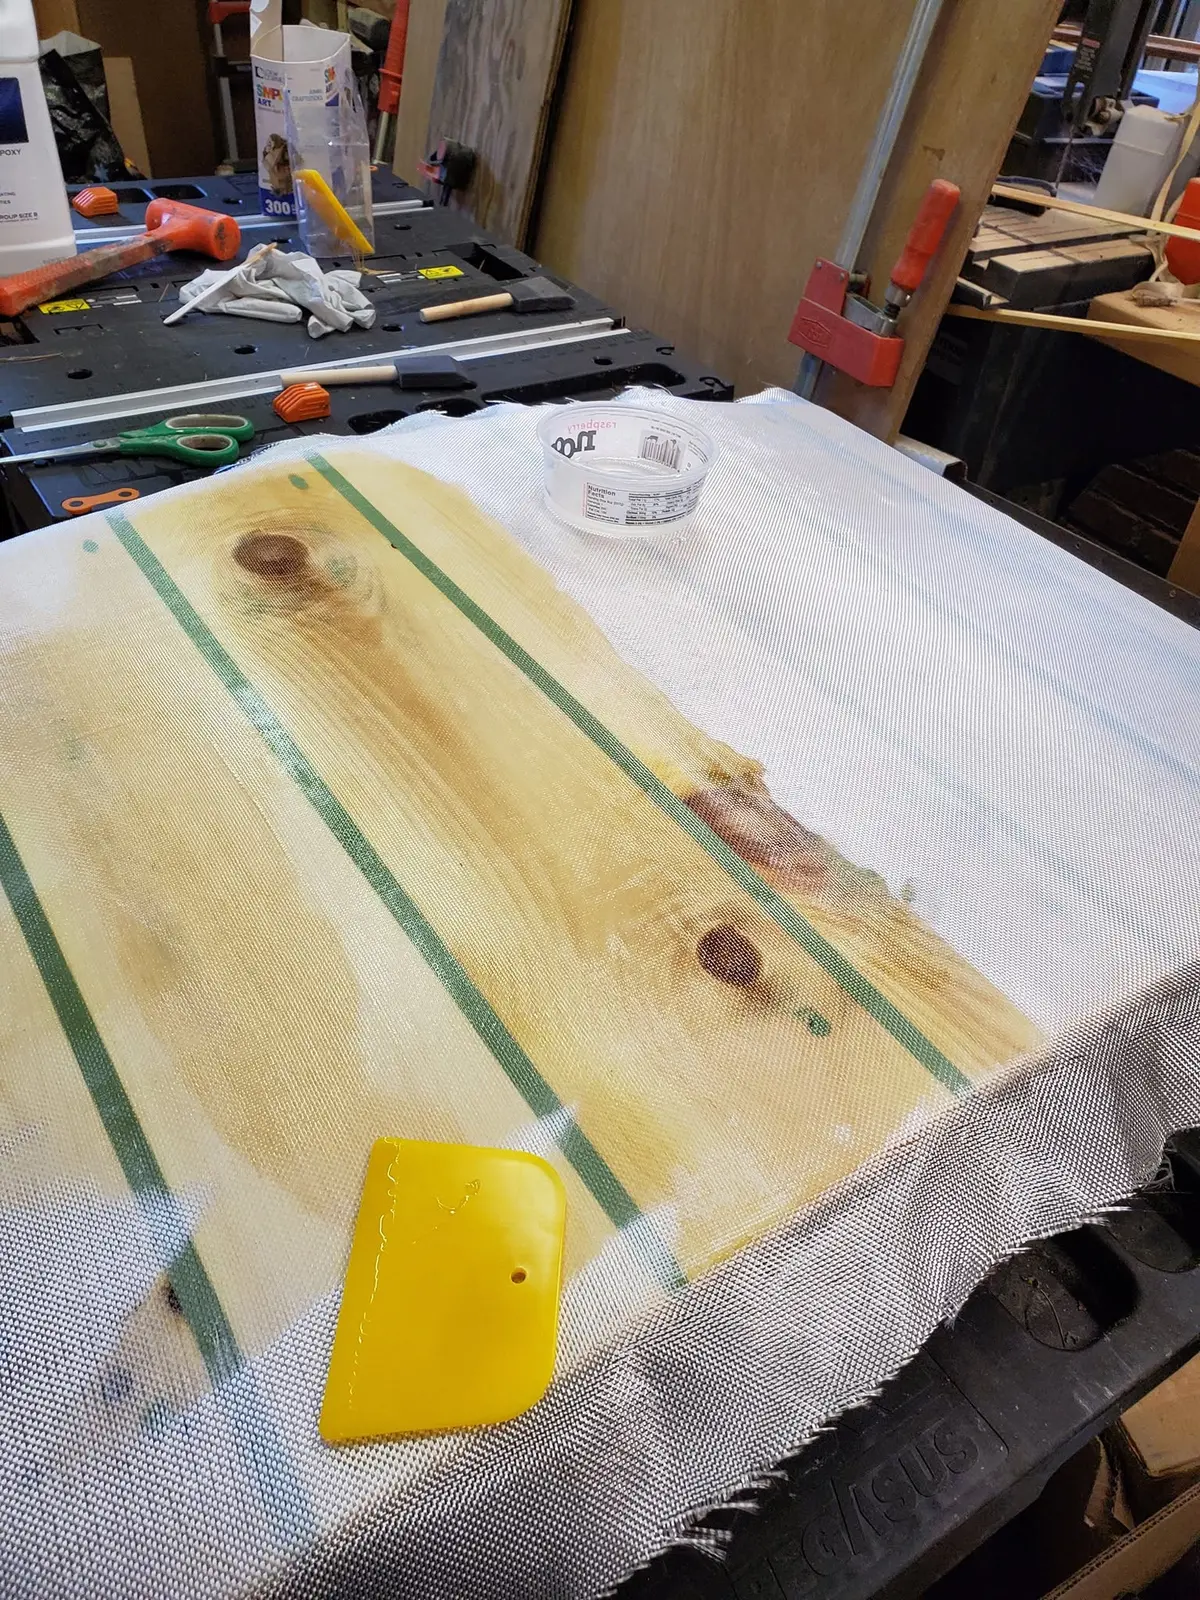
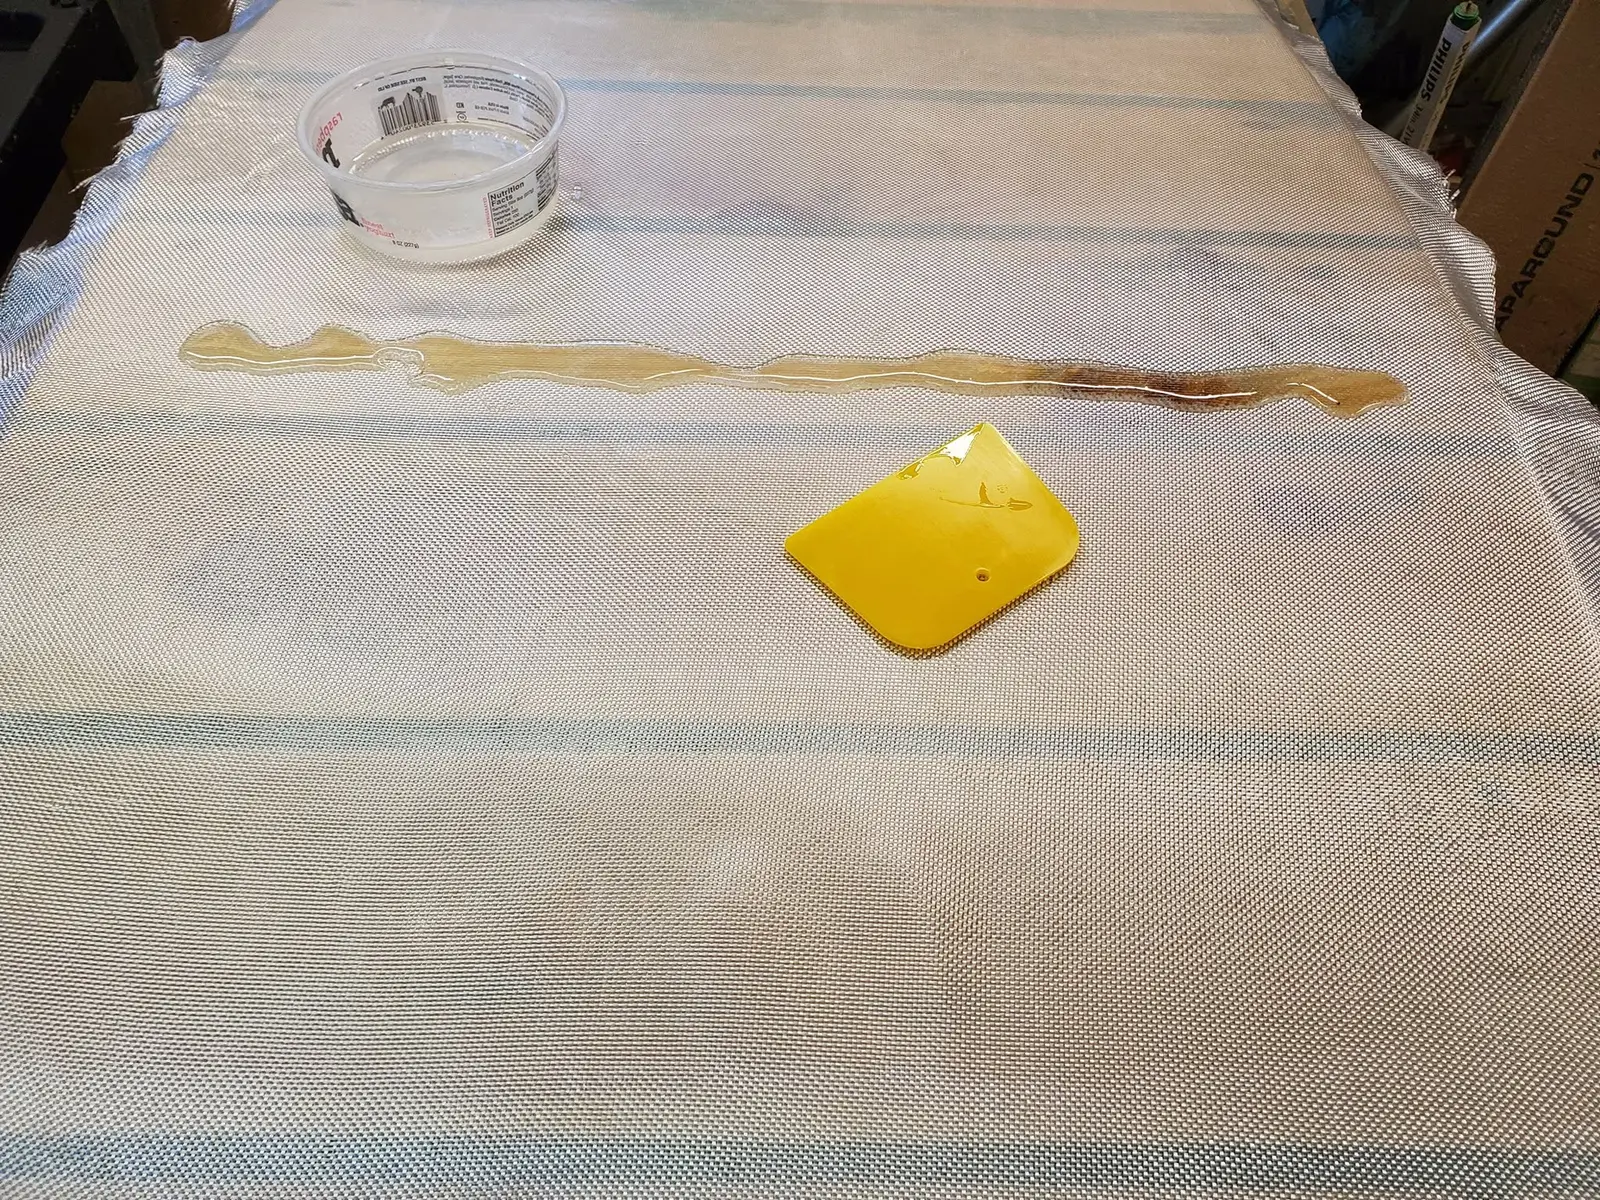
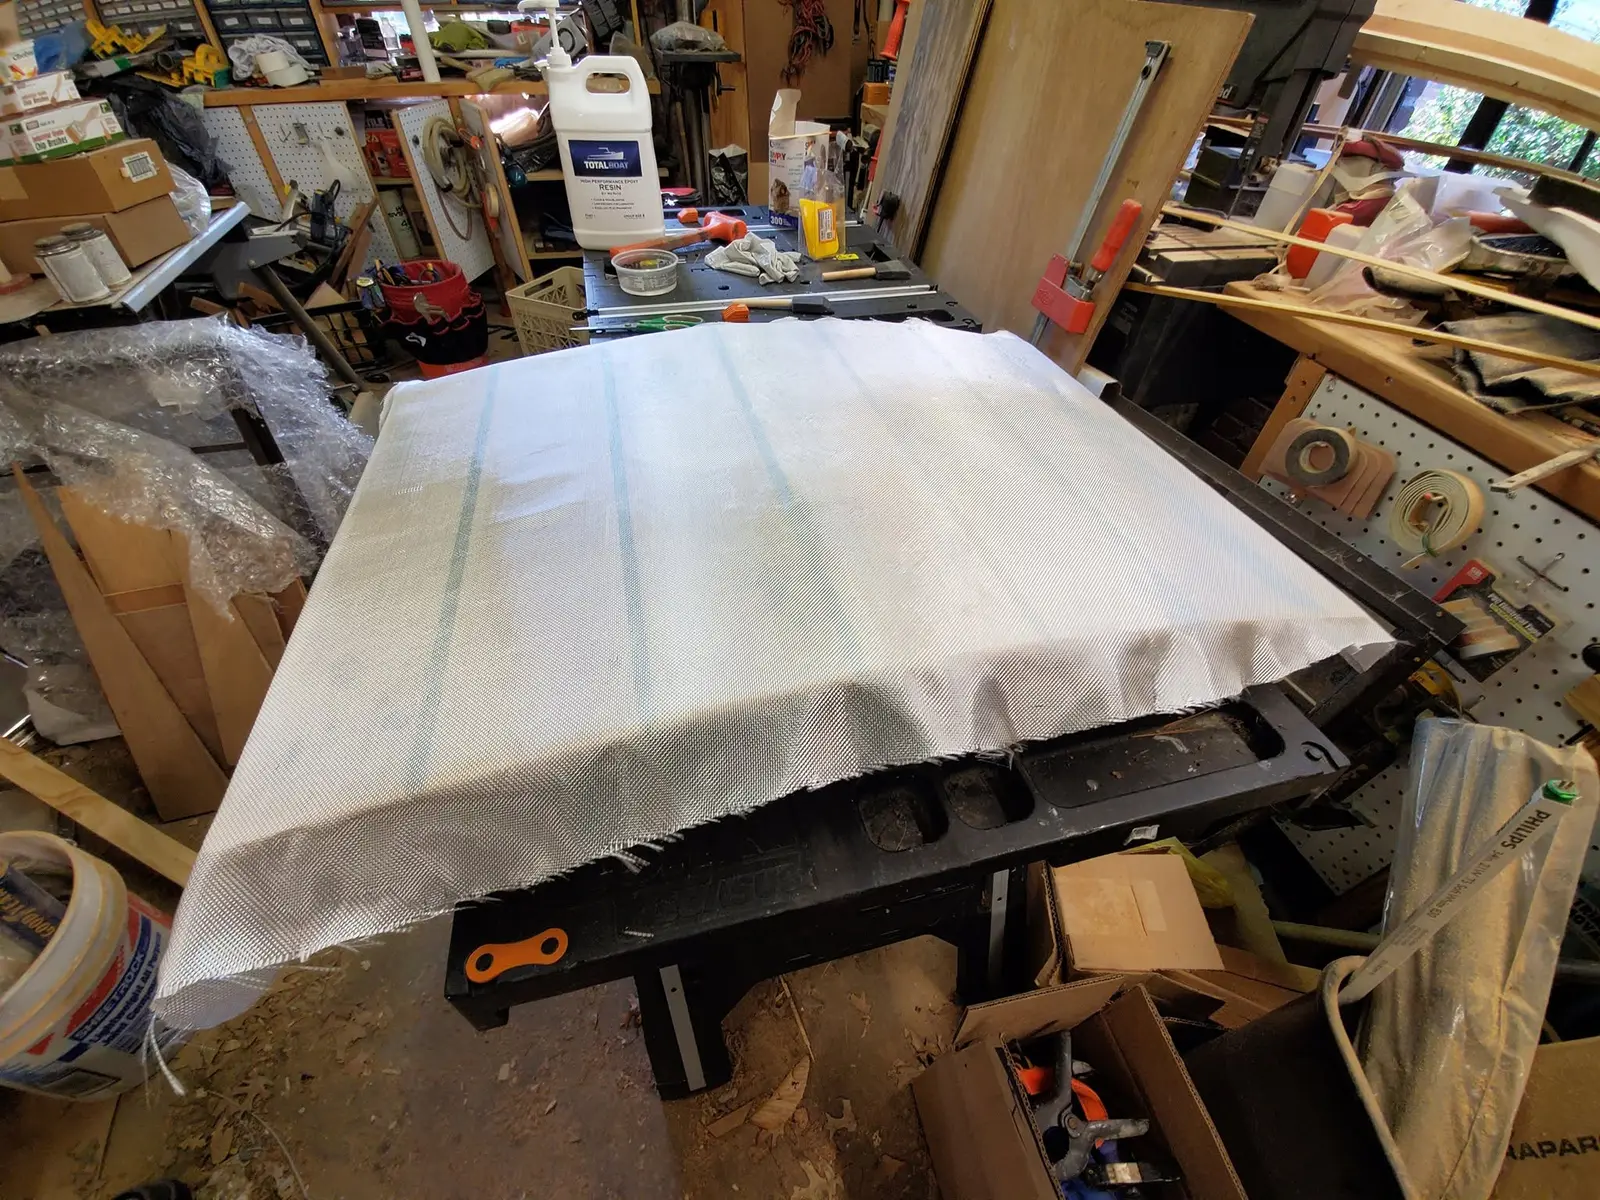
Houseboat update, Monday, November 4, 2019 (catching up on recently completed work) -- I know that many people reading this are already knowledgable in how to lay down a smooth application of woven fiberglass fabric and bond it to a wood surface with epoxy, and some others do not know and really don't care. This is for the few in the middle. After giving a quick, light sanding to the cured epoxy I applied yesterday to the port side gull wing panel of Jersey Girl's roof, I cut a slightly oversized piece of the fabric, using ordinary dollar-store scissors, and smoothly draped it over the surface. As you can see, it's an opaque, reflective white, completely obscuring the wood underneath. Then, I mix up a batch of epoxy resin and hardener. (Not too much, because as soon as the two parts contact each other, the catalyzing chemical reaction begins, and in 20 minutes or so, the mix begins to gel to a point where it's increasingly difficult to work.) I drizzle a line of the mixed epoxy along the center of the area that I want to saturate, and using a plastic auto body putty spreader, I start to gently squeegee it out to the edges. I make subsequent passes with increasing pressure, working the mixture into the weave of the fabric. As you can see, the opacity disappears and the cloth becomes transparent as saturation takes place. I want to saturate the weave on this first application, not fill it to the point where the texture disappears. The danger of slapping on too much epoxy is two-fold. First, it will almost certainly cure with ugly drips and curtain-like runs, and second, it can actually cause the fabric to float above the surface of the wood, interfering with a good bond. I gently work the epoxy out from the center to the edges, avoiding any strokes that could pull the fabric into bunched-up ridges. When I think I'm done, I inspect the surface carefully to see if there are any patches that are still somewhat opaque, and if there are, I work a little more epoxy into those areas. Then, I look at the surface from different angles to spot any drips or ridges in reflected light. Finally, I use a disposable foam brush to gently tip out any imperfections. That it. After it's cured, I'll use a utility knife to trim the excess fabric from the edges, and sand the edges smooth. Now, while it's curing, I will move on to the task of plugging up some remaining leaks from the decks into the cabin.
The storage compartments under Jersey Girls forward decks seem to attract rainwater!
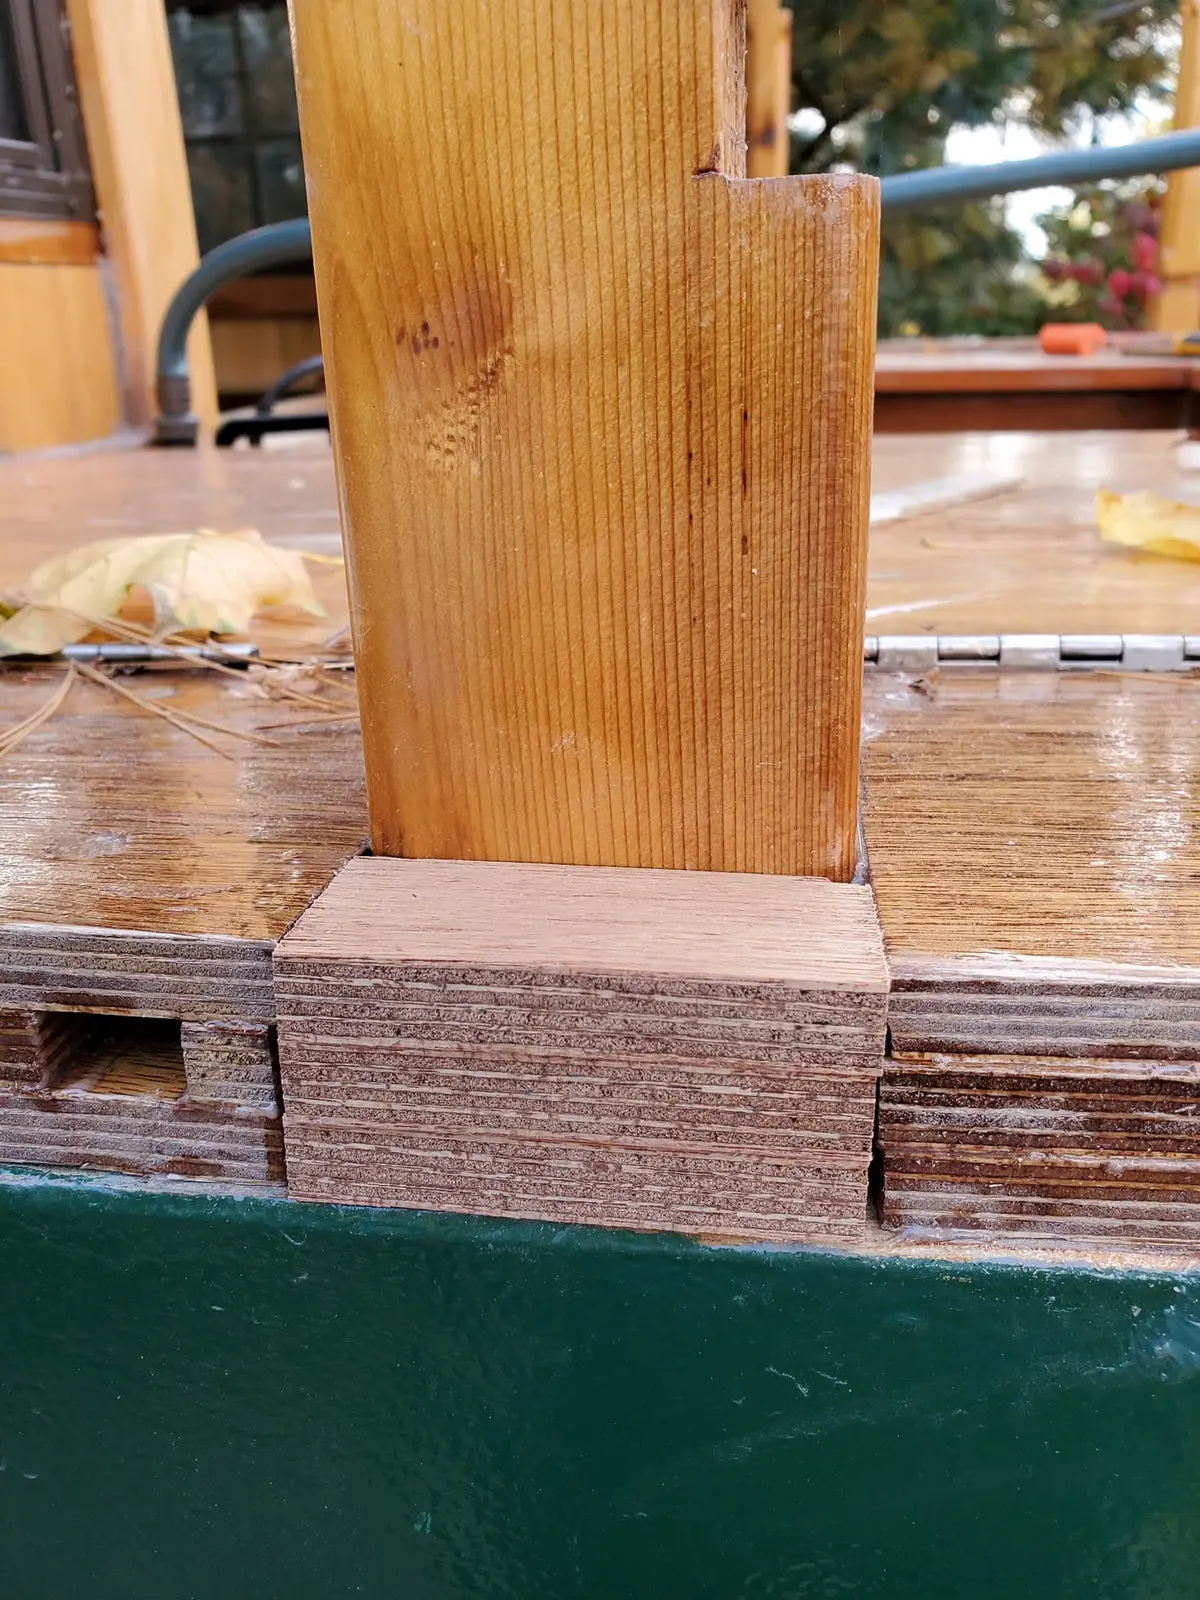
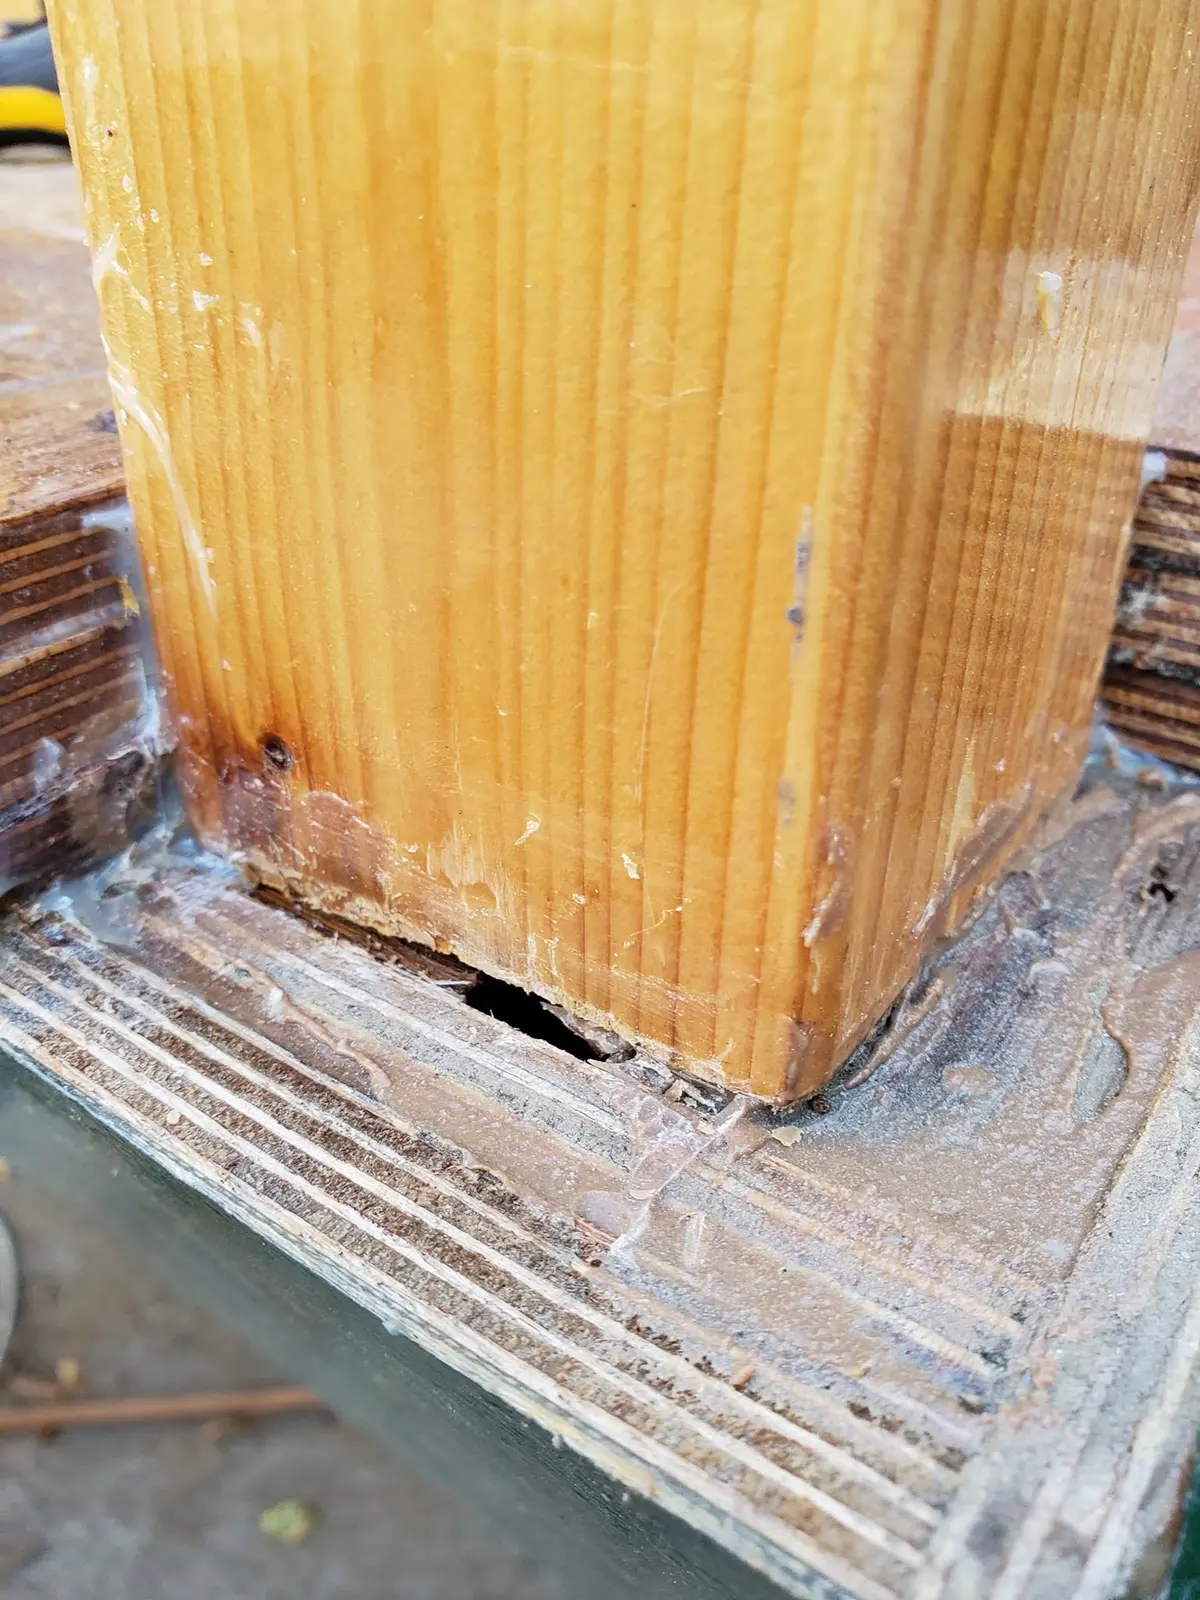
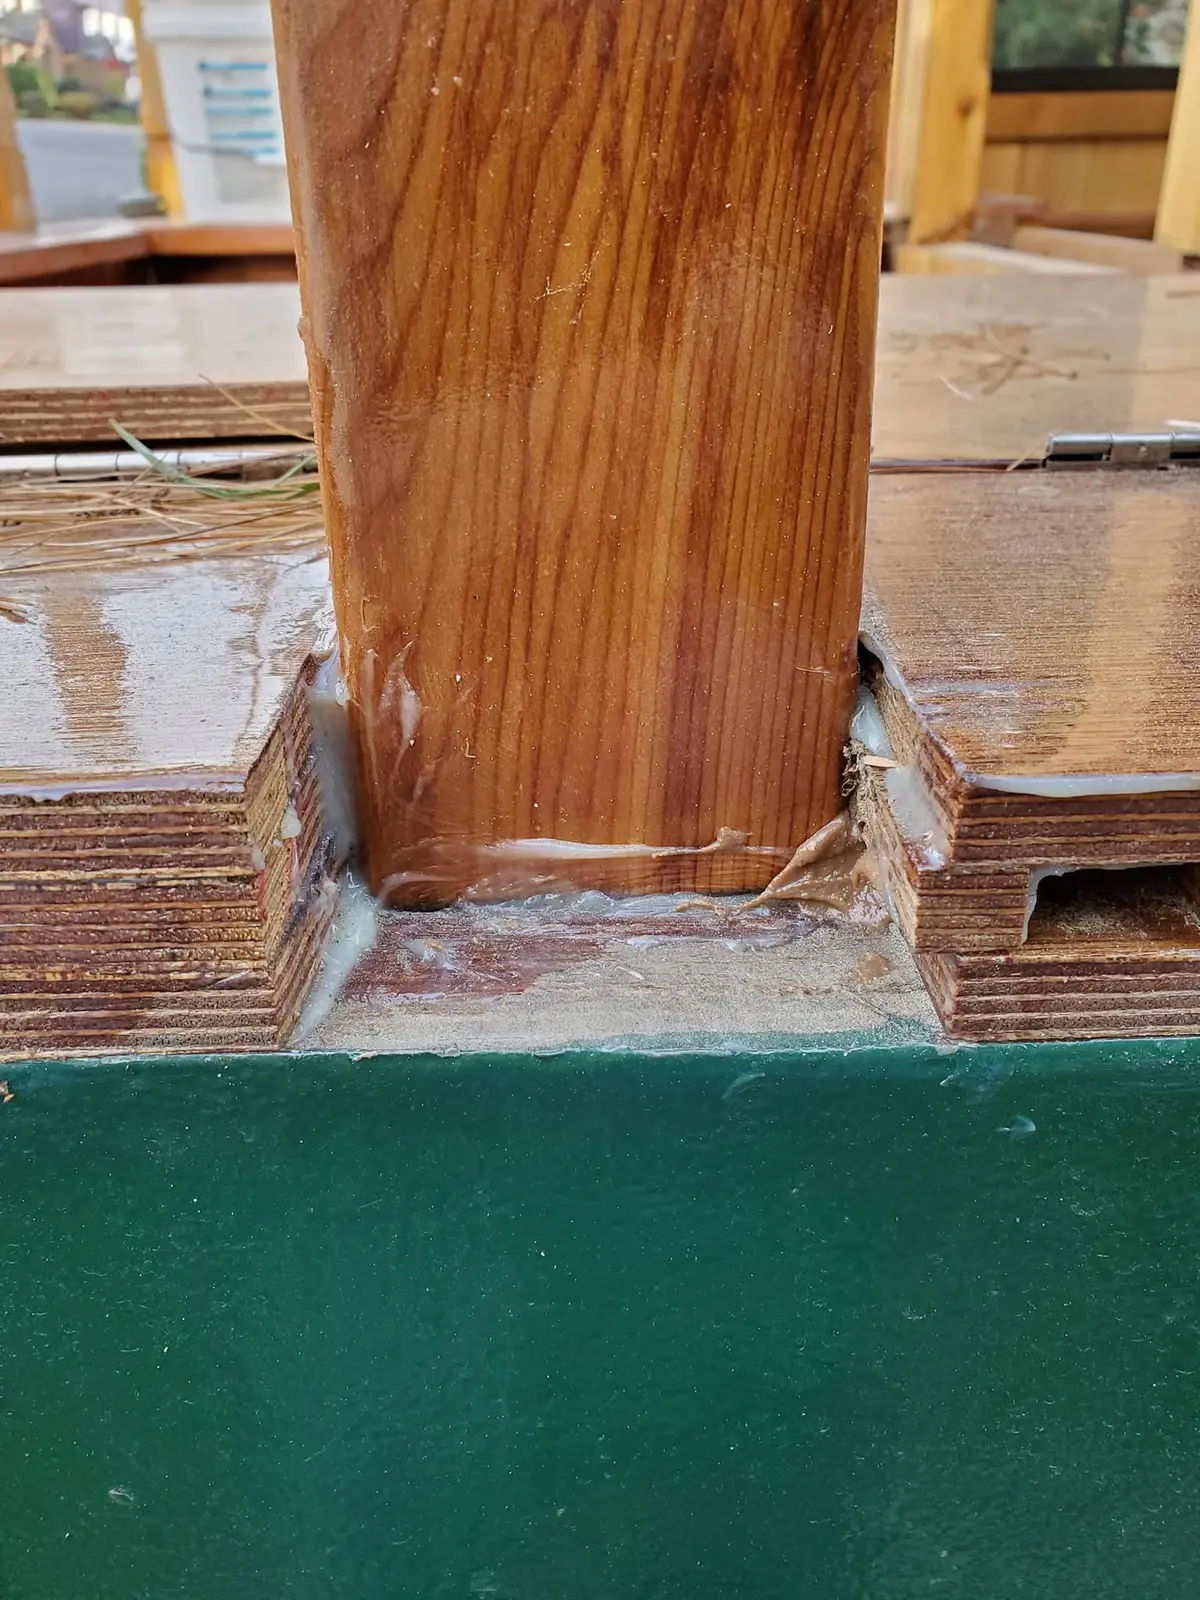
Houseboat update, Tuesday, November 5, 2019 (catching up with recently completed work) – The storage compartments under Jersey Girls forward decks seem to attract rainwater! This wasn’t supposed to happen, thanks to a system of channels and scuppers I devised to gently persuade water to flow overboard by a clever path of least resistance. Or so I thought, and maybe I was right for most of the water, some of the wet stuff apparently was able to find a path of even leaster resistance. A prime suspect were the unfinished deck edges outboard of the six rail posts that will eventually support a railing and gates around the forward deck. Some of these leaky spots were more obvious than others. Obvious or not, now is a good time to take care of this detail. I do this by cutting three thicknesses of half-inch plywood, stacking them up, and gluing and screwing them into the voids where the posts were installed much earlier in the year. Eventually, probably in the spring when I have warmer weather, I’ll grind these flush and finish off the edge by squirting thickened epoxy under the deck along the sheer line, and cover the joint with a nice (and tough) white oak rub rail.
Moving back to Jersey Girl’s aft deck, I decide to make some improvements to channel...
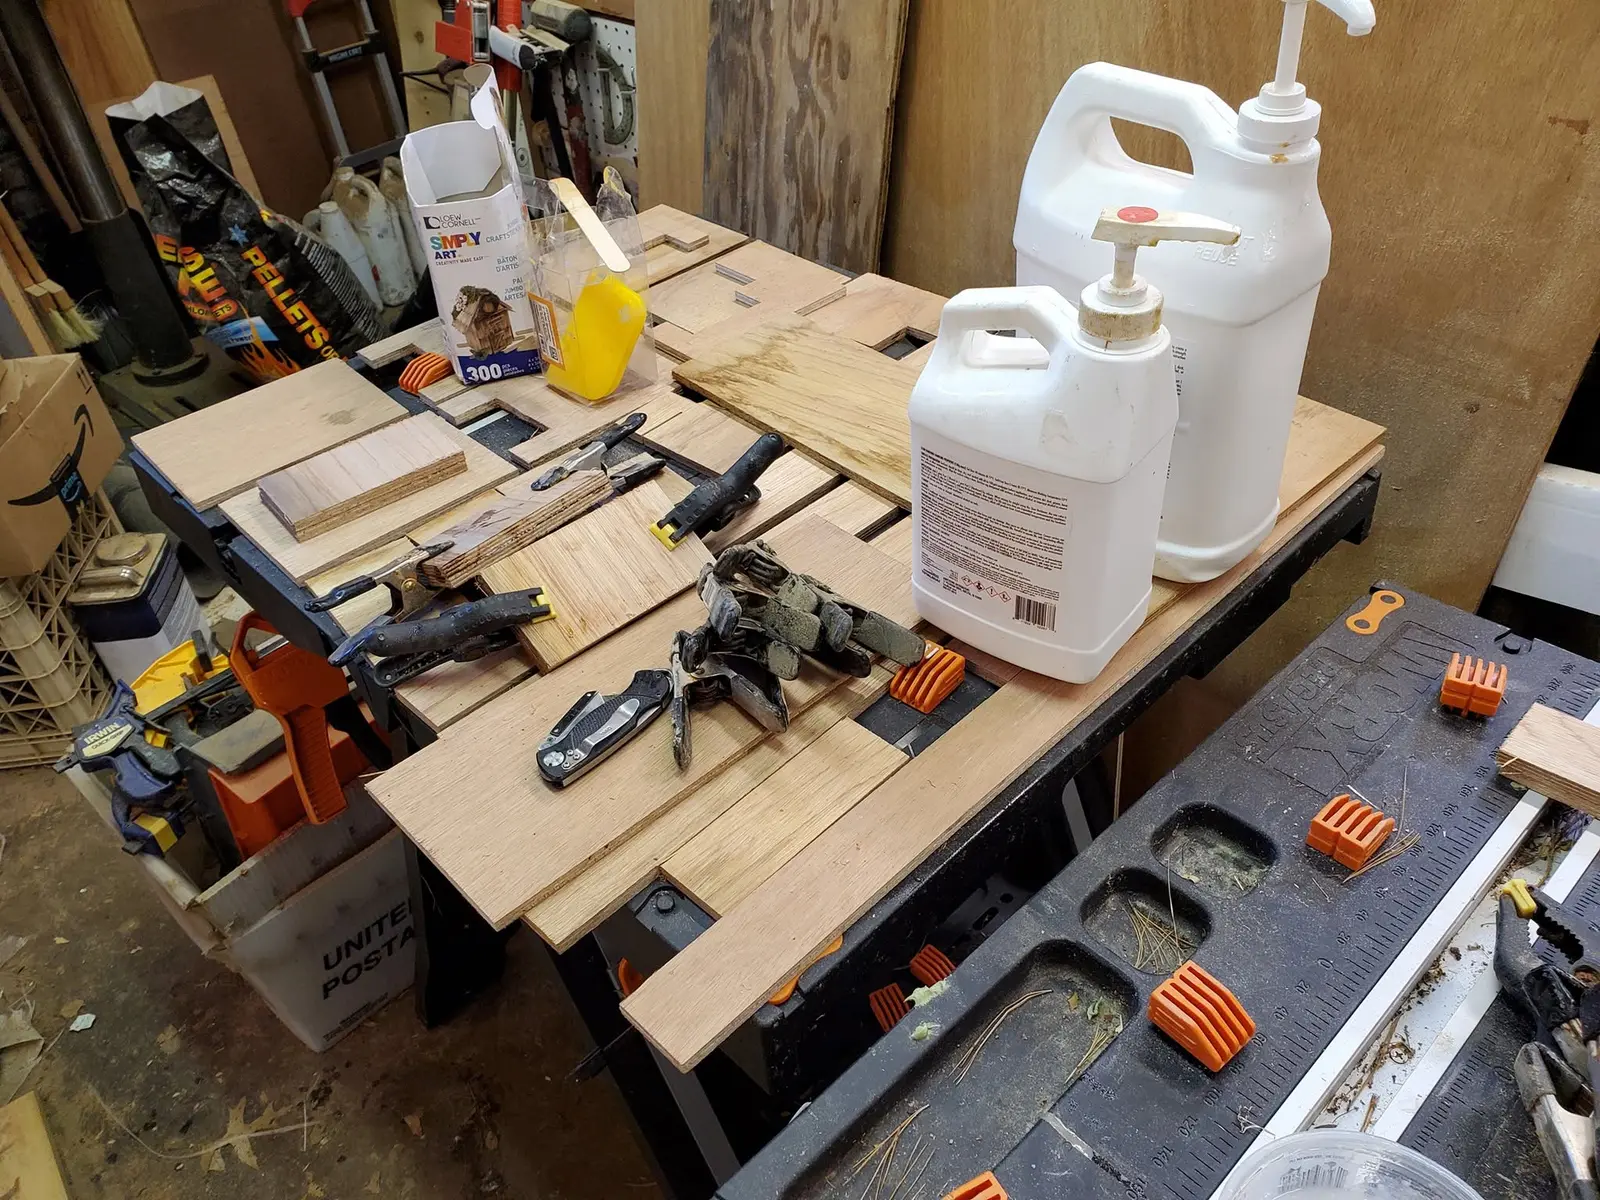
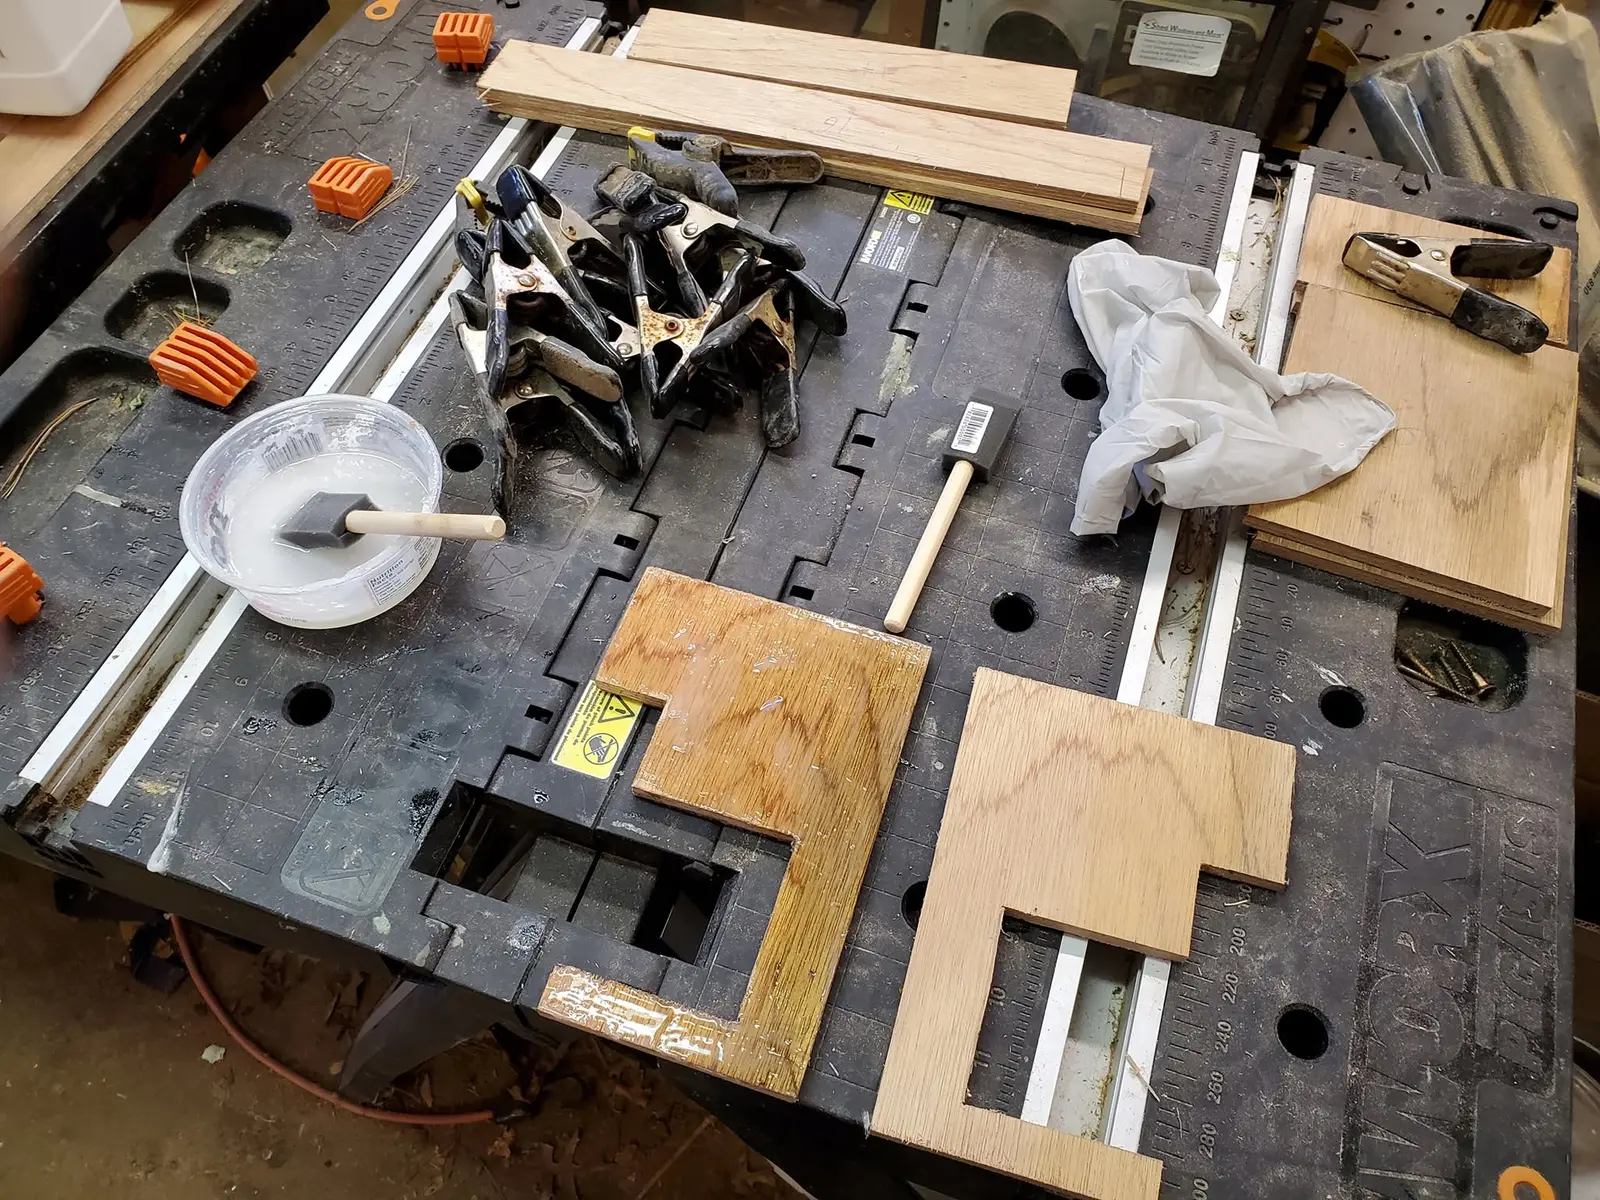
Houseboat update, Friday, November 8, 2019 (Catching up on recently completed work) – Moving back to Jersey Girl’s aft deck, I decide to make some improvements to channel and scupper system I designed for the forward deck. I think that some of my leakage problem may stem from the half-inch height of the channel that allows water to flow overboard – it may not be big enough for the volume of water that needs to pass through it in an all-day soaker. So for the aft deck, I have decided to make the thickness of the dams around the hatch openings (and under the deck surface as well) 3/4 inch. I’m getting that thickness by using two layers of 3/8-inch plywood for the channel walls, epoxied together. It’s too cold outside today to build them up on the deck itself, so I’m prefabbing them in the heated garage, then, on the fist reasonably temperate and dry day outside, I’ll glue and screw them into their appropriate places.
While I’m waiting for a warmer day to install the channel and scupper system on Jersey...
Houseboat update, Saturday, November 9, 2019 (Catching up on recently completed work) – While I’m waiting for a warmer day to install the channel and scupper system on Jersey Girl’s aft deck, it’s a good time to put the fiberglassed and primed gull wings into their places on the port and starboard sides of the roof over the aft deck. Not only do they make the whole boat look a lot better, they also help to keep rain on the outside, where it belongs.