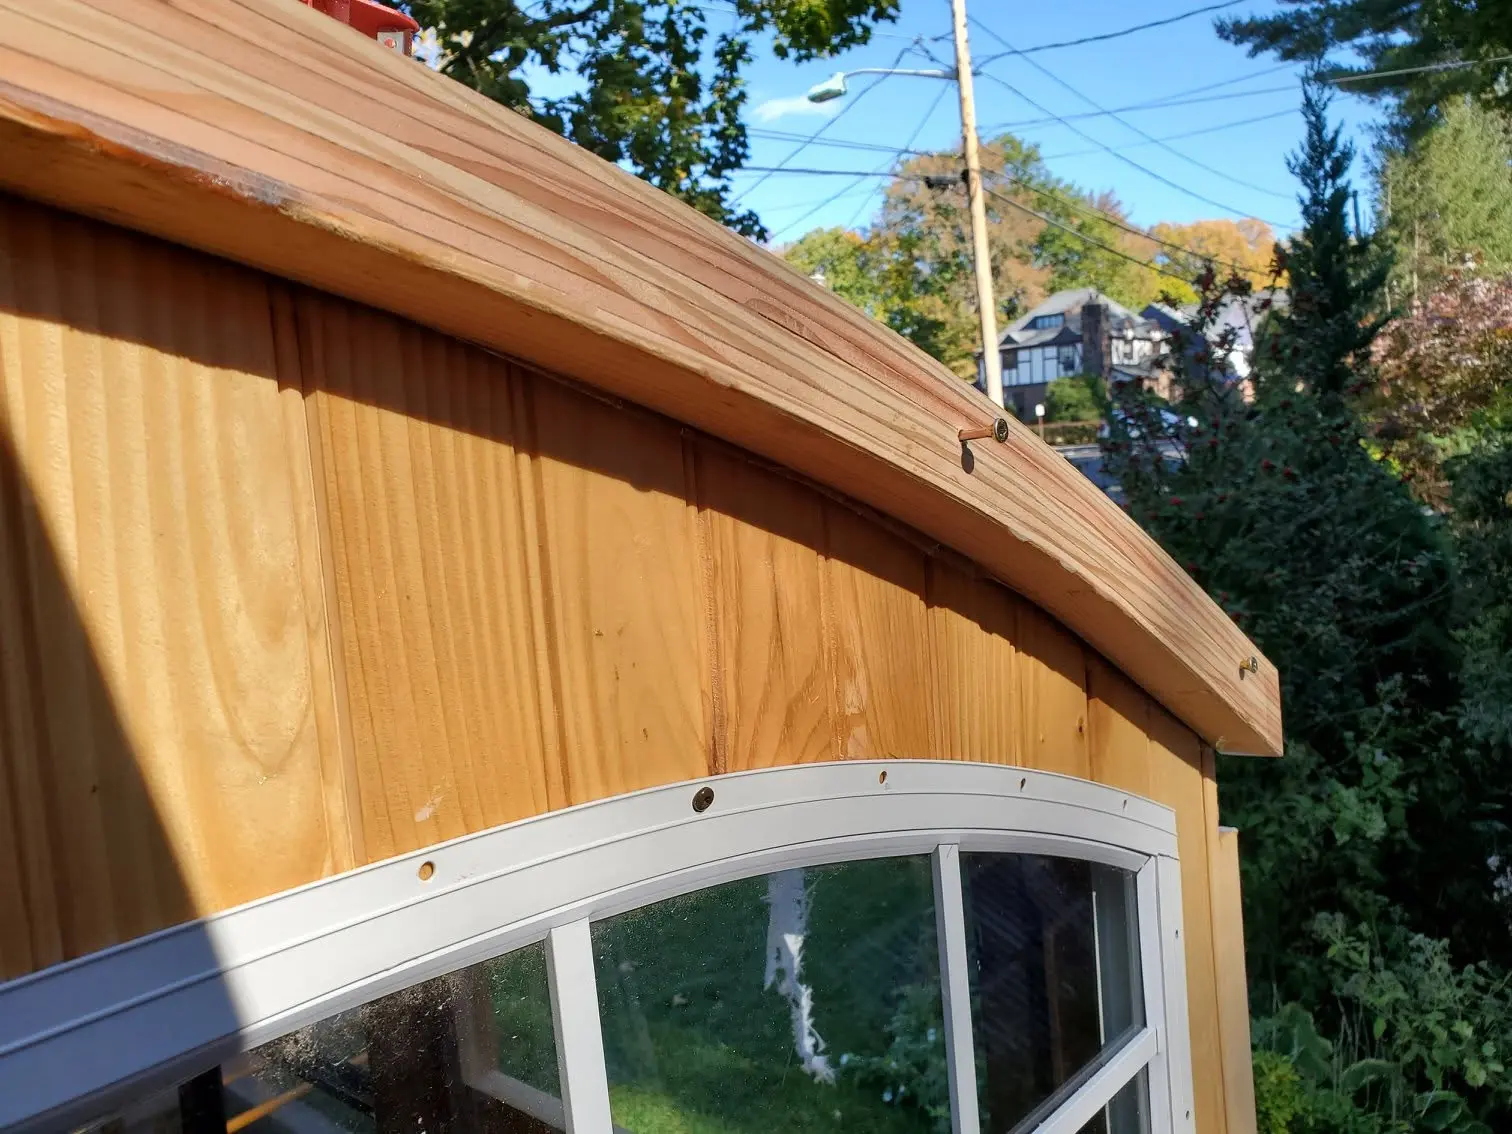
Here’s how I measure and make the side edge overhangs for Jersey Girl’s roof.
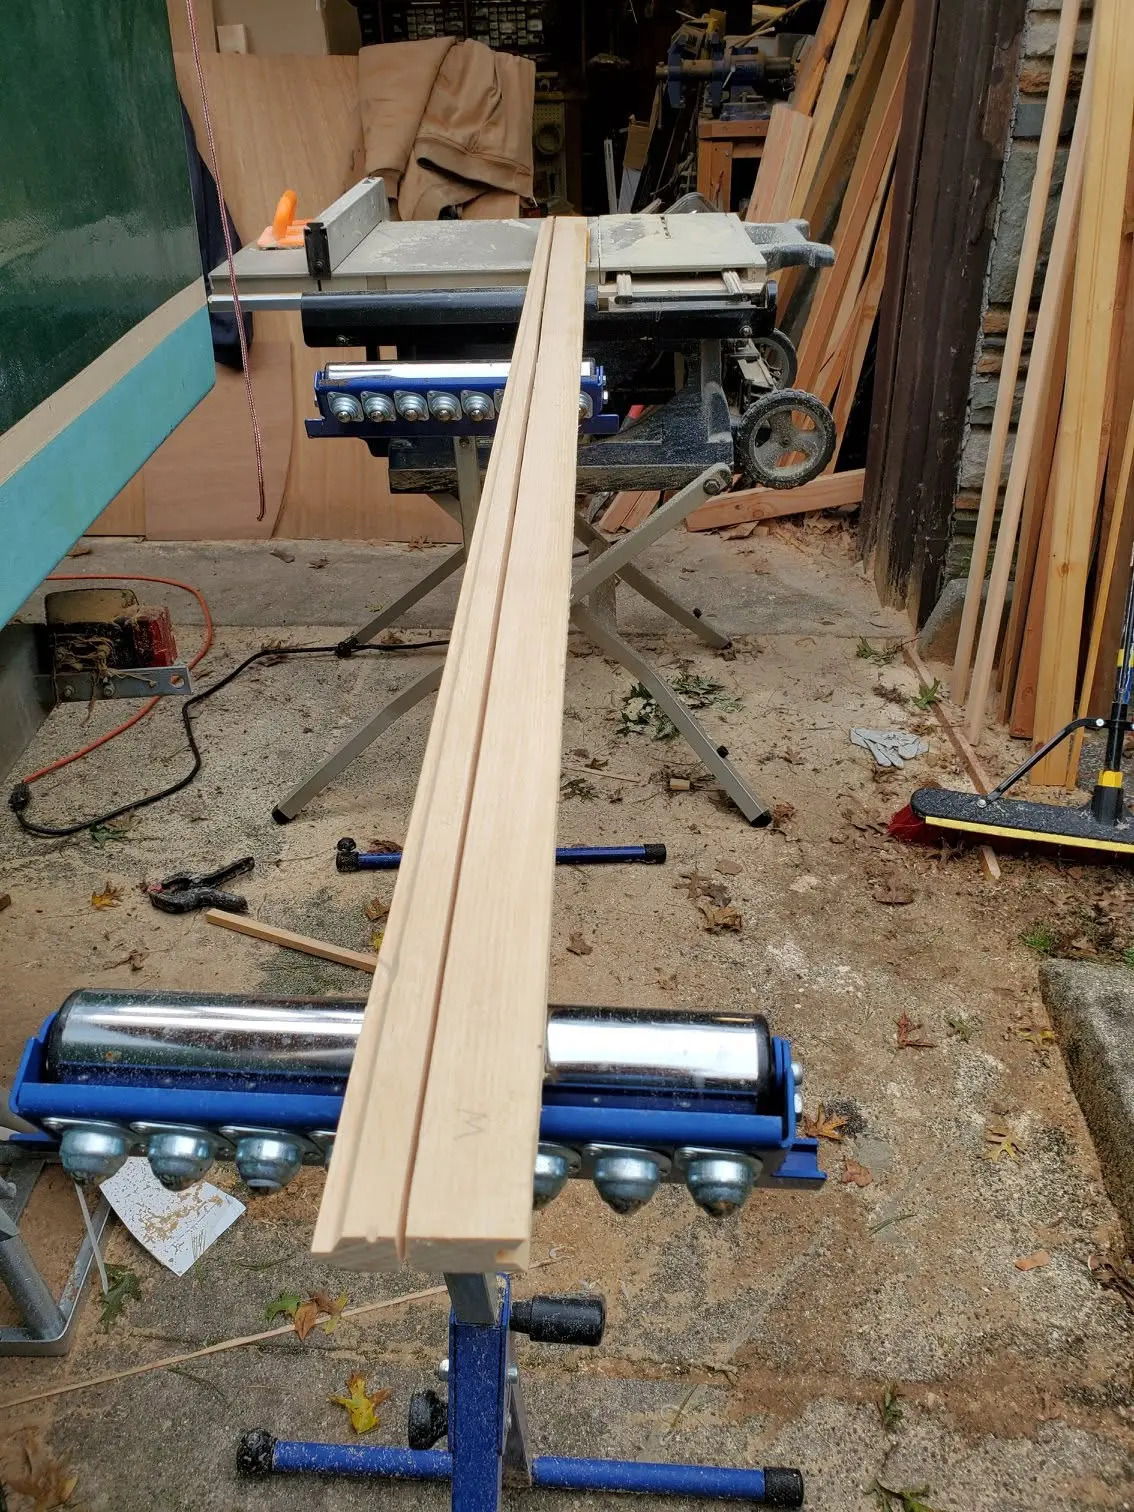
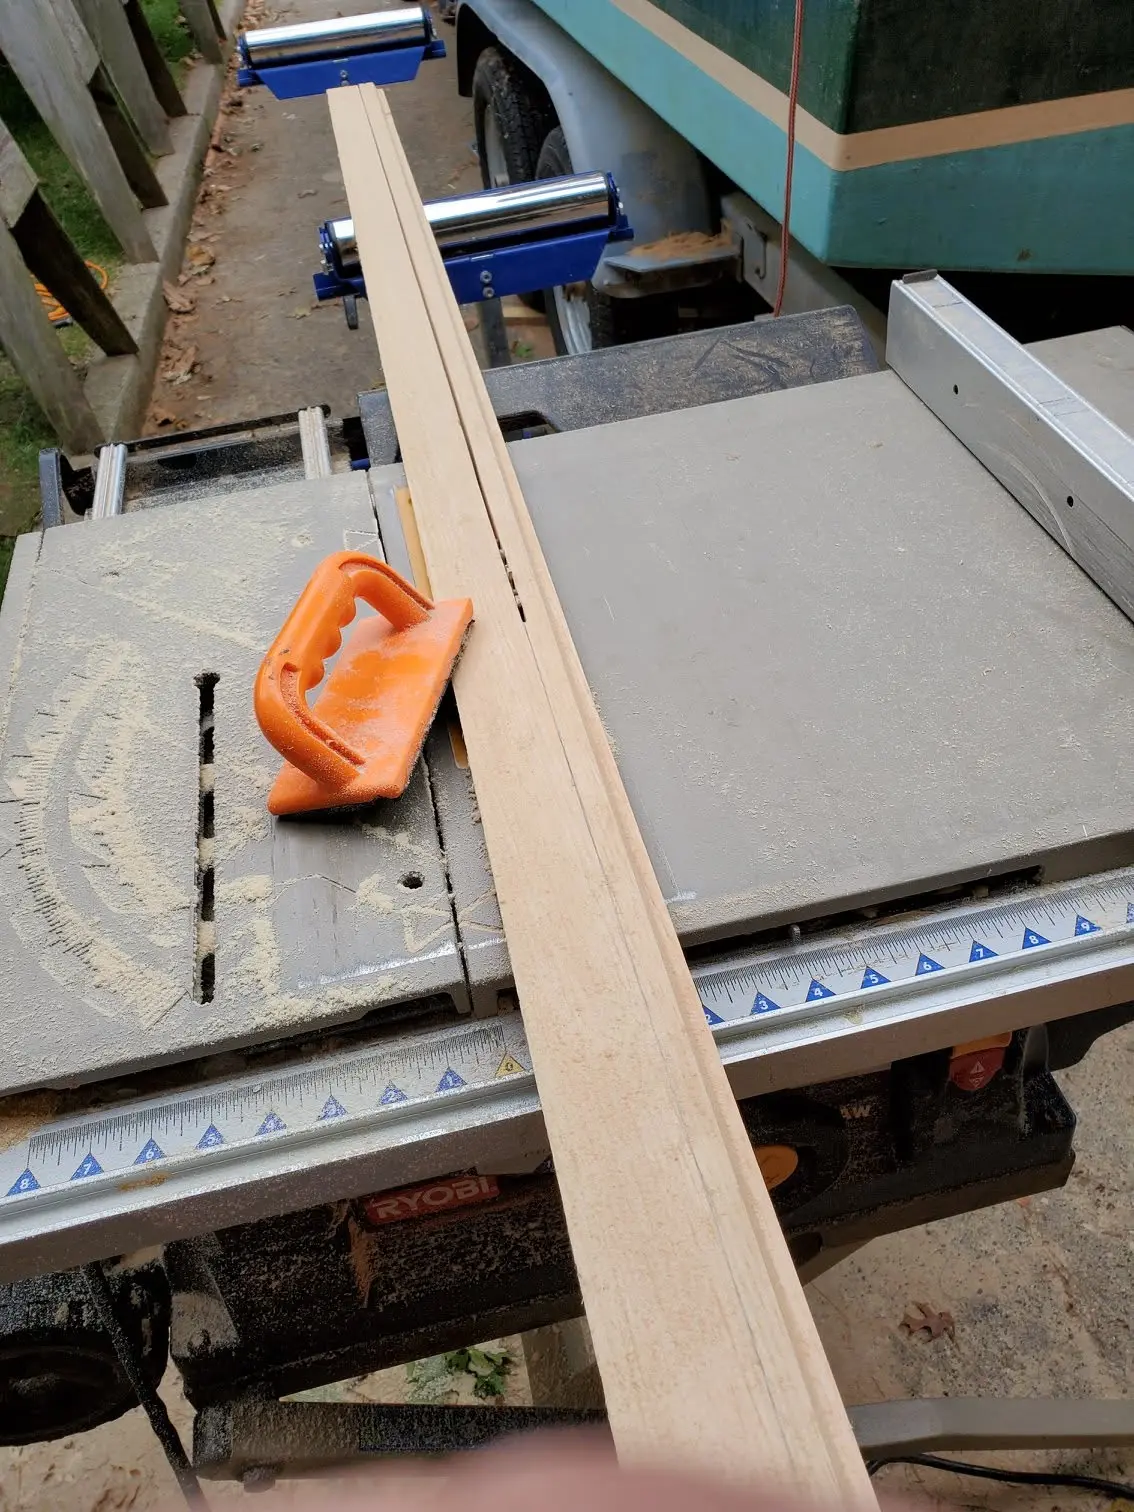
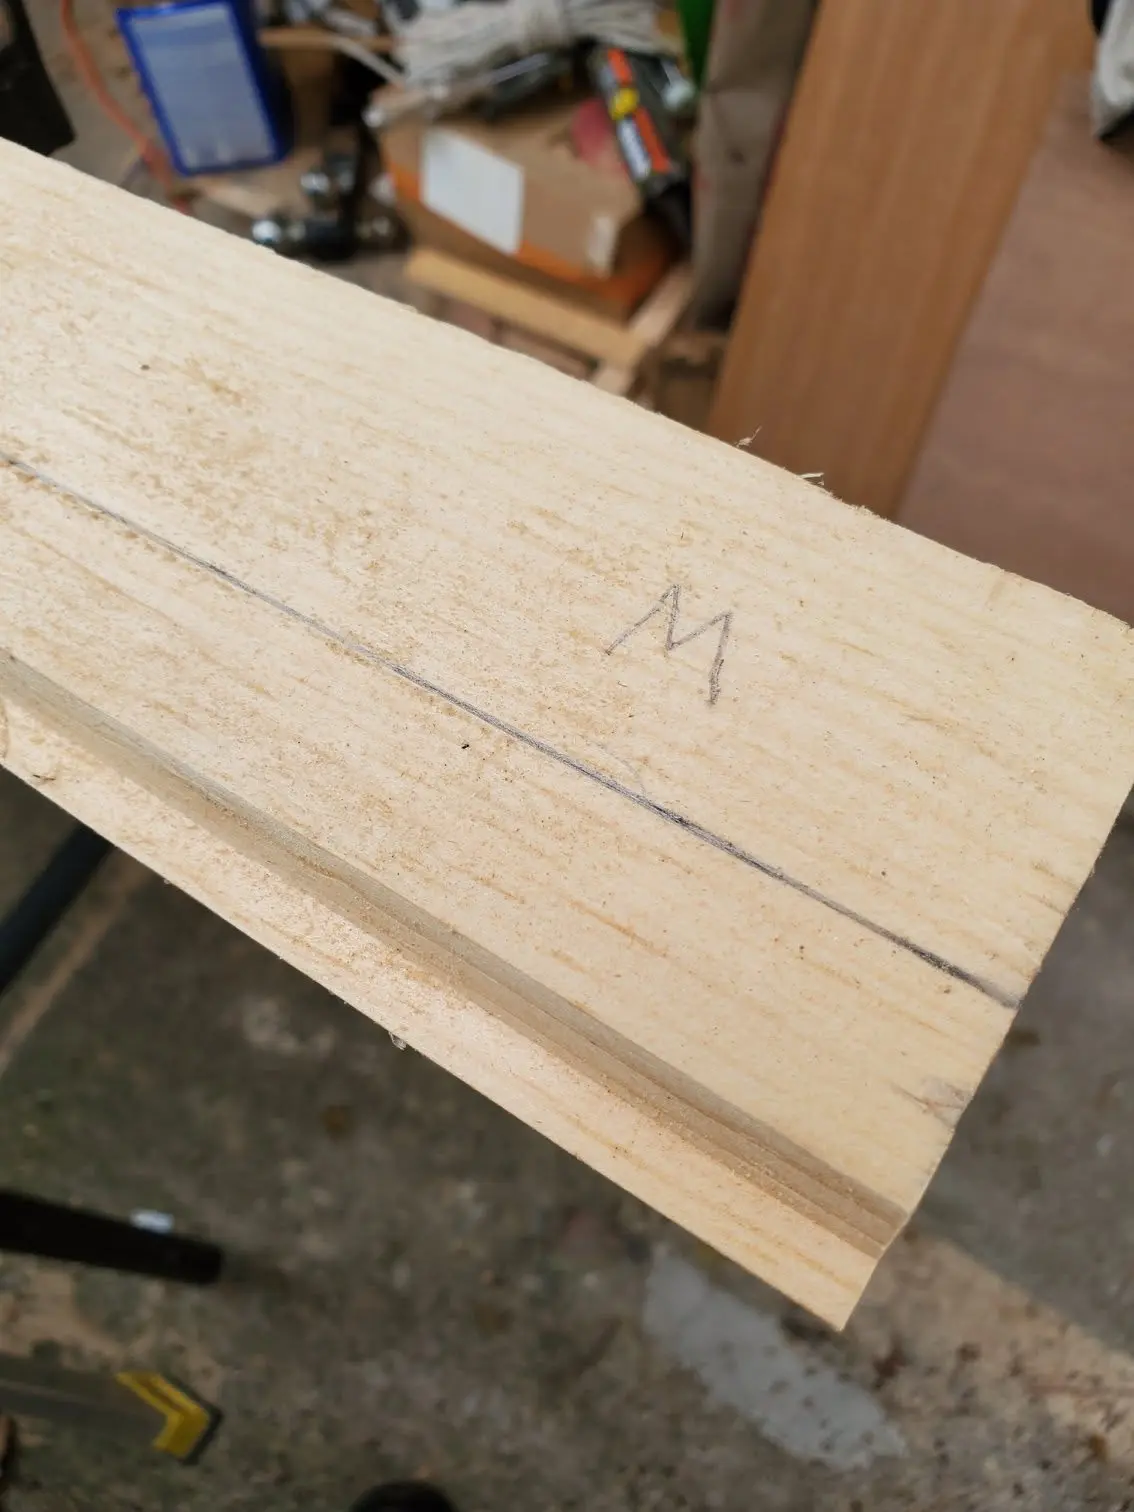
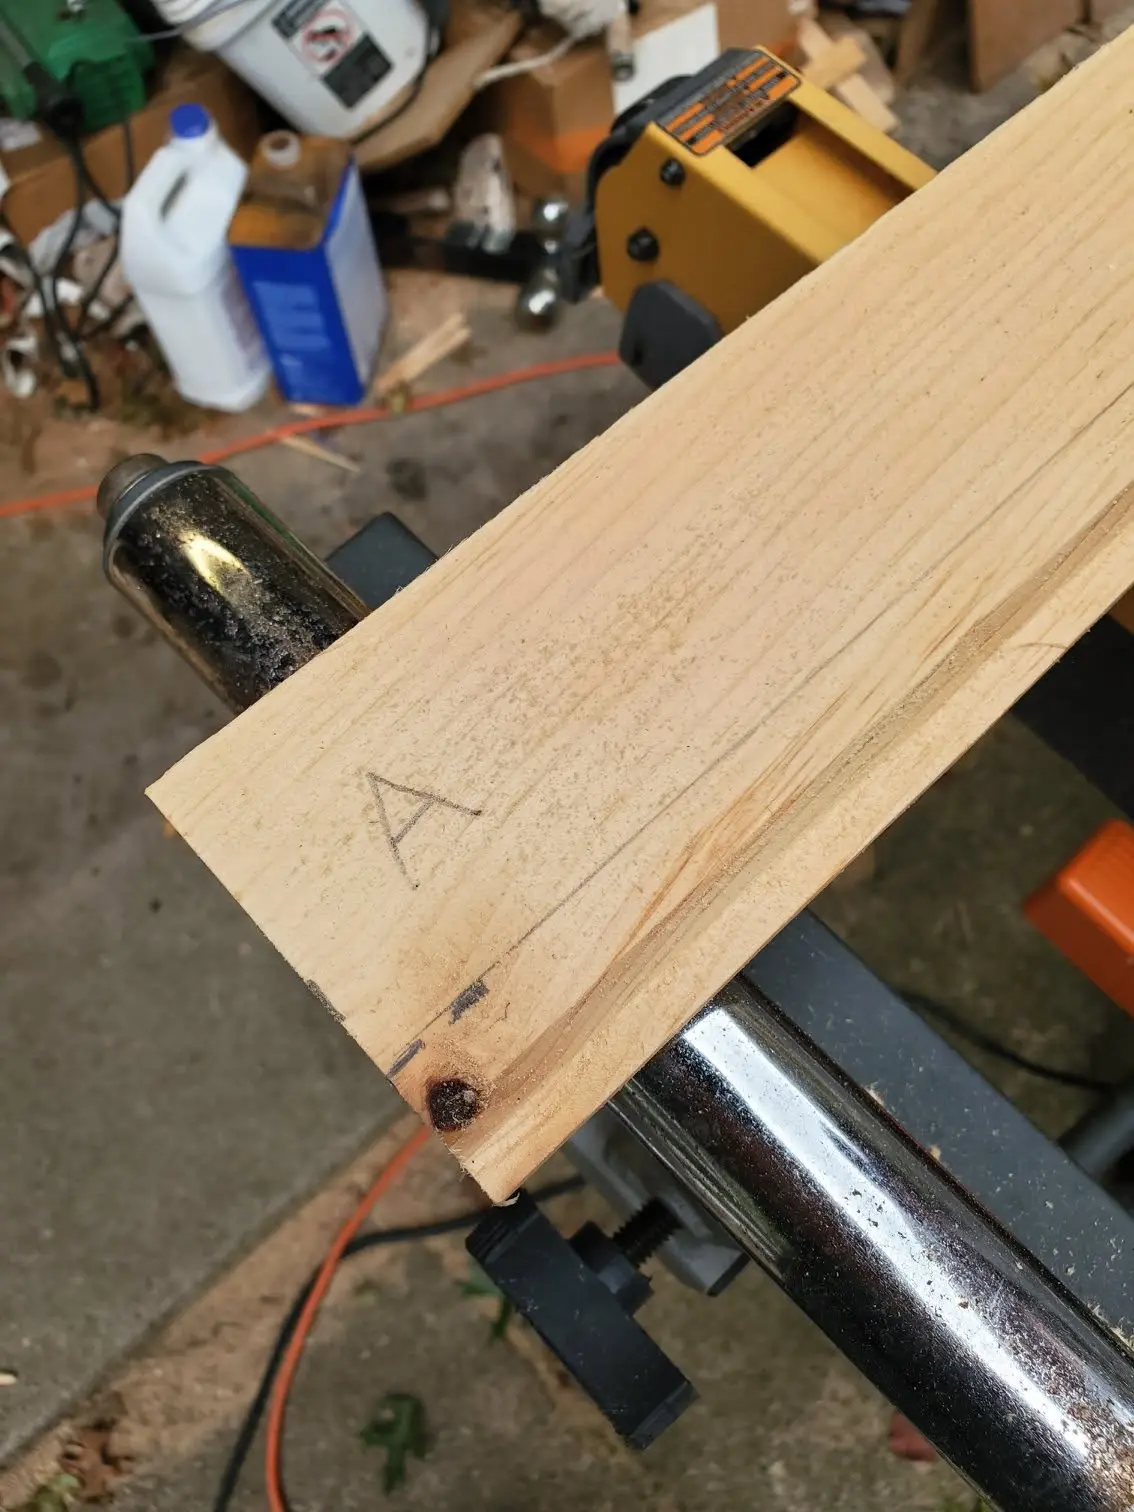
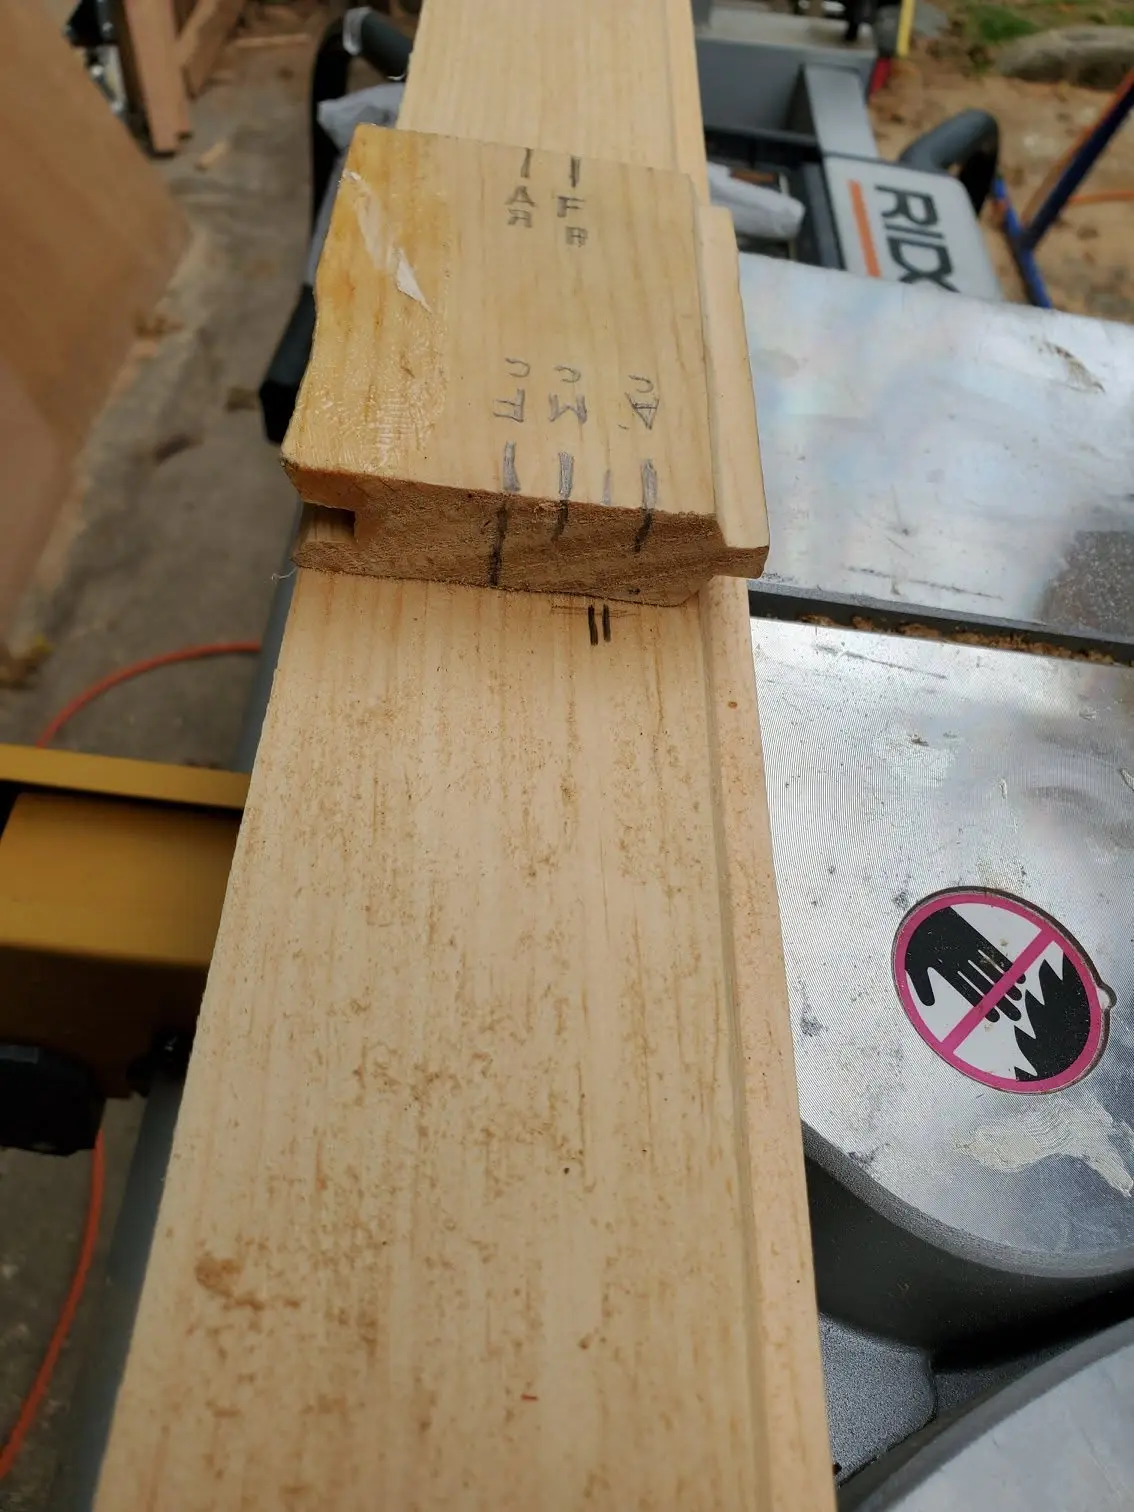
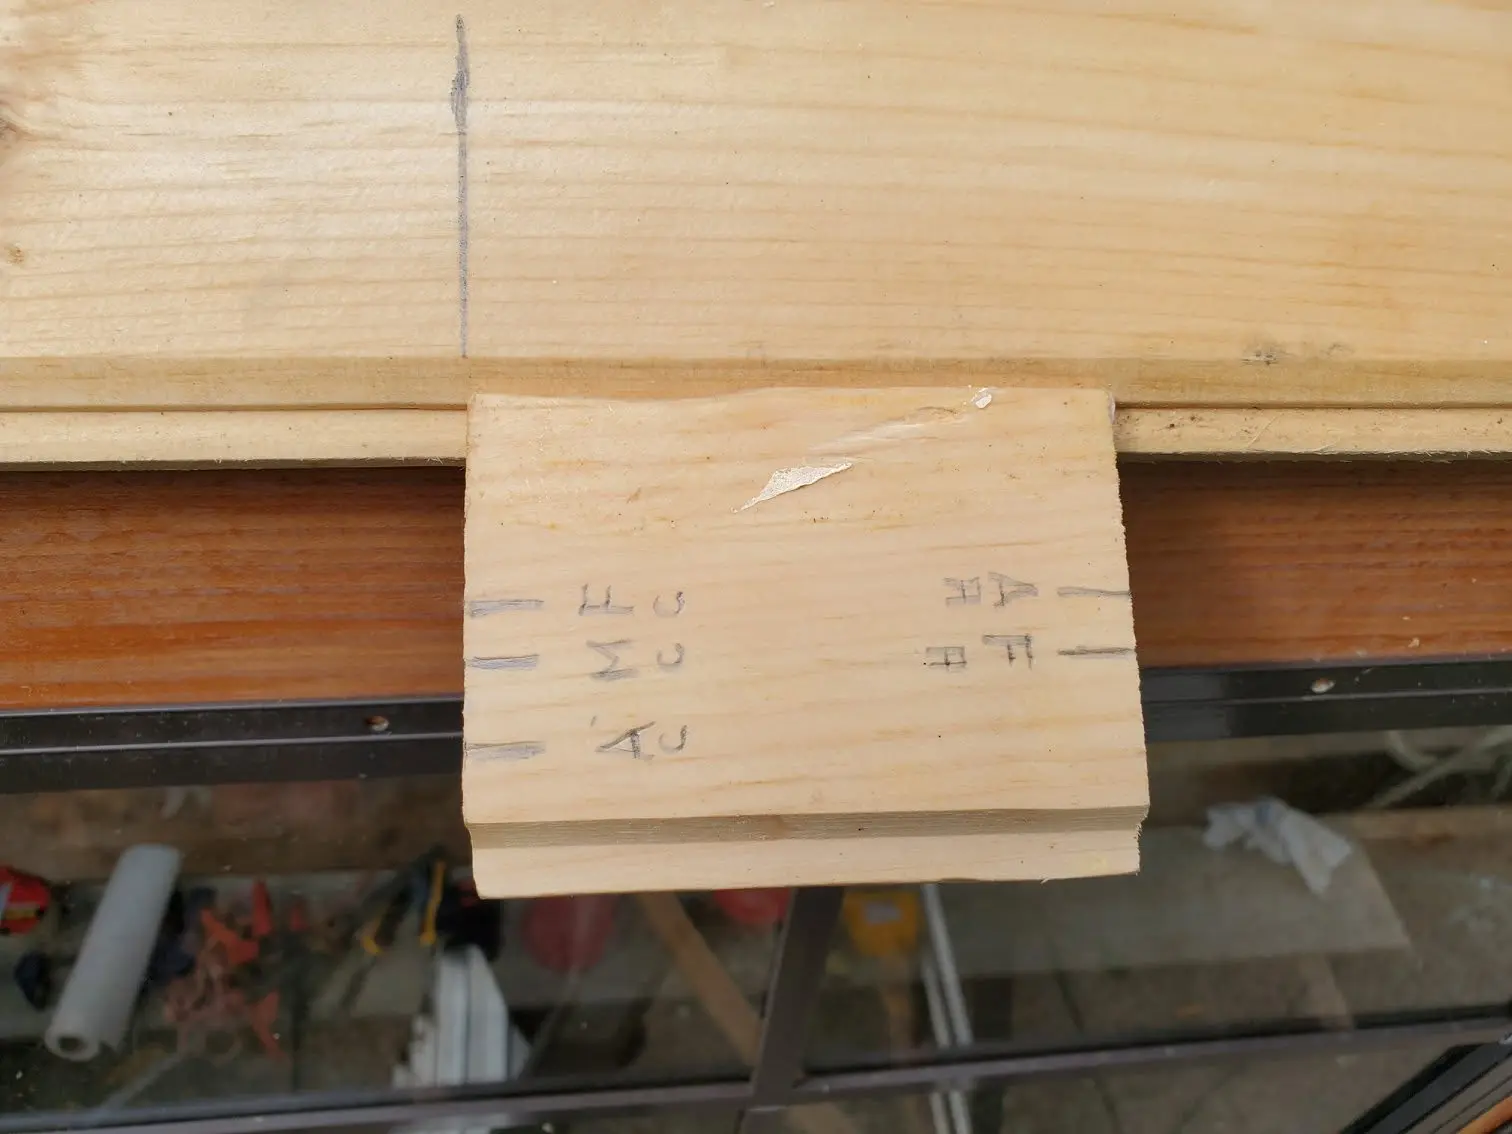
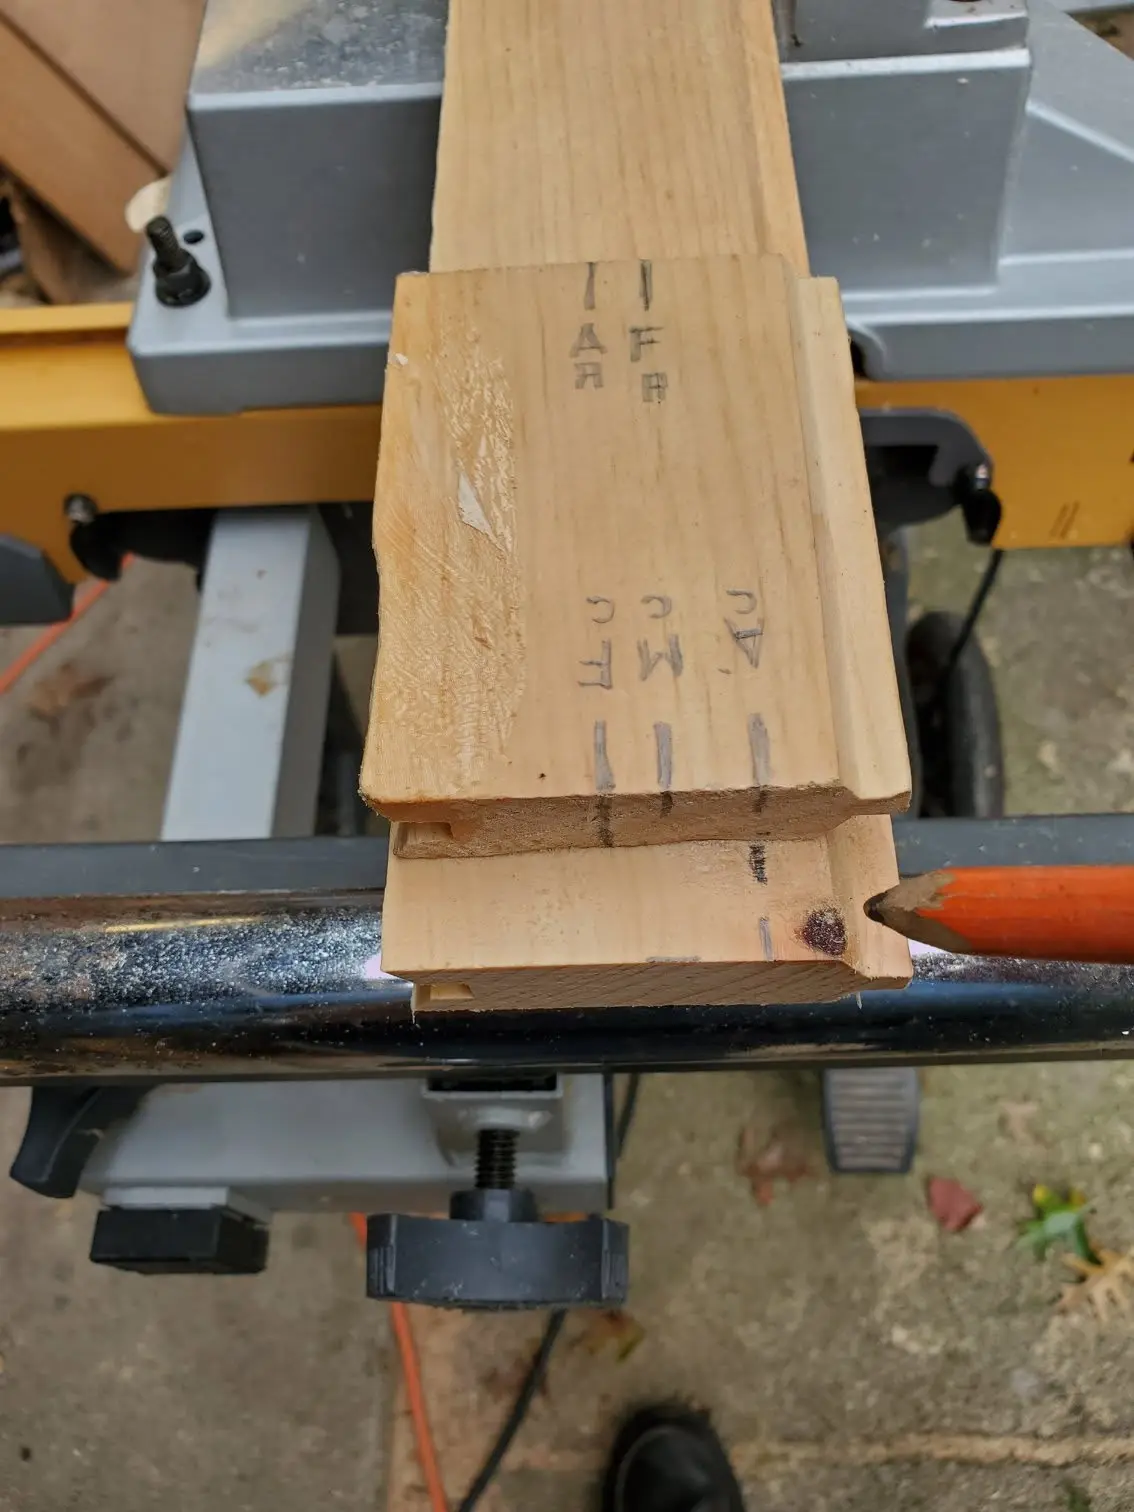
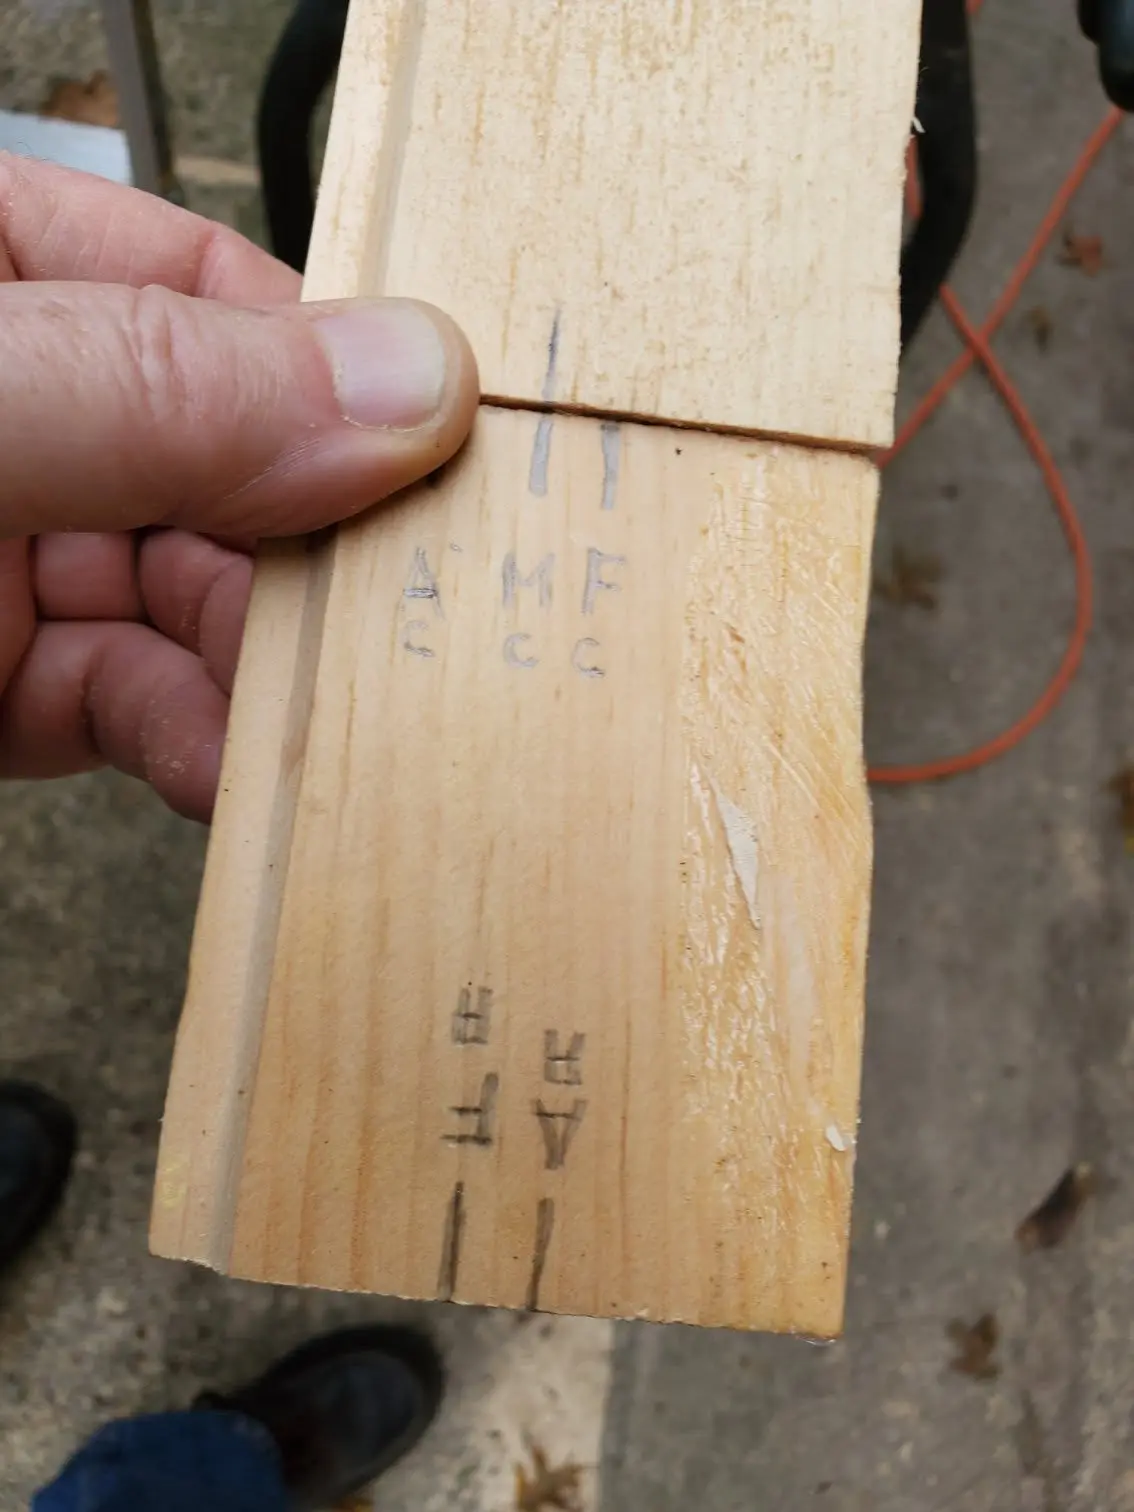
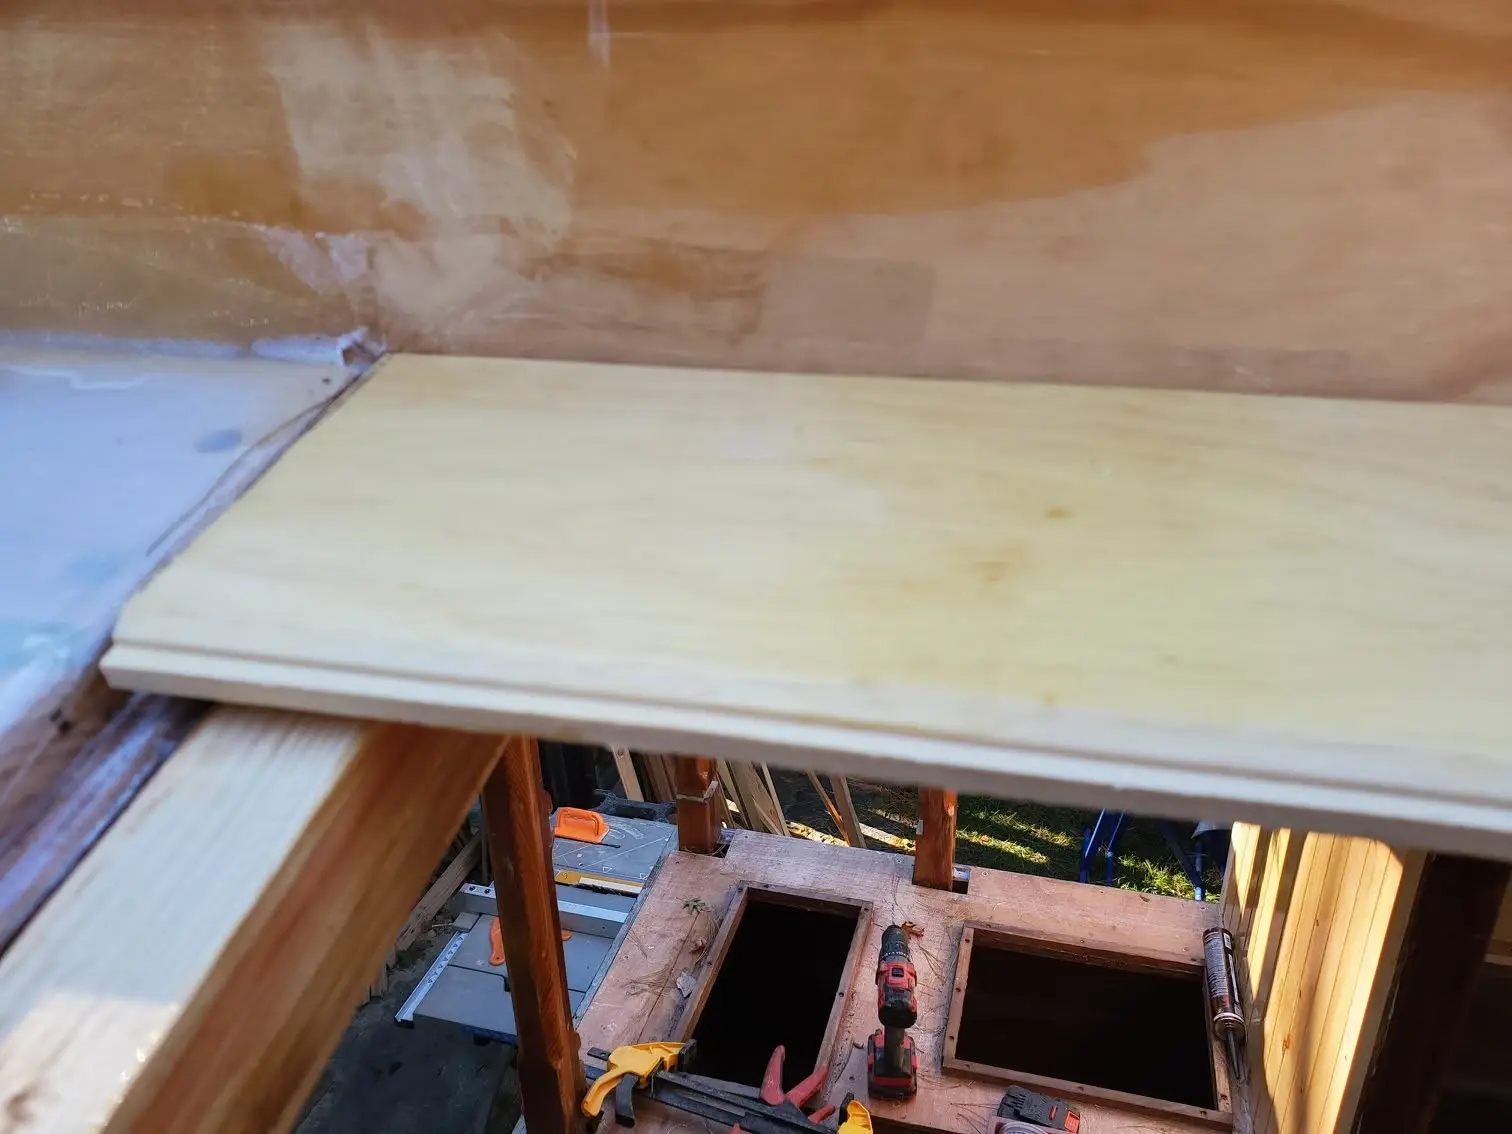
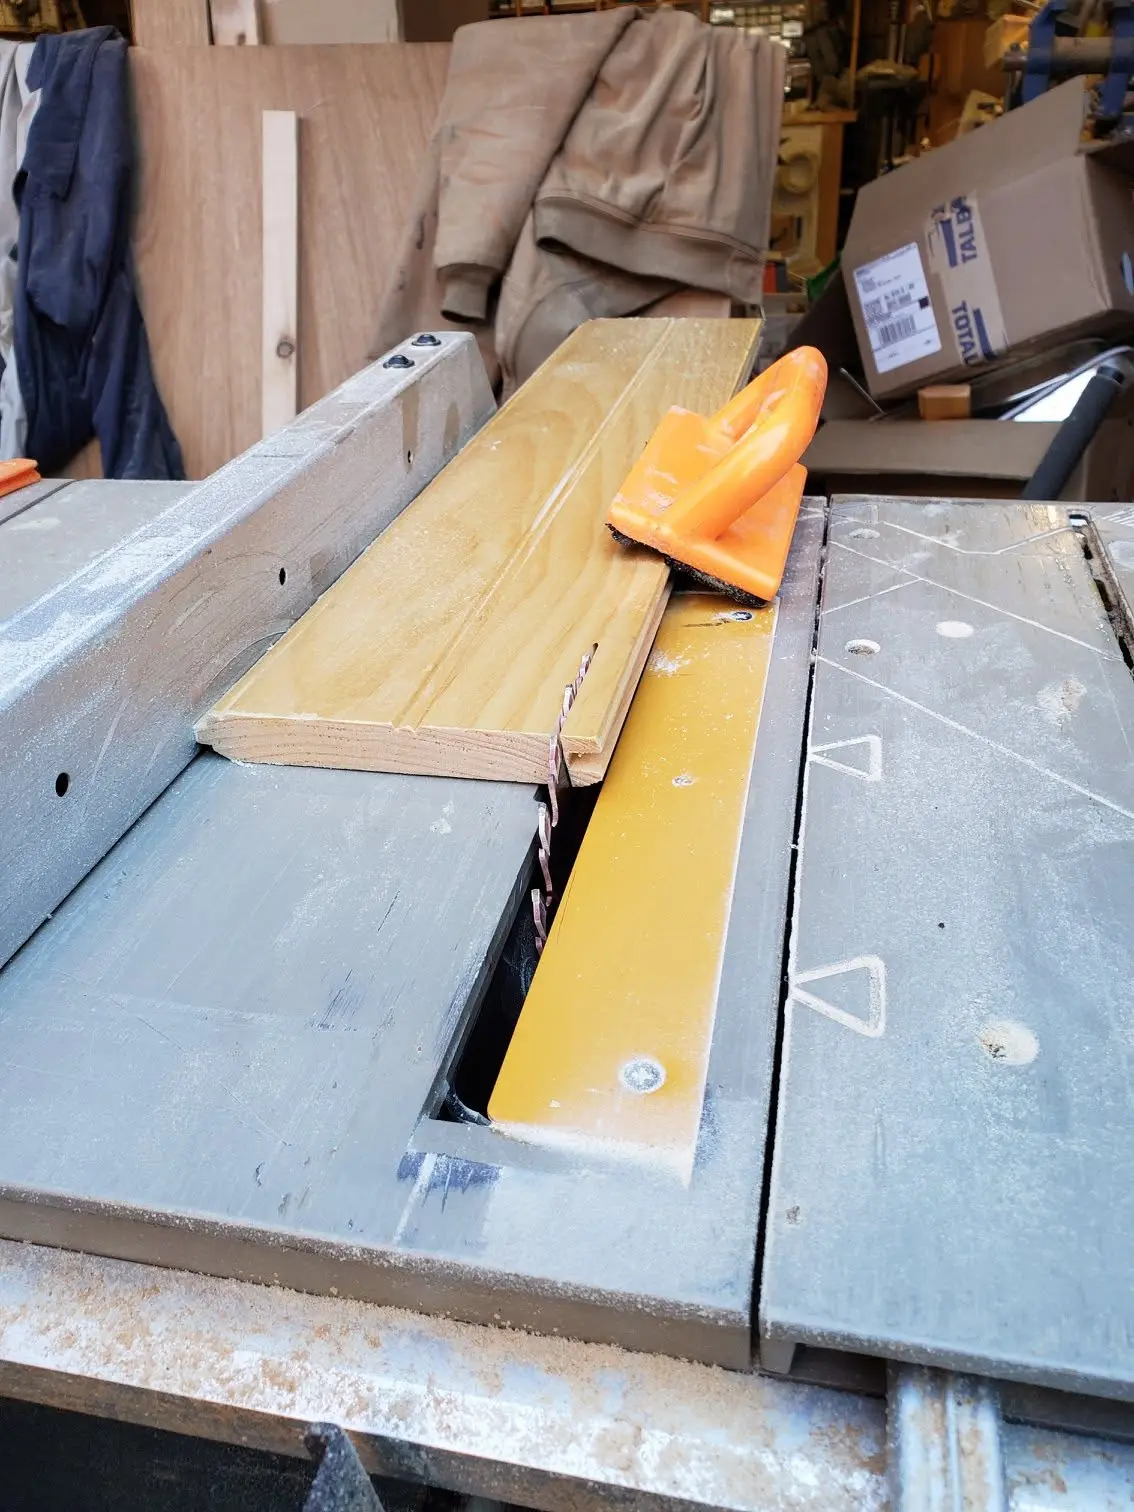
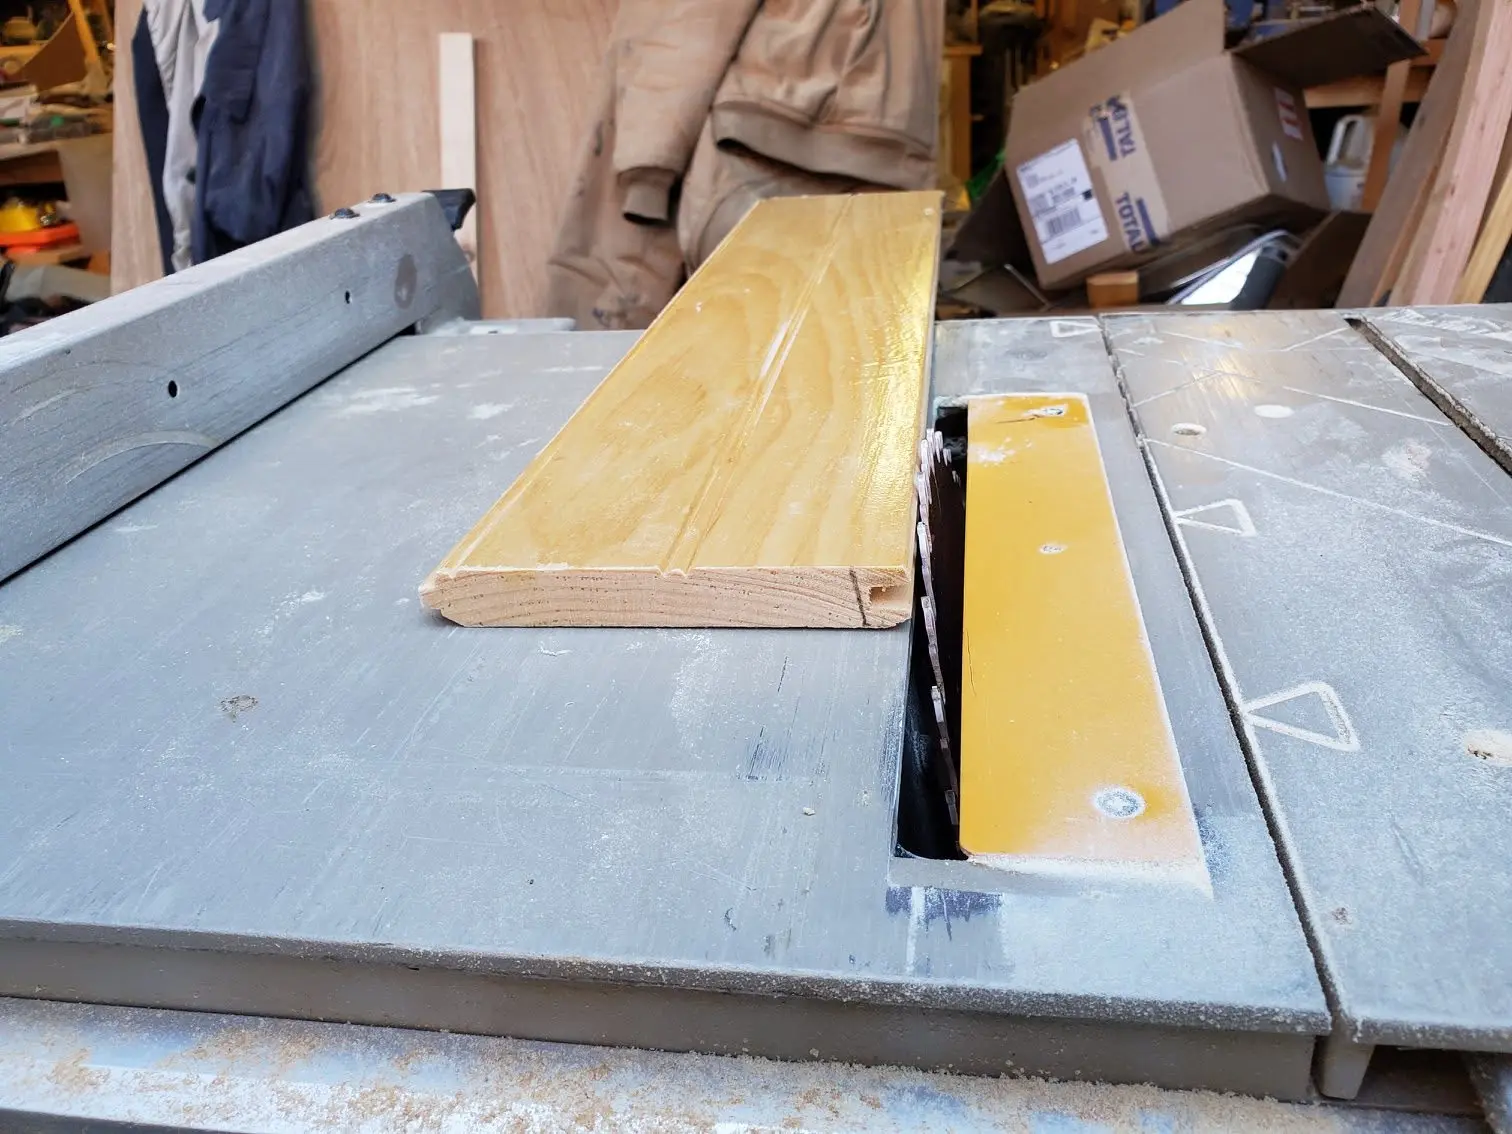
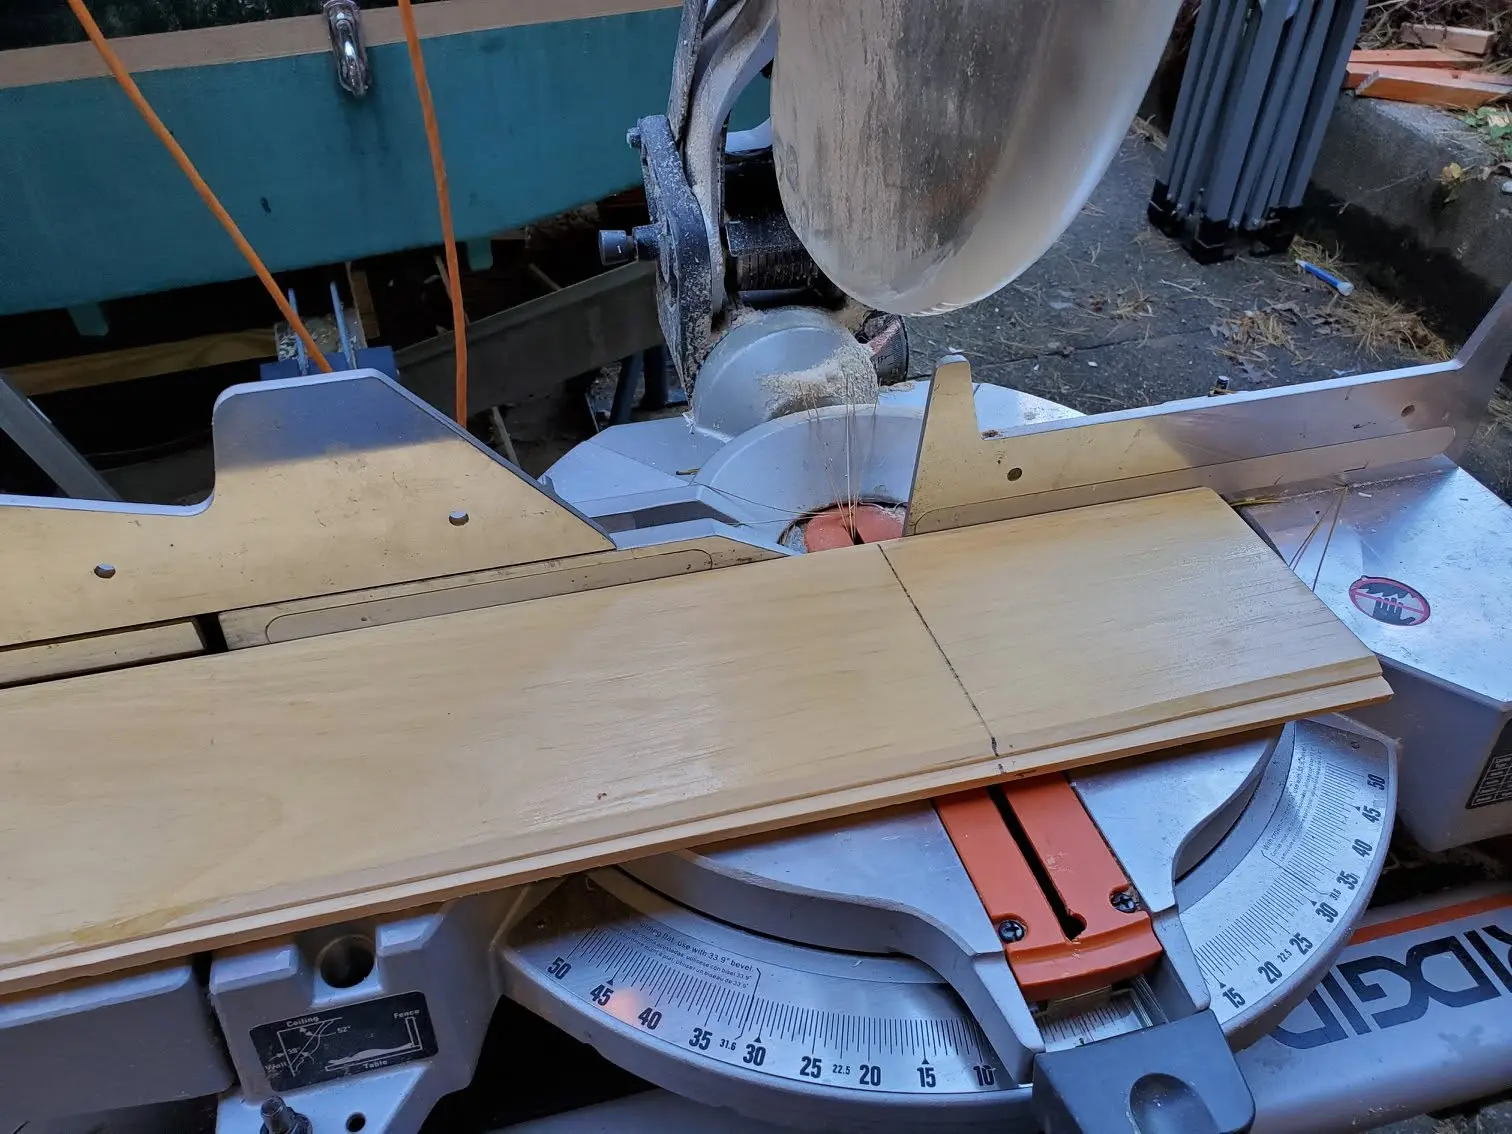
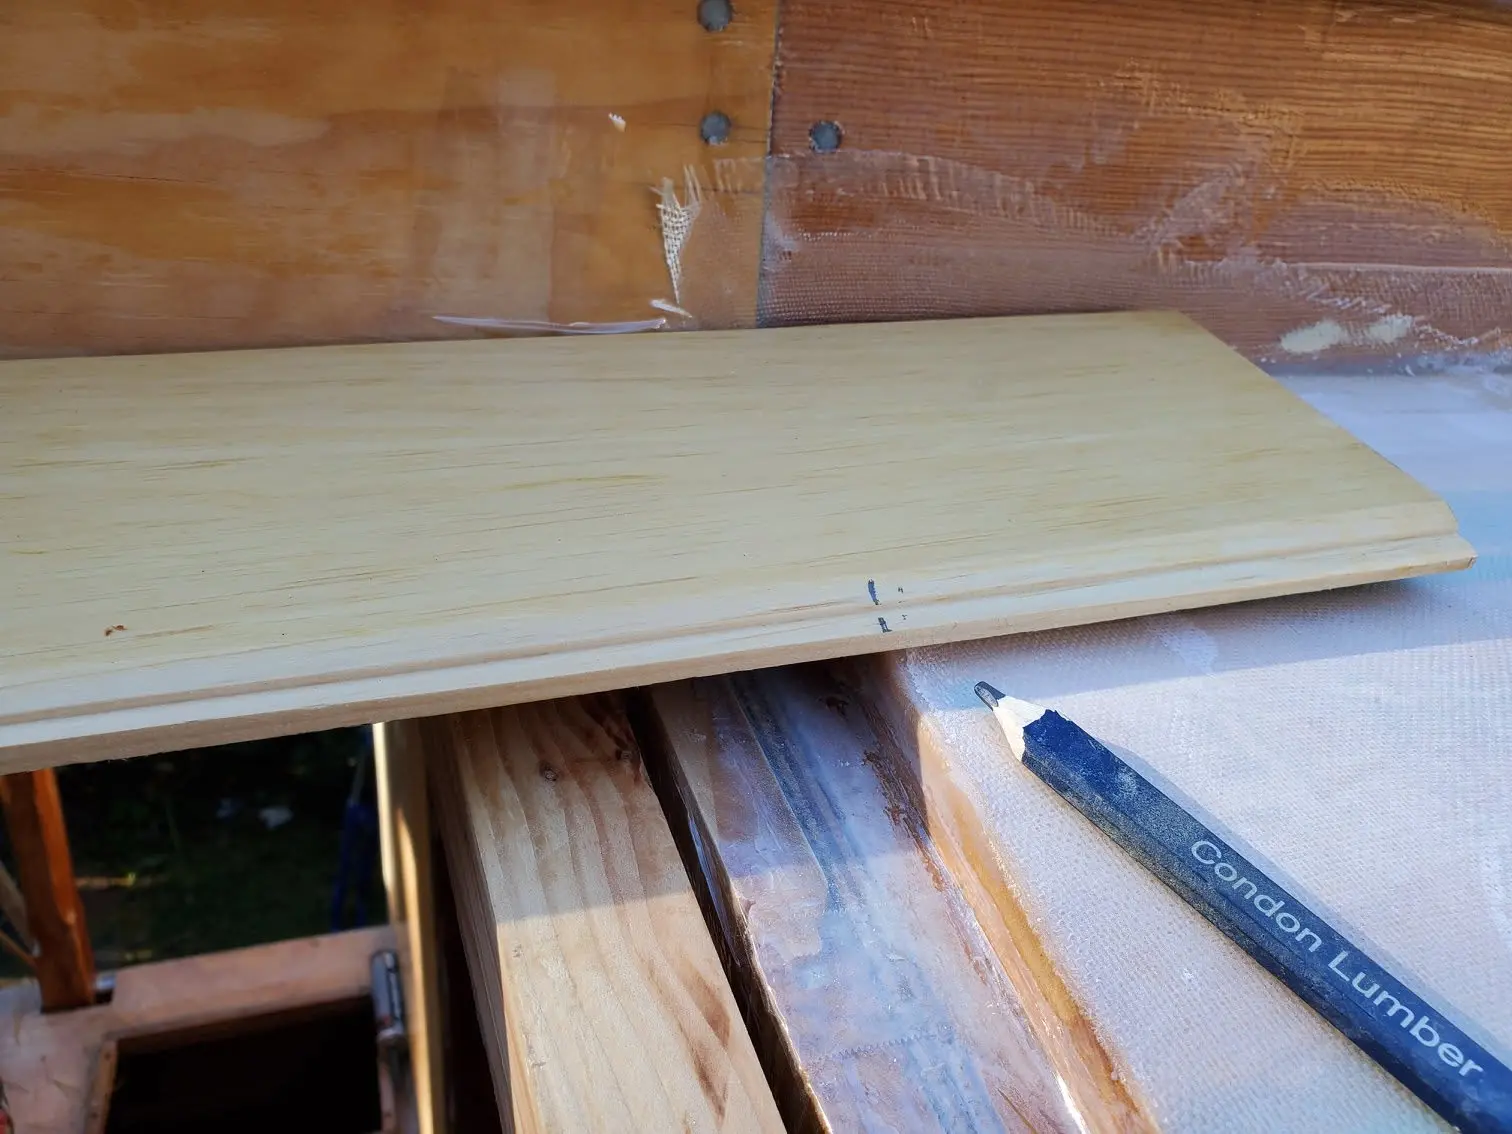
Houseboat update, Monday, October 7, 2019 (Part 2) -- Here’s how I measure and make the side edge overhangs for Jersey Girl’s roof. First, because of construction variations involving how individual roof planks fit together at their tongue-and-groove joints, I observe that the final side edges are not uniform. That means that the overhang planks will have to be tapered in one direction or the other, and possibly wider at the fore and aft ends and narrower in the middle. To check the variations, I start by using a scrap piece of tongue-and-groove as a measuring block. Having settled on a 1½-inch overhang, I press the tongue of the scrap block up against the tongue of the last installed roof plank at the aft end of the cabin and use a ruler to measure out 1 ½ inch from the side roof beam. I mark that measurement on the block with a pencil. Next, I hold the block up against the appropriate end of a t&g board and transfer the measurement from the block to the board. I do the same thing at the other end of the 6-foot board, which in this instance will be the midpoint of the 12-foot cabin roof. The boards I am using are 6 feet long, longer than the 4-foot builder’s level I will use as a straight edge, so I’ll have to make another mark in the middle. I do that by extrapolating a mid-point mark on the measuring block halfway between the two end marks, and transfer that to the midpoint of the plank. Then, I know that when I connect the three marks, I’ll have a straight line. Then, I mark the position on the face of the board for proper orientation during installation (It's easy to forget which side is up or which end is forward.) WARNING: the next step, cutting along the tapered line the way I do it is inherently stupid and dangerous, and I recommend you find a safer way to do it. I do it on a contractor’s table saw, freehand, without a fence, a taper jig or an anti-kickback kerf splitter. Please don’t do it this way. Instead, take a little more time and use a Japanese pull saw, an exquisite hand tool that lets you make long rip cuts without the risk of imminent maiming! With all 10 fingers having survived my impetuous method, I then edge-glue and screw the overhang strips to the roof planks, and I have a uniform 1 ½-inch overhang all the way along the length of Jersey Girl’s roof.
It took a grand total of an hour and 15 minutes to sand all the green fairing glop...
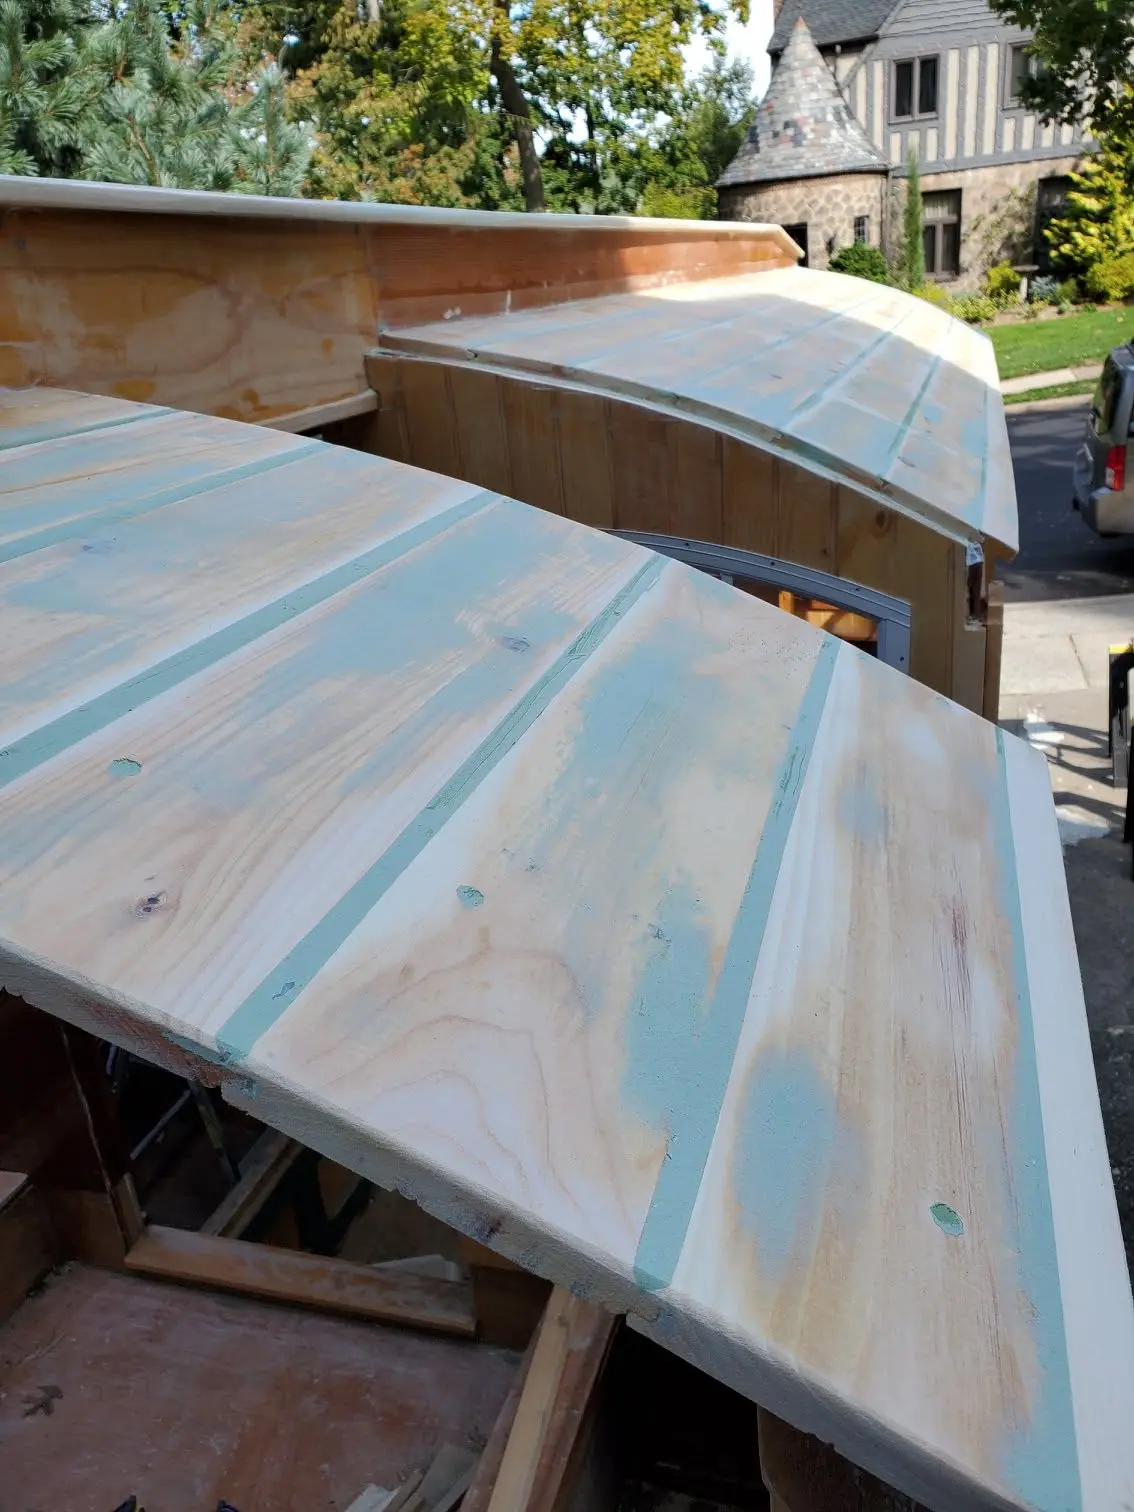
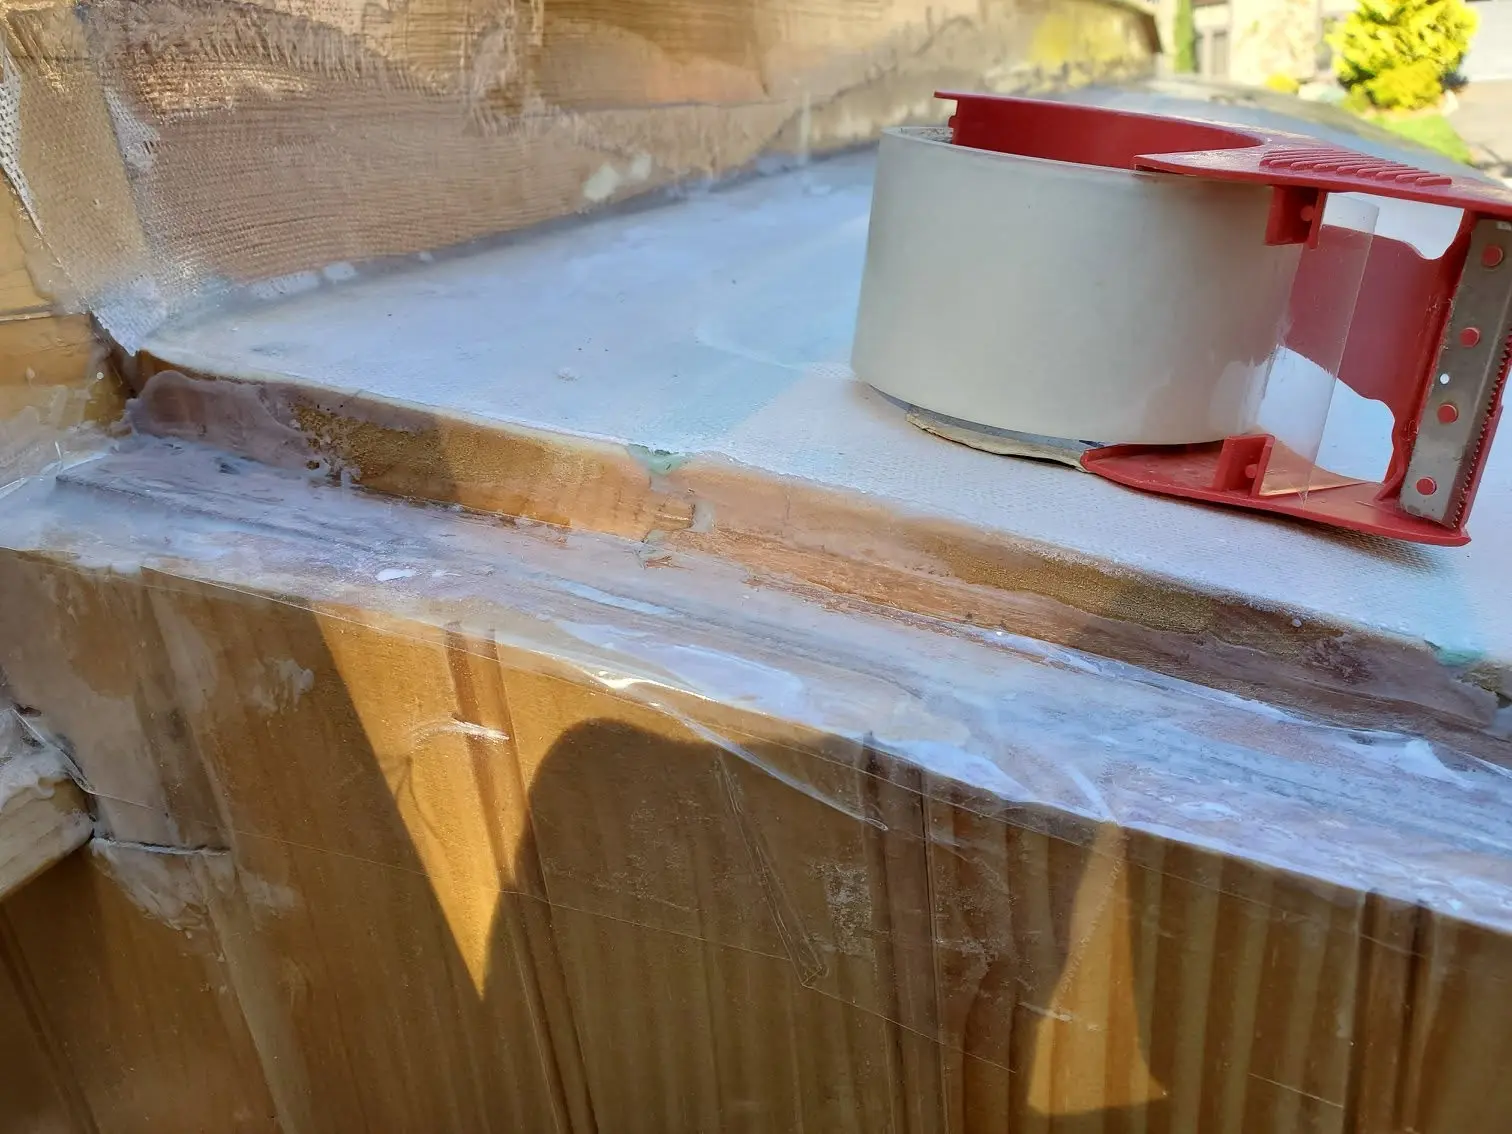
Houseboat update, Sunday, October 13, 2019 -- it took a grand total of an hour and 15 minutes to sand all the green fairing glop smooth on the starboard side of Jersey Girl's roof. There are a few random slightly low spots where the epoxy-based compound did not quite fill to the surface of the grooves between some of the roofing planks. I know that if I leave it the way it is, the low spots will telegraph through the epoxy-bedded fiberglass that will cover the roof, but I also know that they will be largely concealed (in all but the strongest dawn and sunset sidelight), once the primer and paint are applied. Even then, they will be visible only to birds soaring overhead. And what's visible to any humans who happen to be standing on the walls of canal locks as Jersey Girl passes through will serve as a visual cue to her humble and honest roots. As you may be able to discern, I've convinced myself -- I'm going no further. Jersey Girl is shanty boat chic, not the royal yacht Britannia.
I have some progress to report in my drive to close Jersey Girl’s cabin before the...
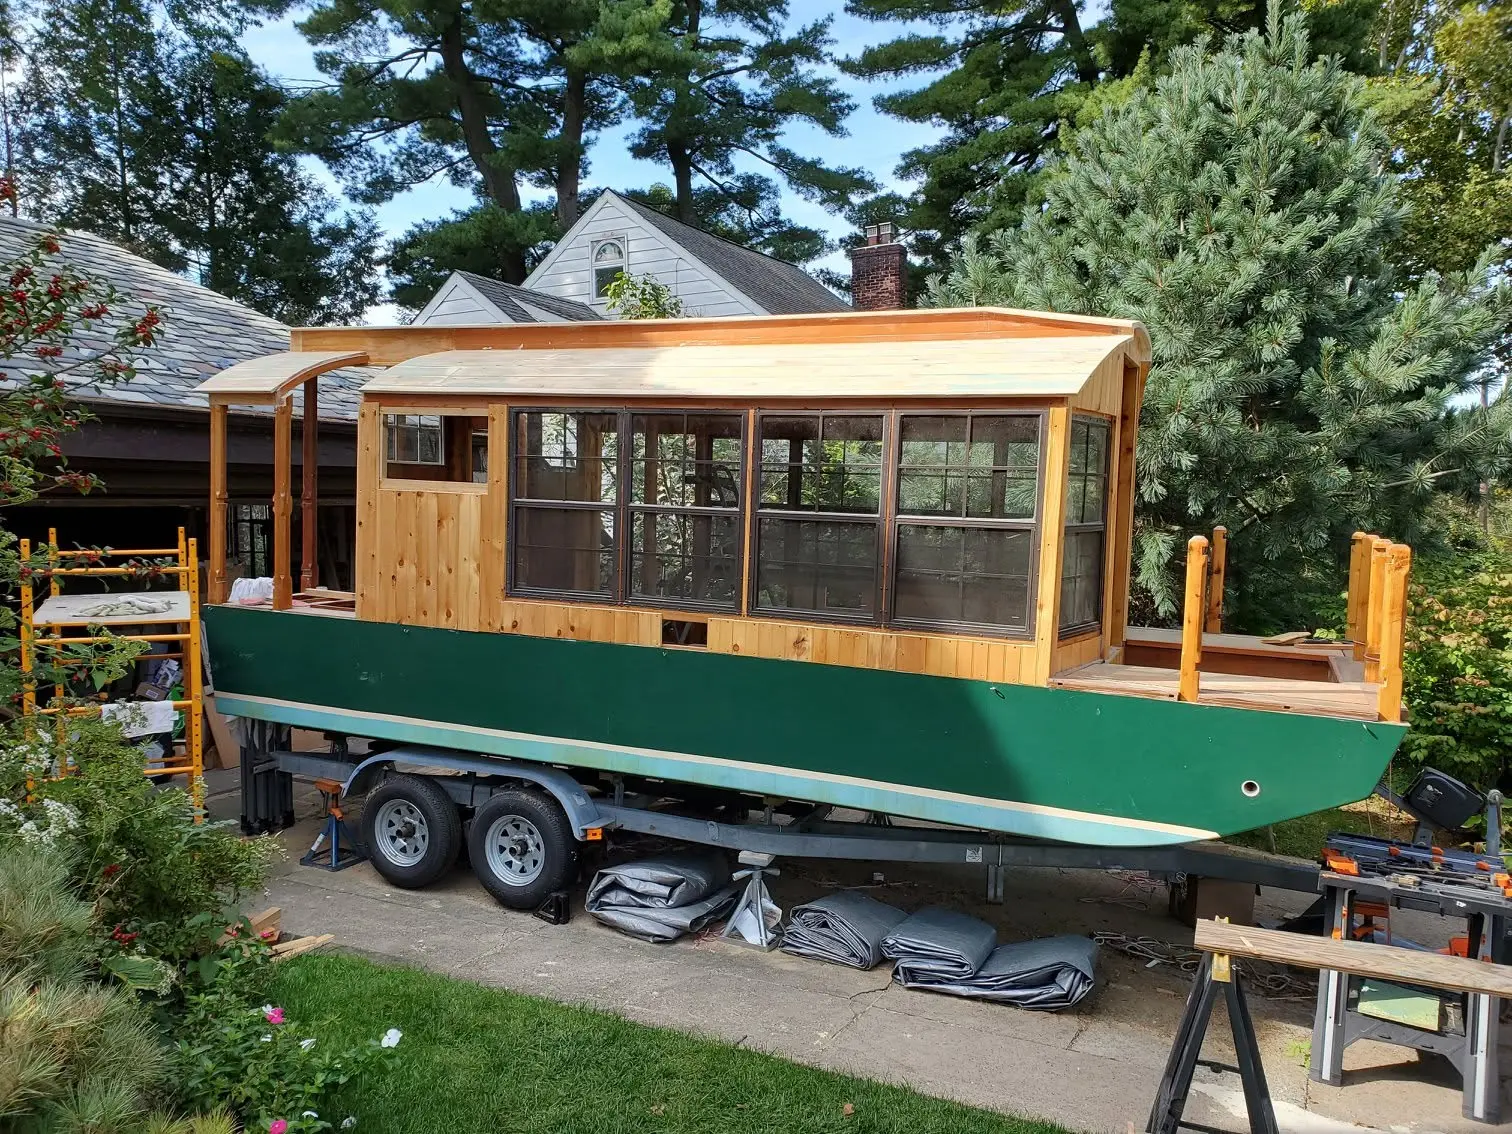
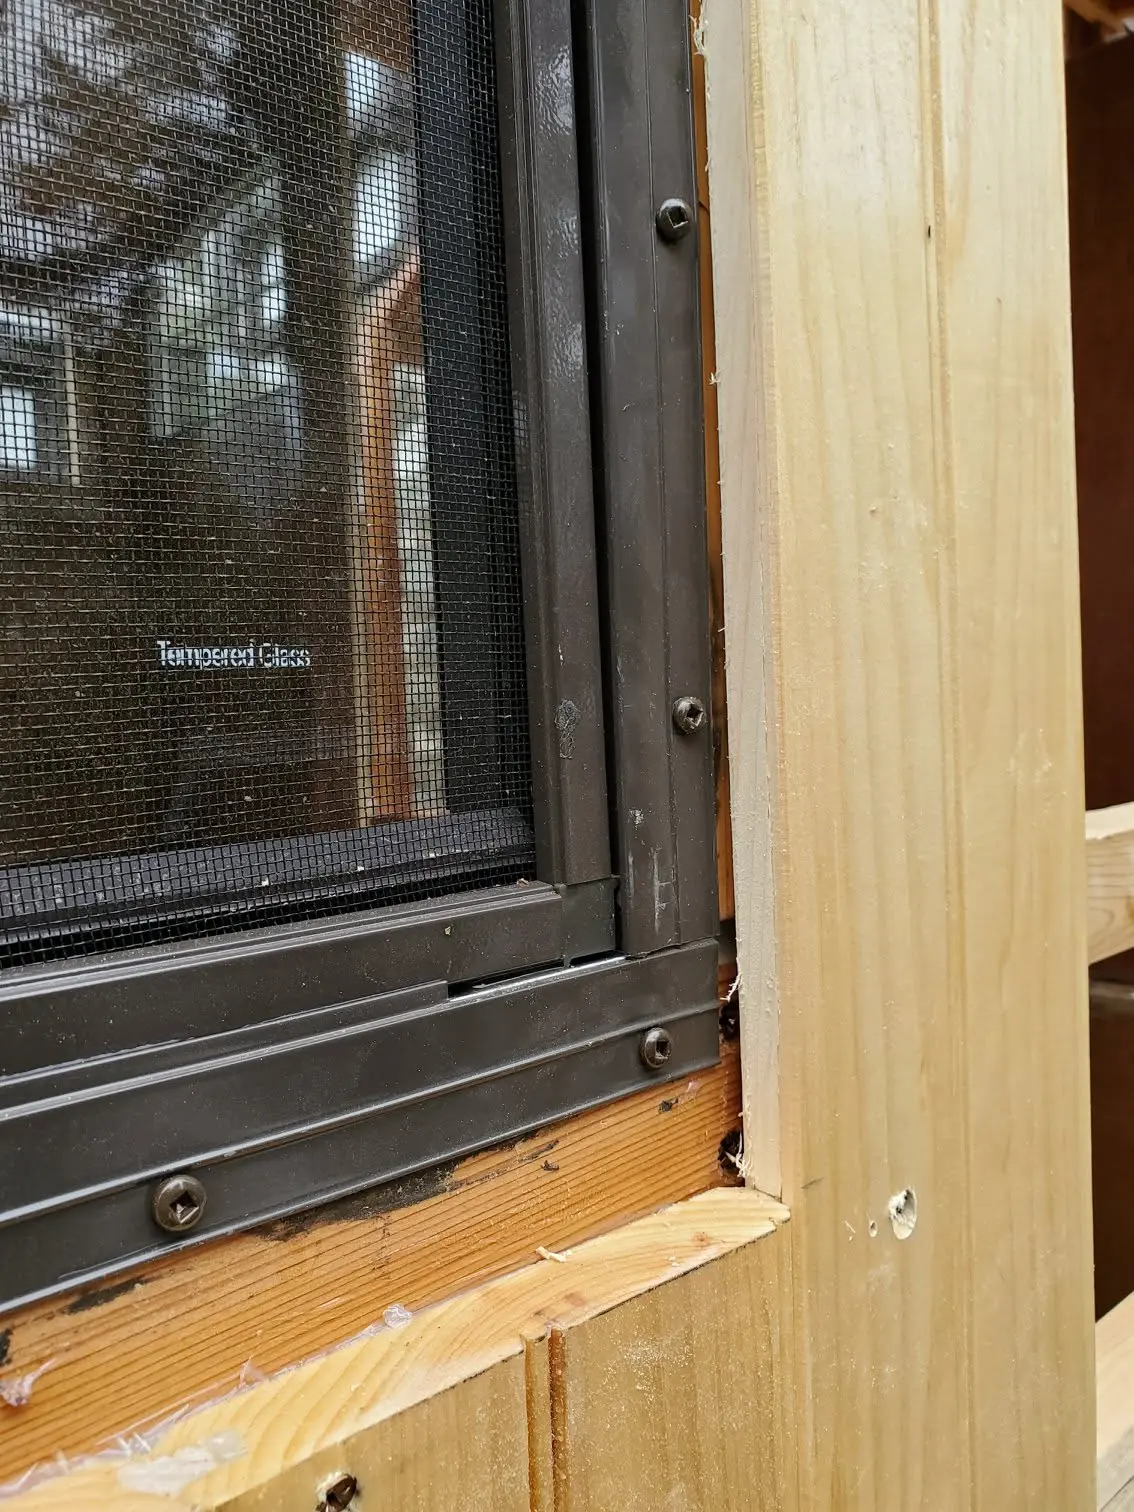
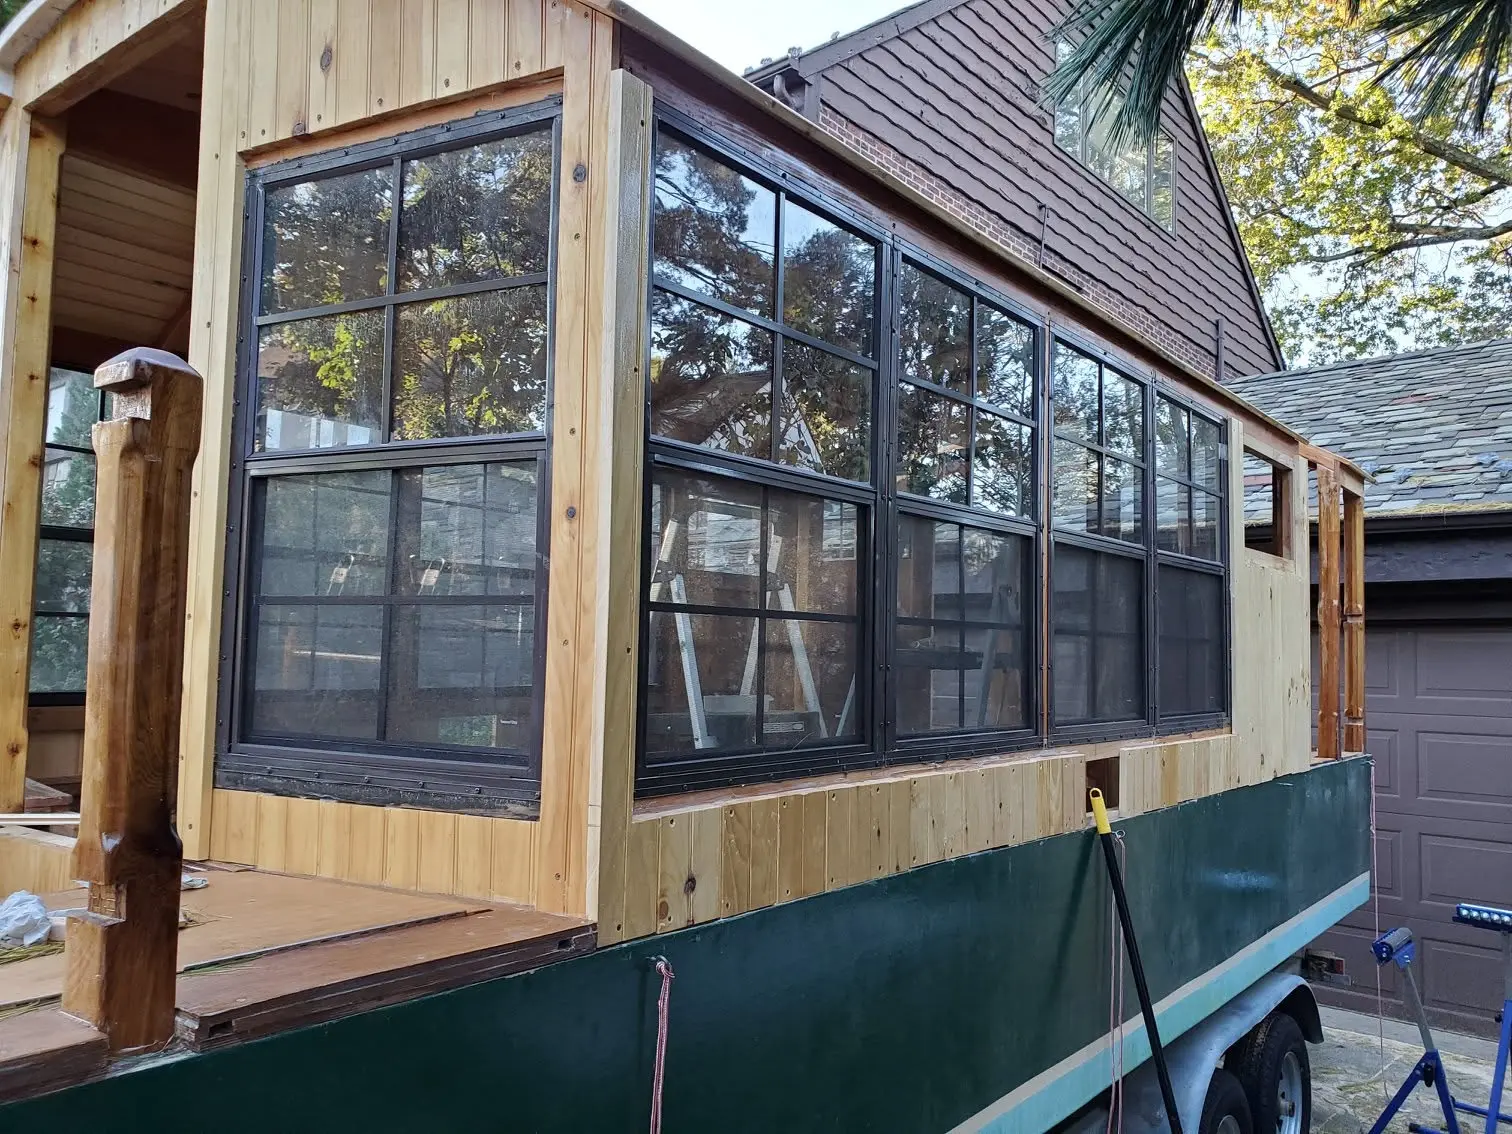
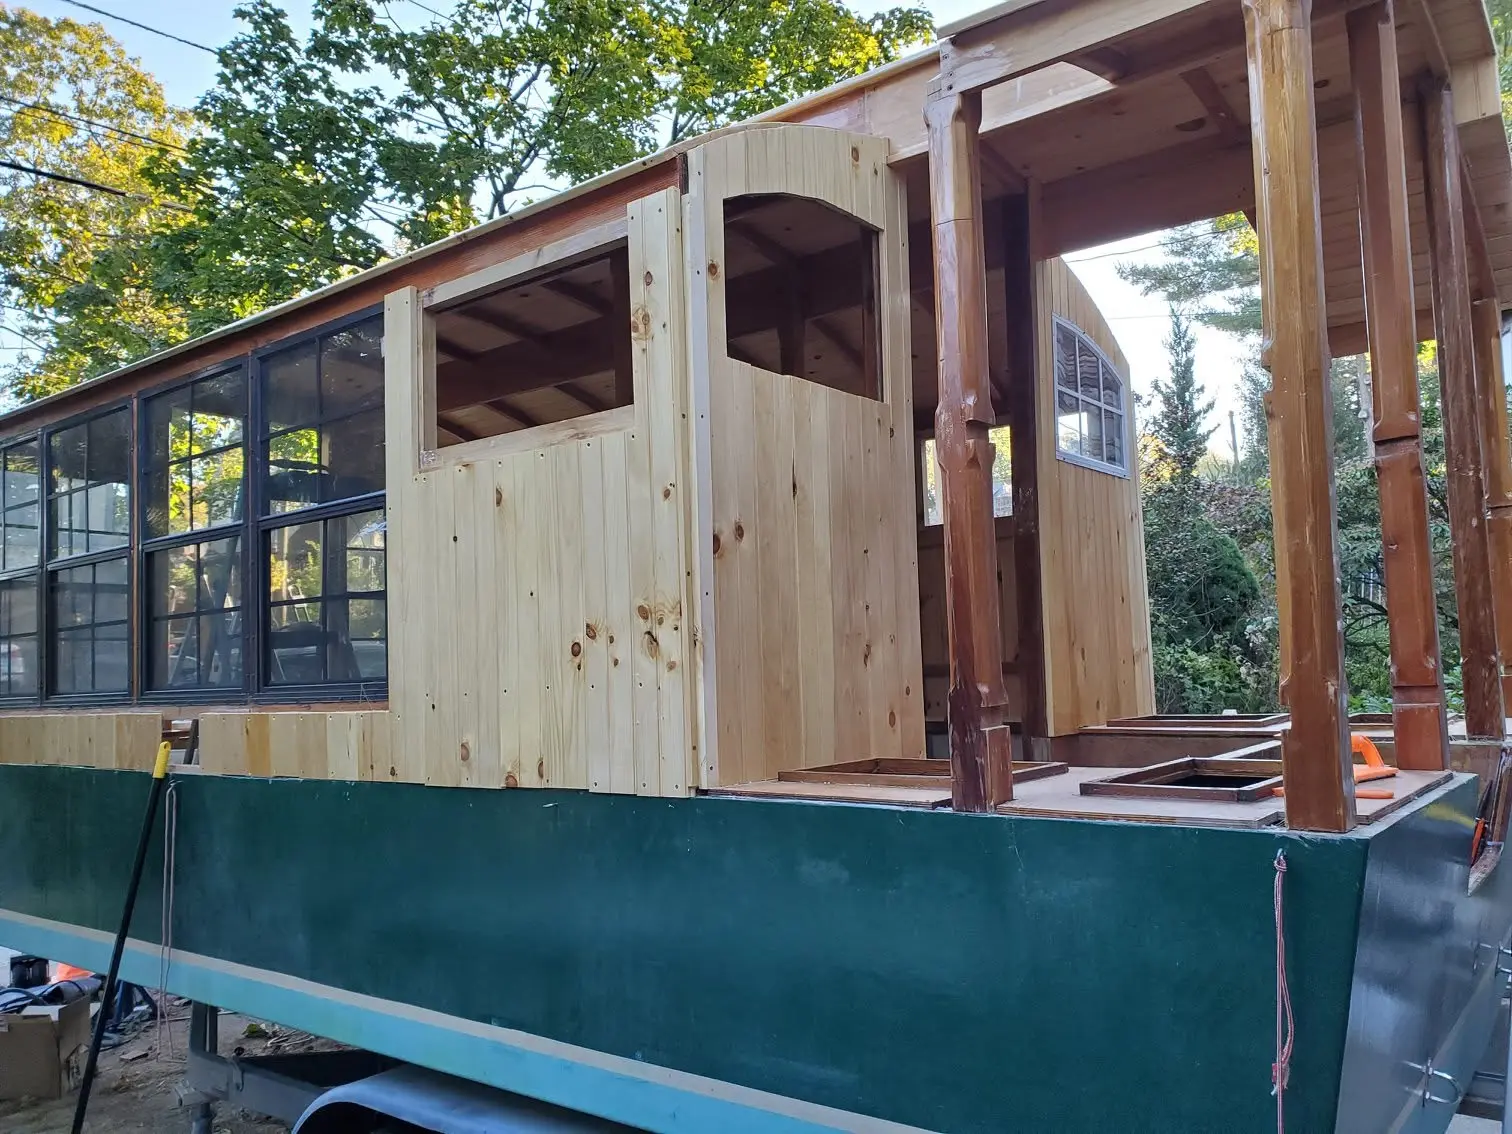
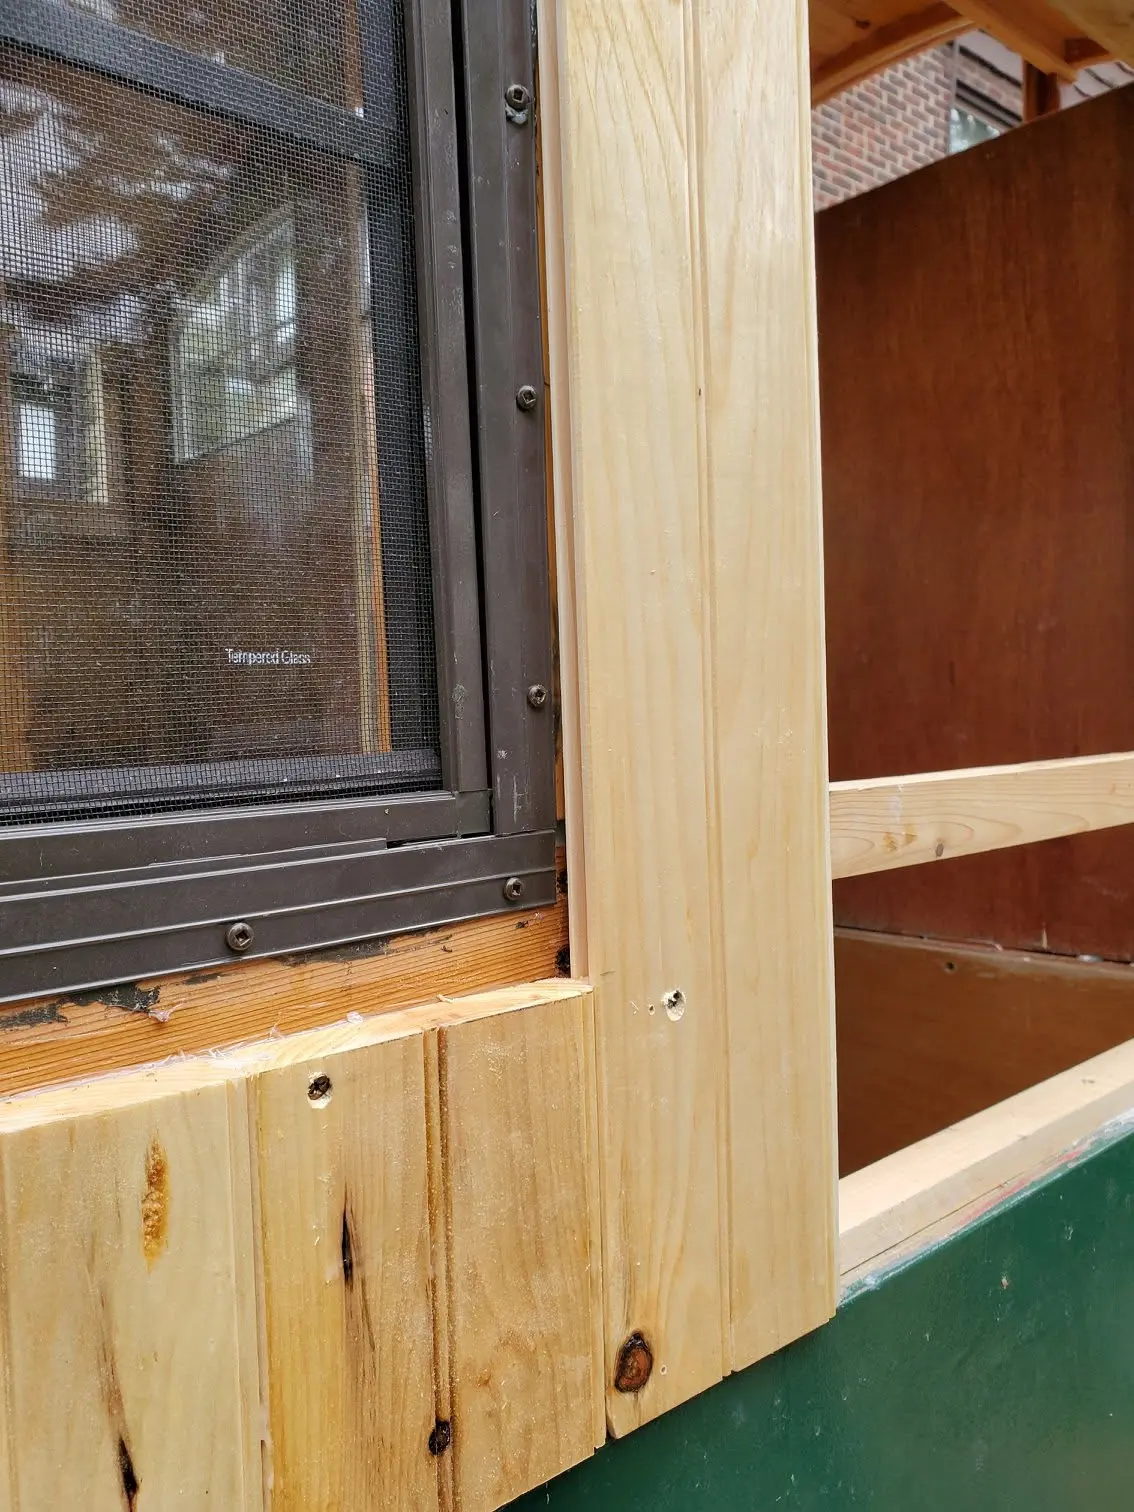
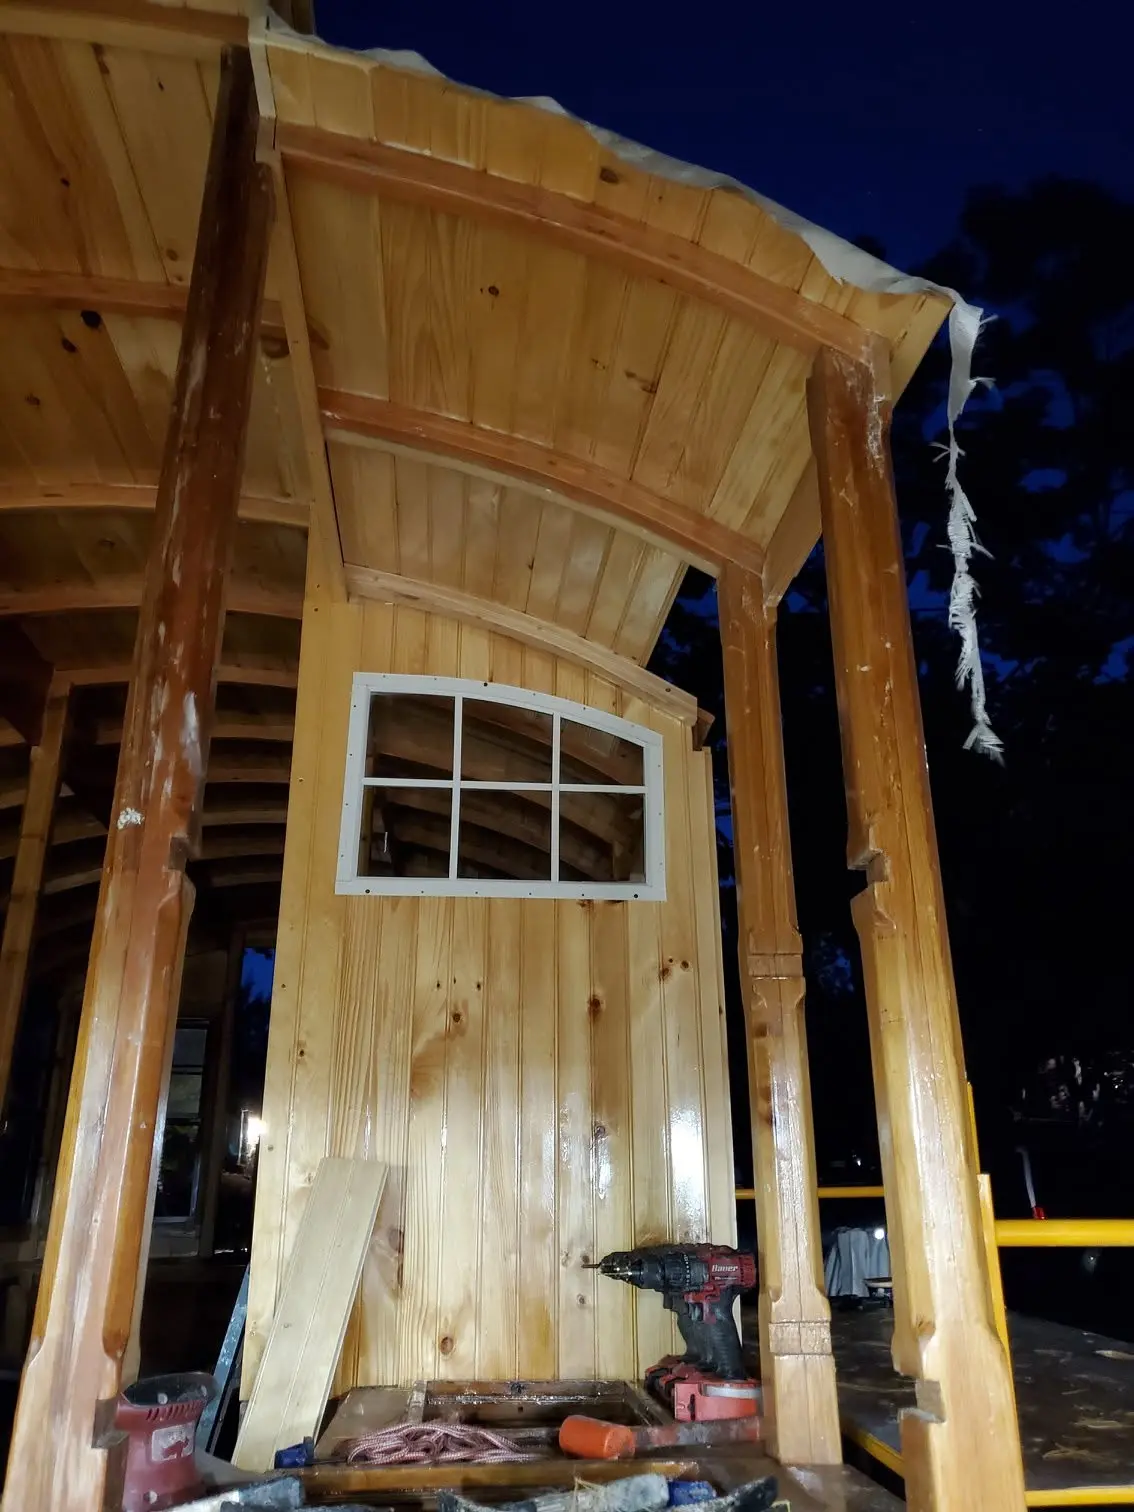
Houseboat update, Saturday, October 19, 2019 – I have some progress to report in my drive to close Jersey Girl’s cabin before the cold winter weather sets in. Over the past few days, I have found time to work on the port side, closing up the spaces under the windows on the port side, and completing the outer walls at the aft quarter on the port side, the space where the galley will be, sometimes, a special challenge will pop up, requiring a little thought before a solution is reached. In this case, it just so happened that the tongue-and-groove beadboard I am using for siding [presented a groove exactly at the trailing edge of the aft-most cabin window on the port side, just where I really wanted it to be a solid edge. The solution: carefully cut the tongue from a scrap of beadboard left over from an earlier solution to another problem, and glue it into the unwanted groove. Let the glue set, and voila! just the solid edge I was hoping for. Tomorrow, rain is in the forecast, so I will not be able to ‘glass the roof. But Monday is supposed to be rain-free, with a high in the upper 60s, perfect for epoxy and fiberglass work. We shall see.
The port side of Jersey Girl's roof is fiberglassed.
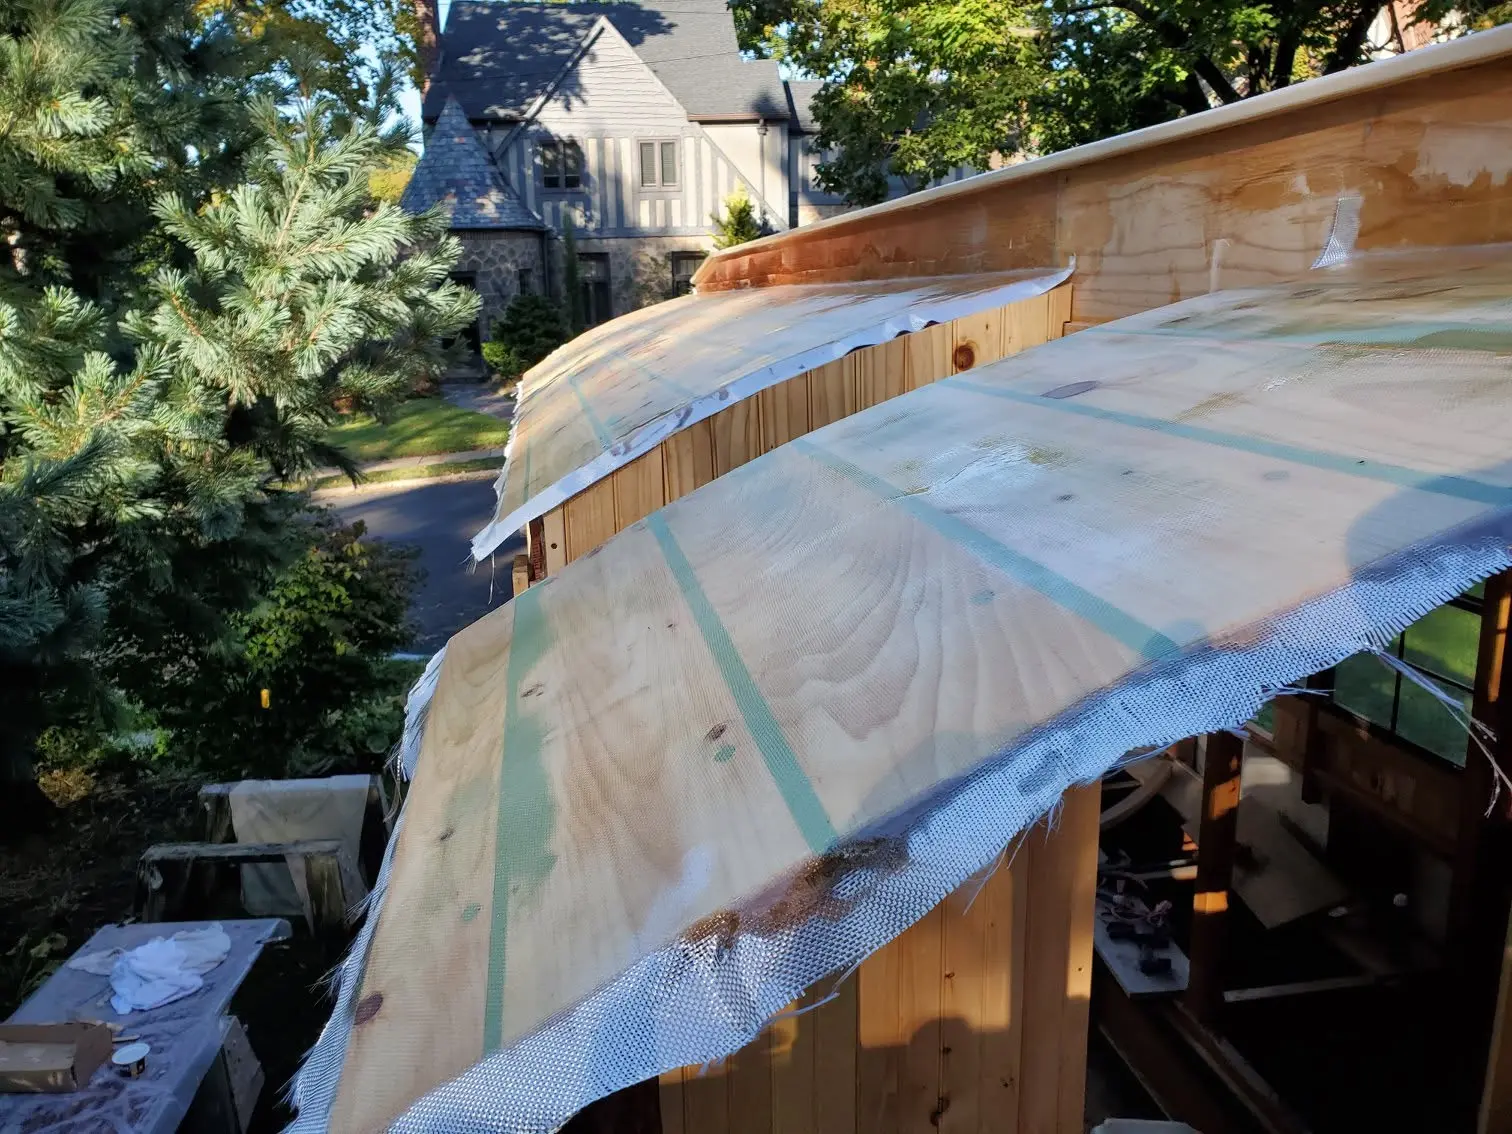
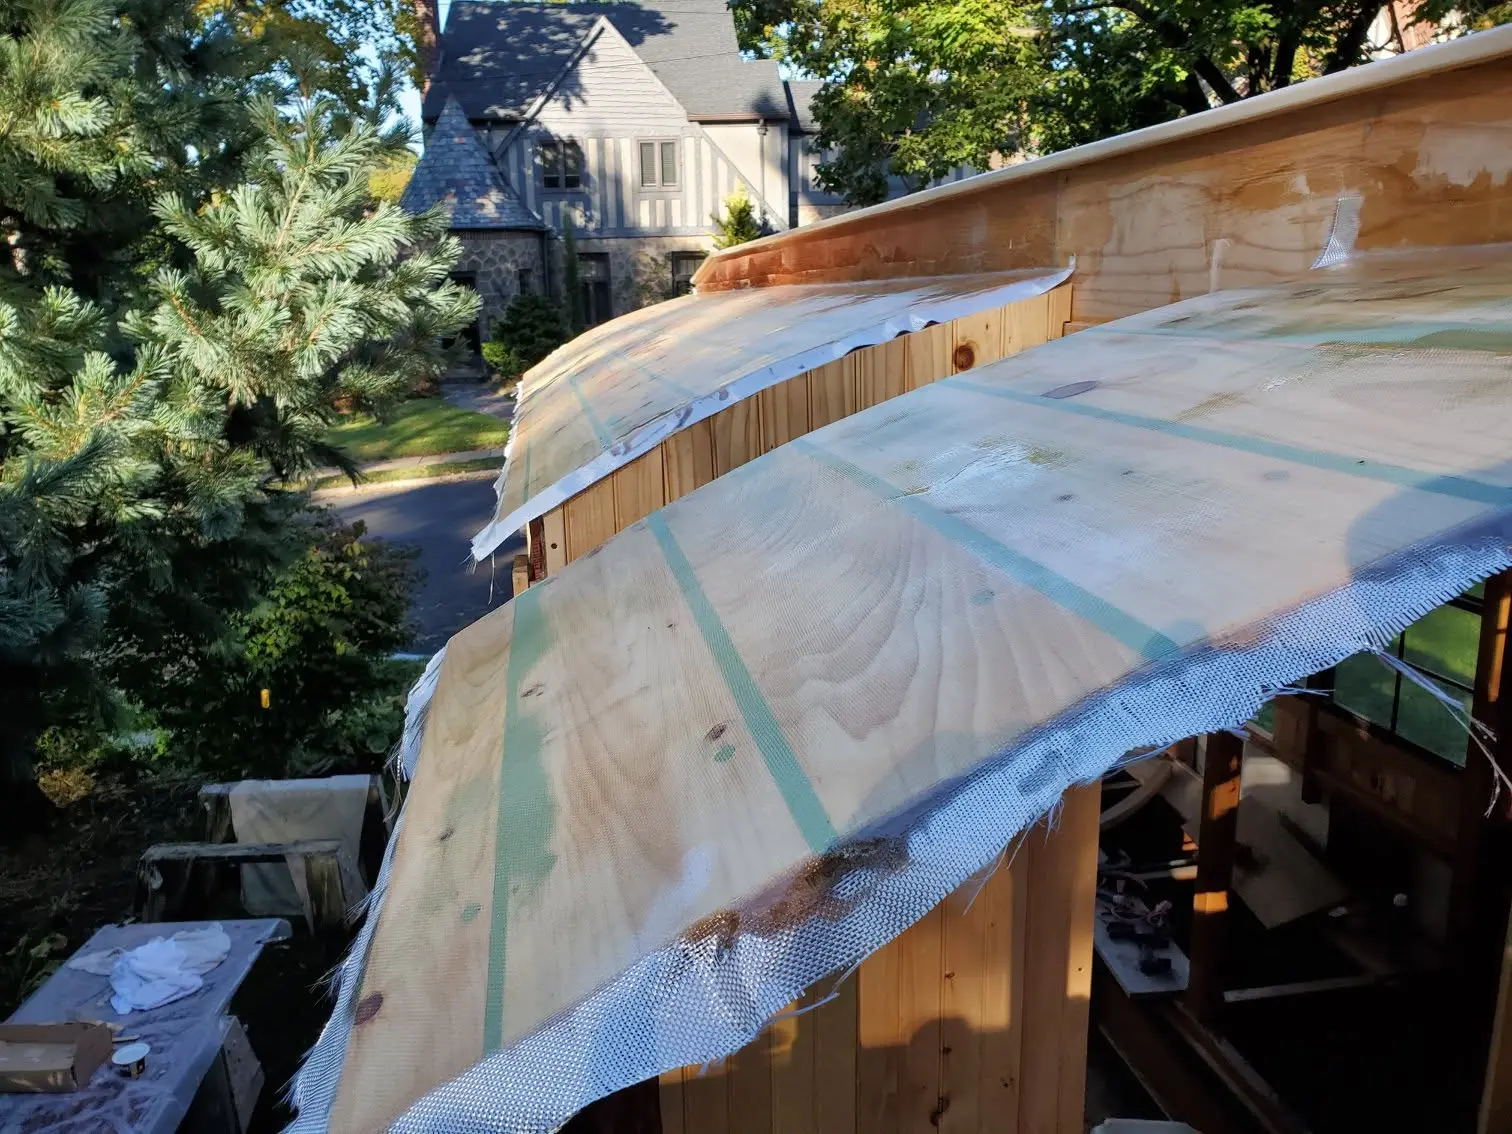
Houseboat update, Monday, October 21, 2019 -- The port side of Jersey Girl's roof is fiberglassed. While the epoxy it's bedded in cures, I'll move over to the starboard side. Remaining to do on the roof: trim the edges of the fiberglass fabric, give it a light sanding, followed by an additional application of epoxy, two coats of primer and two coats of topside paint. Also, I will have to build, fiberglass and finish the two "gullwing" sections of the roof and install them with hinges and gas-lift struts. The uncharacteristically warm autumn has treated me (and Jersey Girl) very well.
As the epoxy-bedded fiberglass cures on both sides of Jersey Girl's roof, it's time to...
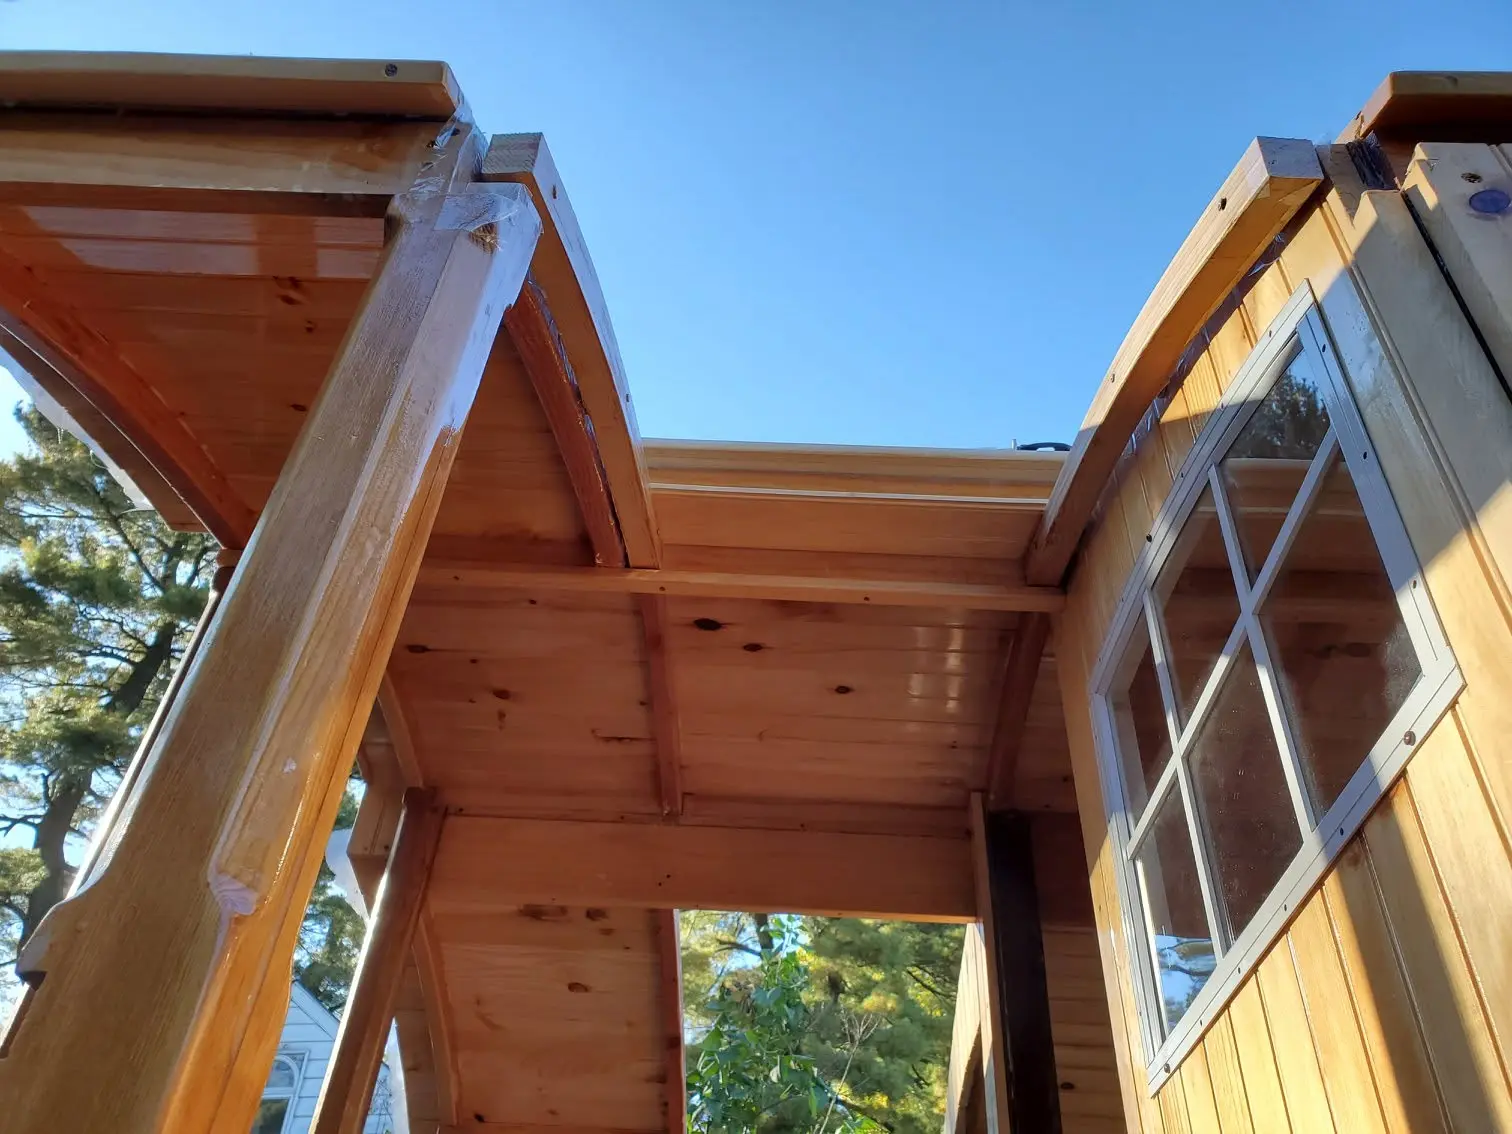
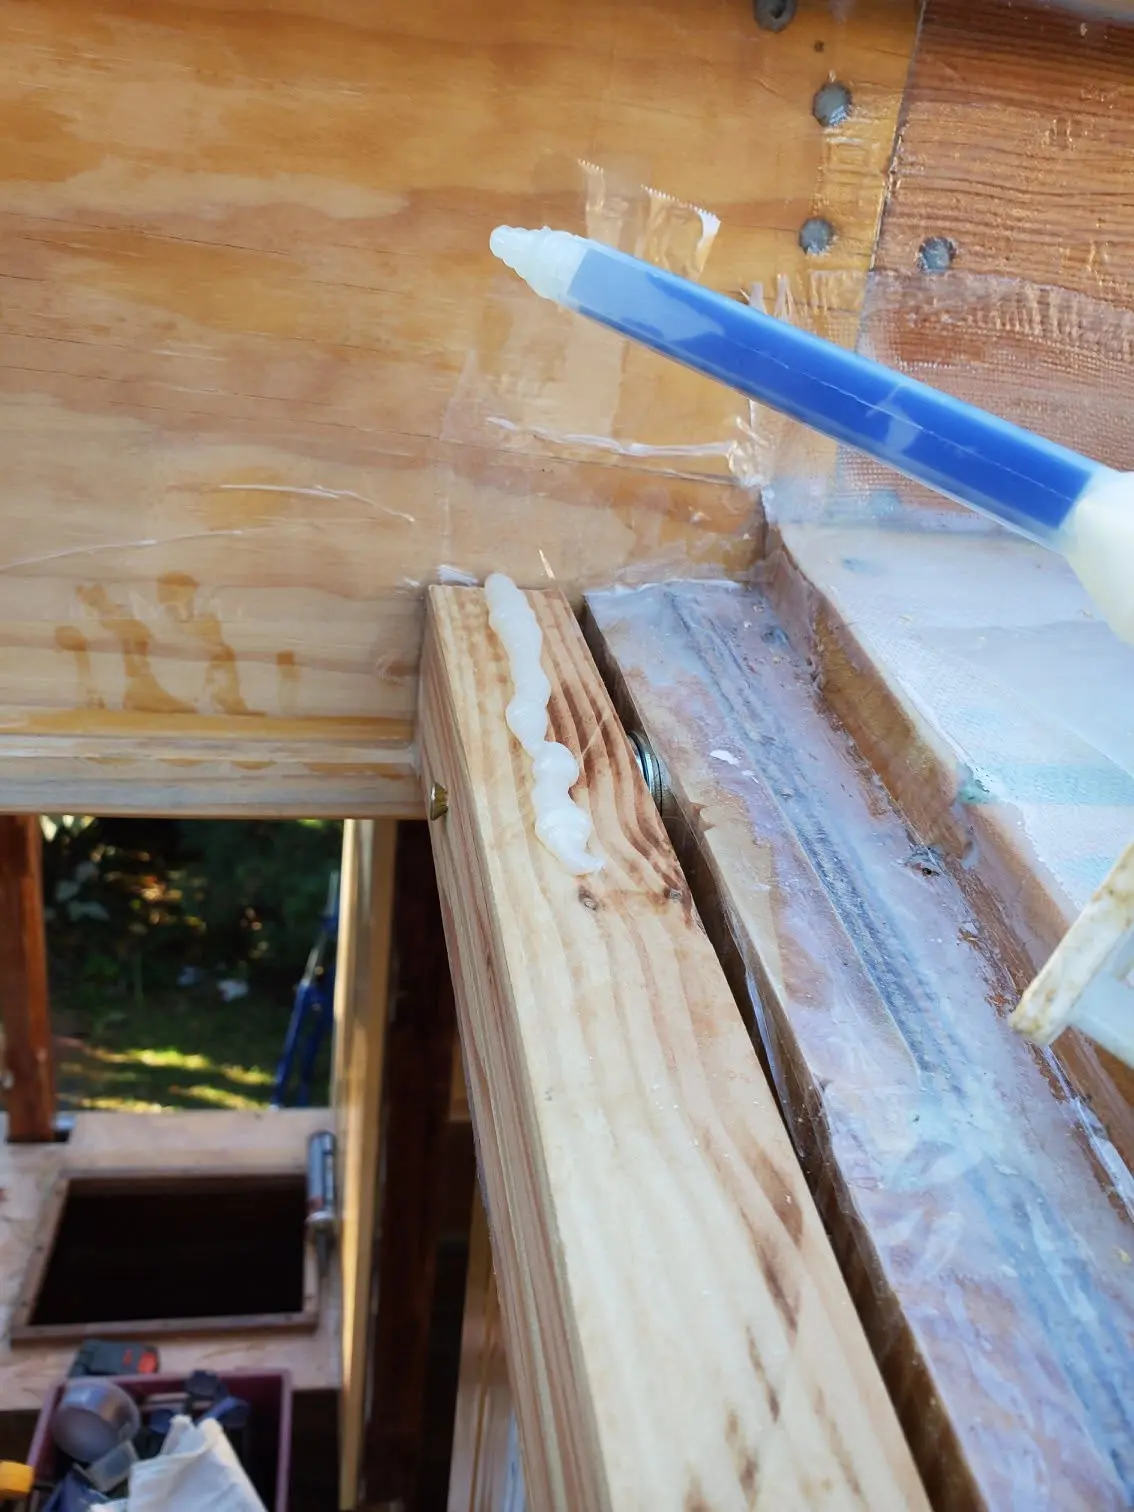
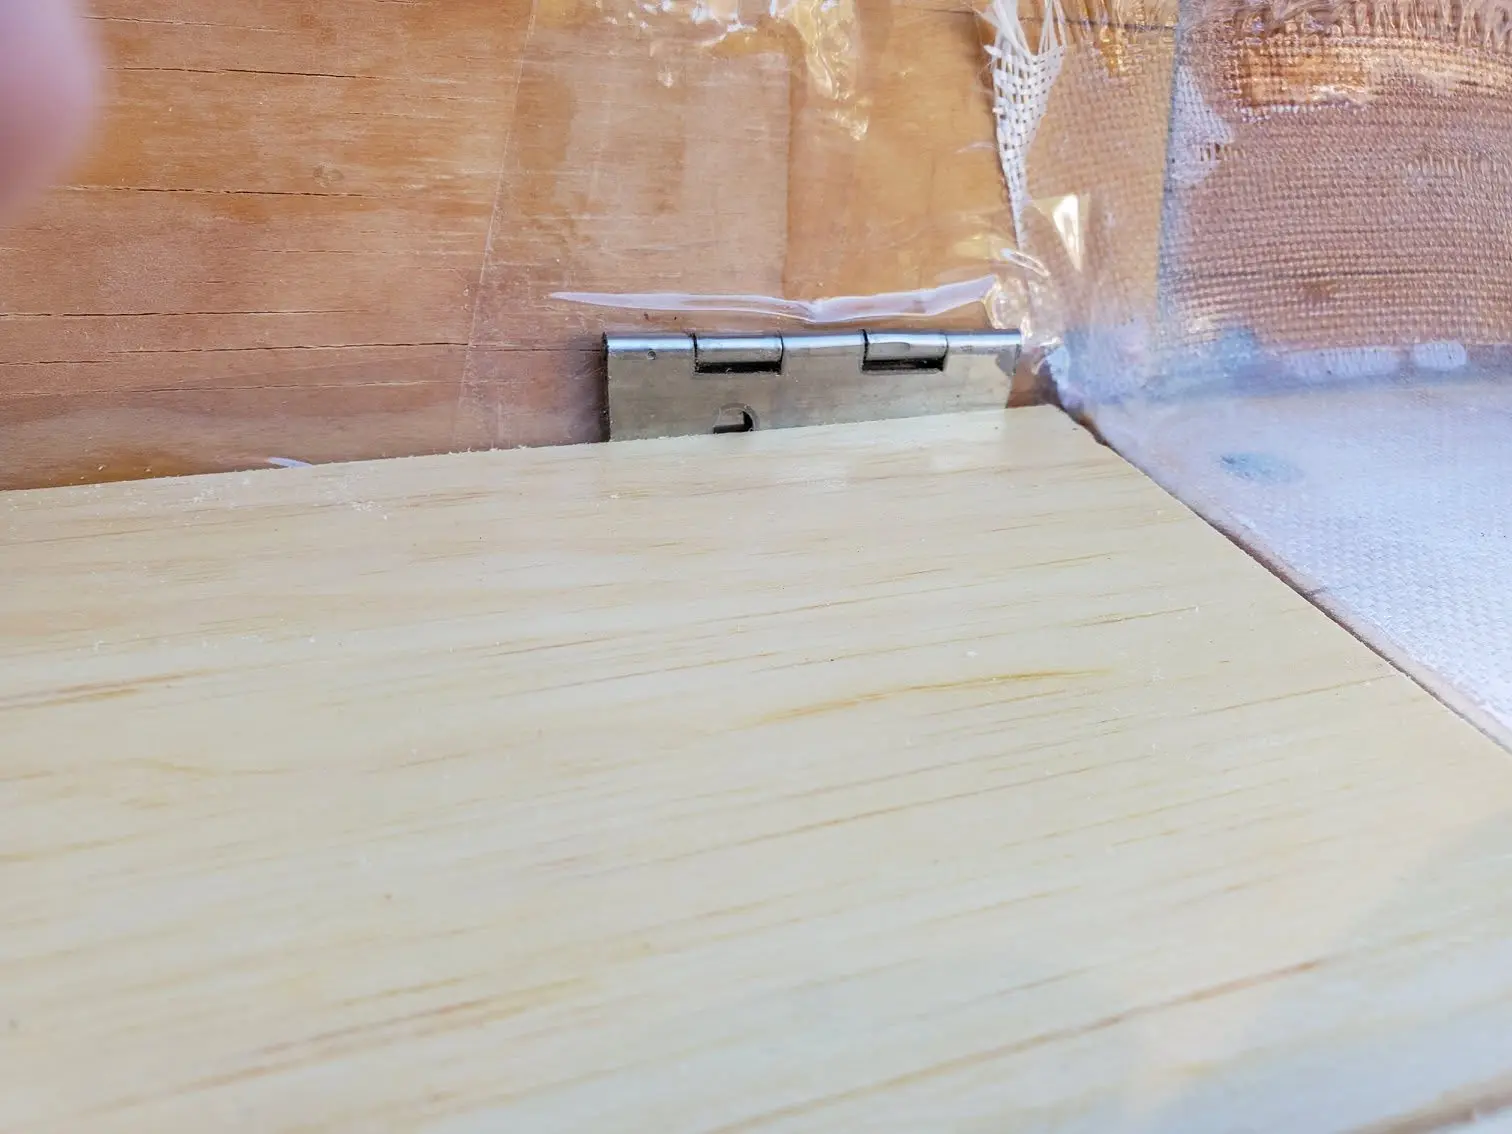
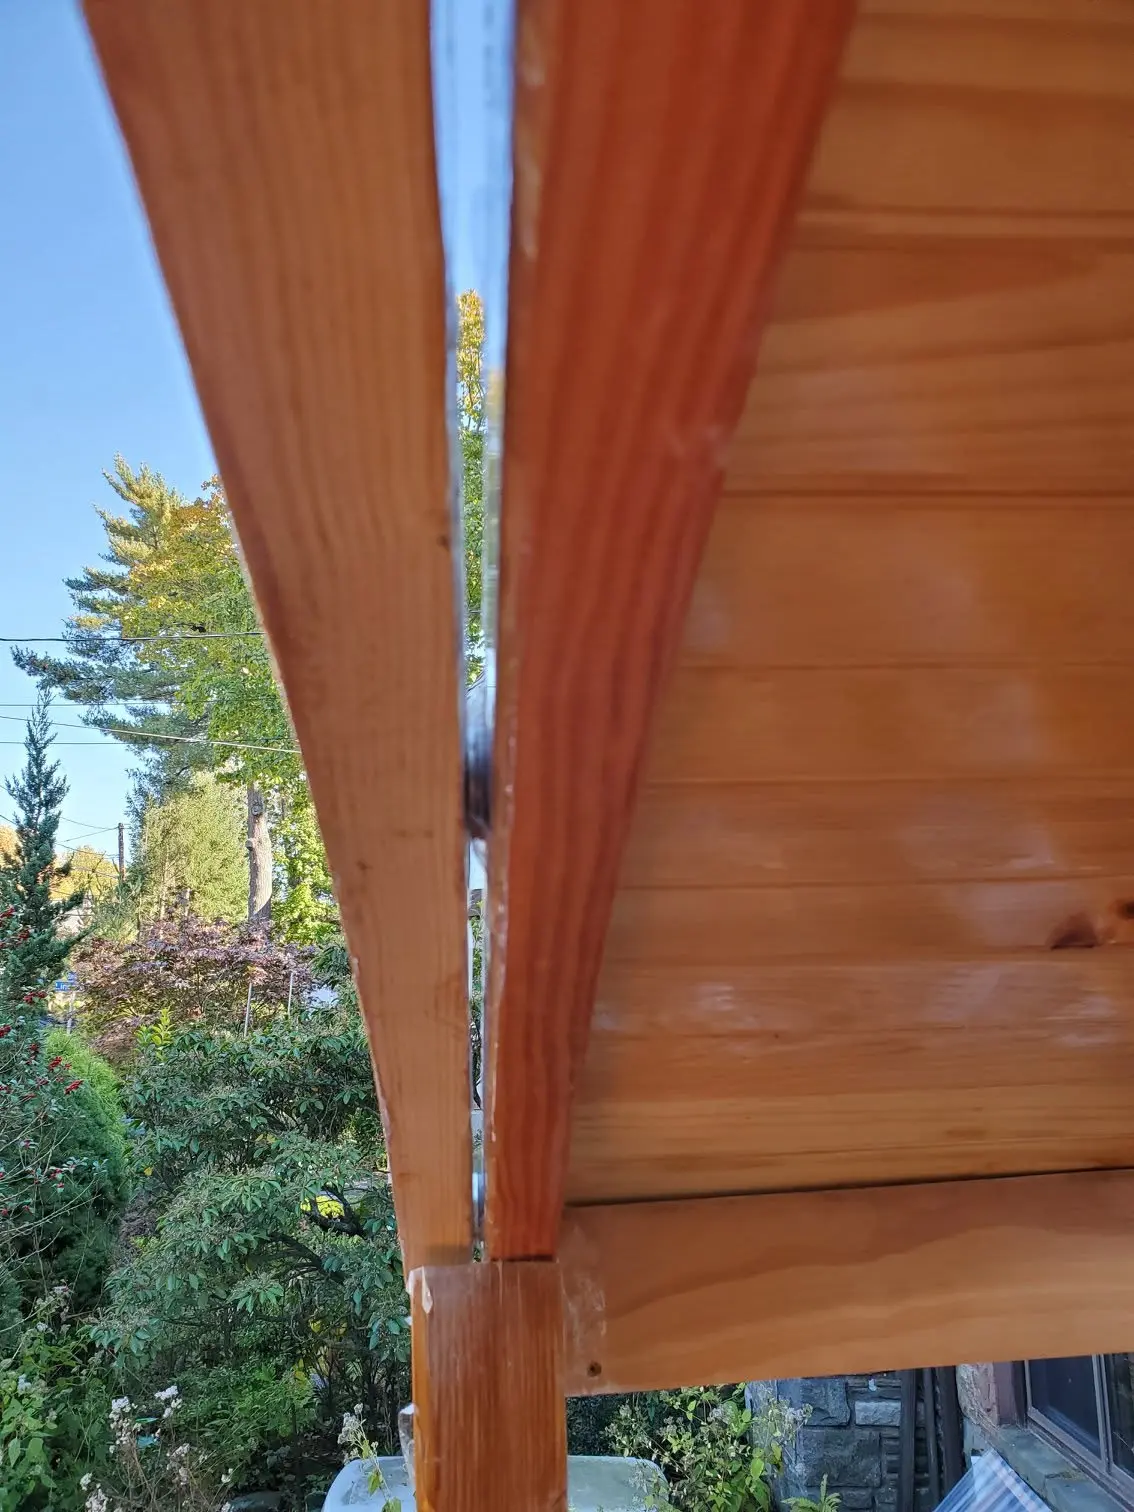
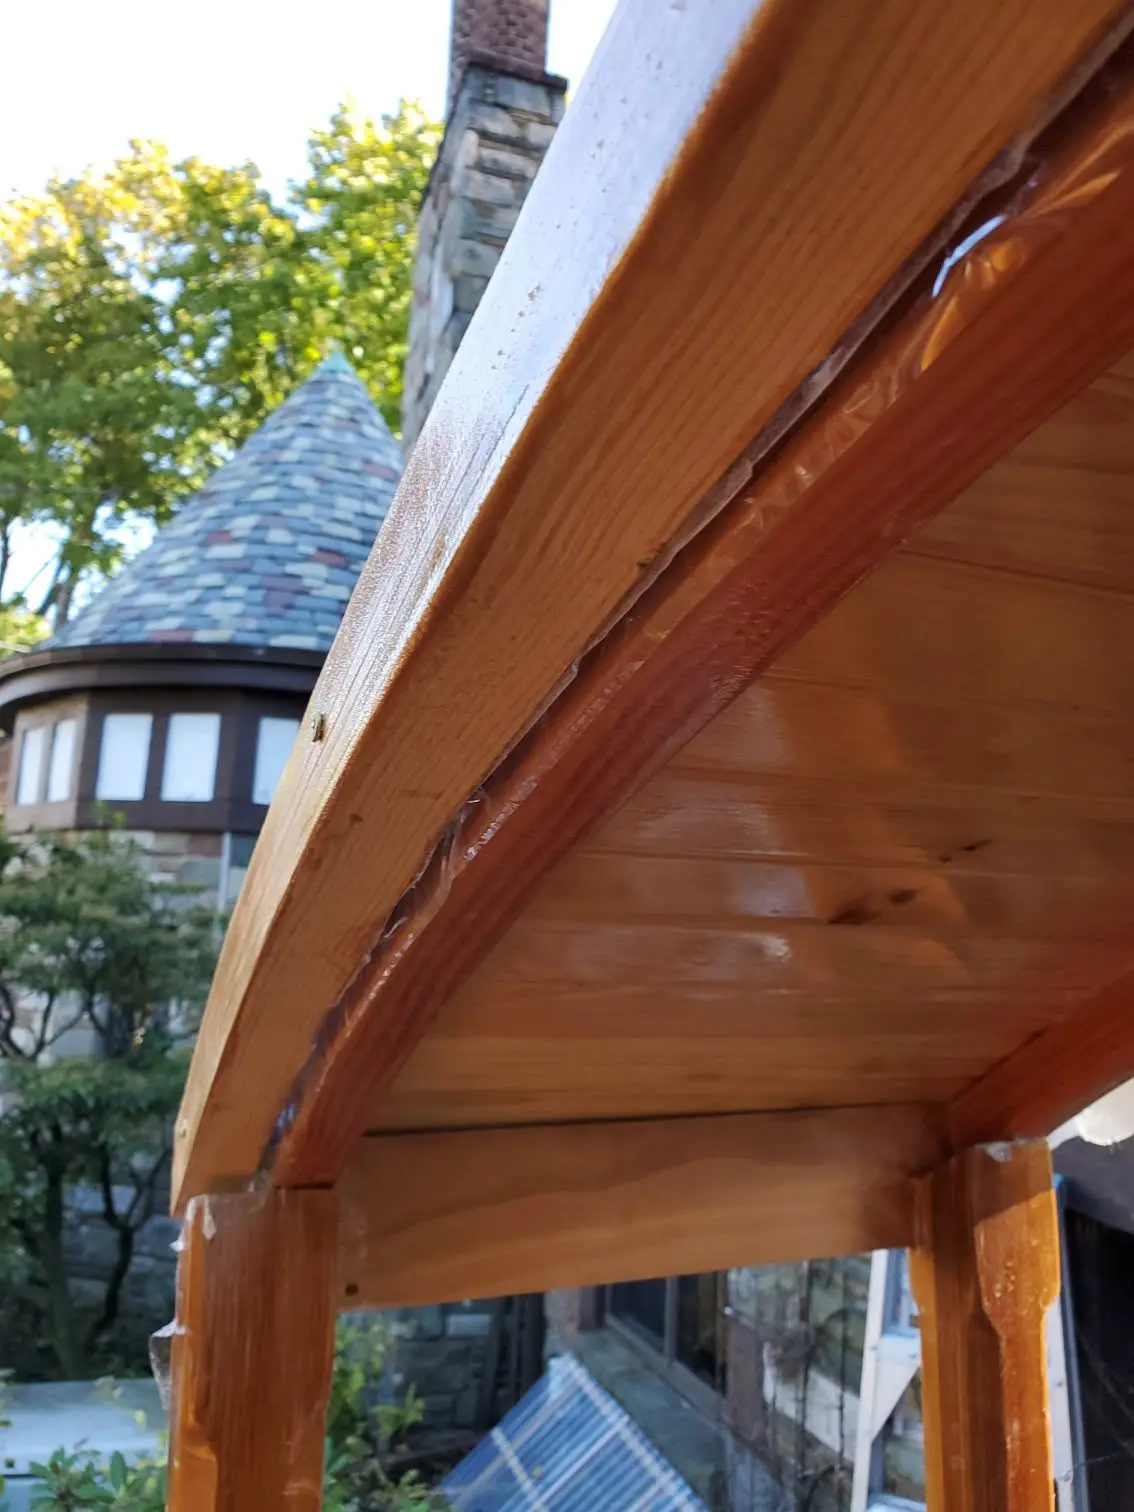
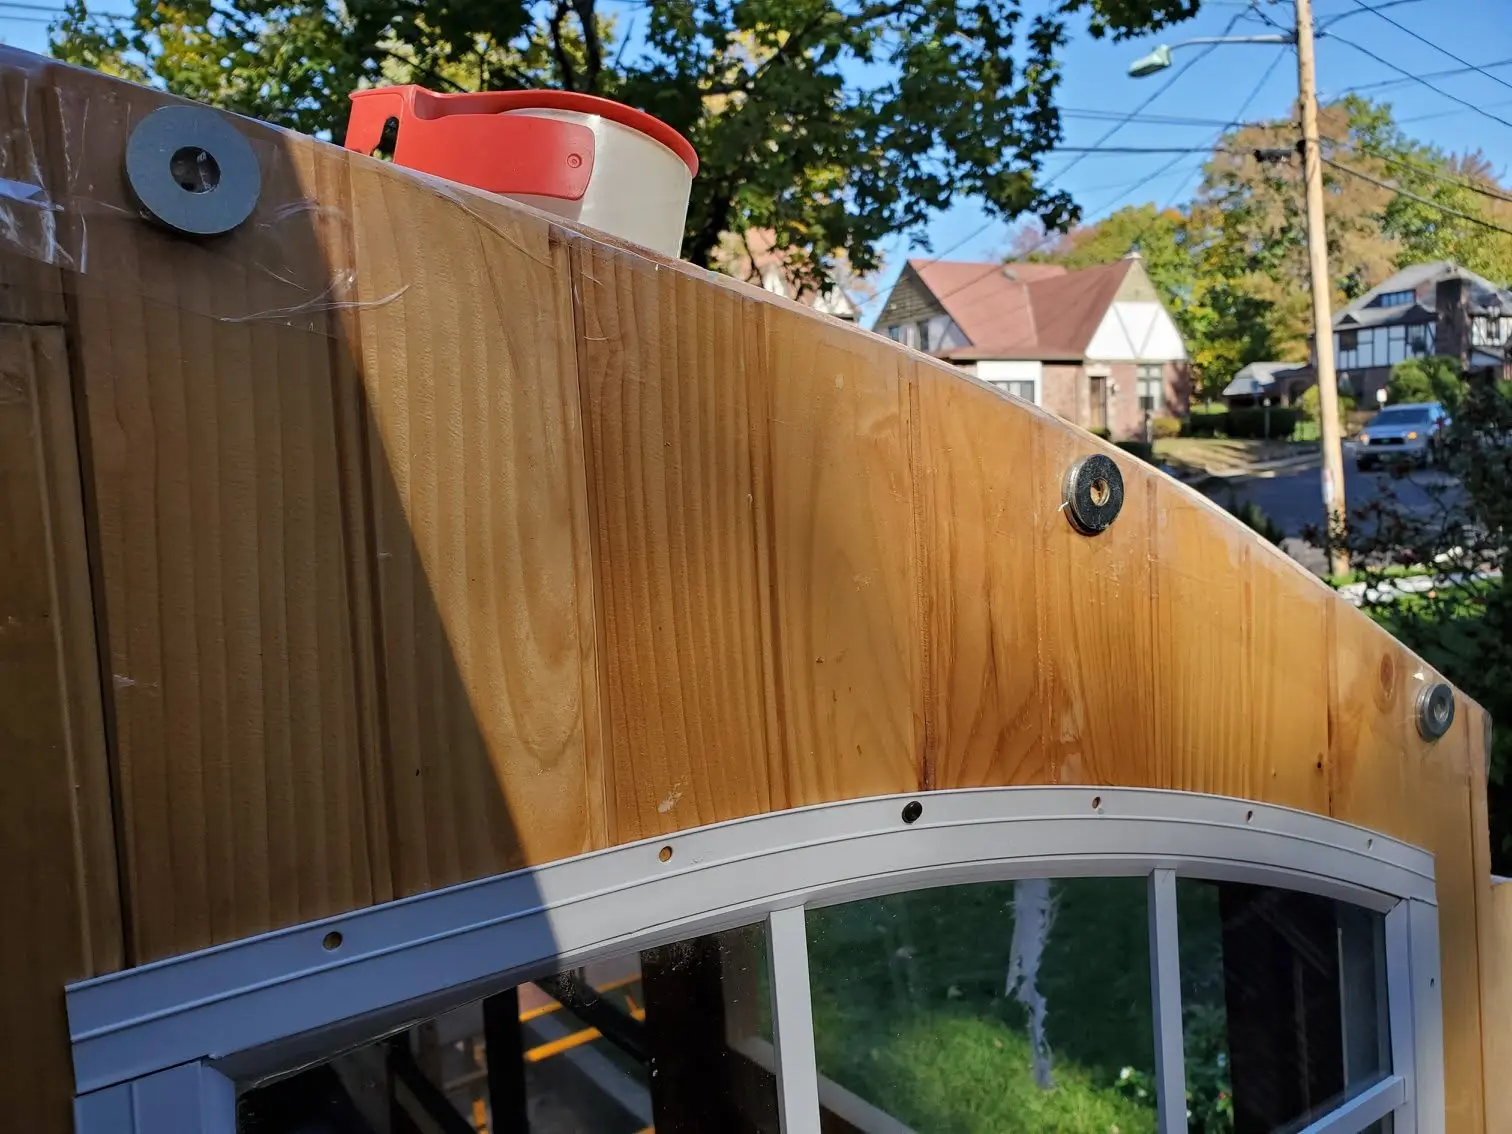
Houseboat update, Wednesday, October 23, 2019 -- As the epoxy-bedded fiberglass cures on both sides of Jersey Girl's roof, it's time to start on the gull wing sections, which will be hinged and lift up to allow easier access to the aft deck when boarding from a dock. Earlier, I laminated curved pieces patterned after the roof beams. Now, I temporarily screw them into the aft bulkhead of the cabin and the forward beam of the aft-most section of fixed roof. Before I do that, however, I protect any wood I don't want to become a permanent part of the assembly from any stray epoxy. I also use thick washers as temporary spacers to establish a 3/16-inch gap to assure the gull wing won't bind as it is raised and lowered. The first piece of tongue-and-groove installed against the center longitudinal beam must be ripped on the table saw to eliminate the groove, and it must be cut on an angle to accommodate the angle of the roof at that point. I will be using continuous hinges on this assembly, so I use a scrap of such a hinge as a temporary spacer to tell me how much of a gap I have to leave. As night fell and I had to stop work, I was one board and an overhang away from finishing the gull wing on the starboard side. I will take advantage of fine weather to finish this side and perhaps do the other side tomorrow.