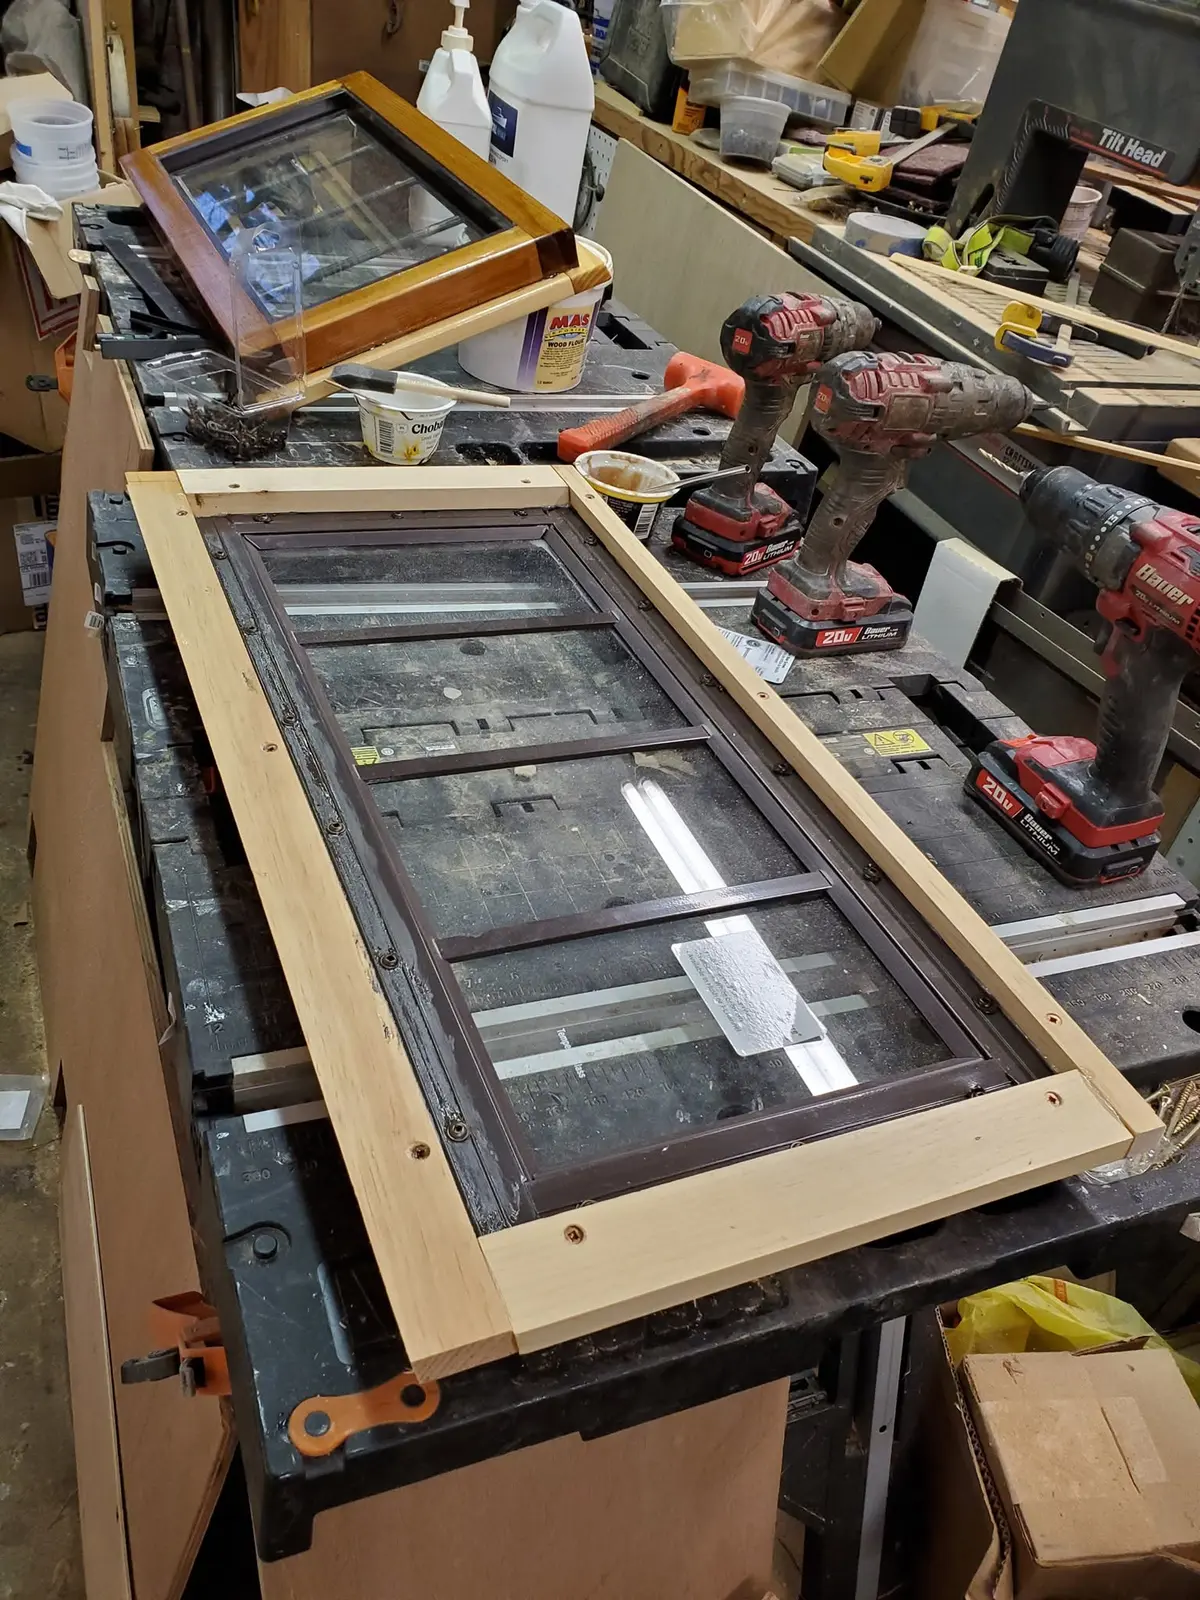
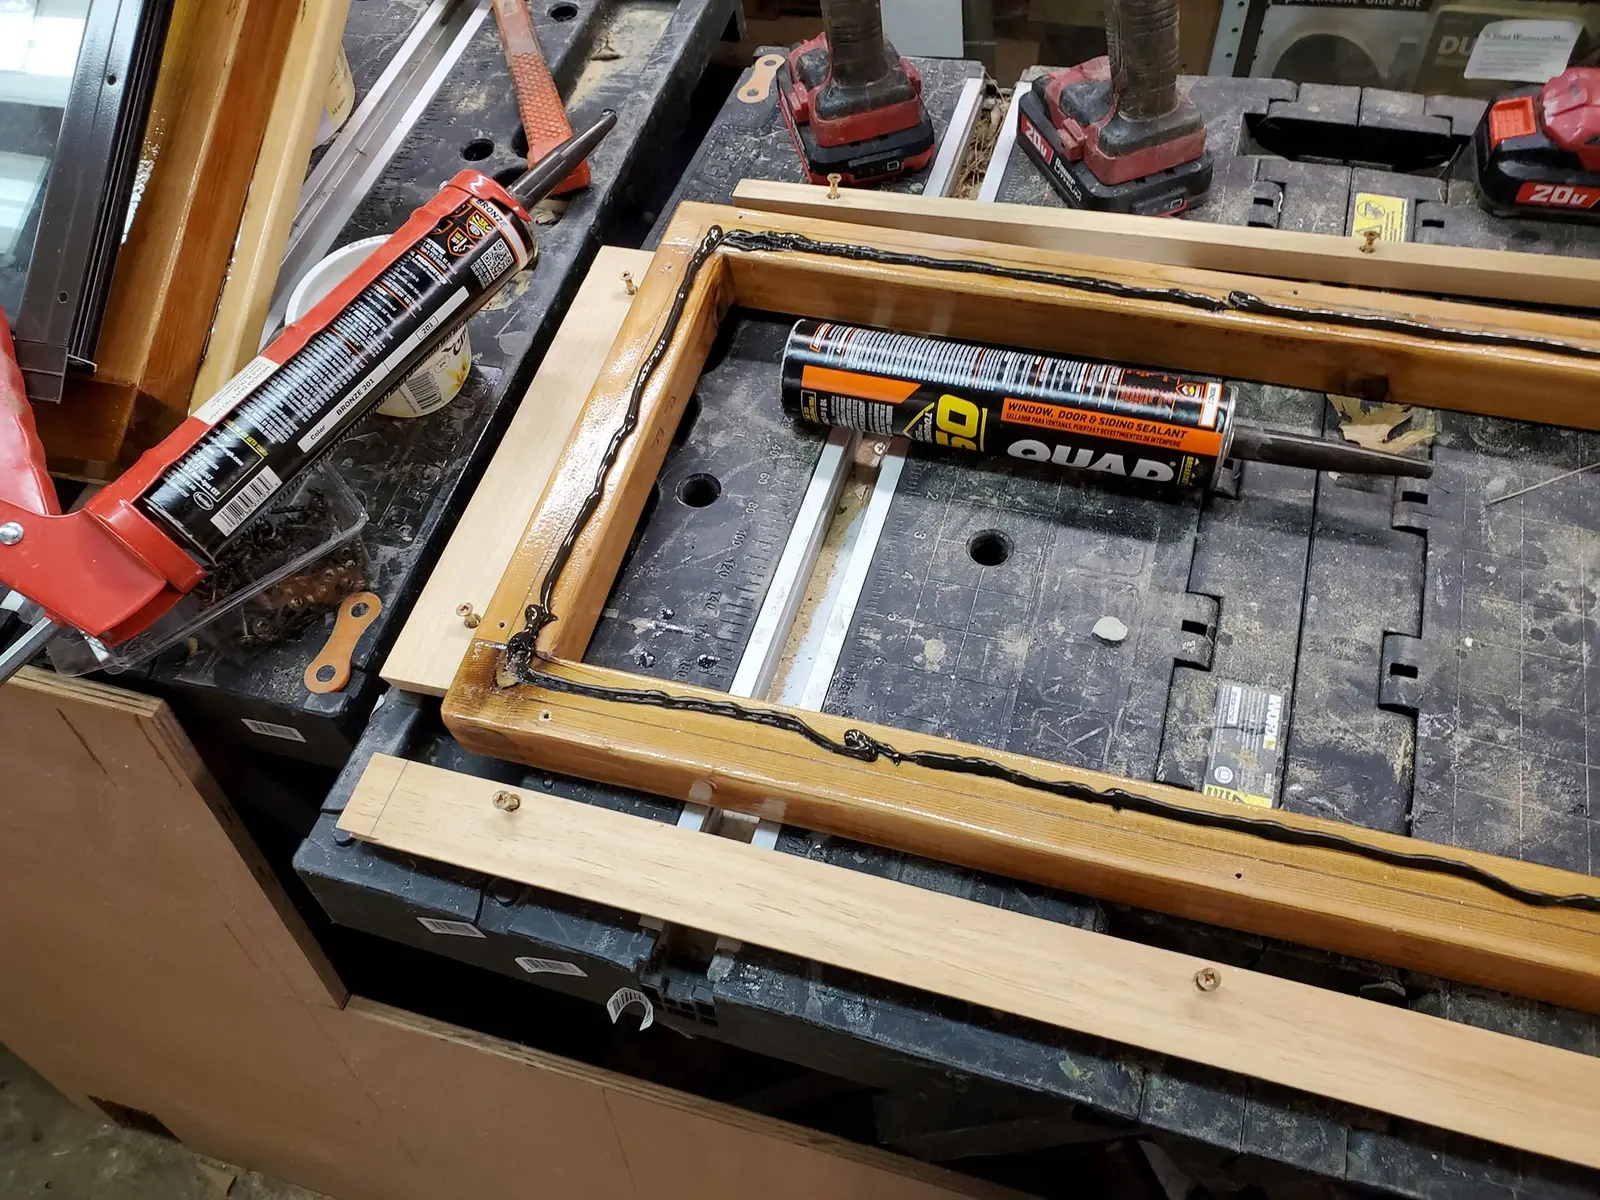
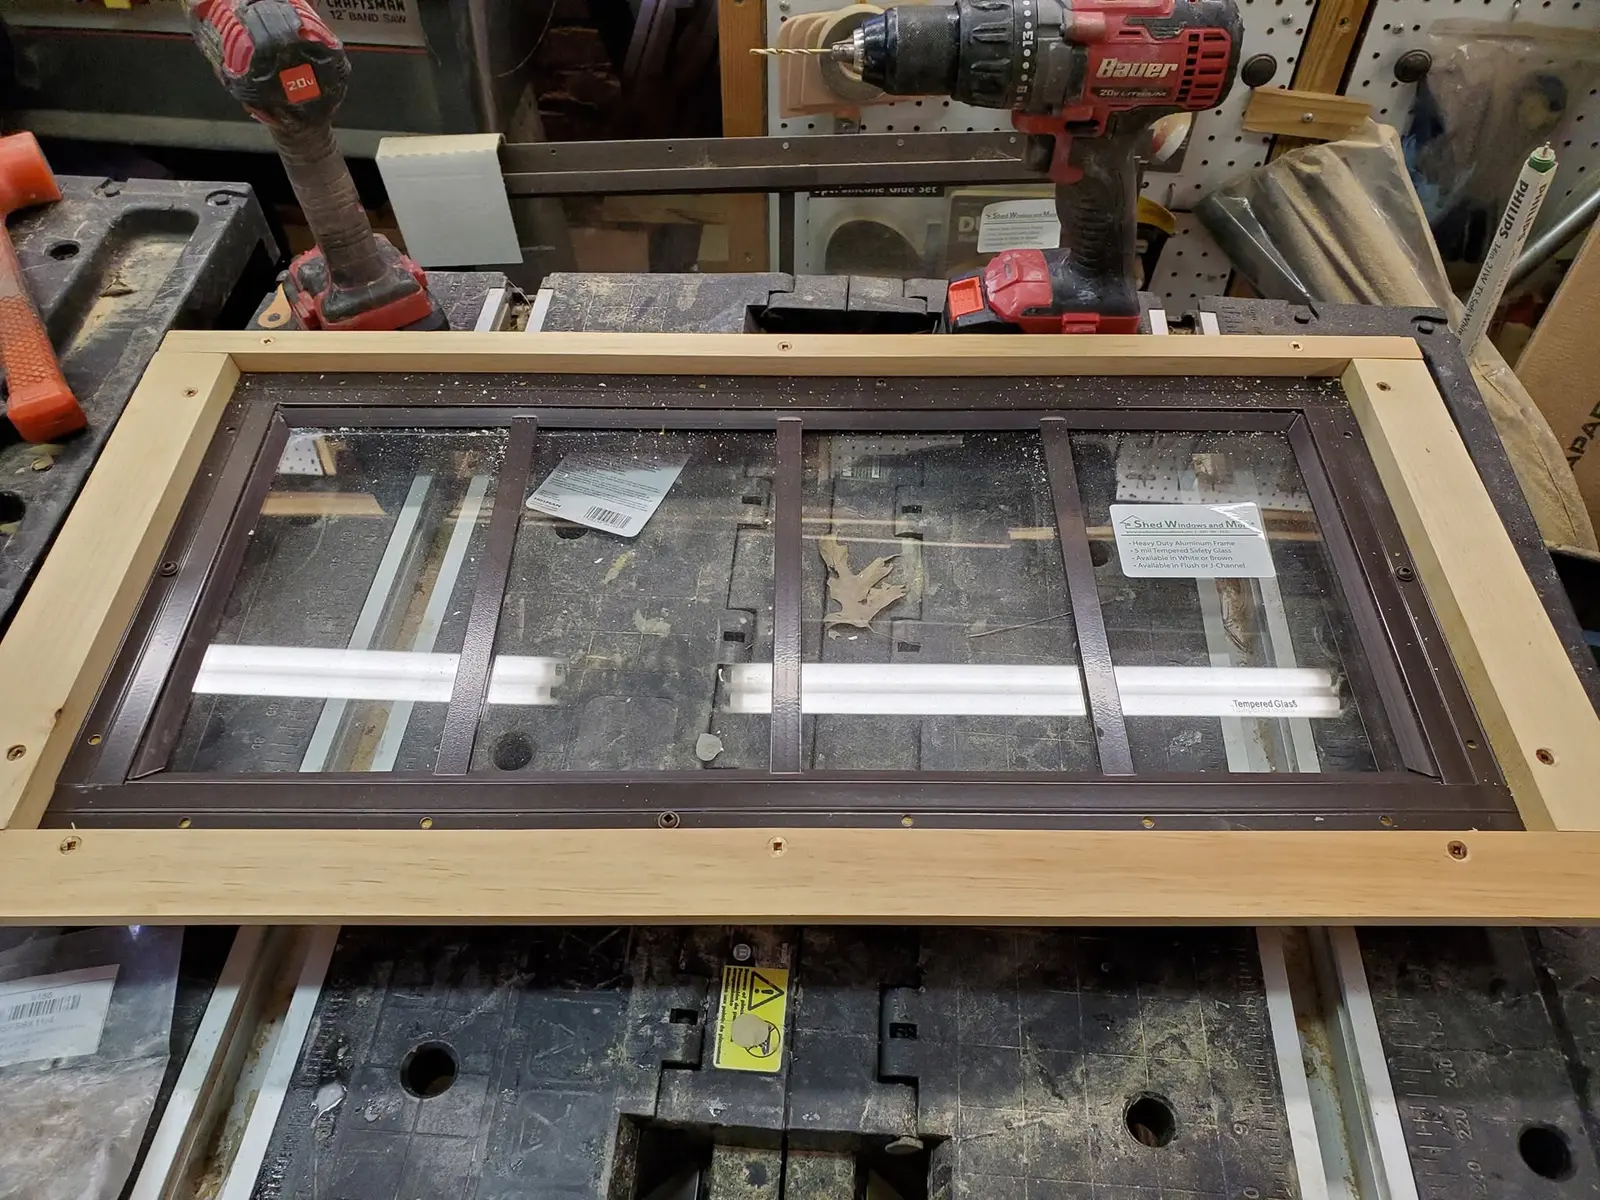
I finished building Jersey Girl’s second aft side window today, the one that will be...
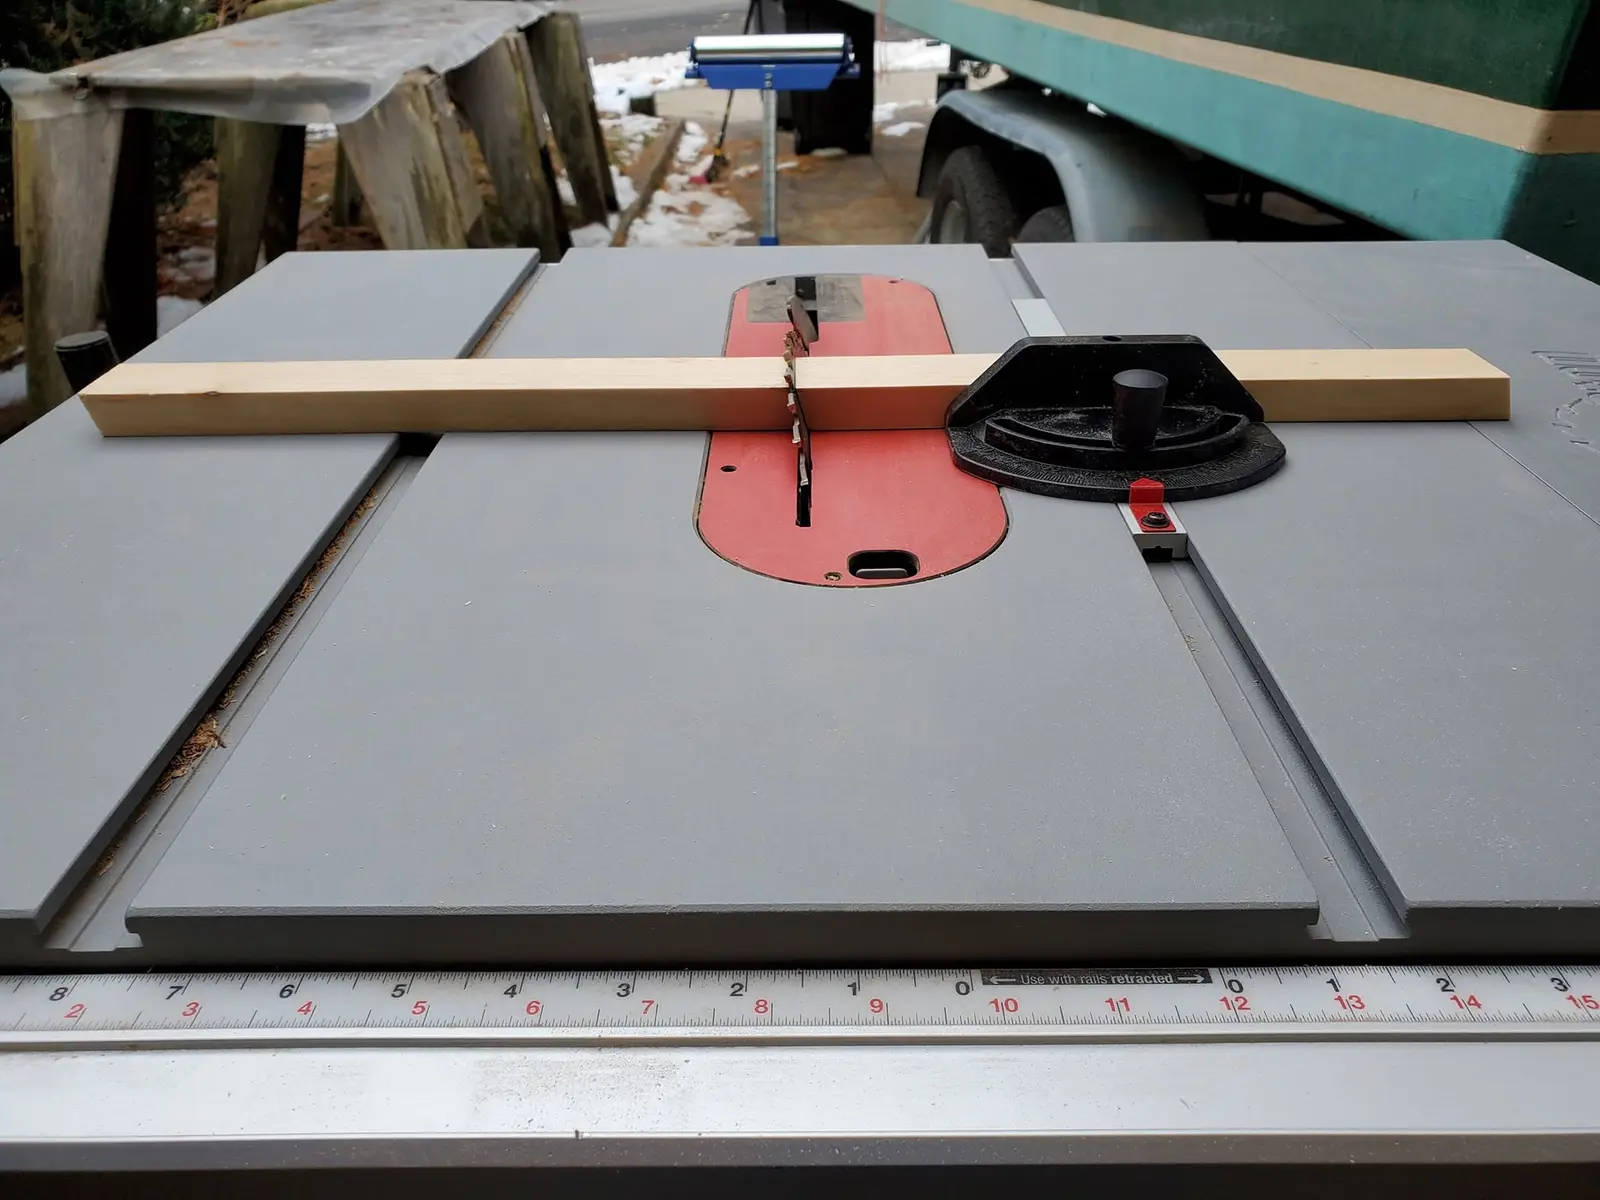
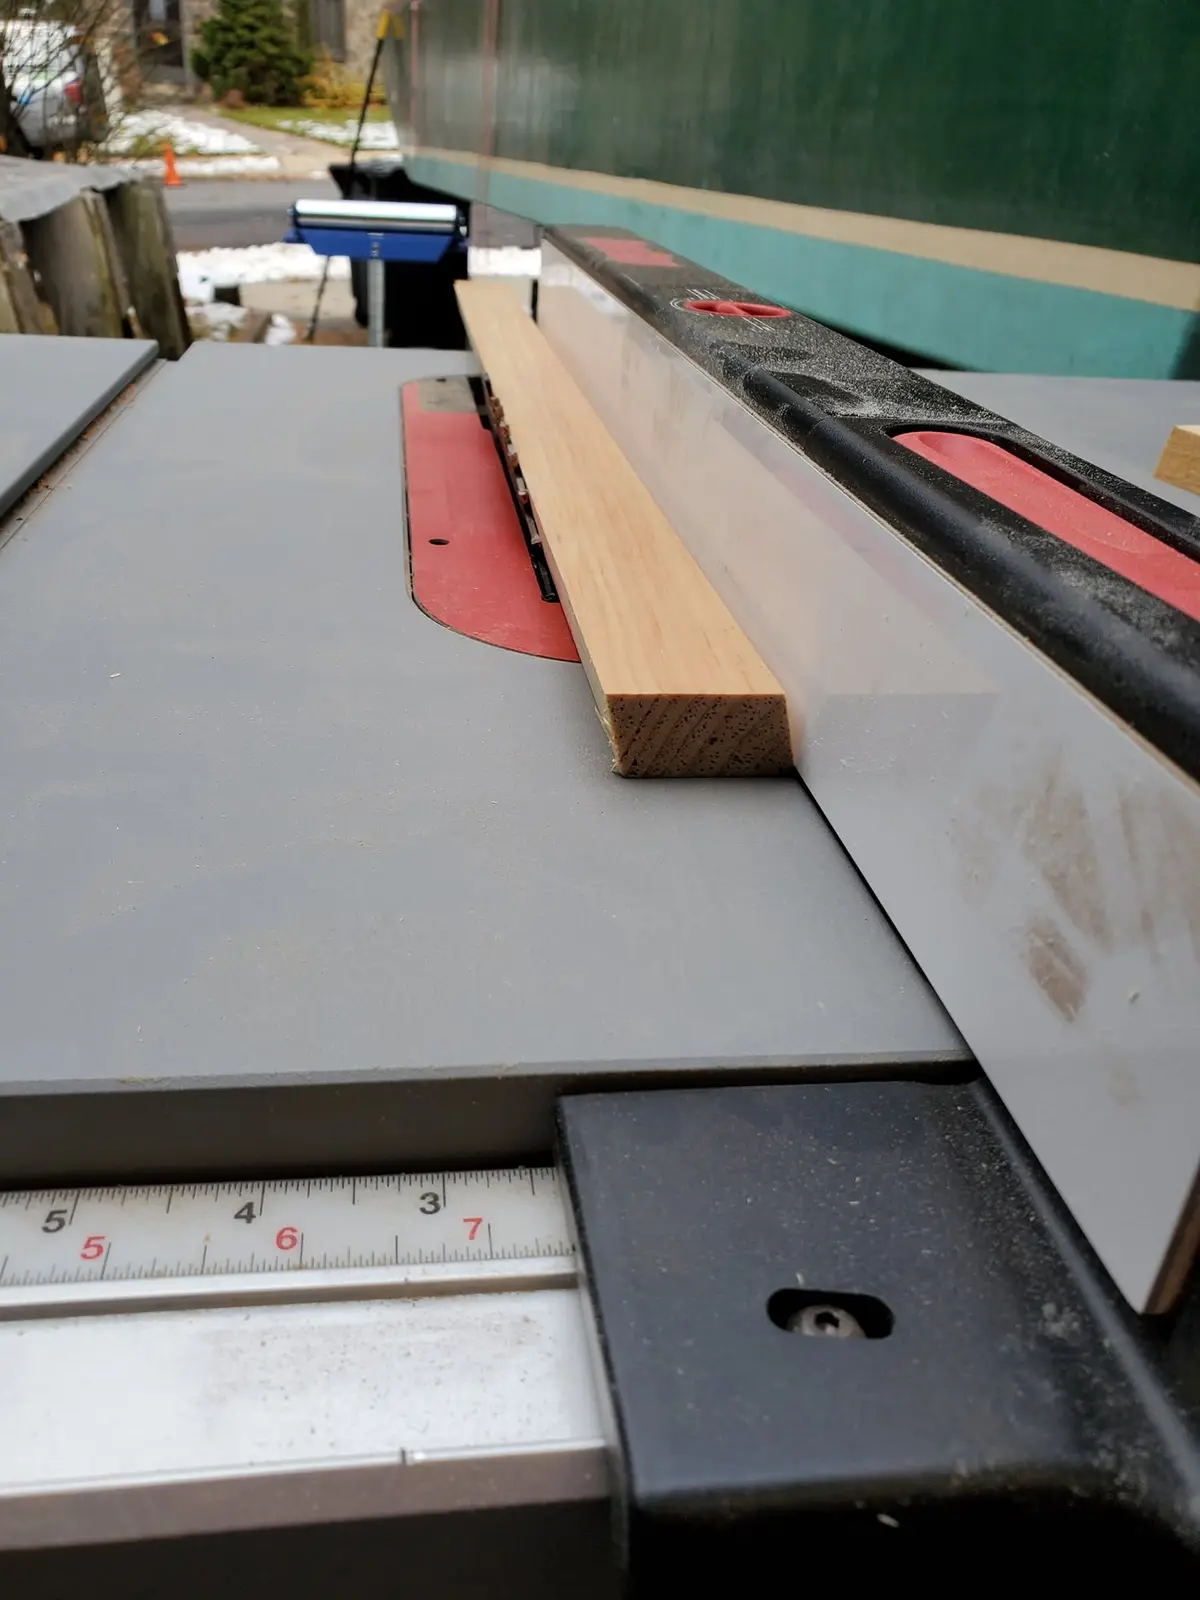
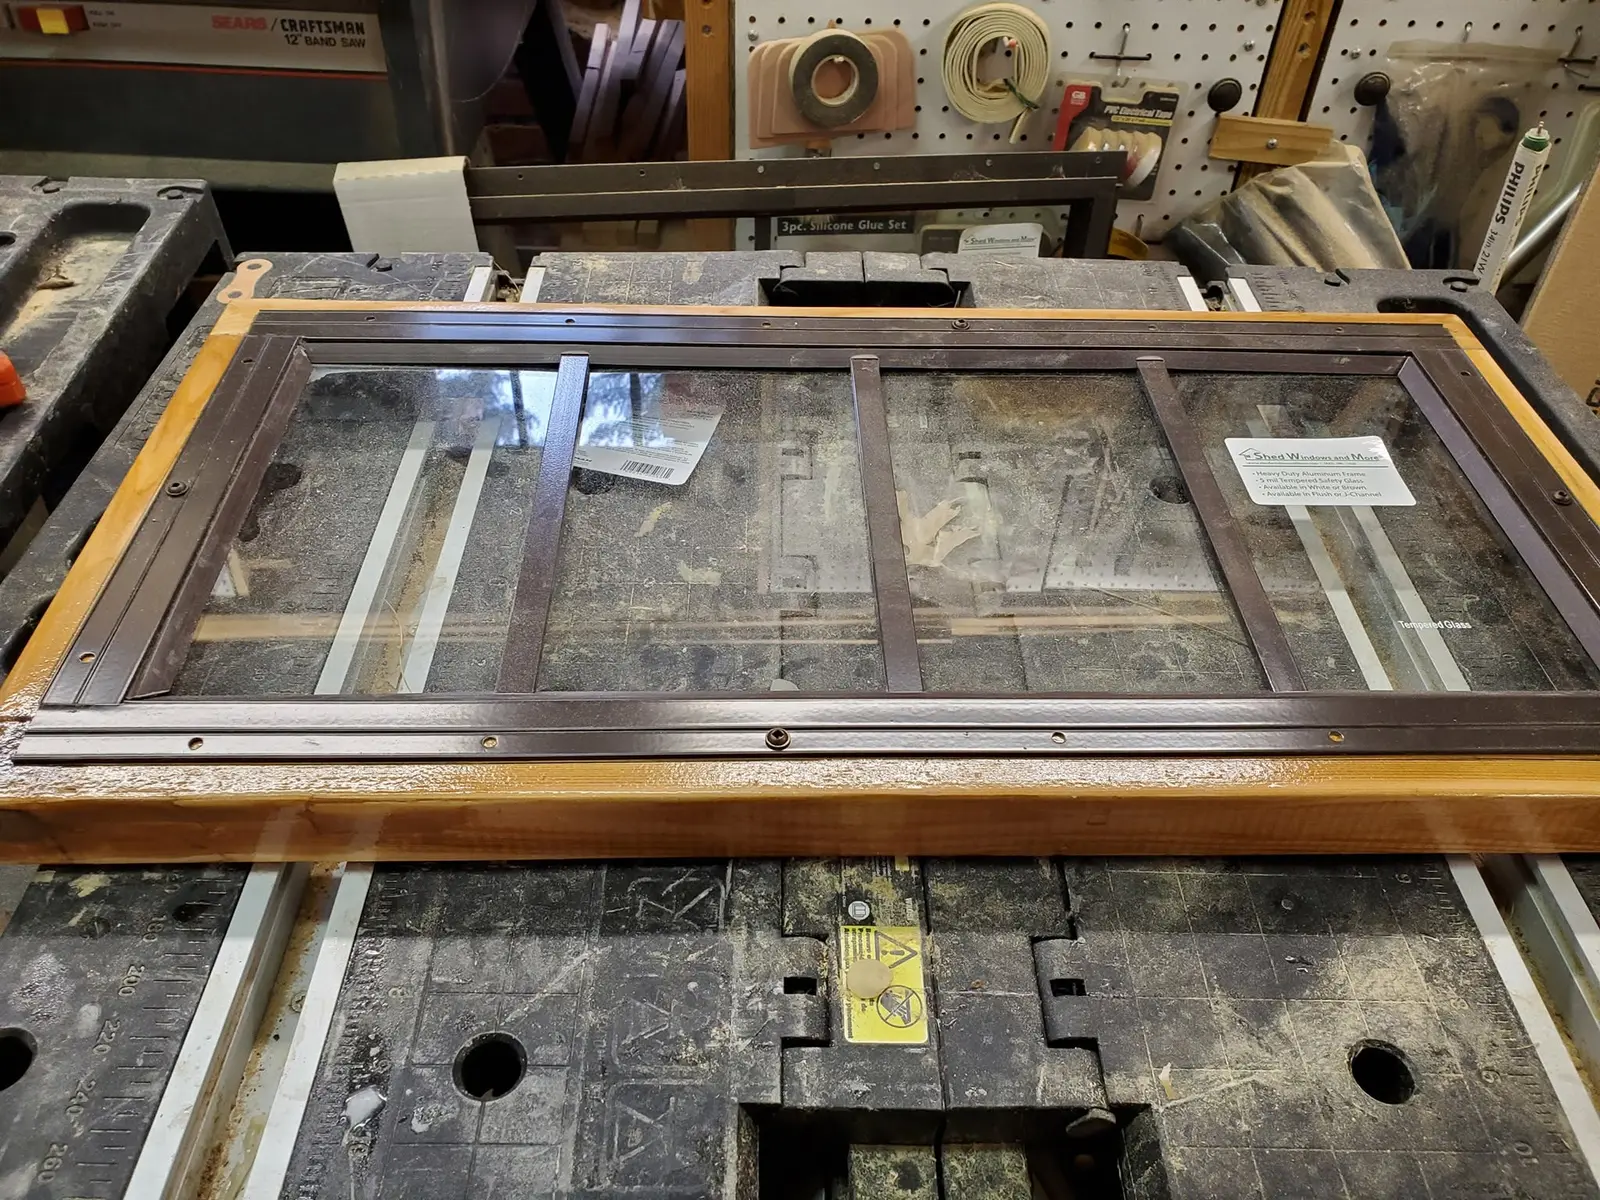
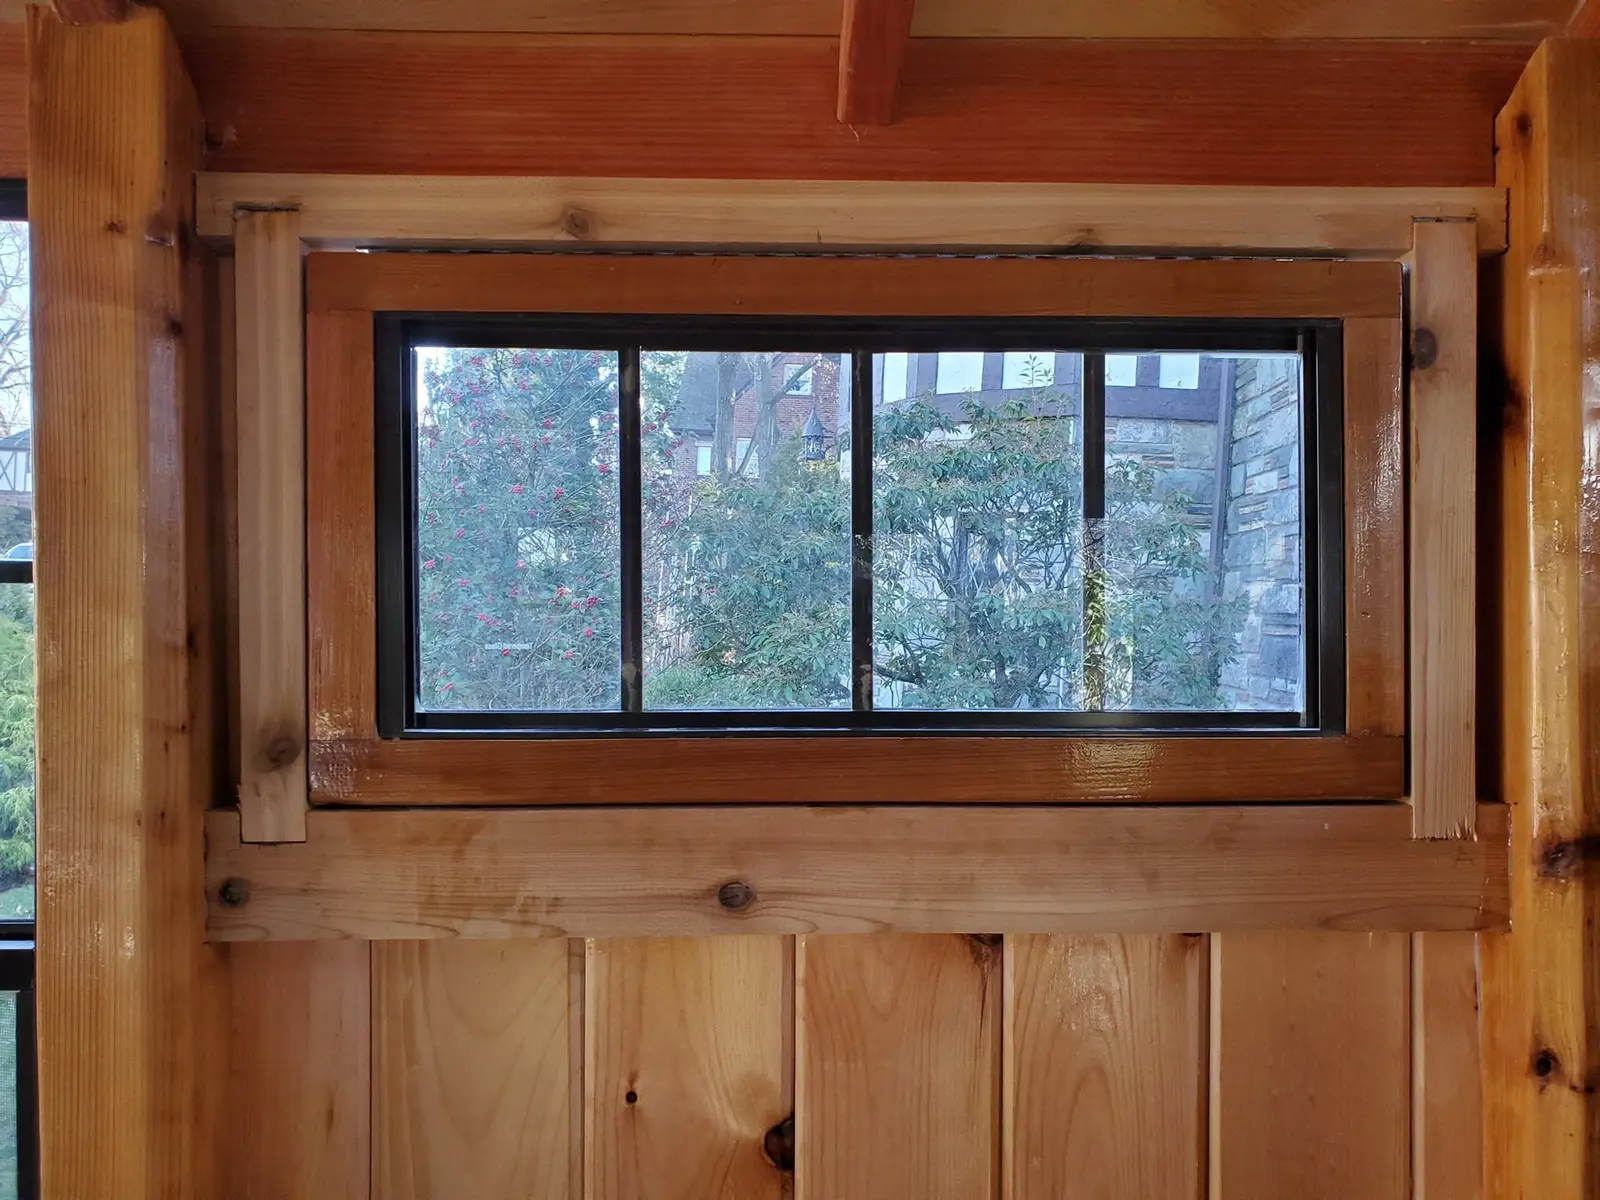
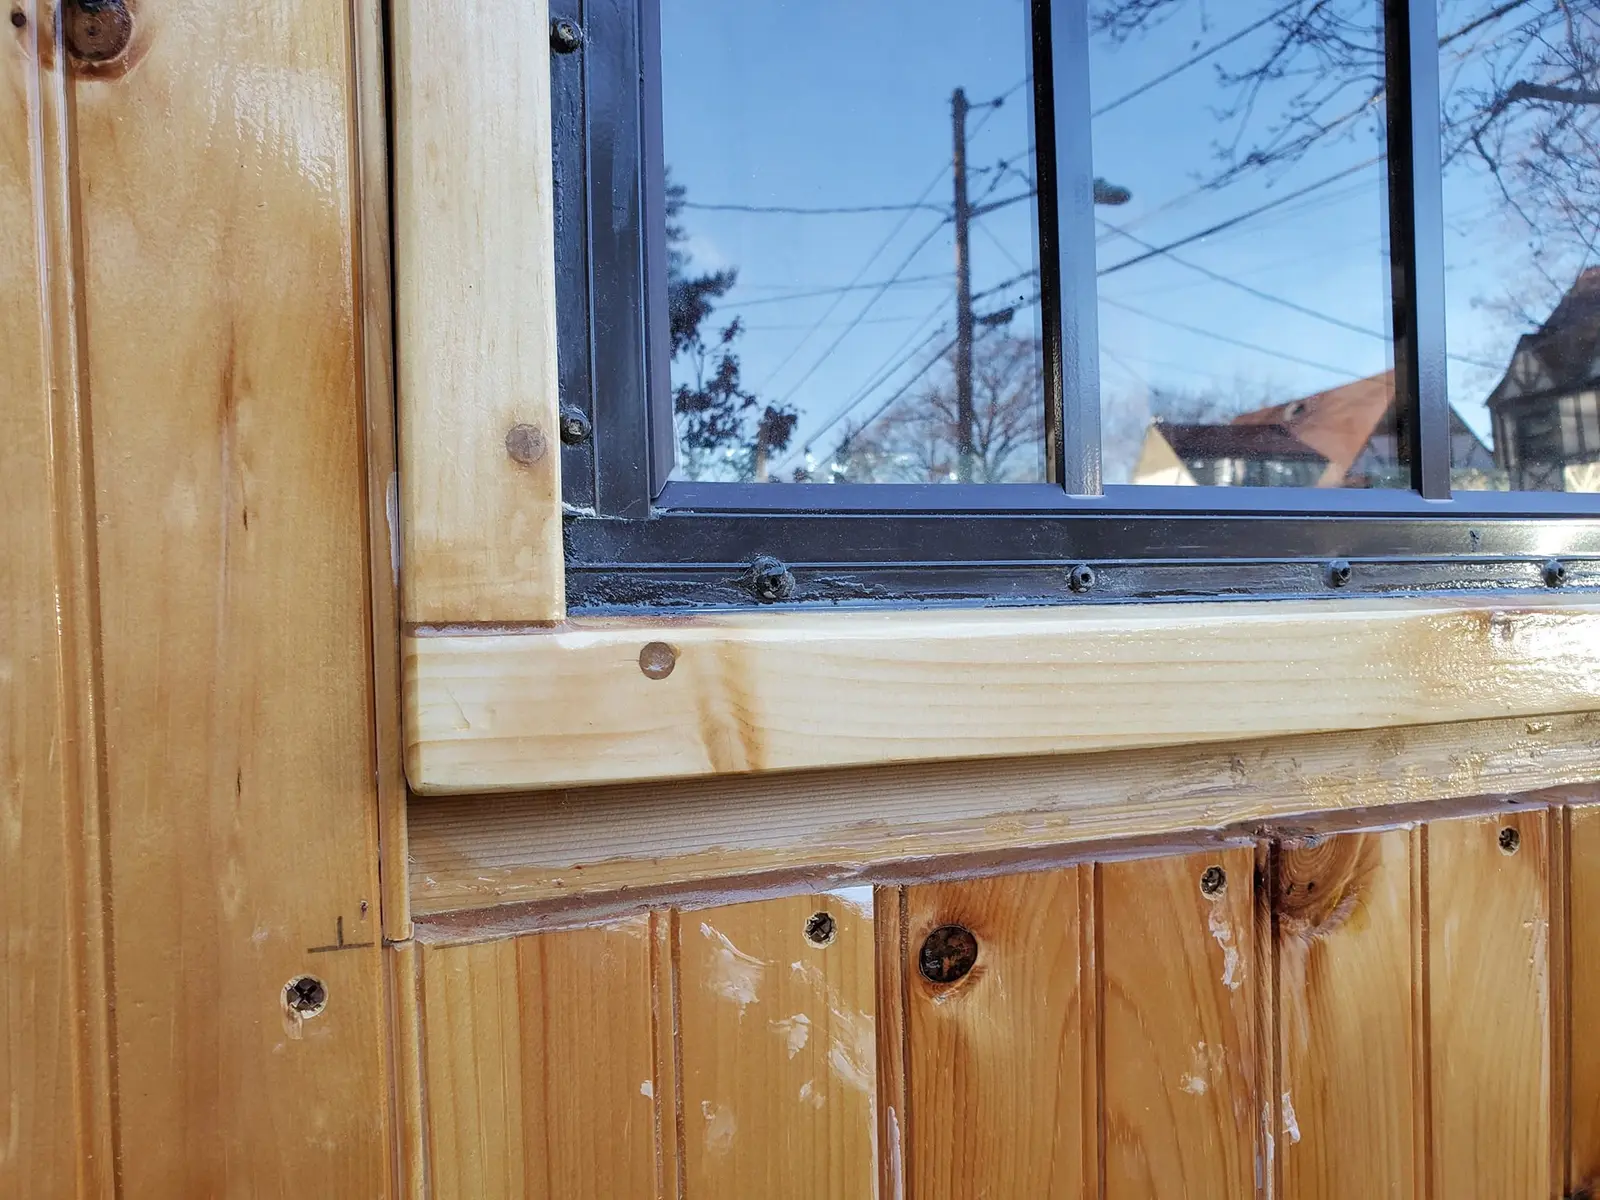
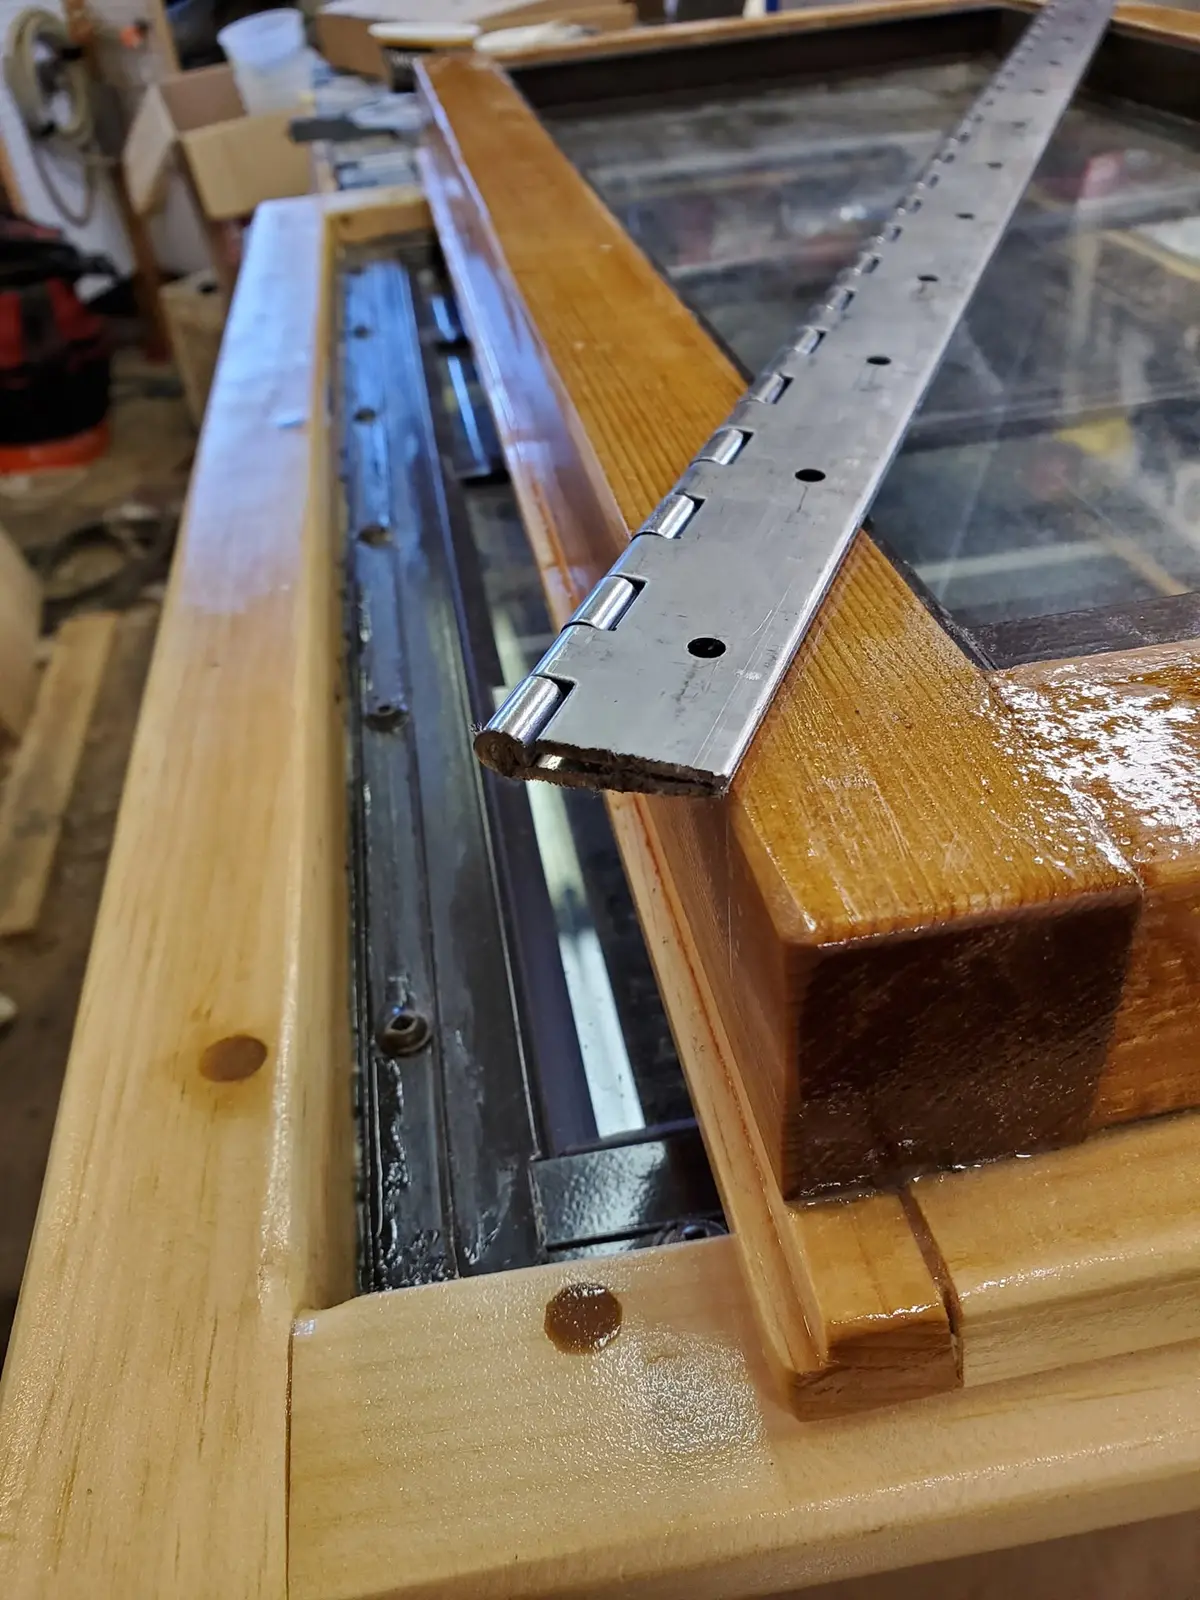
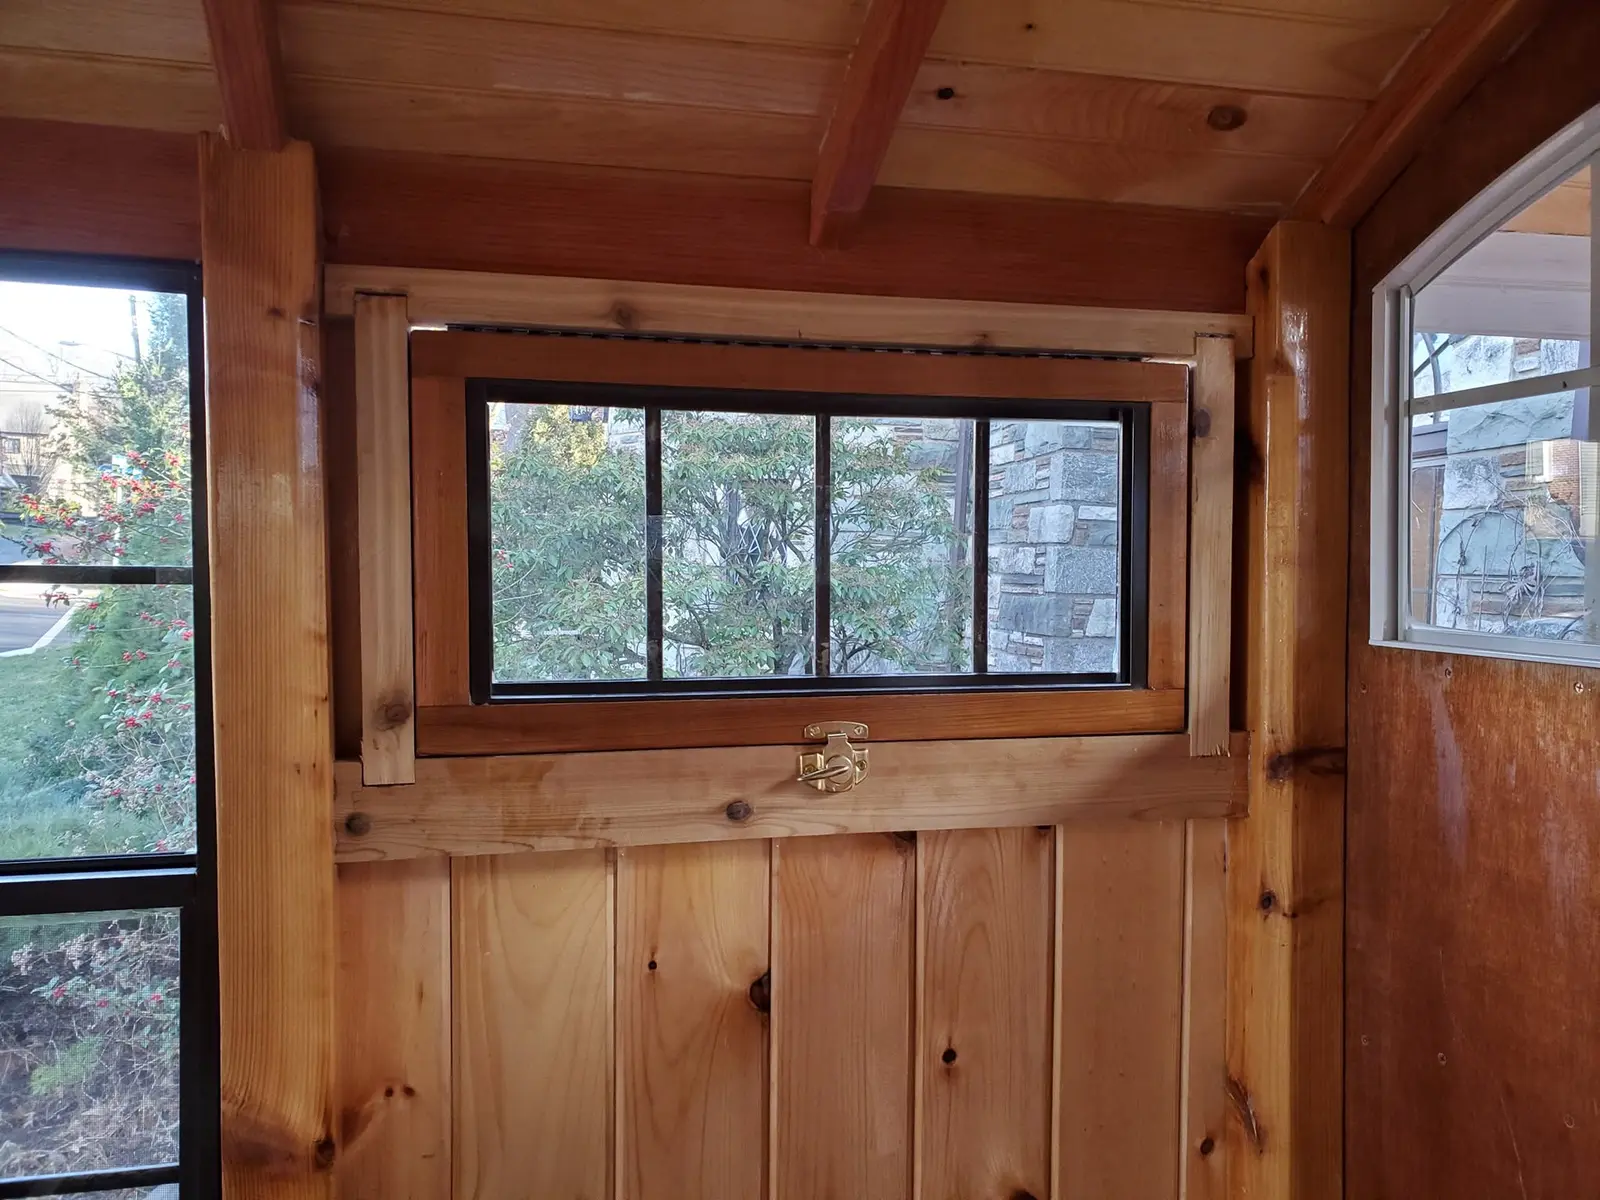
Houseboat update, Thursday, December 5, 2019 – I finished building Jersey Girl’s second aft side window today, the one that will be installed in the galley, on the port side. First, I temporarily screwed the manufactured transom window into the frame I had built earlier, so I could accurately cut and fit the four pieces that would comprise the flanges. Then I cut the flanges on the table saw, setting the blade angle at 15 degrees for the ends of the side pieces and using the dame angle to rip the top and bottom pieces, to create a natural run-off for any water that might want to find its way into the cabin. After I temporarily installed the flange pieces, I disassembled everything, and used a sealant to set the window back in place, screwed it down, and finally used a thickened epoxy to glue the flange pieces back into the place. Tomorrow, weather permitting, I'll begin to hinge them into place. You’ll notice I’m using my new favorite screw head style, square drive Robertson head screws. I had been using Frearson head screws, which look a bit like the more familiar Phillips heads but with the cross-slot cut more sharply to help prevent the spinning drill bit from “camming out,” destroying the head and making it impossible to fully drive the screw into its place. But even the Frearson head screws are vulnerable to that, and it’s a pain when it happens. Recently, my supplier (Jamestown Distributors) inadvertently sent me a bag of the square-drive screws, and after getting past my initial irritation, I thought I’d give them a try. It’s like I died and went to heaven! I’ll never go back to the screws I had been using. After a little research, I discovered that this style of screw has been in common use in Canada for over 100 years, but it only recently has made its way south of the border, beginning to replace the common Phillips head screw for many applications. Thanks, Canadian friends!
Today, I installed the clerestory awning window in the head area of Jersey Girl’s...
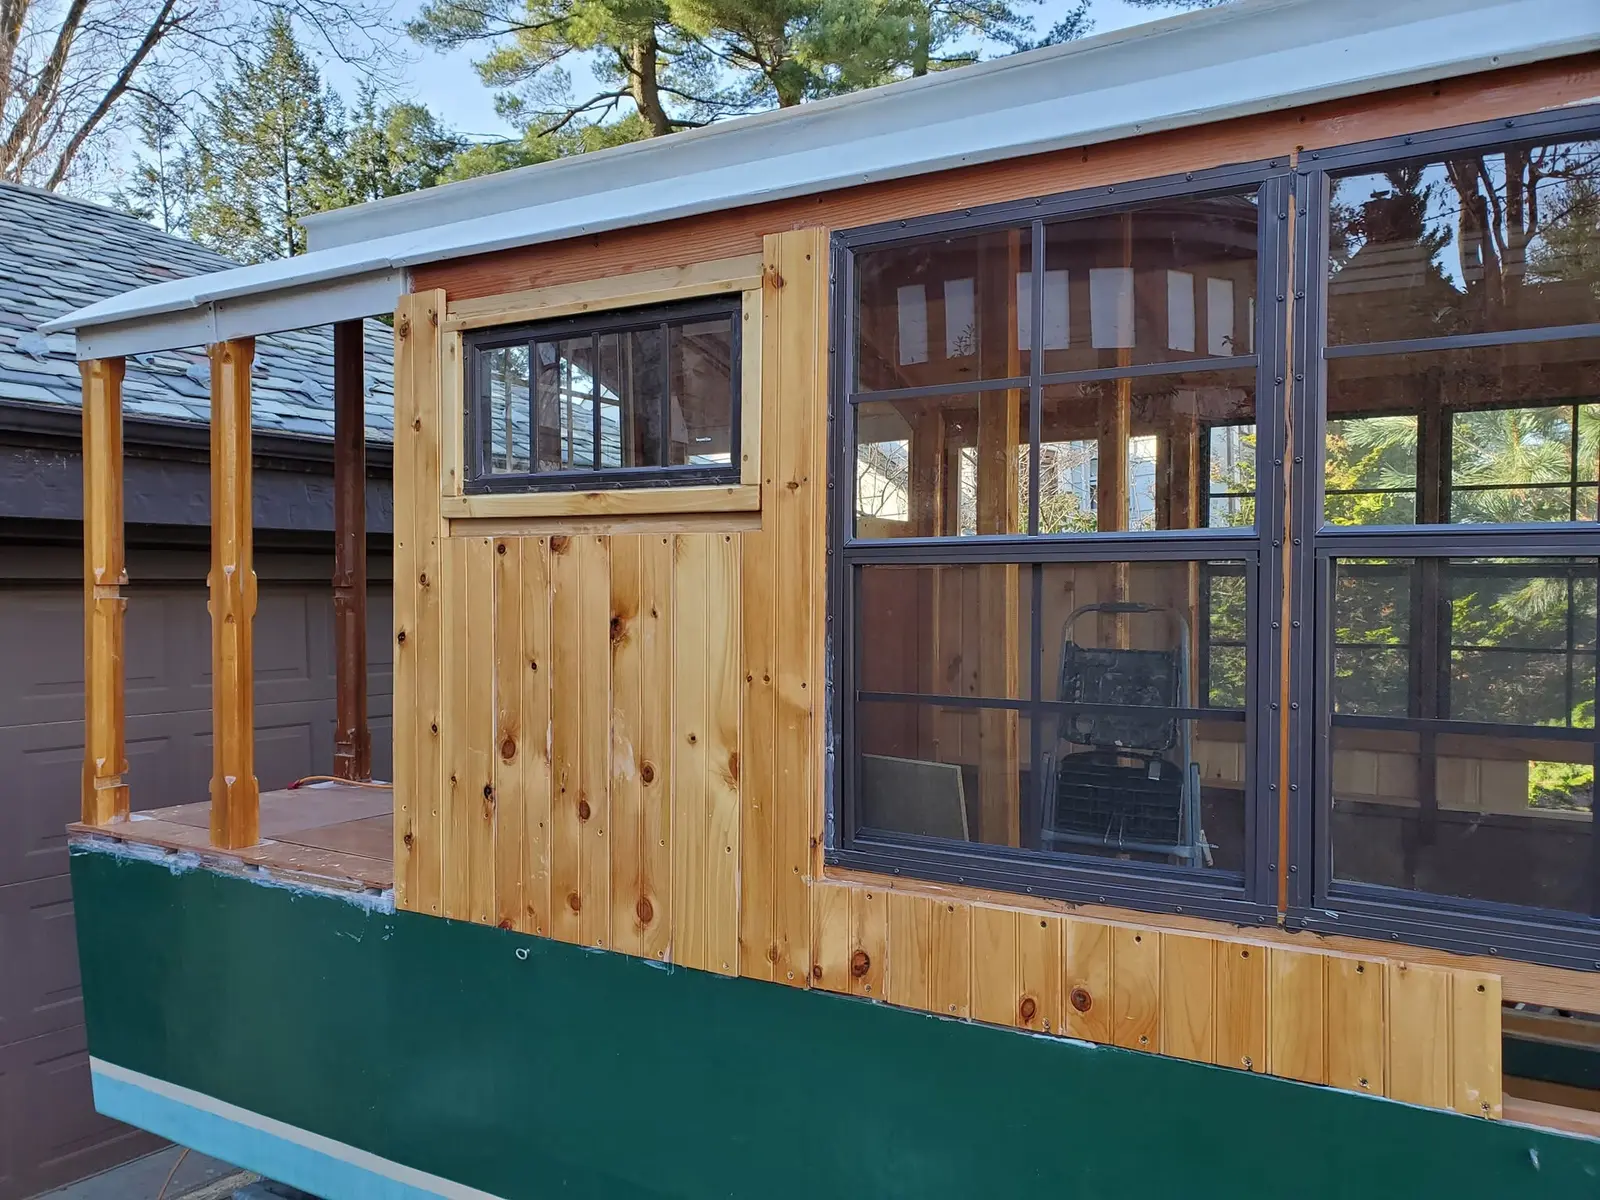
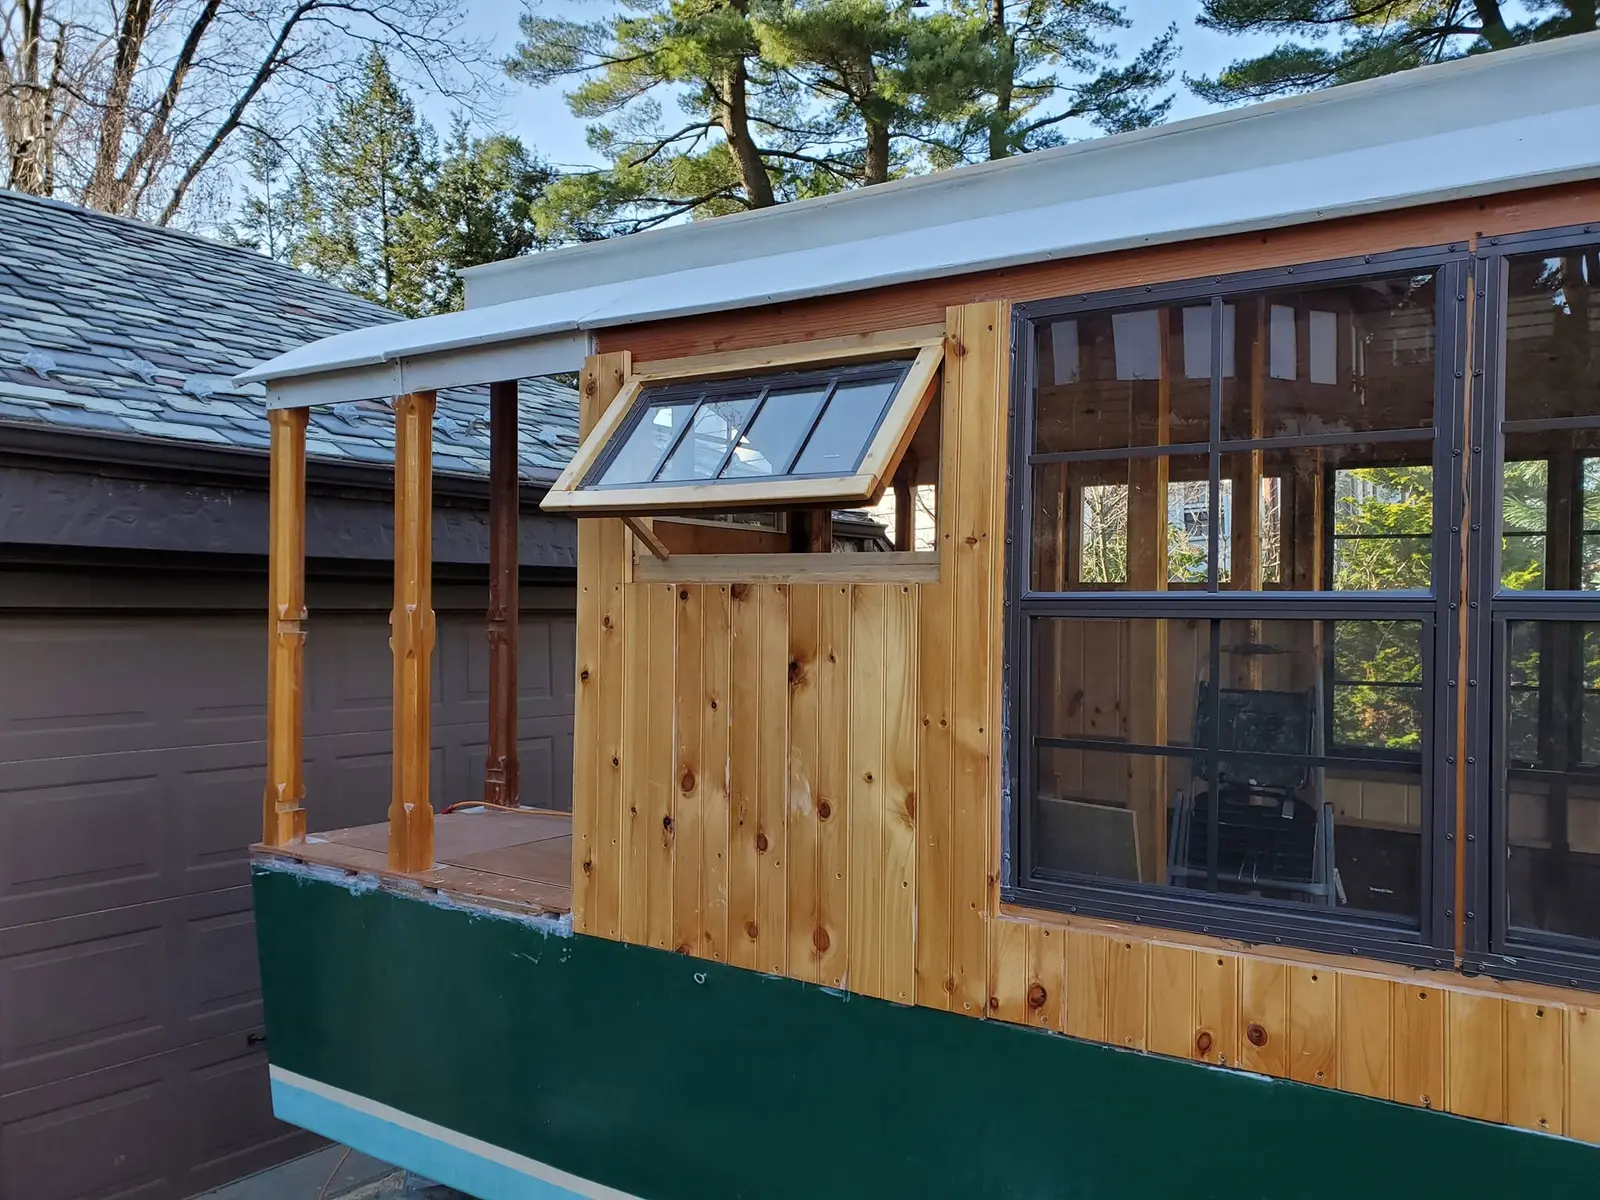
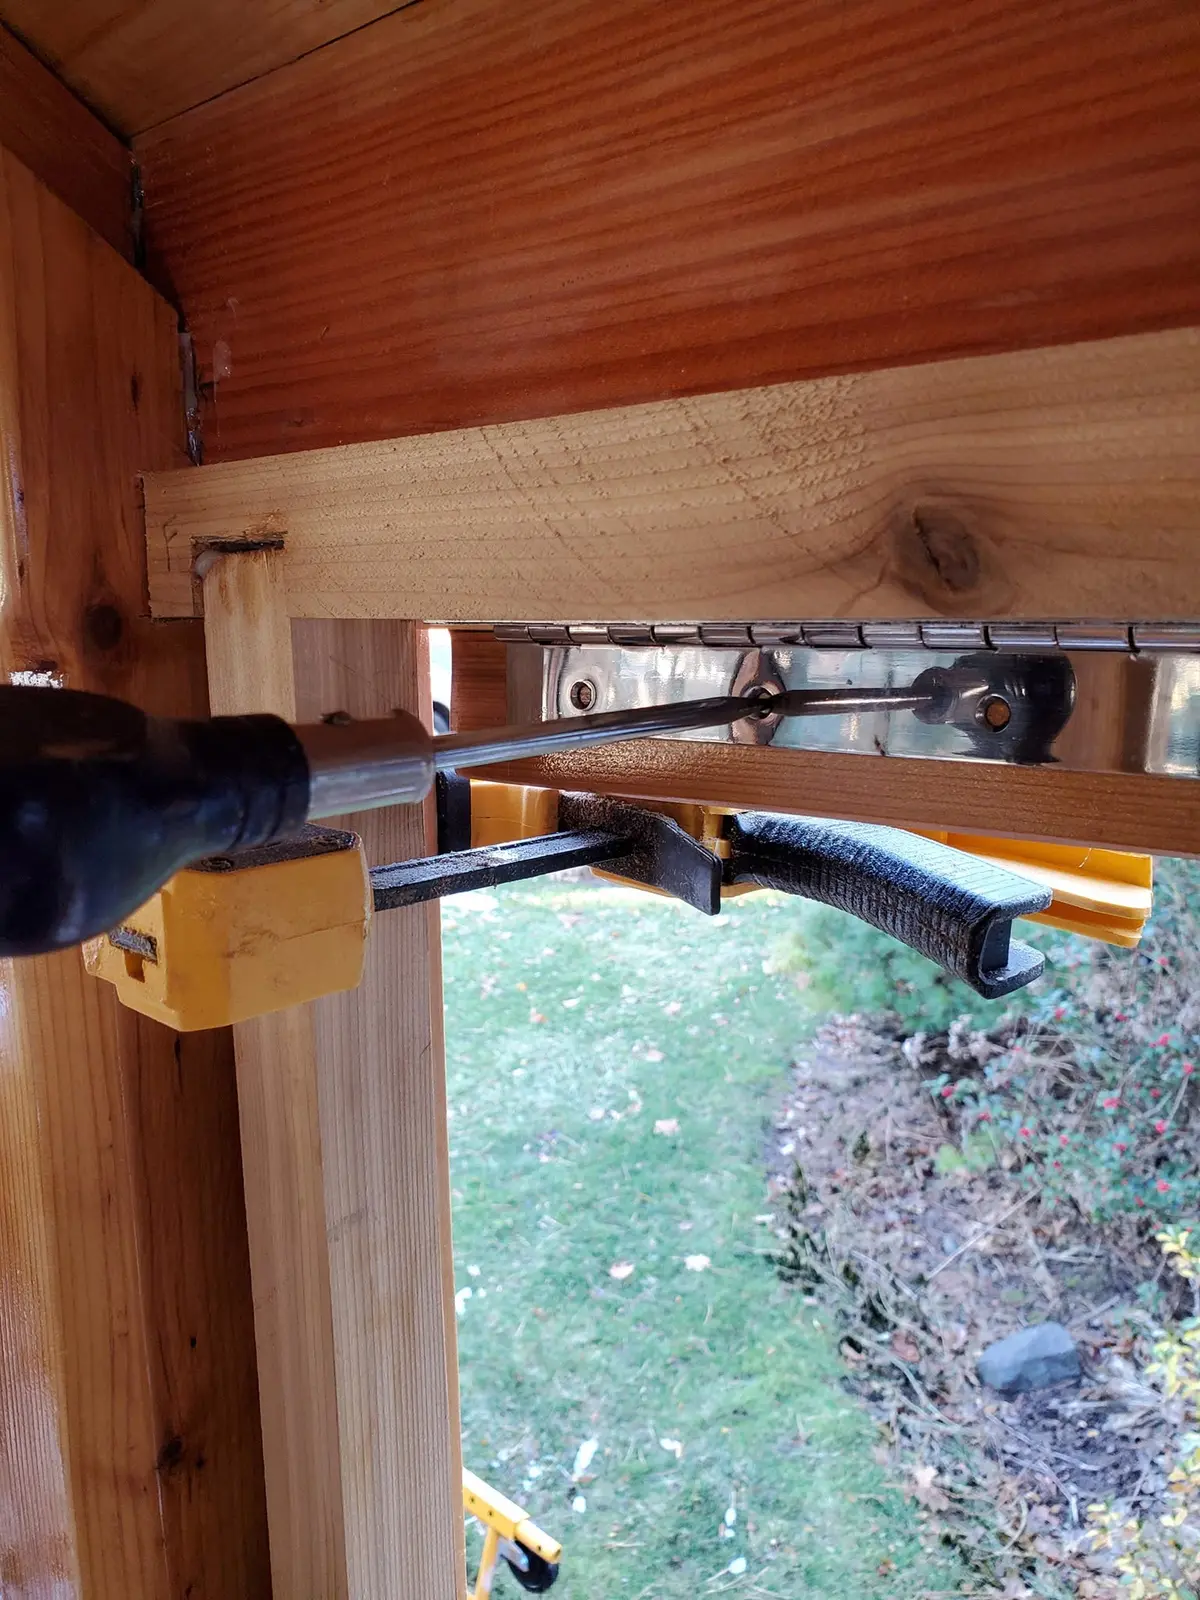
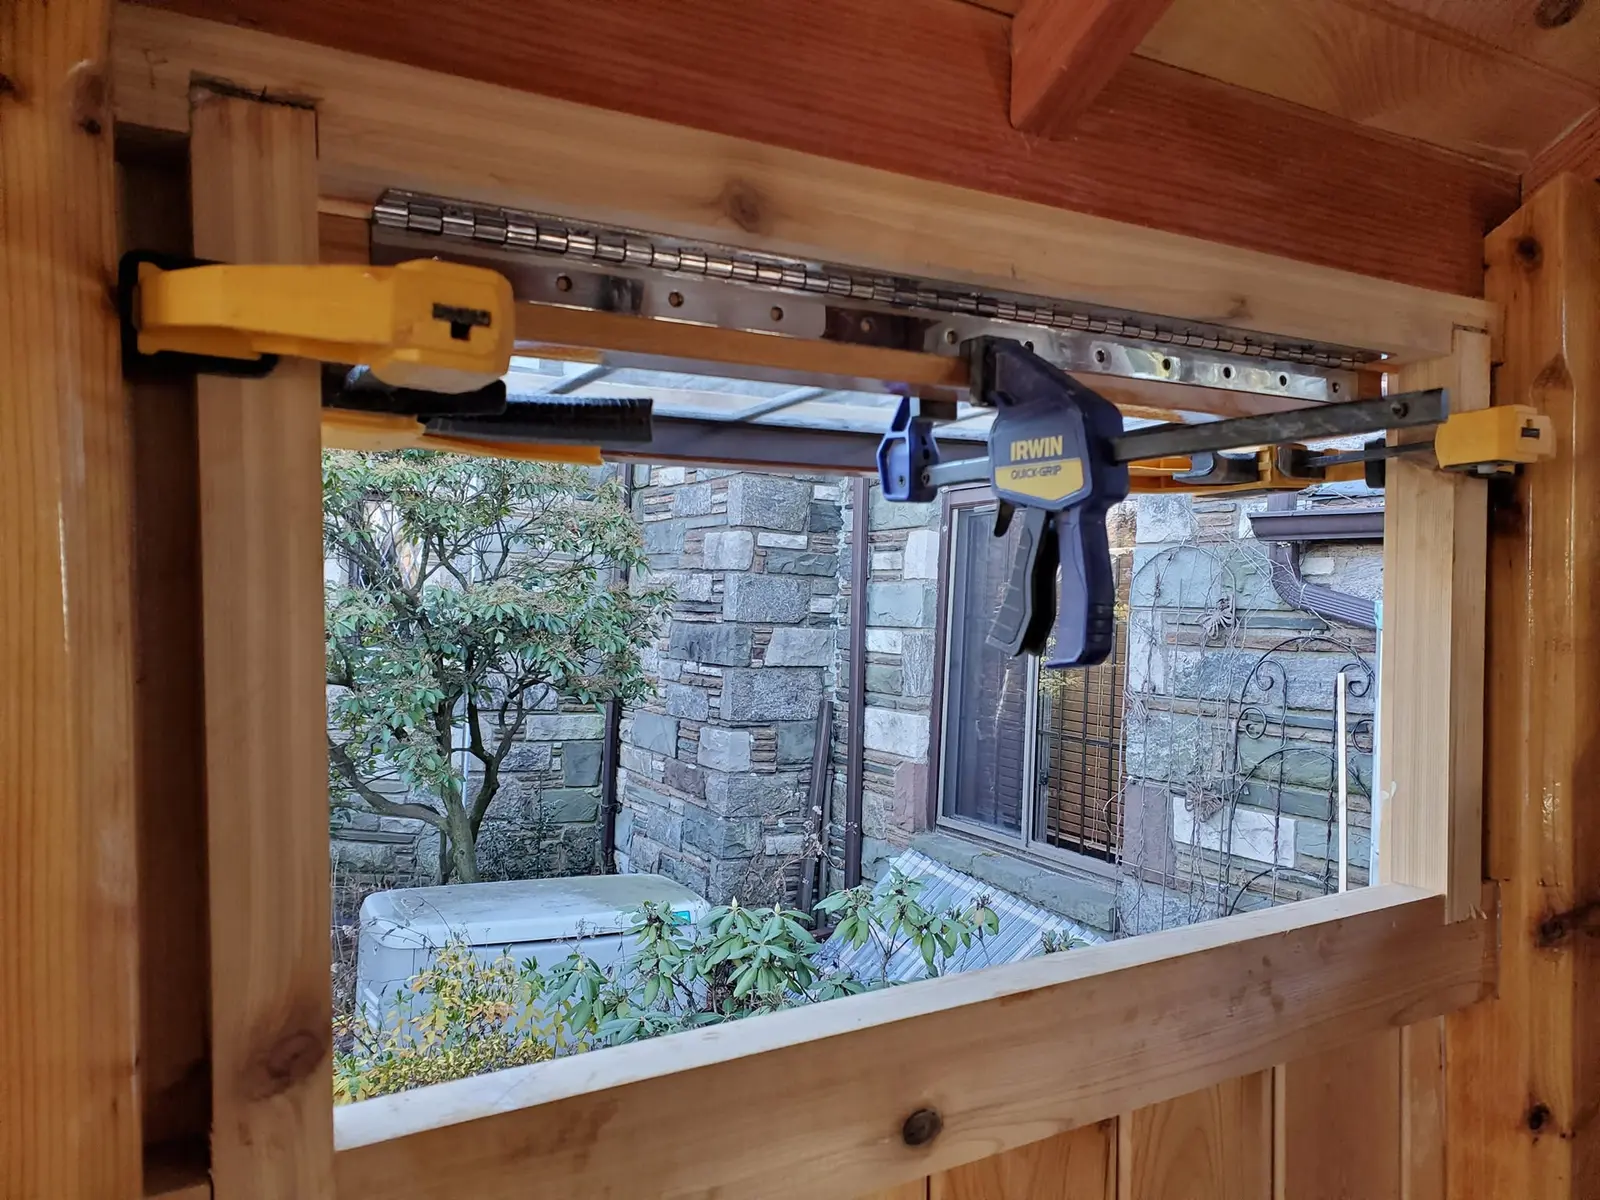
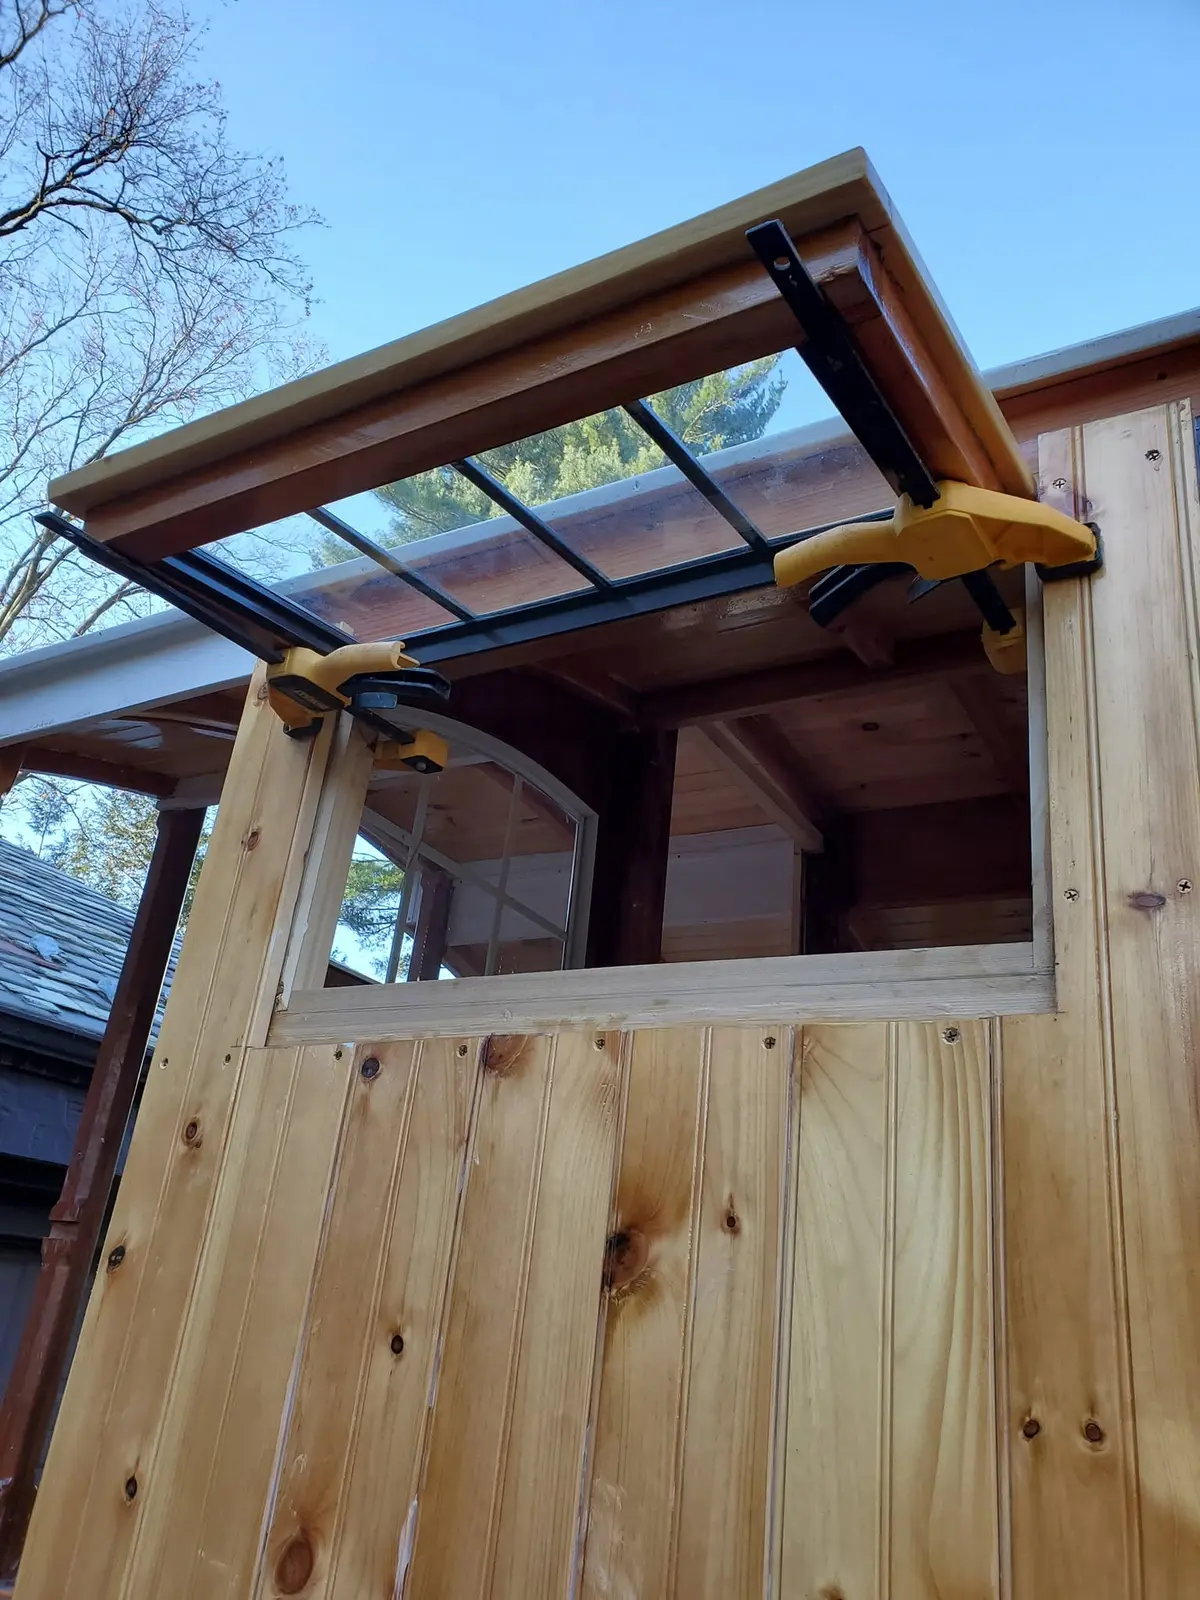
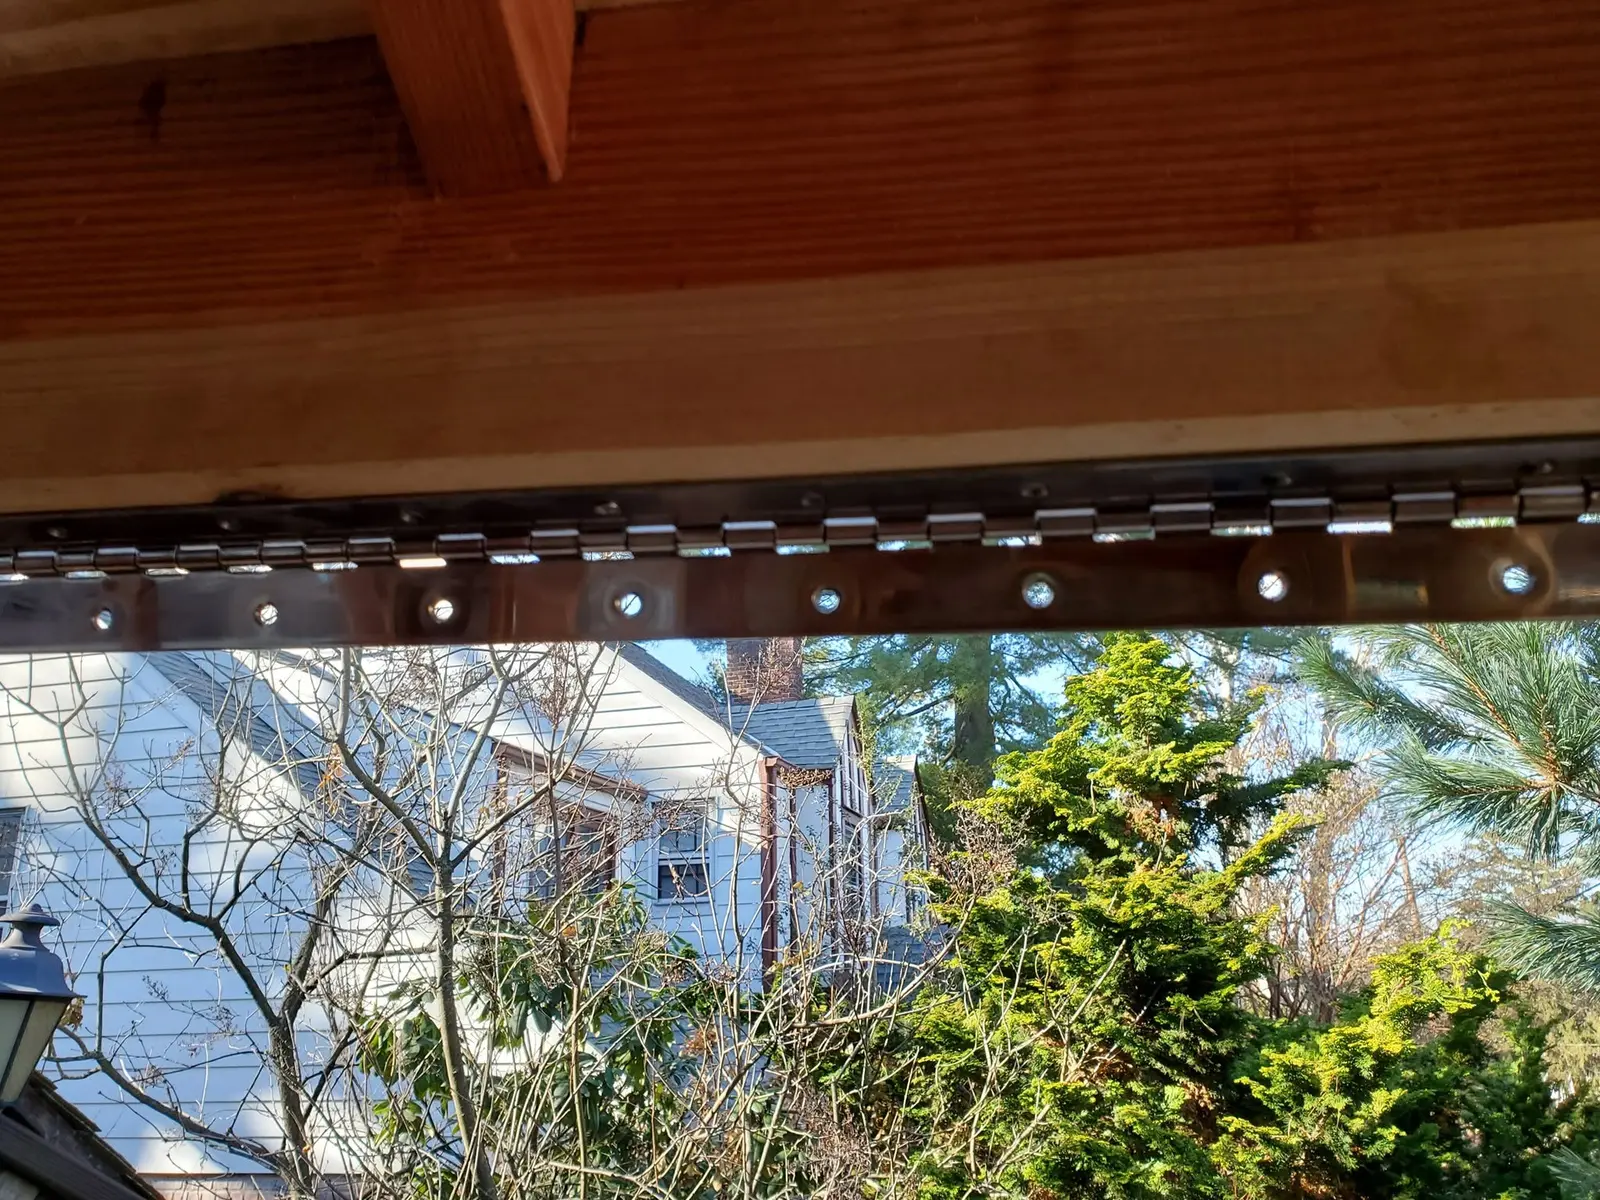
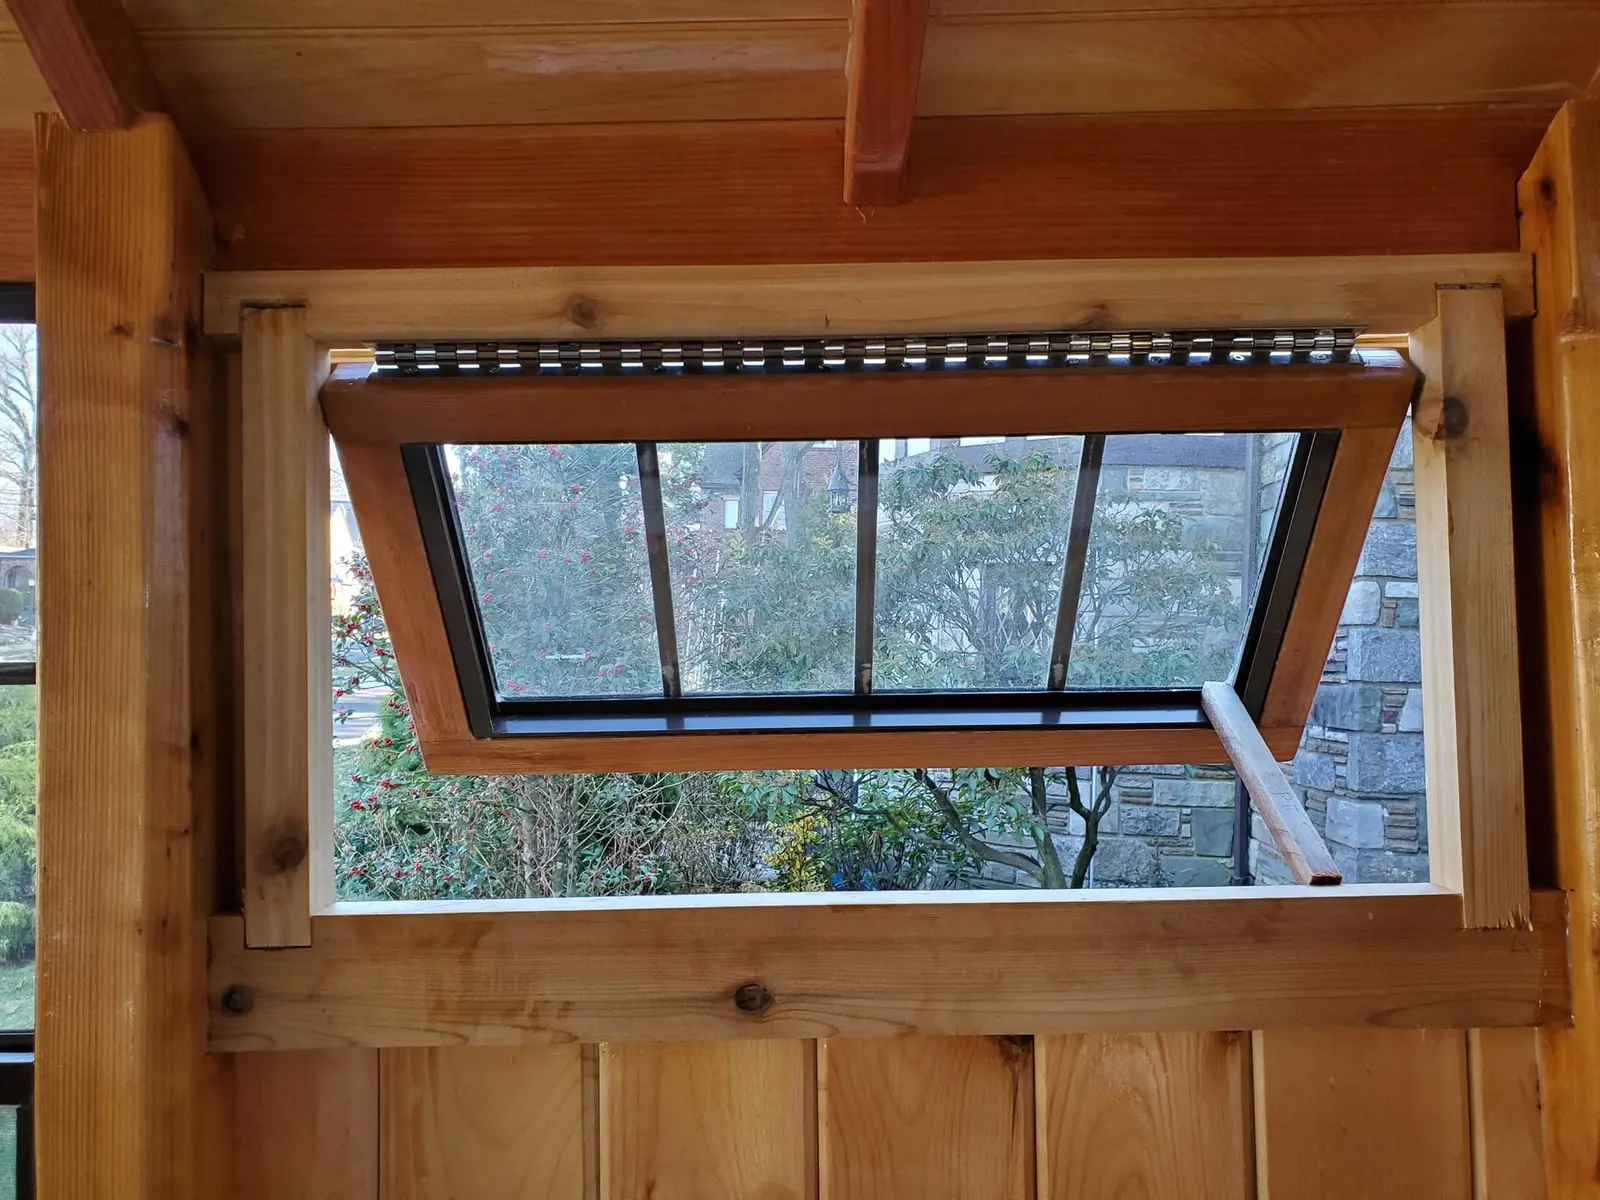
Houseboat update, Saturday, December 7, 2019 – Today, I installed the clerestory awning window in the head area of Jersey Girl’s starboard side, and I declare it a total success! But it took many steps and a minor re-do to get there. First, I realized that the stainless steel piano hinges I am using have a thickness of 3/16-inch, determined by the centerline of the hinge, where the pin connects the two halves along the 24-inch length. So I had to shave a bit of wood off the top of the window frame to accommodate the hinge. Next, I centered the hinge along the top of the window opening, using the open hinge itself as a positioning jig. I had to find a way to support the window in the open position to attach the hinge to its upper surface, and I hit on the idea of using a couple of ratchet-operated bar clamps attached to the frame of the opening, resting the window on the extended bars as they stuck out from the side of the boat. When I was fairly confident – gauging by eye – that I had the window in the right place, started to attach it, using a sharp awl to establish a screw position, then drove a single screw in near the center of the long hinge. Then I did the same thing at both ends. I didn’t want to commit myself at this point to all 12 screw holes along the length of the hinge, because if it needed adjustment it would be by so little that the existing screw holes would make it difficult to establish new ones. It’s a good thing I was cautious, because when I removed the supporting clamps and closed the window, I discovered it was binding at the lower aft corner! So I started over, using different hinge holes, and moved the window forward by about a 16th of an inch, and when I saw that it was a perfect fit, I drove in the rest of the screws. I see that water can still make its way past the hinged top edge of the window, but I’ll deal with that later by bridging the gap with a strip of heavy canvas, and by installing a continuous drip cap over all the windows along each side of the cabin, including this clerestory window. The one thing I haven’t figured out yet is where to get an appropriate piece of hardware that I can use to lock the window into an open position, as in the photo showing it propped open with a scrap of wood. It needs to be adjustable, so the window can be opened a little or a lot. Suggestions, anyone?
First of all, Jersey Girl and I wish you a most joyous Christmas!
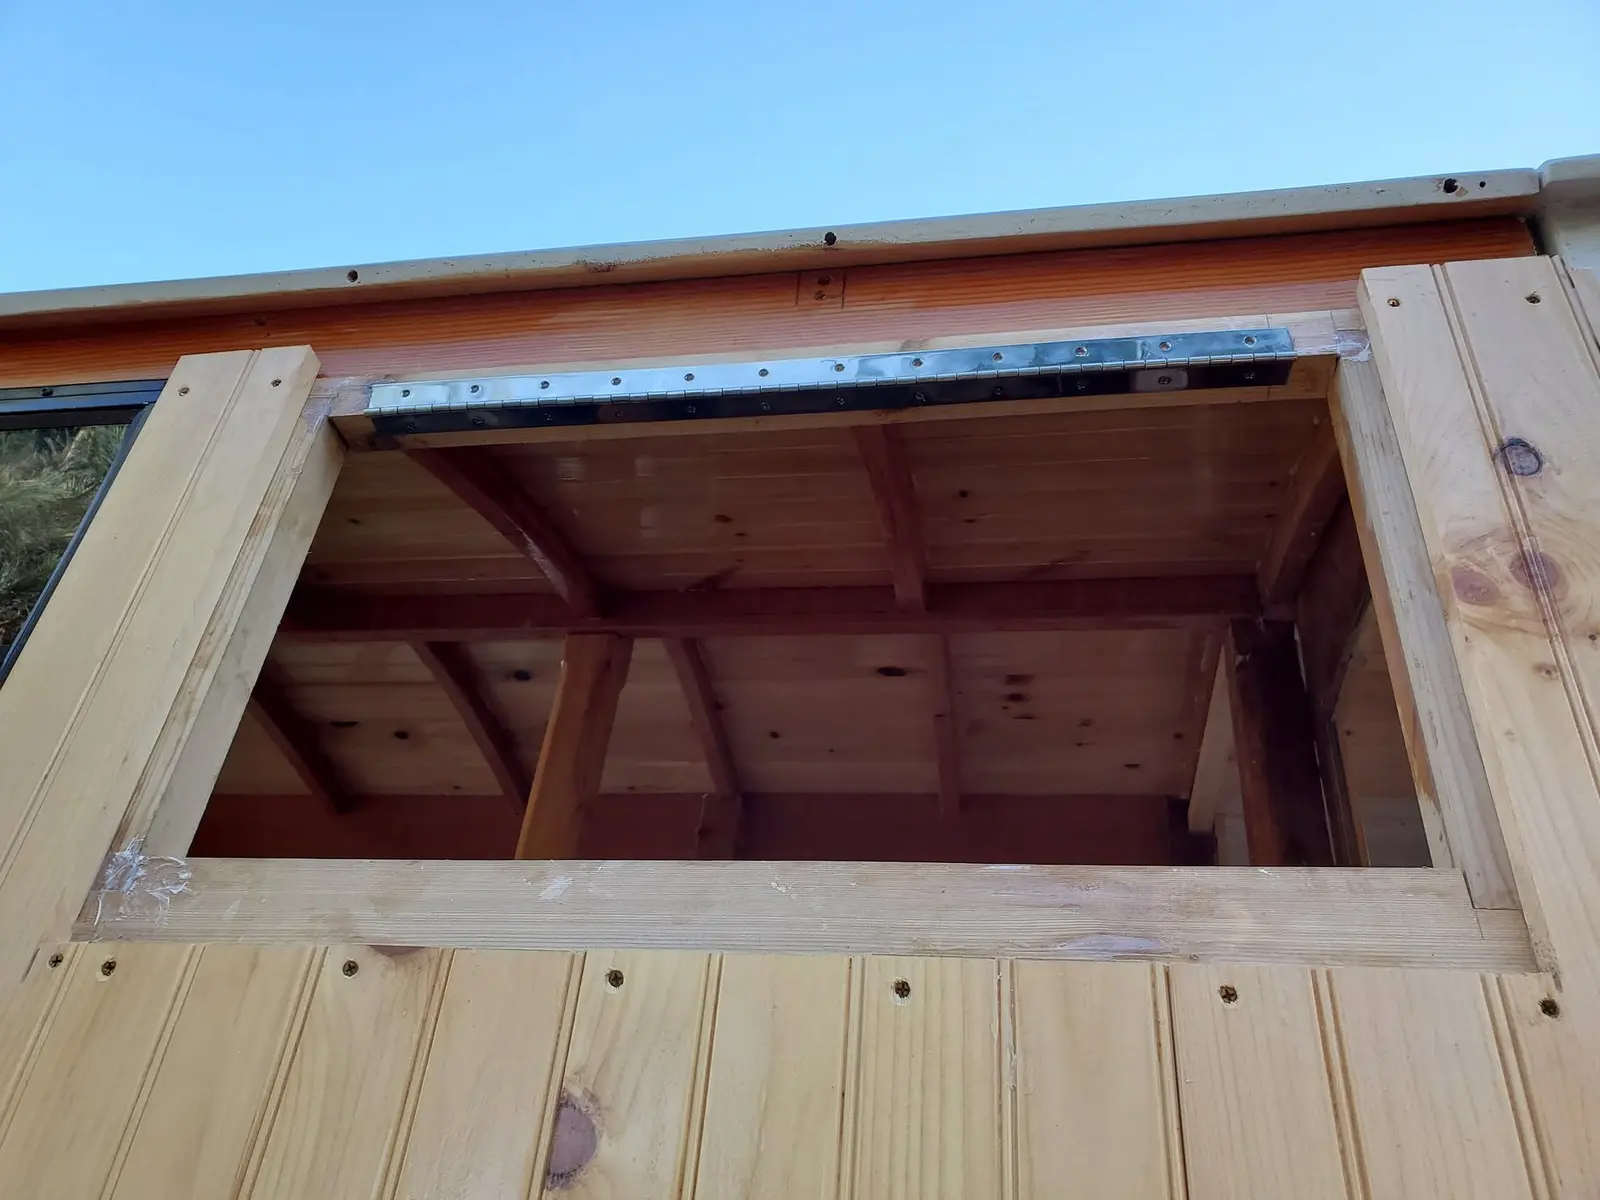
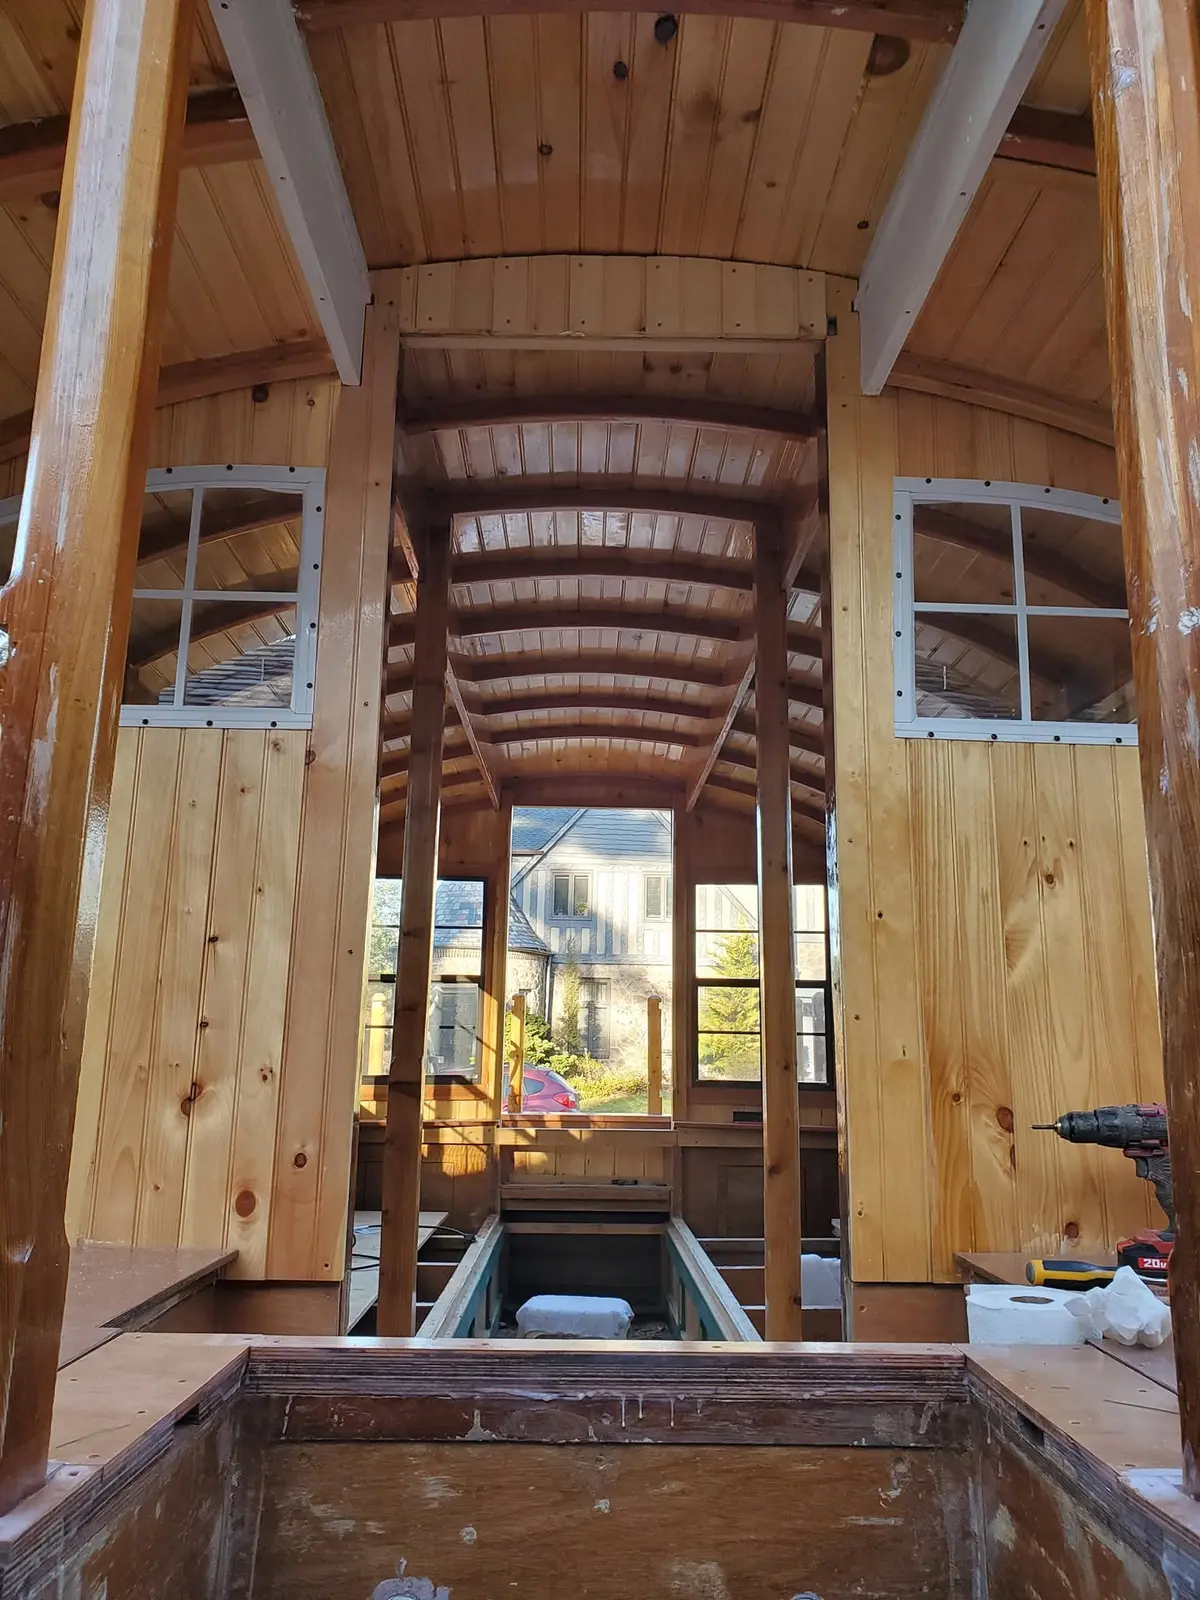
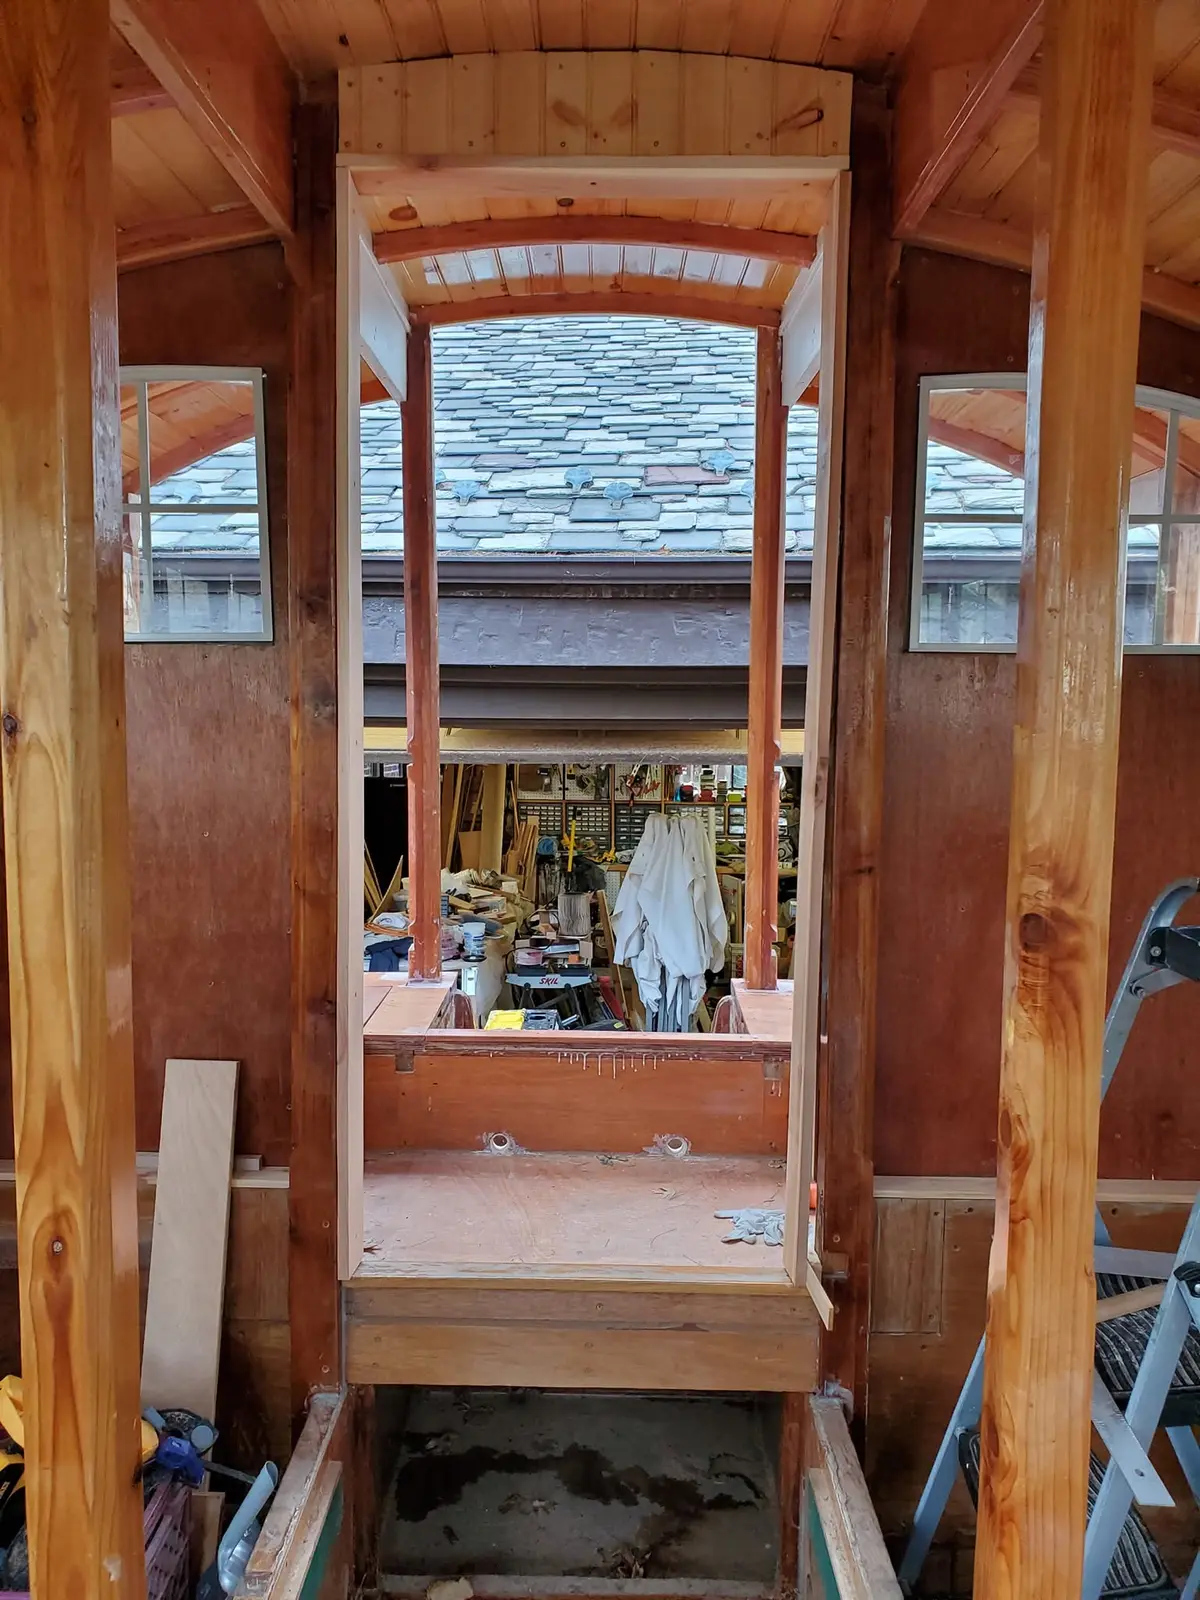
Houseboat update, Wednesday, December 24, 2019 -- First of all, Jersey Girl and I wish you a most joyous Christmas! It's fairly warm for a Christmas Eve in Northern New Jersey, so I'm squeezing in a little work and taking a bit of a chance squeezing out a little epoxy. Here, I've started preparing for the aft cabin door frame, gluing and screwing a few short tongue-and-groove pieces into place over the door opening. Even though epoxy needs a 60-degree minimum temperature to cure properly, I'm not terribly concerned. All the pieces, being screwed tight, aren't moving anywhere. Eventually, I trust, Jersey Girl and I will see warmer weather, and the glue will take up the job of curing, more or less, at that time. I'm also posting a picture of one of the recently installed awning windows at the aft end of the cabin, seen from the inside.
I took advantage of another warm December day to do a little more work on Jersey...
Houseboat update, Friday, December 27, 2019 -- I took advantage of another warm December day to do a little more work on Jersey Girl's aft door frame, installing short pieces of epoxy-finished tongue-and-groove pine at the top on the inside. Eventually, I will seal the gap at the roof, and cover it with a neat-looking moulding strip. Tomorrow, I will install a cedar head jamb and possibly the side jambs as well. (If you don't know what jambs are, check back over the next few days and all will become clear.)
Still blessed with warm end-of-December weather, I was able to install the head jamb...
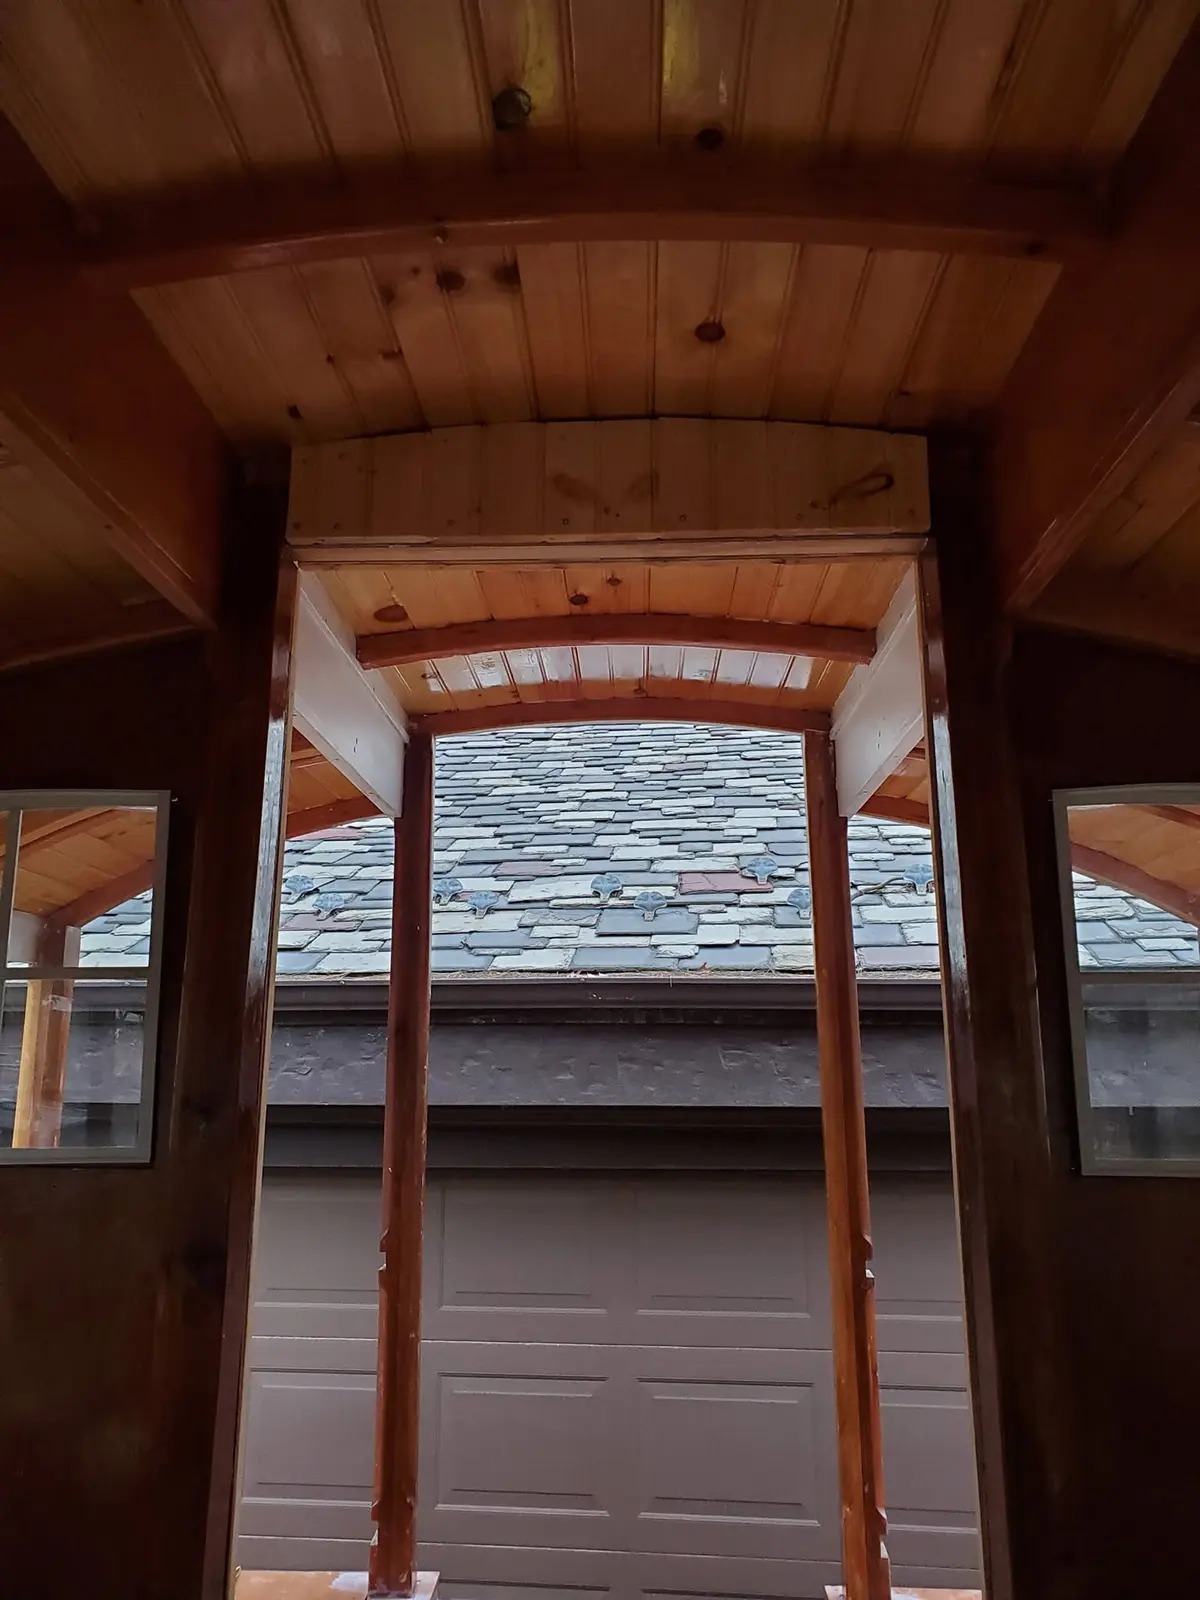
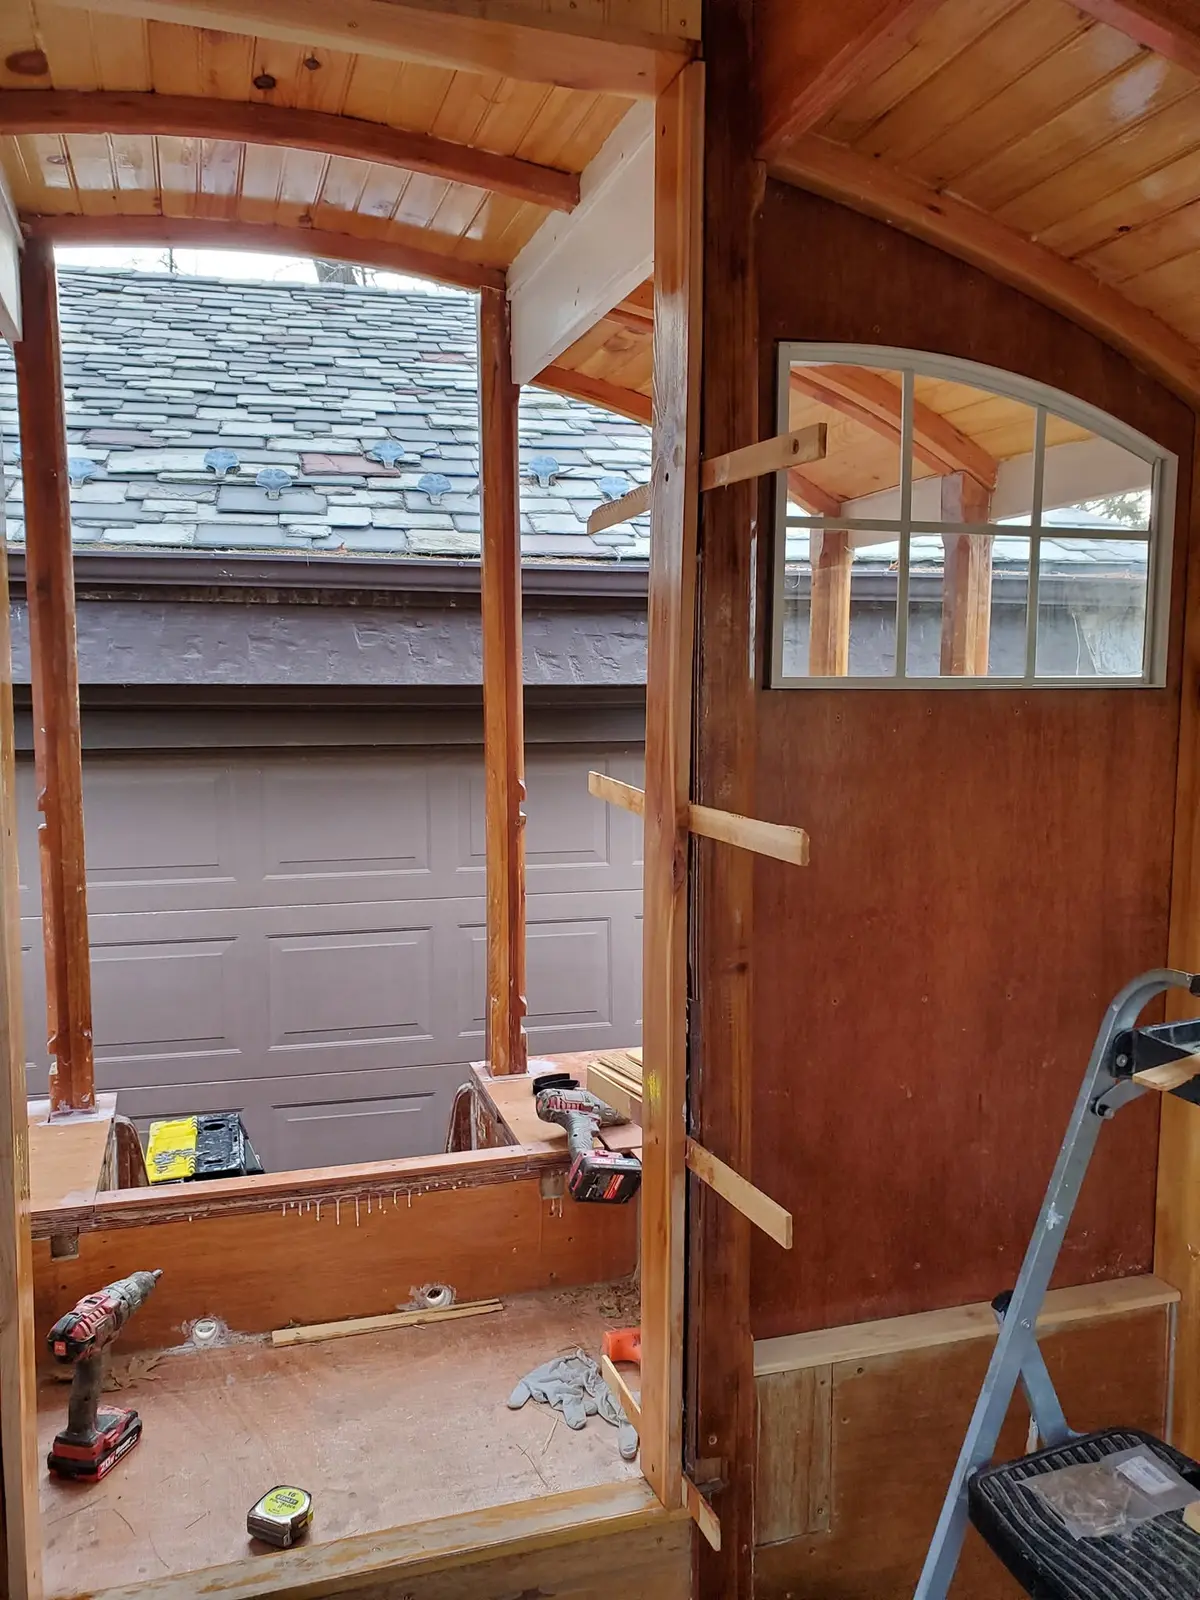
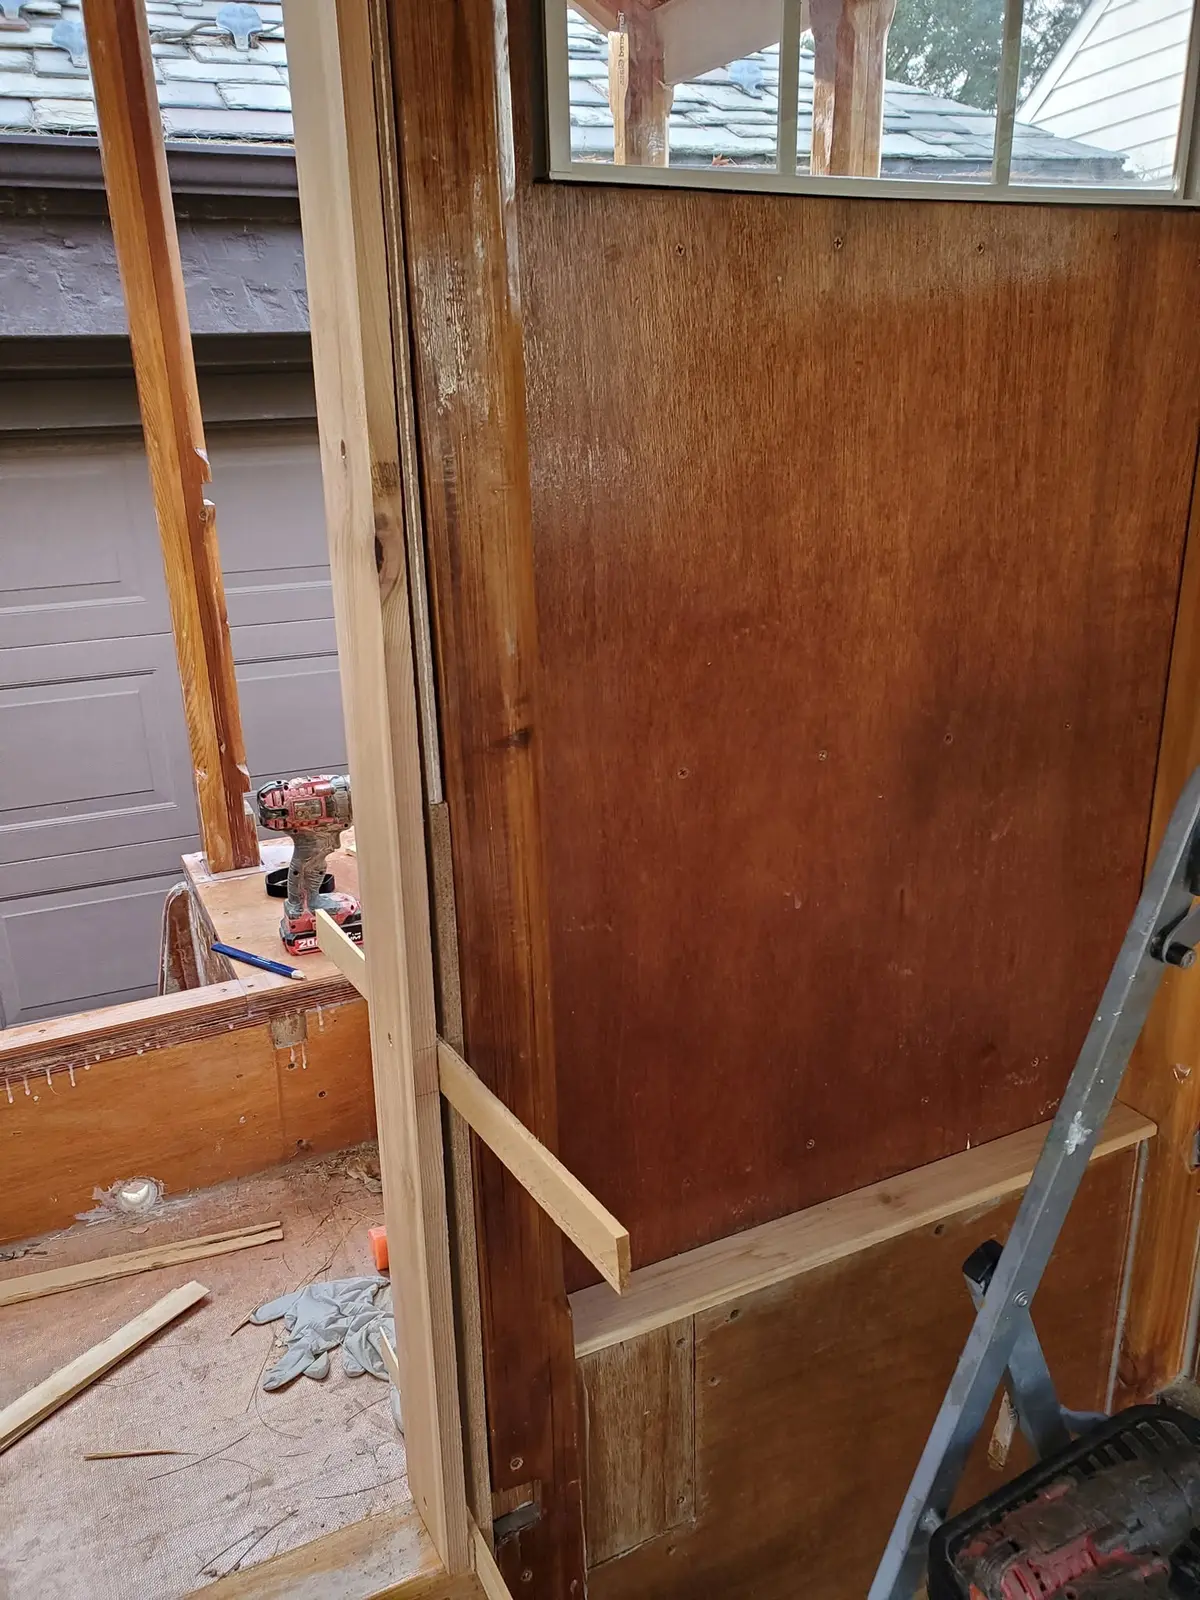
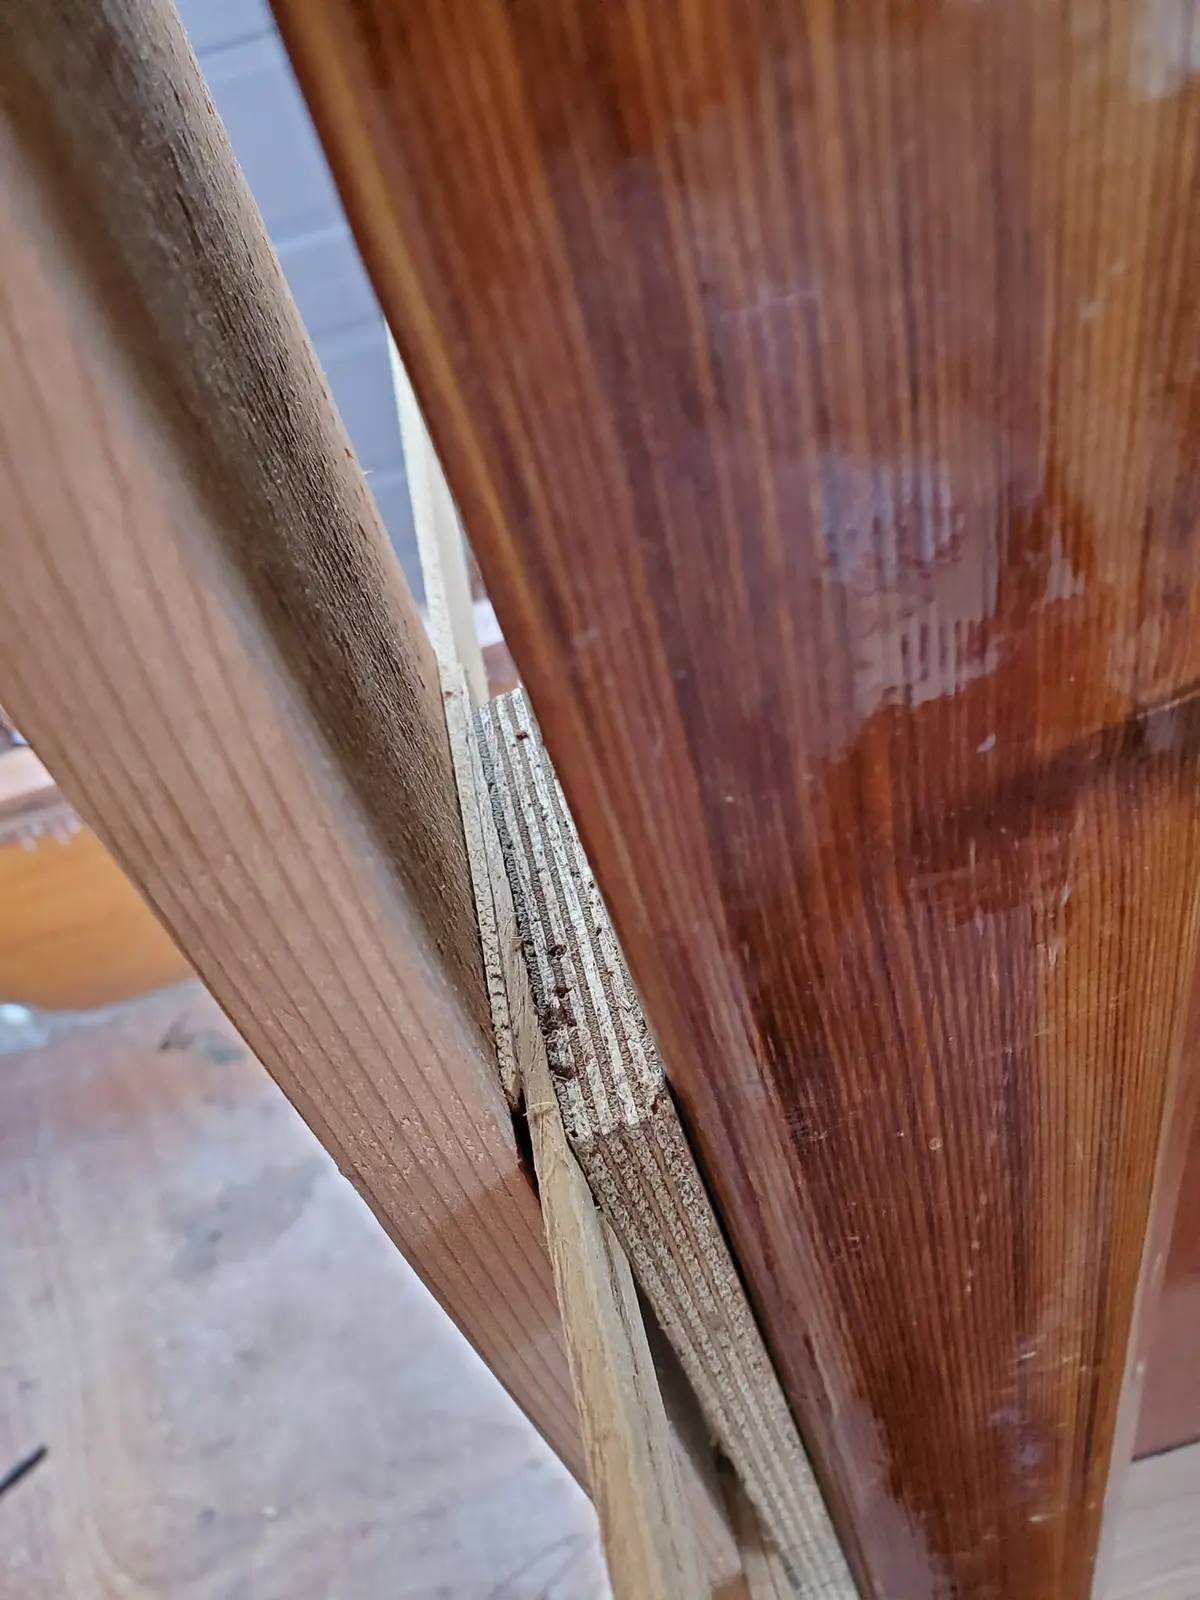
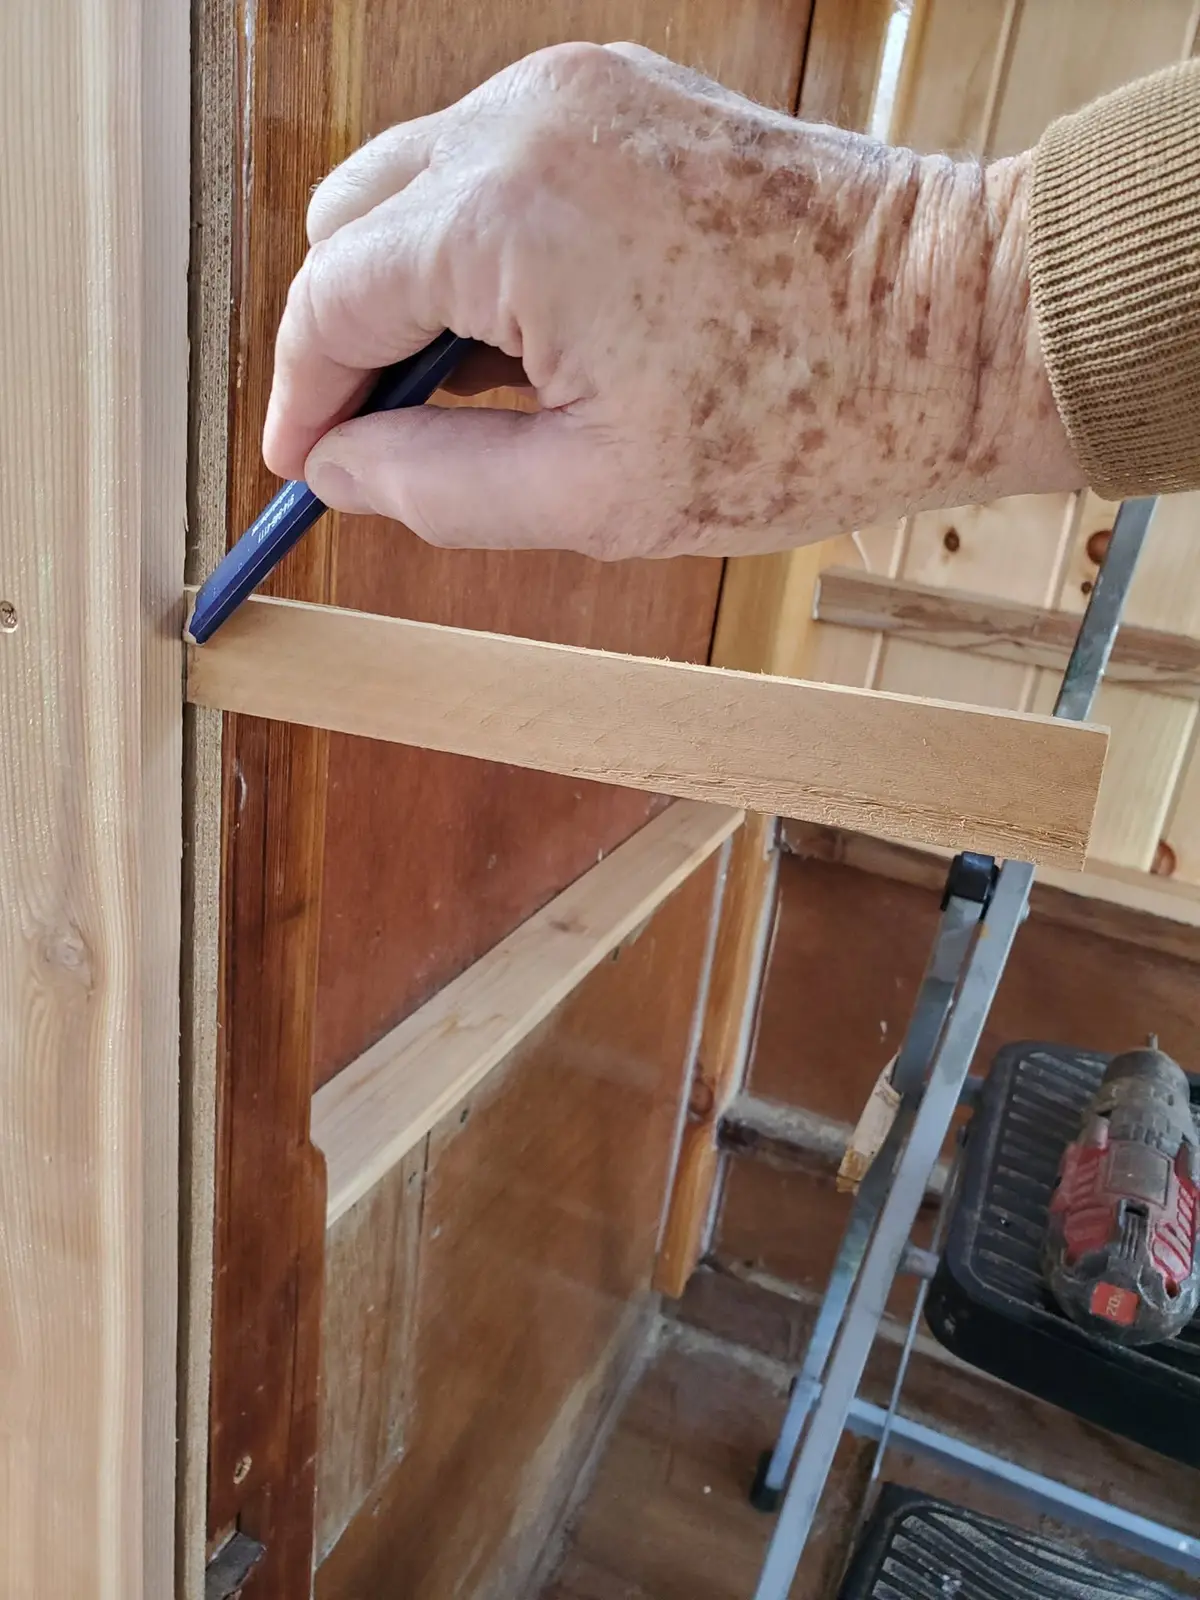
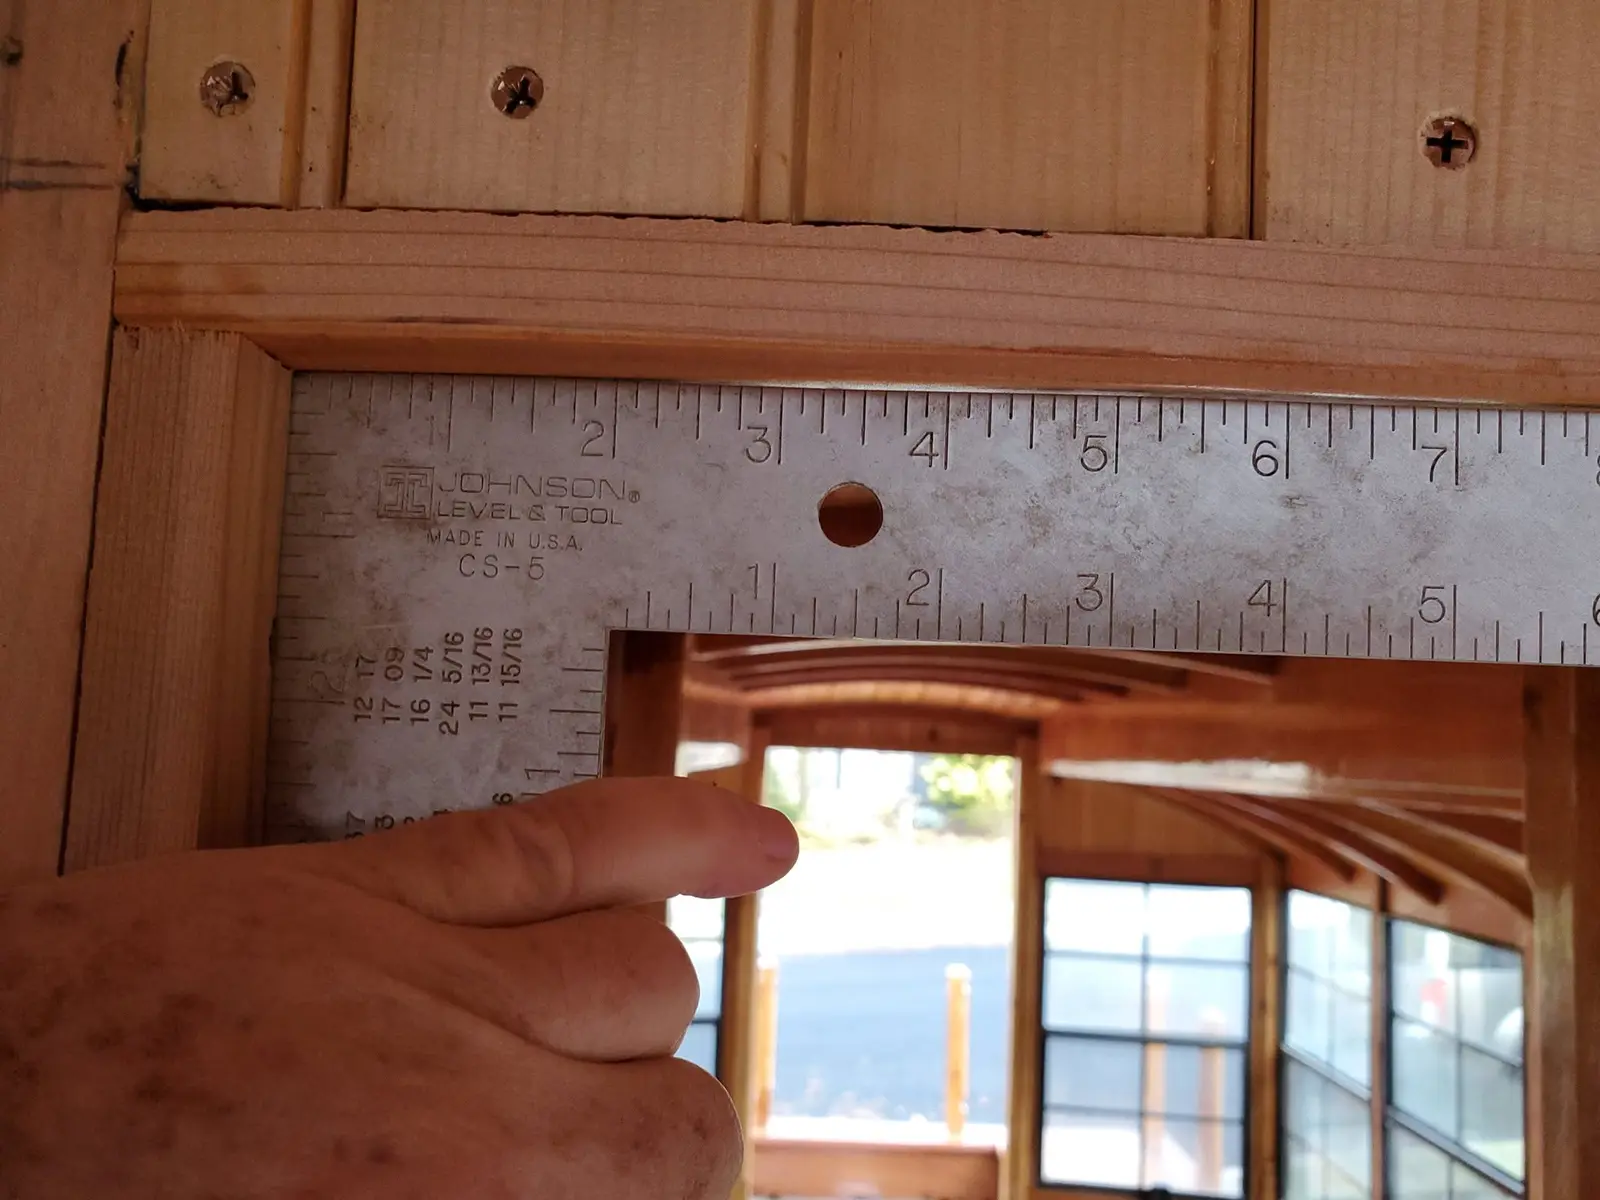
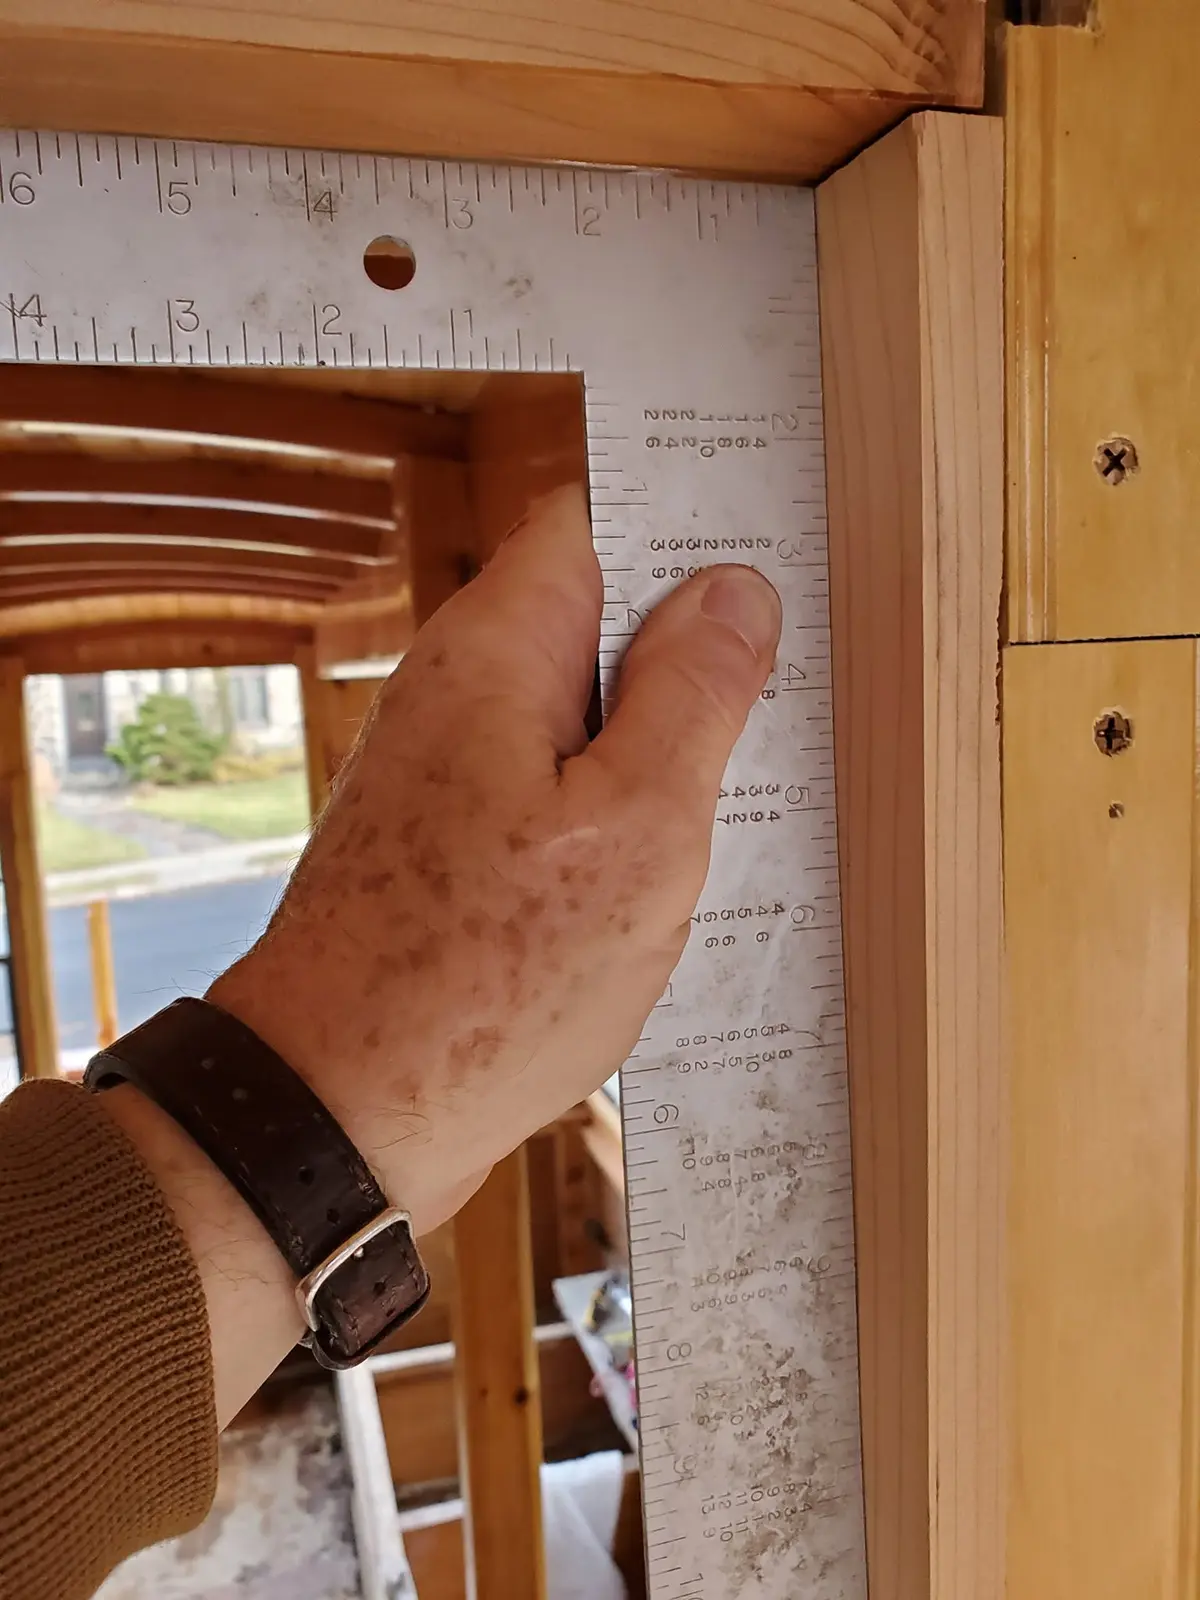
Houseboat update, Saturday, December 28, 2019 -- Still blessed with warm end-of-December weather, I was able to install the head jamb and two side jambs of Jersey Girl's aft door frame today. The starboard jamb was the perfect 90-degree angle from the head jamb, but -- oh, no! -- the post forming the framing foundation for the port side jamb was simply not plumb. From top to bottom, it was off by a full 3/4 inch. I am not the perfectionist some people accuse me of being, and normally I might have been tempted to say, "screw it, function is more important than form, so let it be." But in this case, a door will be hinged to that jamb. Form and function must be one and the same here, or the door won't open or close properly. So I decided to use four pairs of tapered cedar shims and some scrap plywood to make the jamb stand away from the cedar post, gradually increasing the distance from zero at the top to 3/4 inch at the bottom. By sliding each pair of tapered shims in and out, I was able to precisely adjust the gap at each point along the length of the crooked post. Could Handel have been thinking of Jersey Girl nearly 300 years ago, when he wrote in Messiah, "Ev'ry valley shall be exalted, and ev'ry mountain and hill made low, the crooked straight and the rough places plain?" Maybe not, but I entertained myself with that fantasy as I struggled through the day to make my crooked straight and my rough places plain. When the glue sets, I will cut off the waste end of the shims, and I'll have a port side jamb close enough to straight for a shanty boat. Then, I will cover the gap with trim, called "casing," making sure to glue and screw the casing to both the edge of the jamb and underlying cedar post, so it serves a structural function in addition to its usual decorative purpose. Then, I will move on, keeping the refrain from Leonard Cohen in mind: "Ring the bells that still can ring, forget your perfect offering. There is a crack, there is a crack in everything. That's how the light gets in."