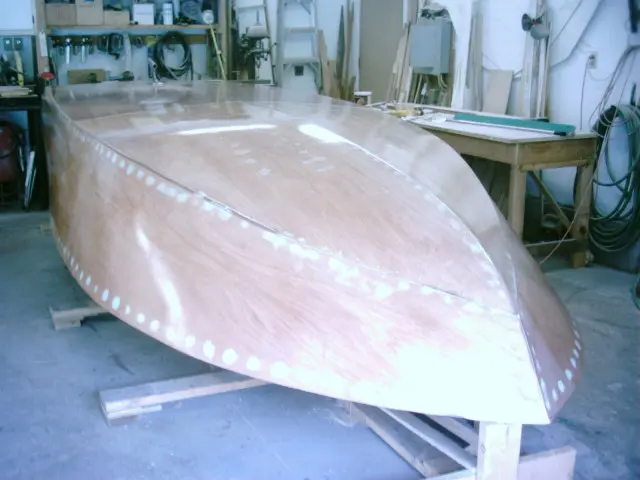
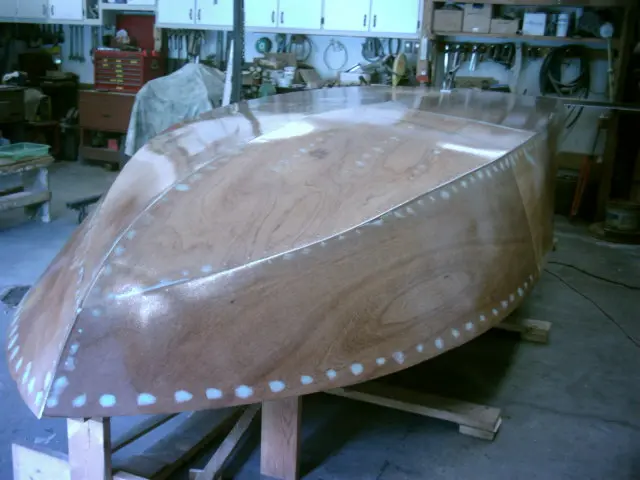
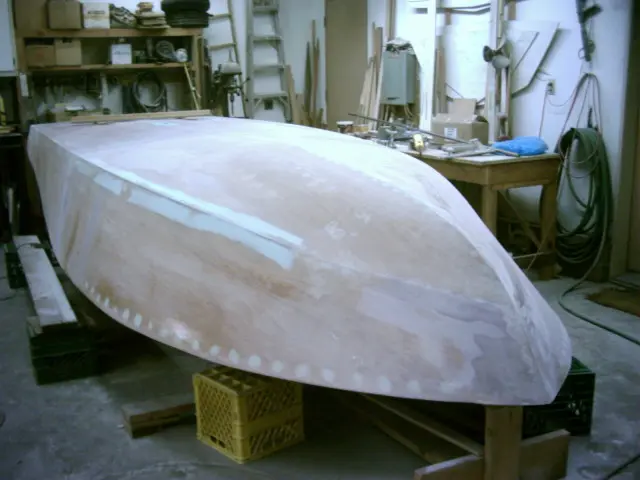
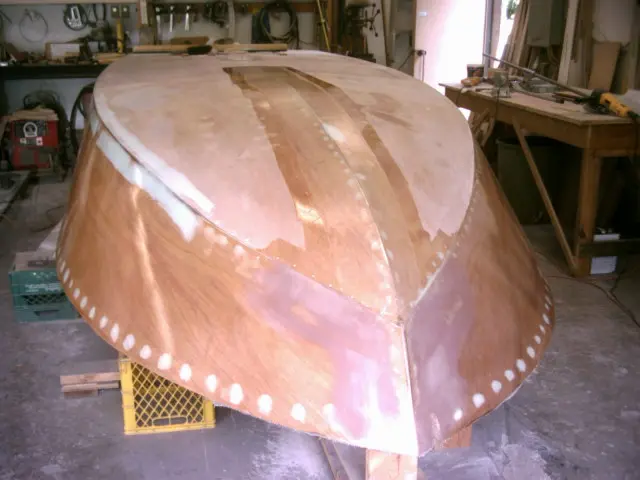
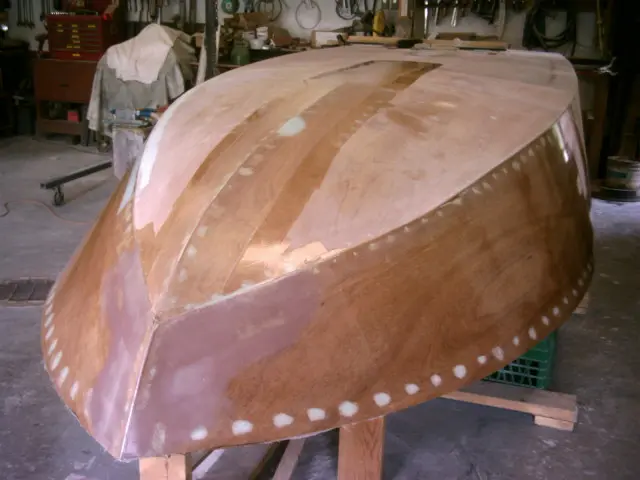
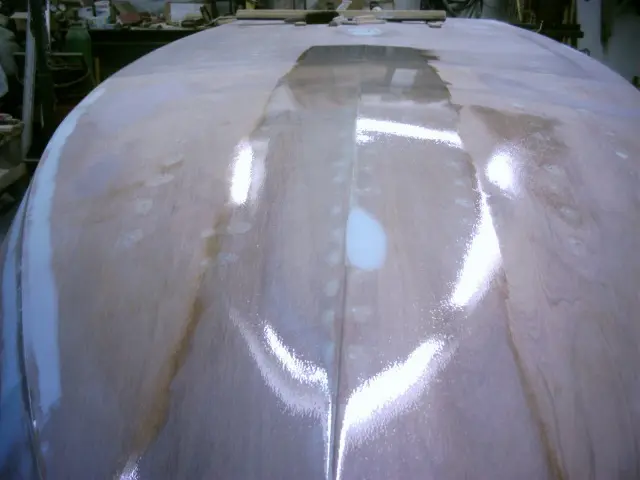
Took Friday off to feather the overlaps and sand the hull with 40 grit sandpaper
Took Friday off to feather the overlaps and sand the hull with 40 grit sandpaper. Straight-line and orbital air files saved a lot of time on this job. We splurged on a DeWalt commercial duty 6" variable speed orbital sander for feathering the overlaps. The hull was rinsed with water, scuffed with a 3M scotch pad and allowed to dry overnight. Three rounds of epoxy spaced about two hours apart were applied on Saturday.
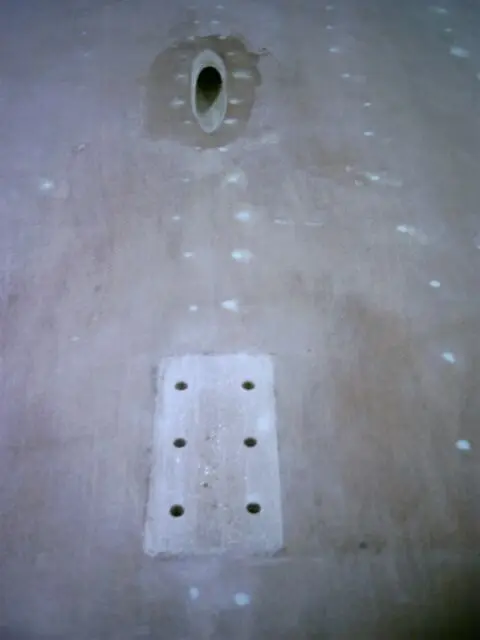
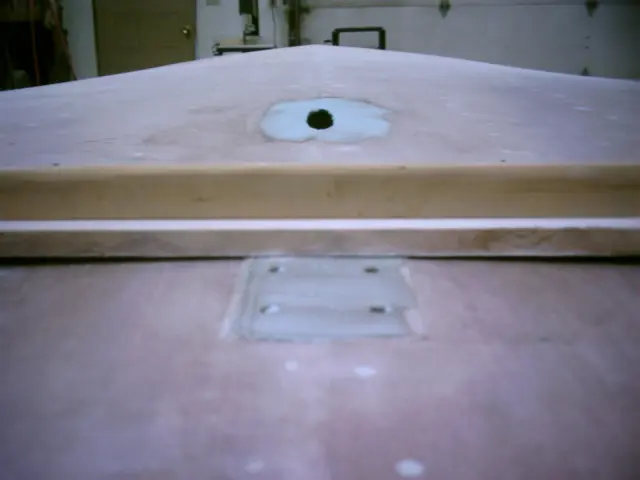
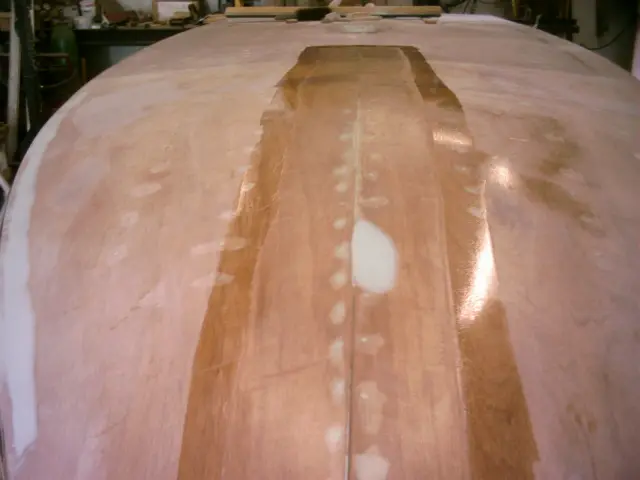
A strut pad was laminated from 3 layers of 1-1/2 ounce fiberglass mat
A strut pad was laminated from 3 layers of 1-1/2 ounce fiberglass mat. The idea is to build up the pad and grind it level so the strut can be bolted to a solid base.
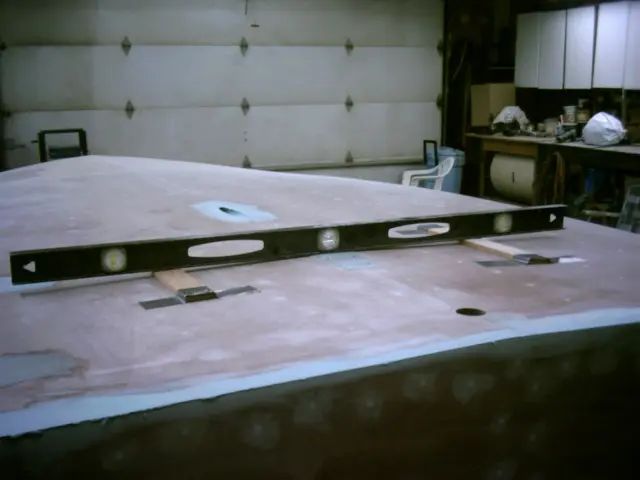
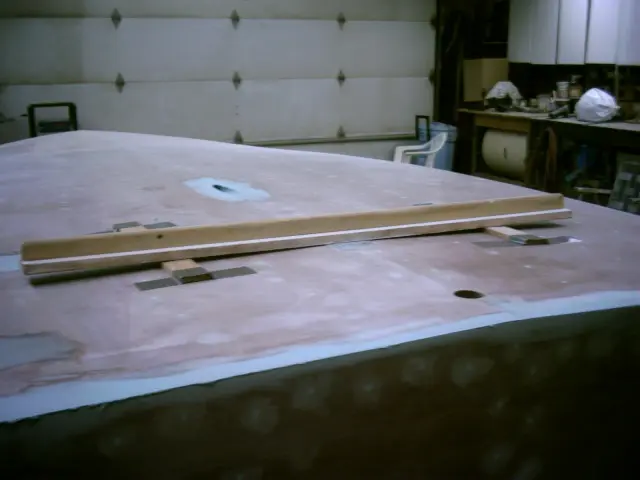
A 4-foot level was laid on the pad and leveled with two hardwood strips laid on the hull. Duck tape was used to hold the strips in place.
A 4-foot long sanding board was used to level the pad.
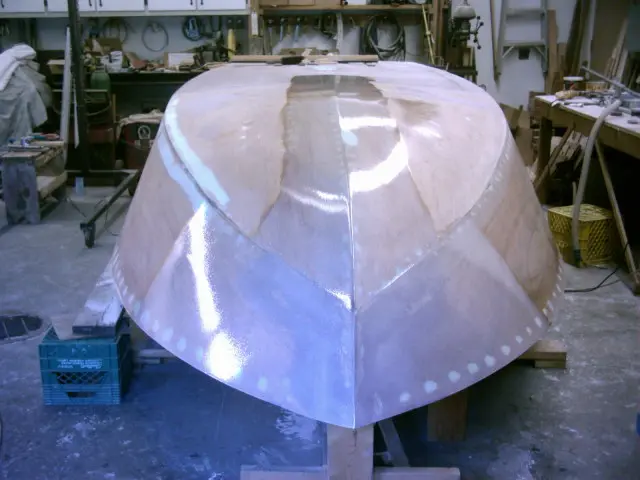
An extra layer of cloth was applied to the keel and the bow area
An extra layer of cloth was applied to the keel and the bow area. If the keel is nicked or abraded, the extra lamination will take the abuse instead of the underlying layer.
Since this is a 'wear' layer, sanding will be restricted to feathering the sides.
A test batch of white pigmented epoxy was mixed and applied. It would take quite a bit of pigment or several coats of epoxy to produce a truly opaque finish.