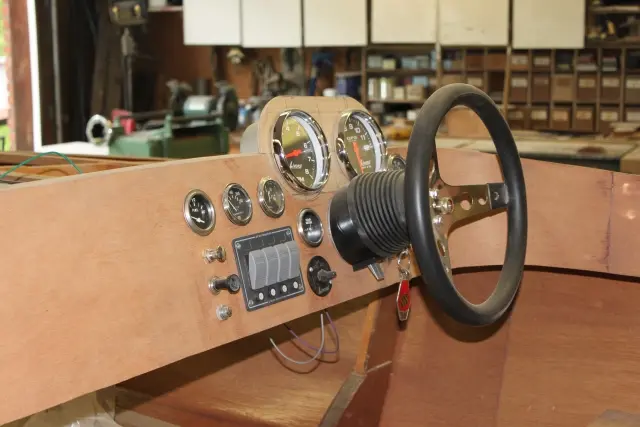
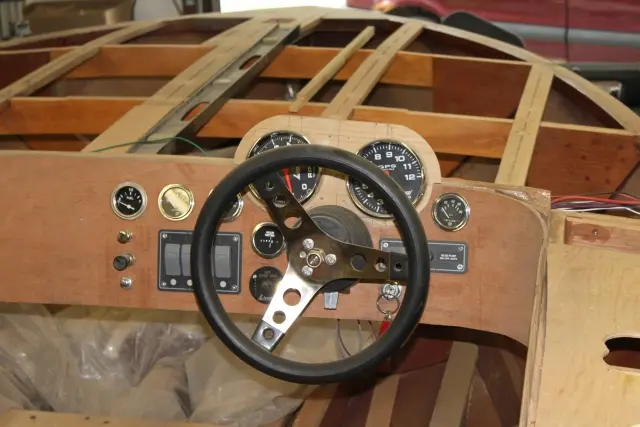
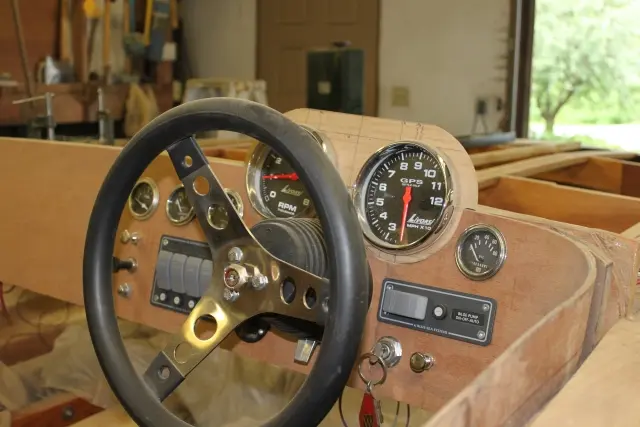
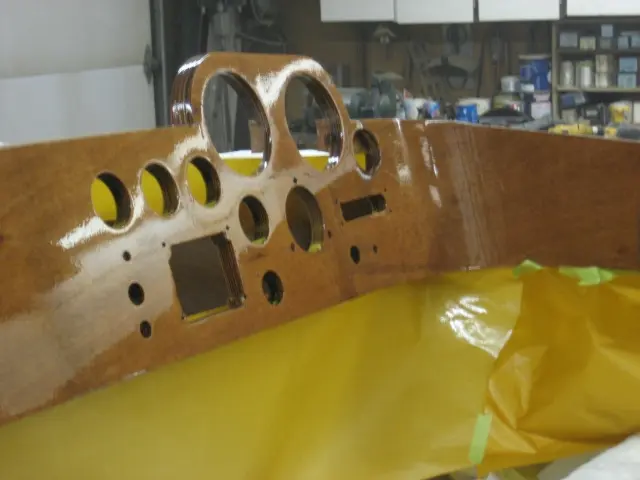
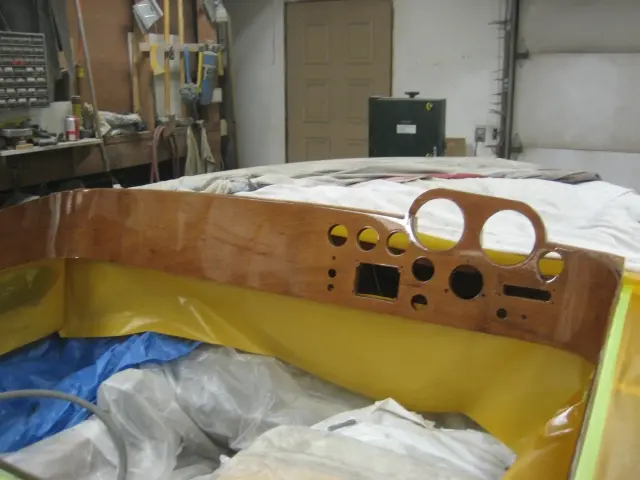
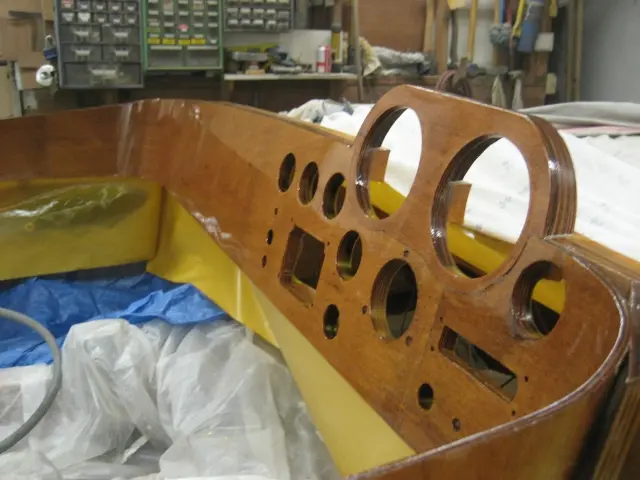
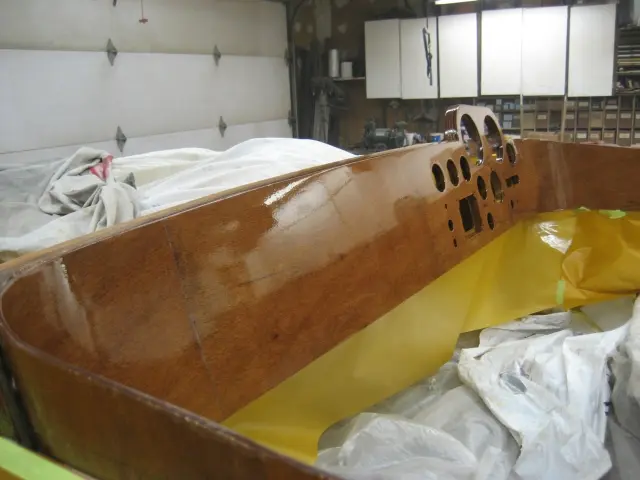
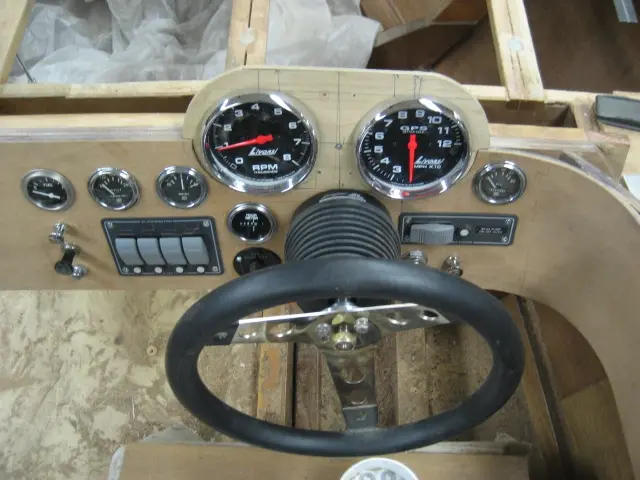
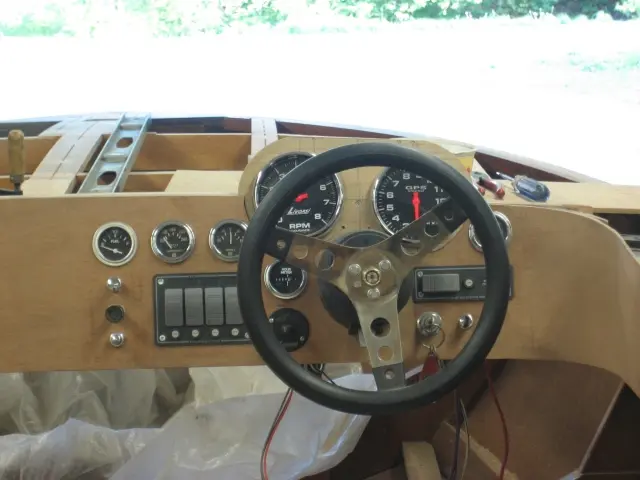
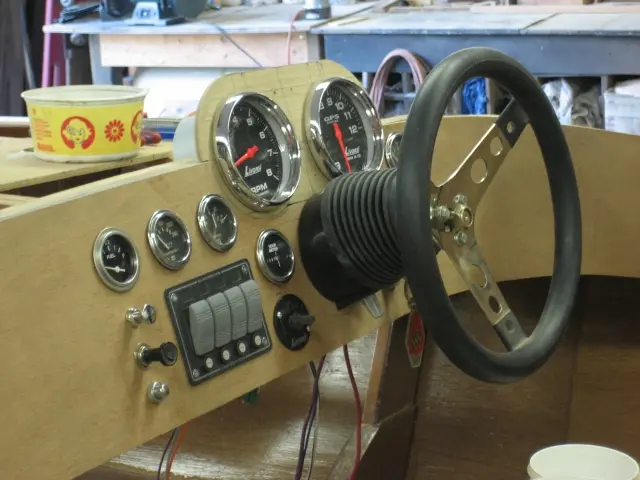
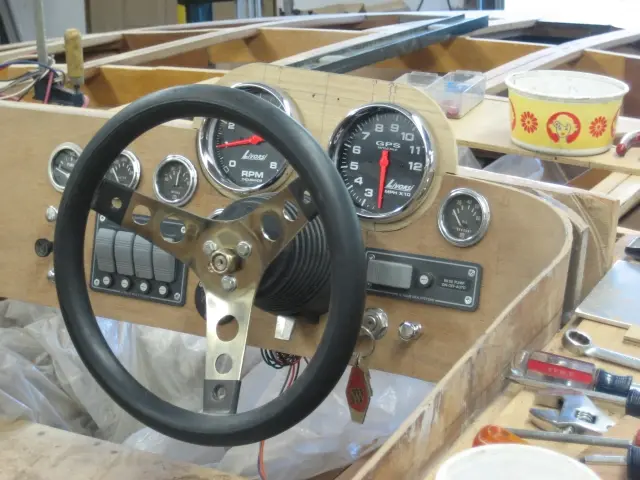
Gauges were installed over the weekend and are ready for wiring
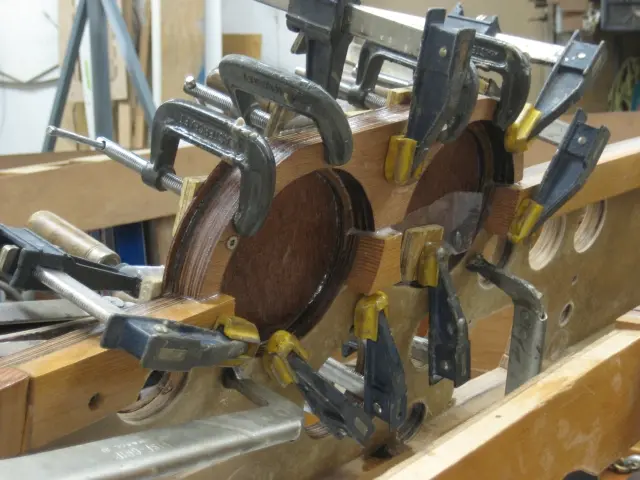
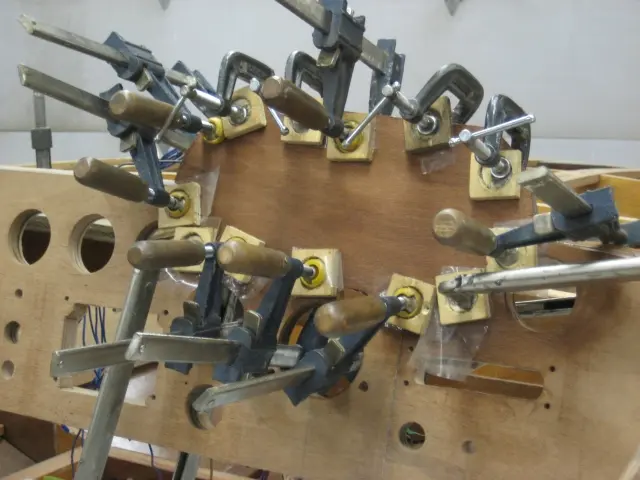
1. Gauges were installed over the weekend and are ready for wiring. The helm is a SeaStar Pro Tilt hydraulic unit. 5" Monster GPS speedometer and tachometer are made by Livorsi. The water temperature, oil pressure and volt meter gauges are vintage VDO units salvaged from a Chris-Craft cabin cruiser. The fuel level and hour meter gauges are Teleflex Heavy Duty gauges. Rocker switches are fully waterproof. GPS speedometer recall/reset toggle switch is located to the left of the helm. There's still another layer of mahogany veneer to apply on the dash before applying the final finish clear coats.
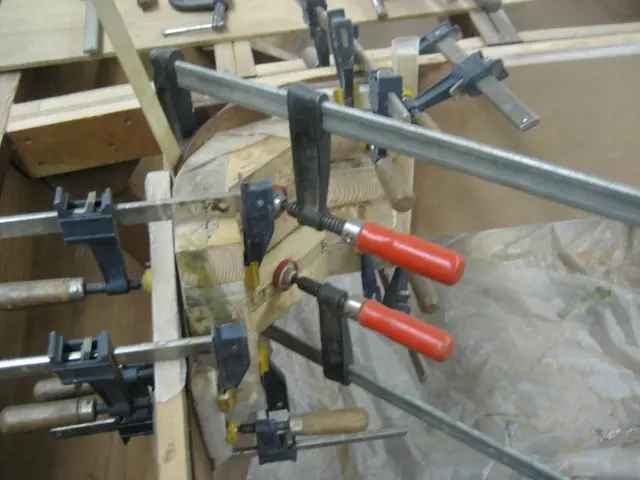
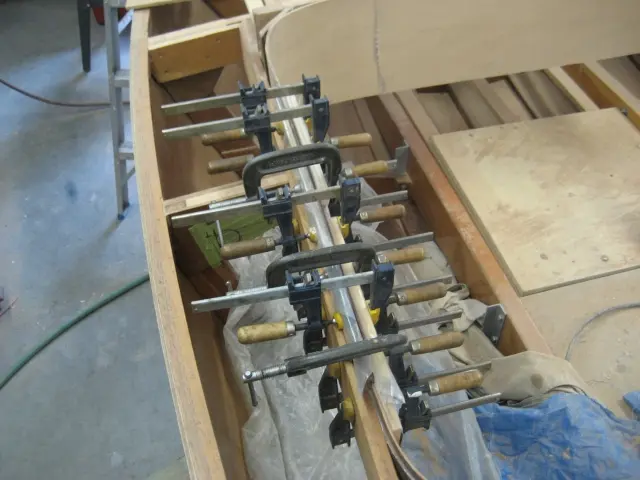
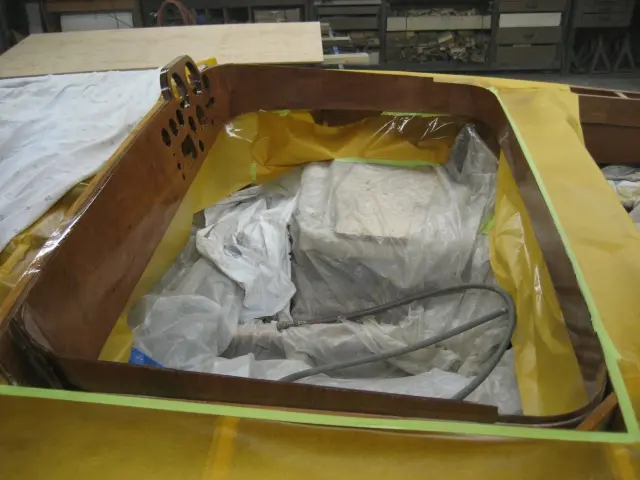
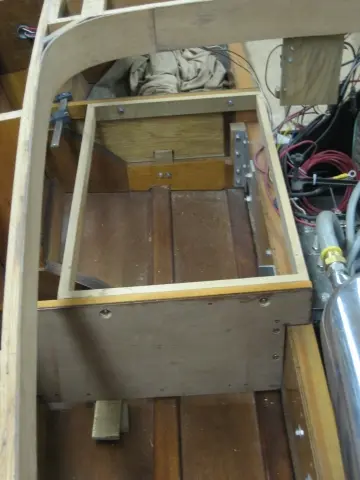
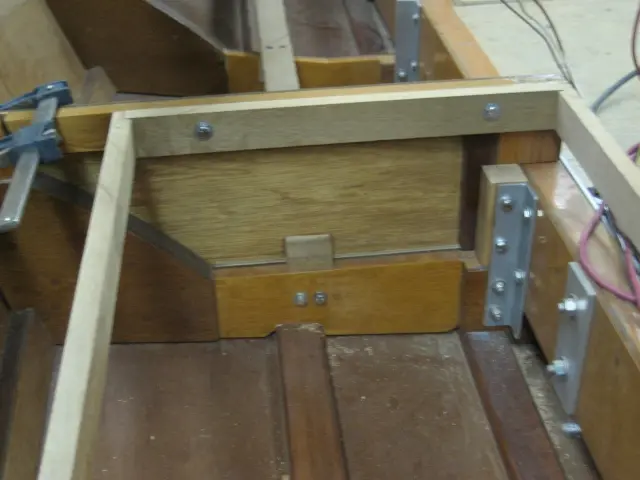
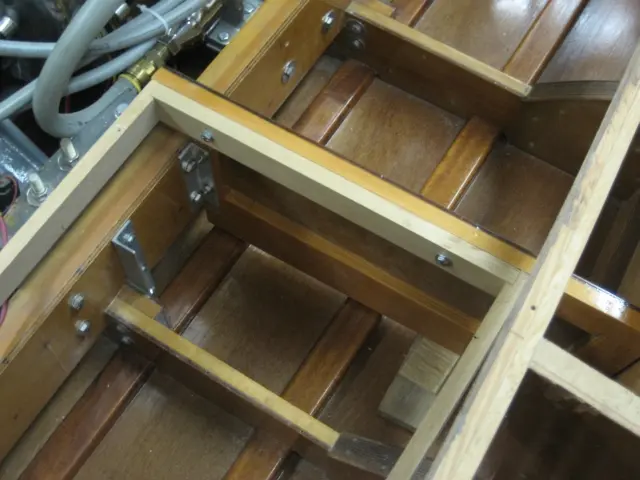
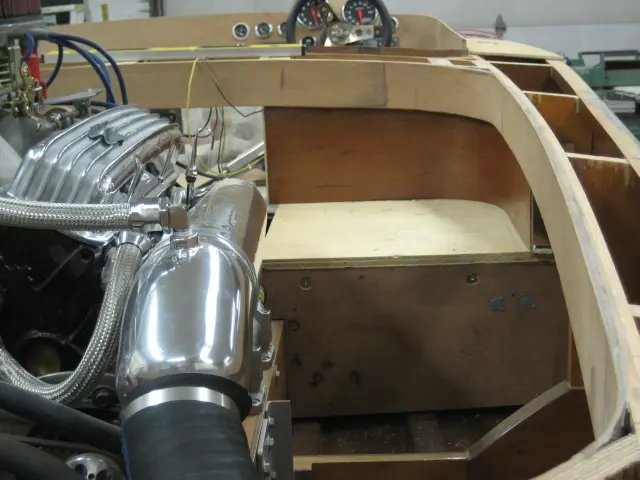
2–4. We extended the radiused corner coamings to the the rear jump seat backs. Since this photo was taken, the seat supports have been veneered and topcoated with several coats of epoxy and automotive clearcoat We're holding off on final assembly until the fuel tank cradles and battery box are installed.
Jump seats and fuel tank: The following photos depict construction details for the rear jump seats
The following photos depict construction details for the rear jump seats. A custom-built ten gallon aluminum fuel tank will reside under each seat.
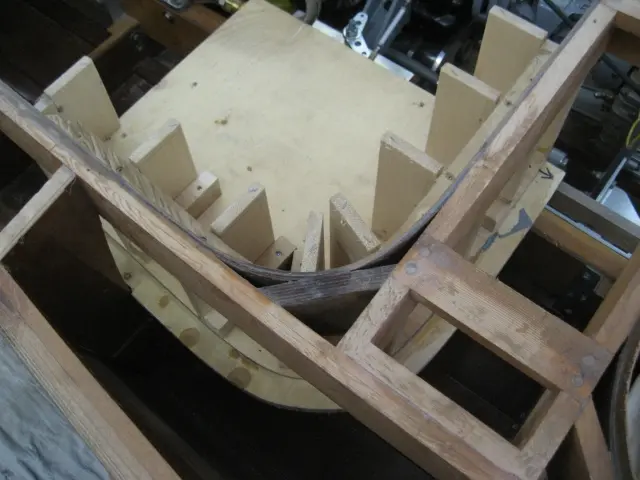
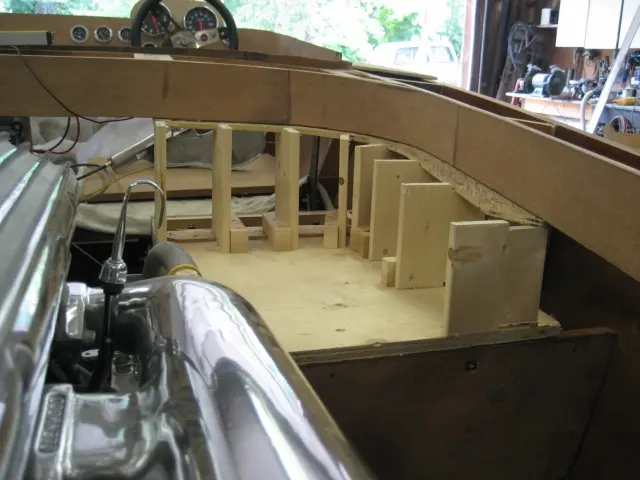
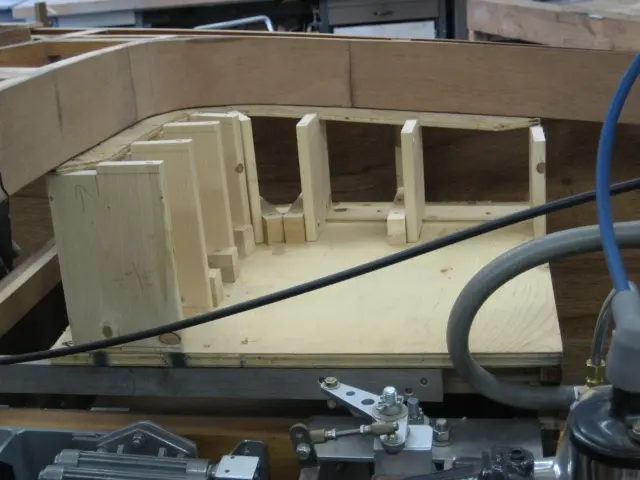
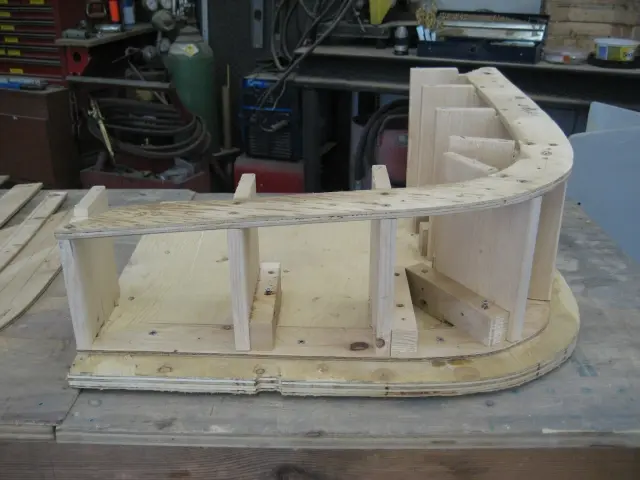
1. Building a form consisting of a piece of 3/4" plywood over the starboard-side seat frame.
2. Pieces of scrap 1" x 6" spruce lumber were slipped into place to define the vertical surface.
3. A 1/4" gap was left between the seat vertical and bottom edge of the carling. Side piece was inset 1" from the carling's outside face. In the foreground, you can see our custom-built transmission shifter arms and linkage. More on this later !
4. Several pieces of 1" x 6" stubs were used to define the shape.
5. Building this form reminds me of when, as a kid, my Dad and I used to build HO model train tables. With a bit of fiberglass screening, plaster of Paris and paint, this would make a great railbed for a river trestle approach !
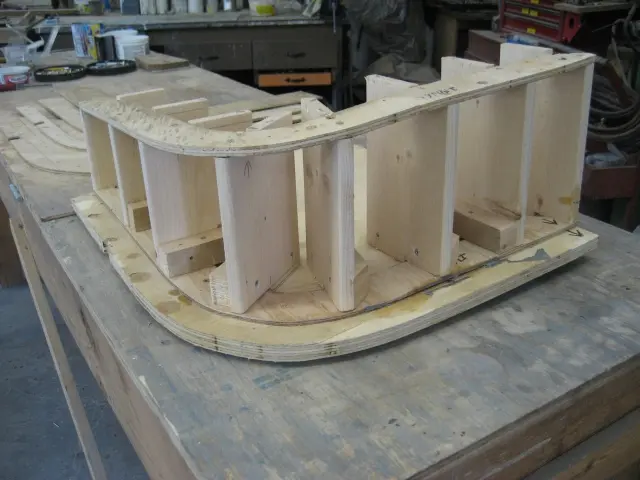
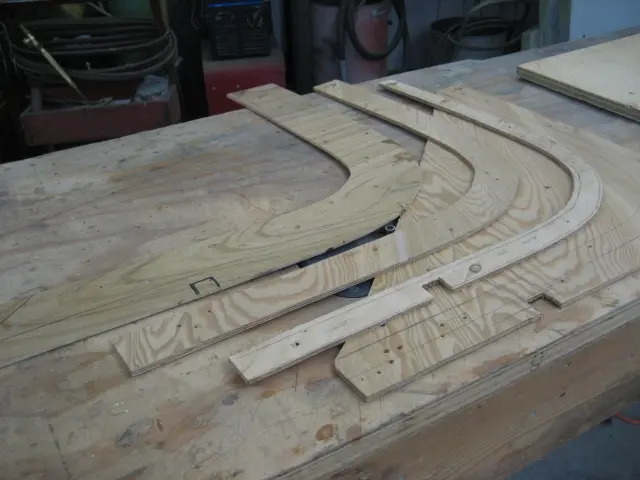
6. We produced 1/4" plywood templates to accurately reproduce the required parts.
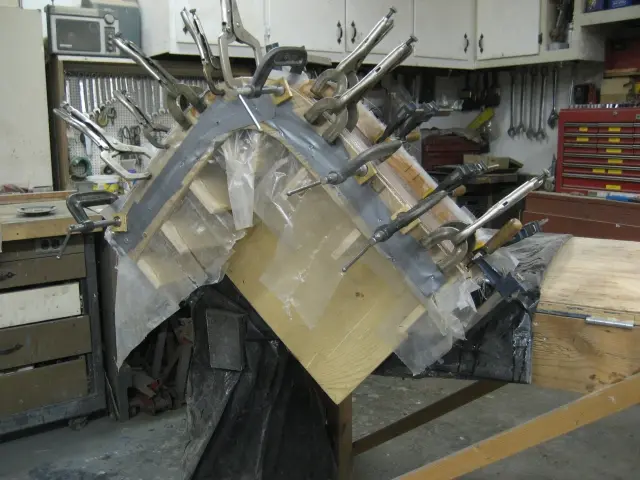
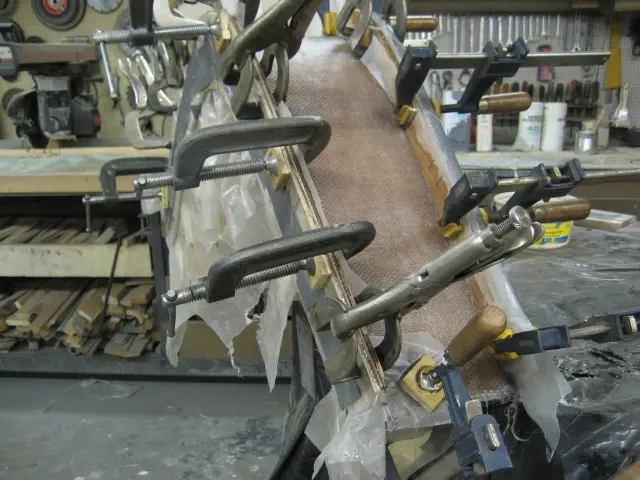
7. The mold was affixed to the router table and covered with 6 mil plastic before applying the laminates.
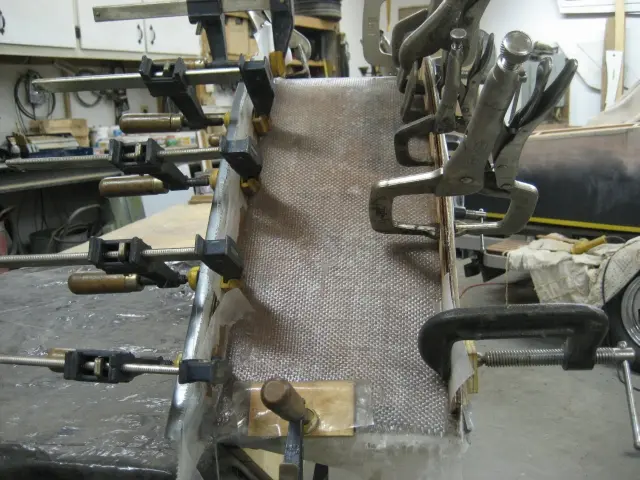
8. First lamination was a.100" mahogany veneer followed up with 1-1/2 ounce chop strand mat and topped with a layer of 8 ounce woven roving.
9. The flanges on either side of the lamination consist of woven roving topped with a 1/4" plywood flange which was used to compress the fiberglass and impart some strength to the flange.
Jump seats and fuel tank: Here's the part after we've pulled it from the plug
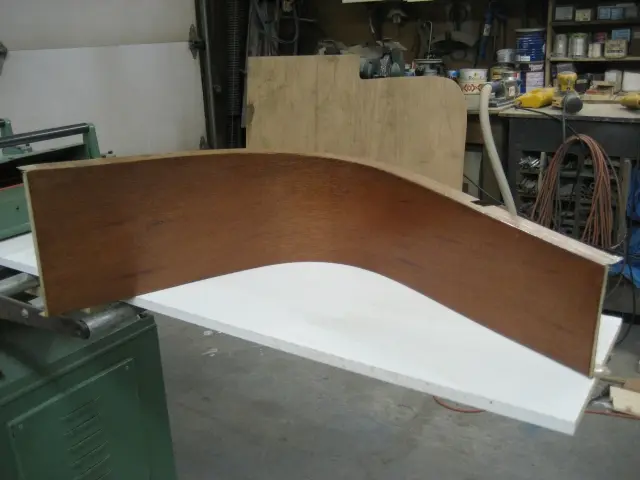
Casting was a success ! The piece fits like a glove and conforms nicely to the carling's lower edge.
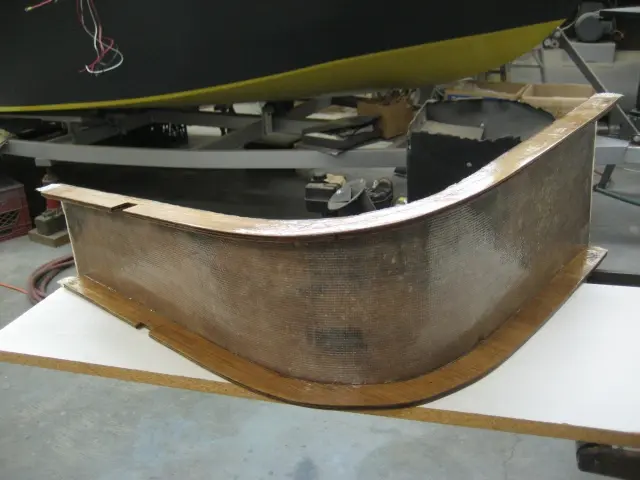
1. Here's the part after we've pulled it from the plug. Total weight is less than one pound.
2. Edges were trimmed and the part was given a light sanding before coating with West Epoxy catalyzed with 207 Special Coating hardener. Aluminum clips will be used to retain the top flange to the carling. The lower flange will bolt to the seat bottom.
3. Ends were left long so that they can be trimmed after installation.
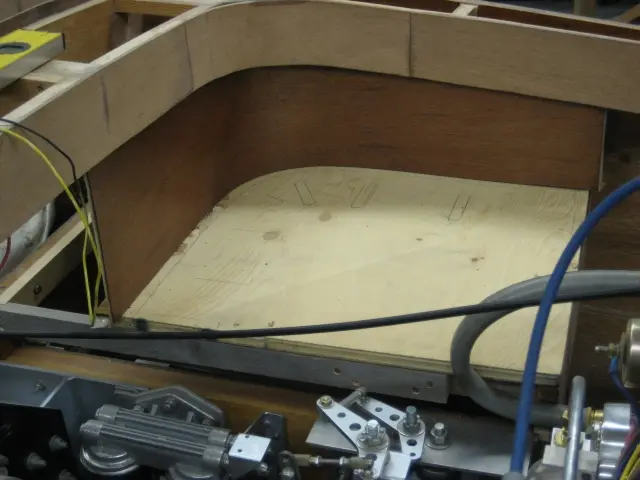
4. The starboard seat base was installed.
5. Front partition was bolted to the frame clip at frame # 3.
6. Rear partition was bolted to the motor stringer with an aluminum angle.
We extended the radiused corner coamings to the the rear jump seat backs
We extended the radiused corner coamings to the the rear jump seat backs. Since this photo was taken, the seat supports have been veneered and topcoated with several coats of epoxy and automotive clearcoat We're holding off on final assembly until the fuel tank cradles and battery box are installed.