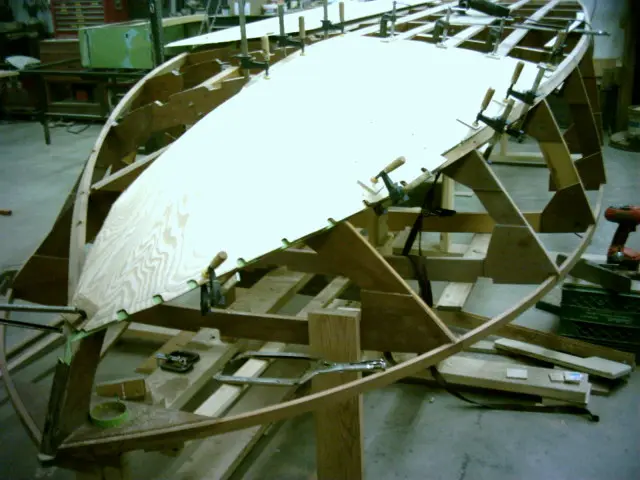
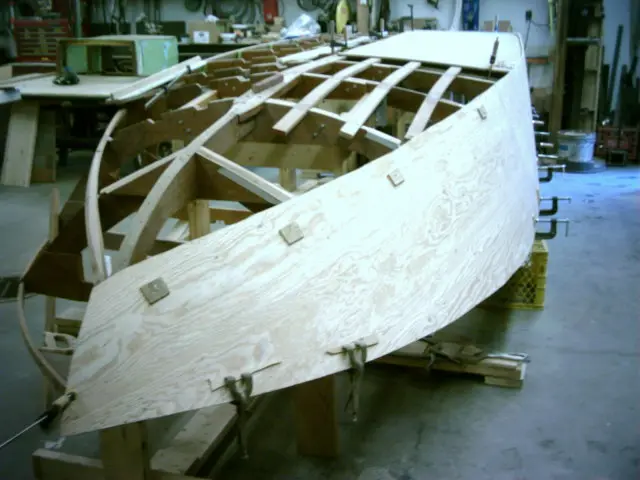
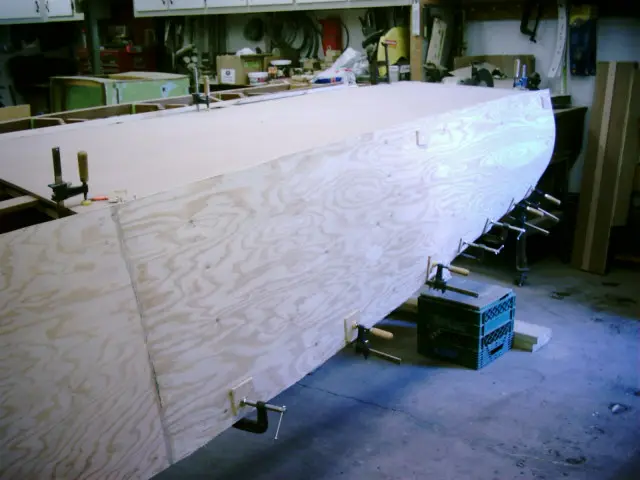
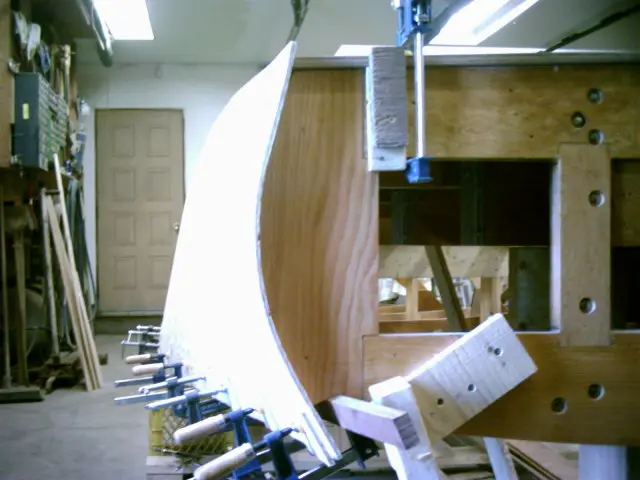
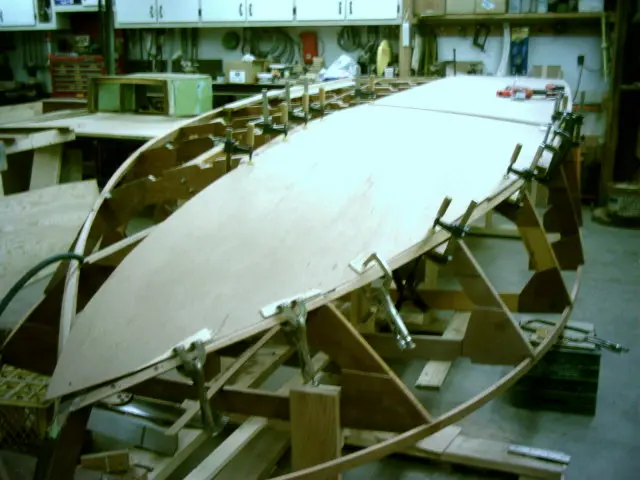
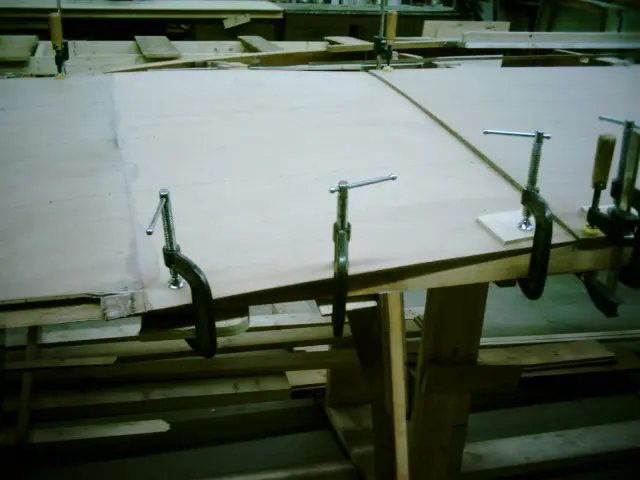
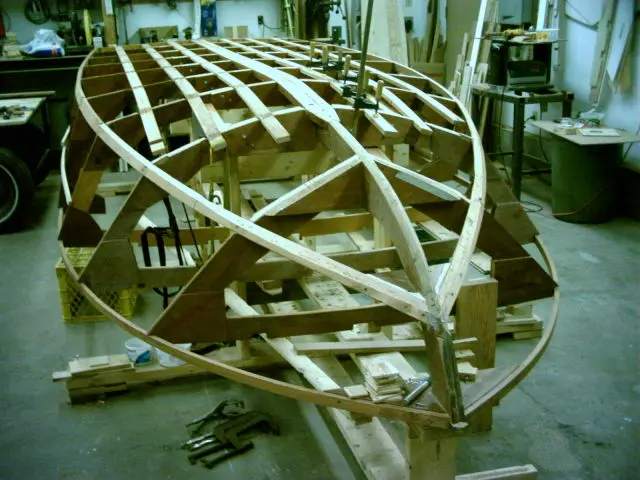
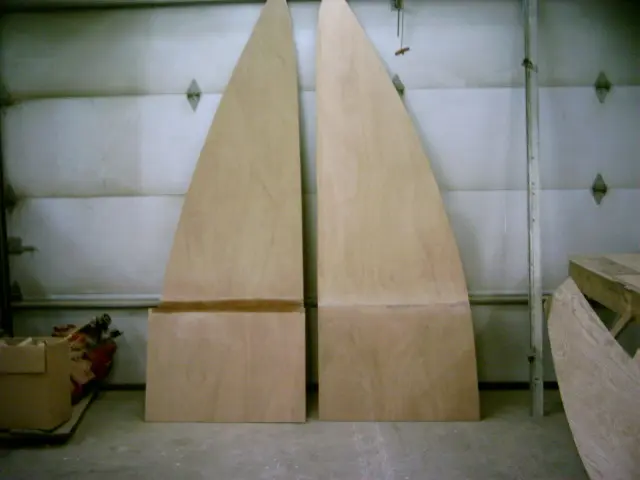
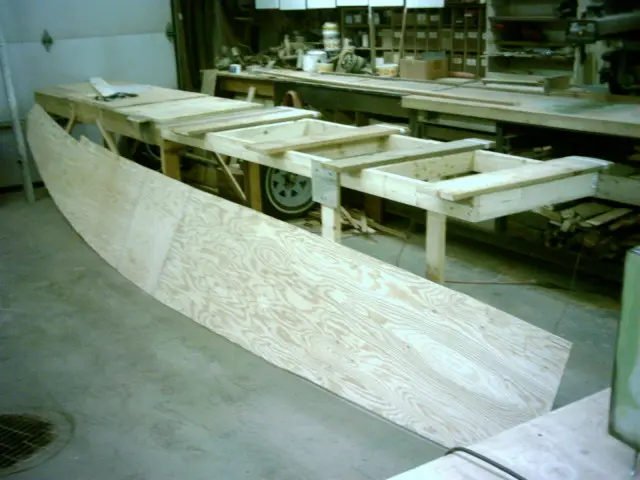
We'll be sheeting with the optional 1/2" botom in the flatter aft area and two layers of 1/4" in the forward section
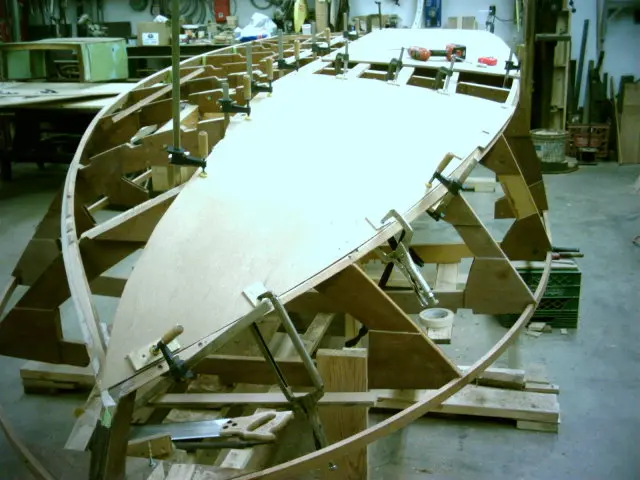
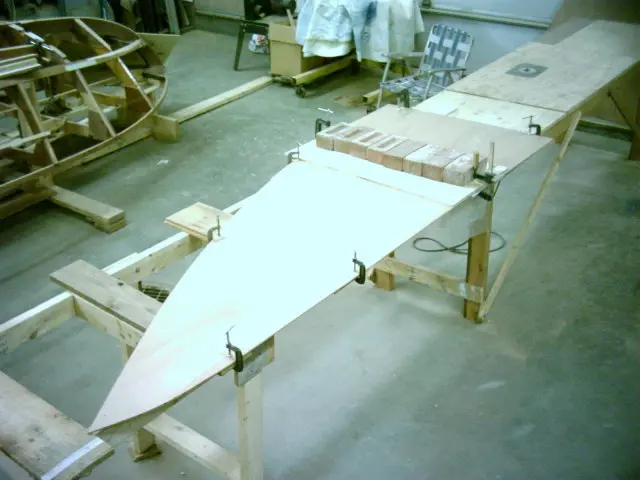
We'll be sheeting with the optional 1/2" botom in the flatter aft area and two layers of 1/4" in the forward section. A template for the first bottom layer is being fitted.
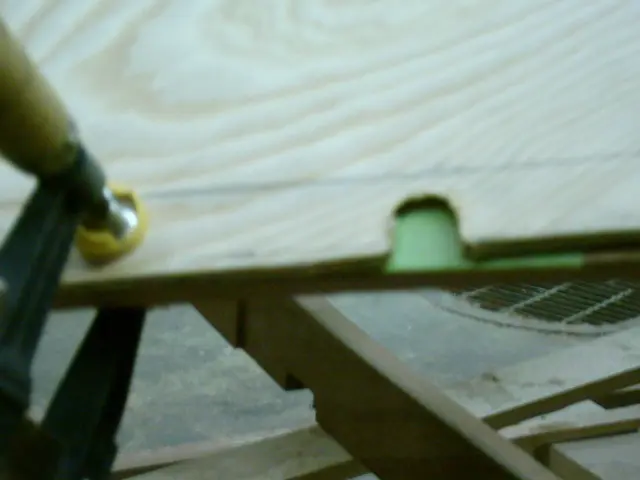
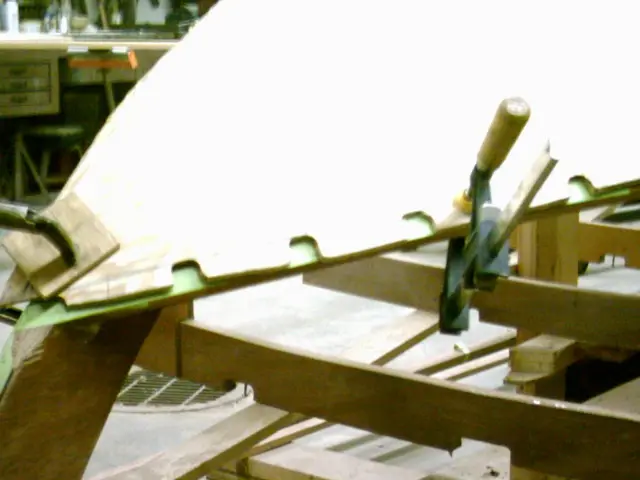
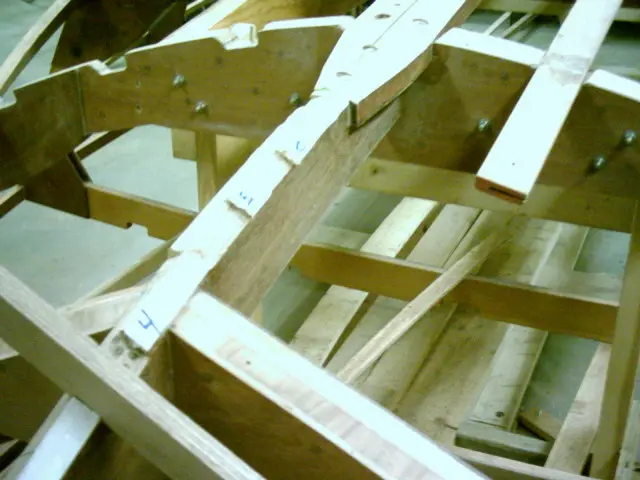
The chine was covered in masking tape and the bottom/side planking junction was marked with a pencil. Using a pneumatic die grinder outfitted with a 1/2" deburring rasp makes quick work of cutting a series of 'mouseholes' every six inches or so along the panel's edge. Trim the slots back until the transition line is visible.
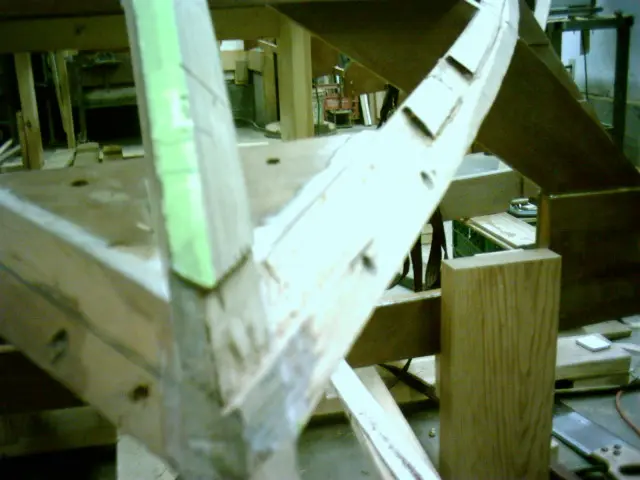
Note the cleft to the right of the last slot. From this point aft, the bottom planking will be faired flush with the side of the chine.
A thin flexible batten is sprung and clamped along the panel's slots before marking with a pencil.
Remove the clamps and trim to size. Several methods for handling thickness variations between side and bottom planking at junctions over the chine log are depicted in the following diagram. We chose to recess the first layer of bottom plywood into the chine. See the bottom right drawing labelled Double planking forward portion recessed chine. Methods for handling thickness variations between side and bottom planking at junctions over chine log. Drawing courtesy of Glen-L Marine Designs
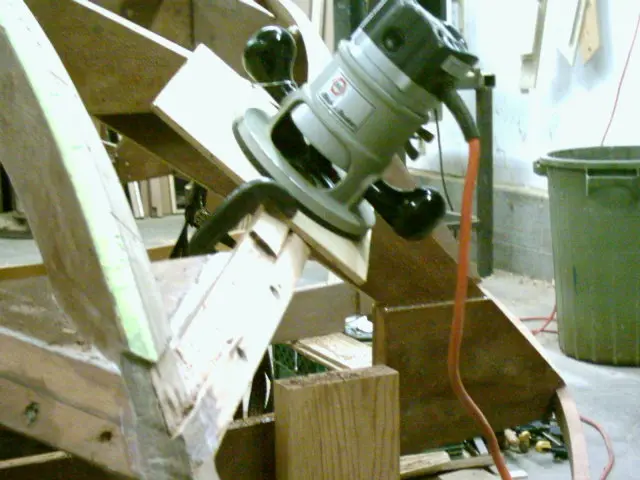
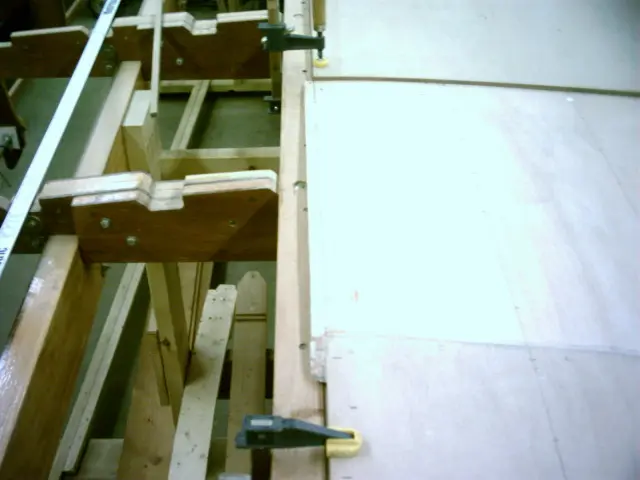
A router was used to recess the forward portion of the chine.
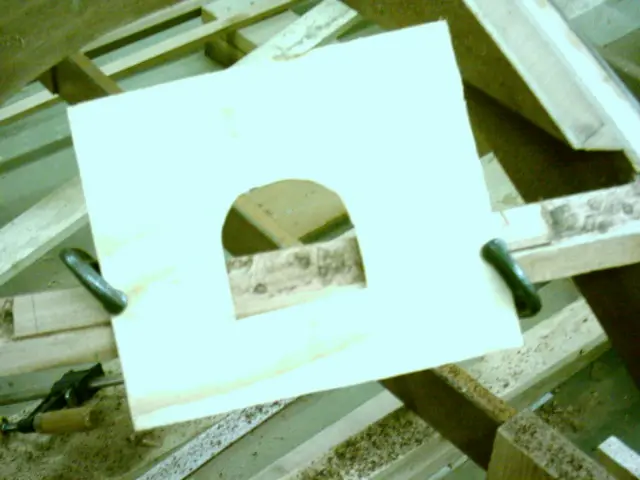
A simple jig made from a piece of 1/4" plywood is used to form a steady base for the router.
Fairing the stem with the 'Rabl' method. The following link explains how it's done : Fairing by the "RABL Method" by Glen L. Witt
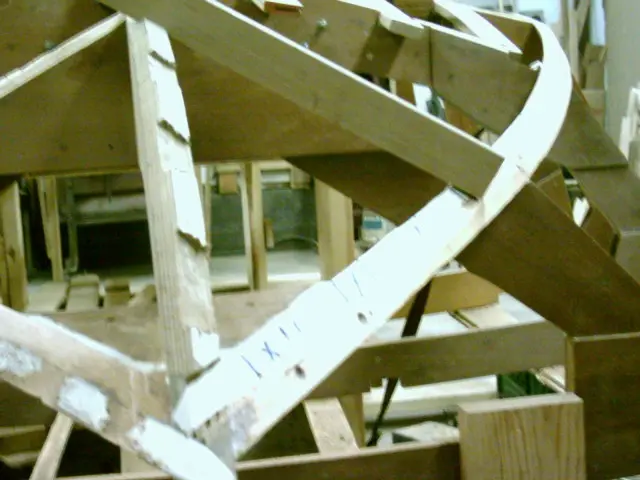
The keel must also be recessed to accomodate the thickness of the plywood. A router is used (freehand) to fair the surface.
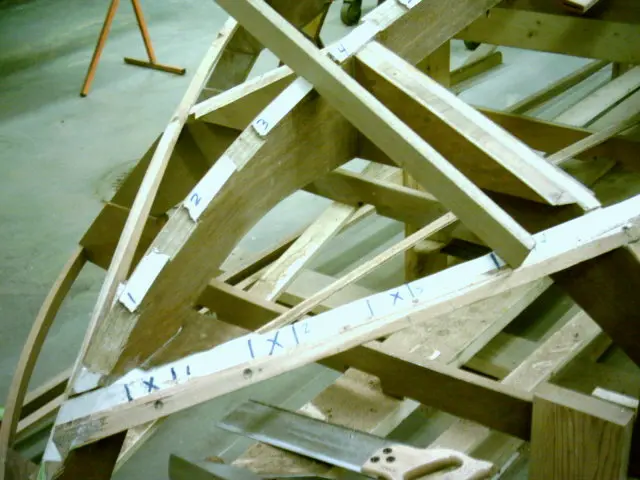
The depth of the recess is decreased as it approaches the keel (1/4" deep from mark #1 to #4, 3/16" at #5, 1/8" at #6, 0" at the keel). Install the panel and determine how much should be faired from frame #8.
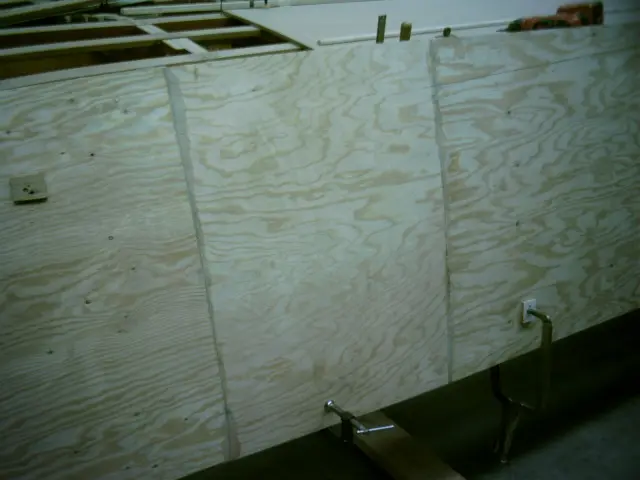
Since the required panel length is 8'-6" and adding a 6" strip ahead of the butt block is close to frame #4, the scarf joint was moved forward 24" and centered bewteen frames #5 and #6. A butt block between frames #4 and #5 will join the two layers of 1/4" plywood to the aft piece of 1/2" plywood.
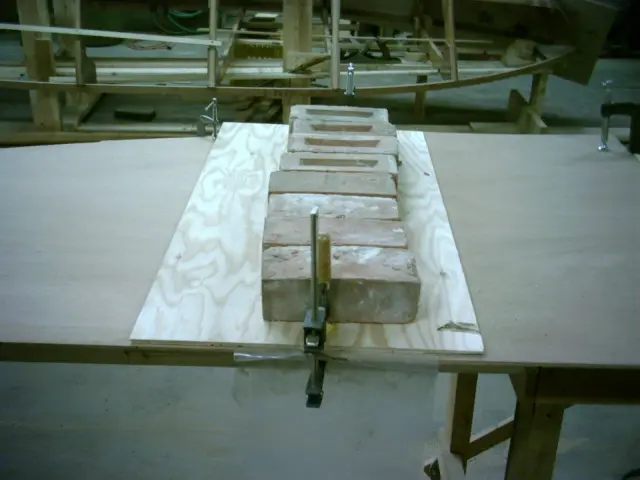
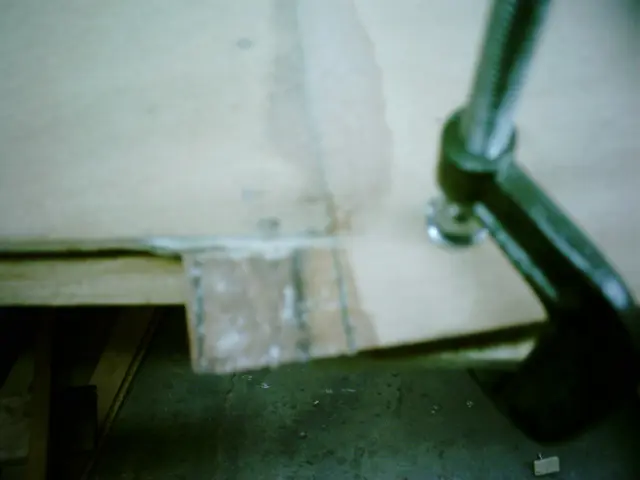
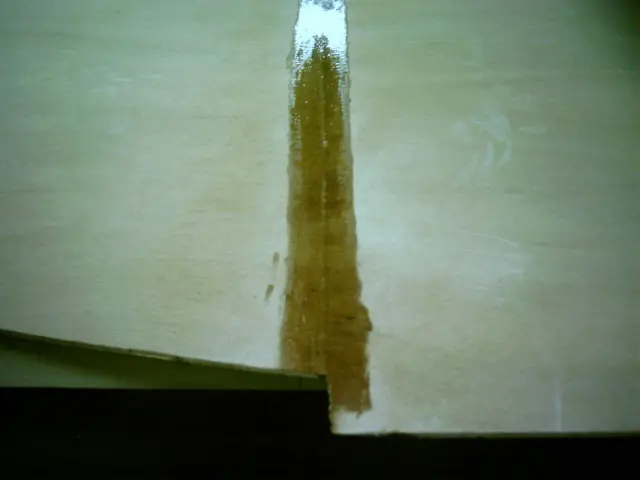
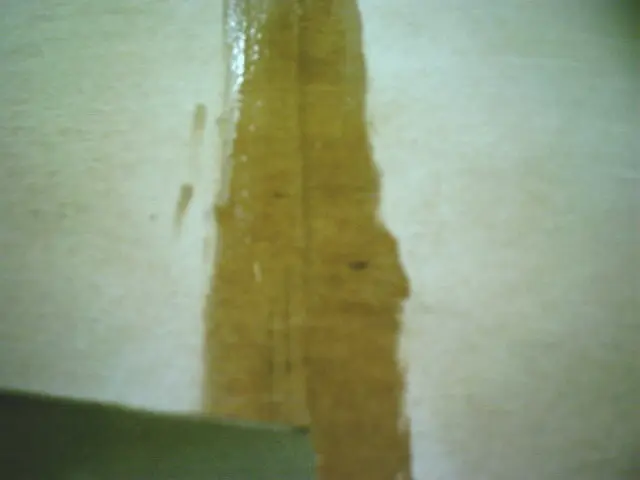
Closeup of the epoxied scarf joint.
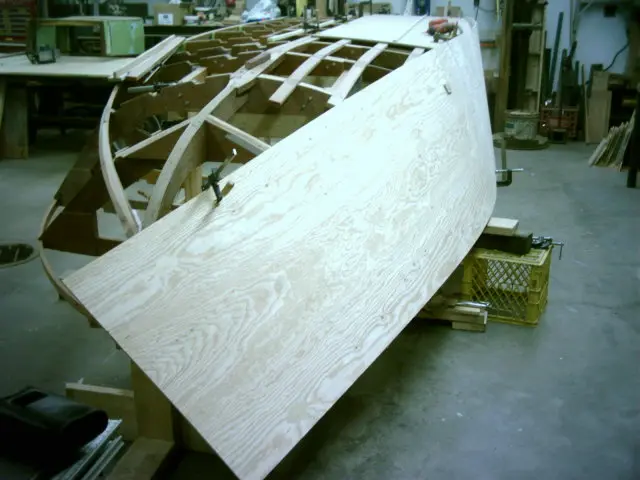
The panel is left oversized, marked and trimmed.
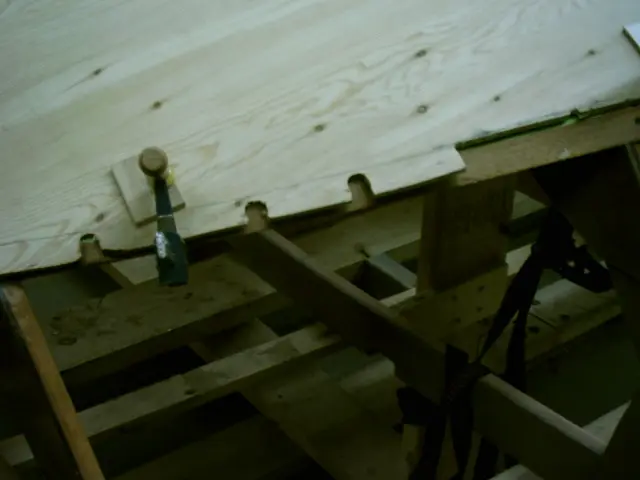
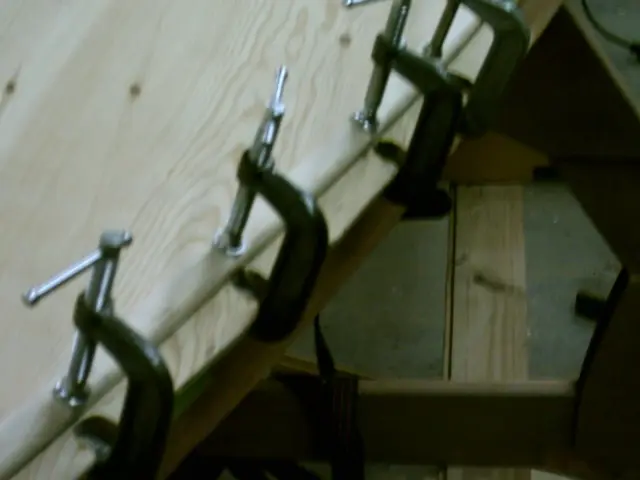
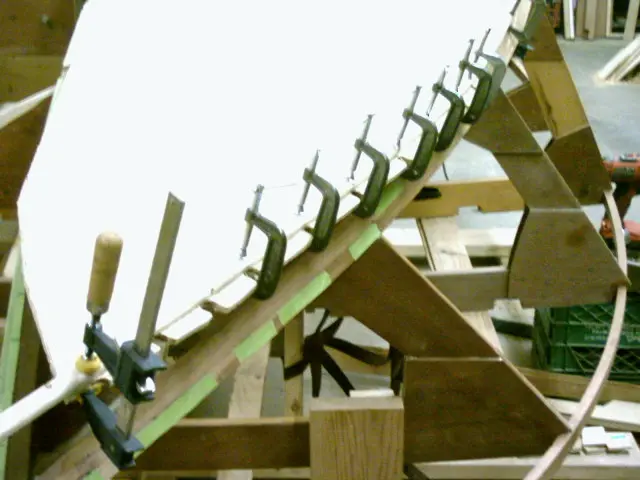
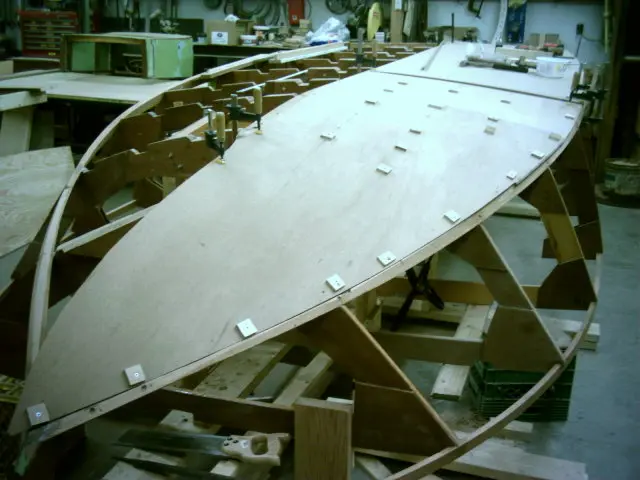
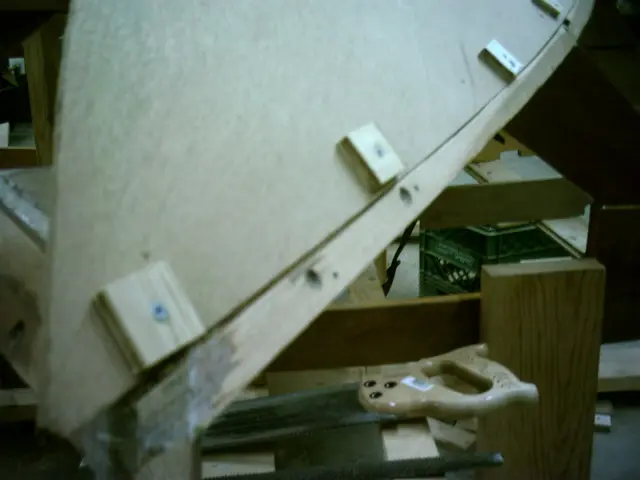
Screws are driven through plywood spacer washers to spread the screw's clamping force to a larger area.
The port side chine and keel must now be recessed and lowered before fitting the keel junction.