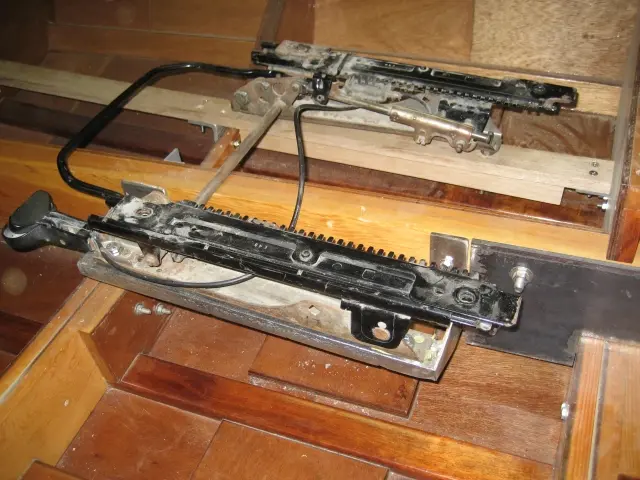
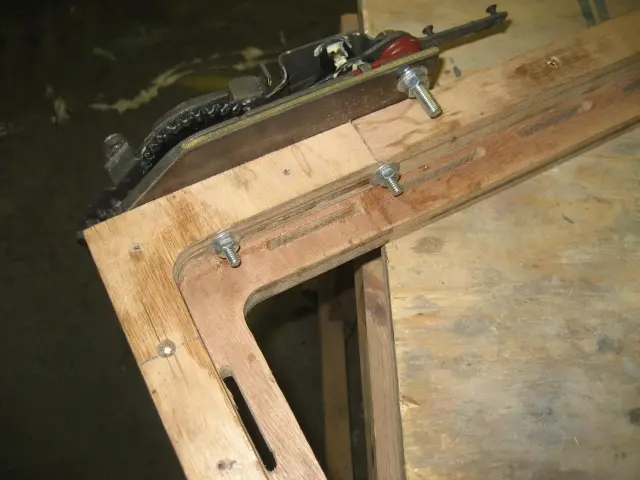
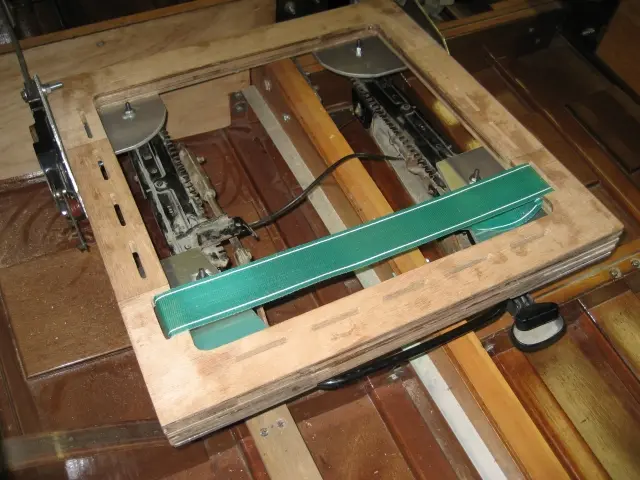
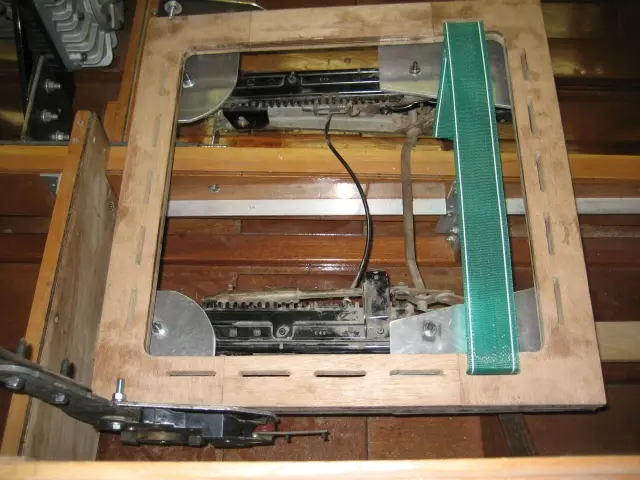
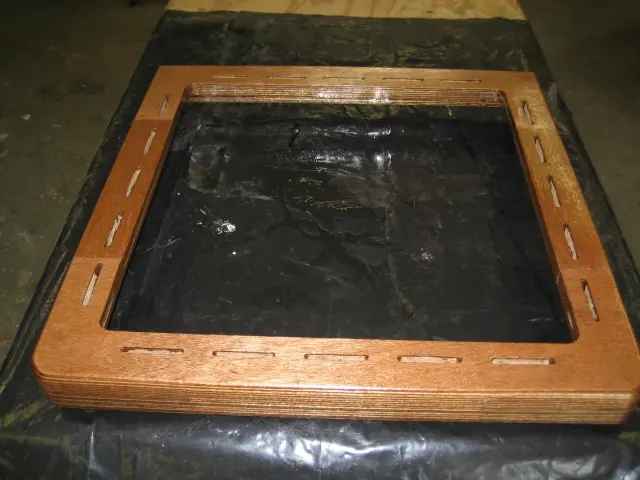
Seats: Seat tracks from a GM van are mounted to a set of custom fabricated brackets
Seat tracks from a GM van are mounted to a set of custom fabricated brackets. One side bolts trough a sole support and the other bolts to the side of the motor stringer.
Seats: Normally we'd build the seat frames with 3/4" marine grade plywood
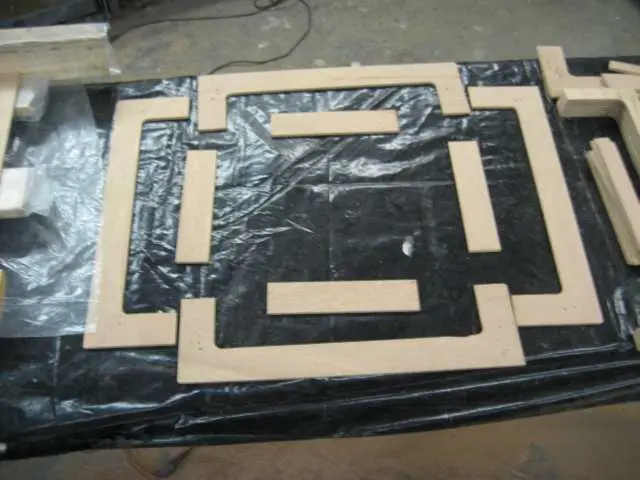
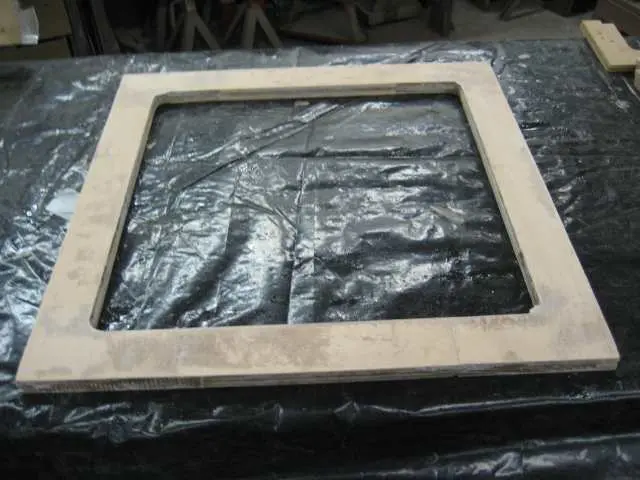
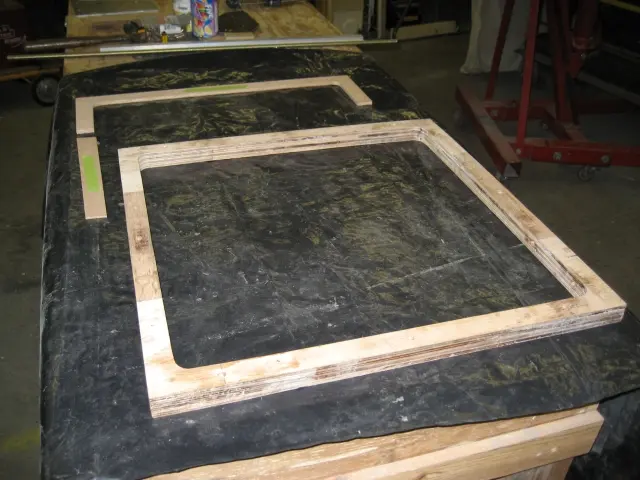
1. Normally we'd build the seat frames with 3/4" marine grade plywood. We had several leftover pieces of 1/4" plywood, so we chose to create a template, cut multiple pieces and laminate 3 layers to the required thickness.
2. Rotating the 'C' shaped corner pieces 90 degrees for each layer produces a very rigid rectangular frame free of fasteners.
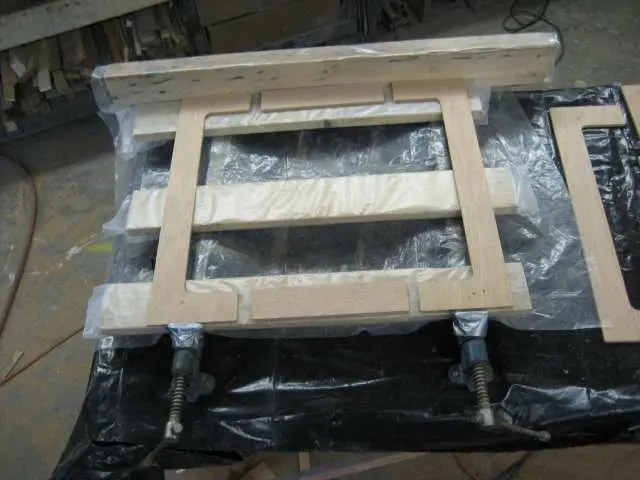
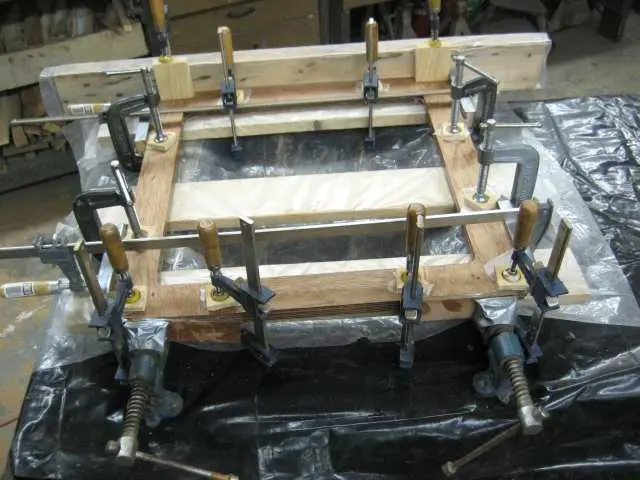
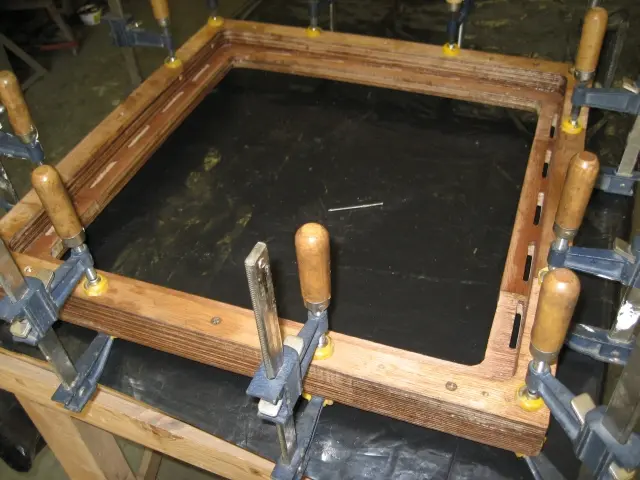
3. The 3 layers were epoxied and clamped.
4. Here's the top layer after curing.
Seats: Rubber webbing will ultimately suspend the seat foam
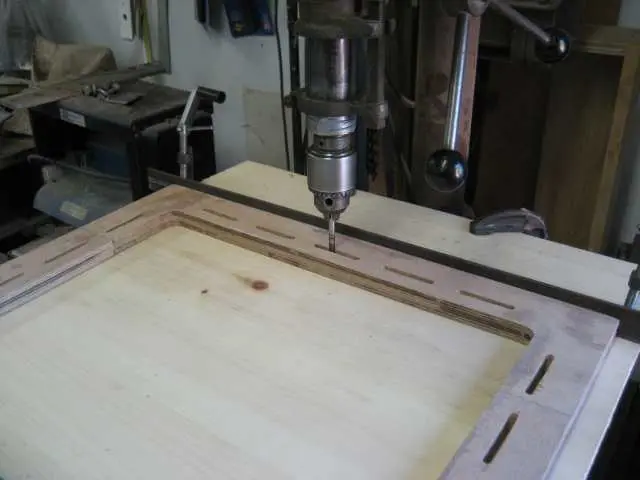
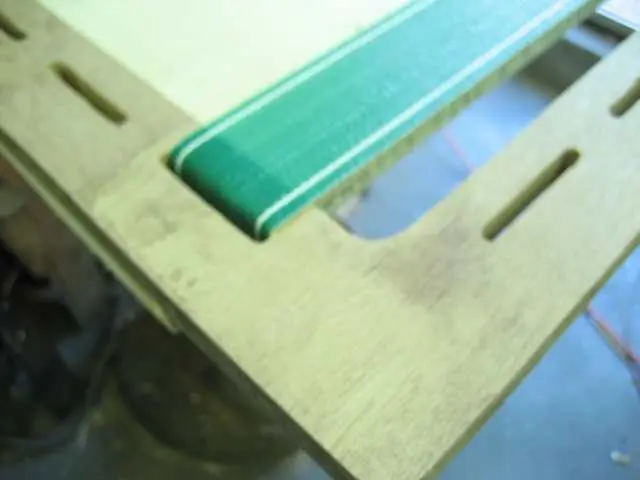
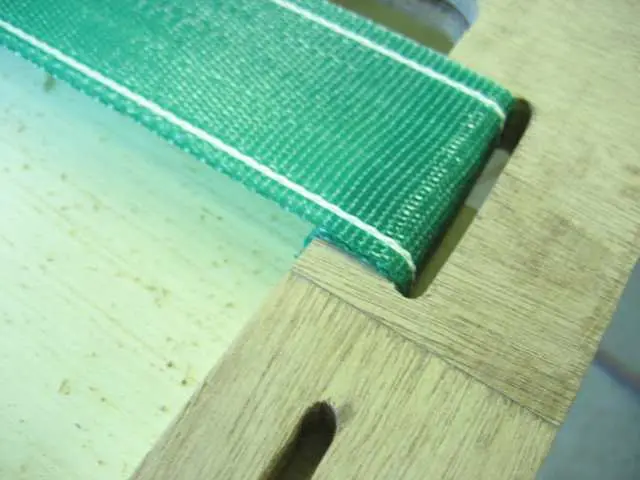
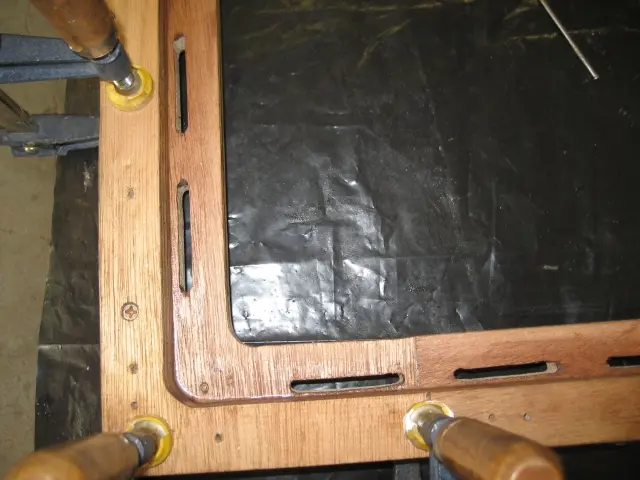
1. Rubber webbing will ultimately suspend the seat foam. The webbing slots were laid out on the stock. A 1/4" drill bit was used to drill the slot end points. Most of the material was removed with a jigsaw.
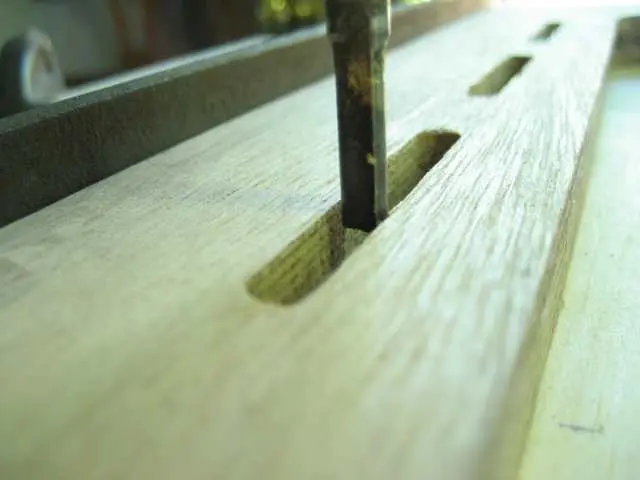
2. Jigging a hand-held plunge router was too complex, so we mounted a 1/4" straight-cut router bit in the drill press. Moving the stock back and forth while lowering the router bit 1/8" at a time did the trick.
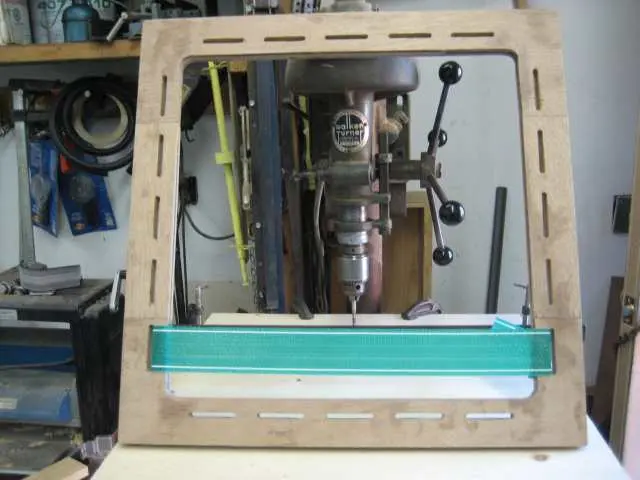
3. Here's the finished piece. No, we won't be using regular lawn chair webbing ! We've ordered a stretchy UV-resistant rubber webbing commonly used in the upholstery trade.
4–5. Since we're trying to launch ASAP, a local upholstery shop will be commisionned to produce removable slip-on cushions. They'll be fastened to the seats with straps and snaps. More traditionnal full uphostery can be completed over the winter months.
Seats: The second layer was built up from 4 laminations of 1/4" marine grade plywood
One of many trial fits.
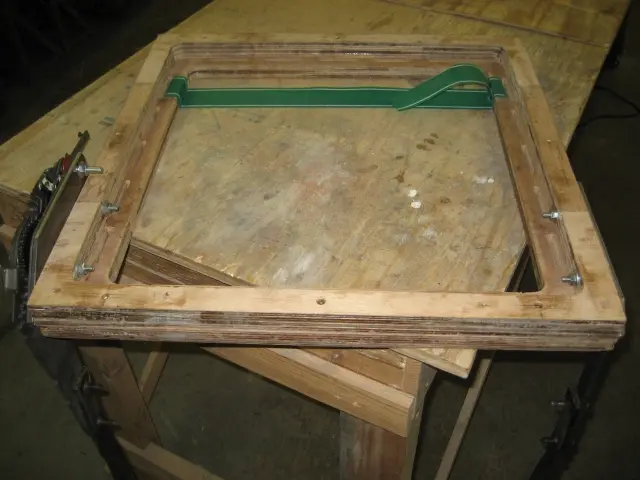
1. The second layer was built up from 4 laminations of 1/4" marine grade plywood. A template similar to the one employed in the first layer was produced.
2. The second layer was epoxied to the first layer.
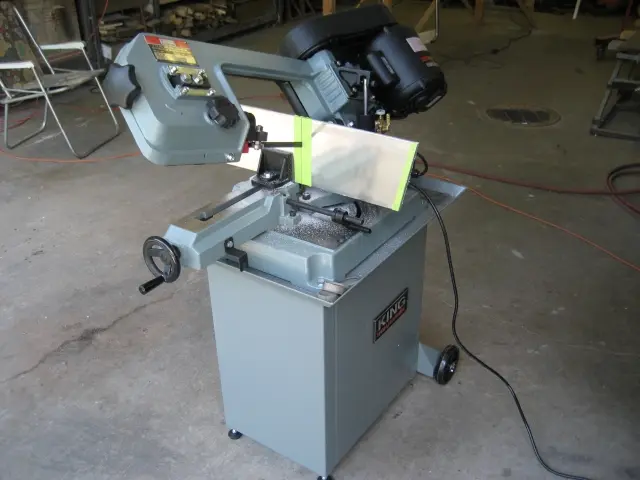
3–4. We splurged on a 5"x6" industrial duty dual-swivel metal bandsaw. It walks through 1/4" steel or aluminum plate with ease. What a difference a tool makes !
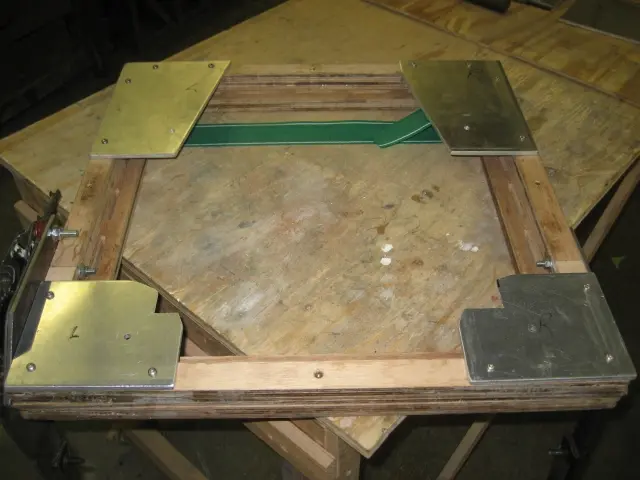
5. These aluminum corner plates will bolt to the seat rails.
6. We fabricated a steel backing plate to which we've bolted the seat back tilt mechanism.
7. Here's a close-up view of the tilt mechanism.
8–9. The seat rails provide 6" of horizontal travel, 3" of vertical travel at the front of the seat and reclining backrest.
Seats: Front corners were radiused and the top edges were rounded-over before applying the first
Front corners were radiused and the top edges were rounded-over before applying the first coat of epoxy.