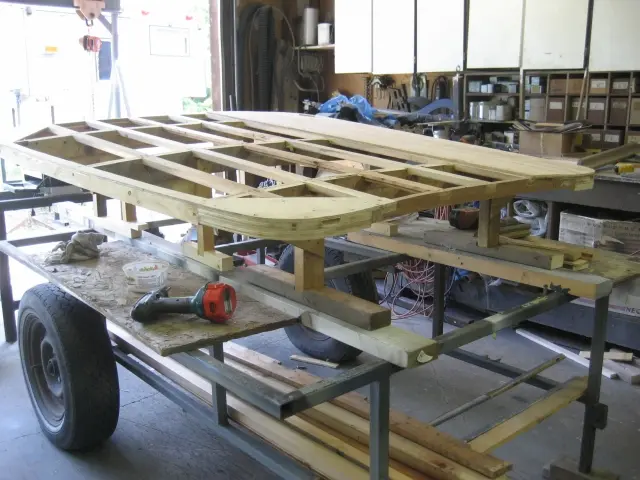
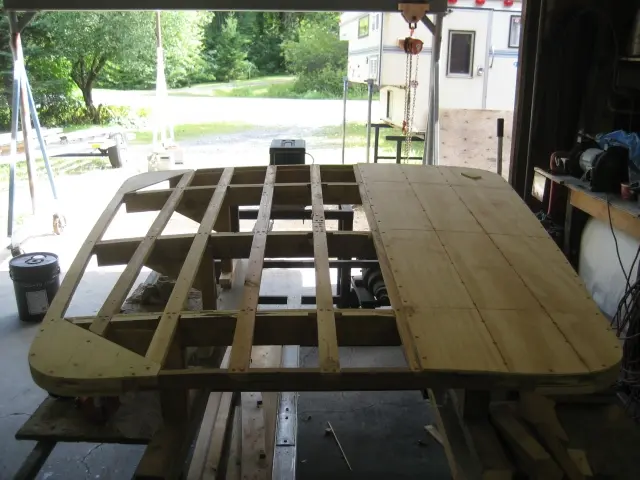
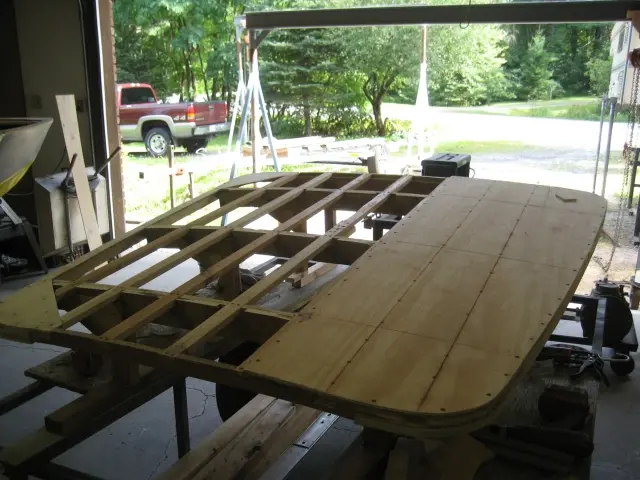
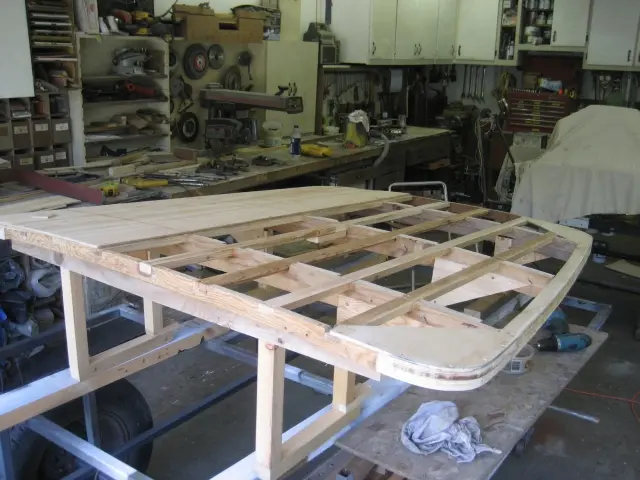
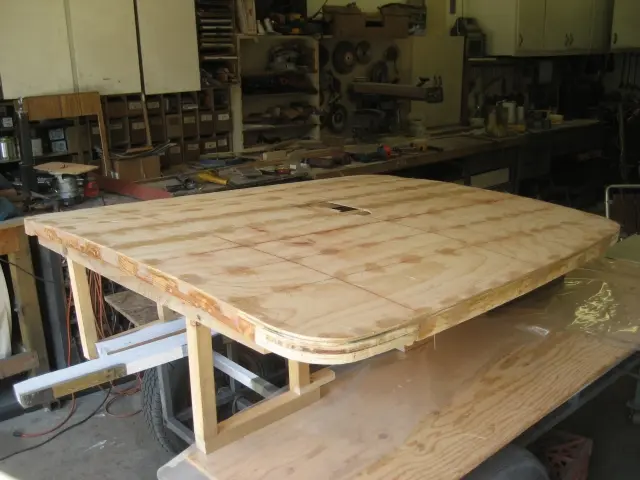
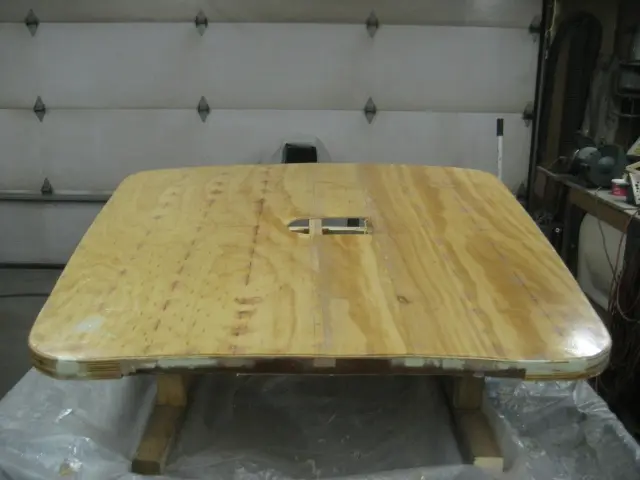
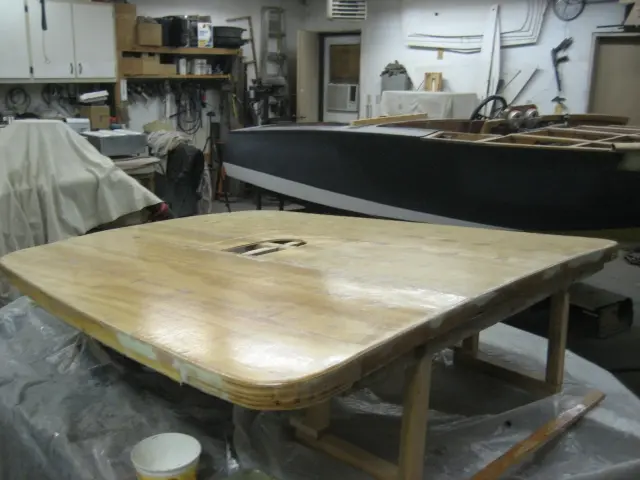
Tonneau cover: We've removed the tonneau cover from the boat and placed it on our trolley for sheeting an
1. We've removed the tonneau cover from the boat and placed it on our trolley for sheeting and finishing. Corners were built up from from two pieces of 3/4" plywood molded to a width of 3/4".
2–3. Decking is 1/4" G1S exterior plywood.
4. The remaining sub deck panels were glued and screwed. We're ready for fiberglass !
Jump seats and fuel tank: We'll be installing the fuel tanks using David Pascoe's method
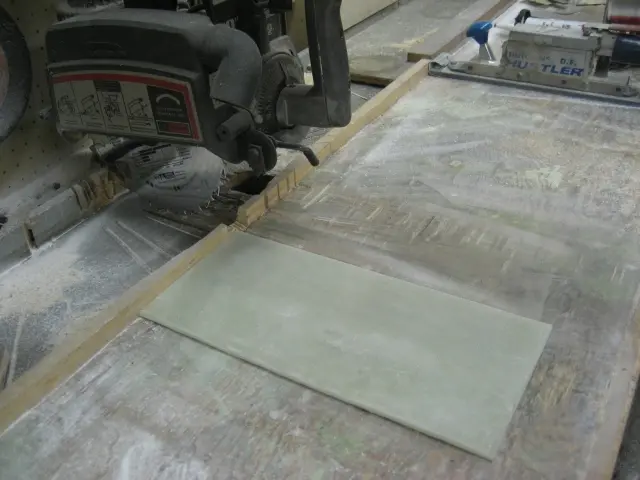
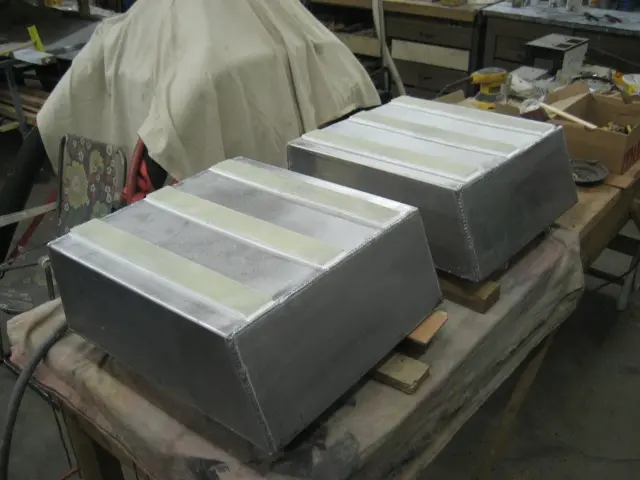
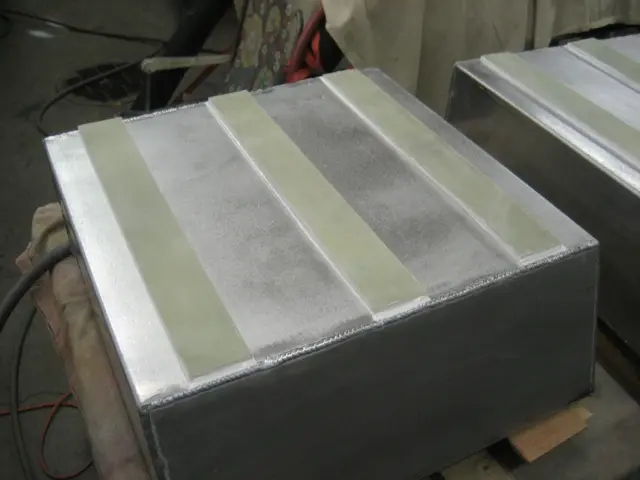
1. We'll be installing the fuel tanks using David Pascoe's method. Complete instructions are included in this article: How to Install an Aluminum Fuel Tank. The 1/4" thick fuel tank mounting pad was fabricated by laminating a fiberglass sandwich consisting of 6 layers of 2 ounce chopped strand mat between two layers of 6 ounce cloth. Once cured, we cut the composite into 2" wide by 16" strips.
2–3. Tank bottom was roughed up with 40 grit sandpaper, washed down with Wash & Wipe wax, grease and silicone remover, The strips were bonded to the tank with 3M 5200 adhesive.
Jump seats and fuel tank: Port side fuel tank was placed on its cradle and the jumpseat panels were installed
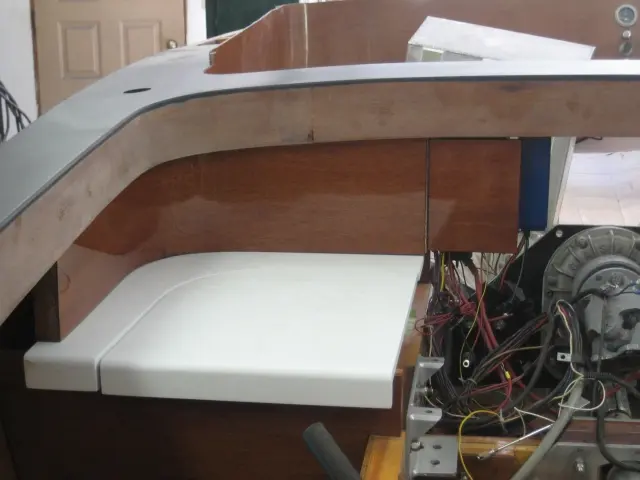
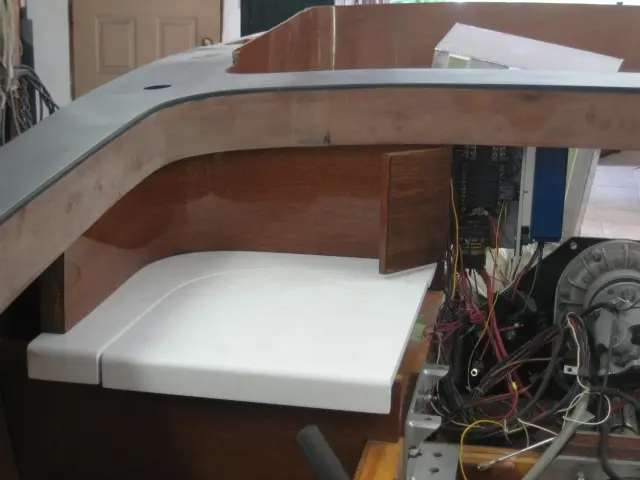
Port side fuel tank was placed on its cradle and the jumpseat panels were installed. The cockpit coaming is ready for another round of clearcoat.
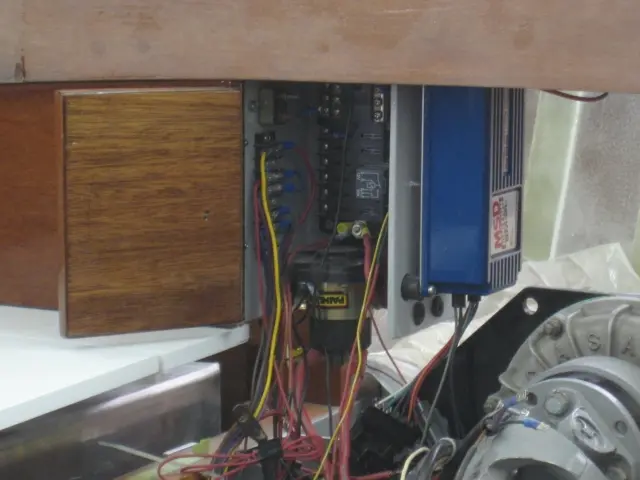
1. The distributor's MSD ignition box (blue box) mounts to the side of the electrical box with rubber vibration dampers.
2. A stainless steel piano hinge was used to hinge the electrical box door.
3. The electrical box is very cramped but we managed to pack a Blue Sea Systems marine rated fuse block, a solenoid-actuated master disconnect switch for the battery and an electrical fuel pump relay. We'll sort out the mess of wires when the engine is installed !
123
Nobody else here is logging a Hot Rod yet.
See the boat.