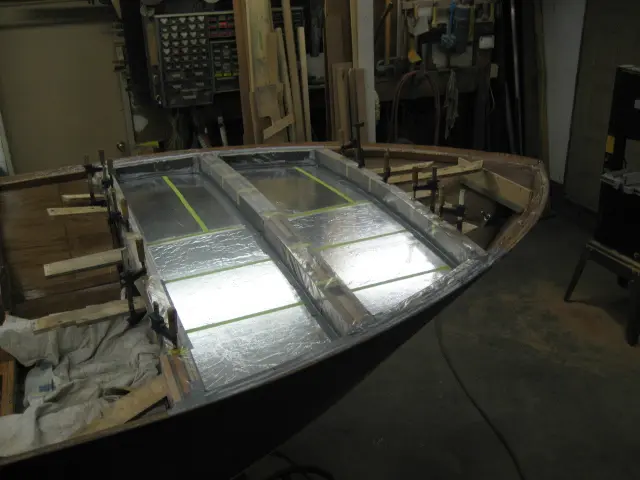
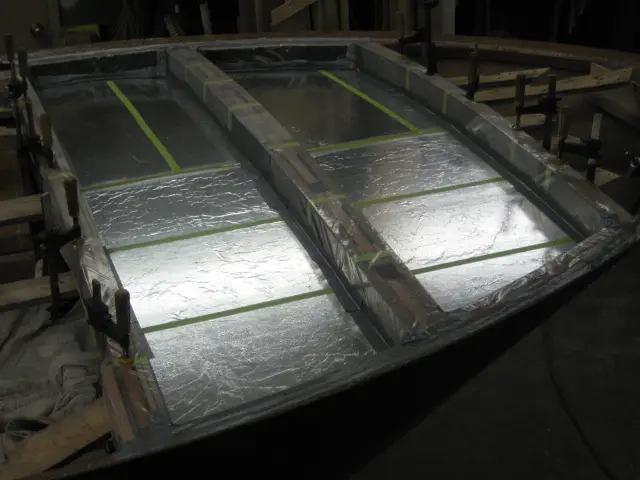
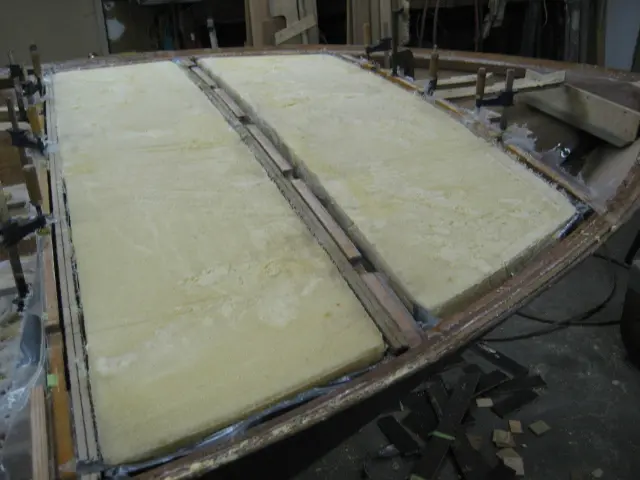
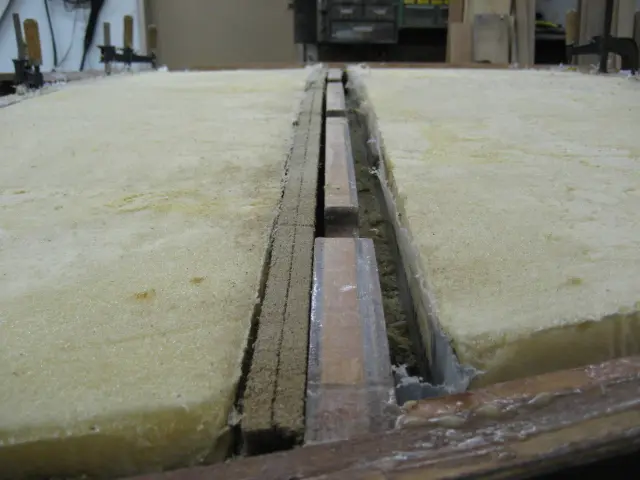
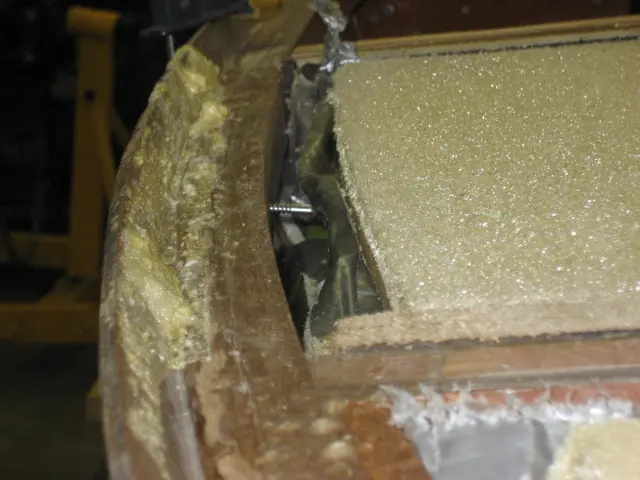
Flotation: The frames were wrapped with plastic before installing the bottom mold pieces
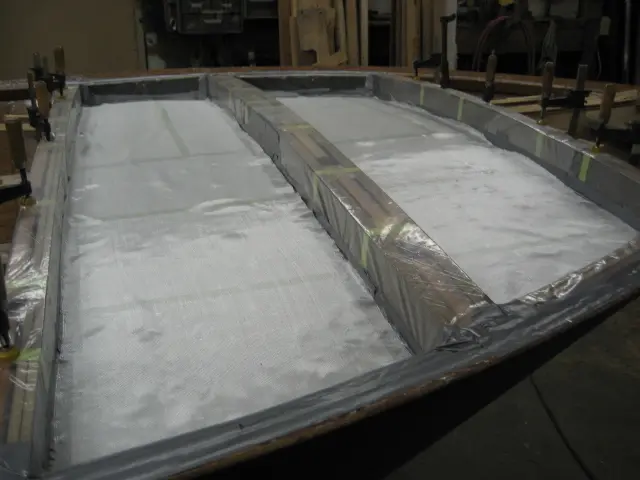
The cloth was wet out with catalysed polyester resin. A second coat of resin was applied after the initial coat had cured. In the background, resting on the transom, you can see the piece we molded for the bow section. A single 8 liter pour foam kit wasn't enough to do the job. We're 1 quart short . . . We'll have to order more foam on Monday !
1. The frames were wrapped with plastic before installing the bottom mold pieces. Support for the plywood was provided by clamping scrap lengths of spruce 1" X 3" to the underside of the ply.
2. Wood shims were jammed between the plywood and strapping to minimize gaps between the center part of the mold and frames.
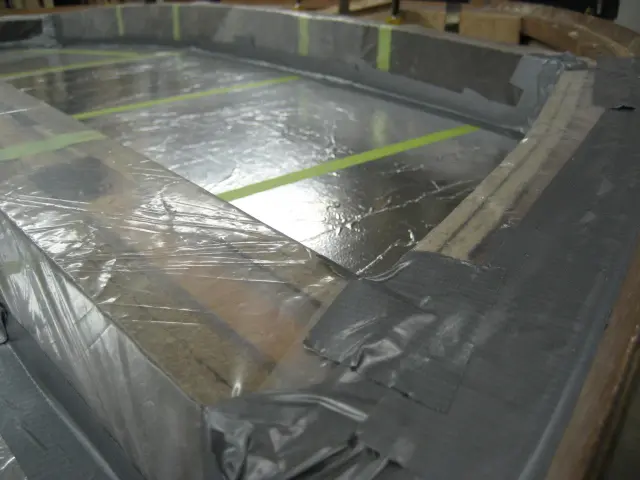
3. Two 1/2" Black Joe side spacers were installed along the sheer and covered with plastic film. Duct tape was used to seal all the seams.
4. 6 oz. fiberglass cloth was dry-fitted to the mold.
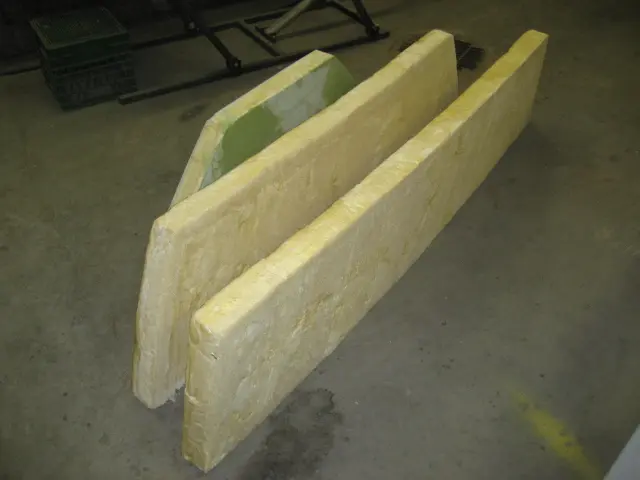
Flotation: The second kit we ordered last week was picked up this afternoon
1. The second kit we ordered last week was picked up this afternoon. Four small batches (10 ounces Part A, 10 ouces Part B) were mixed and poured into the molds to complete the job. An old crosscut handsaw was used to trim the expanded foam flush with the frame tops.
2. Once the foam was fully cured, the spacer blocks were removed from the sides of the mold.
3. This view shows the one inch gap between the sheer and foam.
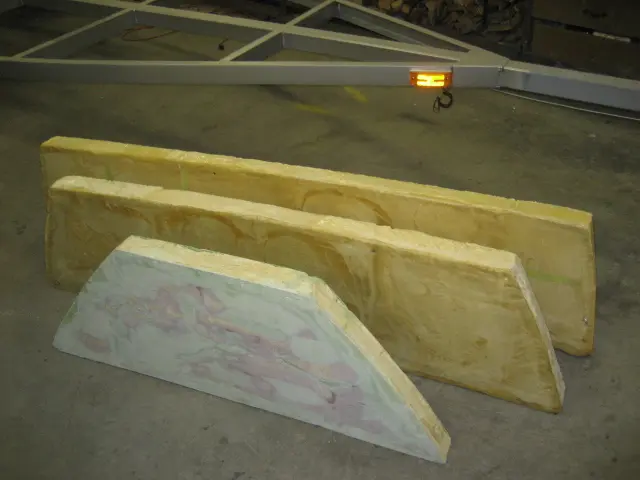
4. The surface quality of the molded fiberglass lining on the bottom of each billet was quite good. Very little filling will be required prior to finishing.
5. Total of 5 cubic feet will support up to 300 pounds.
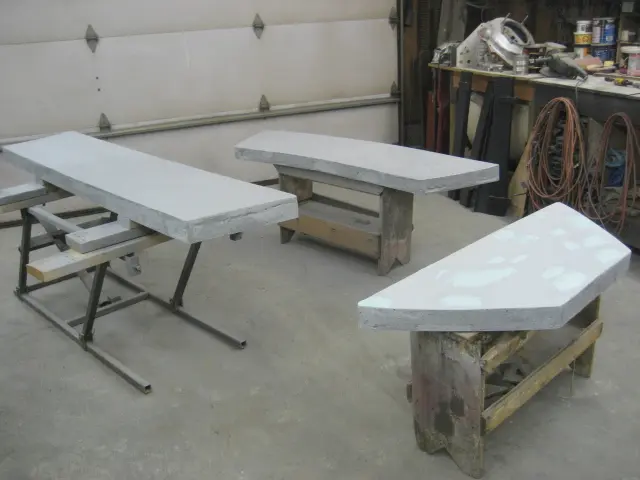
Flotation: We laminated a layer of 7-1/2 ounce fiberglass cloth to the topside of each billet
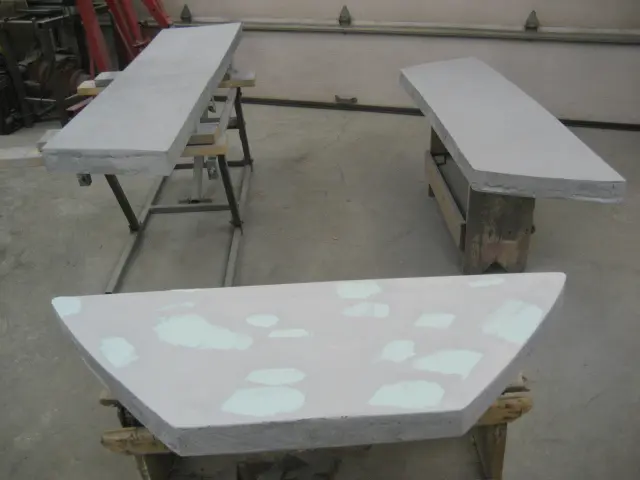
1. We laminated a layer of 7-1/2 ounce fiberglass cloth to the topside of each billet. In an effort to cut costs, we switched to polyester resin. Overall, we might have saved a few dollars over the more expensive epoxy resin, but we didn't save any time. It didn't stick too well to the foam so the fiberglass cloth kept lifting and creating air bubbles.. Once cured, we applied 2 coats of resin, sanded the billets and applied several rounds of polyester autobody filler. We sprayed two medium wet coats of Feather-Fill polyester primer-surfacer.
2. The billet in the foreground was blocked with 100 grit alumide paper. A round of polyester finishing putty was applied to the low or blemished spots.
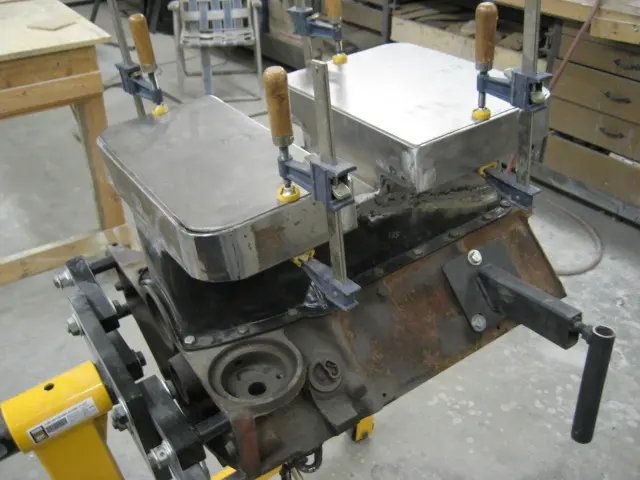
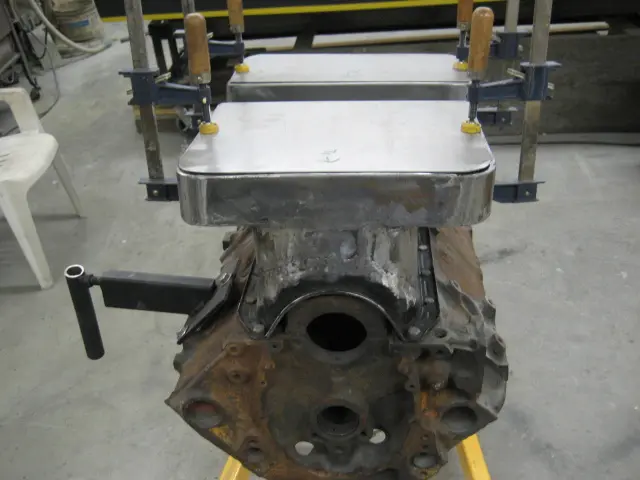
We've added kickouts to the rear sump and added a new sump at the front
1. We've added kickouts to the rear sump and added a new sump at the front. Click here to see how the pan was fabricated. ( a new window will be opened)
2. The ledge around the bottom of the sump should inhibit oil movement. We want to ensure that the oil pickup doesn't run out of oil when the bow rises while accelerating.