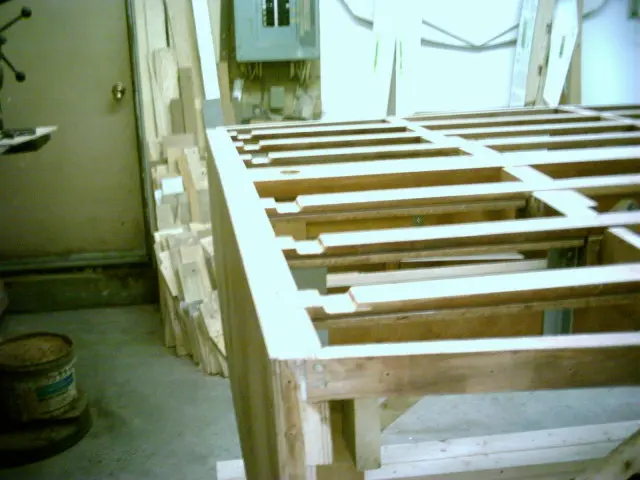
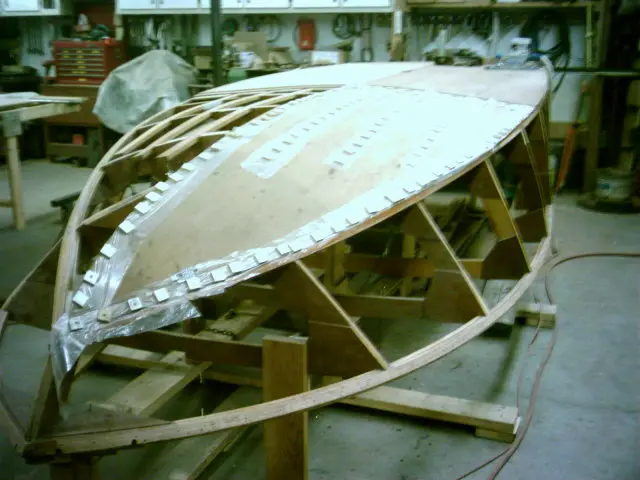
Drainage limbers were cut into the rear battens. Router depth was set at 3/8".
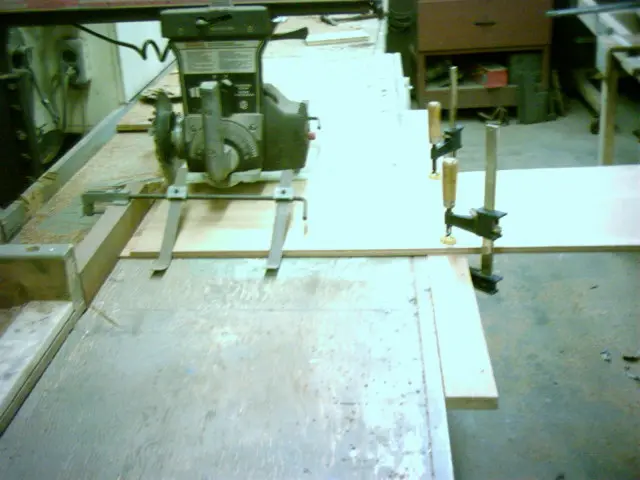
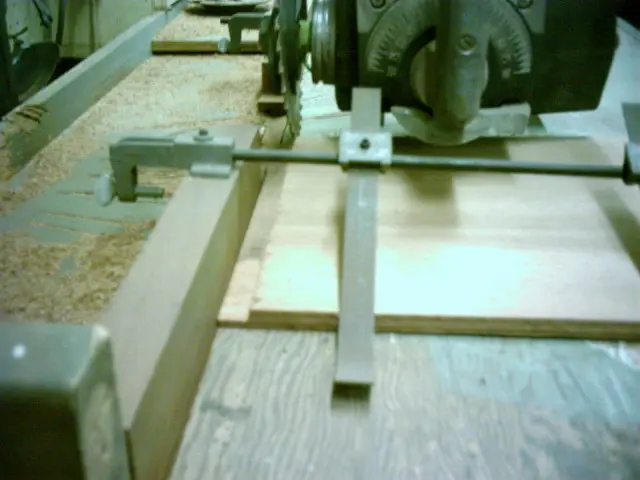
Setting up the radial arm saw to cut a 3" wide by 1/4" deep rabbet on the leading edge of the 1/2" bottom plywood. A 'wobble' dado blade set at 11/16" wide speeds up the process. A 1" x 2" guide batten is clamped to the stock and runs along the saw table apron.
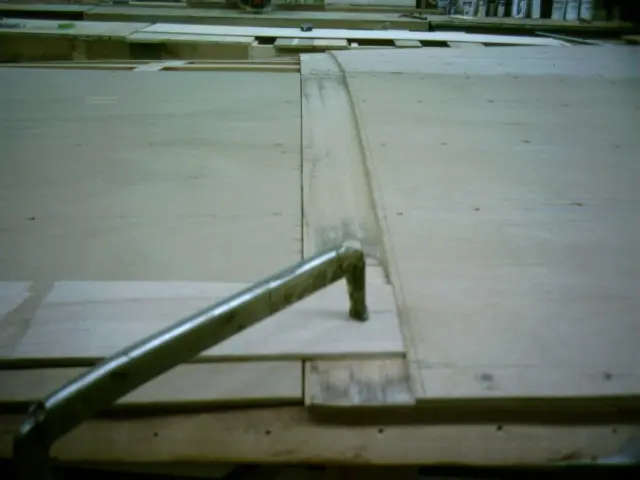
Closeup view of the rabbet.
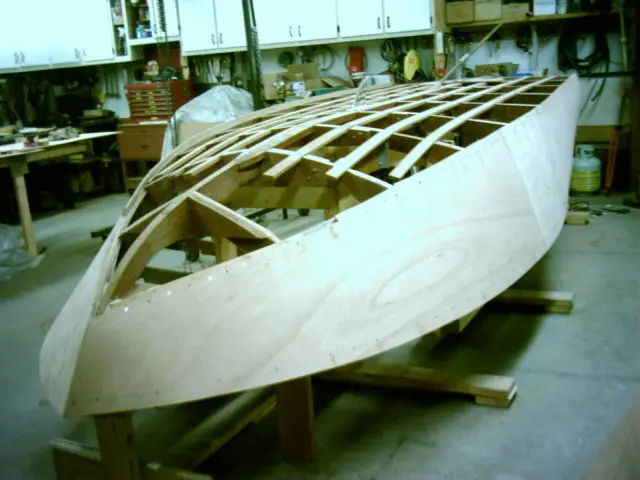
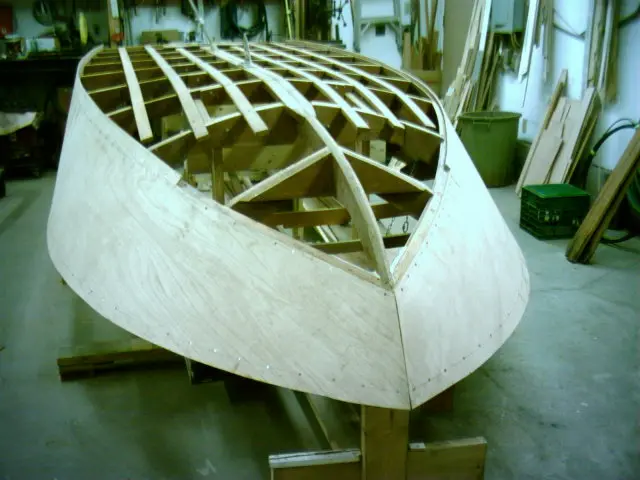
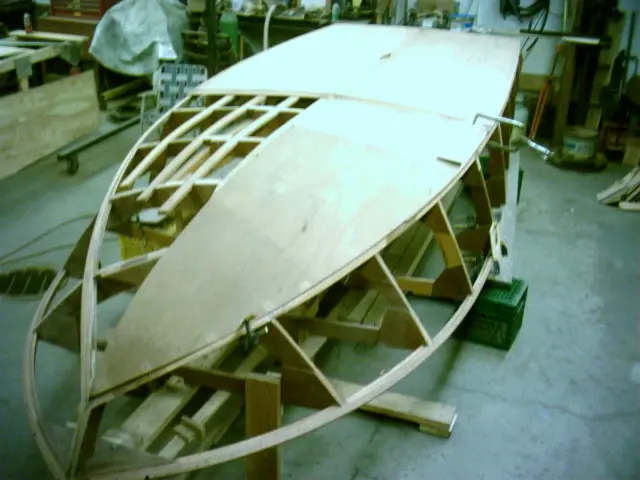
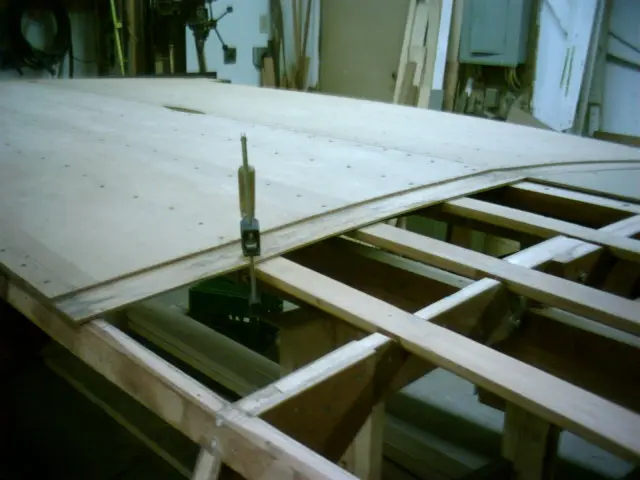
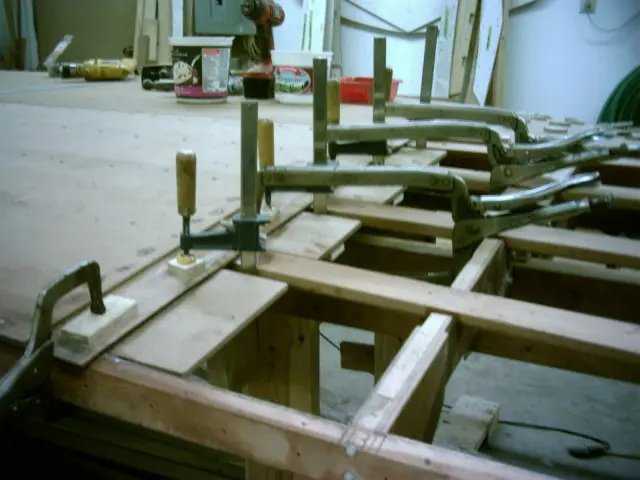
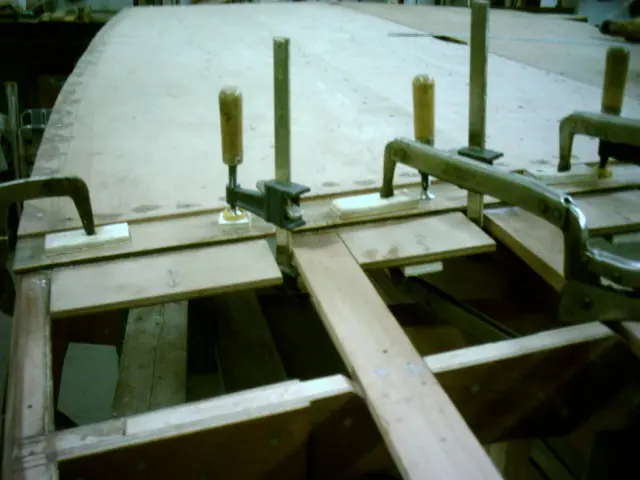
Both 1/2" panels installed.
The first 1/4" front panel butts to the rear ply. The second 1/4" panel overlaps the rear ply by 3".
1/2" plywood butt blocks will be fitted between the limbers. A jigsaw was used to trim around the shaft hole. A 1-3/4" diameter hole saw makes quick work of cutting the rudder port hole.
Prior to panel removal, keel, chine, batten, and butt block locations were traced with a pencil from inside the boat
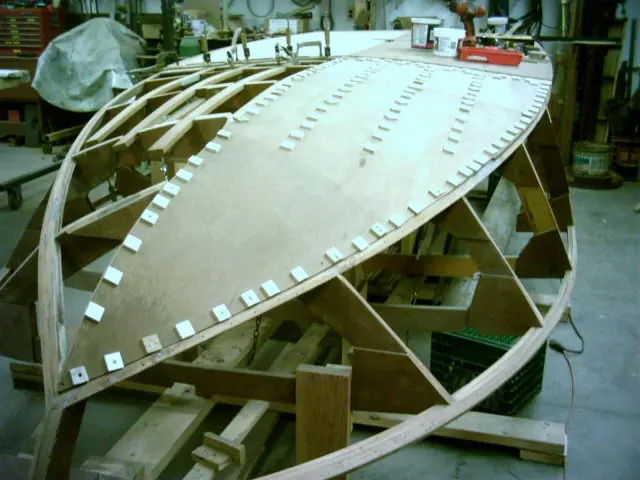
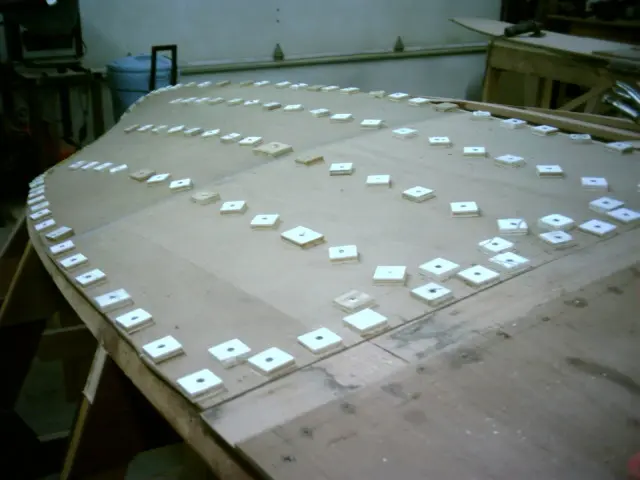
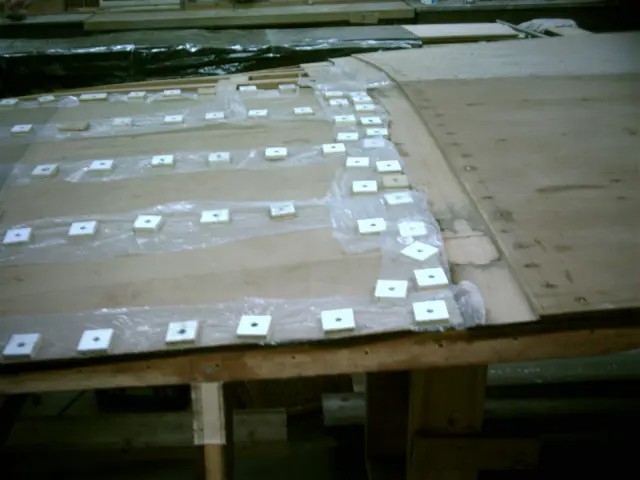
Prior to panel removal, keel, chine, batten, and butt block locations were traced with a pencil from inside the boat. Areas not to be covered with epoxy were taped off. The taping is extra work but saves a lot of cleanup time ! Epoxy was applied to both mating surfaces and allowed to set for several minutes. West System 403 adhesive filler was added to the catalyzed epoxy and spread over the mating surfaces. To aid fastener removal from the panel once the epoxy cures, strips of plastic film were slid under the plywood washers.