boatbuildlog

Hot Rod · new build

Launched

Glen-L Hot Rod

Make a book Feed The whole log, 260 entries and every photo, laid out as a book to print, bind and keep.
260
Entries
n/a
Hours
n/a
Written up afterwards
1203
Photos
Nov 2003
Started
Paint & Finish Link

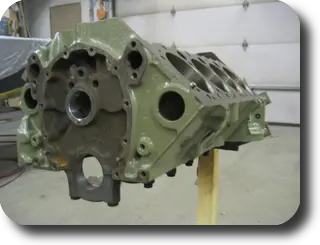
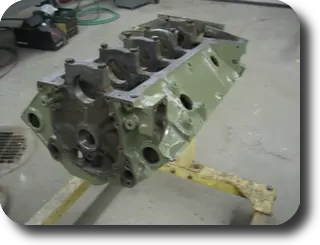
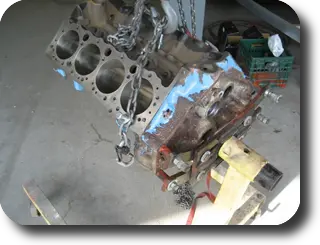
Chris-Craft 283 rebuild: Block primed with DuPont 2580CR urethane primer

1–2. Block primed with DuPont 2580CR urethane primer.

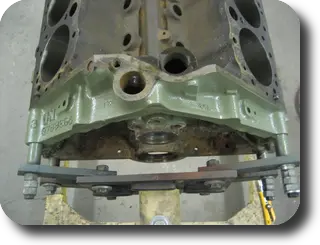
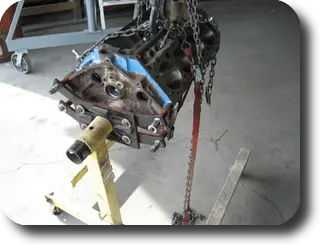
3–4. Engine Clearances

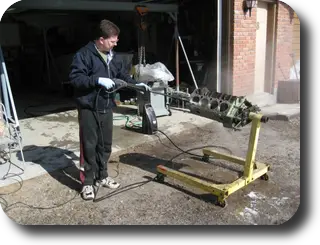
5. Pressure washing the engine block.
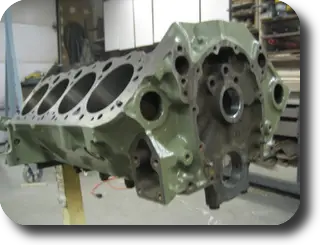
1 Hot Rod: Chris-Craft 283 rebuild: Block primed with DuPont 2580CR urethane primer
2 Hot Rod: Chris-Craft 283 rebuild: Block primed with DuPont 2580CR urethane primer
3 Hot Rod: Chris-Craft 283 rebuild: Block primed with DuPont 2580CR urethane primer
4 Hot Rod: Chris-Craft 283 rebuild: Block primed with DuPont 2580CR urethane primer
5 Hot Rod: Chris-Craft 283 rebuild: Block primed with DuPont 2580CR urethane primer
Paint & Finish Link

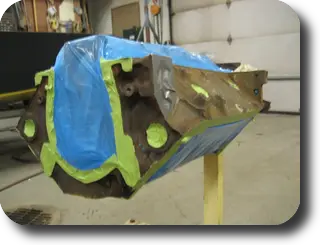
Chris-Craft 283 rebuild: Prepping the block for paint

1. Prepping the block for paint.

2–3. Engine Clearances

1 Hot Rod: Chris-Craft 283 rebuild: Prepping the block for paint
2 Hot Rod: Chris-Craft 283 rebuild: Prepping the block for paint
3 Hot Rod: Chris-Craft 283 rebuild: Prepping the block for paint
Systems Link

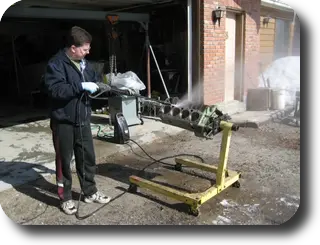
Chris-Craft 283 rebuild: Pressure washing the engine block

1. Pressure washing the engine block.
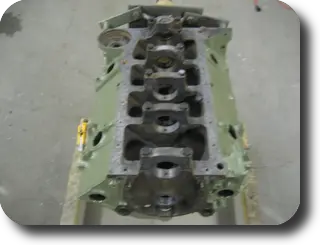
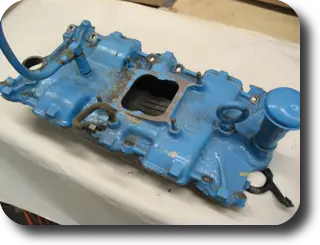
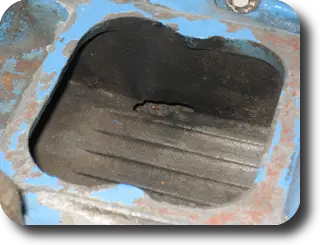
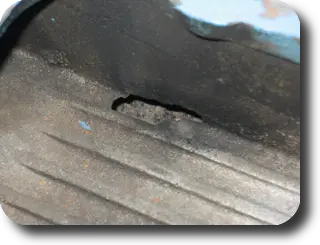
2–3. Intake manifold has a large hole in the bottom of the plenum. It will have to be replaced.

4–5. Engine Clearances
1 Hot Rod: Chris-Craft 283 rebuild: Pressure washing the engine block
2 Hot Rod: Chris-Craft 283 rebuild: Pressure washing the engine block
3 Hot Rod: Chris-Craft 283 rebuild: Pressure washing the engine block
4 Hot Rod: Chris-Craft 283 rebuild: Pressure washing the engine block
5 Hot Rod: Chris-Craft 283 rebuild: Pressure washing the engine block
Systems Link

We've been working away at the boat over the winter but haven't much to show so far

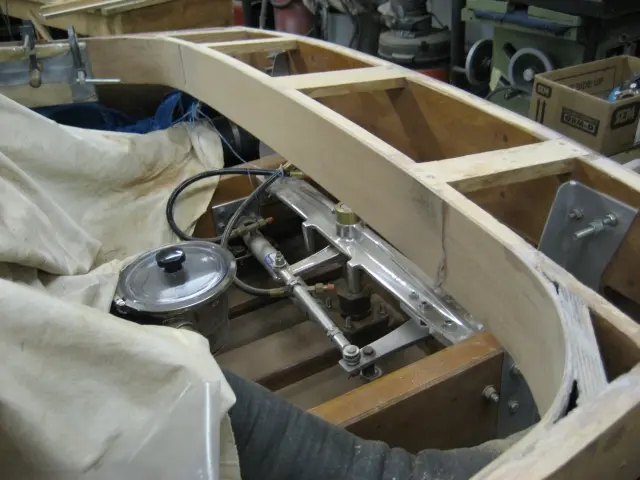
1. We've been working away at the boat over the winter but haven't much to show so far. Work on the cockpit continues. Over the next few weeks, we'll be laminating several layers of.100" veneer over the carlings. This will give a nice smooth radius to the inside corners. Click here to see how it was done.

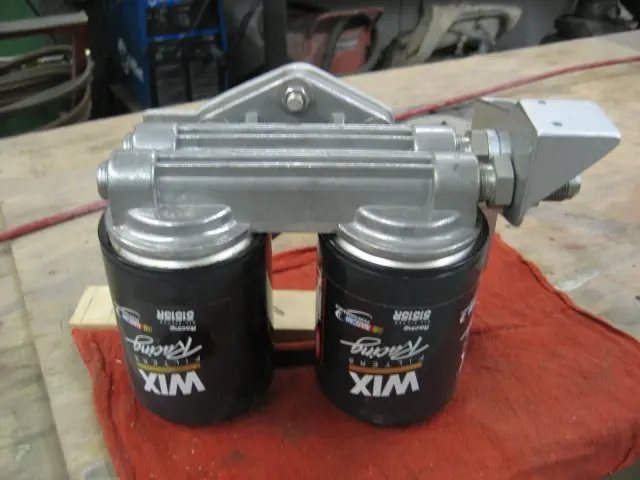
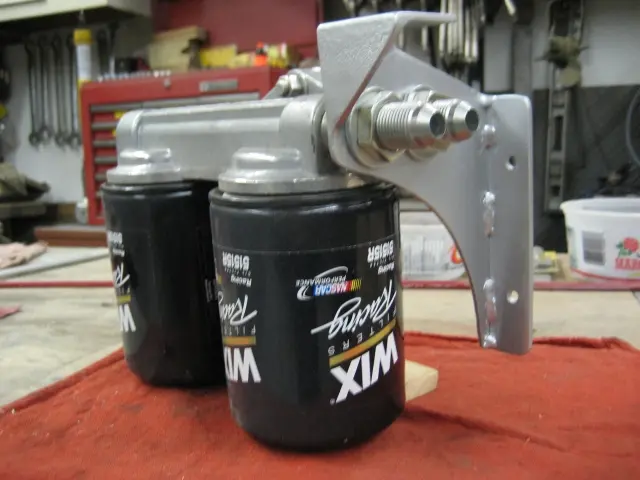
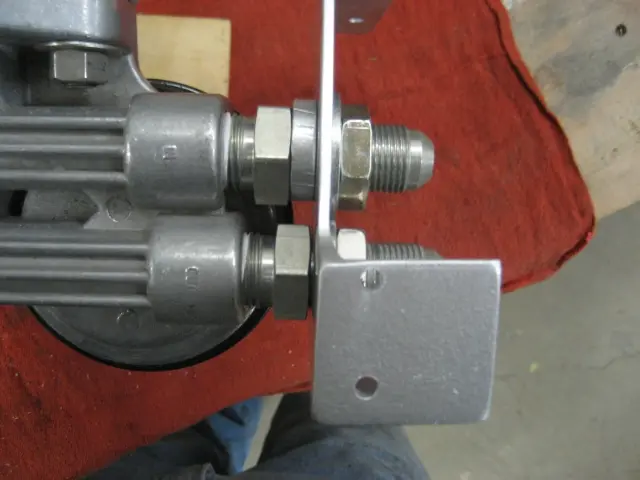
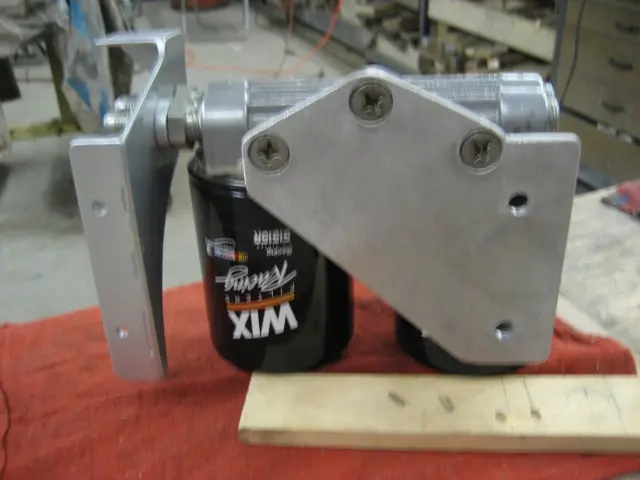
2–3. We fabricated a custom support bracket for the remote dual oil filters.

4. A bulkhead fitting connects the bracket to the oil filter head assembly.

5. The two holes on the right of the photo mount to the v-drive mounting plate.
1 Hot Rod: We've been working away at the boat over the winter but haven't much to show so far
2 Hot Rod: We've been working away at the boat over the winter but haven't much to show so far
3 Hot Rod: We've been working away at the boat over the winter but haven't much to show so far
4 Hot Rod: We've been working away at the boat over the winter but haven't much to show so far
5 Hot Rod: We've been working away at the boat over the winter but haven't much to show so far
Deck & Coamings Link

Carlings and trim: We've been working away at the boat over the winter but haven't had much to show so far

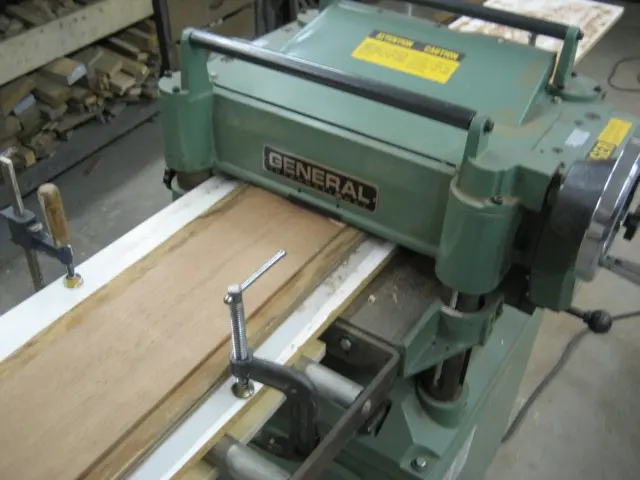
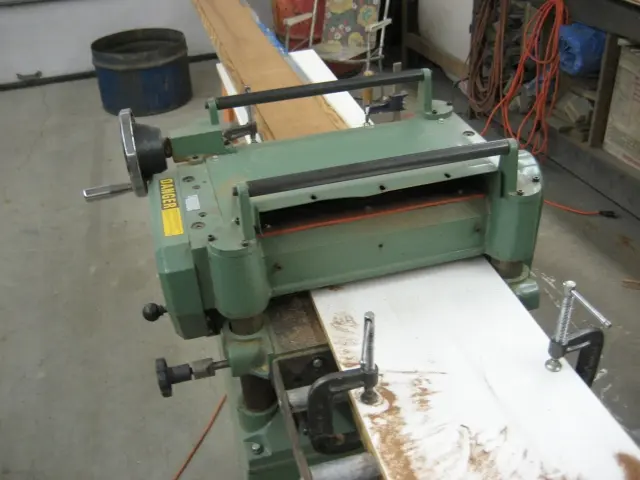
We've been working away at the boat over the winter but haven't had much to show so far. Over the next several weeks, we'll be laminating two layers of.100" veneer over the carlings.

1–2. We ran 6" strips of 1/8" marine grade plywood through the planer to produce.100" veneer.

3. First lamination at Port gunwale clamped.
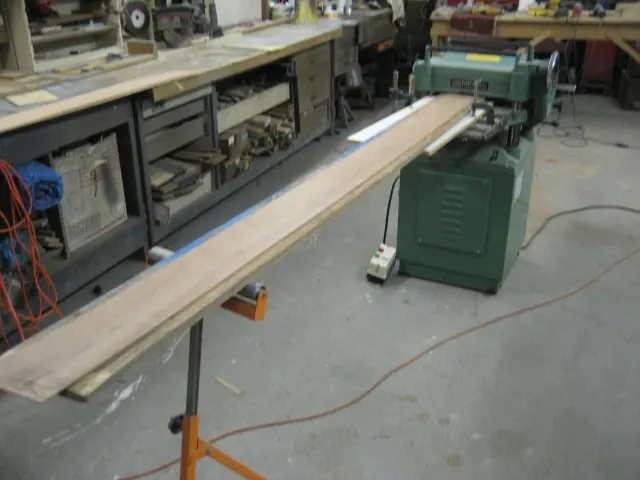
1 Hot Rod: Carlings and trim: We've been working away at the boat over the winter but haven't had much to show so far
2 Hot Rod: Carlings and trim: We've been working away at the boat over the winter but haven't had much to show so far
3 Hot Rod: Carlings and trim: We've been working away at the boat over the winter but haven't had much to show so far

Nobody else here is logging a Hot Rod yet. See the boat.