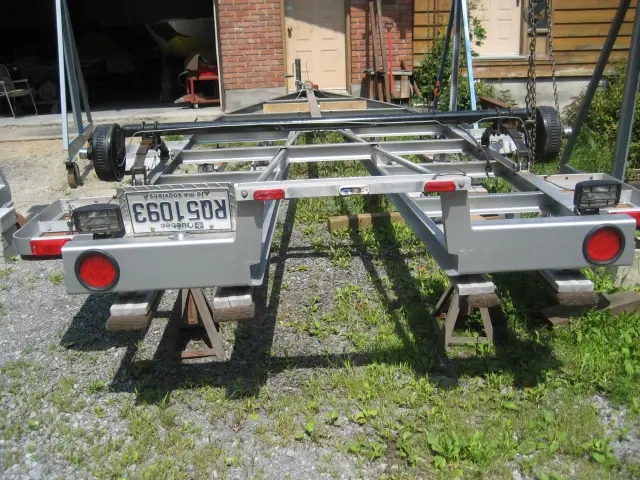
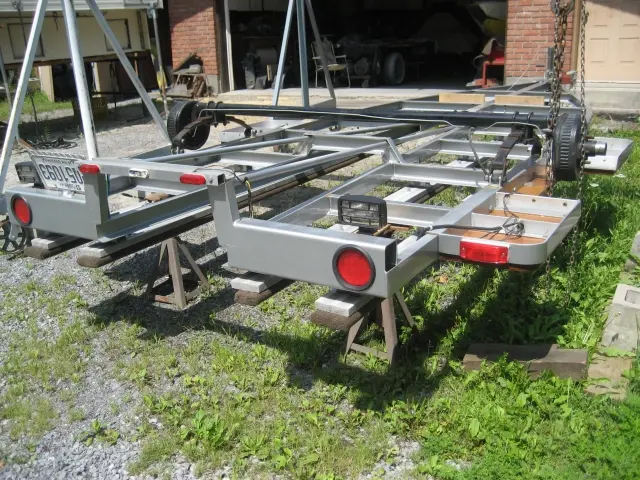
Trailer: We used the gantry lift to flip the trailer so we could easily weld the trailer tongue jac
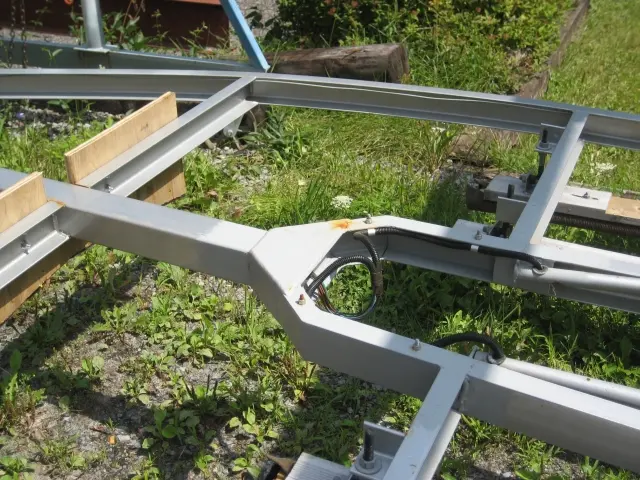
1–2. We used the gantry lift to flip the trailer so we could easily weld the trailer tongue jack mounting plate and build a removable winch stand.
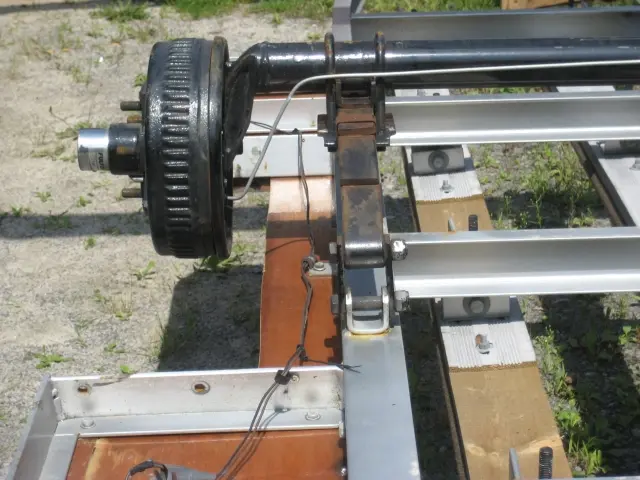
3–4. Here's a close-up photo of the 4" drop axle.
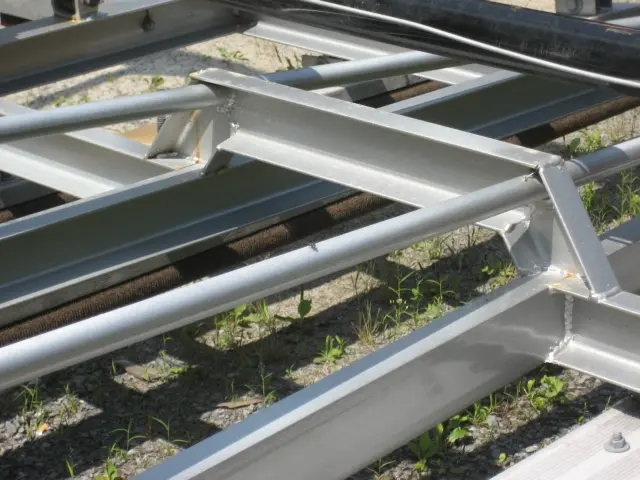
5. Our aluminum skid fin was too close to the crossmember so we cut it and created a U shaped extension to provide more clearance.
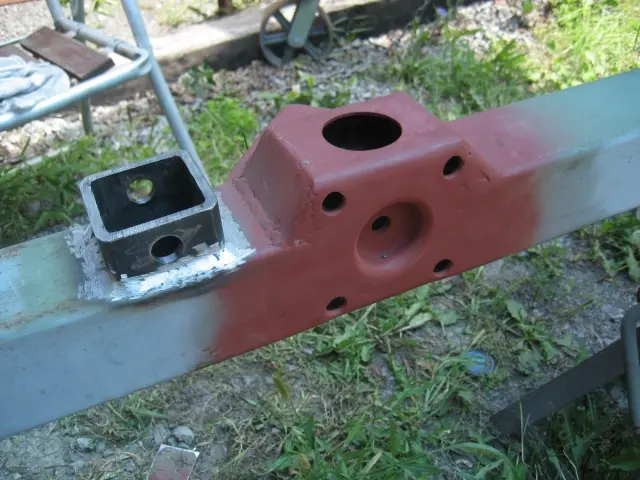
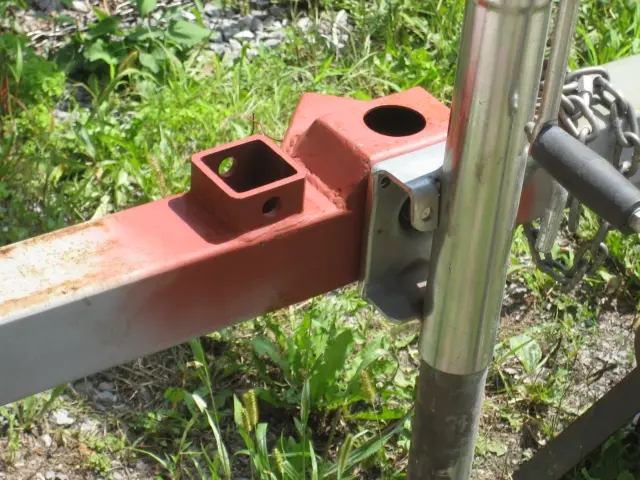
6. Here is a downside-up shot of the trailer tongue. We never liked the look of the tongue jack's strap-on U-bolts, so we molded the mounting bracket into the trailer tongue.
7. We also molded in a piece of heavy duty square tube to act as a receiver for a removable winch post.
Deck: Not much new to see here, just more blocking and priming until the panels are flawless !
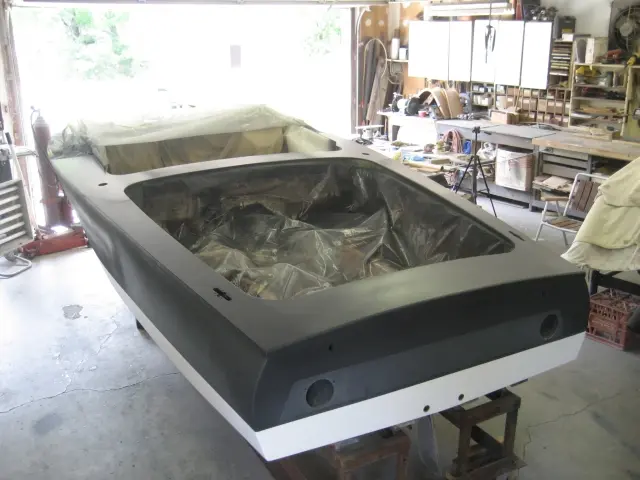
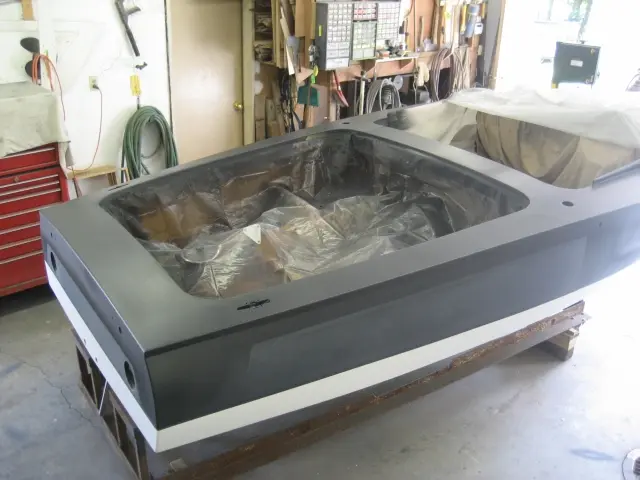
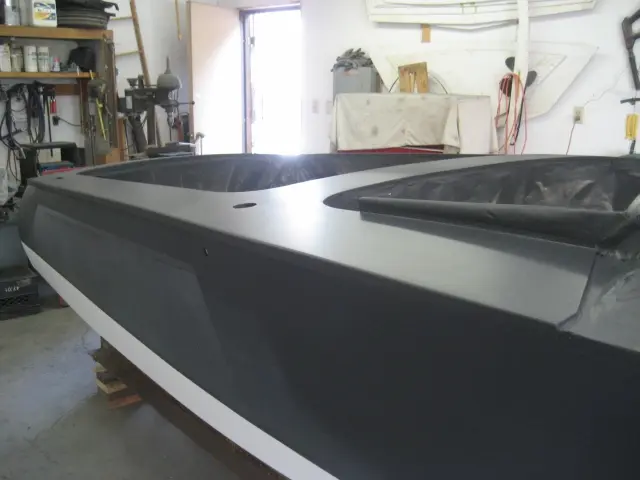
1. Not much new to see here, just more blocking and priming until the panels are flawless ! The deck was blocked with 40 and 100 grit paper on the inline air file. This was followed up with the longboard, by hand. A round of 3M Marine body filler was applied to fill pinholes and minor imperfections and sanded out. A second round of primer was applied.
2. If the second round of primer blocks out without any sanding break-throughs, a sealer coat will be applied. Normally this would be followed up with the final color topcoat, but we're anxious to hit the water, so the paint will be done once the boating season is over.
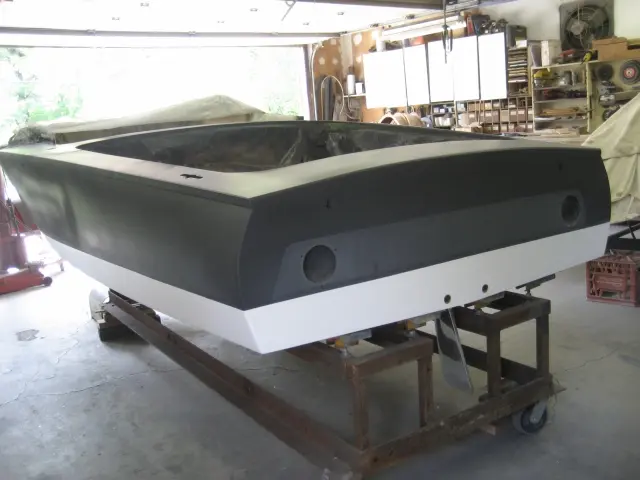
4. If you compare this photo to the same shot 5 photos back, you can see the surface has improved dramatically. We'll keep repeating the process until we're happy with the finish !
Deck: We've decided to build a removable hard shell tonneau cover to protect the engine and rela
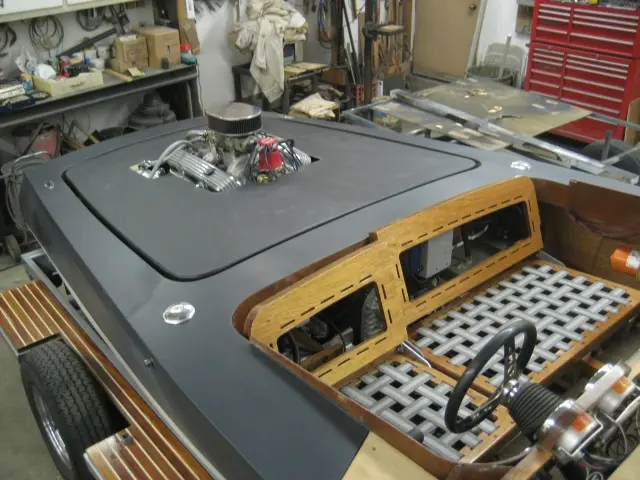
We've decided to build a removable hard shell tonneau cover to protect the engine and related parts from the elements while towing. Normally this could be done with boat canvass stretched over the rear cockpit and fastened around the cockpit coaming with snaps, but we were after a cleaner look without any visible fasteners.
Jump seats and fuel tank: Our custom aluminum fuels tanks arrived on the 23rd
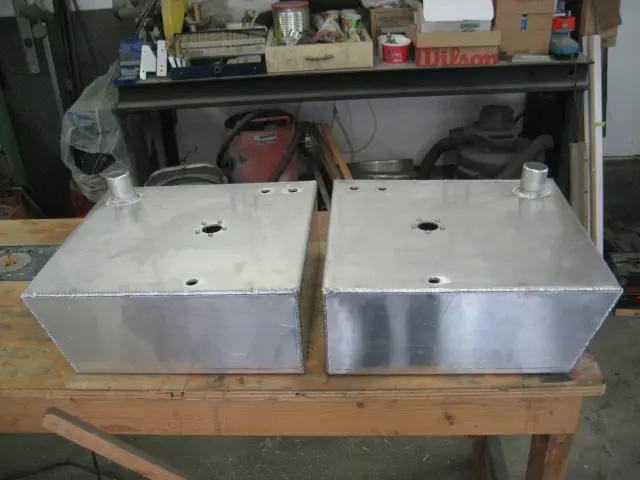
Our custom aluminum fuels tanks arrived on the 23rd. The 9 gallon tanks were fabricated at a local welding shop in Ottawa, Ontario. The tanks were on back-order for some time now. We've been holding off on final assembly until they were installed. Let the assembly begin !
Tonneau cover: We've decided to build a removable hard shell tonneau cover to protect the engine and rela
We've decided to build a removable hard shell tonneau cover to protect the engine and related parts from the elements while towing. Normally this could be done with boat canvass stretched over the rear cockpit and fastened around the cockpit coaming with snaps, but we were after a cleaner look without any visible fasteners.
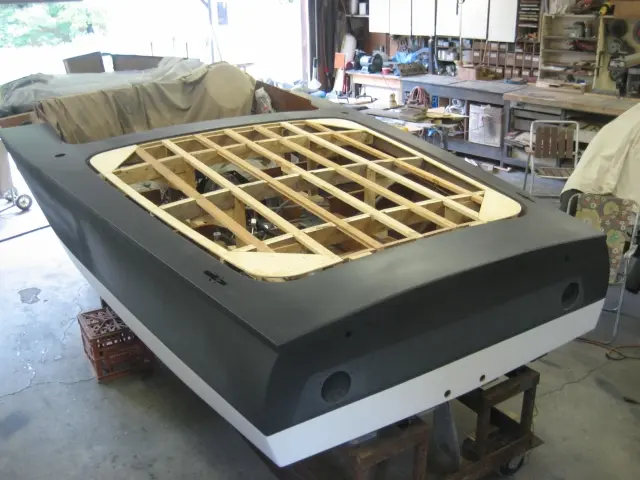
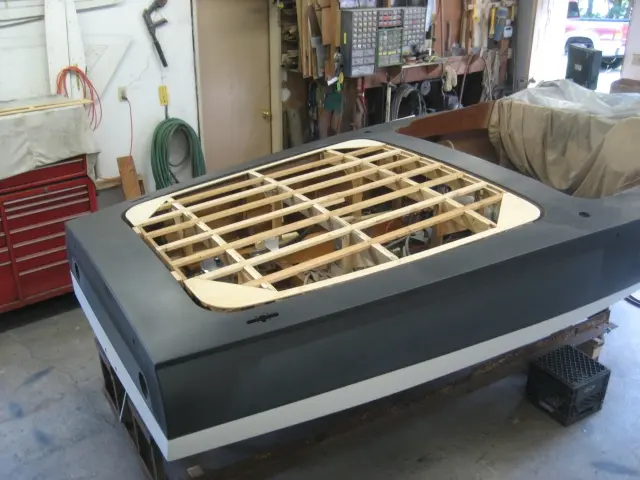
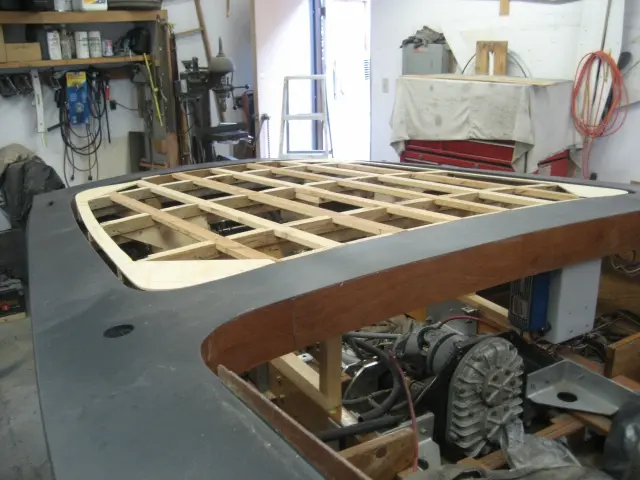
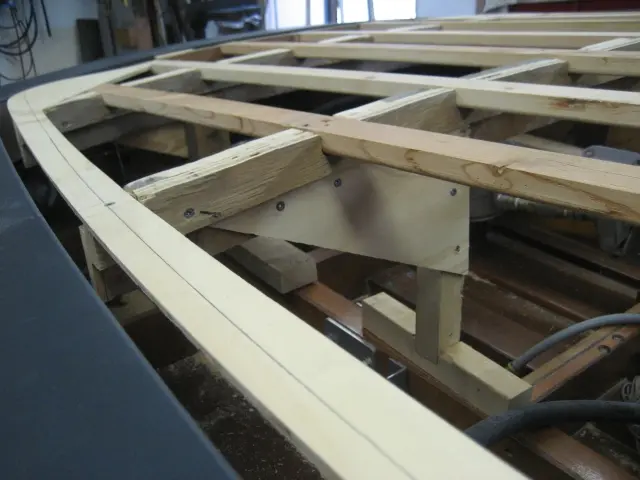
1. We built a removable buck supported on the engine stringers. Cambered deck deams were produced and spaced on every frame. 1" x 2" battens were rabbeted into the deck beams. The structure will be covered with 1/4" plywood and covered with 10 ounce fiberglass cloth.
2–3. When completed, the cover will be cut out to accept the engine and related parts that will protrude through the cover. We'll be installing the engine and driveline soon, so now is the best time to get this piece completed. It would be very difficult to build the cover with the engine installed in the boat !
4. We've removed the tonneau cover from the boat and placed it on our trolley for sheeting and finishing. Corners were built up from from two pieces of 3/4" plywood molded to a width of 3/4".
1234
Nobody else here is logging a Hot Rod yet.
See the boat.