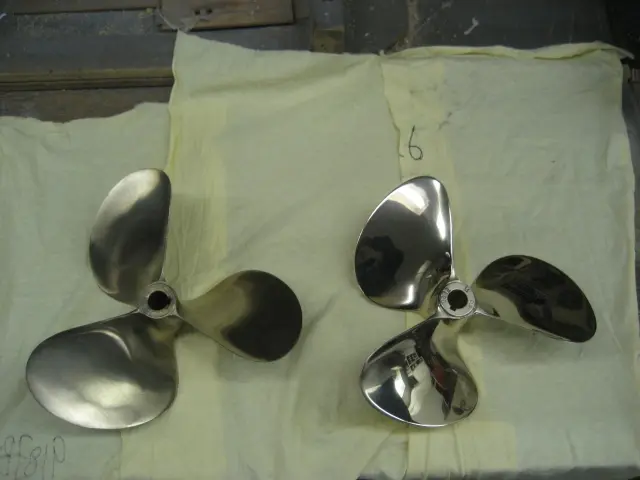
Propeller: The prop on the left is our old OJ 12x16p LH 3 blade Nibral propeller
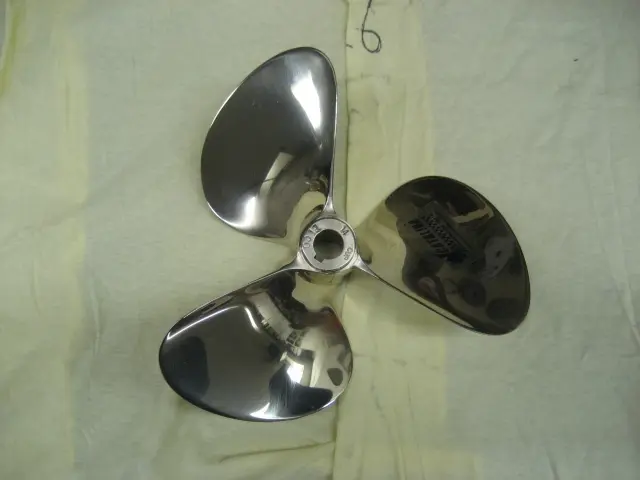
1. The prop on the left is our old OJ 12x16p LH 3 blade Nibral propeller. It has performed flawlessly, but we wanted to increase our cruise RPM by several hundred RPM, so we had a new OJ propeller reworked to an 11x14p.
Seats: Time to get back to some finishing and get the seats ready for upholstery
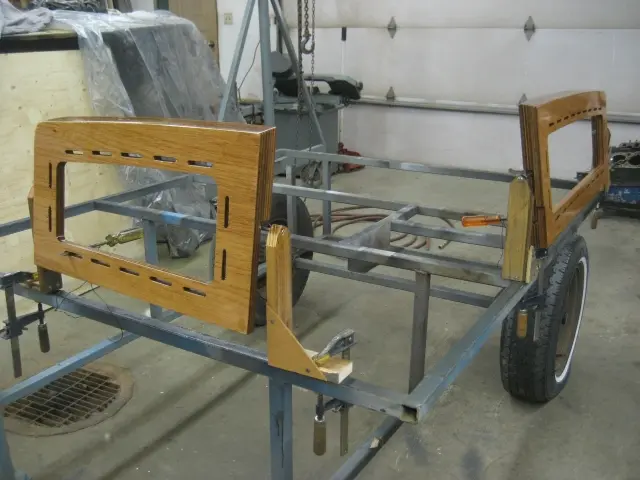
Time to get back to some finishing and get the seats ready for upholstery. The seat tops were trimmed at a 10 degree angle so that the tops are flush with the deck. The simple rotisserie jig made spray painting the parts a lot easier !
We encapsulated with three rounds of West System 207 Special Coating. After block sanding, we sprayed three rounds of Perfection two-part polyurethane varnish.
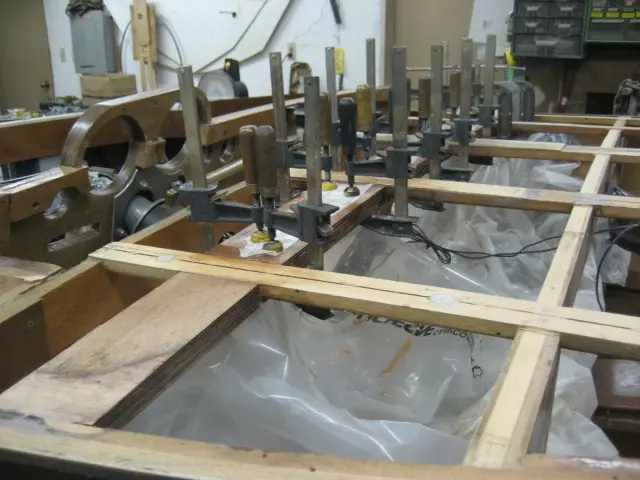
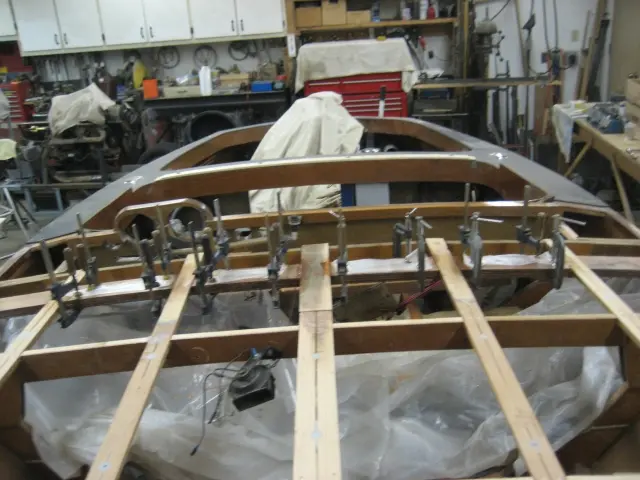
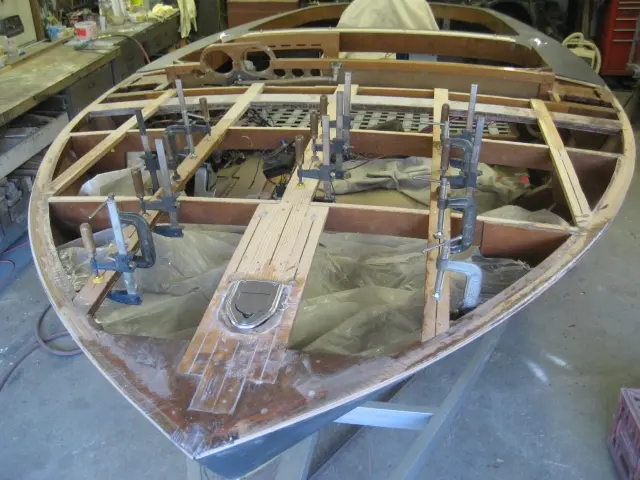
1. Time to finish up the front deck. We needed to build a wide deck beam to bolt the dash cowl to. We epoxied a 4-1/2" wide strip of 1/4" marine grade plywood to the bottom of the deck battens.
2. We laminated three layers of 1/4" marine ply to conform to the deck beam's curvature.
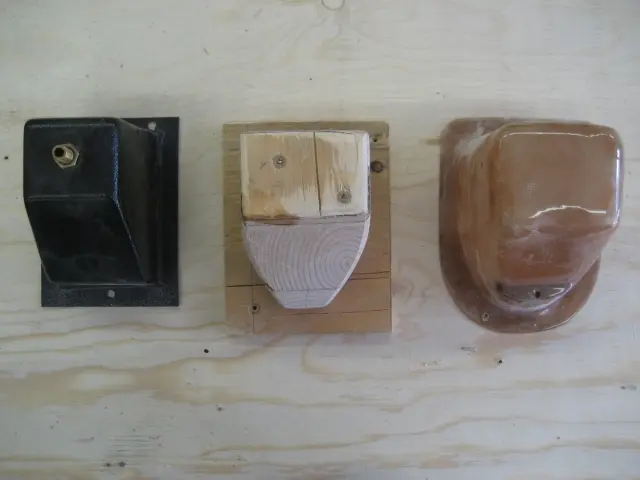
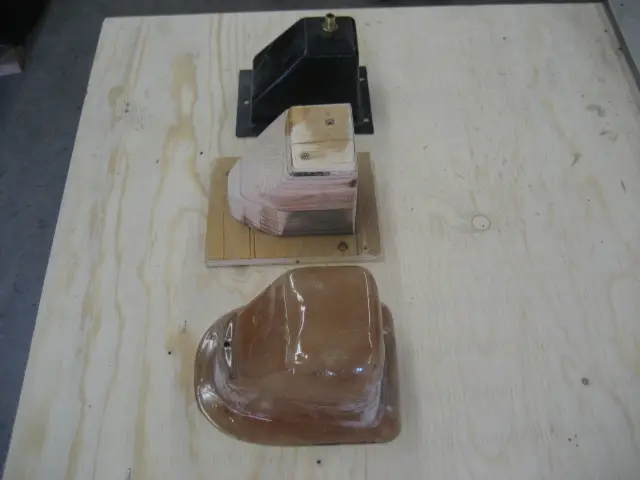
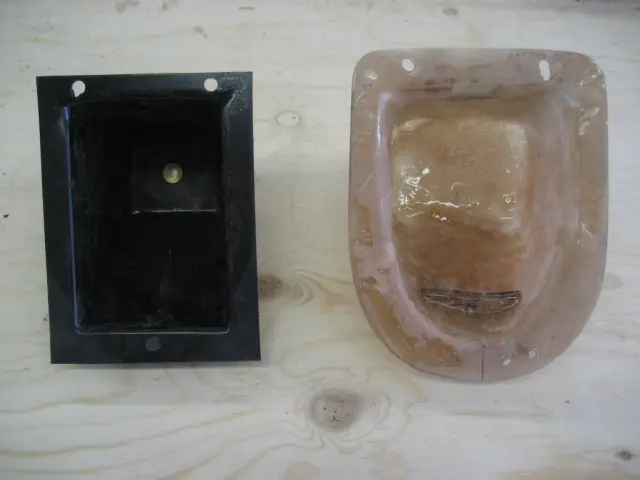
3. The pop-up bow light mounts in a plastic housing (at left of photo). The fit wasn't too good, the plastic was very flimsy and the bolt holes were way too close to the edge, so we fabricated a wood plug from some scrap wood (middle of photo). We wrapped the plug with Saran Wrap and wetted out three layers of 6 ounce fiberglass cloth with West System epoxy.
Deck: The pop-up bow light mounts in a plastic housing (at left of photo)
1. The pop-up bow light mounts in a plastic housing (at left of photo). The fit wasn't too good, the plastic was very flimsy and the bolt holes were way too close to the edge, so we fabricated a wood plug from some scrap wood (middle of photo). We wrapped the plug with Saran Wrap and wetted out three layers of 6 ounce fiberglass cloth with West System epoxy.
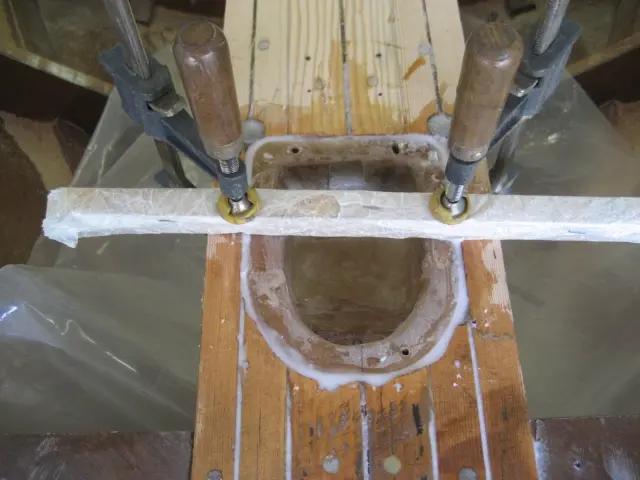
2–3. We moved the front mounting hole inboard away from the flange and created a step to receive the mount bolt.
Deck: Blocking for the pop-up deck cleats was made from 3/4" marine grade plywood
Fits like a glove !
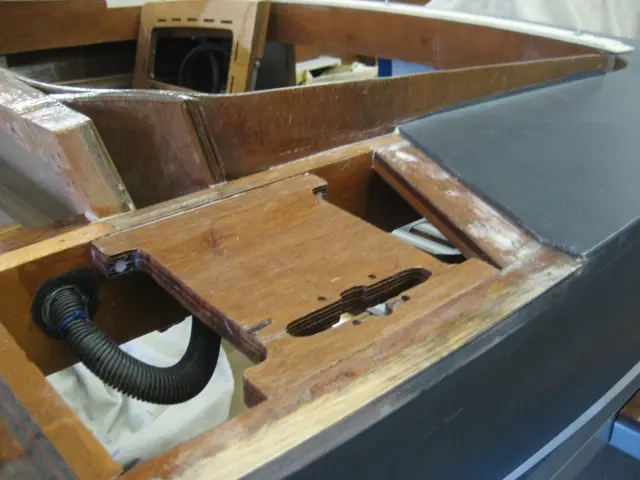
1. Blocking for the pop-up deck cleats was made from 3/4" marine grade plywood.
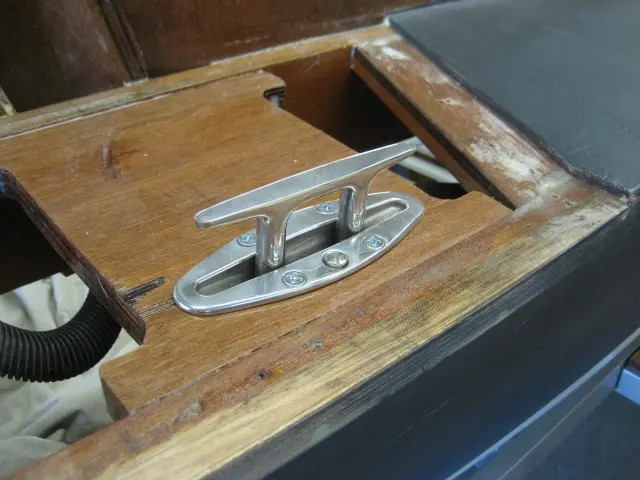
2. The cleat pops up when you hit the release button.
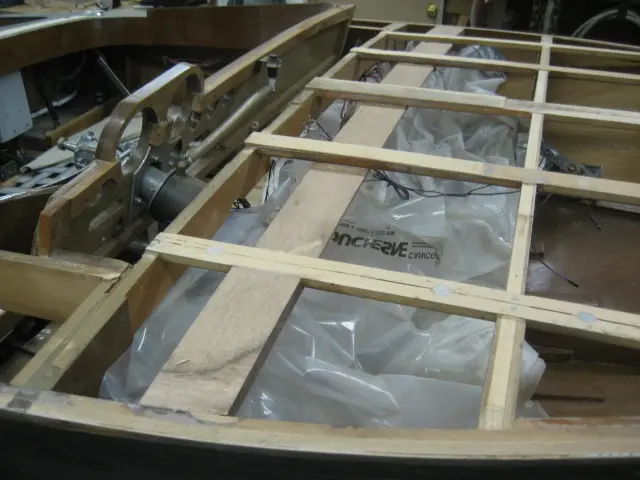
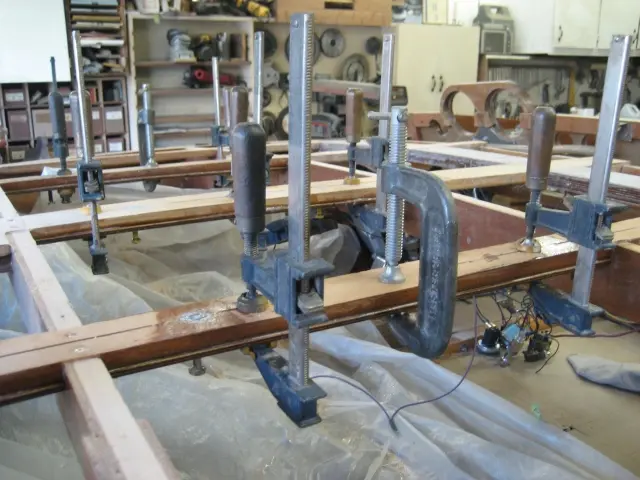
3. To restore some of the deck batten thickness we removed while fairing, we laminated a strip of 1/4" marine grade plywood to the underside of several battens.
4. The battens will be encapsulated before applying the plywood deck.
1234
Nobody else here is logging a Hot Rod yet.
See the boat.