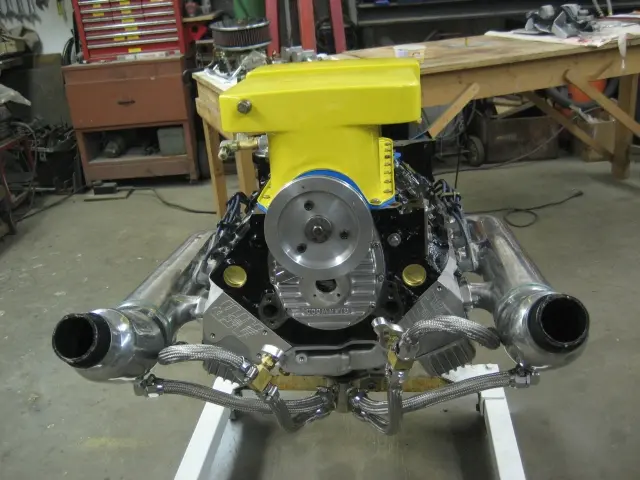
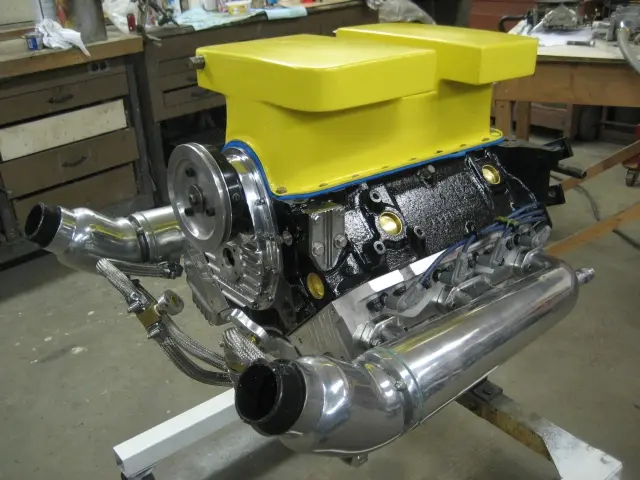
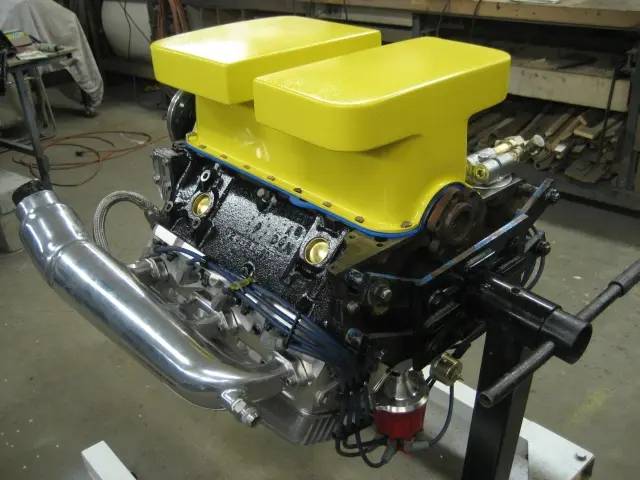
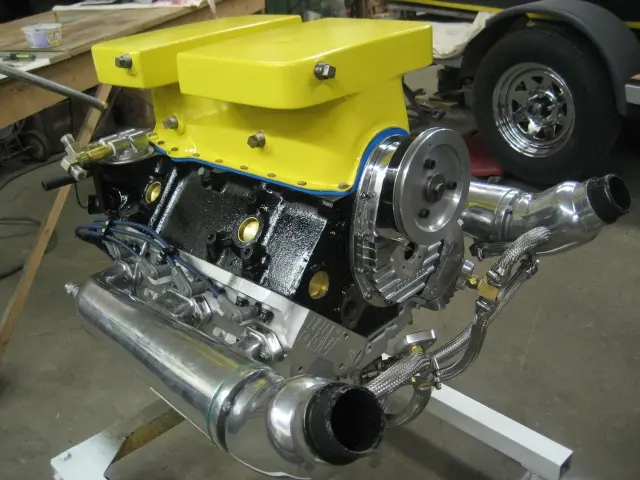
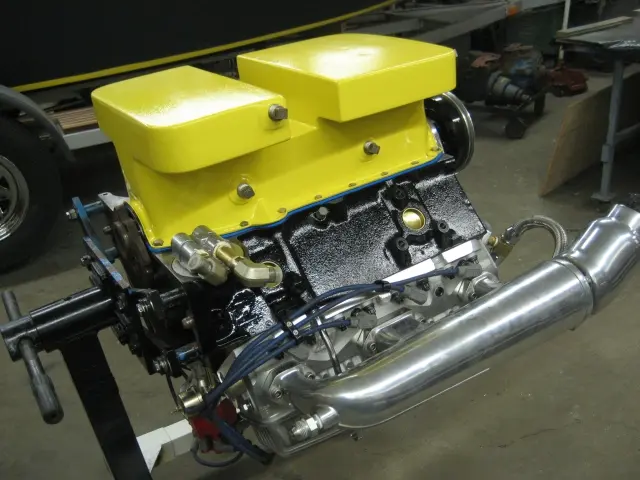
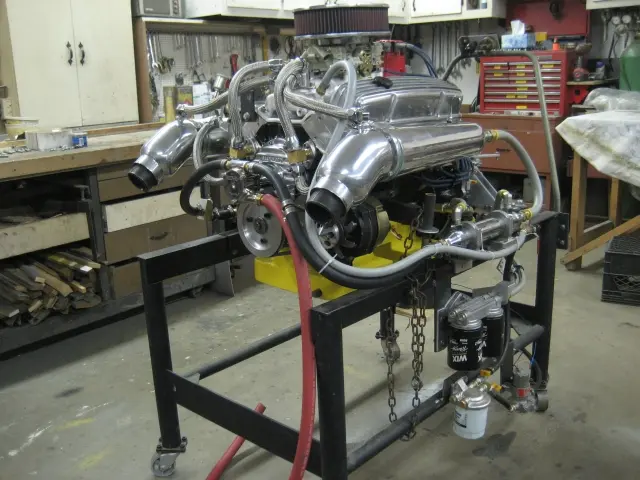
355 engine: The bottom portion of our custom built 12 quart oil pan received a coat of truck bed liner
The bottom portion of our custom built 12 quart oil pan received a coat of truck bed liner and was freshened up with a new coat of paint.
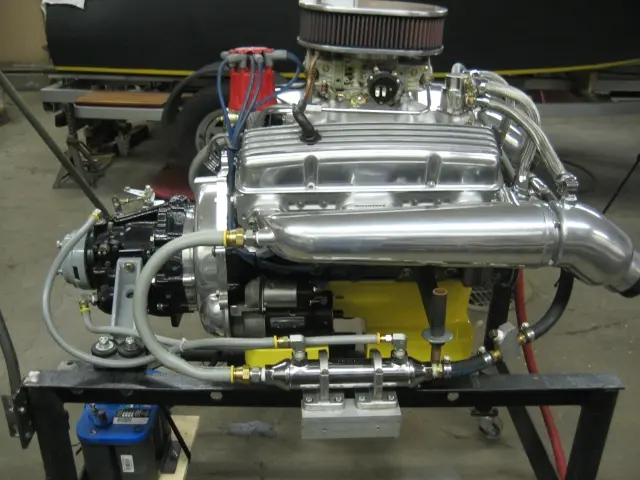
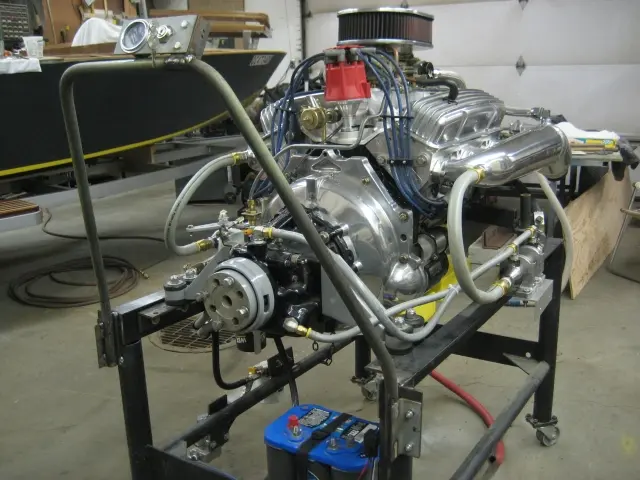
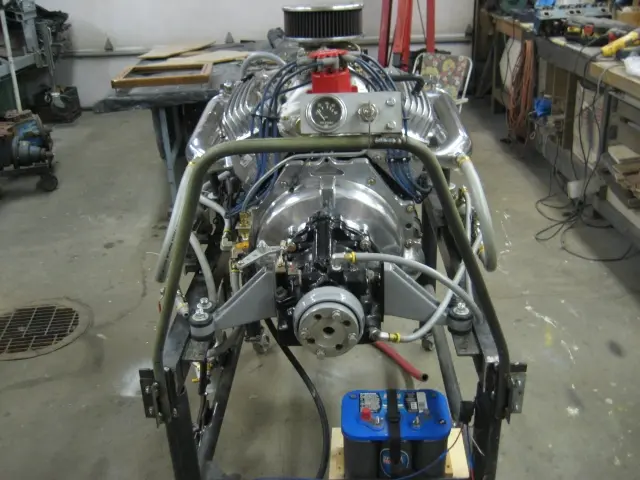
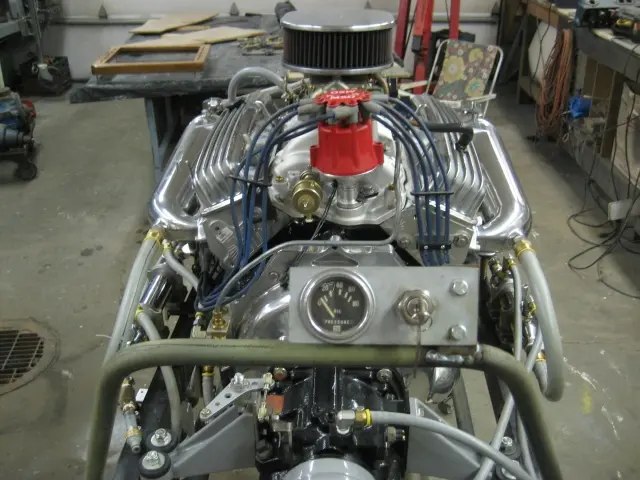
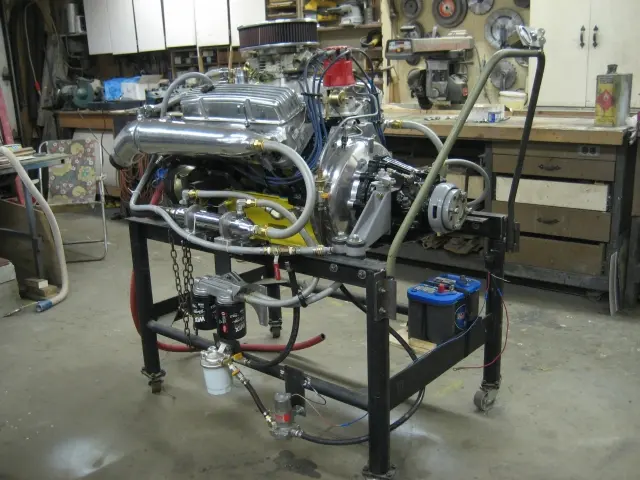
We've moved the engine from the assembly stand to the break-in stand. The new Edelbrock RPM Air Gap intake manifold adds several inches to the induction system's overall height. (Click the image for a higher resolution photo).
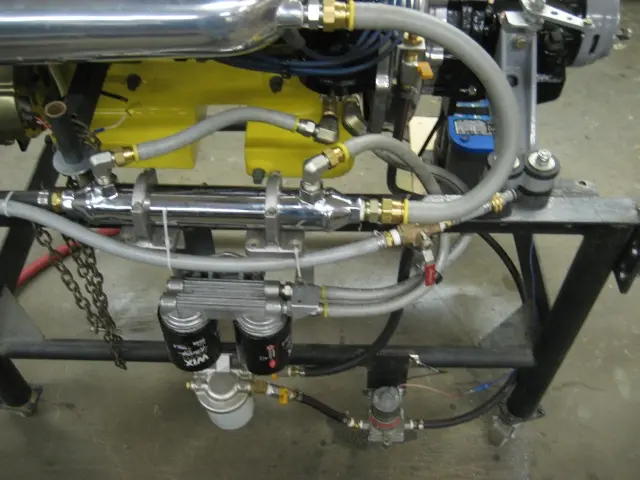
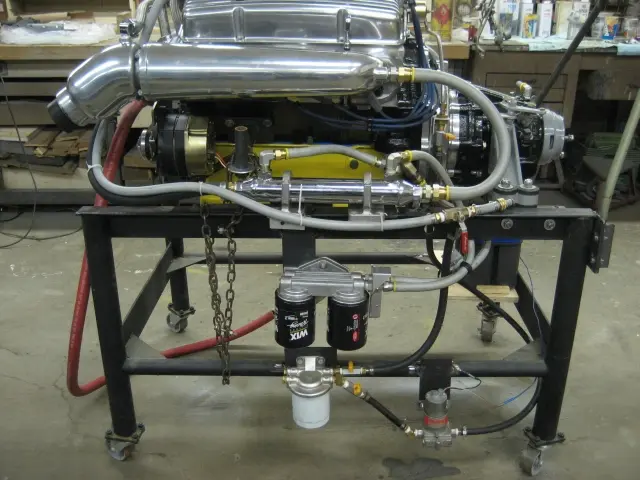
Transmission oil cooler is mounted on the Port side.
A compact Velvet Drive bellhousing mates the engine to Velvet Drive 71C 1:1 ratio hydraulic transmission.
Engine oil cooler and dual remote oil filters are installed on the Starboard side. We also had to plumb in a Holley marine electric fuel pump, relay and fuel filter.
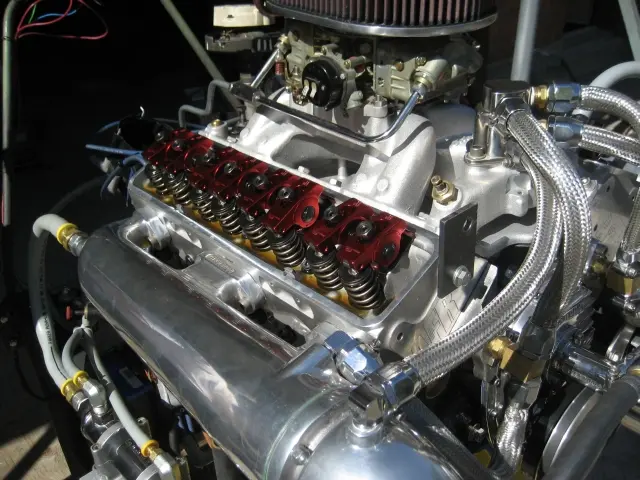
Click the image for a higher resolution photo.
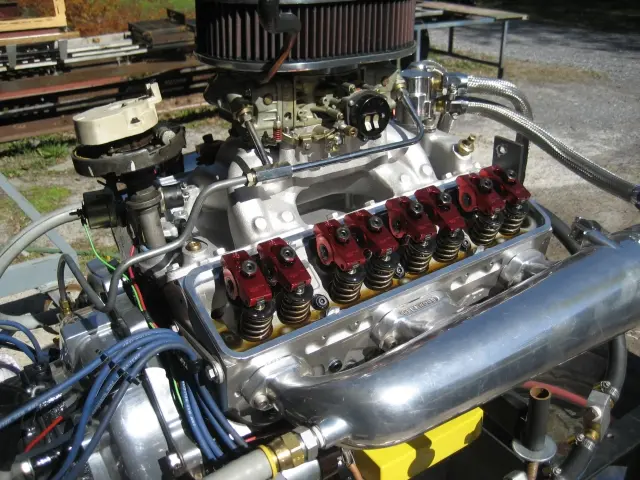
Click the image for a higher resolution photo.
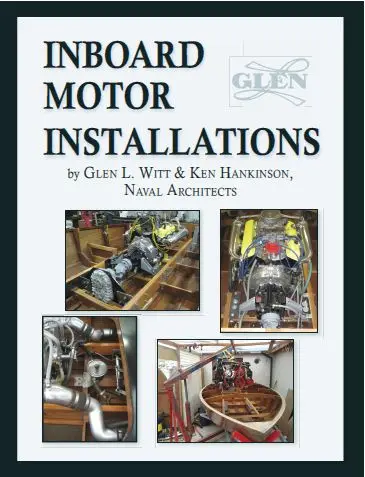
Inboard Motor Installations by Glen L. Witt and Ken Hankinson. It's a real honour to have photos of our engine installation on the cover of one of Glen's books. See the top row and bottom left corner of the book cover.
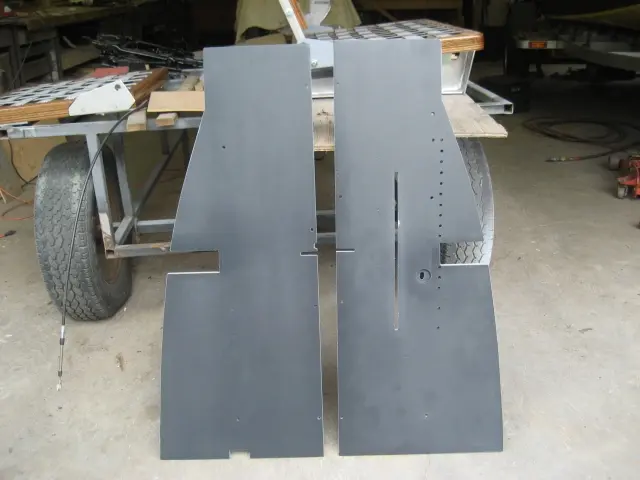
Seats: Soles were cut from 1/2" exterior grade fir plywood
Sole was covered with outdoor carpet. We'll upgrade to marine grade carpet when the boat is totally finished !
1. Soles were cut from 1/2" exterior grade fir plywood. Both sides were laminated with 10 ounce fiberglass cloth and West System epoxy. Once sanded, the parts were primed with DuPont Uro Prime urethane primer surfacer.
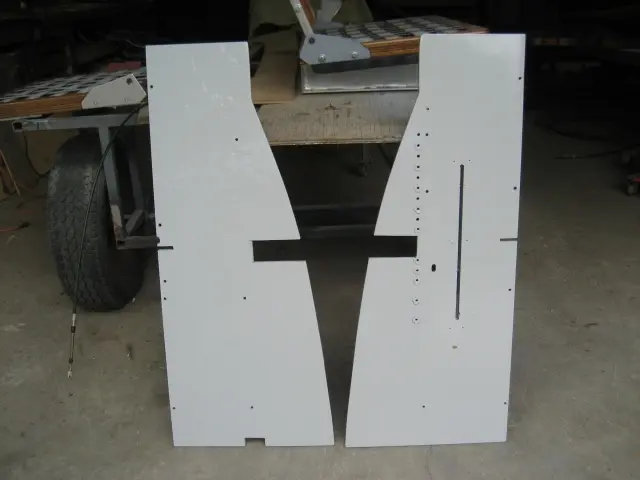
2. The 'down' side was topcoated with DuPont Imron single stage two-part urethane paint. Also visible is the adjustment slot for the foot pedal. We'll have more on the foot pedal soon !
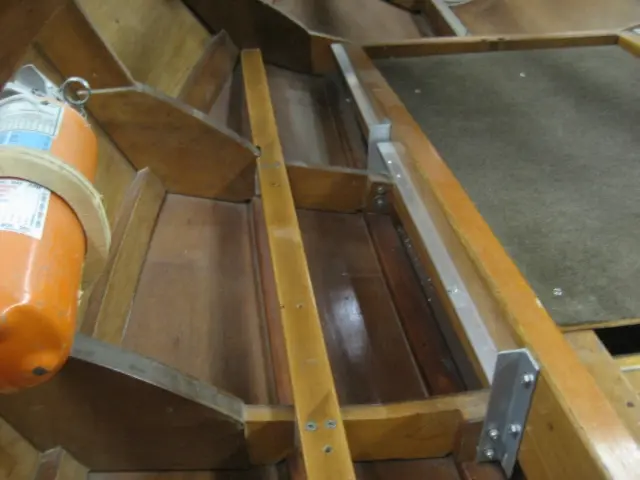
3. Soles rest on 1"x2" douglas fir battens. An aluminun angle ledger strip was fastened to the engine stringer.
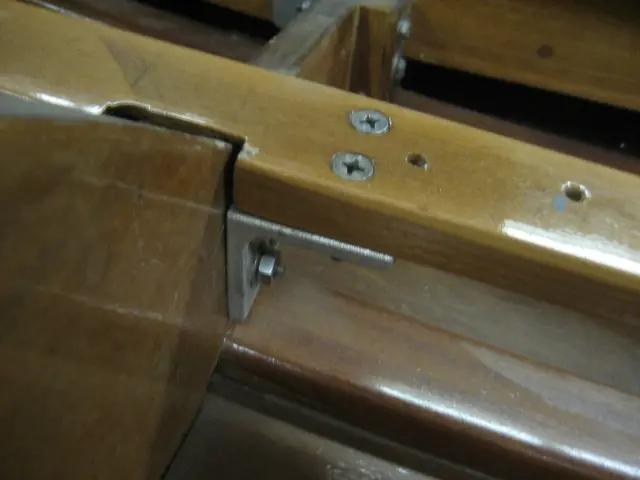
4. Battens are fastened to aluminum angles bolted to the side of each frame. Fastening the batten through the top of the frame would allow moisture to penetrate into the frame and eventually cause it to rot.
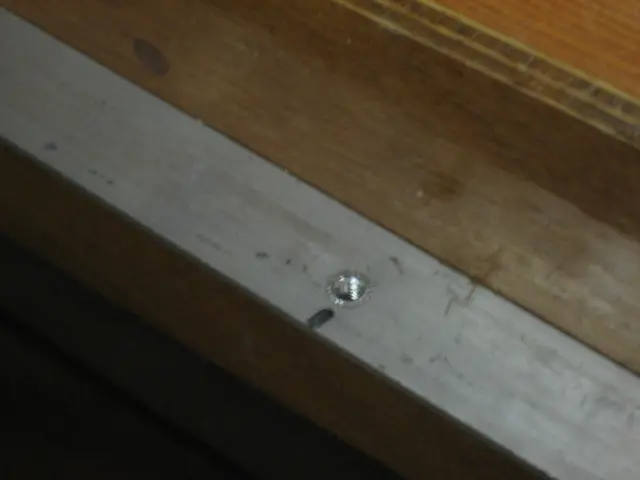
5. We installed Sert-a-Nuts so that the soles can be easily removed without compromising fastener thread holes. They're like a blind rivet with a built-in thread.
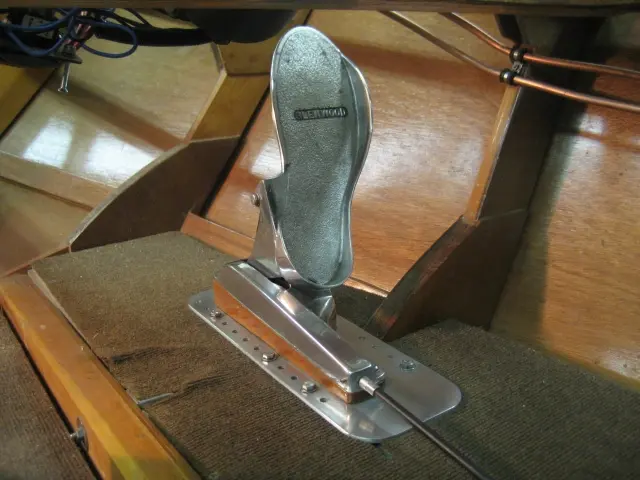
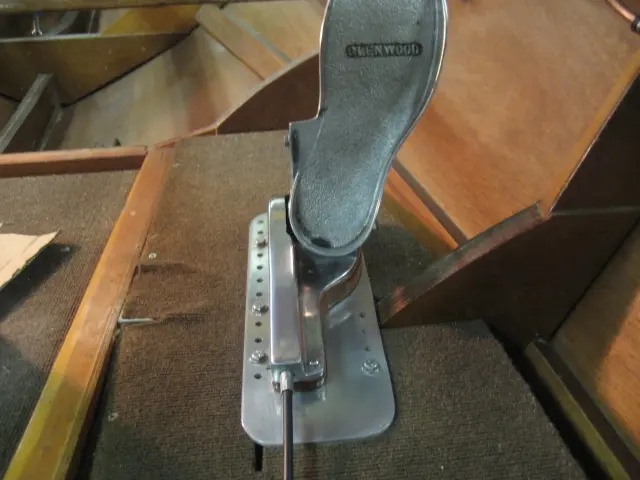
6. The driver's seat is adjustable (8" of horizontal travel) so the Glenwood foot pedal is also adjustable.
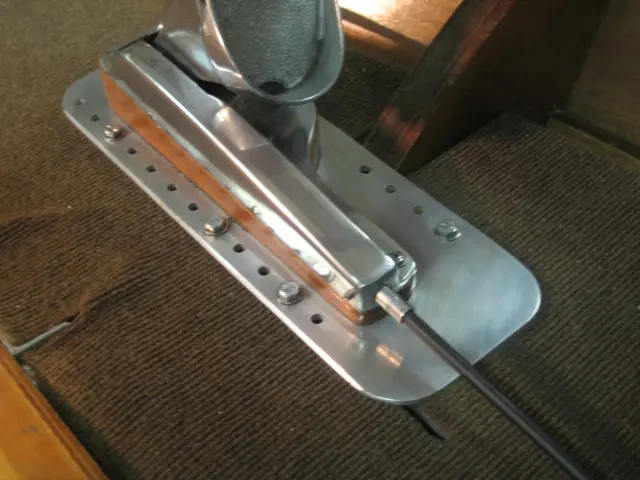
7. The pedal is mounted to an aluminum plate which can be moved by loosening the three bolts on the left and removing the bolt on the right.
8. Once the pedal has been repositioned, the bolt on the right is inserted into a new hole position and all bolts are tightened.
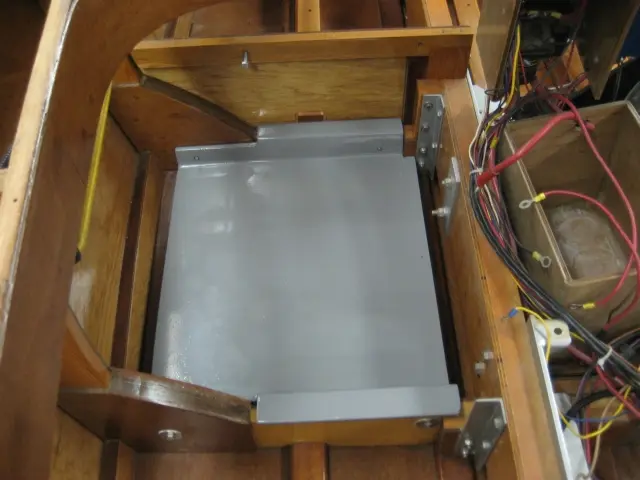
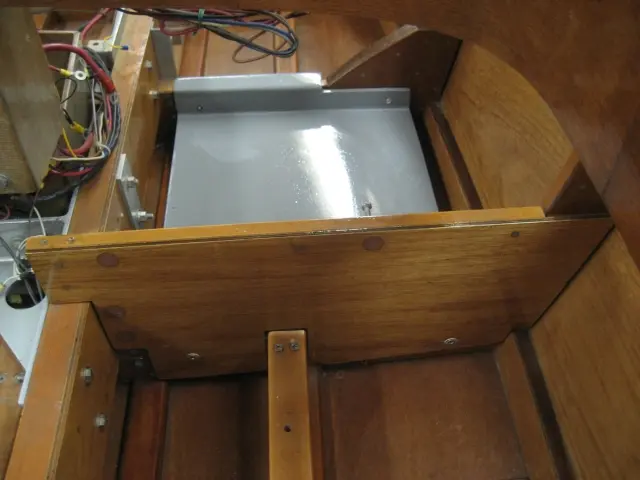
Jump seats and fuel tank: Final assembly for the Port fuel tank cradle and forward jumpseat bulkhead
1. Final assembly for the Port fuel tank cradle and forward jumpseat bulkhead. Cradle bolt holes were bushed with fiberglass bushings. Sert-A-Nuts were installed flush on the inside face of the cradle flange.
2. Here's a view of the forward jumpseat bulkhead looking aft.
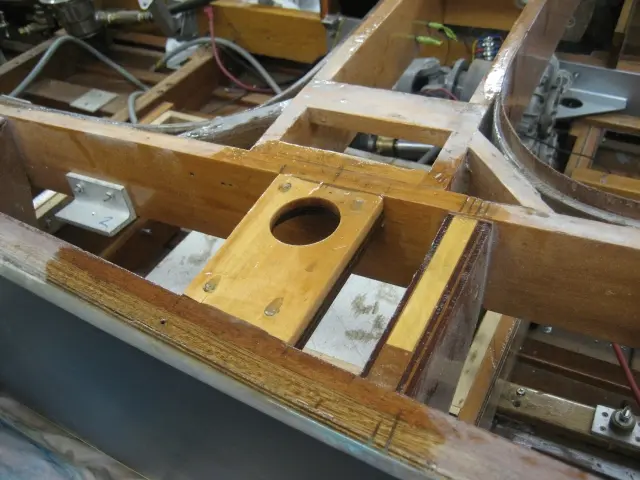
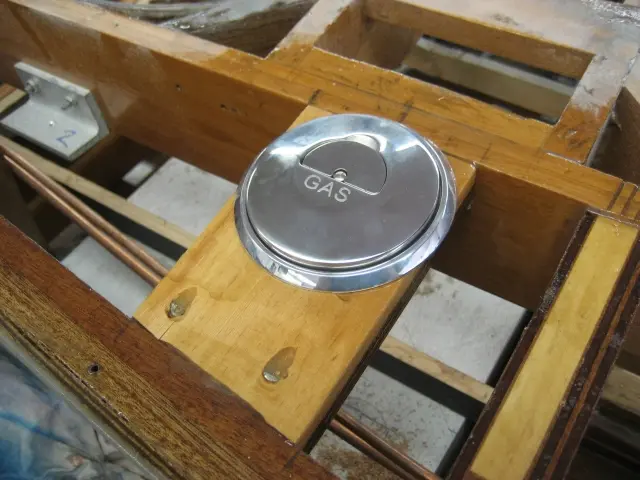
Jump seats and fuel tank: Fuel fill blocking was laminated from marine grade plywood and Douglas Fir stock
1. Fuel fill blocking was laminated from marine grade plywood and Douglas Fir stock. The plywood layer prevents the Fir from splitting.
2. A stainless steel 2" fuel fill will feed the 9.2 gallon fuel tank. The white plywood box is a mockup of the tank. Also visible in the photo are the hydraulic steering's annealed copper tubing lines. It's a very tight installation !
12
Nobody else here is logging a Hot Rod yet.
See the boat.