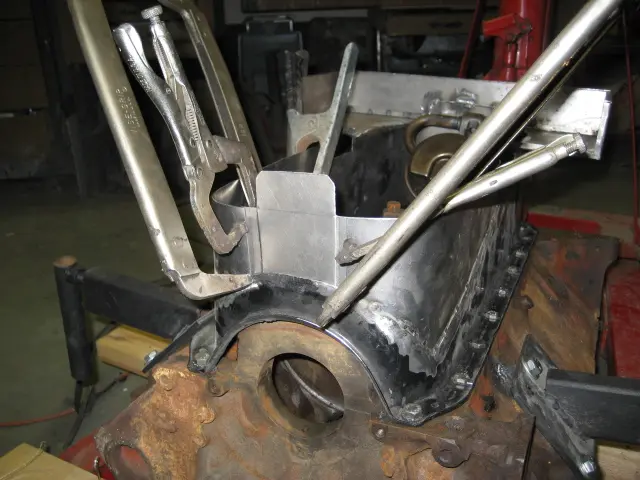
Custom oil pan: Side panels were joined with a flanged center section
1. Side panels were joined with a flanged center section.
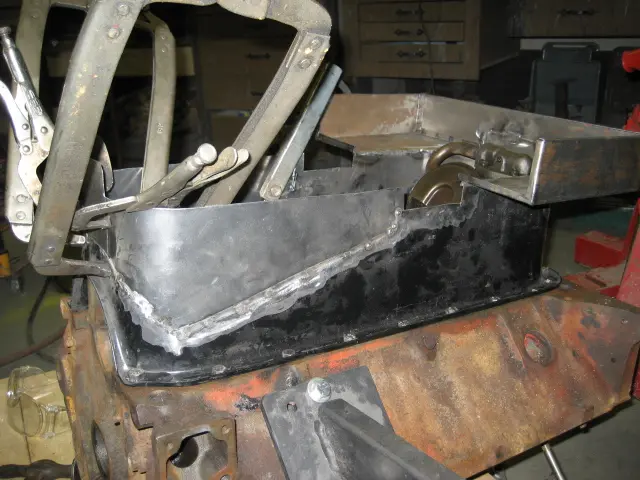
2. An air-powered panel flanger makes a neat joint between the pan and the newly grafted material.
Hot Rod · new build
Launched1. Side panels were joined with a flanged center section.
2. An air-powered panel flanger makes a neat joint between the pan and the newly grafted material.
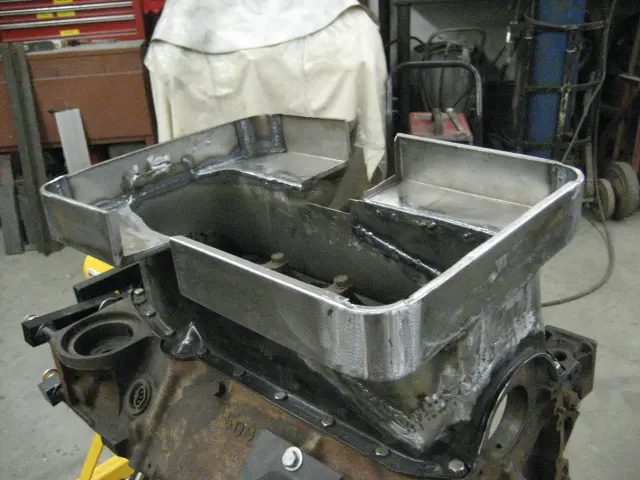
1. After much mig welding and grinding, the pan is starting to take shape...
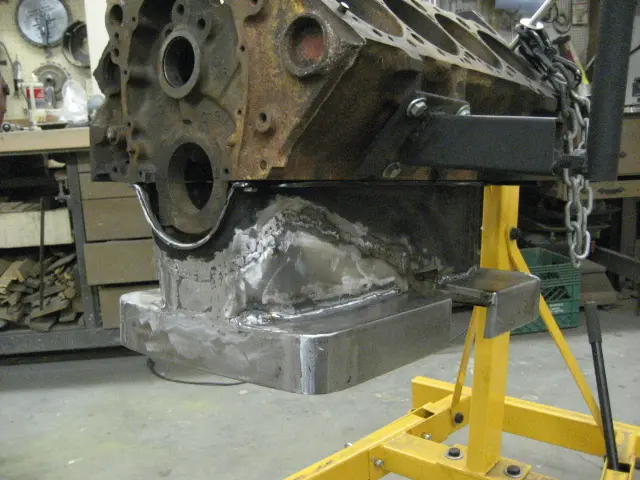
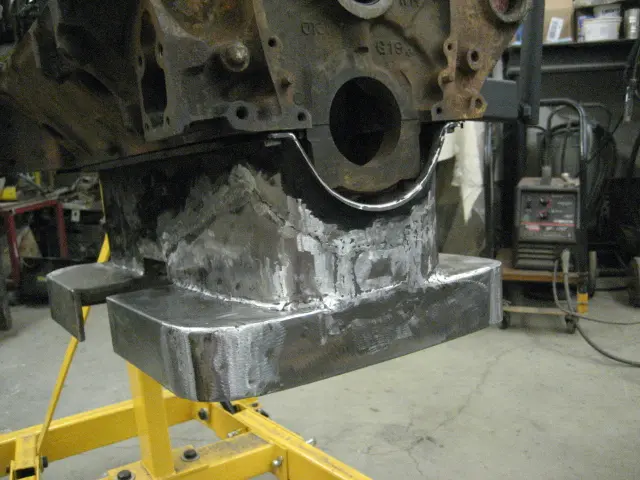
2. Corners were cut back and rounded by adding hand-formed 1-1/2" radius sheet metal corner pieces. The joints were metal-finished to hide the welds.
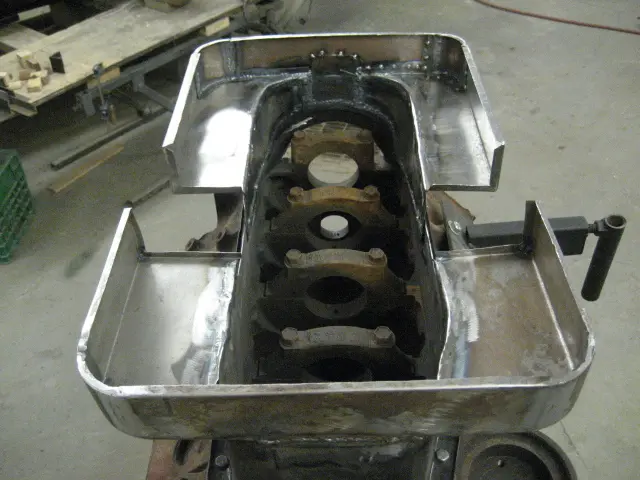
3. View from inside the pan.
4. Front sump kickouts are 3/4" narrower than the rear.
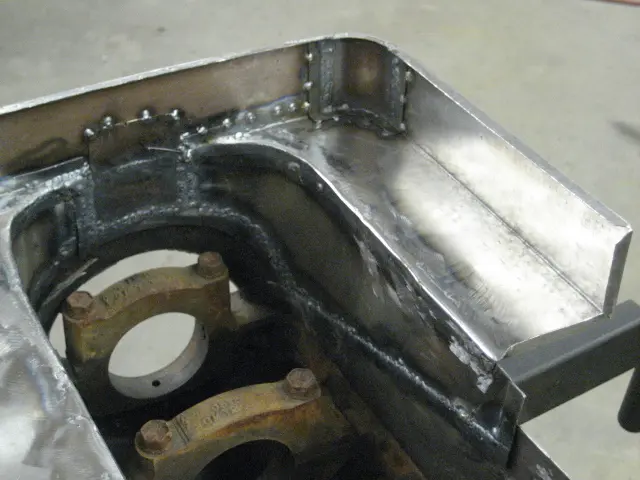
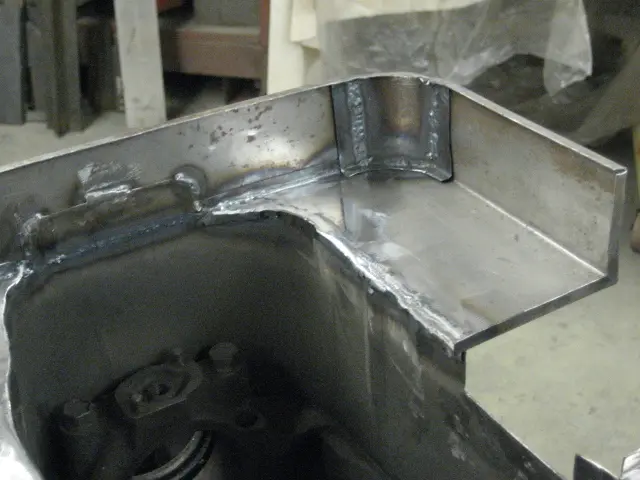
5. Much grinding and cleanup is required on the inside of the pan.
6. Two 16 gauge bottom panels were cut and fitted.
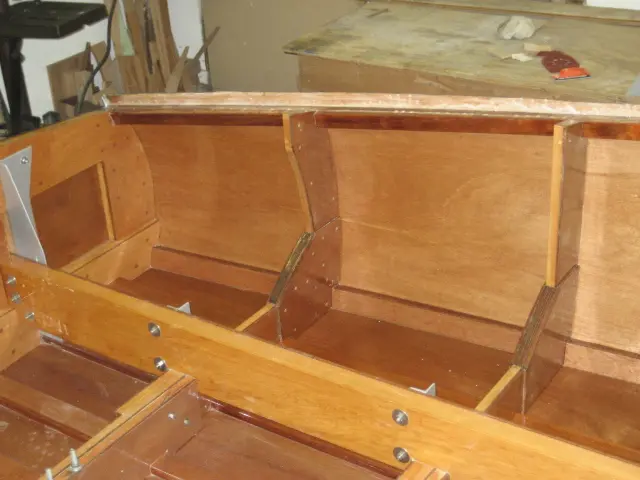
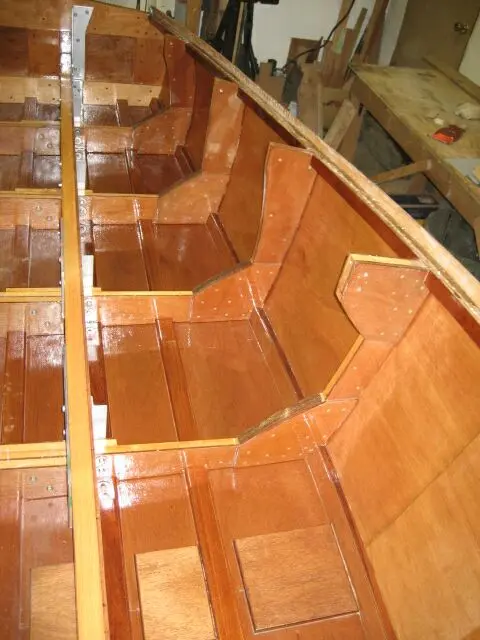
1. Work on barrier coating the interior of the hull continues. We're going with a bright finish consisting of two rounds of West Epoxy catalyzed with 207 Special hardener. This will be followed with two or three rounds of two-part urethane clear.
2. The second coat of epoxy is still a little rough. Epoxy is not self-levelling like paint. Visible in this photo are the side panel scarf joint and the bottom panel butt blocks. Switching to a spray gun for the subsequent varnish coats will minimize sanding between coats and flatten out the surface !
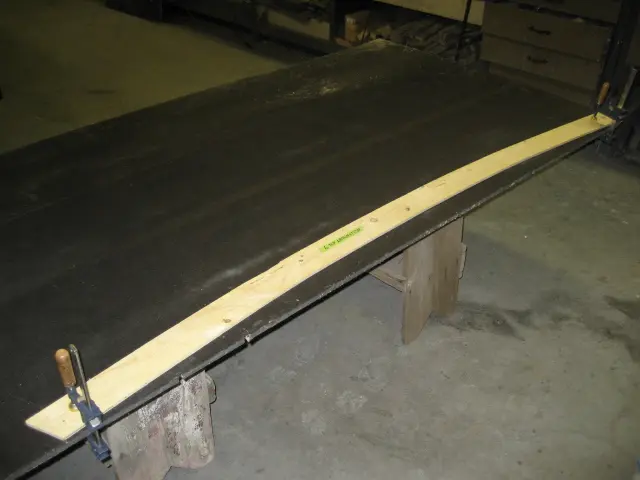
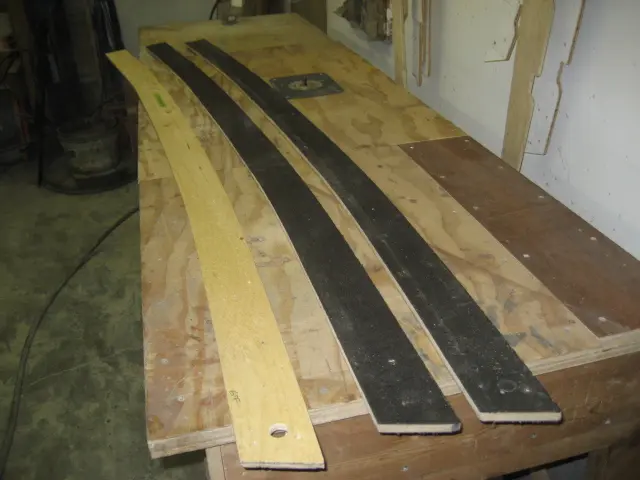
A template for the top frame lamination was traced onto a piece of 1/2" Black Joe building board.
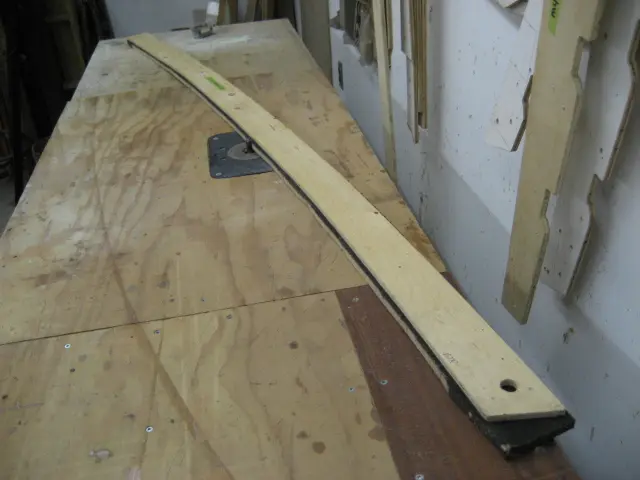
A jigsaw was used to cut the stock 1/4" oversize. The piece was then fastened to the 3/8" thick template with 3/4" screws and trimmed on the router table.
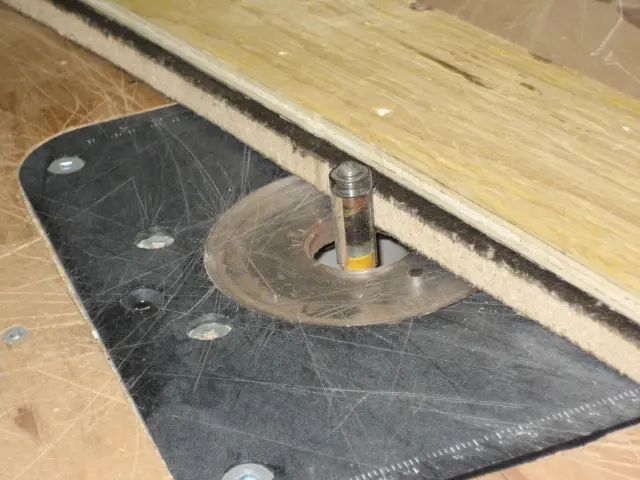
Closeup of the top-bearing trim bit.
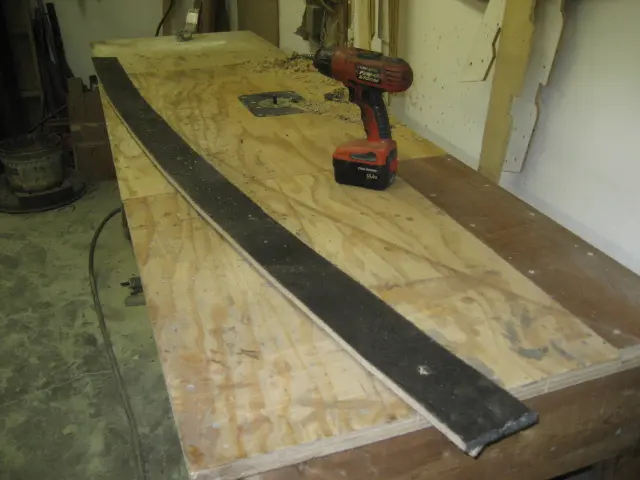
The screws were removed from the stock.
A duplicate piece was produced.
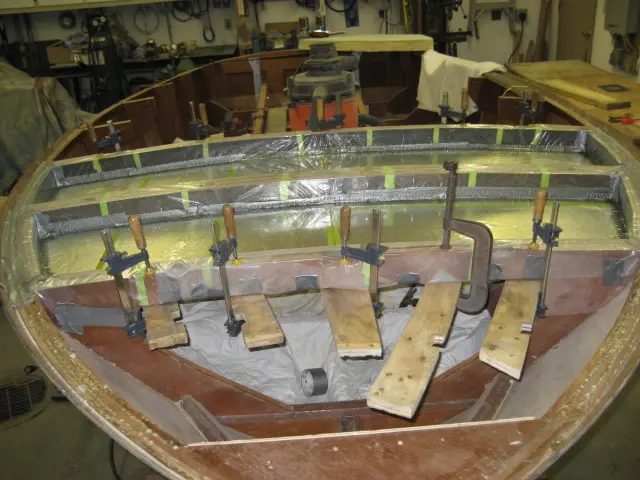
The two pieces were installed on each side of the frame and taped to hold them in position.
Once the foam has been poured and has cured, the inner piece will be extracted first. This will allow easy removal of the outer piece when the foam core is unmolded.
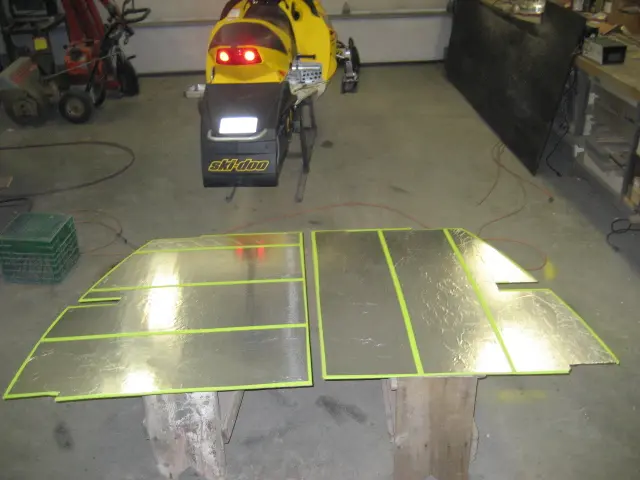
Here's a shot of the two 1/4" plywood panels which will be installed on the bottom of the frames. They were coated with contact cement and covered with aluminum foil. A plastic autobody filler squeegee was used to apply the foil and remove air pockets and wrinkles. We'll be laminating one layer of 6 ounce fiberglass cloth on this surface before pouring the foam. In the winter, the shop is home to many snowmobiles in for maintenance or repair. This is my 2003 Rev 600 HO waiting for its regular maintenance. Due to the lack of snow this year, we've only been out once this year (2 day trip, 450 km). I guess we'll keep working on the boat until the trail conditions improve !
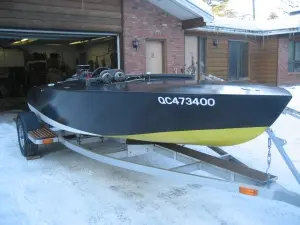
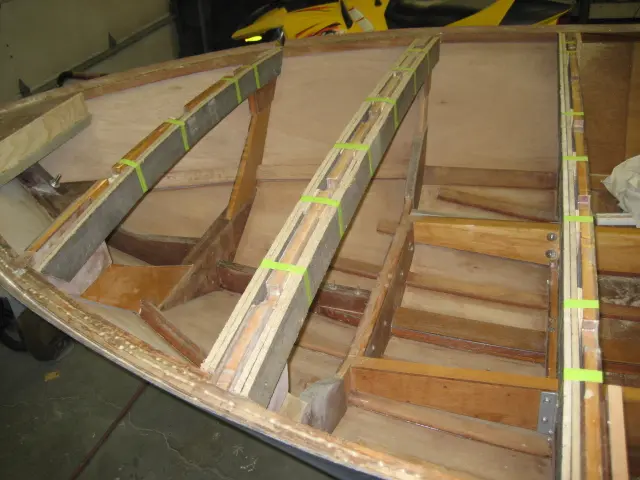
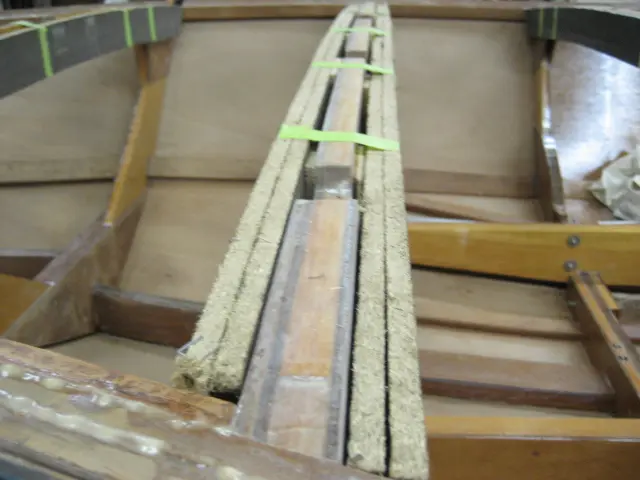
We're currently fabricating removable foam flotation panels which will be installed under the deck battens. Click here to see what we've done so far. ( a new window will be opened)
Nobody else here is logging a Hot Rod yet. See the boat.