283 engine: After the engine was run for several hours, we removed it from the mockup and dropped the
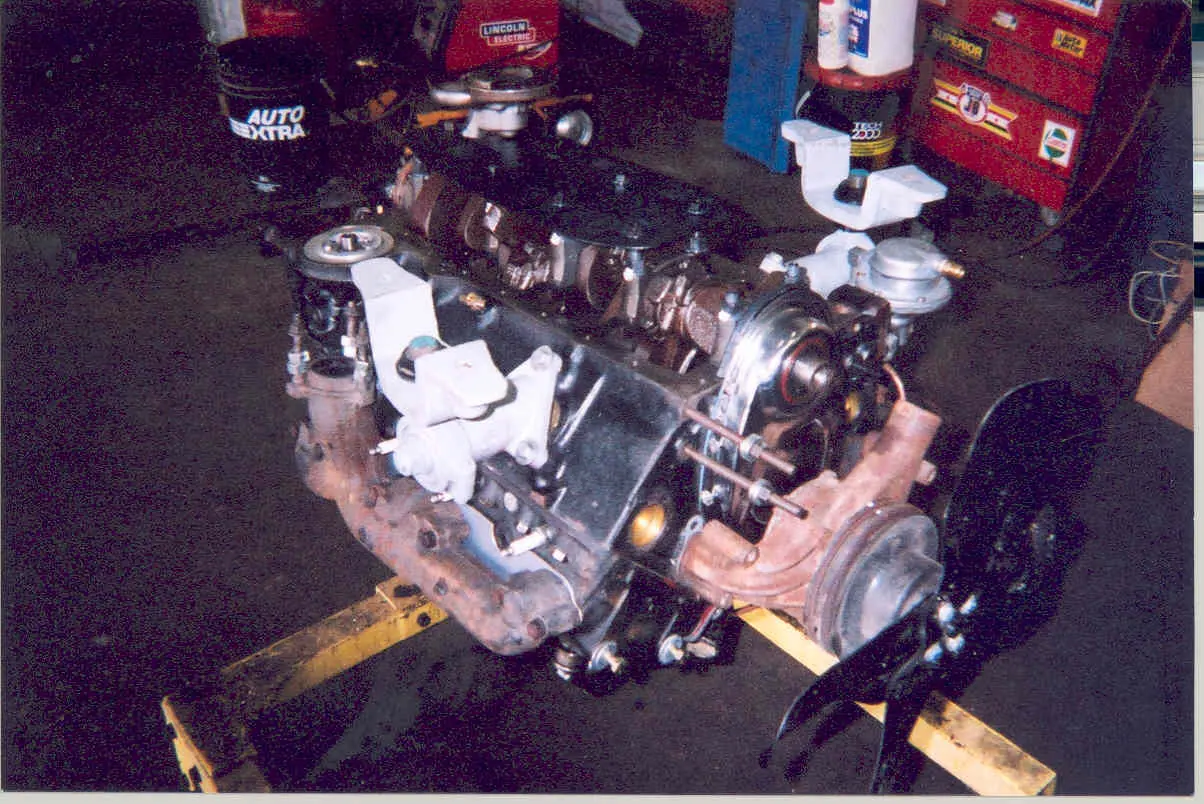
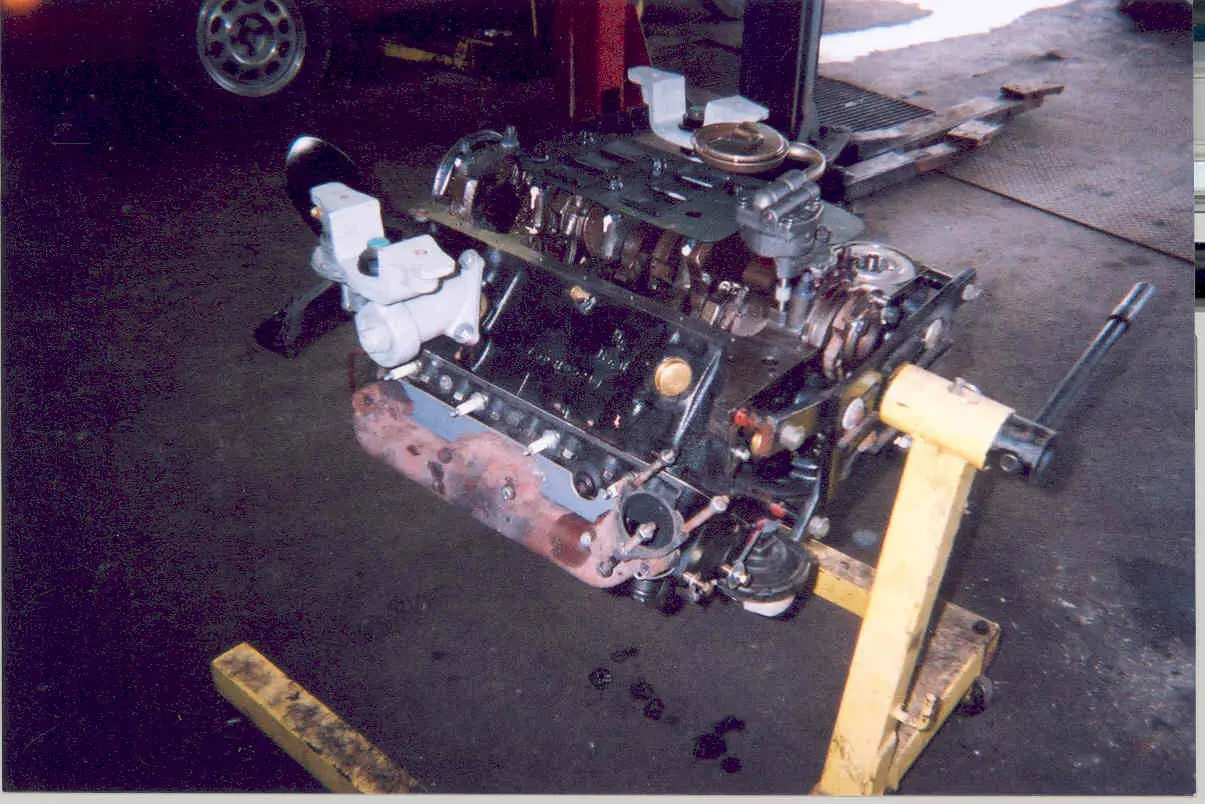
1. After the engine was run for several hours, we removed it from the mockup and dropped the oil pan to check the bearings. Even though we had the block hot tanked both before and after cylinder boring, there was clearly some scale in the pan.
2. The engine was disassembled and sent out to the machine shop for inspection. While we were at it, we added a Moroso windage tray and an ARP stud kit. Since switching from main cap bolts to studs affects the bearing clearances, the main caps were installed and align-bored to restore the clearances.
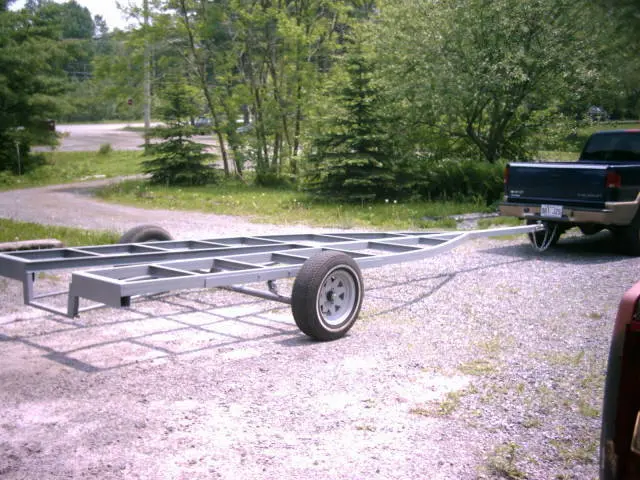
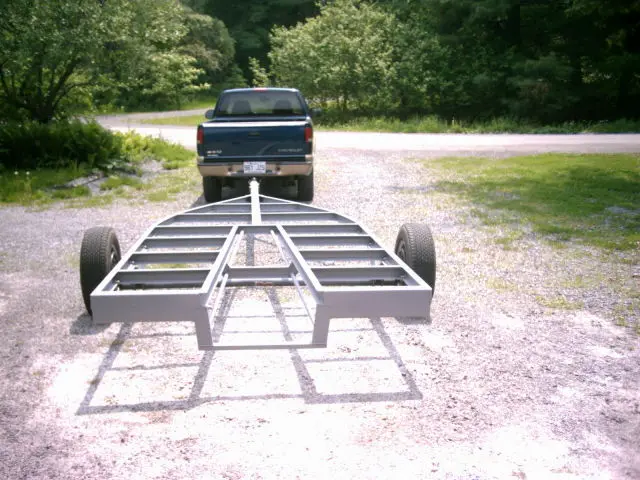
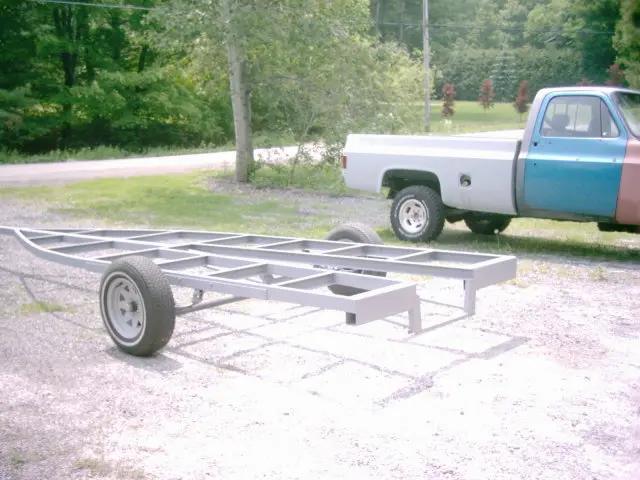
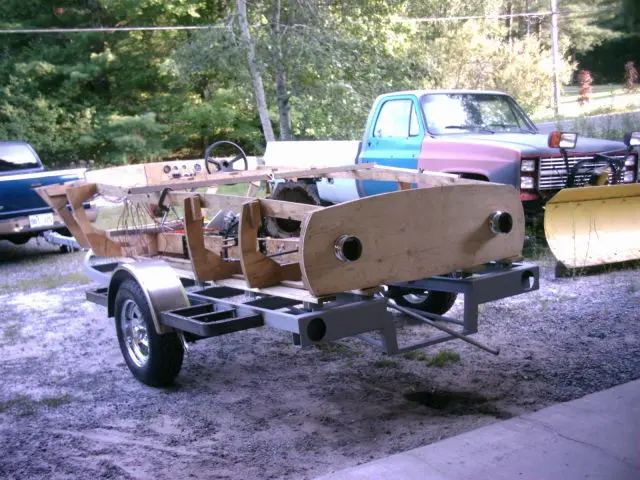
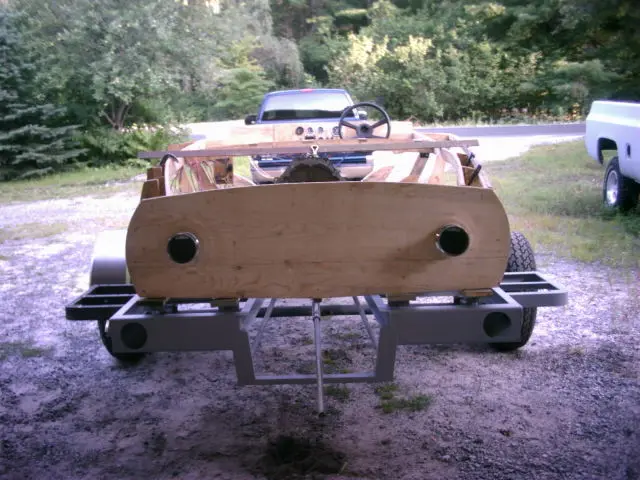
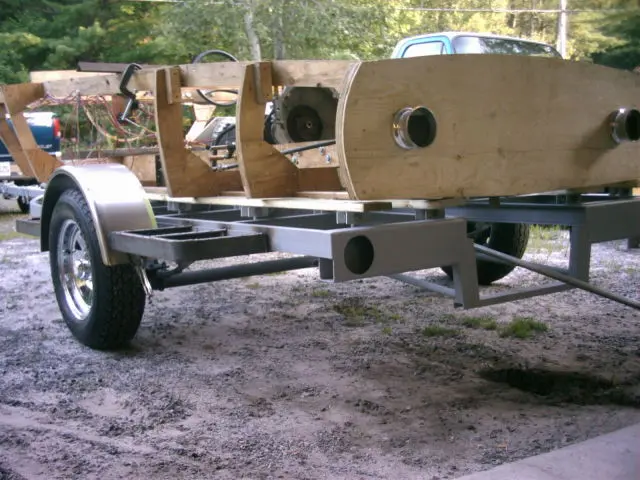
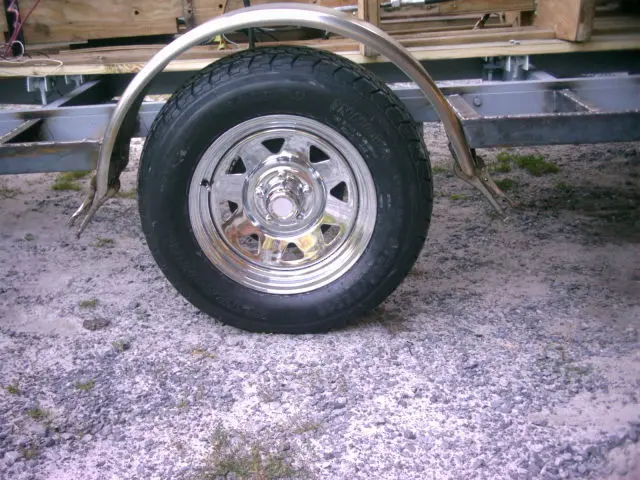
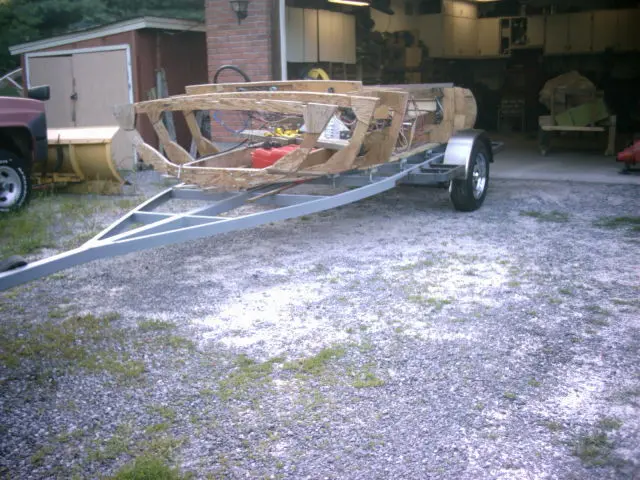
Trailer: Since we were running short on time, the trailer was built by a welding shop in Merickvill
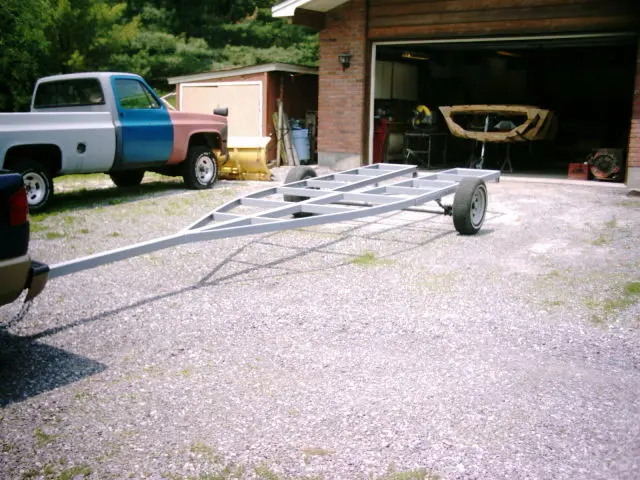
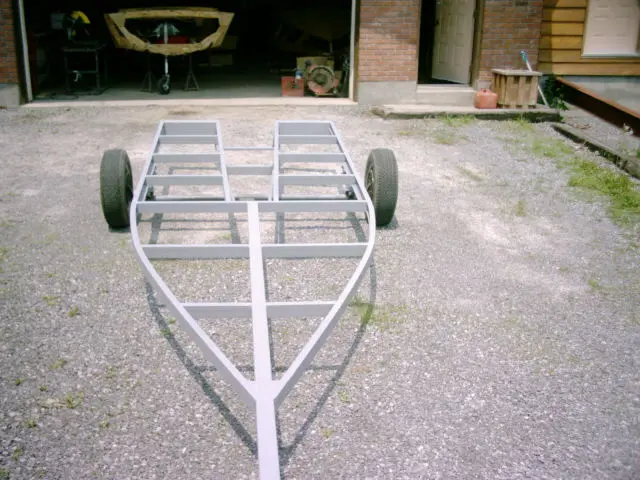
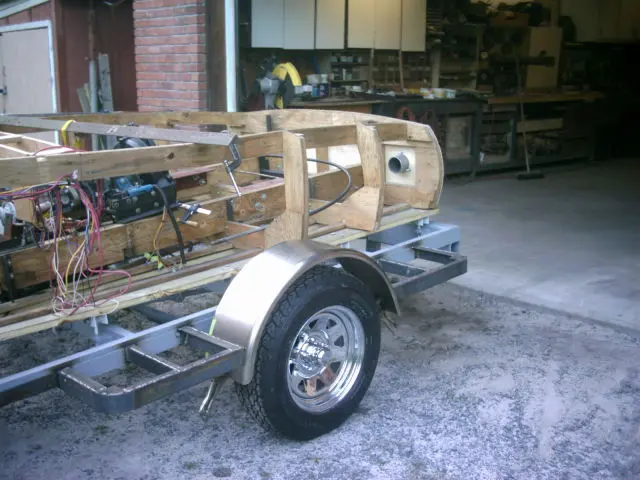
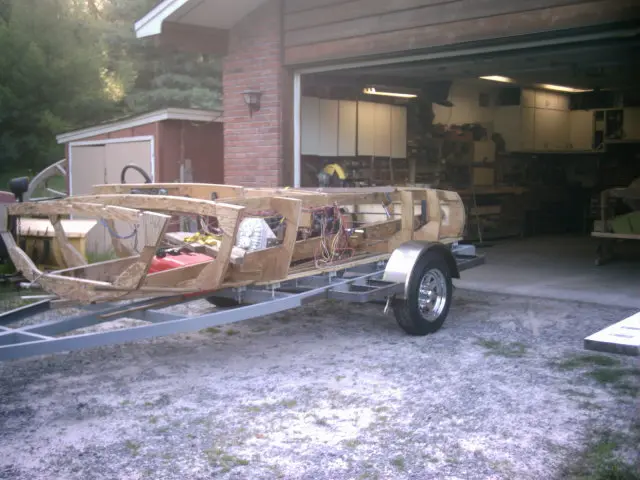
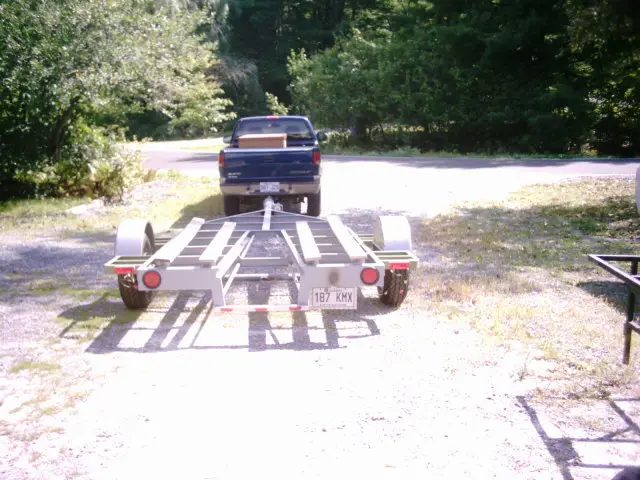
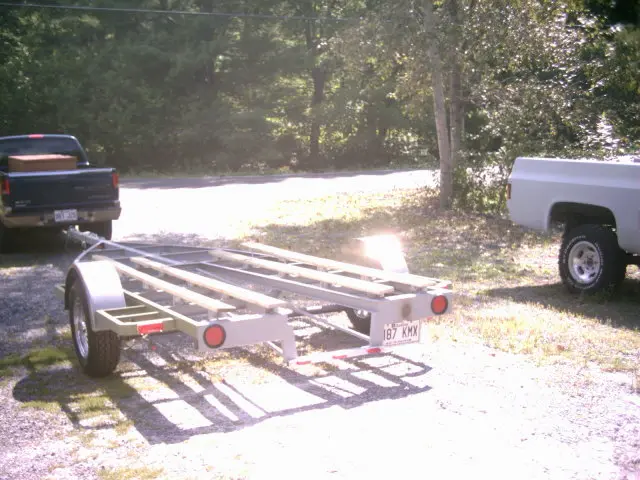
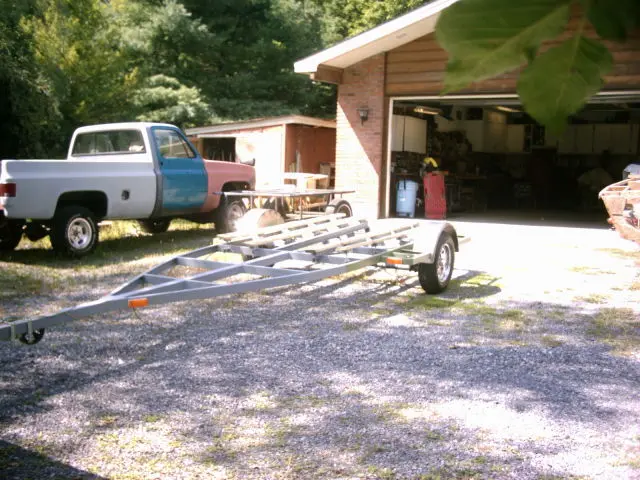
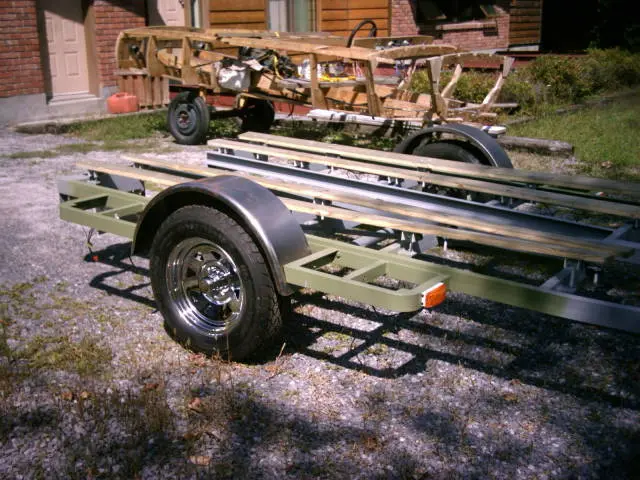
1. Since we were running short on time, the trailer was built by a welding shop in Merickville, Ontario. I asked them to fabricate the bare-bones trailer so I could finish the winch stand, brakes, fenders, bunks and wiring myself.
2. The craftsmanship is readily visible: nice welds, clean joints, gently bowed side rails and lots of little details add up to an excellent job. We increased the tongue length by 3' and substituted a piece of heavy duty 3" square tube for the 3" C-channel called for in the plan.
3. We increased the rear crossmember to 2" x 6" rectangular tube. This beefs up the rear and will provide more surface area to recess the rear lights.
4–5. You might want to increase the side rails to 4" C-channel. Although this will increase overall weight, it will stiffen up the trailer considerably.
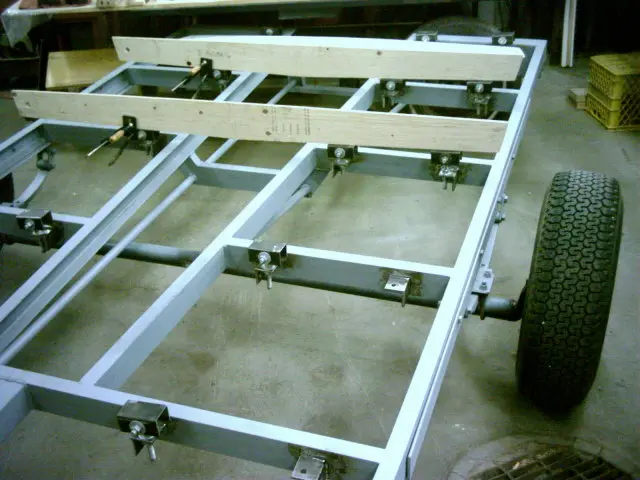
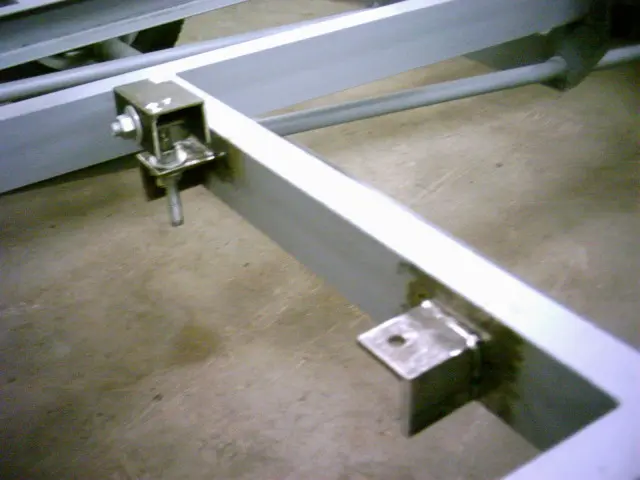
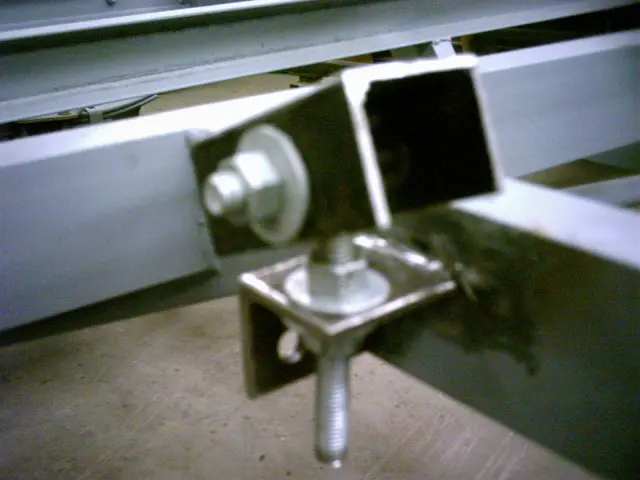
6–7. 20 bunk support brackets and swivel assemblies were fabricated to support the bunks.
8. When the bunk boards are added, this should provide fully adjustable support for the hull.
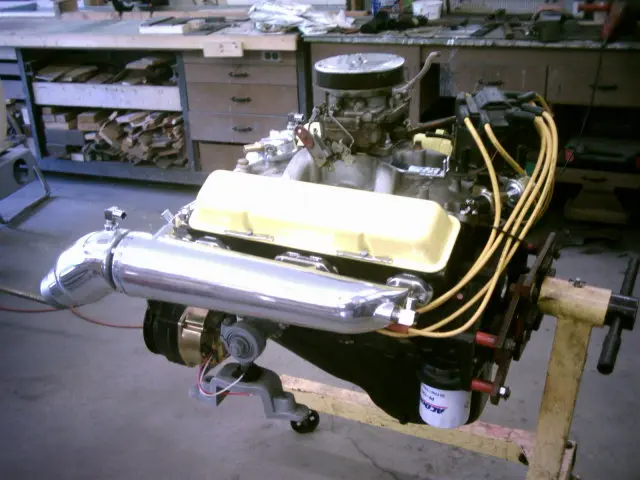
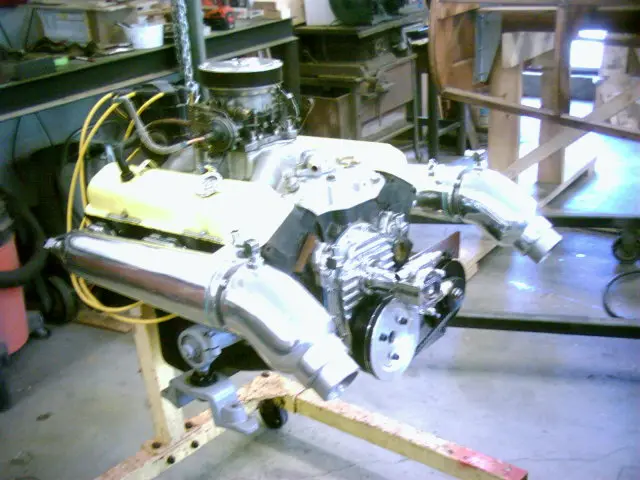
283 engine: Glenwood header manifolds, 15 degree elbows, aluminum front cover, cam-driven water pump a
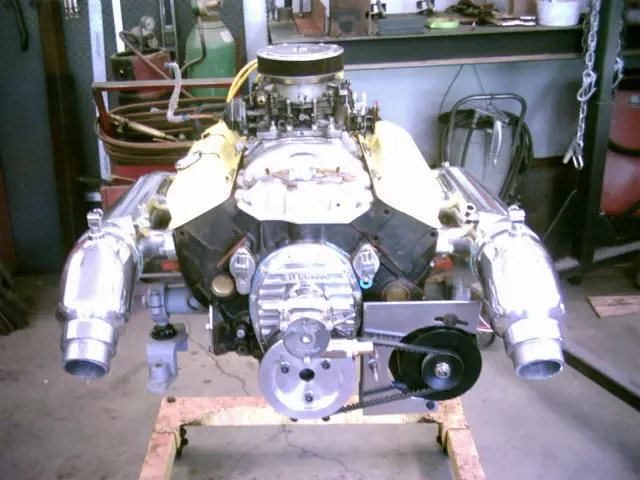
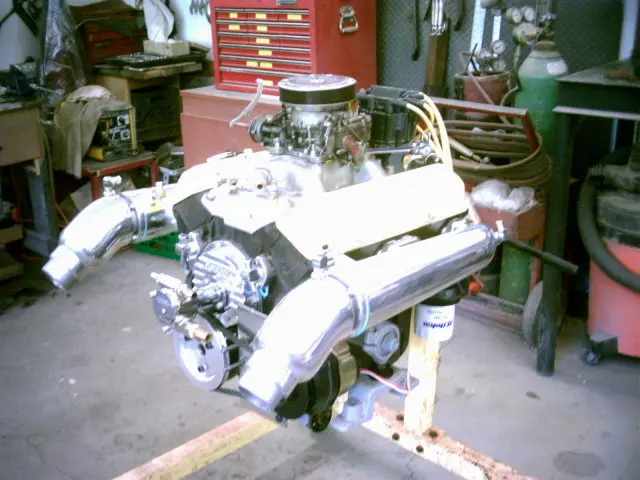
1–2. Glenwood header manifolds, 15 degree elbows, aluminum front cover, cam-driven water pump and a custom stainless steel alternator bracket complete the engine.
3–4. Click the 'Play' button (>) to see the video.
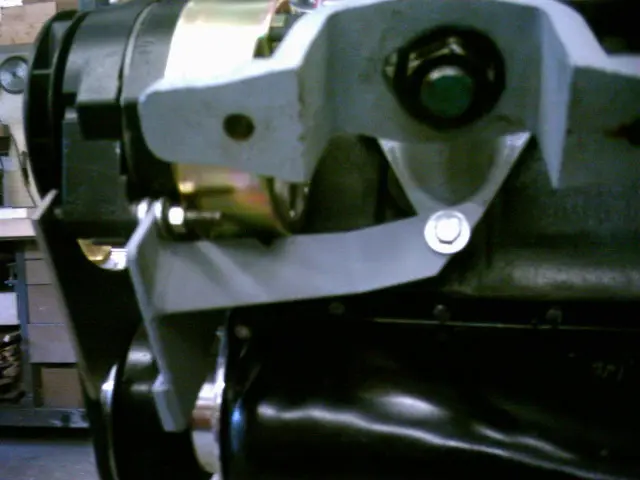
5. Closeup view of the alternator bracket. It extends back to the engine mount for added support.
Trailer: The trailer wiring was completed with 4" LED stop/turn/tail lamps
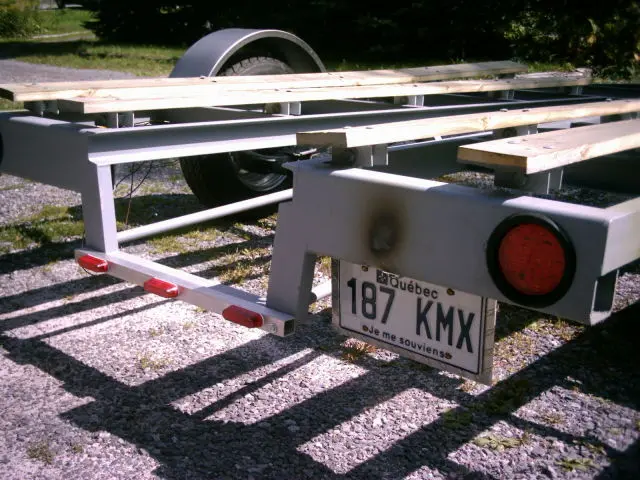
1. The trailer wiring was completed with 4" LED stop/turn/tail lamps.
2. Sealed red clearance lights were mounted to the fender steps.
3. Sealed yellow clearance lights were mounted at the tongue/side rail junction and on the fender steps.
4–5. An ID light strip was fabricated using a length of 1" aluminum square tube. Three 3/4" x 3" red clearance lights were mounted to the tube which was then bolted to the trailer. A two prong plug will connect to the wiring harness and permit quick and easy removal of the light bar.
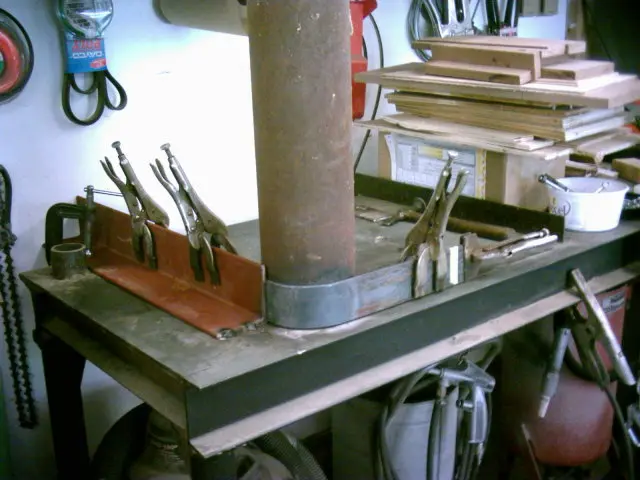
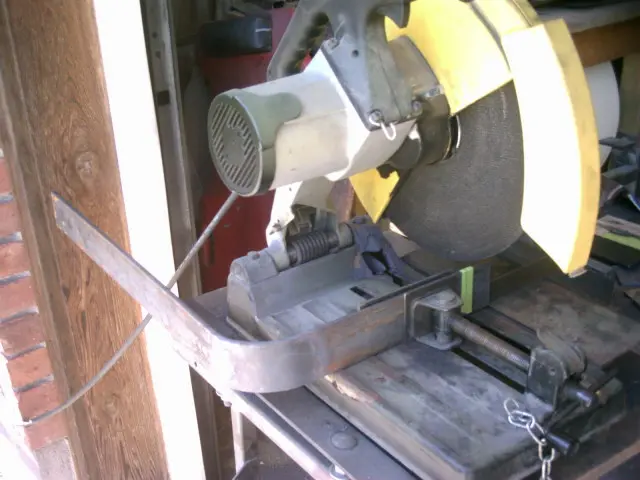
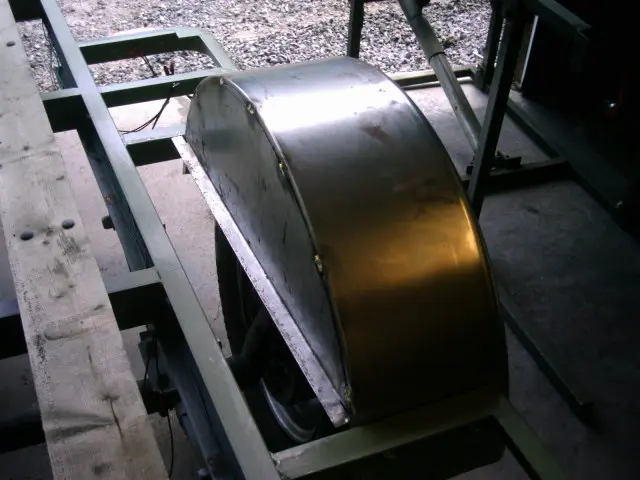
6. An inner fender skirt was fabricated from 16 gauge steel. A 1" flange on the bottom of the skirt will provide support for a step filler panel.
123456
Nobody else here is logging a Hot Rod yet.
See the boat.